In Part 7 in the continuing series about making Harvest Time, I share photos and commentary about the wee folk characters who populate the landscape. In the coming weeks, I will post more stories that focus on different aspects of making the fall scene, including the miniature storage containers and the embroidered trees. So far, I’ve written the following posts:
The overview introduces the Harvest Time piece.
Part 1 features moss making.
Part 2 is about making the turkey tail mushroom.
Part 3 shows the construction of felt leaves.
Part 4 gives a peek at embroidering the plants.
Part 5 is about making the toadstool mushroom.
Part 6 covers the underground tunnels, roots and stones.

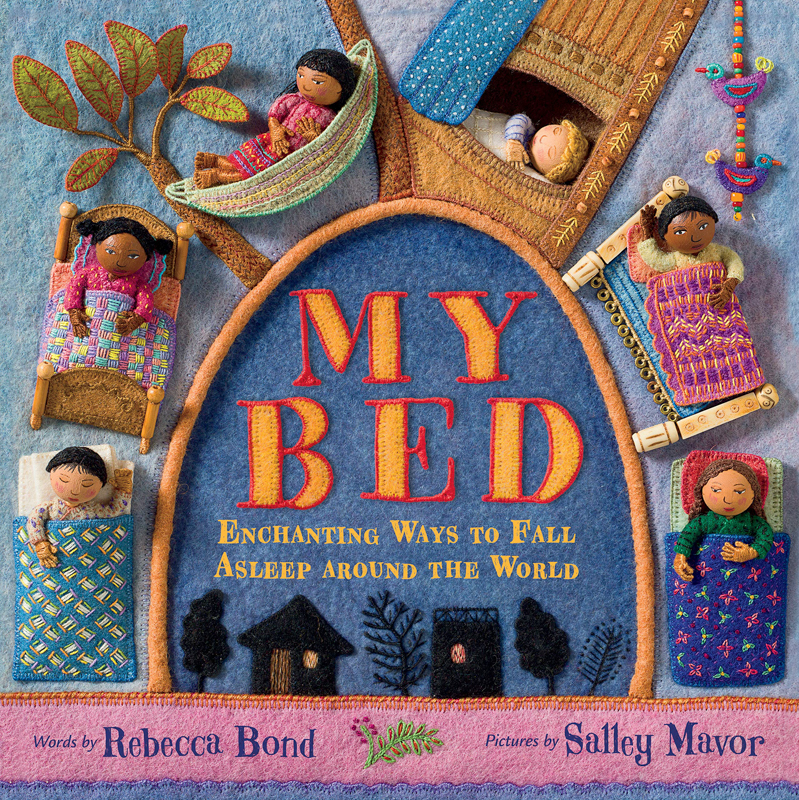
Harvest Time is the fall scene in a series of seasonal landscapes that capture the wonder and magic of the natural world, both real and imagined. Note cards and jigsaw puzzles of the this and other scenes in the series (Frosty Morning and Mossy Glen) are available in my Etsy Shop.
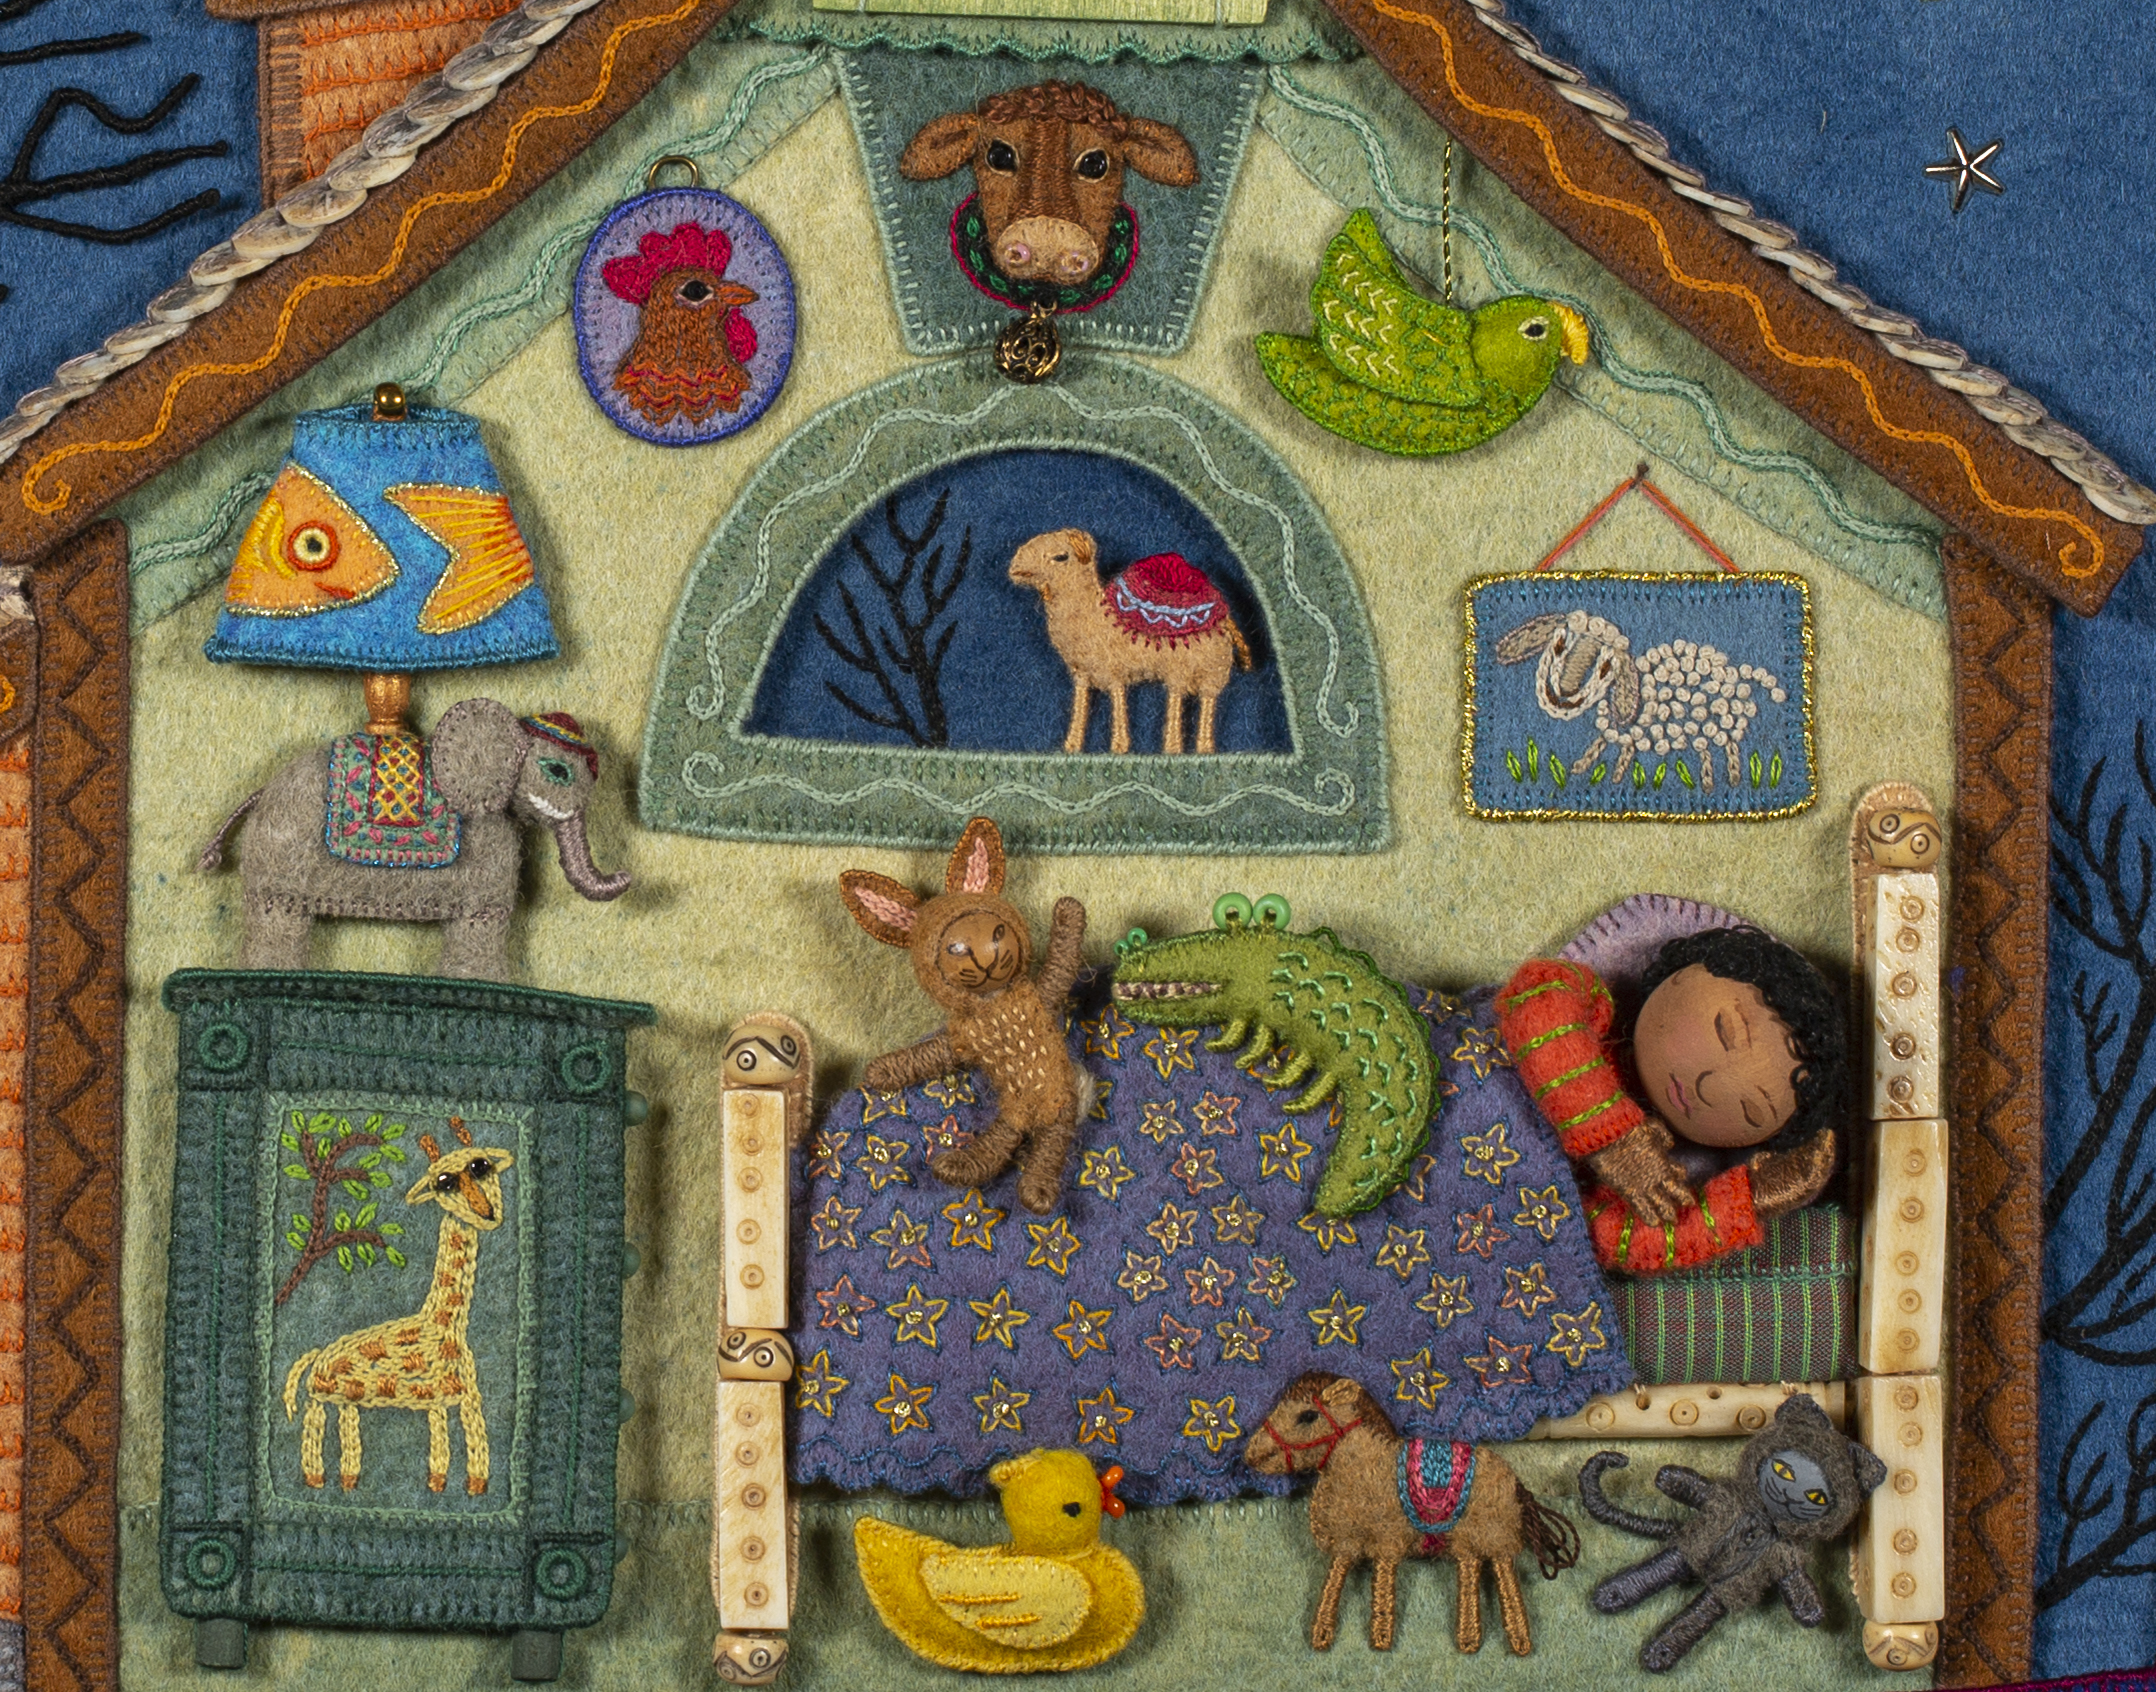
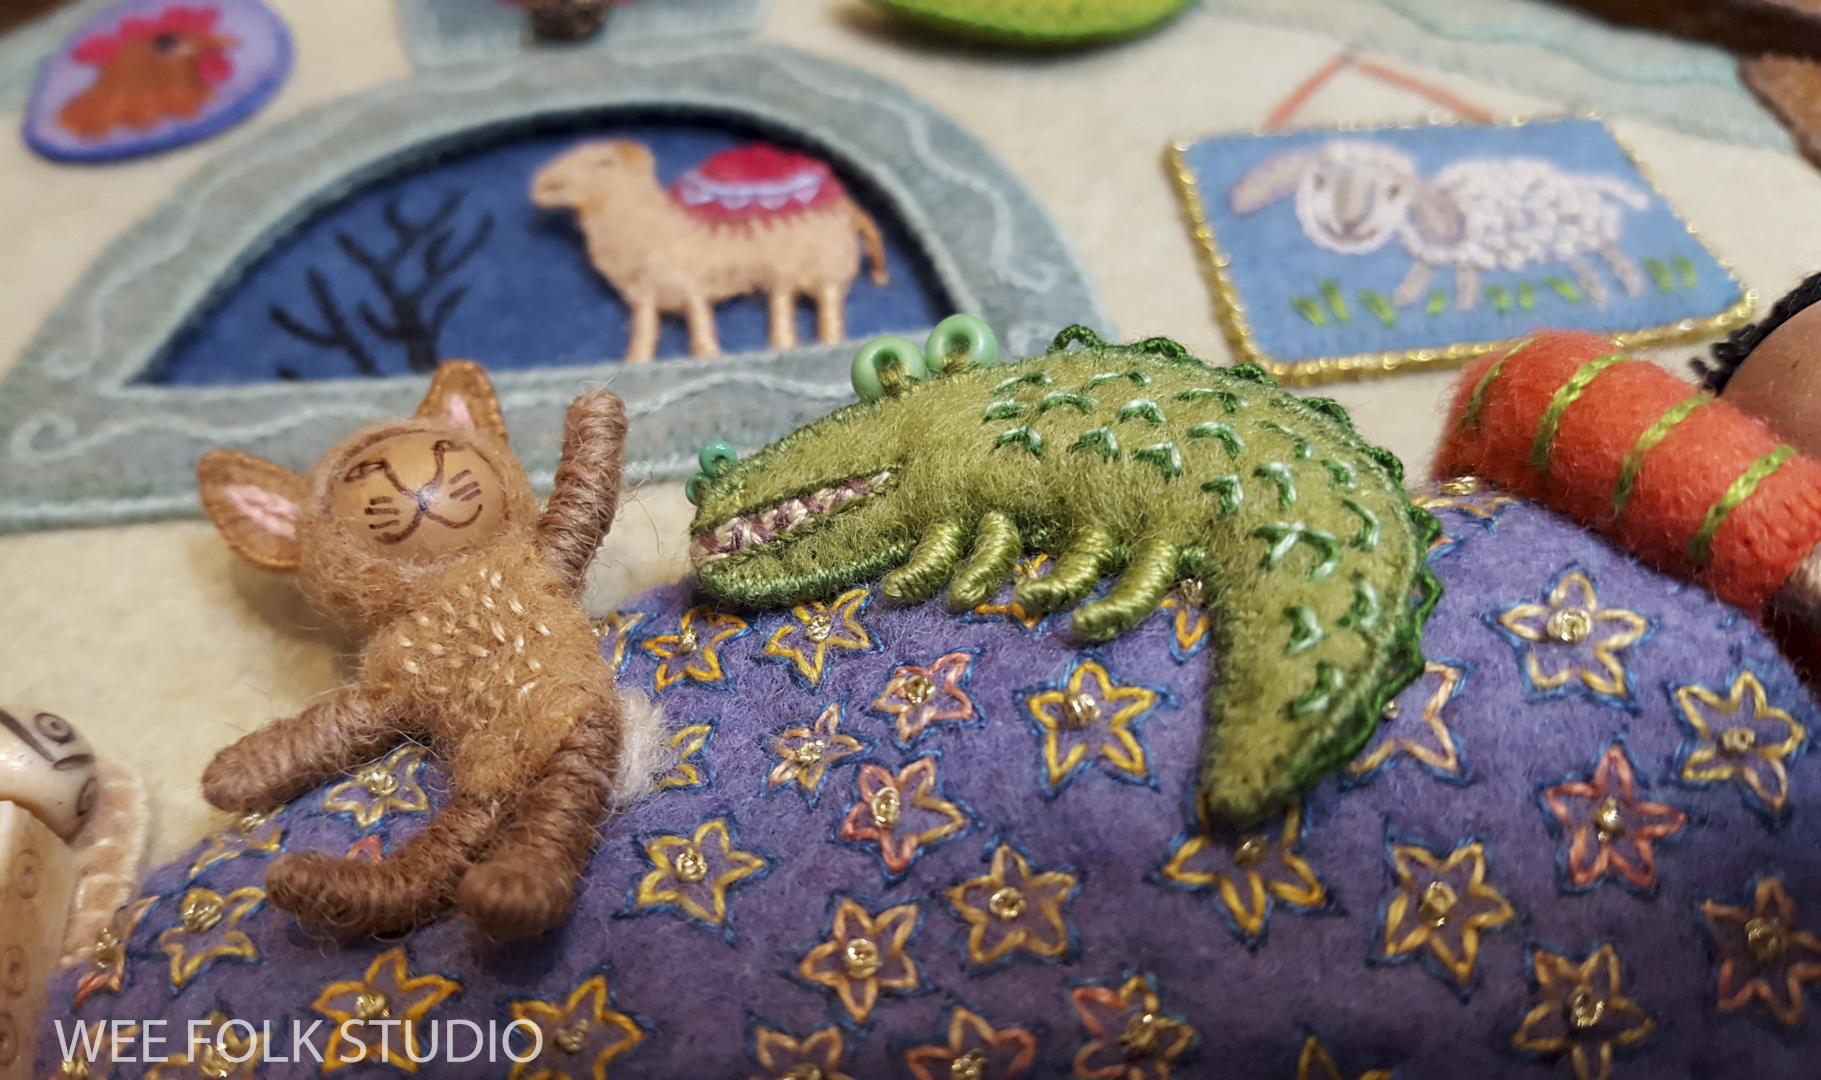
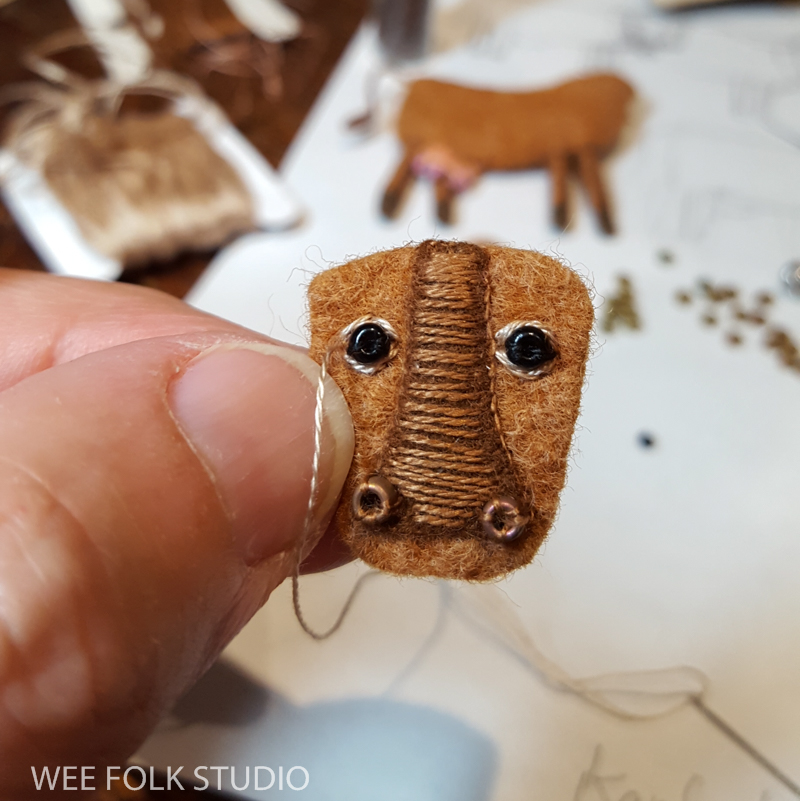
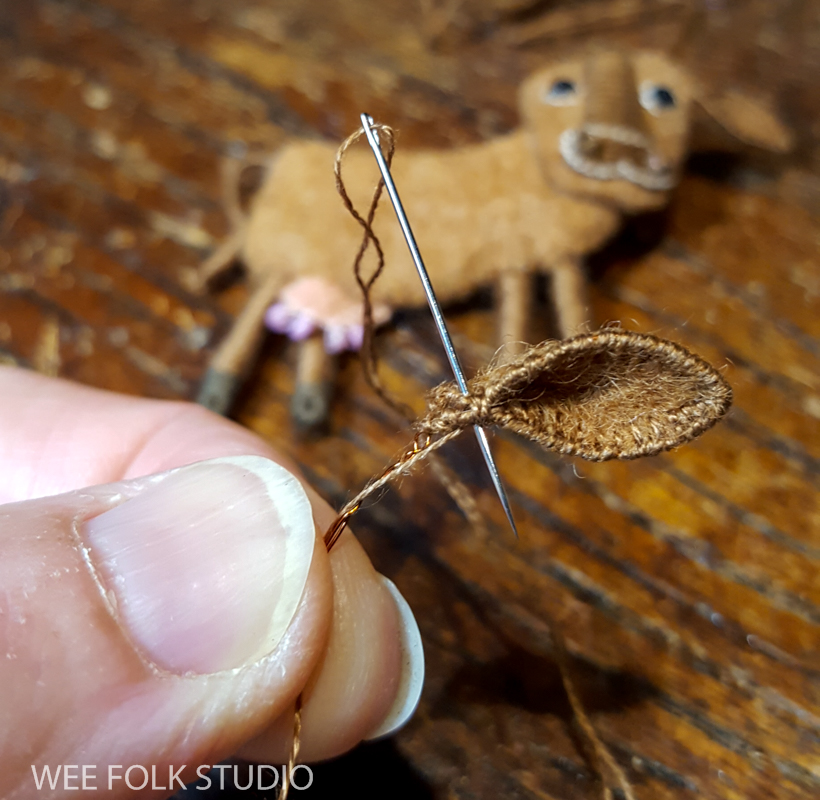
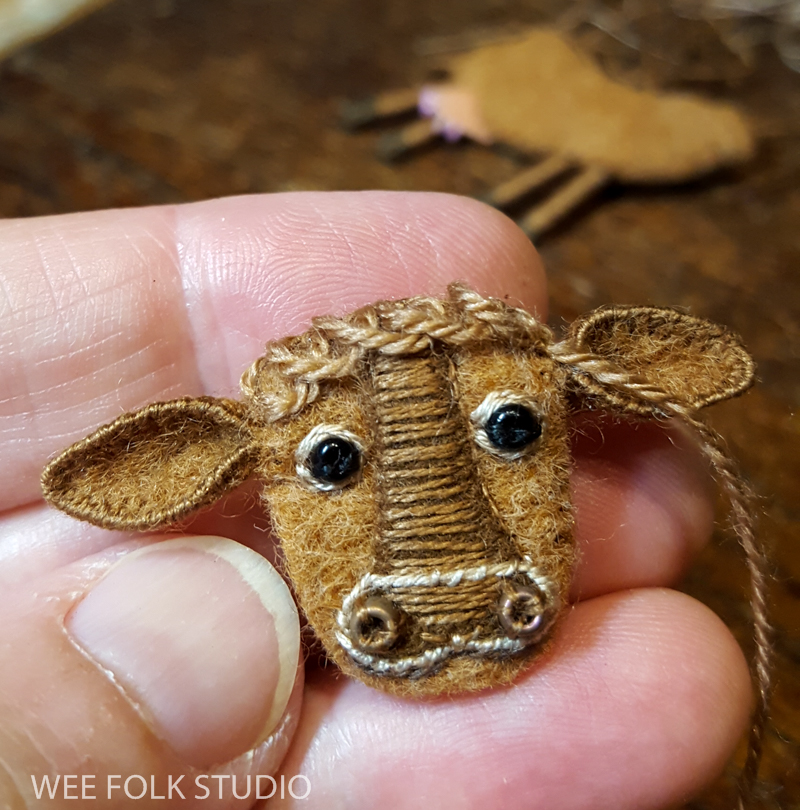
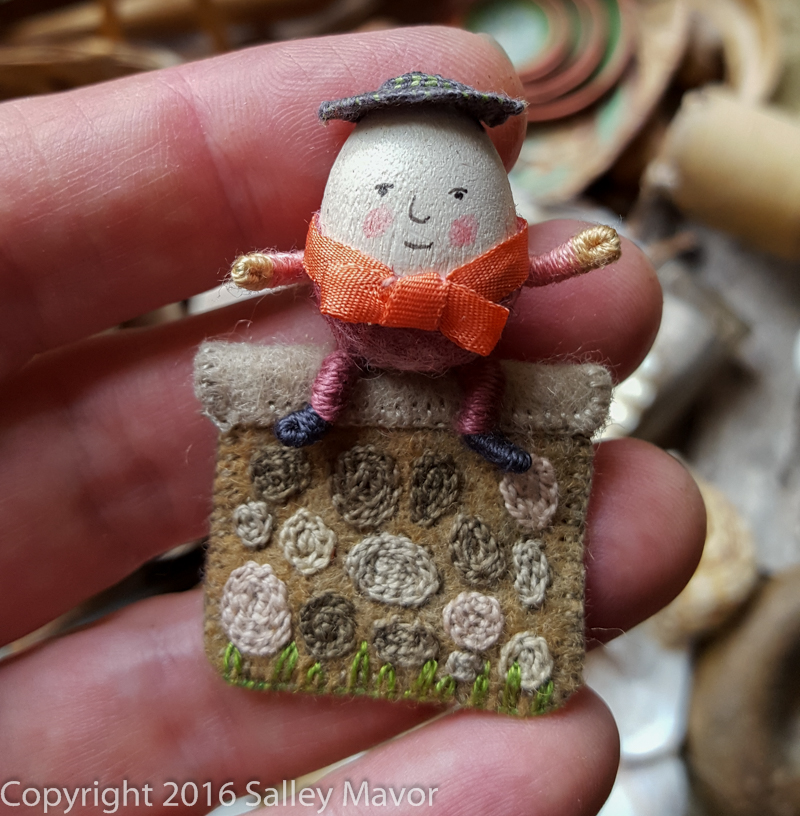
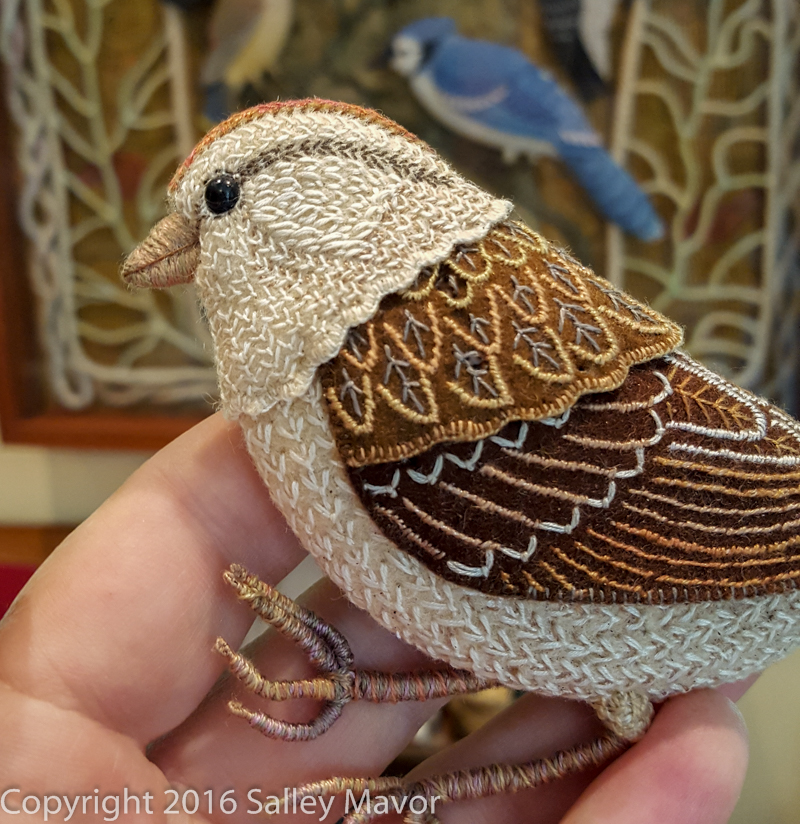
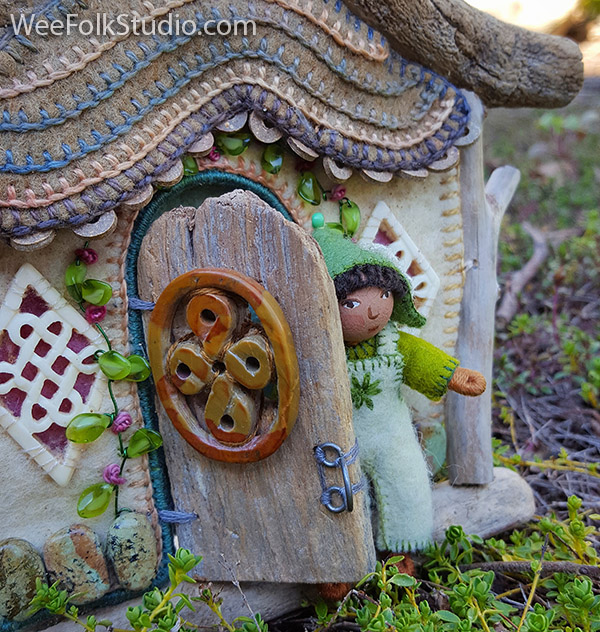
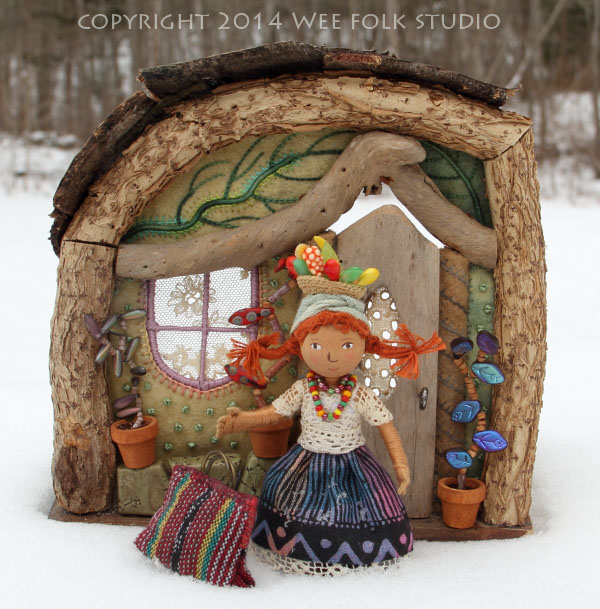
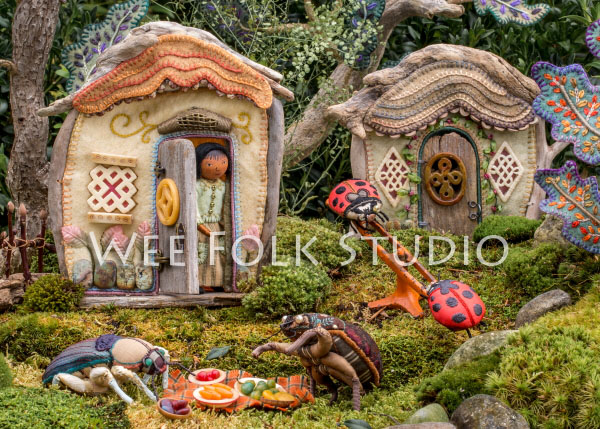
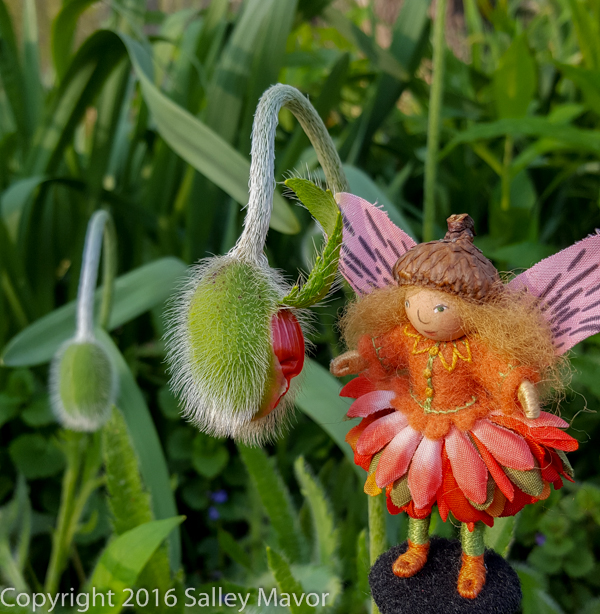
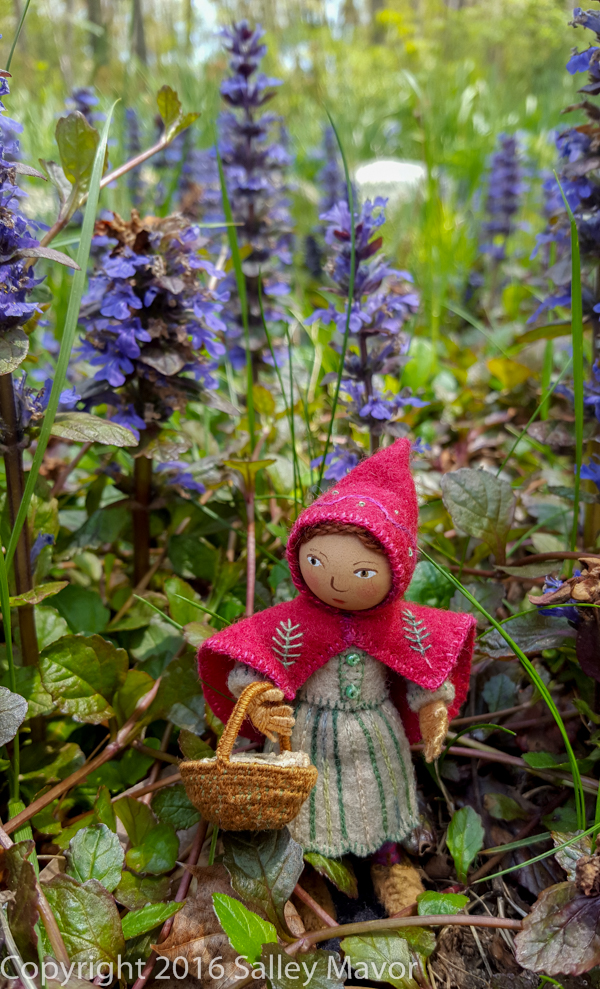
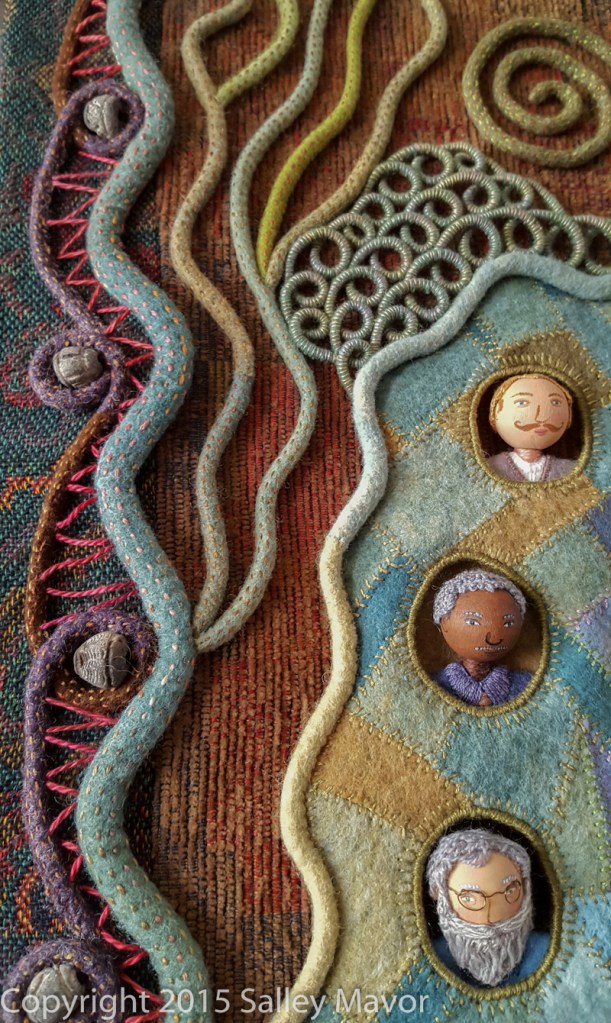
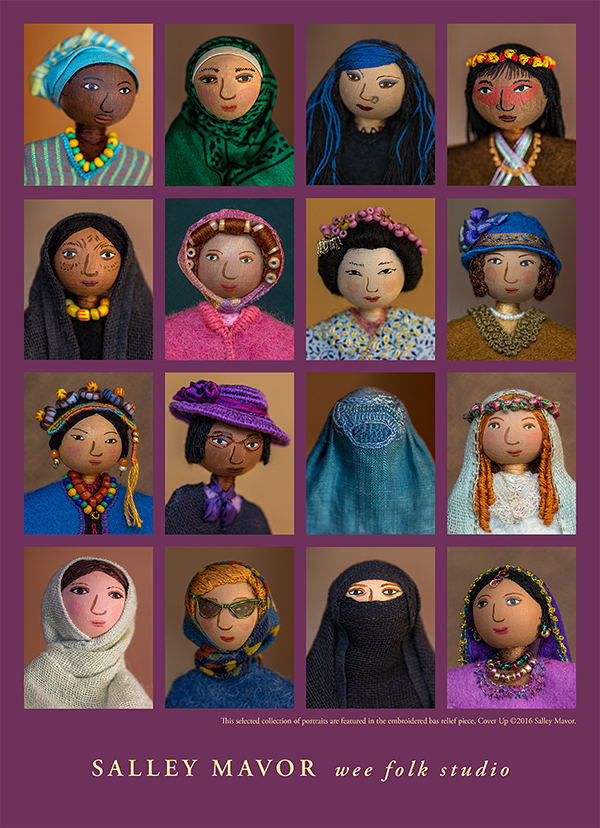
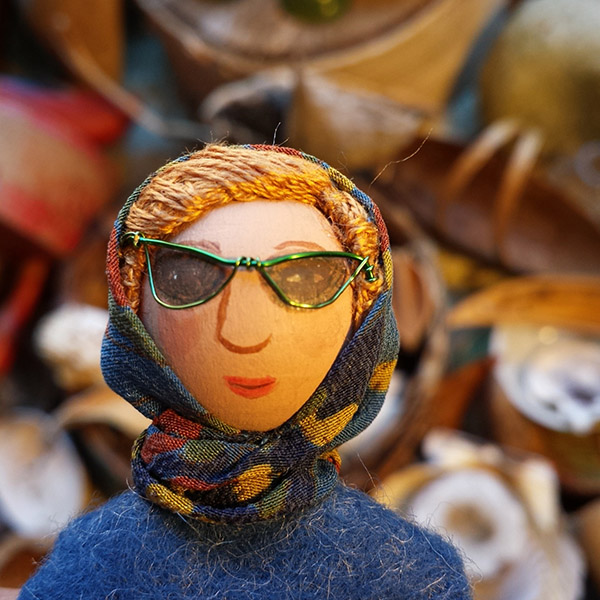
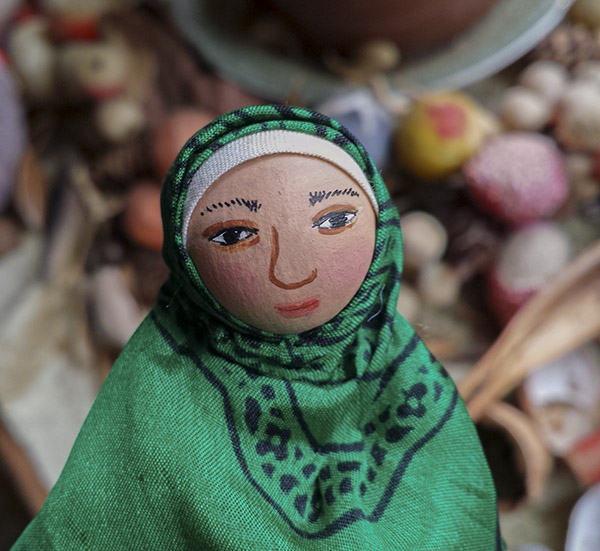
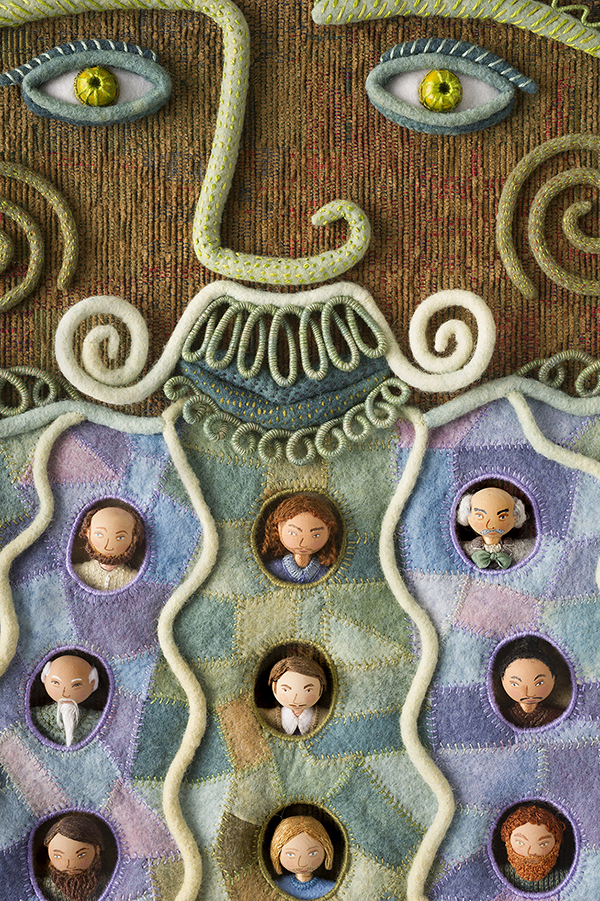
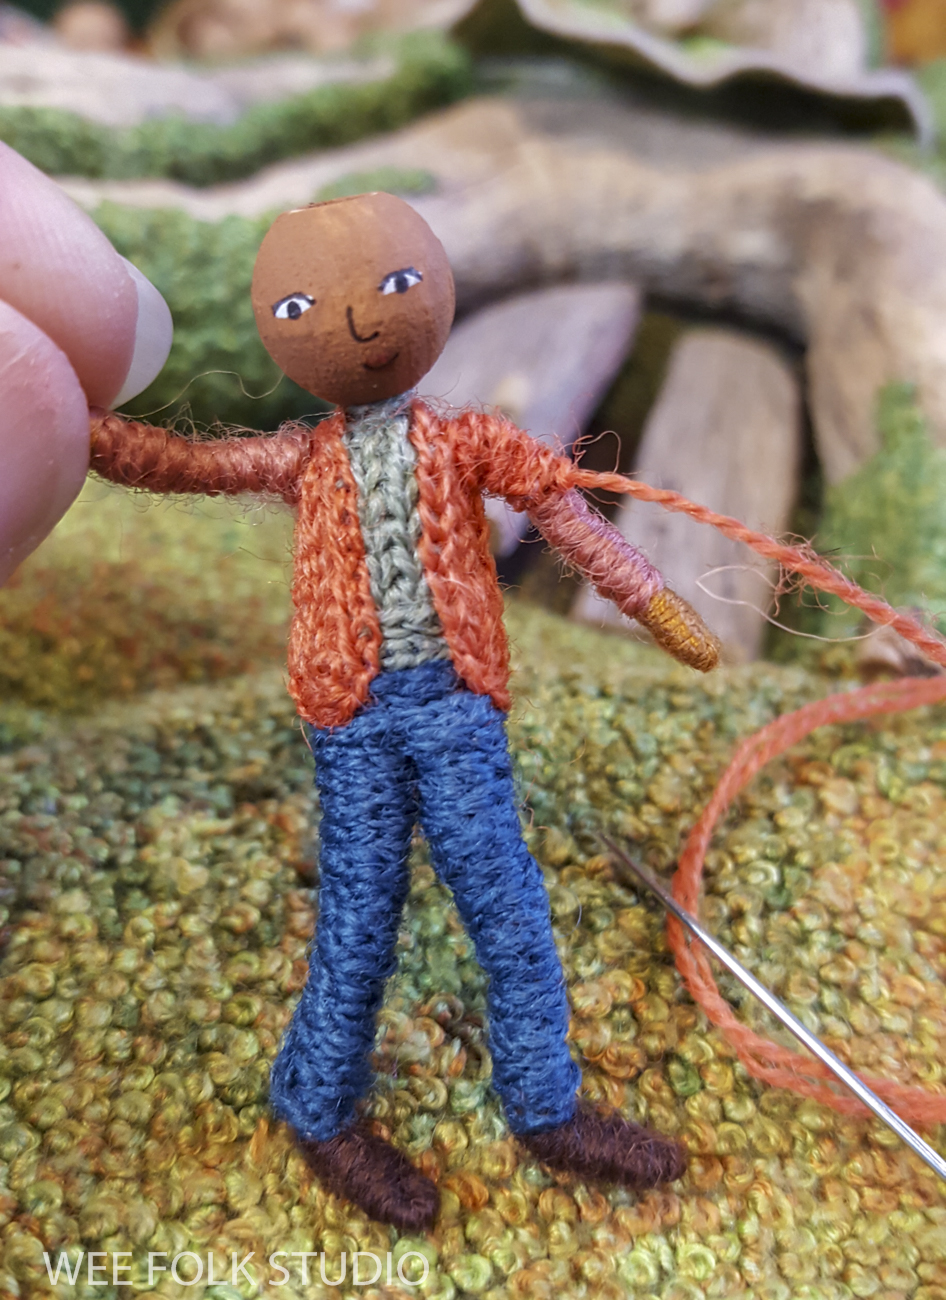
Everything I make includes some sort of living being with eyes, be they animal or human. I can’t imagine spending months working on a piece that is purely decorative, abstract or simply a landscape, without a storytelling element. The interplay between characters and their surroundings is what drives me to create. As I paint their faces, form their little bodies and stitch their clothes, I grow to care about them. This emotional connection is what motivates me to spend copious amounts of time creating an imaginary world that is worthy of their existence.
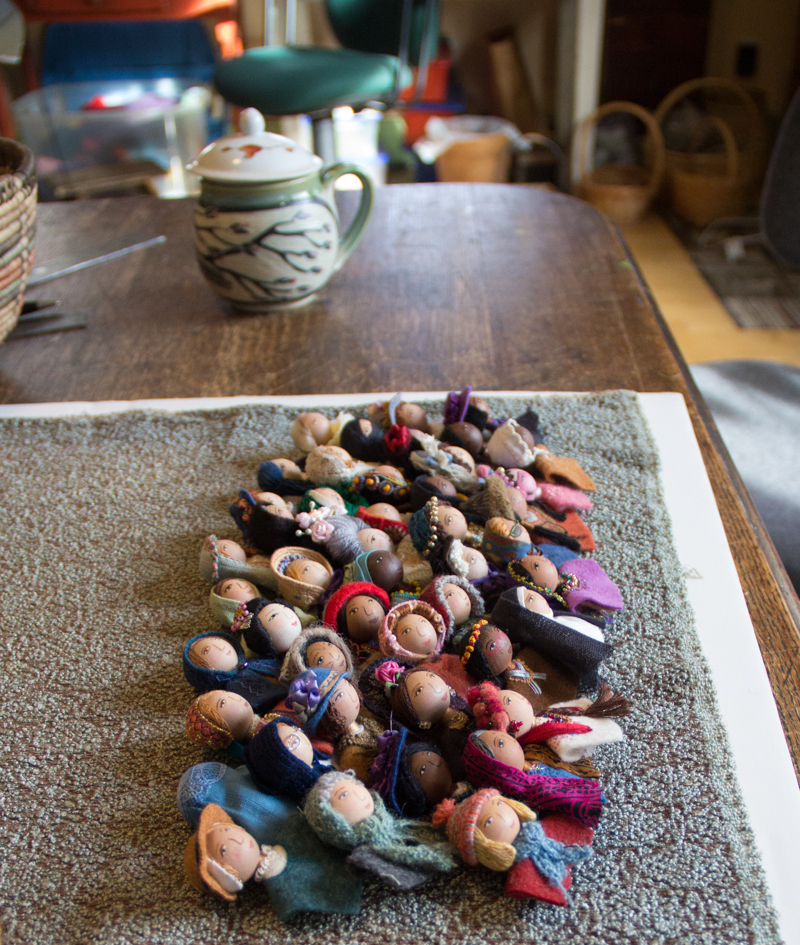
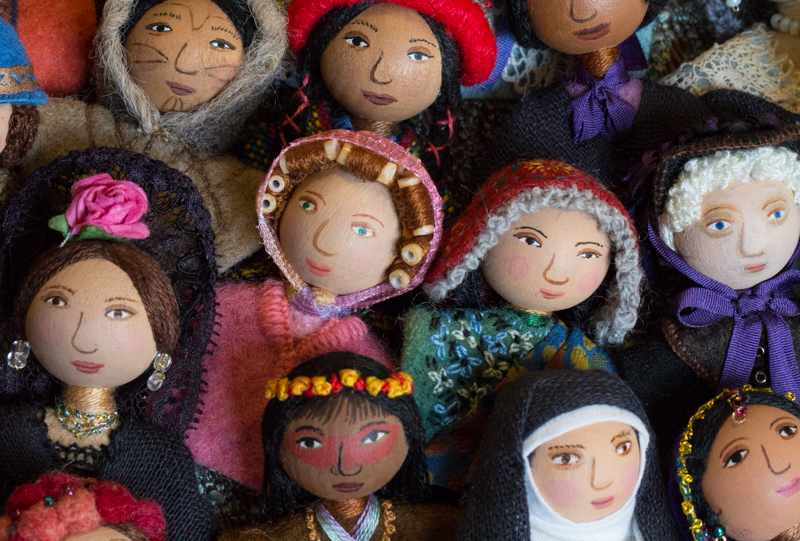
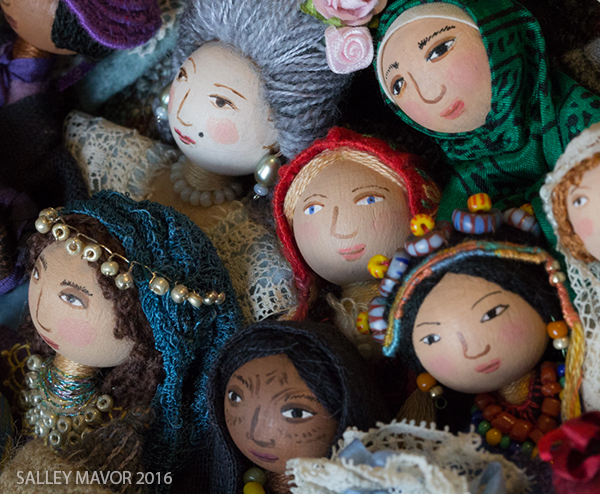
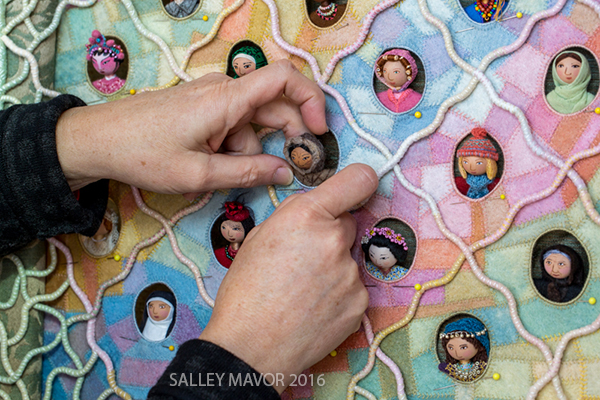
For this scene, I painted more faces than I needed, in different sizes and shades. That way, I could select a cast of characters later. I’m never sure how many figures I’ll need or exactly where they’ll end up. They are like actors in an improvisational skit or a group posed in a tableau.

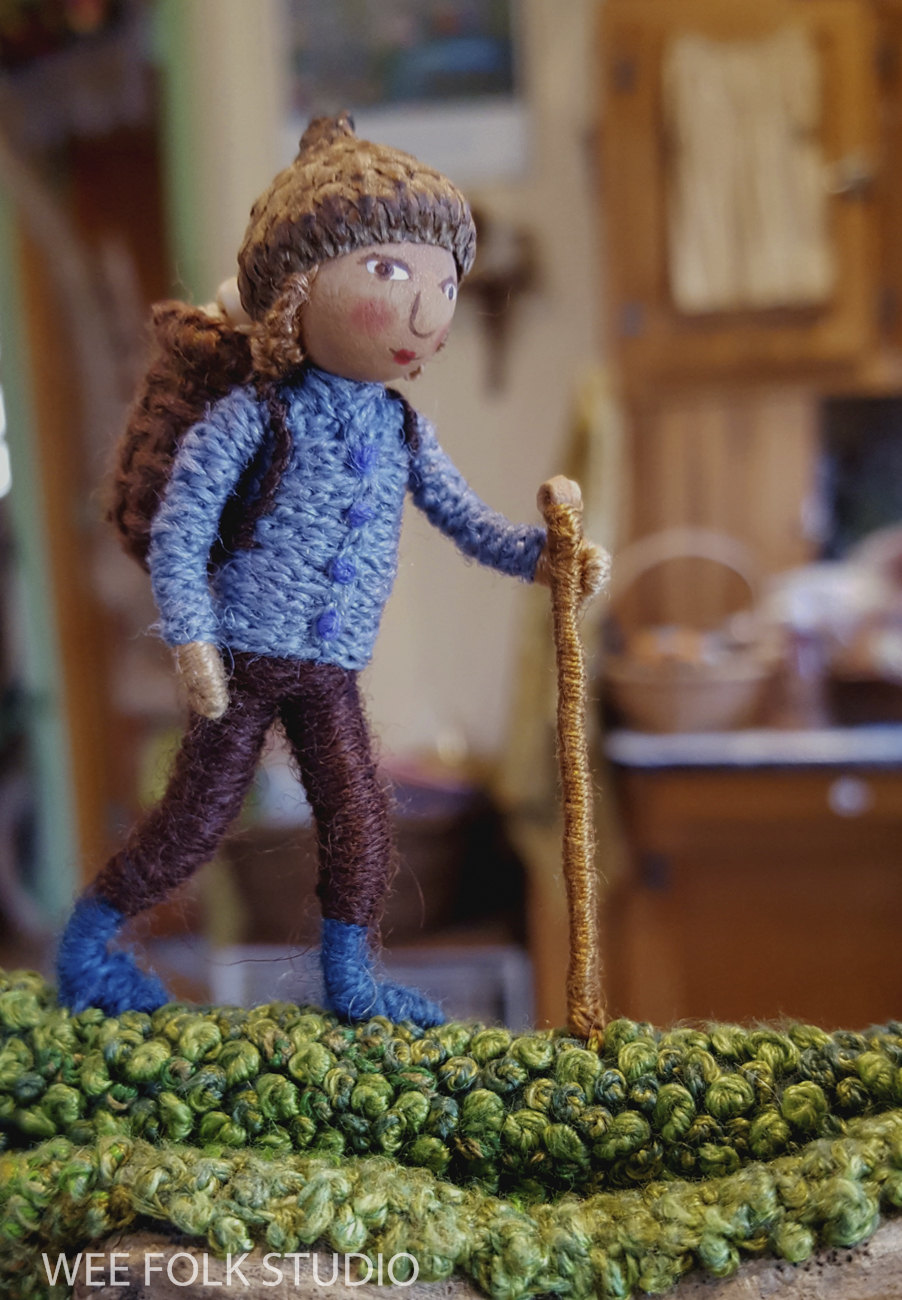
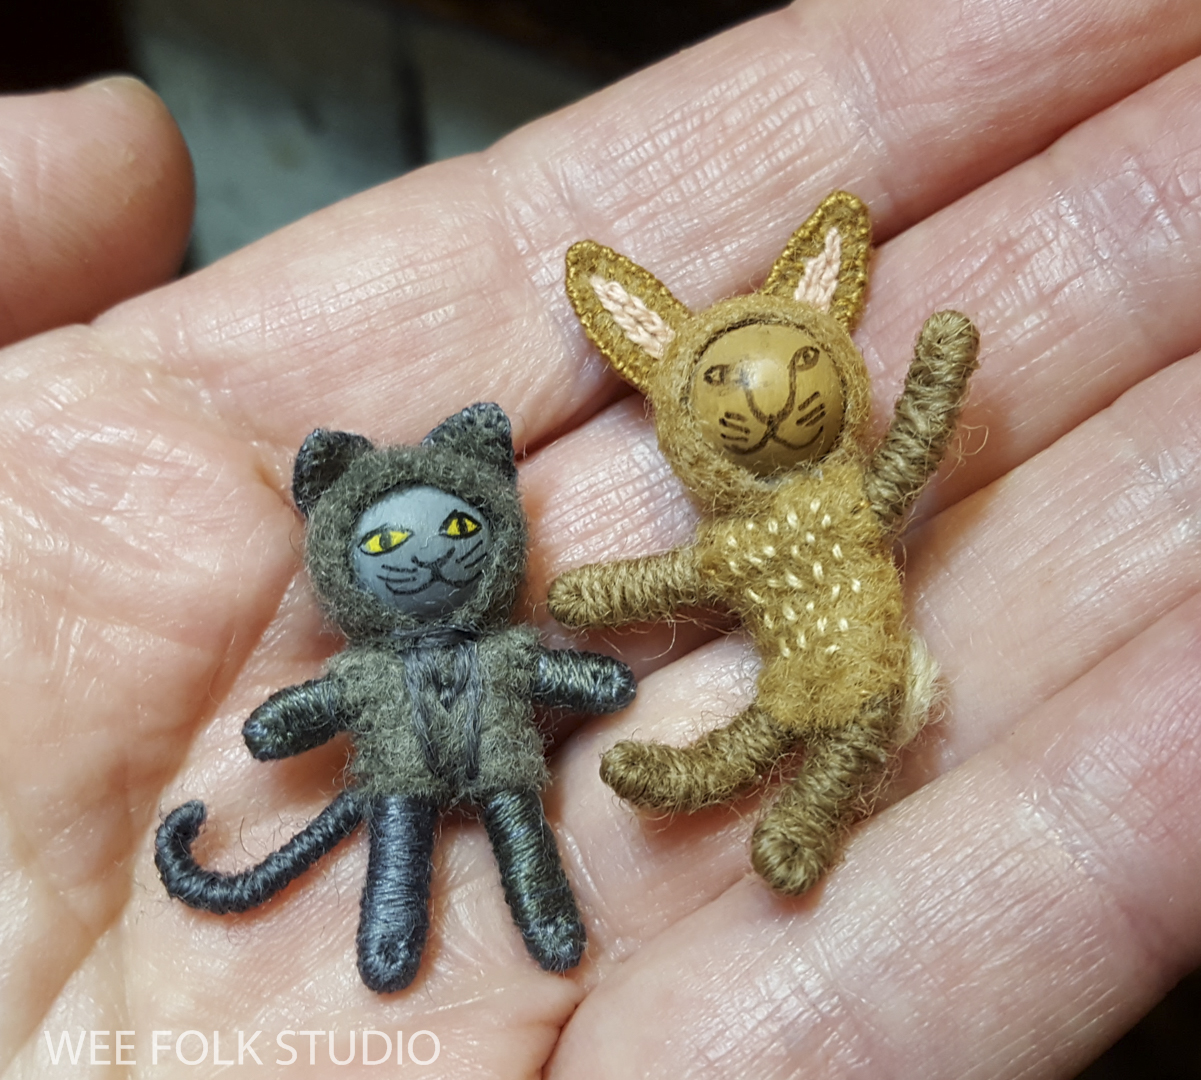
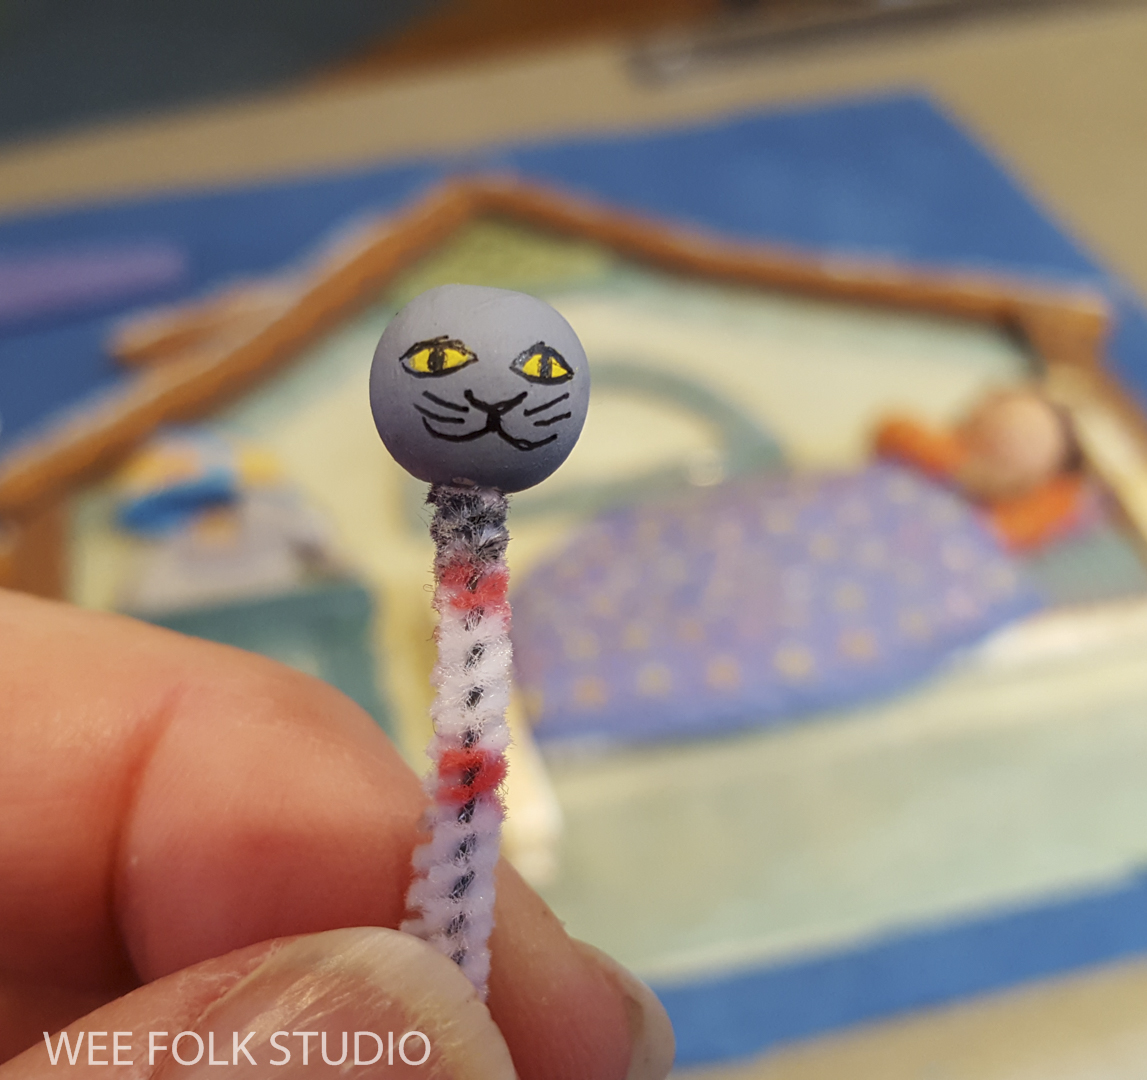
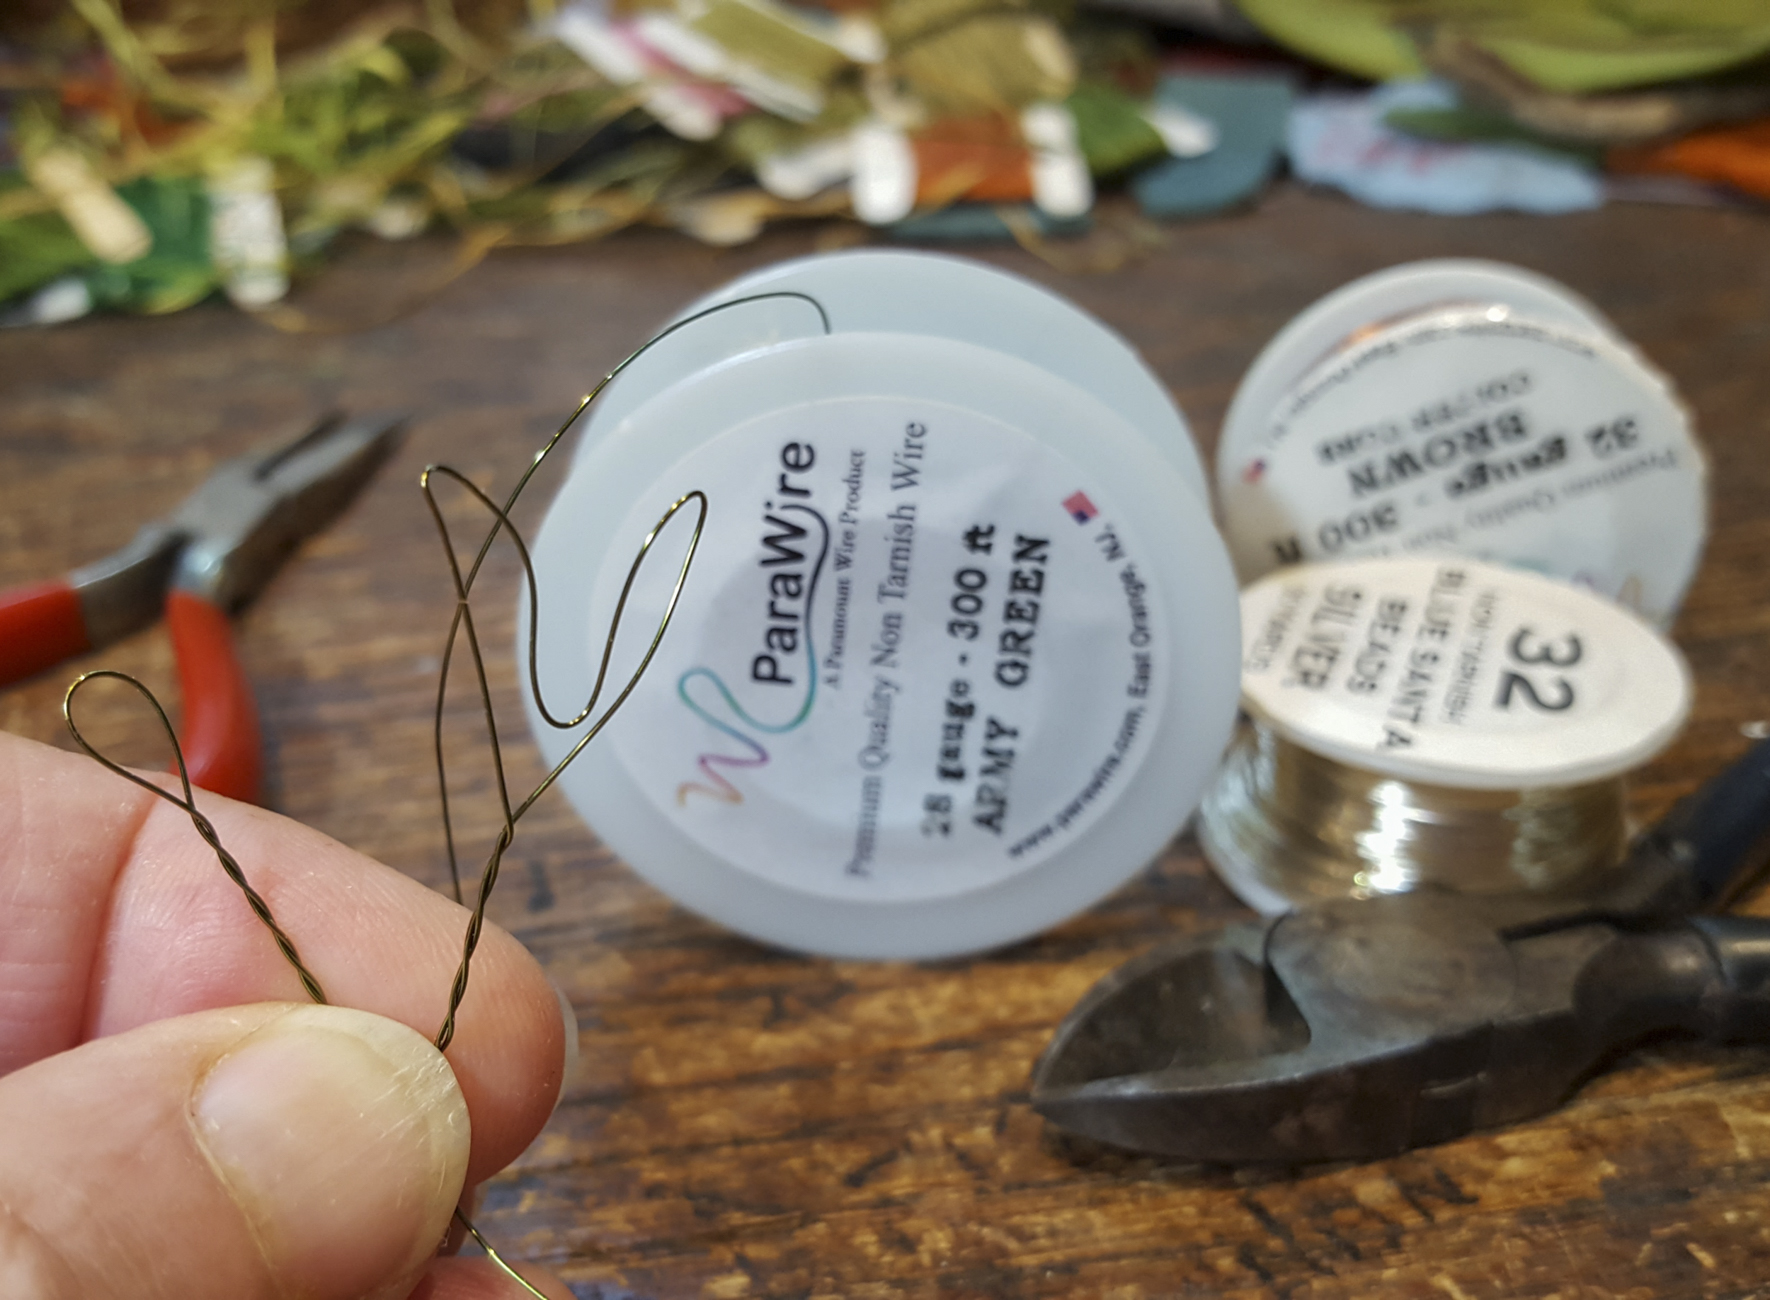
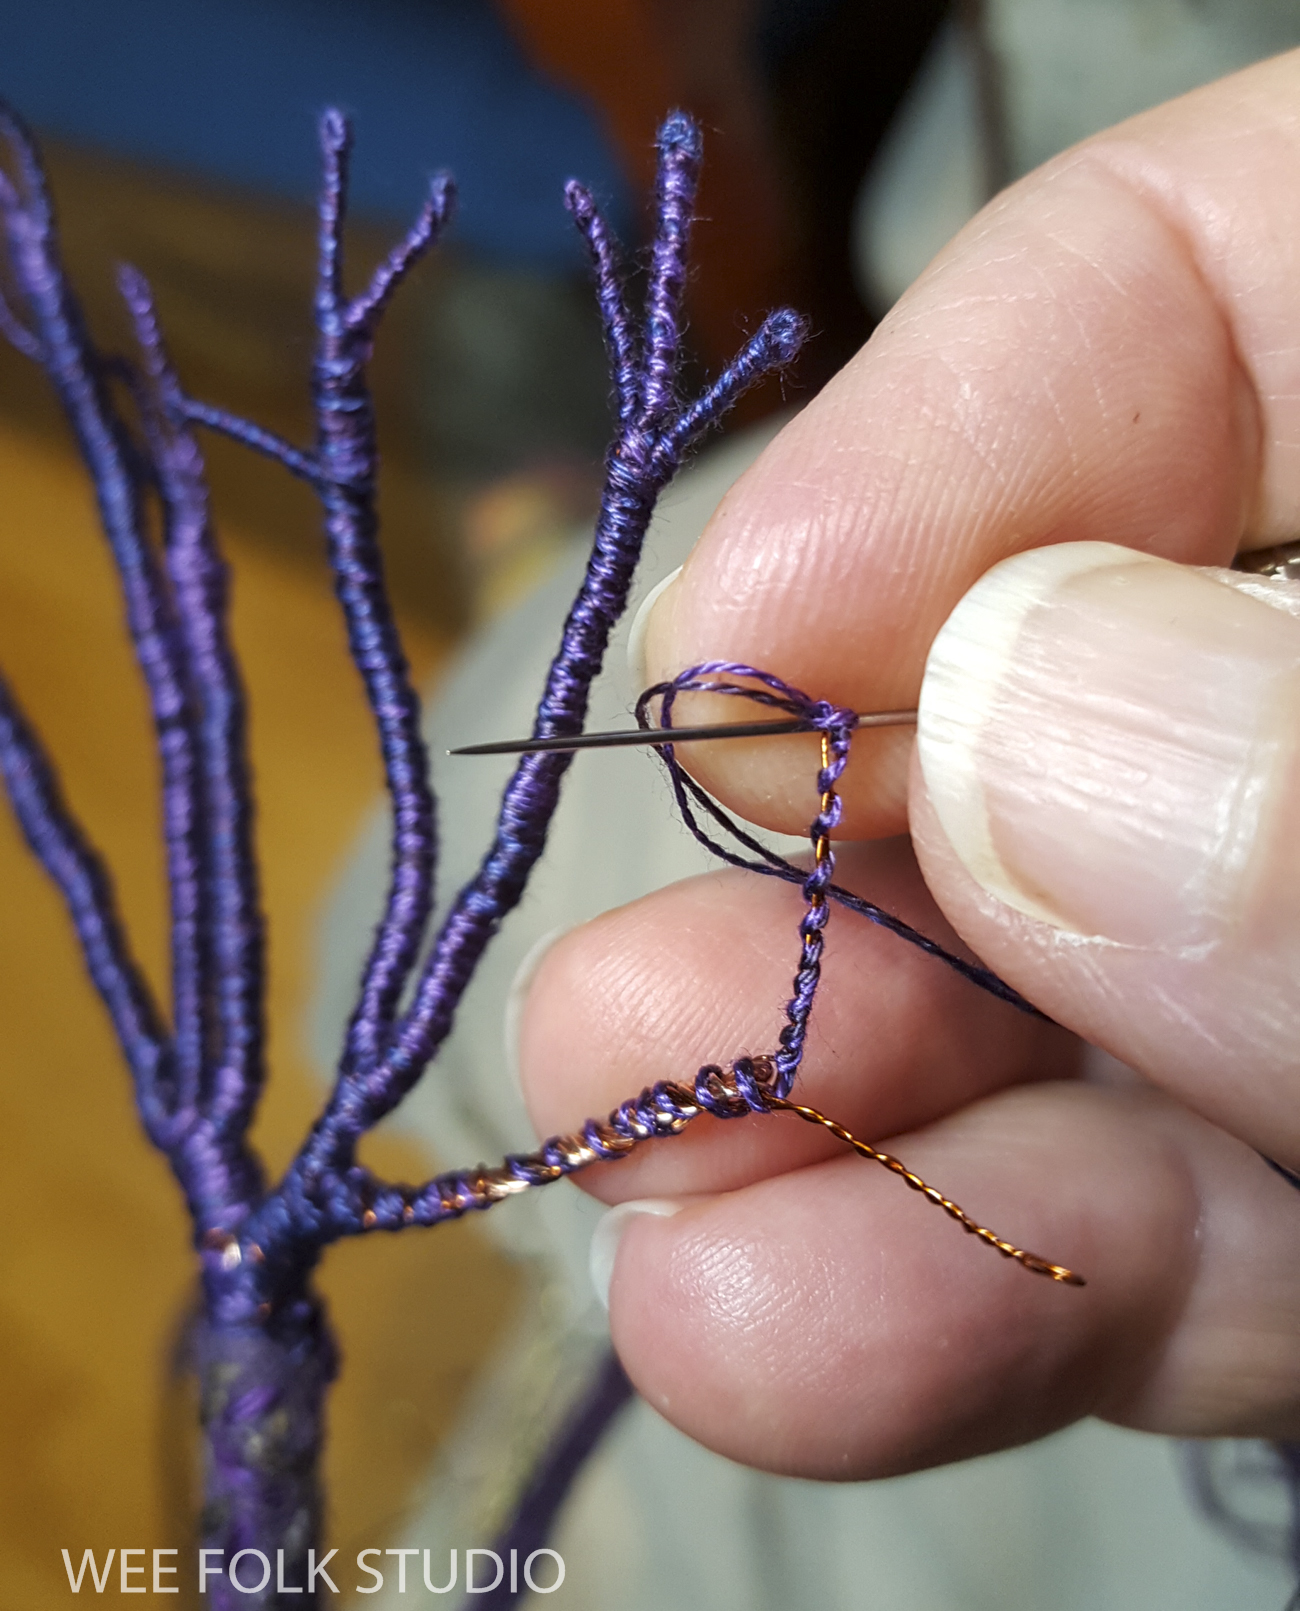
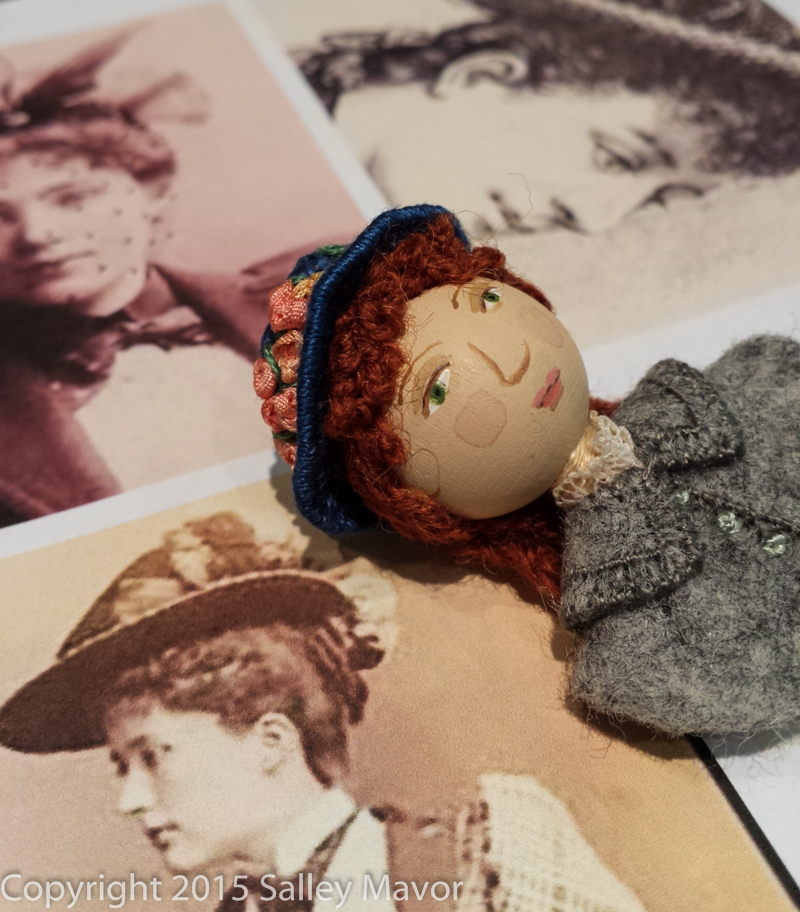
The little people range in size between 1″ to 2″ tall. They were made the same way as the wee folk dolls in my how-to book, Felt Wee Folk, with slight variations. For instance, I used wire instead of pipe cleaners for their tiny armatures.
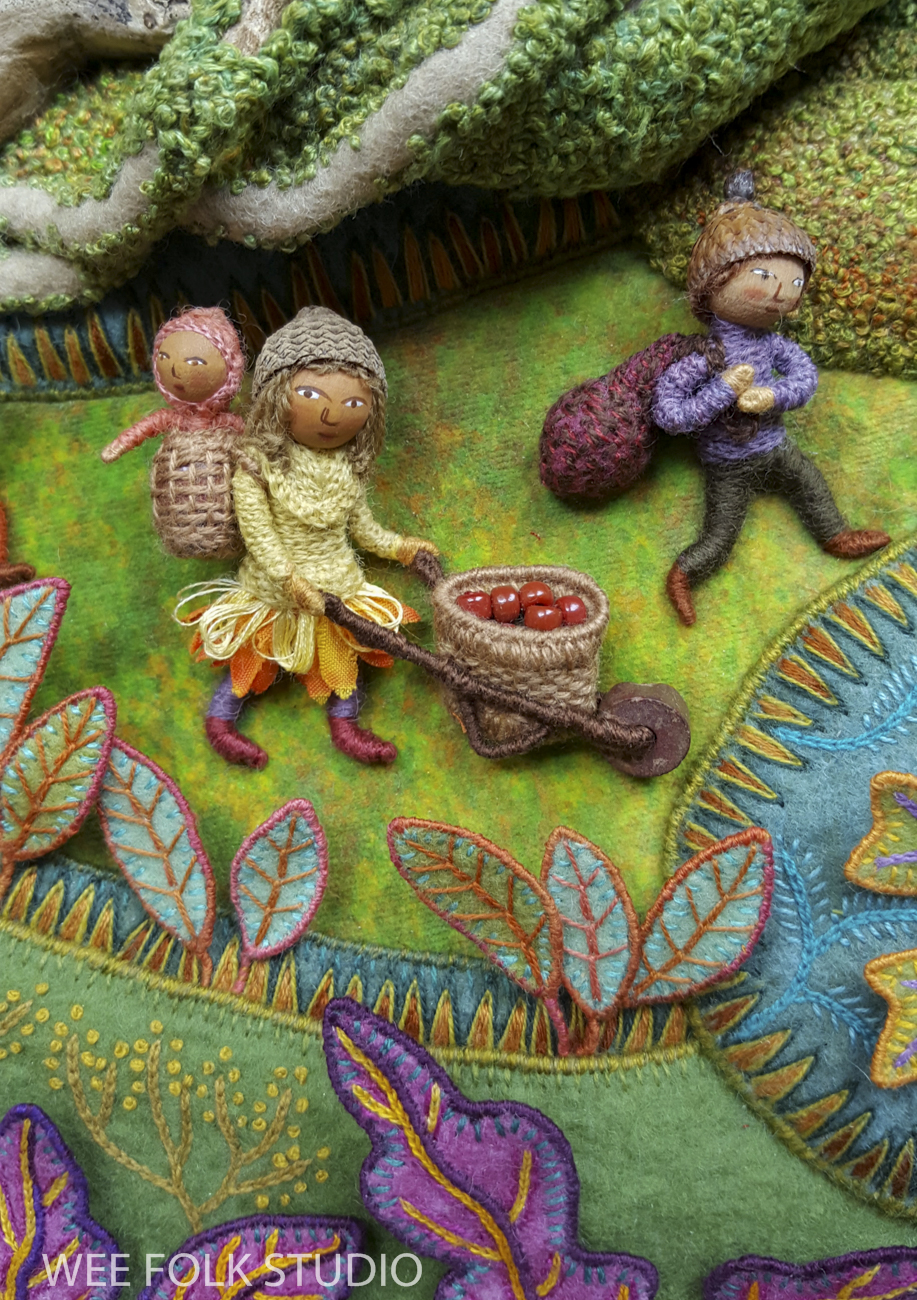
In keeping with the harvesting theme, all of the people are bringing produce to the mossy stump, where it will be stored in the cellar.
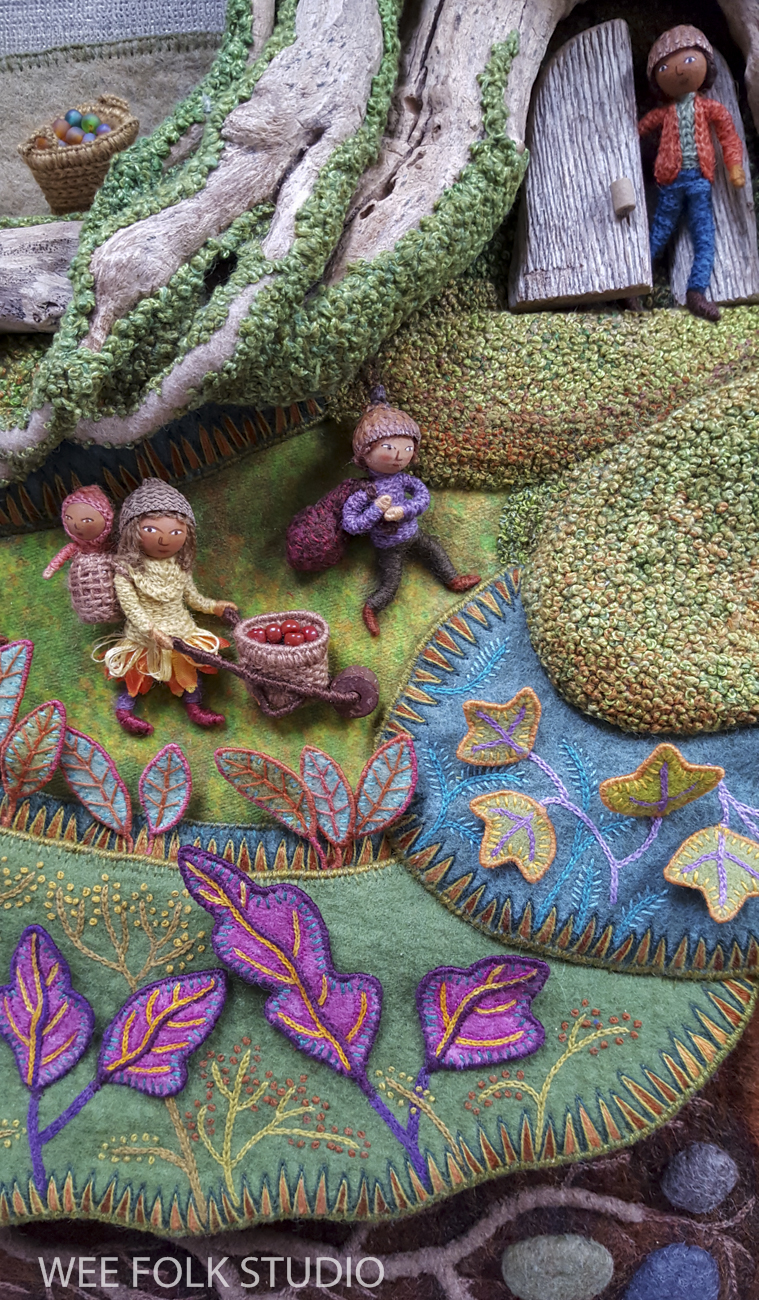


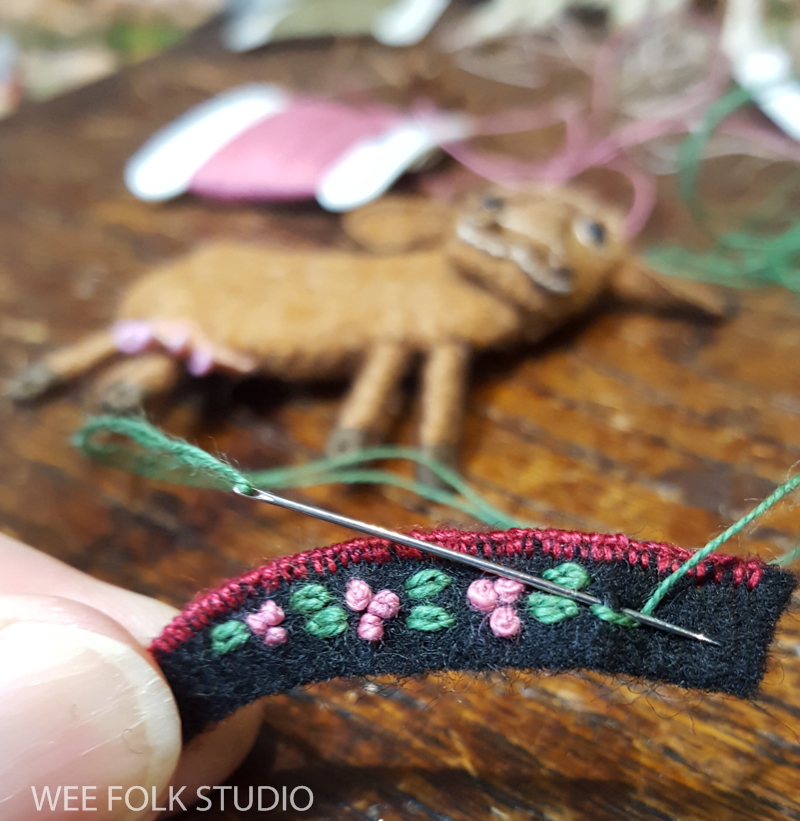
I’m often asked, “How do you knit their tiny outfits?” There might be someone out there who can knit or crochet a tiny sweater for a 2″ doll, but I challenge them to stuff their arms through the sleeves! Remember, this is make believe. The wee folk never have to bathe or change their clothes. Why knit, when you can embroider a piece of clothing directly onto a body? Rows of chain stitching are pretty convincing, don’t you think? I call it faux knitting.


Please stay tuned for more stories about making Harvest Time, including the storage containers and embroidered trees.
The overview introduces the Harvest Time piece.
Part 1 features moss making.
Part 2 is about making the turkey tail mushroom.
Part 3 shows the construction of felt leaves.
Part 4 gives a peek at embroidering the plants.
Part 5 is about making the toadstool mushroom
Part 6 covers the underground tunnels, roots and stones.

To keep up with new posts, please subscribe to this blog. Your contact info will not be sold or shared. If you’d like to see more frequent photos tracking the projects in my studio, please follow me on Facebook, Instagram and BlueSky.