Birds of Beebe Woods

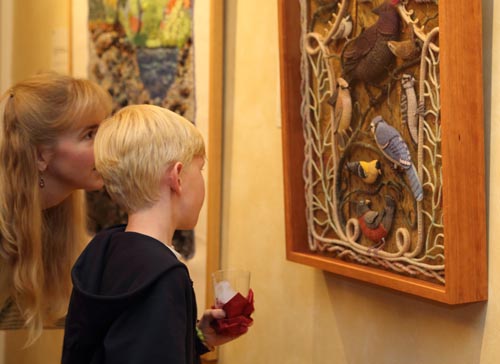
The original Birds of Beebe Woods is currently on view at Eight Cousins Bookshop (199 Main St.) in my hometown of Falmouth, MA, on Cape Cod. The embroidered piece will be there until its next scheduled showing at another location in 2027. So if you’re coming to town, please stop in for a visit.

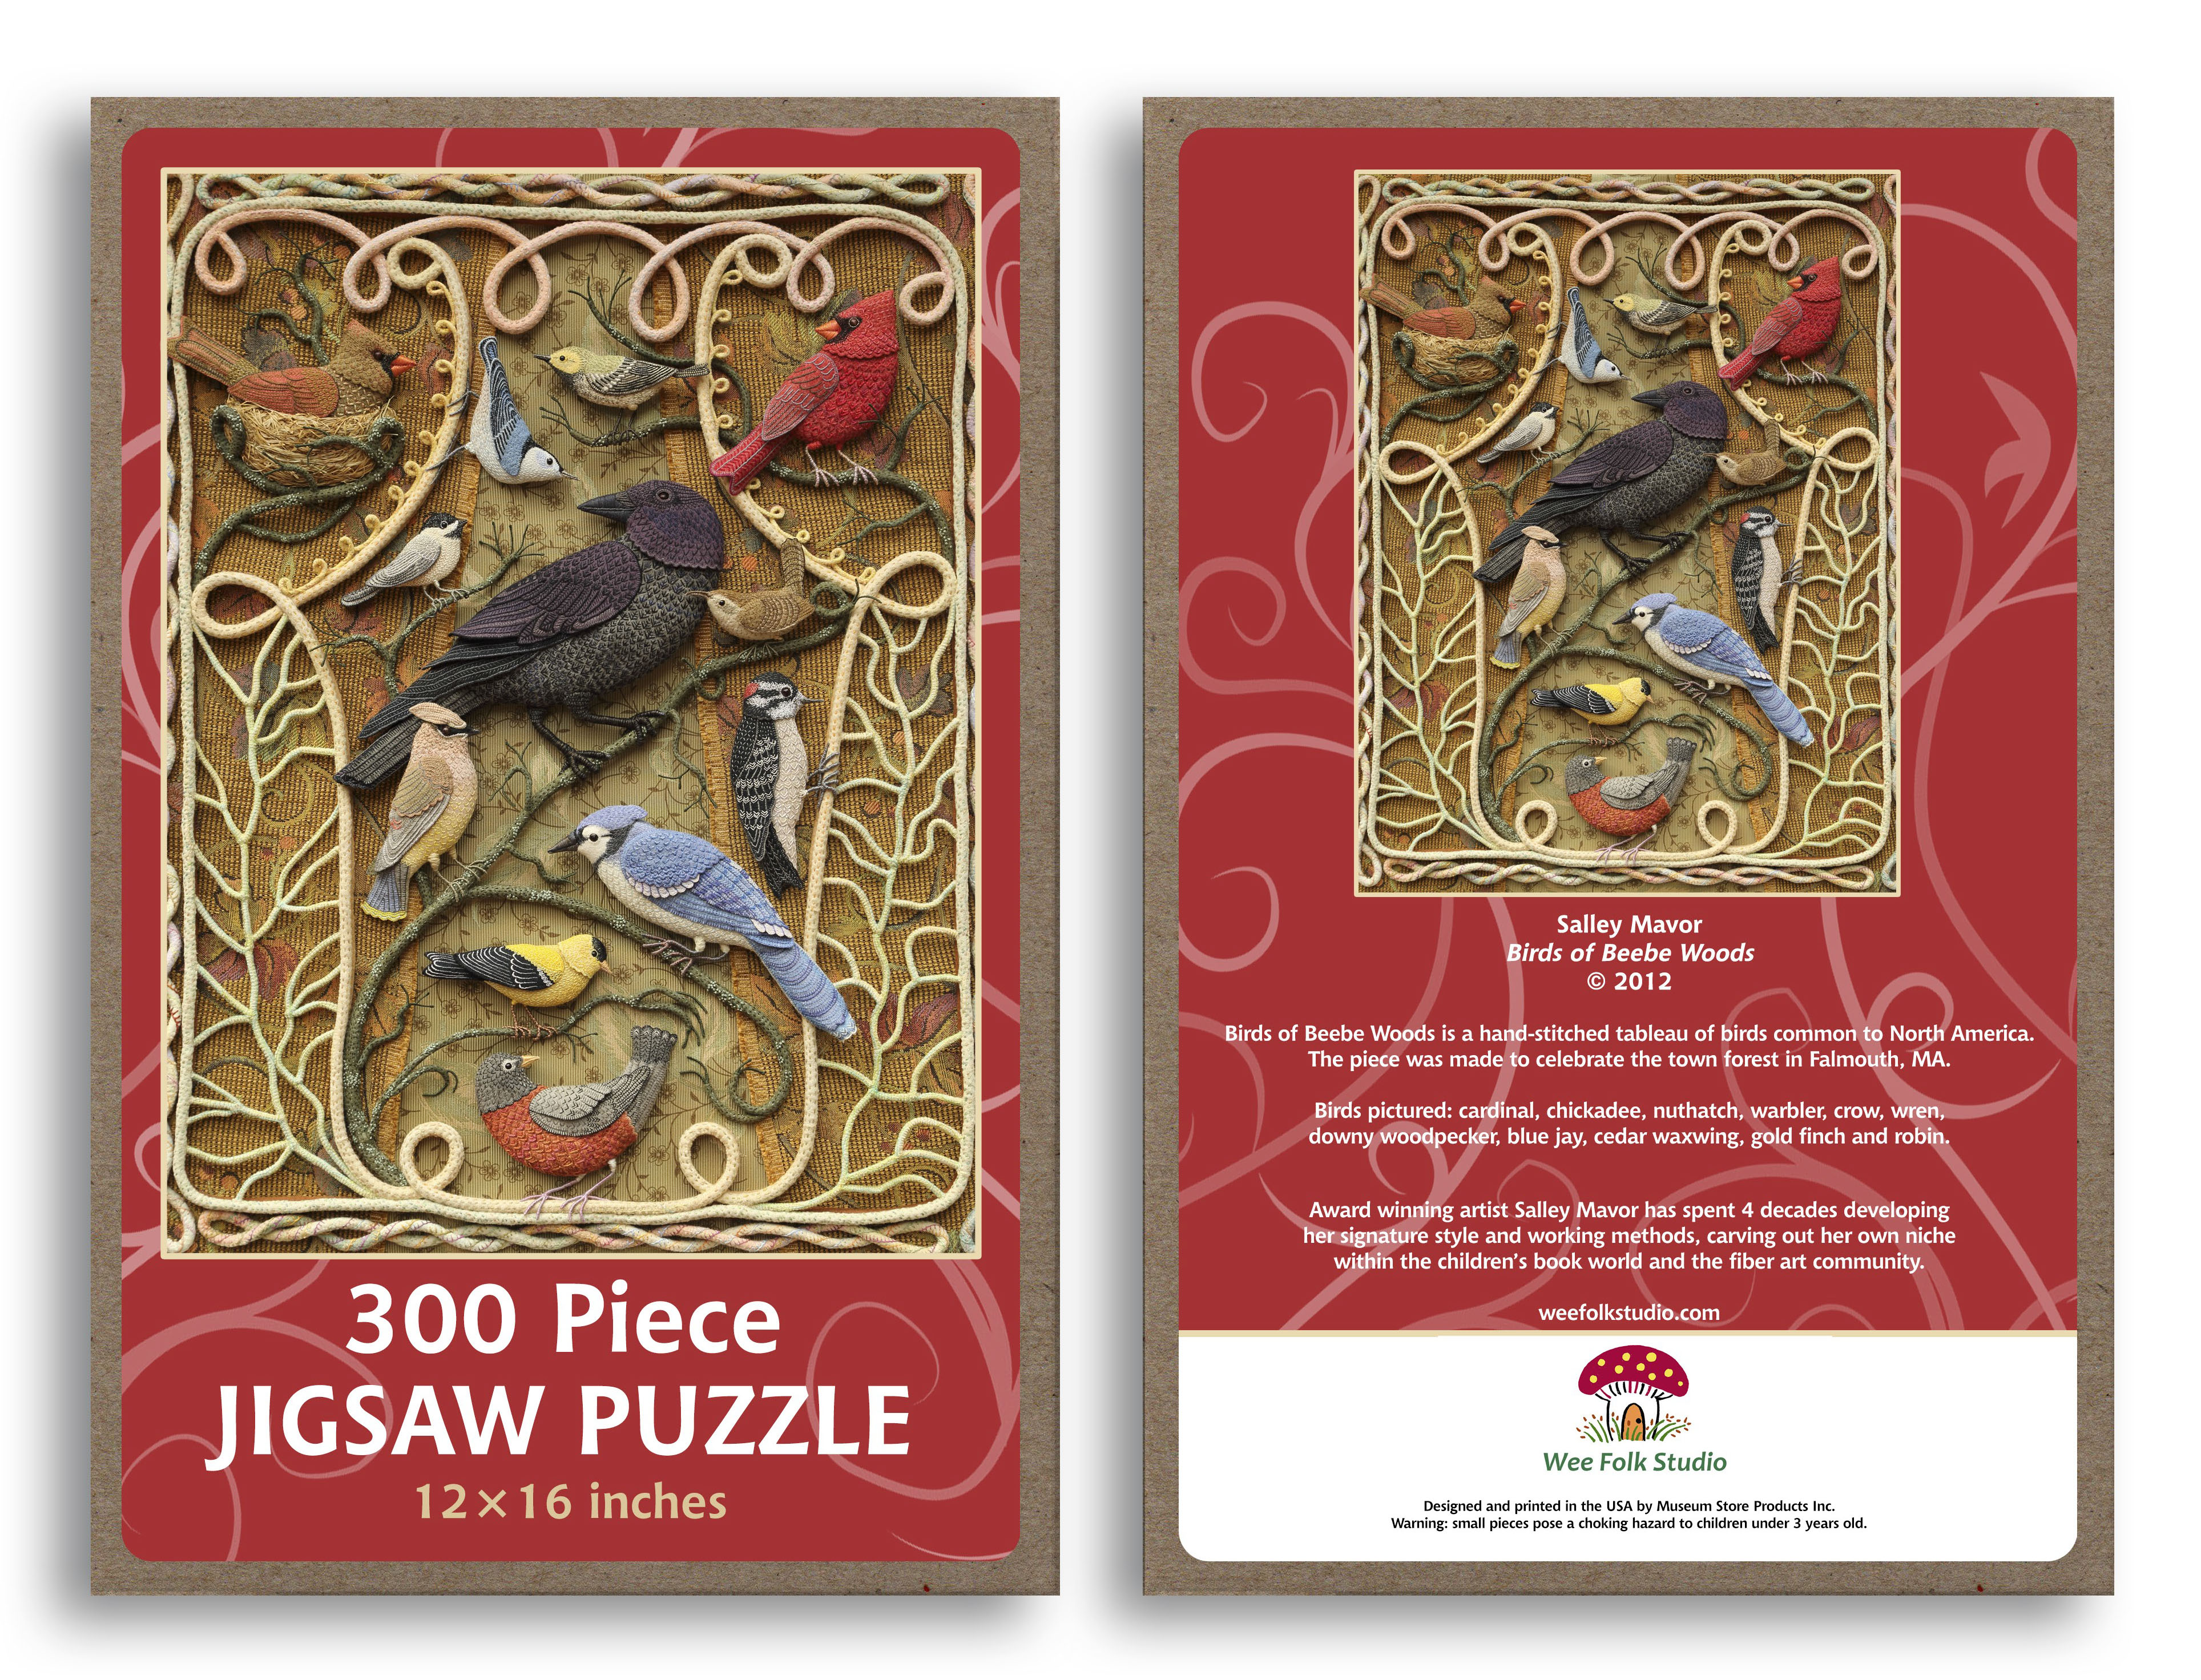
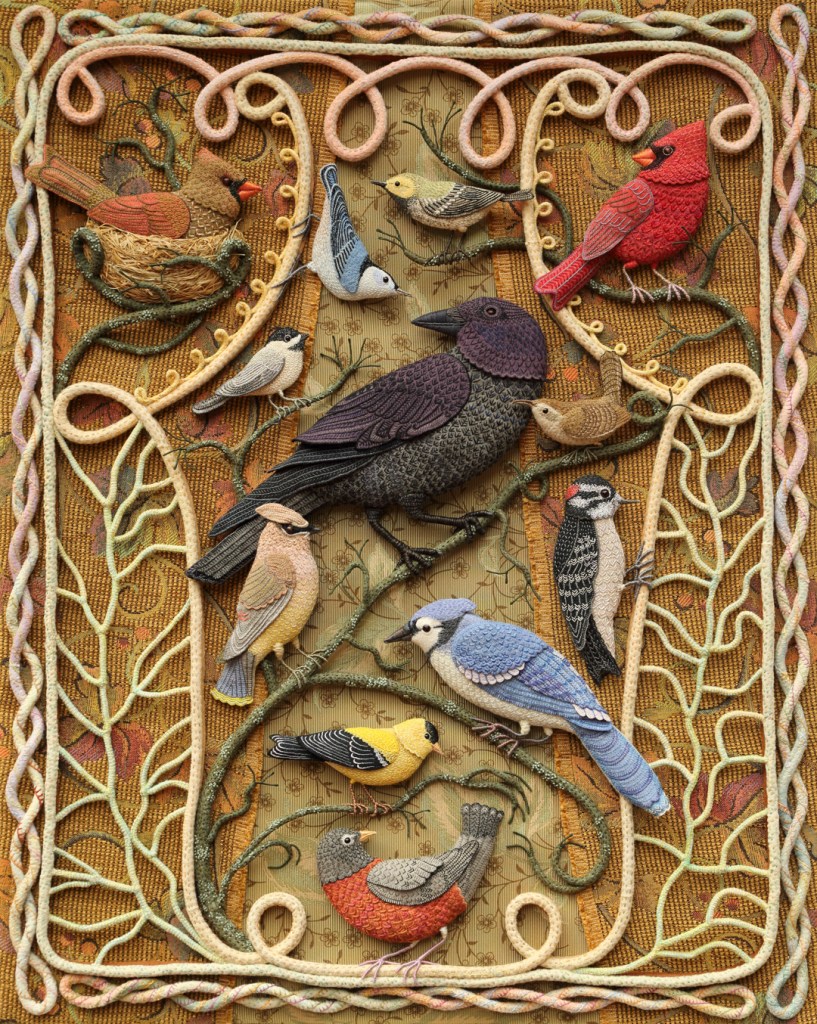
About the artwork: Birds of Beebe Woods was made in 2012 for a fiber art exhibit celebrating the beloved forest in my home town of Falmouth, Massachusetts. The finished dimensions are 30″ h x 24″ w x 1.5″ d.  In my piece, I wanted to feature wildlife as well as convey the natural wooded environment in Beebe Woods. I chose to portray birds, making them realistic enough to be recognized, but patterned and abstracted in a way that made them fun to stitch. I started with a simple sketch  and then got to work on the woodsy border, with its felt-covered wire filigree stage curtains. The crow came next and then the other birds common to our area of New England, making a dozen total. Listed clock-wise, they are female cardinal, nuthatch, black-throated green warbler, male cardinal, wren, downy woodpecker, blue-jay, robin, goldfinch, cedar waxwing, American crow and chickadee. I hand stitched the entire piece, using my unique blend of techniques and working methods. 
The original framed piece is not for sale, so that it can be displayed in public exhibitions. The next best thing (and affordable, too) is to get the poster in my Etsy shop. Puzzles, notebooks, note cards, and bookmarks are also available.

Archives: To see posts about the making of the birds in the piece, go to these links: crow here, goldfinch, nuthatch and chickadee here, blue jay here, cedar waxwing here, cardinals here, robin here, wren here.
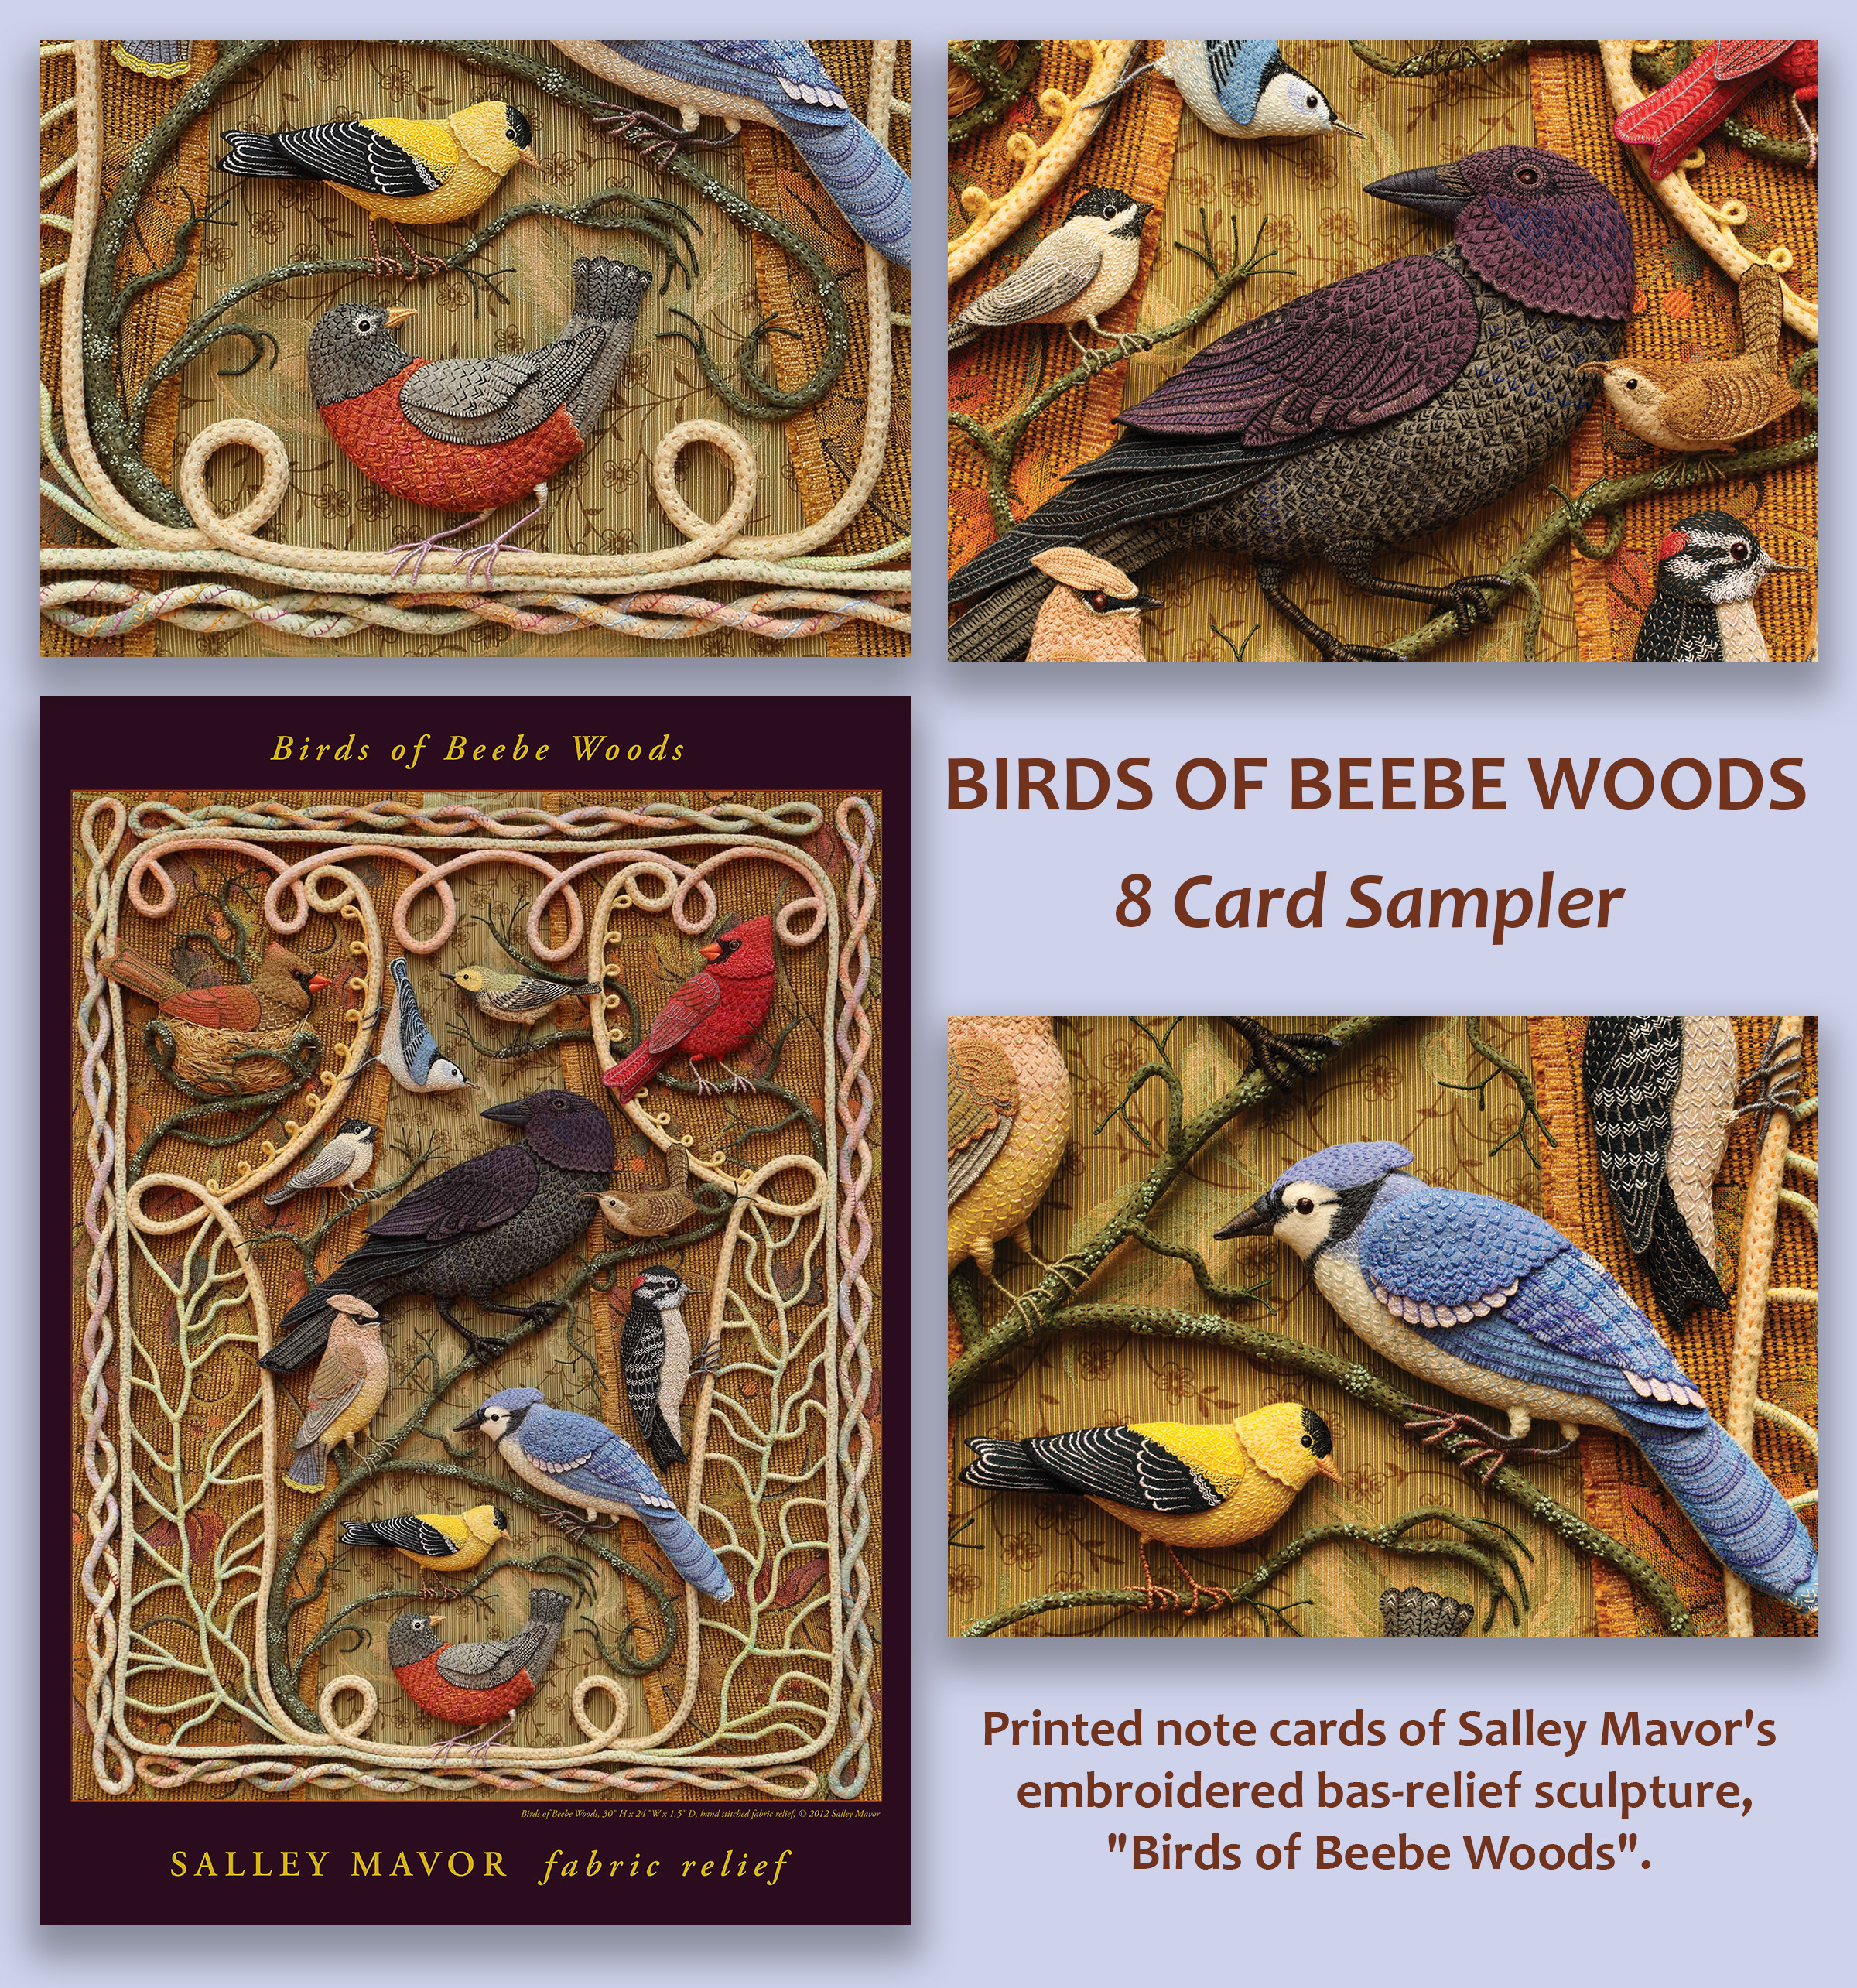
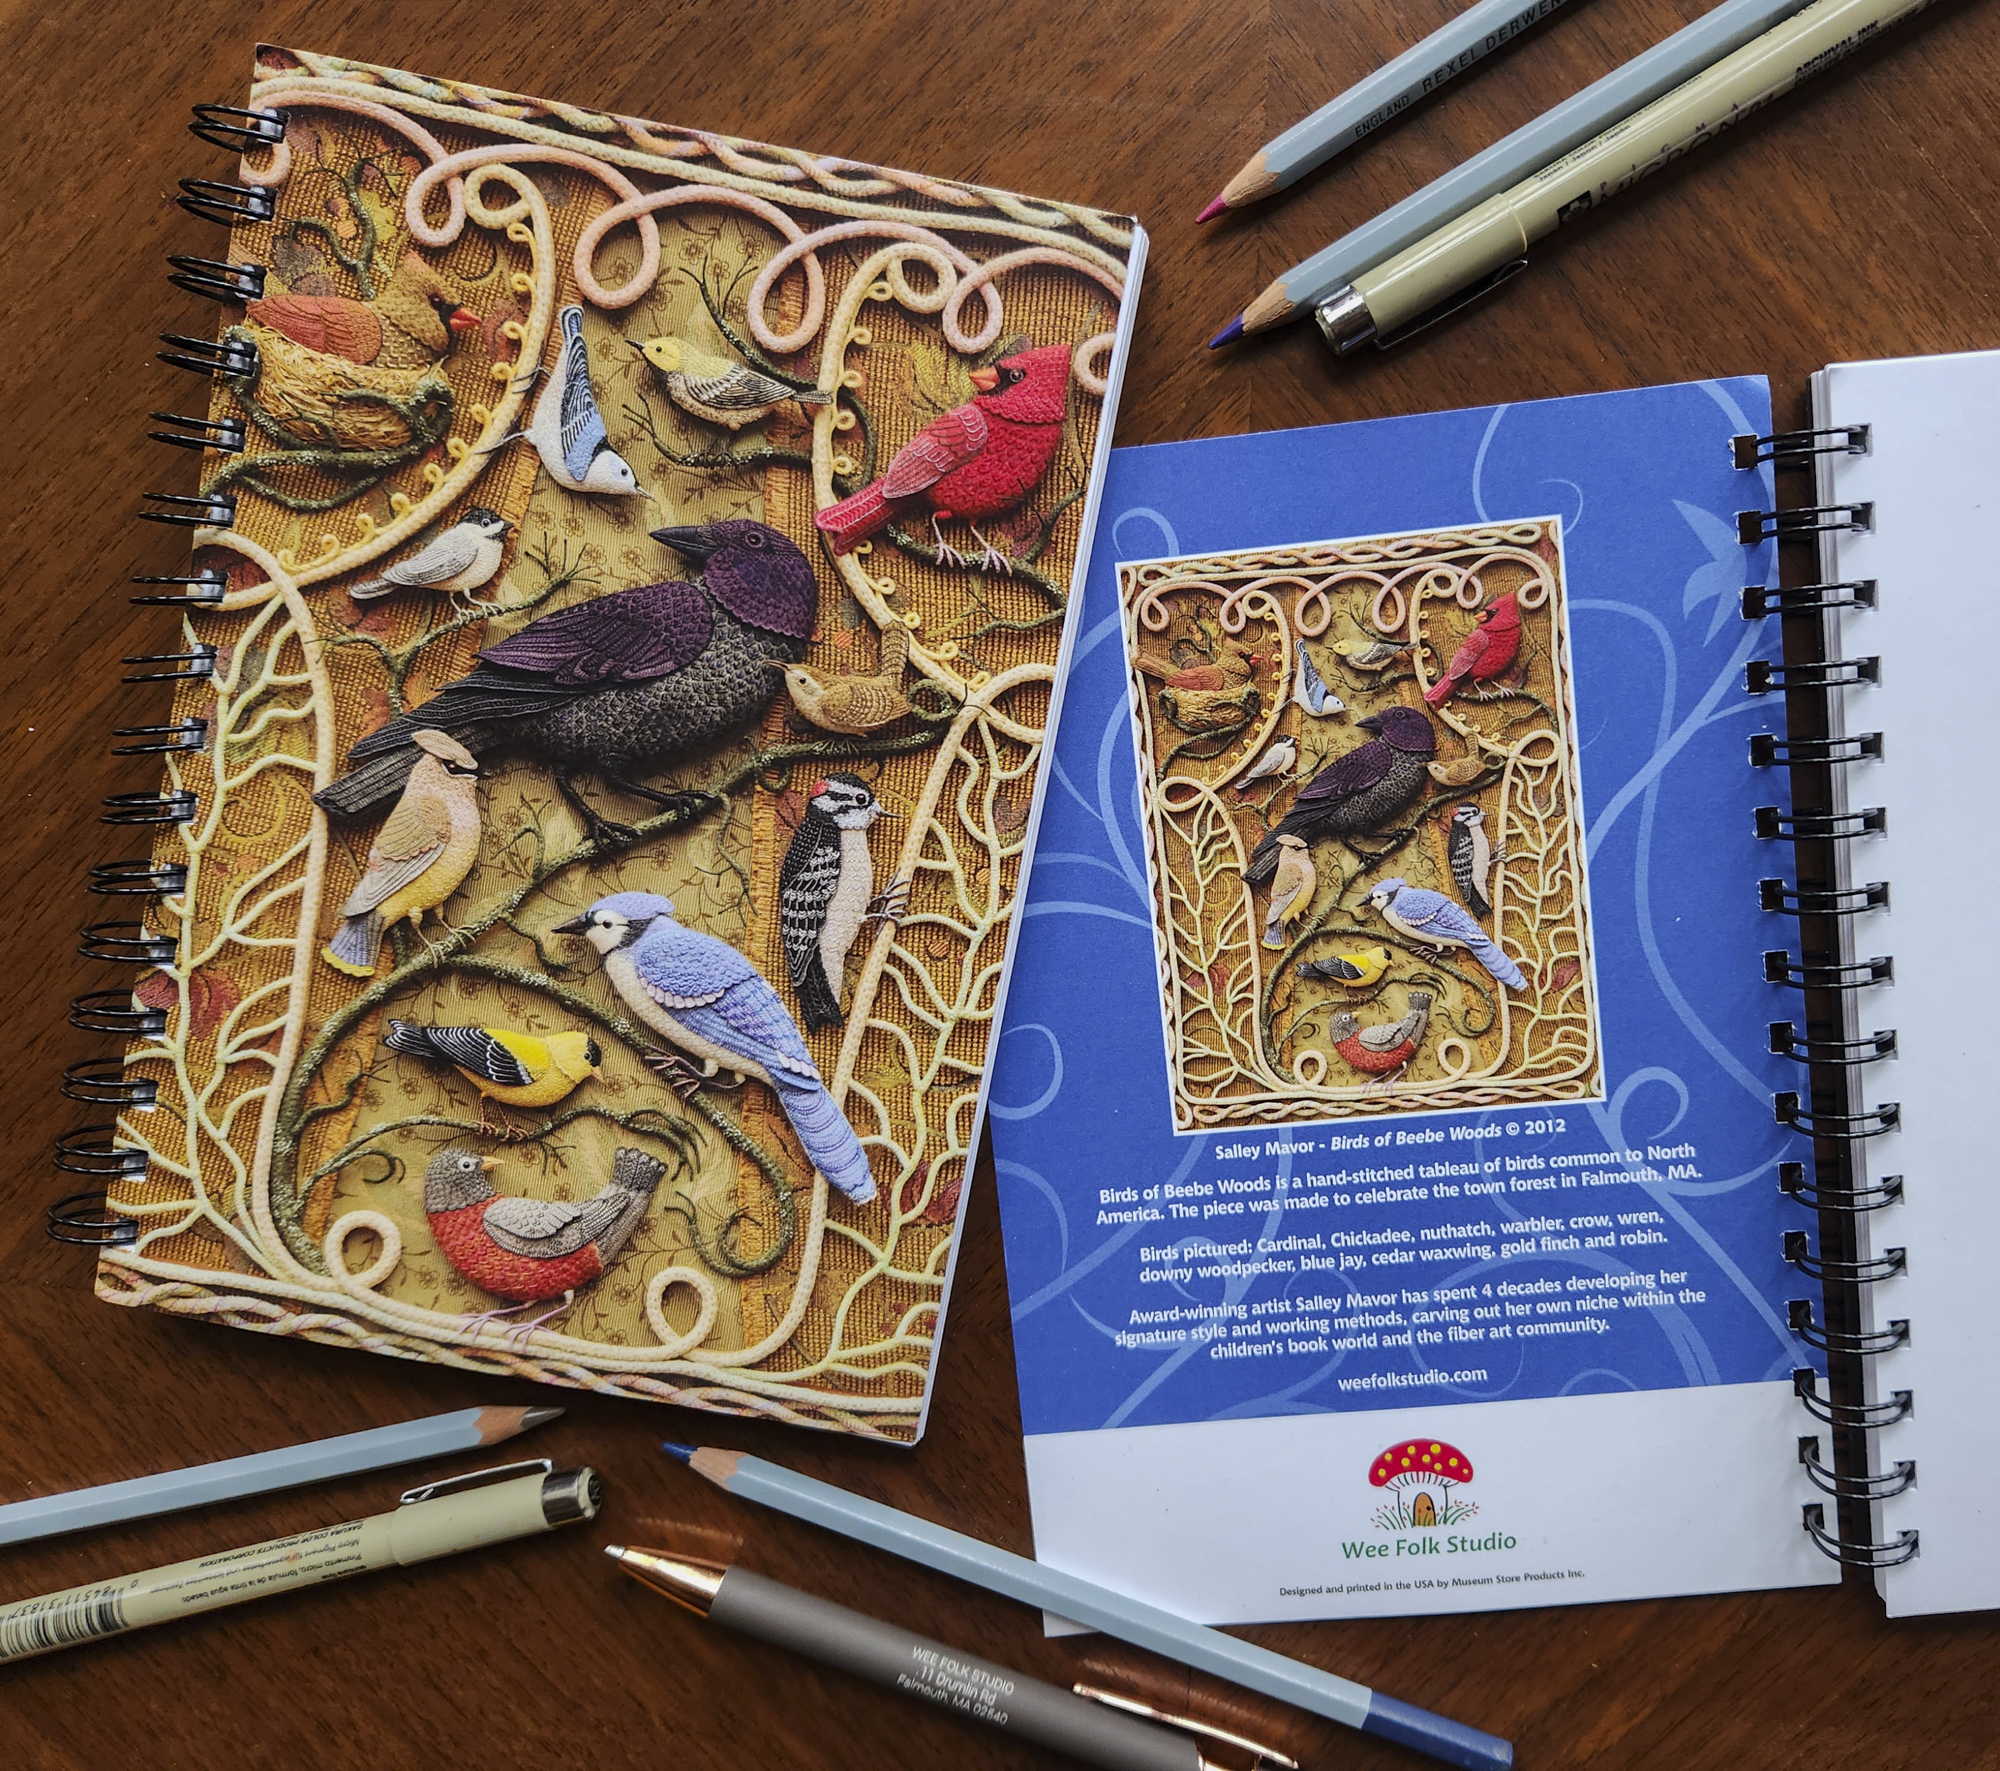
8 card set of Birds of Beebe Woods
Spiral Bound Notebook
Birds of Beebe Woods Puzzle

This puzzle is available exclusively in my Etsy shop .

Birds of Beebe Woods jigsaw puzzle
Birds of Beebe Woods 18″ x 24″ poster

To keep up with new posts, please subscribe to this blog Your contact info will not be sold or shared. If you’d like to see more frequent photos tracking the projects in my studio, please follow me on Facebook and/or Instagram.
Recent Posts

Hendrix Baby Banner

I’m delighted to share the baby banner I made for Hendrix—Henny for short—who is celebrating his second birthday today. If you’ve followed this blog for a while, you may already be familiar with these felt banners, which have become my go-to gifts for friends and family. You can browse posts about this banner and others in the archives here.

A BANNER FOR HENDRIX
In today’s post, I’m sharing a behind-the-scenes look at how this banner came together, with photos, videos, and commentary. I made the banner for Hendrix shortly after he was born in 2024. His parents, Sam and Louisa, are dear friends, and I also had the pleasure of creating their wedding cake topper, which you can see here.

Hendrix’s parents, Sam and Louisa’s wedding cake topper

STITCH MINUTE VIDEO
The following video offers a brief overview of the banner-making process, with close-up views of wrapping, stitching, and embellishing. For a closer look at the finer technical details, continue reading for additional videos later in this post that explore some steps in more depth.

WRAPPING WIRE LETTERS
After choosing a color scheme and picking out pieces of felt and thread, I wrote out Hendrix’s name in cursive handwriting with a pencil on paper. I then wrapped the length of DMC memory thread, a flexible wire, with three strands of variegated embroidery floss. Using the sketch as a template, I bent the wire to form his name and stitched the letters together where they touched.

In the following video, I demonstrate how to wrap DMC memory thread with embroidery floss. For these banners, I typically use variegated floss instead of solid colors because the shifting shades give the letters a more lively, natural look. As you’ll see, the process is slow and methodical, and wrapping the wire smoothly and evenly takes practice—so be patient.

The wire ends are bent over and wrapped so that no raw thread ends are left exposed. One advantage of memory thread is that the coating of fibrous material is easier to grip than slippery metal wire. If you’ve learned to wrap pipe cleaner arms and legs for the wee folk dolls in my how-to book, Felt Wee Folk, you already have a helpful head start with this technique.

WRAPPING THE WIRE WREATH
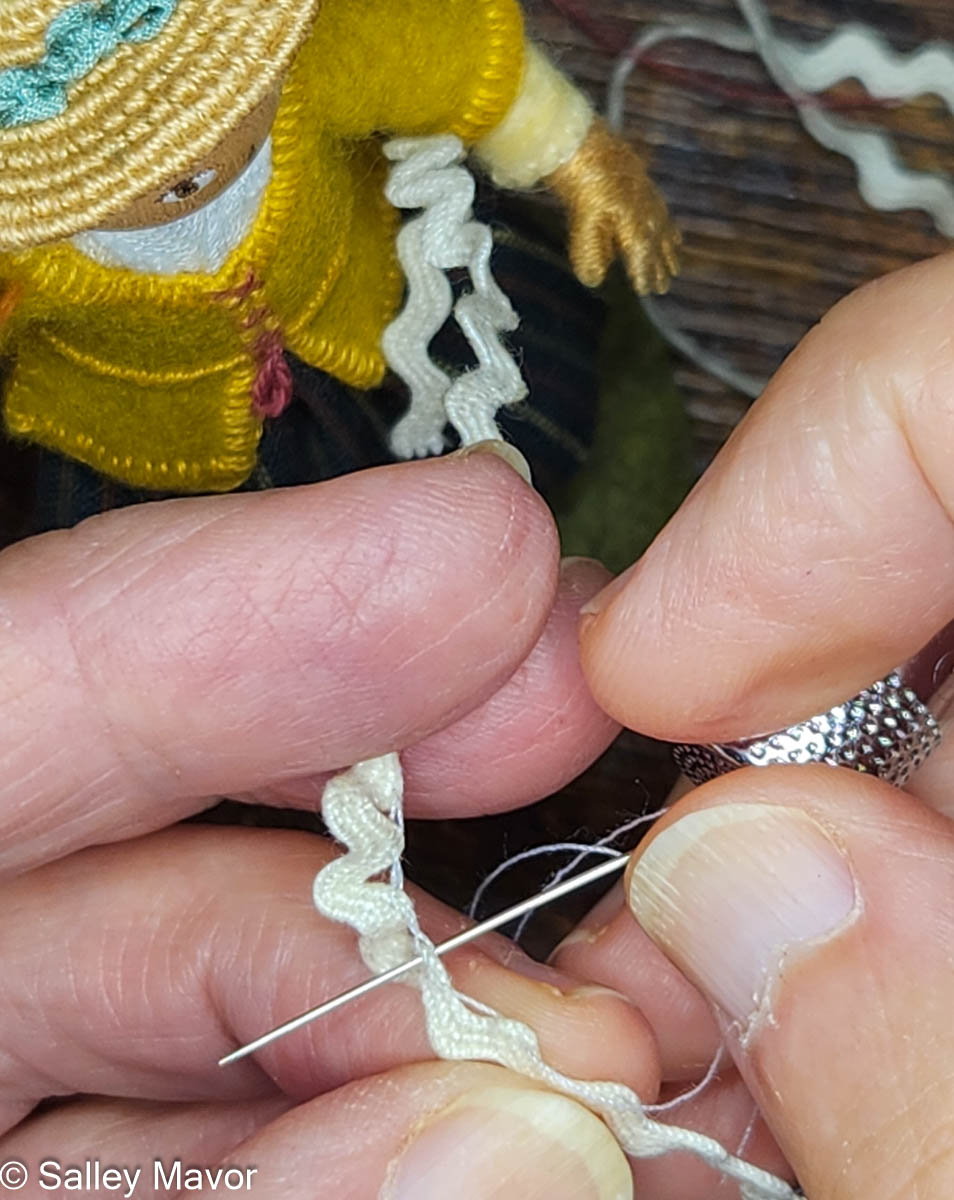
I’ve always loved wavy lines and rarely miss a chance to add curves where there might otherwise be a straight edge, so making a zigzag wreath felt like a natural choice. In the following video, I show how I form the wreath into one continuous line with no visible ends. It’s a fussy process, but the finished result is well worth the extra effort.

After wrapping all the letters and numbers, I pinned them in place and stitched them to the felt pieces.

The bottom edge of the banner is finished with four scallop-edged flaps, each embroidered with chain-stitched spirals. At each point, I sewed on a shell that conveniently already had a hole for stitching. They came from a souvenir necklace my grandmother bought many years ago in her travels.

Happy Birthday, Henny!

To keep up with new posts, please subscribe to this blog. Your contact info will not be sold or shared. If you’d like to see more frequent photos tracking the projects in my studio, please follow me on Facebook, Instagram and BlueSky.

  1. Why I Love Wool Felt 7 Replies
  2. The 3D Appeal of Stumpwork 13 Replies
  3. Baby Banner – Laurel 3 Replies
  4. Springtime in Mossy Glen Playsilk 1 Reply
  5. Folk Wisdom 13 Replies
  6. Summertime: Part 10 – wee folk 2 Replies
  7. 2025 in REVIEW 8 Replies
  8. Elias & Eddie 2025 ornaments 13 Replies
  9. Happy Winter Solstice! 15 Replies