

I’m happy to share the news that our new grandchild Eddie was born on Feb. 15th, 2024. He’s named Edward, after his maternal grandfather, but his parents, Mary and our son Peter, call him Eddie. So, that’s the name I put on his baby banner. Our family is growing so fast, I can hardly believe it! Little Eddie and his cousin Elias were born 13 months apart and we hope they become good buddies (see Elias’s banner here).

MAKING THE BANNER
Read ahead to see photos, videos, and commentary about making Eddie’s baby banner. I’ve divided the post into different sections, including wrapping wire letters and embellishing felt borders, which are are some of the more distinguishable features of my banners. To see posts about this and other celebratory banners I’ve made over the years for family and friends, scroll through the archives here.
WRAPPING WIRE LETTERS
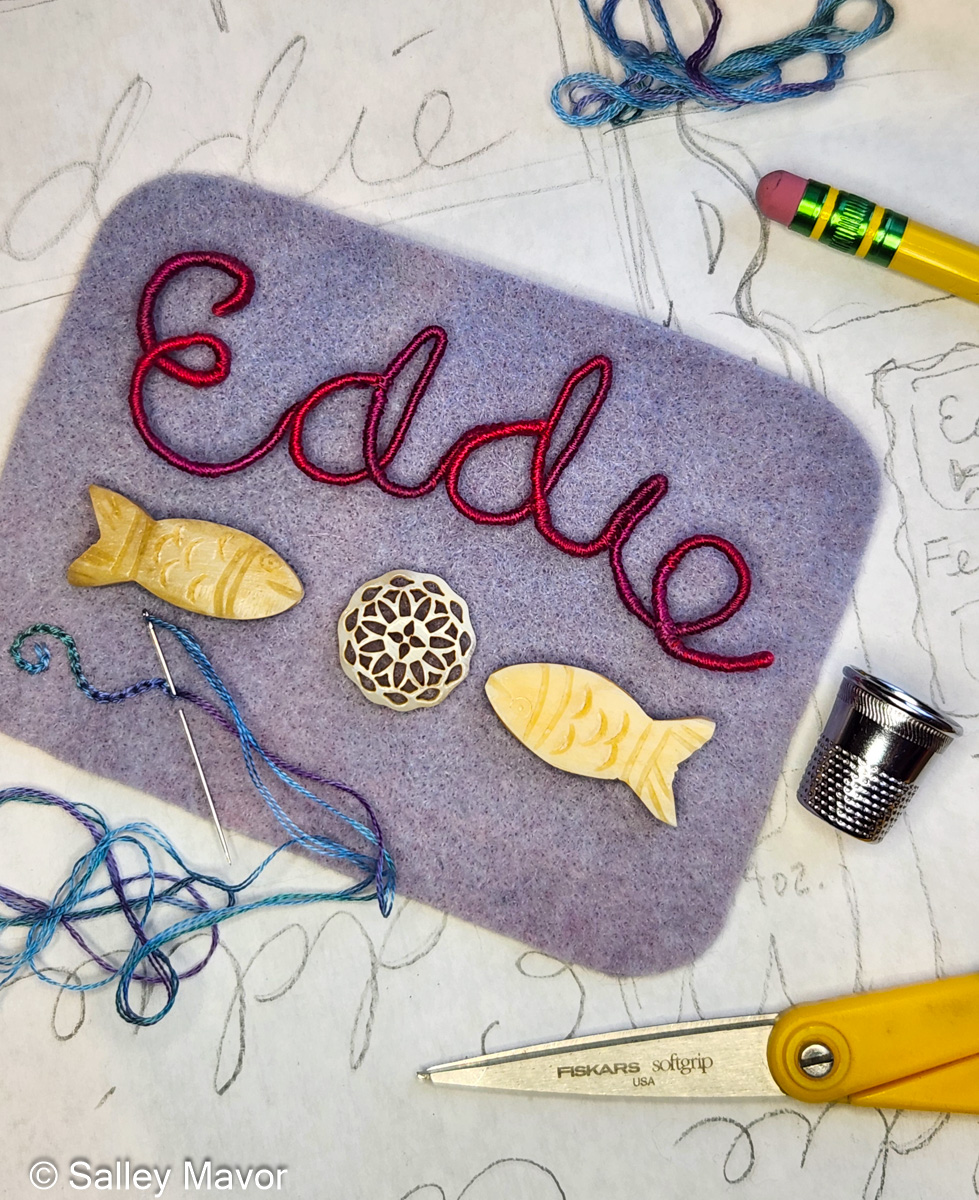
After choosing a color scheme and picking out pieces of felt and thread, I wrote out Eddie’s name in cursive handwriting with a pencil on paper. Fortunately, his name could be written in one continuous line, which doesn’t always happen. I then wrapped a length of DMC memory thread (a kind of wire) with 3 strands of variegated embroidery floss (see video below). Using the drawing as a template, I bent the wire to form his name and stitched the letters together where they touched.

In this video, I demonstrate wrapping DMC memory thread with 3 strands of embroidery floss to create numbers and letters for Eddie’s birth weight. I thought it would be easier to see the process using contrasting wire and thread colors. Of course, using the same color wire and thread is better for hiding gaps and inconsistencies. It takes a lot of practice to get the hang of wrapping the wire. If you’ve learned to wrap arms and legs for the wee folk dolls in my how-to book, Felt Wee Folk, you’ve got a jump start on mastering this technique.


EMBELLISHING FELT BORDERS
I love embellishing with blanket stitching, especially with variegated thread. It’s a simple, but effective way to create an edge that looks clean and assertive, while also displaying a handmade quality. For me, it’s important to show that a real person made it, not a machine. For this banner, I created layers of felt pieces, which I blanket stitched with pima cotton (Watercolours by Caron).

In this is a video, I demonstrate embellishing borders for the banner.
The border around Eddie’s birth date needed perking up, so I added beads.


CANDY CANE STRIPES
When I finished making numbers for the year 2024 and laid them out, they looked kind of plain. So, I decided to wind a single strand of orange embroidery floss around the wire numbers (see video below).

I looked through my driftwood collection and found the right sized stick that would work as a hanging bar. I braided cord to make a strap and drilled holes in the stick big enough to thread cord through.

This video shows how I chain stitched spirals on the scalloped flaps at the bottom of the banner.
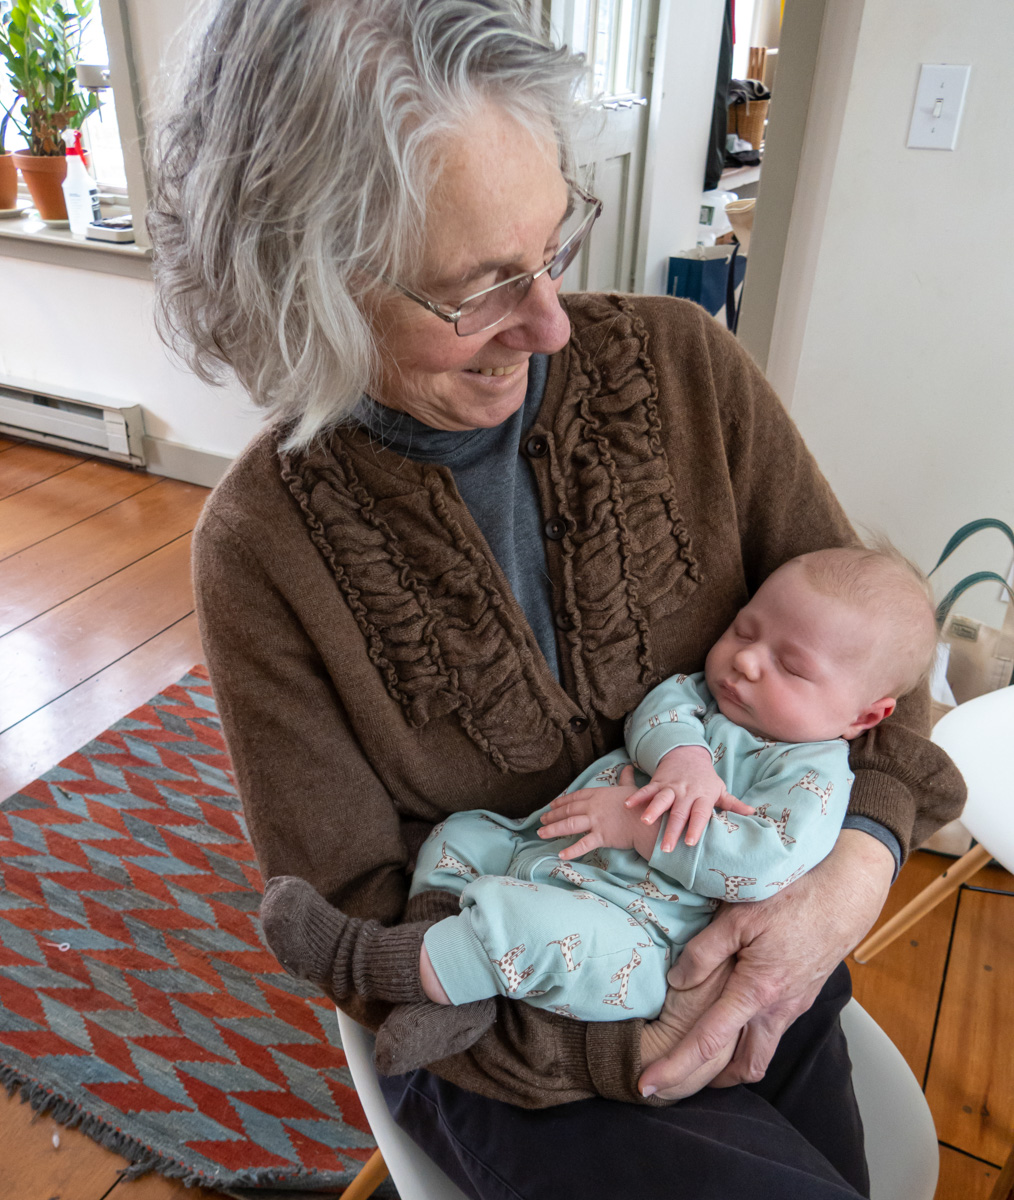
We’re pleased as punch with little Eddie and look forward to getting to know him as he grows!

To keep up with new posts, please subscribe to this blog. Your contact info will not be sold or shared. If you’d like to see more frequent photos tracking the projects in my studio, please follow me on Facebook, Instagram and BlueSky.

👏👏👏👏❤️
On the last photo where it’s just you holding Eddie I really see Peter in him!!! 💕maria
Beautiful! Both the banner and the baby. :-)
I have always admired your work and have learned so much. Your precision stitching is incredible, and I try hard to emulate with some success. Congratulations on your growing family, so very happy for you all!
Congratulations!
Beautiful! Both the baby 🧿 and the banner. May your baby live long and healthy.
He’s so sweet – and so is his banner!
Too completely darling—both the baby and the banner. Congratulations! Susan
>
Sweet Sweet Baby!!!
Memory Thread is now 40% off on DMC website. I fear they may be about to discontinue this product! … and I’d never heard of it. Just bought some.
Thank you for your wonderful videos and congratulations on the new baby.
CONGRATULATIONS!
Congratulations! I’m a Gran myself, and you’re going to love it. Here’s my Grandson with a toy cat I made him. Enjoy it Kim Stevens