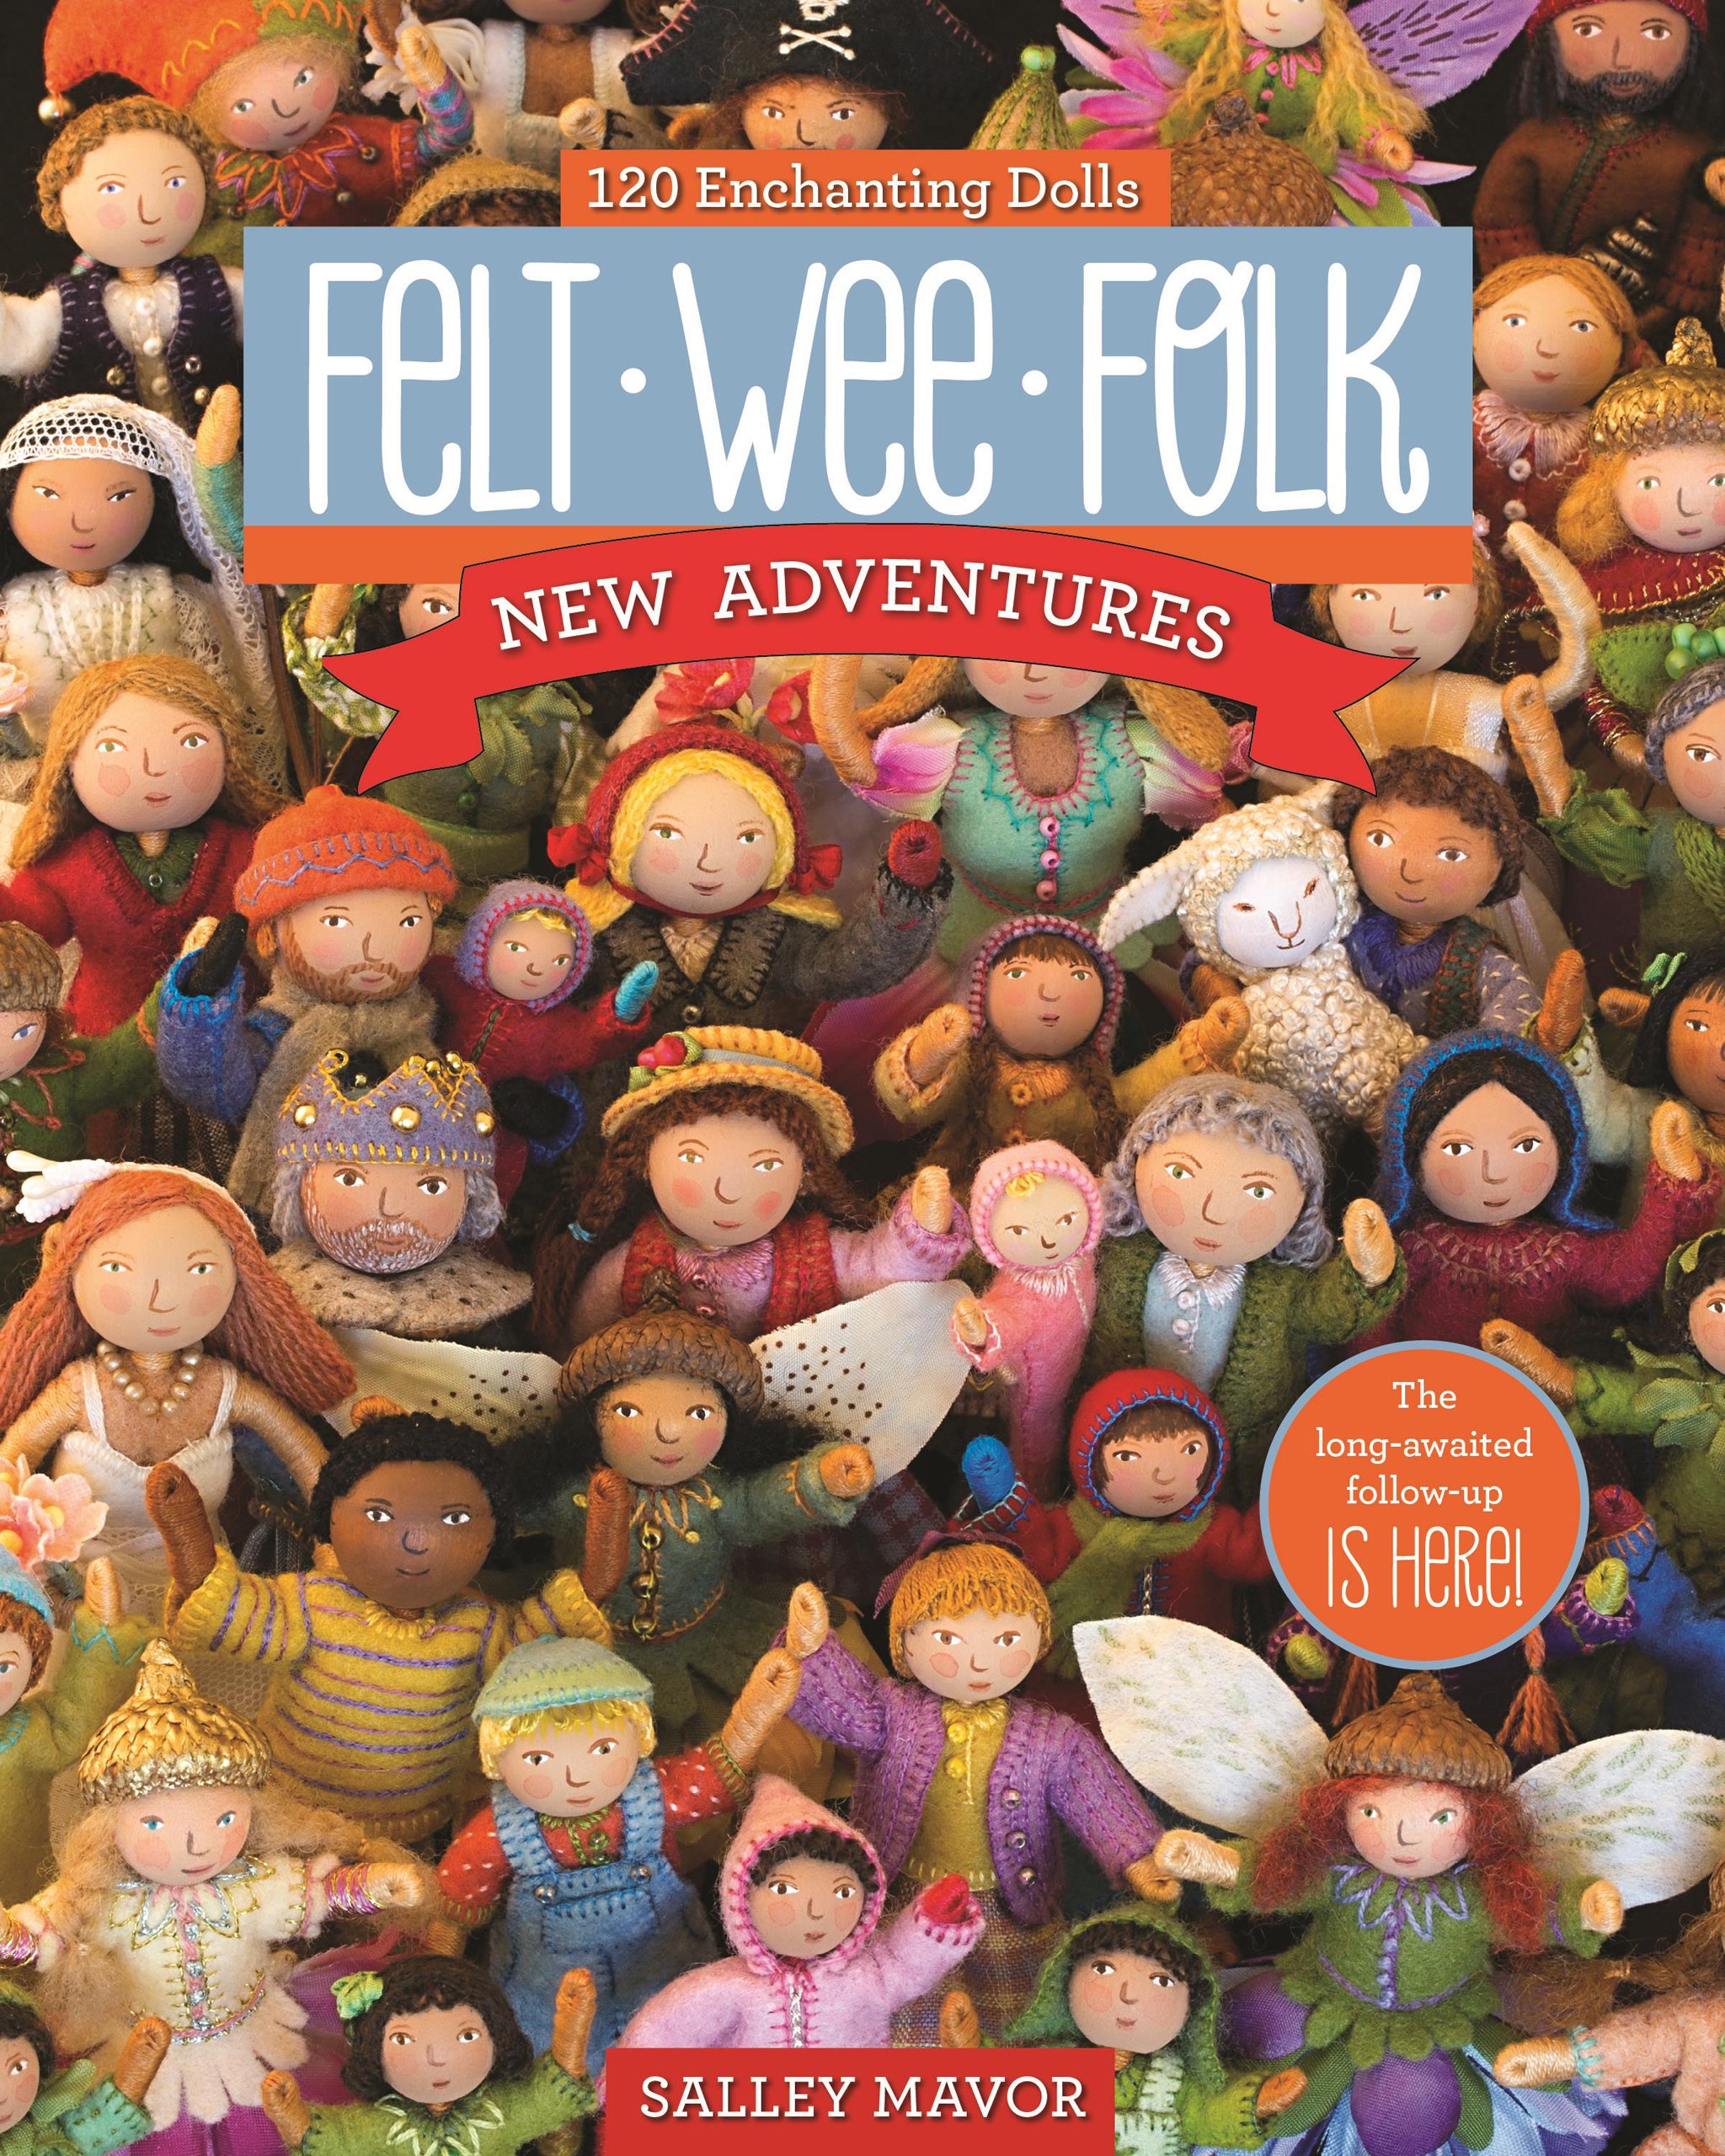
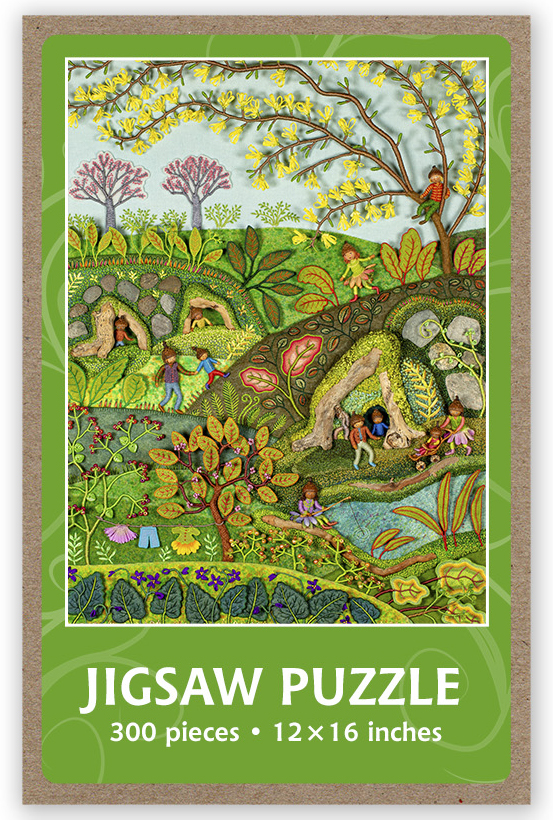
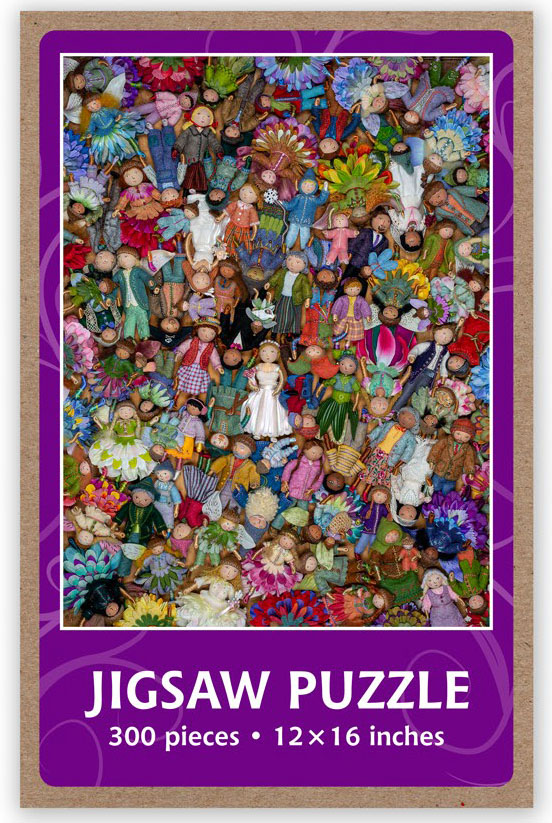
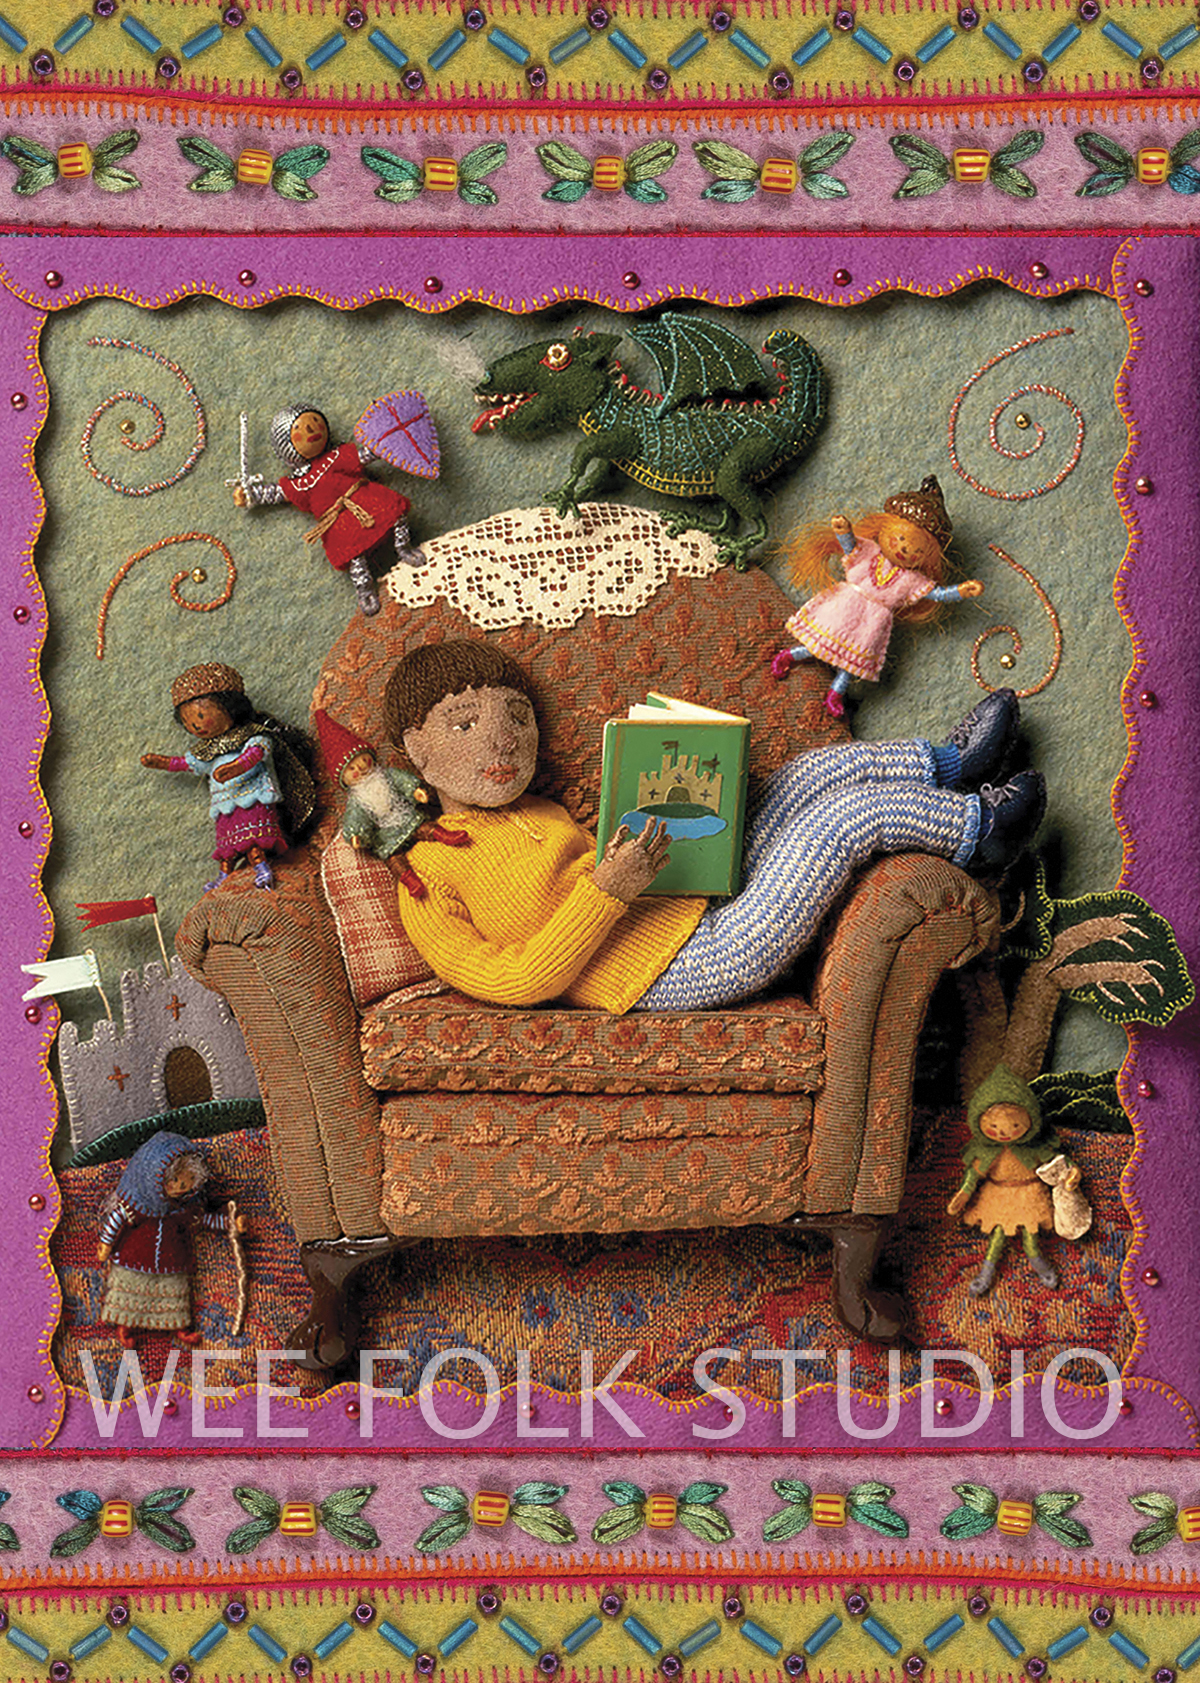
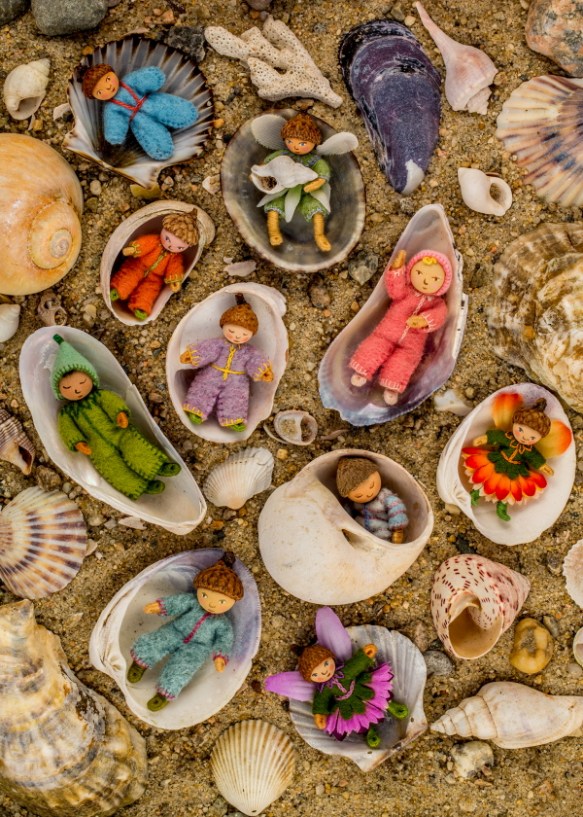
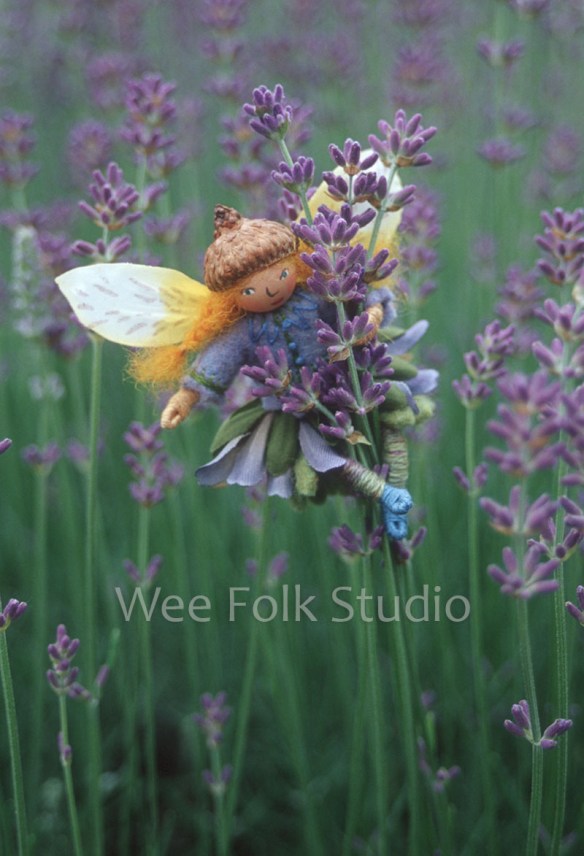
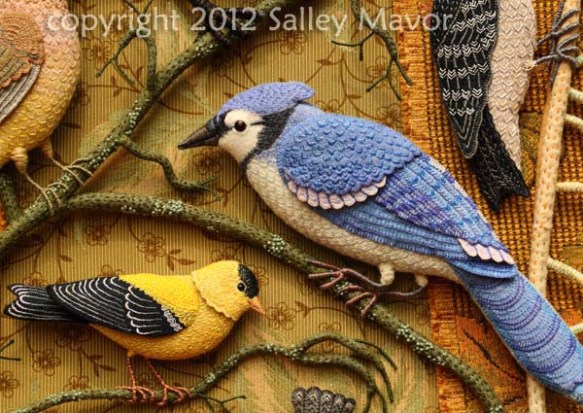
Please visit Salley Mavor’s Etsy Shop, to see a selection of autographed books, jigsaw puzzles, notebooks, prints, posters, note cards, playsilks, and bookmarks that feature her artwork.
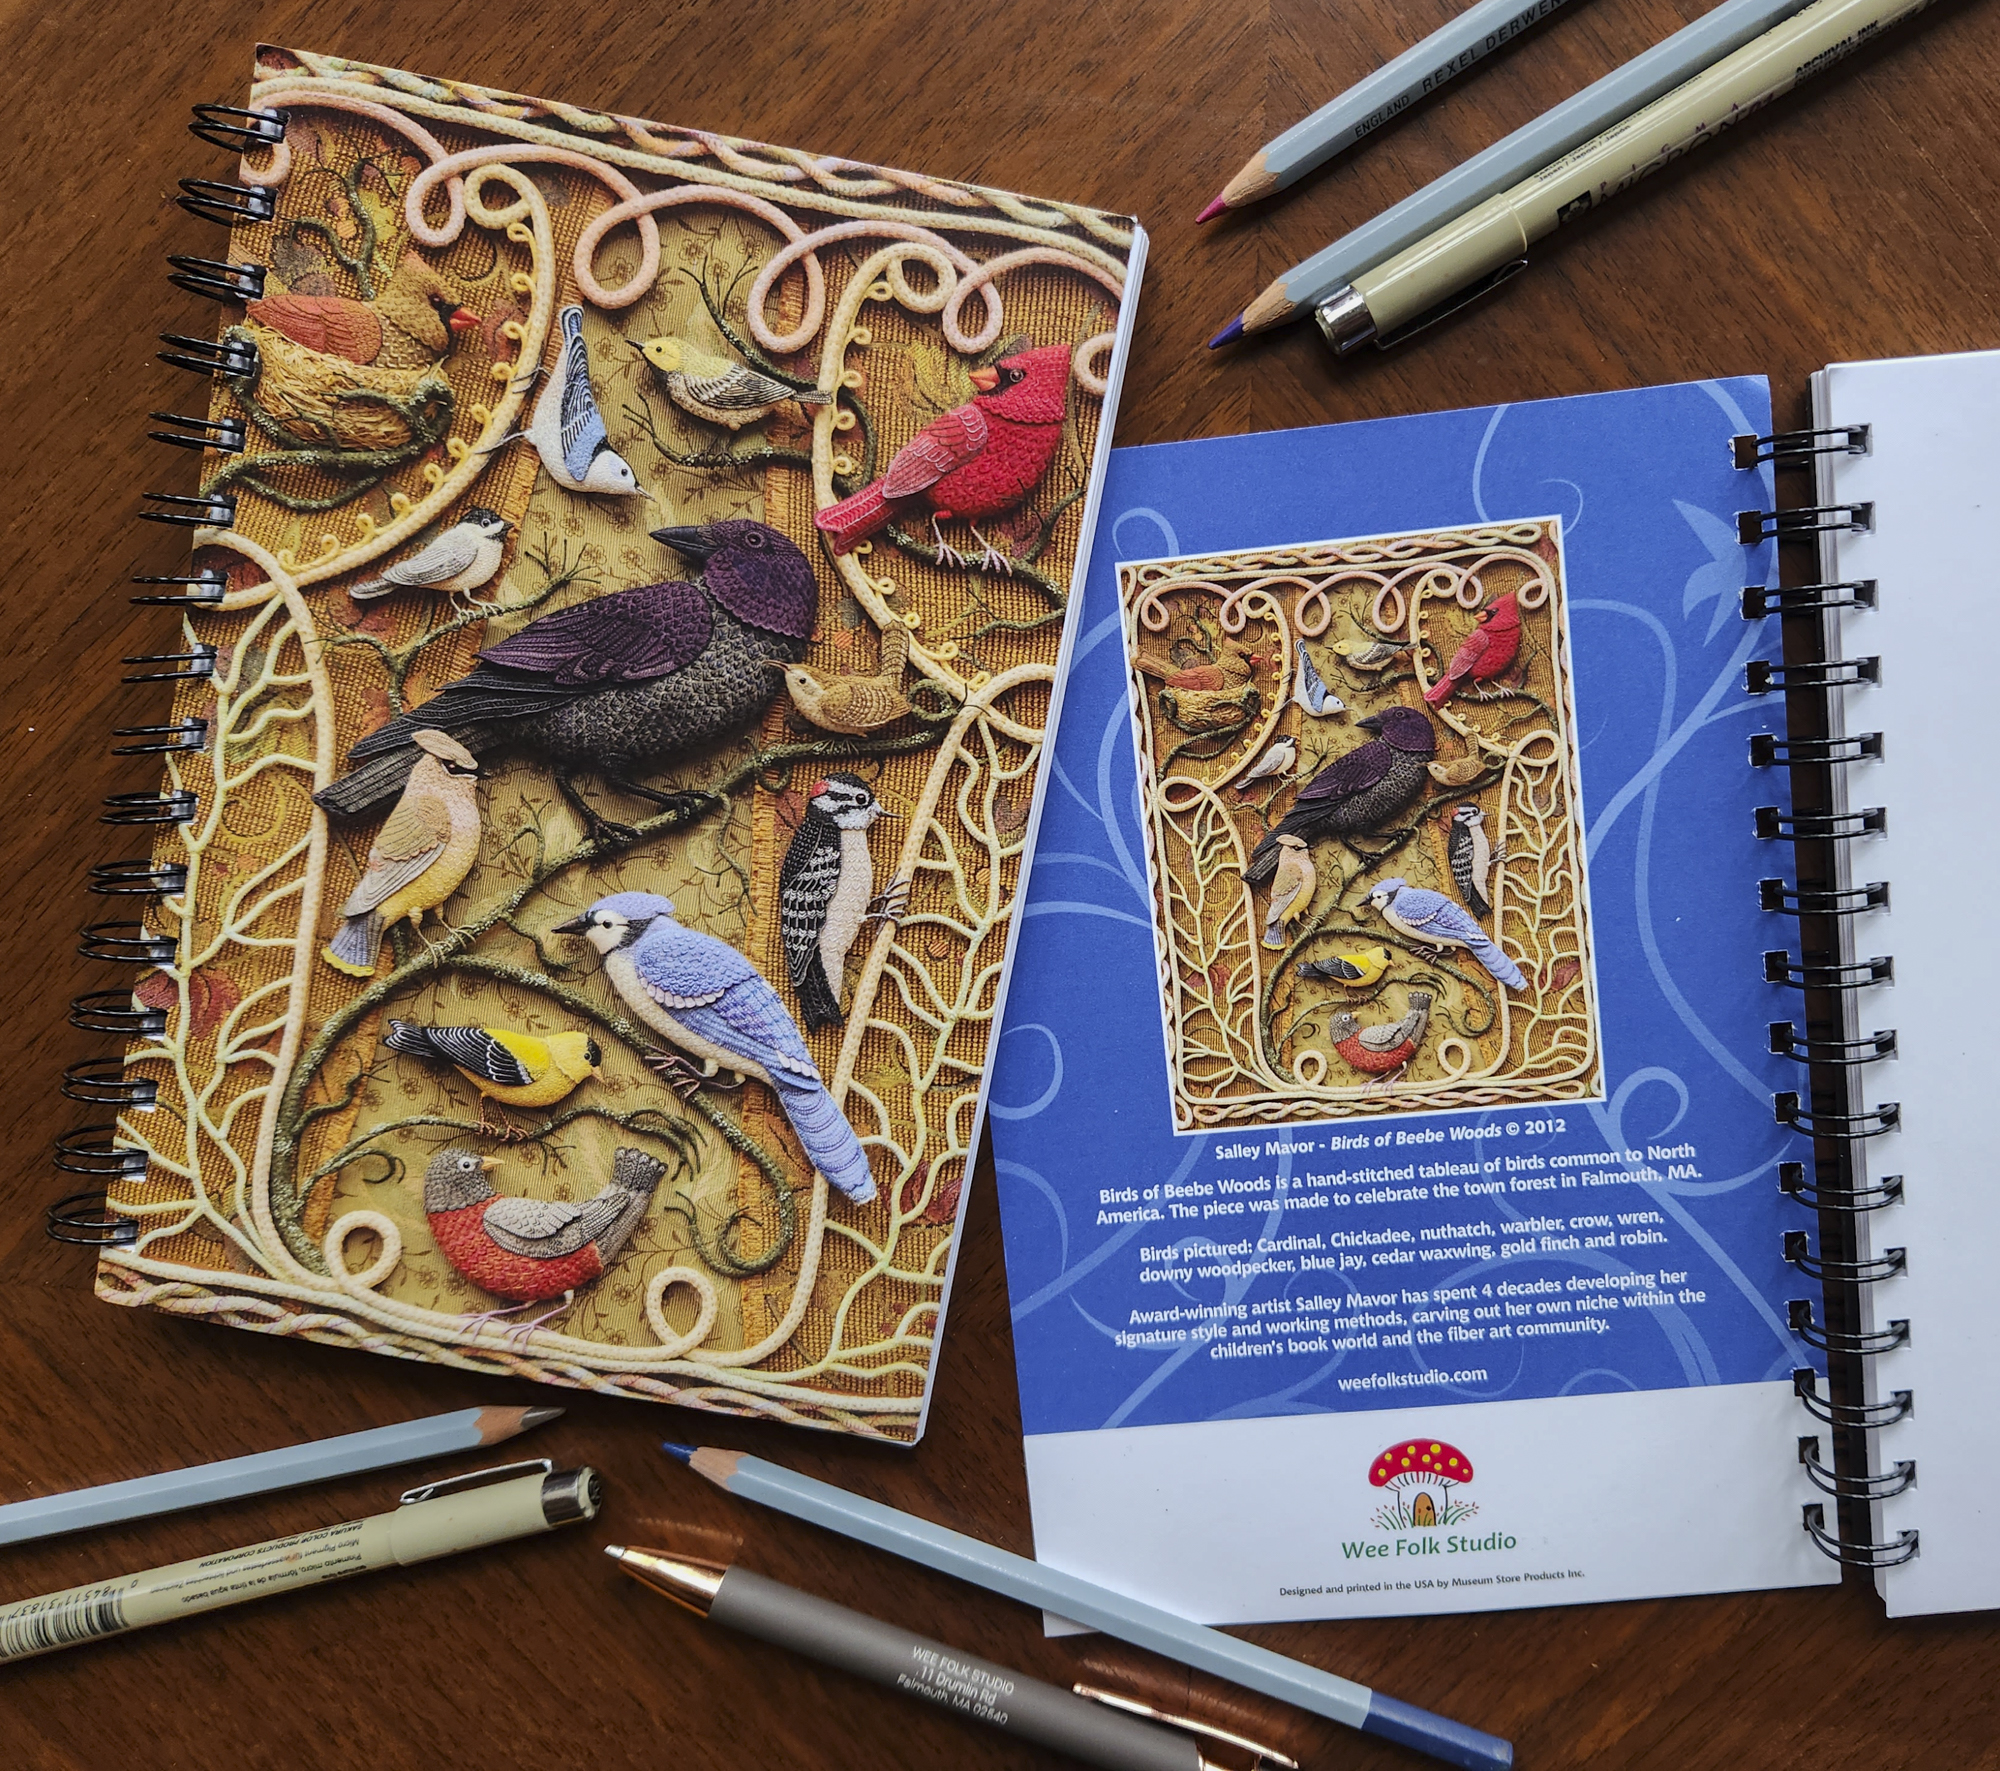
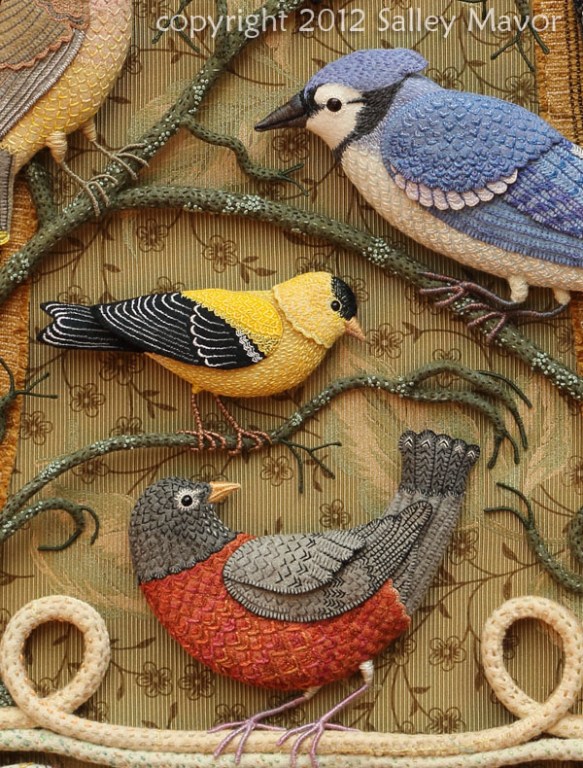
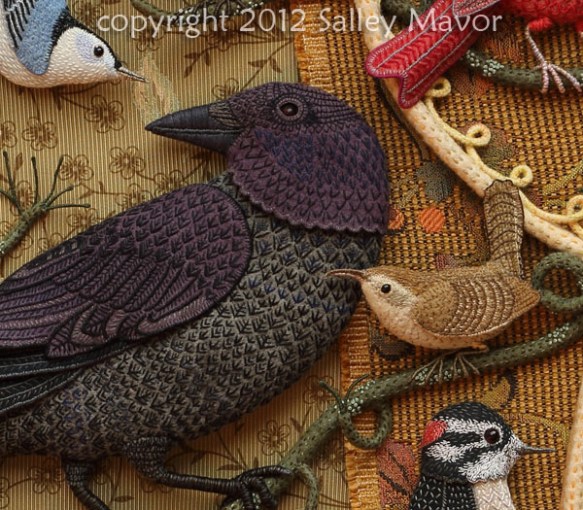
Birds of Beebe Woods notebook
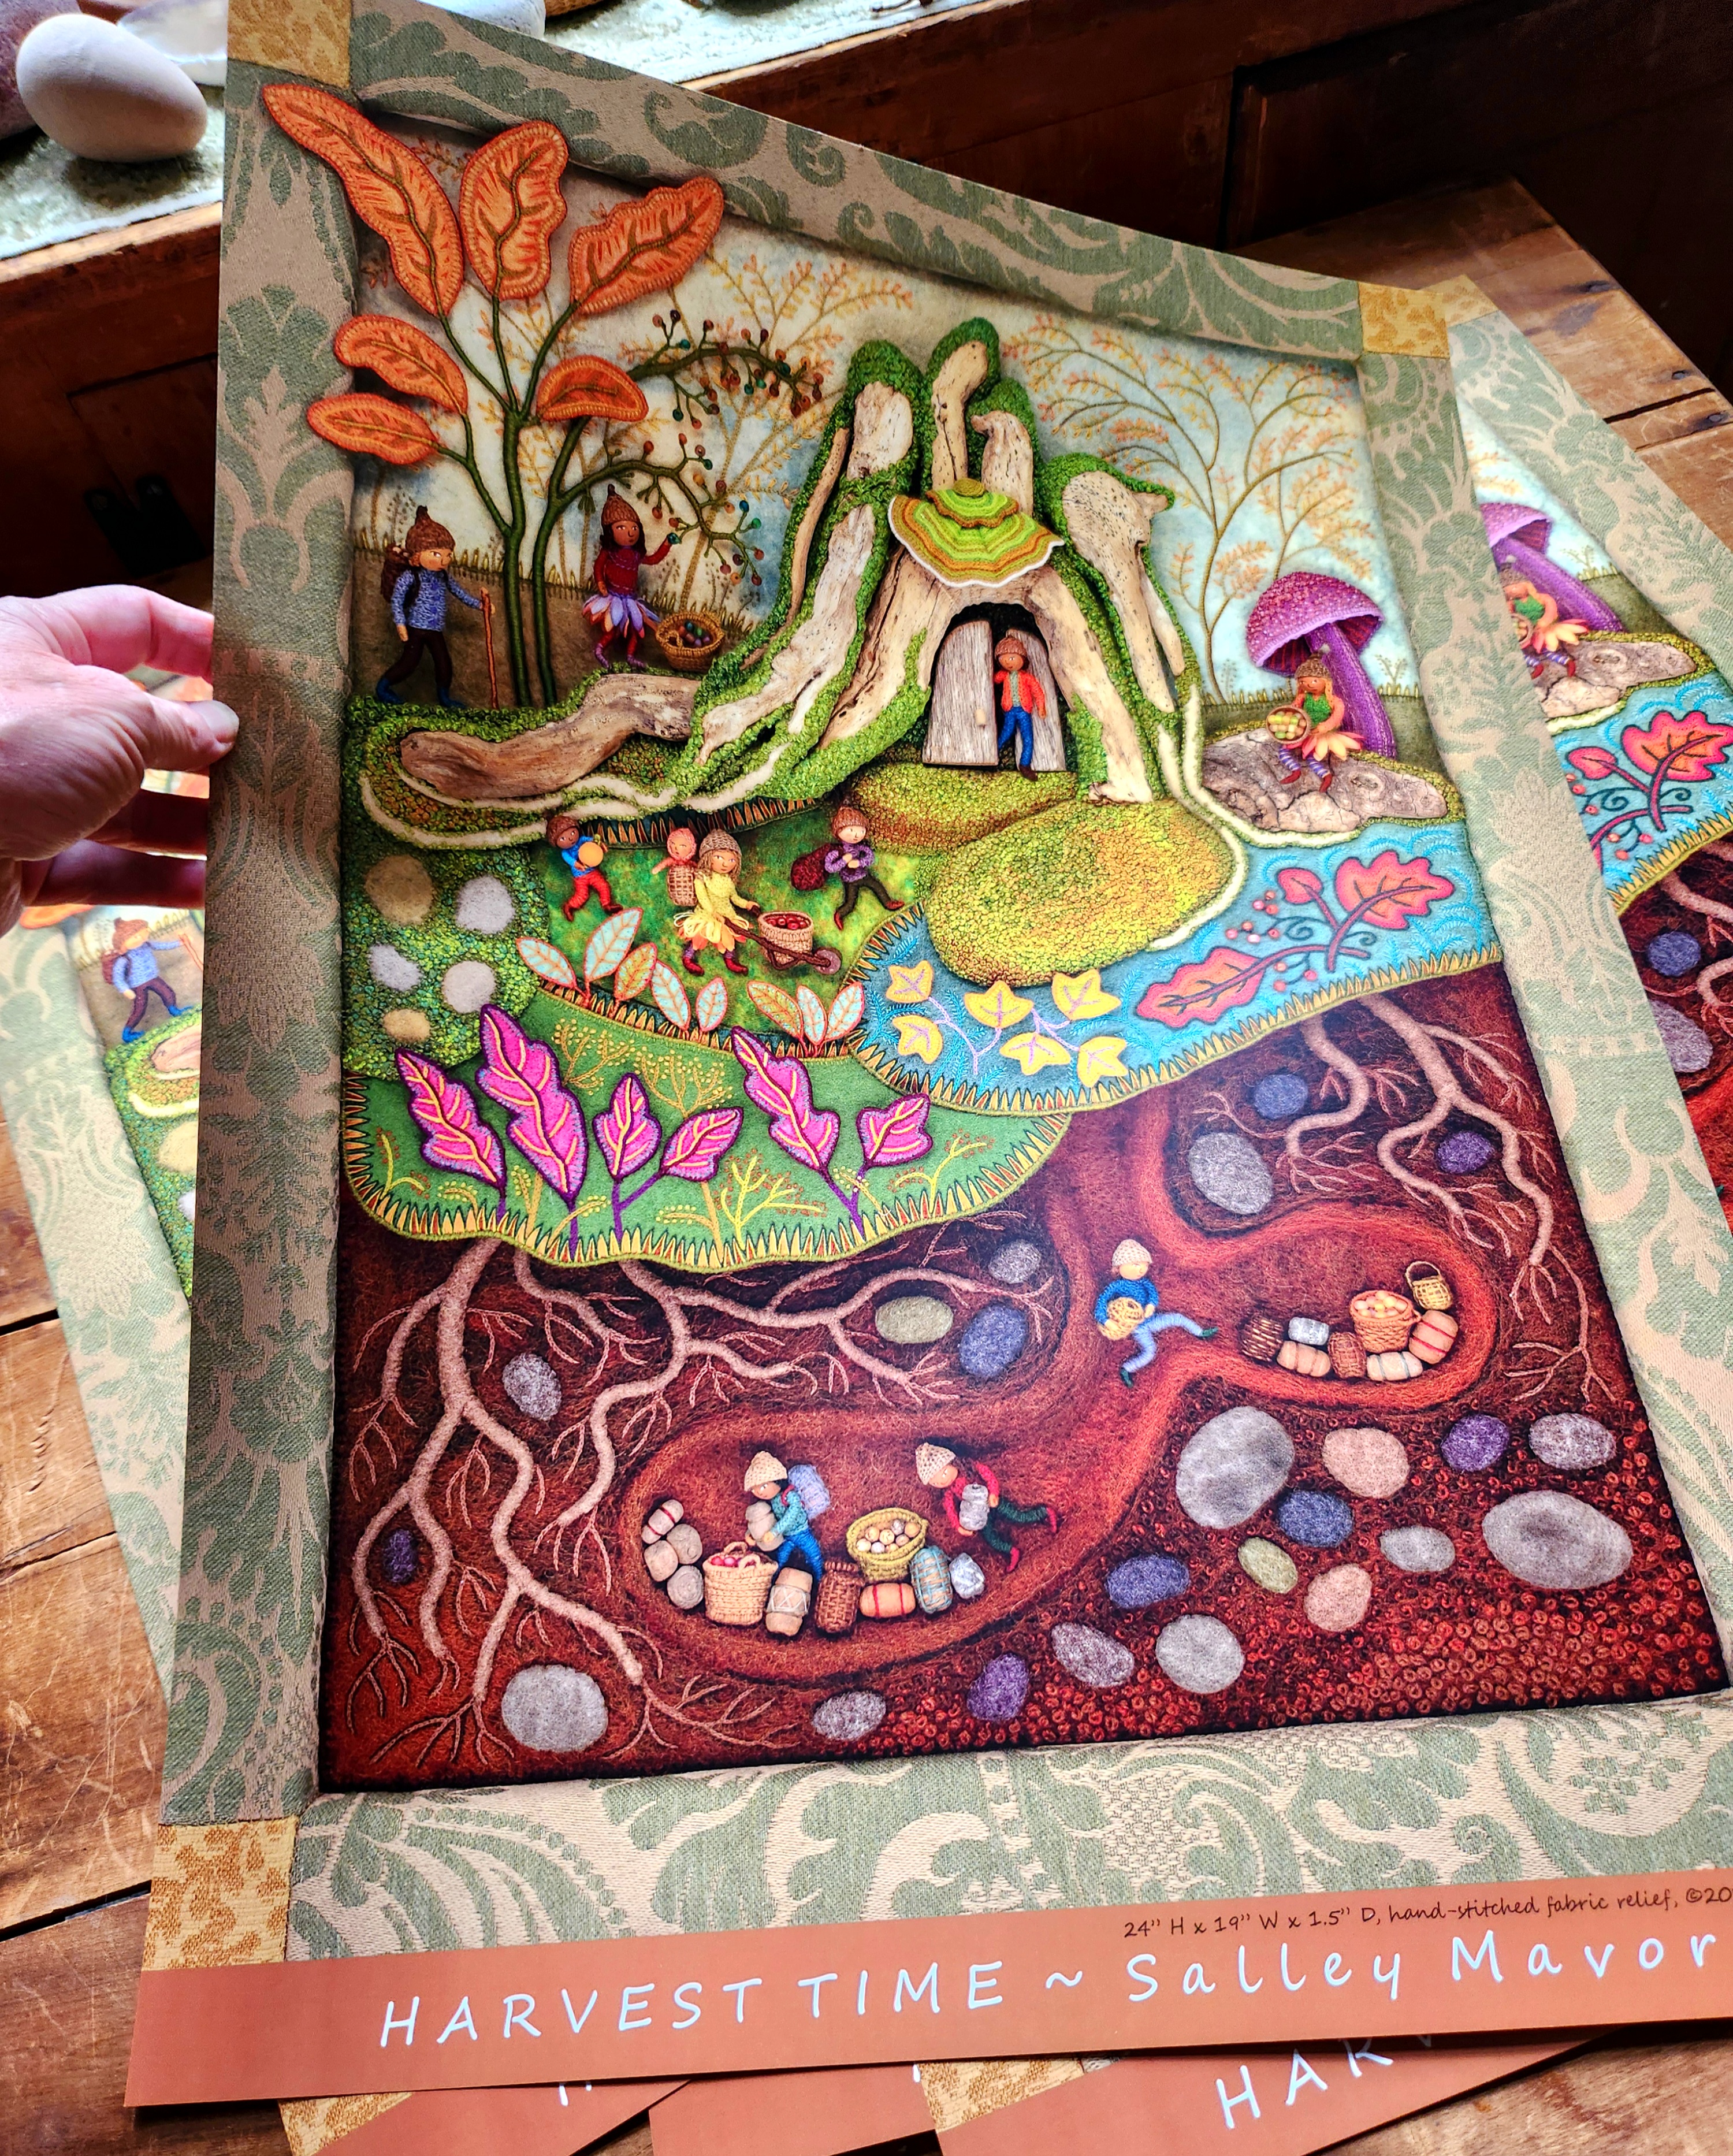
NEW ITEMS – Summertime and Harvest Time Posters!
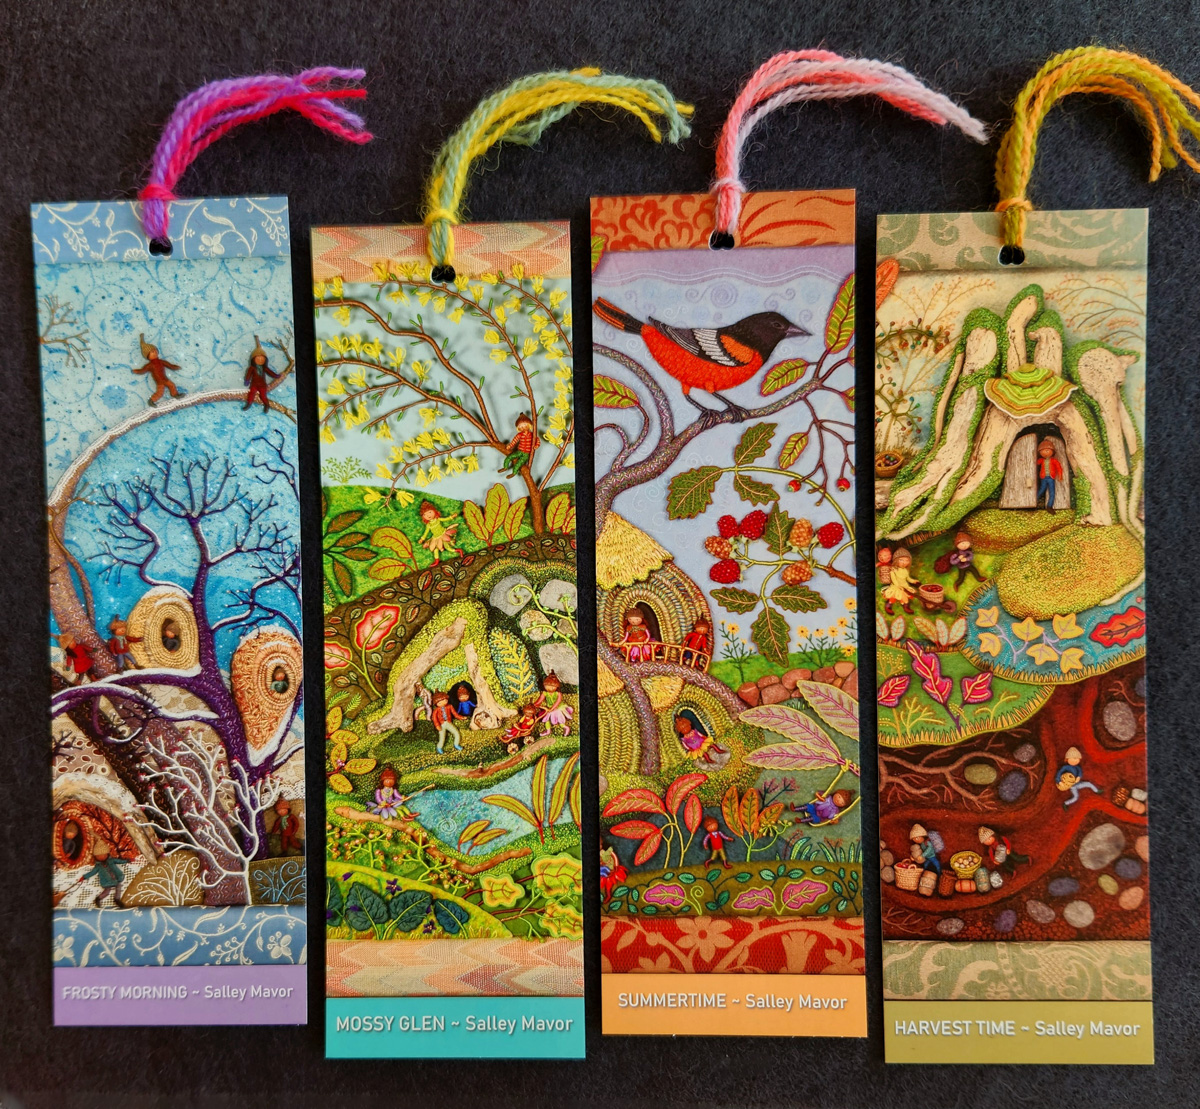
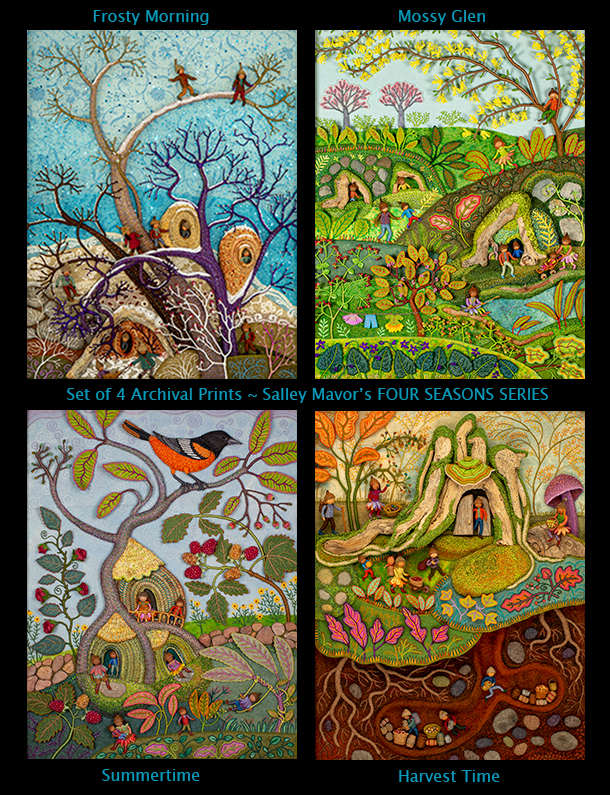
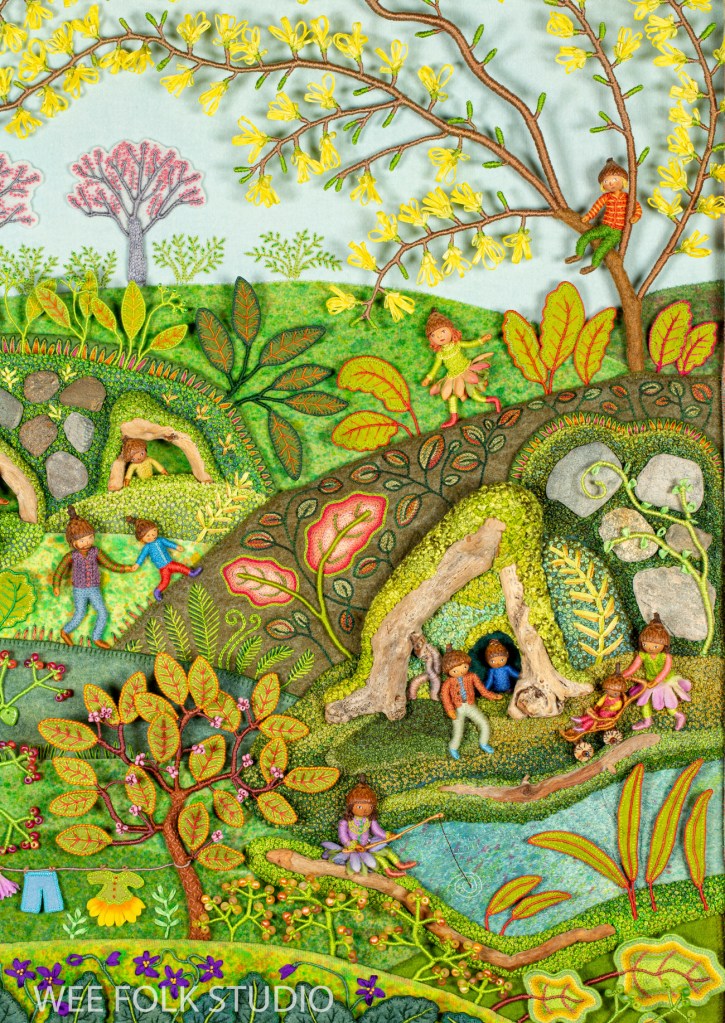
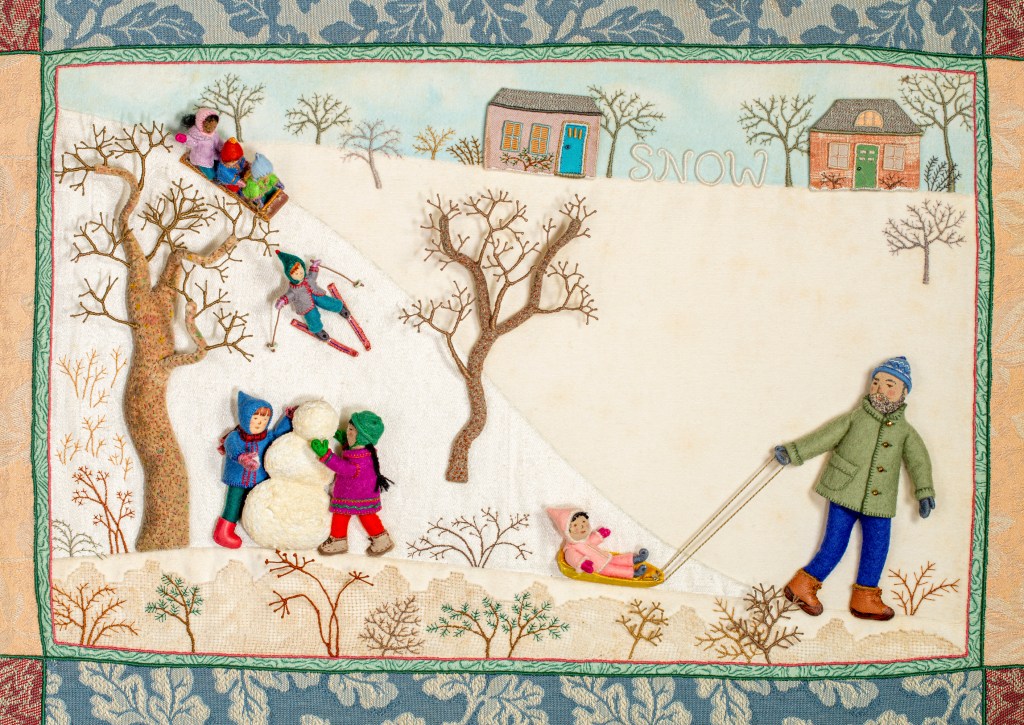
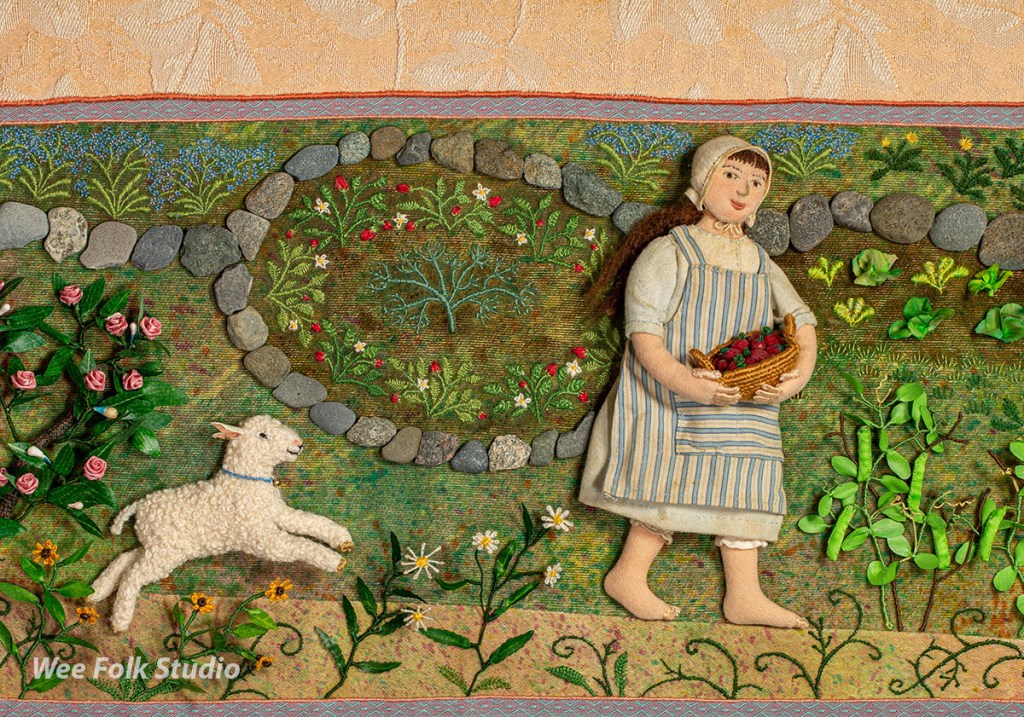
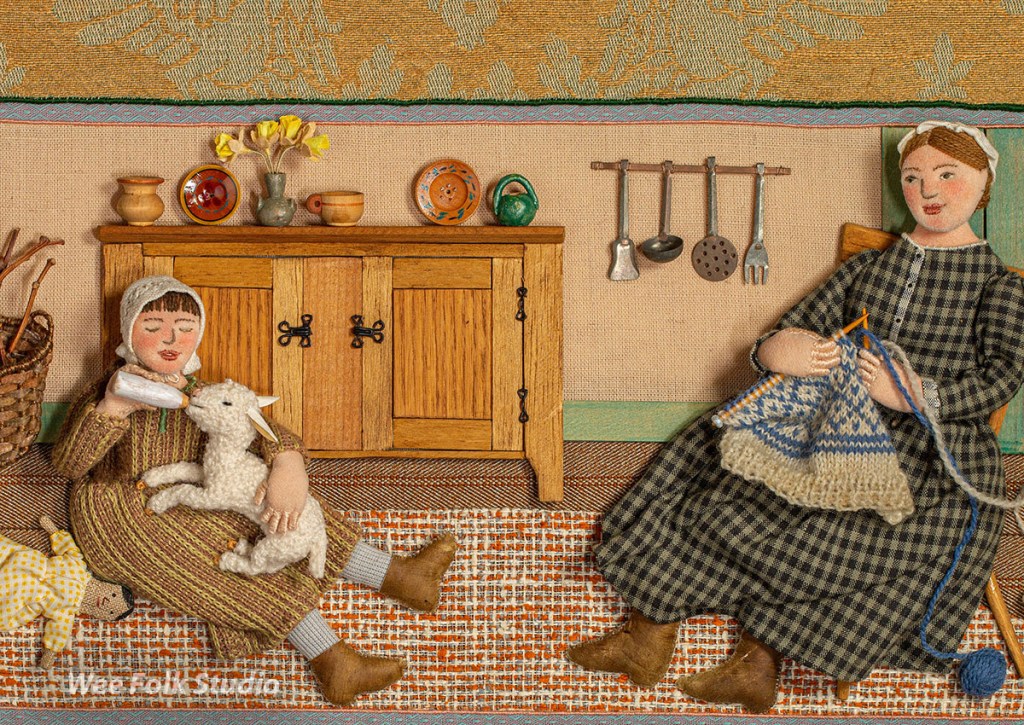
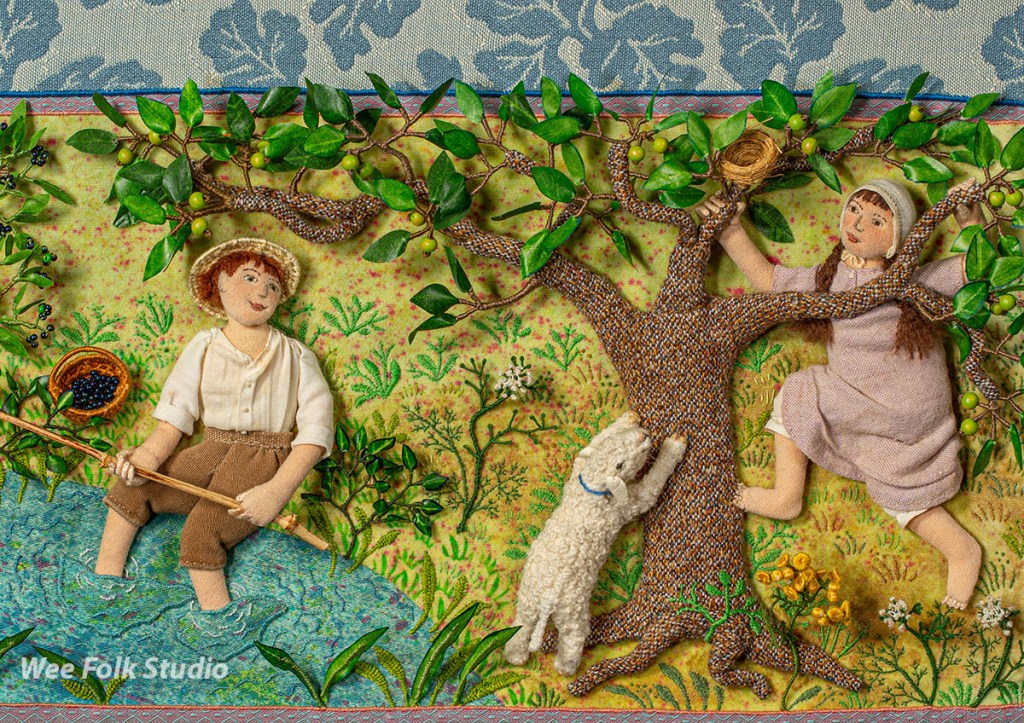
Four Seasons Bookmarks – Set of 4 bookmarks printed with images of Salley Mavor’s fanciful series of hand-stitched landscapes that capture the wonder and magic of the natural world. The set includes one each of the following scenes: Frosty Morning, Mossy Glen, Summertime and Harvest Time.
FOUR SEASONS PRINTS 8.5 x 11 archival prints on 100% cotton paper. Available individually or in sets of 4 prints. Frosty Morning, Mossy Glen, Summertime and Harvest Time.
To keep up with new posts, please subscribe to this blog Your contact info will not be sold or shared. If you’d like to see more frequent photos tracking the projects in my studio, please follow me on Facebook and/or Instagram.
After a six year stint at home, wearing the same blue skirt and red vest, Polly Doll is finally sporting a new outfit! The occasion for this long-awaited transformation was a trip back in time to 1700s Colonial America. In this post, I share the process of making Polly’s new costume, as well as her visit to historic sites in the mid-Atlantic region.
On Polly’s Schedule: Later this fall and into the spring of next year, Polly and a group of wee folk friends will be taking up residence in a display case at the Eric Carle Museum in Amherst, MA. The group exhibition, Weaving Words: Fiber Arts and Picture Books will be on view November 21, 2026 – May 2, 2027.
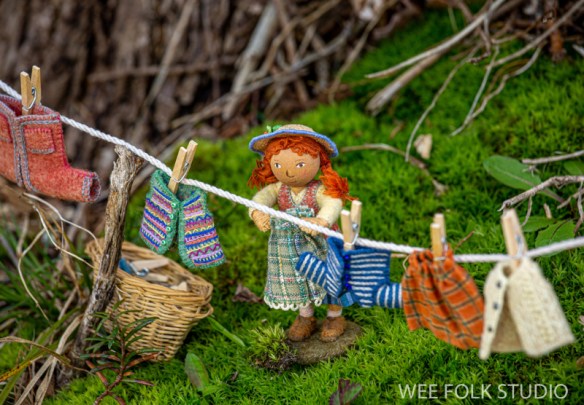
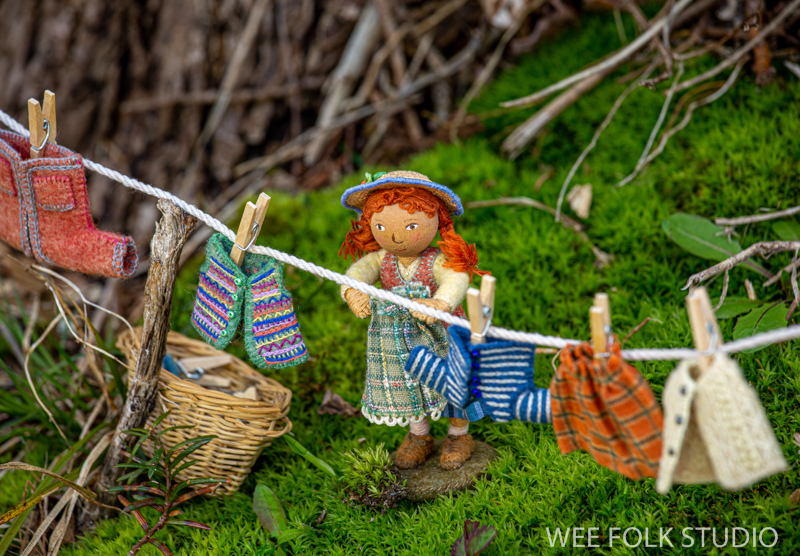
Polly’s Washing Day – note card available in my shop
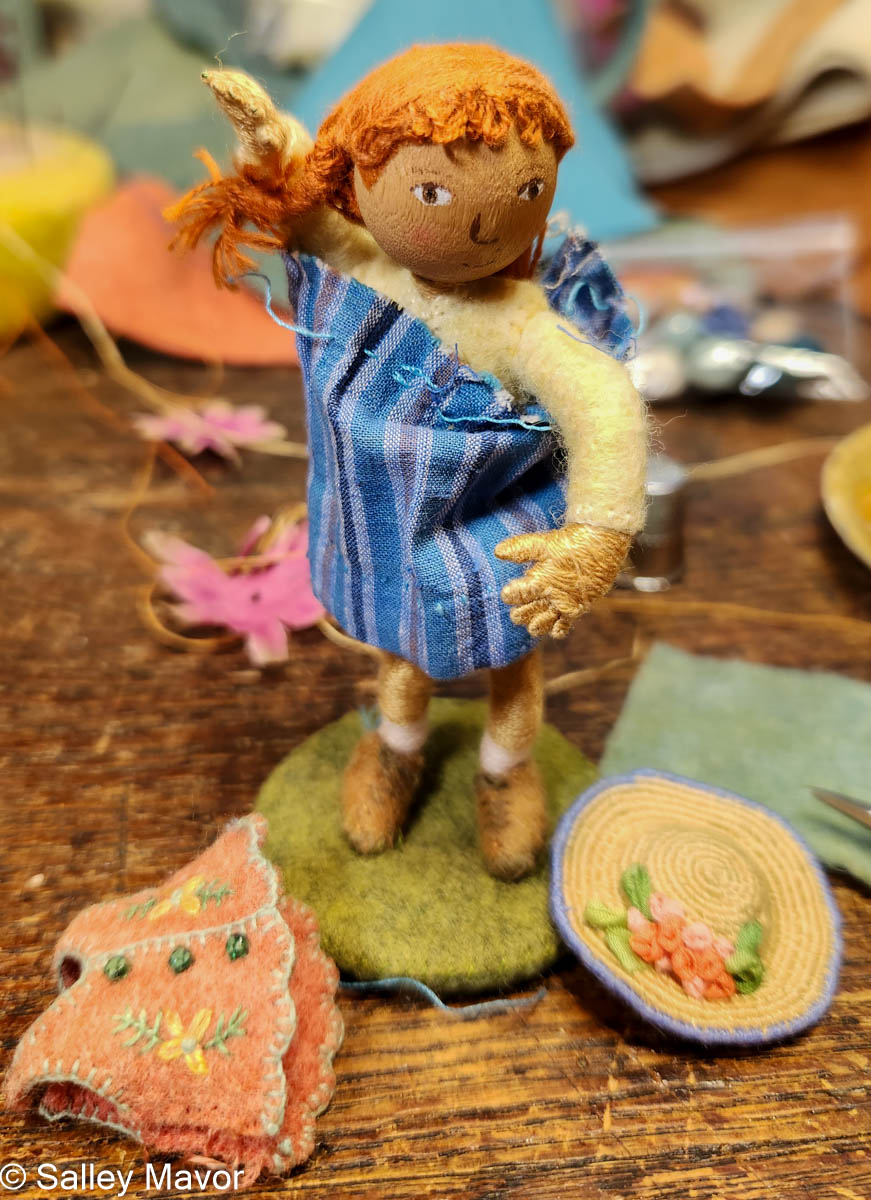
Getting undressed was a chore, requiring sharp tools to snip away the threads that have held Polly’s clothes in place through years of wear.
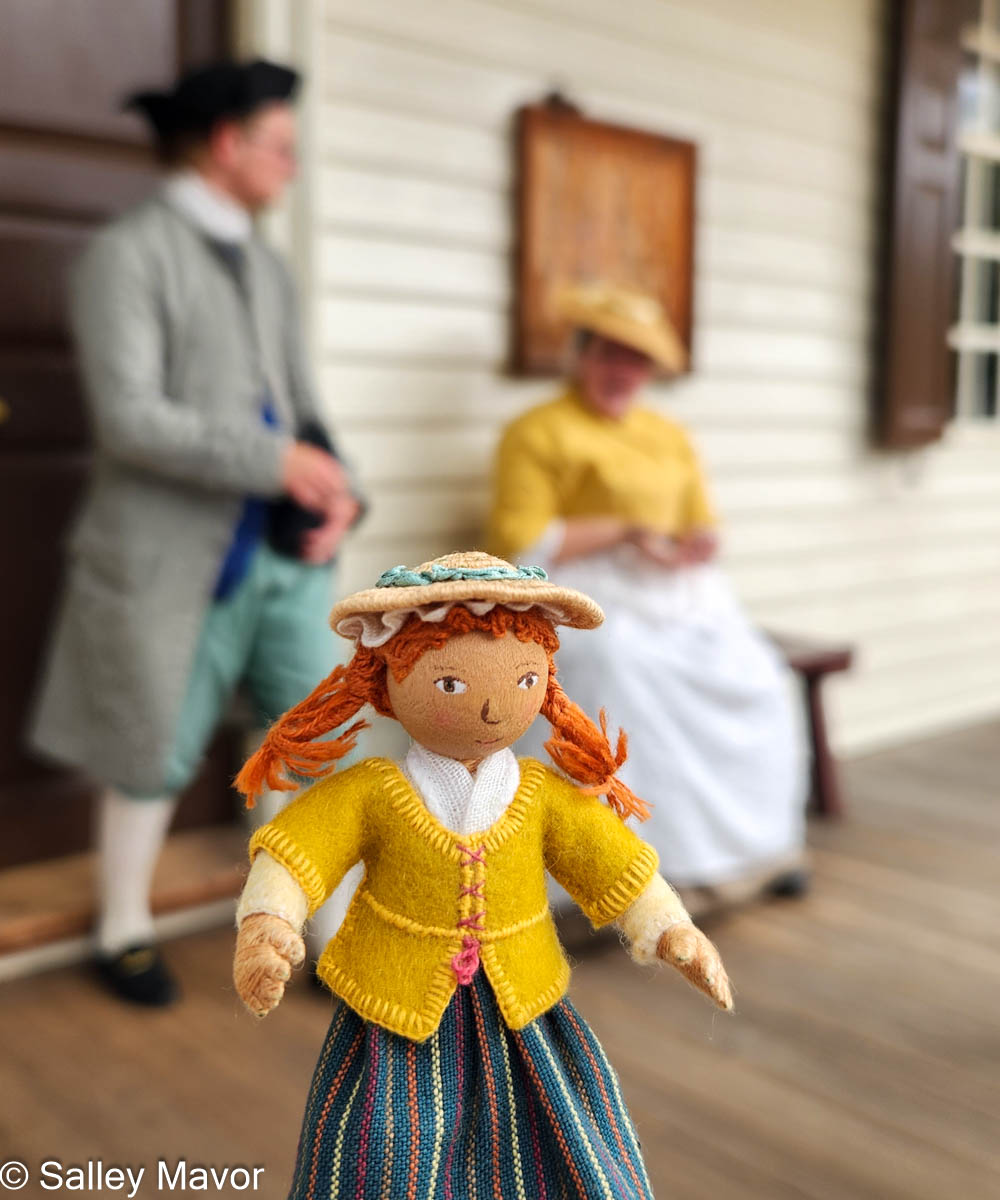
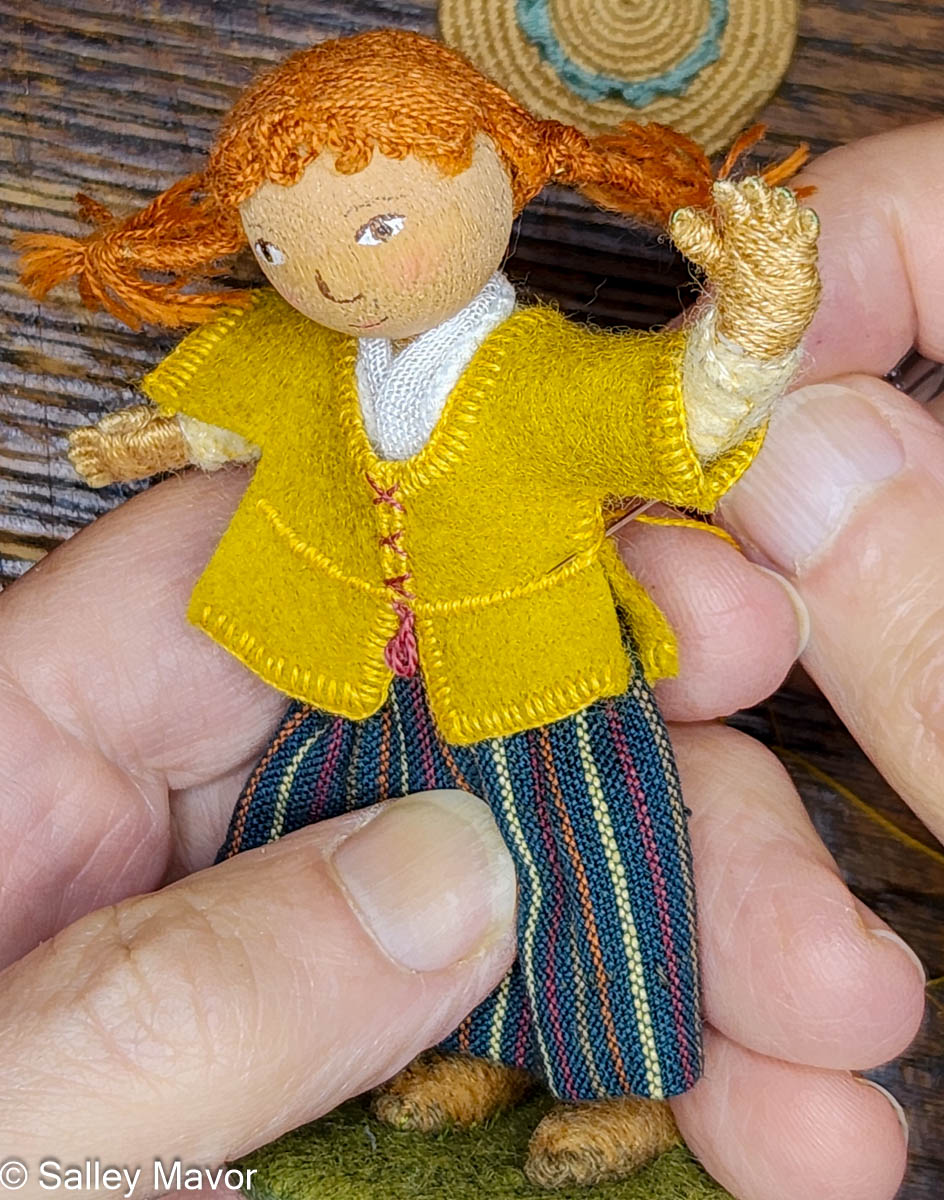
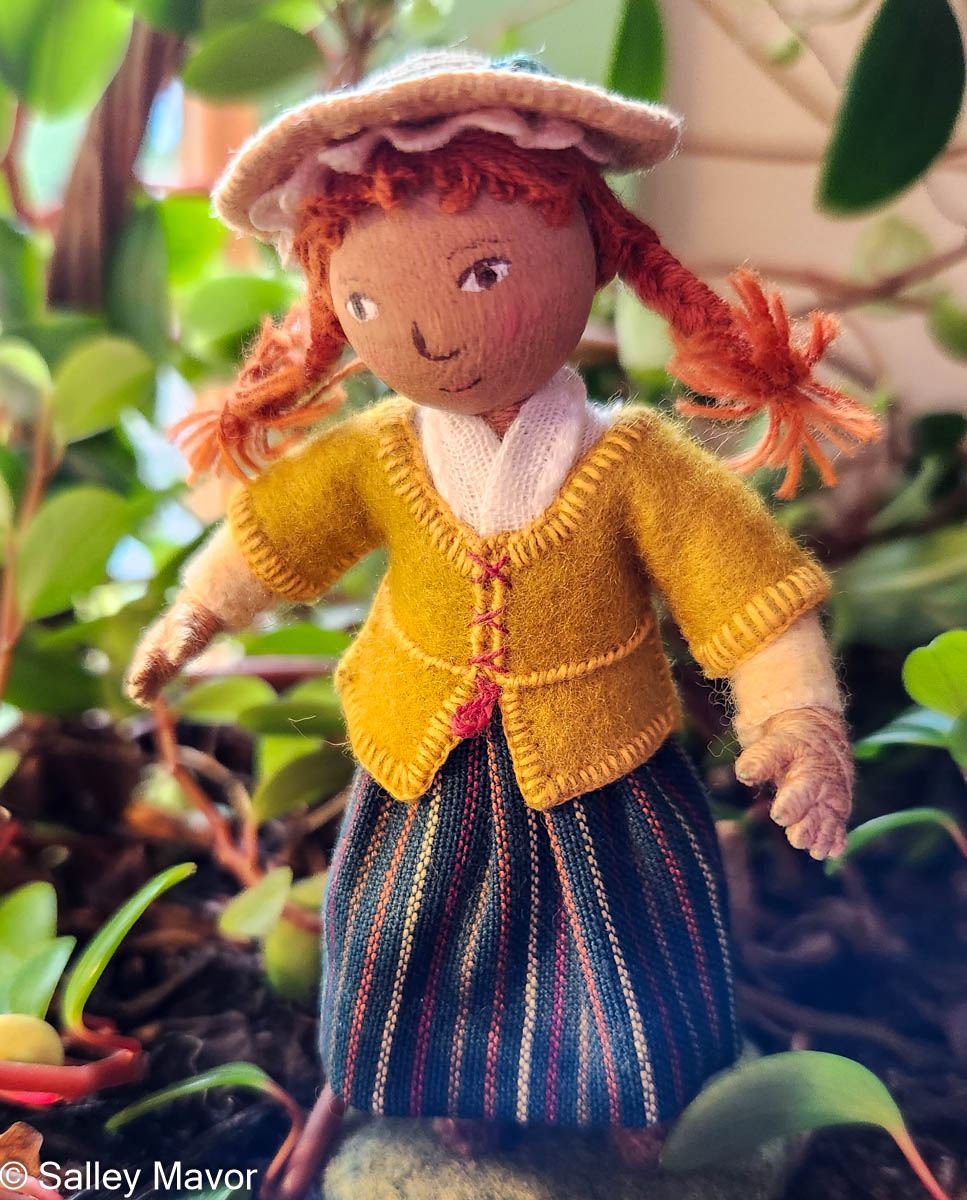
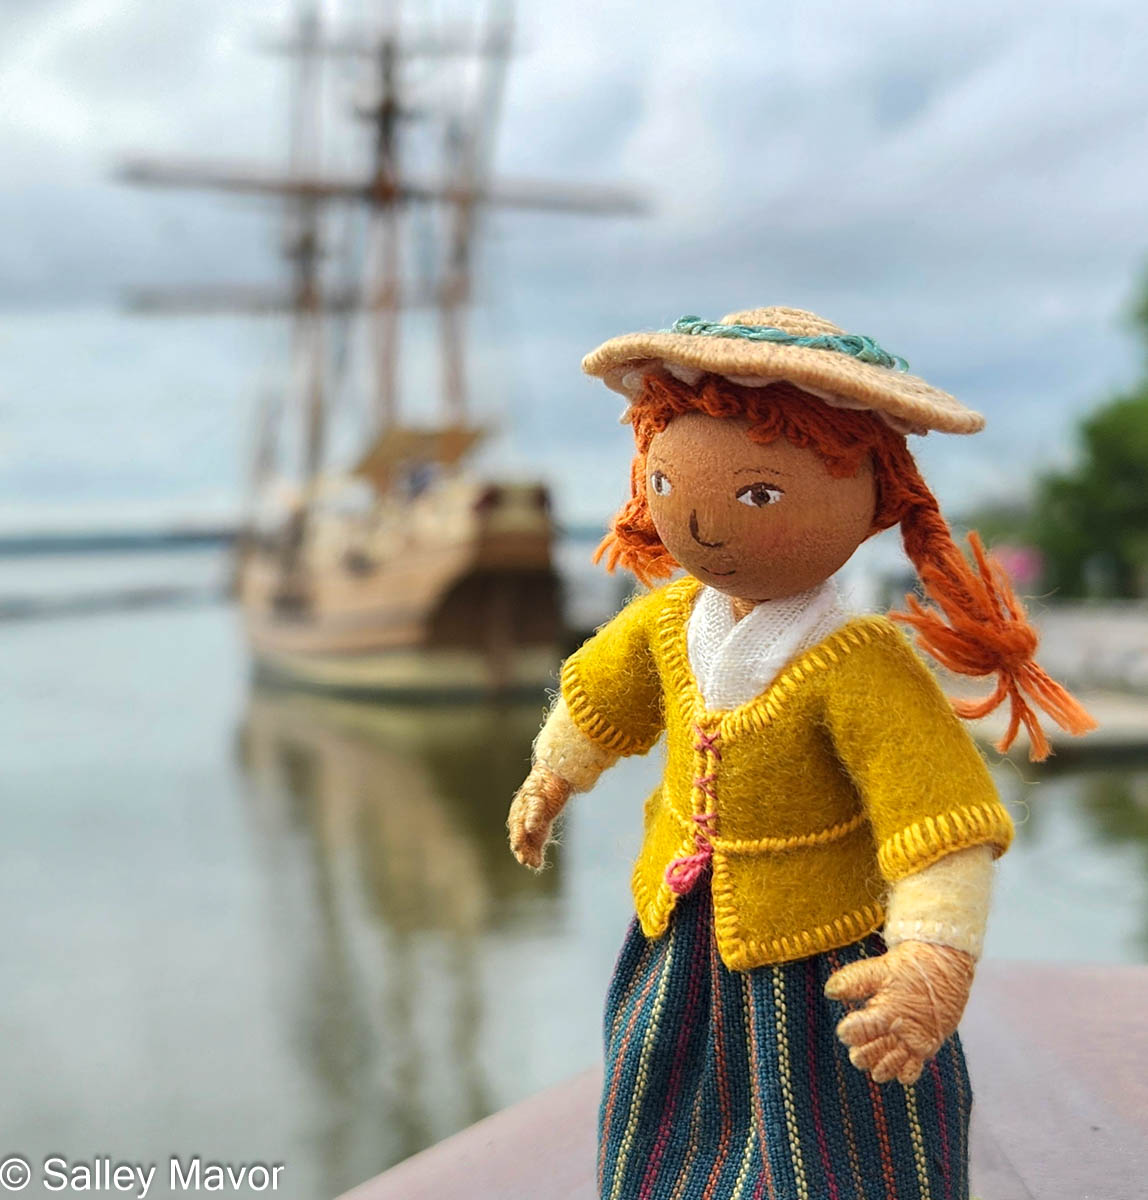
Polly’s new travel costume features a long skirt and a jacket, known as a short gown. When researching which colors were commonly used during this period in history, mustard yellow (presumably dyed with onion skins) caught my attention.
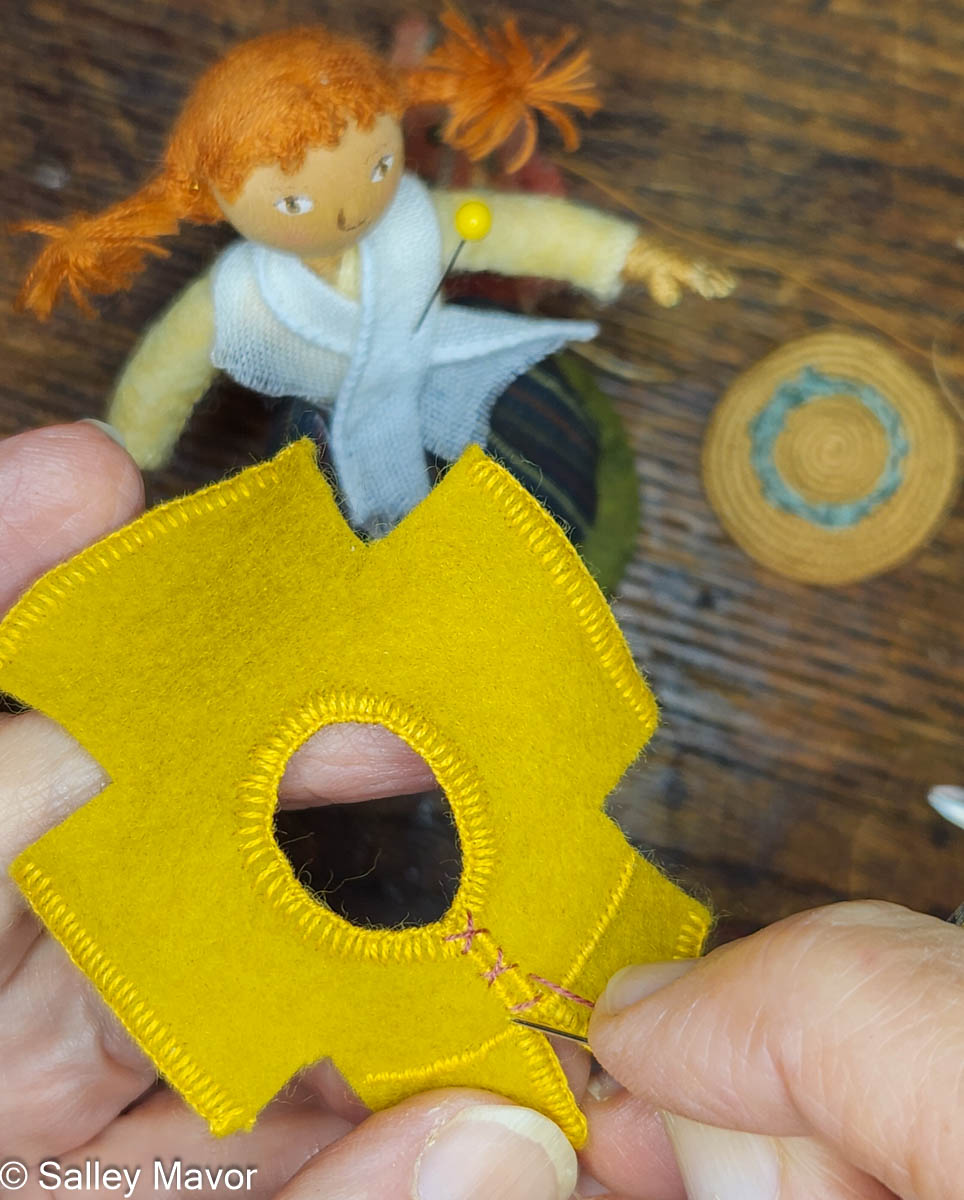
Low and behold, I found some mustard yellow wool felt in my stash! For the jacket, I adapted the fairy tunic pattern in my how-to book, Felt Wee Folk. After barely squeezing the neck hole over Polly’s glued-on bead head, I blanket stitched the front and back together along the sleeve and side seams.
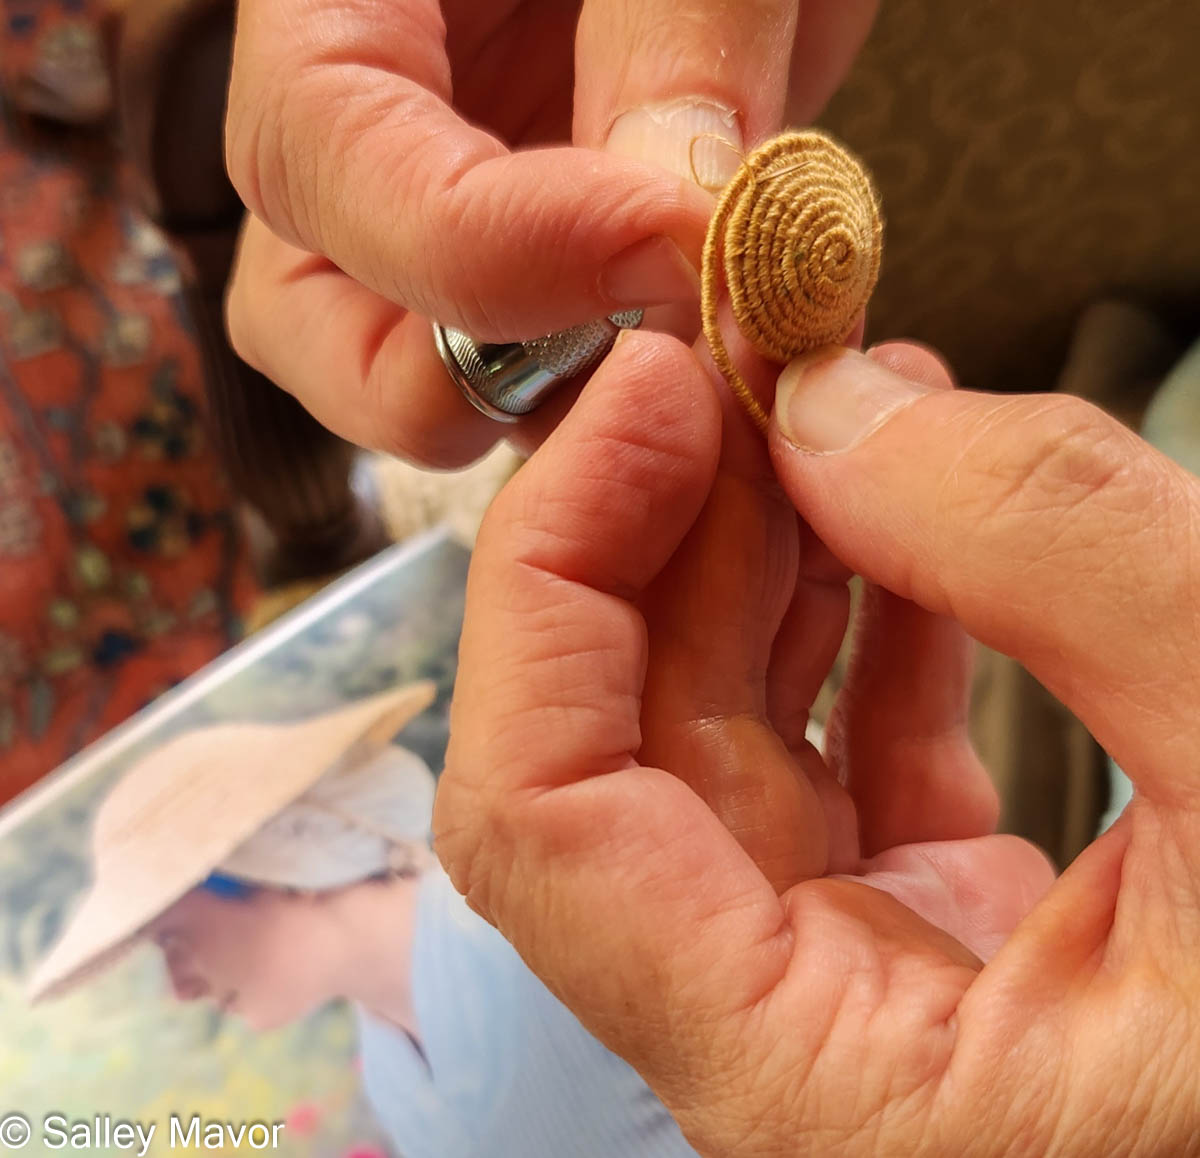
Polly’s signature straw hat has been part of style for years, but I decided to create a slightly different one that more resembled the hats women wore in Colonial America. To make the hat, I covered wire with embroidery floss and coiled it around, stitching each rotation of the spiral to the previous one.
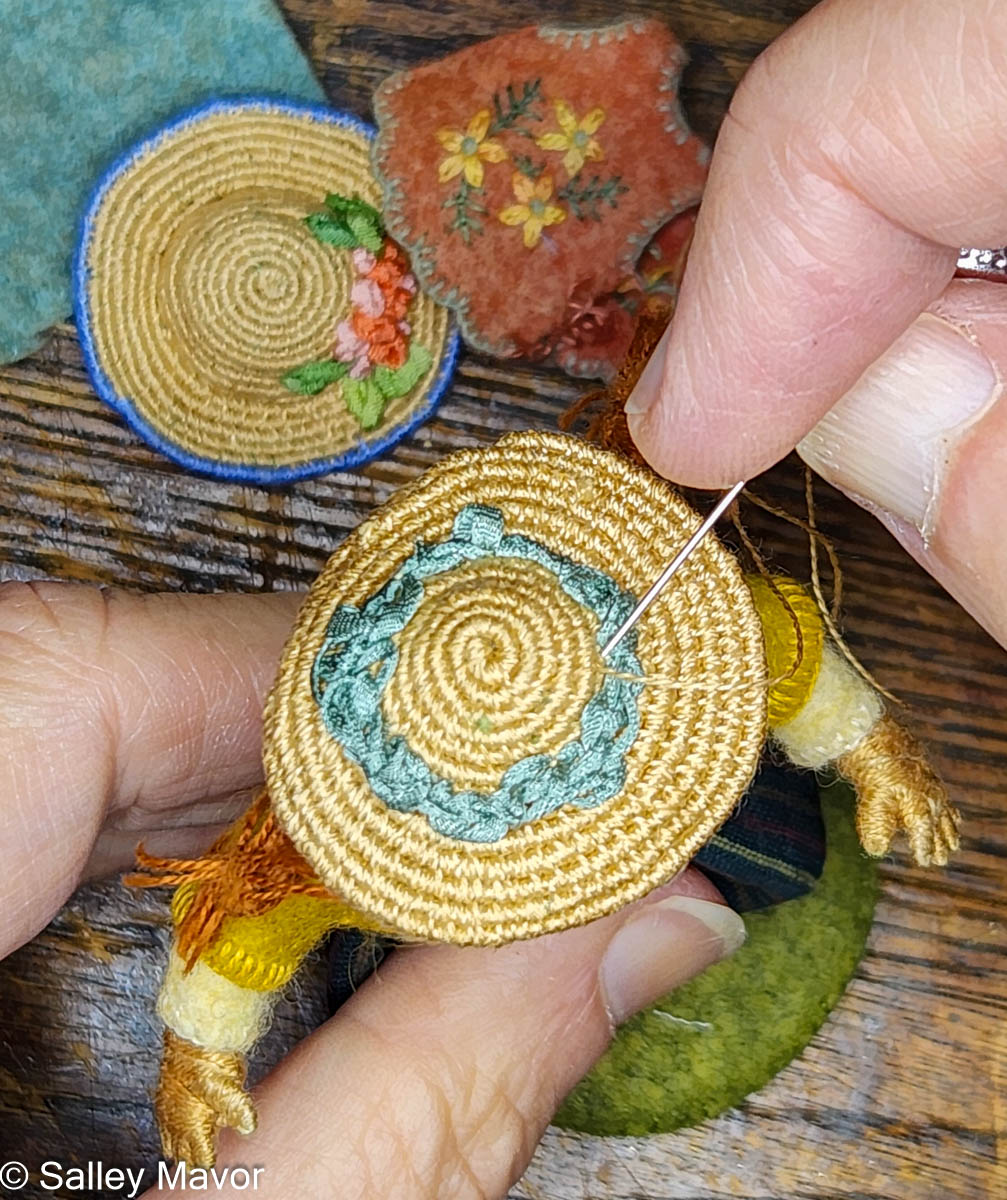
For a finishing touch, I looped and tangled silk ribbon around the crown, fashioning a decorative band similar to what I’d seen in pictures documenting the time period. Then, I sewed the hat to the top of Polly’s head, guiding the needle through her hat and into her hair.
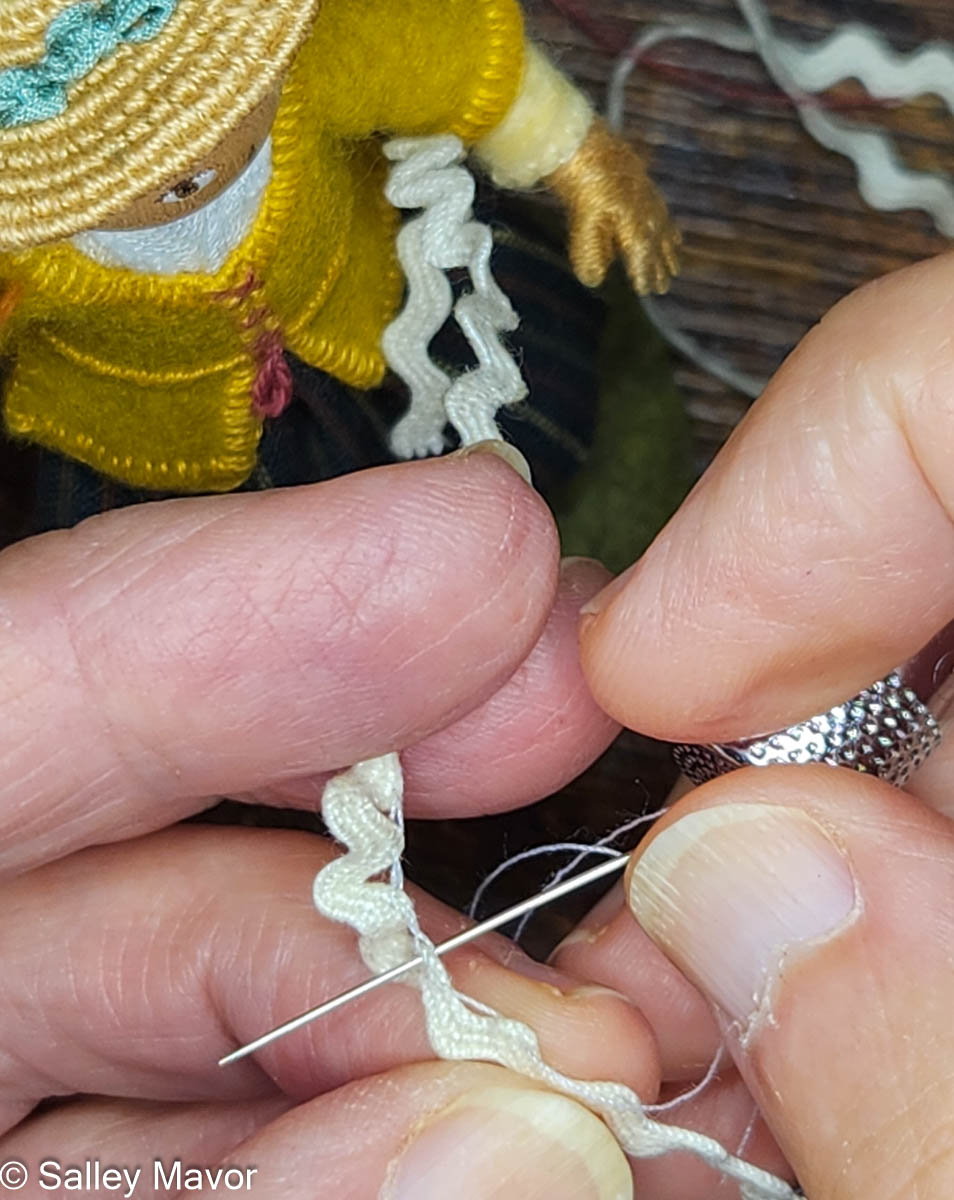
Up until this point, I had avoided giving Polly one of those silly caps women wore back then, because I didn’t want to cover her red braids, which are an important part of her identity. But, I could see that she needed something white and lacey under her hat to look respectable. So, I took some white ricrac, stitched it into a ruffle and sewed it around her head.
Here she is, all ready to go on a road trip south!
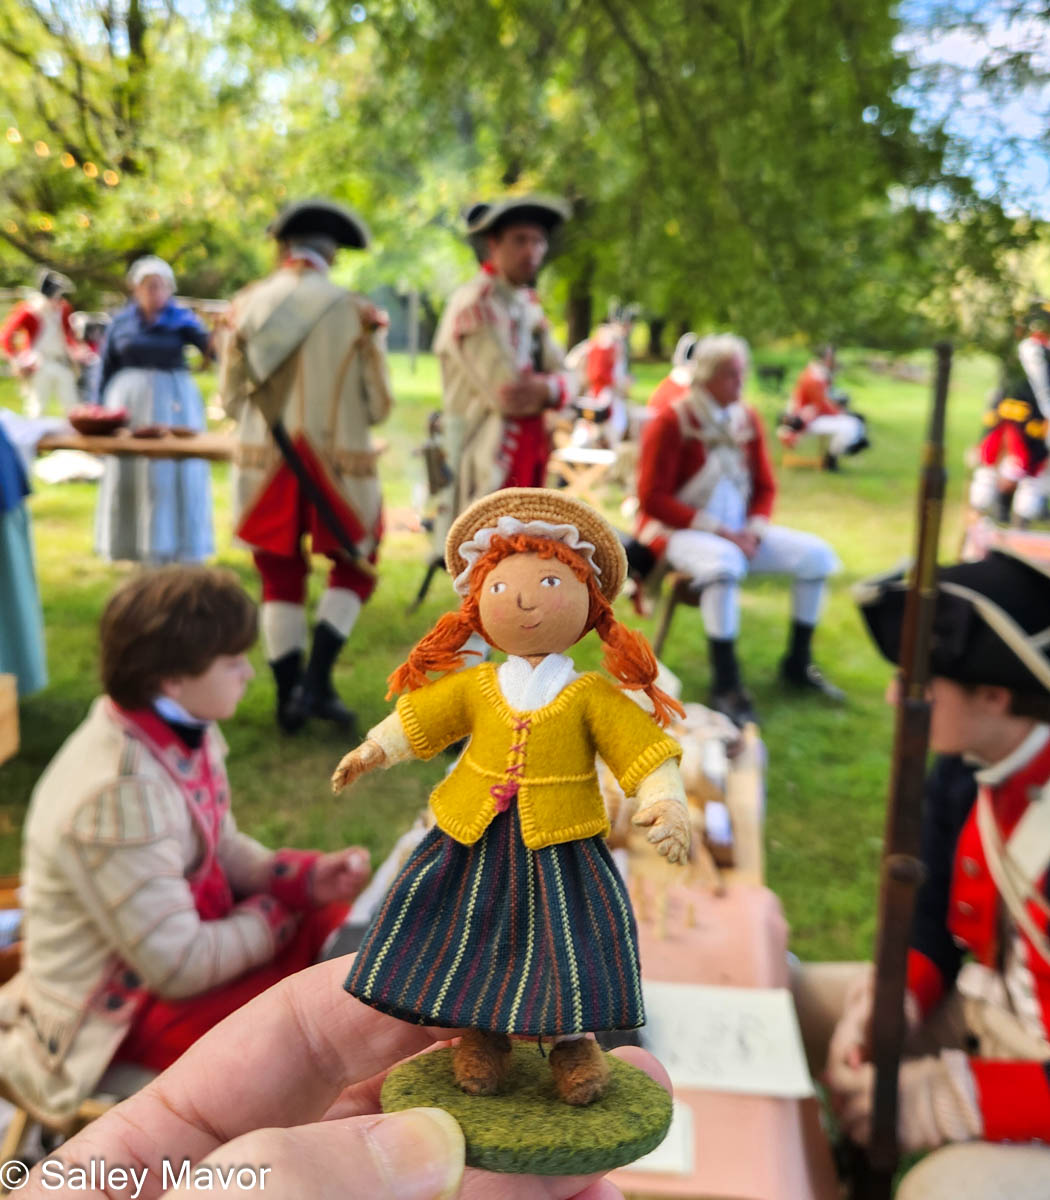
First stop was a Revolutionary War reenactment in Chad’s Ford, Pennsylvania, where she hung out with both the Crown Forces and the American Continental Army, who recreated the Battle of Brandywine.
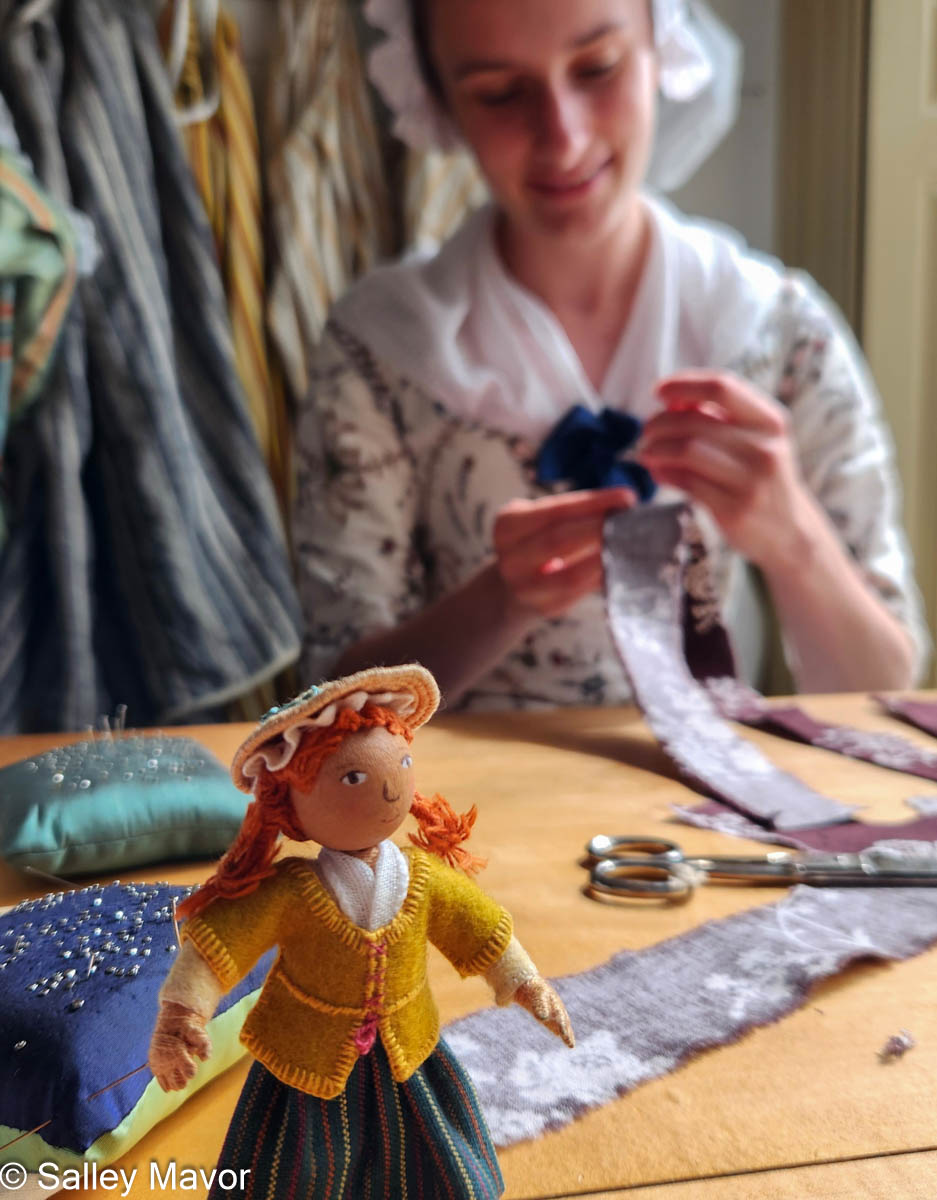
At Colonial Williamsburg in Virginia, Polly strolled along Duke of Gloucester St., visiting various businesses, including a milliner’s shop.
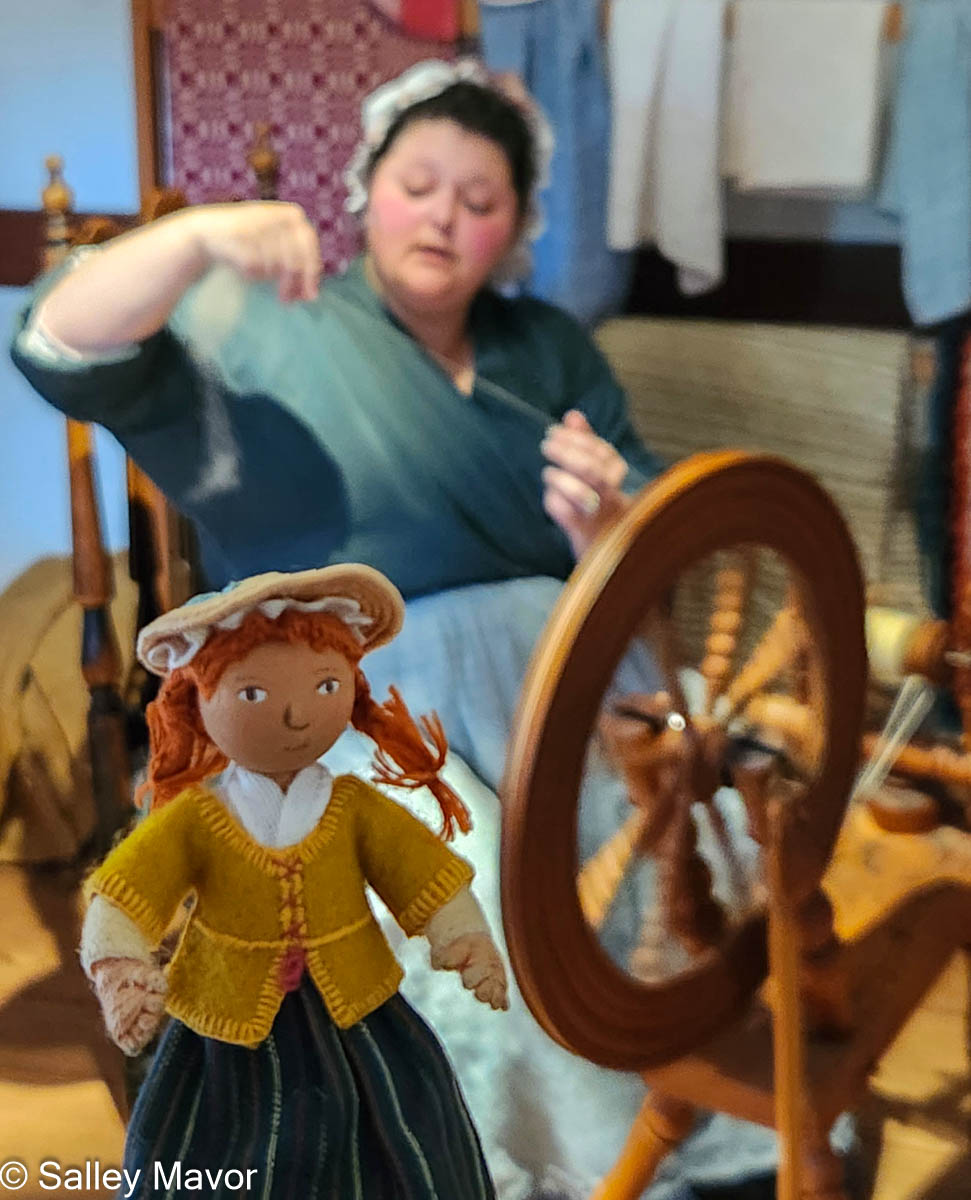
Further down the street, she watched a spinner at work.
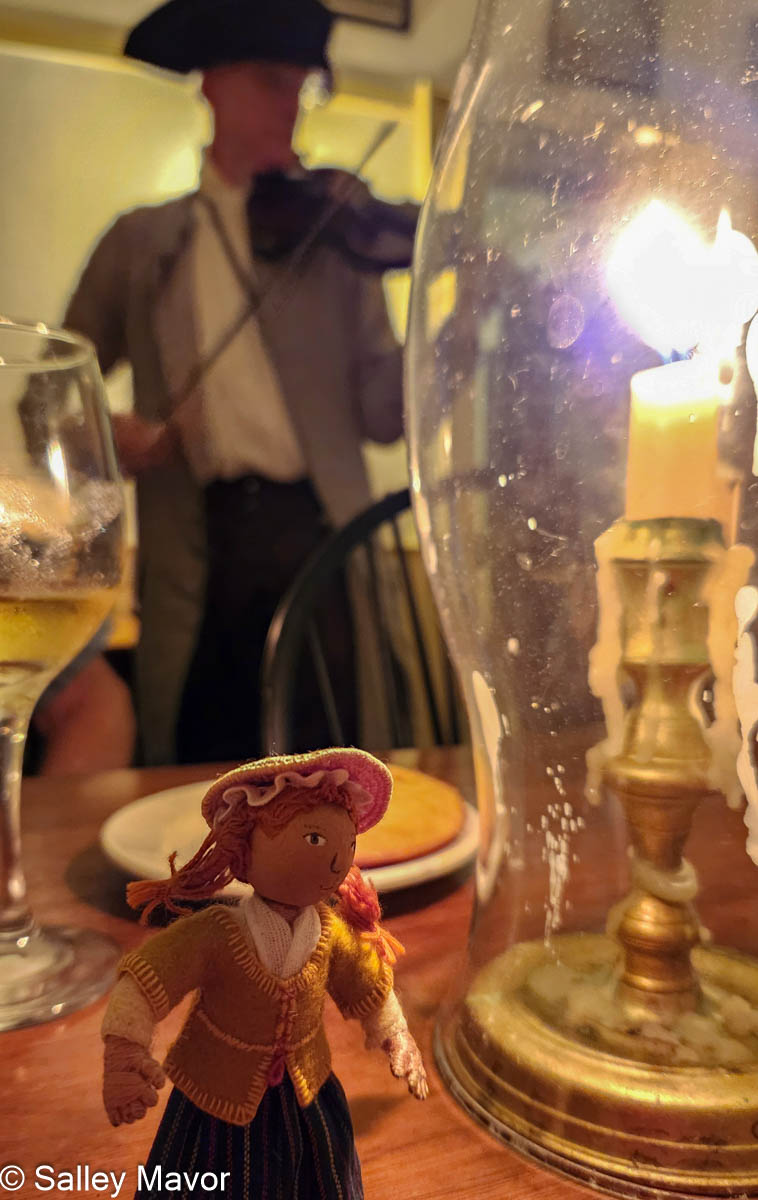
In the evening, she dined by candlelight at Christina Campbell’s Tavern, which was George Washington’s favorite seafood destination.
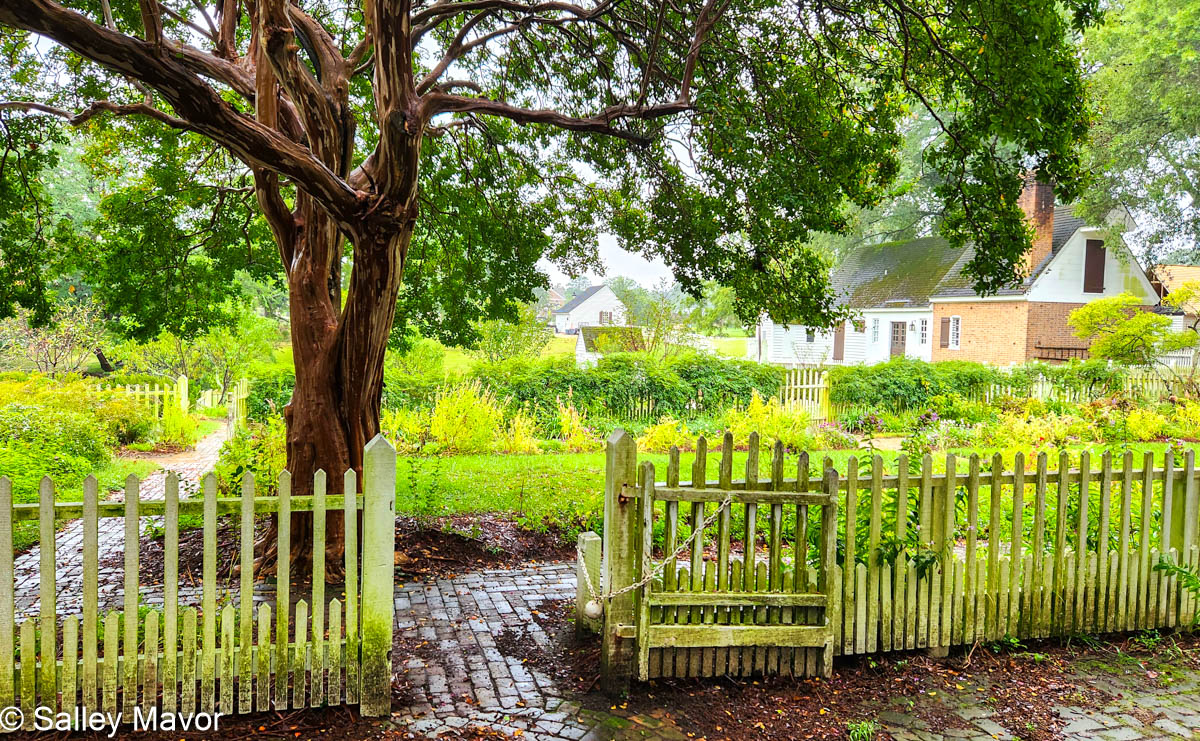
Everywhere she looked in Williamsburg, from the busy streets to tranquil backyard gardens, Polly felt emersed in an 18th century Colonial American world.
While in the area, Polly visited the Jamestown Settlement, where she went back even further in time to 1607, when ships from England first arrived in America.
Polly is glad to be back home, where she will soon change back into her familiar blue skirt and red vest. Since Polly came into being in 2012, she has been all over the place, dressed in suitable attire for each new adventure. To see her complete travel log and wardrobe, go here.
To keep up with new posts, please subscribe to this blog. Your contact info will not be sold or shared. If you’d like to see more frequent photos tracking the projects in my studio, please follow me on Facebook, Instagram and BlueSky.