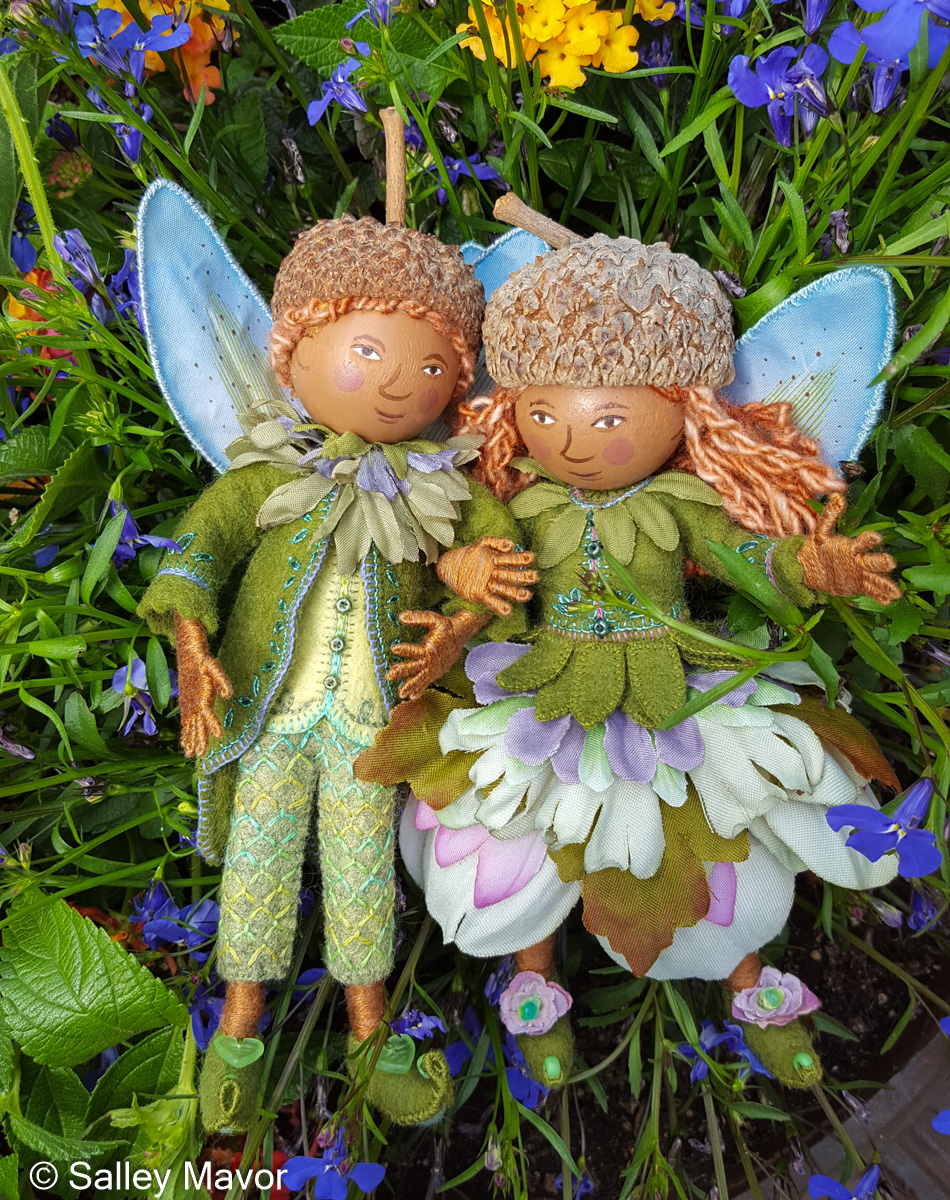
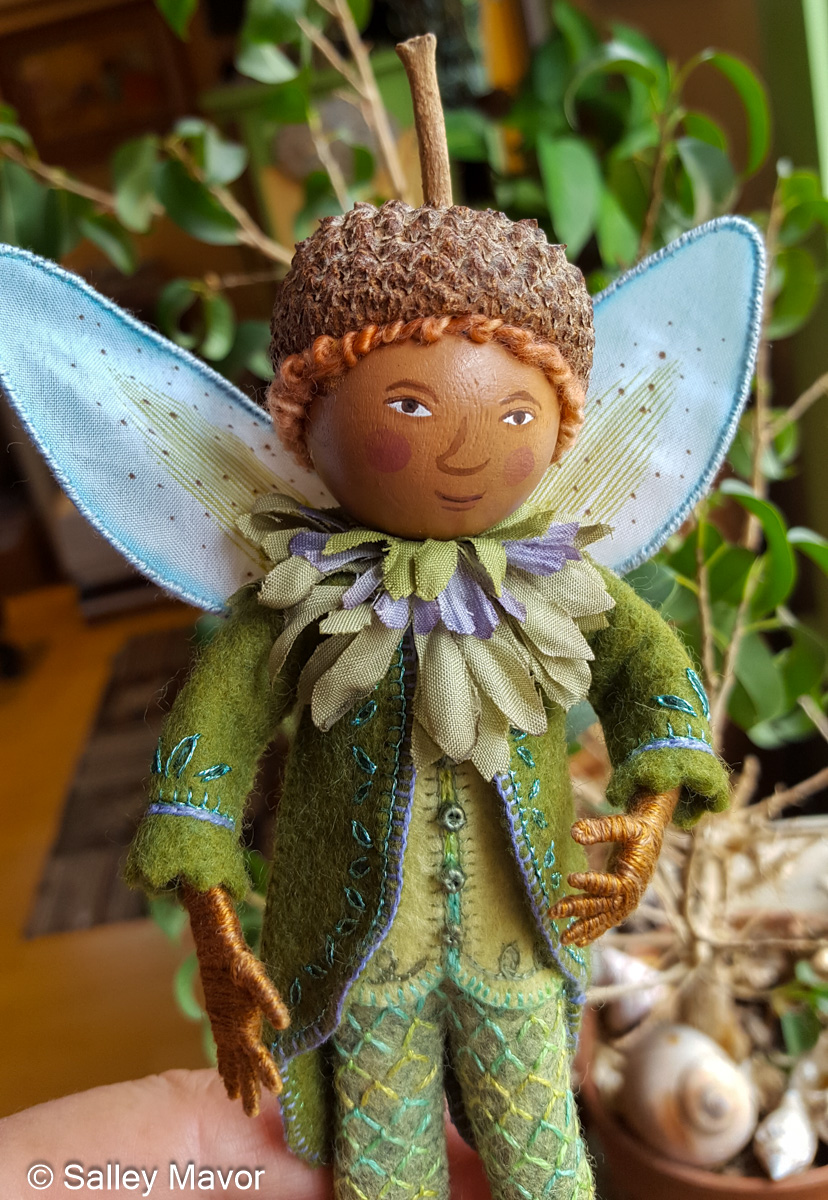
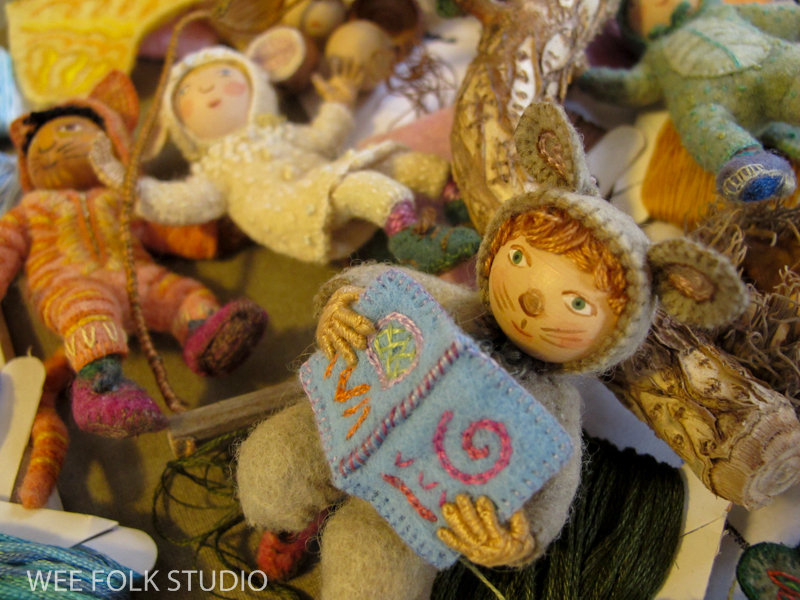
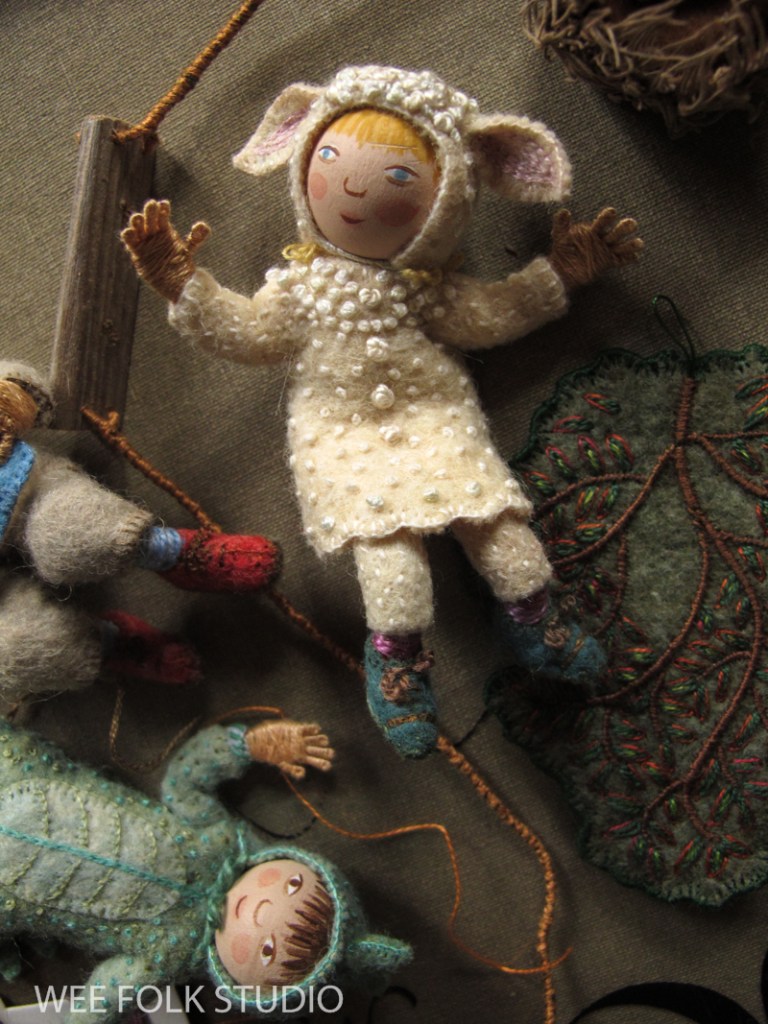
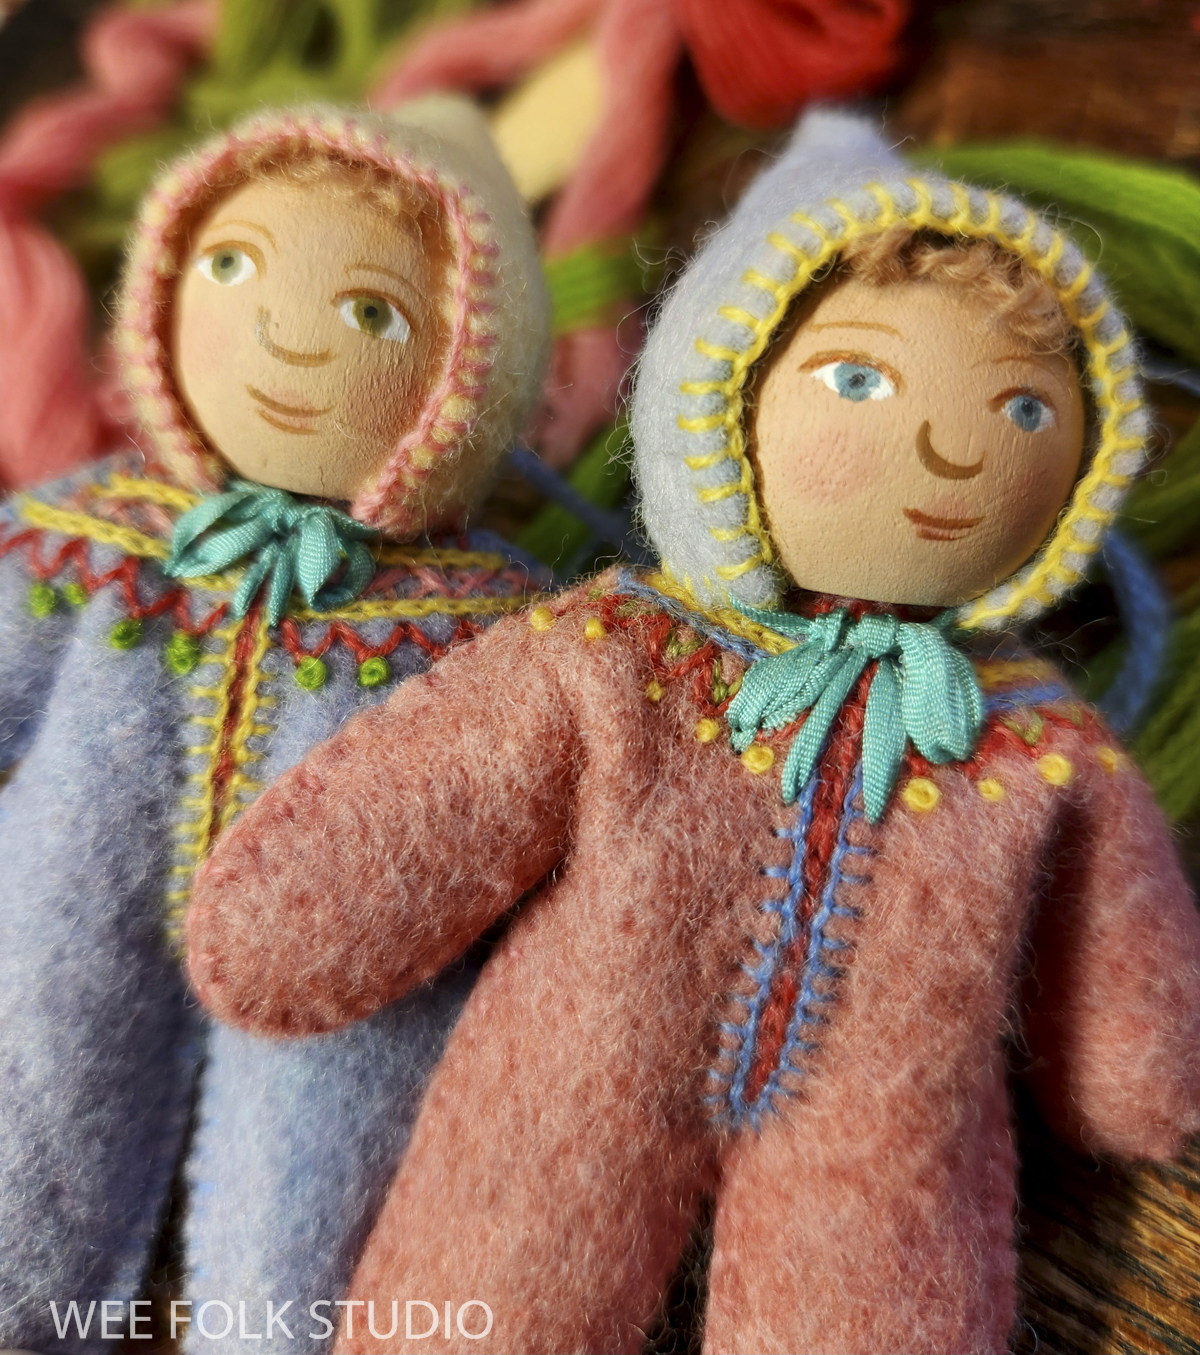
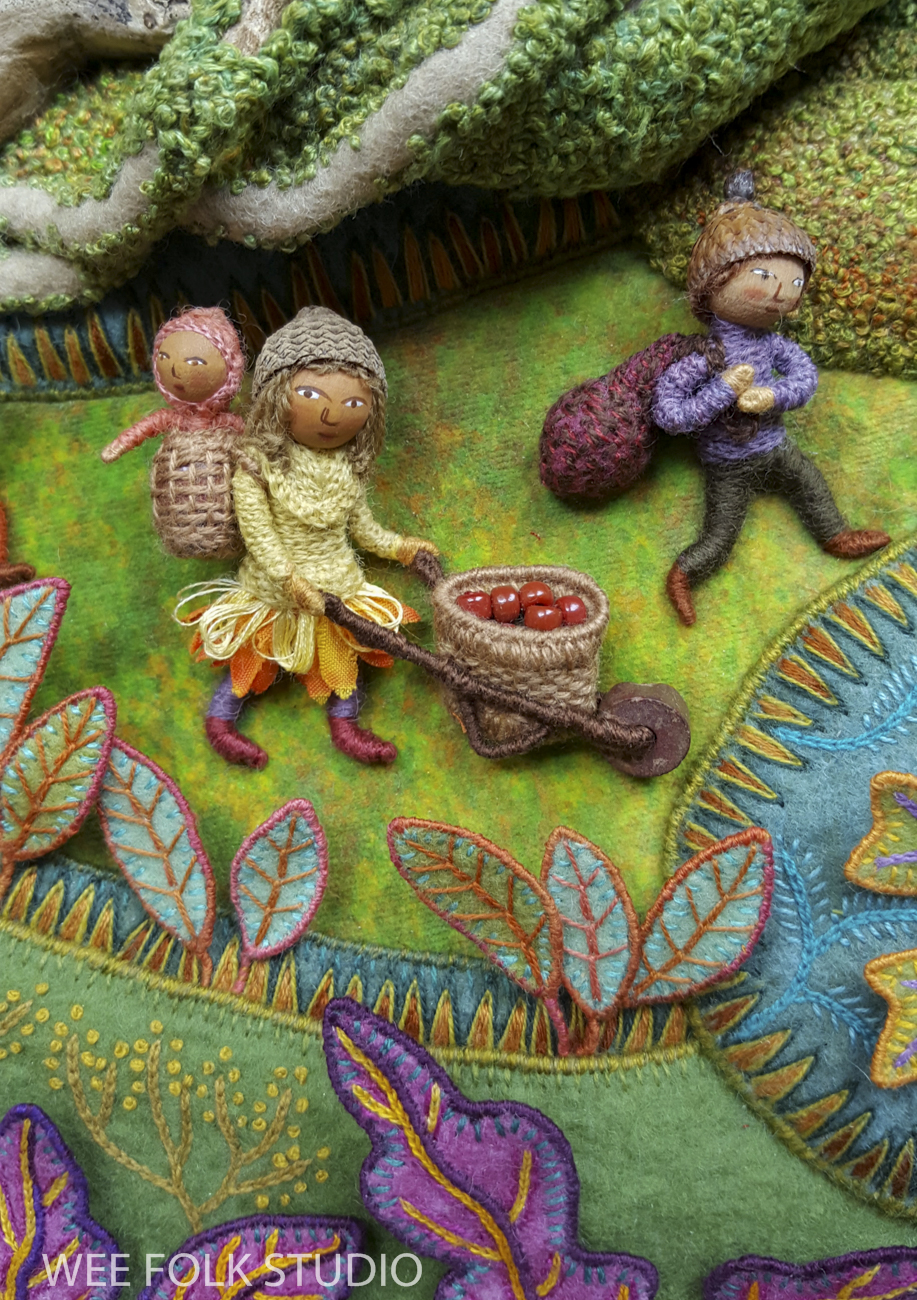
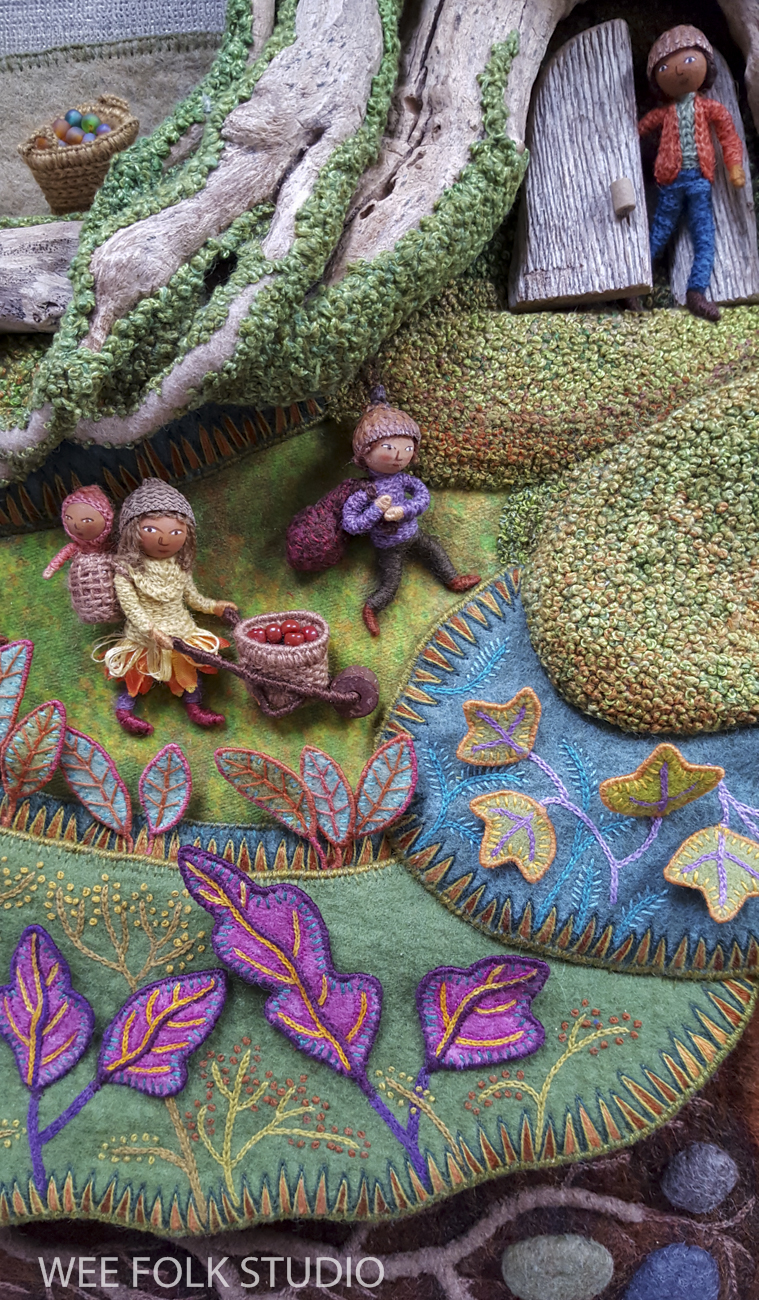
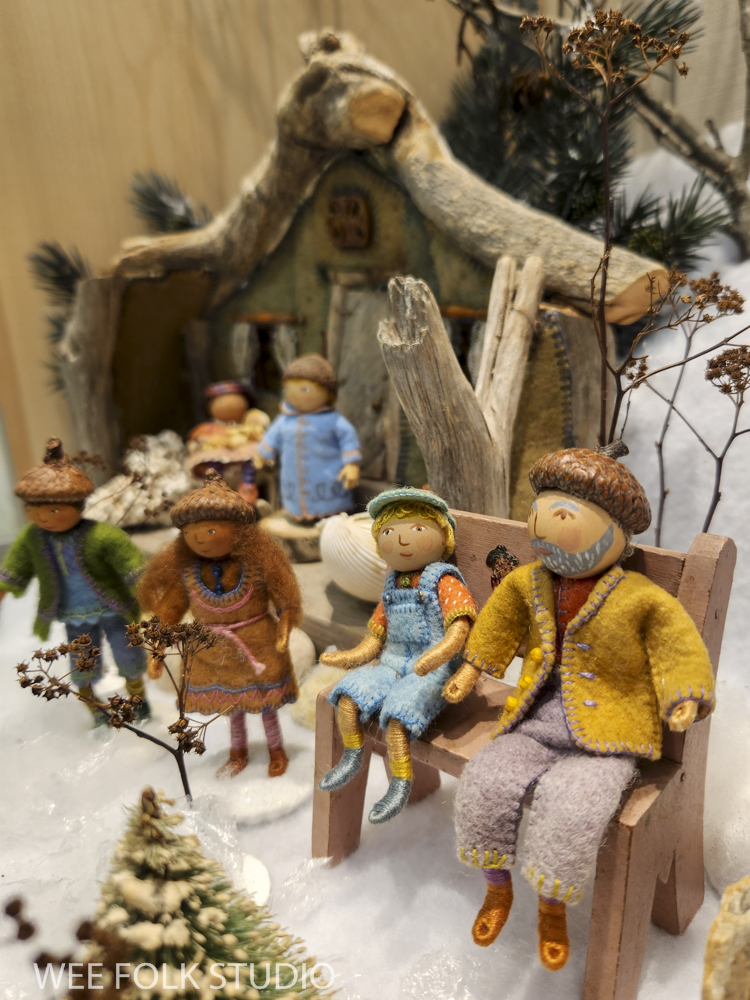
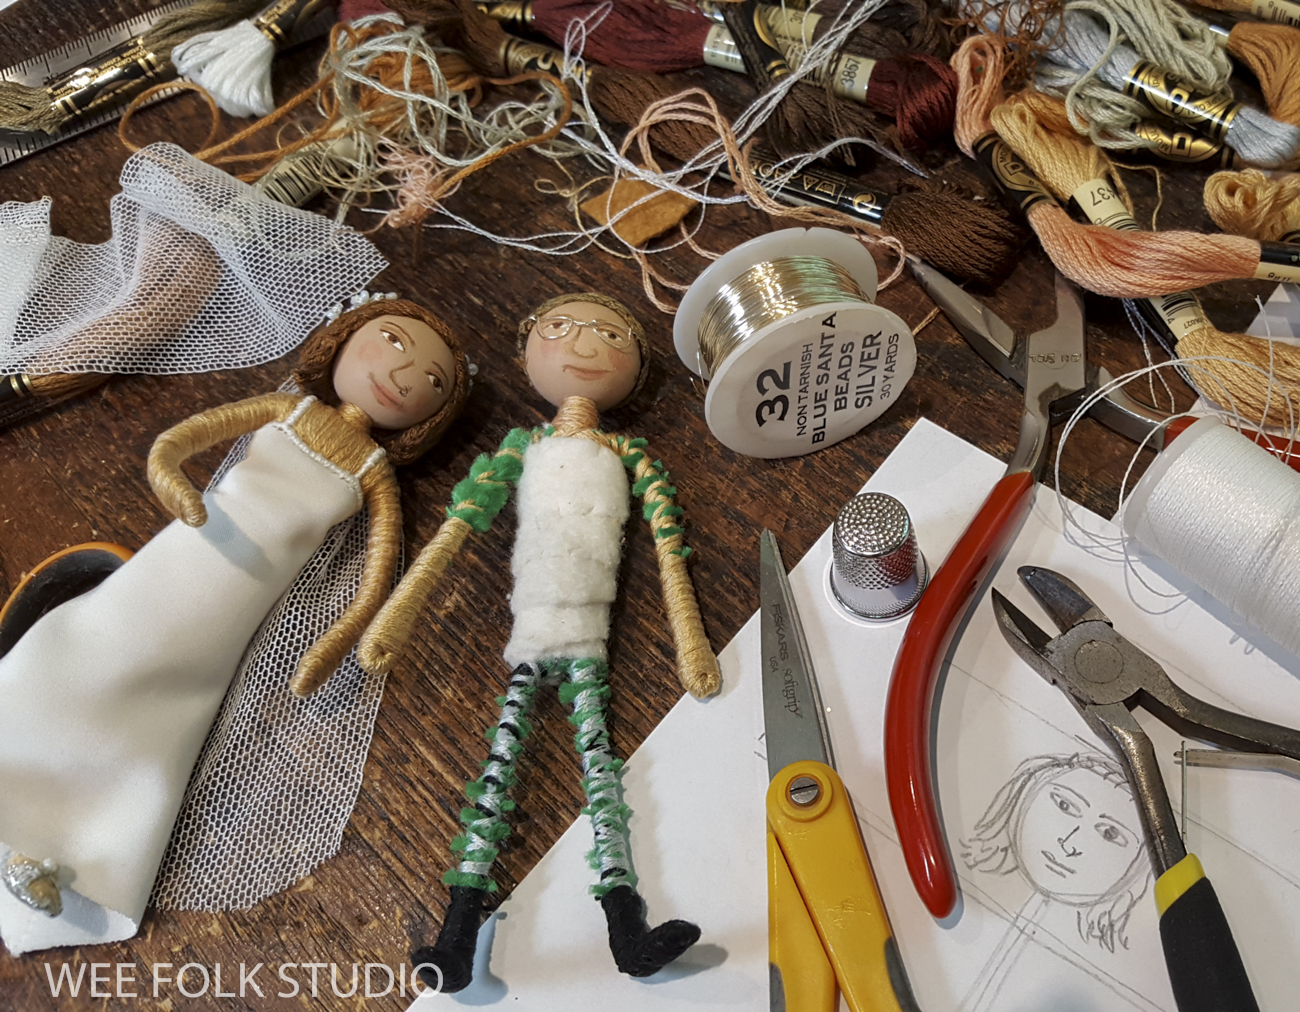
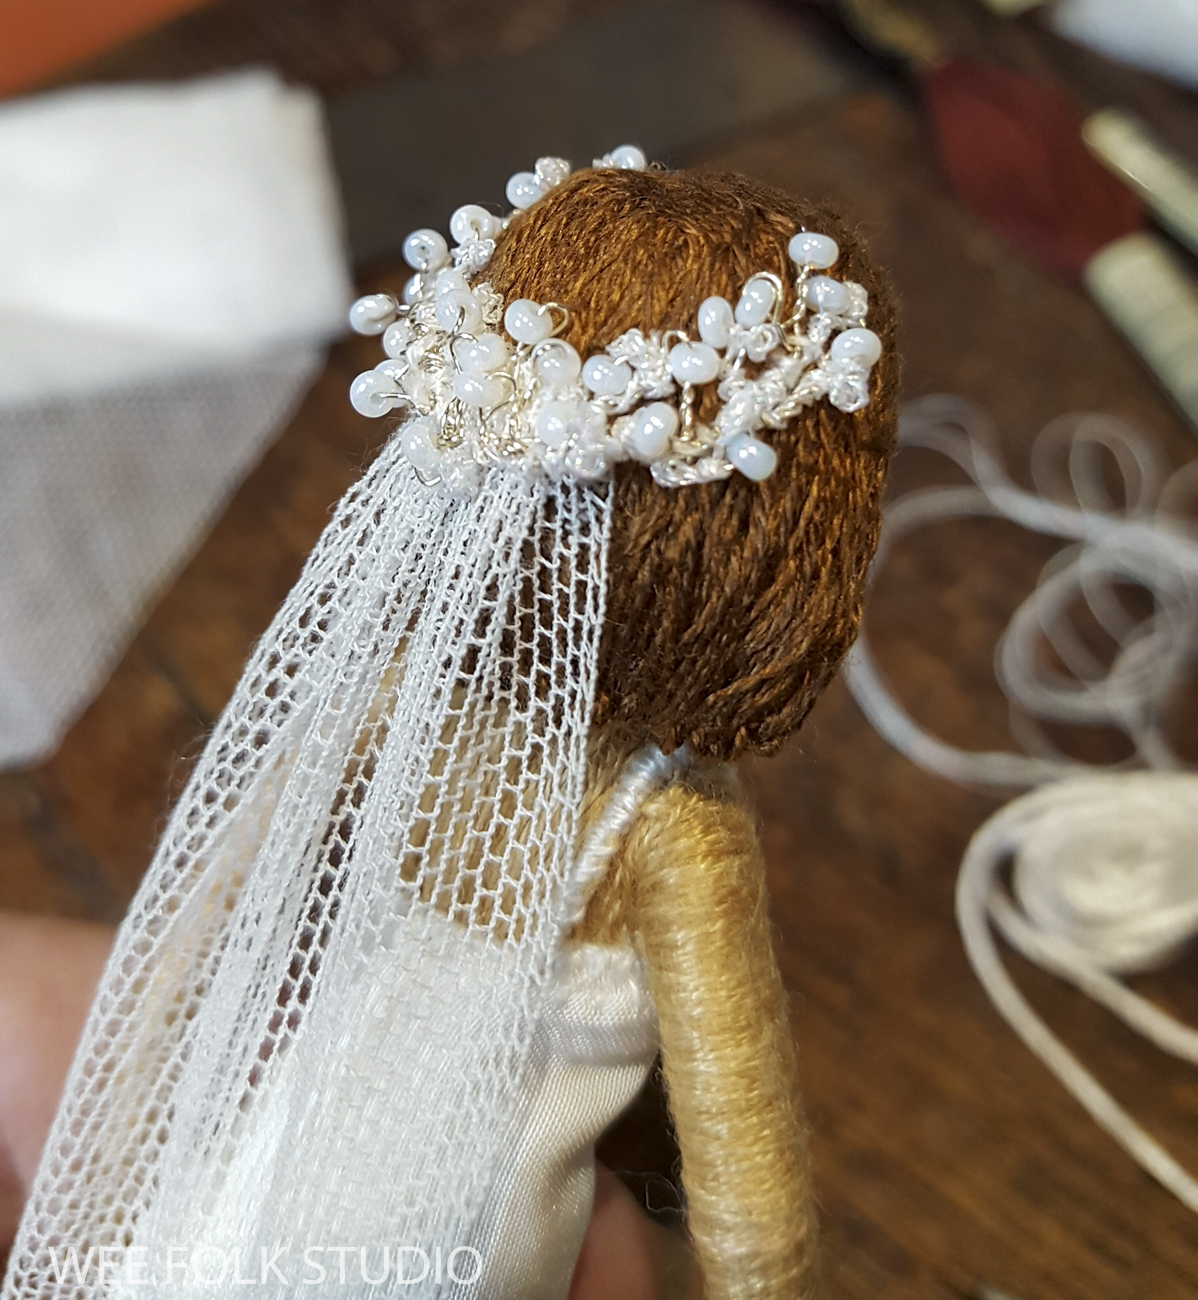
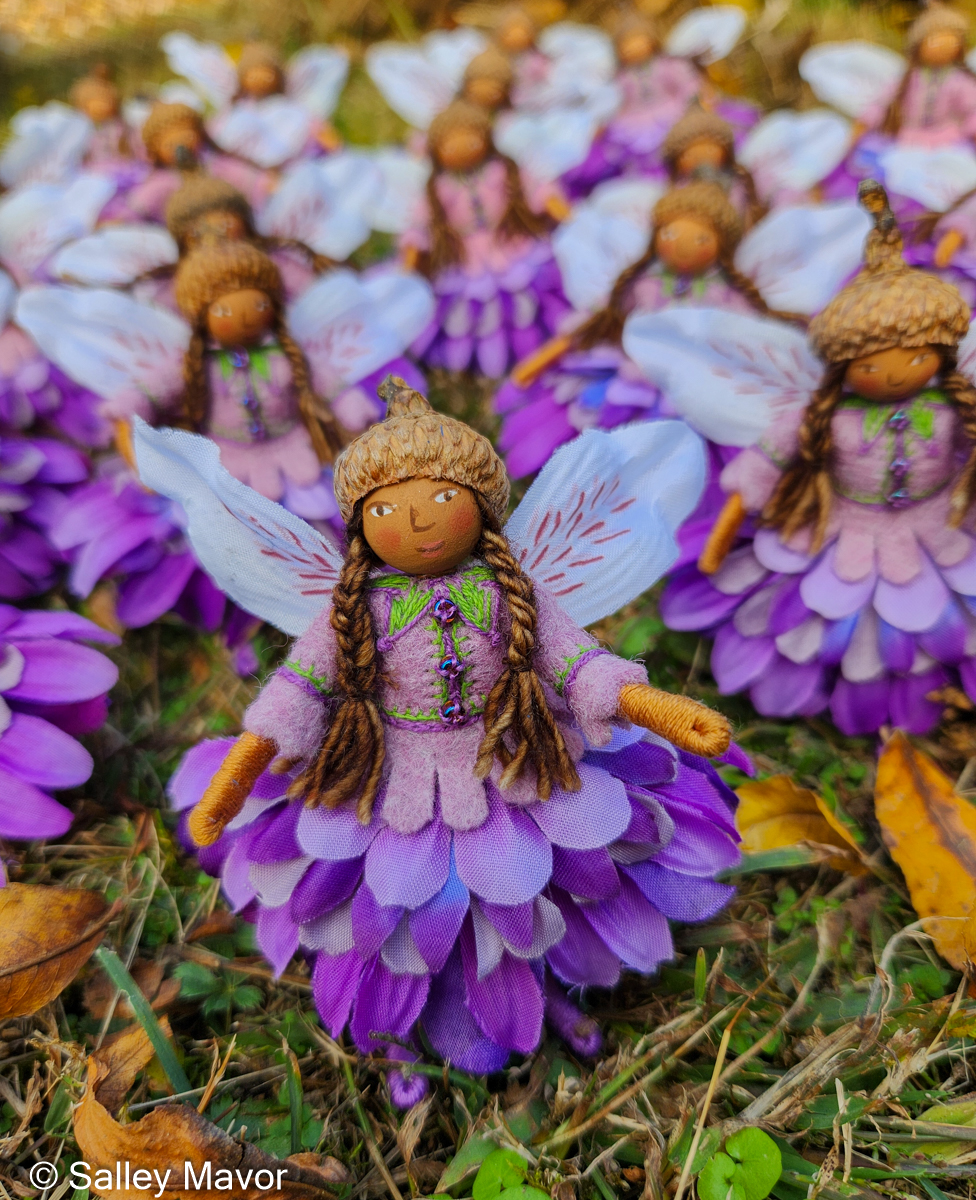
I’d like to introduce AMETHYST and CAMILLIA, two new Ltd. Edition Fairies. How can that be? I keep saying that I don’t sell dolls. But this is an exception because I needed something to do on our recent train trip across the country!

UPDATE: The fairies sold out in 7 minutes!
Both sets of 24 dolls are dressed, coiffed and winged and will be ready to fly off to their new homes on Saturday, Nov. 23, 2024 at 10 AM (Eastern US time). They will be sold for $100 each through my Etsy Shop on a first come, first served basis, so please act quickly if you really want one! Sorry, no pre-orders ahead of time. I realize that 10 AM on Cape Cod is in the middle of the night for those of you on the other side of the world, but I can’t figure out how to make it perfectly fair for everyone.

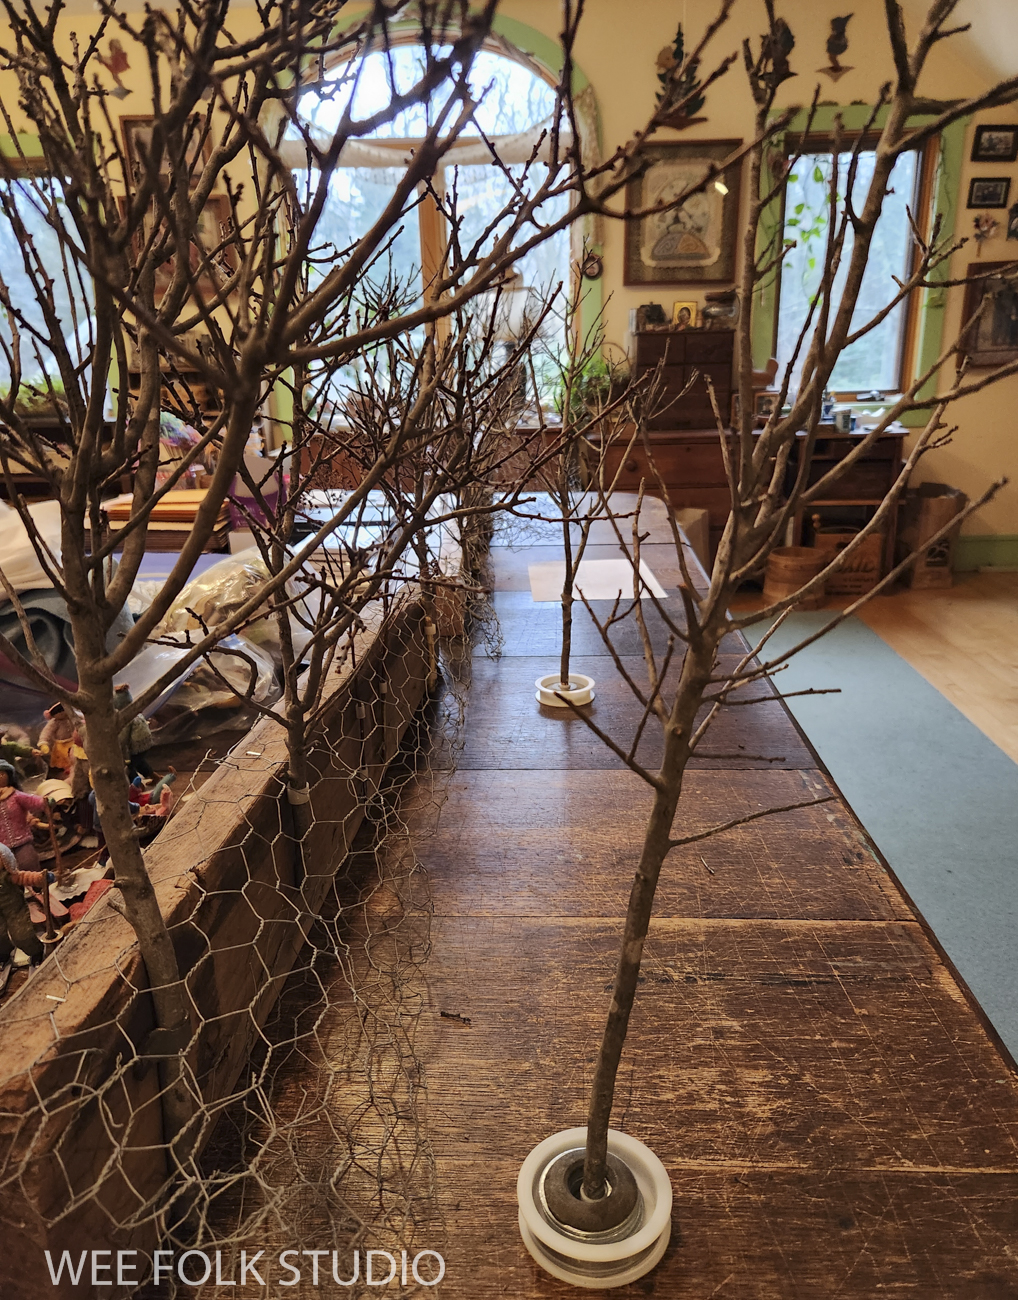
Despite my intention to move on, I haven’t weaned myself entirely from making fairies. It’s a nice relaxing, portable activity when traveling. I’ve had to put limits on myself at home or else I would make them all the time, instead of pushing myself to do new work.

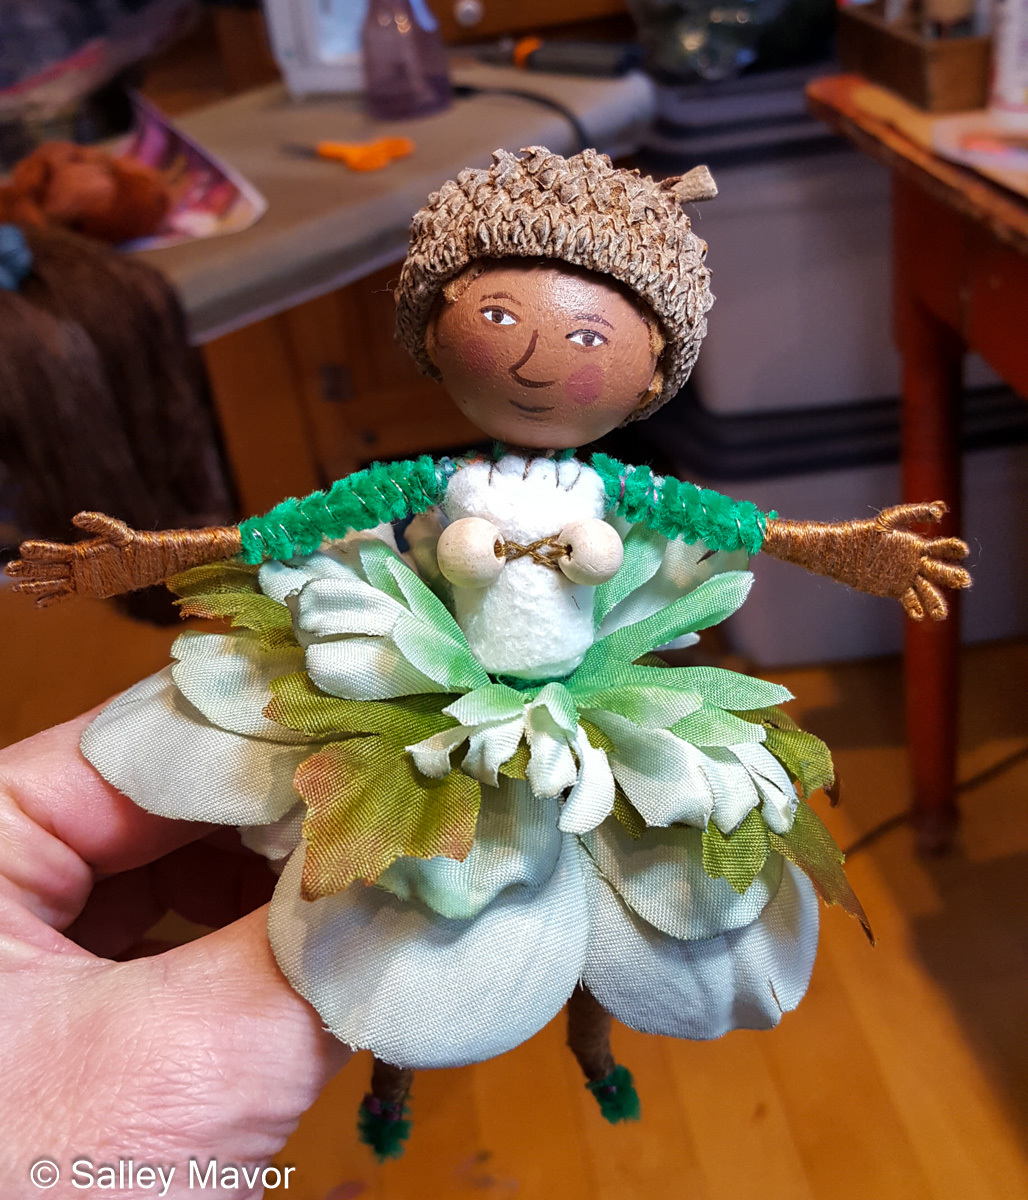
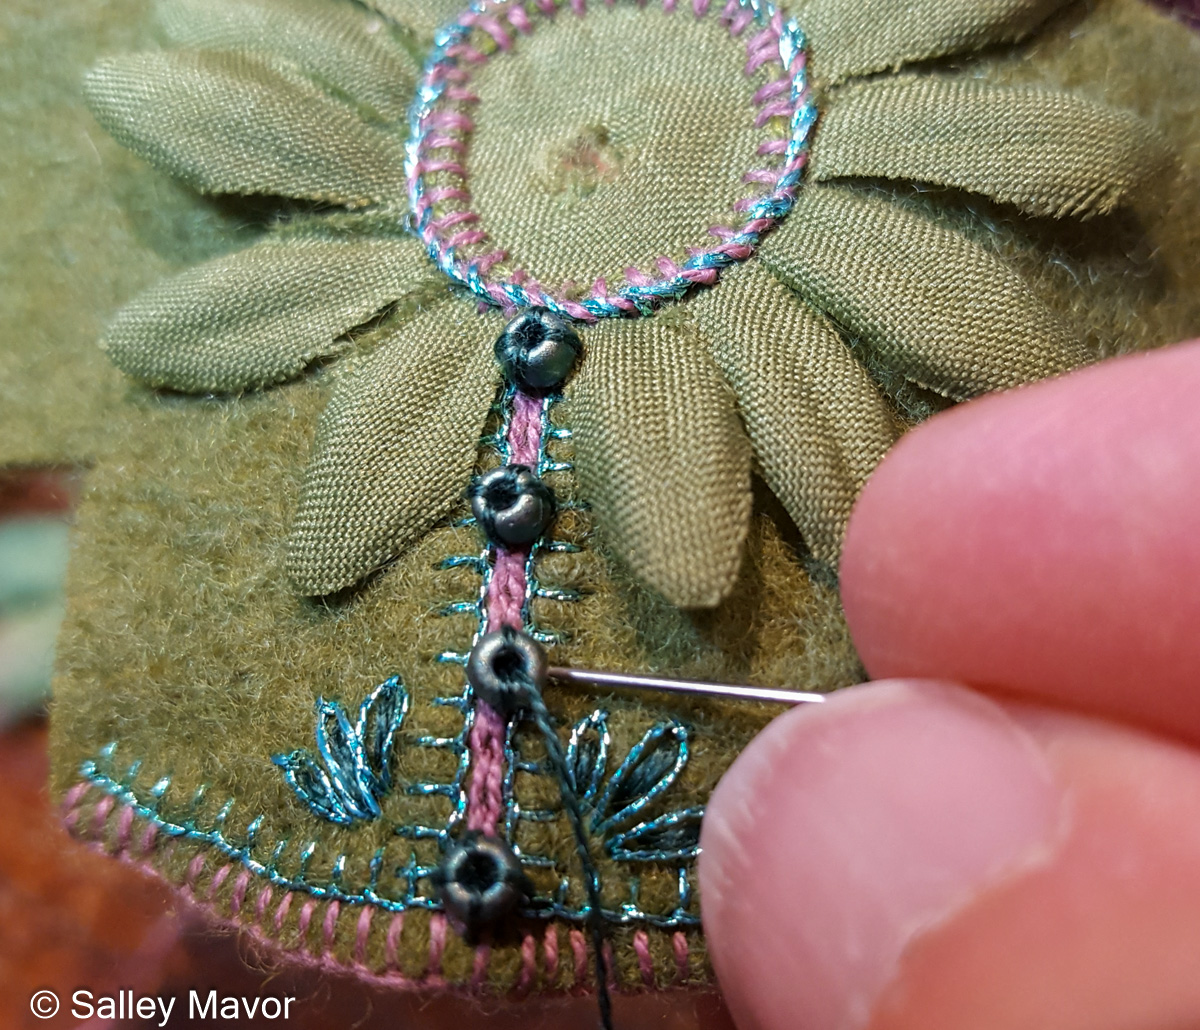
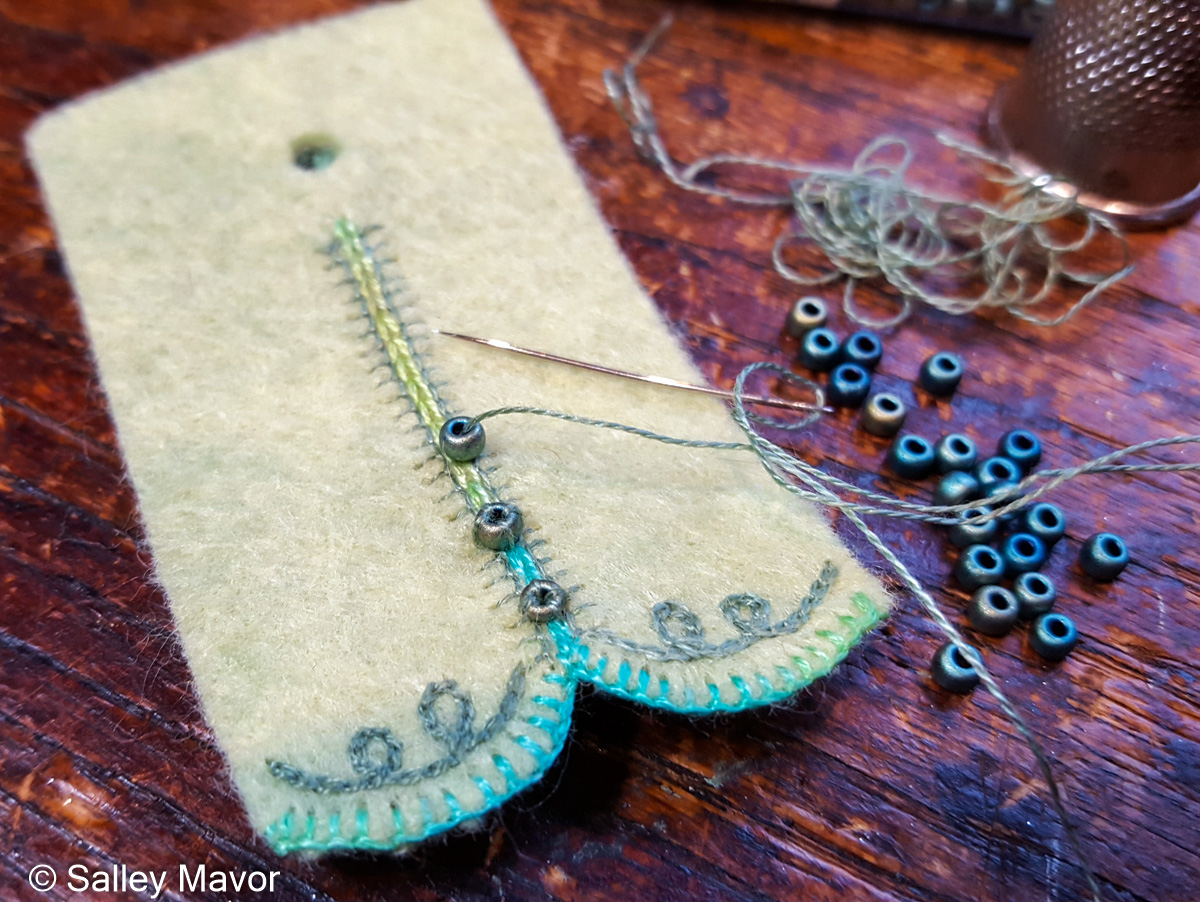
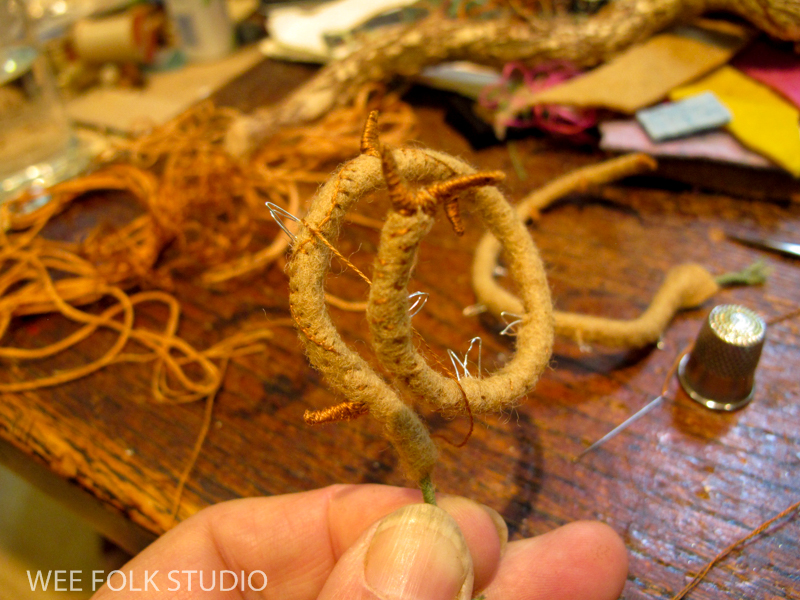
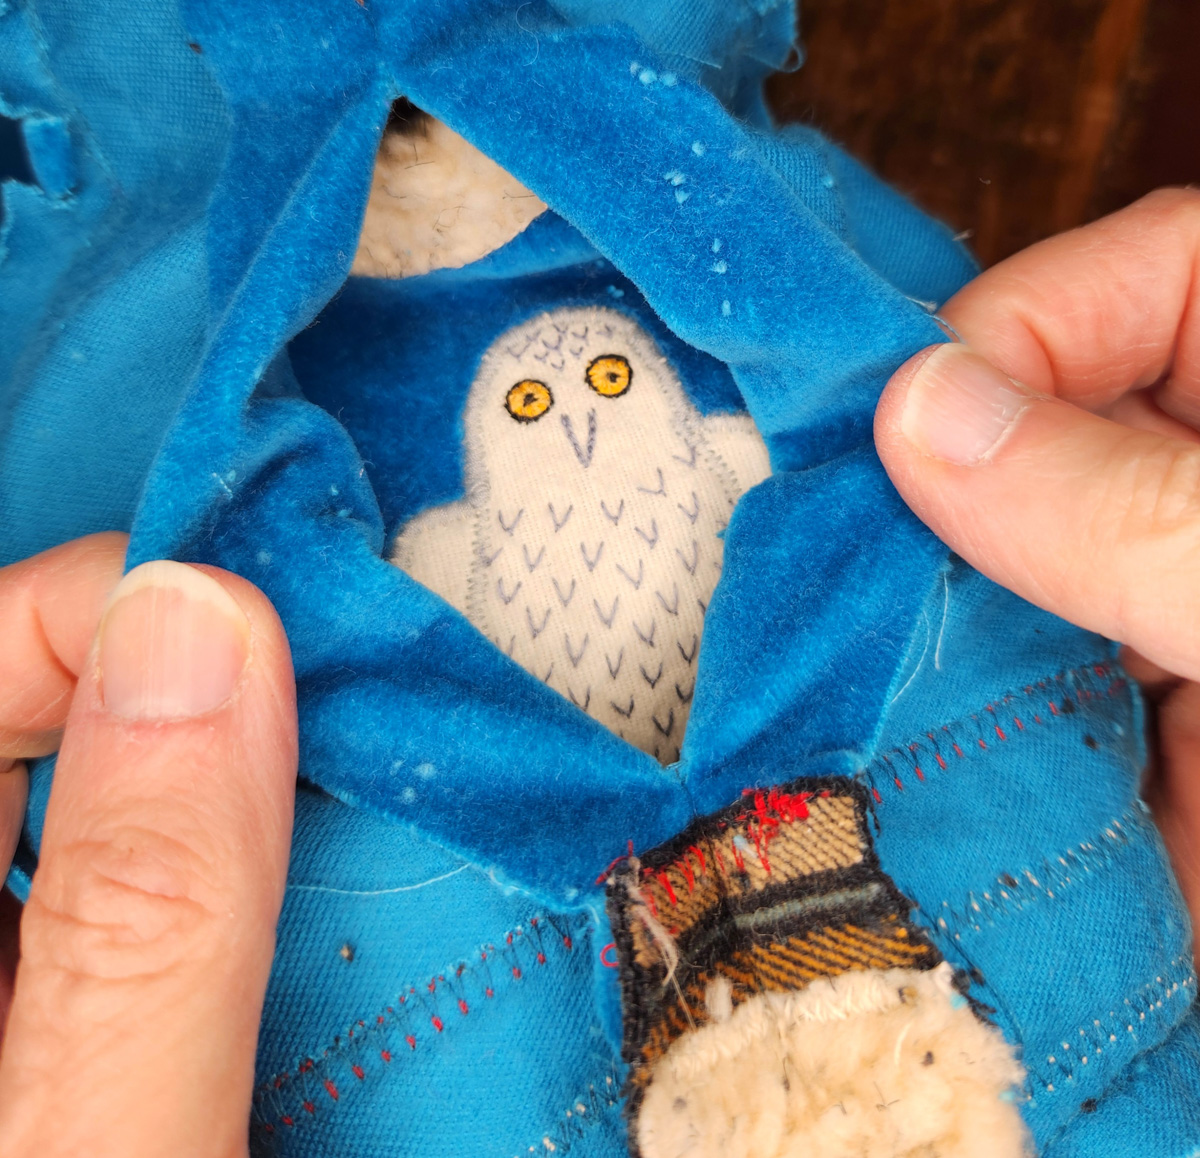
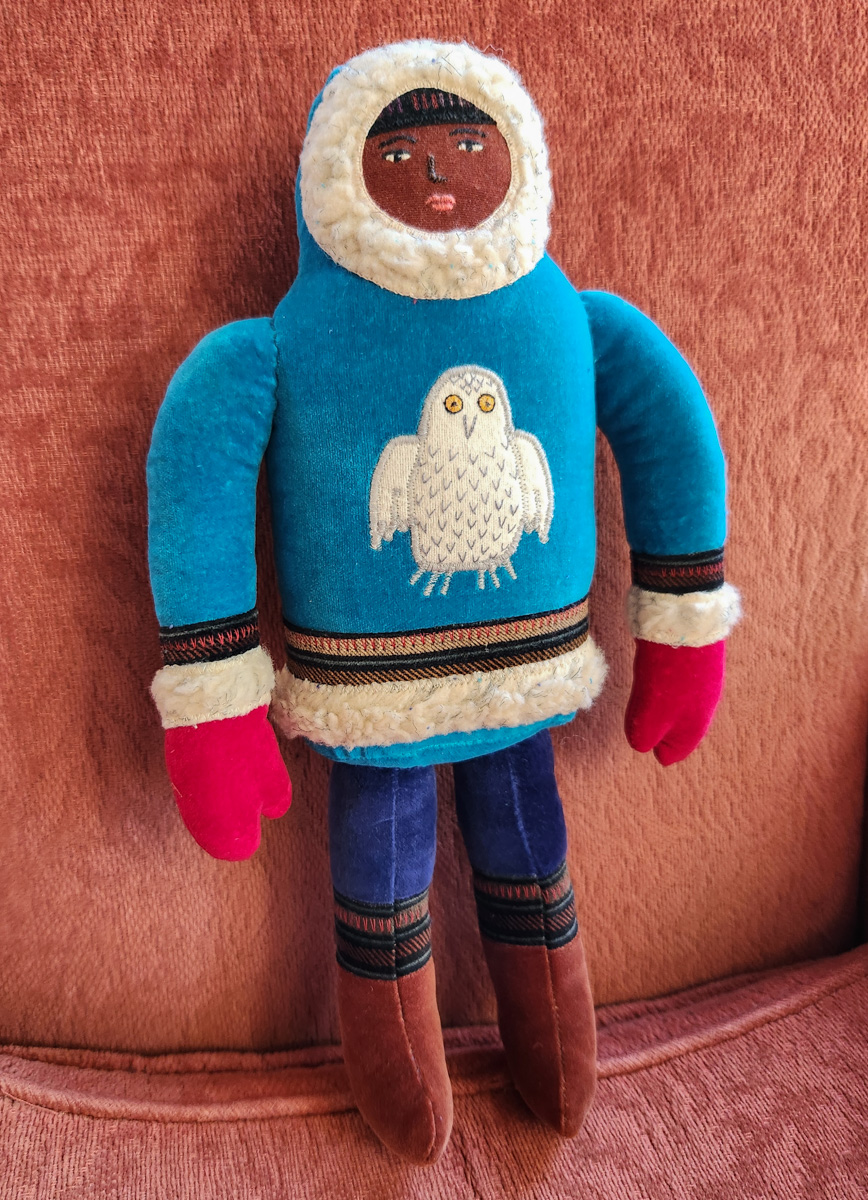
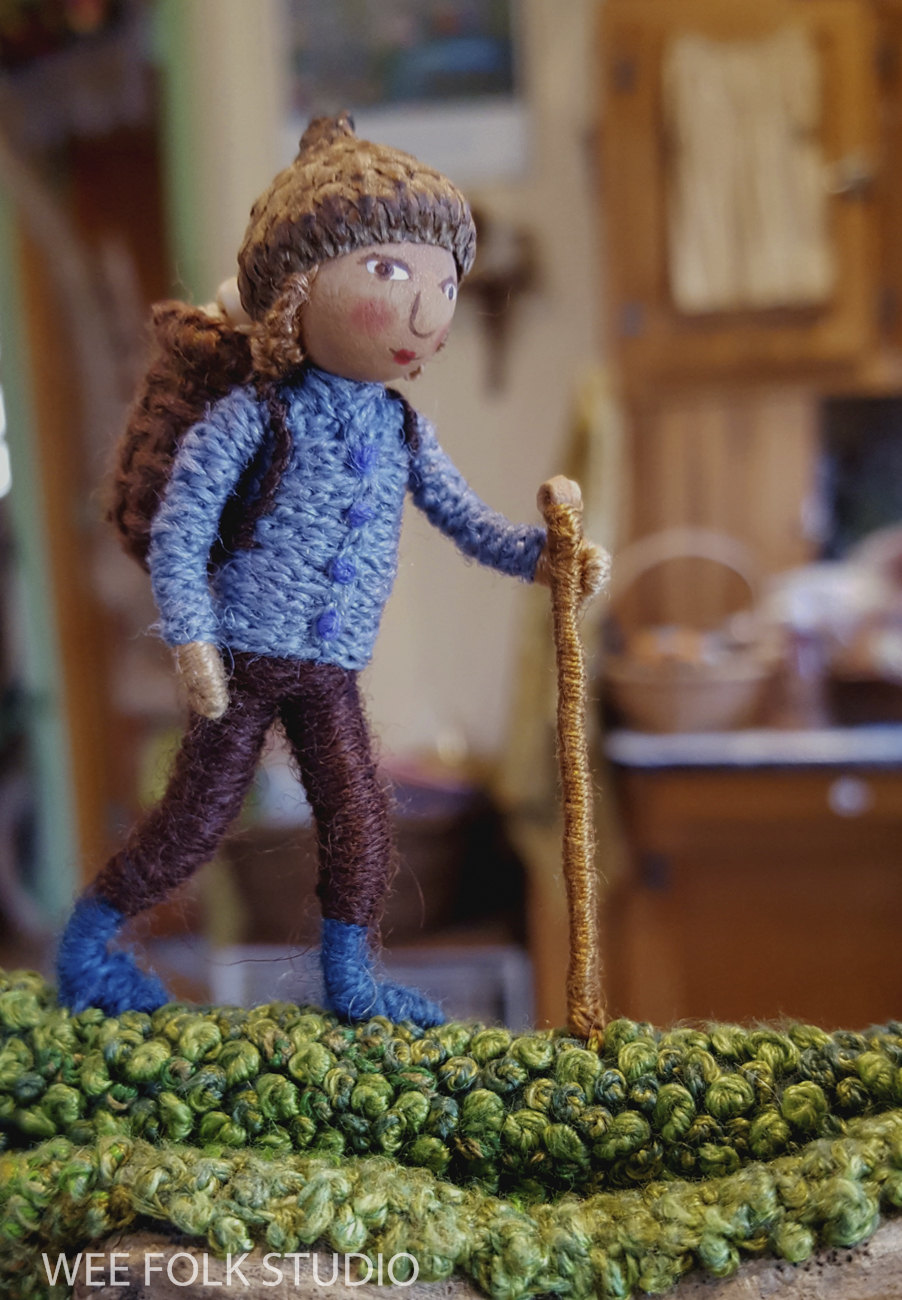
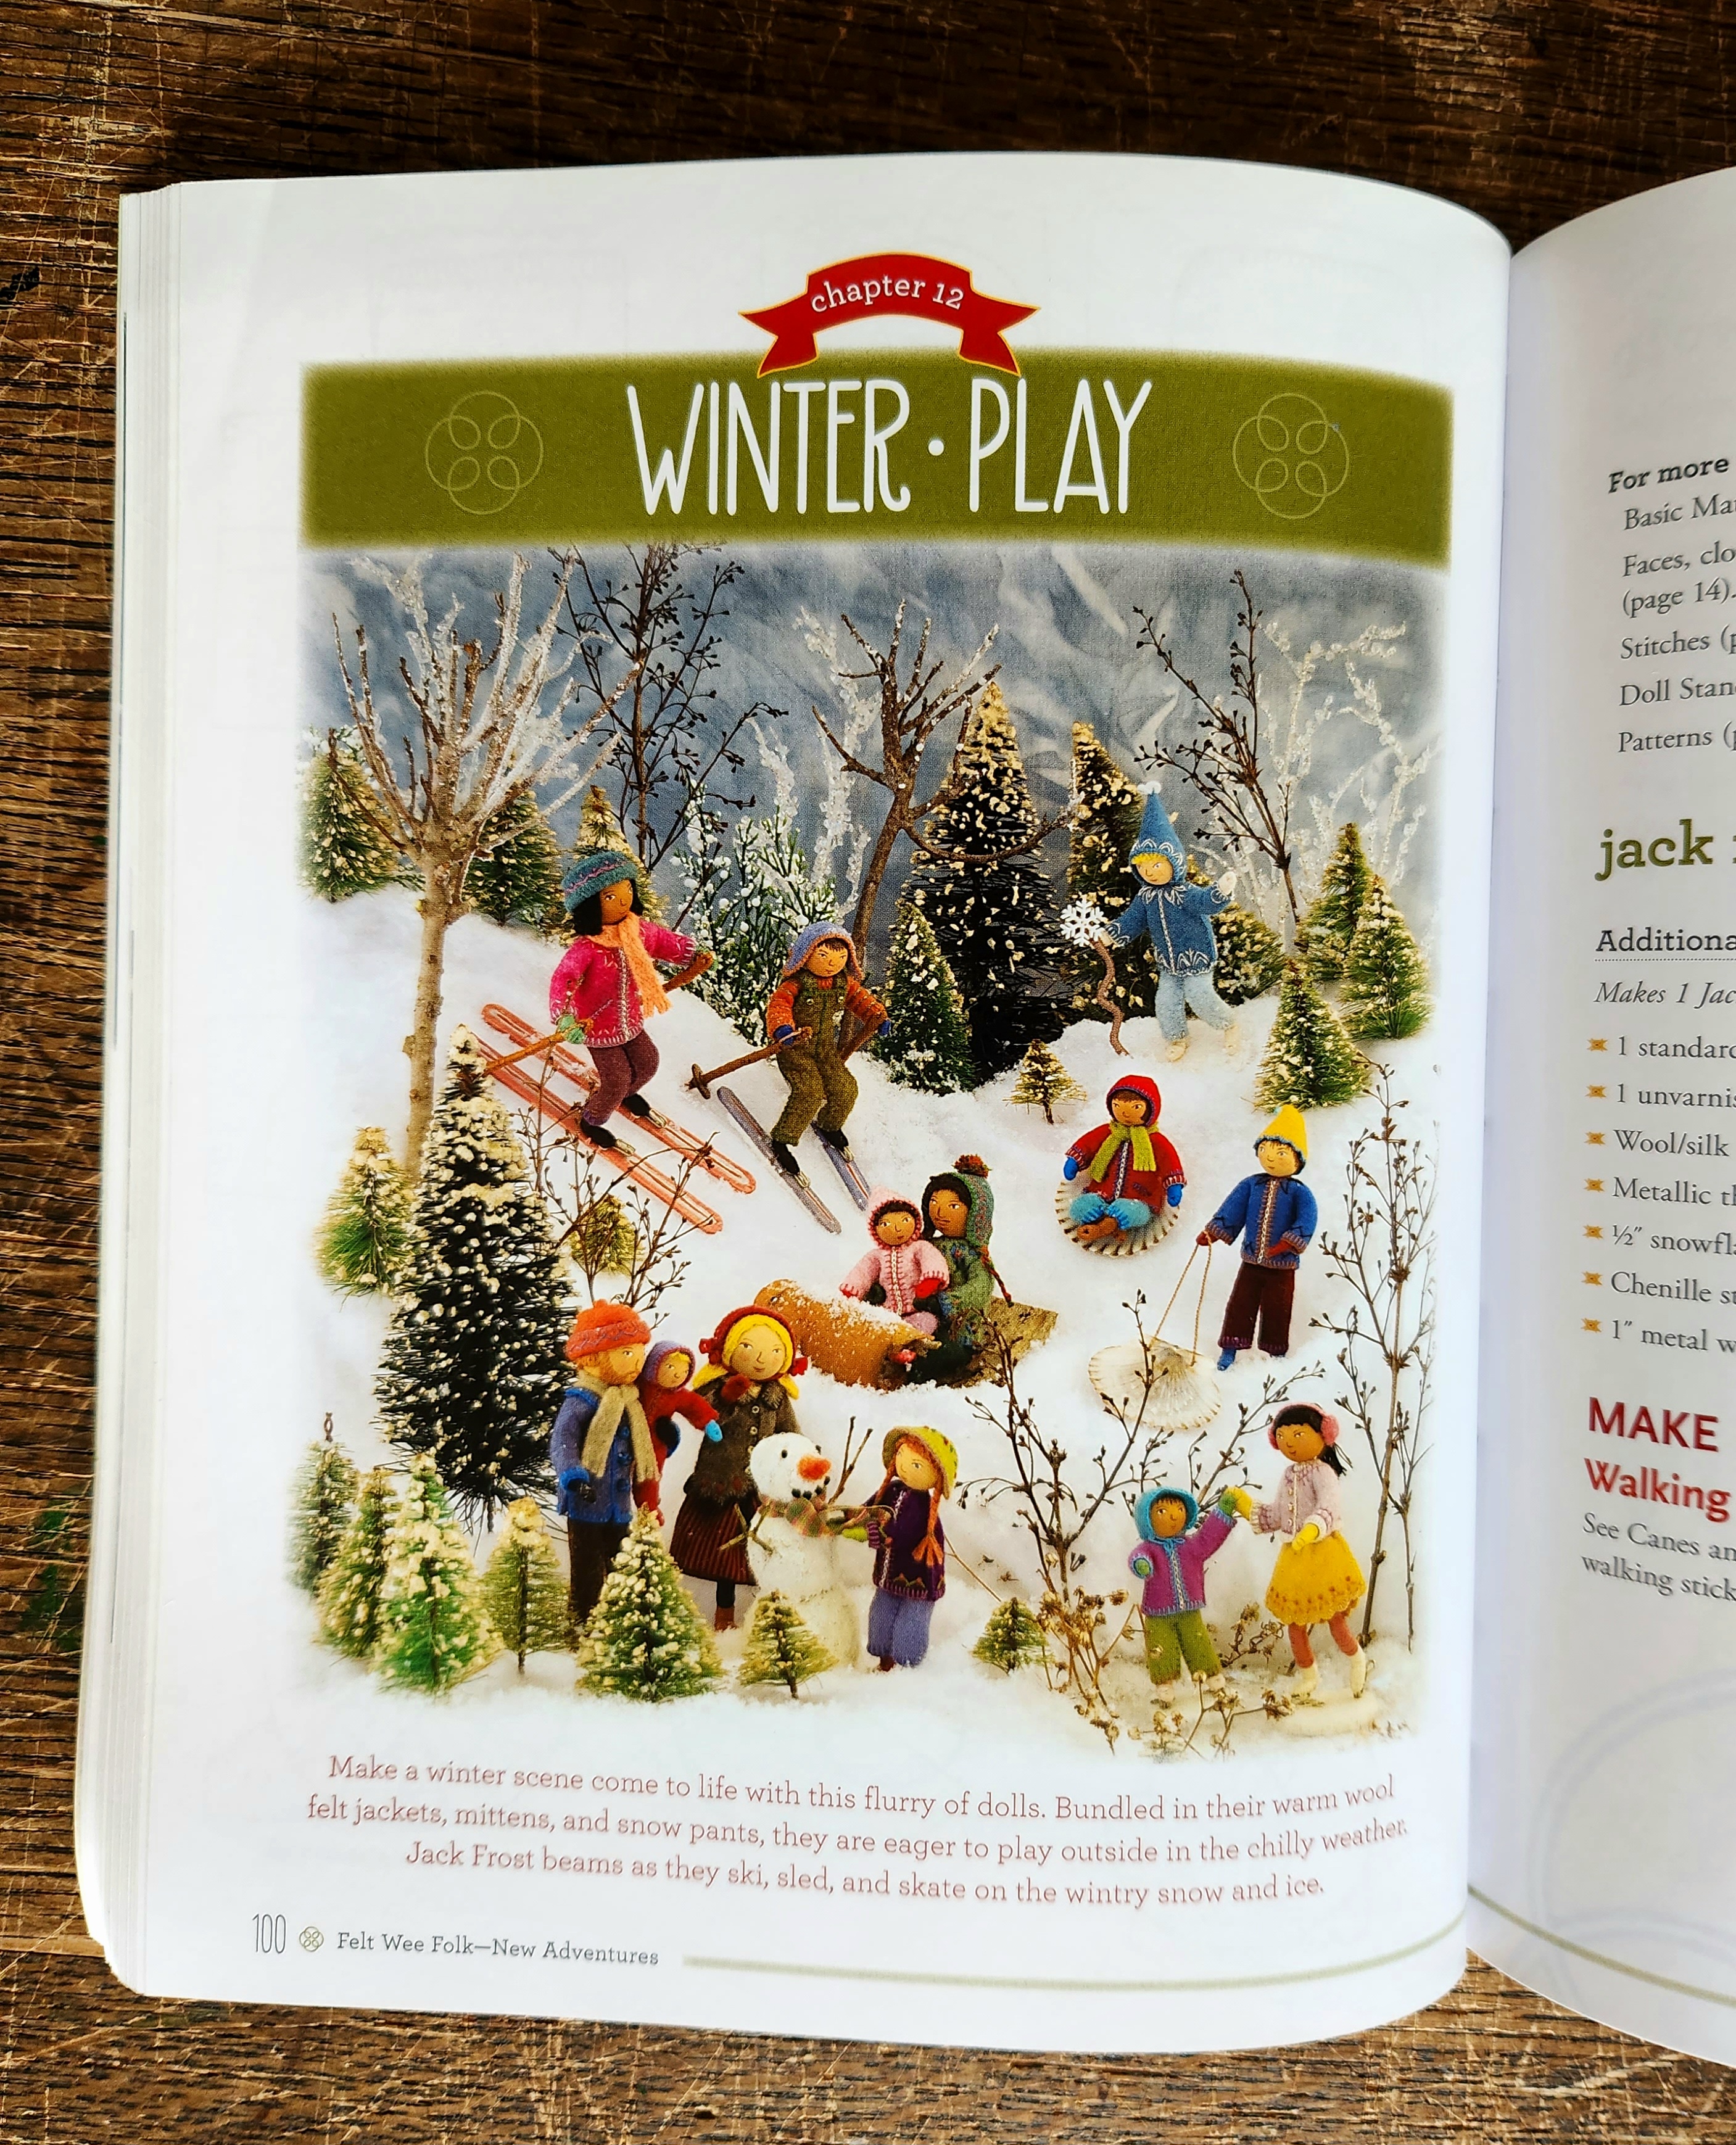
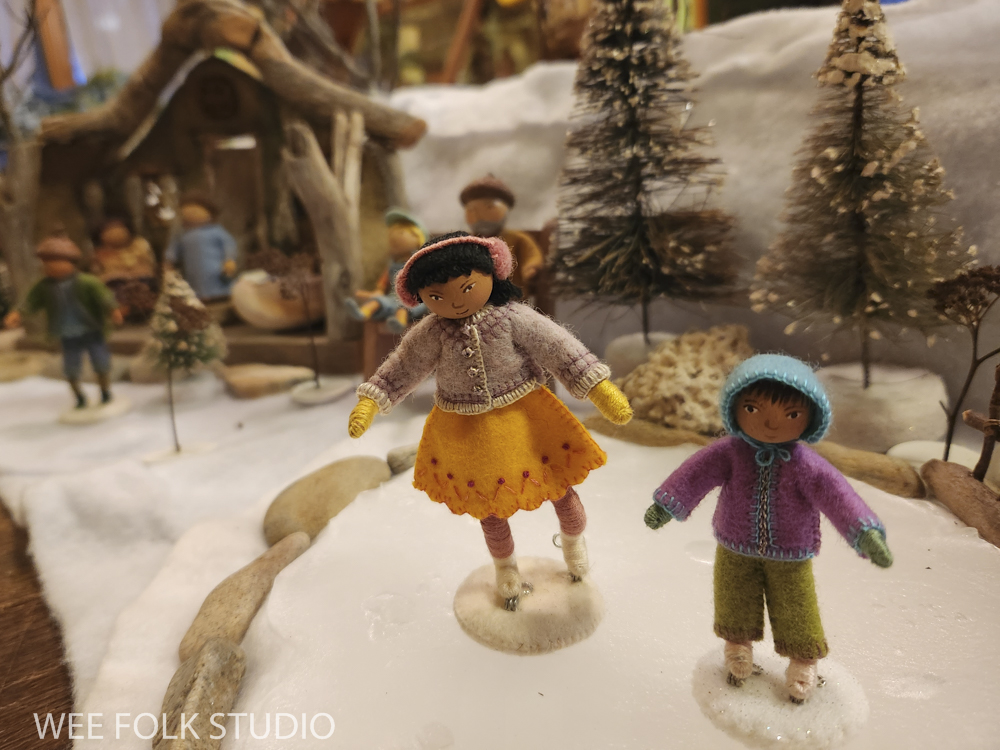
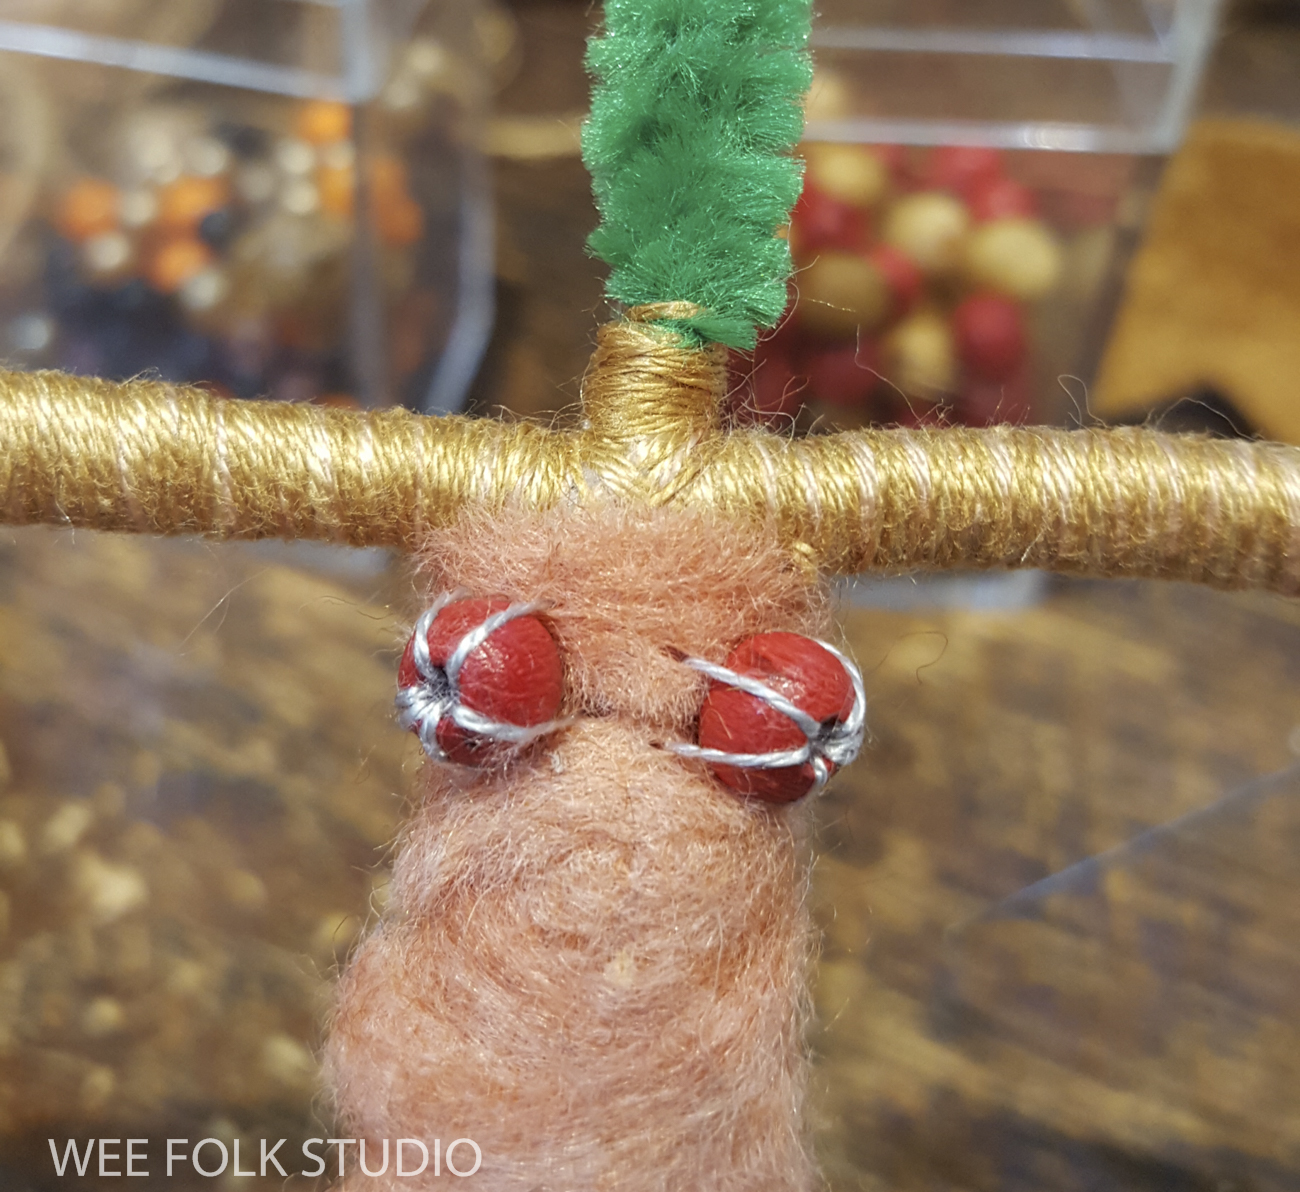
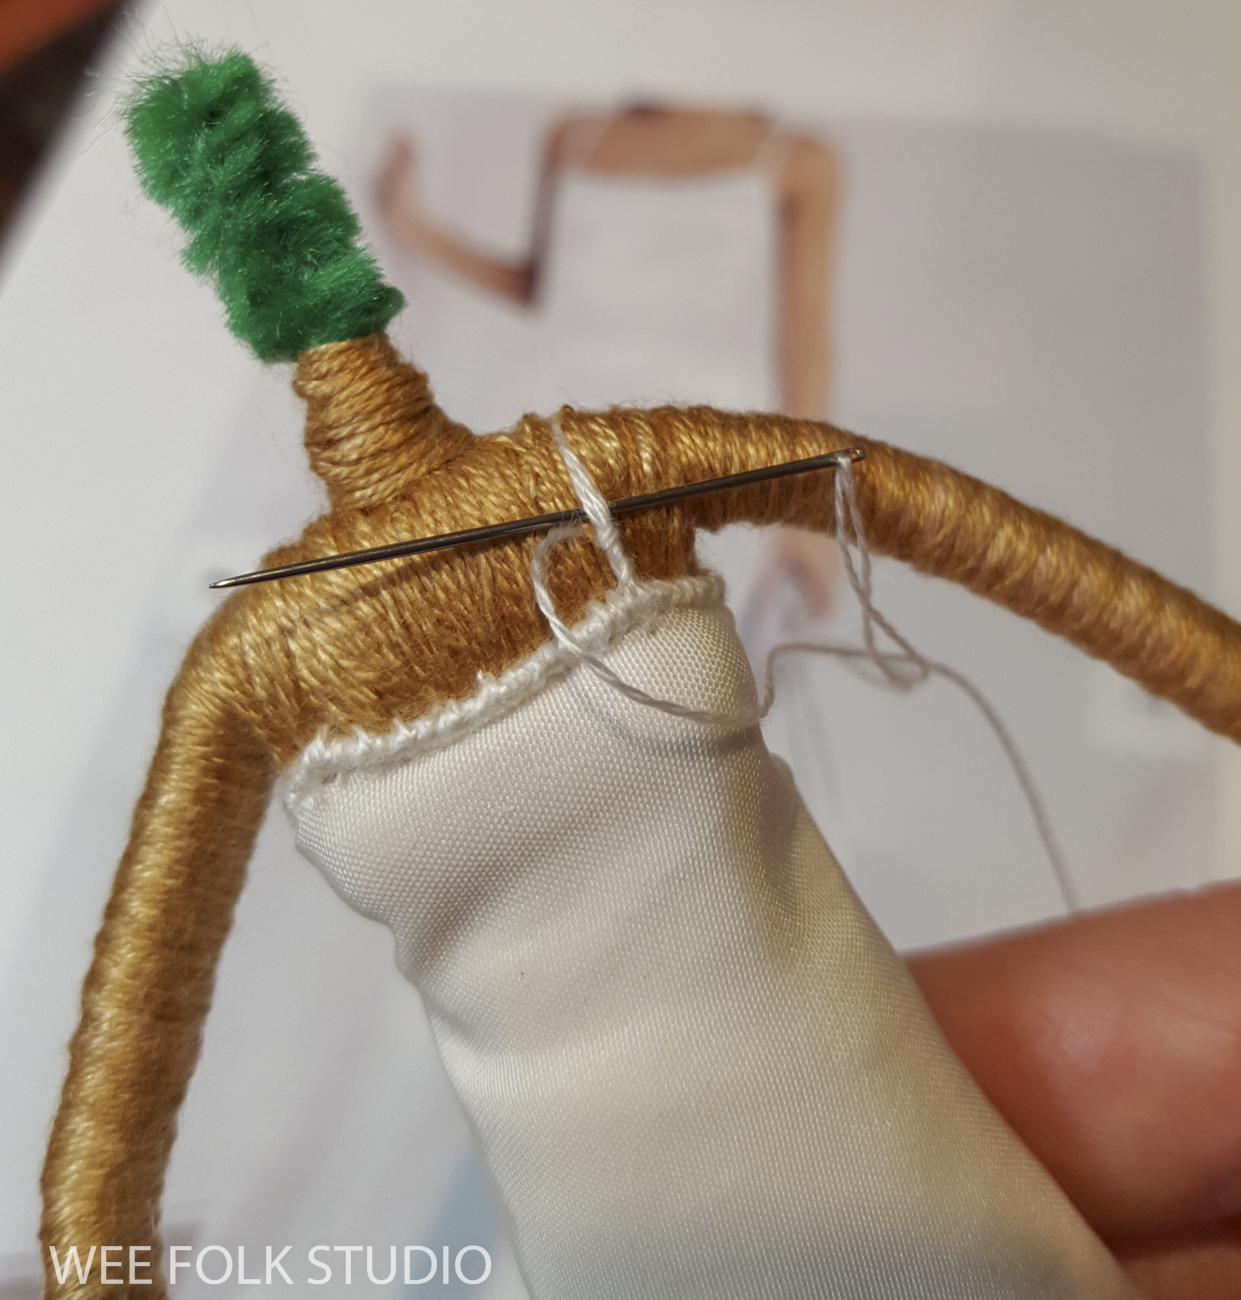
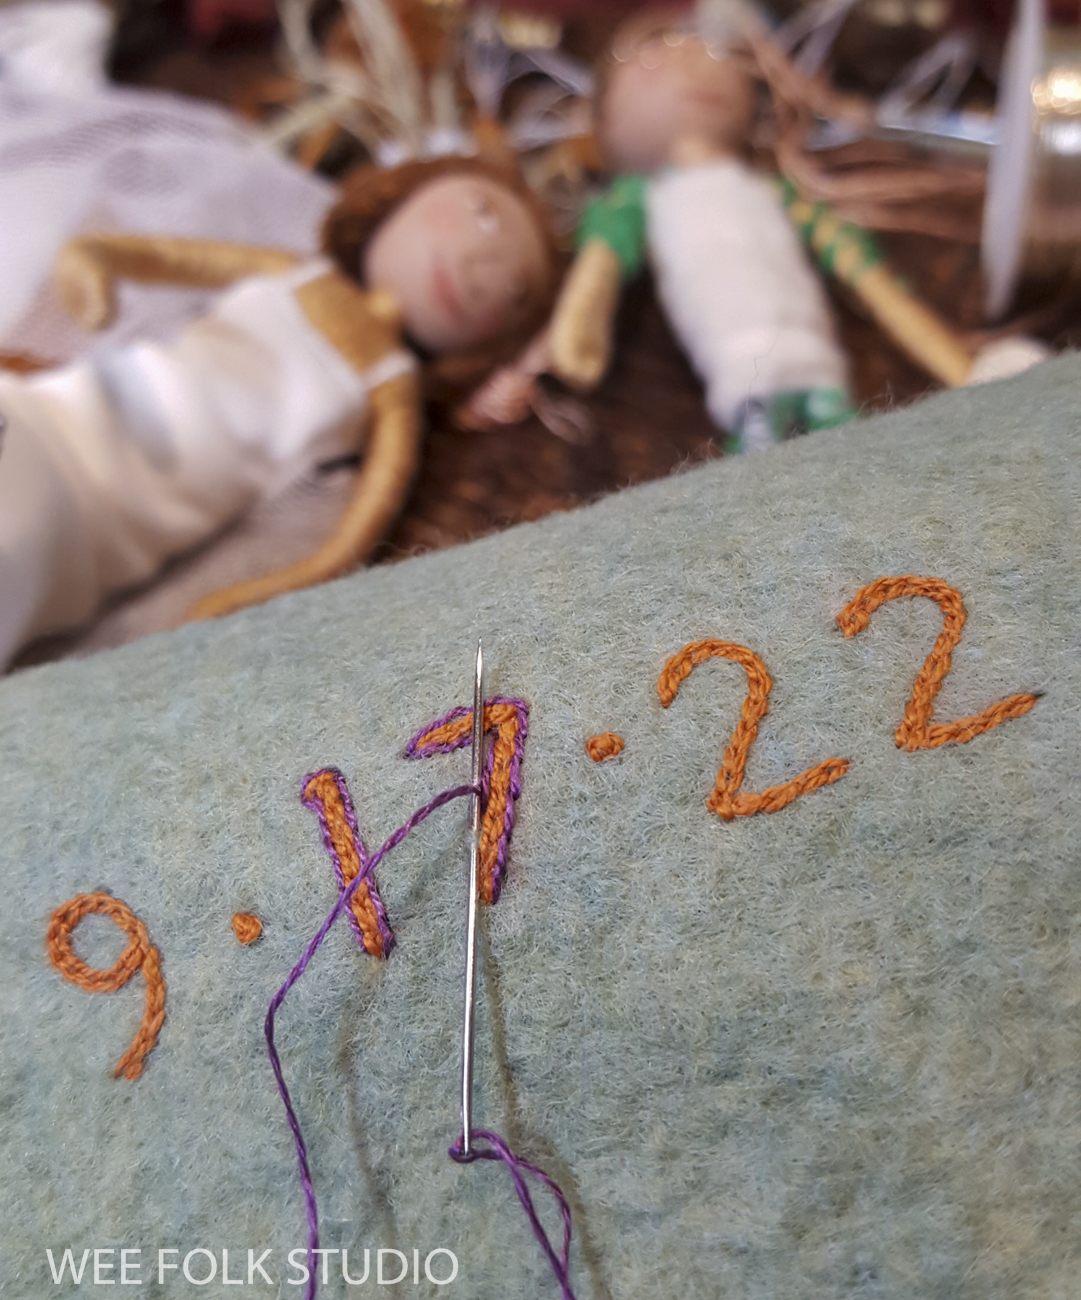
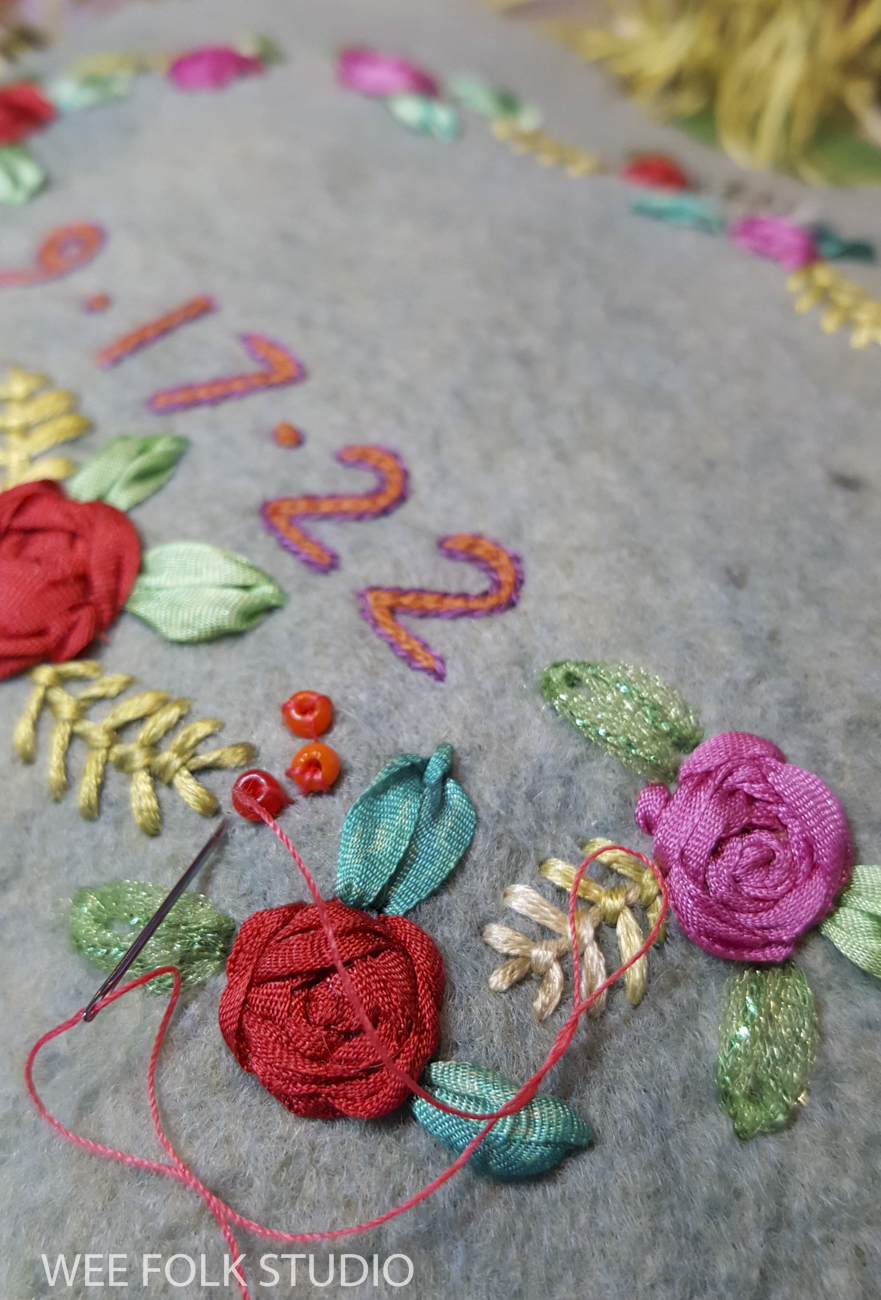
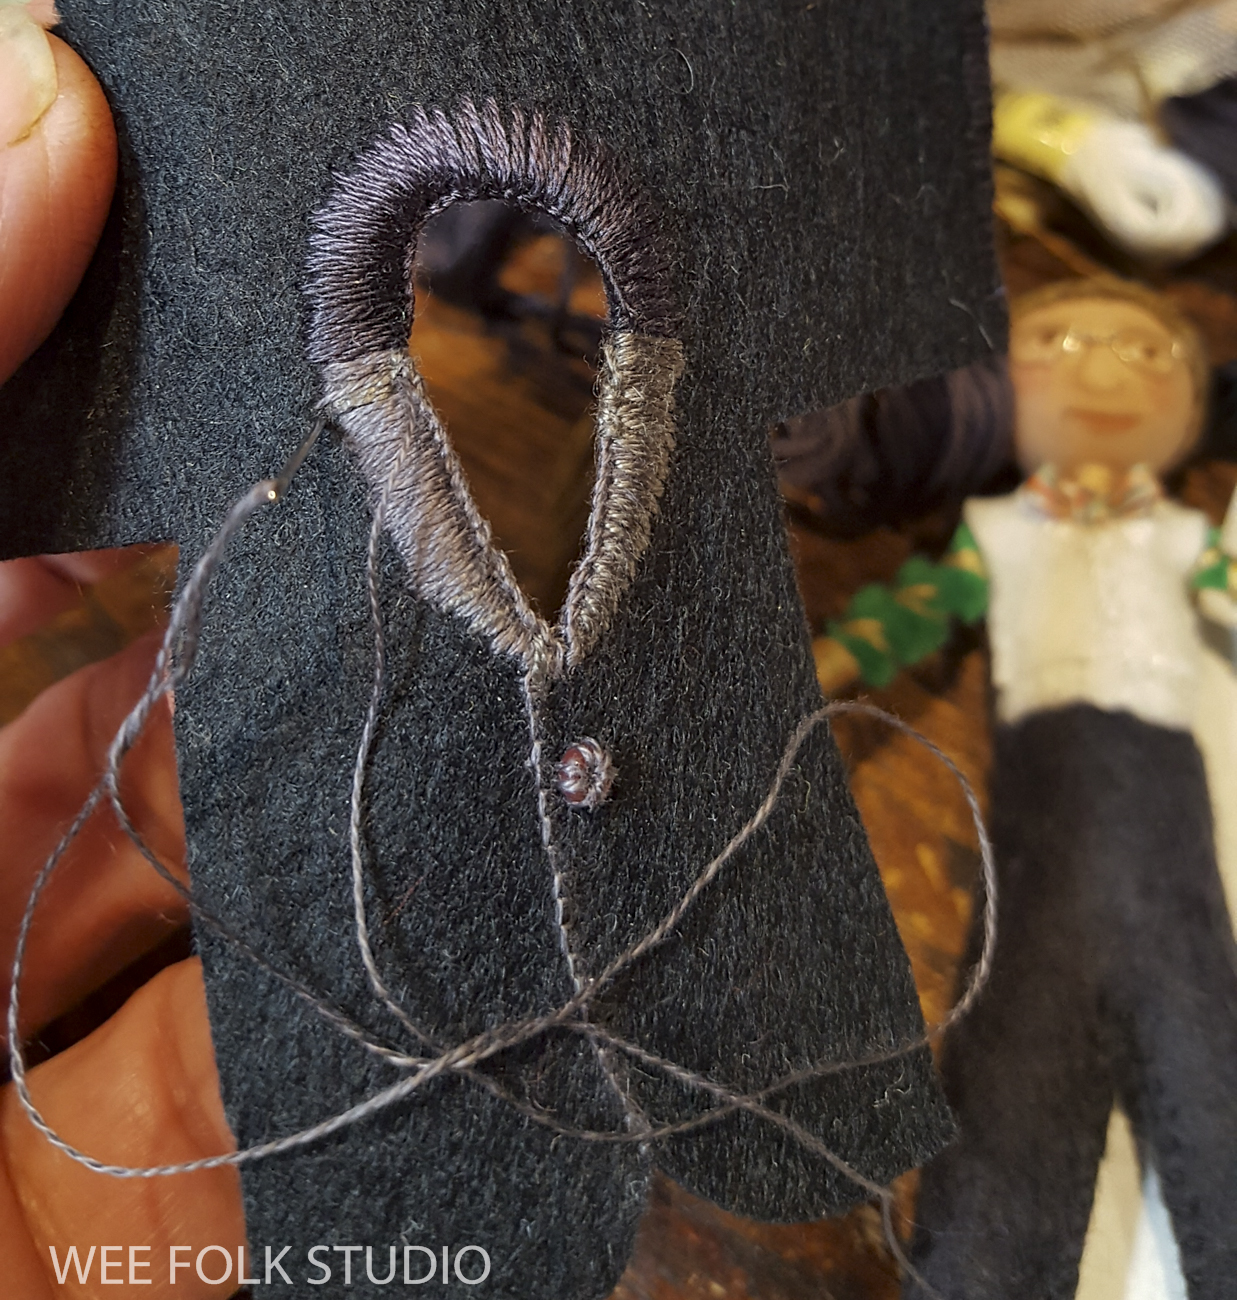
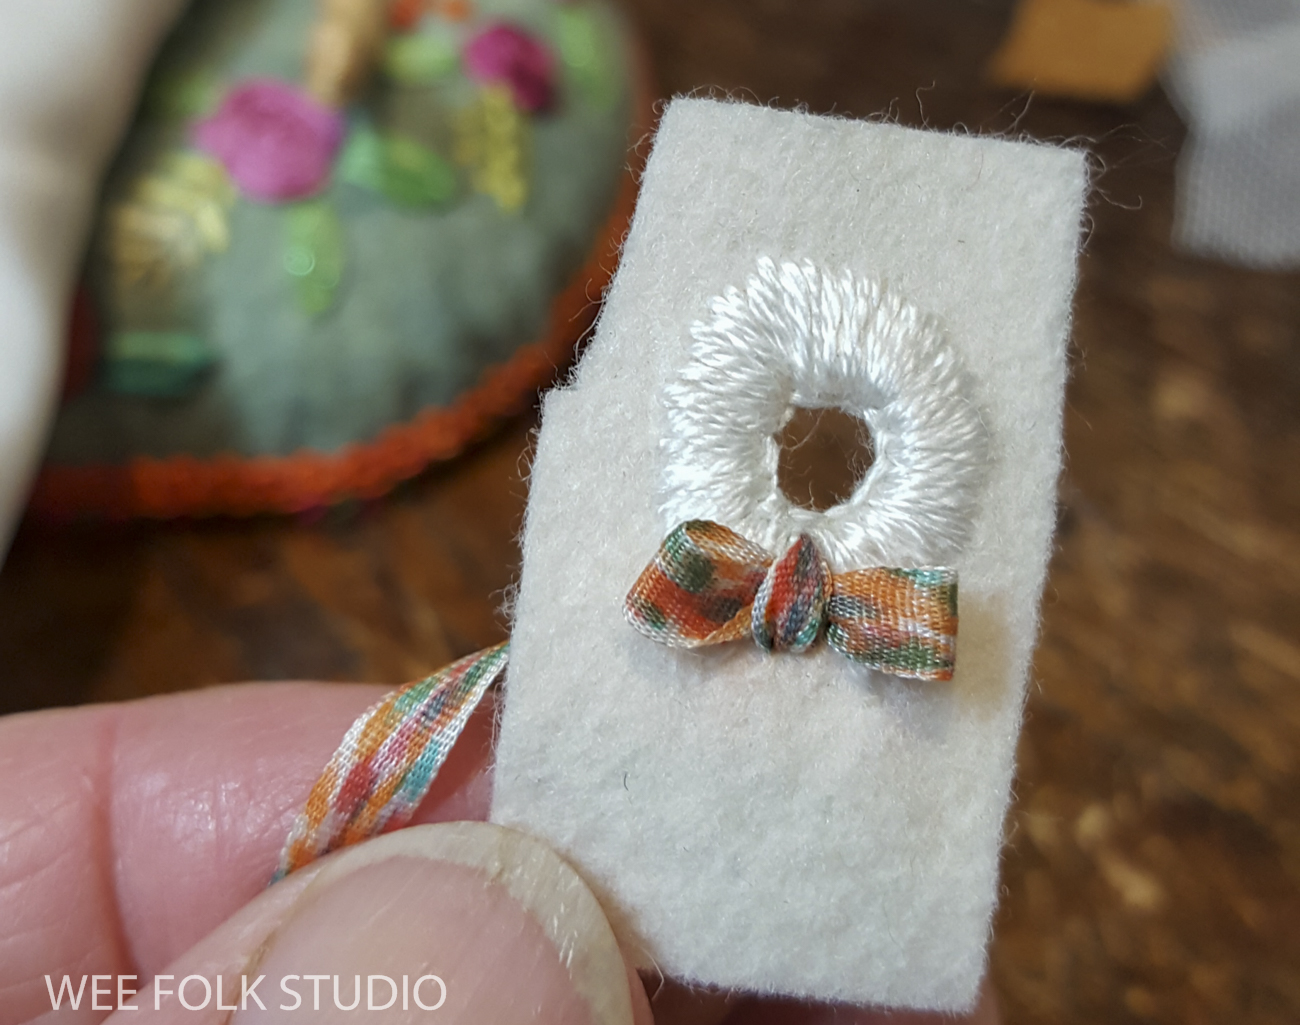
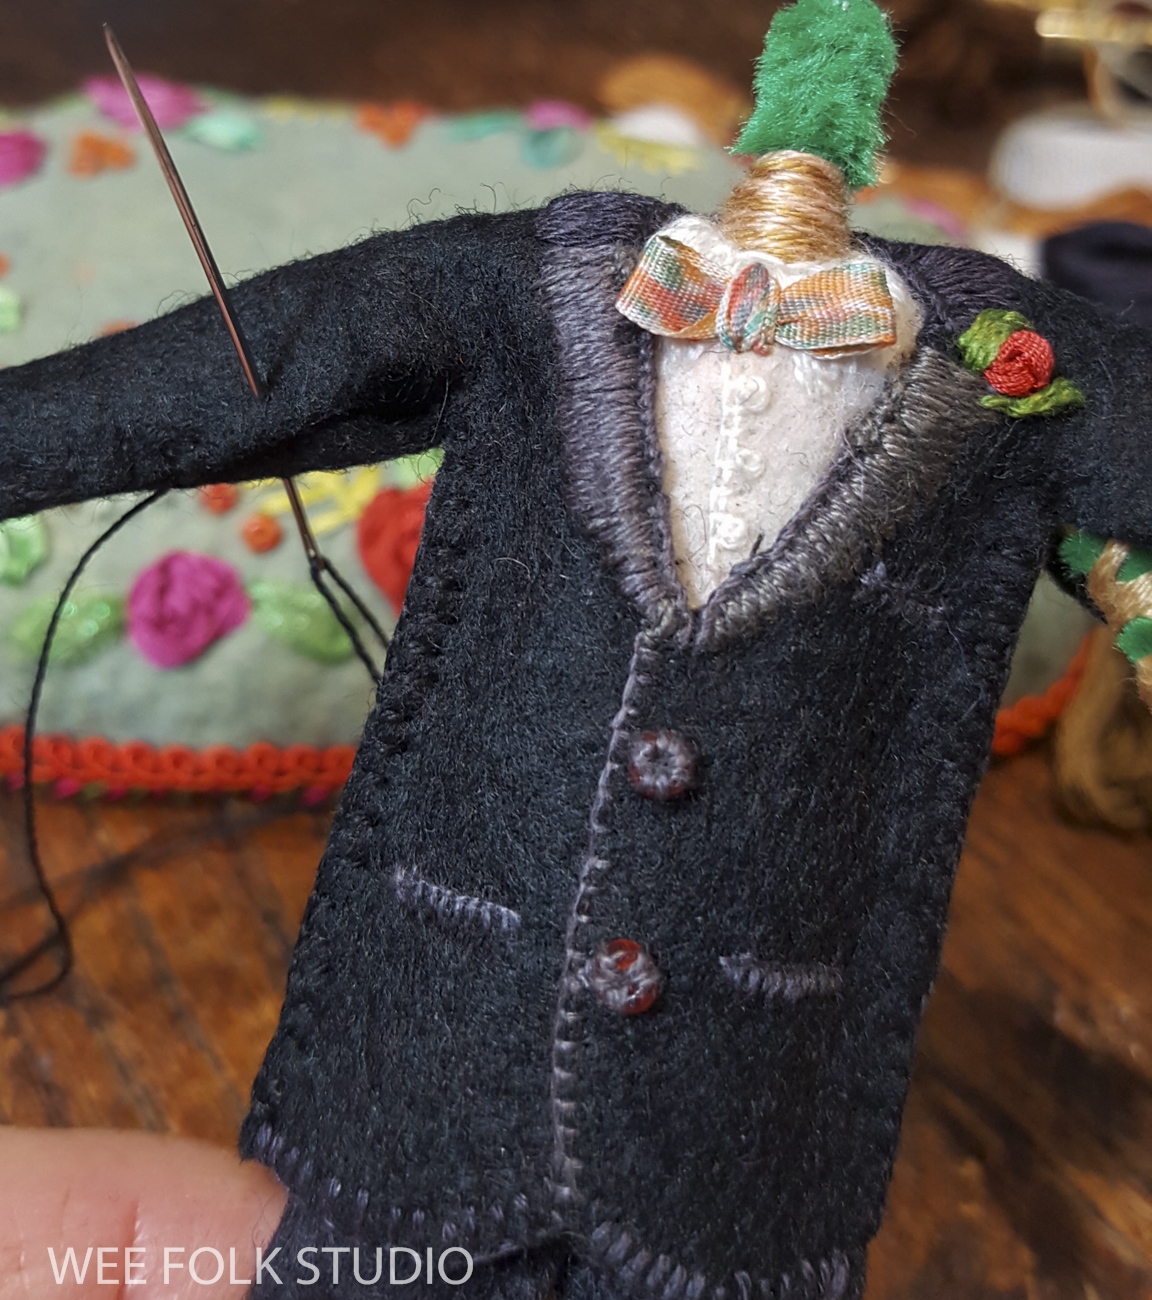
They’re basically the same fairies from my how-to book of doll projects, Felt Wee Folk – New Adventures. During the train trip, I was able to complete the most time consuming steps, like embroidering felt peplum jackets and wrapping pipe-cleaner bodies.

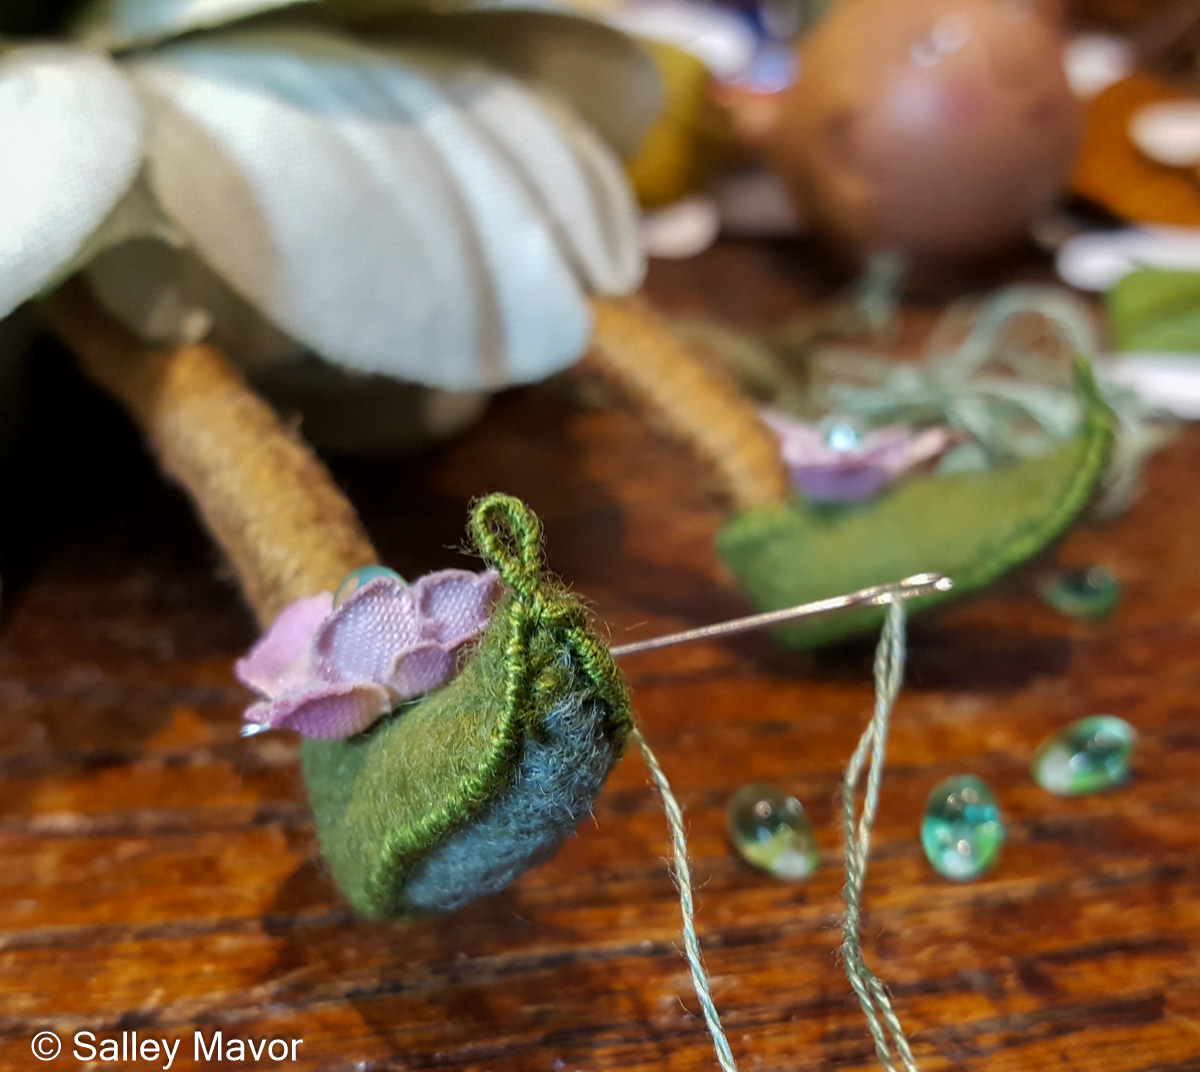
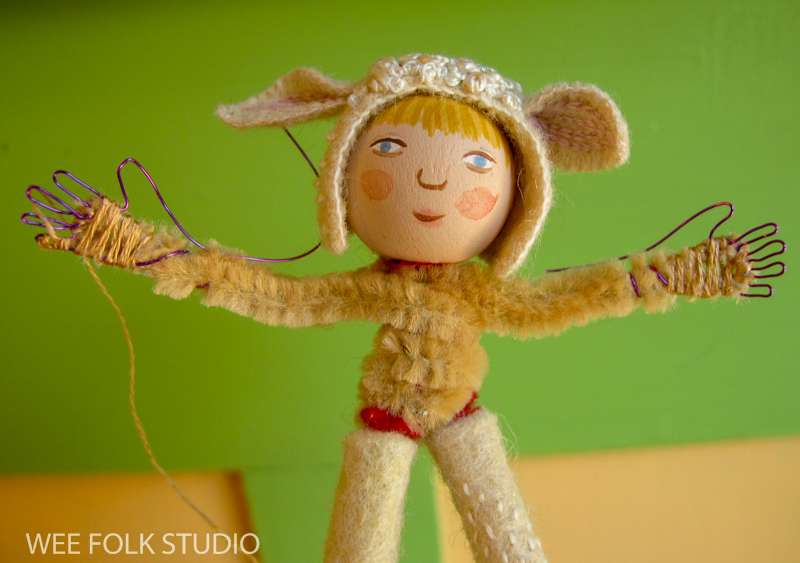
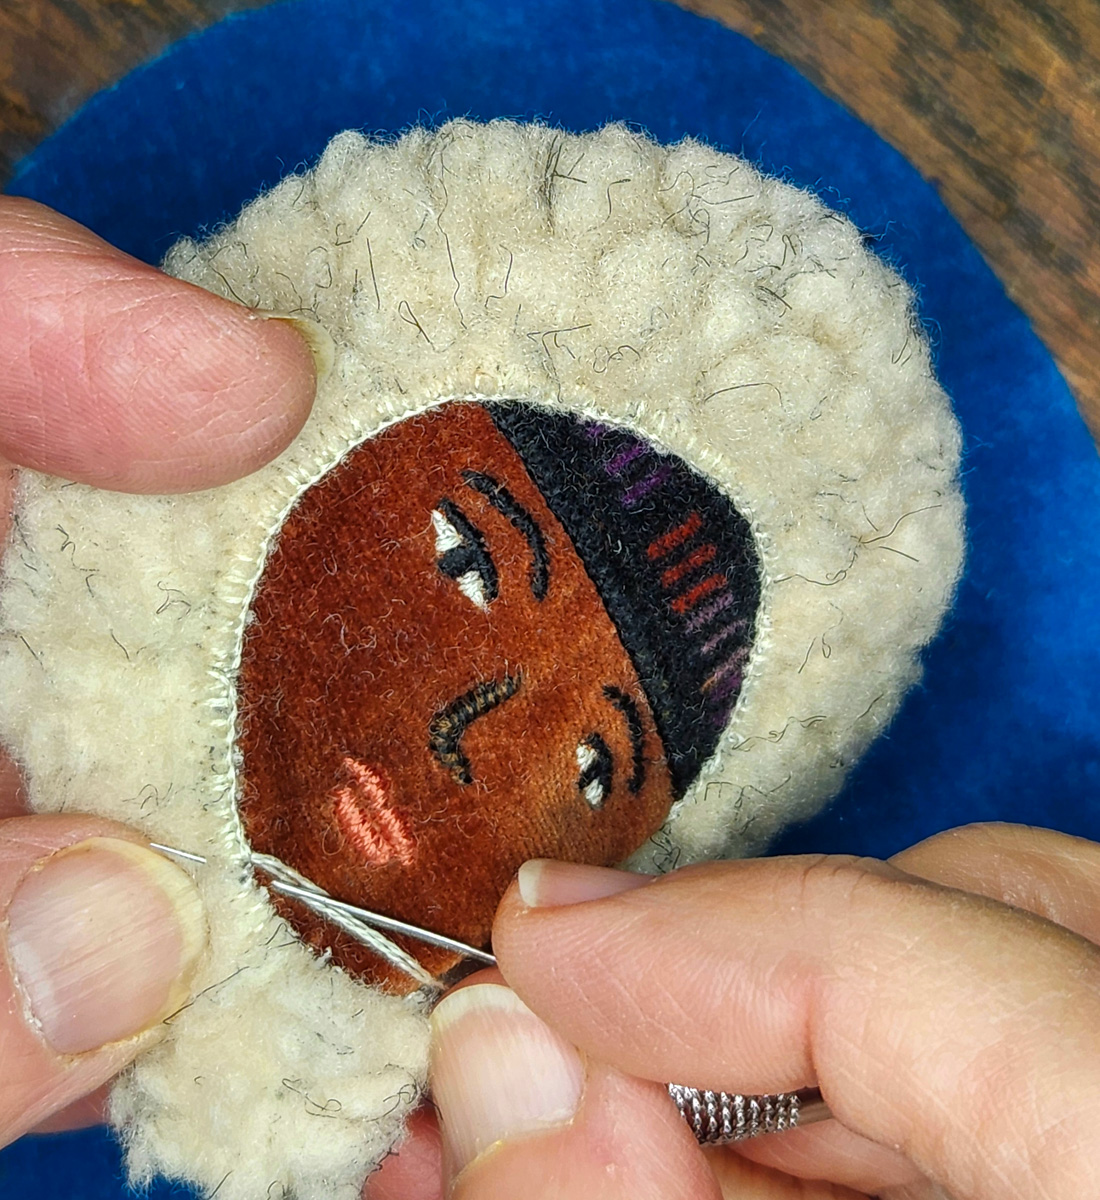
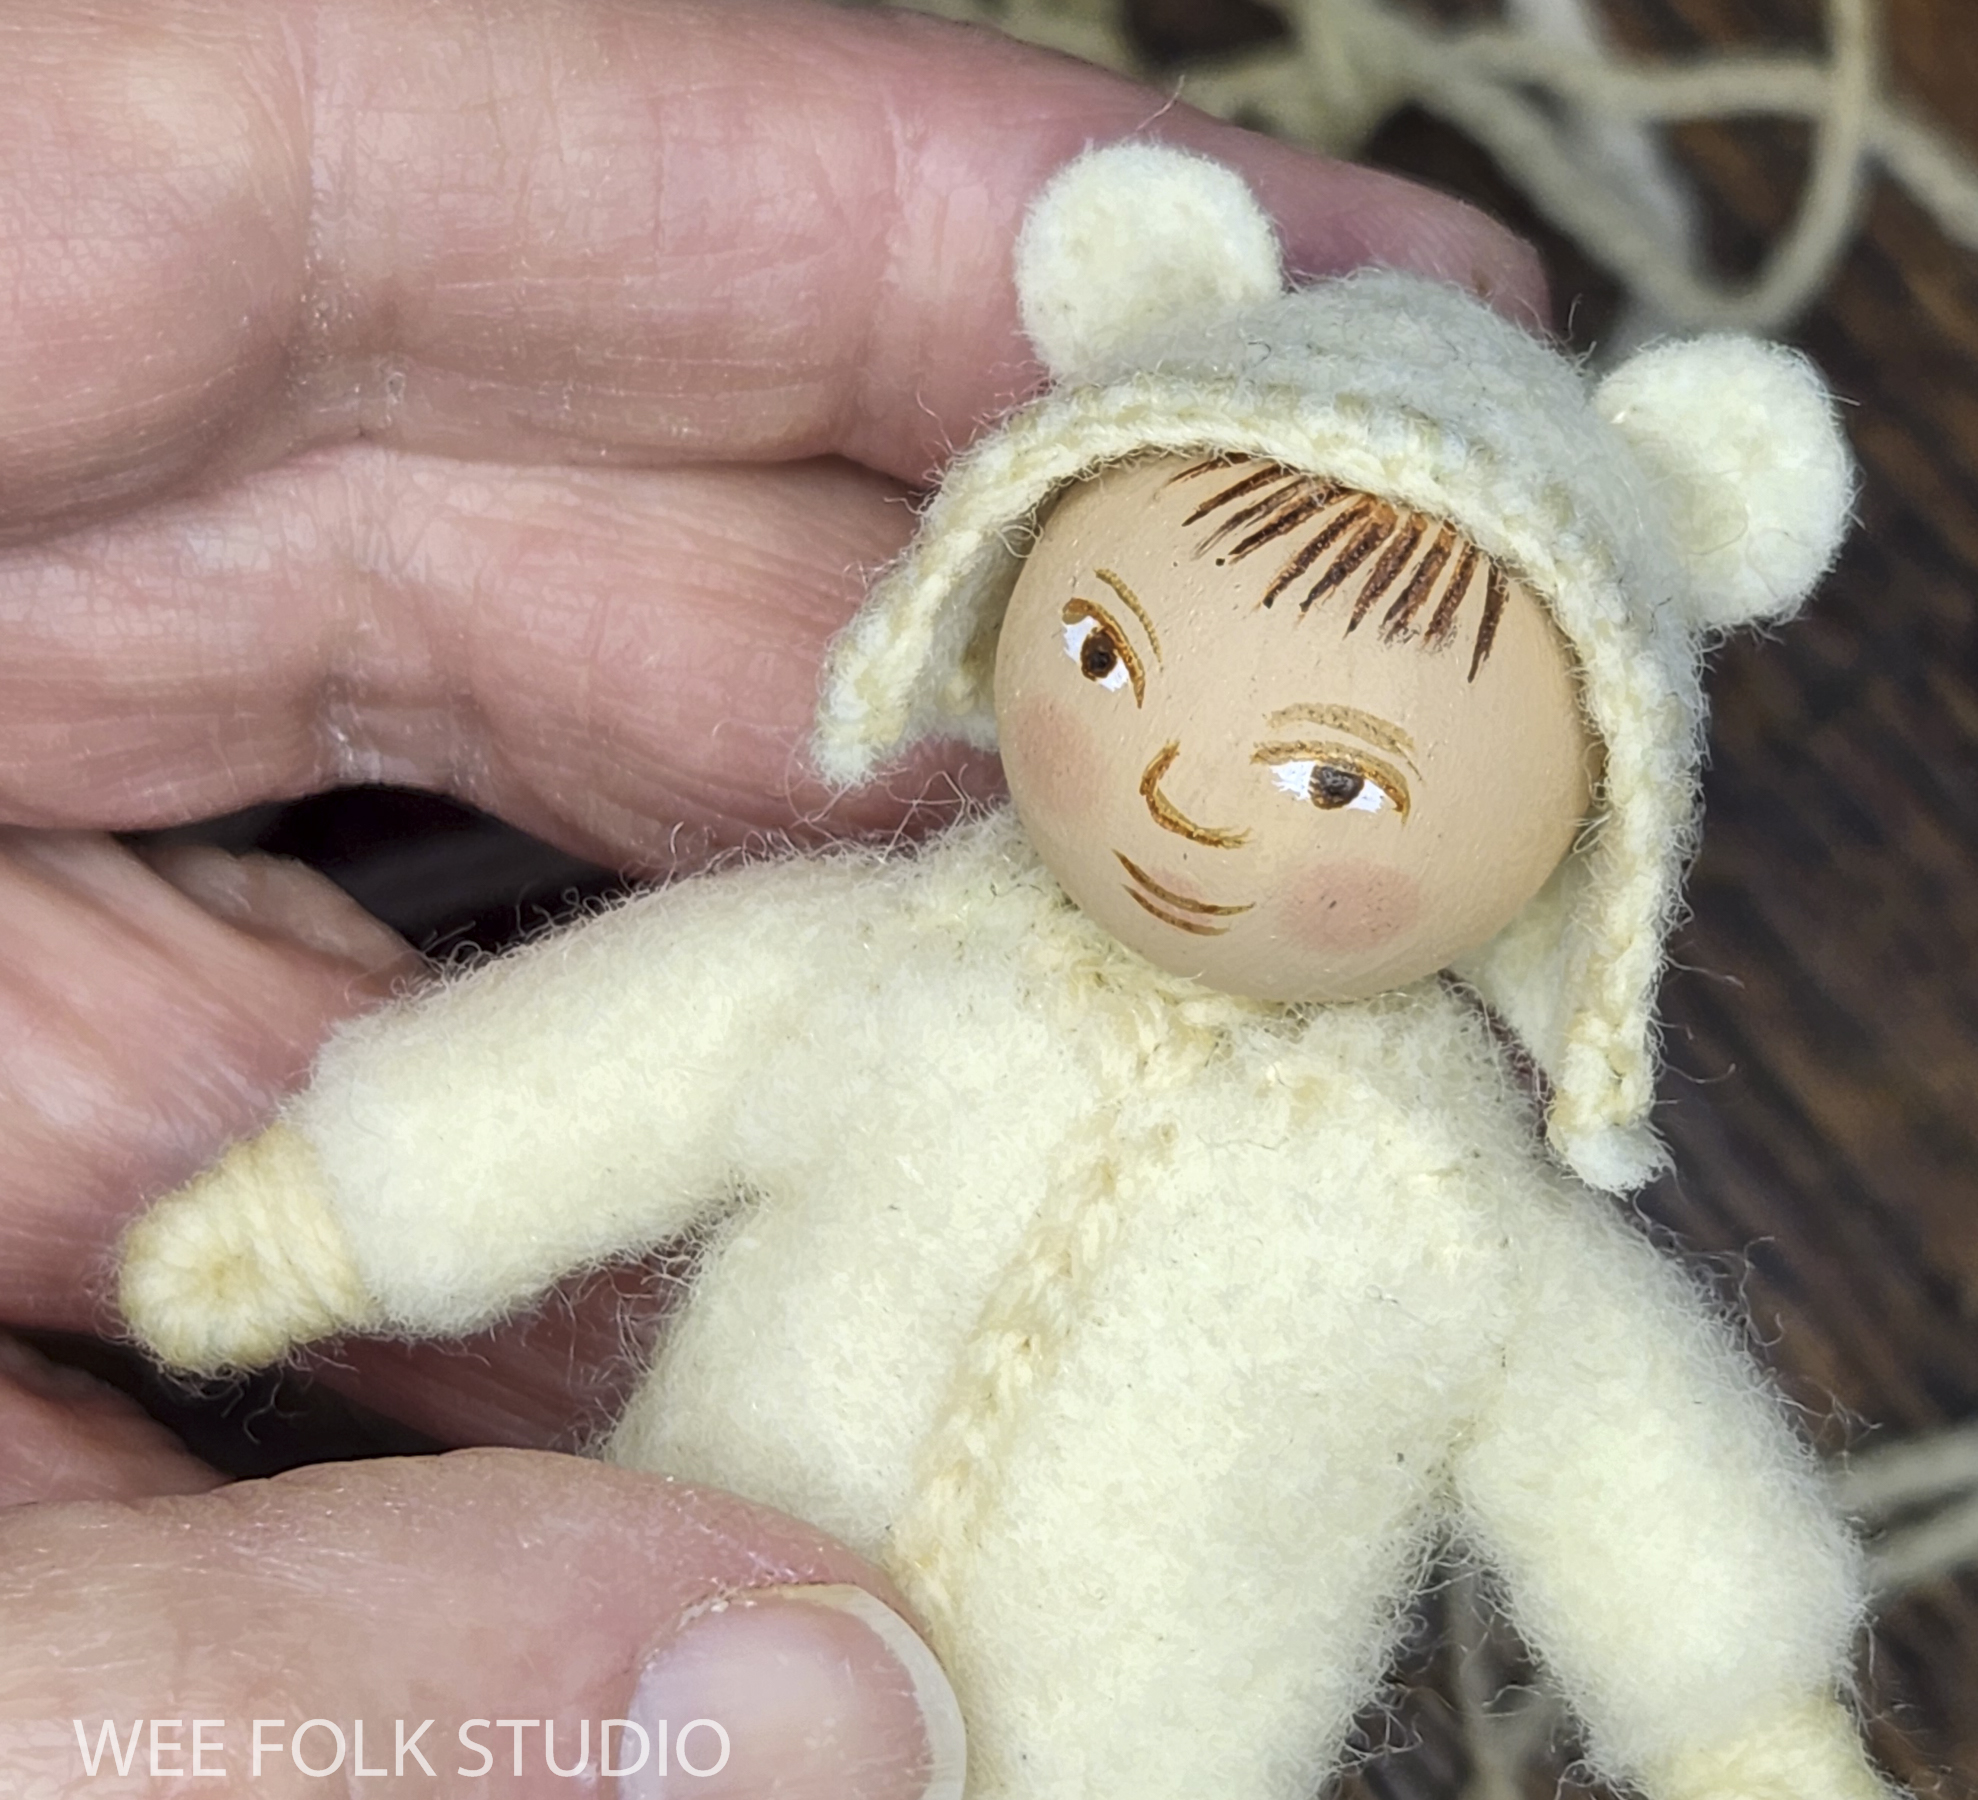
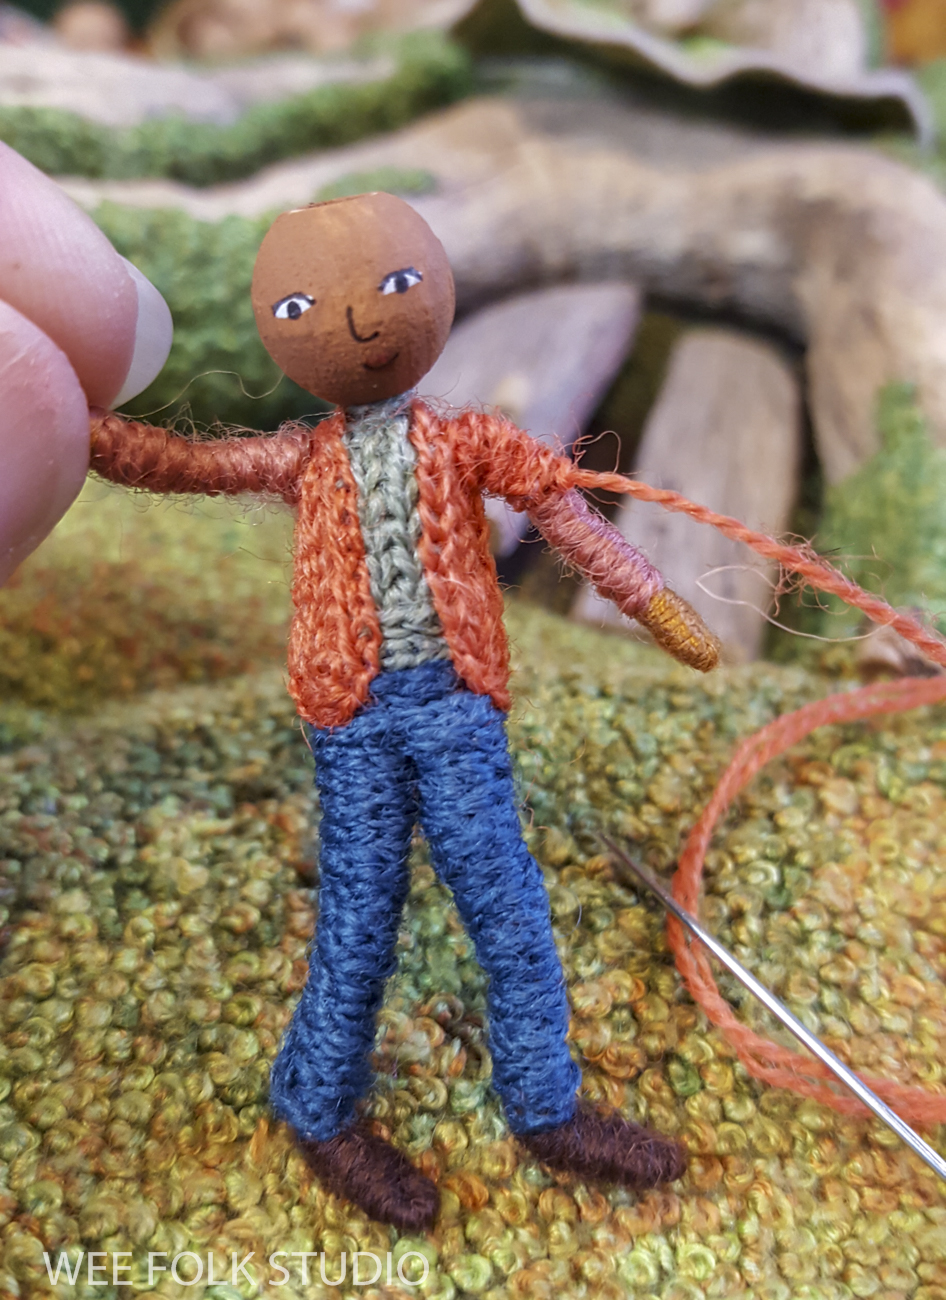
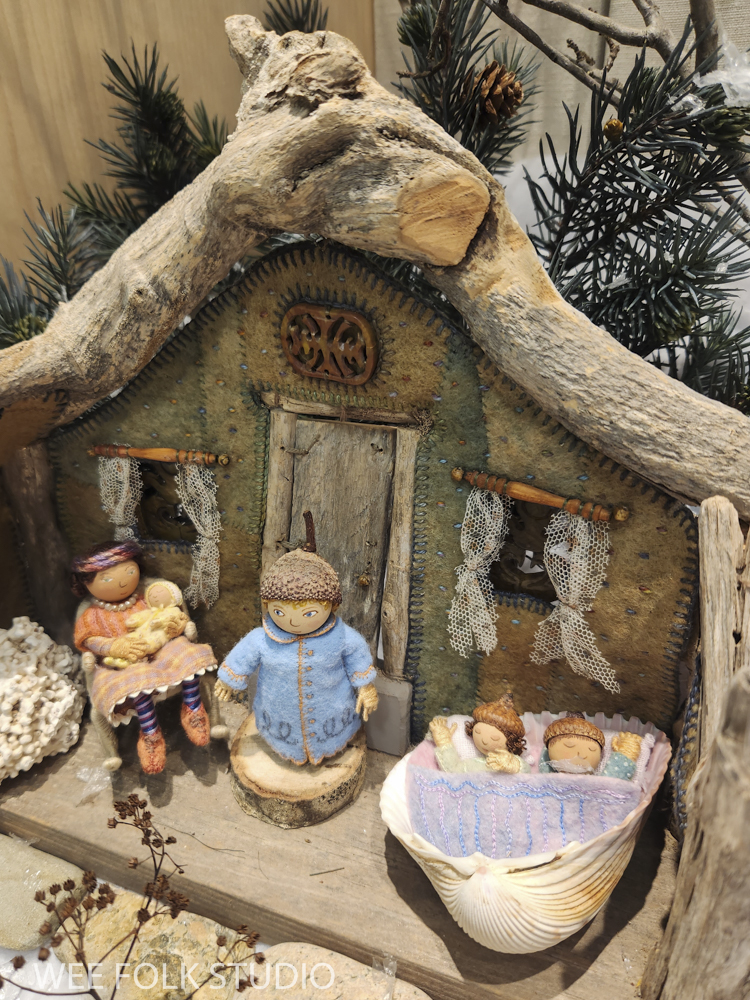
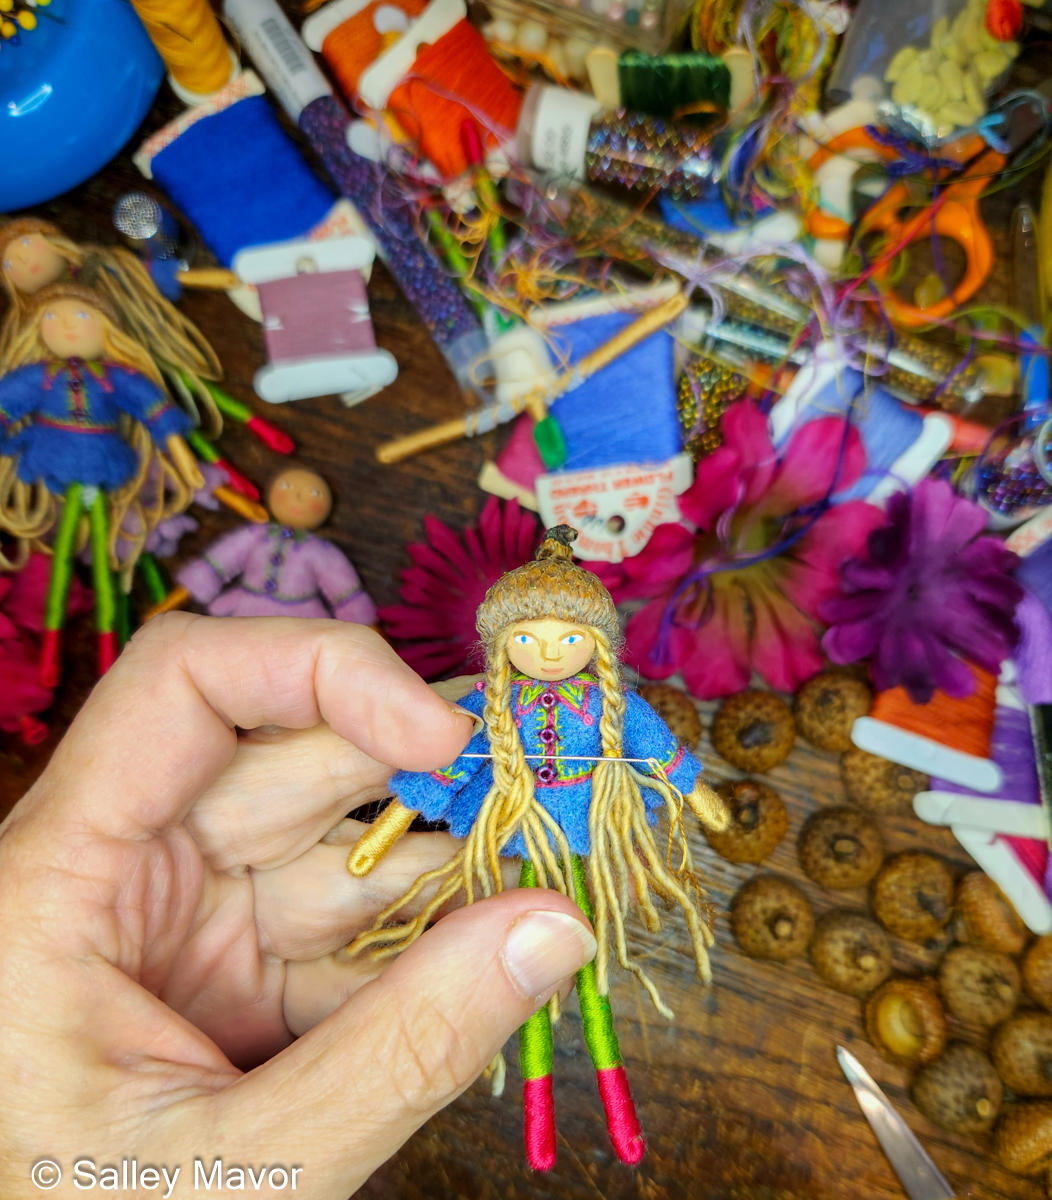
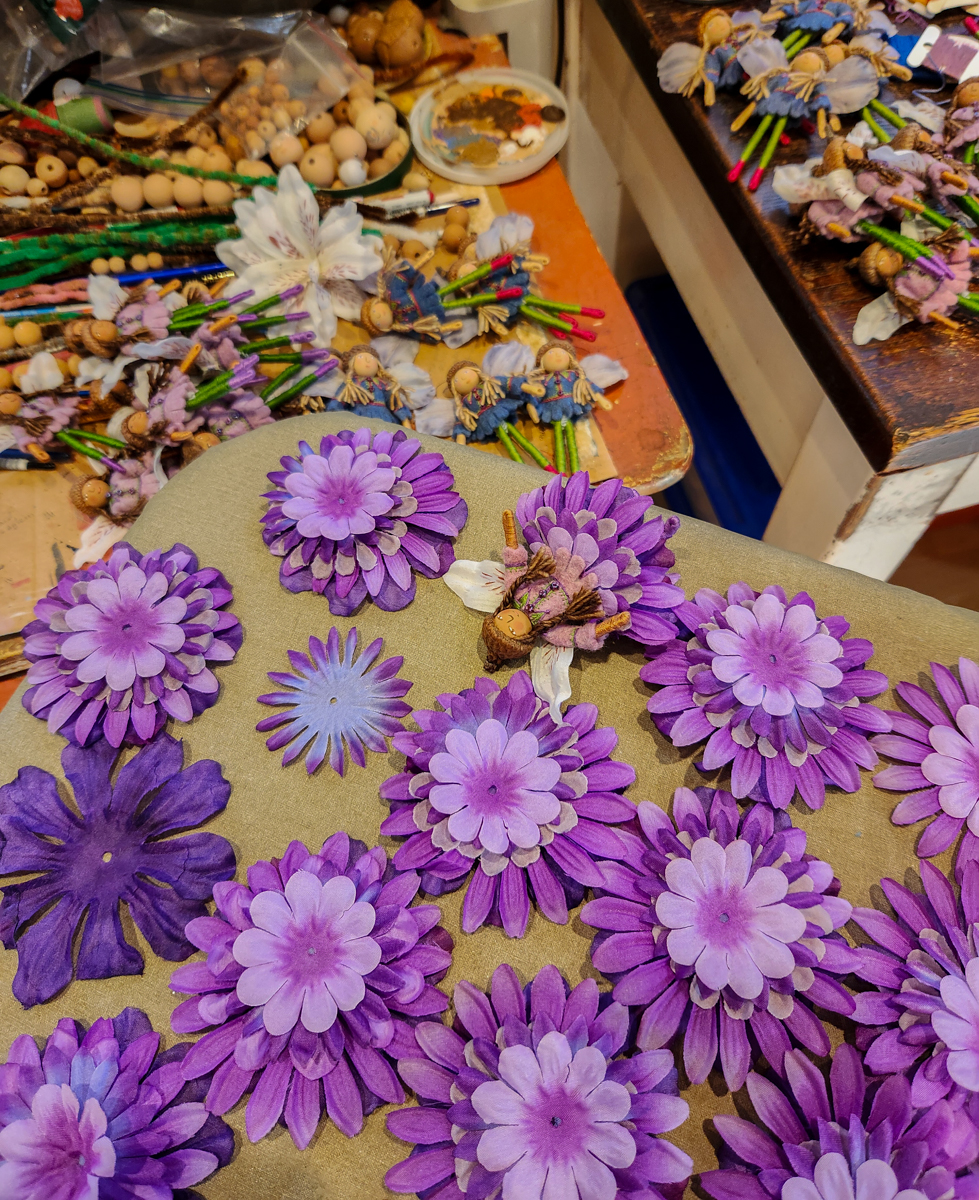
The following video shows how I finished making CAMELLIA once I got home.
These fairies have a different hair material than I’ve used before. Instead of wool fleece, I used single ply, fingering weight Merino yarn, which is easy to braid. Unfortunately, Flying Finn Yarns, the small cottage industry I bought it from, is not currently in business.
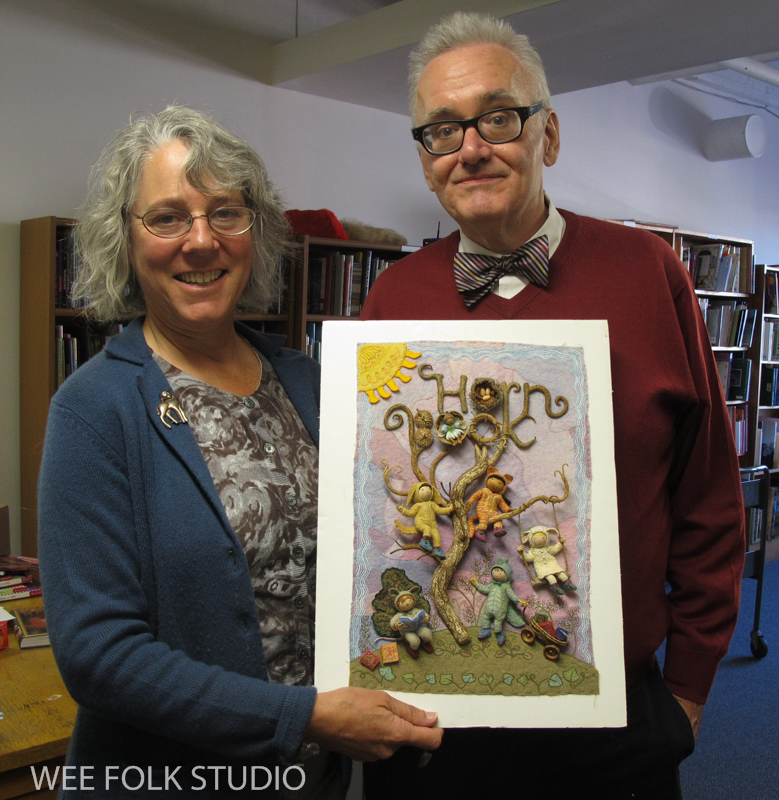
It was fun revisiting the fairies, although it did remind me of why I don’t do mass-production any more. Now, I’ve got to change gears and work on some new pieces for my next exhibition, which will be in the fall of 2025 at the New England Quilt Museum. I can hardly wait for January, when hibernation sets in and you can be busy inside without the distractions of warm weather!

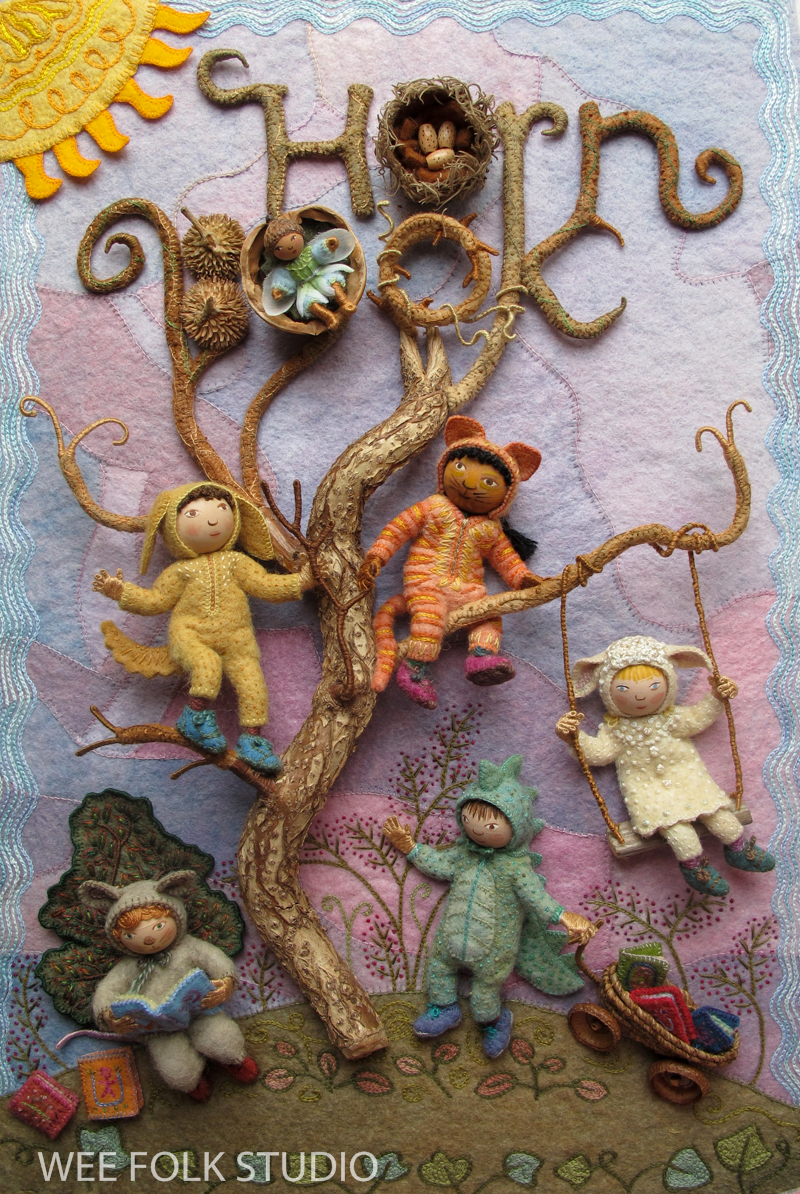
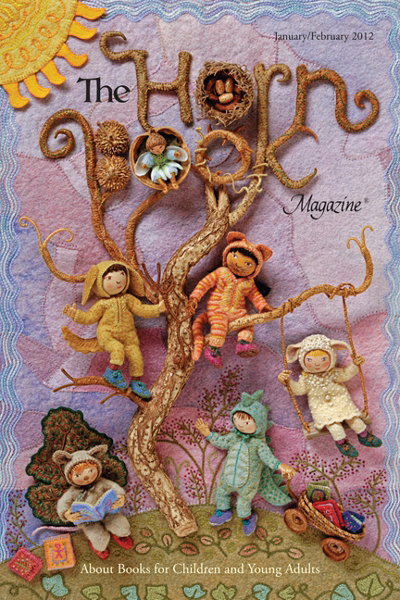
My Etsy Shop is well stocked for the holiday season, with a selection of books, cards, puzzles, notebooks, posters, and bookmarks that feature my particular doll-infested needle and thread universe!
To keep up with new posts, please subscribe to this blog. Your contact info will not be sold or shared. If you’d like to see more frequent photos tracking the projects in my studio, please follow me on Facebook, Instagram and BlueSky.