

In Part 5 in the continuing series about making Harvest Time, I share photos and commentary about making the purple toadstool mushroom and the wee folk forager sitting under it. In the coming weeks, I will continue to post stories that focus on different aspects of making the fall scene, including the other wee folk figures, storage containers, tunnels, roots, and stones. So far, I’ve written the following posts:
The overview introduces the Harvest Time piece.
Part 1 features moss making.
Part 2 is about making the turkey tail mushroom.
Part 3 shows the construction of felt leaves.
Part 4 gives a peek at embroidering the plants.
Part 6 shows the process of making the underground

Harvest Time is the fall scene in a series of seasonal landscapes that capture the wonder and magic of the natural world, both real and imagined. Note cards and jigsaw puzzles of the this and other scenes in the series (Frosty Morning and Mossy Glen) are available in my Etsy Shop.


I don’t know why I didn’t include mushrooms in the original sketch. It seems so obvious now, especially for a fall landscape. The idea of putting one in the scene came later, when I shifted over the stump and created a place to fill on the right horizon.

Toadstool mushrooms have popped out in my artwork for over 40 years. These are some mushroom houses I made in 1979, back when I used a sewing machine.
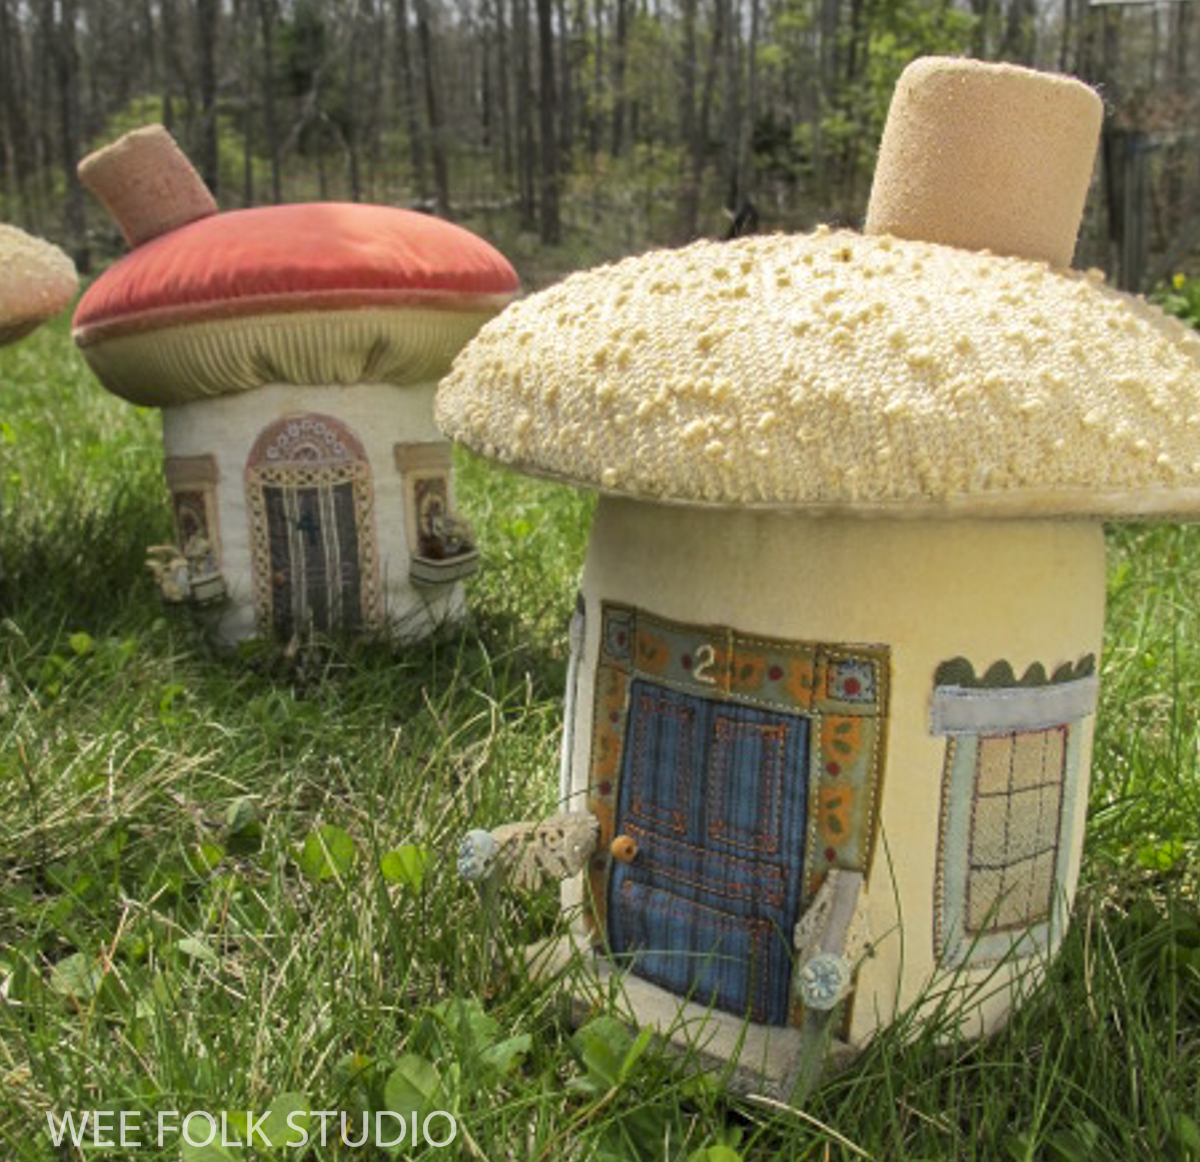
When I went into business selling fairy kits in 1998, I designed a logo with a red-capped mushroom house. My 10 year stint making kits is long gone, but I still use the same logo.
In this scene from 2009, I used both real mushrooms from the supermarket and more fanciful ones that I made with polymer clay and painted kid leather.

This mushroom with a fairy taking shelter underneath is in my 2010 picture book, Pocketful of Posies, illustrating the rhyme, “Rain on the green grass, and rain on the tree; Rain on the housetop, but not on me.”

For Harvest Time, I chose a different type of mushroom. The idea of a purple toadstool struck my fancy, so I researched the Inky Cap variety. Besides being attracted to the purple/orange color combo, I looked forward to replicating the texture on the cap.
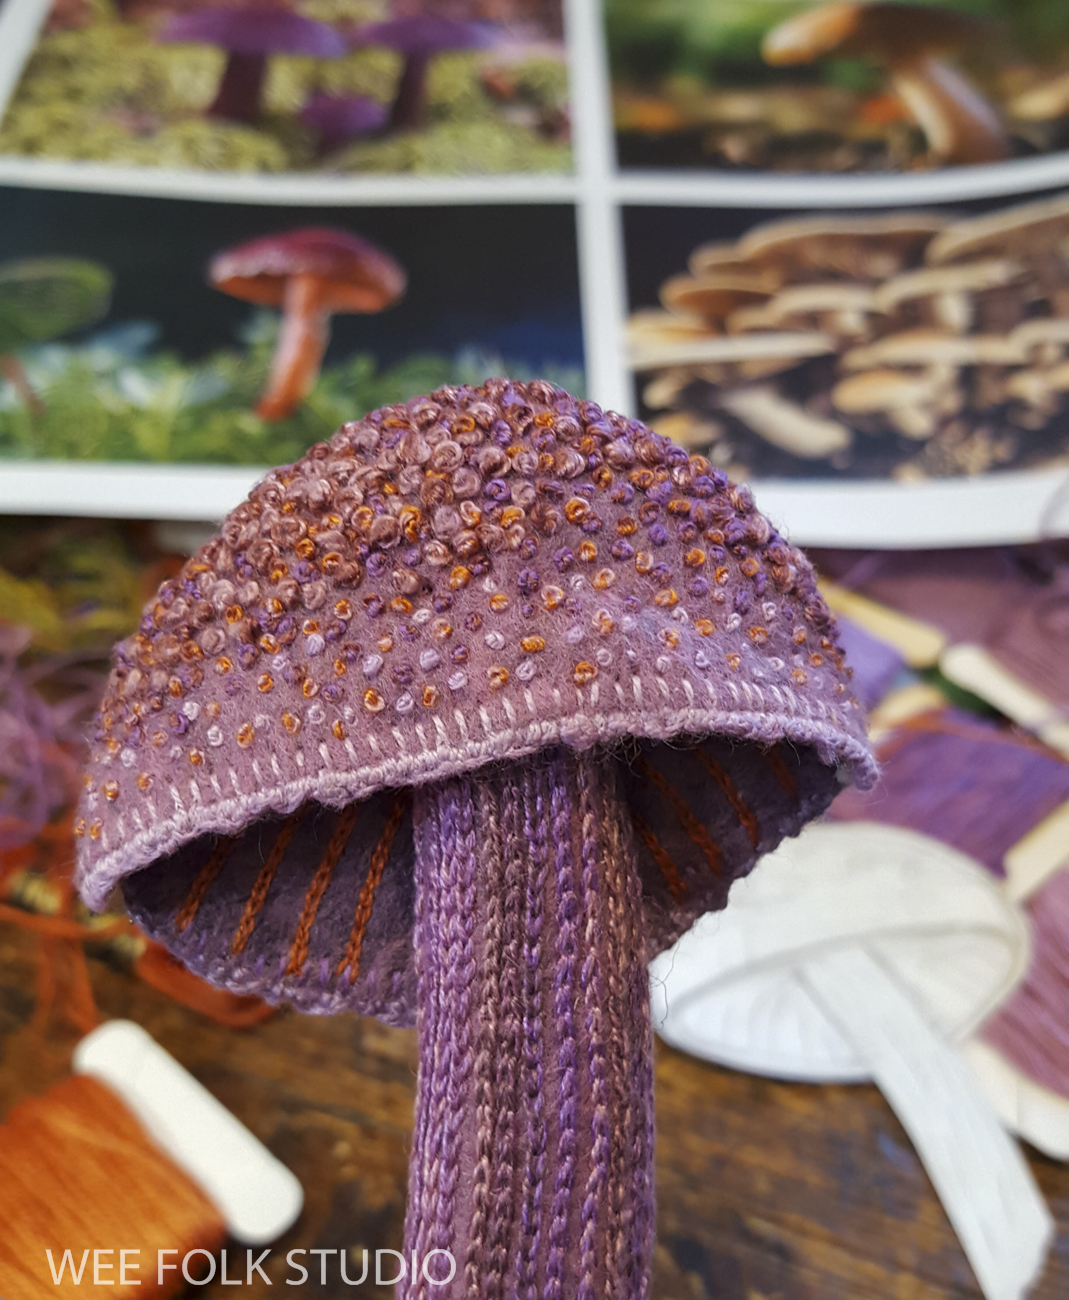
To begin, I drew the mushroom to size and used a paper cutout as a guide. It took some fudging to figure out the size and shape to cut the felt, because the front piece of the cap would be curved and sticking out about 1/2″,

I sewed wire along the rim of the cap to help hold its curve. After covering the wire with stitches, I created an uneven edge with messy loops, so it would look more realistic. To make the bumpy texture on top, I stitched French knots with different shades of purple and orange embroidery floss.

To make the stem, I cut out a thin strip of felt and covered it with lines of chain stitching.

I forgot exactly how I did this part, but it looks like I added a felt stem back piece that was reinforced with iron-on interfacing material. I must have thought it needed stiffening, since felt by itself is usually too floppy. Also, I probably stuffed the hollow cavity with wool fleece to keep it from collapsing.

I chain stitched scales with a contrasting shade of orange thread to the inside of the cap and sewed on the stem.

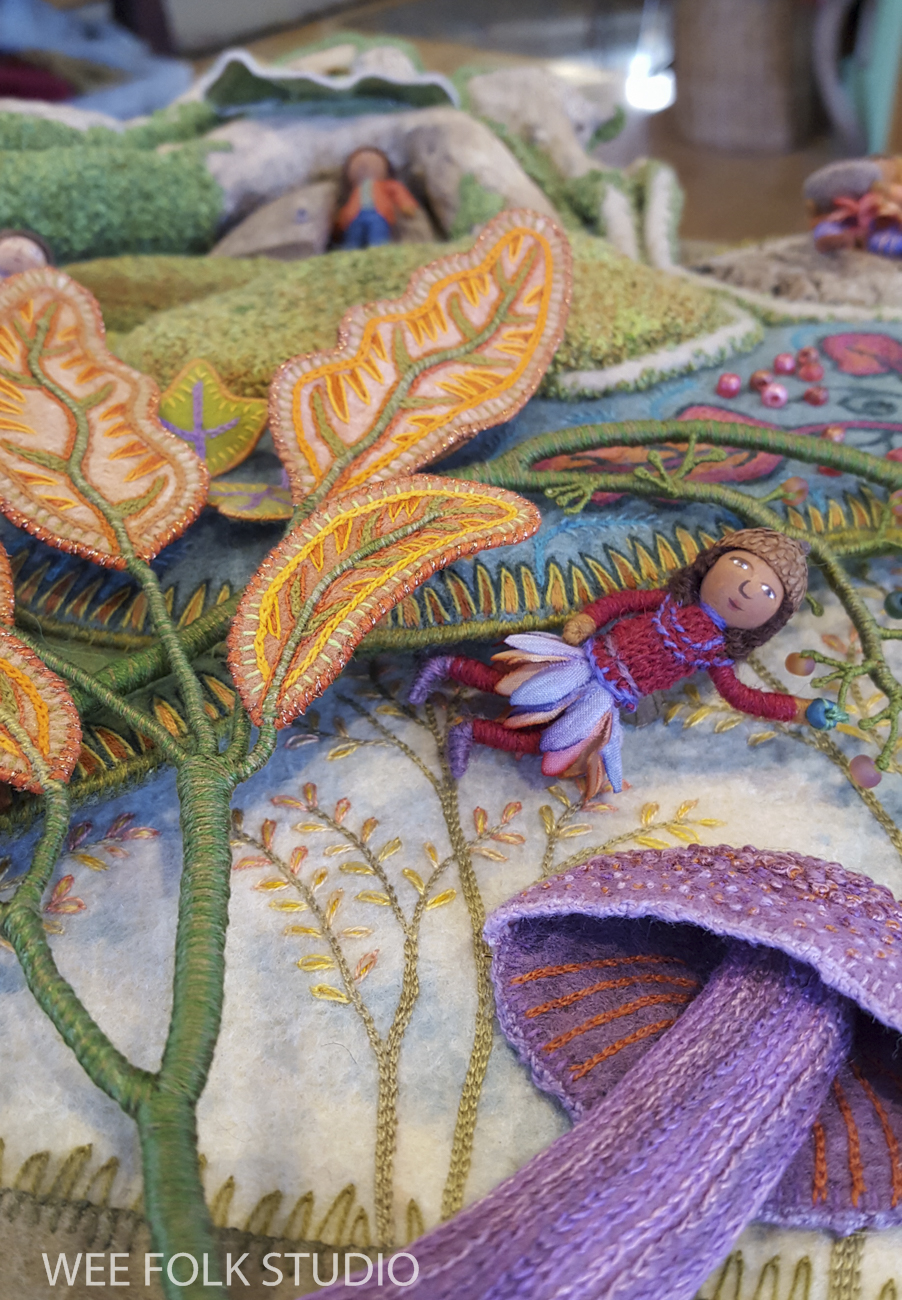
The mushroom and surrounding area looked lonely and plain, so I made a wee person to sit underneath.

To make a figure, I formed an armature with 24 gauge jewelry wire and wrapped it with thread. This is the same basic technique that I teach in my how-to book, Felt Wee Folk, but on a smaller scale. I didn’t make separate clothing, but faux knitted a shirt and vest directly onto the body with chain stitching. The skirt is an artificial flower.

This Stitch Minute video shows faux knitting for a character in the spring landscape, Mossy Glen.
I painted a face on a wooden bead and glued braids and an acorn cap on top. Another acorn cap served as a container for glass bead “food”, which I sewed together in a bunch. The beads were sewn in place through drill holes in the acorn cap.


At this stage of the process, miscellaneous parts piled up, waiting to be assembled at the end, when everything is sewn to the background fabric. Please stay tuned for more stories about making Harvest Time, including the other wee folk figures, storage containers, tunnels, roots, and stones.
To keep up with new posts, please subscribe to this blog. Your contact info will not be sold or shared. If you’d like to see more frequent photos tracking the projects in my studio, please follow me on Facebook, Instagram and BlueSky.

Tellement beau!
Just exquisite as always, so delightfully creative and charming. Get excited to see your emails come in, always a treat to see your imagination at work. Thank you for sharing your gift!