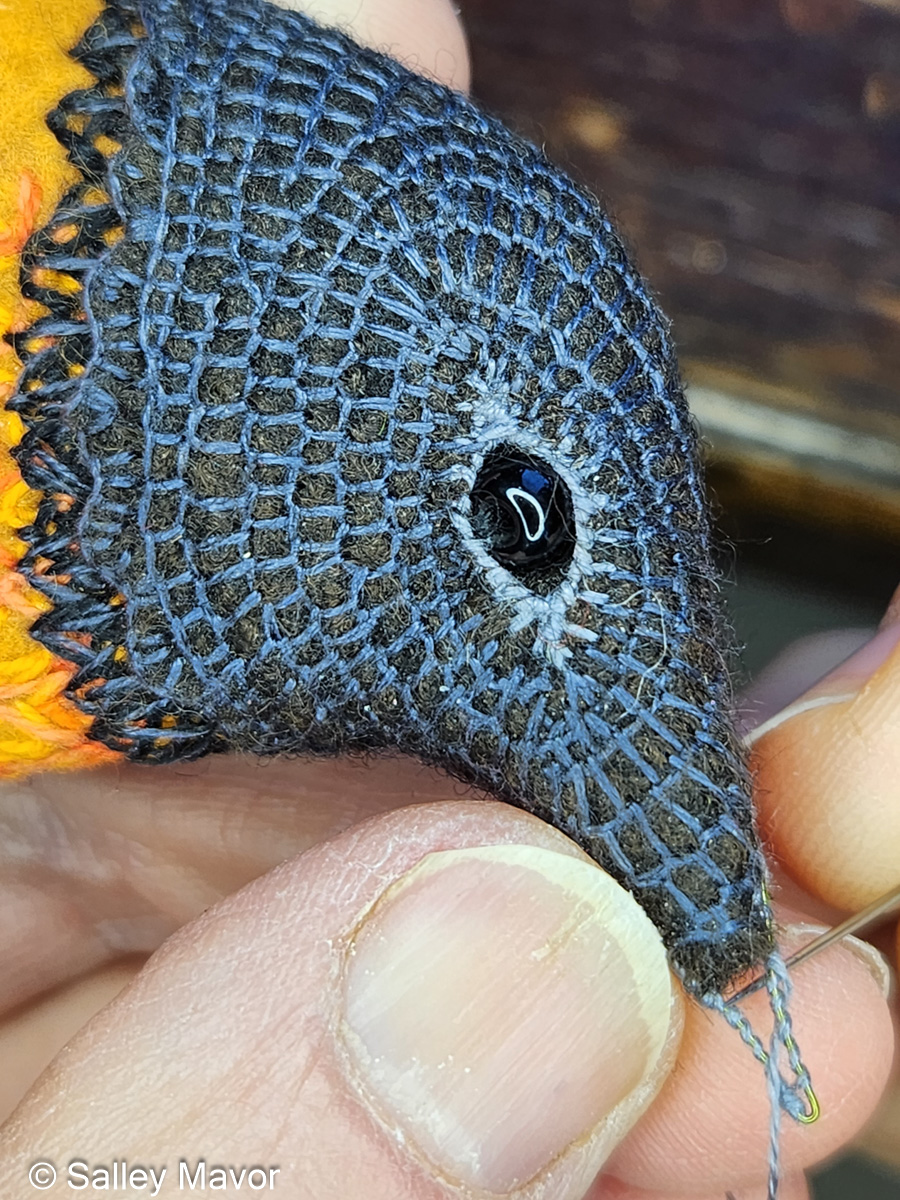
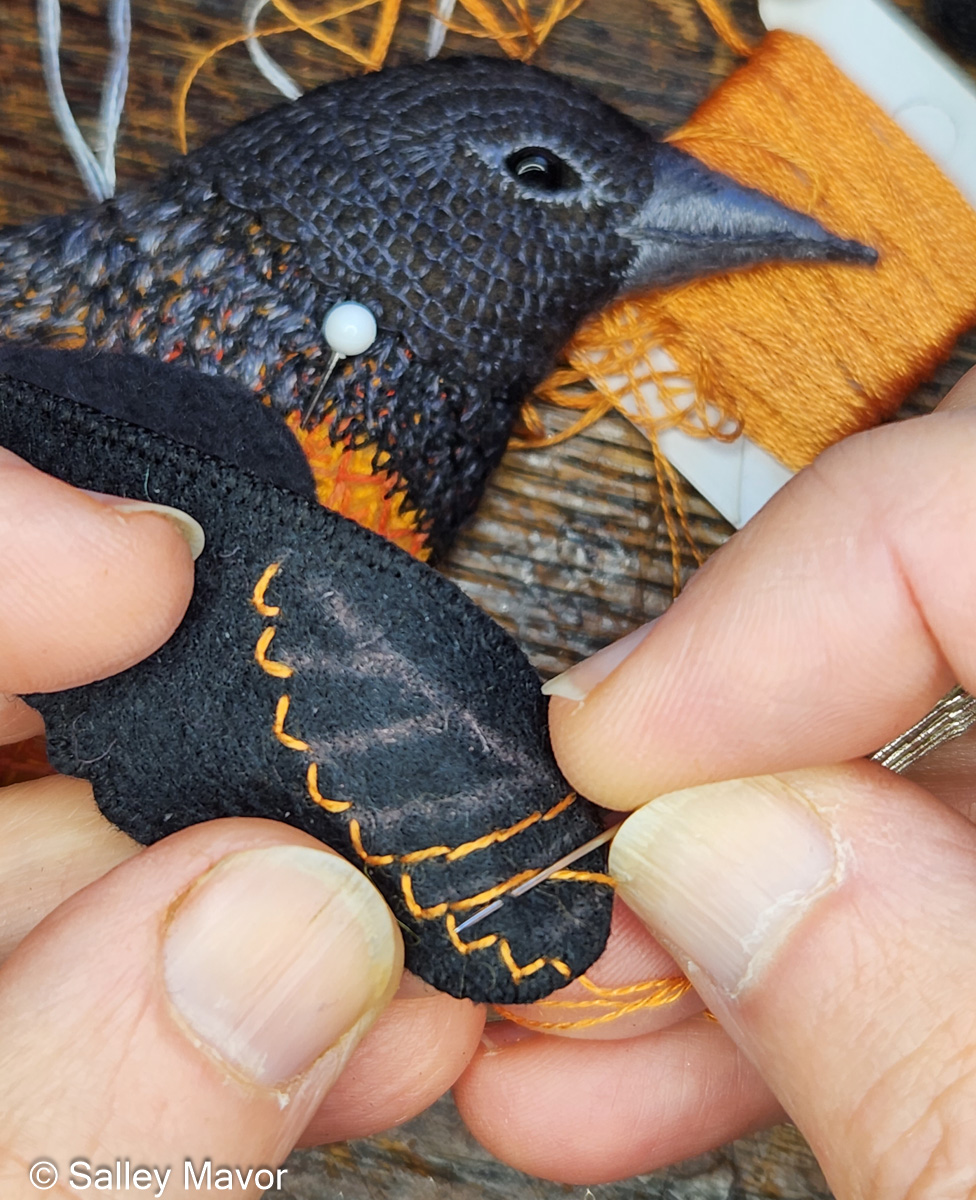
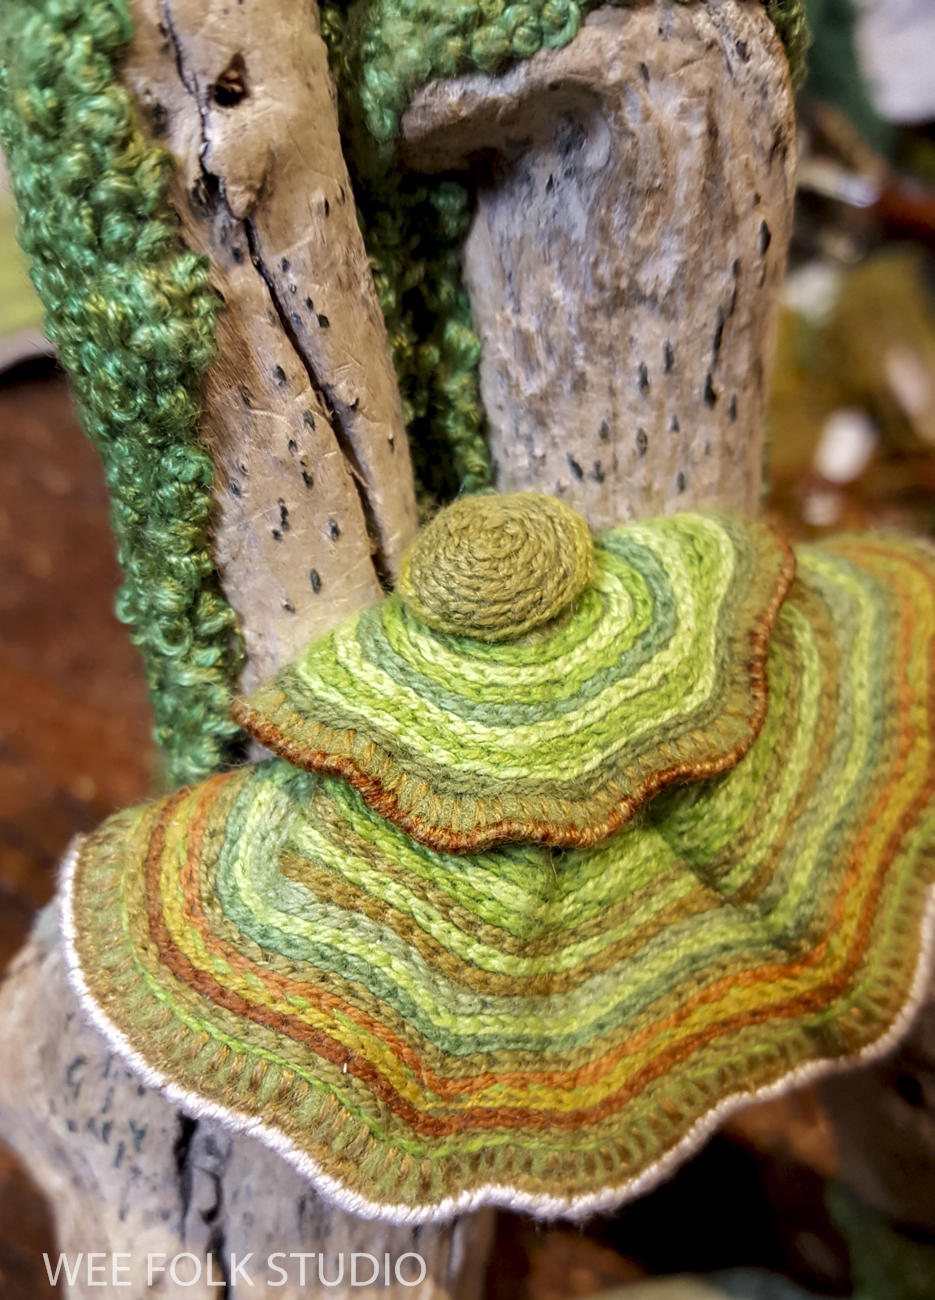
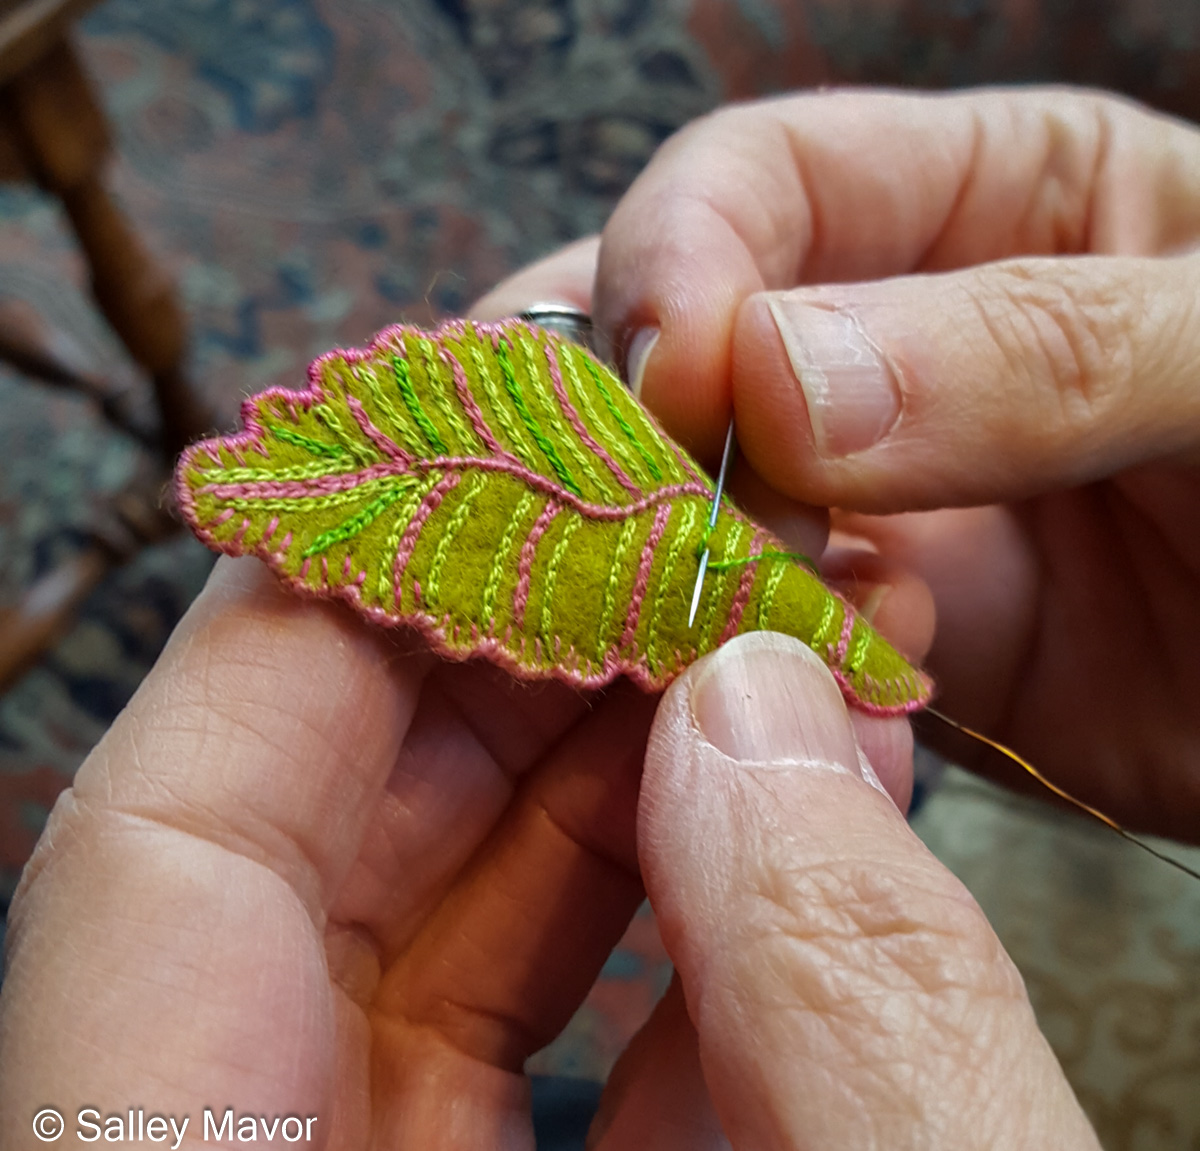
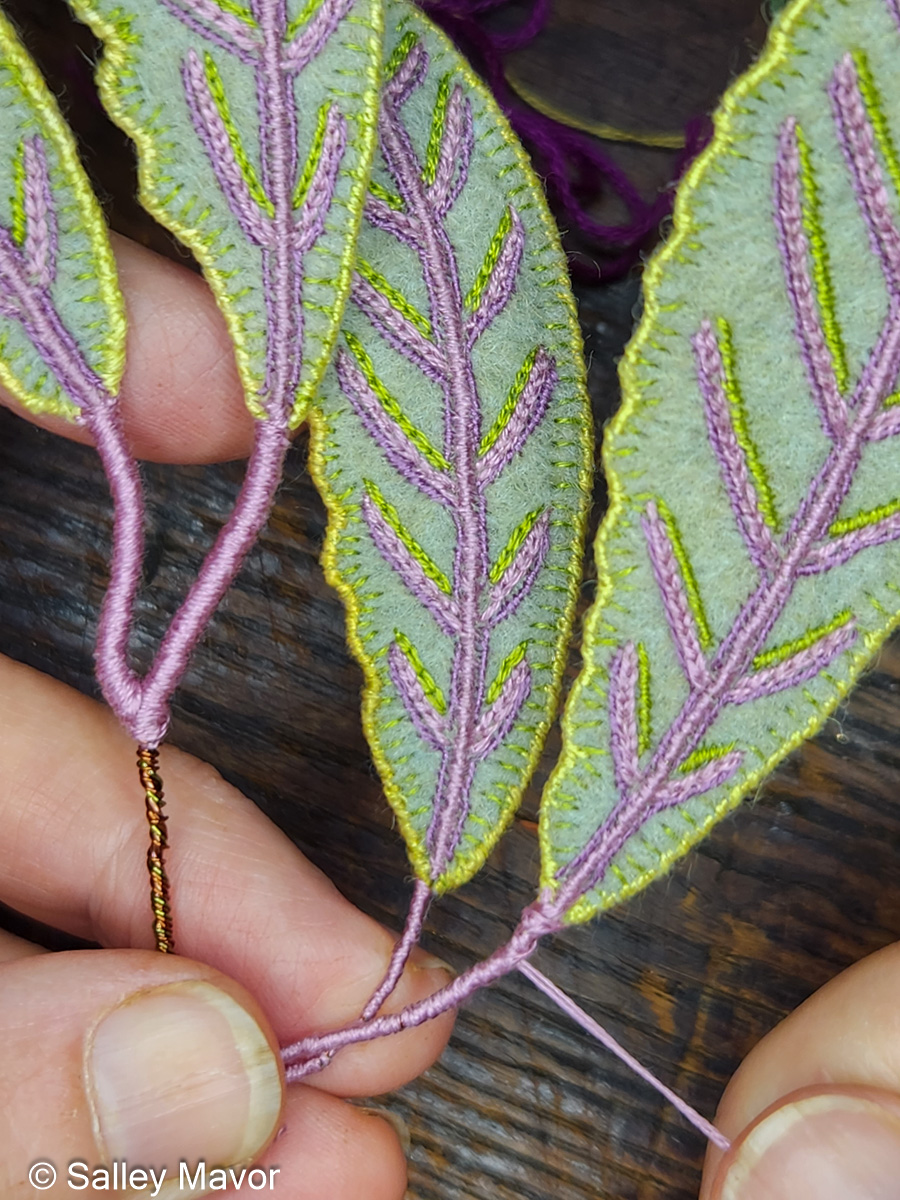
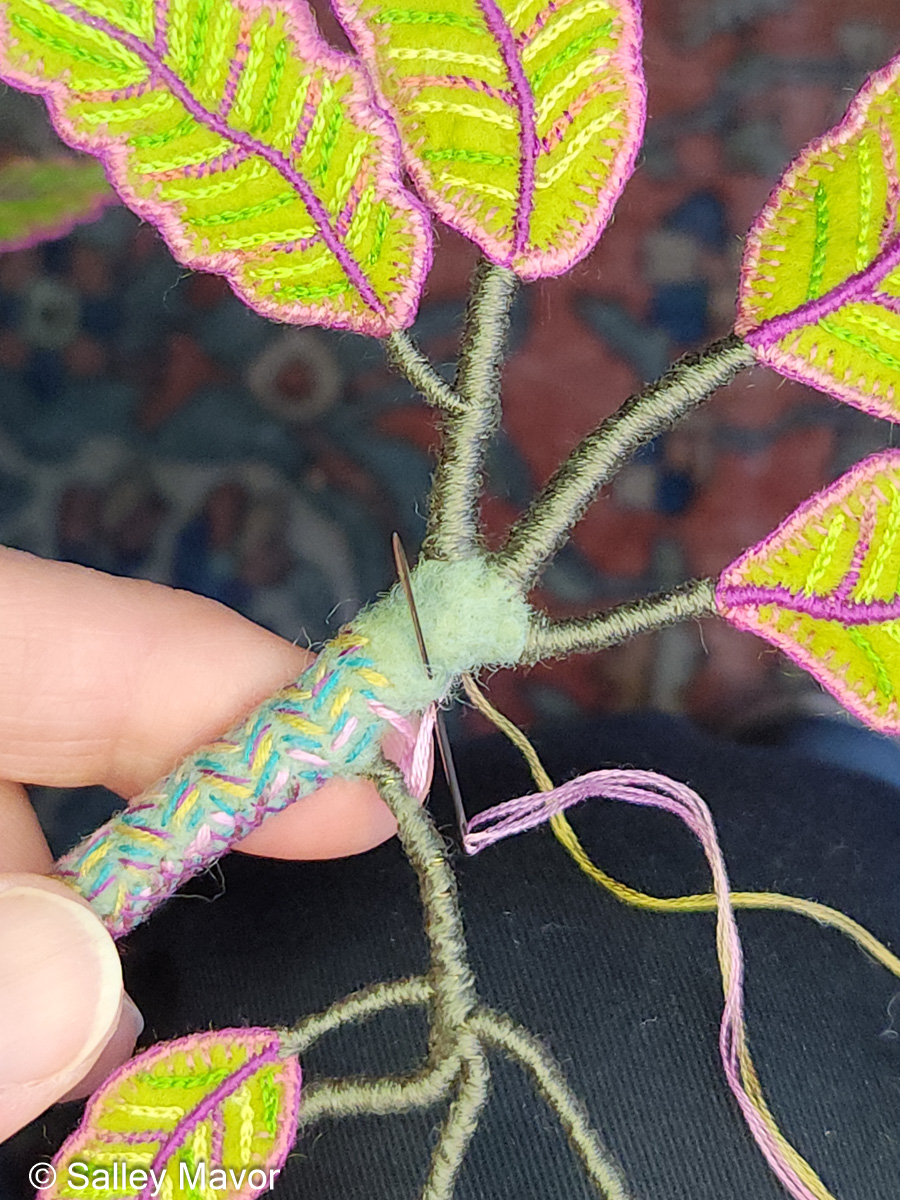
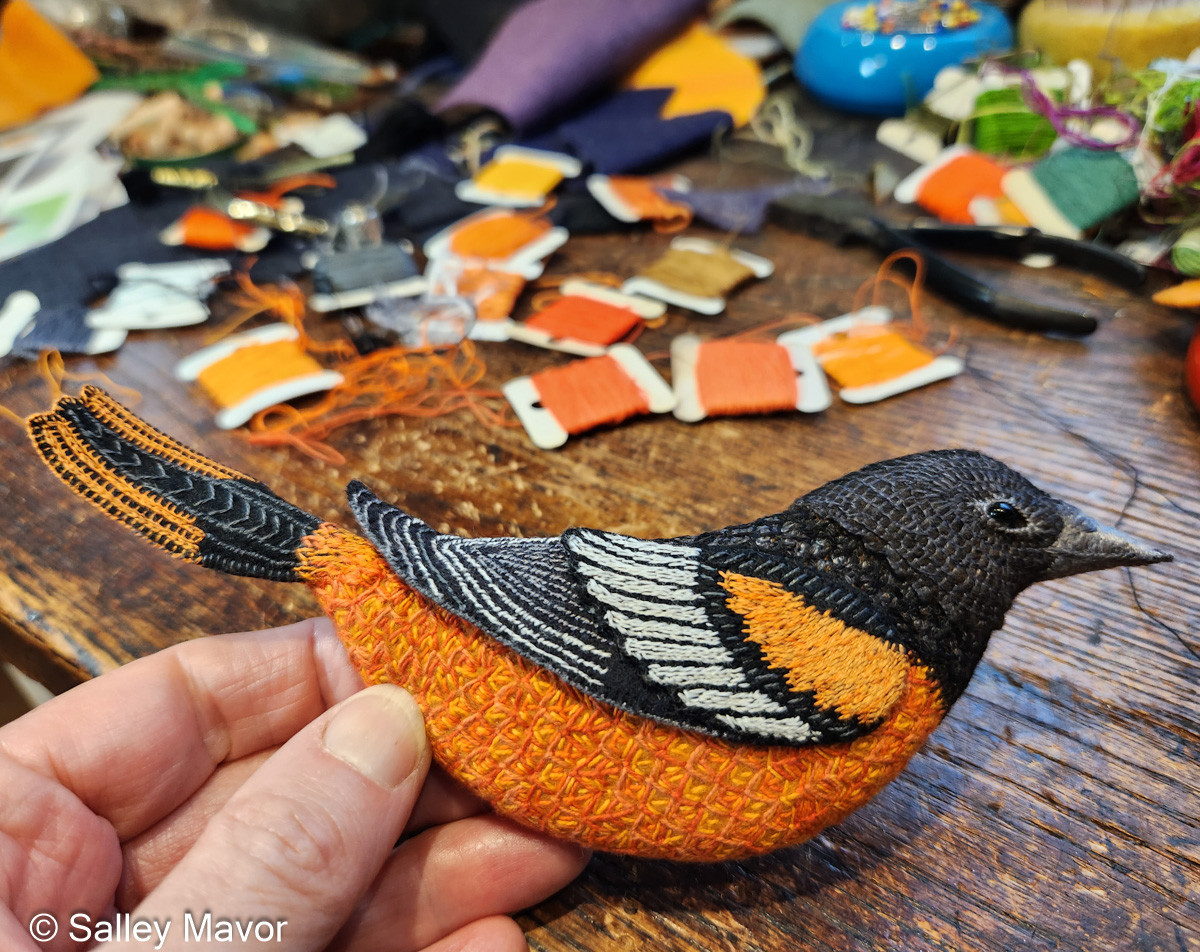
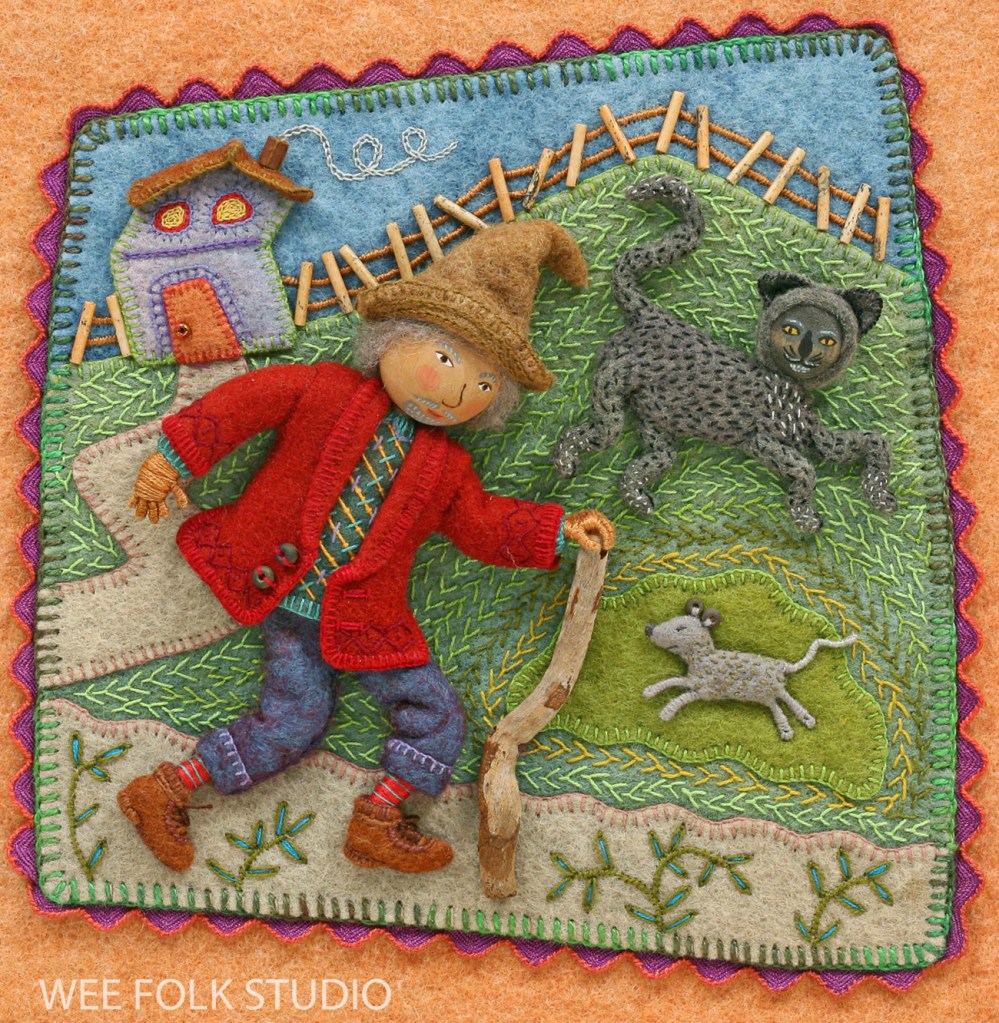
Wool felt is one of my favorite materials to work with—right up there with embroidery thread. I love it for its versatility and stability, and most of all because the cut edges don’t fray. Wool felt is a pleasure to use. It feels better in your hands and offers a level of integrity and durability that synthetic fabrics just can’t match.
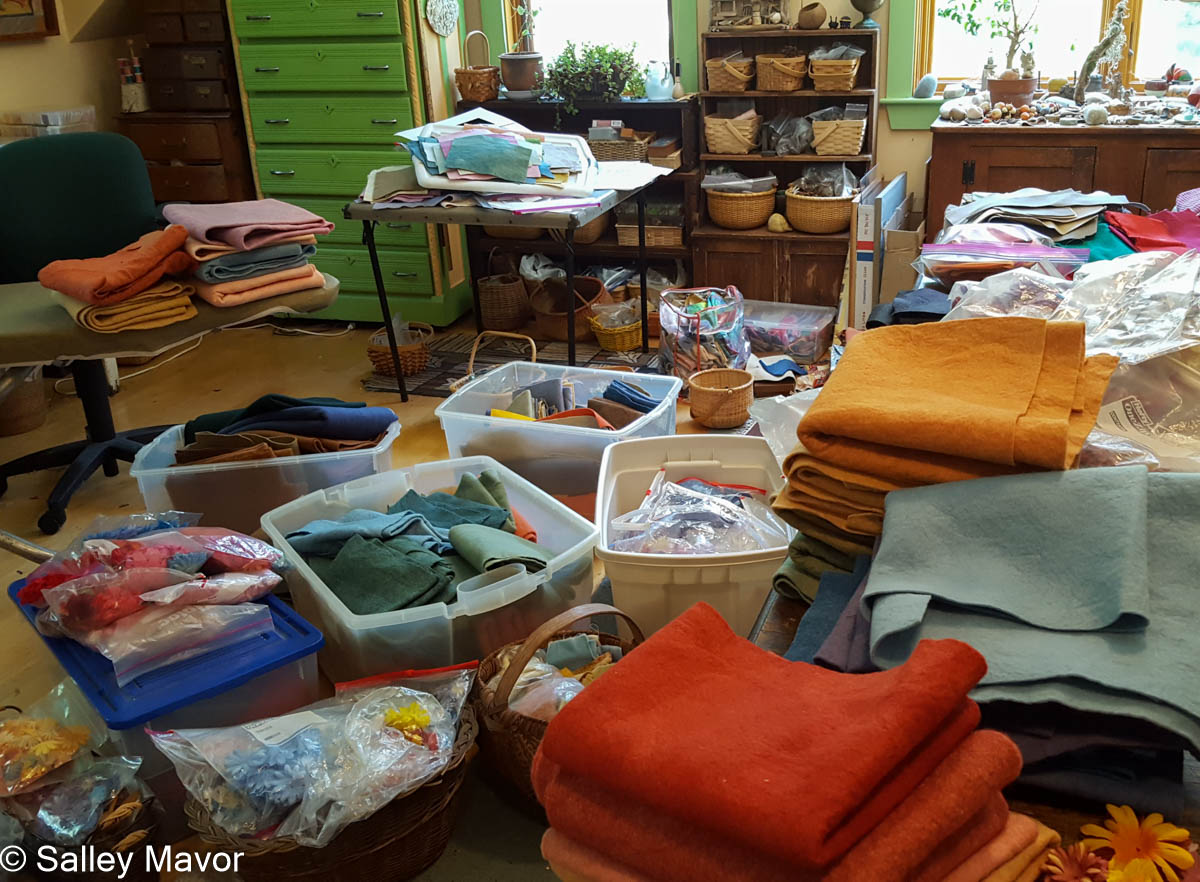
Once you’ve worked with wool felt, it’s hard to go back to the inexpensive acrylic sheets commonly found in craft stores—like trading a polyester pantsuit for cotton, wool, or linen. Many online businesses sell wool felt, from garish commercially dyed colors to softer, plant dyed, and “heather” shades. Sources for purchasing wool felt are at the end of this post.
Like many other children born in the 1950s, my first experience with wool felt was through making doll clothes. The moment I mastered sewing snaps onto felt outfits for my Troll dolls, a new world of possibilities opened up. I can still remember wondering which was the “right” way to sew on snaps: make the stitches jump from hole to hole or stitch around the outside of the snap. It’s still a conundrum.

I don’t recall coming into contact with genuine wool felt again until 1988, when my children began attending the Waldorf School of Cape Cod. Handwork was part of the daily curriculum—knitting, woodworking, and sewing with wool felt. At the time, many Waldorf schools around the country were supplied with naturally dyed wool yarn and wool felt from Textile Reproductions, a small family business here in Massachusetts.
I was thrilled to find such thick, luscious wool felt in a pleasing array of colors. For nearly ten years, I regularly ordered felt from Textile Reproductions—until they discontinued dyeing felt in 1997. Luckily, I heard about their plans in time to drive to their house and buy as much felt as I could, including their unevenly dyed “seconds”, which I considered the most desirable. Unfortunately, I still haven’t found a comparable substitute to recommend.
Why the Terms Get Mixed Up
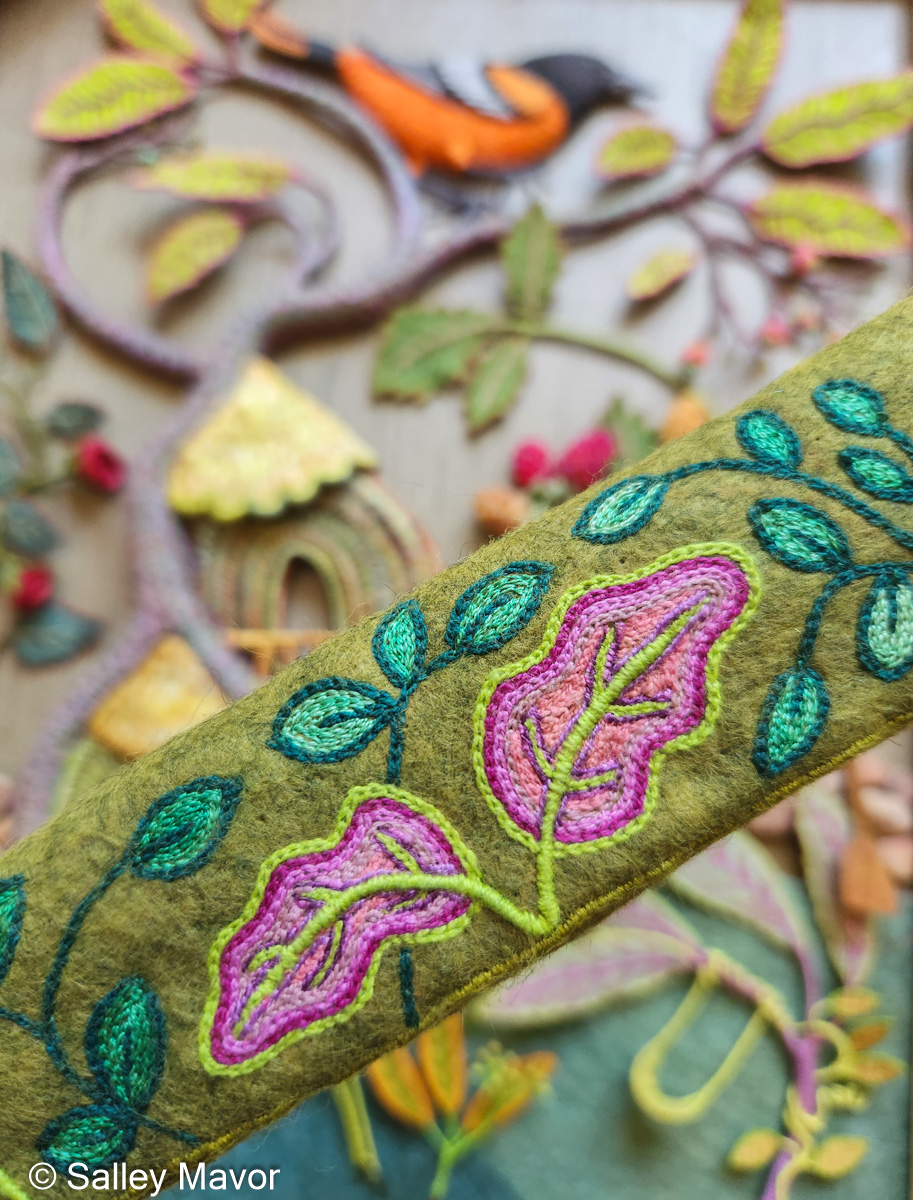
Before continuing, I want to clarify something — I use felt (noun) in my pieces. I very rarely do felting (verb). It bothers me when my work is labeled “felting”, because the process of making felt is entirely different than using the finished product to make something else. It’s like the difference between weaving fabric and sewing a dress with fabric.
In short:
Felt (noun): a fabric you can cut and stitch.
To felt / felting (verb): manipulating and meshing wool fibers with wet or dry methods to form sheets of felt or three-dimensional felted forms.
Felting has a rich history and dates back to ancient times—even before weaving and knitting were widely adopted. Today, needle felting is especially popular, with a unlimited supply videos, kits, and how-to instructions available online. (Needle felting is done by repeatedly stabbing wool fleece with a barbed needle.) With that kind of mainstream familiarity, it’s easy to see how felt (the noun) and felting (the verb) are becoming interchangeable in some people’s minds.
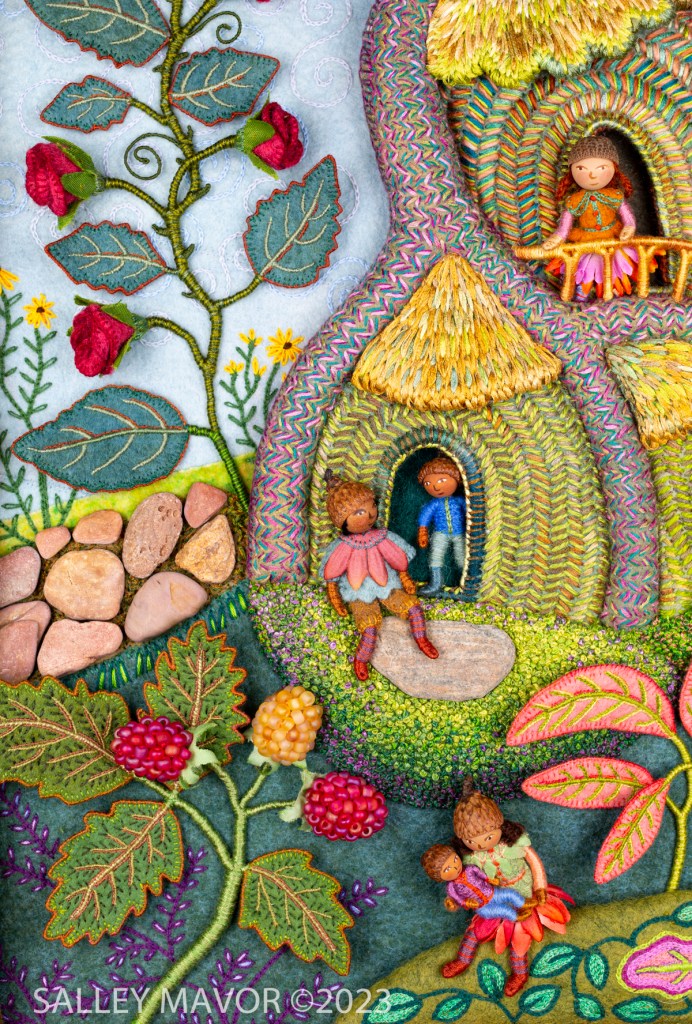
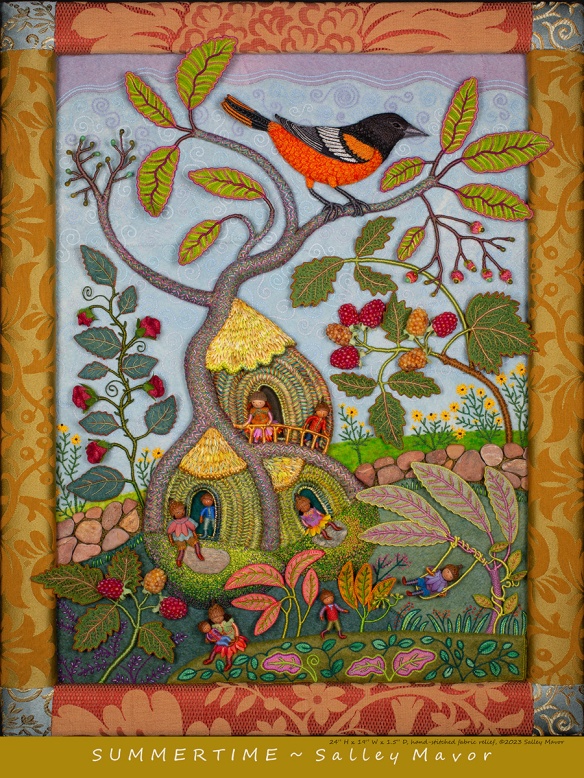
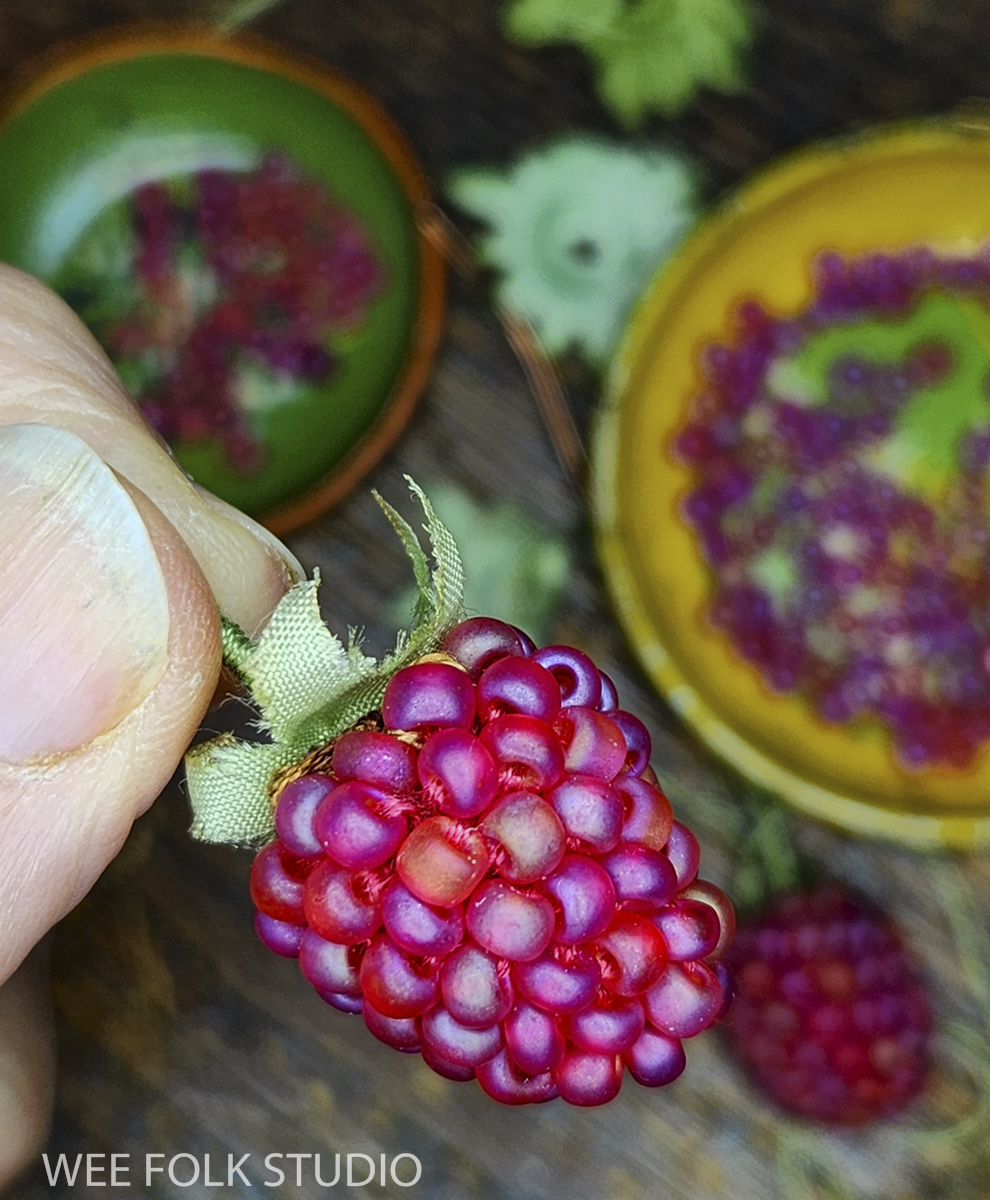
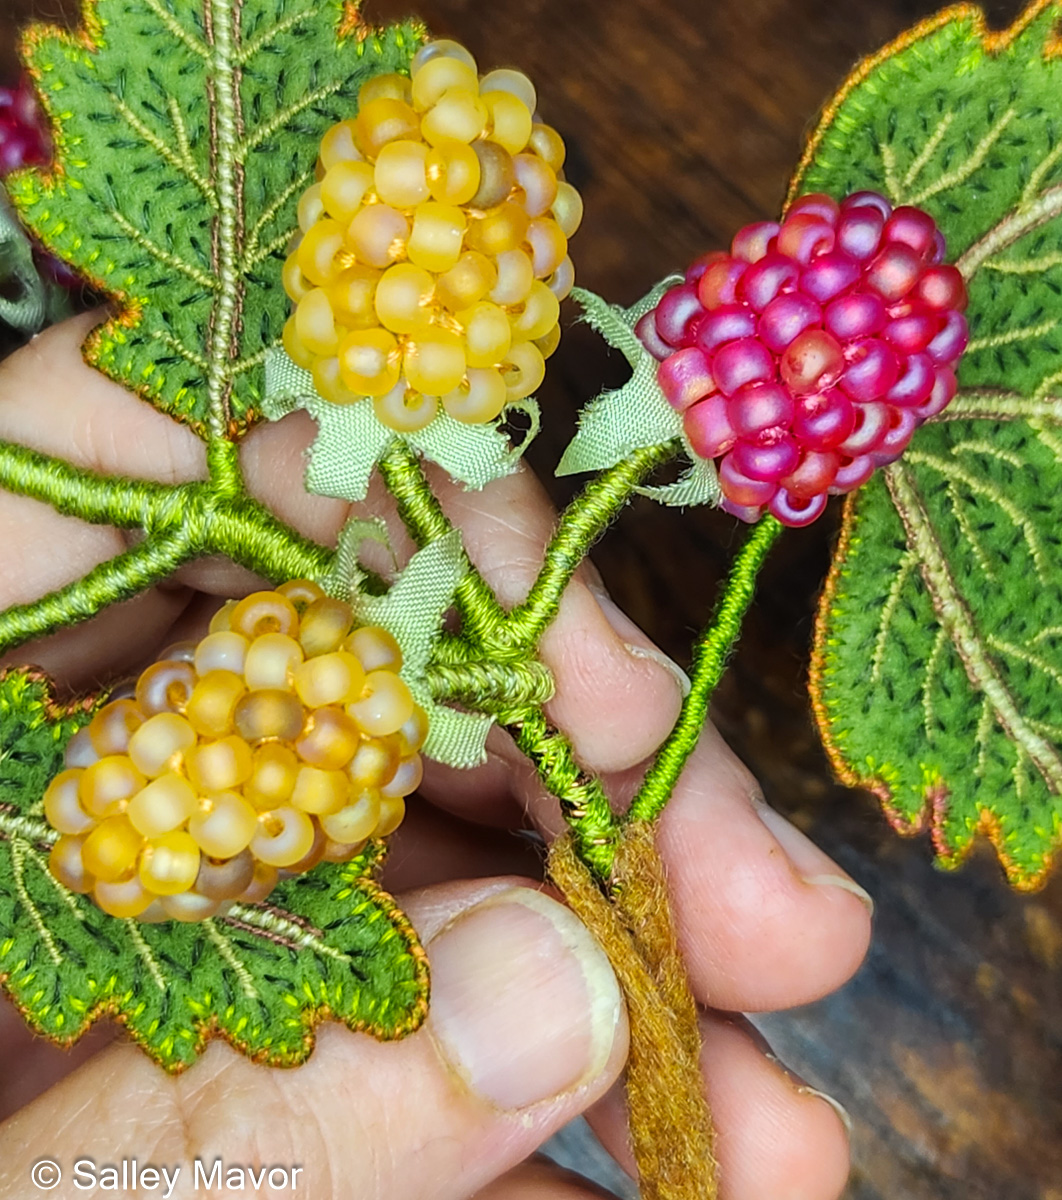
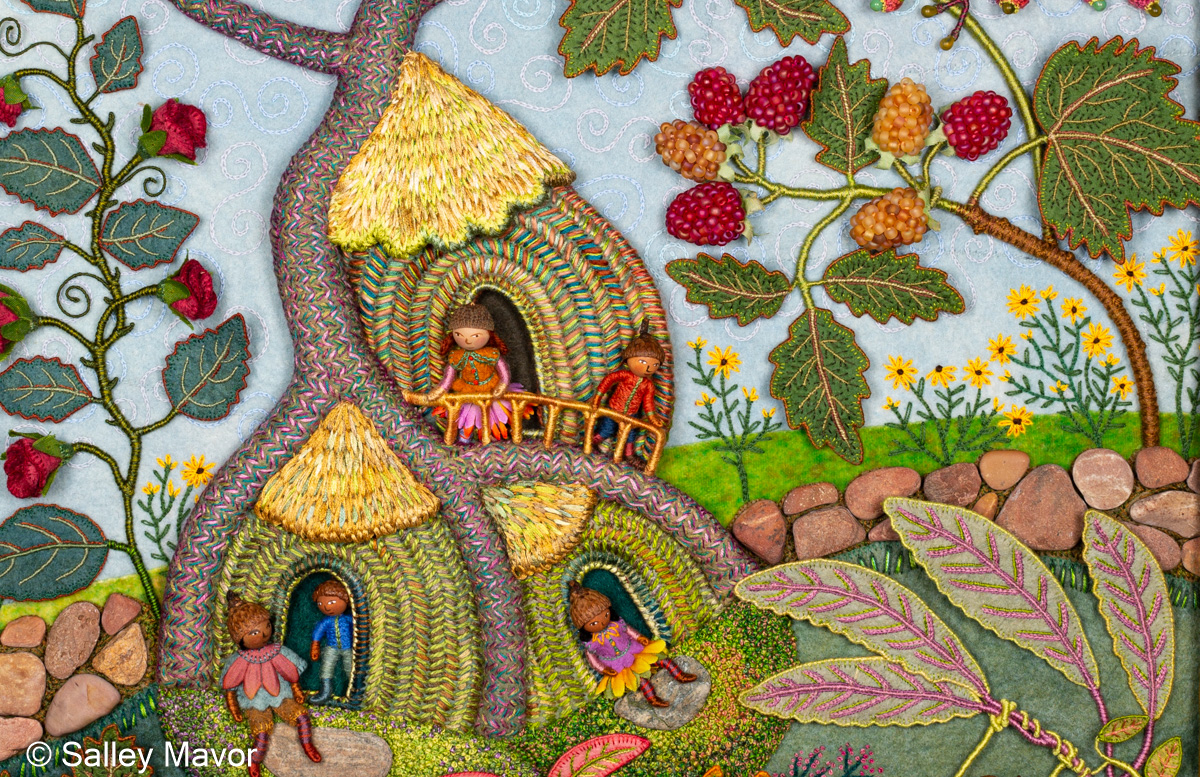
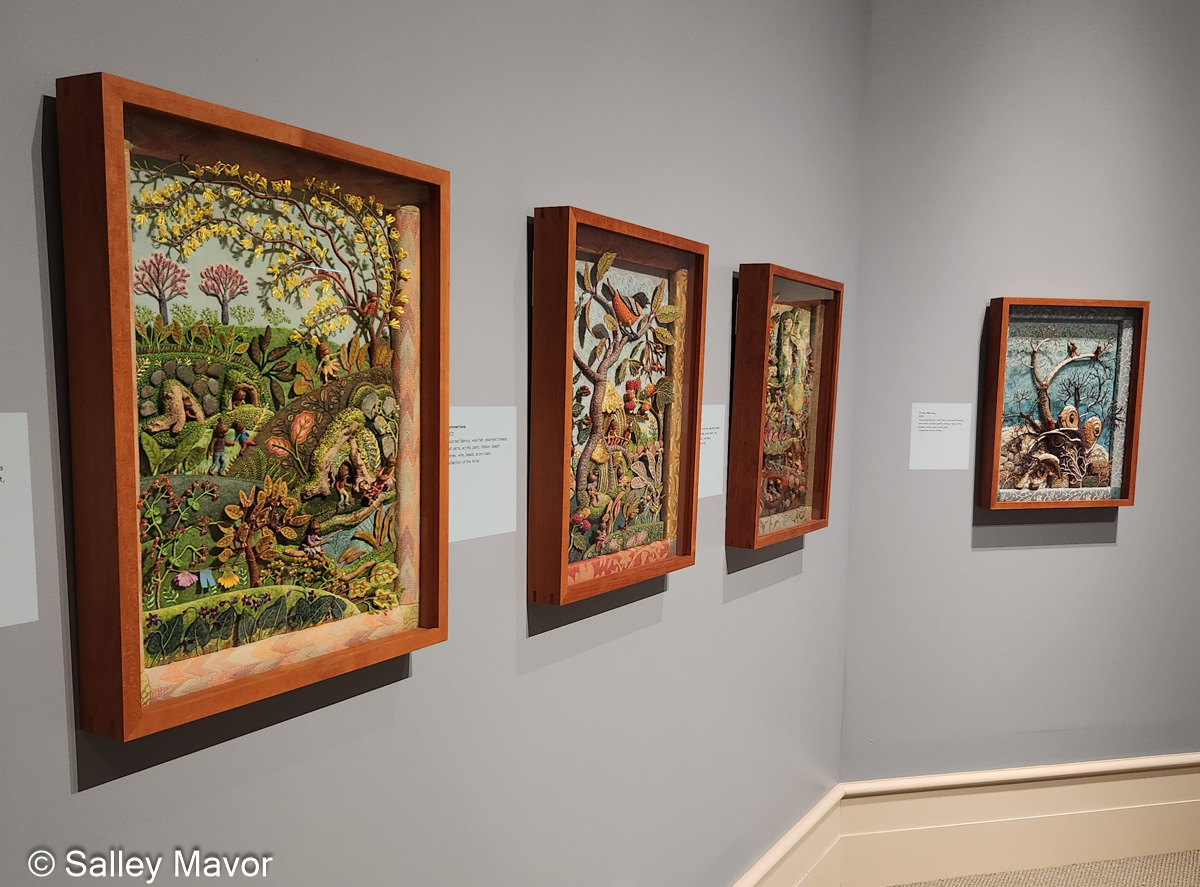
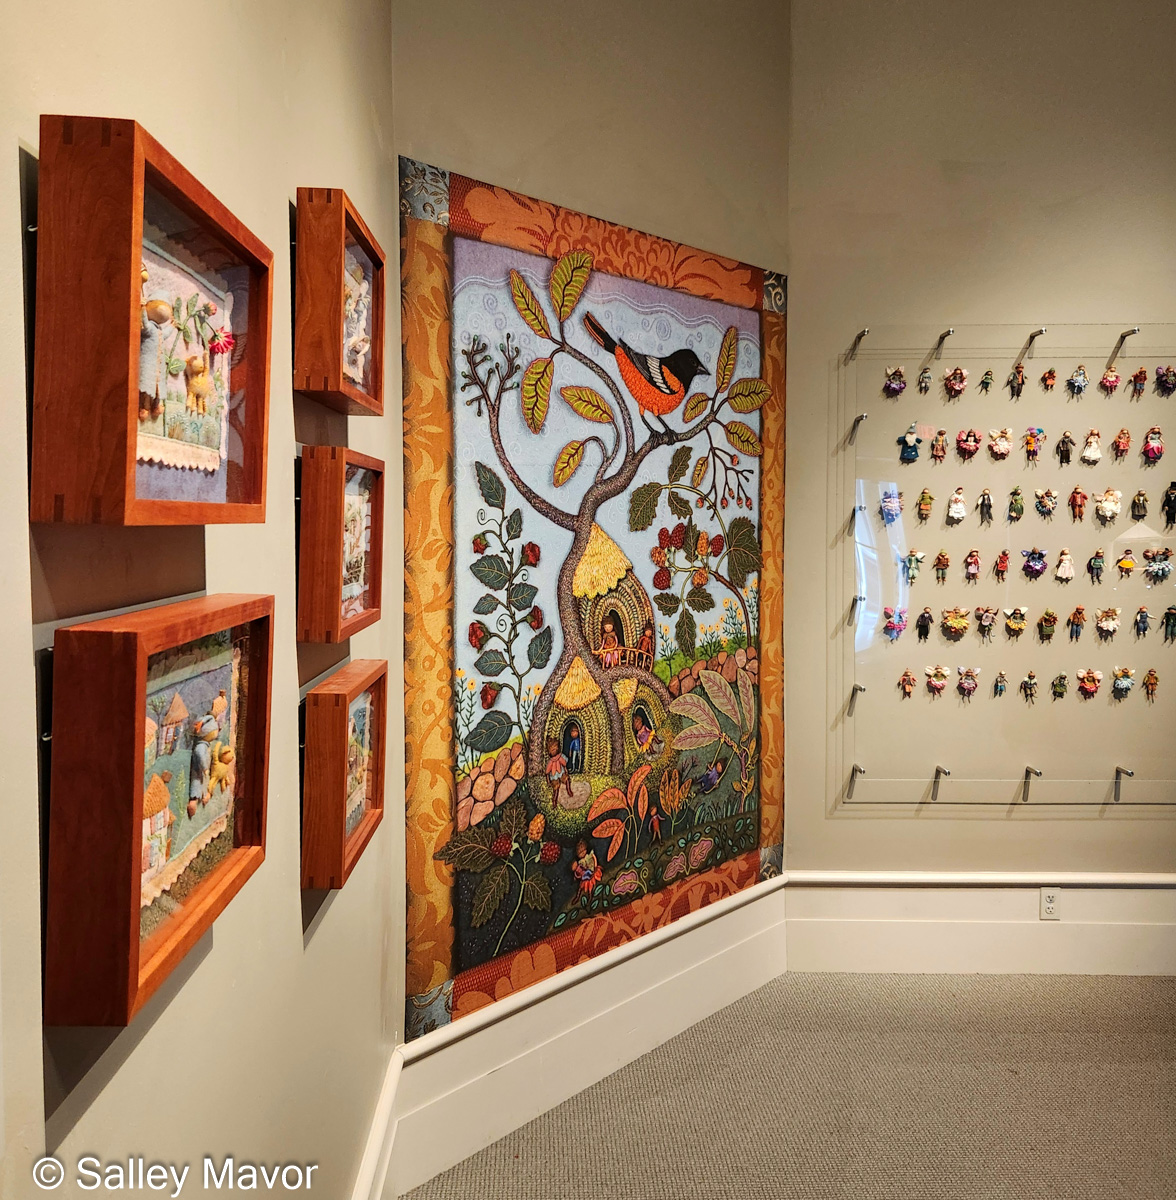
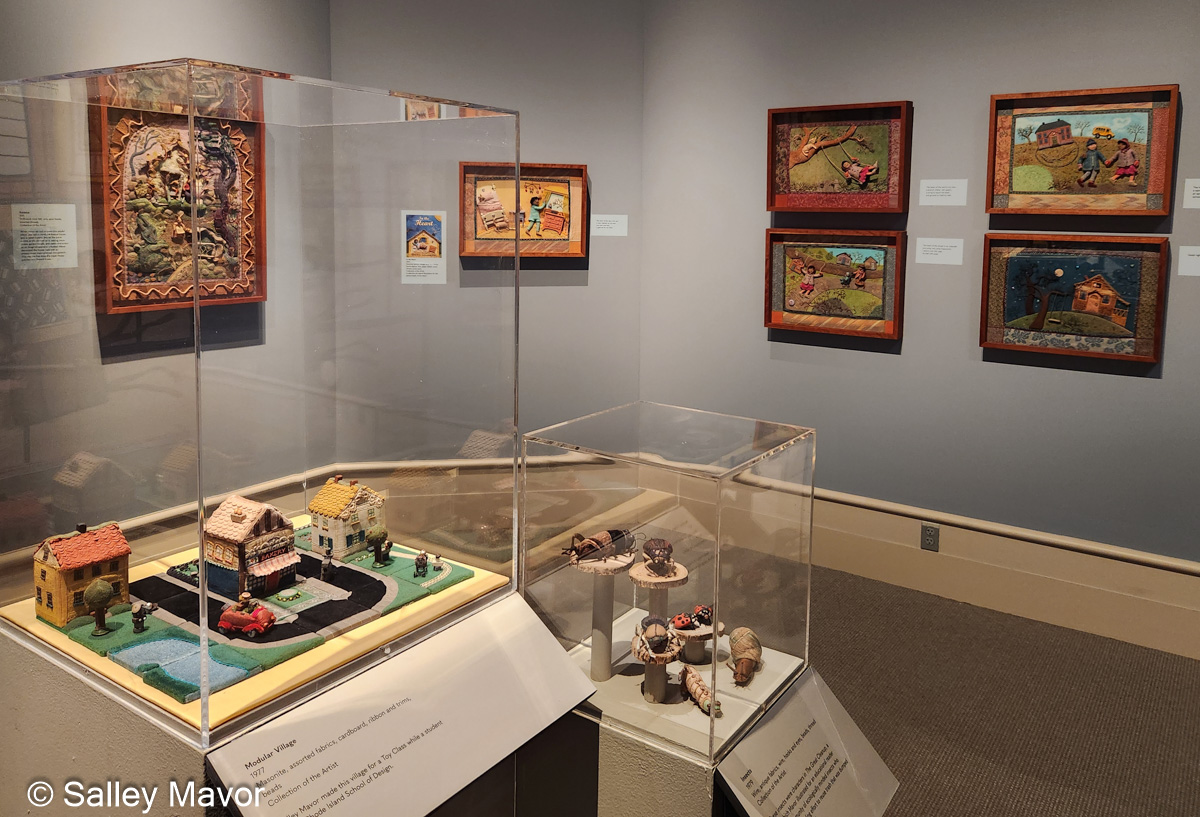
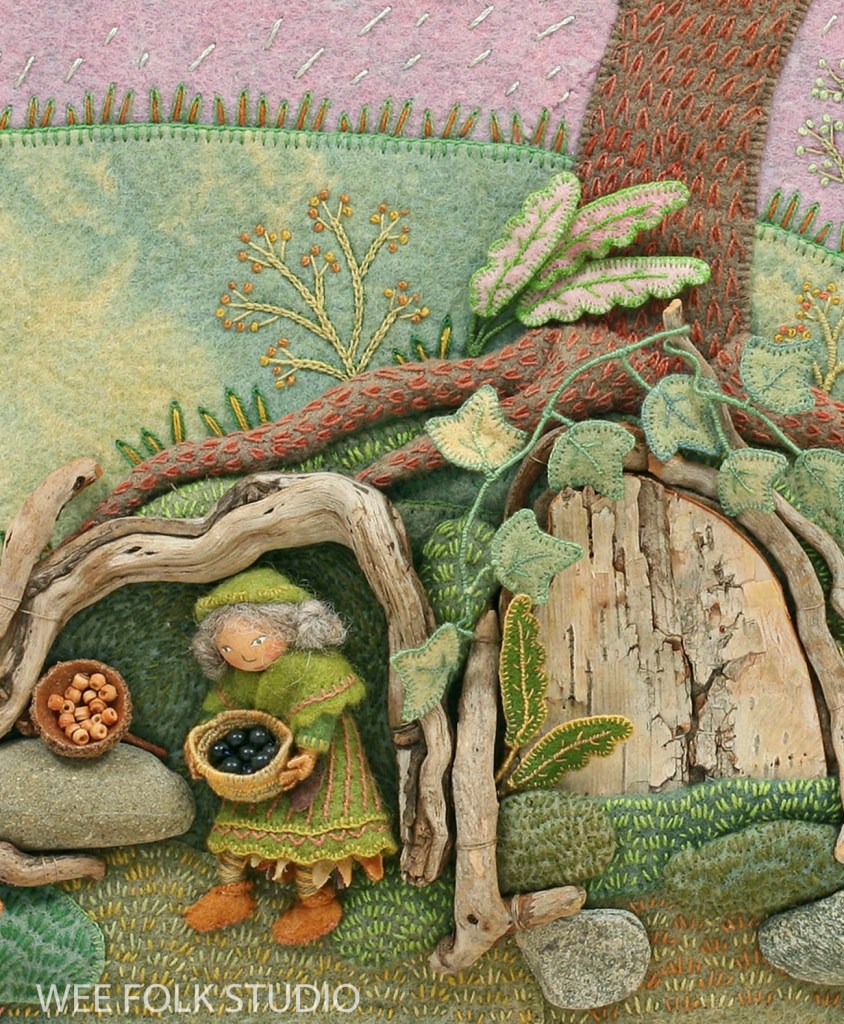
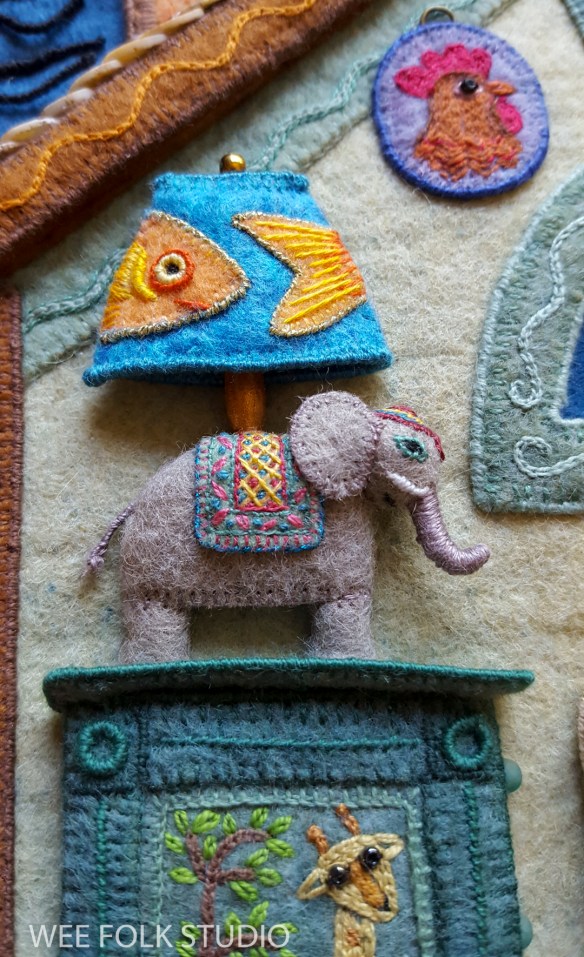
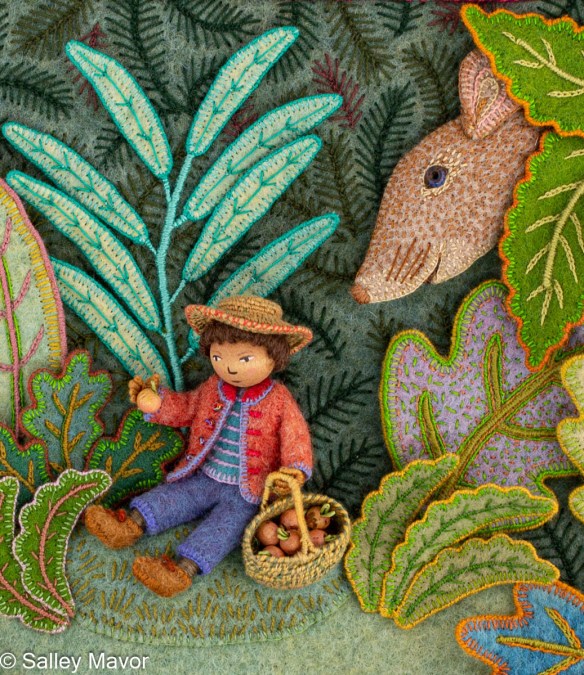
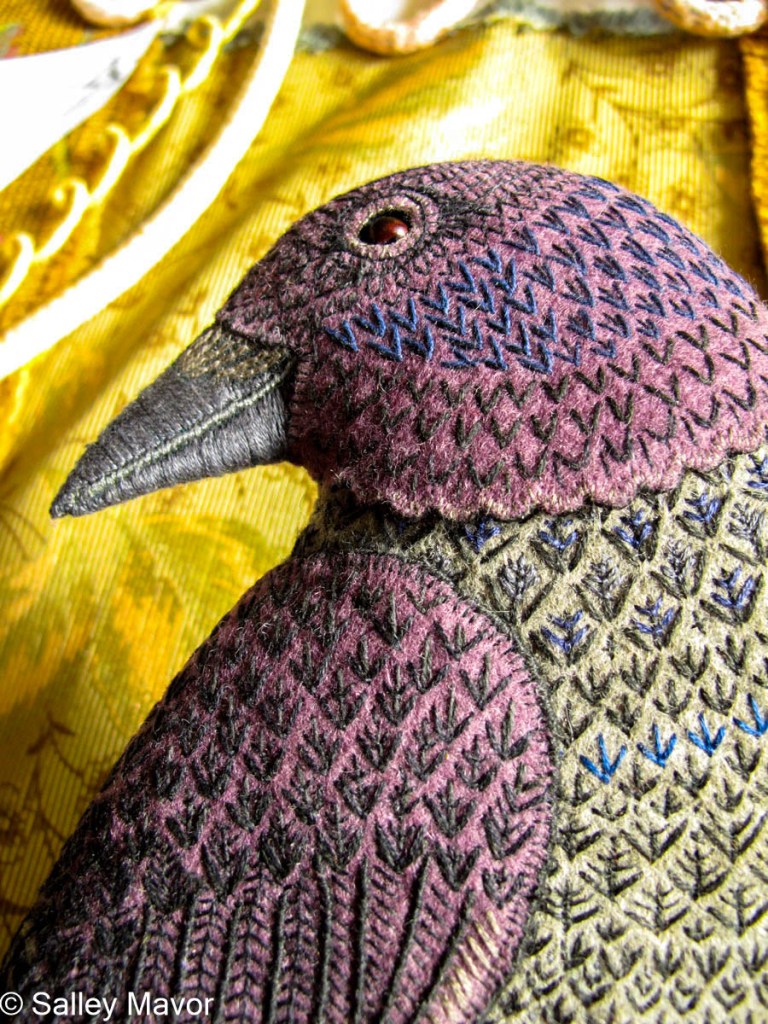
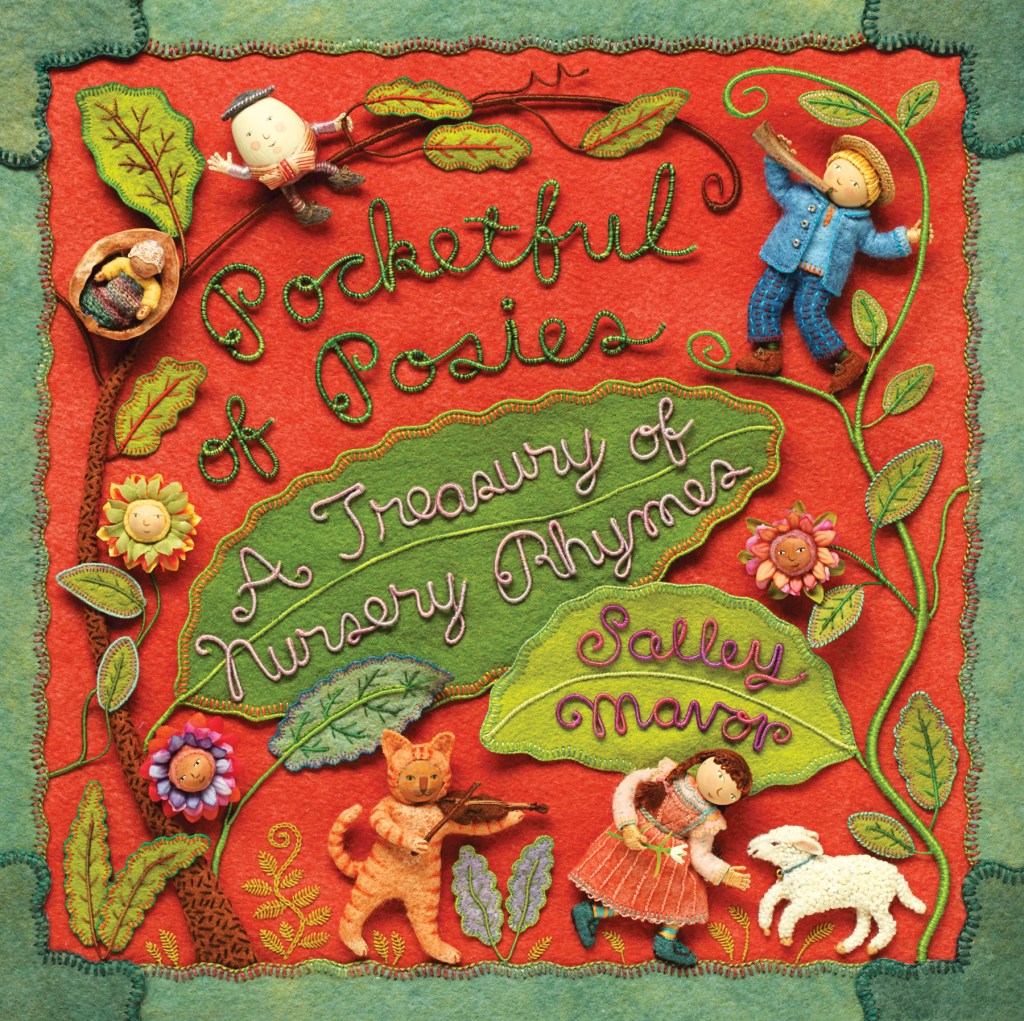
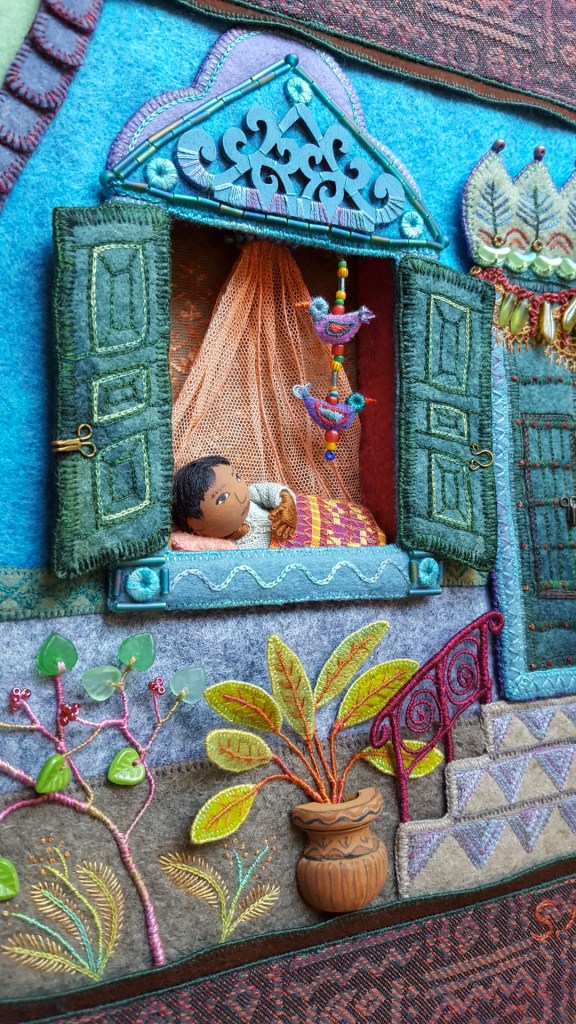
I’ve tried both wet felting and needle felting—but for the most part, I’d rather spend time embroidering with thread. For me, felt (and felting) is a starting point, not a completed piece of art; It’s a base or structure on which to build a world, using a variety of techniques and materials. Many of my picture books, including Pocketful of Posies and My Bed feature illustrations made with wool felt.

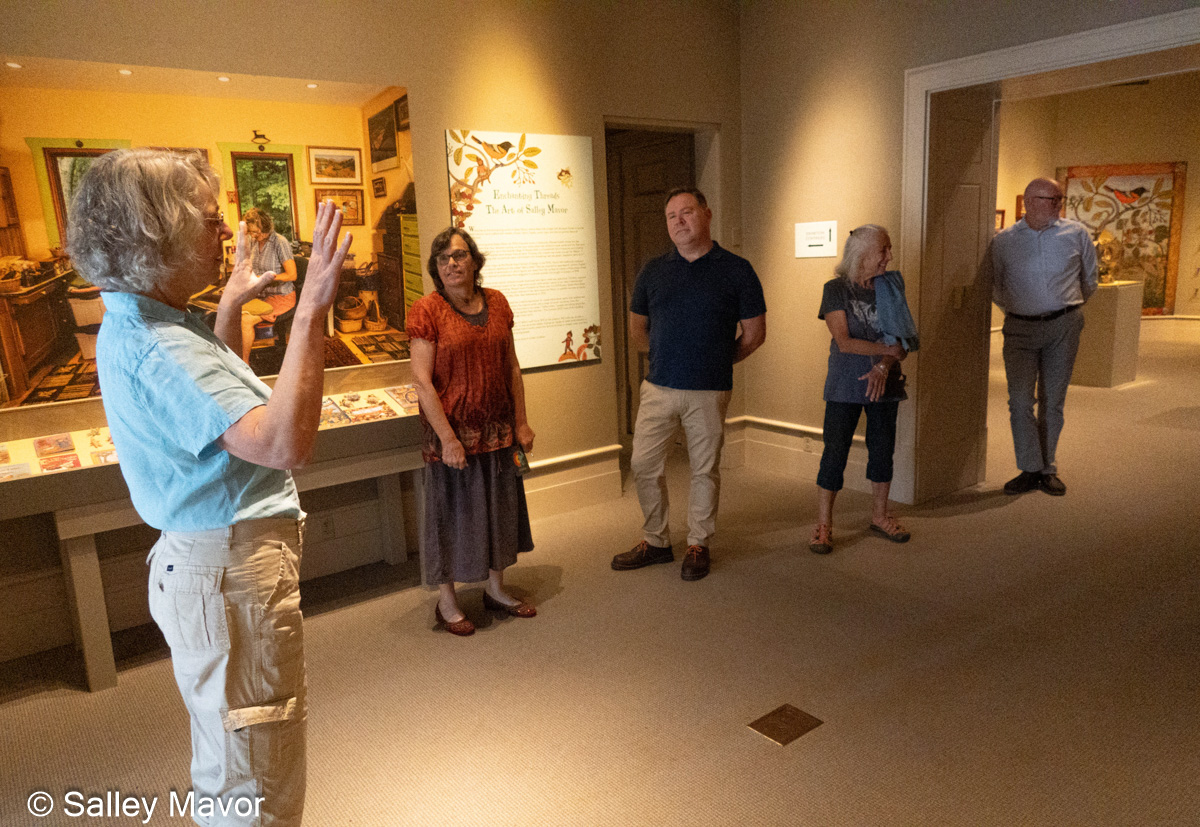
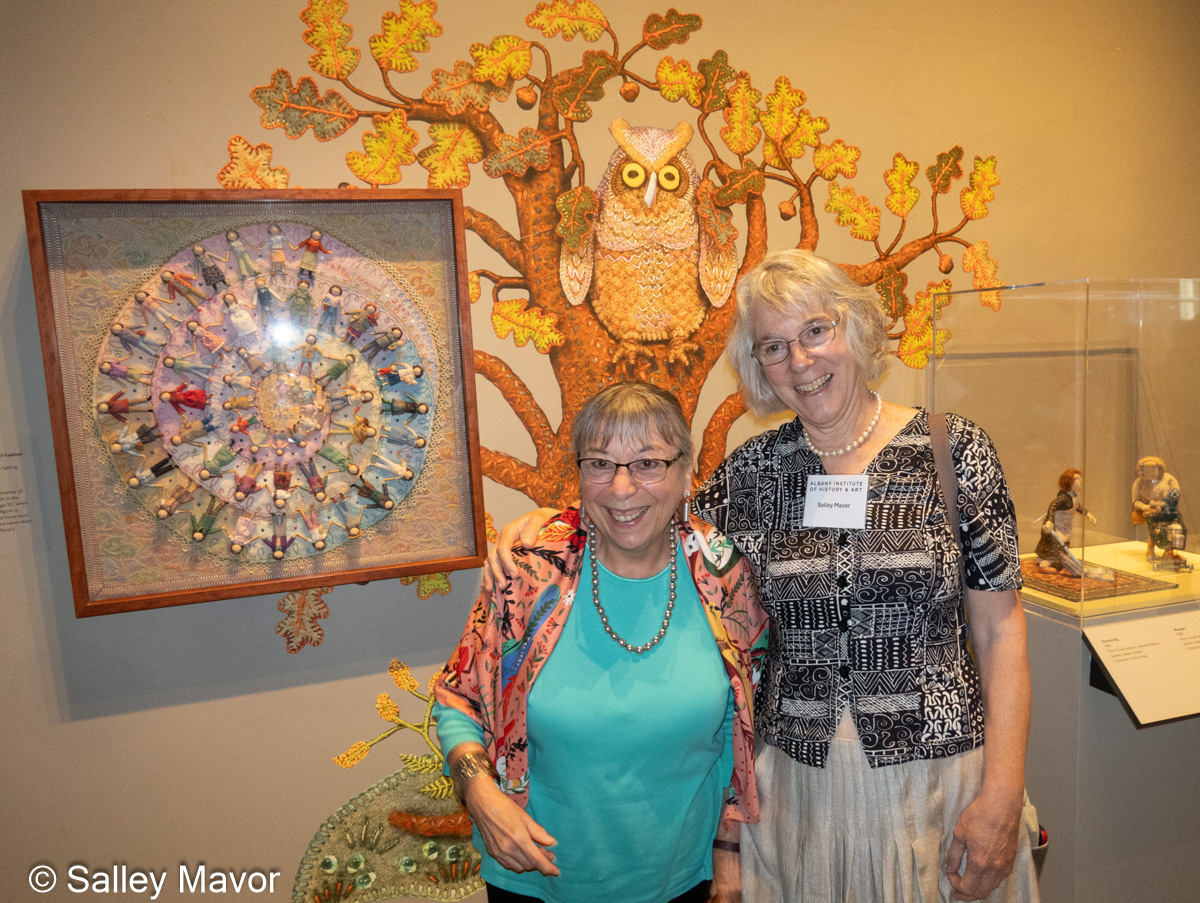
Exhibition News
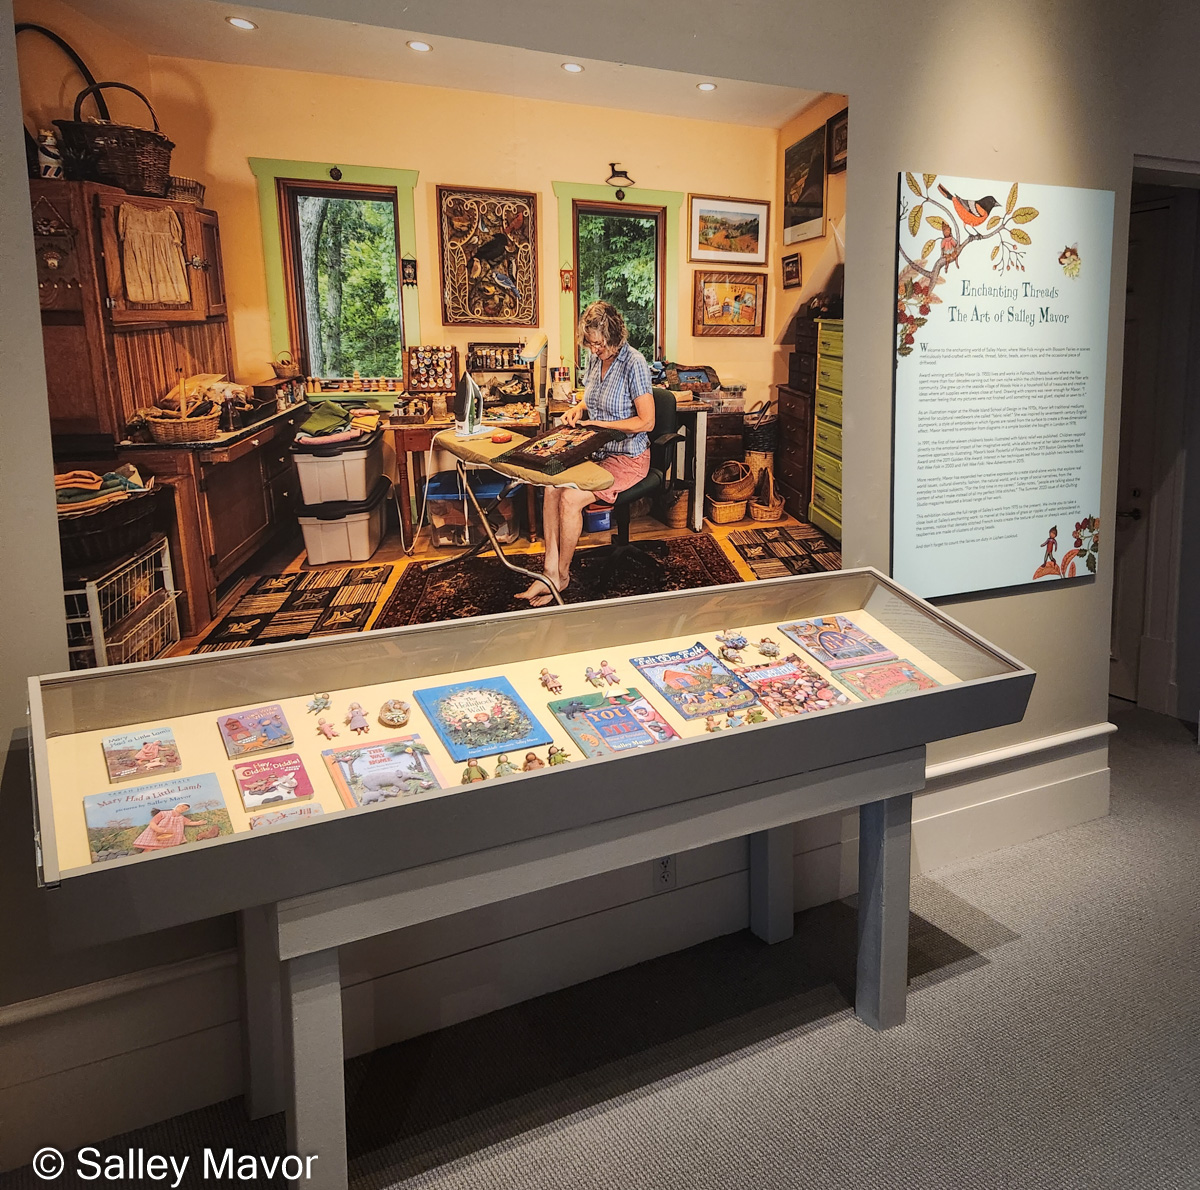
I’m excited that the touring exhibition of original artwork for my book,
My Bed: Enchanting Ways to Fall Asleep around the World will be at the Mingei International Museum in San Diego, CA
Oct. 31 , 2026 – April 18, 2027. The date of my visit TBA.
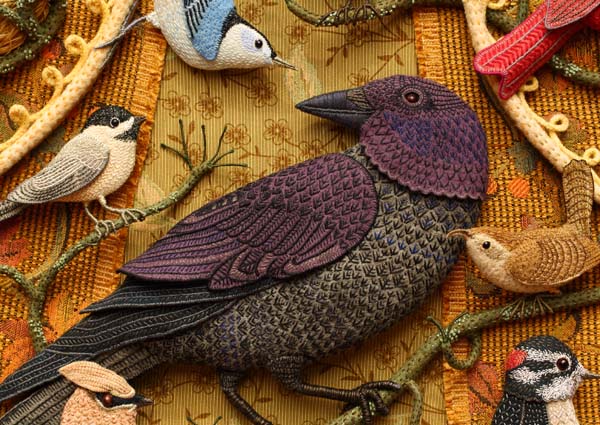
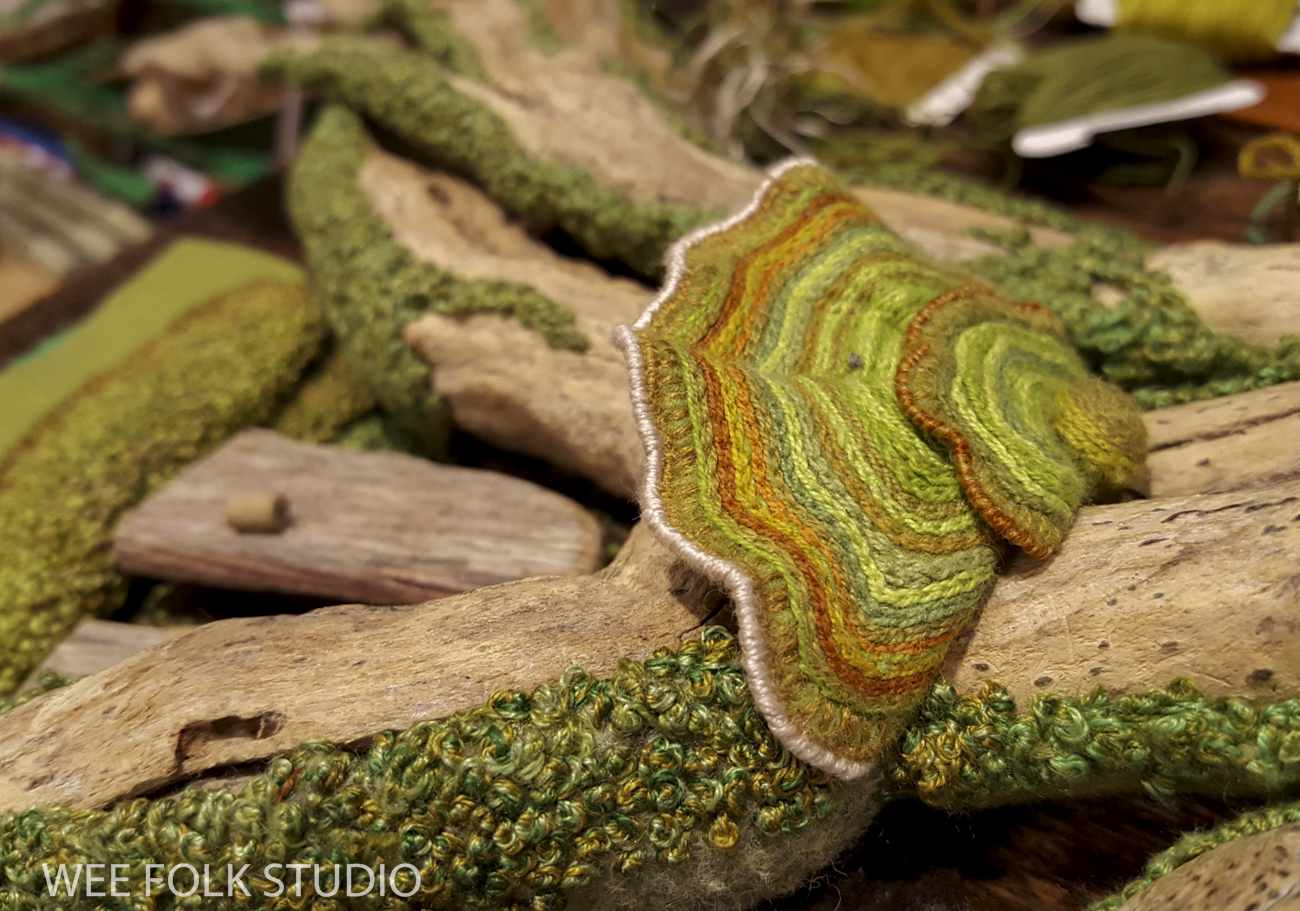
Felting definitely has its appeal, but the process—poking and meshing wool fibers—creates an overall, uniform fuzzy texture that tends to blend details together. That’s not usually what I want as the finished look in my work. I’m more interested in using thread and a combination of materials to create contrast, lines, and clearly defined edges.
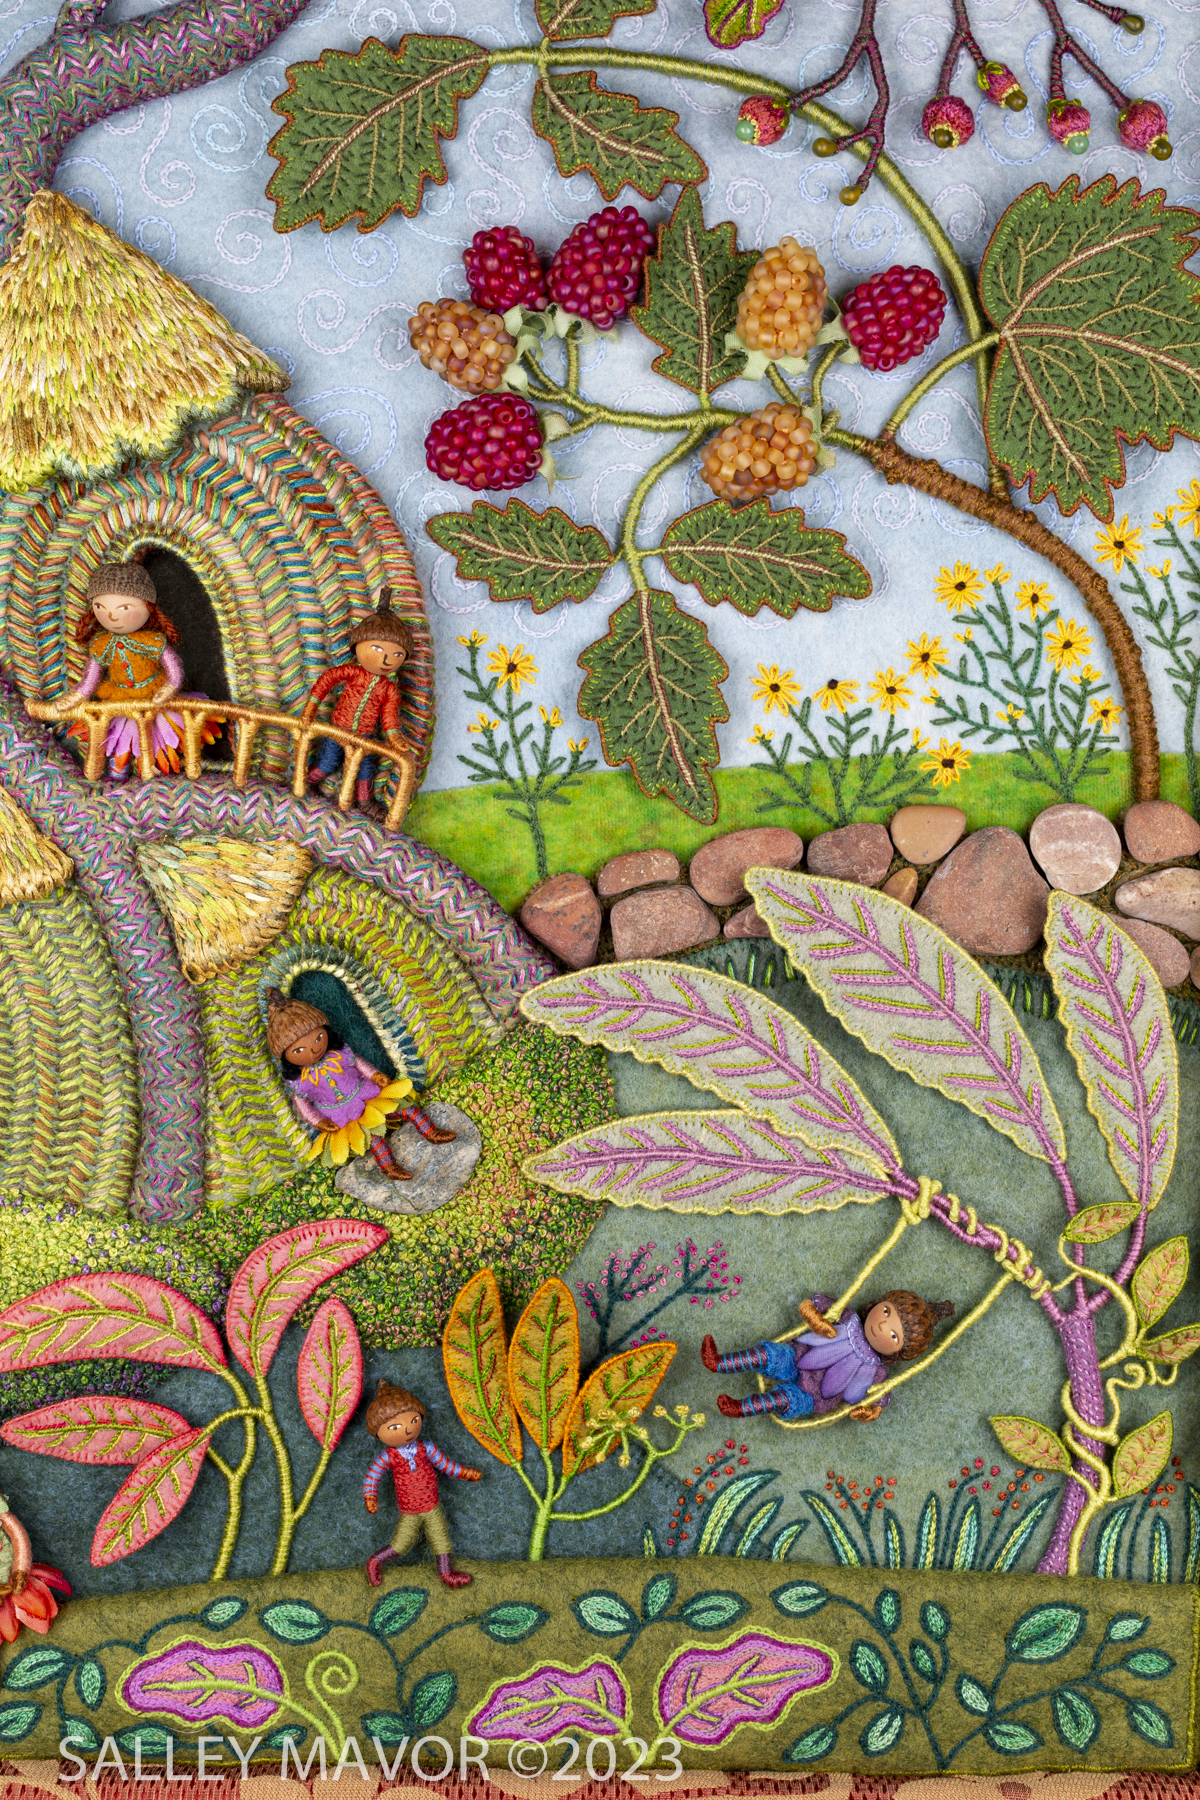
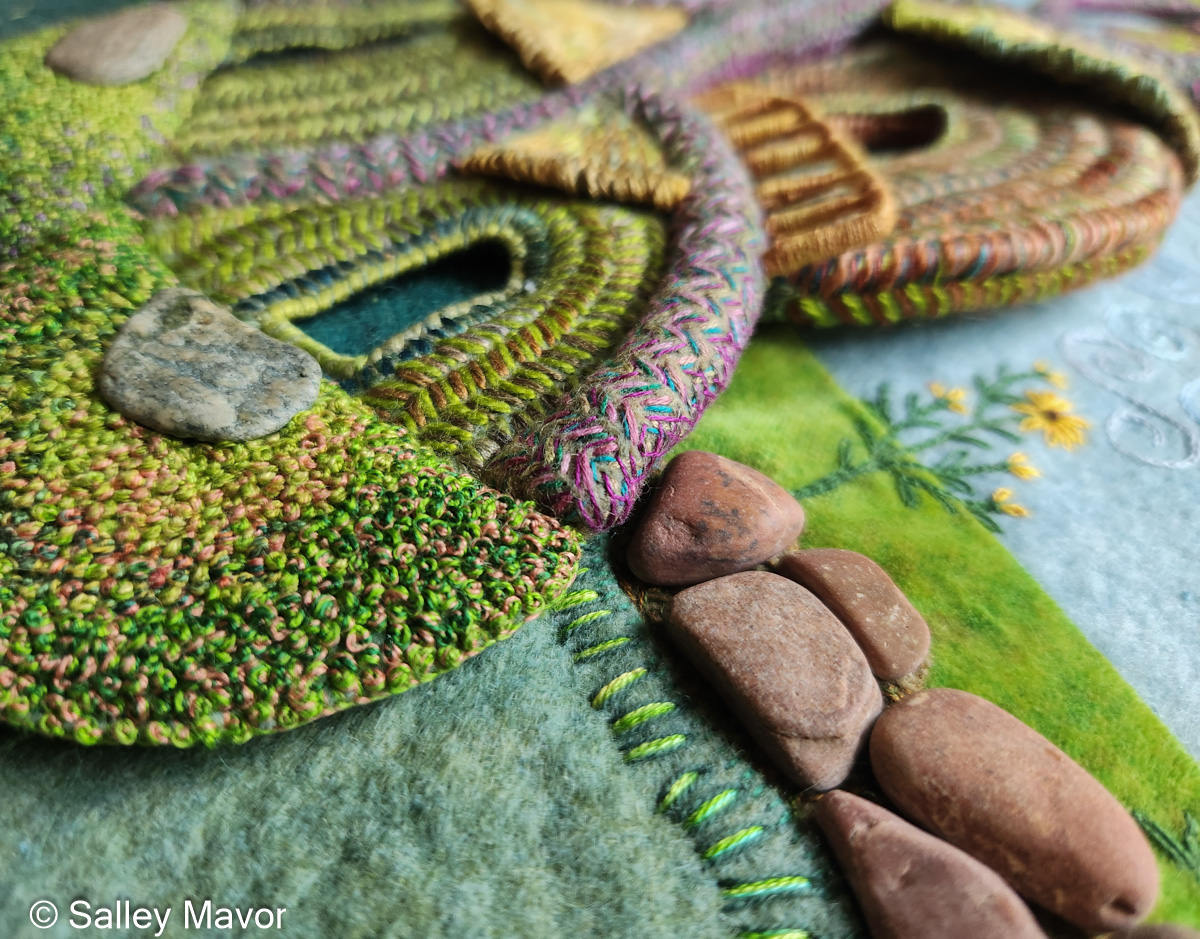
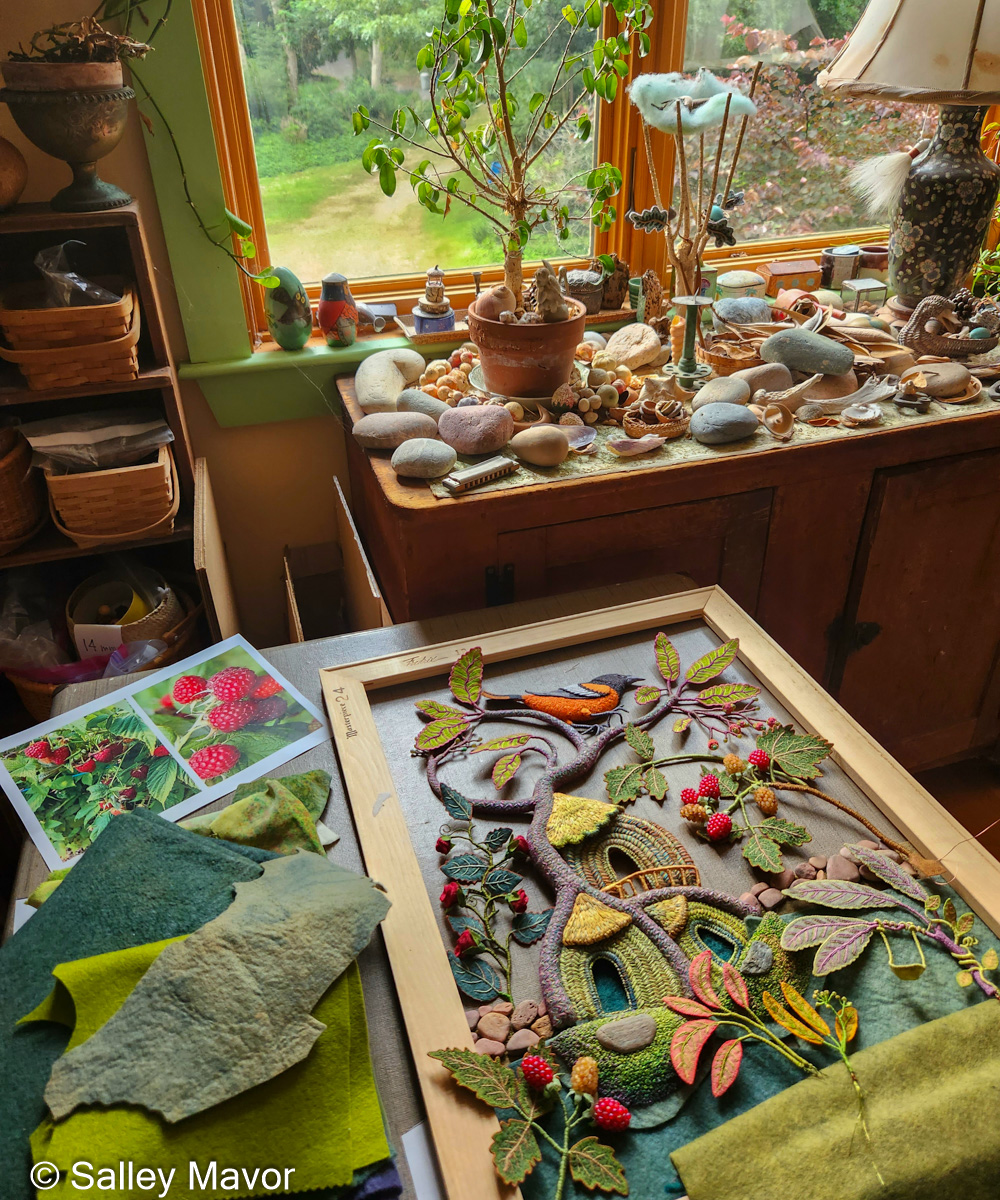
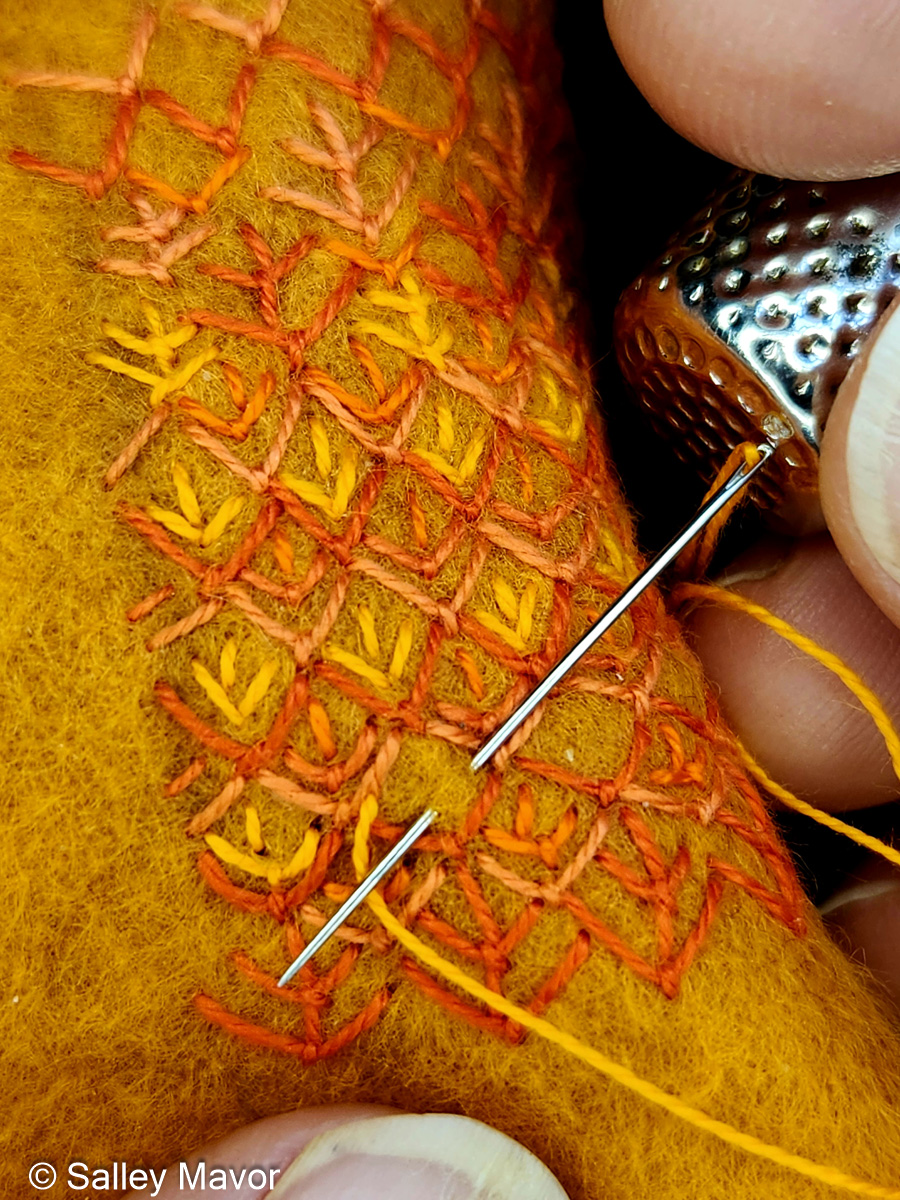
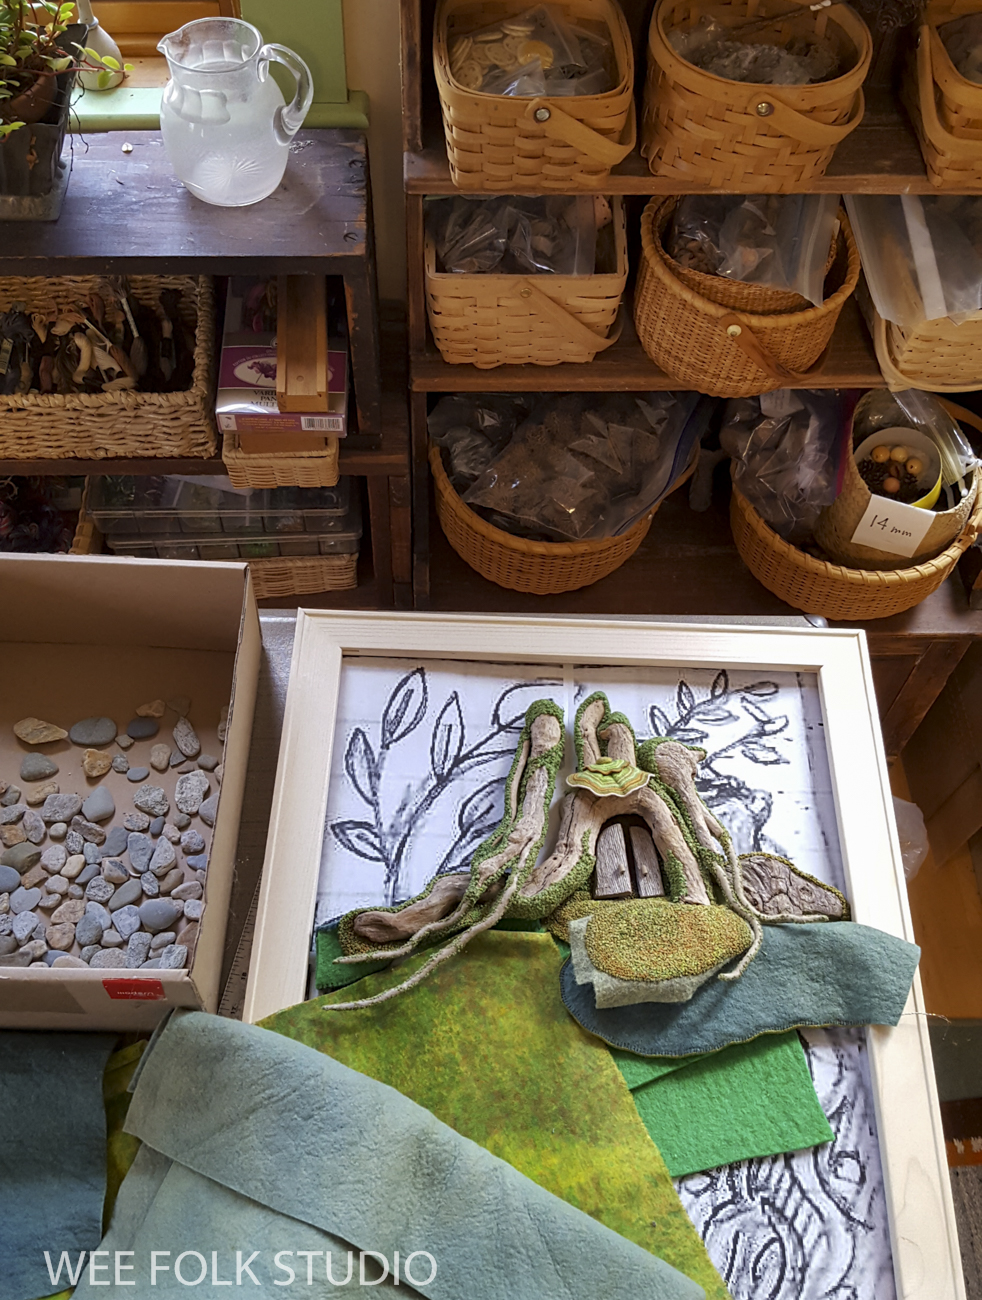
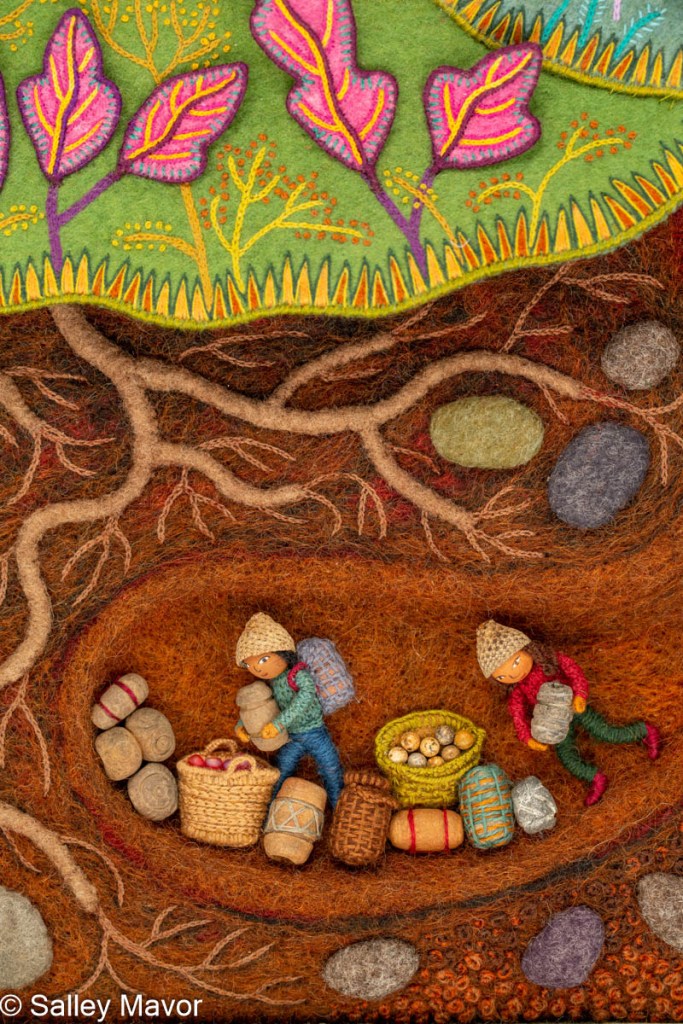
For a recent project (see image below), a soft texture was exactly what was needed to depict soil. I used both wet felting and needle felting techniques to create the tunnels and burrows in the cut-away underground section of Harvest Time, the fall scene in my series of seasonal landscapes. To learn about the process of making Harvest Time, please visit this post.
Where to Buy Wool Felt Online
Many online businesses sell wool felt in a wide range of colors, from bold commercially dyed shades to softer plant-dyed and “heather” tones. Here are a few sources to explore:
A Child’s Dream: Premium-quality 100% wool felt.
Sweet Emma Jean: A more affordable rayon/wool blend.
The Olive Sparrow (Toronto, Canada): A wide selection of wool felt.
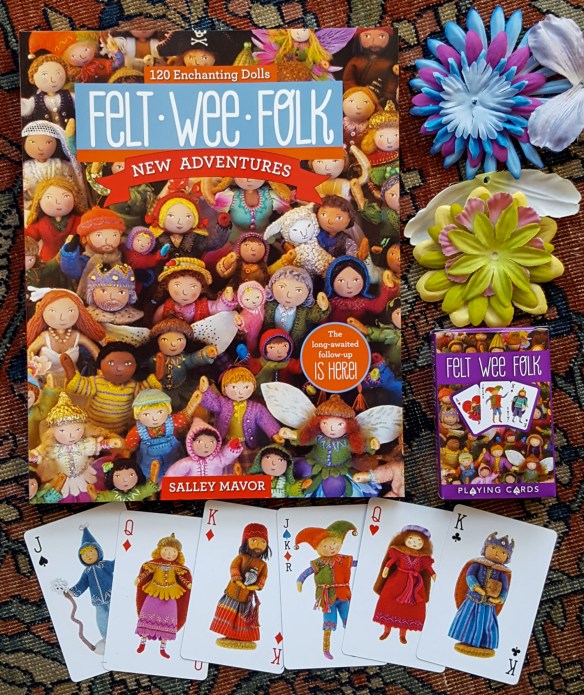
100% wool felt is pricey—but it’s often worth it. The doll-clothes pattern pieces from my how-to book Felt Wee Folk don’t require much material, so a little can go a long way. The book is available worldwide where books are sold. Autographed copies with extra goodies are for sale in my Etsy Shop.
To keep up with new posts, subscribe to this blog. Your contact info will not be sold or shared. If you’d like to see more frequent photos tracking the projects in my studio, please follow me on Facebook and/or Instagram.