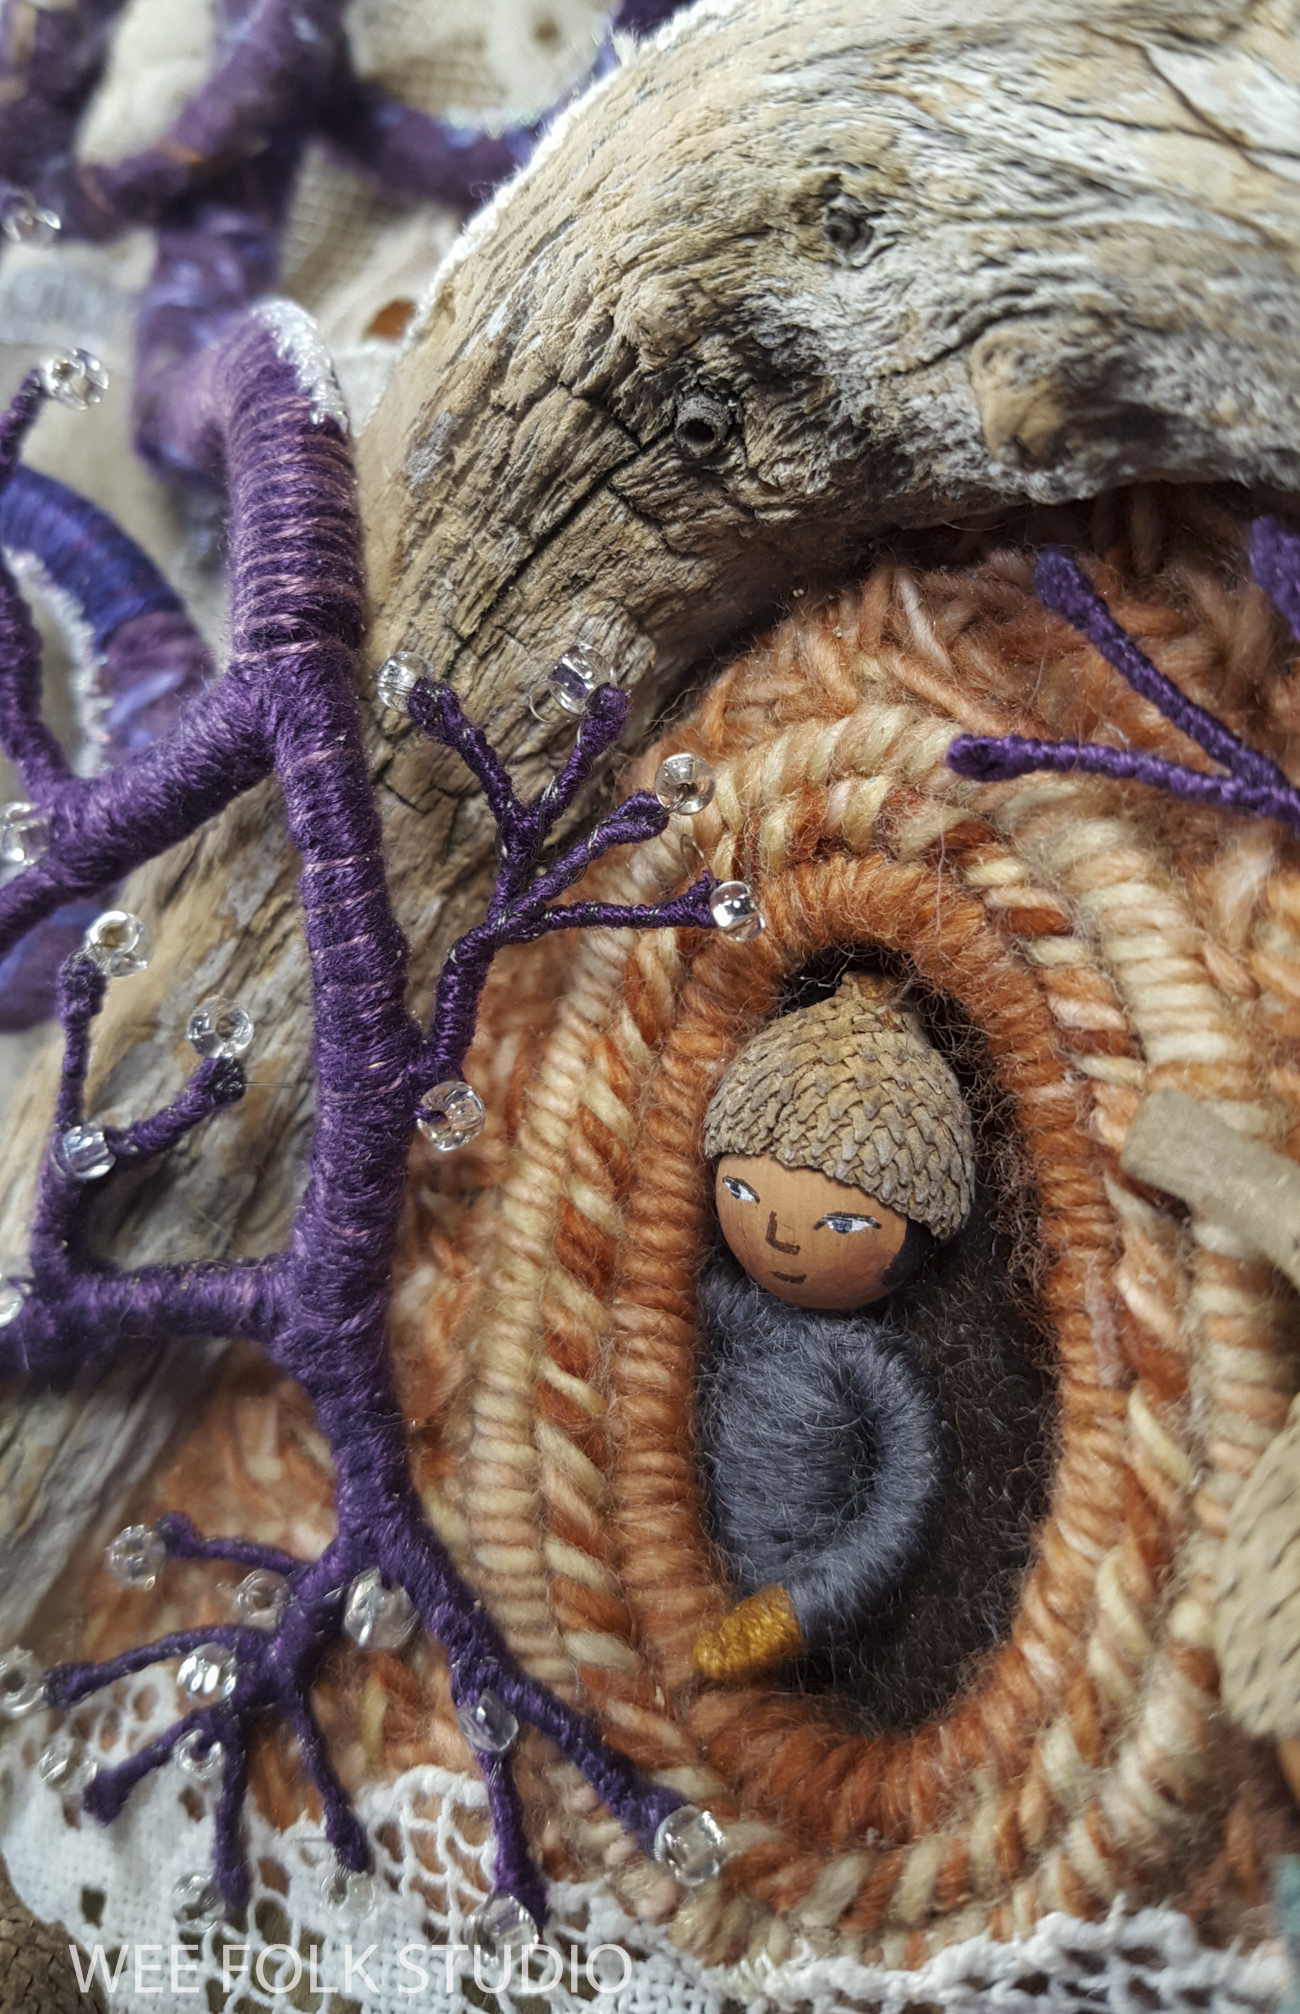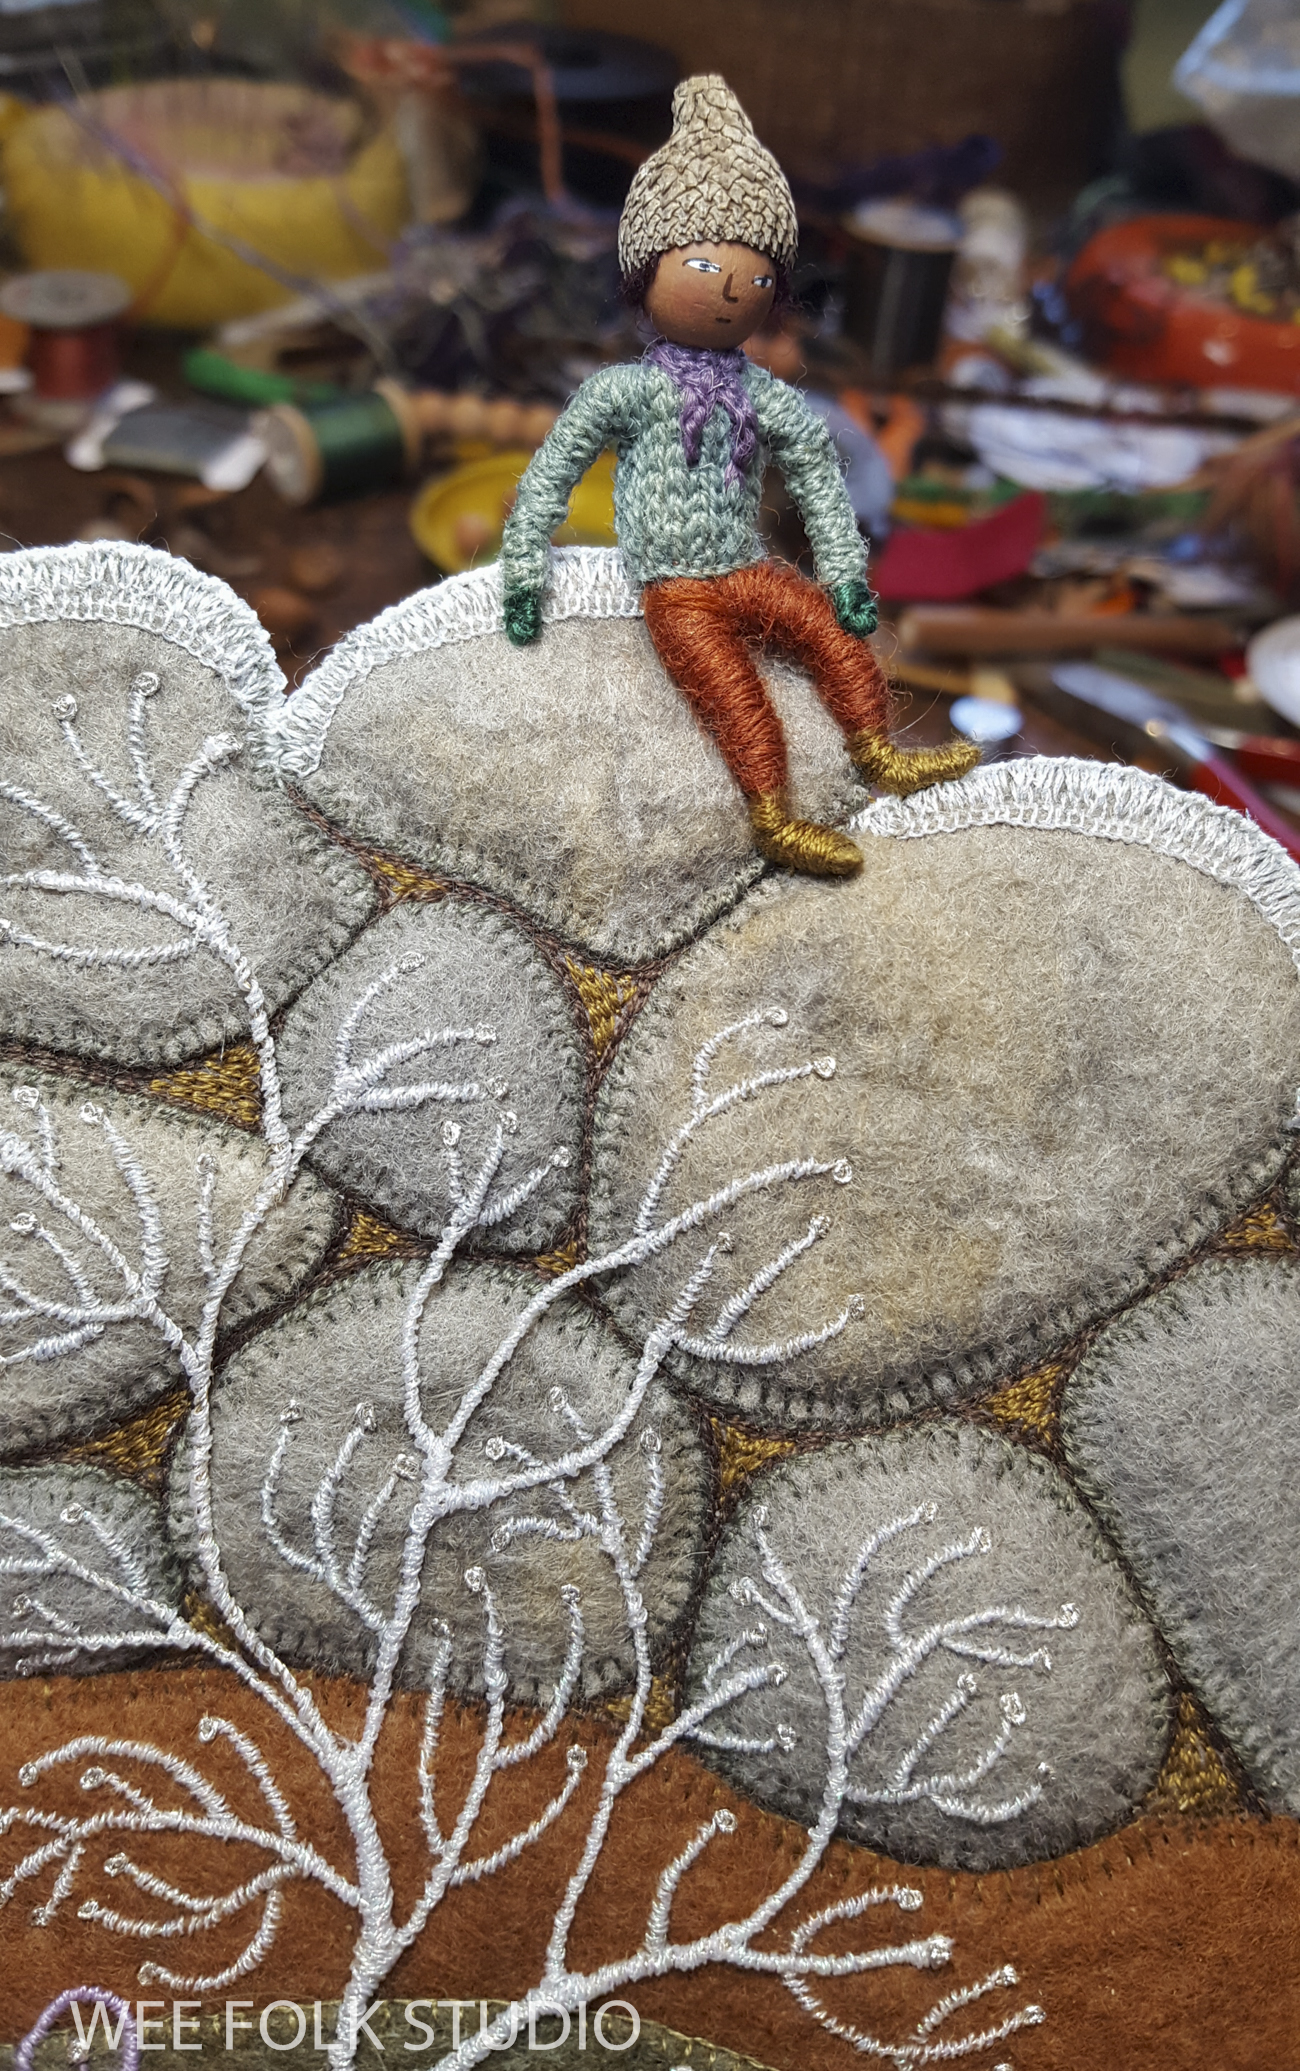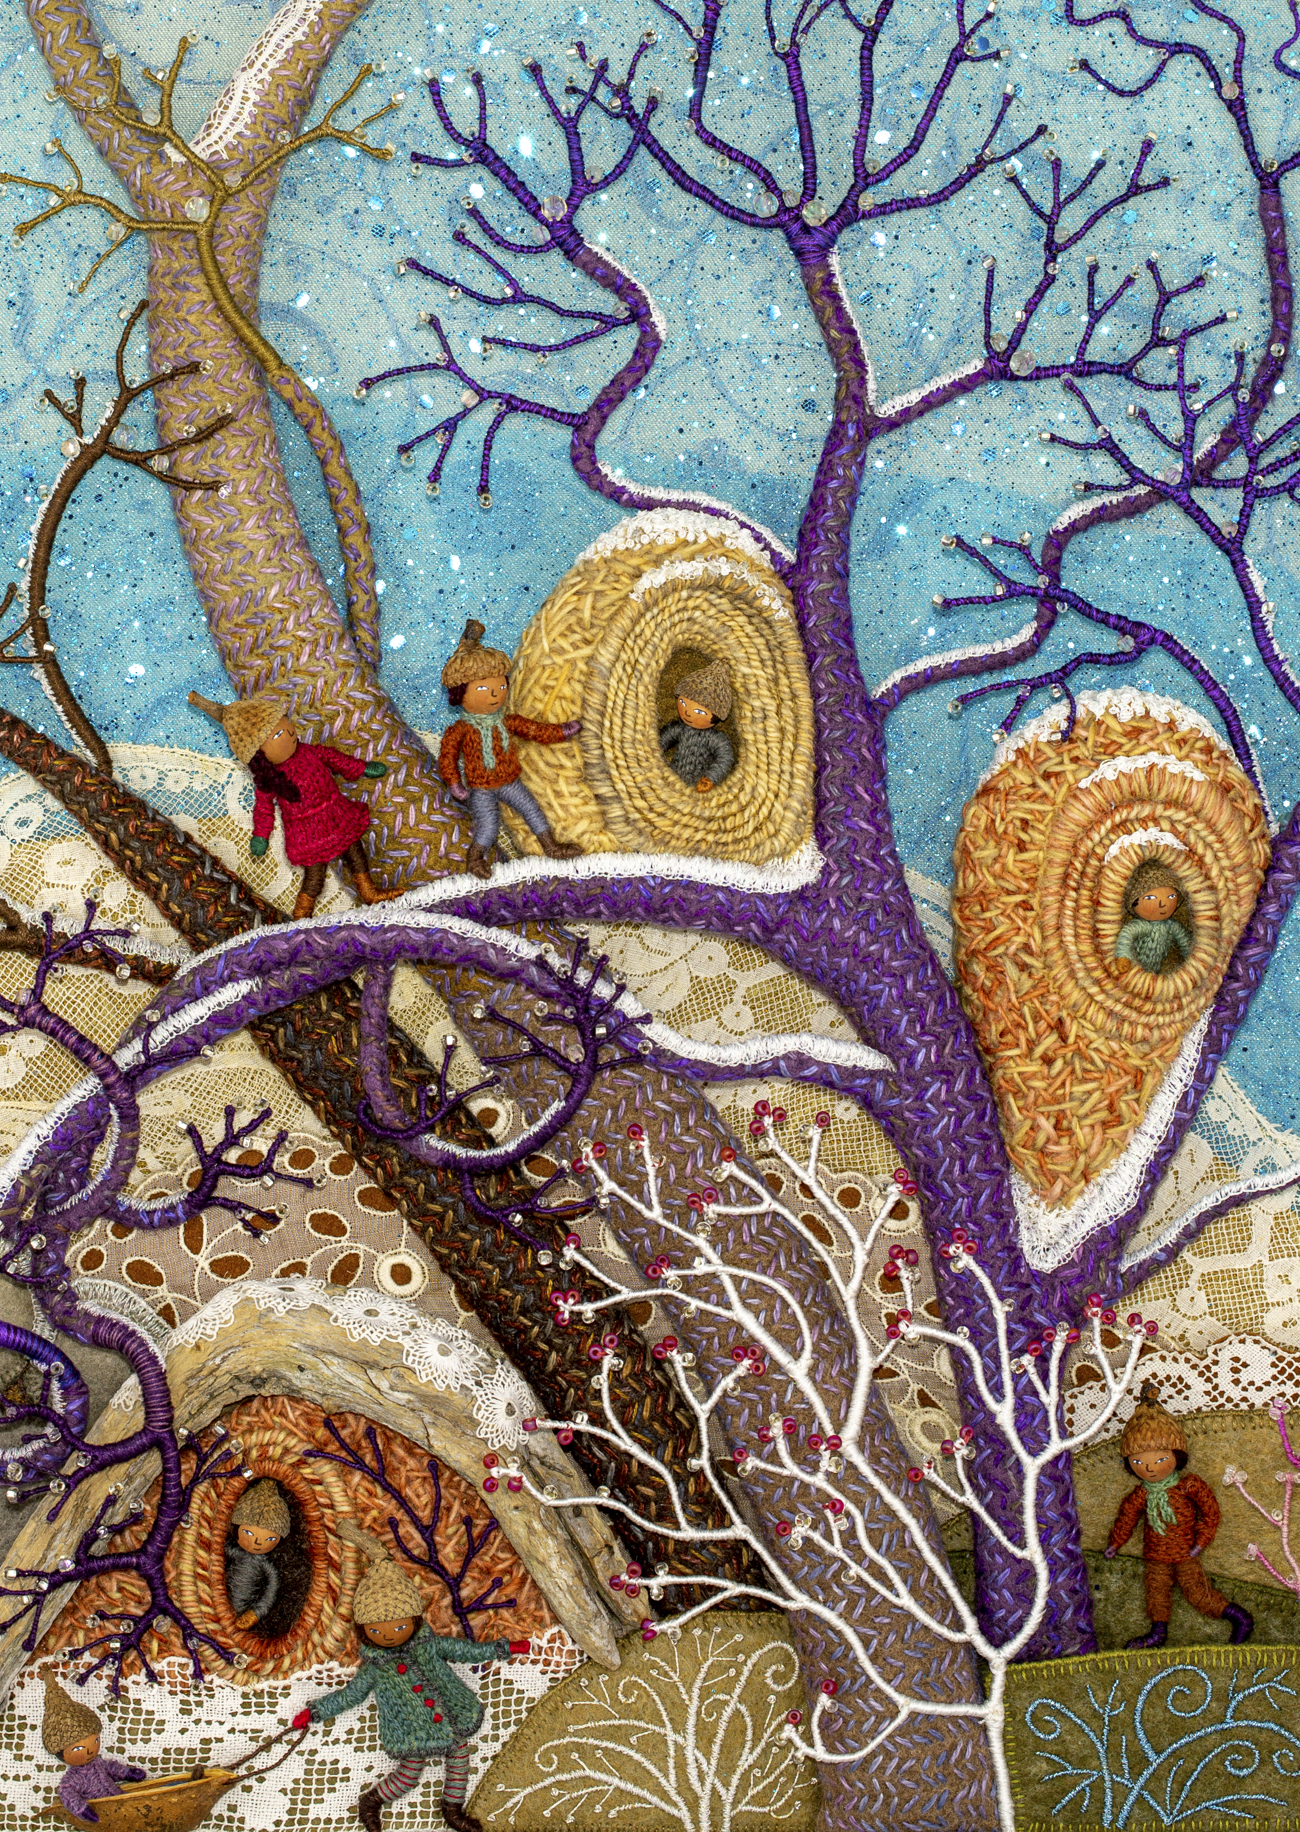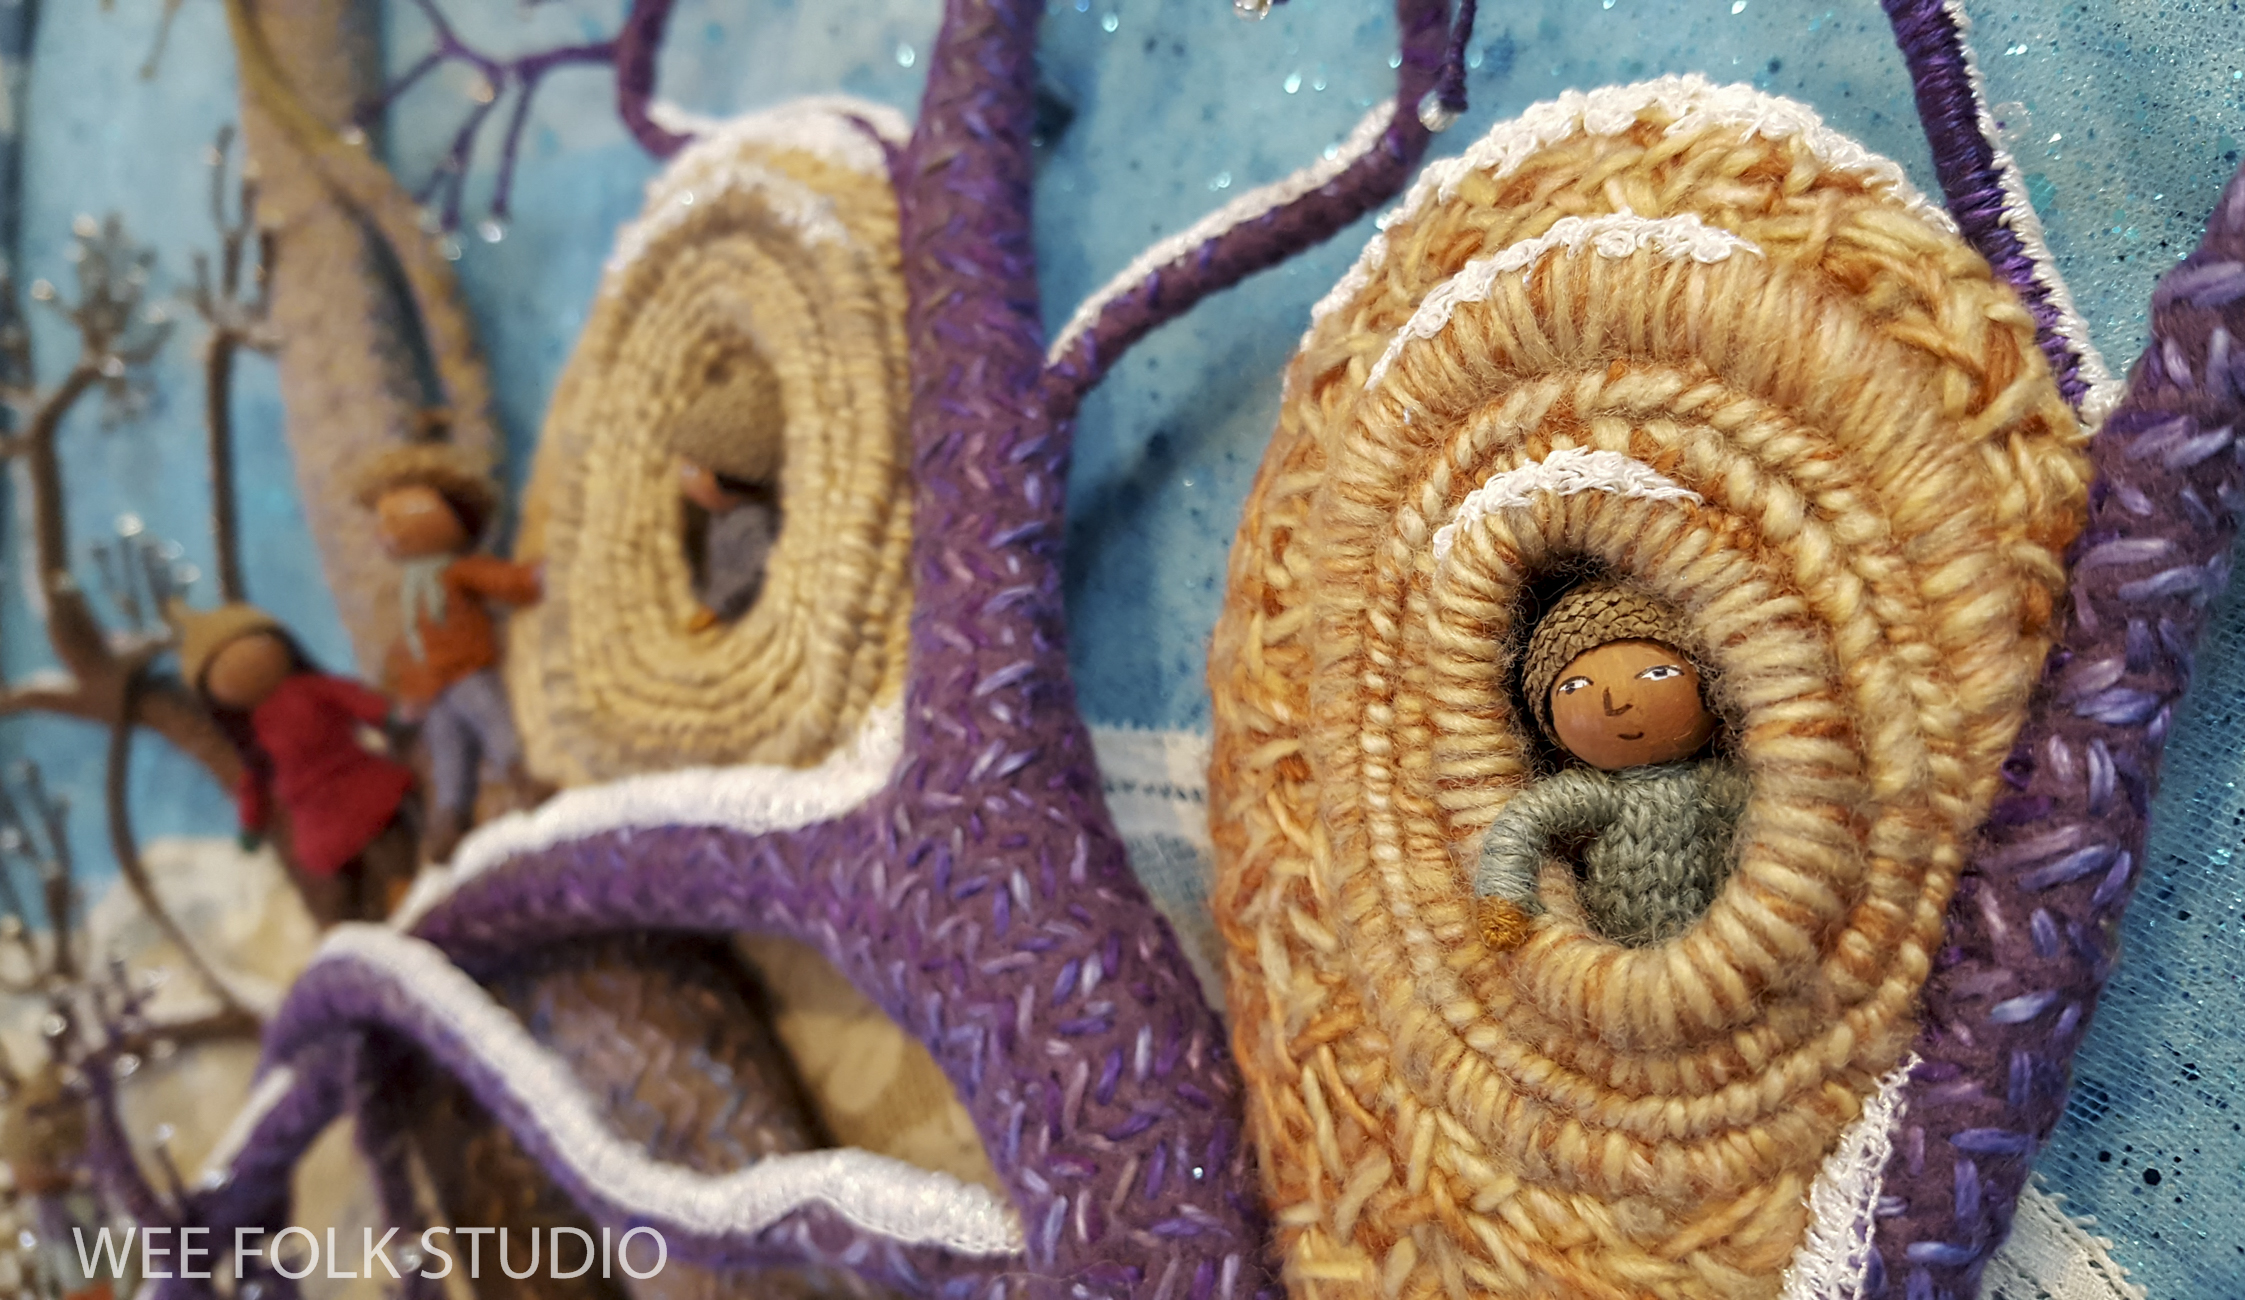
This 6th and final part in the Frosty Morning series is about making the wee folk characters who live in the winter landscape. All of the other stuff, the trees, the icy snow cover and the sparkling sky are just meant to set the stage for the little people to frolic in. While I worked on this piece, I thought about what the wee folk would look like and what they would be doing. Adding a narrative element with human (or animal) faces helps me fall in love with what I’m making. The scenery may be lovely, but without play actors, there is no story. And without that, what’s the point?


This year, I’m working on a group of seasonal landscapes that capture the wonder and magic of the natural world, both real and imagined. Frosty Morning, Mossy Glen, Summertime and Harvest Time are available as jigsaw puzzles and note cards in my shop here.
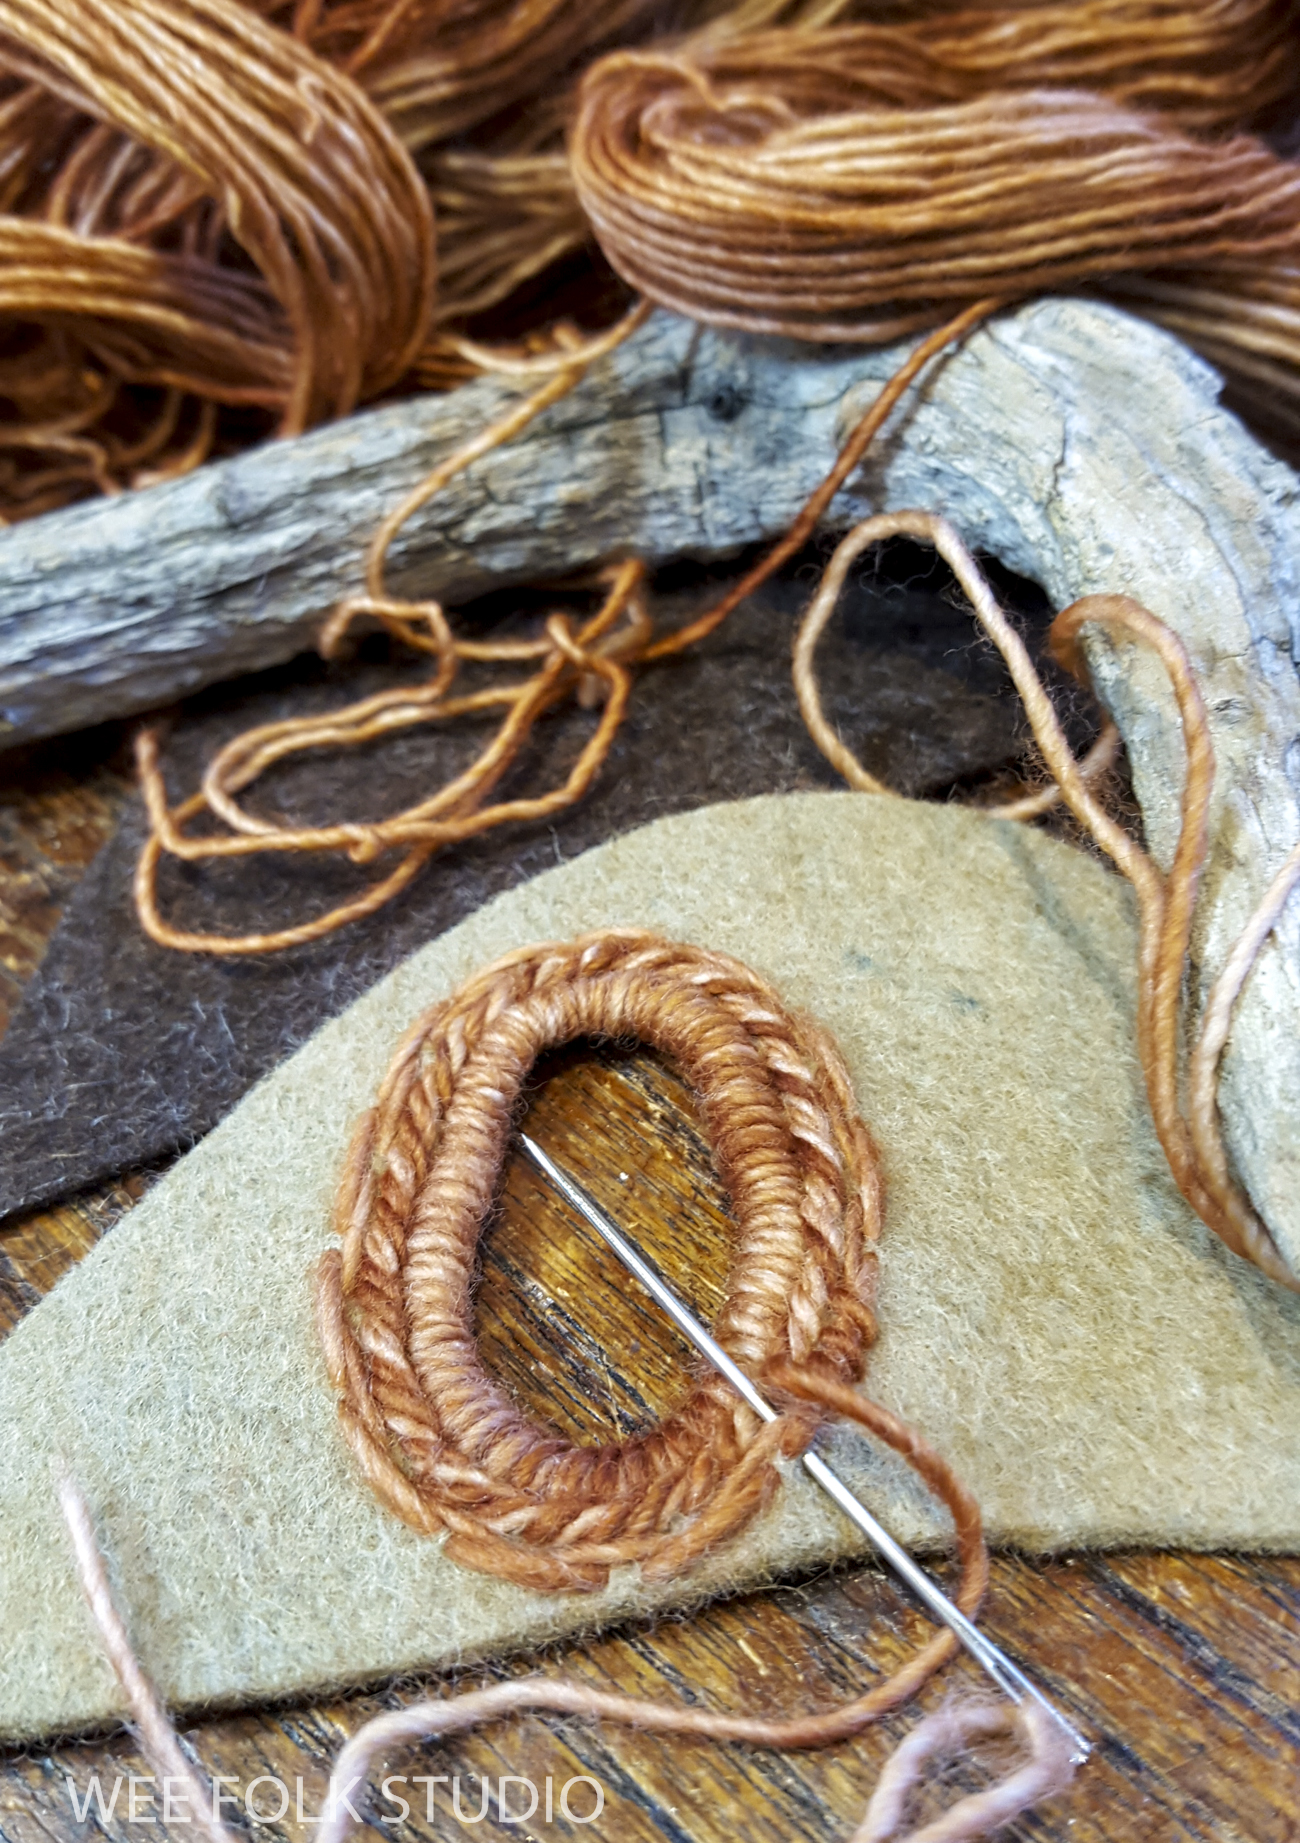
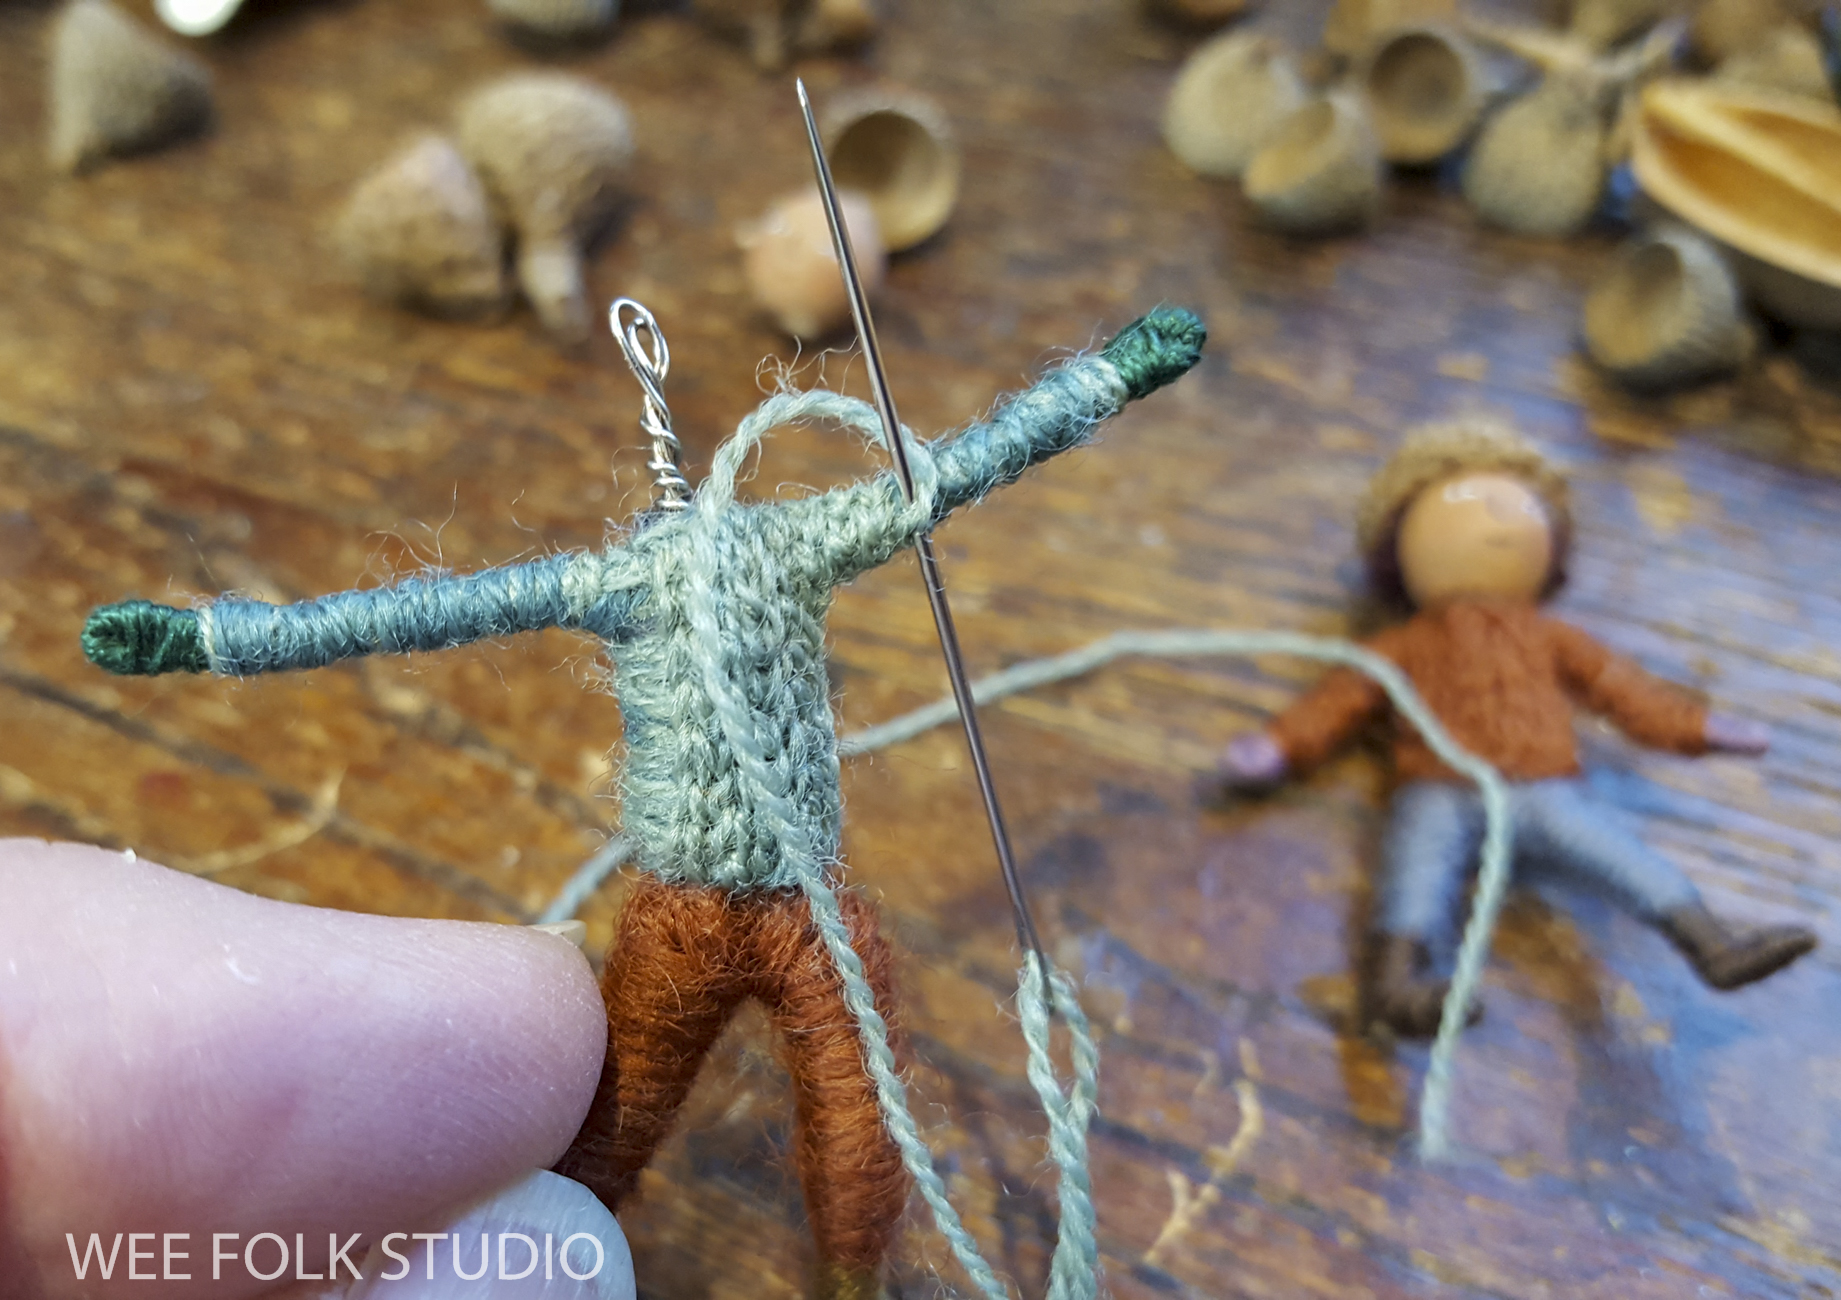
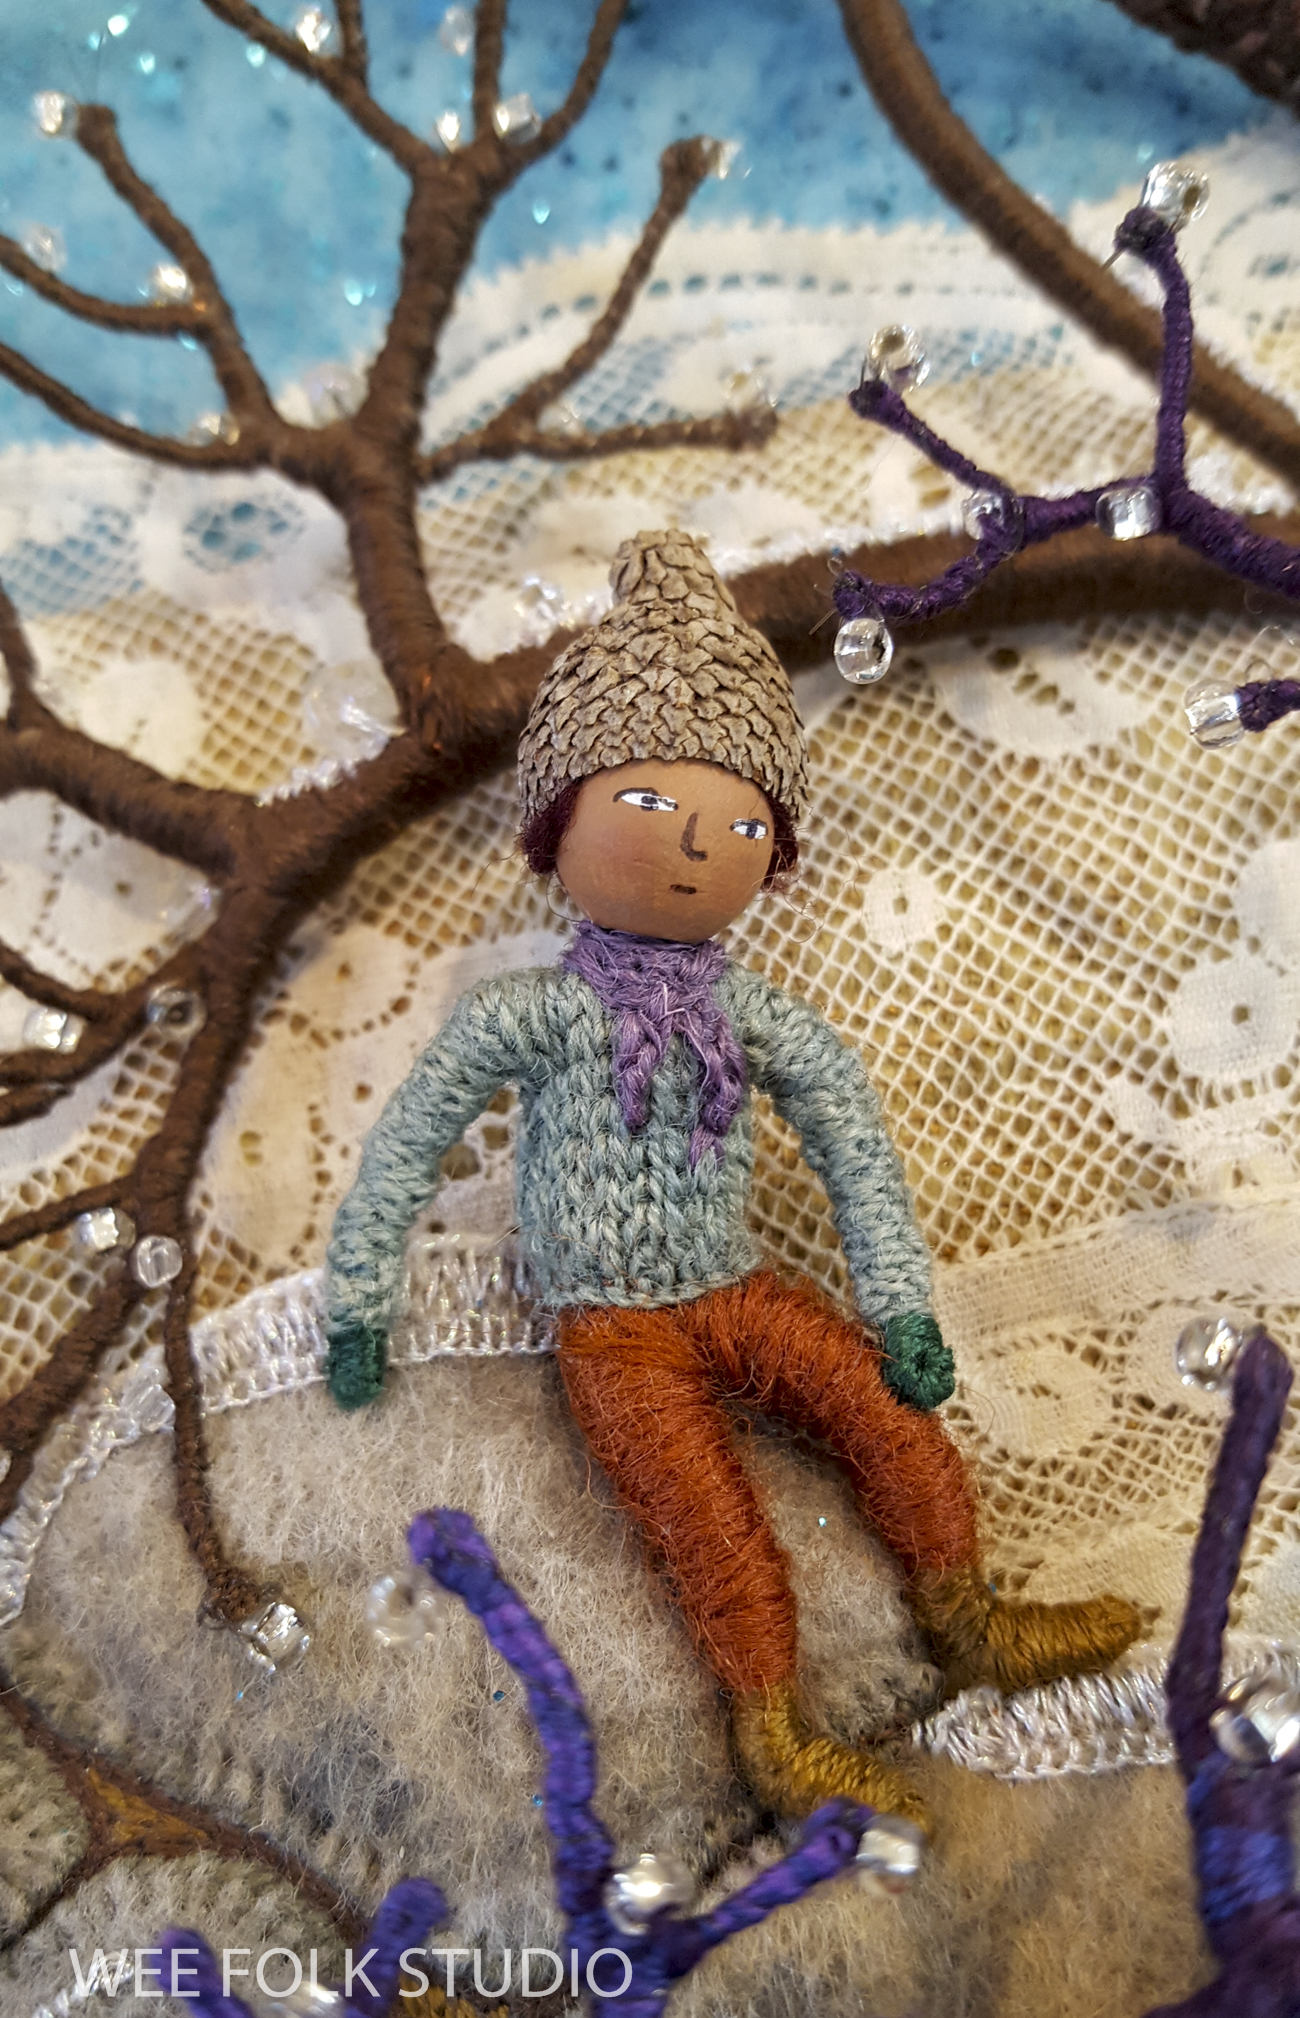
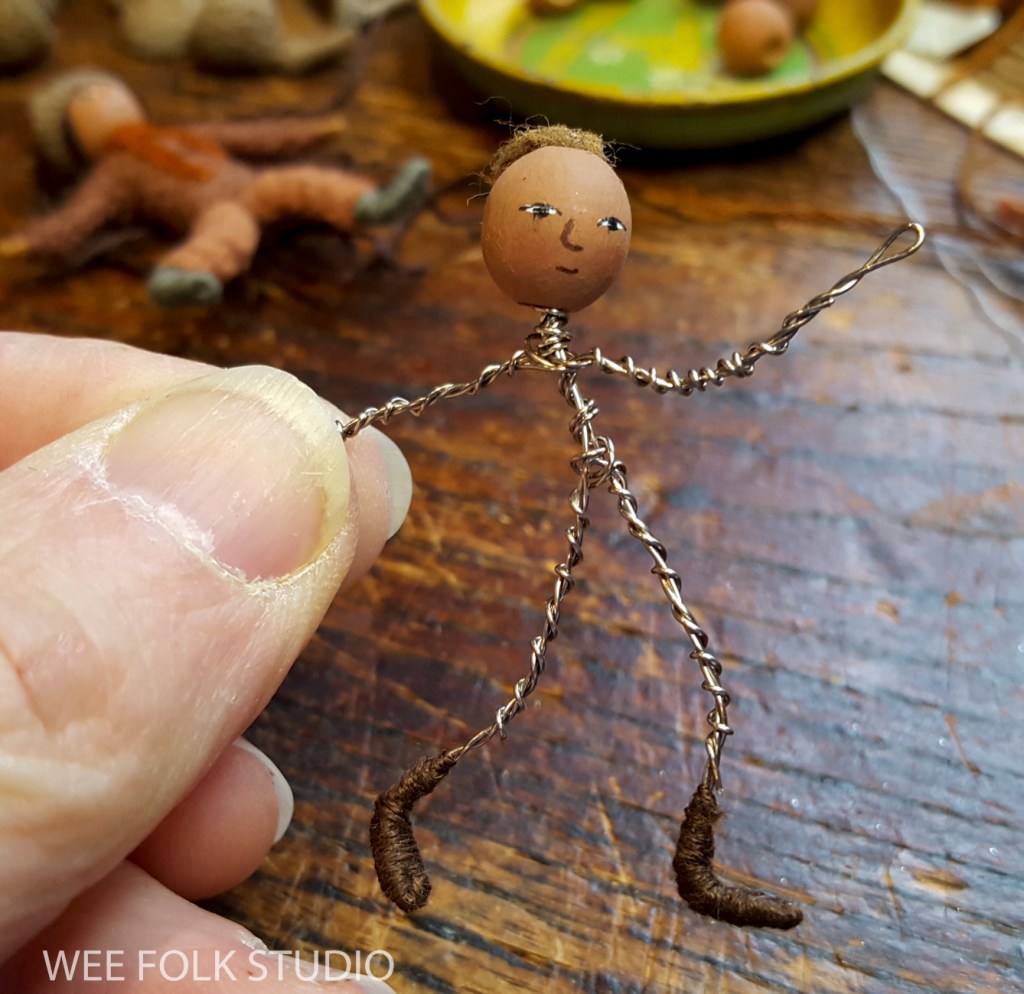
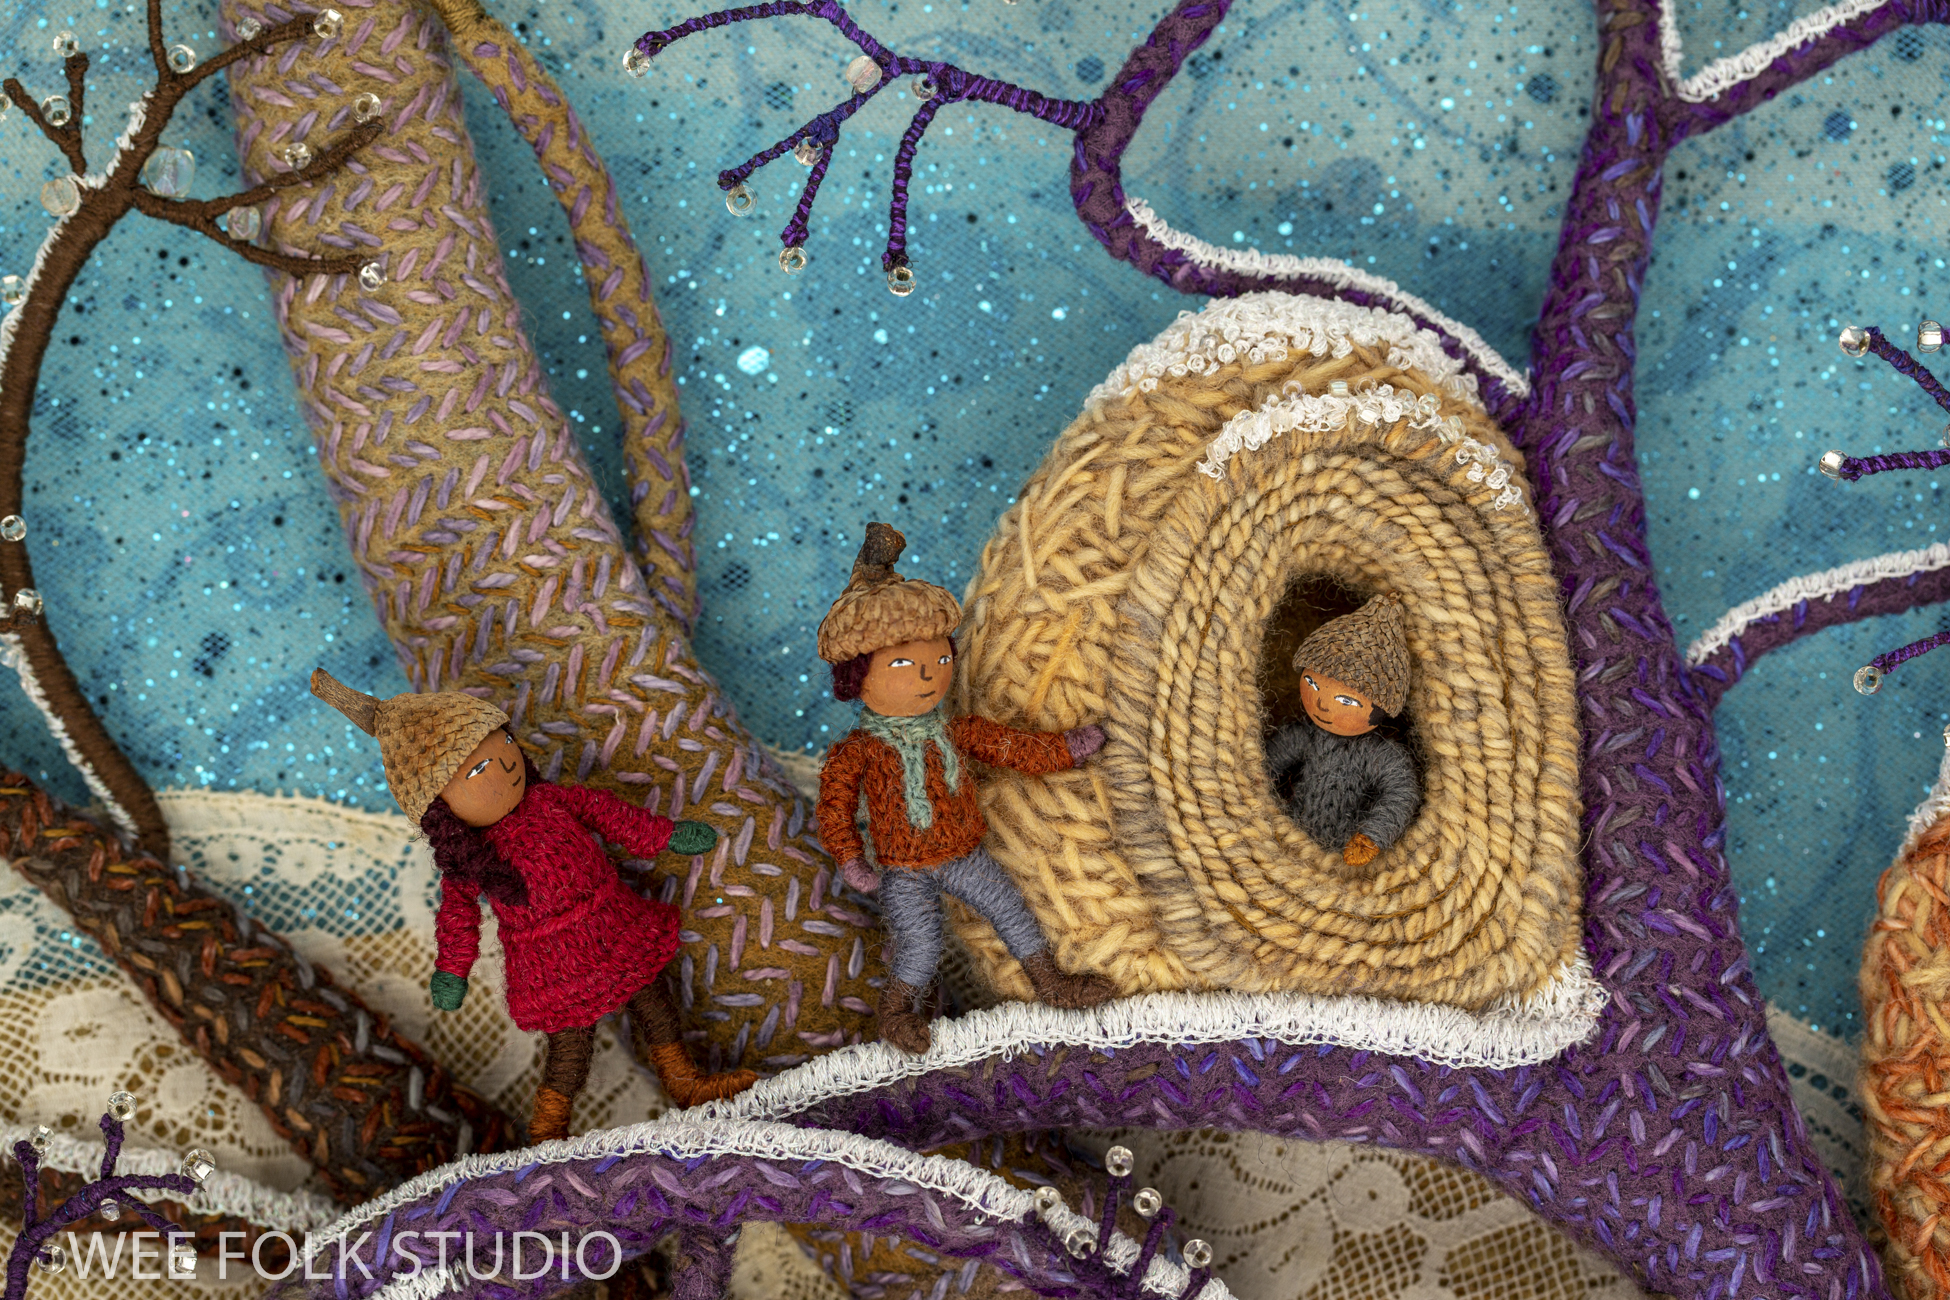
The full figures are about 2″ tall, with smaller ones peeking out of the holes in the shelters. To make them, I used the same basic techniques that I teach in my how-to book Felt Wee Folk, with some adjustments in the armature material and clothing.

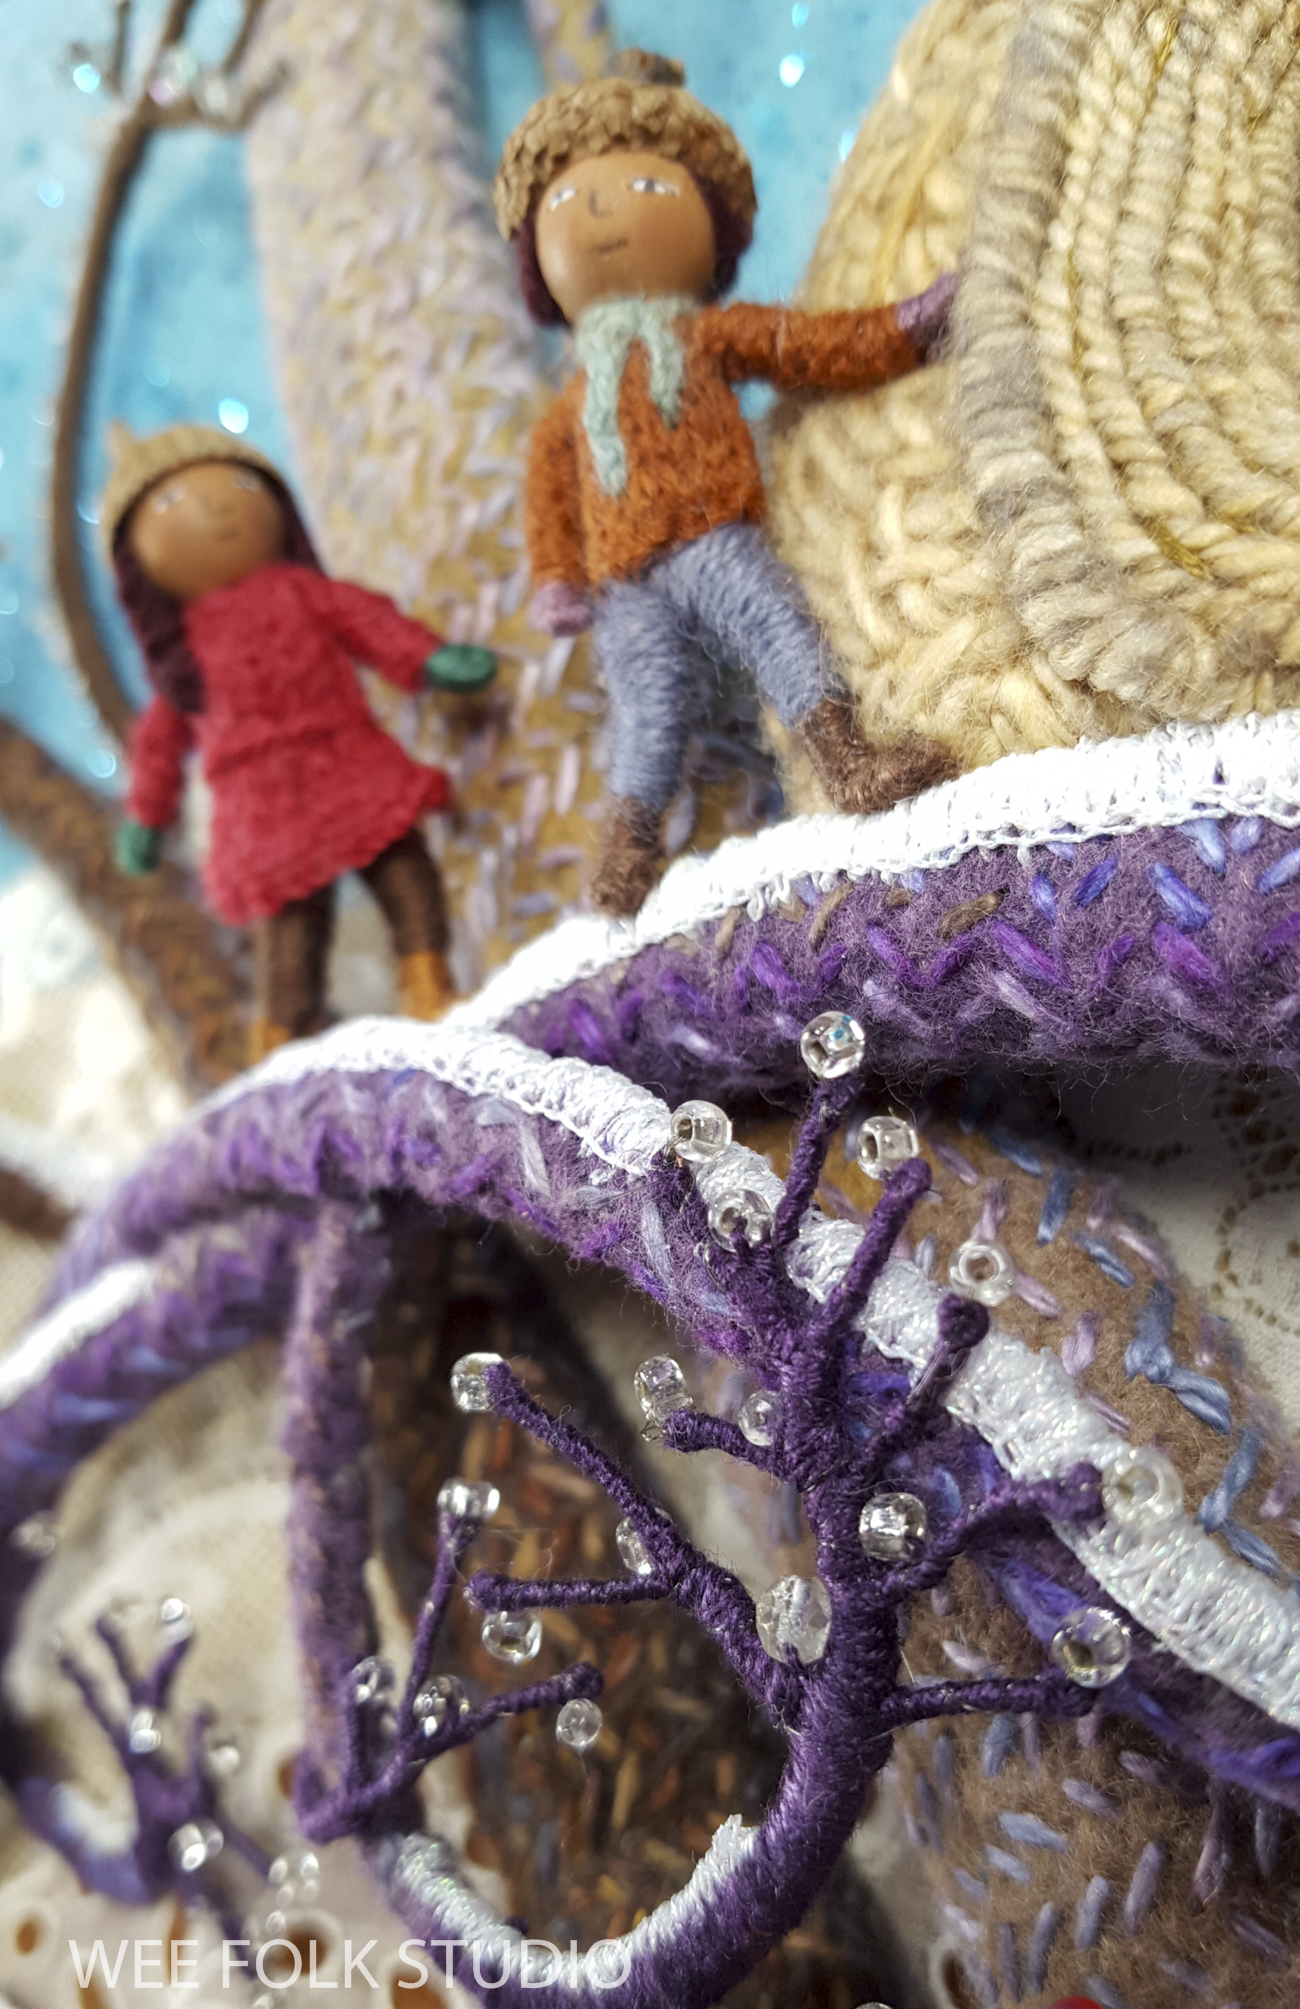
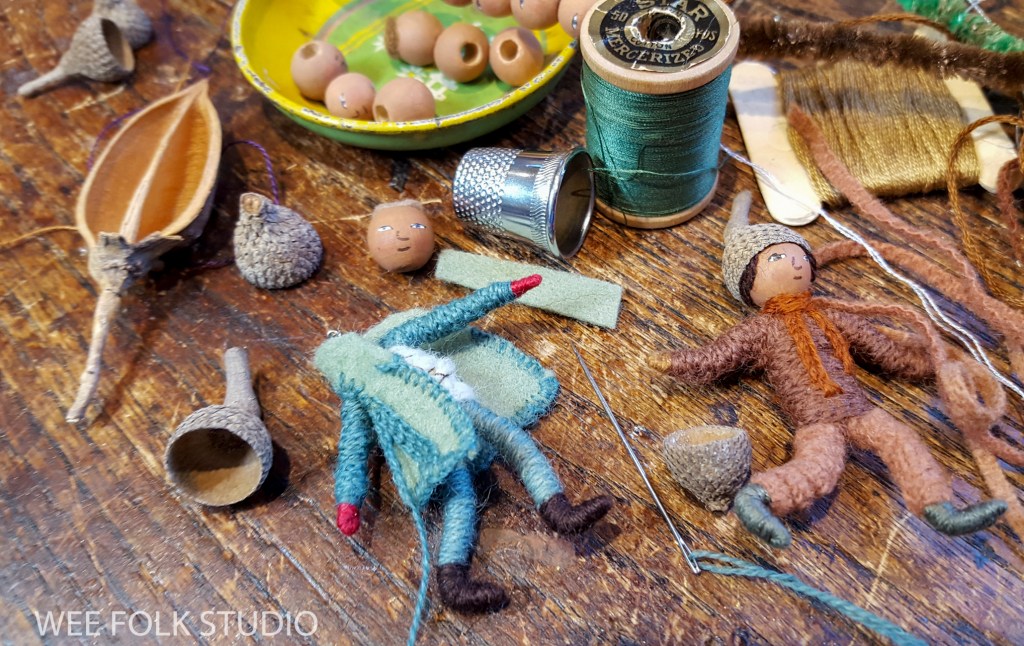
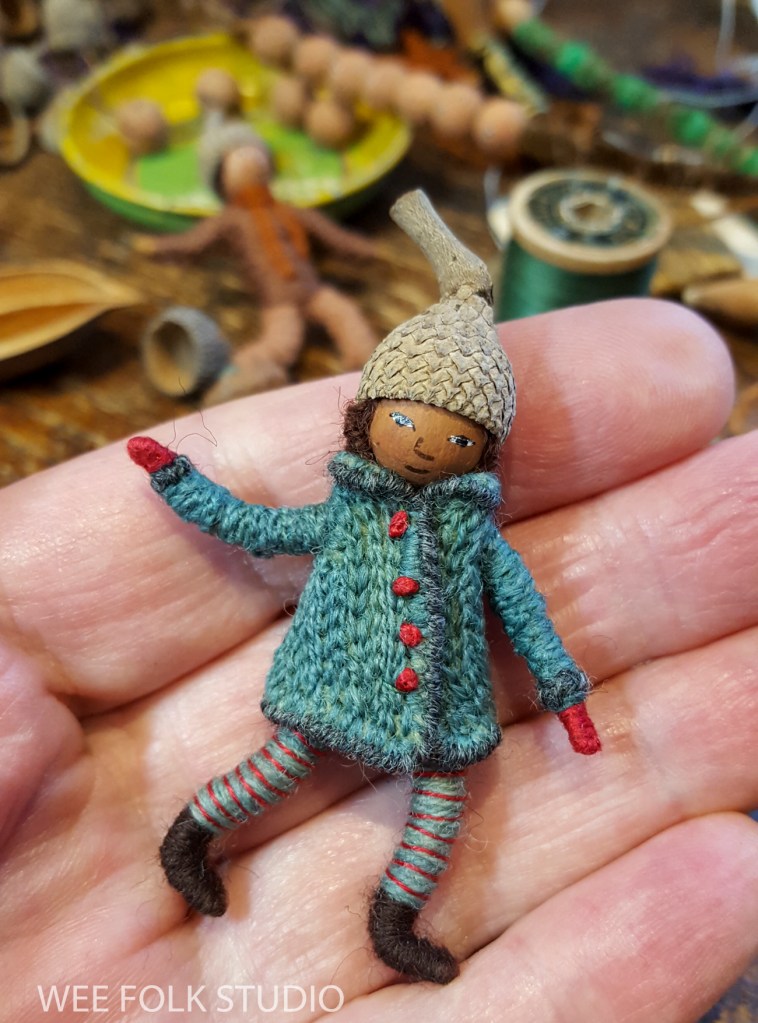
I used wool tapestry yarn or mending wool to stitch and wrap their winter clothing. Whenever I share photos showing dolls wearing sweaters, people actually think I knit them! For something this small it’s much easier to create the allusion of knitting with rows of chain stitches. For other examples of faux knitted outfits, see Polly Doll‘s Irish knit sweater here and her Fair Isle vest here.
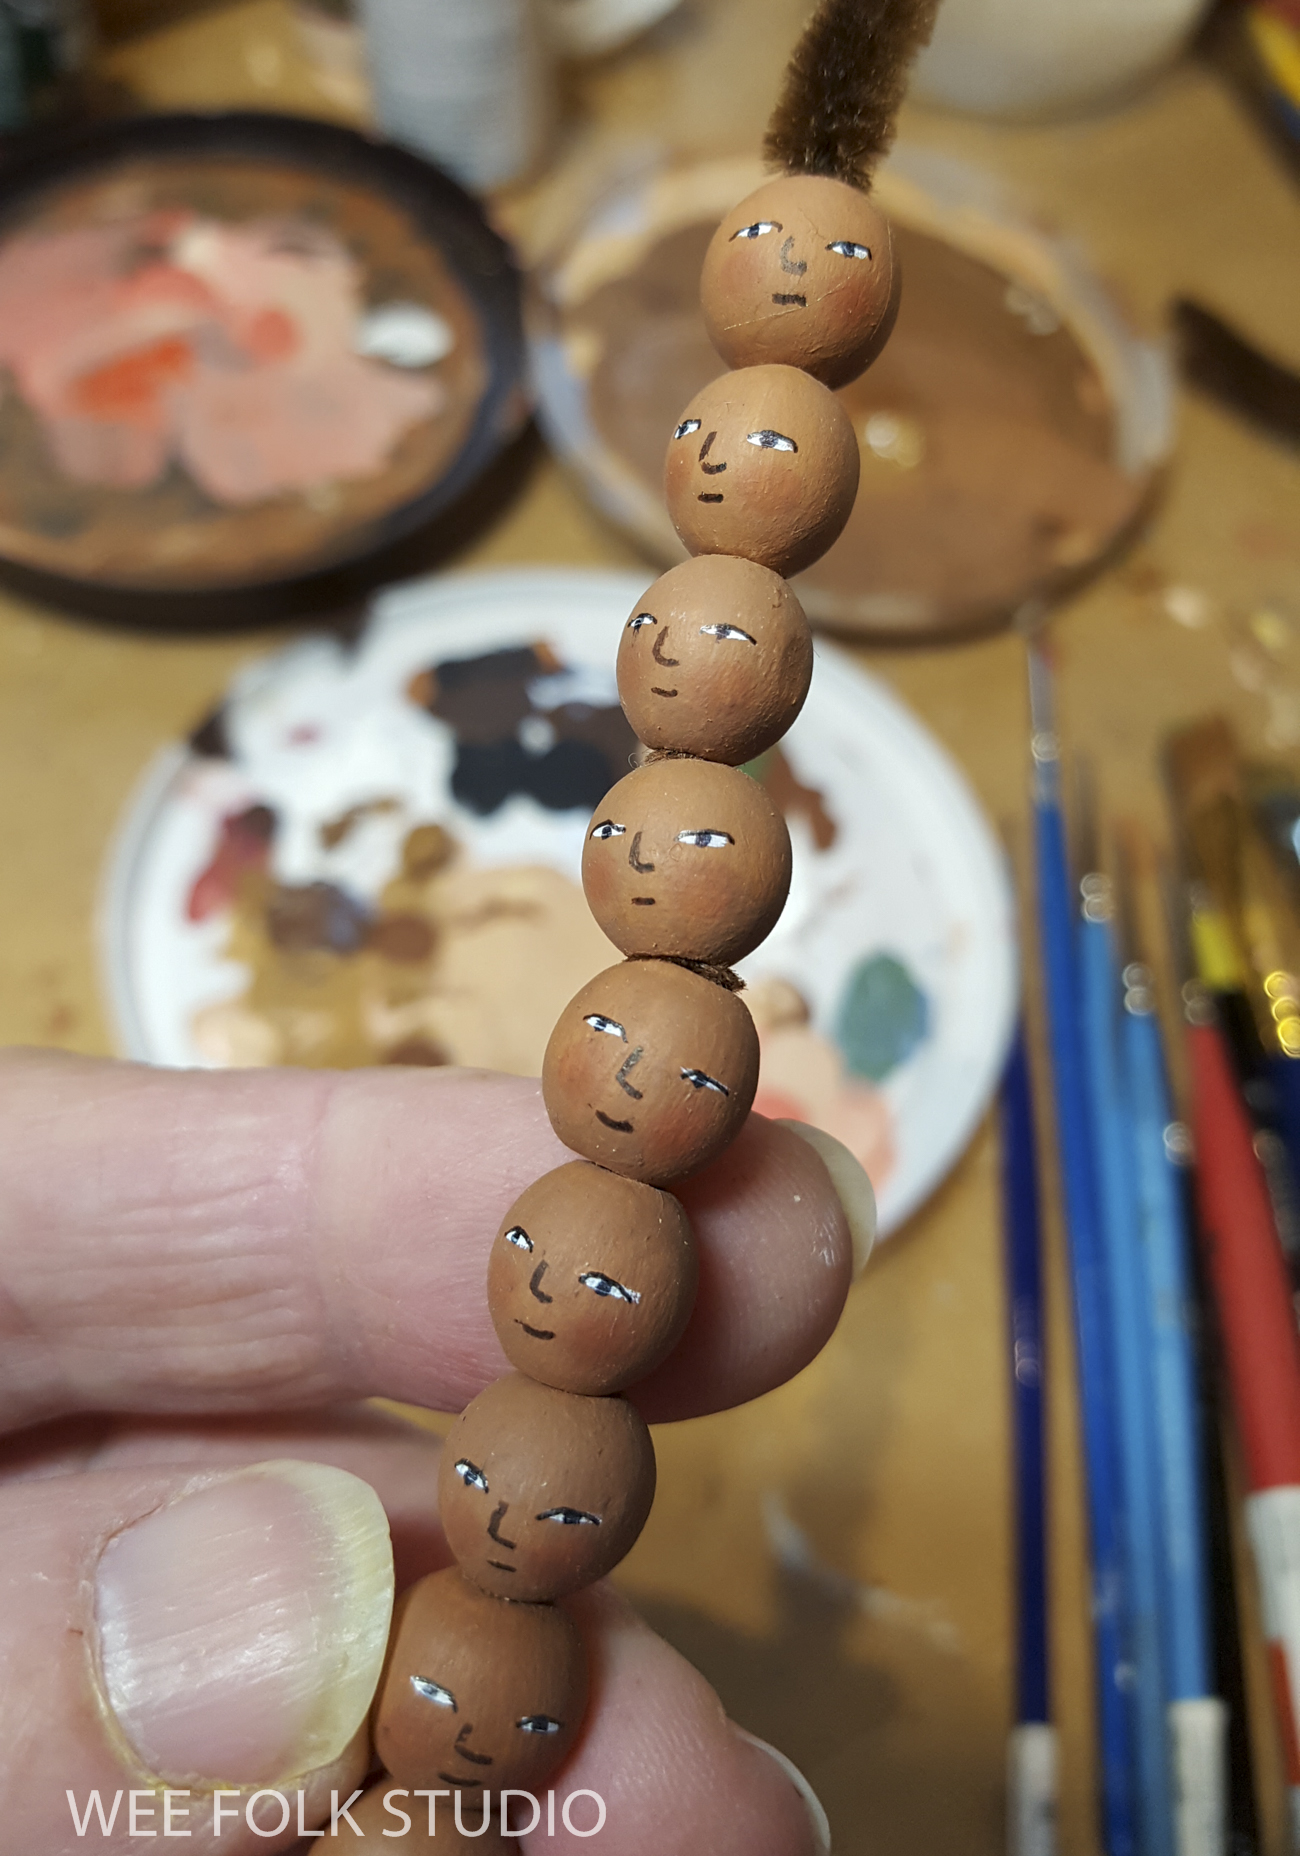
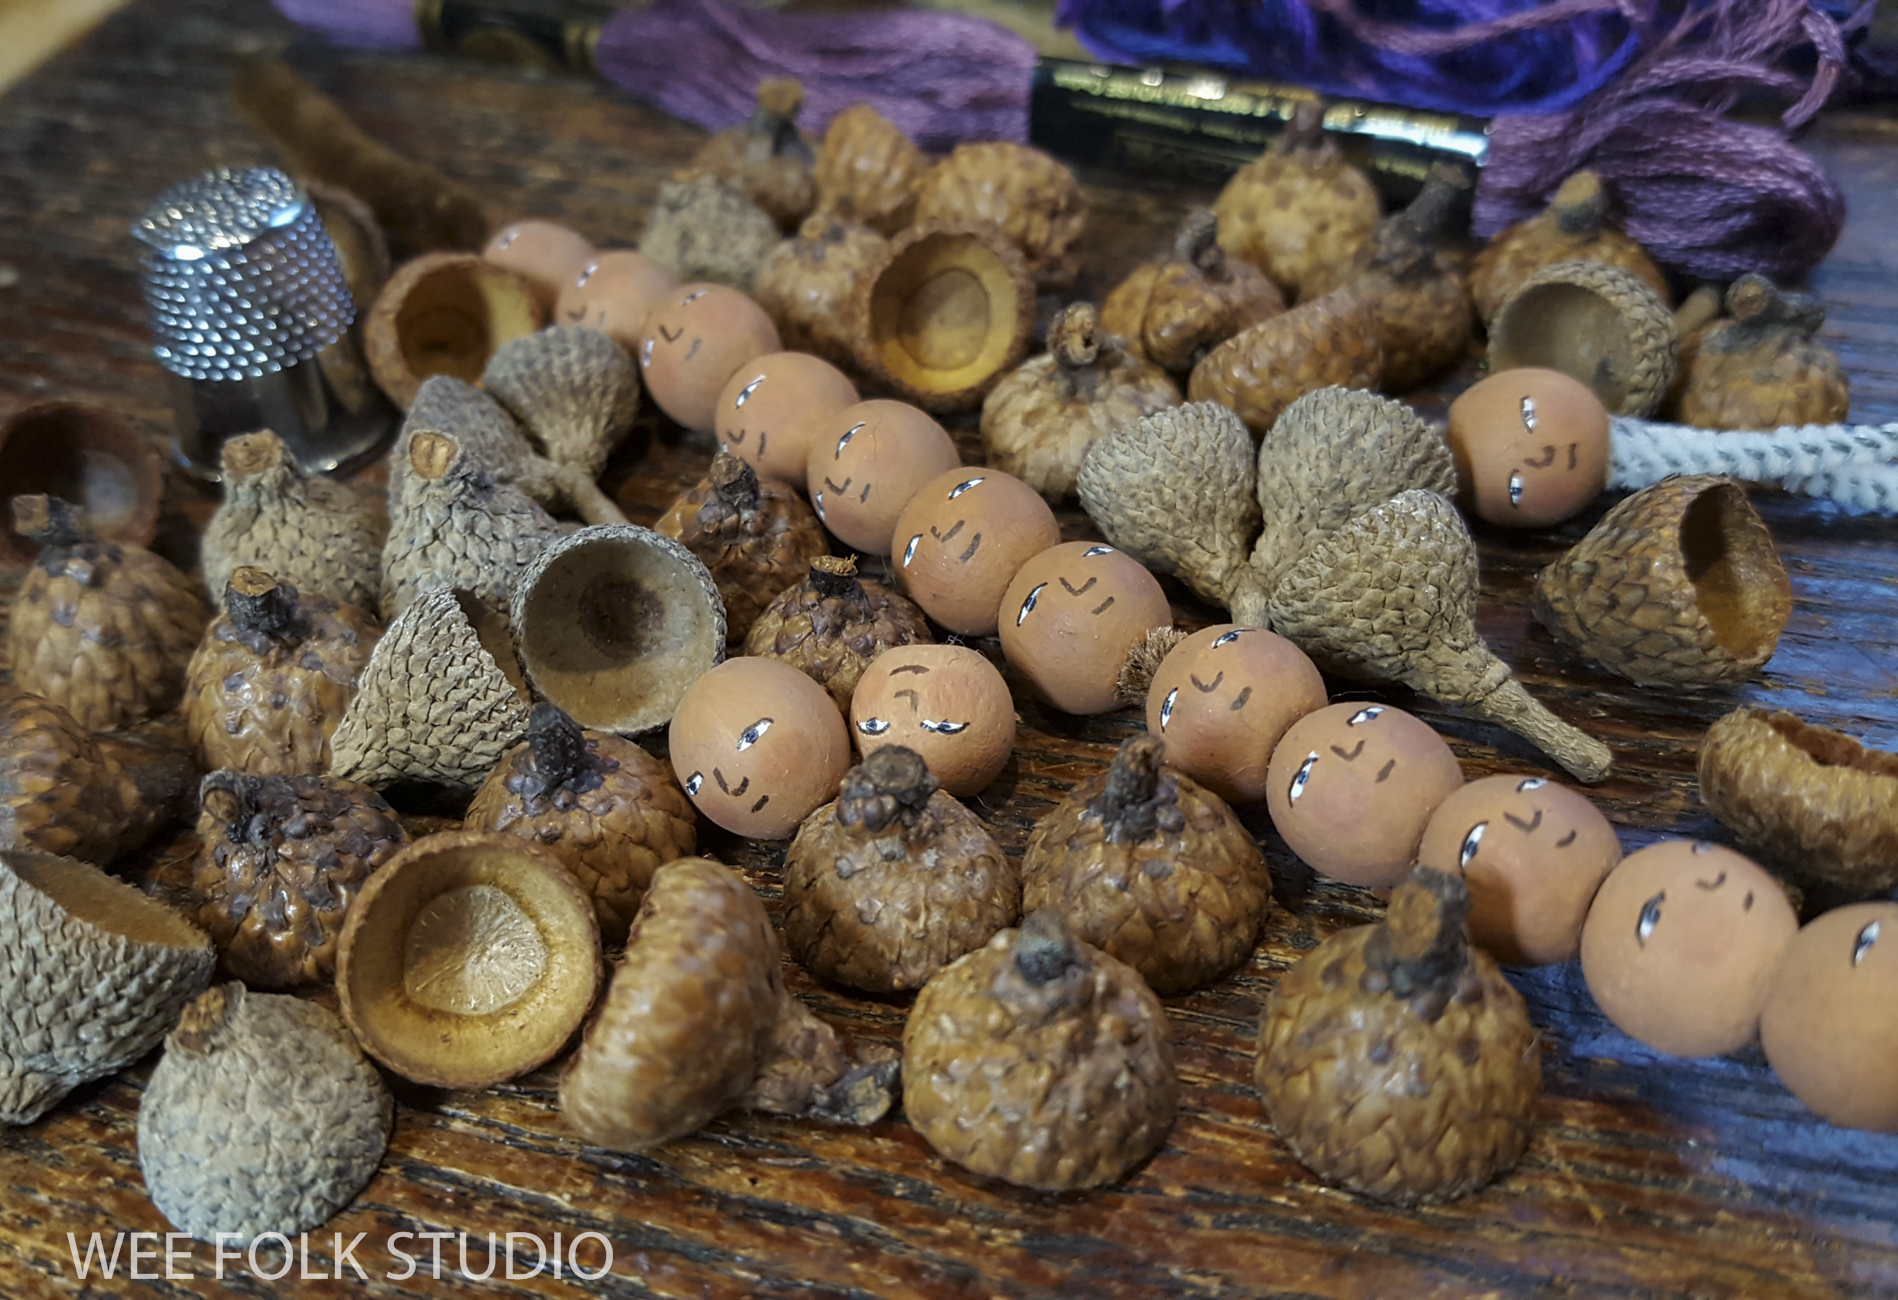
When making people, I always start by painting their faces on wooden beads. Then, after meeting them, I feel motivated to bring them to life.
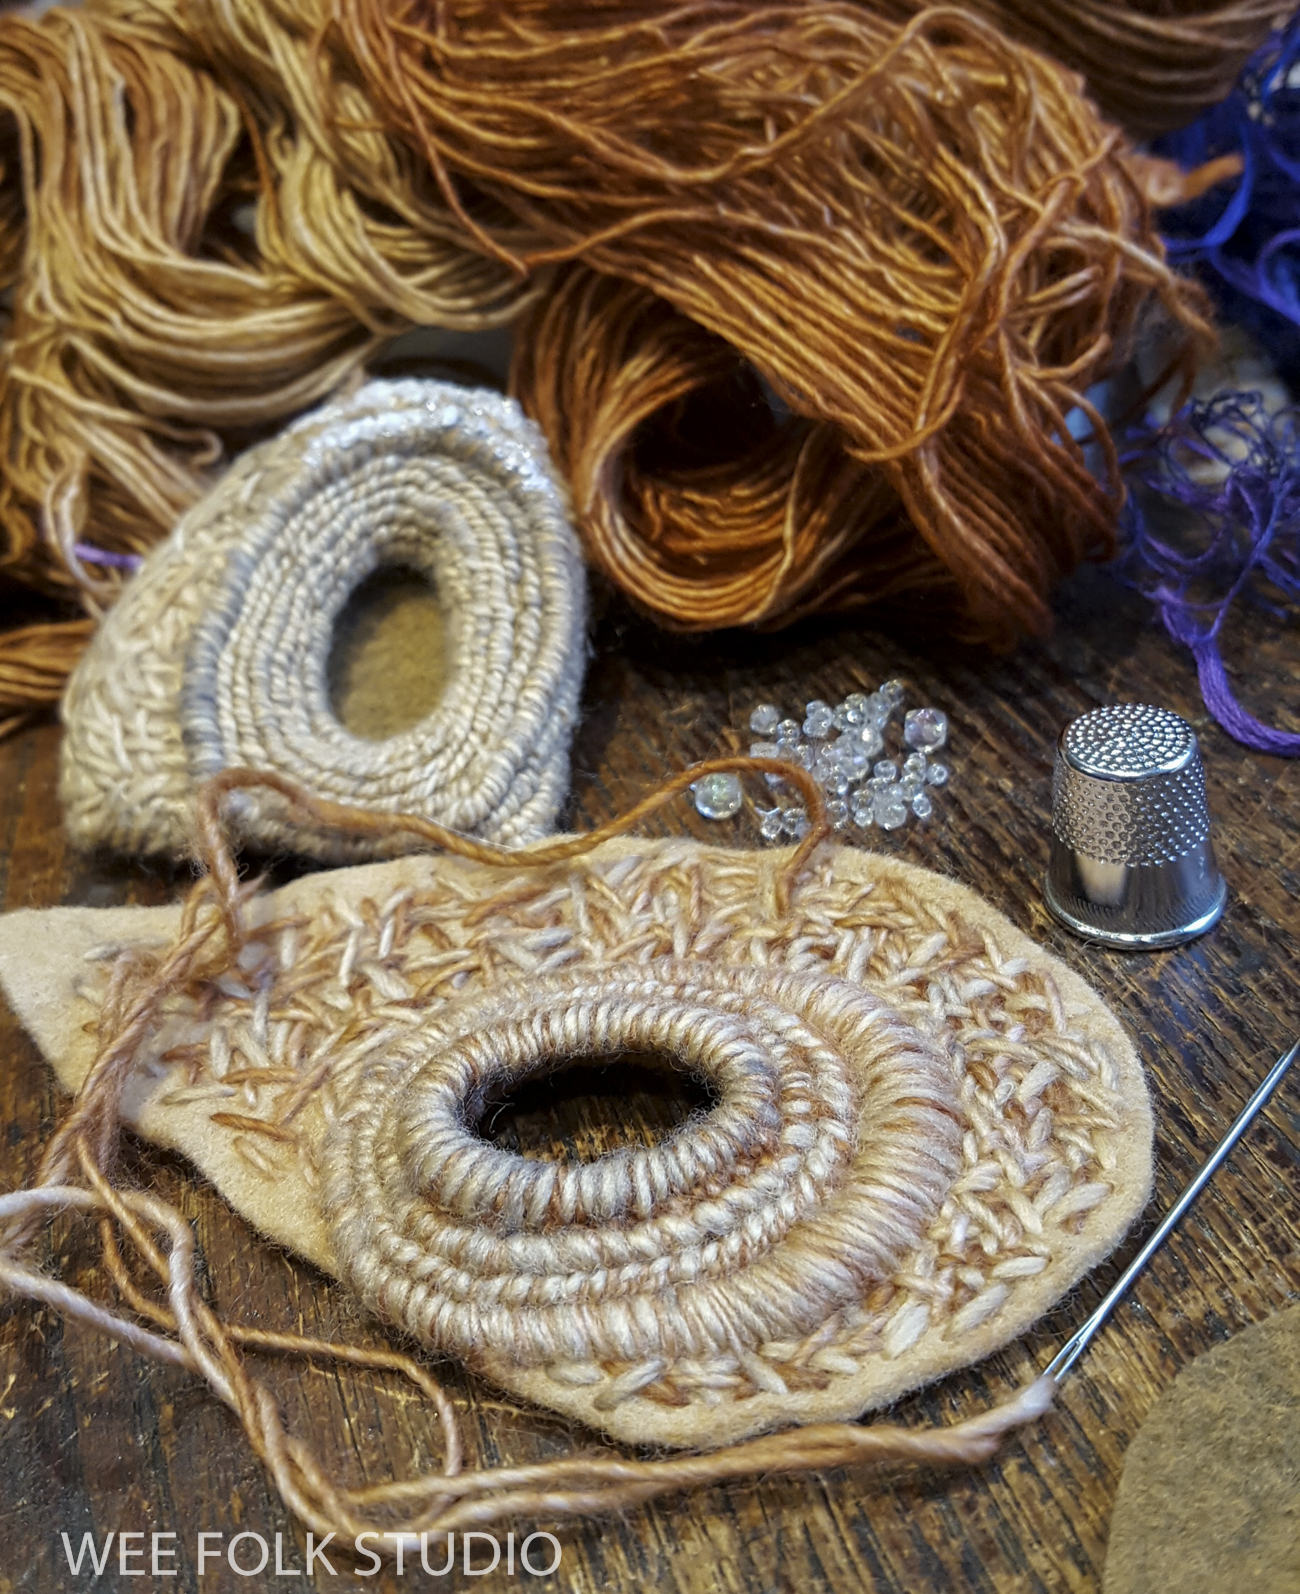
I’ve been saving some really small acorn caps for just this kind of project.

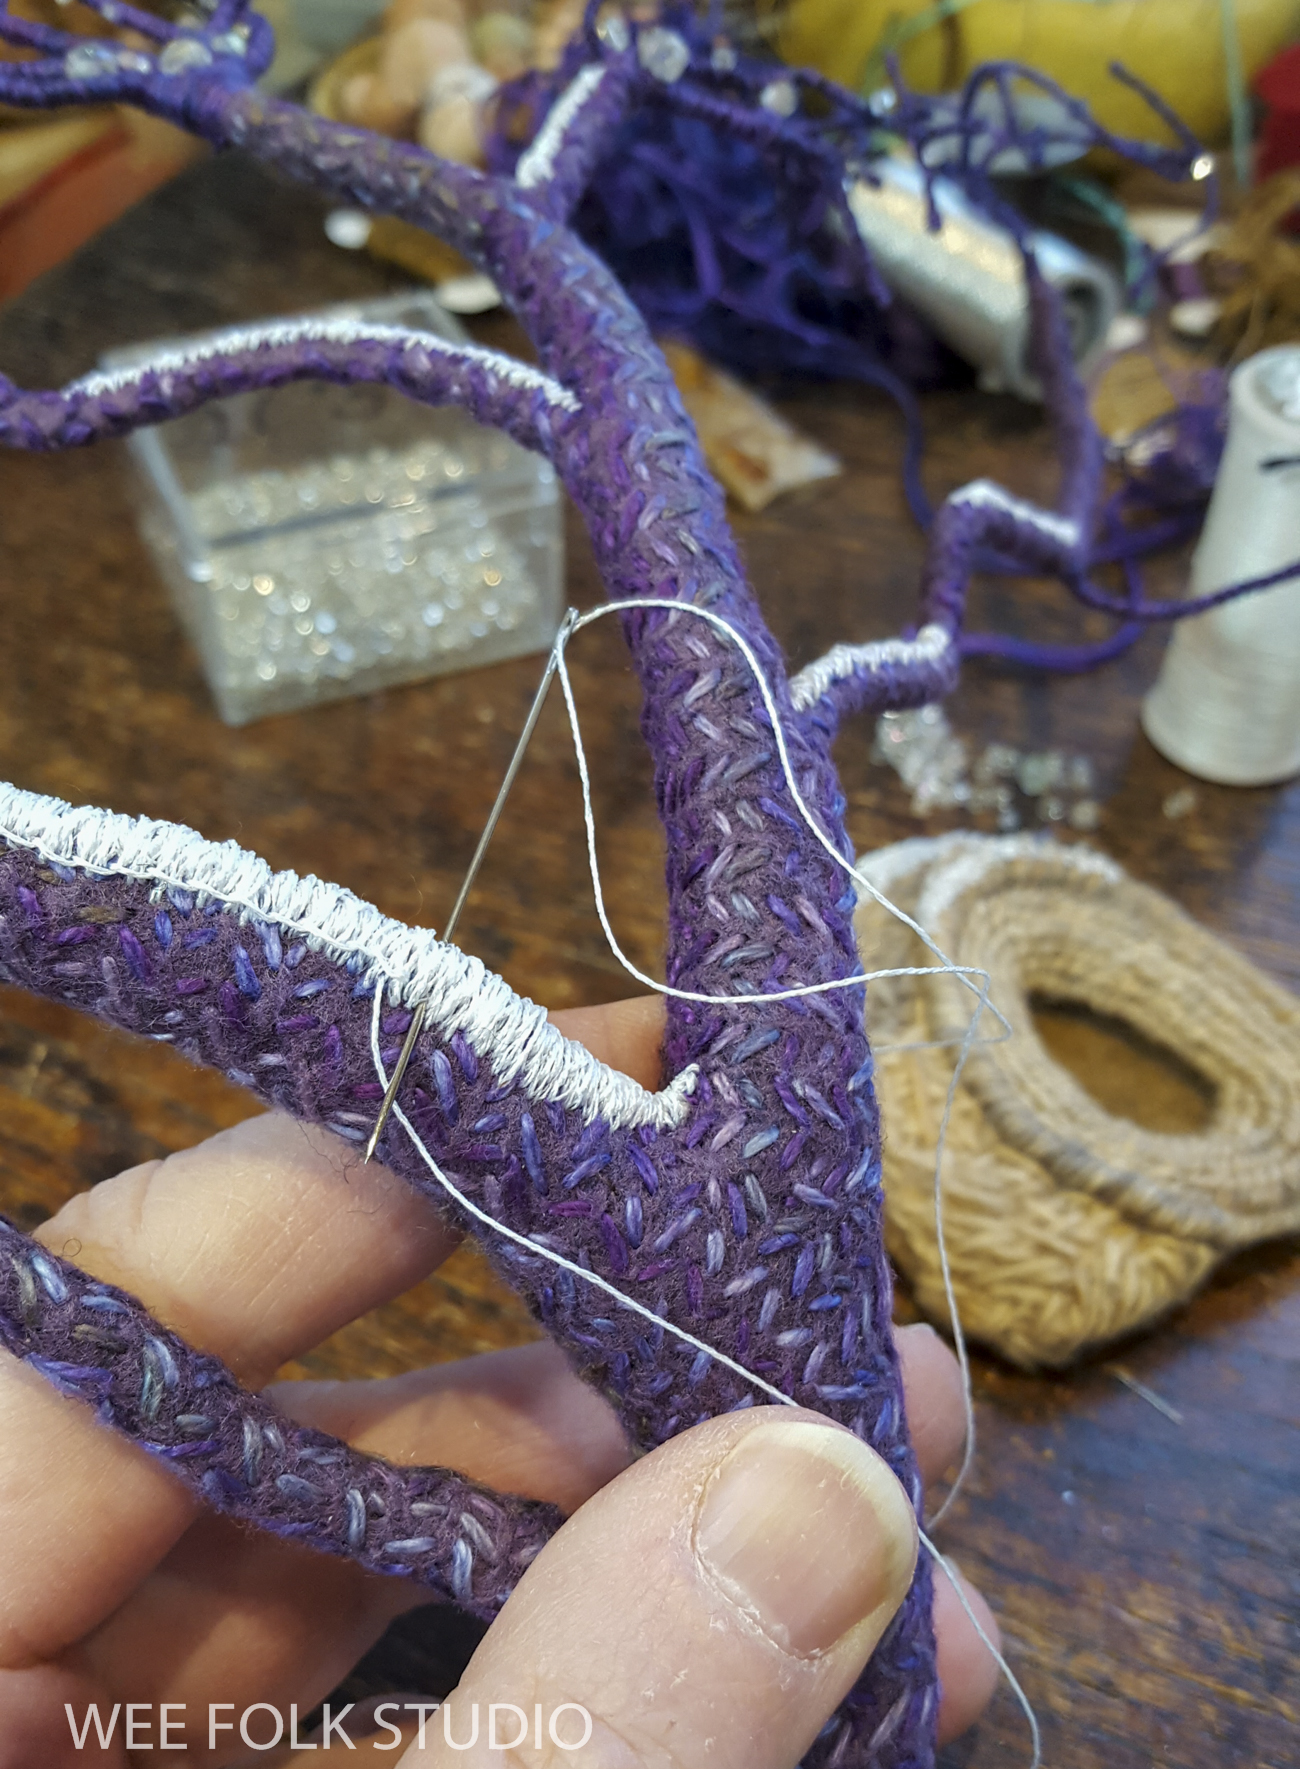
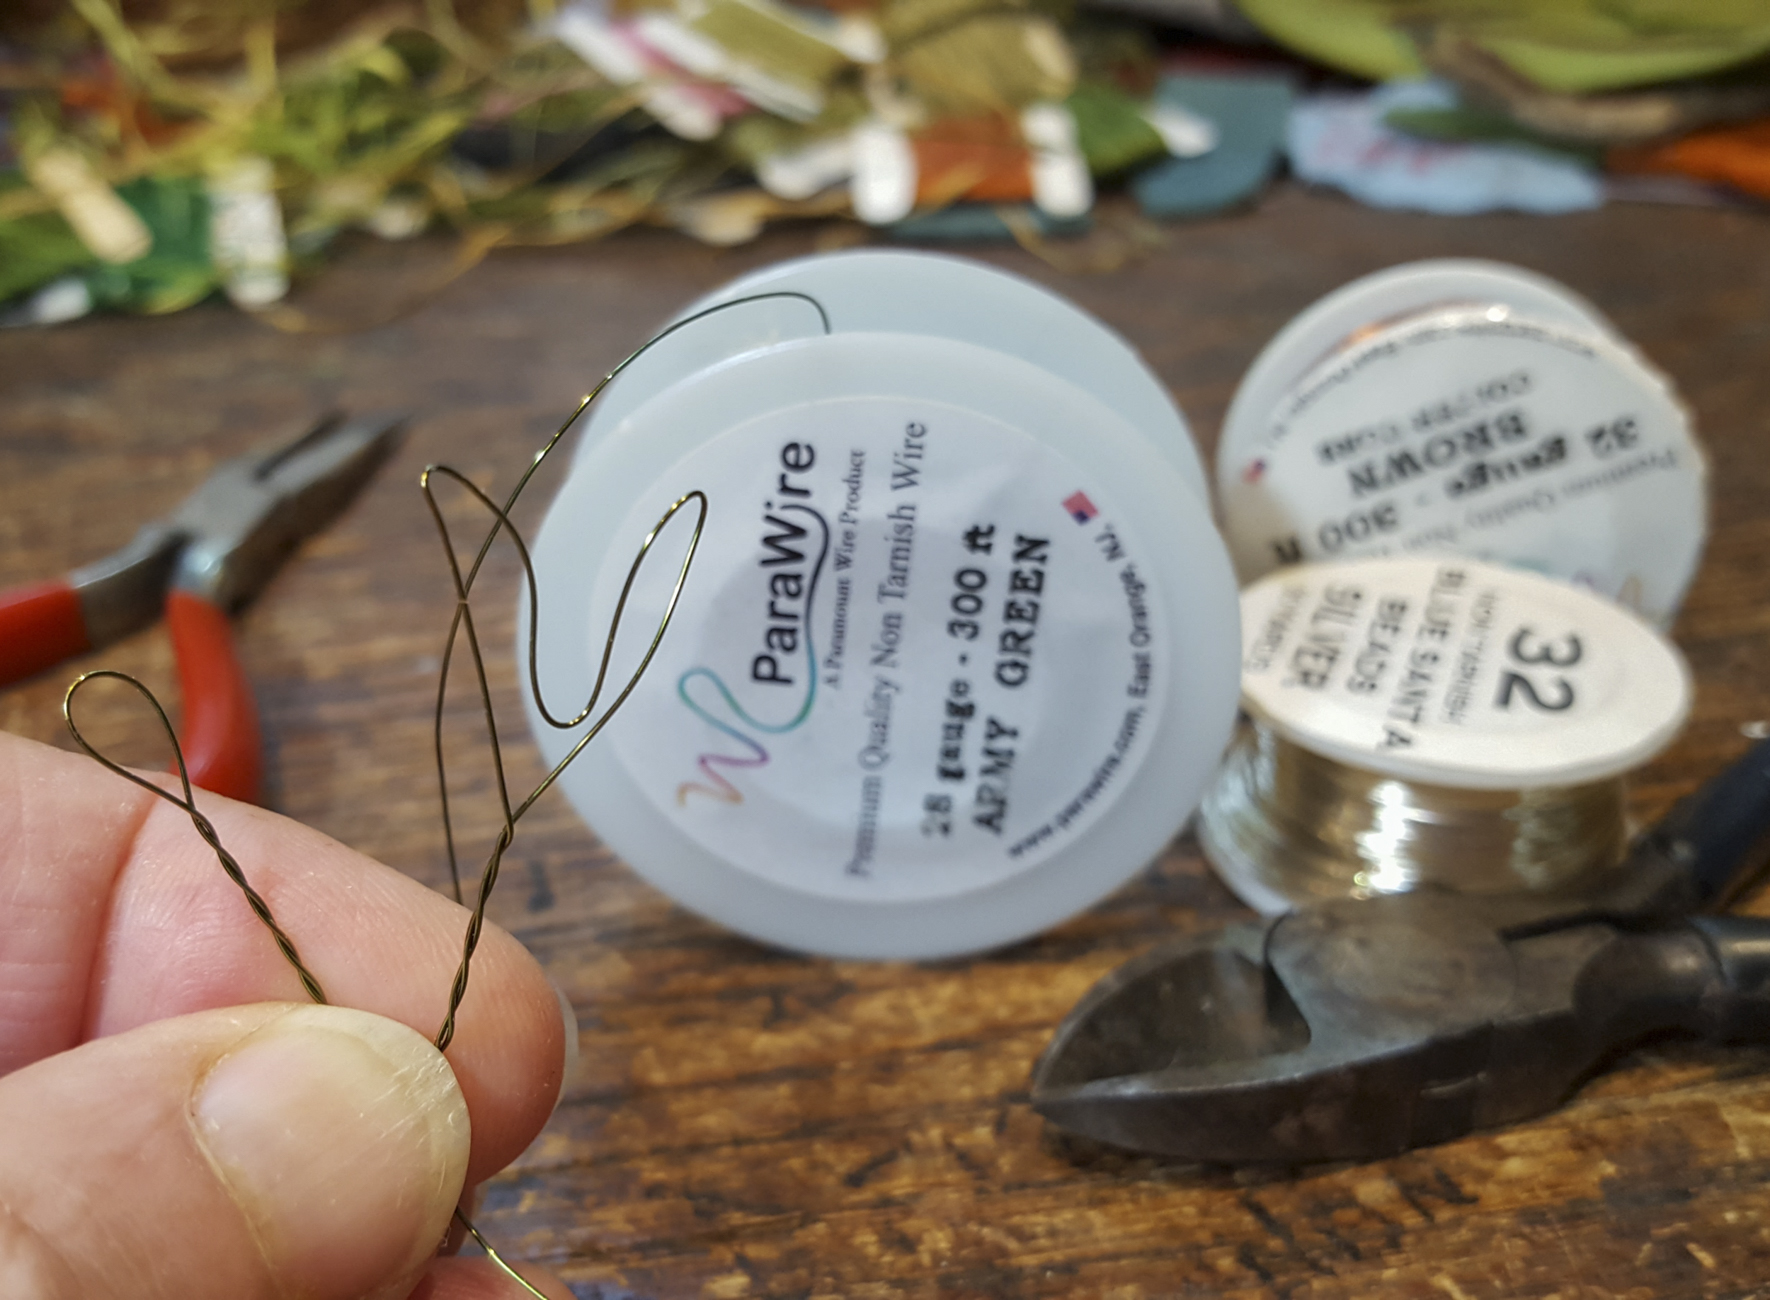
Instead of pipe cleaners, which would be too bulky, I formed the body armature out of 24 gauge jewelry wire. The bead heads were glued to the wire neck at the very end, when the clothing was finished. I glued small pieces of felt onto the top of the bead heads, in a kind of Mohawk. Later, when I added yarn hair, the felt gave the threaded needle something to catch onto.

Miraculously, this old mending wool from my collection of deceased relatives’ ephemera escaped being eaten my moths. It was the perfect weight with which to stitch miniature clothing.

In this sequence of photos, you can see how I wrapped and stitched yarn around the wire arms and legs and then made a separate faux knitted coat to go on top. I completed the look with French knot buttons, striped leggings, wool hair, and a glued on acorn cap.


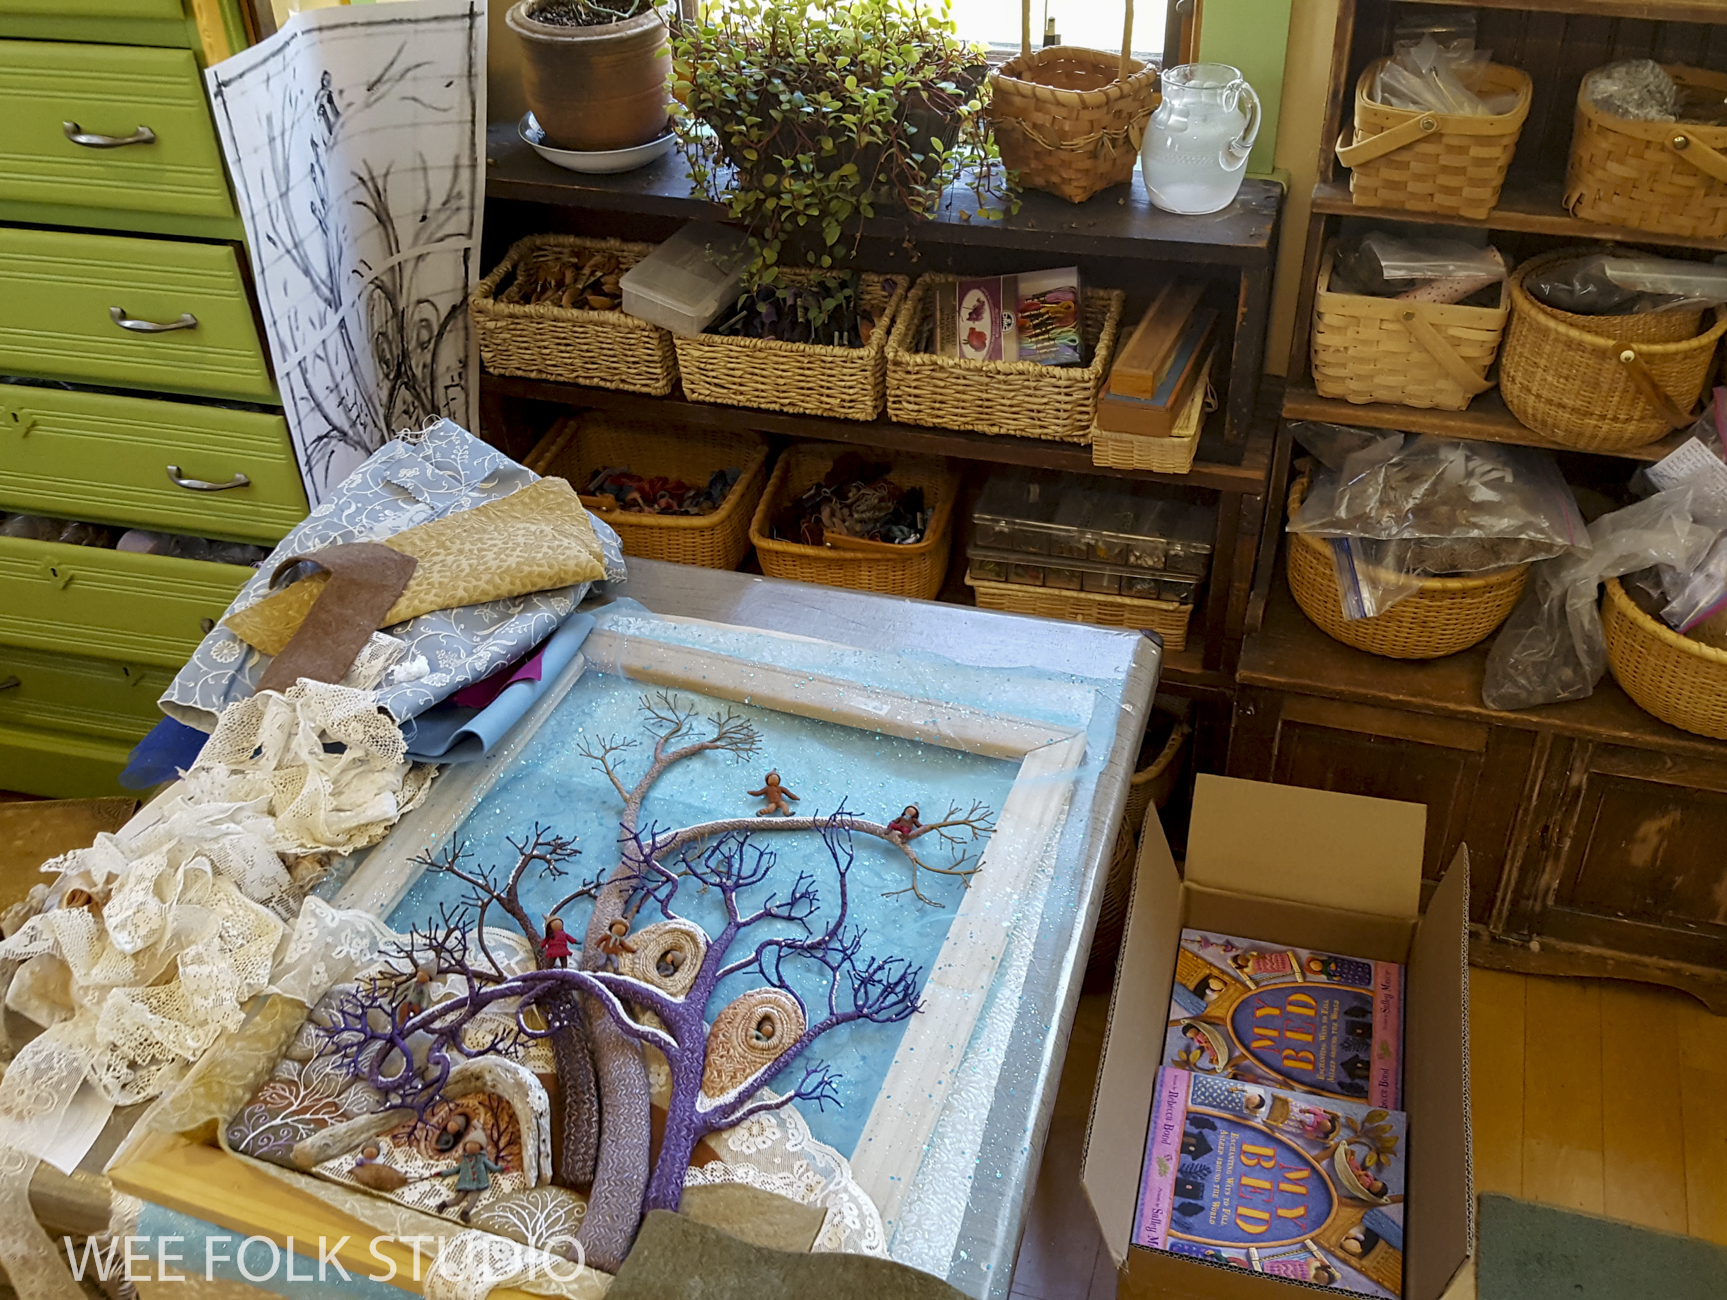
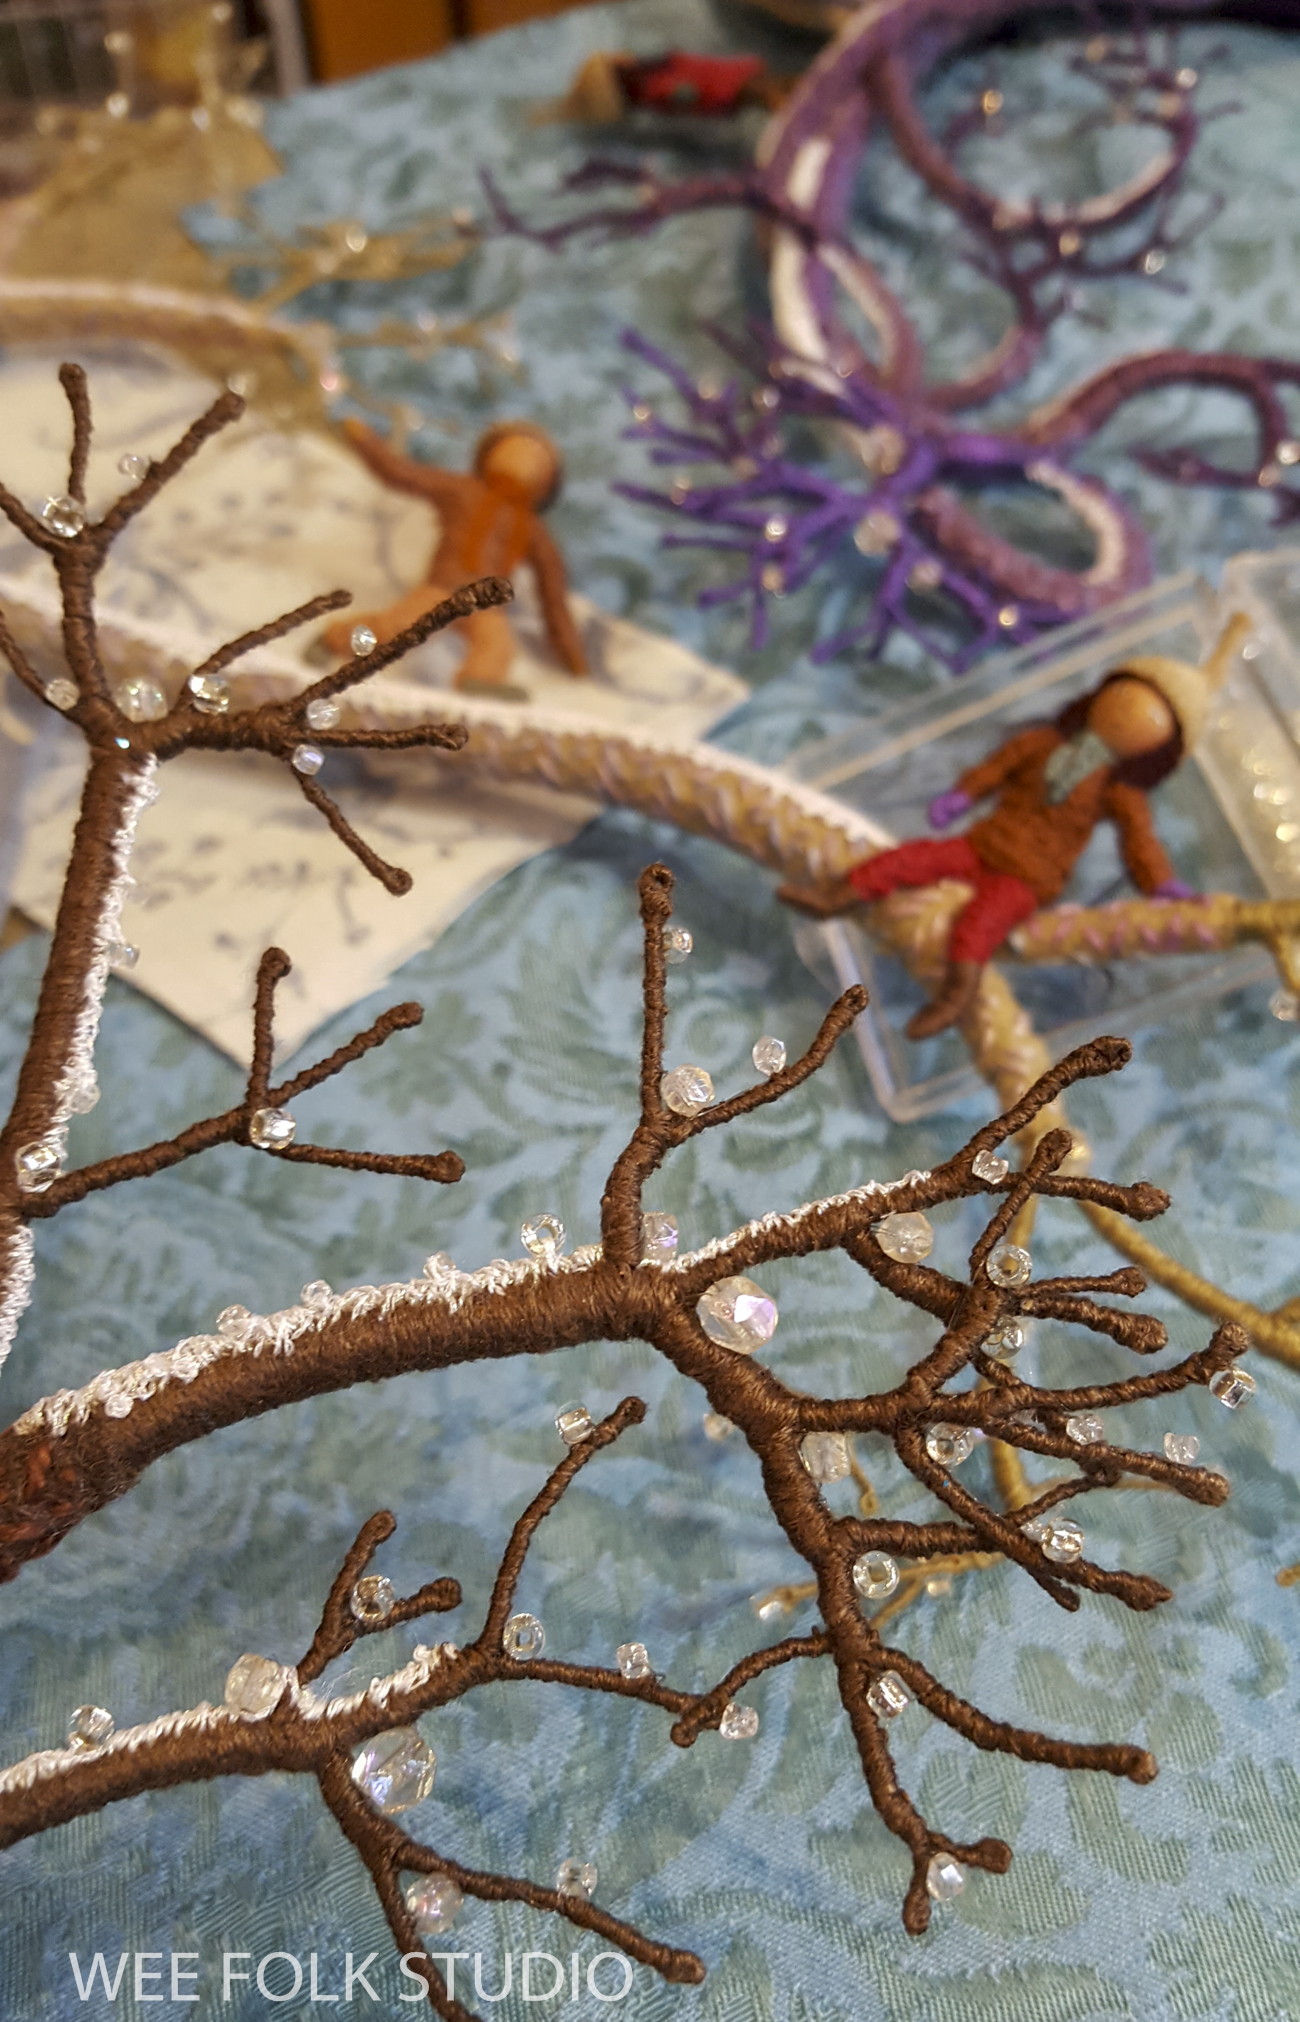
The group of little people grew and grew until there seemed to be the right amount.

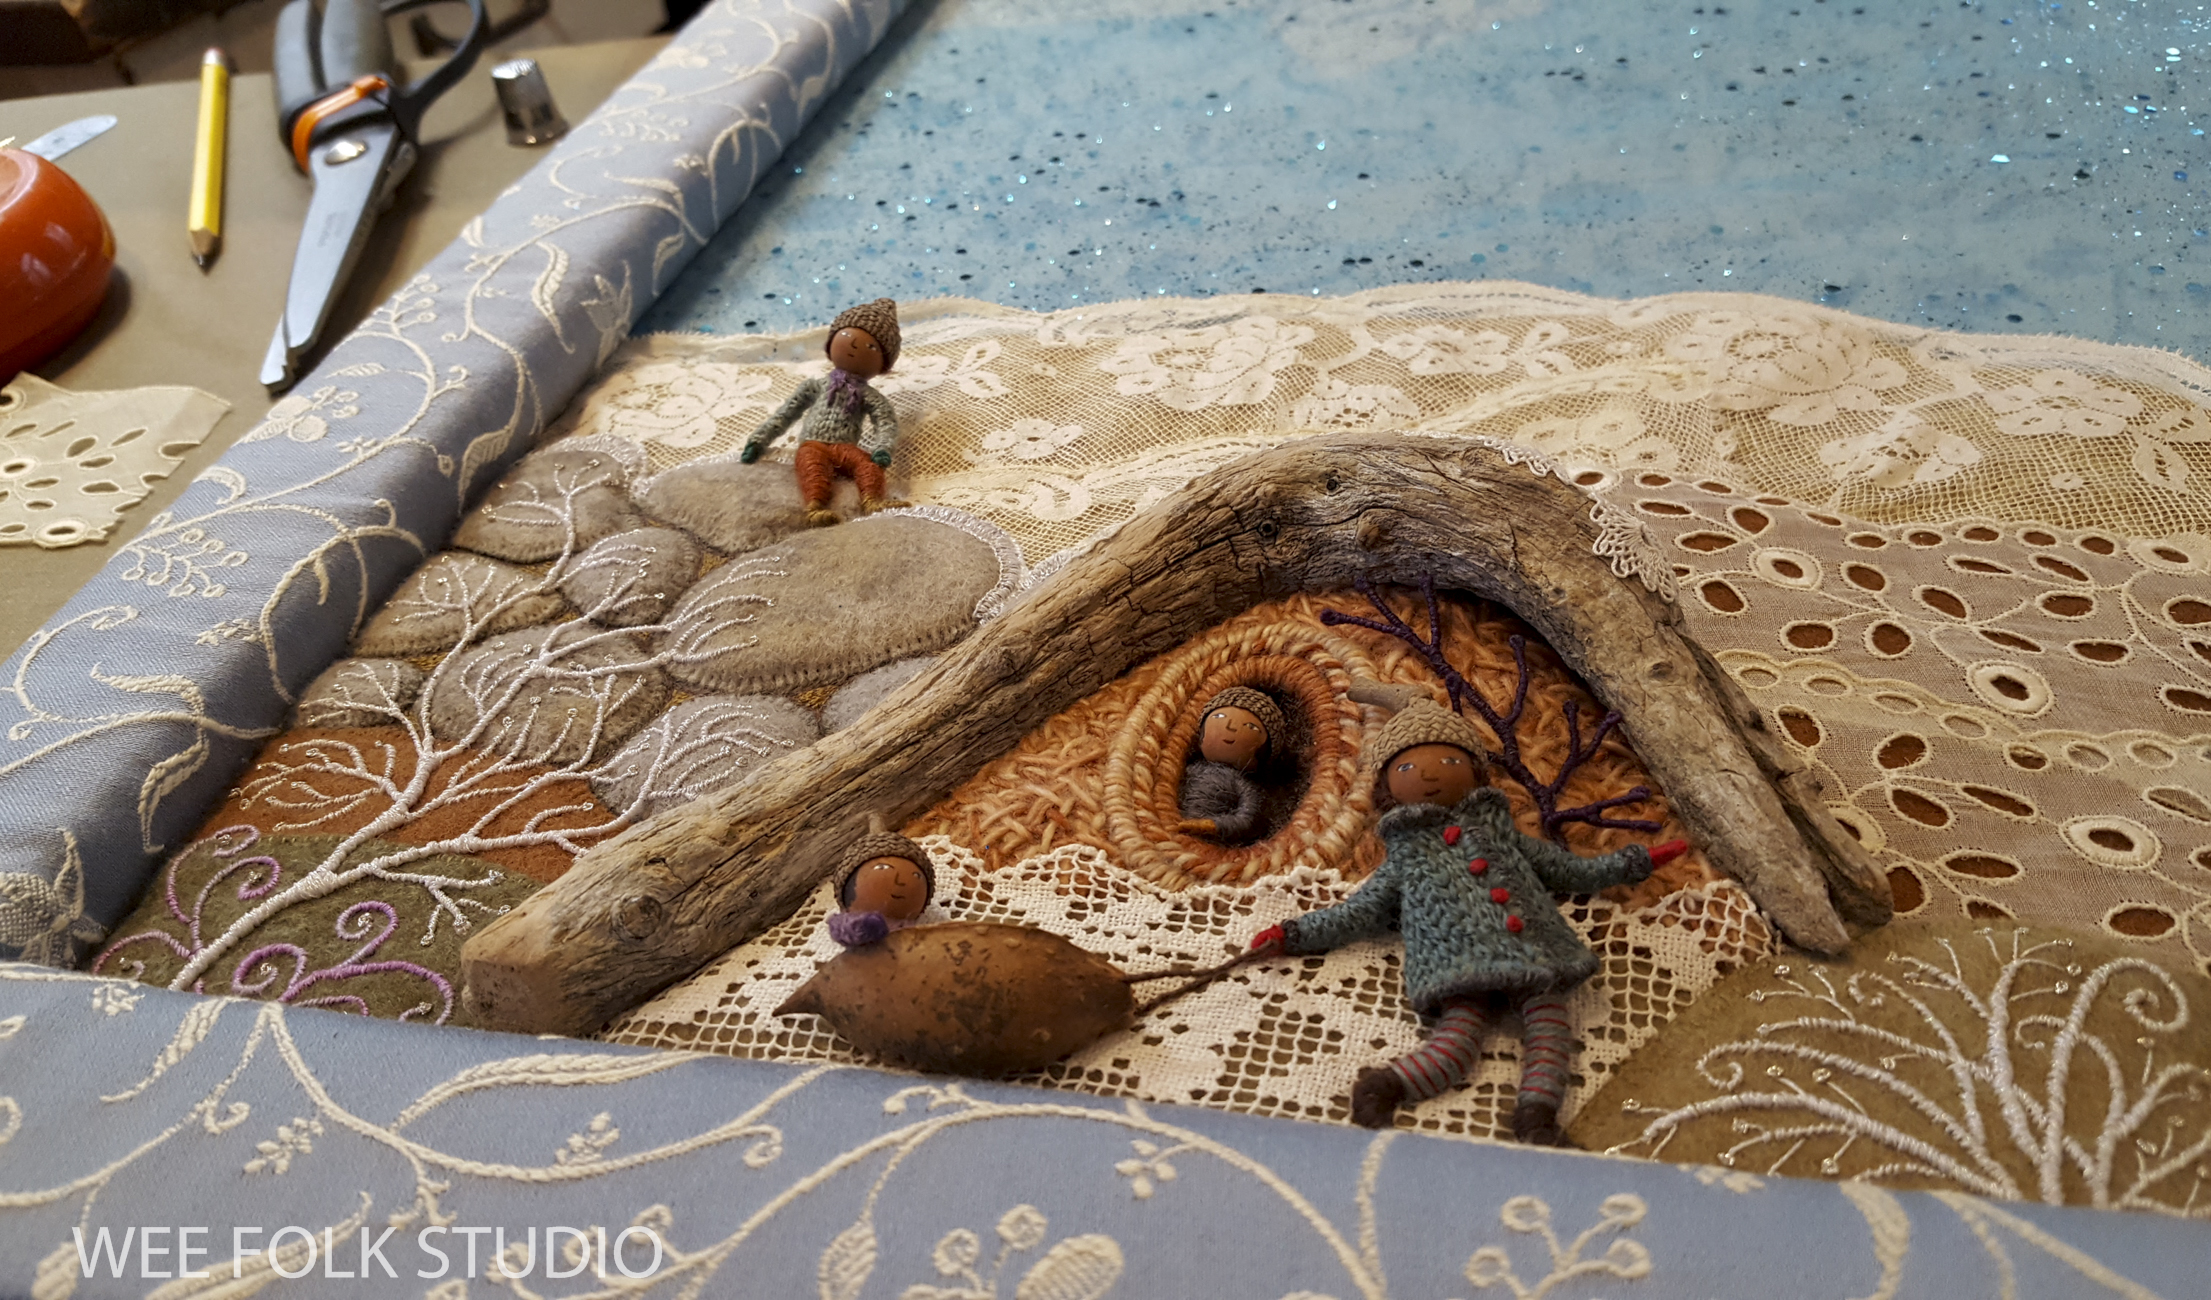
The sled is made from a pod I found so long ago that I can’t remember where it came from. An image search identified it as a coming from a Foxglove tree.


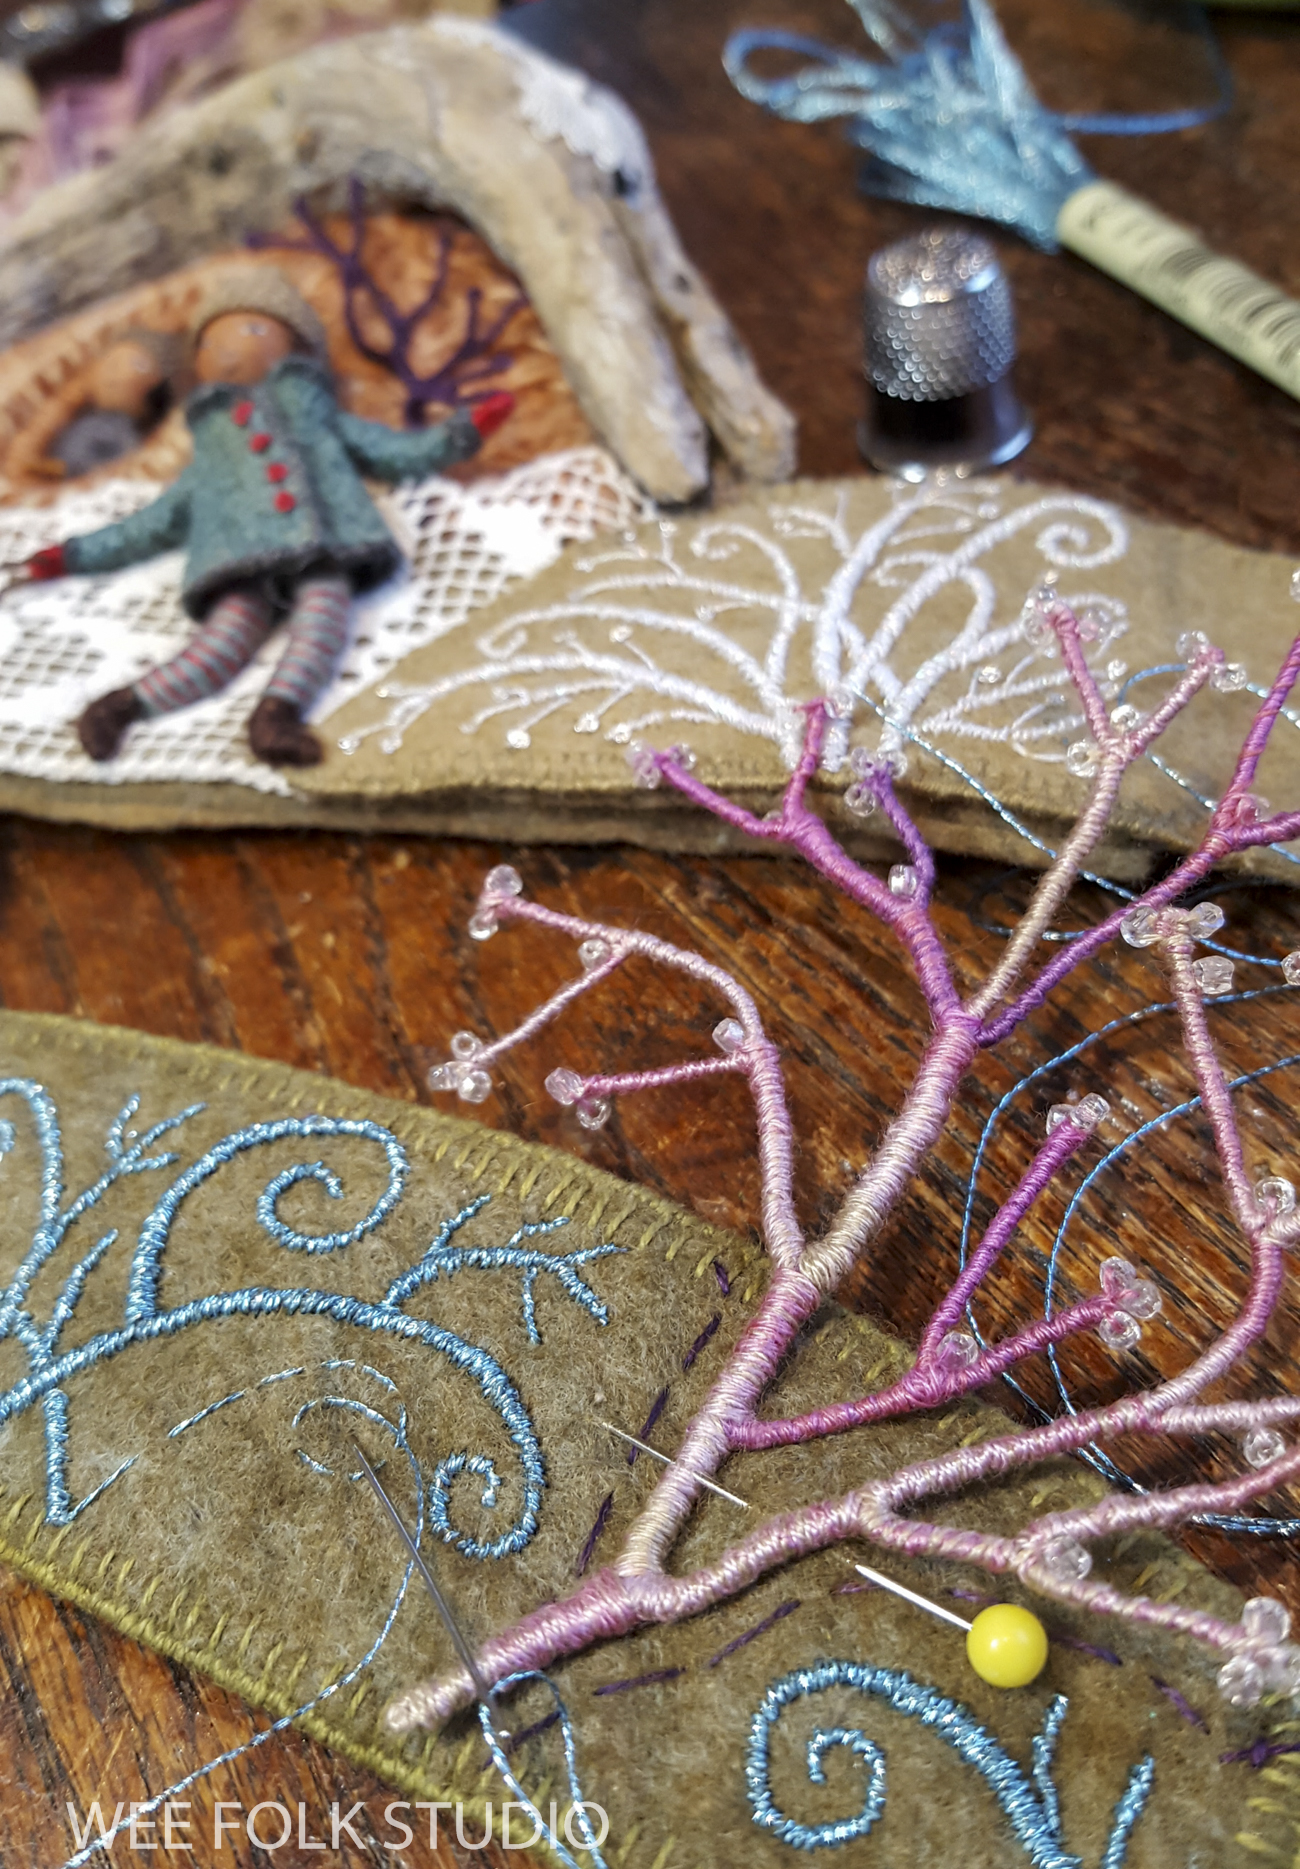
With just a few stitches, I sewed the characters in place – pulling the sled, looking out from shelters and climbing along tree branches.


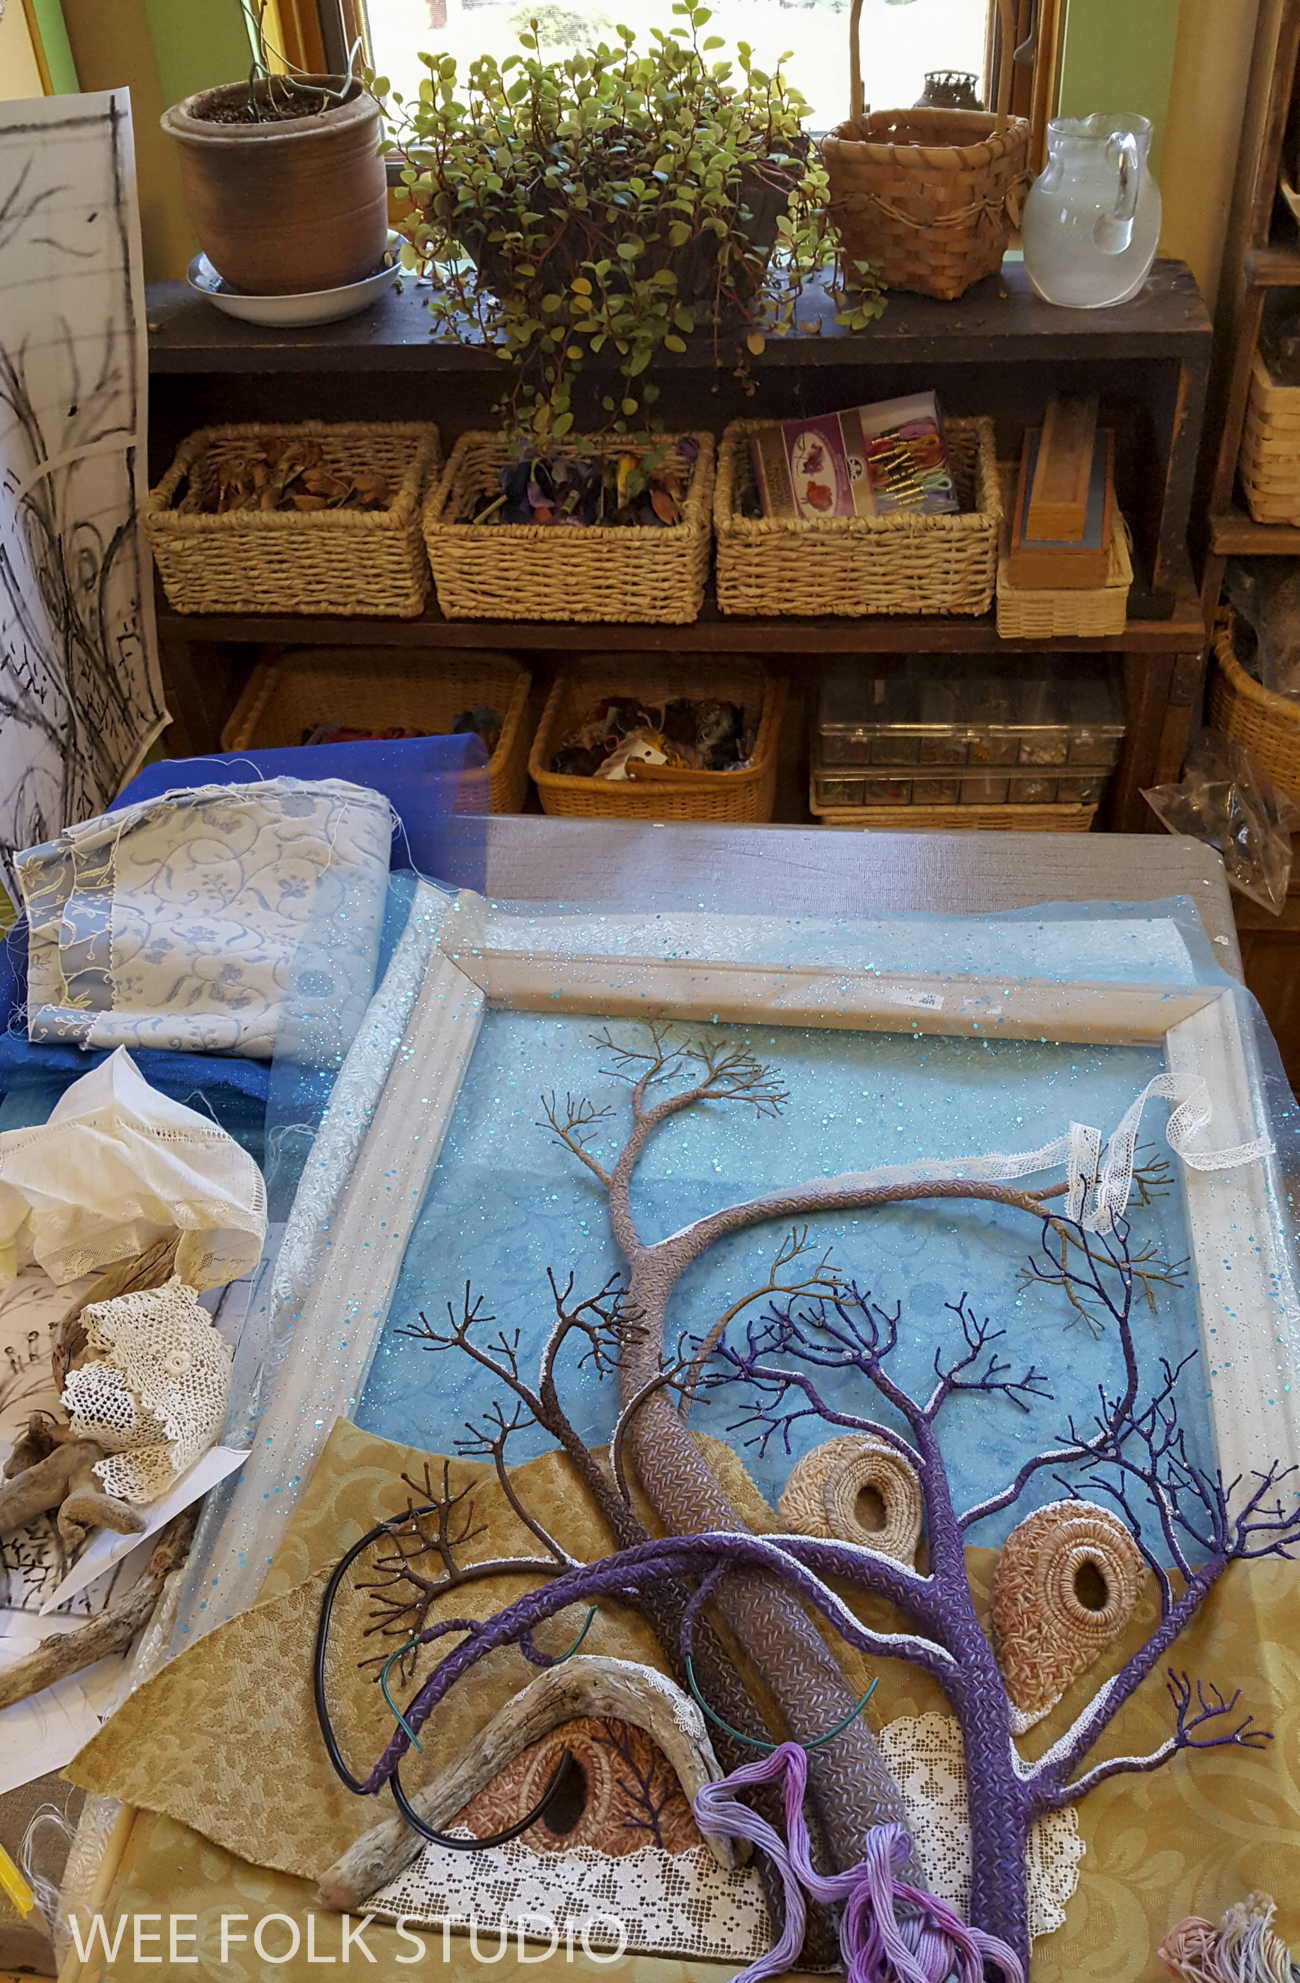
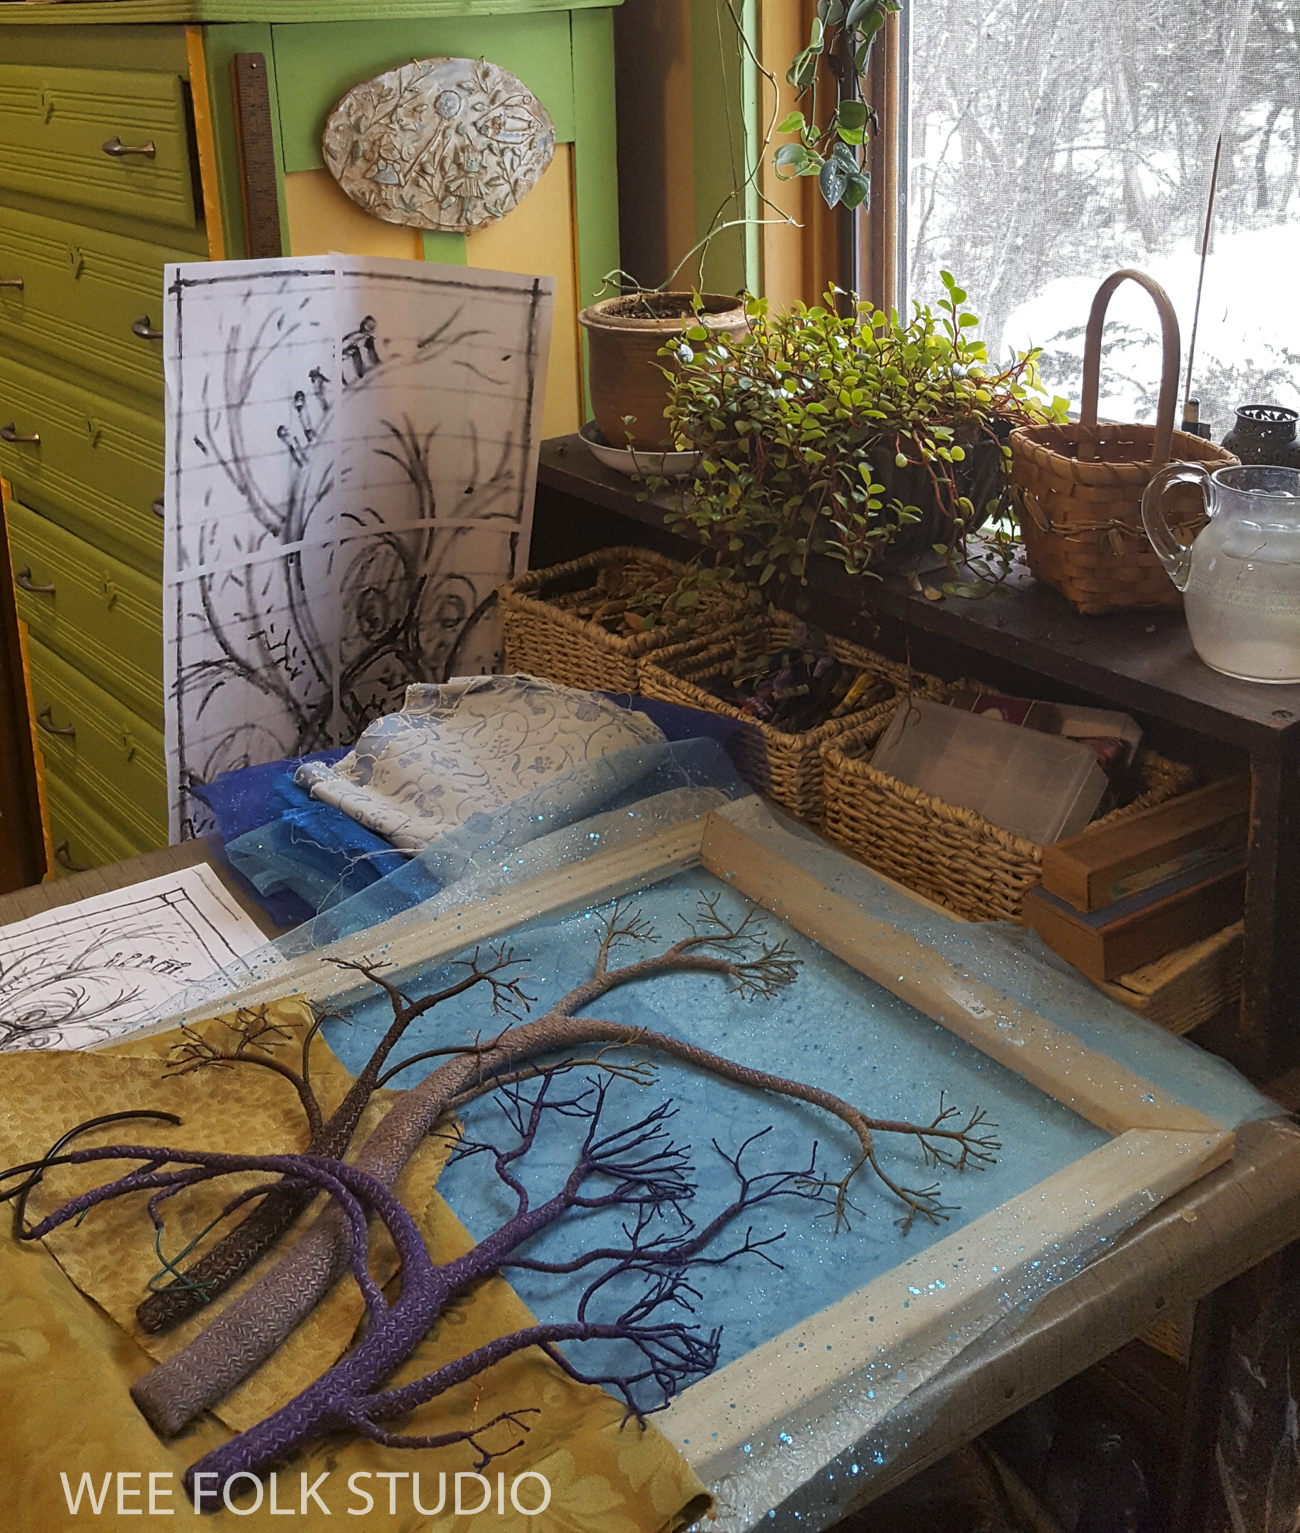
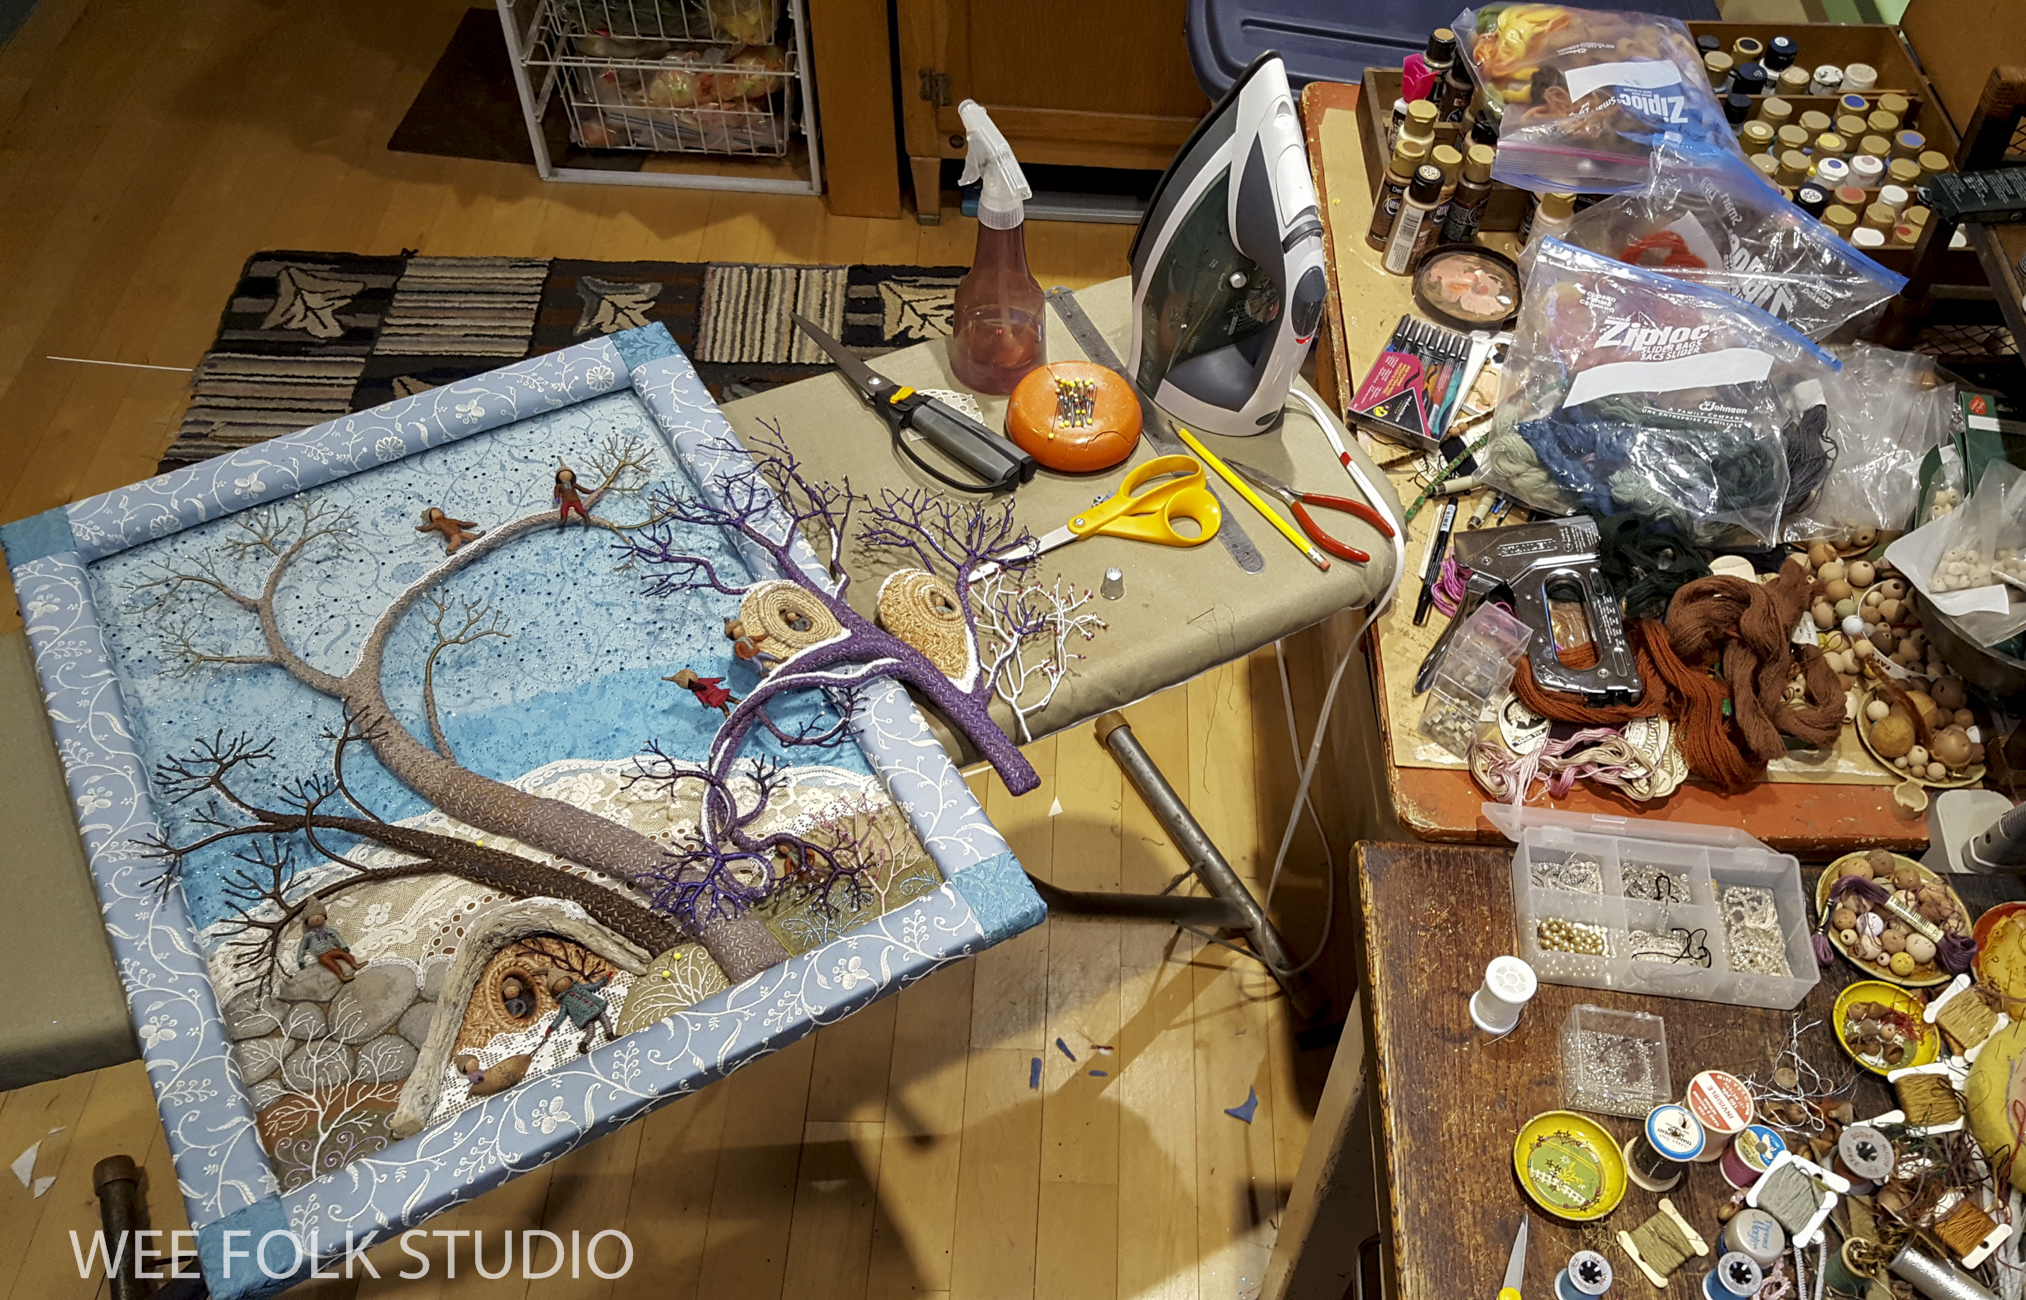
When all of the parts were finished, it was time to mount the piece.
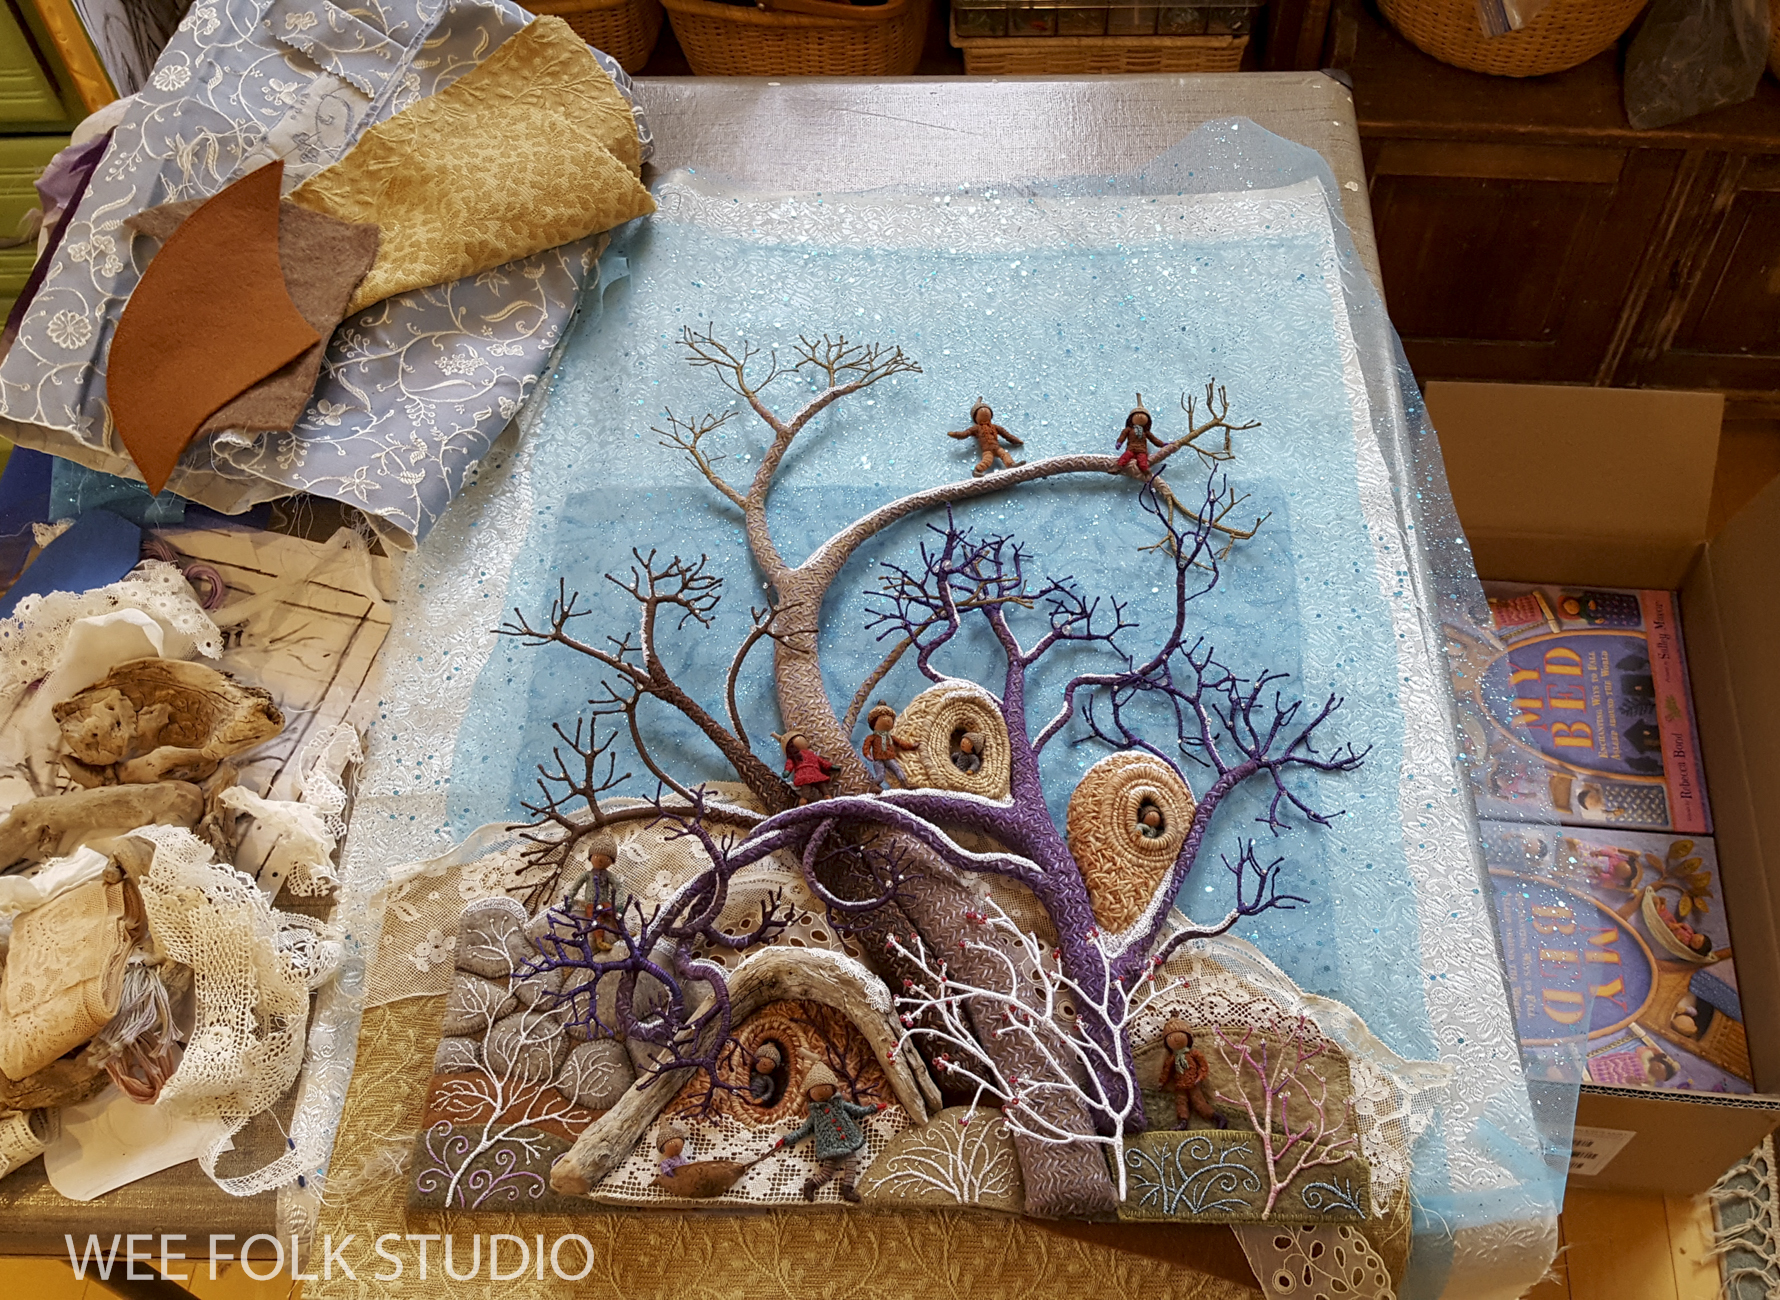
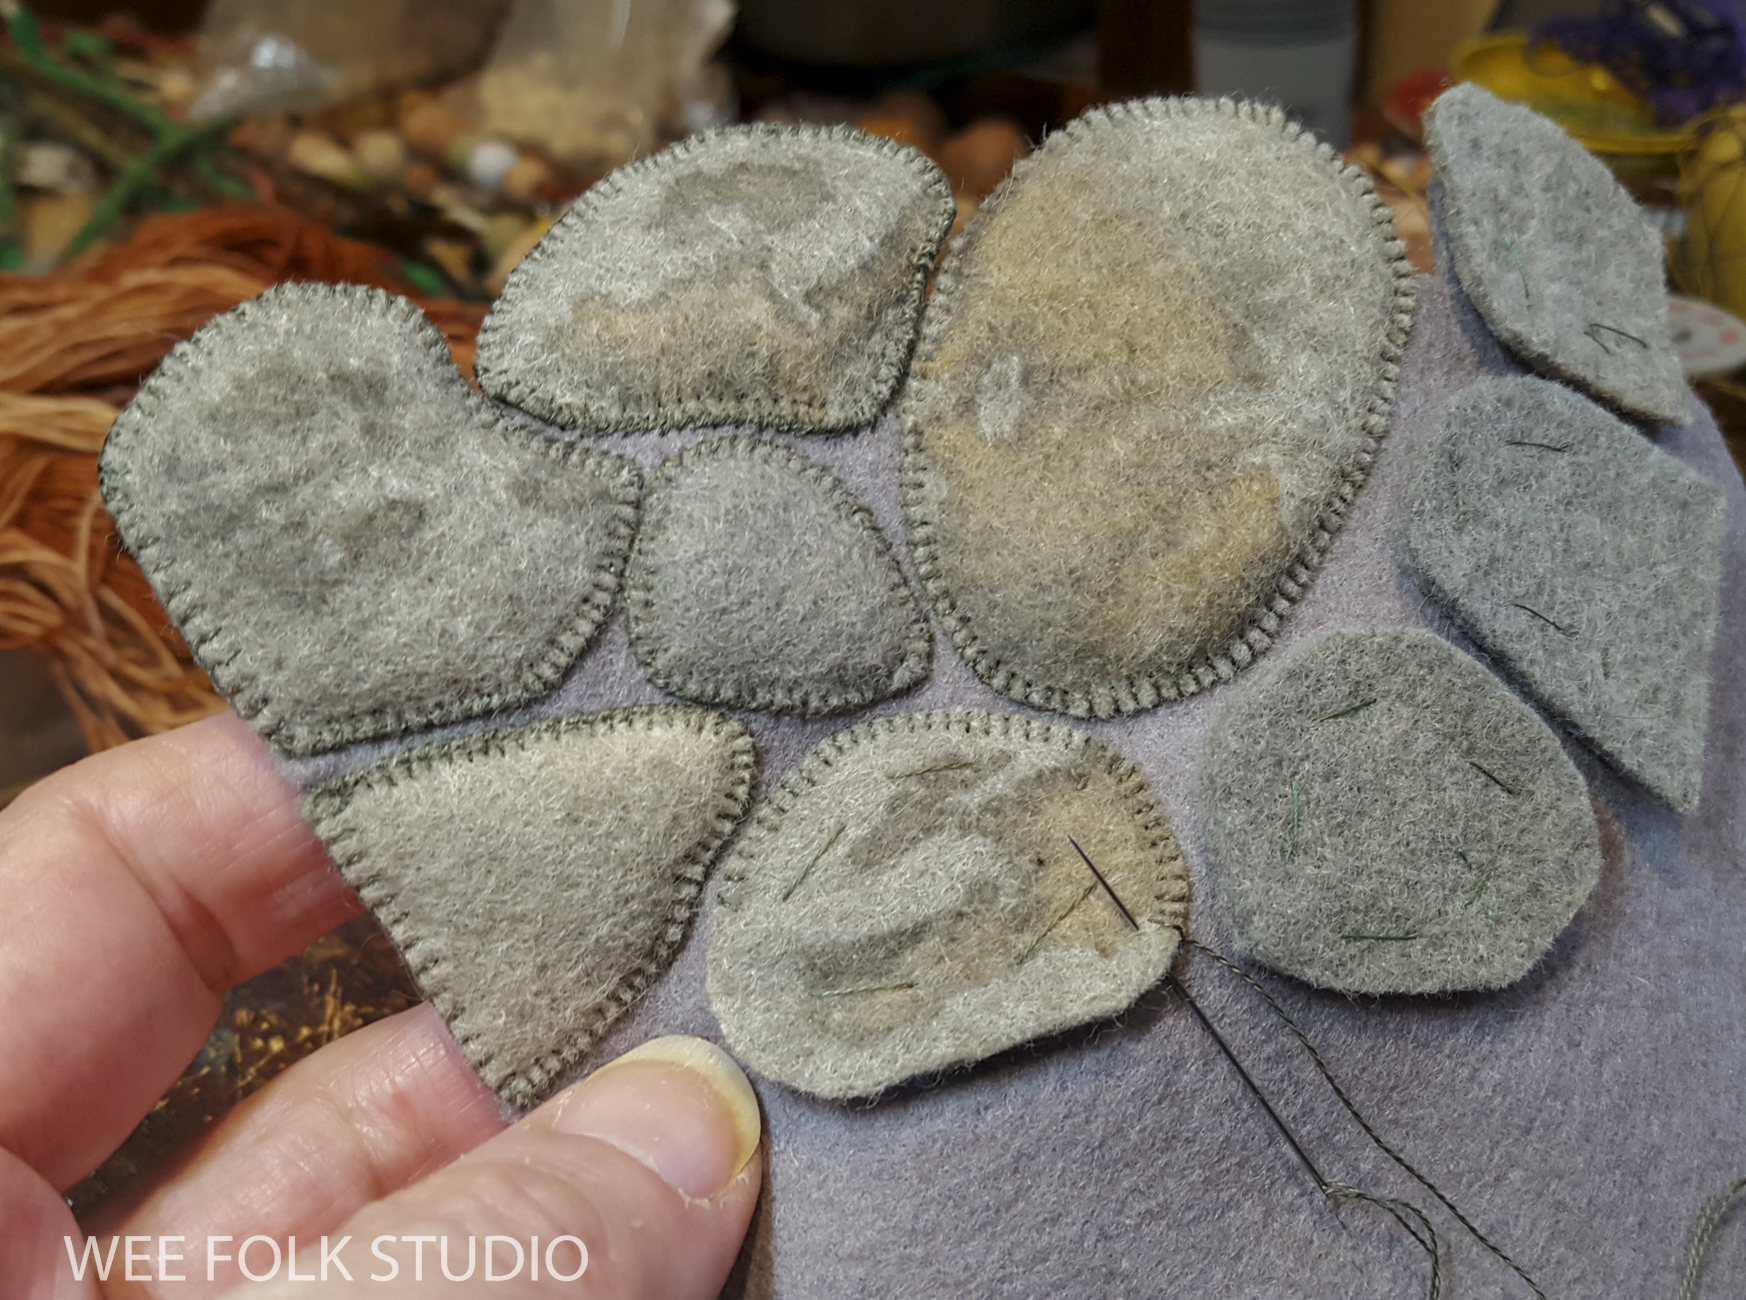
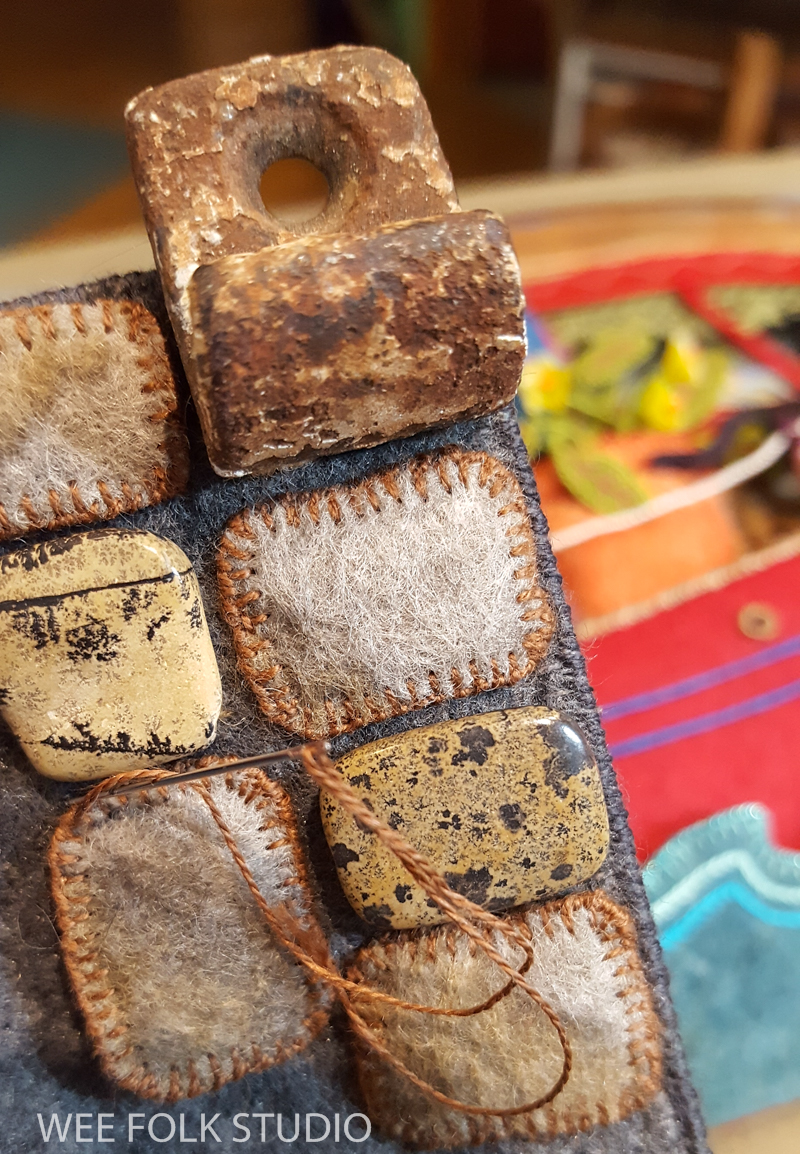
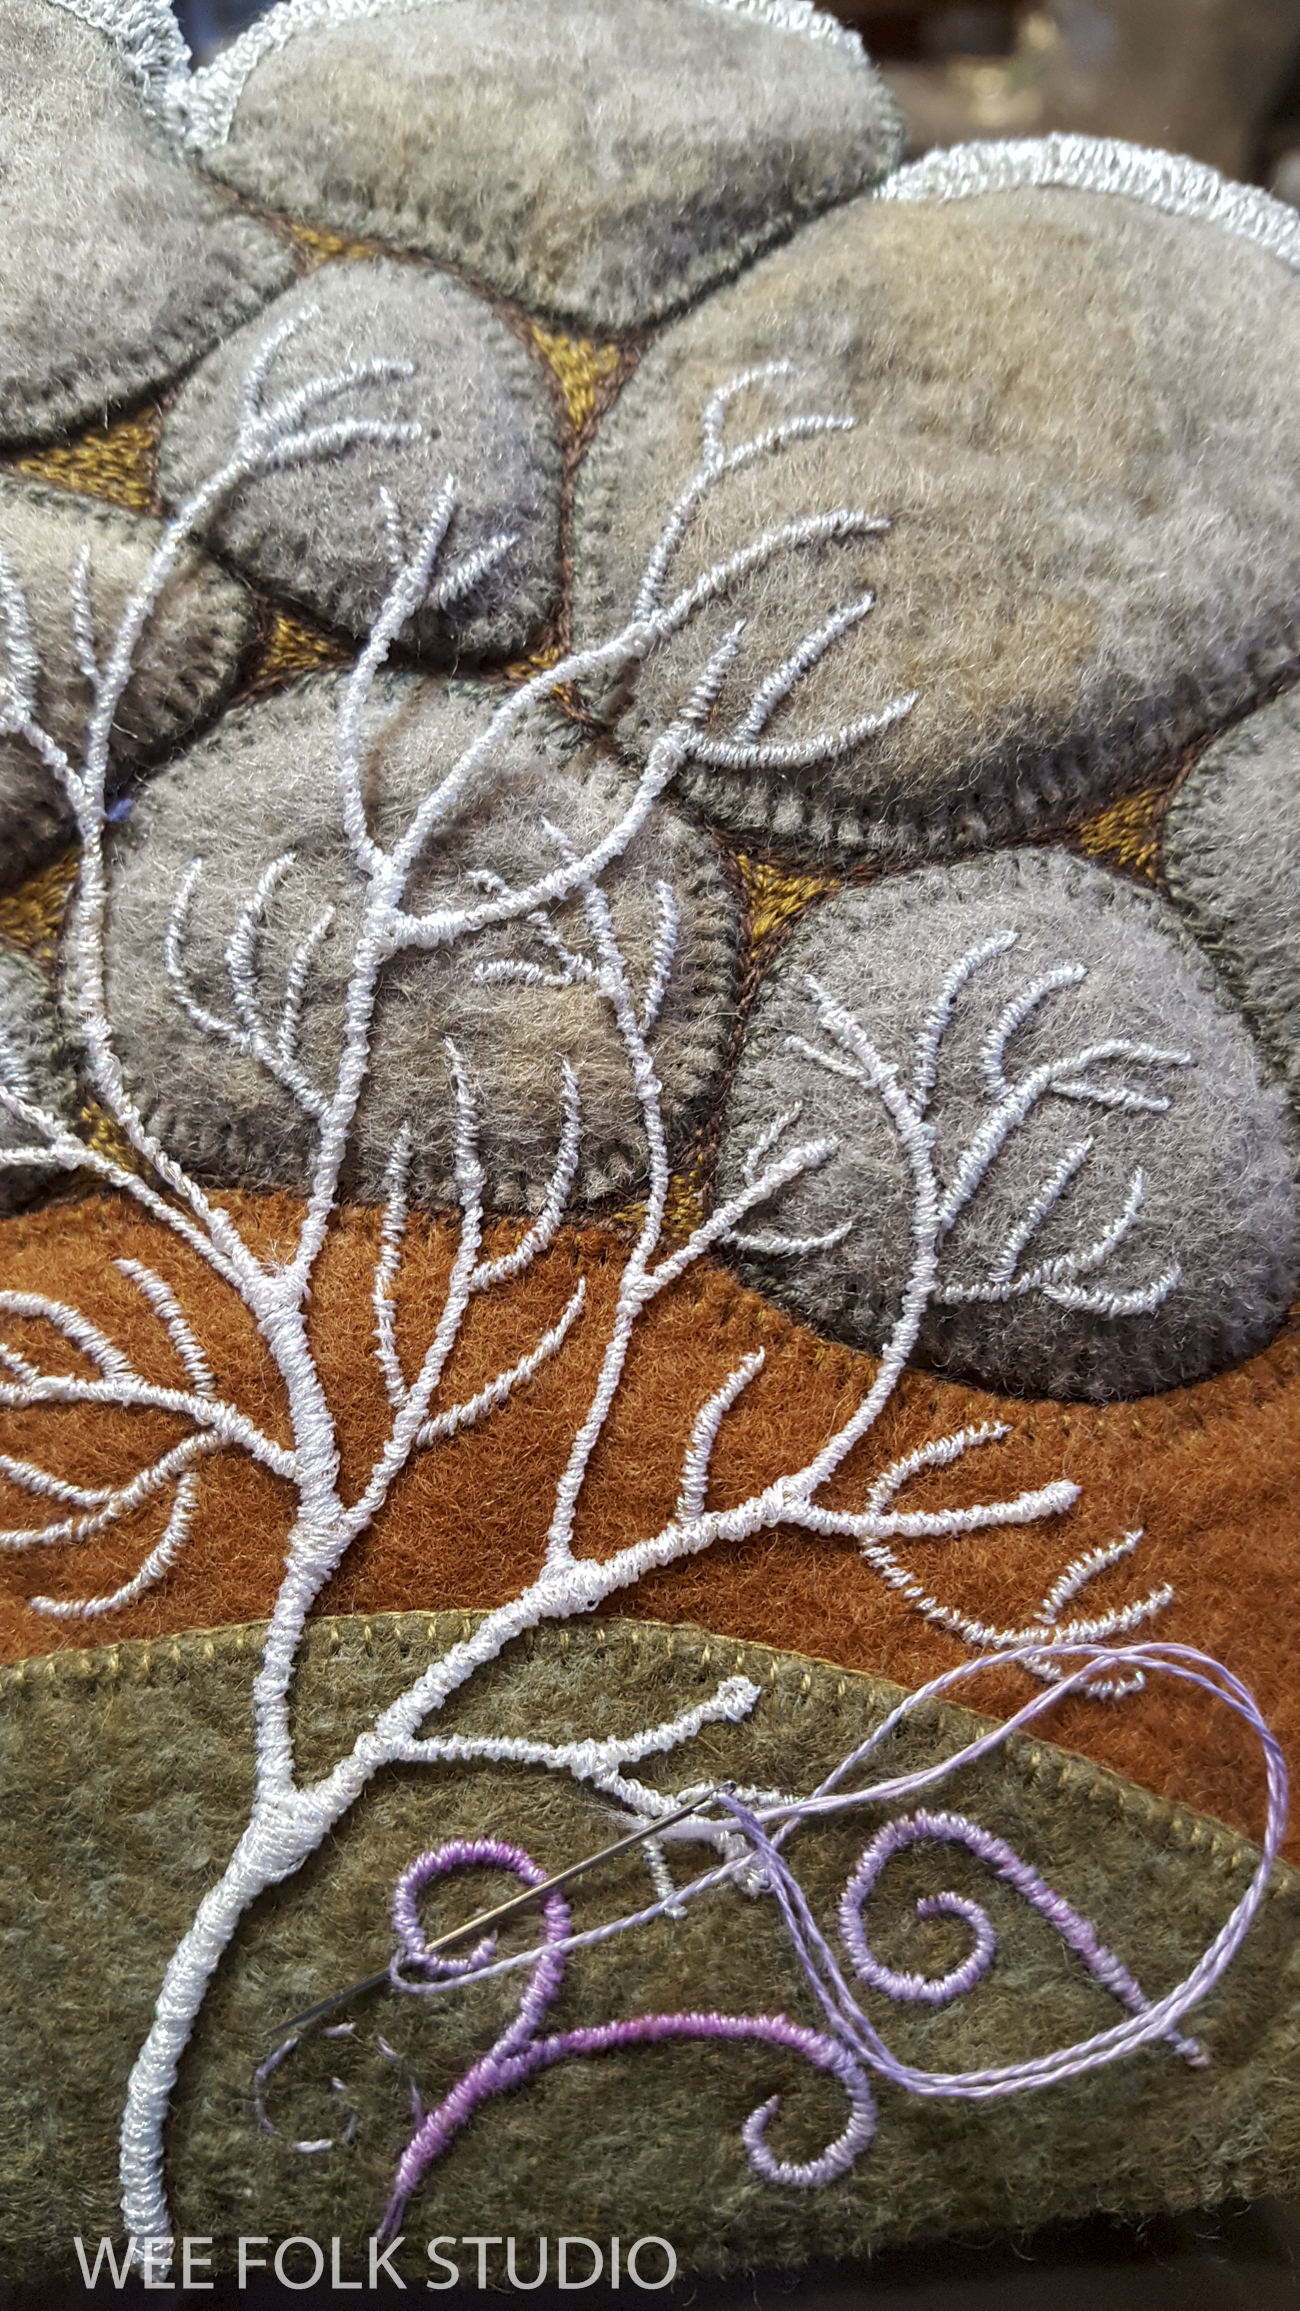
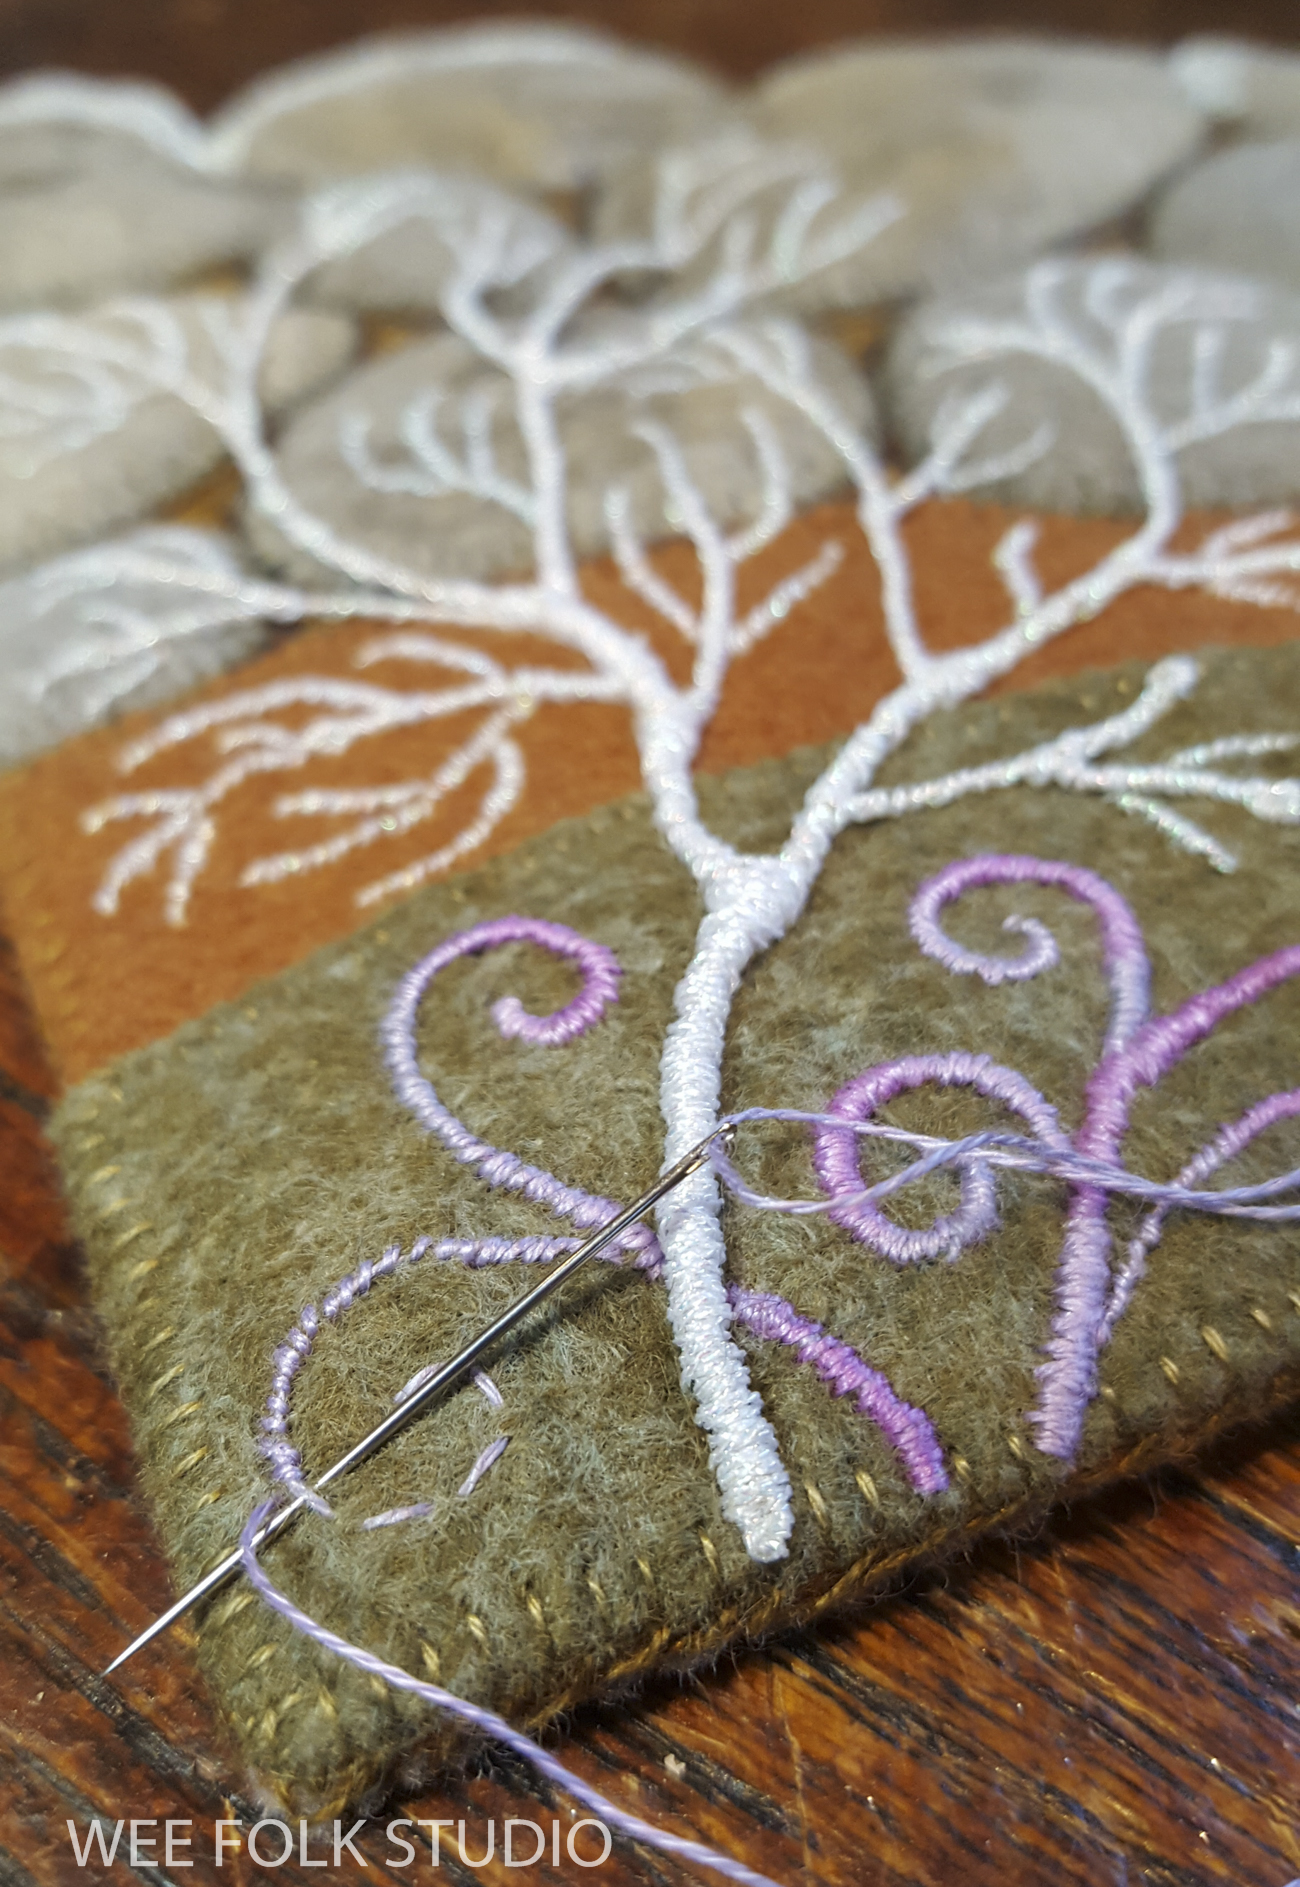
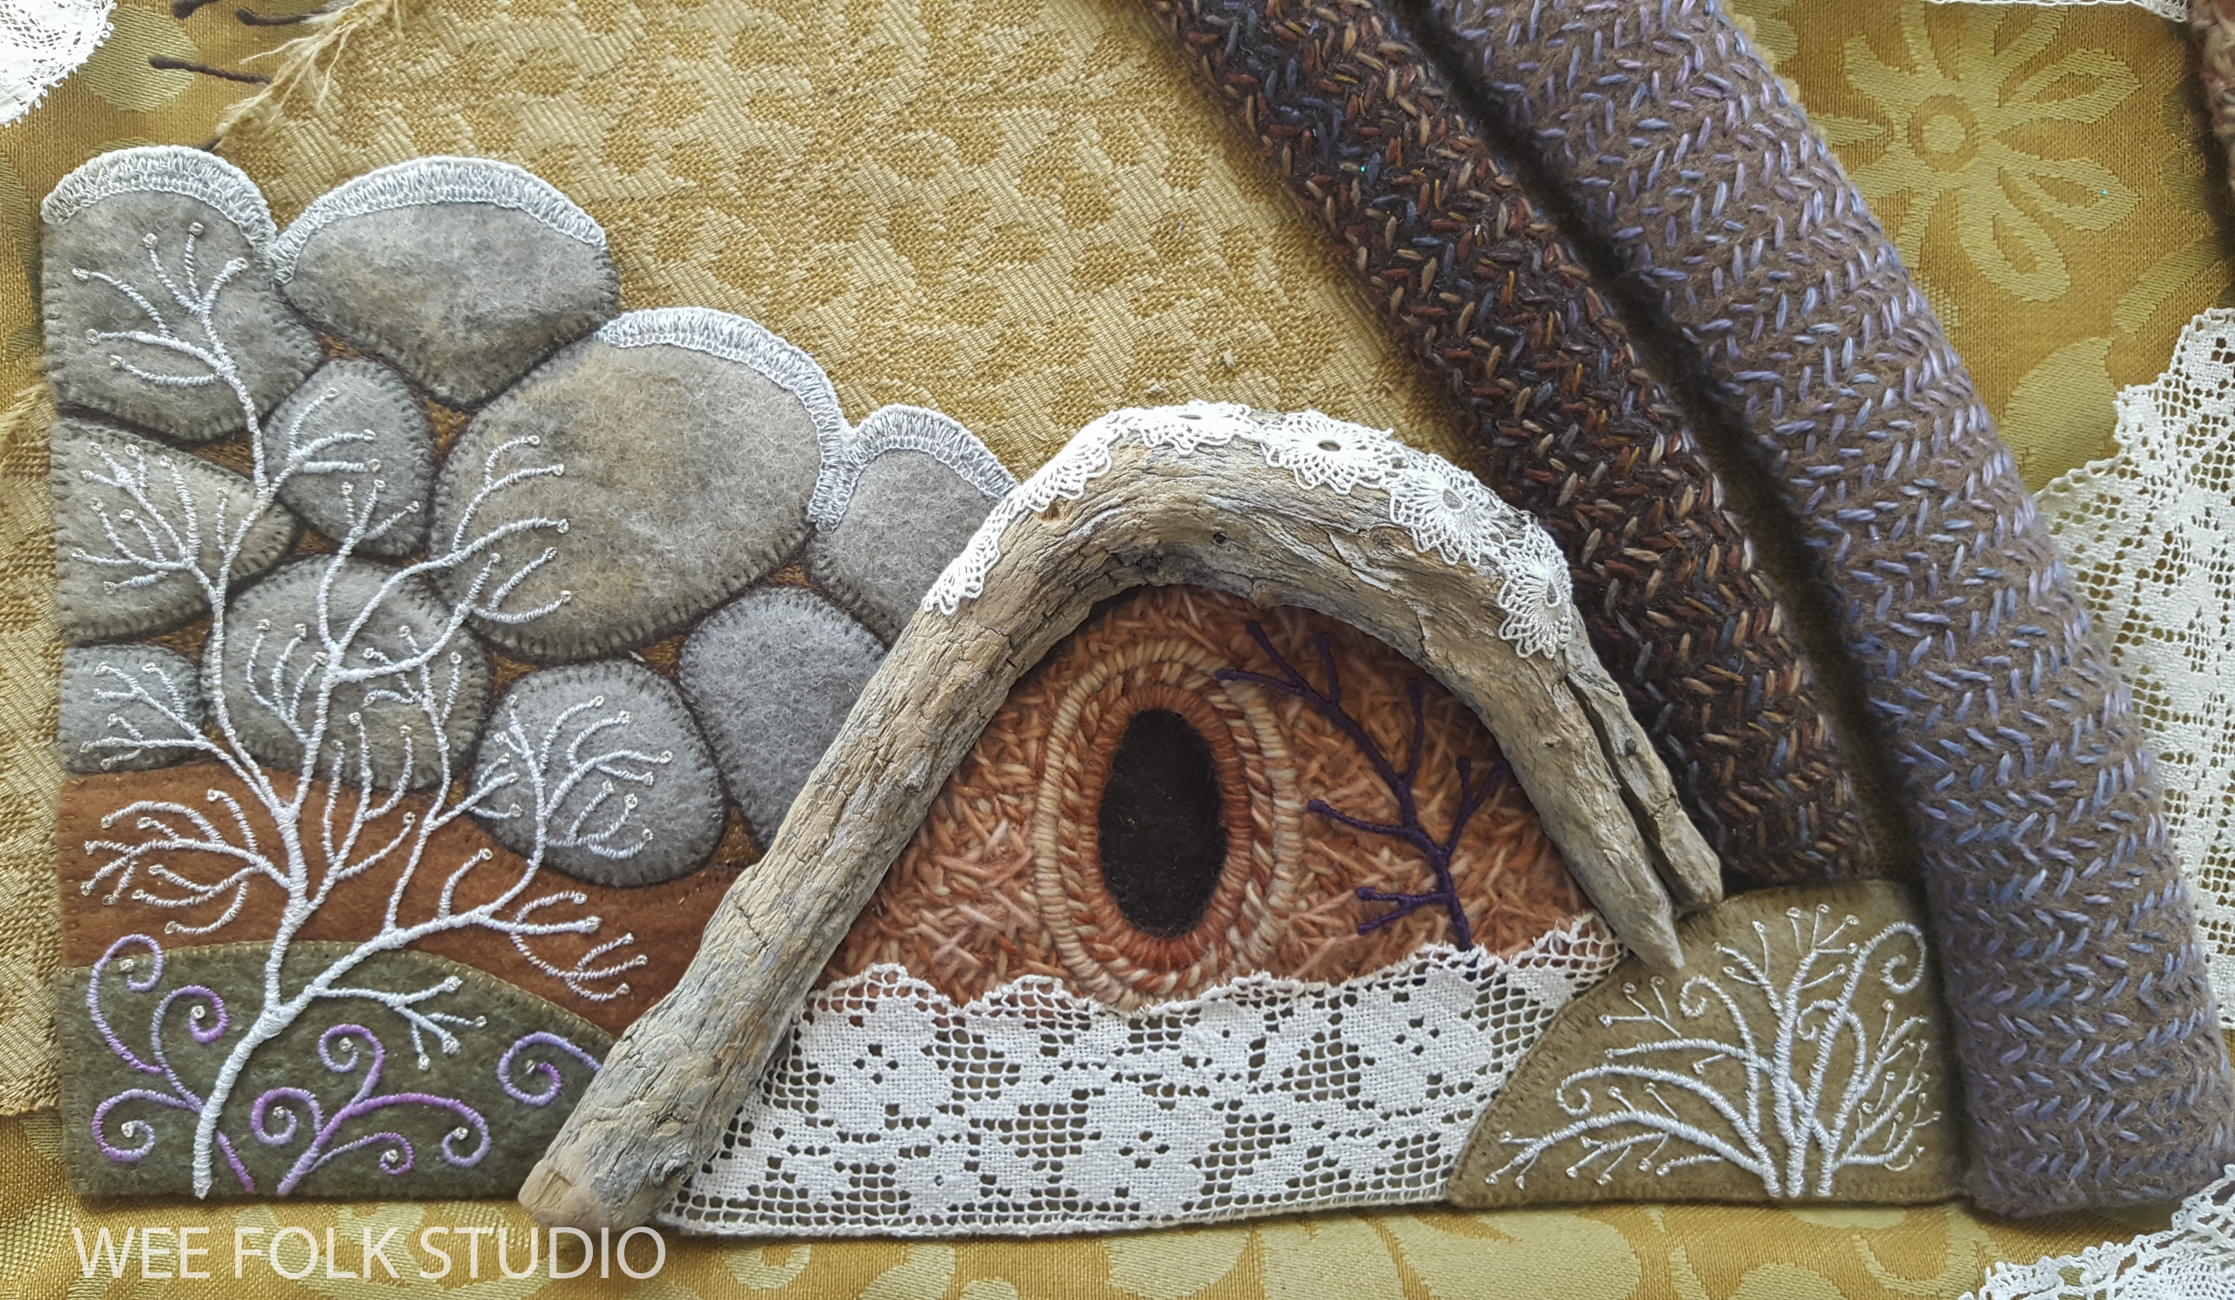
I made a border frame by padding and covering a wooden stretcher with upholstery fabric. I then hand sewed the layered background fabrics to the back of the stretcher, making it as taught as possible. After that, I sewed the different landscape sections to the background surface, starting with the lace snow cover, stone wall and driftwood house and ending with the trees.
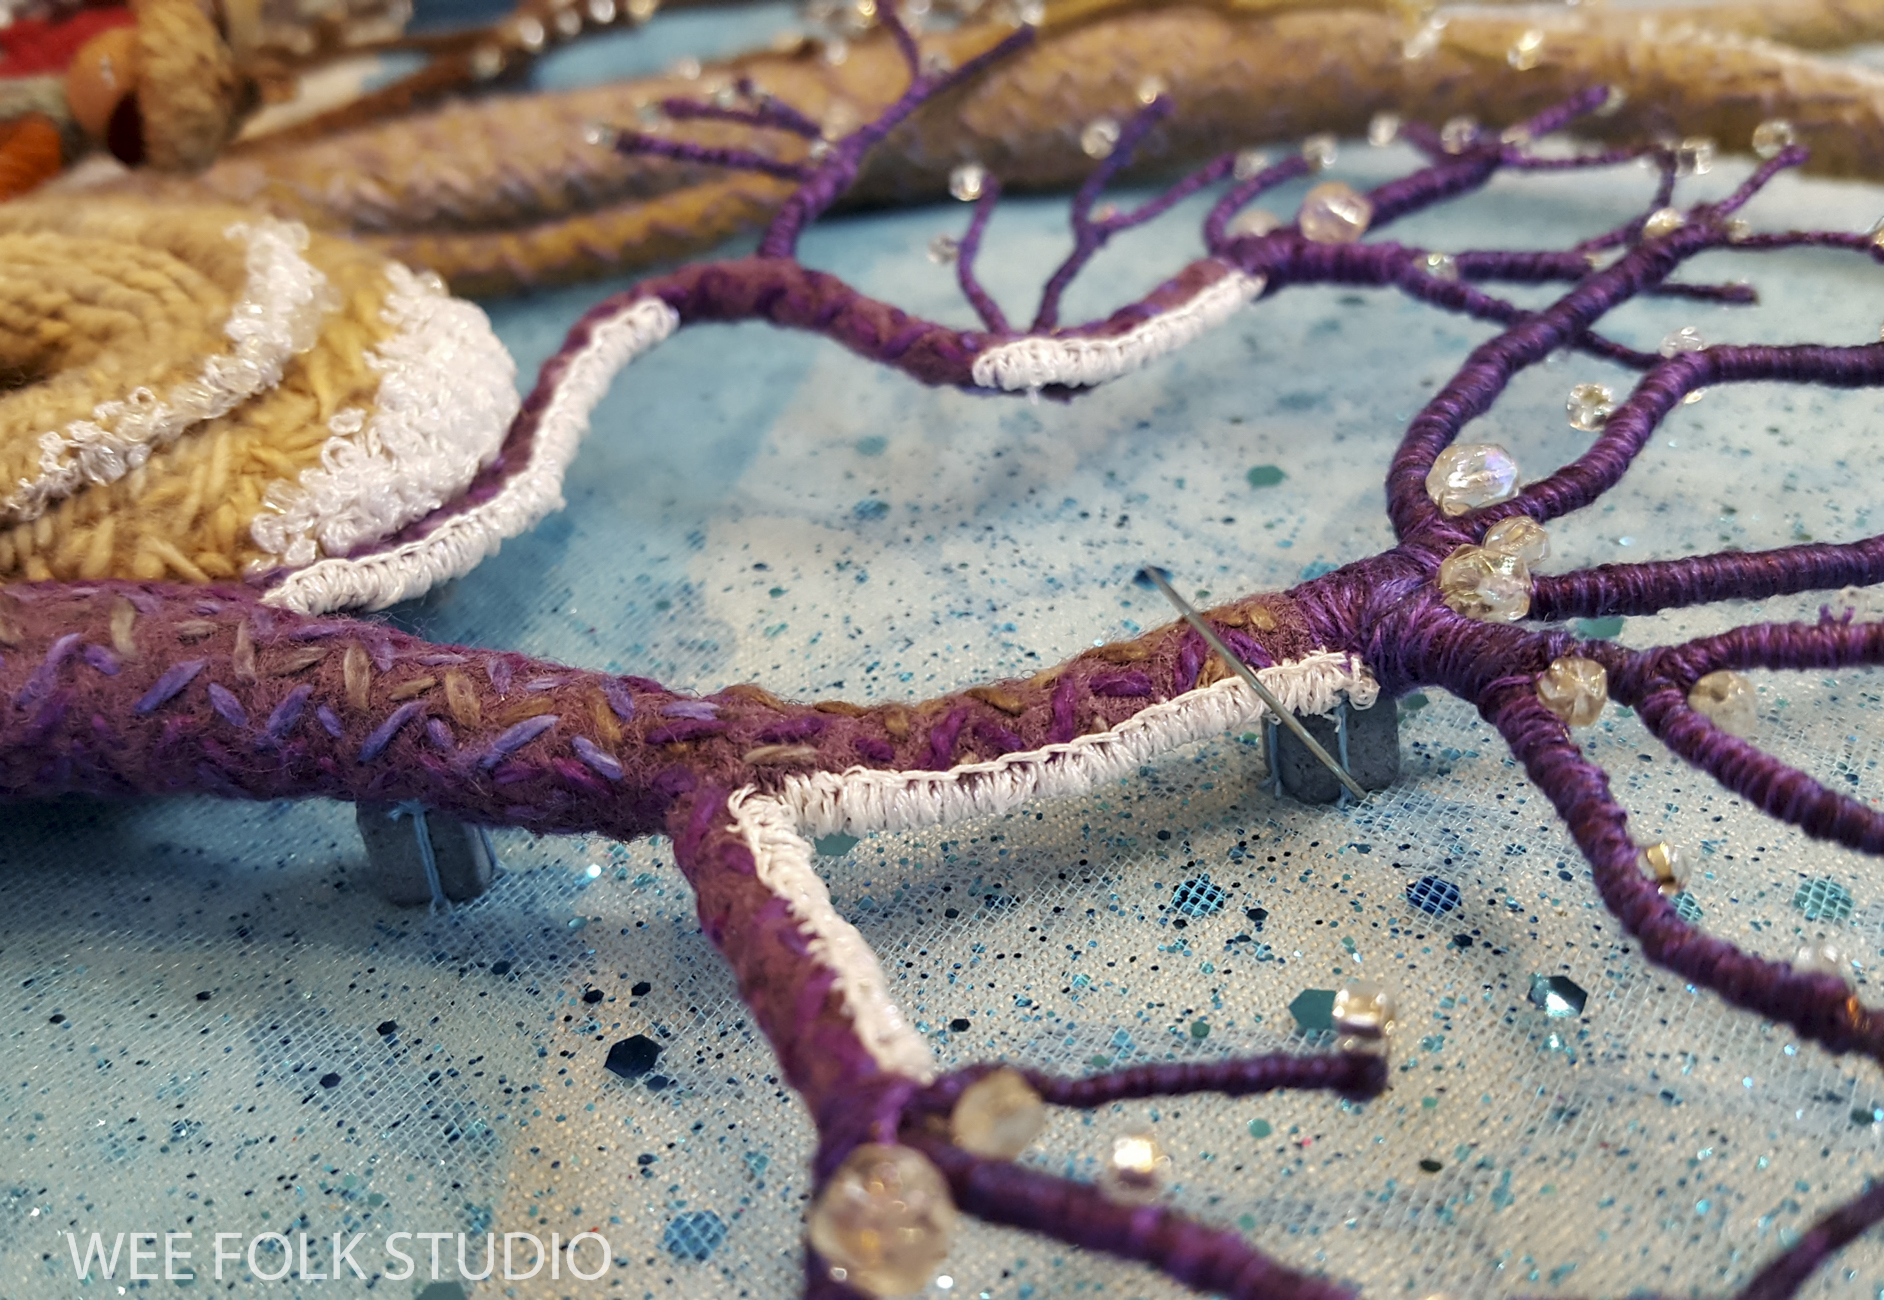
To help prop up the tree limbs, I sewed beads to the back and stitched them to the background fabric.
I hope that you’ve enjoyed this close look at the process of making Frosty Morning. When the Spring scene is finished, I’ll write about it as well.
Part 1 shows how I made the tree trunks.
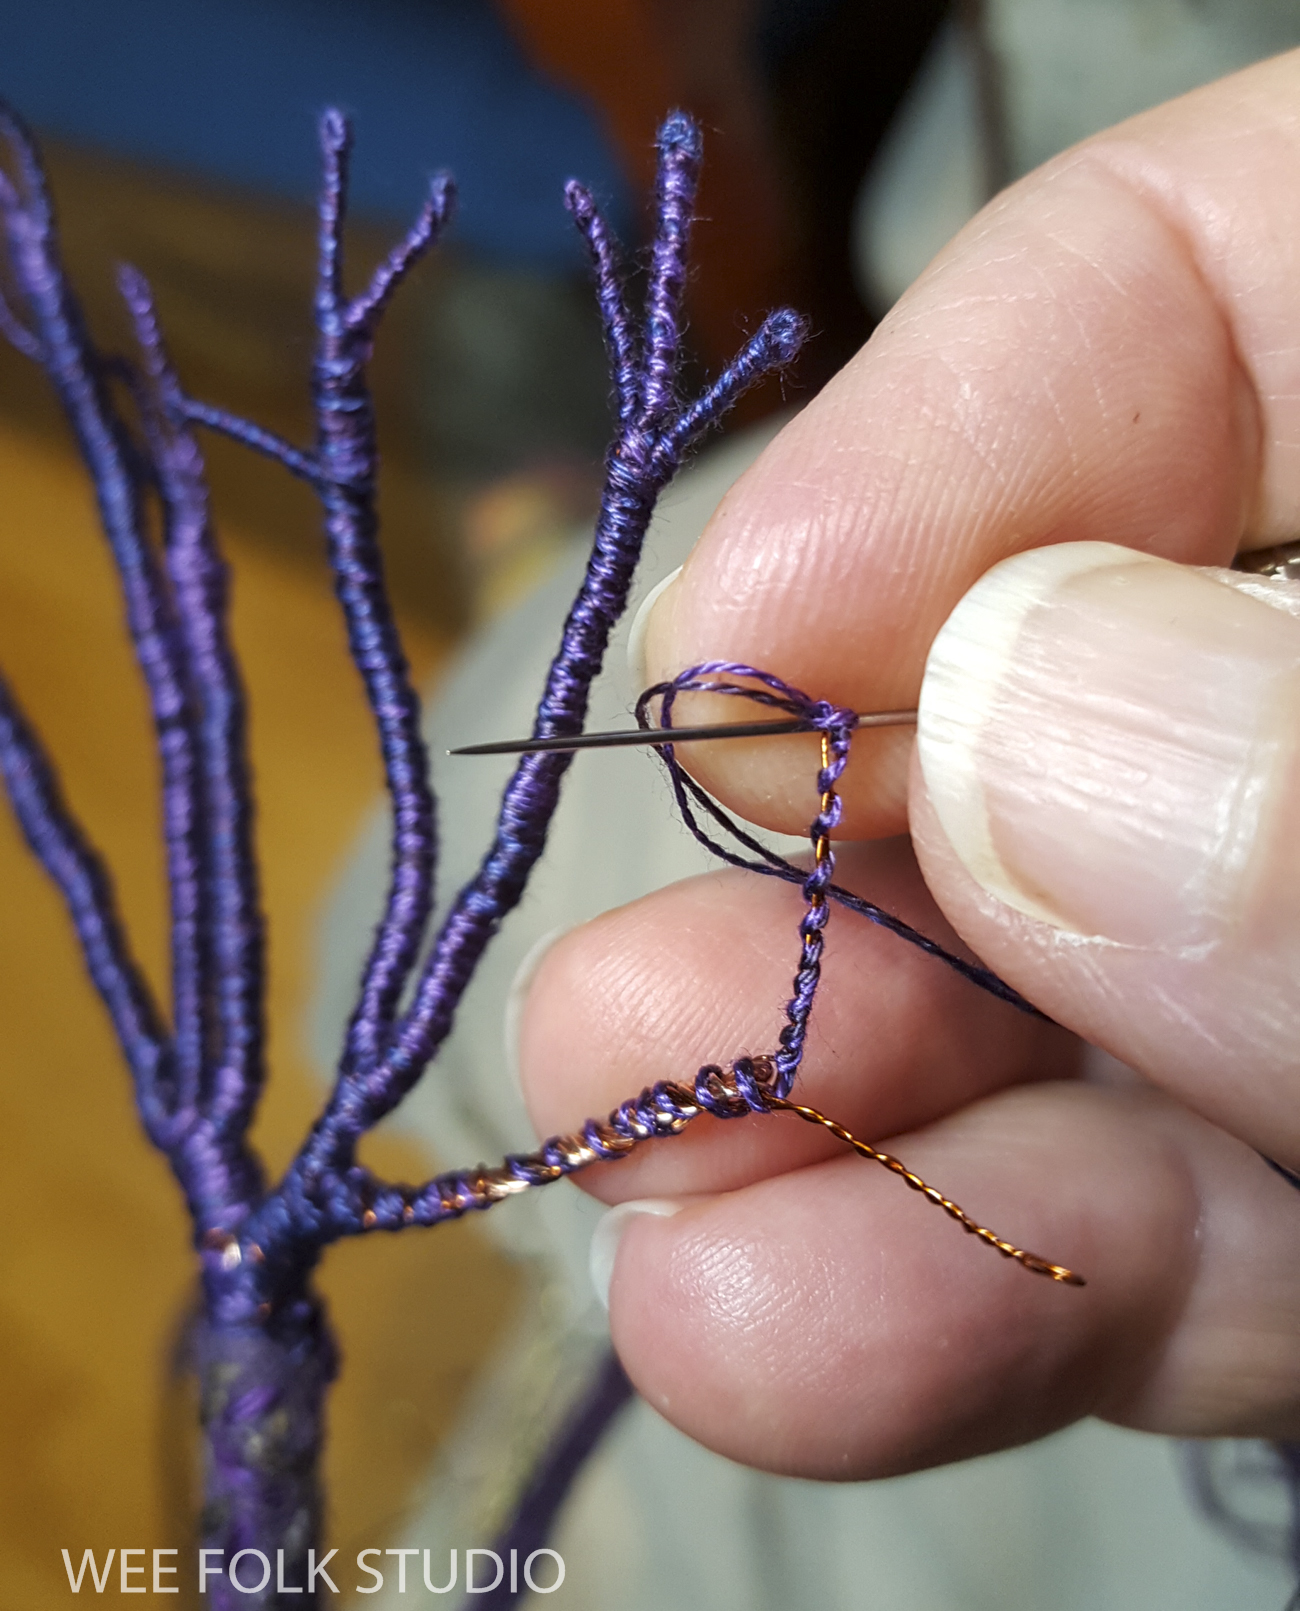
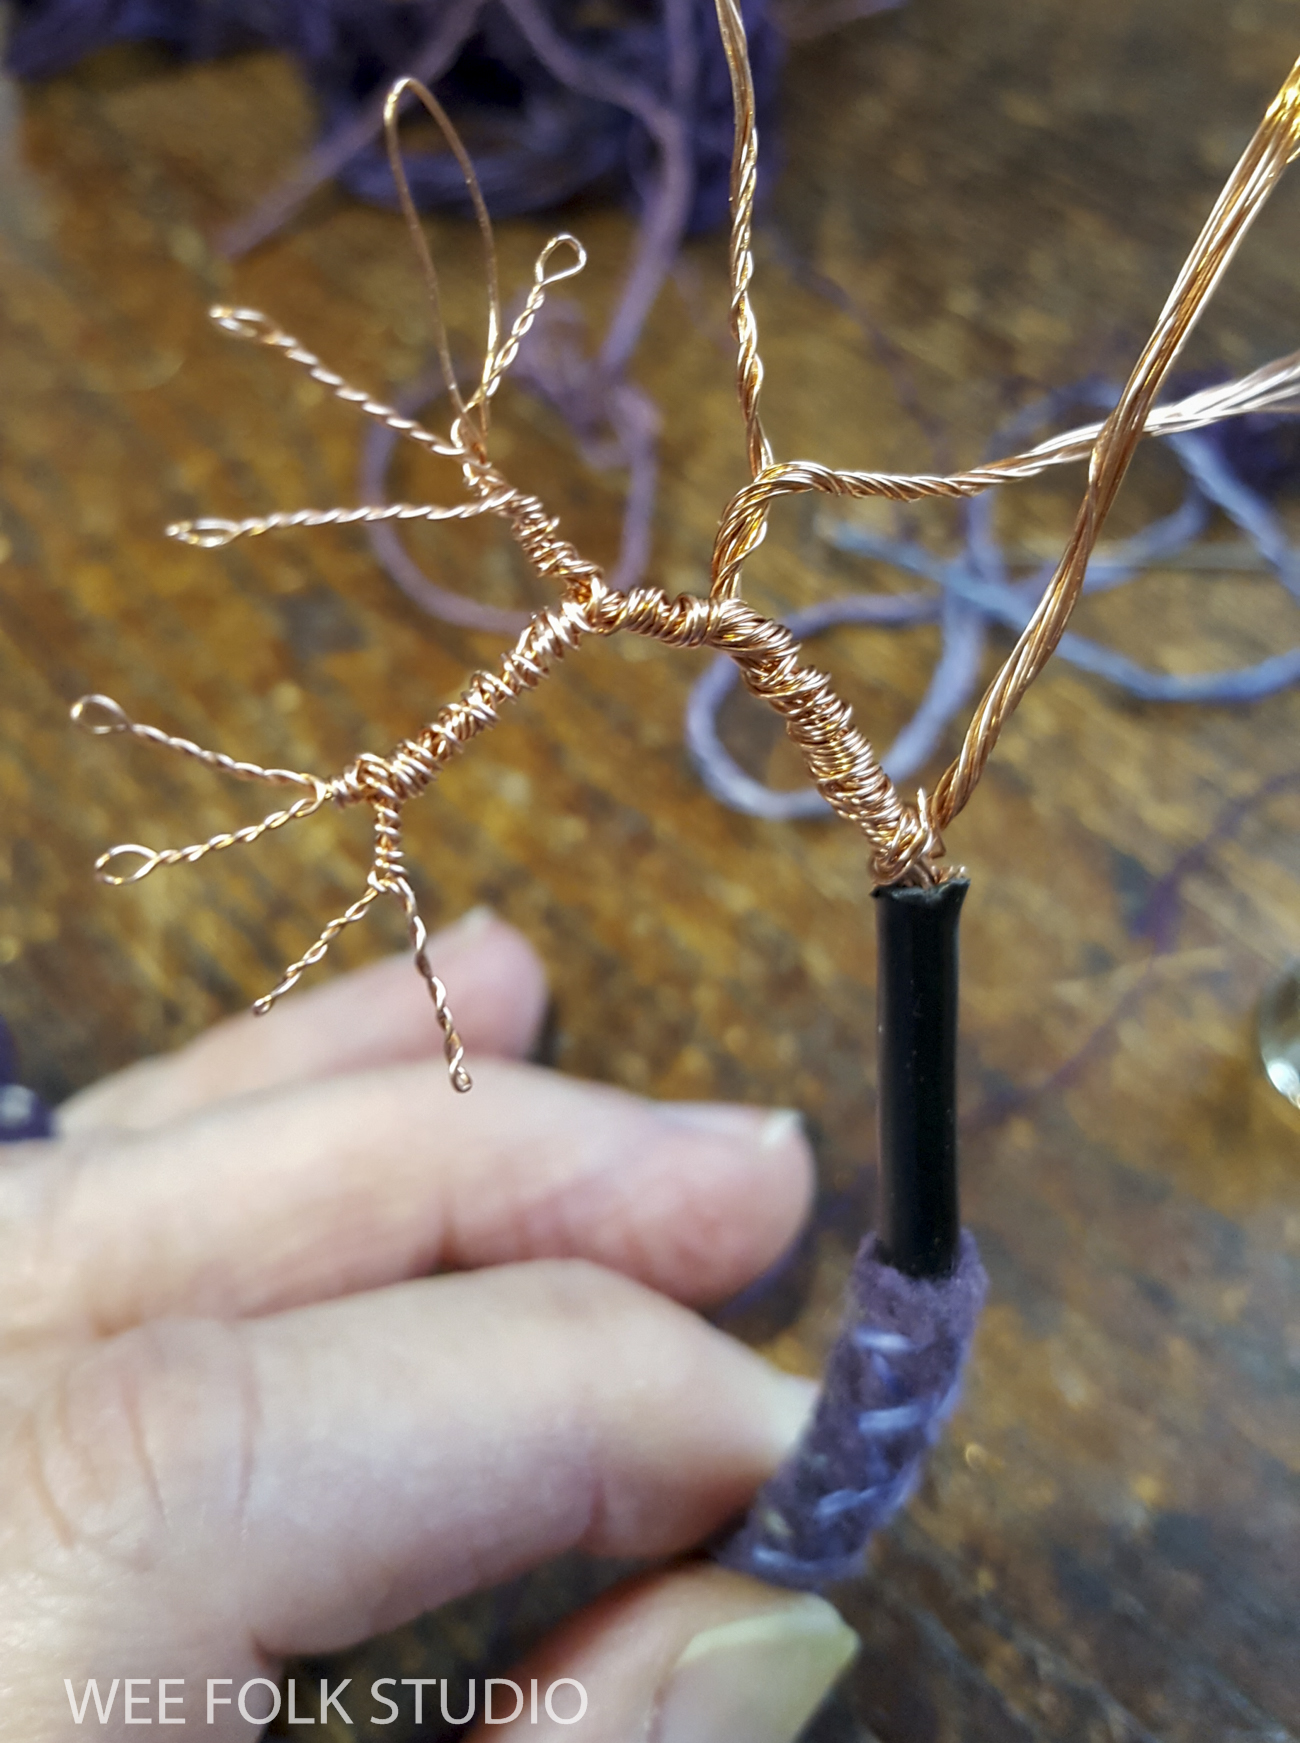
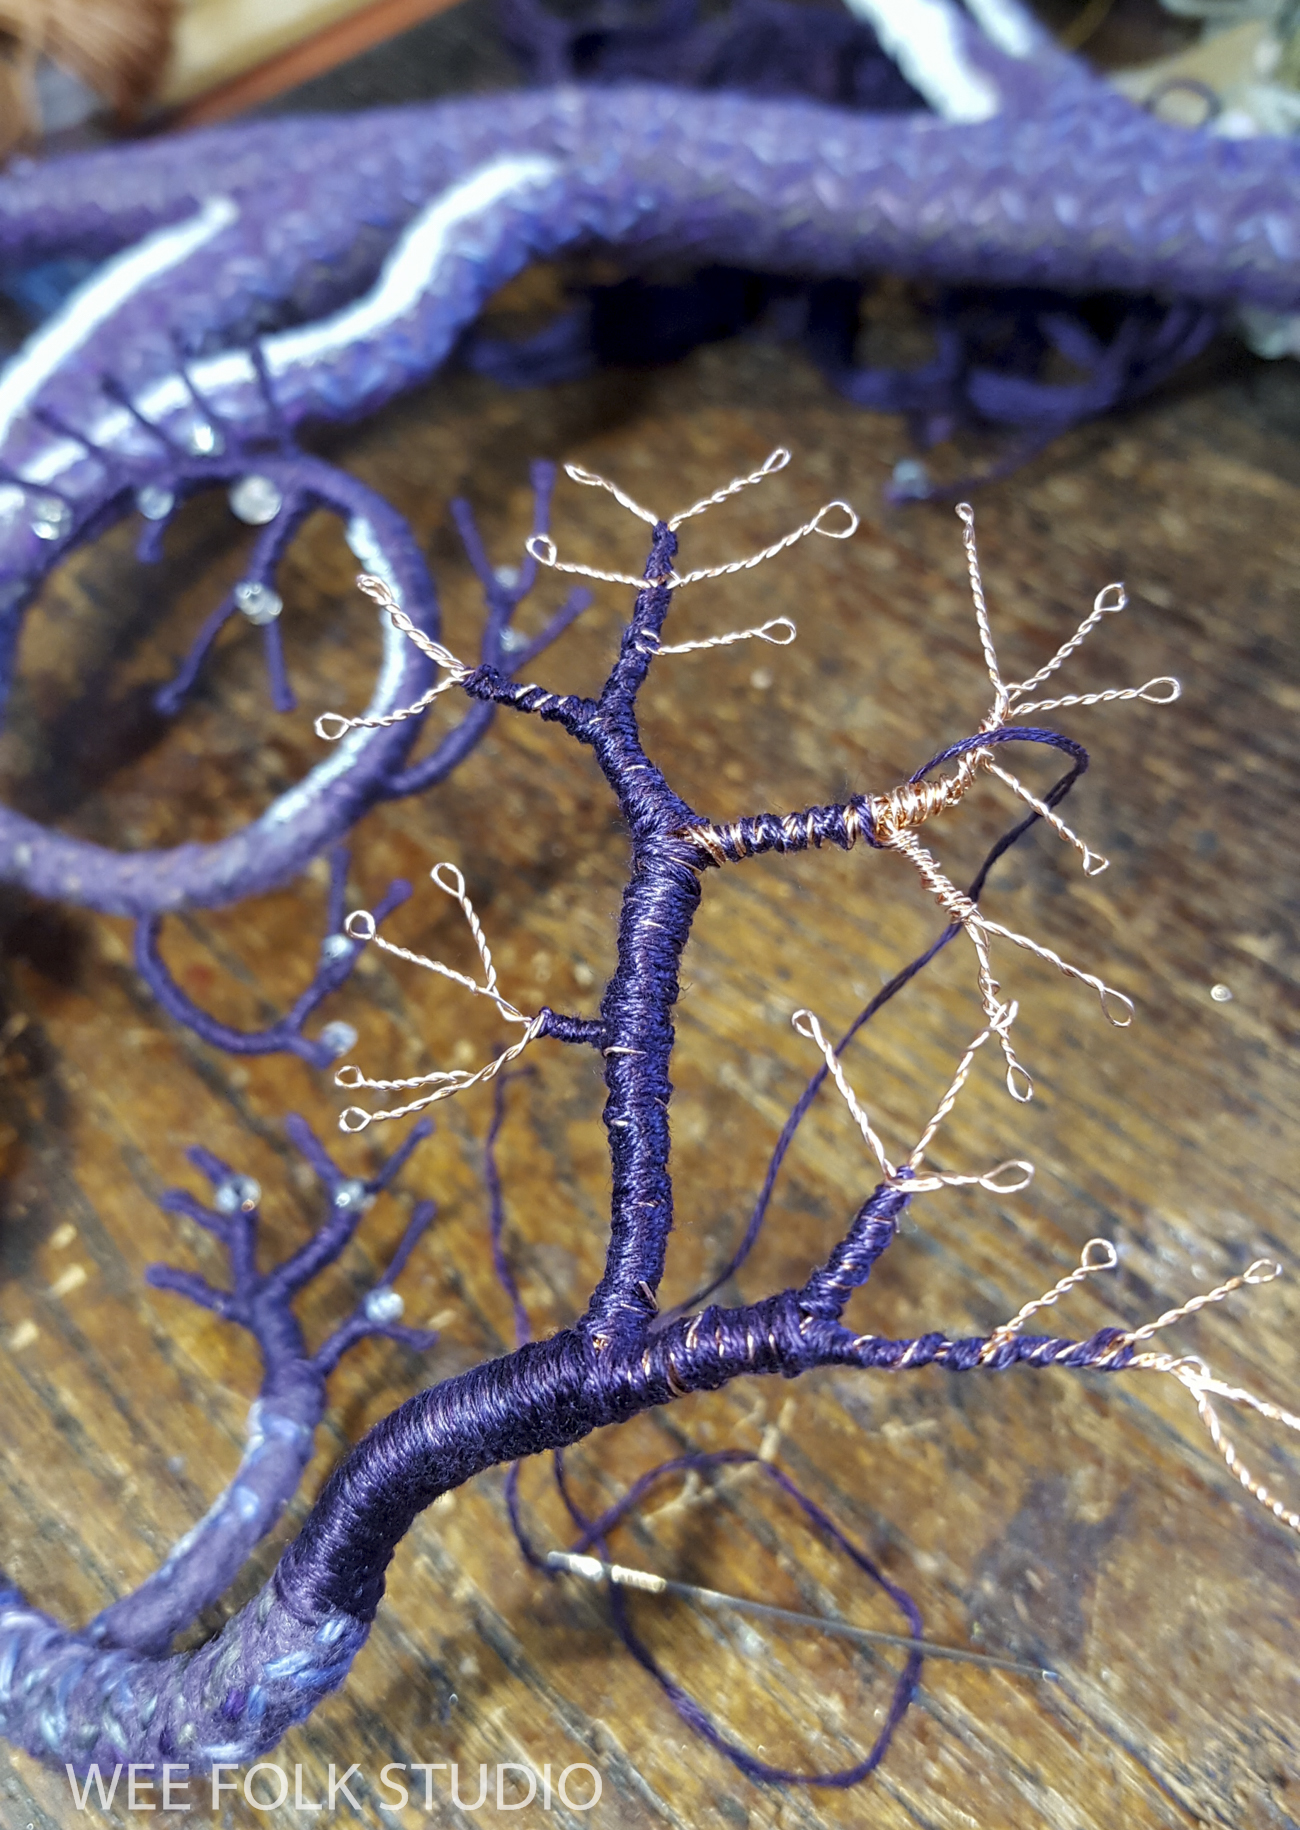
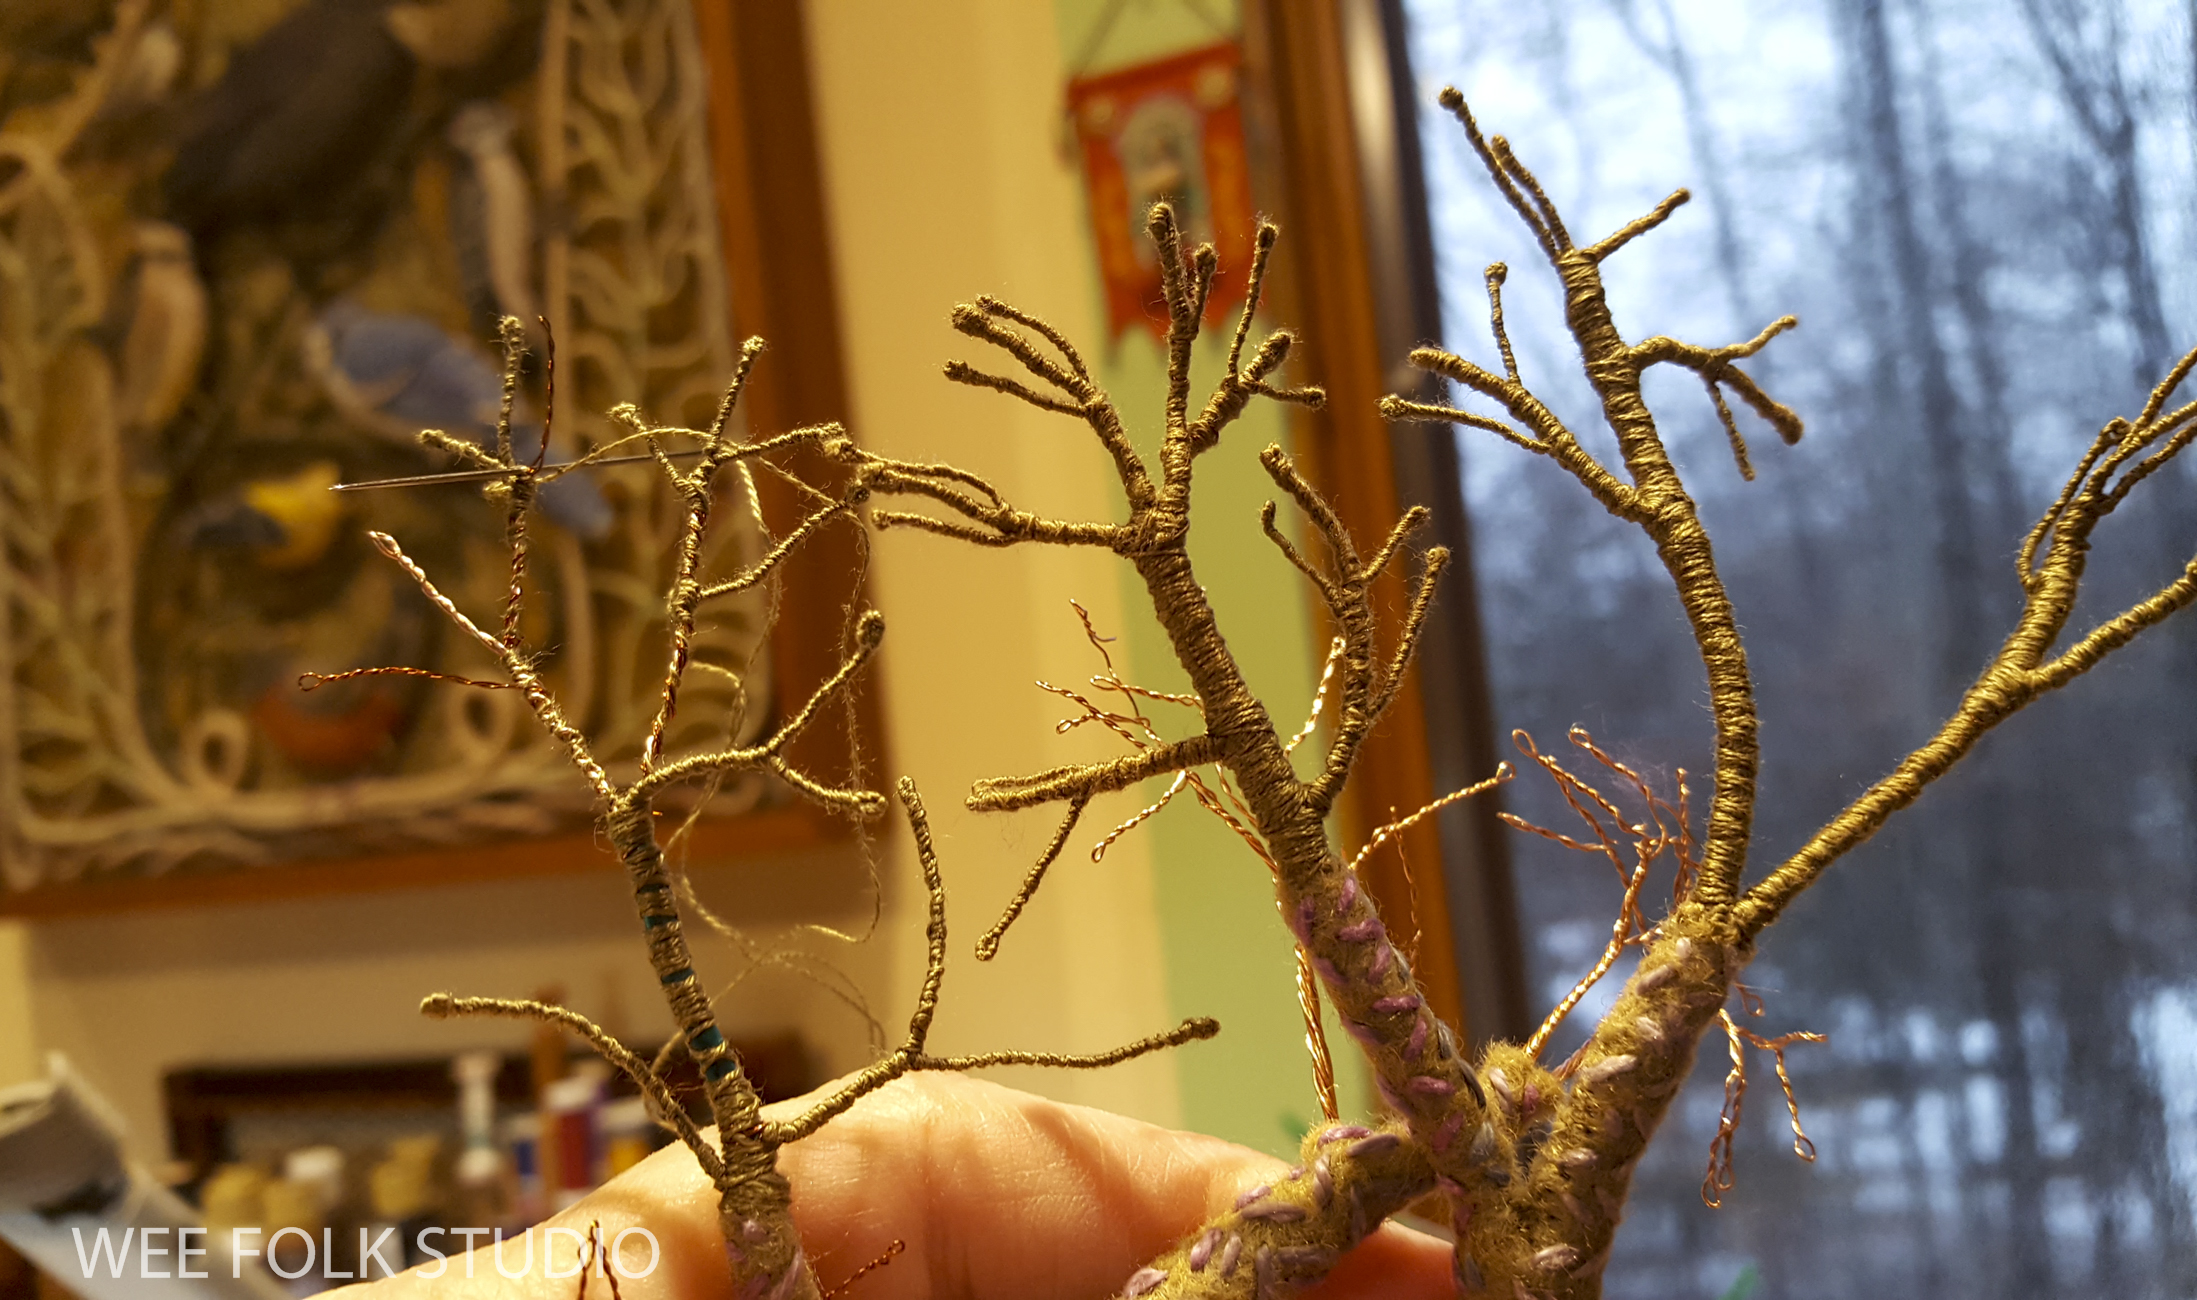
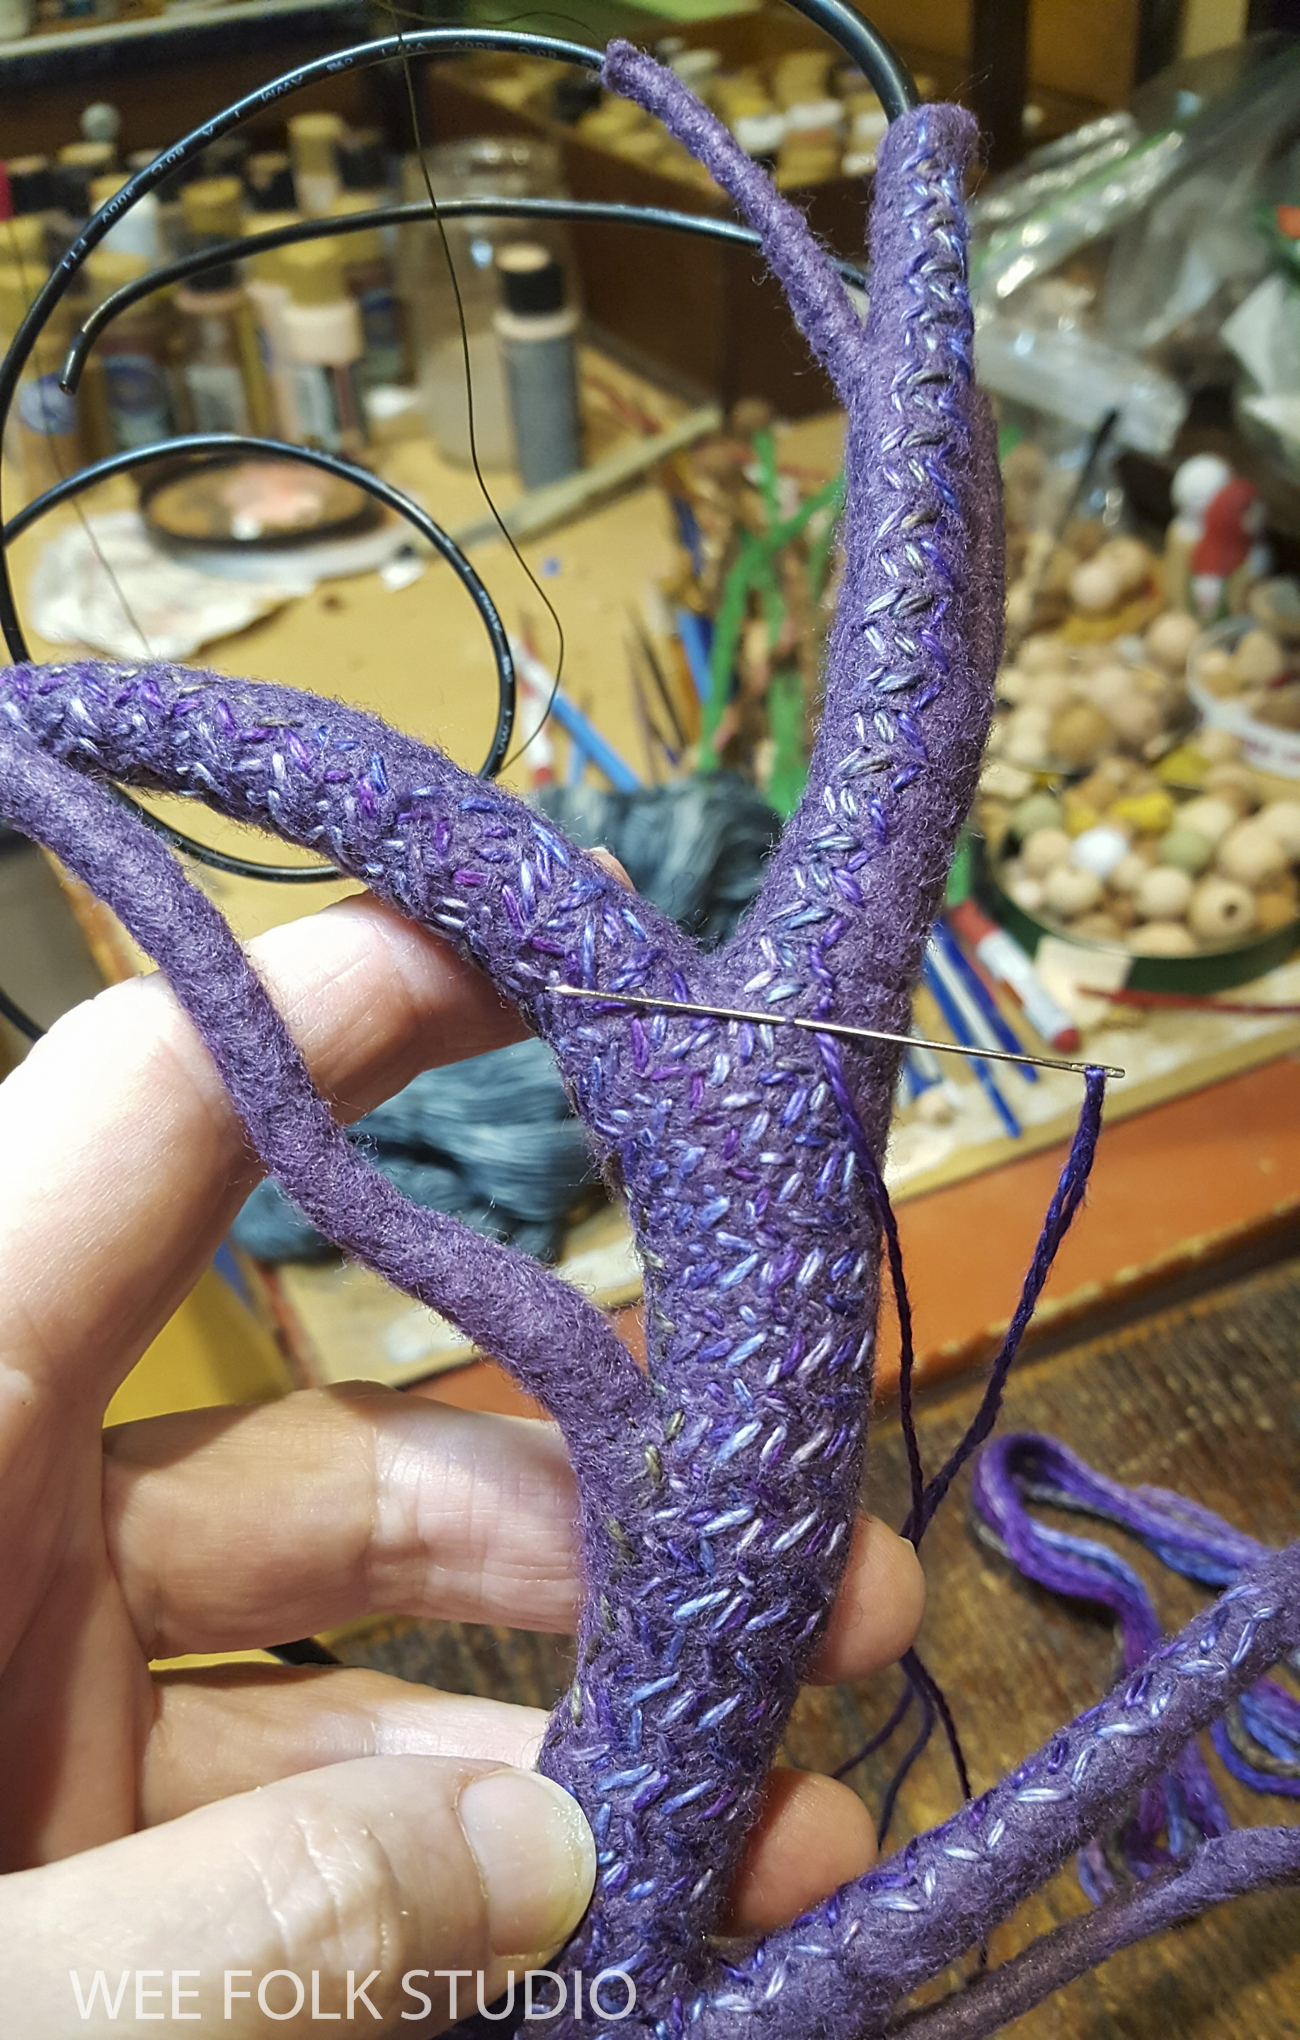
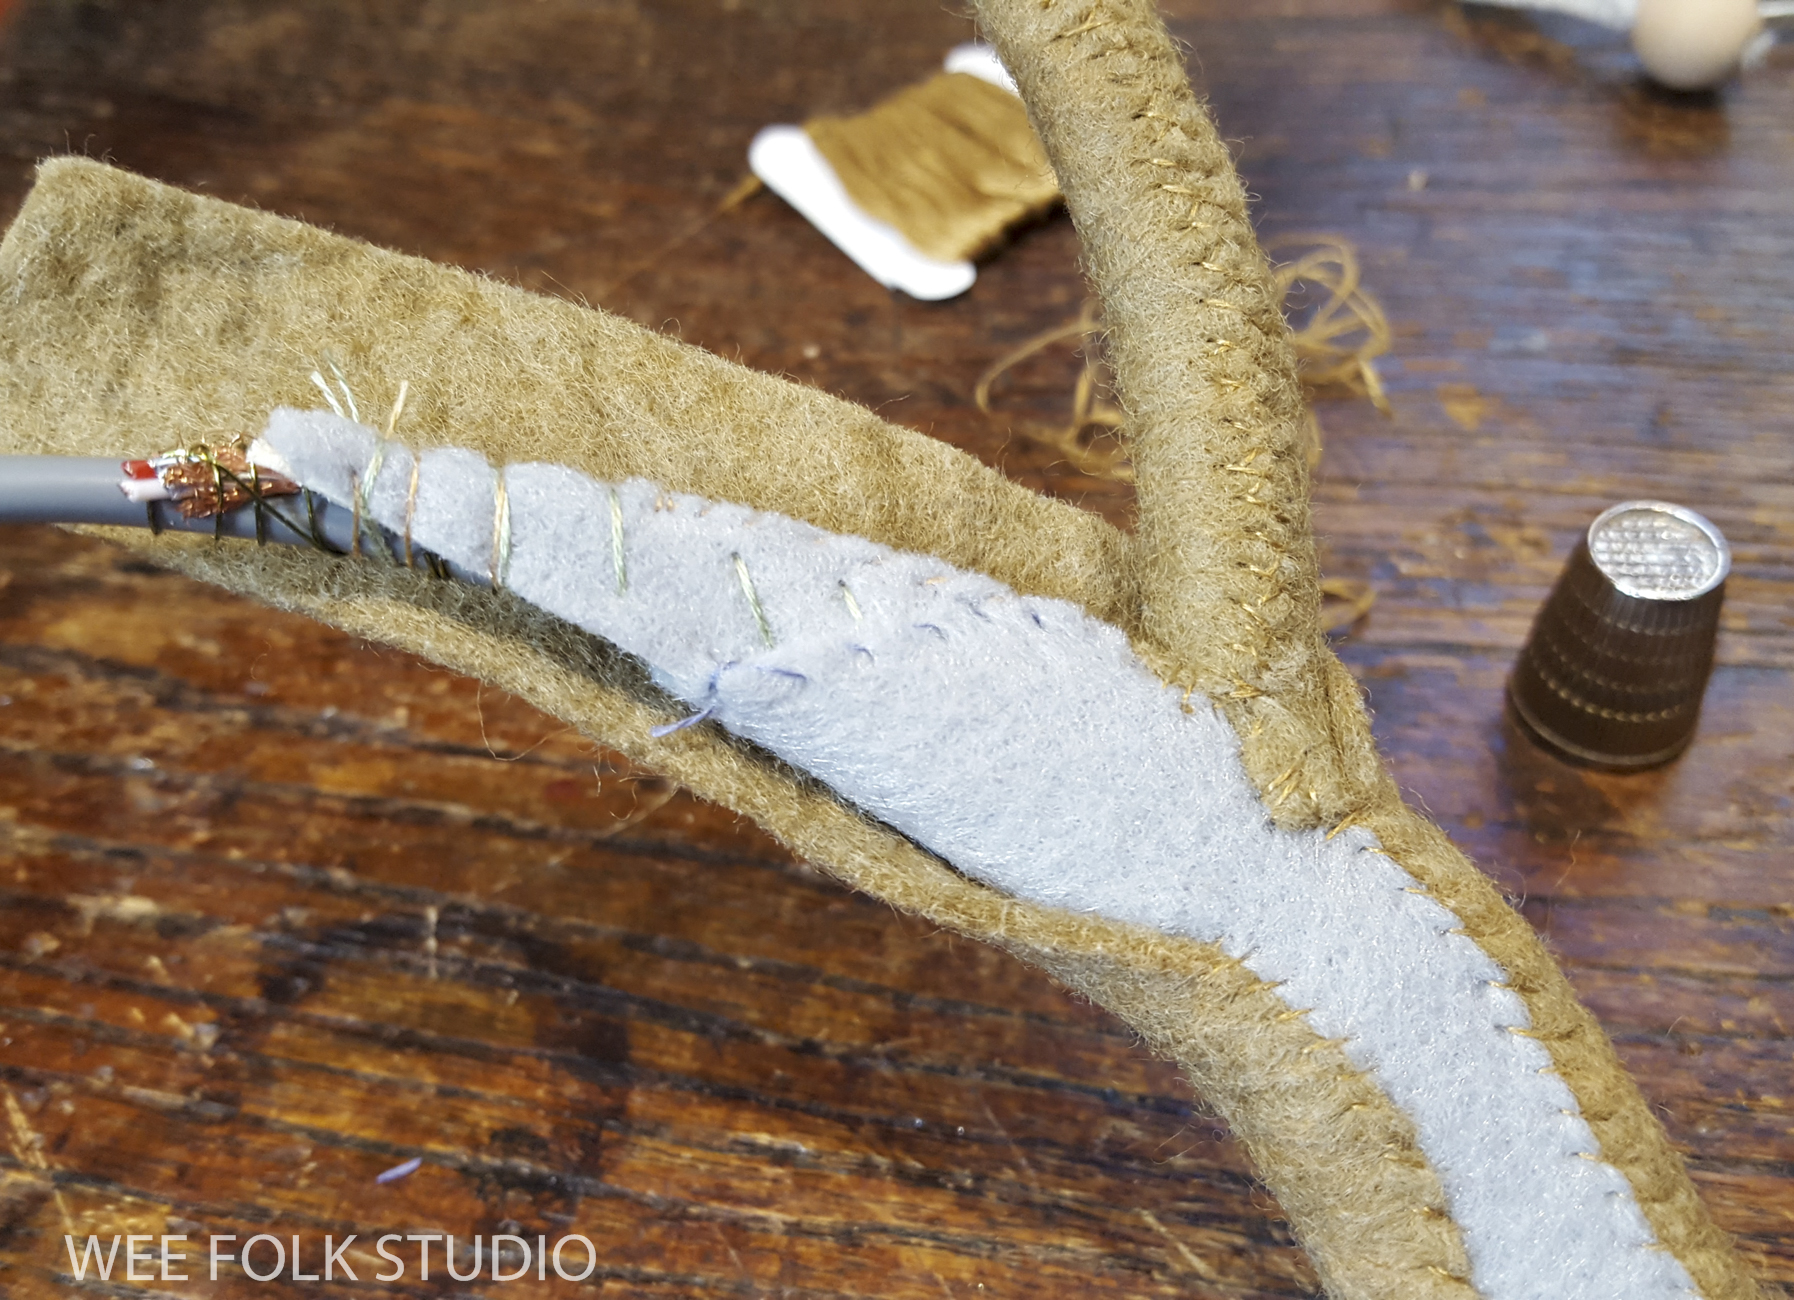
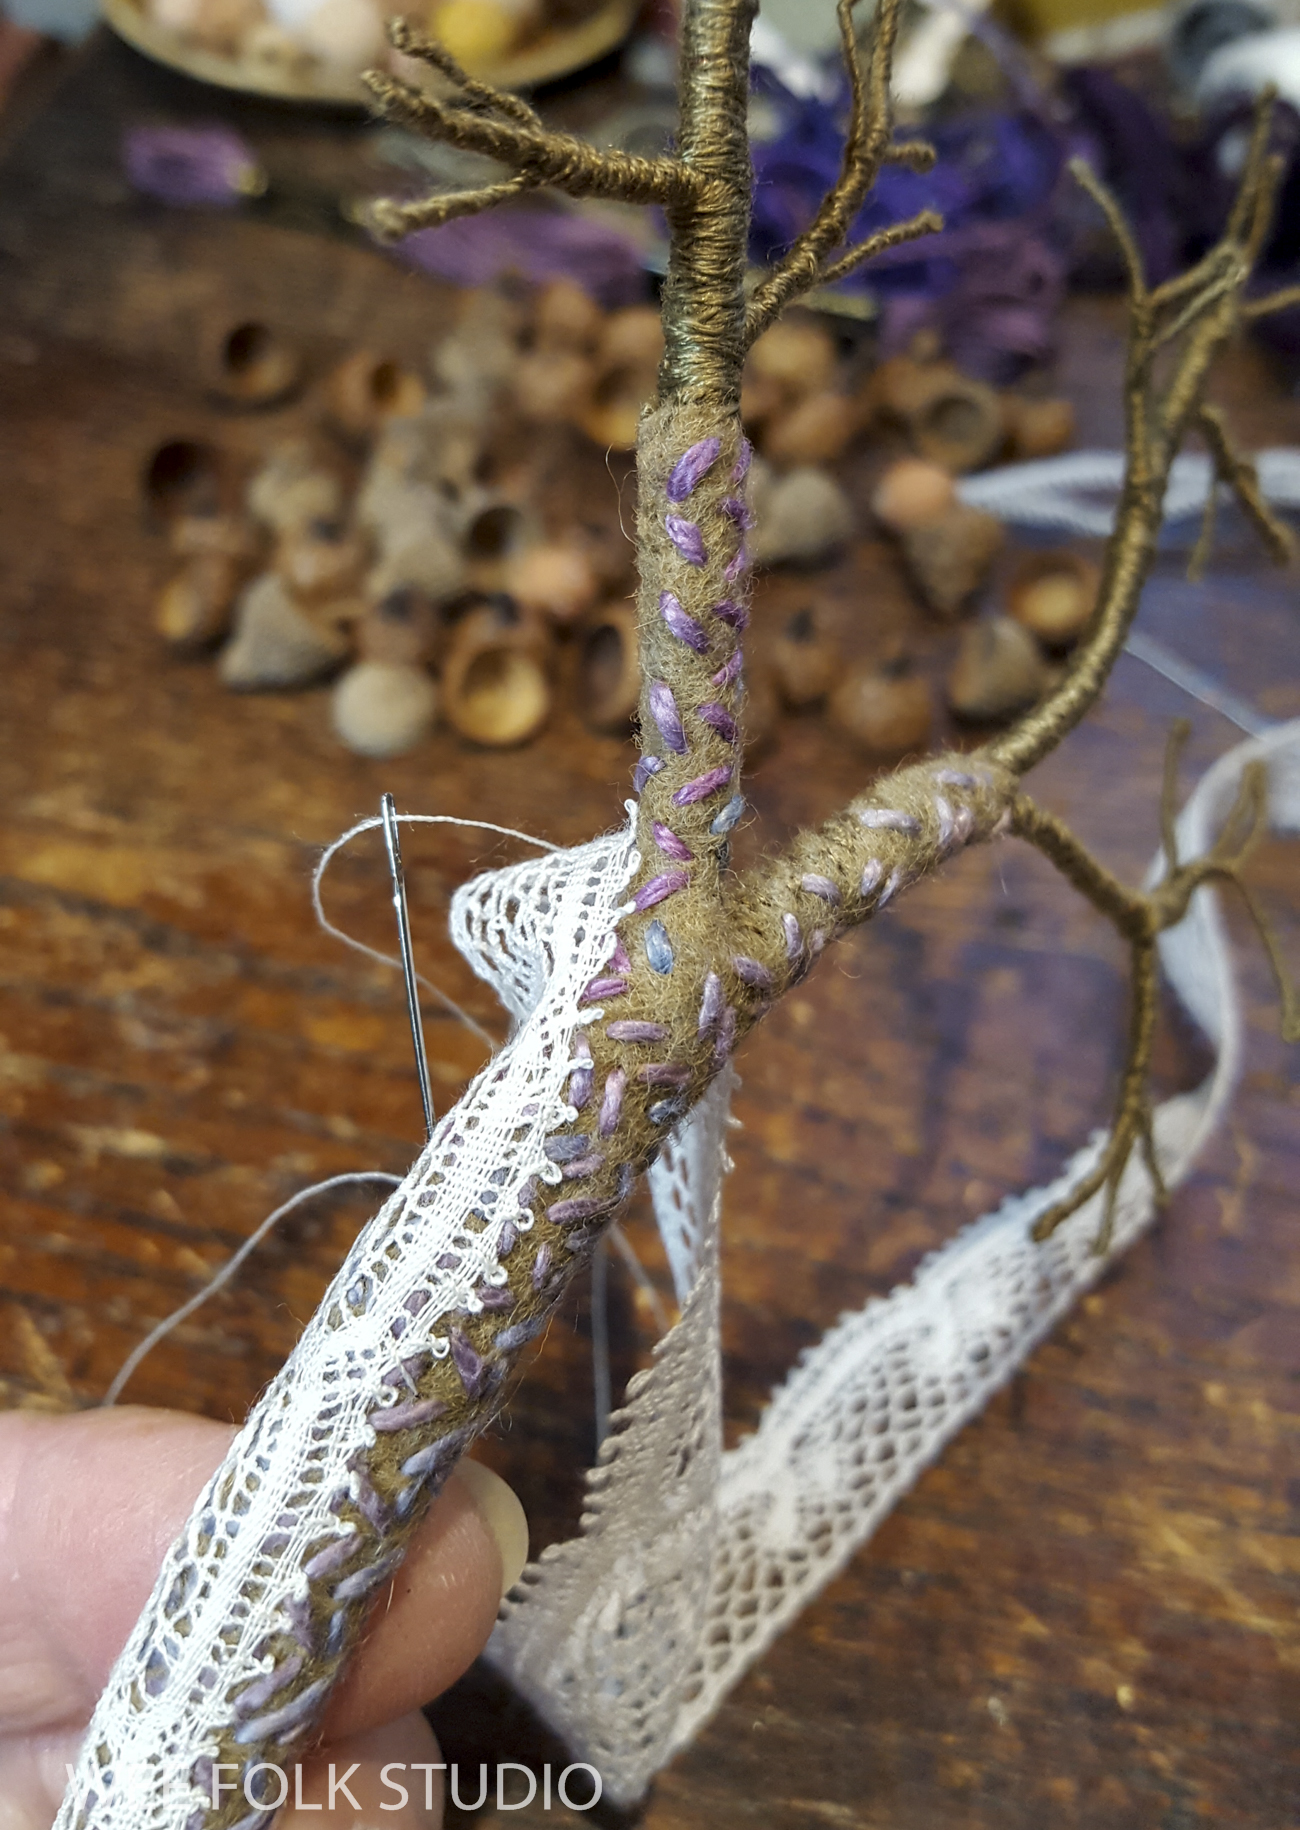
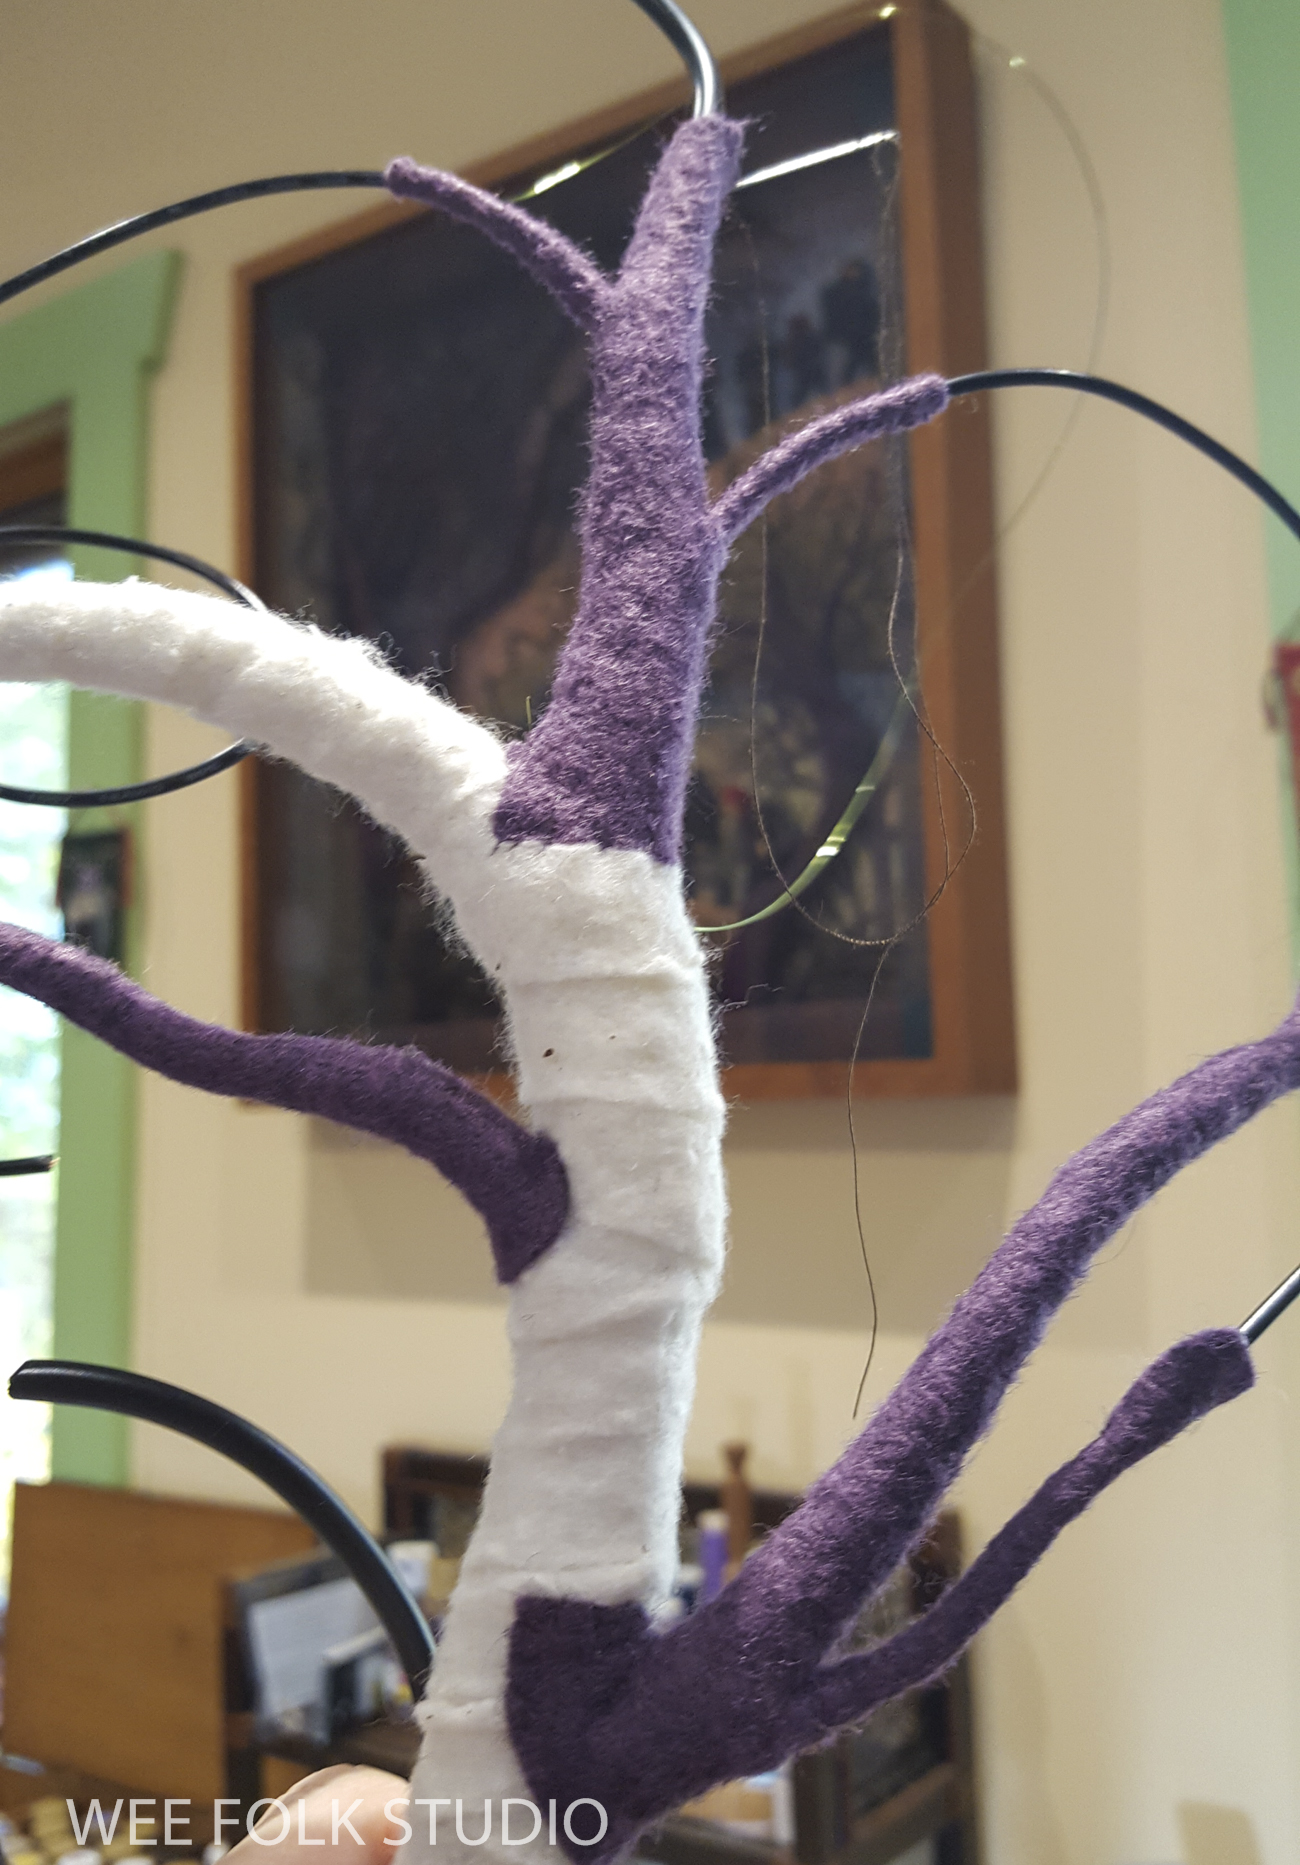
Part 2 gives a close look at how I formed and wrapped the wire tree branches. Part 3 is about constructing the rounded shelters.
Part 4 is about making the stone wall and the ice covered bush in front of it.
Part 5 is about adding sparkle to the scene.

To keep up with new posts, subscribe to this blog. If you’d like to see more frequent photos tracking the projects in my studio, please follow me on Facebook and/or Instagram.