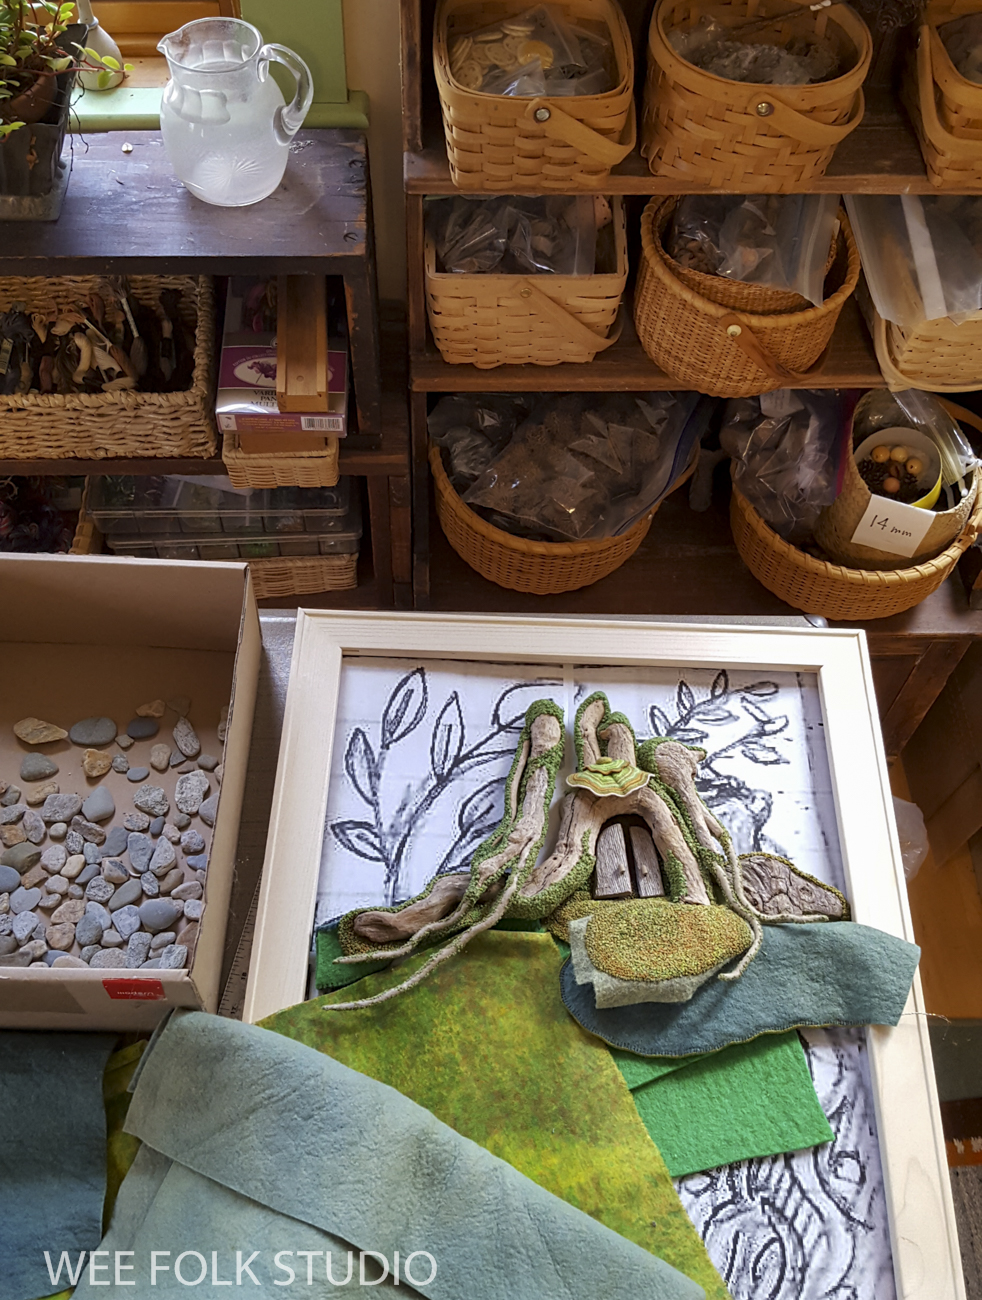
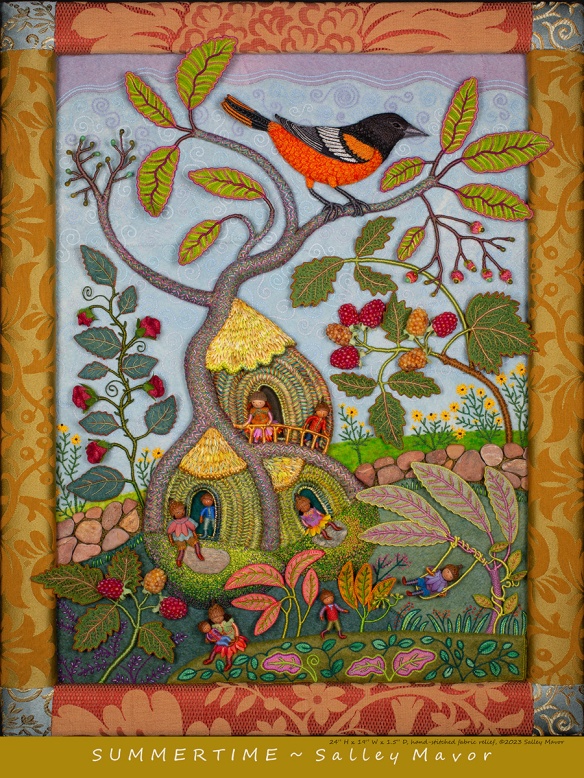
Part 4 in the series of posts about making my piece Summertime features photos and videos documenting the process of creating the Baltimore Oriole’s body, including its breast, wing and tail.
For a more comprehensive understanding of my process, I encourage you to explore other posts in this series: Overview of the piece, Part 1 – Tree Trunks, Part 2 – Tree Houses, Part 3 – leaves, stems and branches, Part 4 – Baltimore Oriole (body), Part 5 – Baltimore Oriole (head and feet), Part 6 – rose vine, Part 7 – raspberry plants, Part 8 – stitching flora, Part 9 – moss, sky and stone wall, and Part 10 – wee folk.
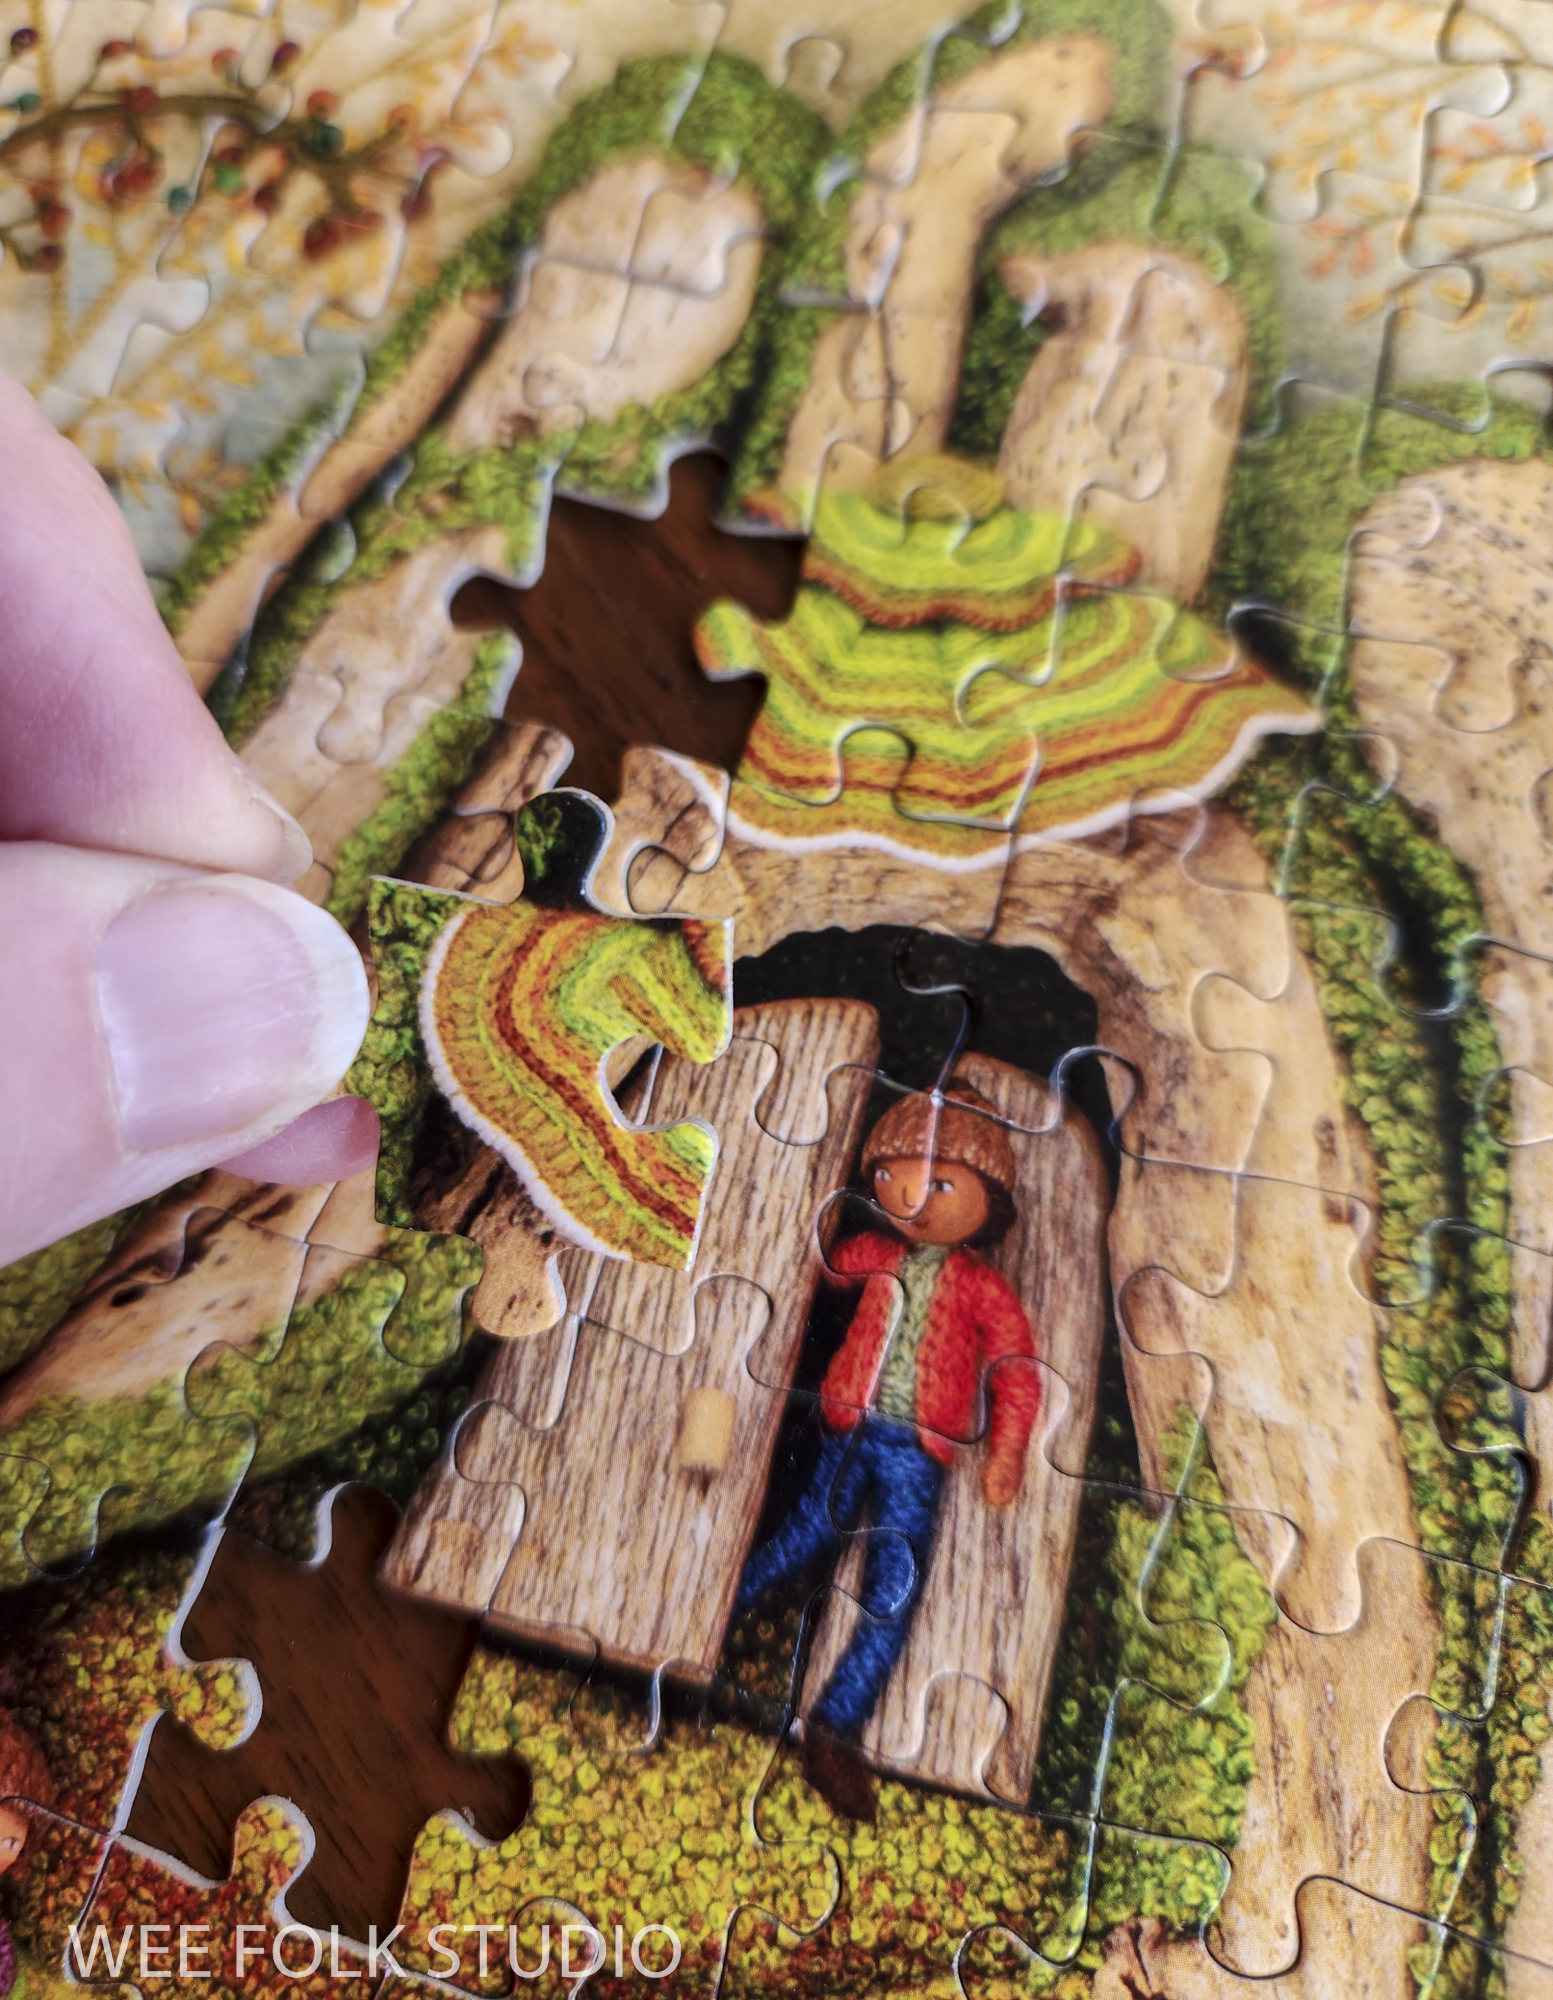
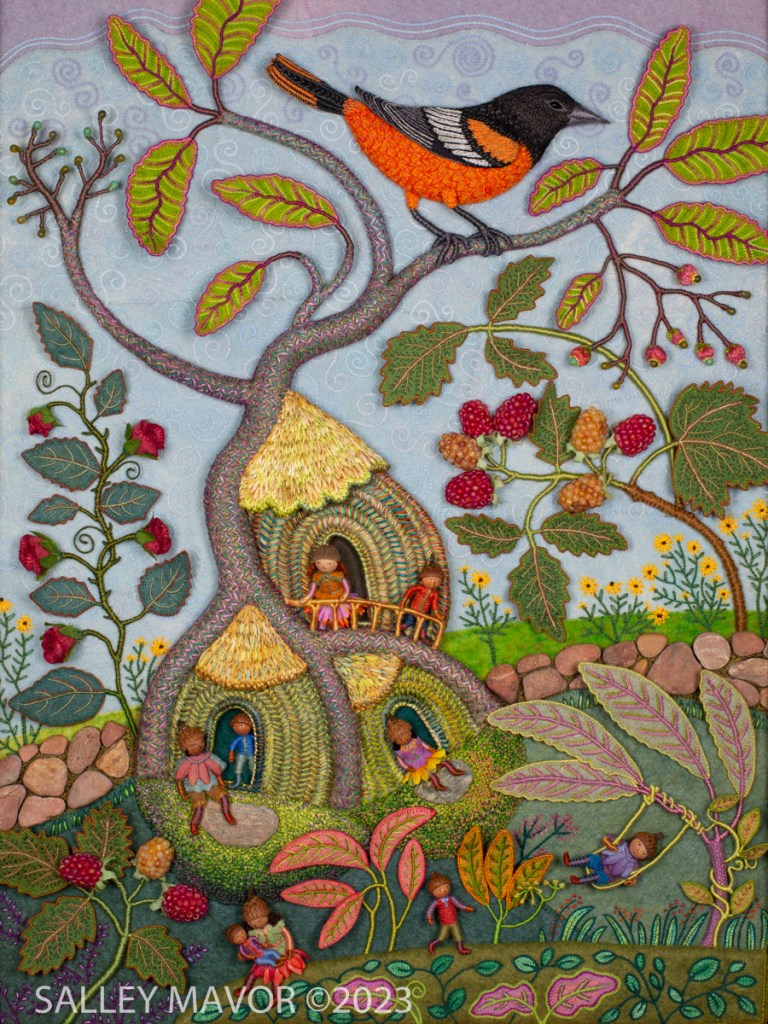
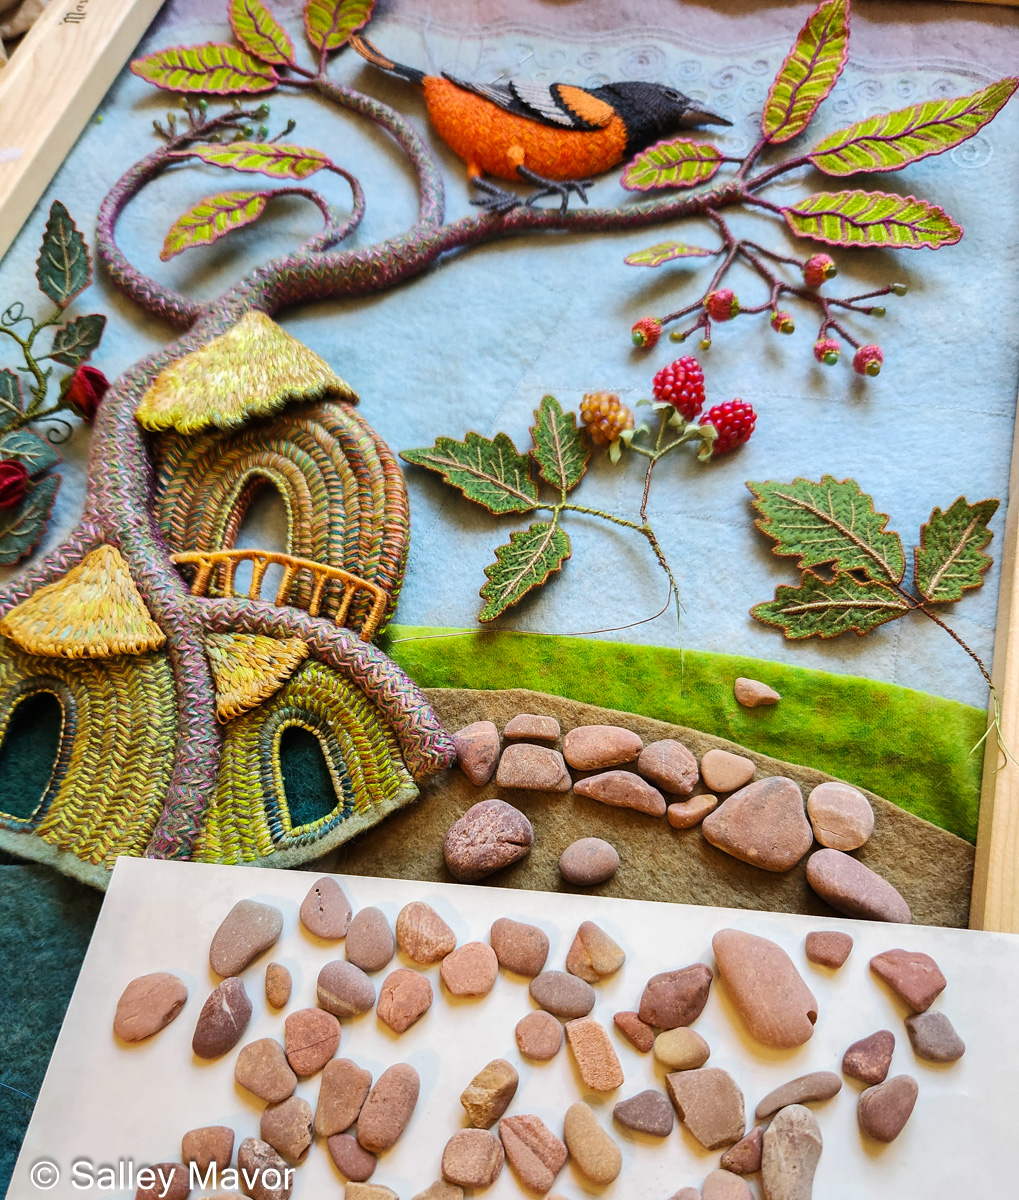
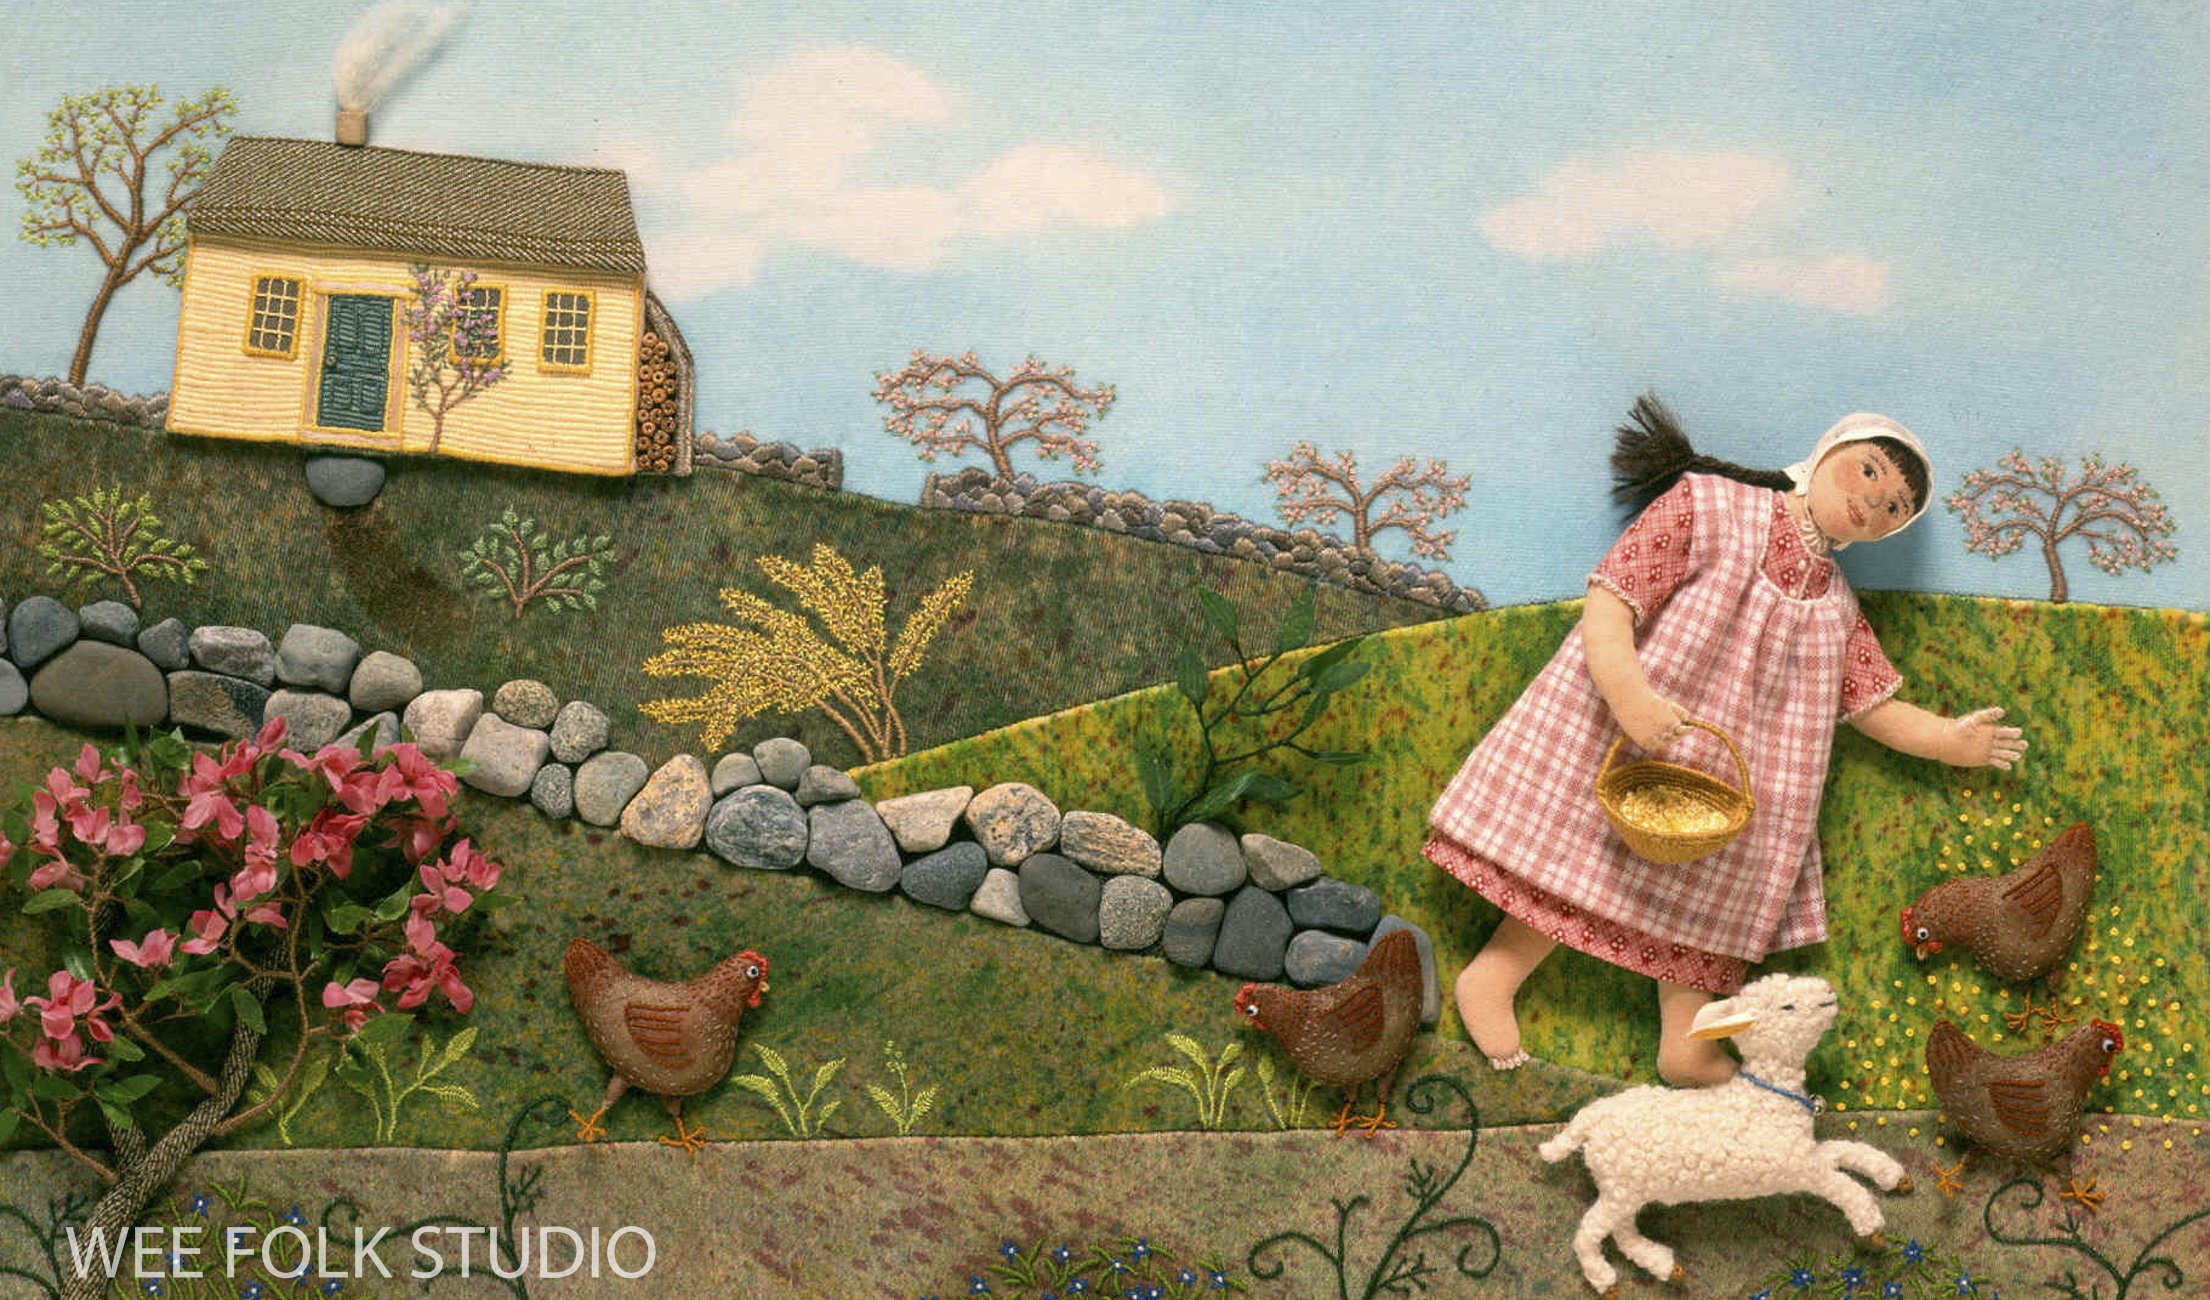
Summertime is the summer scene in a series of four seasonal landscapes that capture the wonder and magic of the natural world. Posters, note cards, prints, bookmarks, and jigsaw puzzles of Summertime and the other scenes in the series (Frosty Morning, Mossy Glen and Harvest Time) are available in my Etsy Shop.
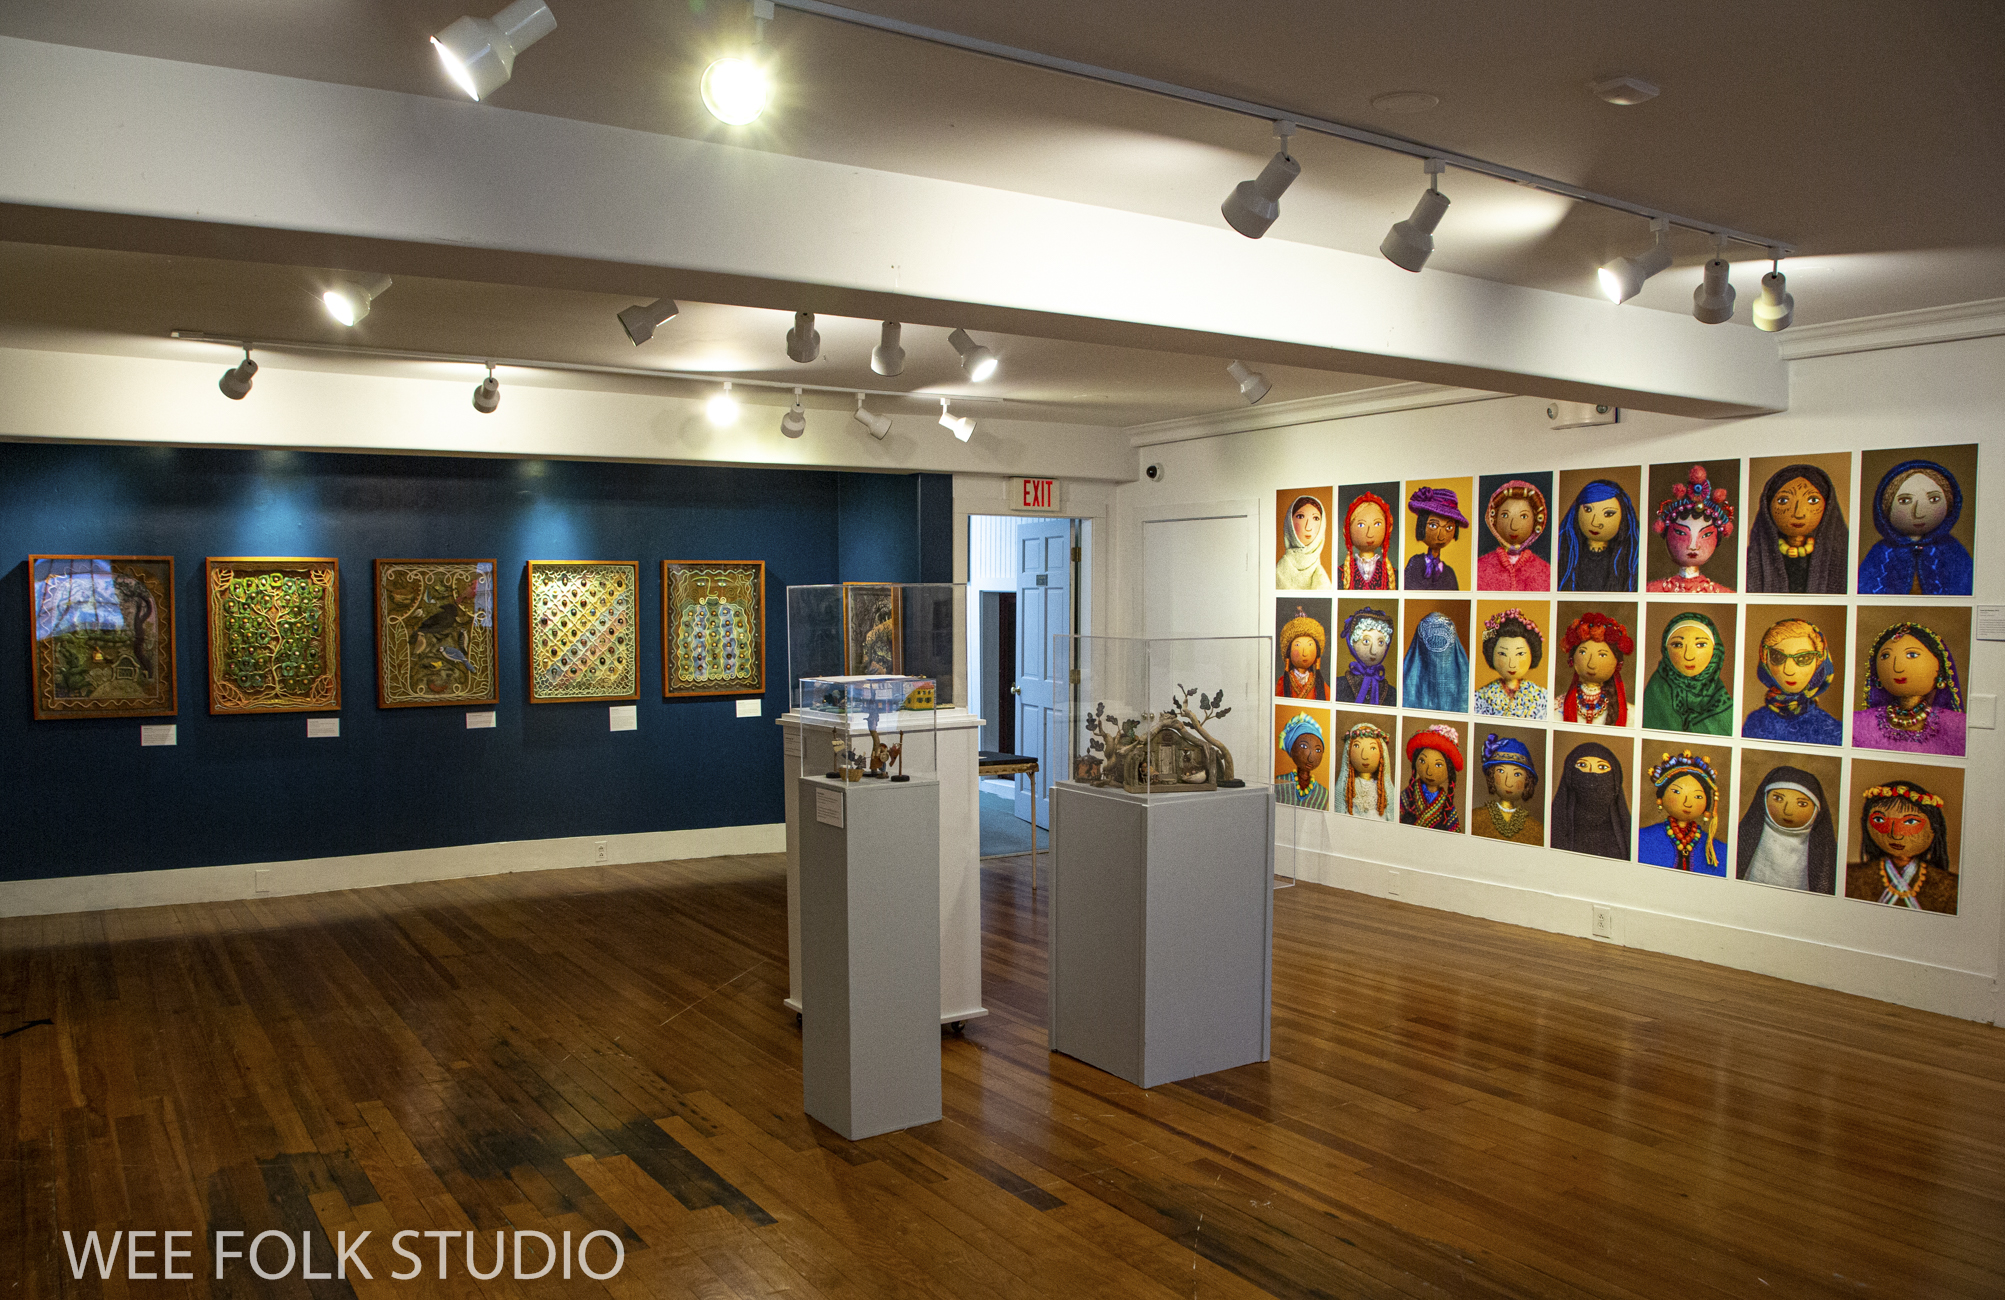
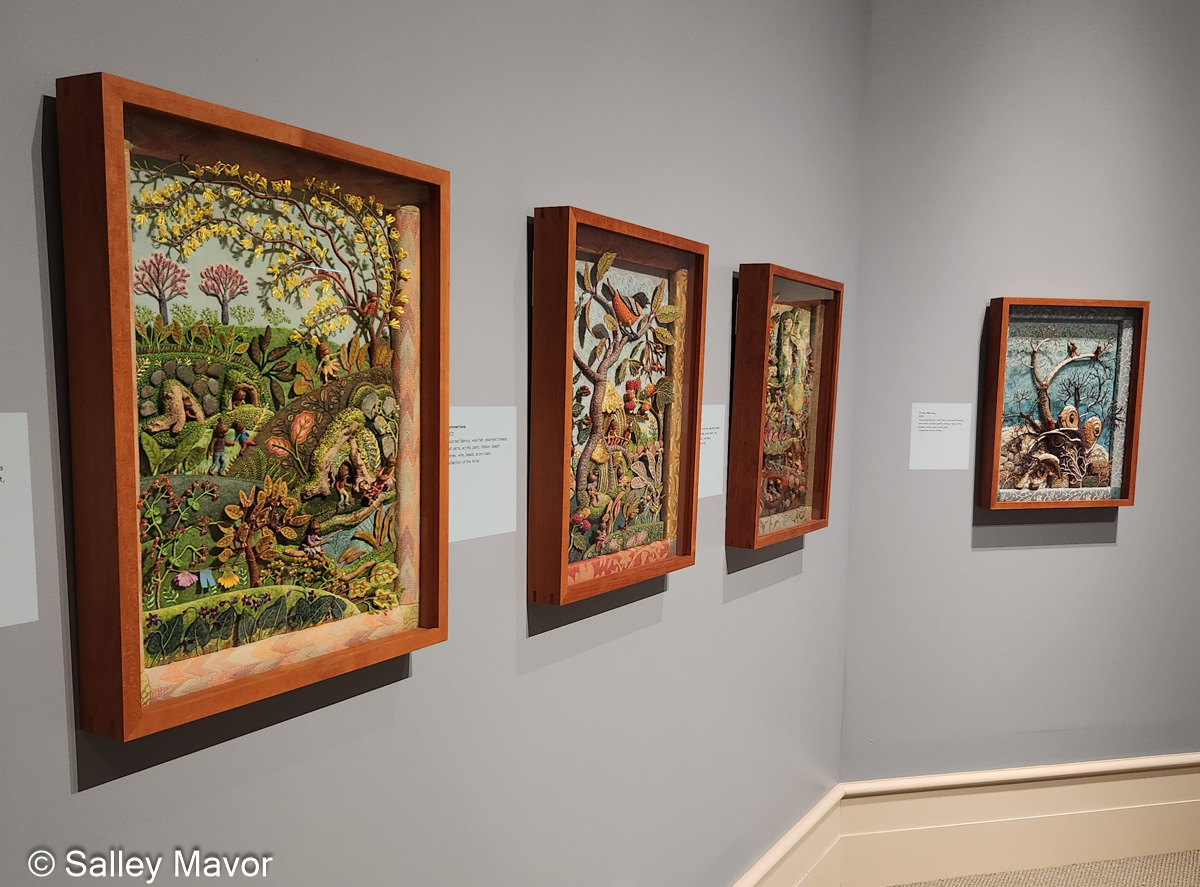
See the Four Seasons Series and dozens of other works in my exhibition, To Every Season: Works by Salley Mavor at the New England Quilt Museum, Sept. 9 – Dec. 31, 2025.
BALTIMORE ORIOLE
I chose a male Baltimore Oriole for the summer scene mostly because of its flashy appearance. They also epitomize the season for me. Pairs of orioles are frequent visitors to our yard in early summer, when we lure them with orange halves and grape jelly. I hadn’t made a bird this size since Birds of Beebe Woods (2012), which you can get a glimpse of on the wall in the following video.
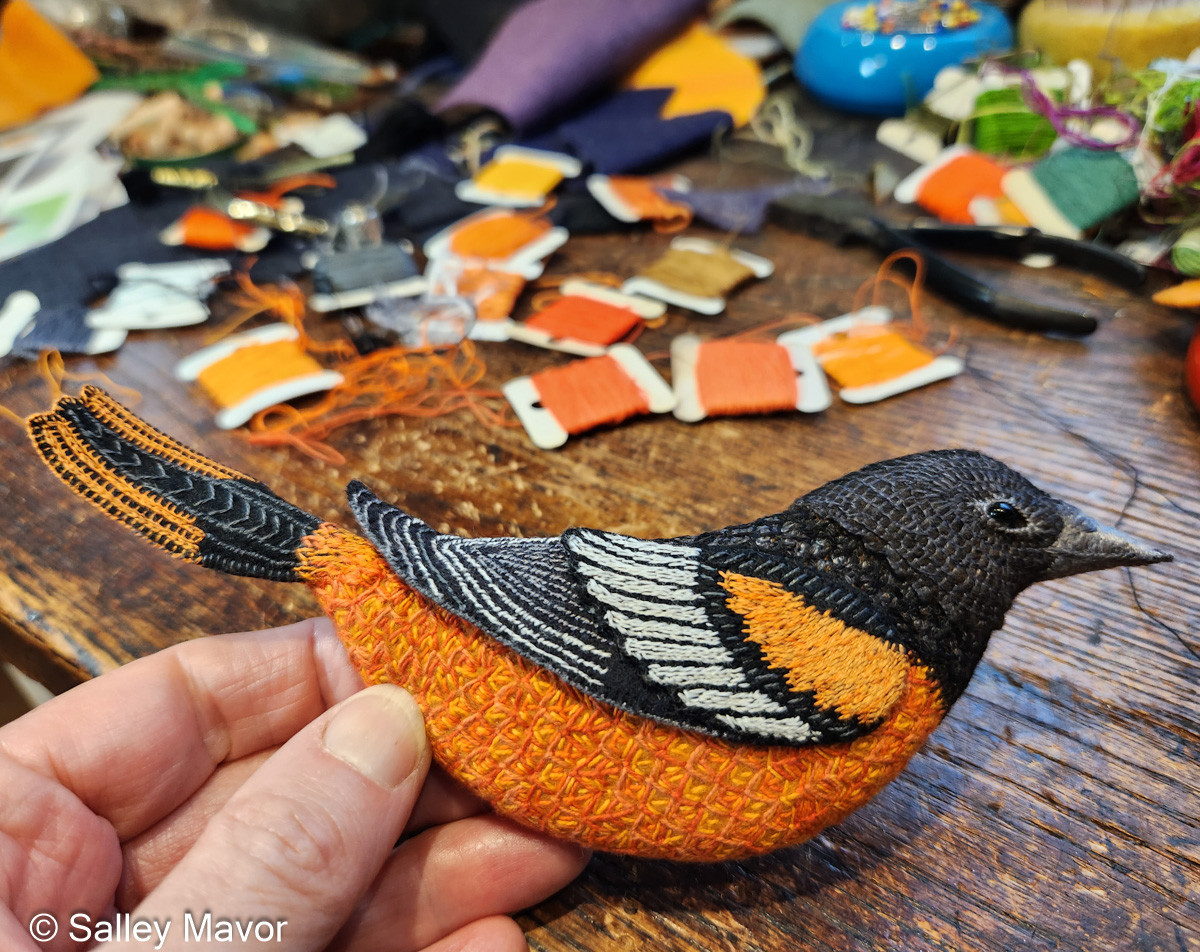
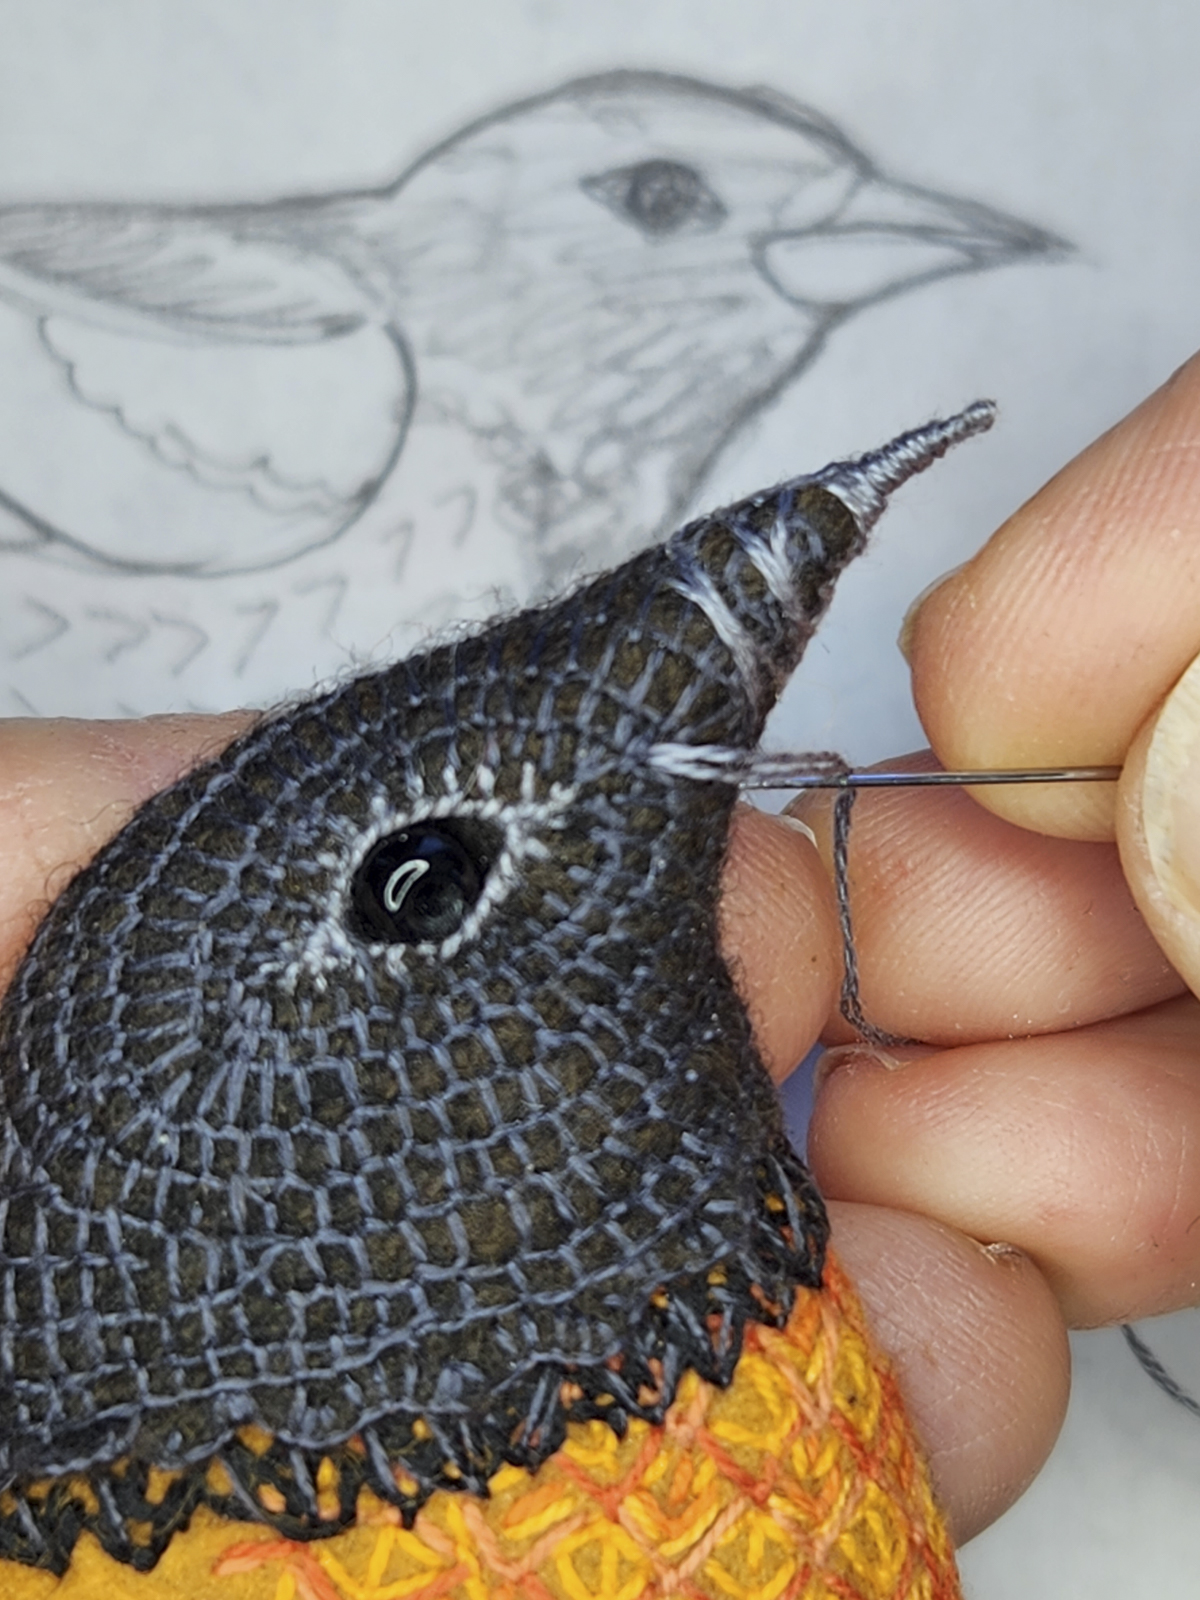
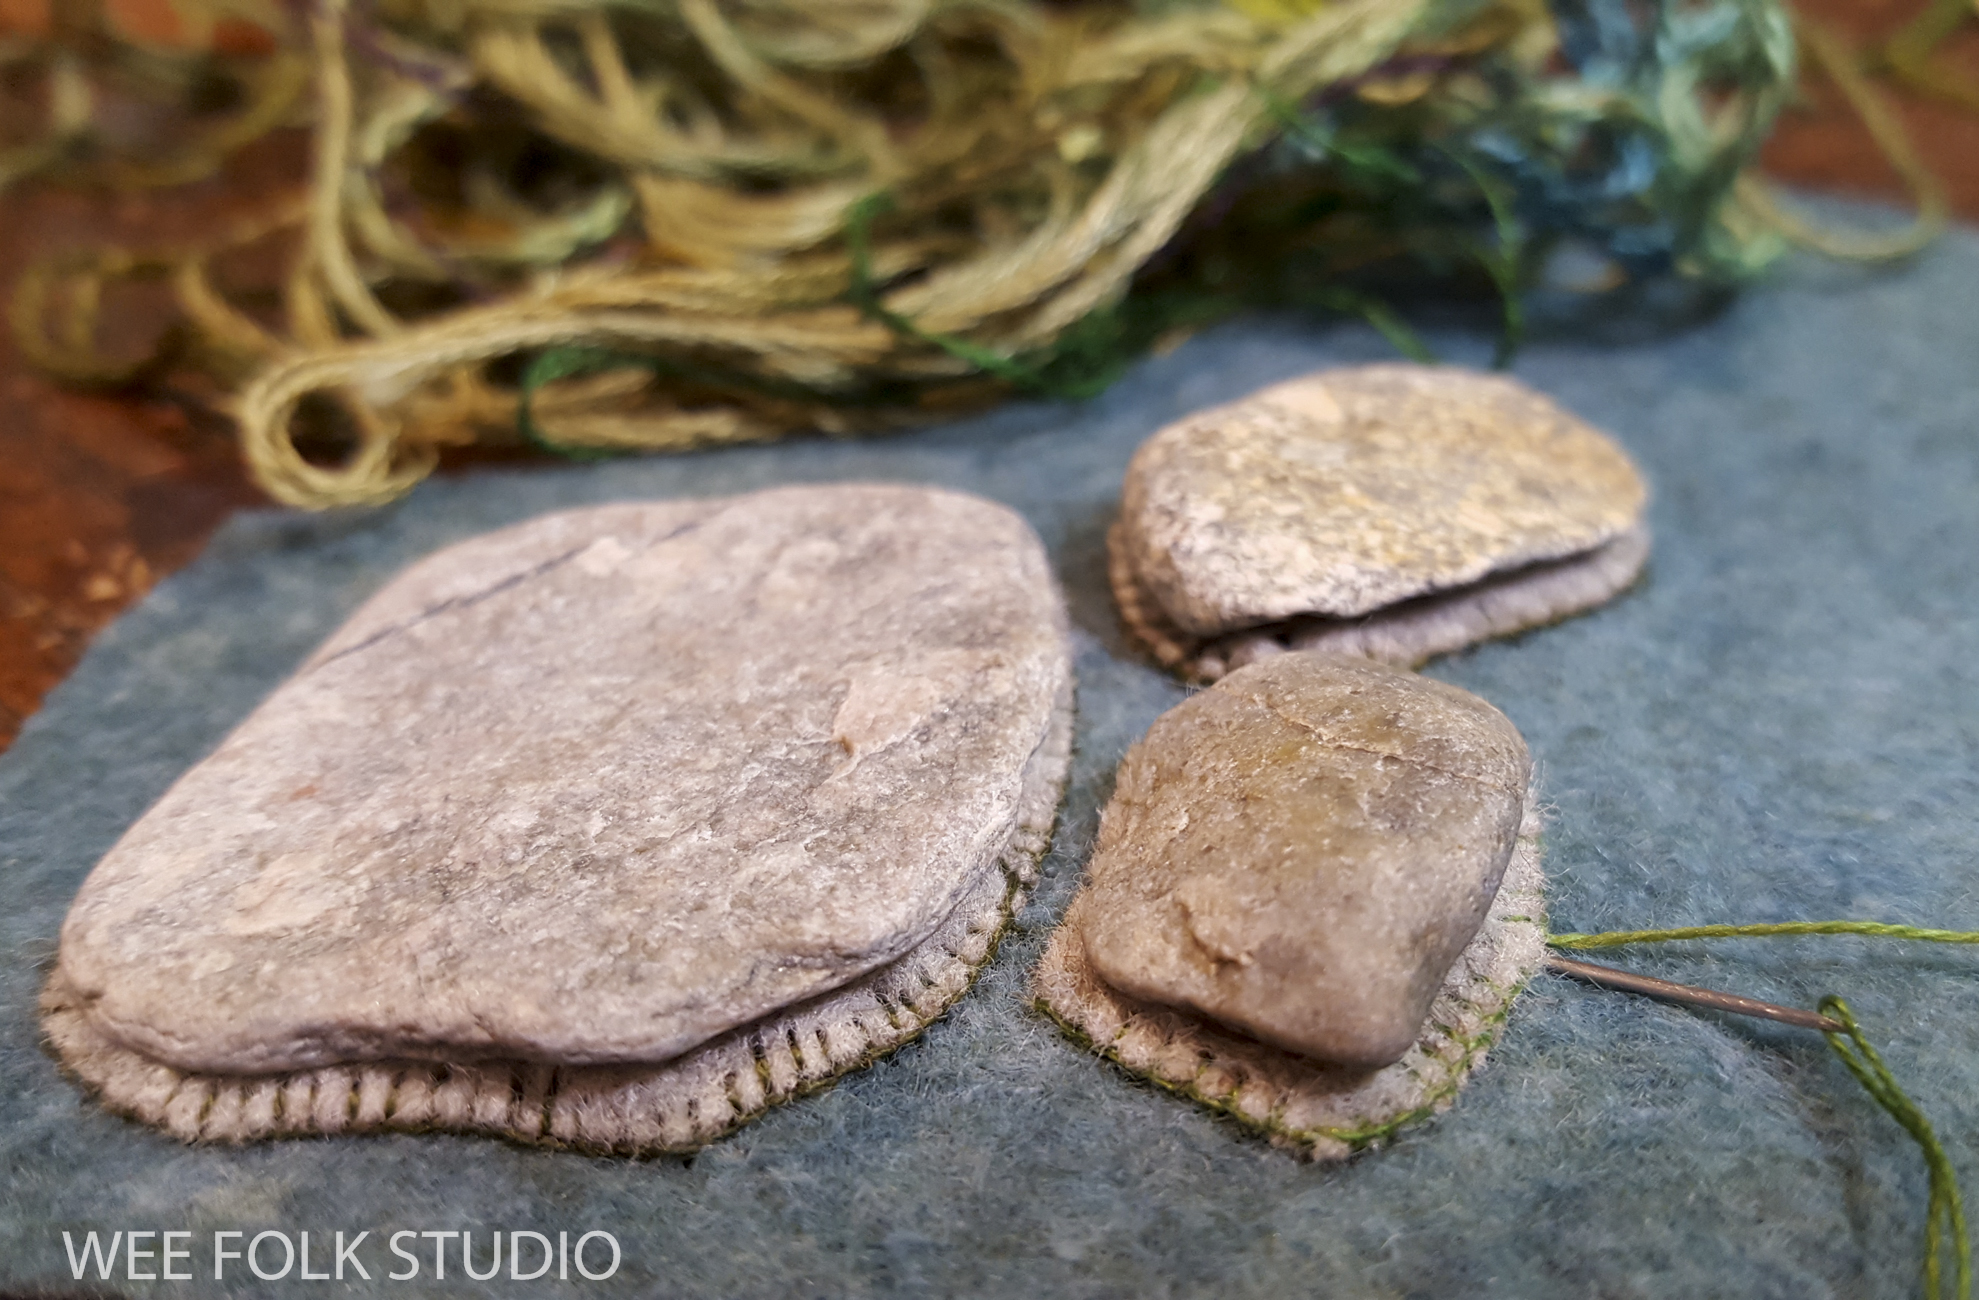
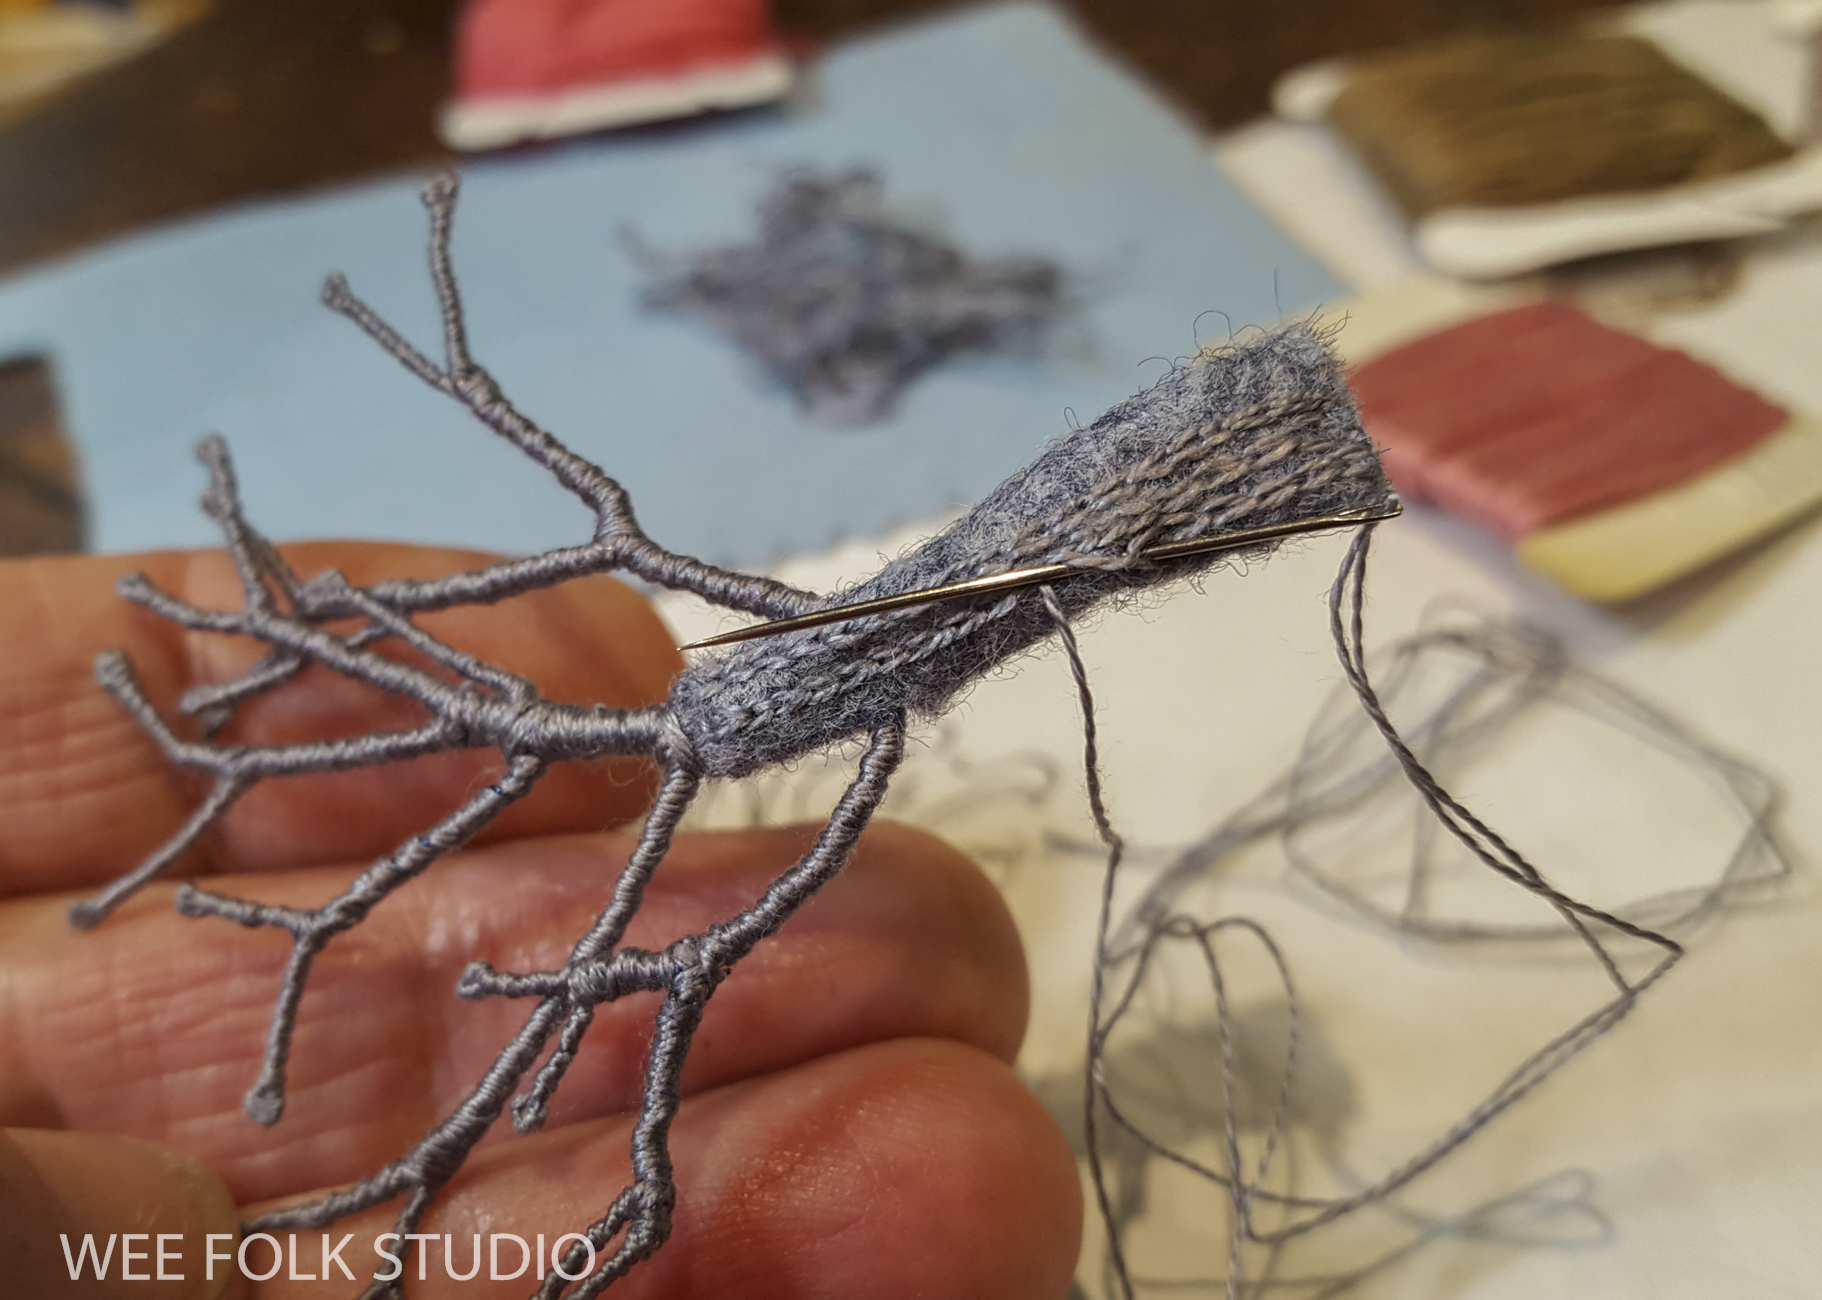
First, I looked at photos of orioles and made a simple drawing that showed its size and proper proportions. Then, I cut the basic shape out of acid-free matte board and padded it with thick felt (which is similar to how I made pins early in my career). Throughout the process of making the bird, I referred to photos, especially when selecting colors and stitches for the body, wing, and tail.

I wanted to make the bird realistic enough to be recognized as a species, but patterned and abstracted in a way that made it fun to stitch. It ended up being something between a stylized bird and a biological illustration.

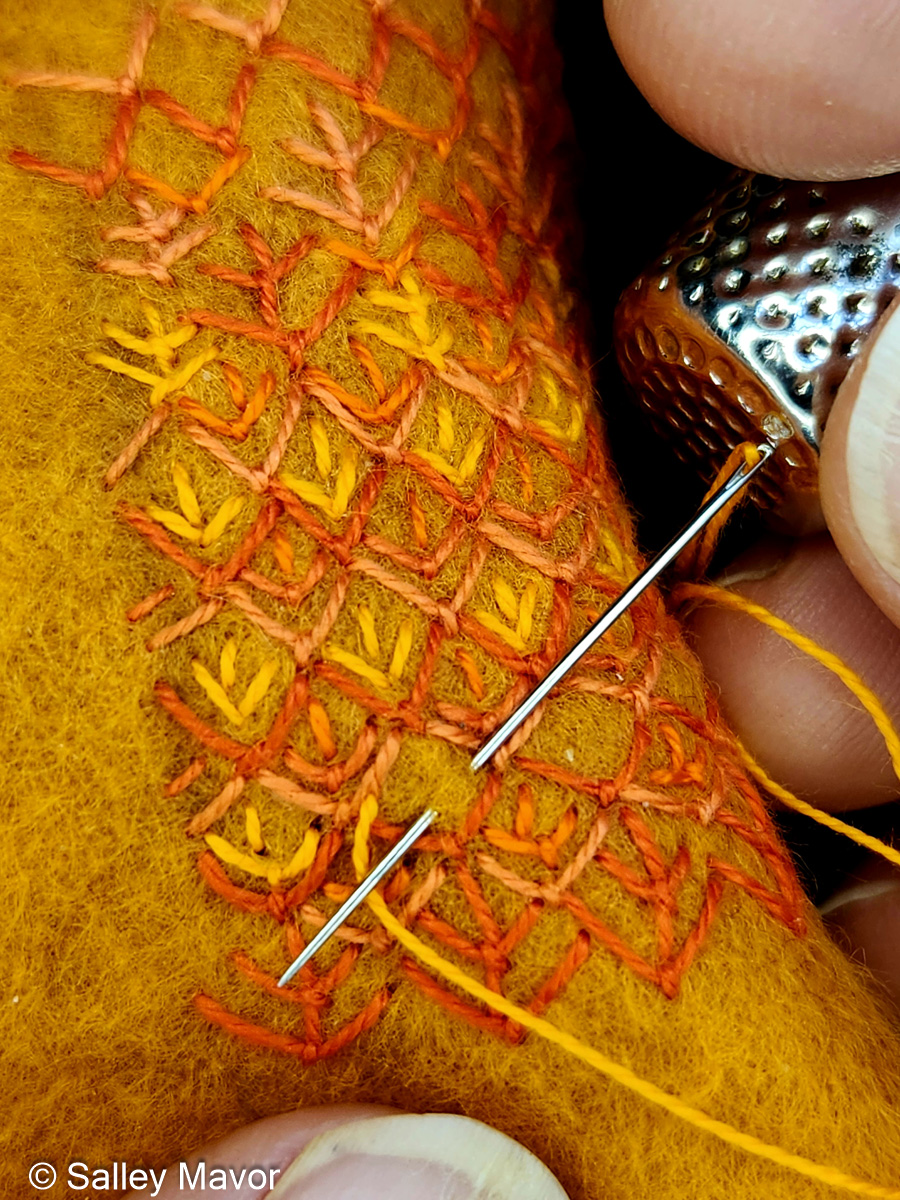
BREAST
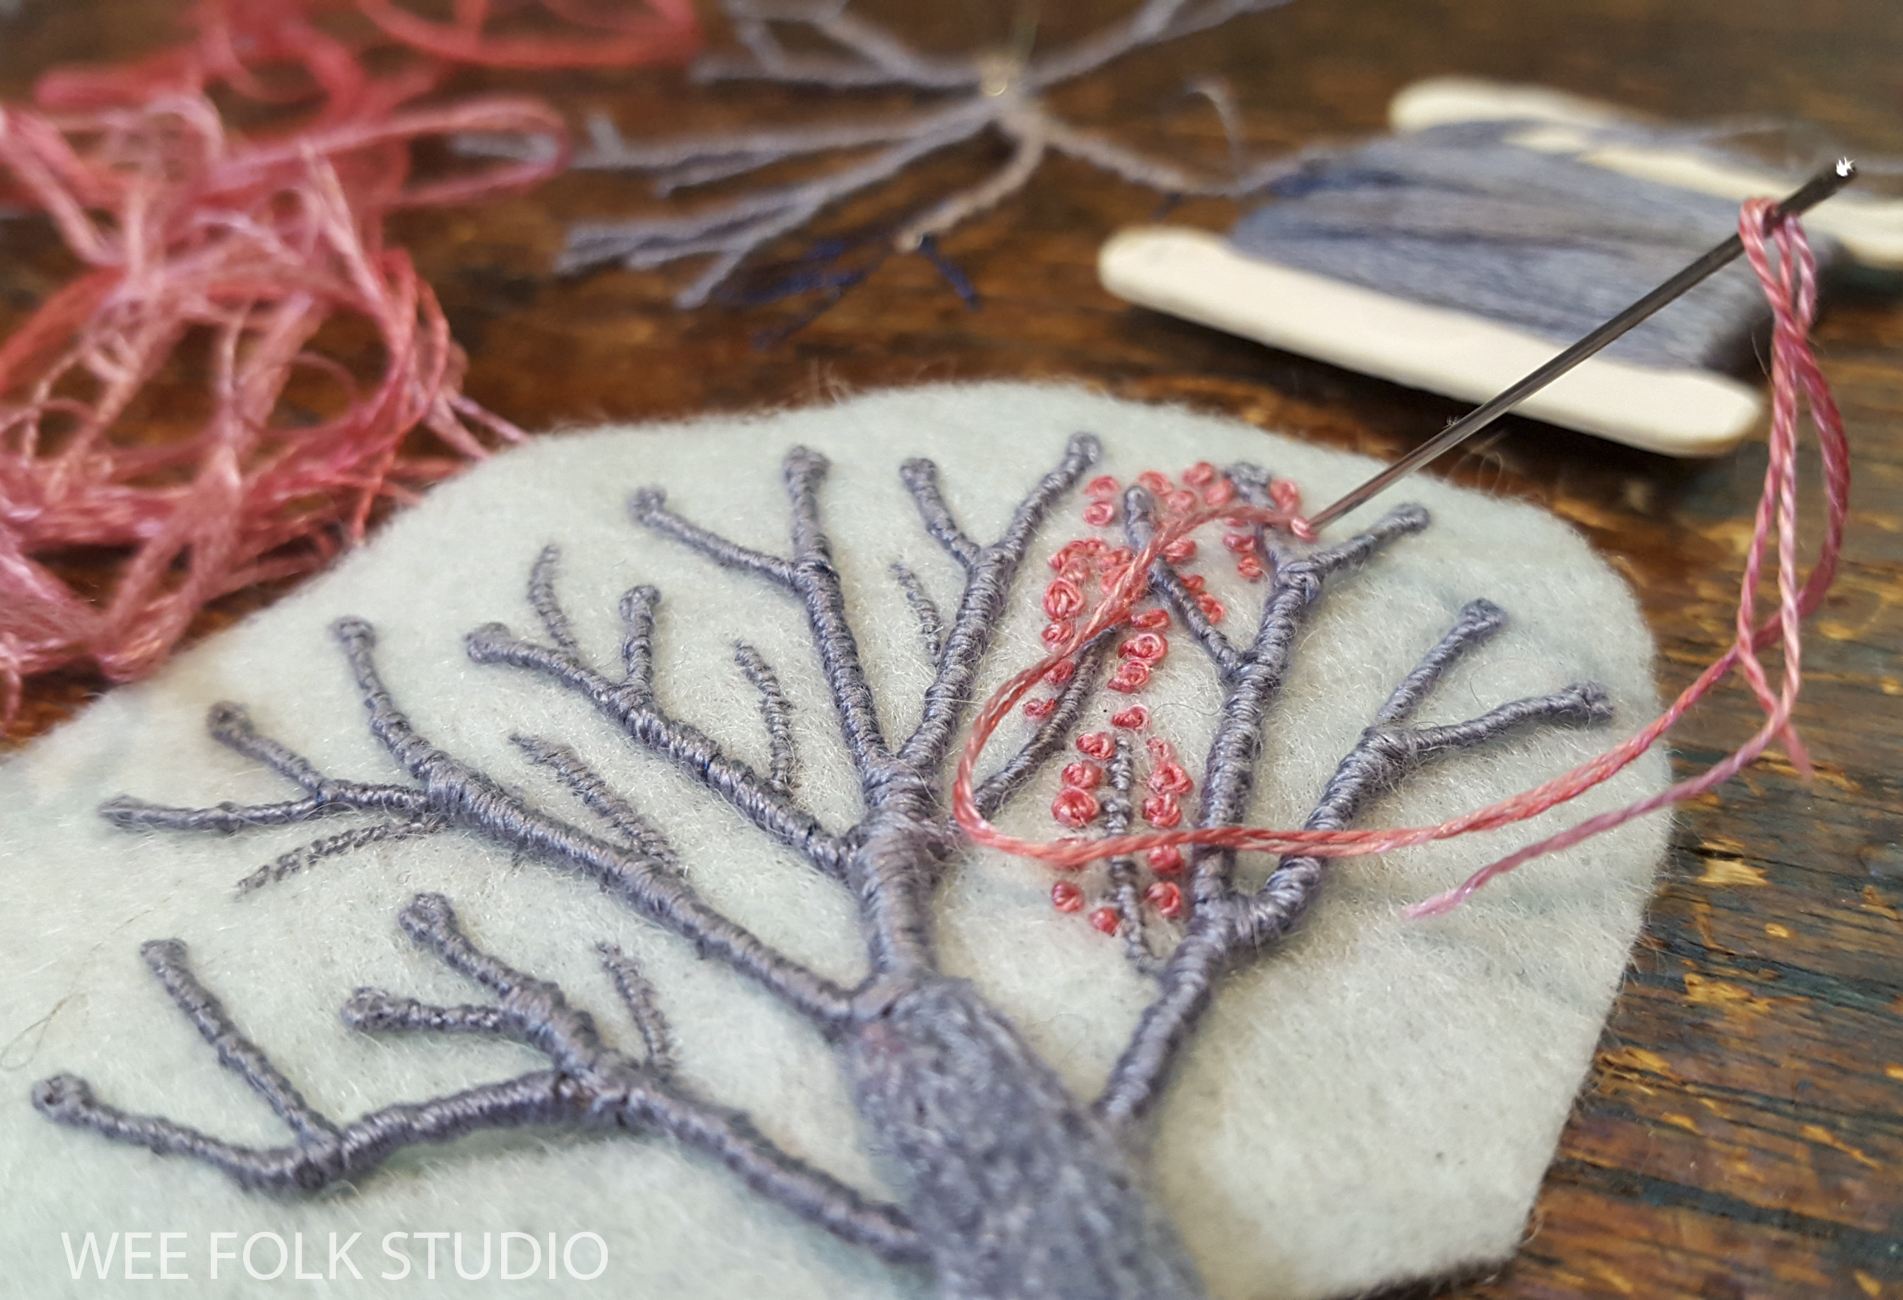
For the oriole’s distinctive orange breast, I embroidered different combinations of fly stitches that are reminiscent of Faire Isle patterns. It brought me back to a dozen years ago, when I stitched the crow’s breast in Birds of Beebe Woods.
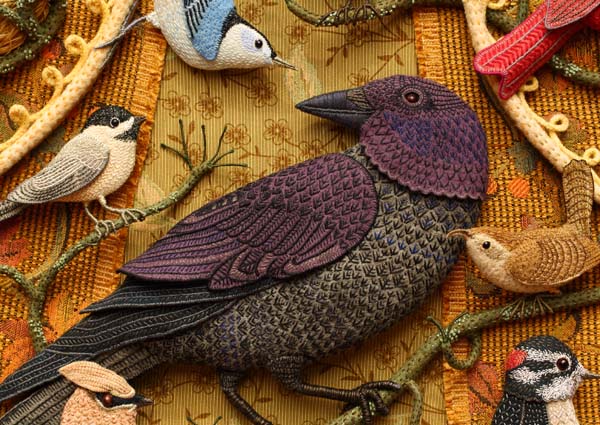
I used cotton flower thread, which has a matte finish that’s different from the glossy sheen of cotton embroidery floss. DMC flower thread is no longer available, so if you’re interested, Dutch Treat Designs has some of the discontinued thread in stock.
Watch a Stitch Minute video of embroidering the oriole’s breast with fly stitches.
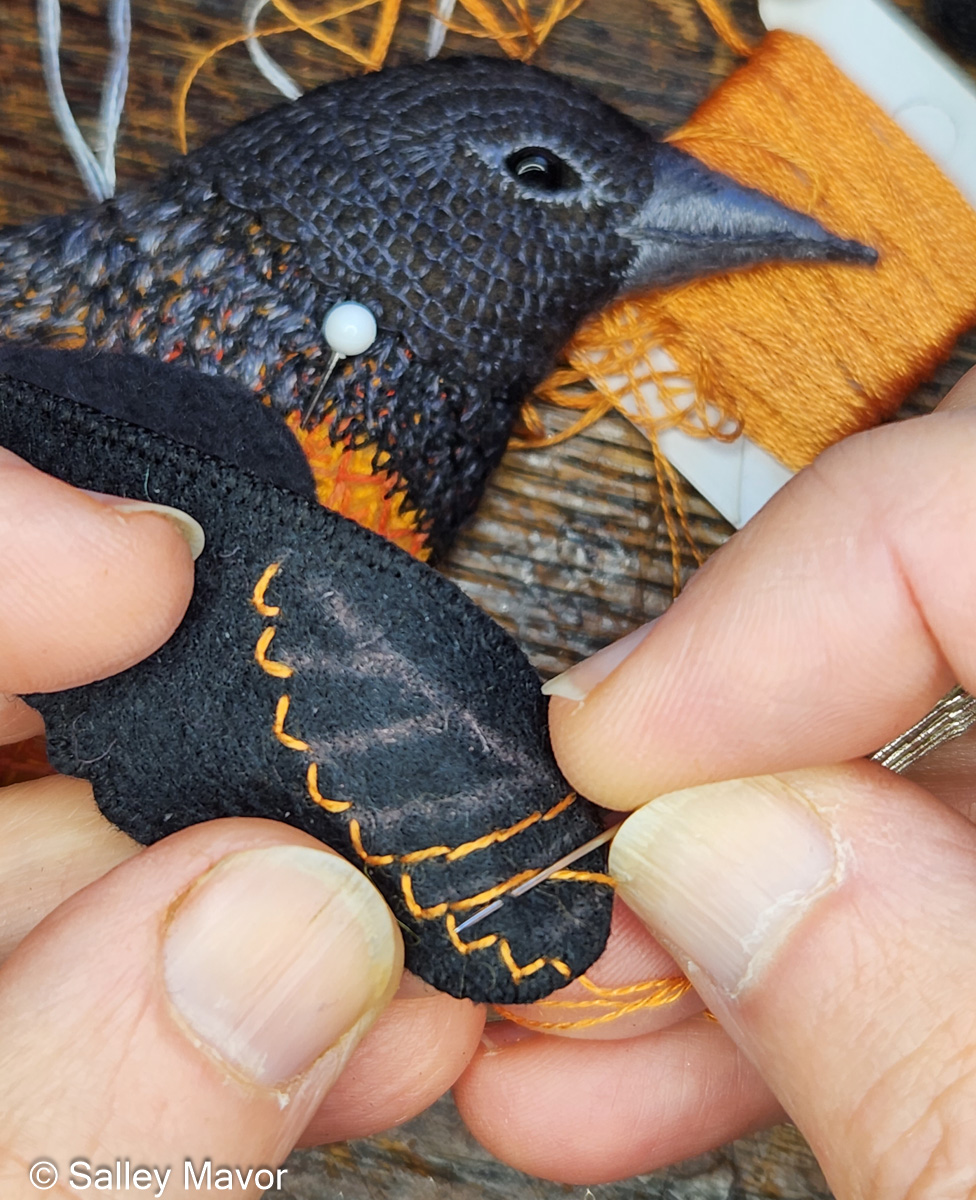
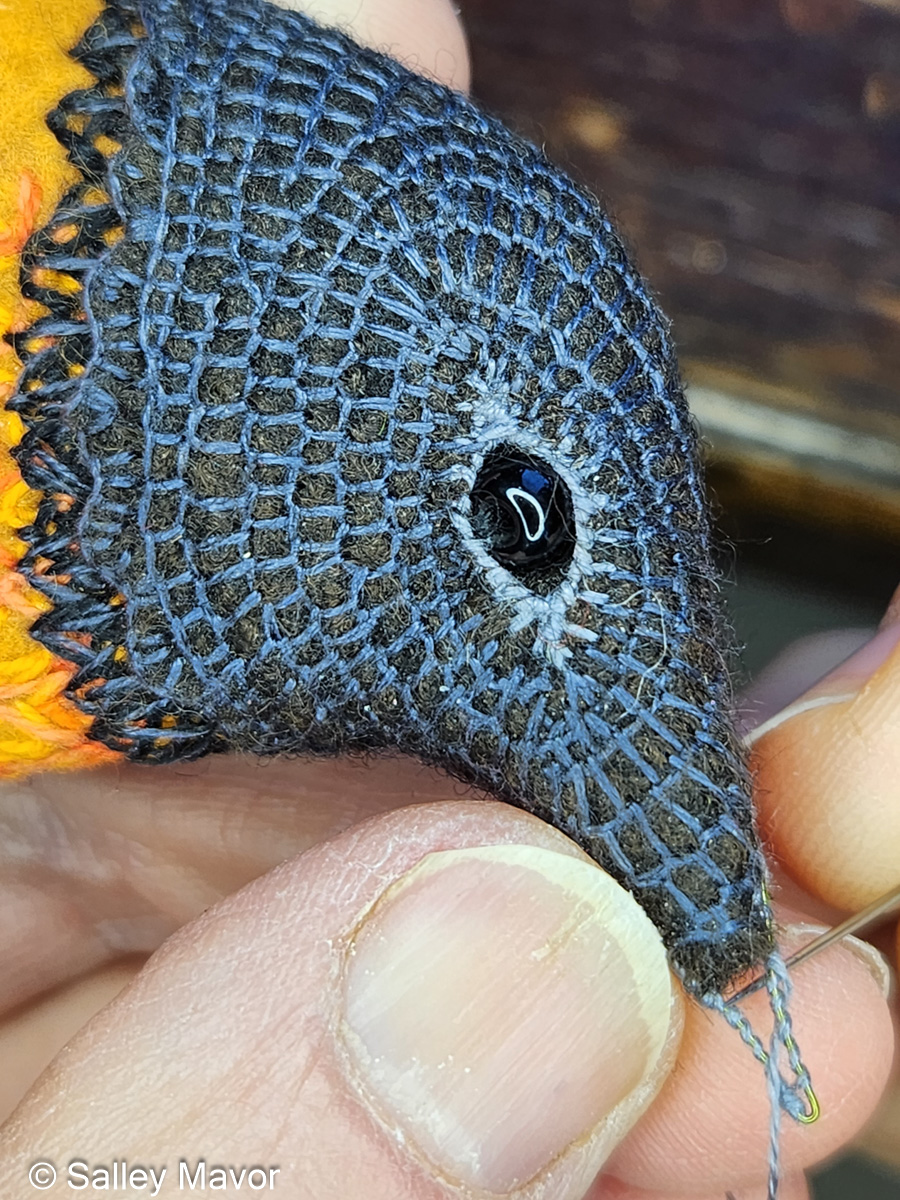
WING
I usually work freehand without marks, because it’s hard to draw on fuzzy wool felt. In this case, I was able to make chalk pencil lines on the black felt wing.


Watch a Stitch Minute video of embroidering the bird’s wing.
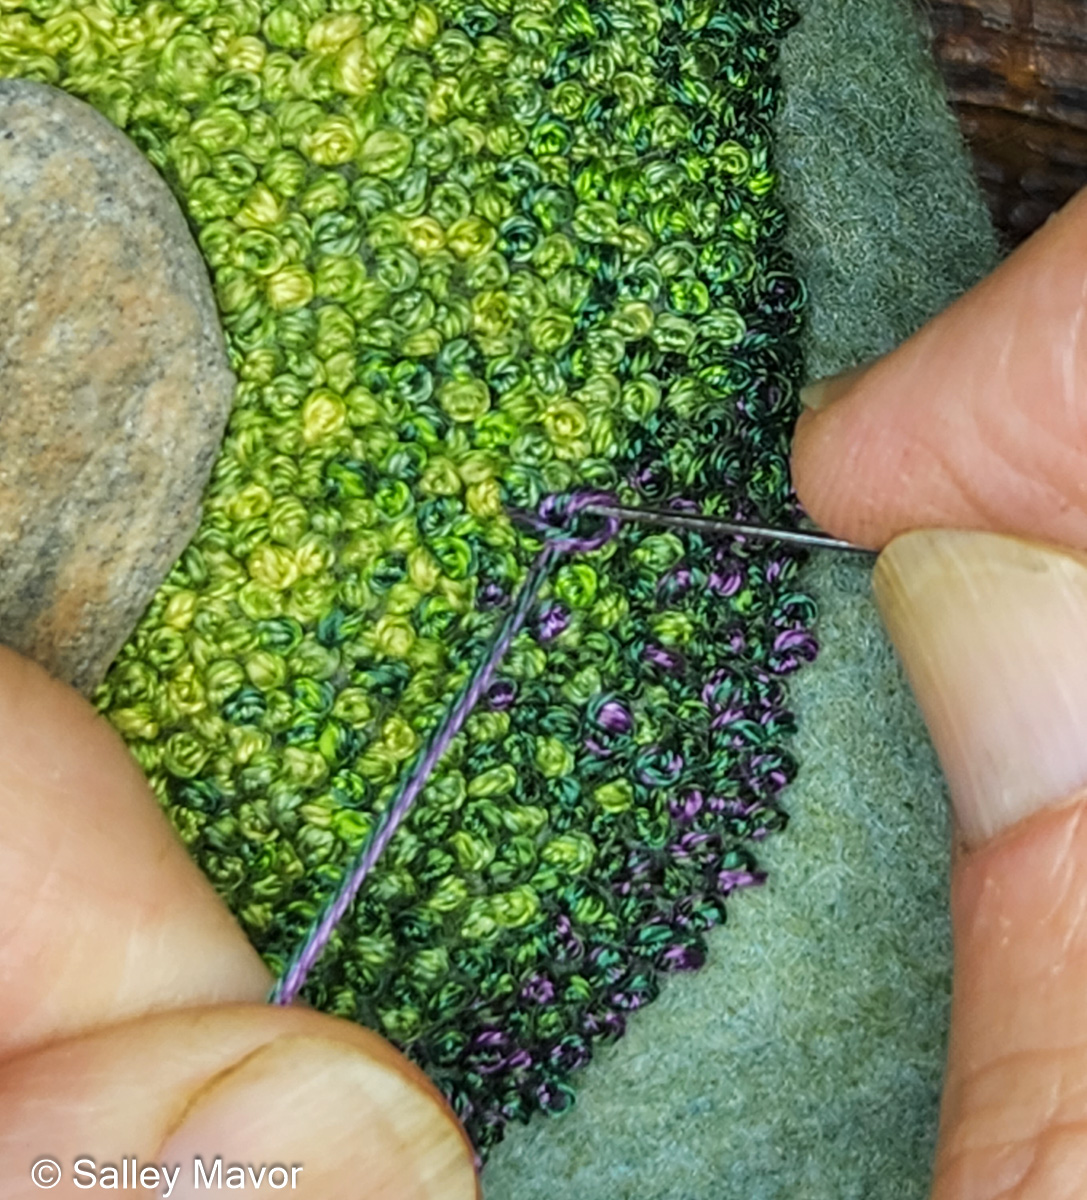
TAIL
So much of a bird’s personality comes through in the angle and pose of its tail. Doing the stitching was the easy part. Positioning the tail and attaching it to the body took more patience and perseverance.

Watch a Stitch Minute video of embroidering and attaching the bird’s tail.
Stay tuned for Part 5, where I’ll share photos and videos documenting the process of making the Baltimore Oriole’s head and feet. If you want to receive email notices when I publish new posts, please subscribe to this blog using the form below.
To keep up with new posts, please subscribe to this blog. Your contact info will not be sold or shared. If you’d like to see more frequent photos tracking the projects in my studio, please follow me on Facebook, Instagram and BlueSky.