This post is a revised version of a story I first published more than a decade ago. I am sharing it again in response to requests from individuals and groups who have asked for classes, tutorials, patterns, and guidance on my methods. I welcome that interest, and I am glad that people are eager to explore new ways of working.
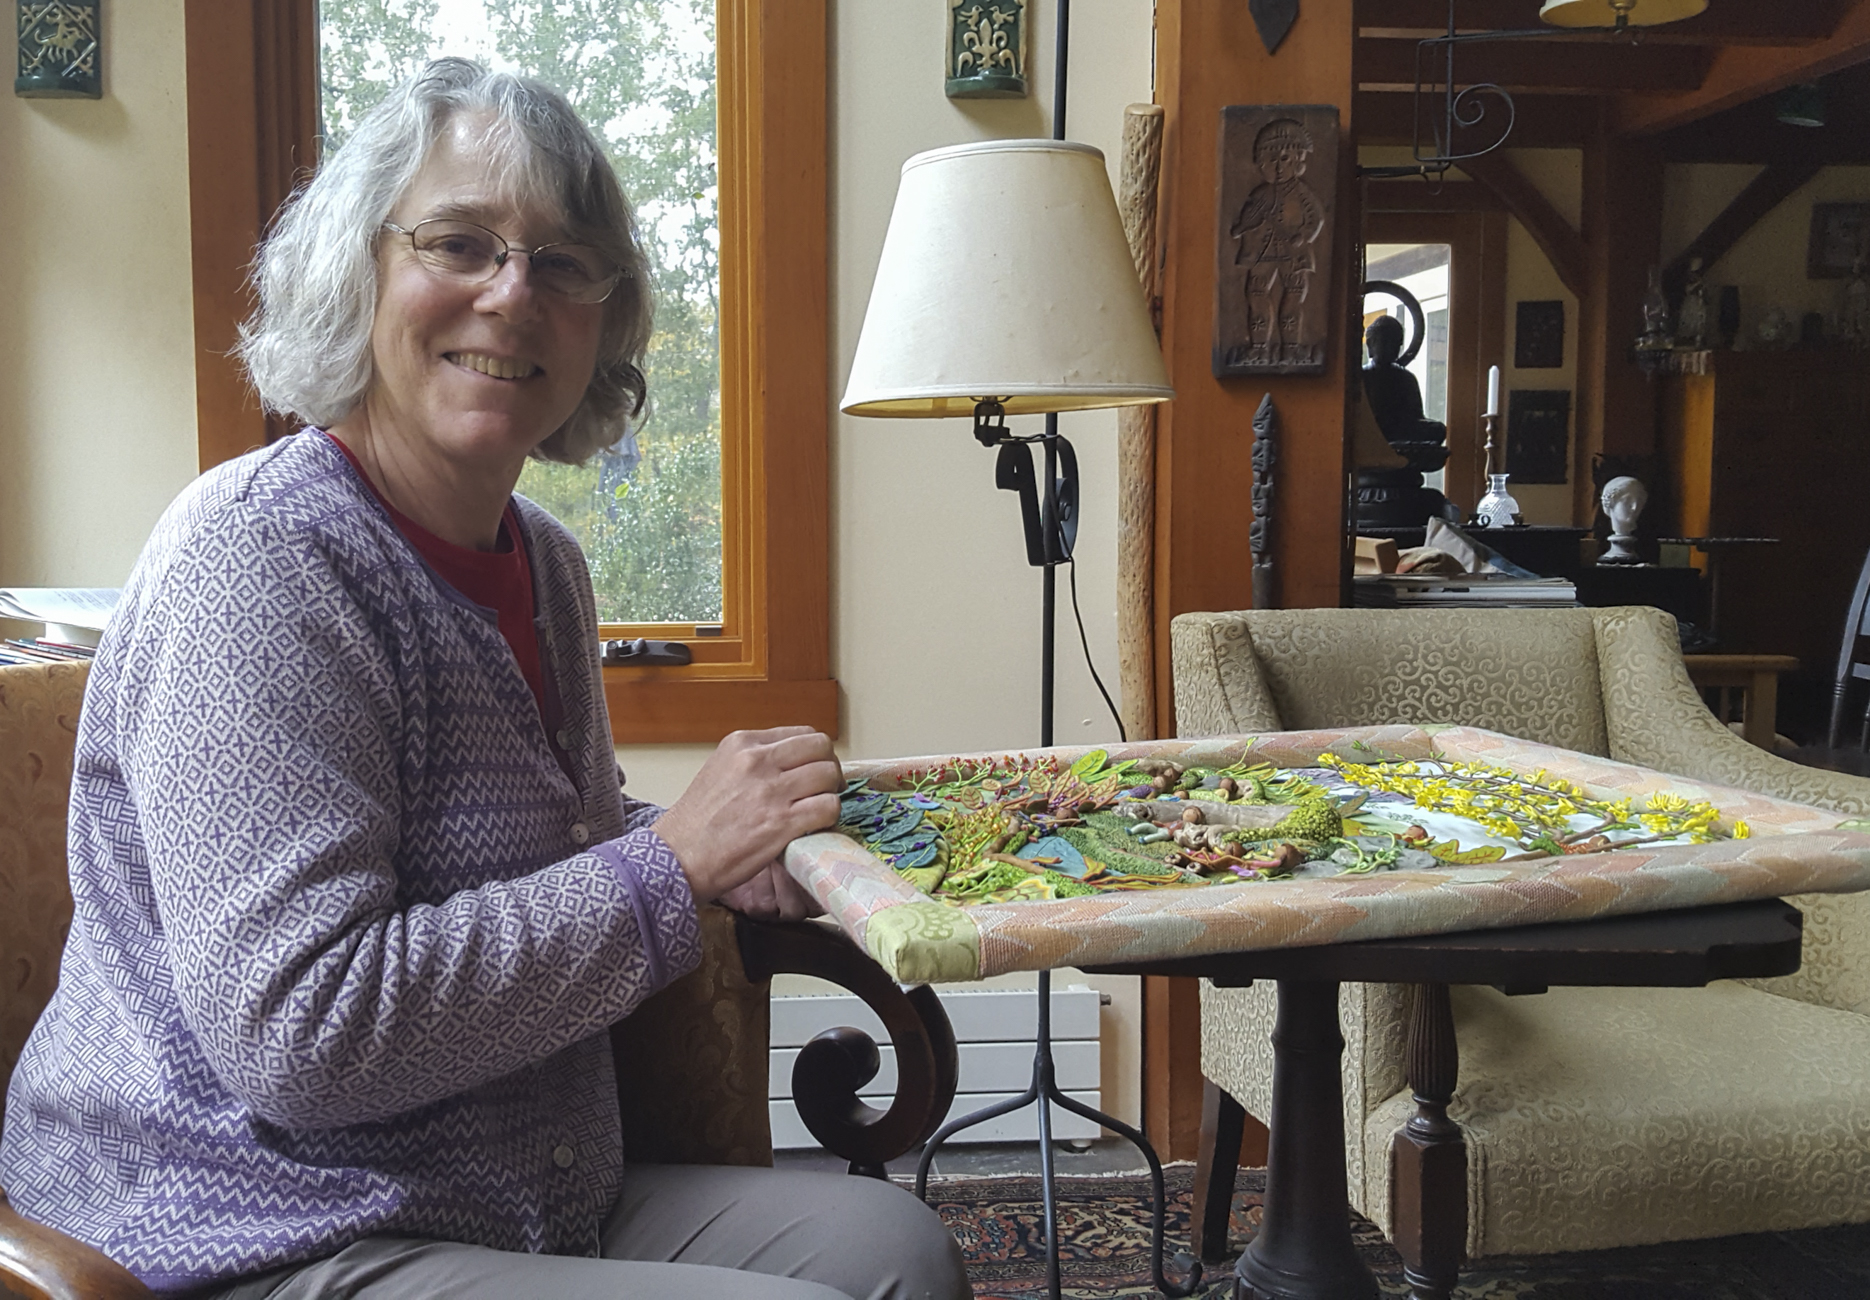
At the same time, these inquiries remind me how much I operate outside of the mainstream—within a different needle-and-thread universe, shaped by my own experiences and artistic values. In this reflection on my background, I explore both my approach to making art and the personal philosophy that guides how I share what I have learned.
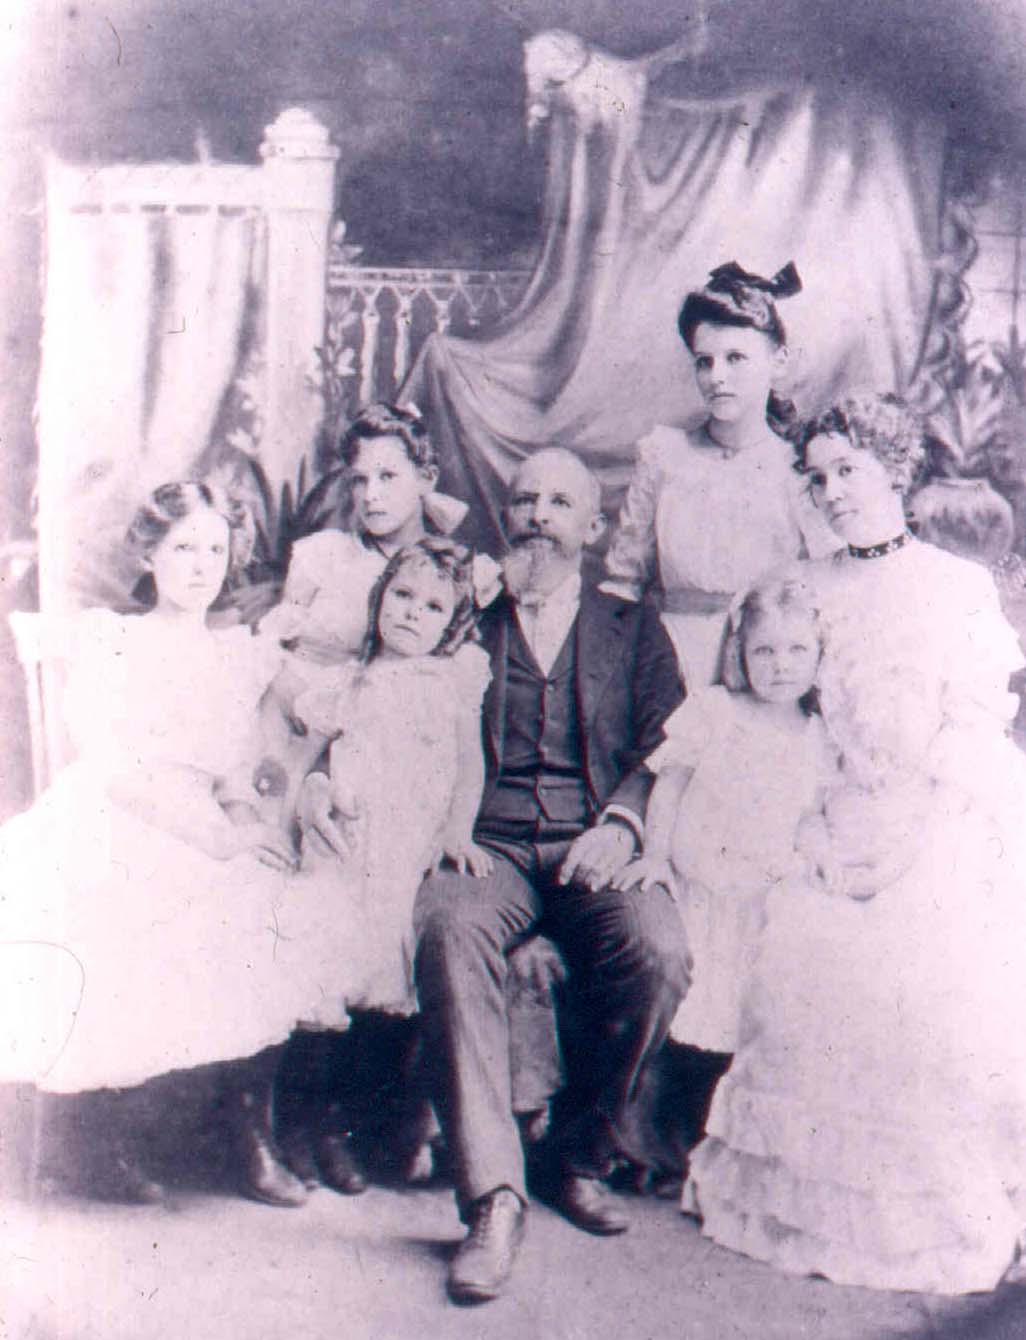
including Salley Mavor’s grandmother (2nd from the left)
TEACHING BY EXAMPLE
Needlework has long been rooted in a tradition of learning through imitation. Historically, women played a central role in passing down their expertise within families, ensuring that these skills continued from one generation to the next. Today, a vast needle-craft network is centered around a technique-driven culture that emphasizes following patterns and copying pre-existing designs.
Finding my place within this tradition has not been easy because my path into needlework has been quite different. Creating a space that embraces innovation while honoring needlework’s rich heritage therefore demands determination, as well as the willingness to forge my own way.
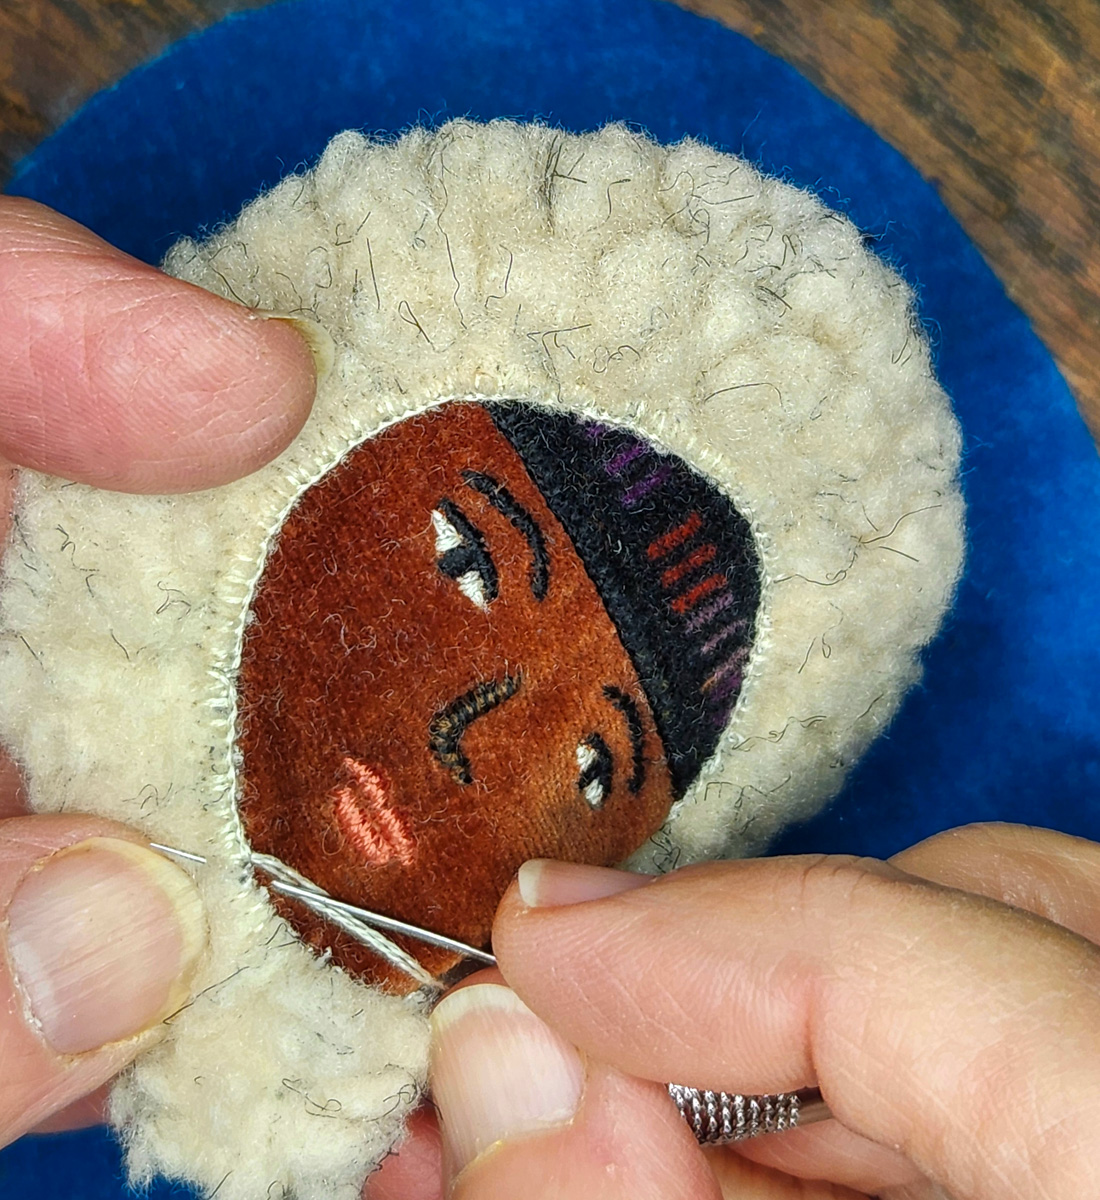
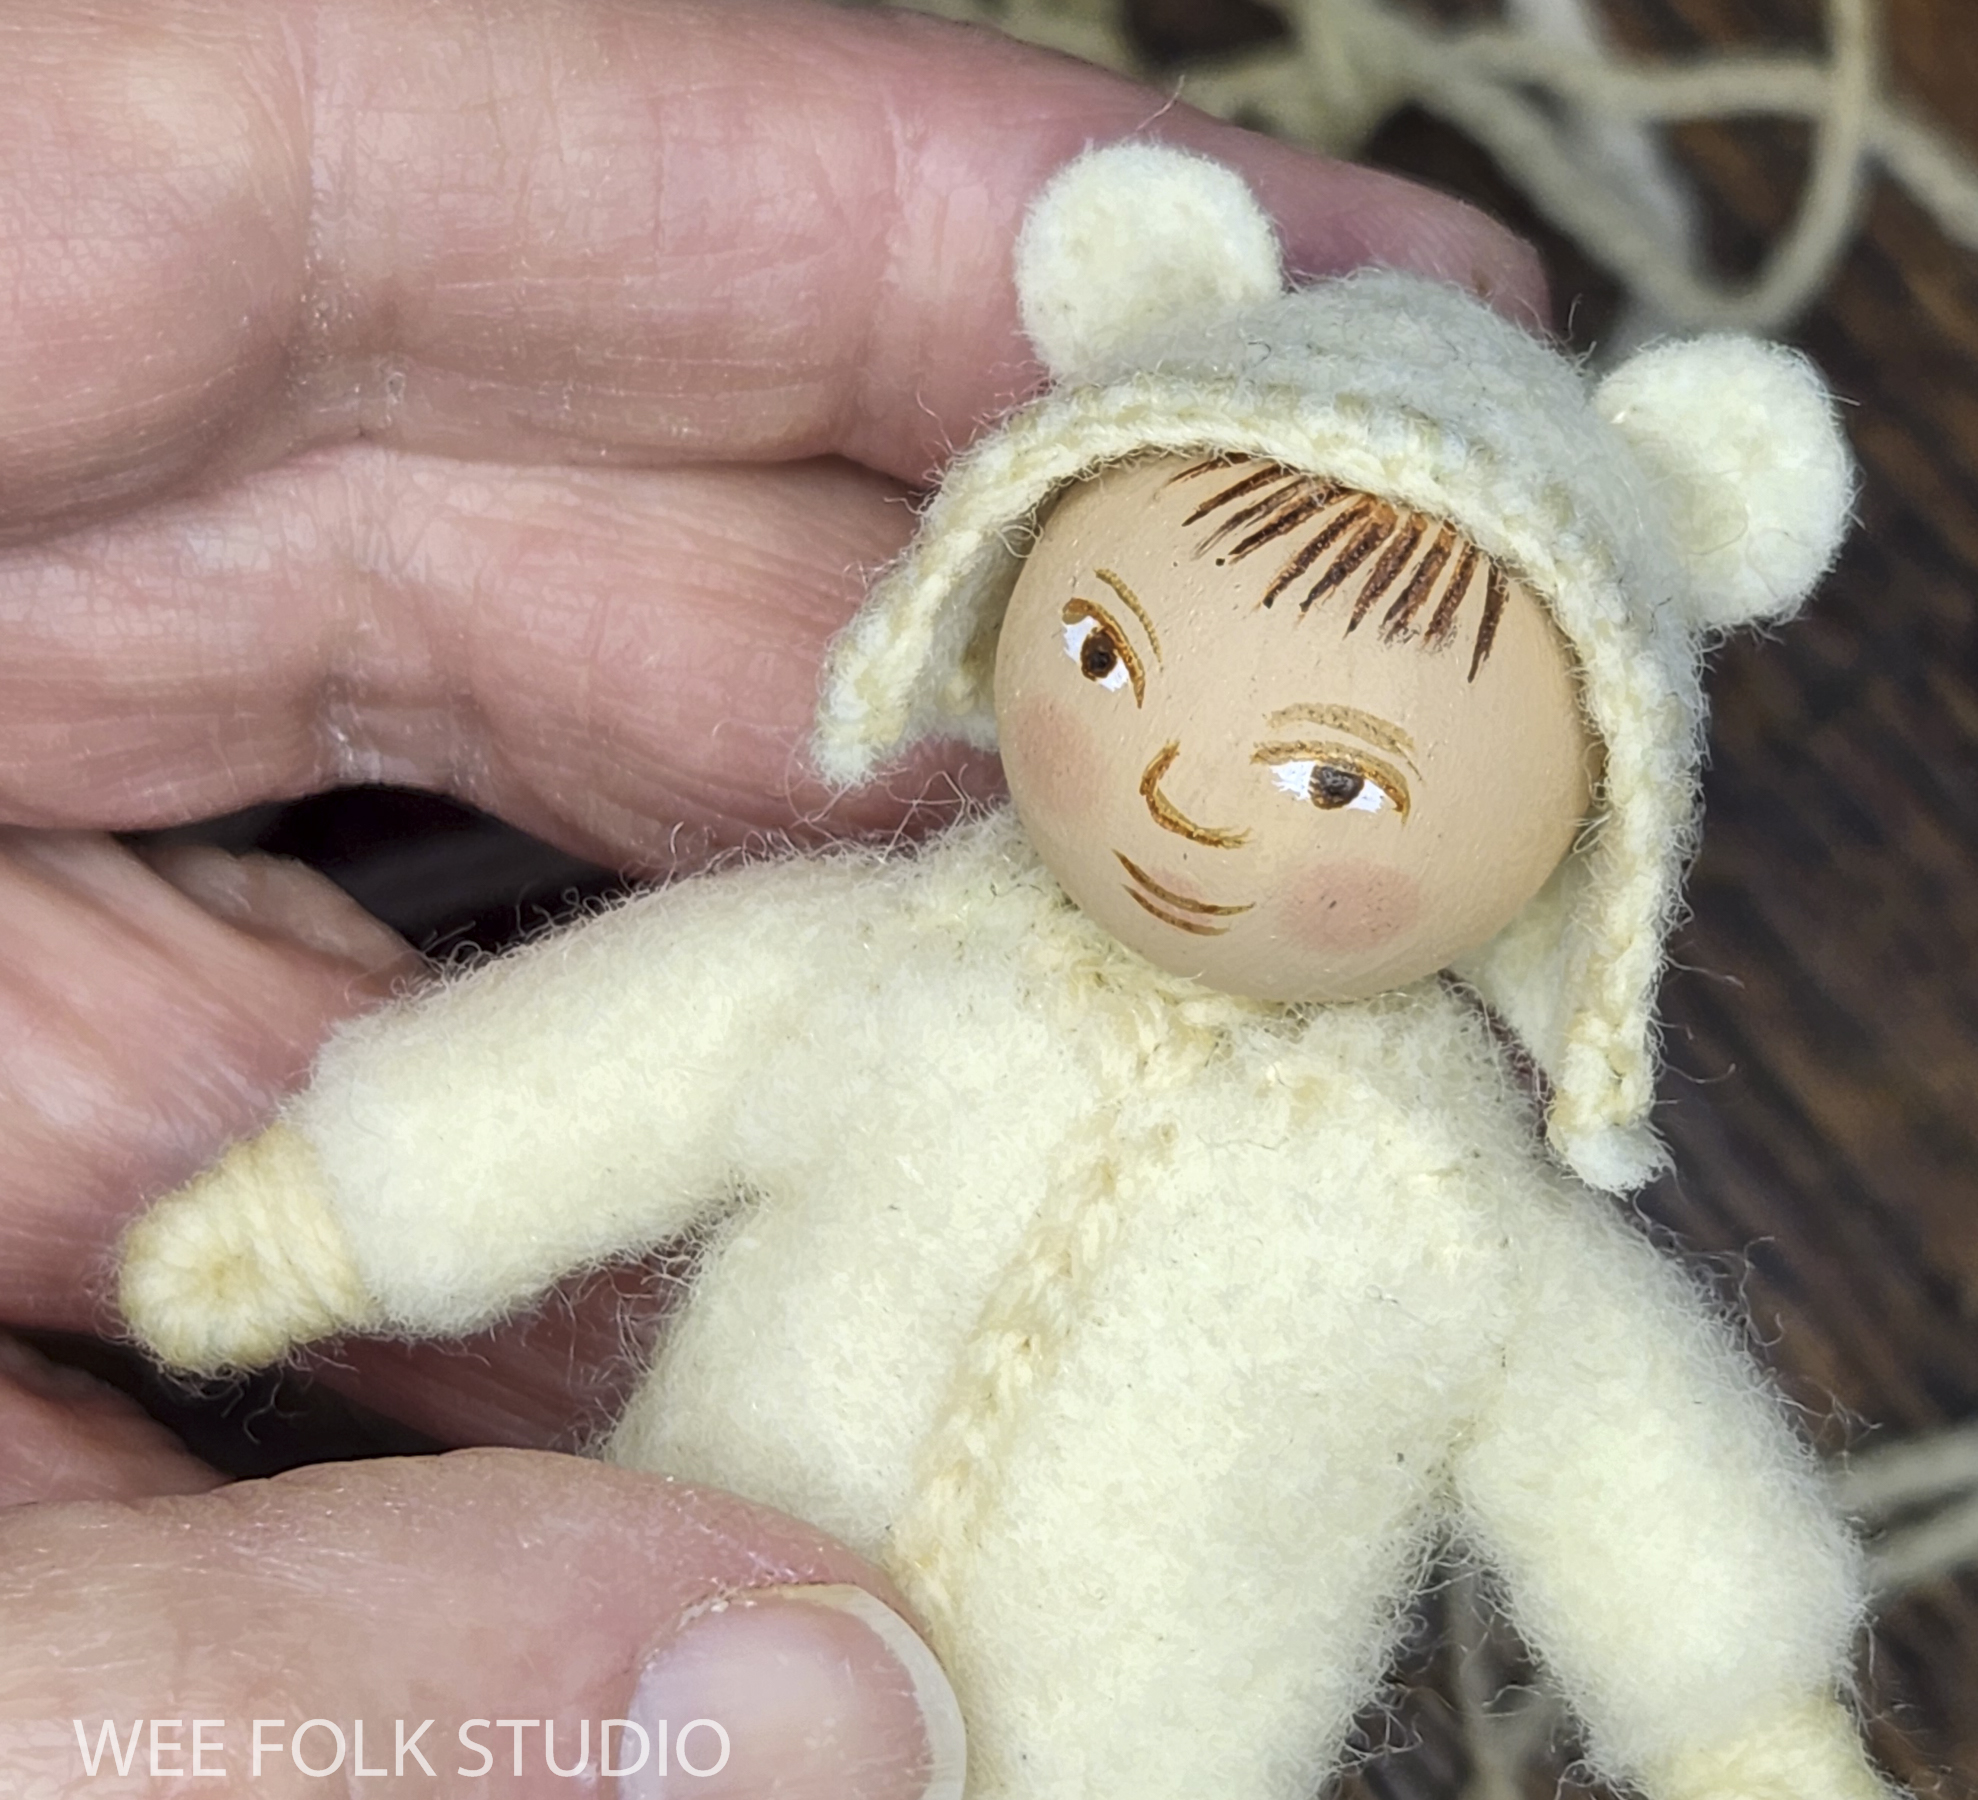
My introduction to sewing and embroidery began at home, where my mother and grandmother taught me practical basics such as threading a needle, using a thimble, and making simple stitches. Later, I followed diagrams for basic stitches that were printed in a simple, well-worn embroidery booklet. Although this early guidance provided the groundwork, most of my skills were developed on my own. Through experimentation and repeated practice, I gradually taught myself the techniques that now form the basis of my work. In time, a needle and thread became for me what a brush and paint are to another artist: tools of self-expression.
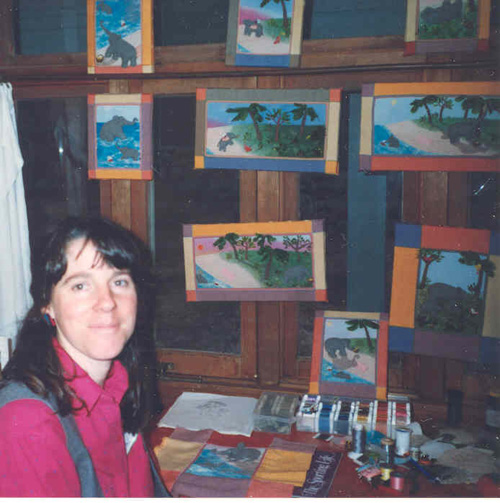
In the 1970s. when I began studying illustration at the Rhode Island School of Design, I believed that being taken seriously meant focusing on fine art and setting aside my interest in crafts, especially needlework. Mercifully, I was enlightened by a perceptive teacher, Judy Sue Goodwin-Sturges, who noticed that I often brought handwork projects to occupy myself during the long and tedious critique sessions. Recognizing my passion for sewing, she urged me to incorporate those skills into my class assignments.

With Judy-Sue’s encouragement, I tapped into my crafty and playful side, which led to a complete shift in my artistic approach. No longer confined to traditional art mediums, I discovered that working with stitching and soft sculpture allowed my imagination to come alive in new and exciting ways. Every class project became more than just an assignment, it was a chance to experiment, to try out new ideas and ways of making art, whether working by hand or with a sewing machine.


Through the tactile process, my hands guided me intuitively, leading me to express ideas more clearly and authentically. This newfound sense of freedom felt exhilarating—an organic, joyful expression straight from the heart. Ultimately, this experience affirmed for me that textile arts are more than mere techniques; they are a unique visual language that enabled me to tell stories in my own distinctive voice.
Years later, in the 1990s, after establishing a career in children’s books, I organized group stitching activities for other parents in my children’s Waldorf school. For me, this was the ideal situation, as these communal gatherings provided a relaxed supportive environment where we could learn from each other. When I later taught doll-making classes in more structured settings, primarily for embroidery and quilt groups, I quickly became aware of the challenges posed by my introverted nature. While I was able to assist my students, maintaining the role of teacher for an extended period proved to be draining. I also noticed an unexpected feeling of envy toward the class as they became absorbed in their projects. More than anything, I wished to join them, immerse myself in stitching, and share in the creative process rather than direct it.
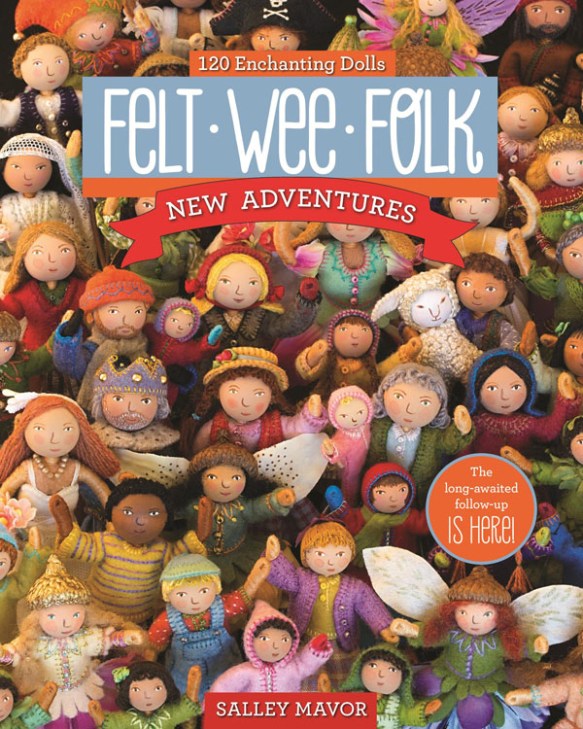
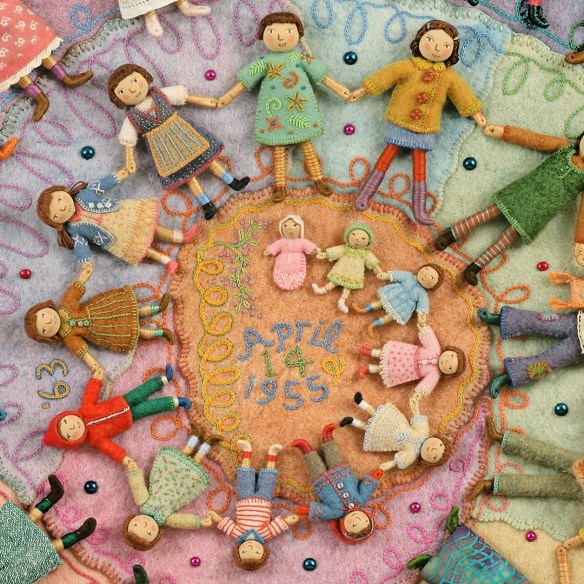
Although my own creative life has been self-directed, I understand that many people appreciate having a clear starting point. For some, the process of being led step-by-step is not only helpful but also deeply satisfying. Recognizing this, I designed and produced a line of fairy kits for ten years and wrote Felt Wee Folk, a comprehensive how-to guide focused on making small dolls.
My objective with the book was to introduce basic techniques and provide a flexible framework to build upon. By offering a range of characters and variations, I aimed to encourage readers to move beyond copying and gain the confidence to add more personal touches. In sharing my methods, I hoped to open a door for others to experiment, play, and ultimately create something that was uniquely their own.
Ever since the first edition of Felt Wee Folk was released in 2003, I have grappled with an existential crisis stemming from the increased interest in my work. As the doll-making book gained popularity, many people sought further information and instructions about the techniques behind my more elaborate and intricate pieces. I became increasingly aware of the differences in expectations between those who view needlework primarily as a craft, centered on sharing methods and replicating patterns, and those who approach it as a form of artistic expression, emphasizing originality and personal vision.
This realization led me to establish a clear differentiation between the projects featured in my how-to book, Felt Wee Folk, and my fabric-relief work, which is much more technically challenging and personally meaningful.
The distinction between art and craft is a subject that is likely to be discussed and debated long after I’ve threaded my last needle. For myself, this ongoing conundrum raises questions about when to share my methods and when to refrain. Except for a few processes I consider proprietary, like making dolls’ hands, I am unconcerned about others copying my methods. Rather, my hesitation lies in the investment of time and energy required to explain my techniques in detail. Describing how I created something, especially after having lived and struggled with a piece for months, feels like I am retracing my steps and becoming mired in the past, which prevents me from moving forward artistically.

I have come to realize that when the act of creating is overly analyzed and dissected, much of its inherent magic is lost. The joy I find in making art lies in allowing inspiration and intuition to guide my choices, rather than feeling compelled to constantly think in terms of explaining the process to someone else.
The intentions and priorities of artists who create original work with needle and thread often do not mesh with the pervasive imitation model held within today’s needle-craft industry. In my experience, exploring new concepts and ways of working necessitates actively educating the public and clarifying the nature of my creative process, as misconceptions frequently arise.
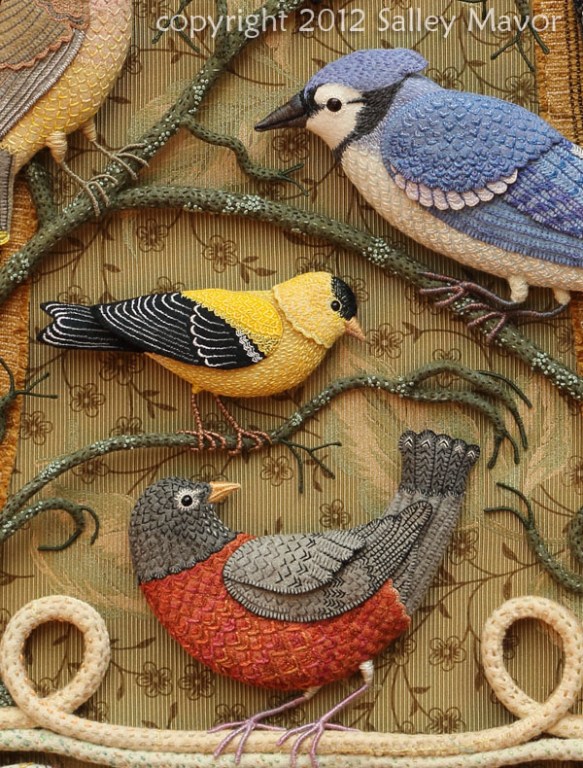
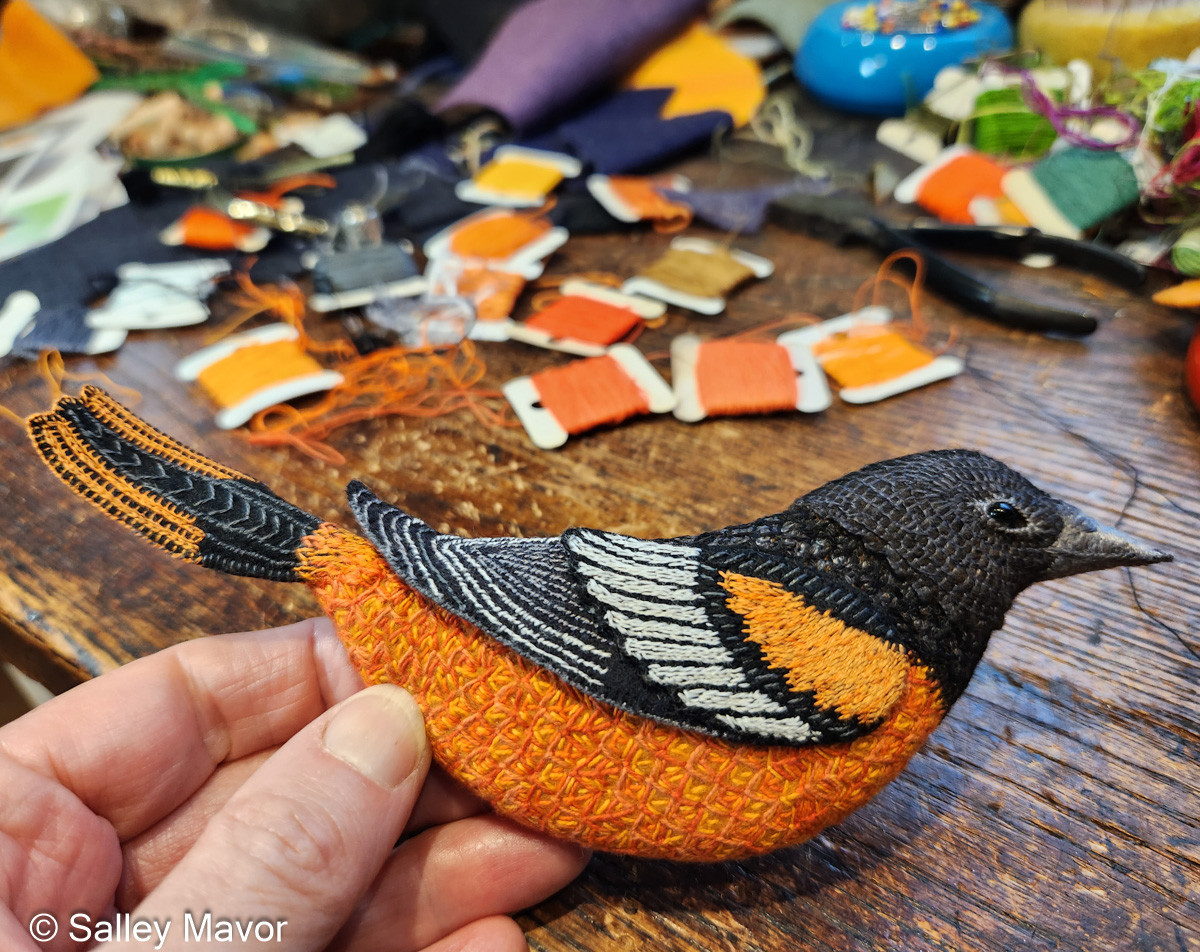
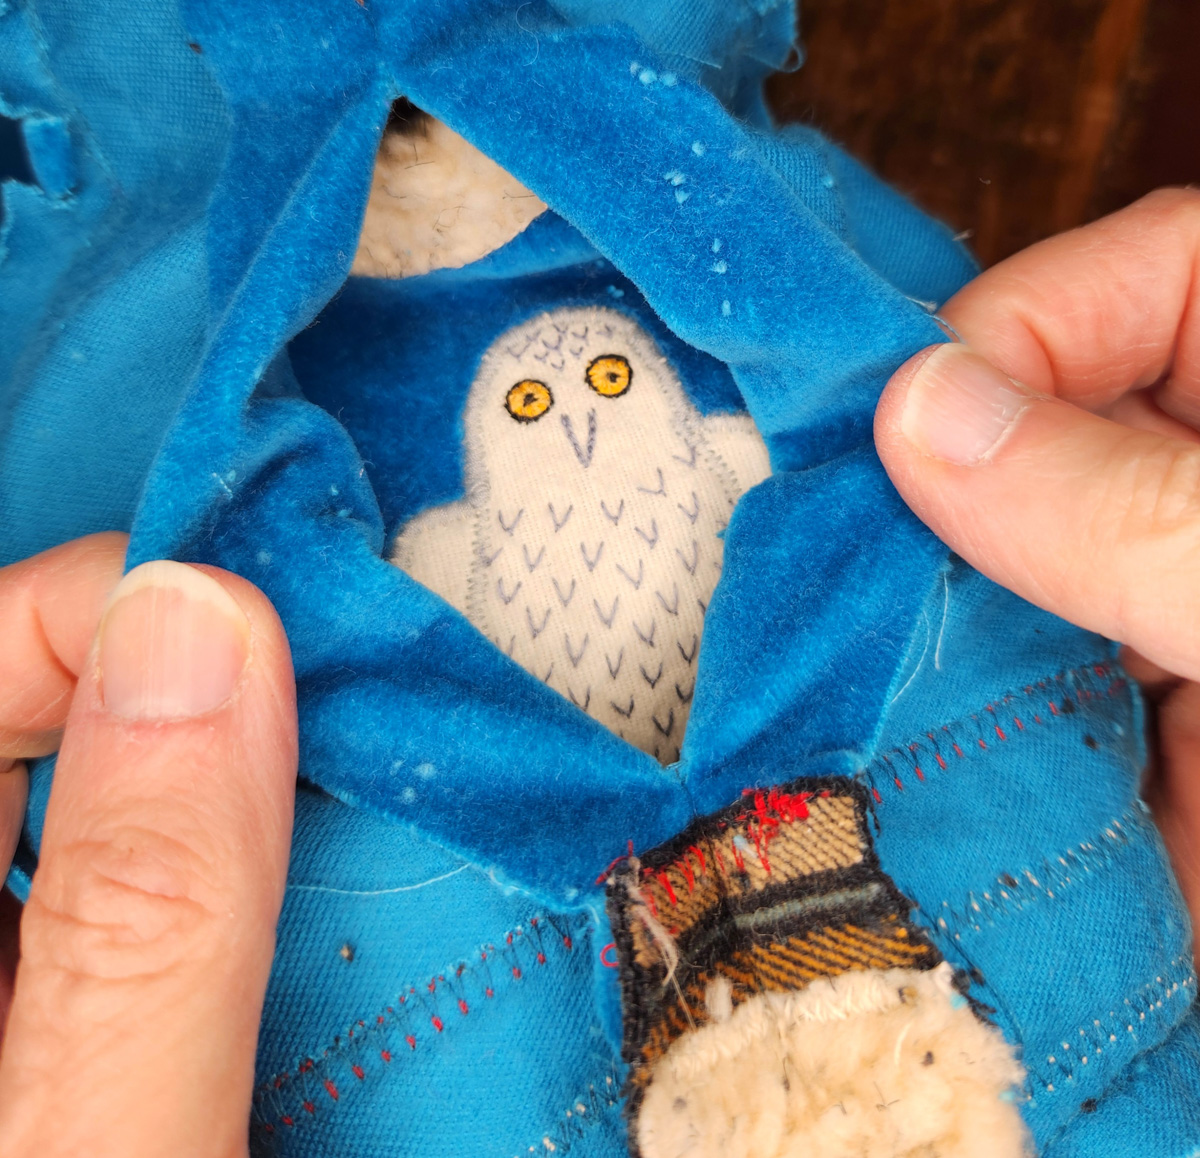
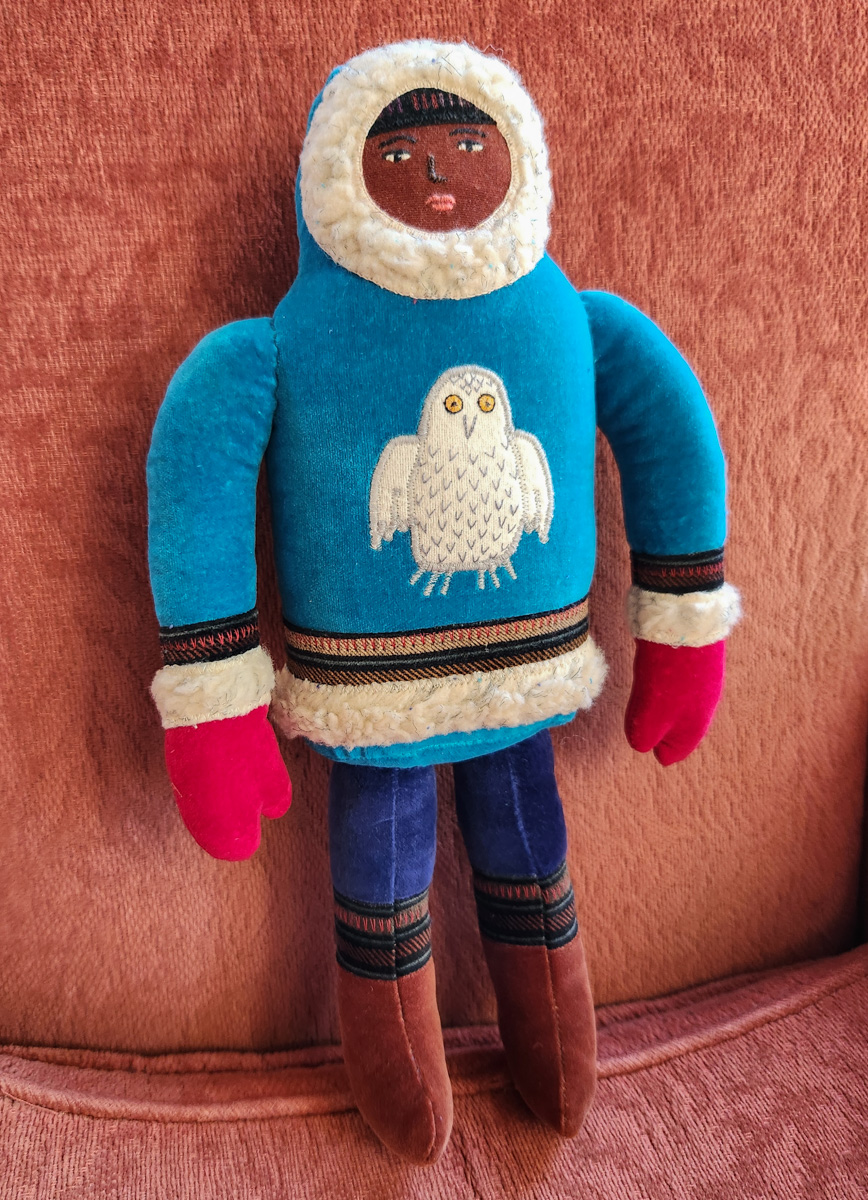
For example, it is not uncommon for people to ask if I have patterns for pieces like Birds of Beebe Woods. Others seek instructions for recreating the illustrations in my picture books. The expectation that I would provide patterns for my illustrations and fabric-relief works is perplexing to me. Just as artists in other mediums would likely be surprised if asked to supply patterns and step-by-step instructions for their creations, I find this request at odds with the spirit of artistic originality.
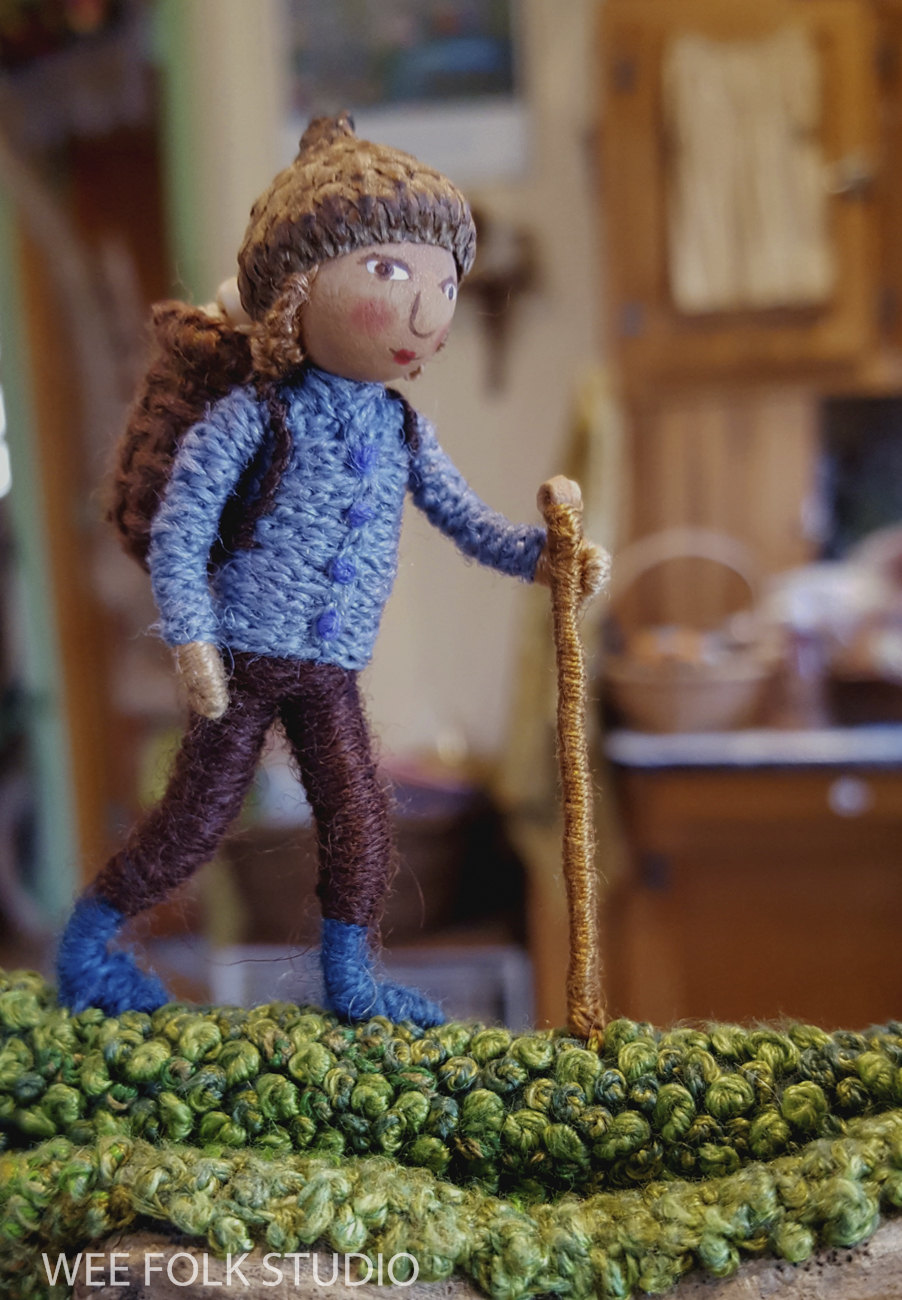
Although the conventional needlework industry does not entirely align with my creative approach, I am connected to it through the publication of my how-to book, which is promoted within this world. Aside from this, my artistic practice functions on its own, outside of the mainstream. This independence is hardly surprising, as my work tends to be an exception to the rule in any category it is lumped into, whether in embroidery, dolls, art quilts, miniatures, or children’s books.
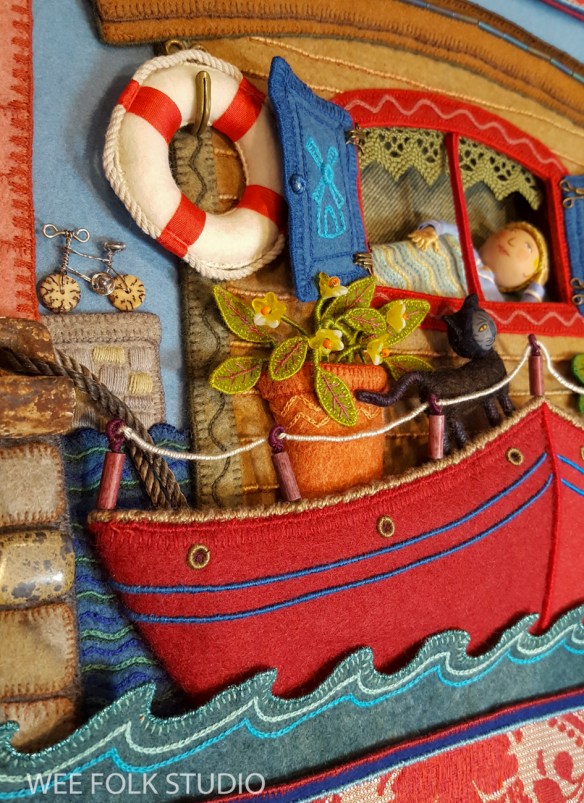
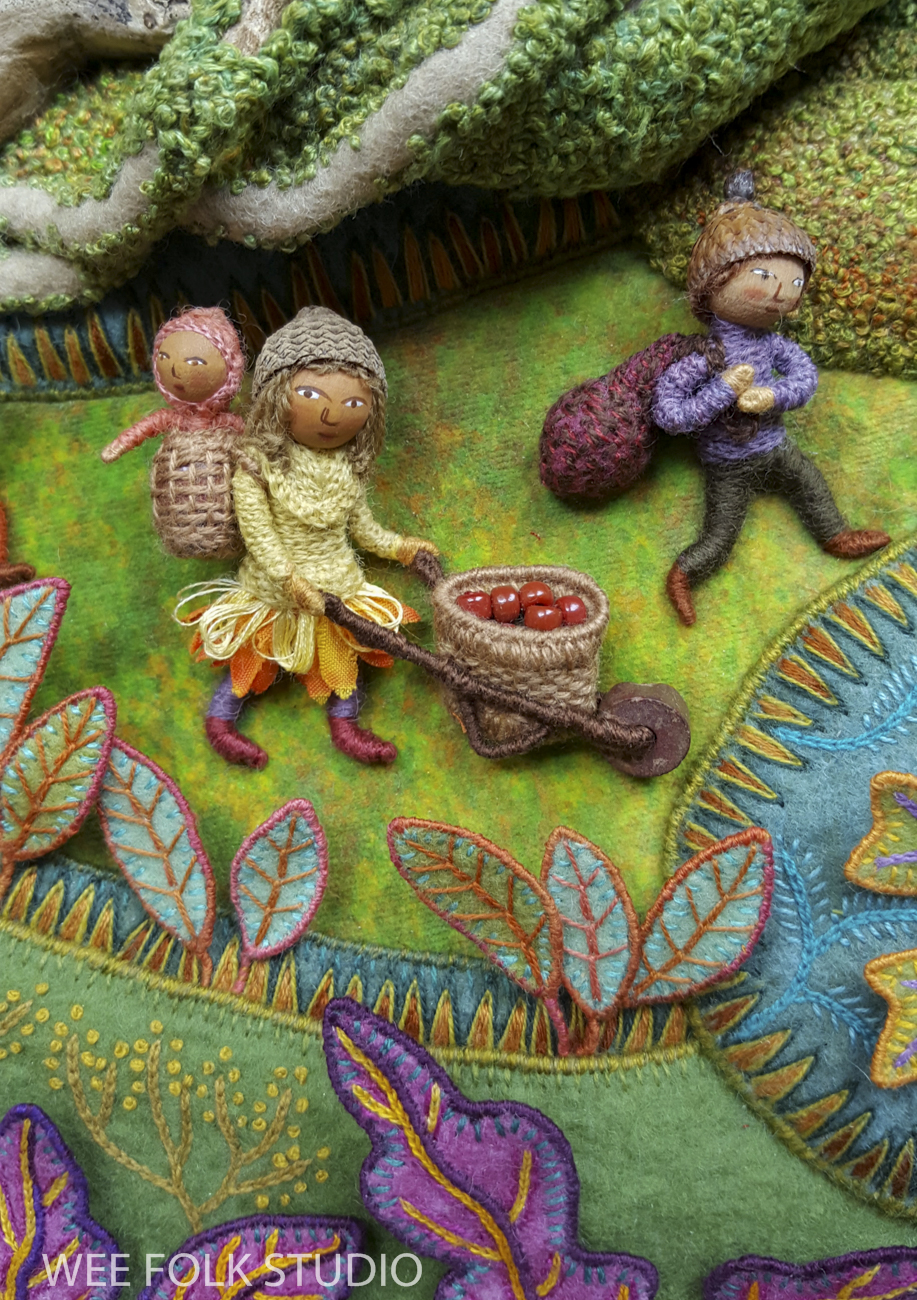
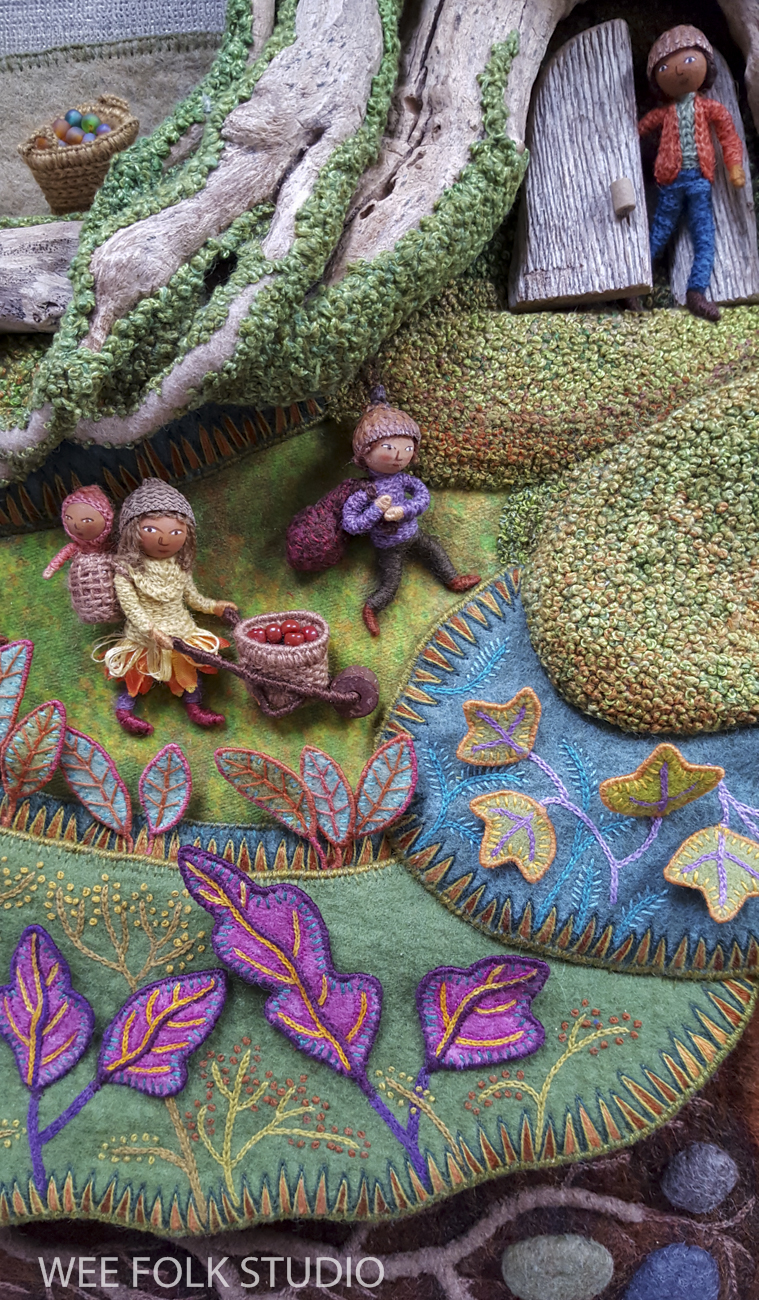
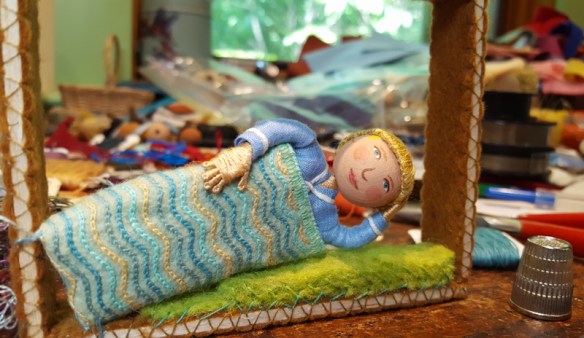
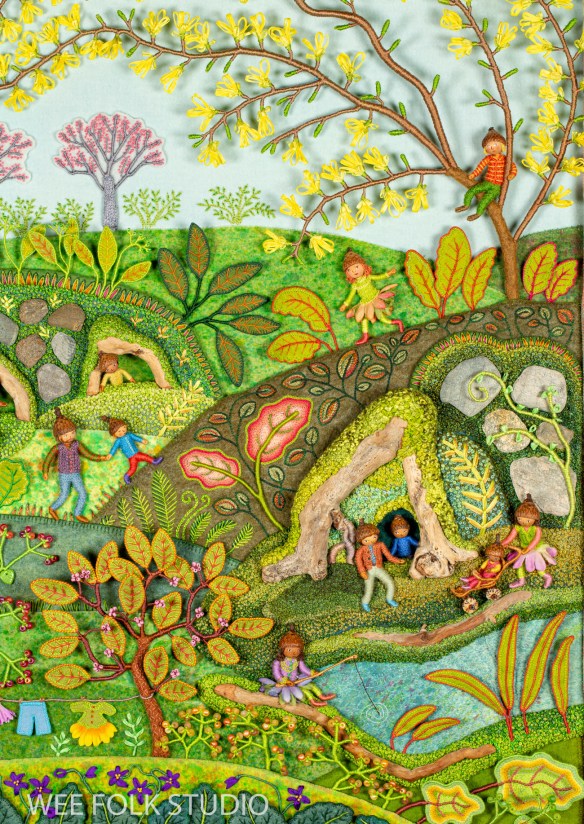
Even within the diverse and evolving field of fiber art, my work cannot easily claim a spot. The illustrative aspects that define my art set it apart from the abstract and conceptual tendencies prevalent in the contemporary fiber art world. Practically speaking, it’s hard to imagine my miniature doll-infused imaginary worlds finding acceptance within an art scene that appears to favor droopy, stringy, blobby large scale installations. As a result, my work exists on the margins of the fiber art world, resisting easy classification and standing out as an anomaly wherever it is placed.
All that being said, I see myself first and foremost as an artist. The essence of art, in my view, is not defined or limited by the choice of medium or materials. In today’s art world, all kinds of creative expressions are recognized, and the internet has opened doors for many to share their work, build careers, and attract followers, regardless of the traditional hierarchies upheld by the art establishment, curators, or critics.
I deeply appreciate the unique connection shared among needleworkers, regardless of their backgrounds or approaches. This community is bound by a desire to learn, grow, and refine their skills, and I hold a genuine respect for that pursuit. While I strive to maintain my identity as an artist, I am careful not to separate myself from the world of hobby needlework just to appear more “serious” or to gain validation from the broader art world. There is a profound sense of humanity and strength found in stitched objects that are labored over so lovingly.
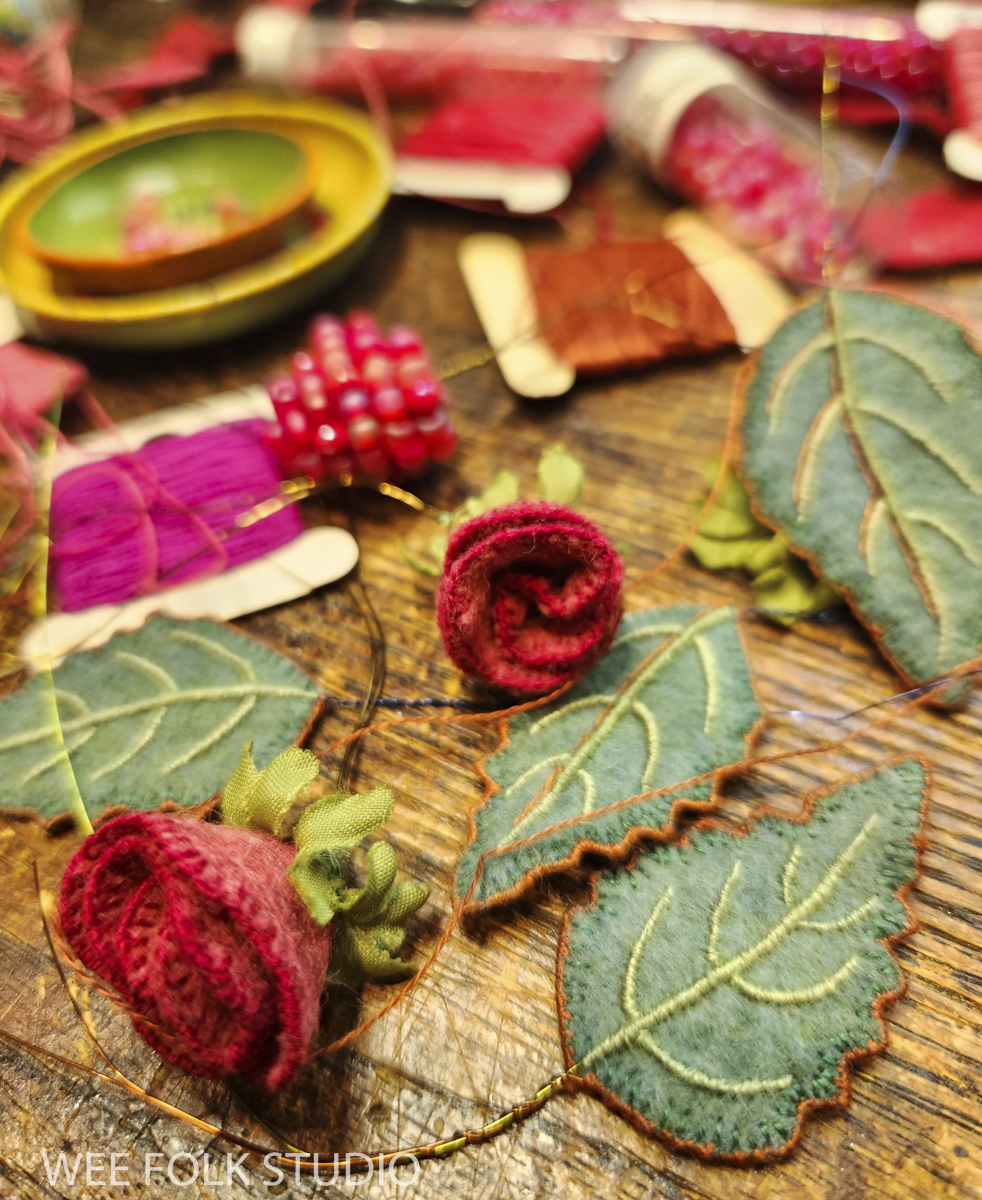
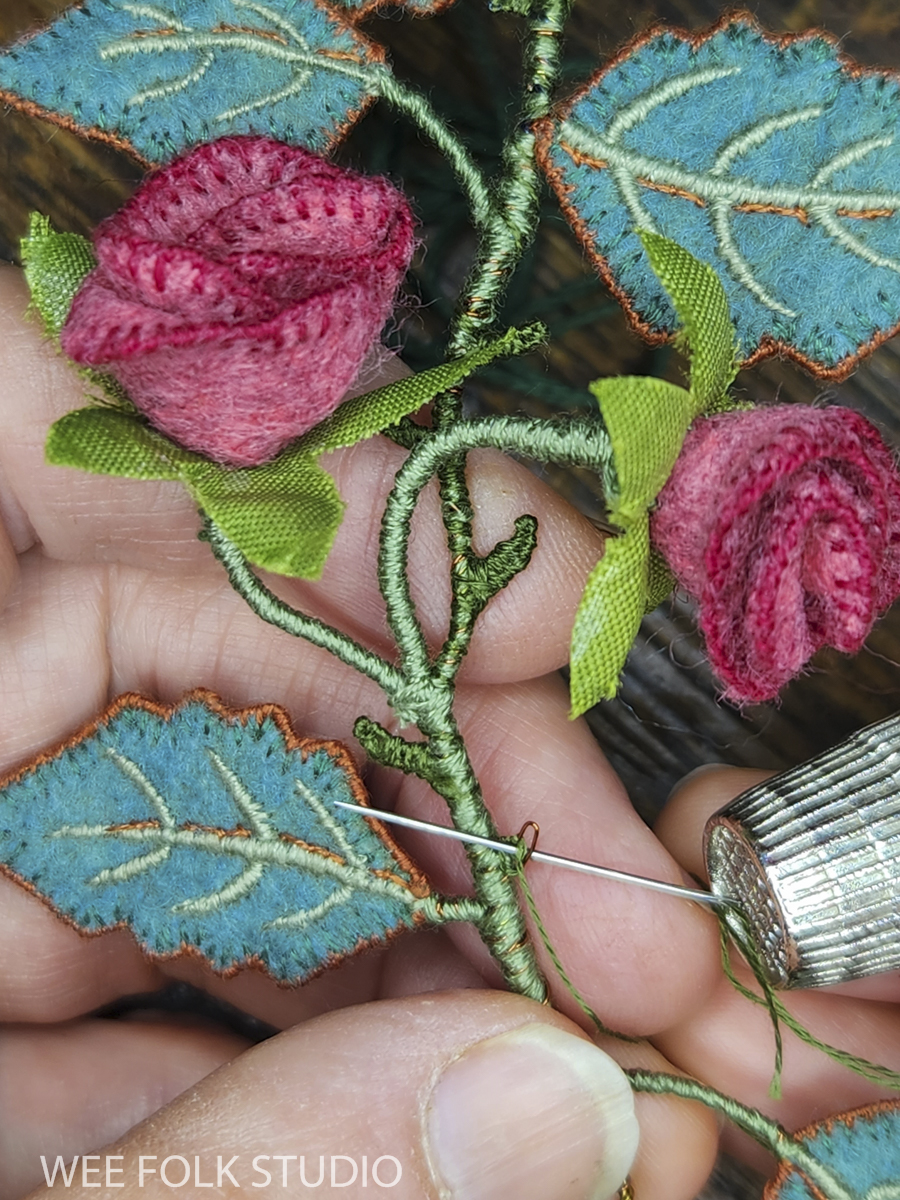
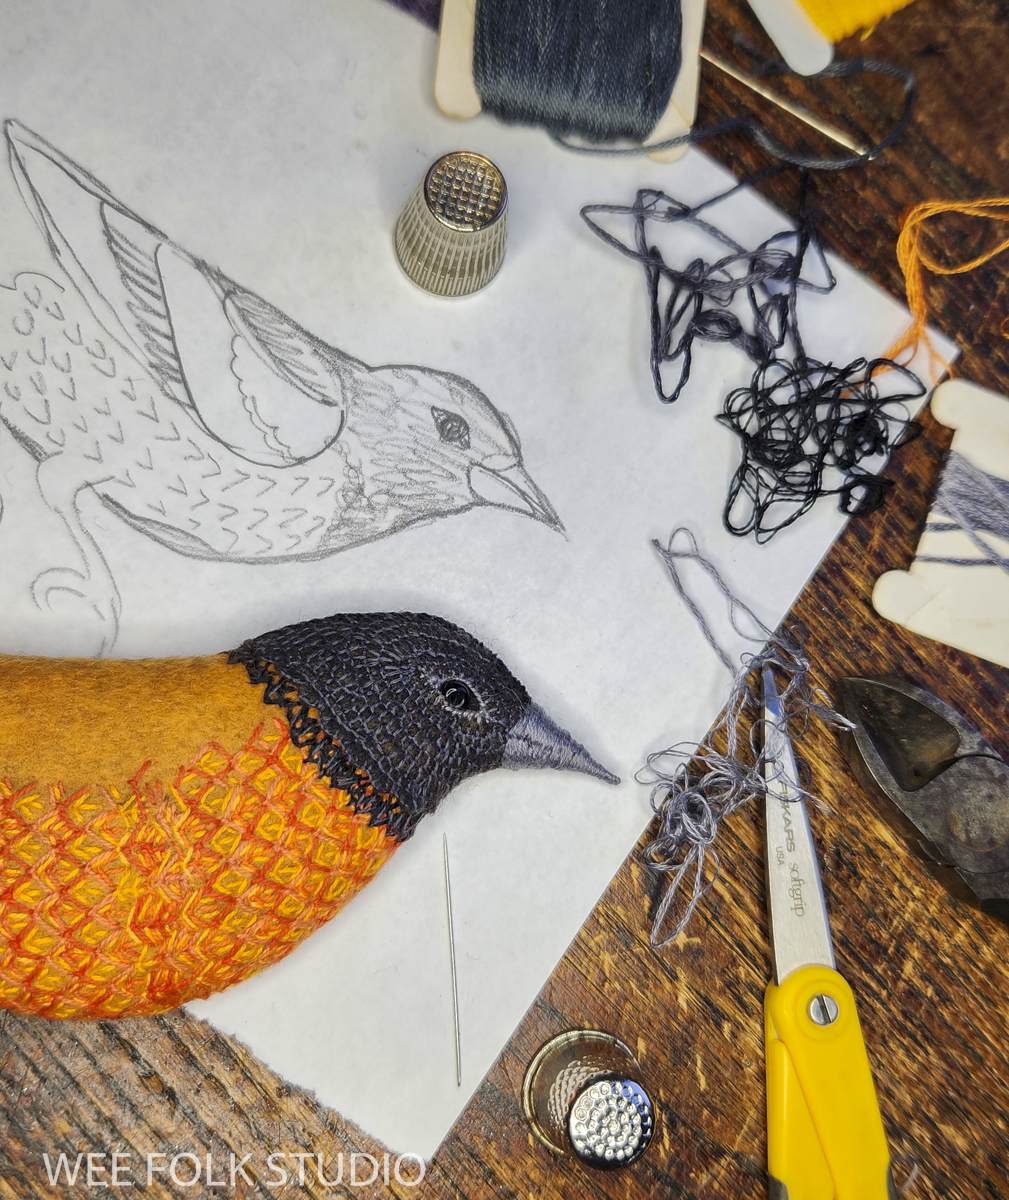
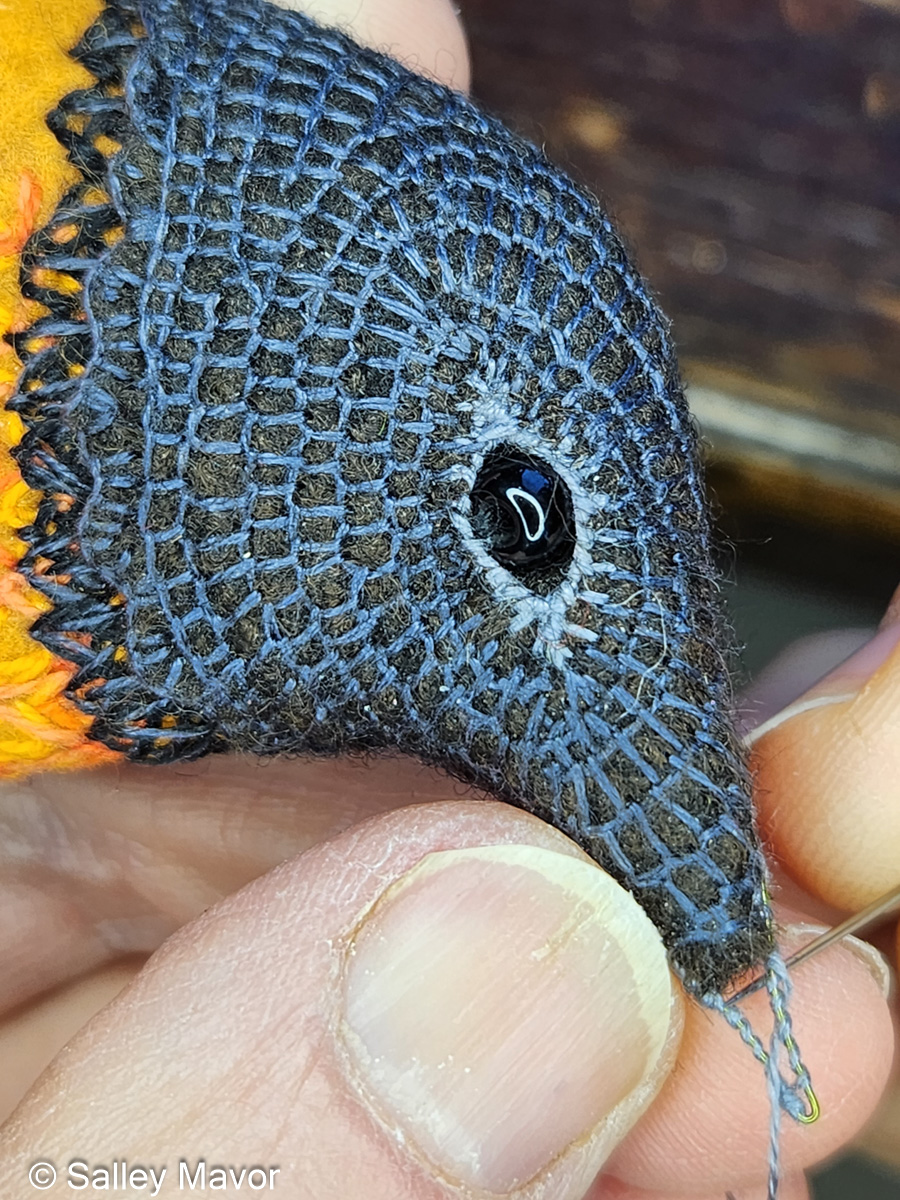
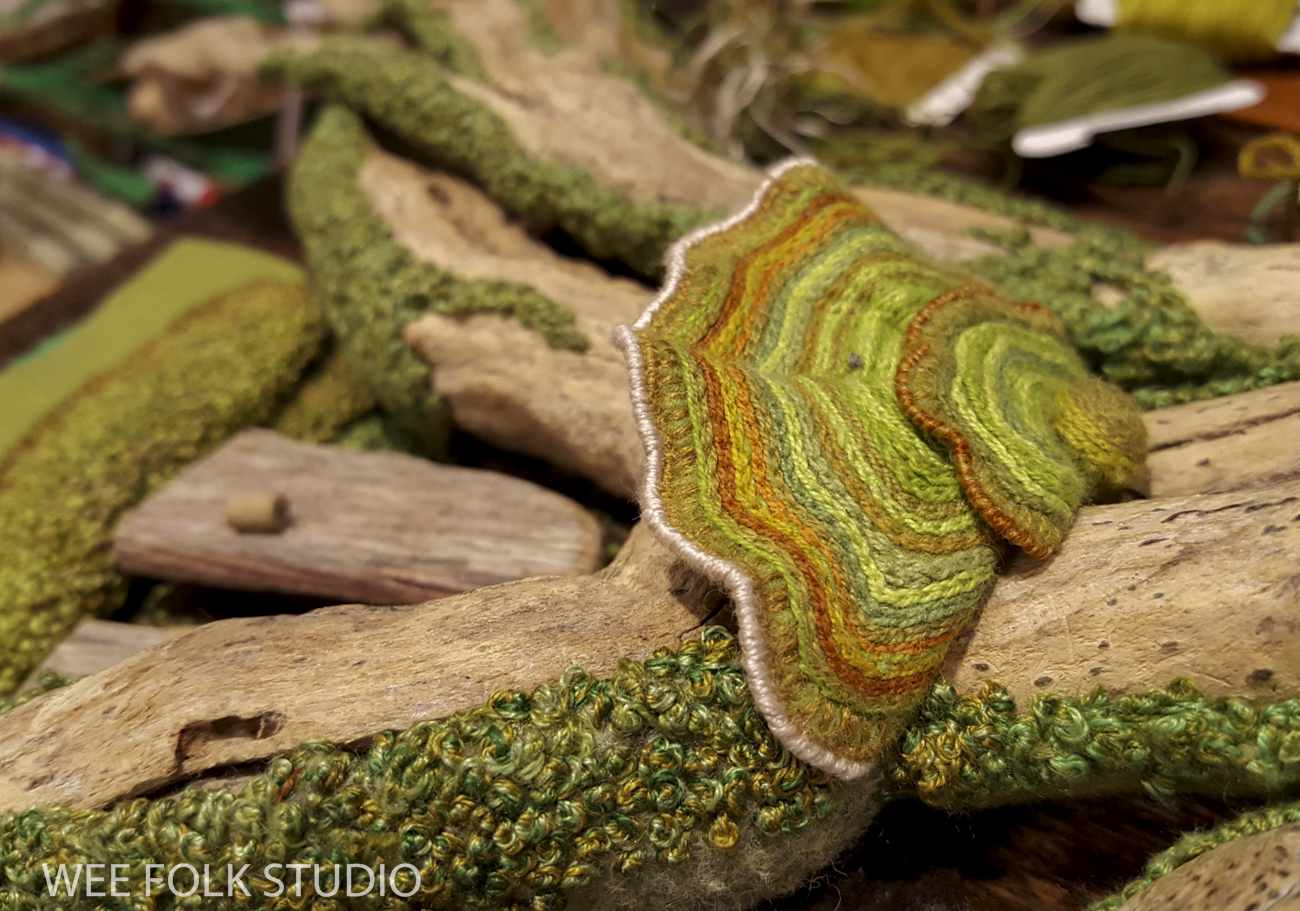
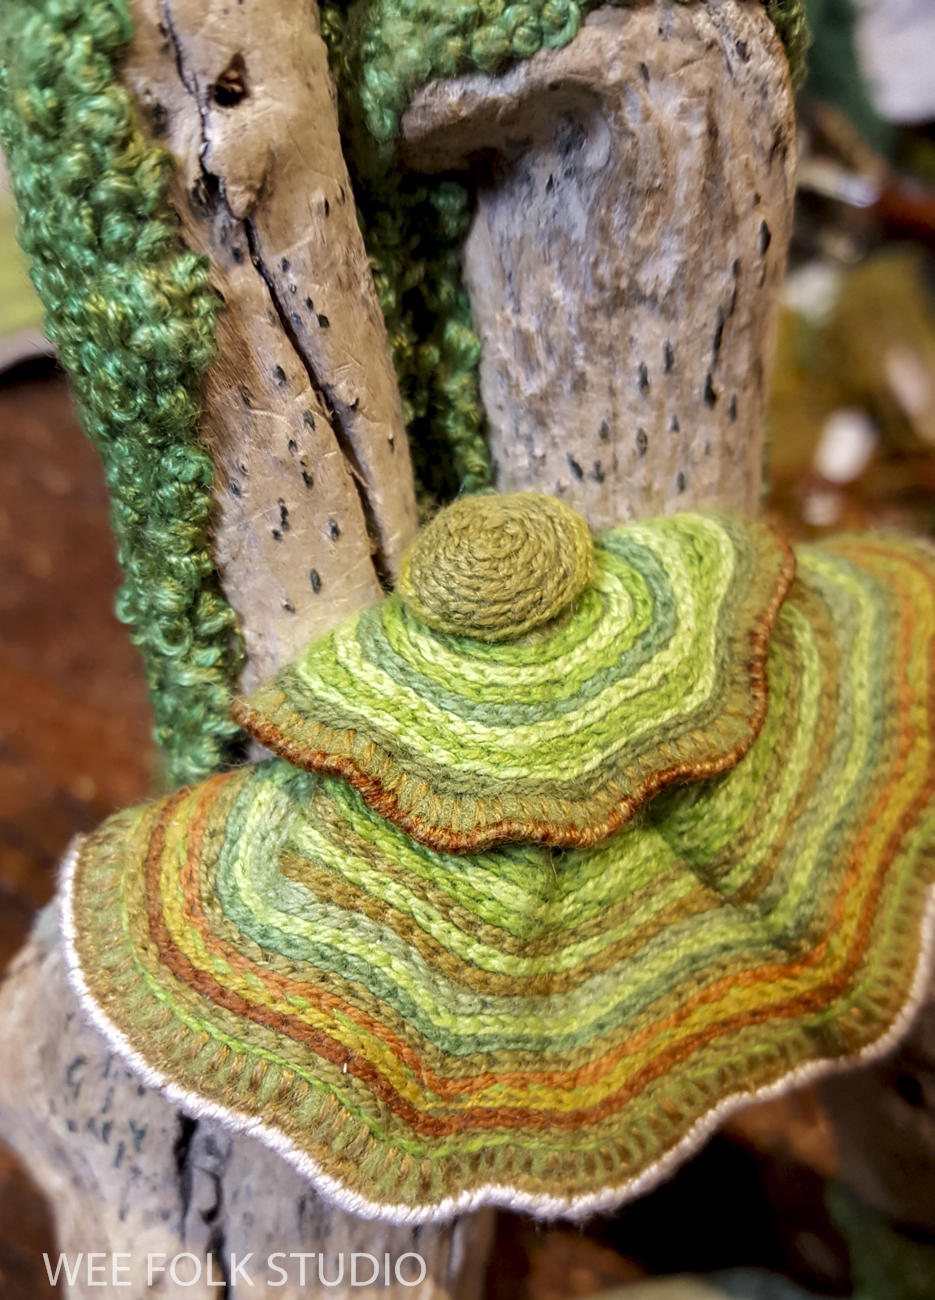
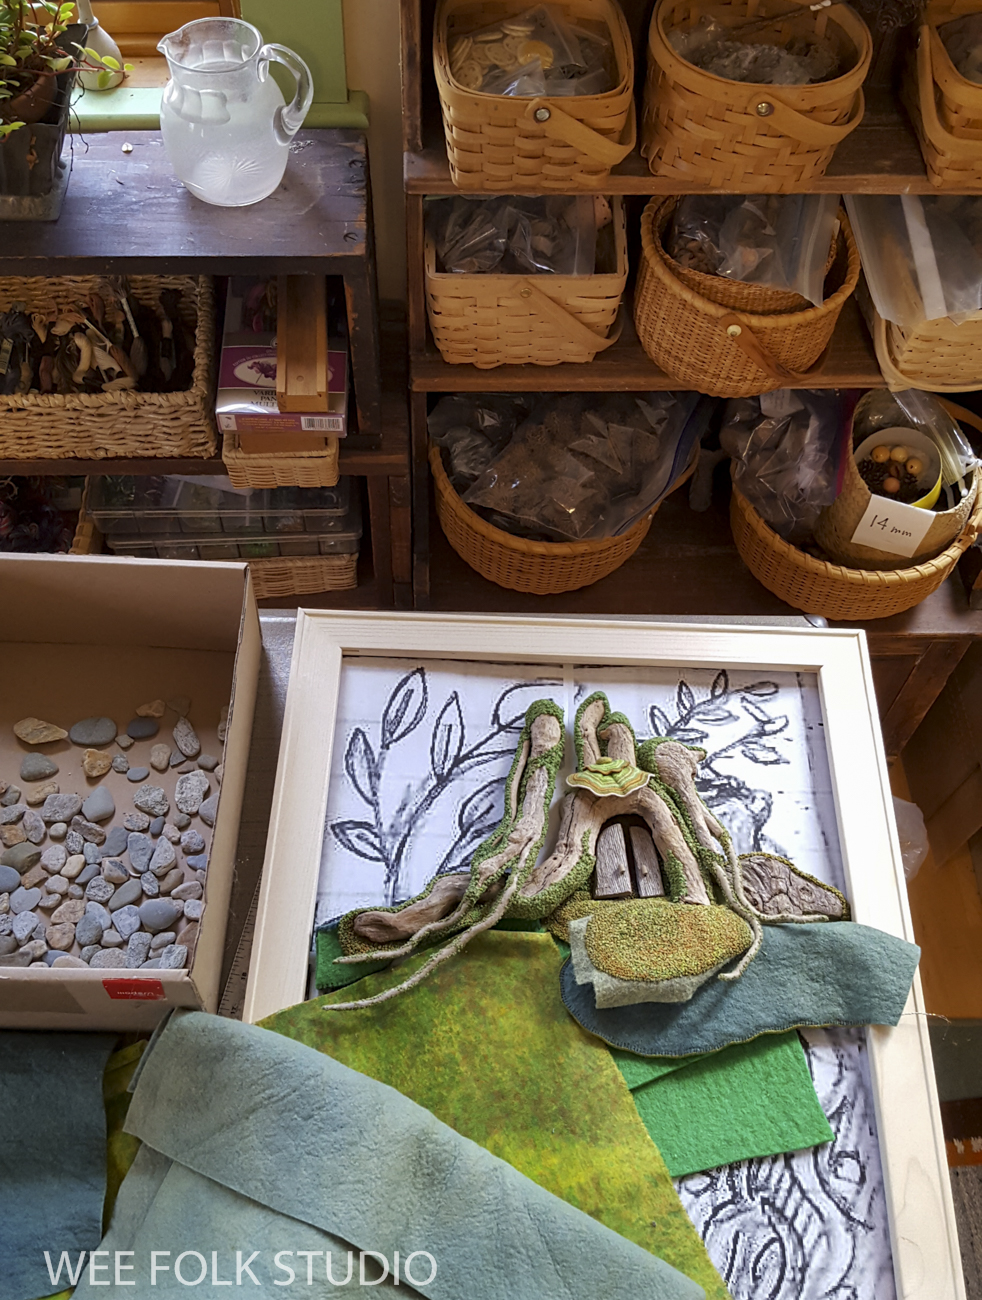
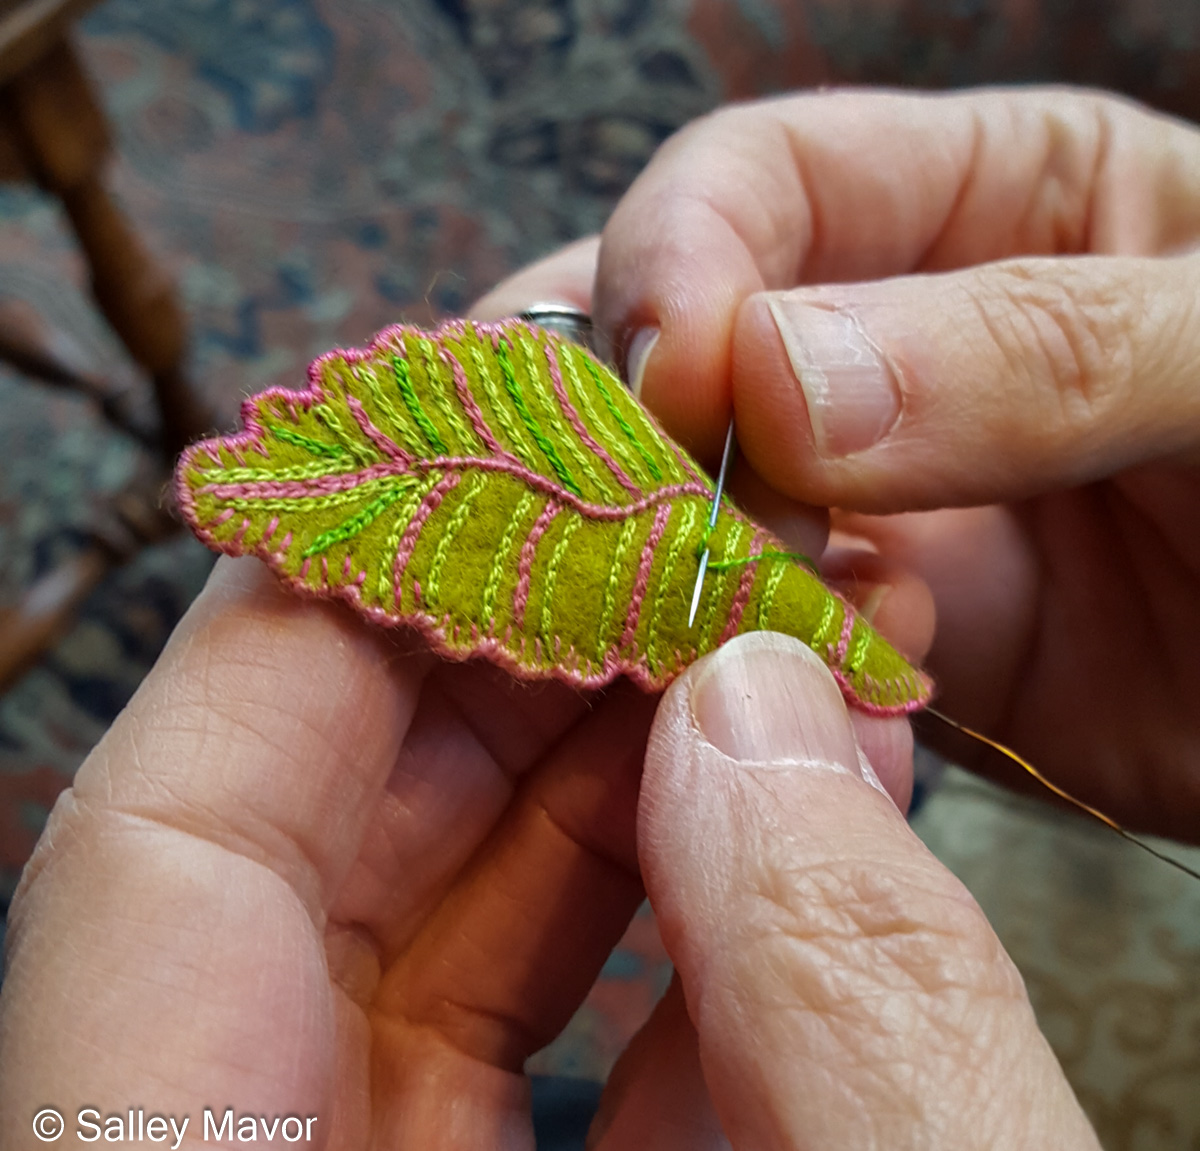
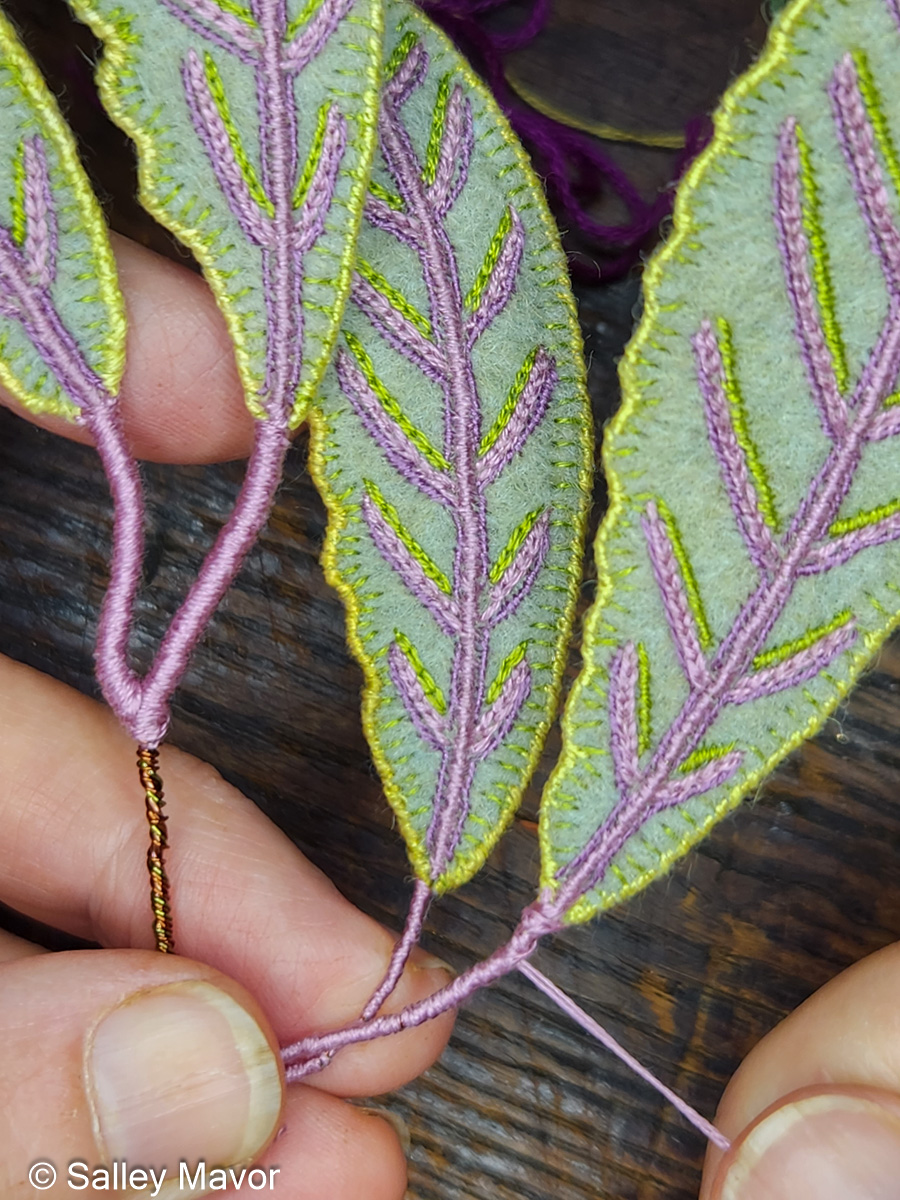
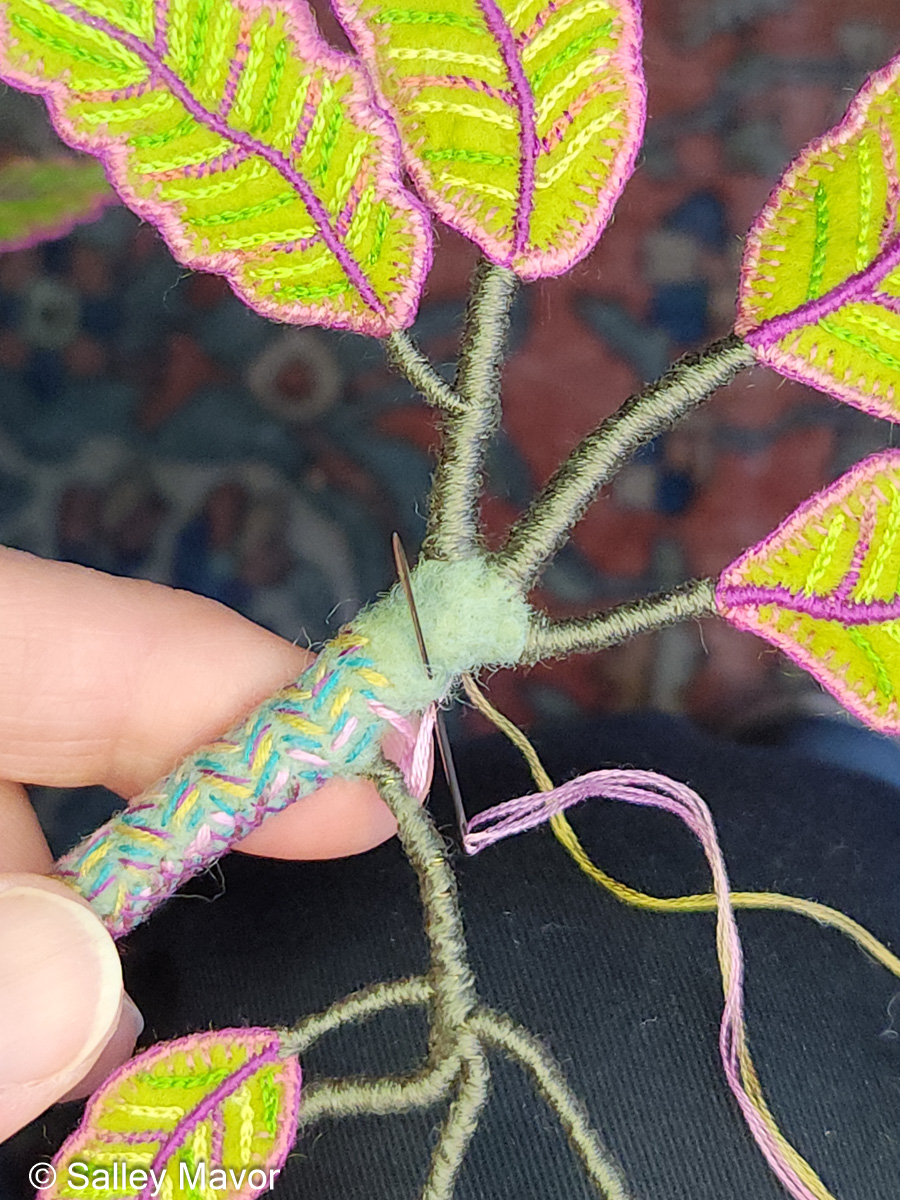
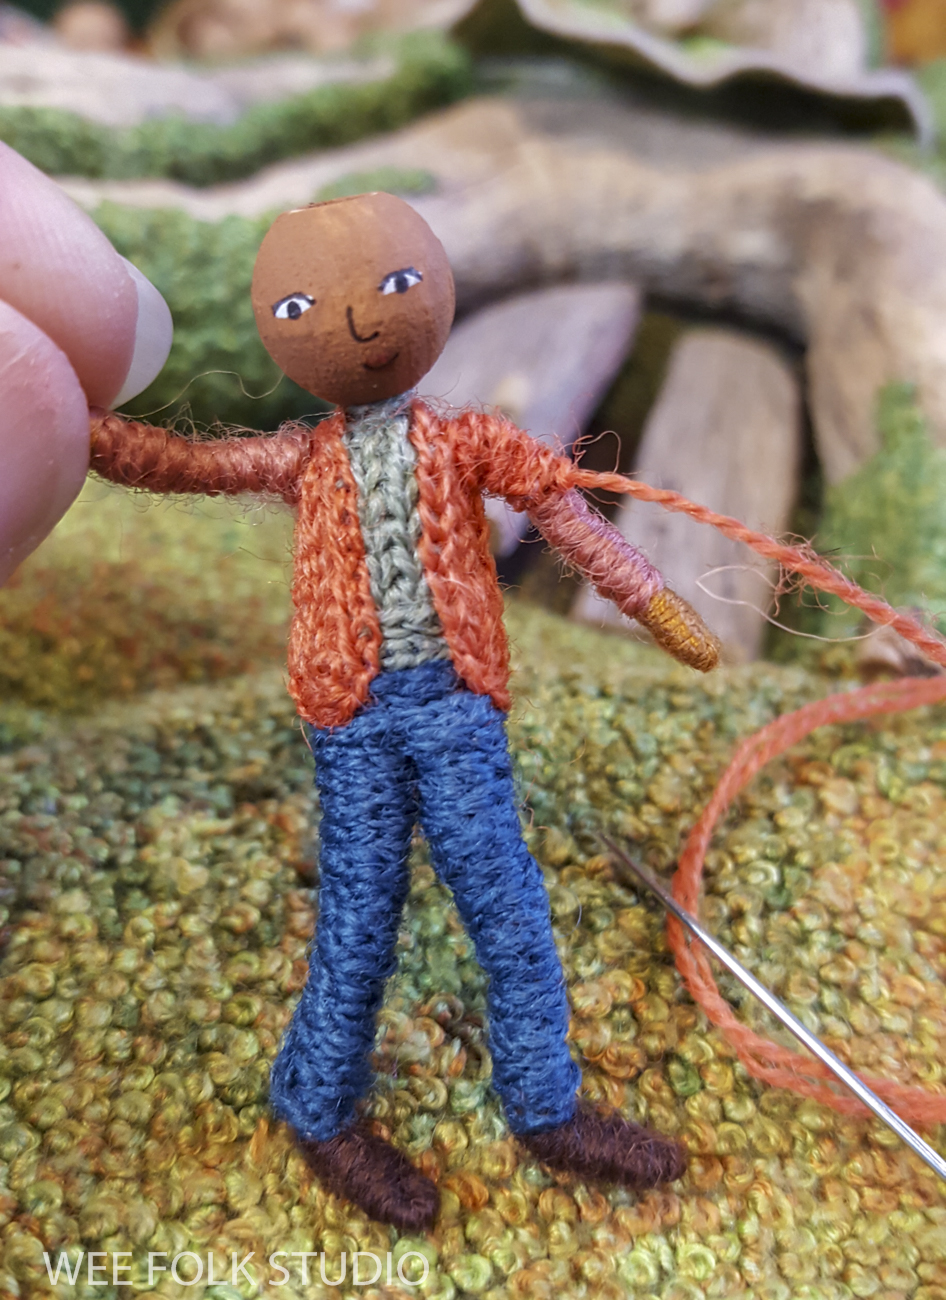
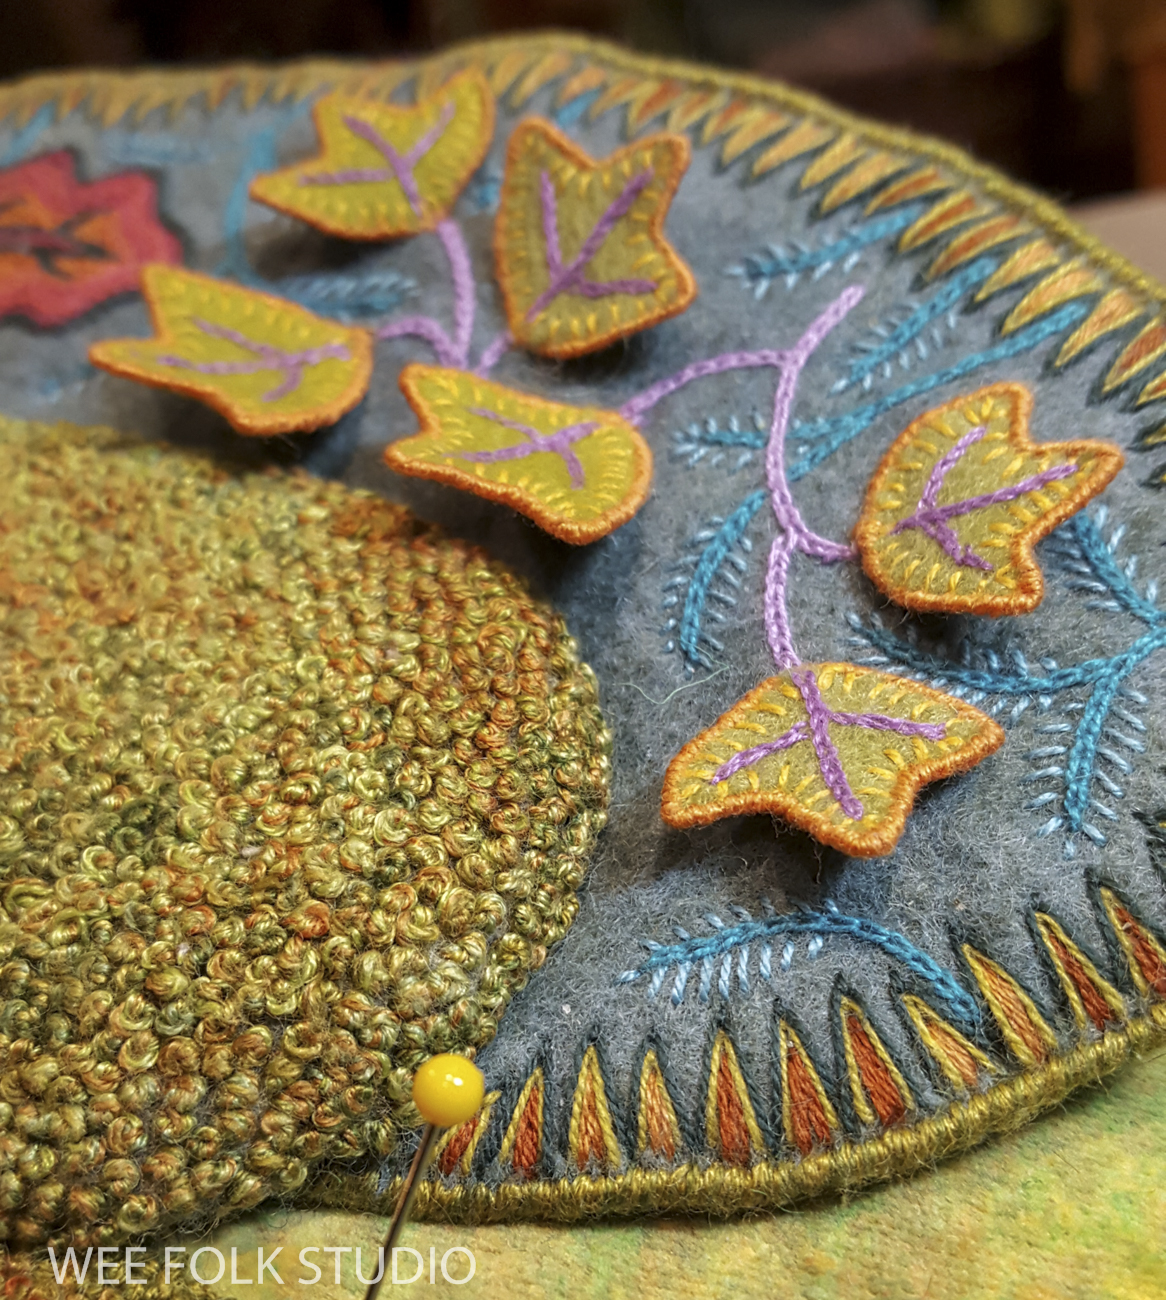
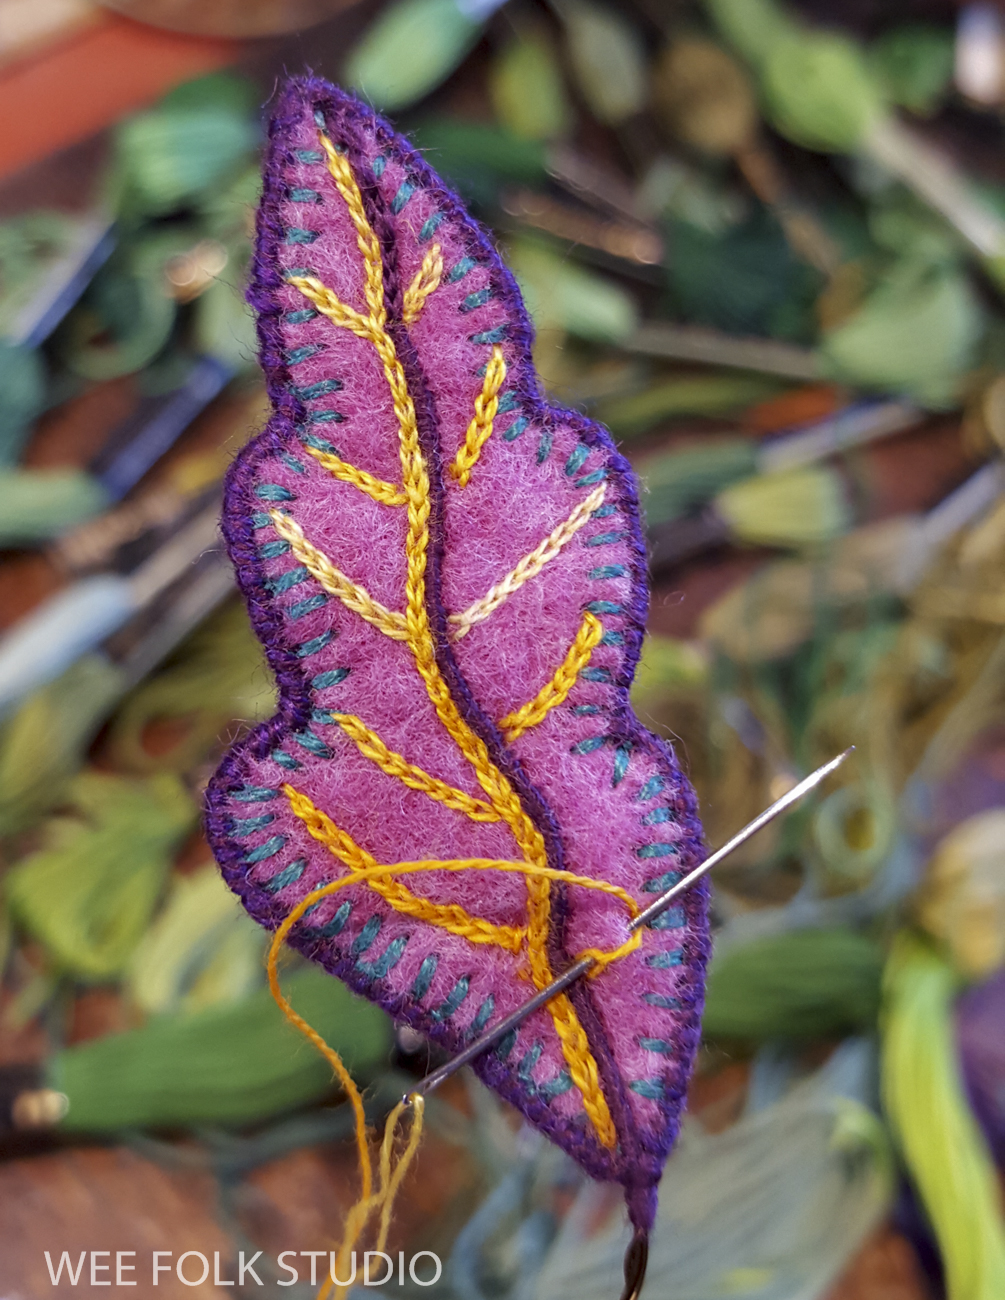
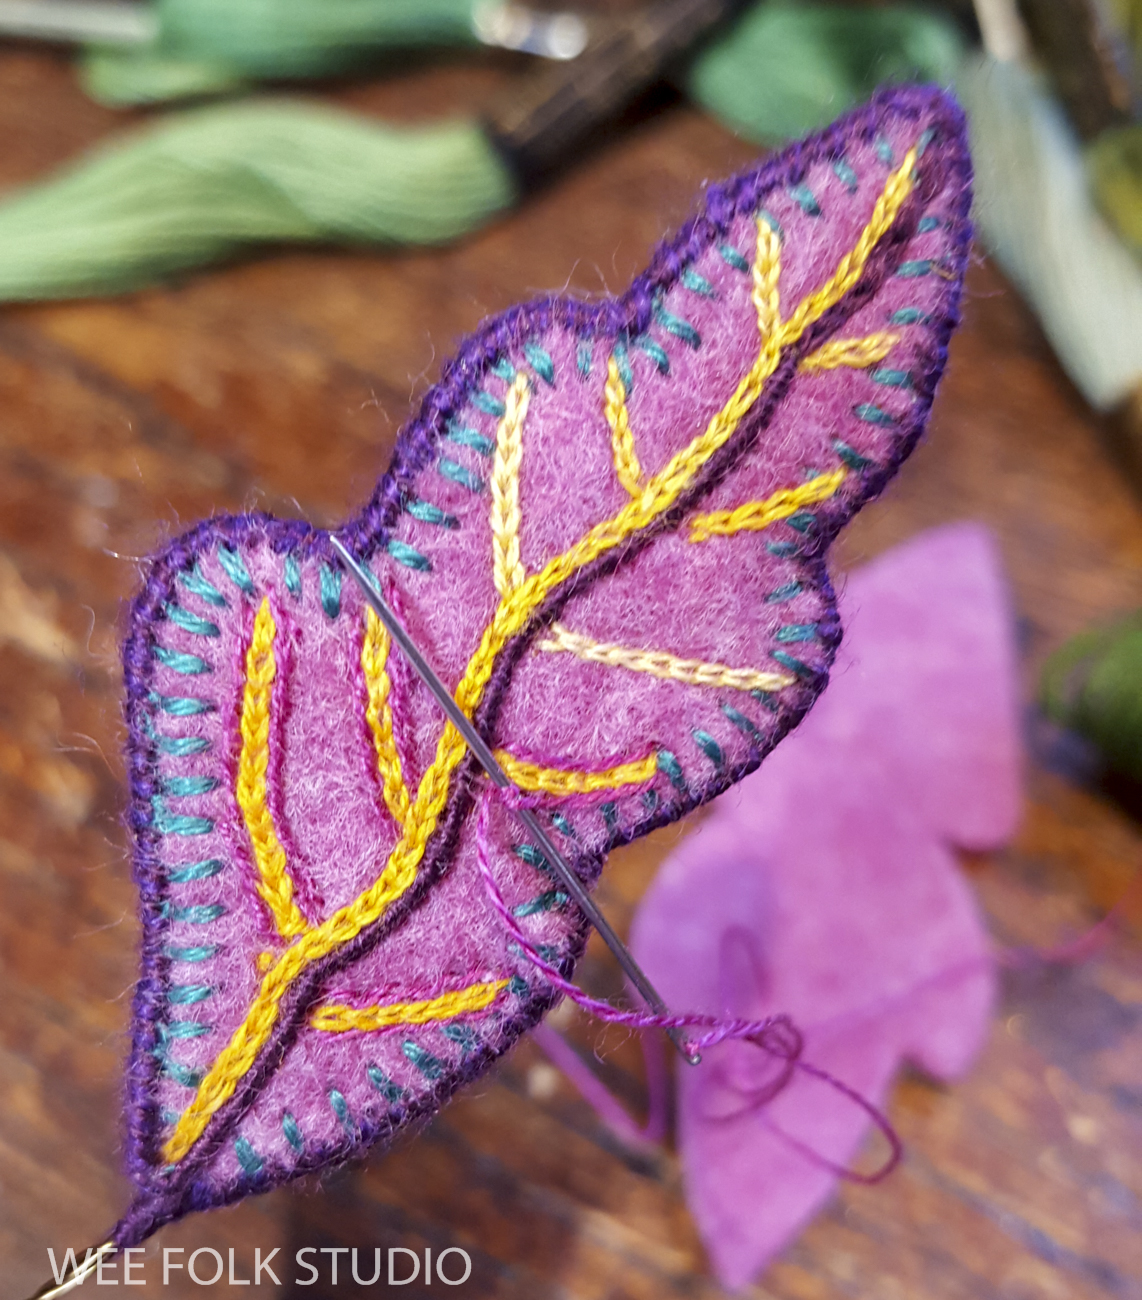
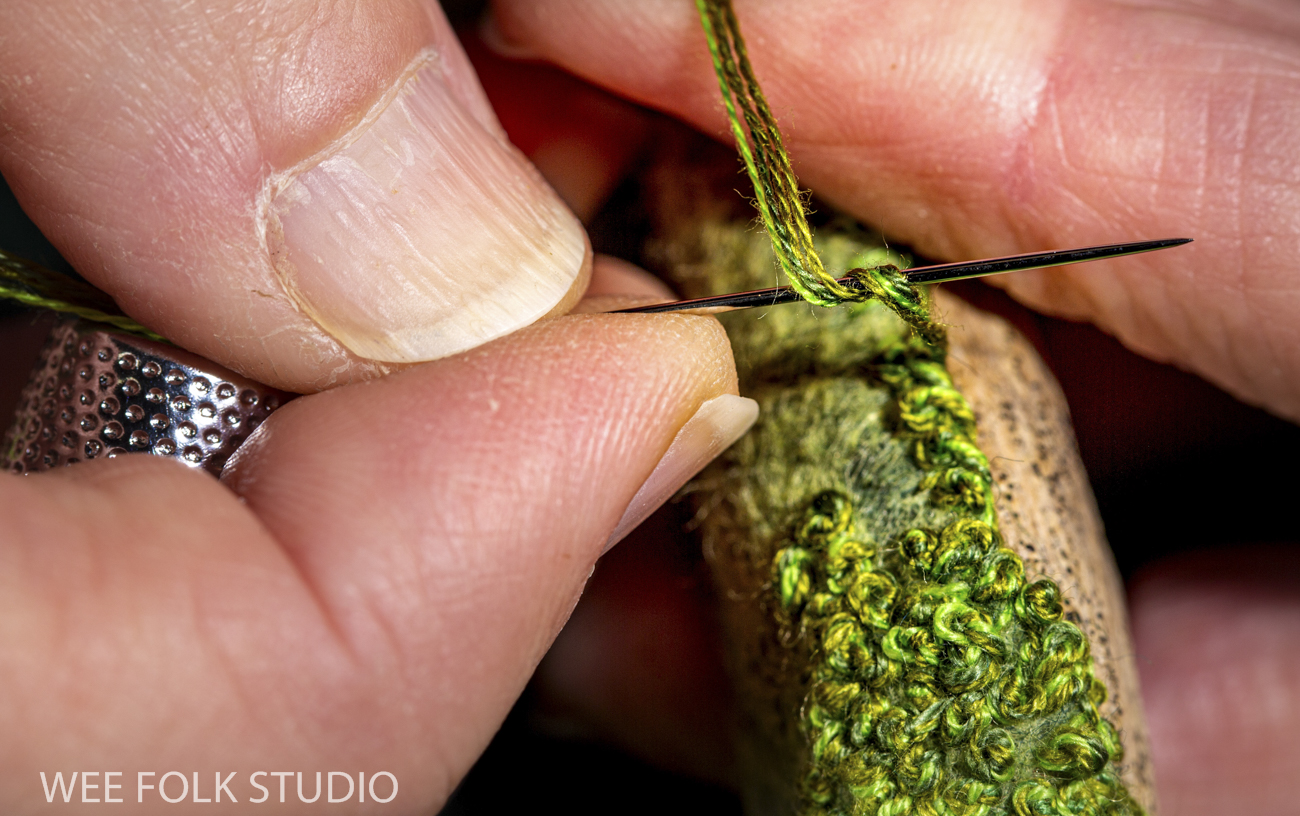
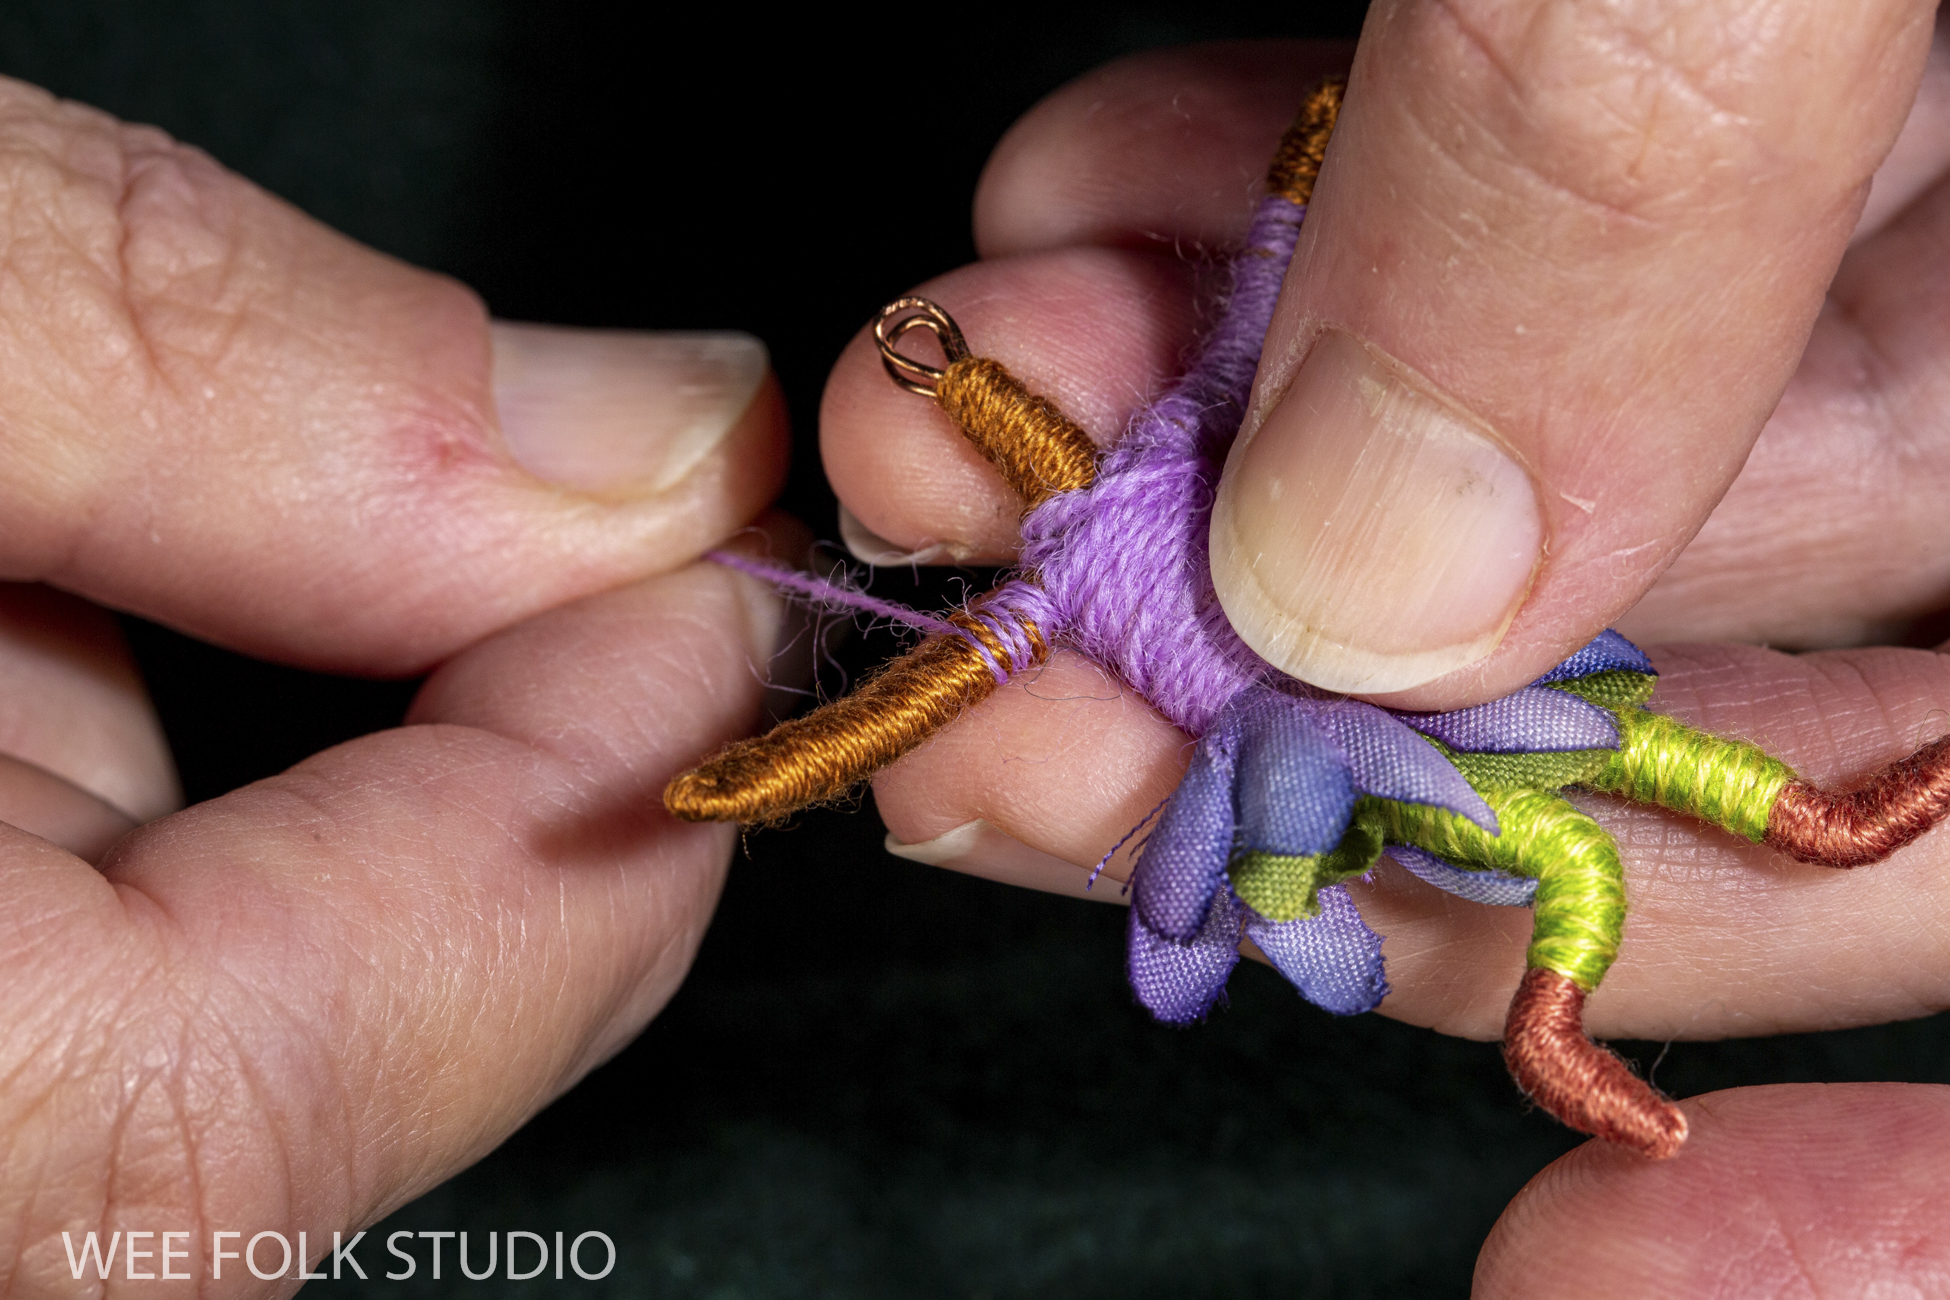
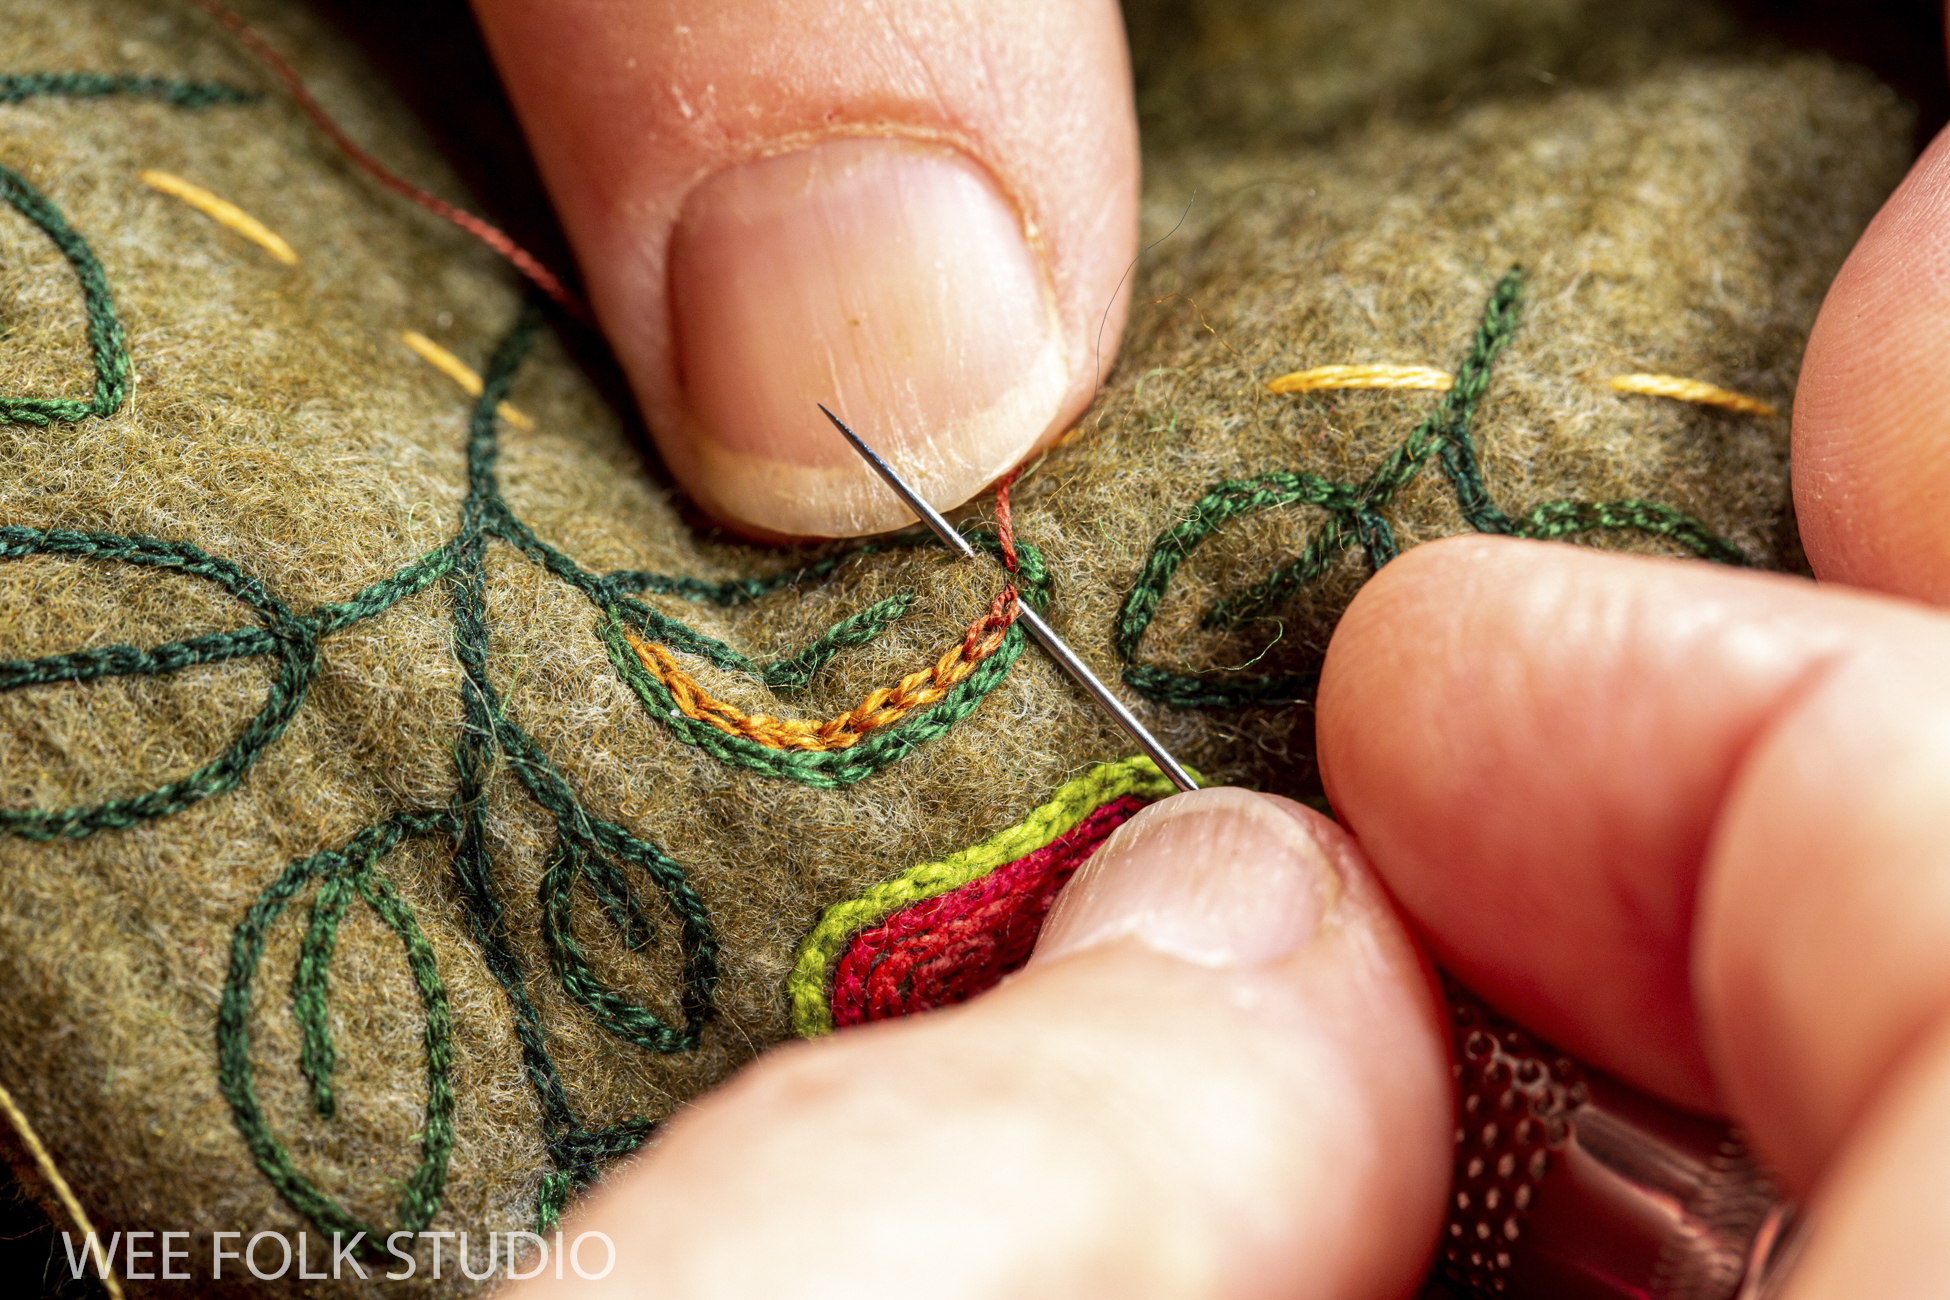
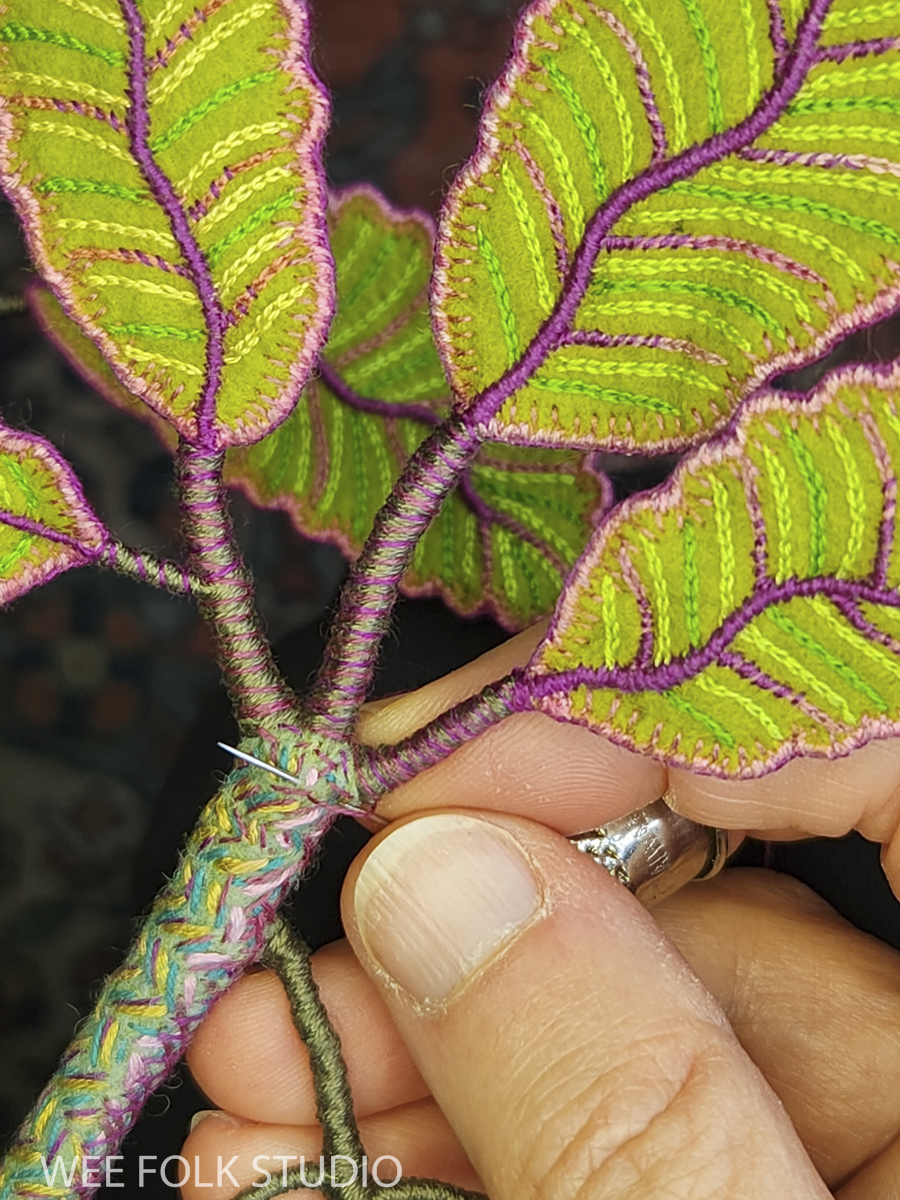
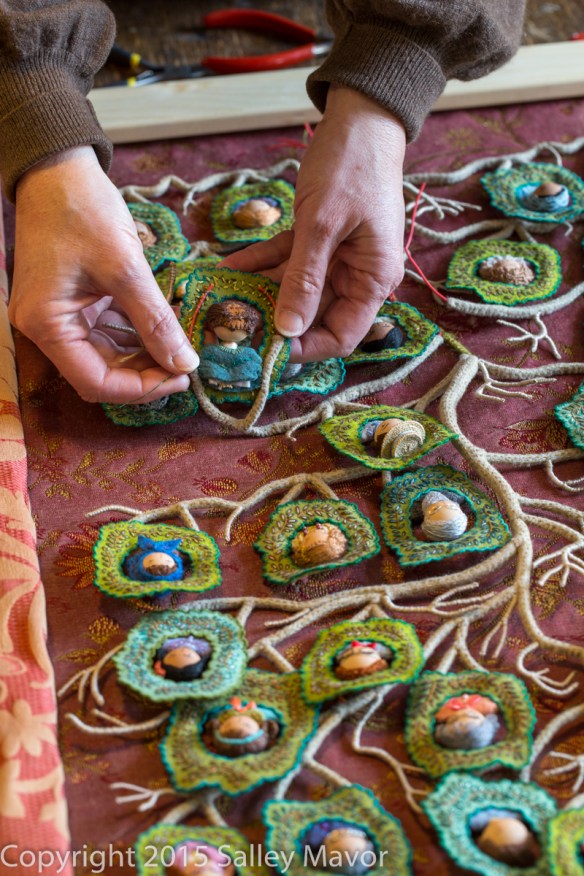
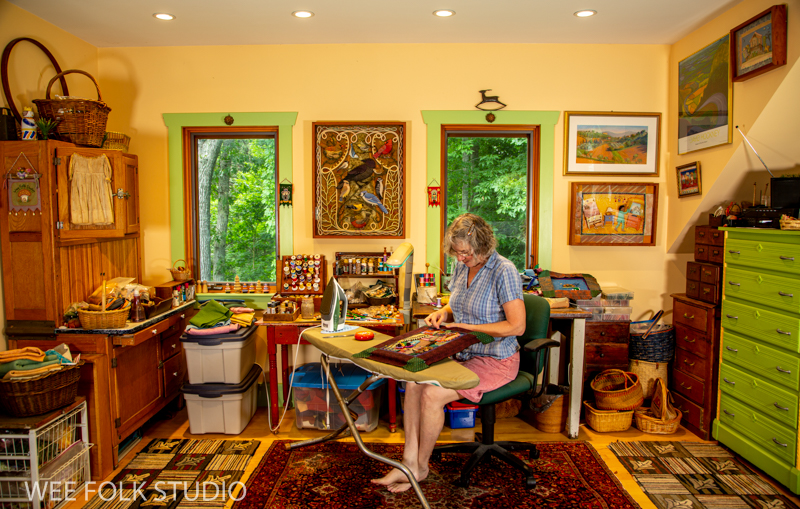
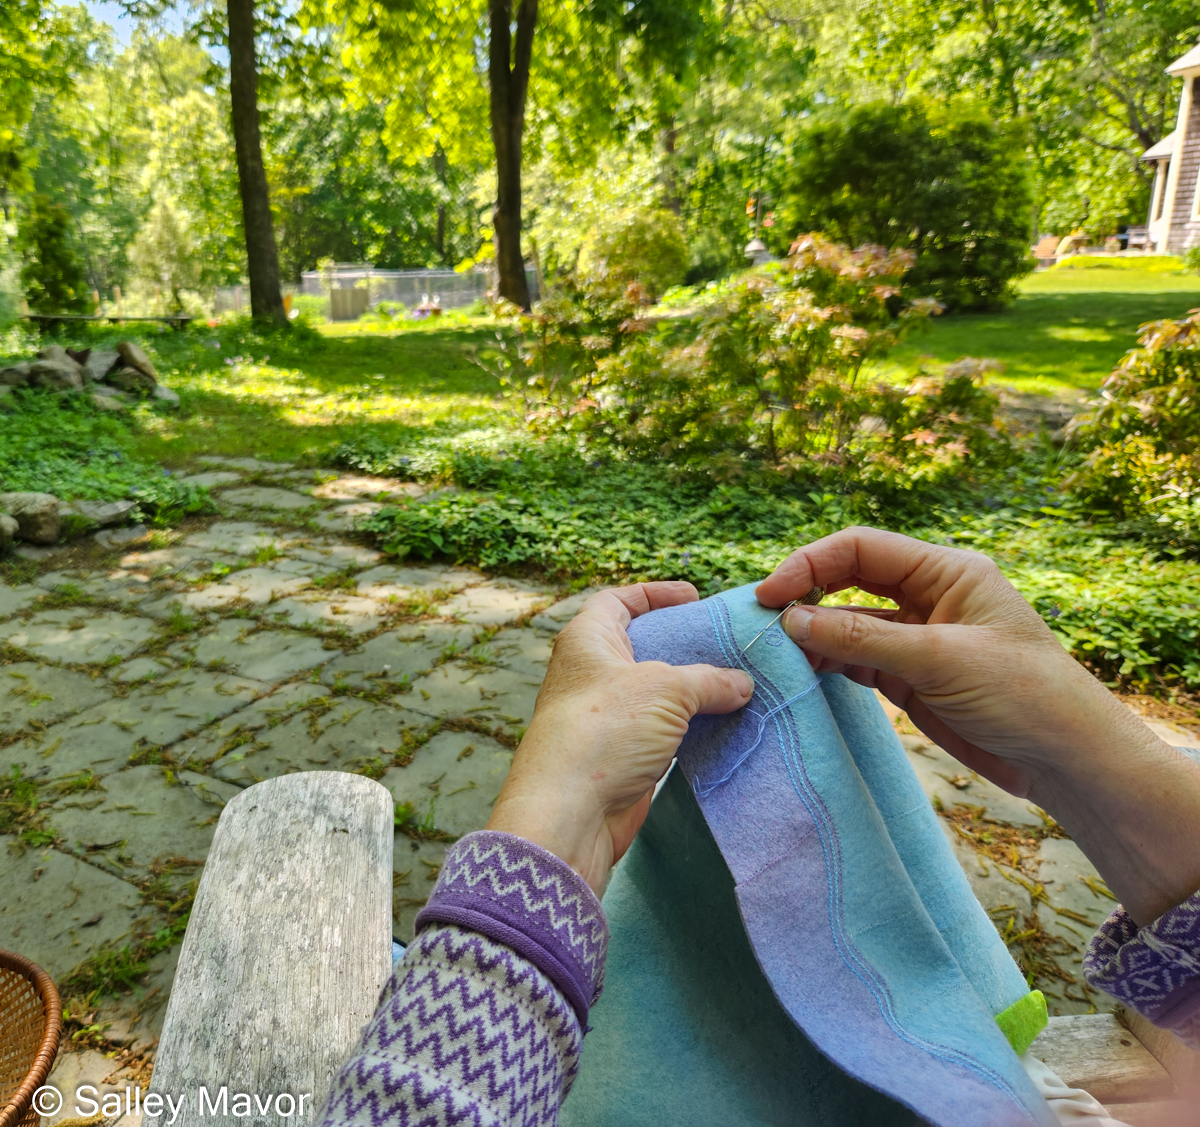
In recent years, I have discovered effective ways to share details of my creative process with those interested in observing my stitching firsthand. Thanks to new technical advances, I am now able to easily photograph and record videos that capture the different stages of my process. These tools allow me to document and share my work without significantly interrupting the creative flow.
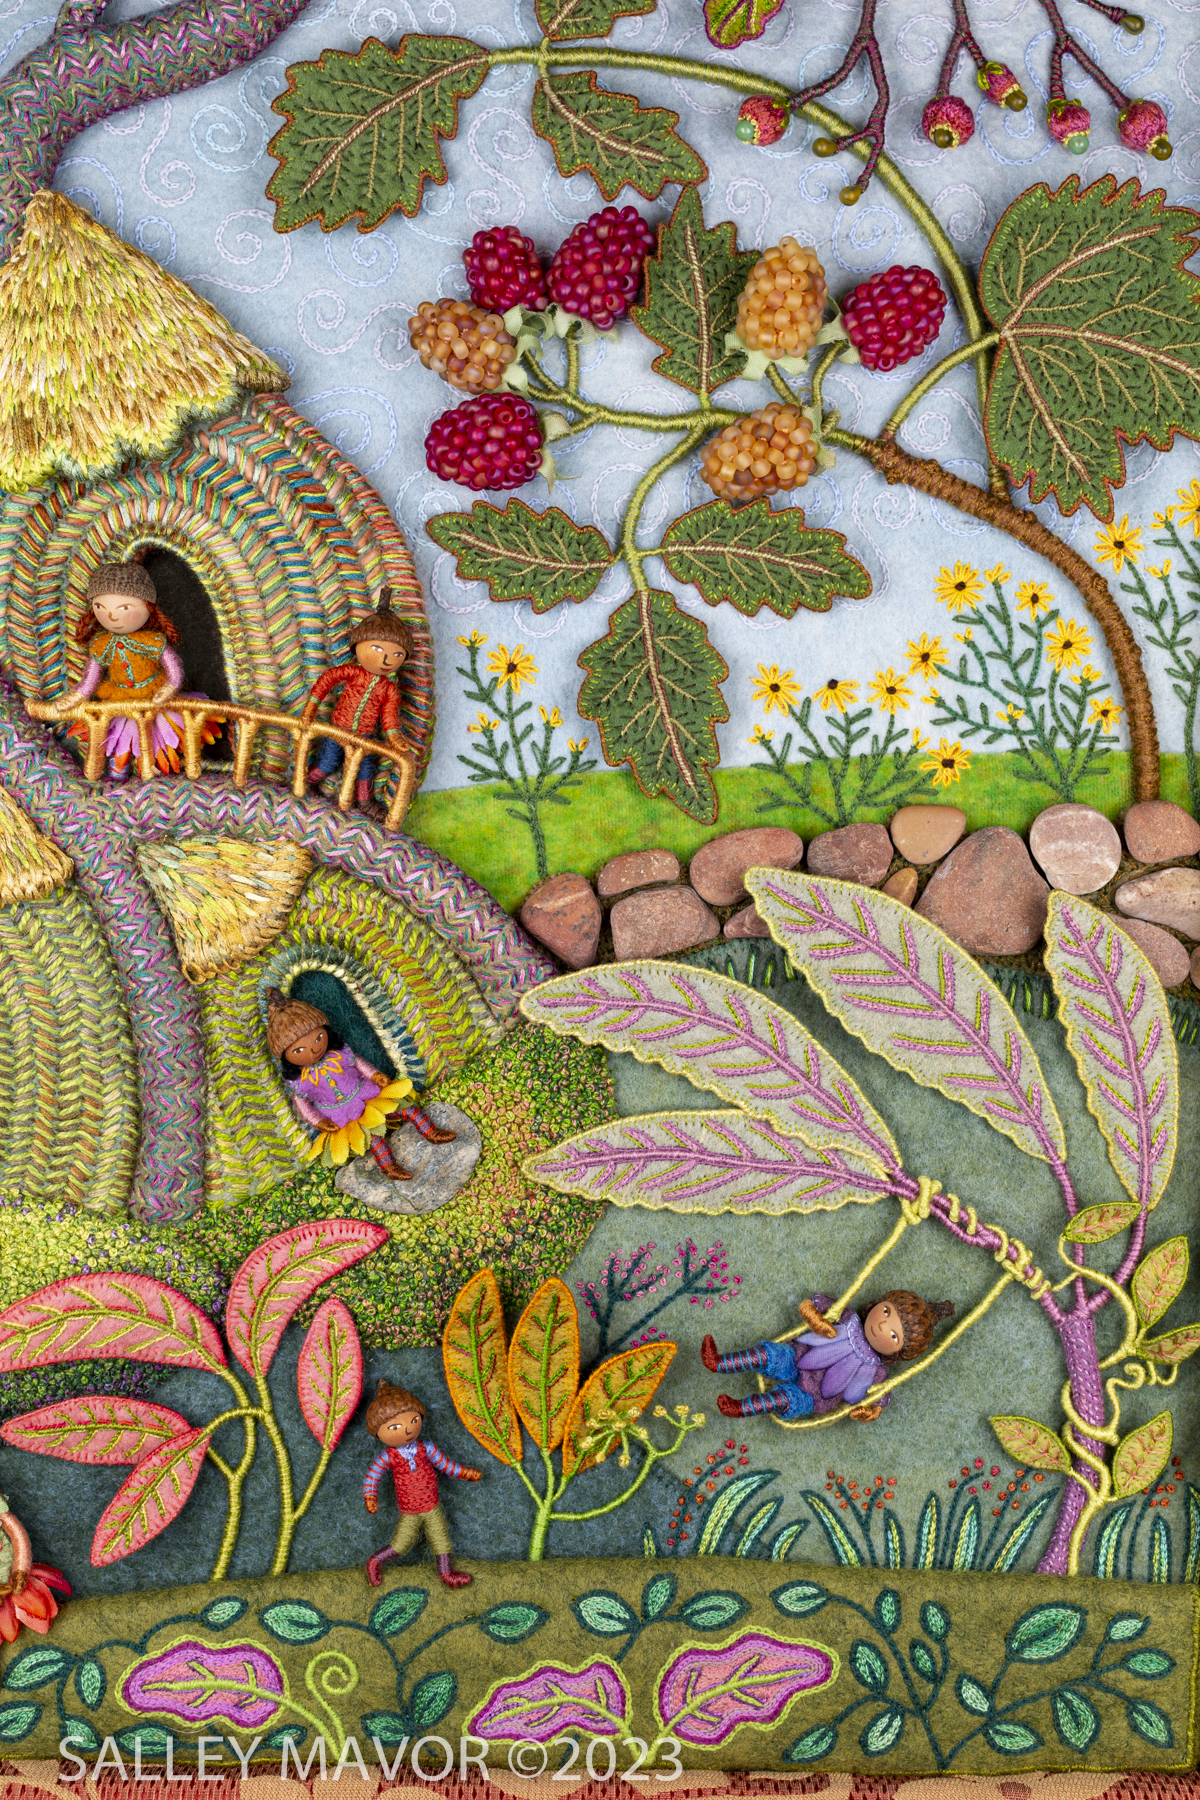
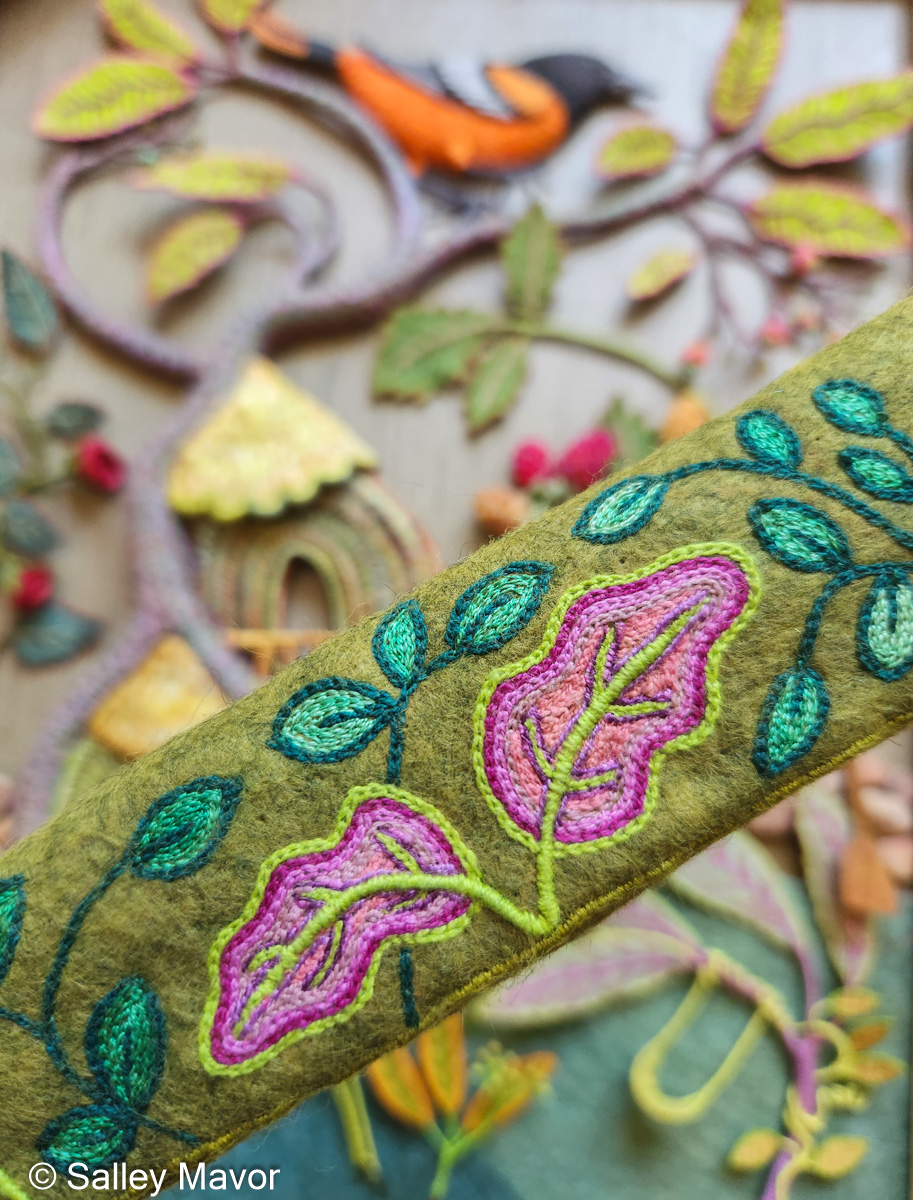
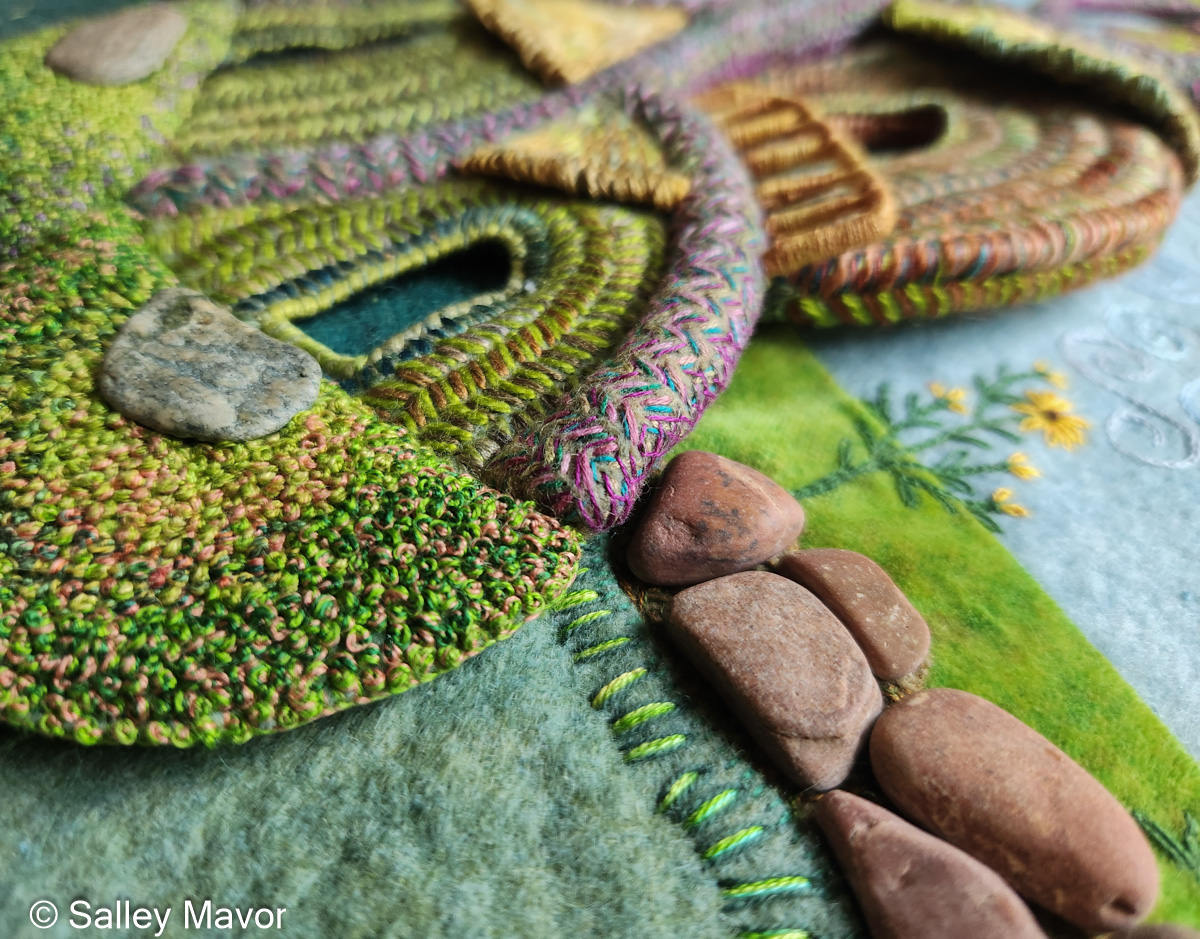
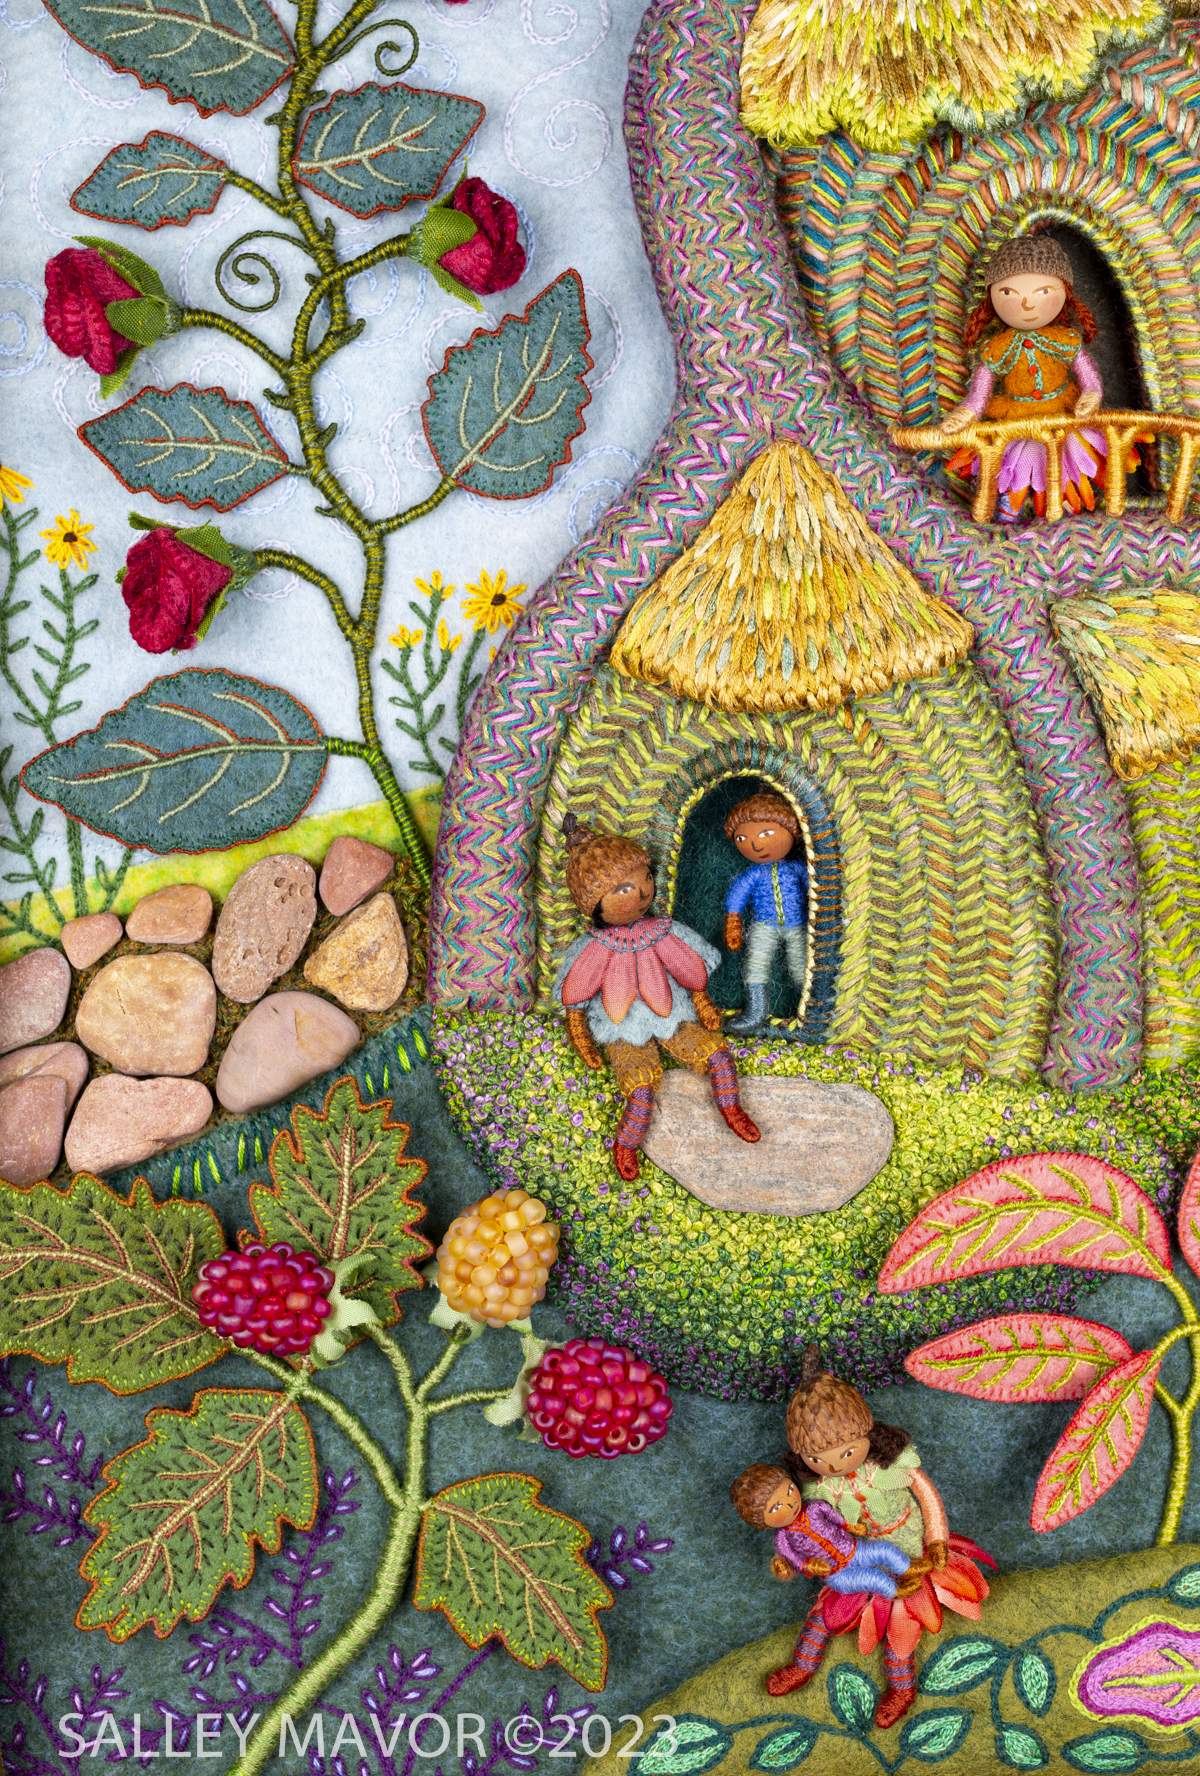
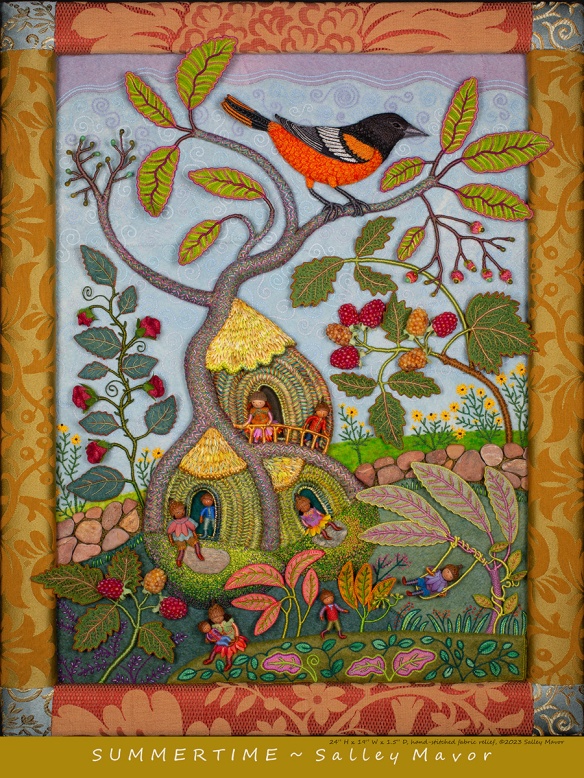
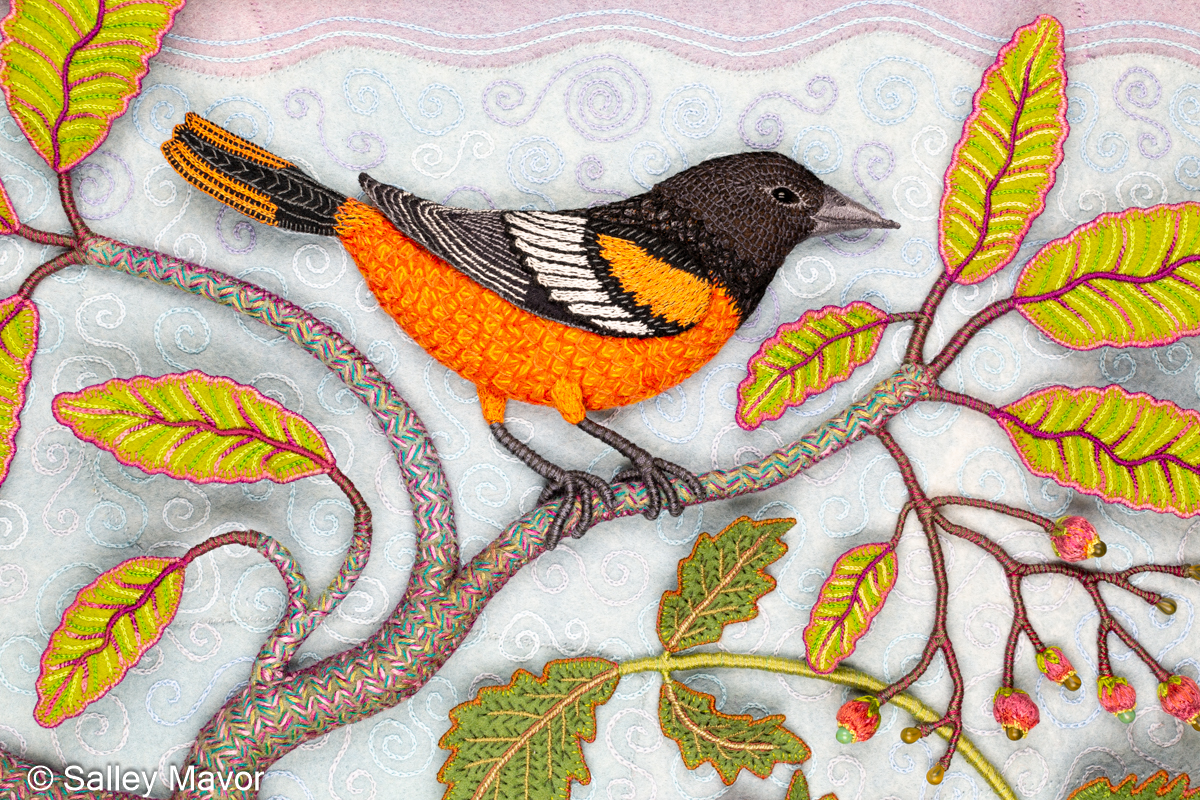
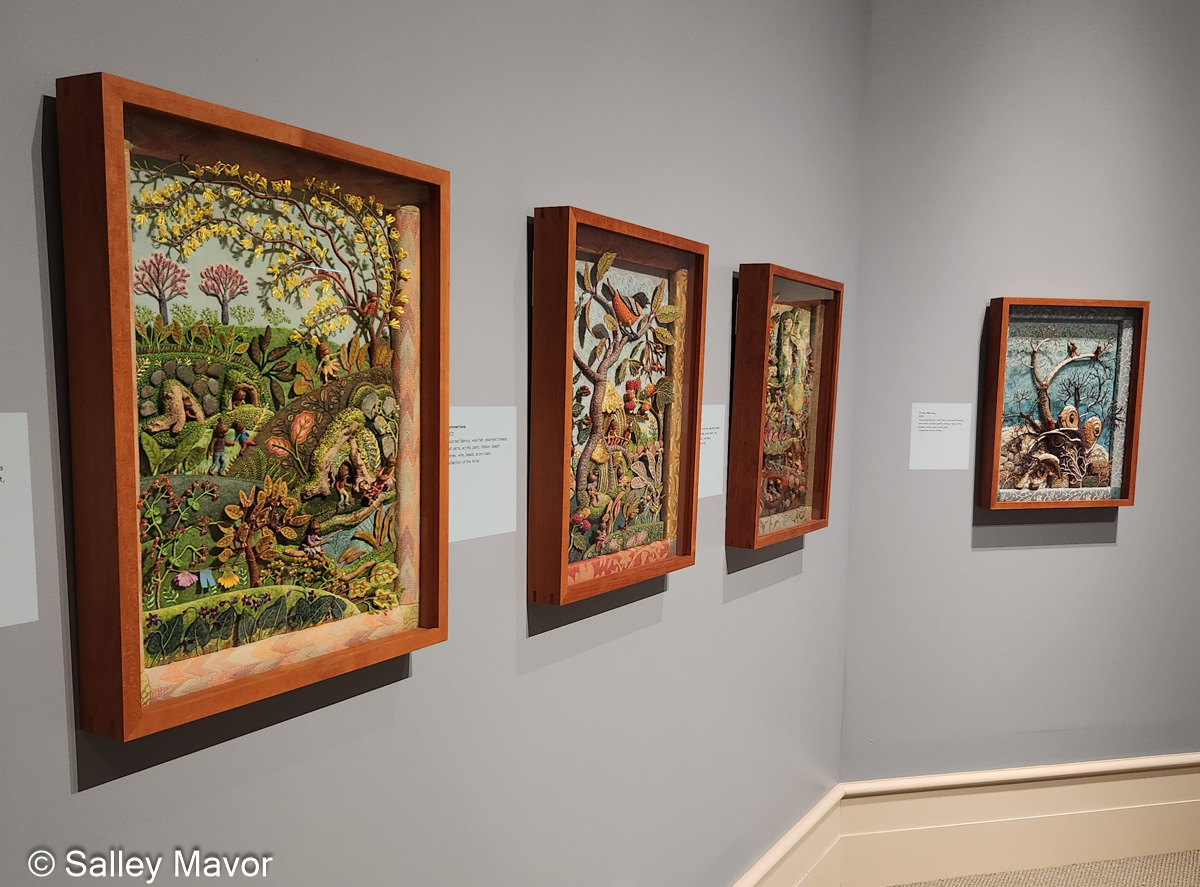
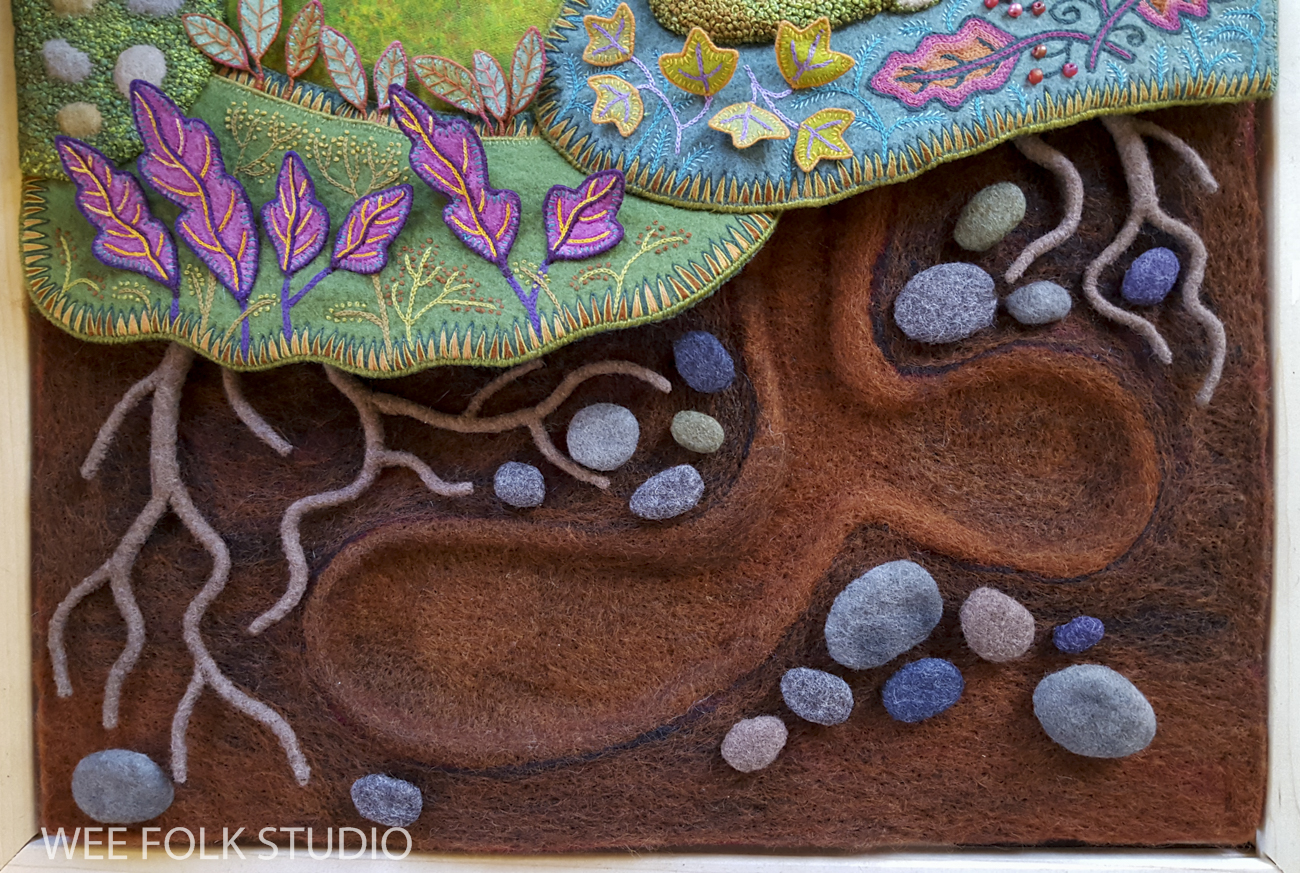
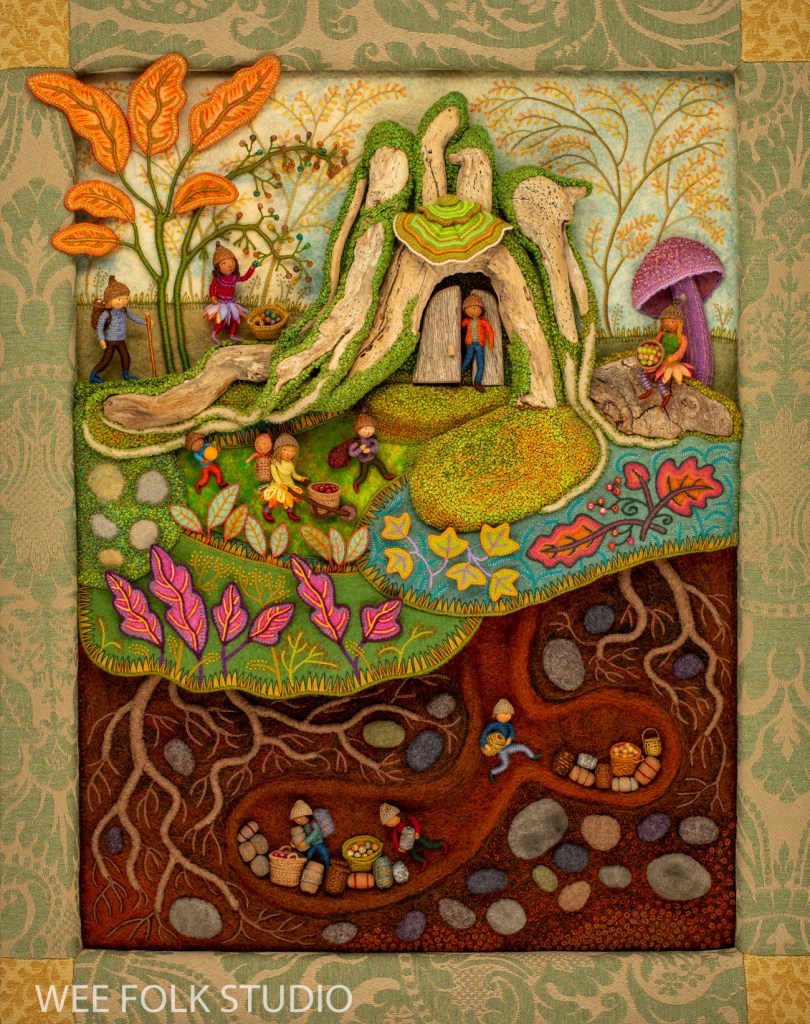
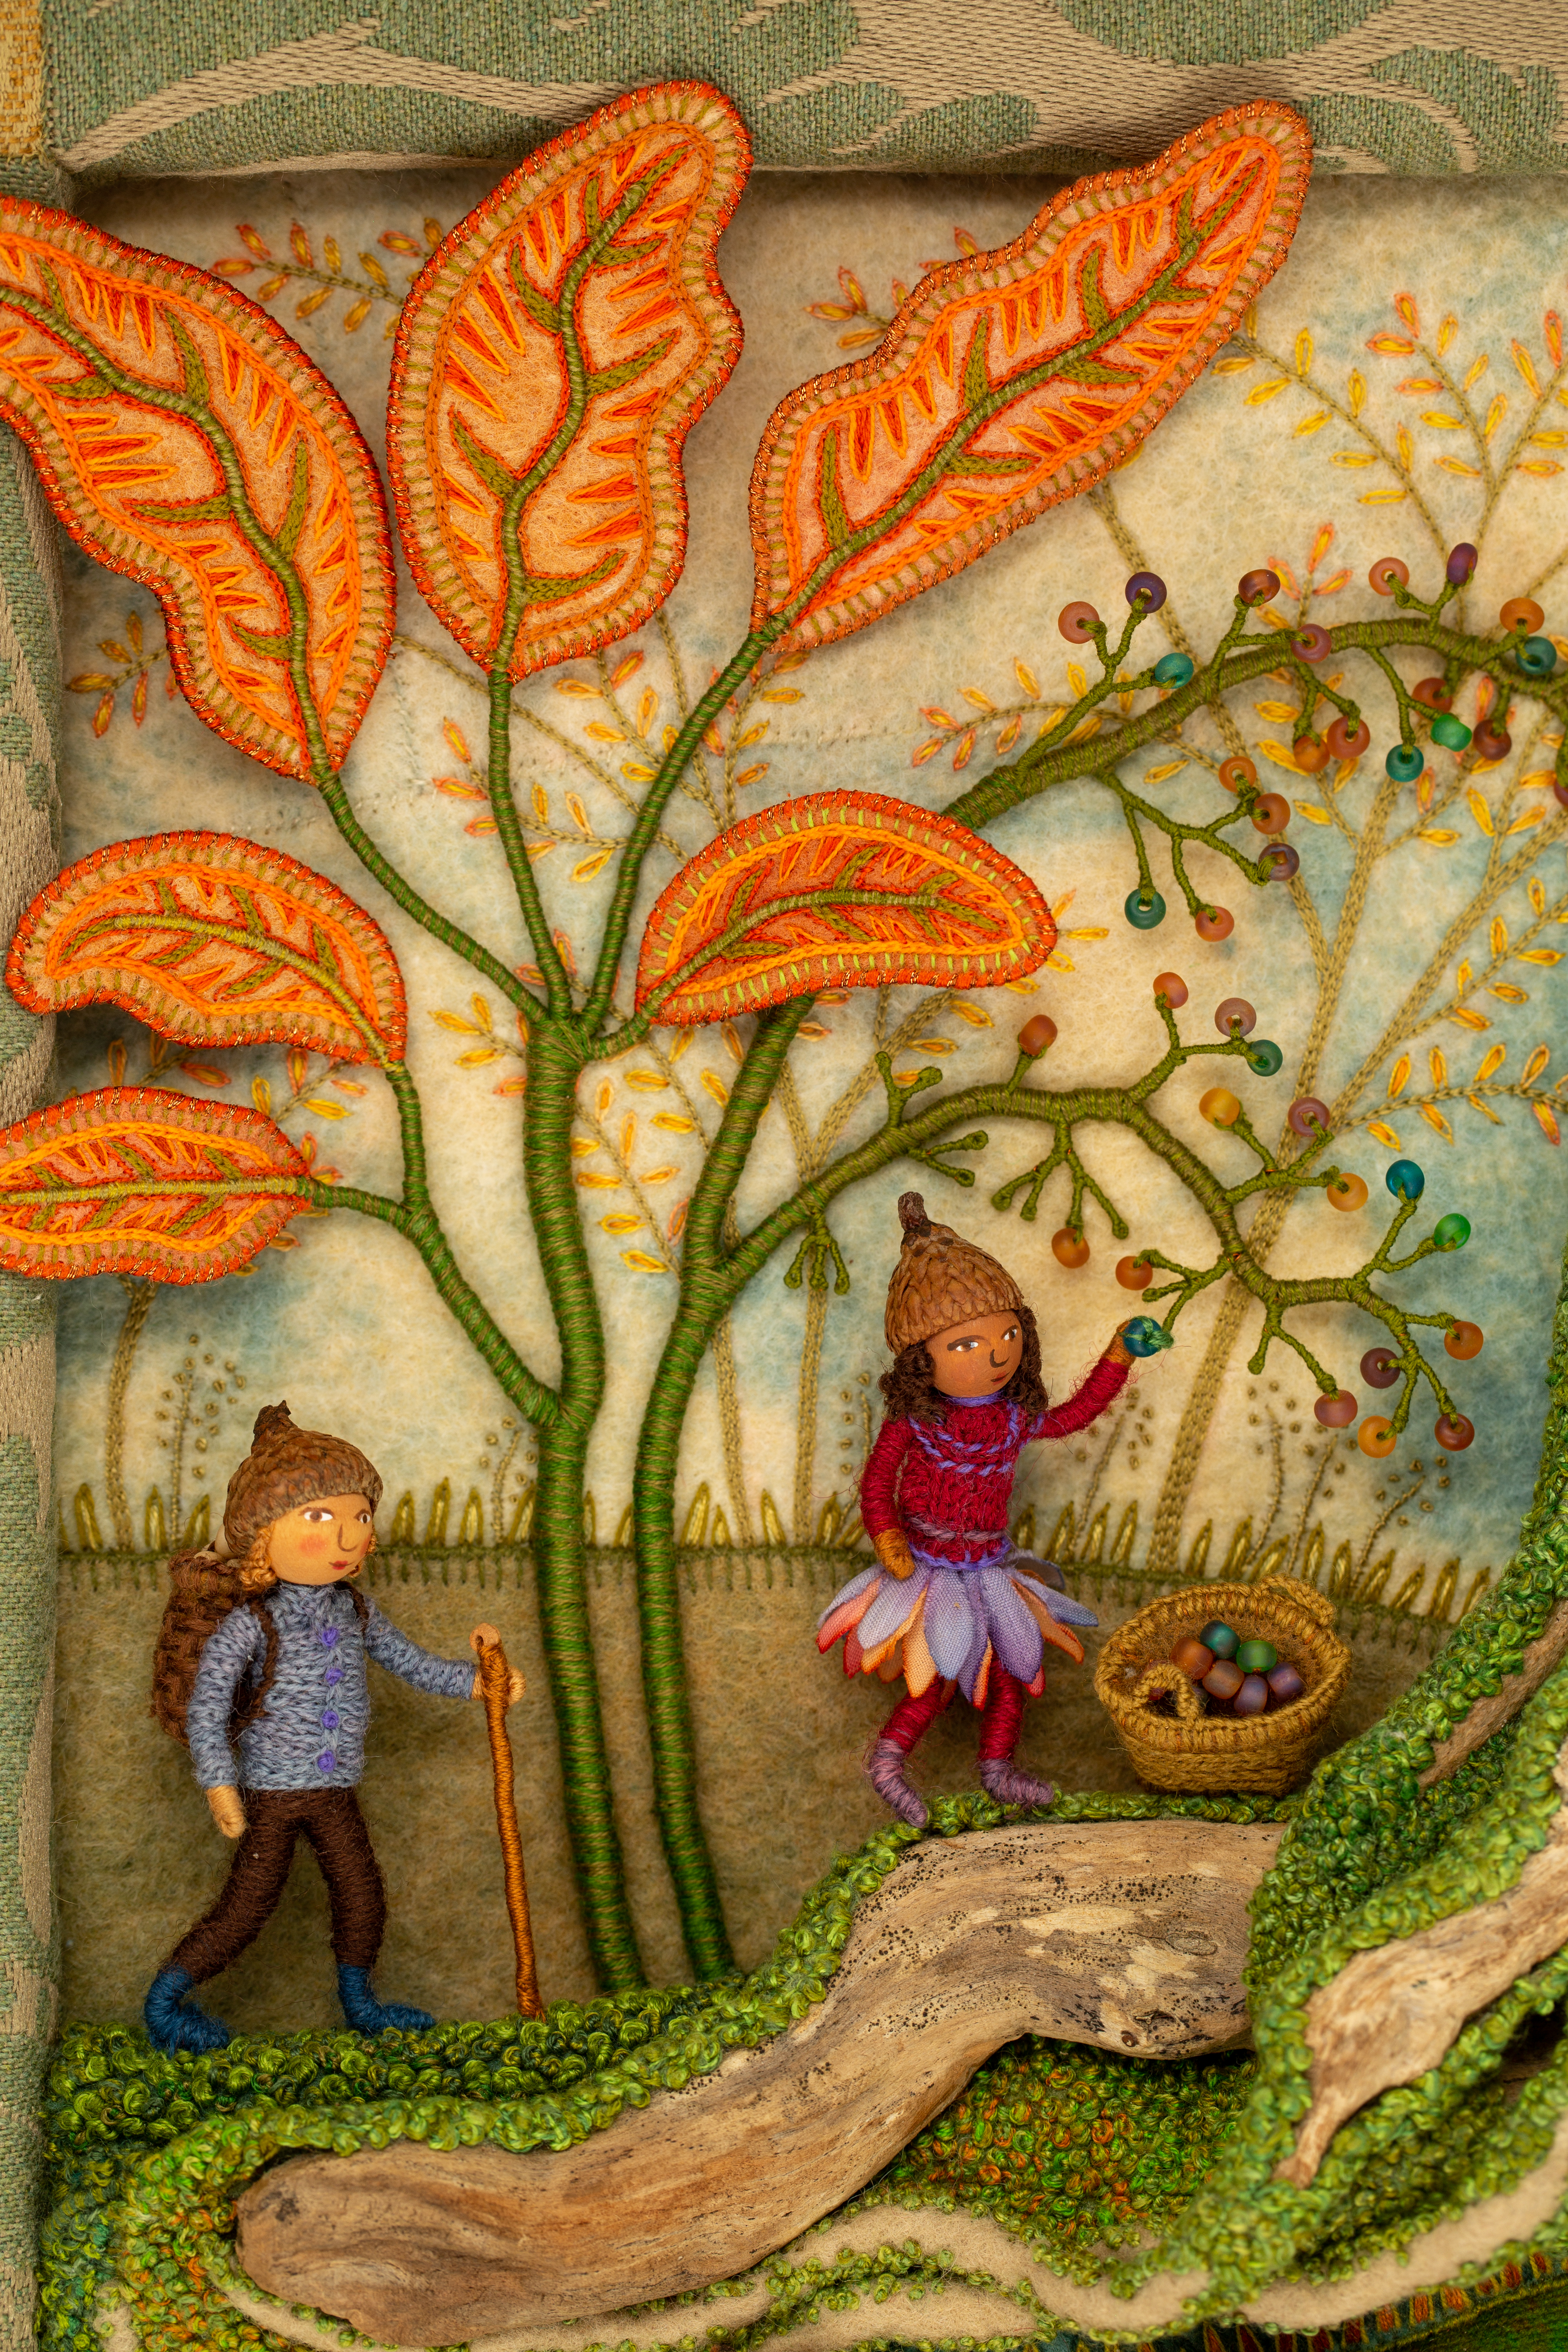
Photos and videos, paired with commentary about the process of making my recent series of seasonal landscapes can be found in the archives:
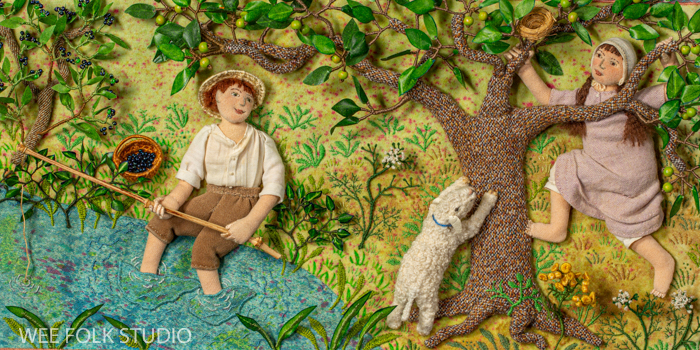
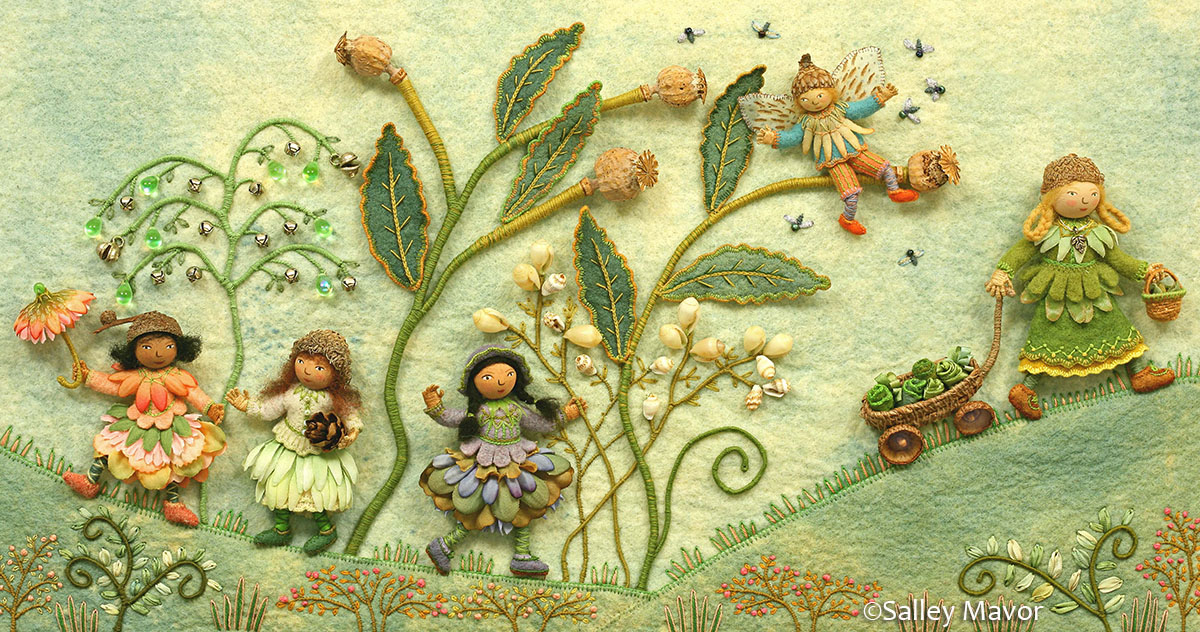
Mossy Glen, Summertime, Harvest Time, and Frosty Morning
Rather than producing full-scale tutorials, which demand a detailed and systematic approach that I am not willing to undertake, my intention is to provide brief glimpses of my hands at work. By offering these peeks over my shoulder, I can share my techniques without the time commitment required for step-by-step instruction. These concise visual records, paired with written commentary, are regularly made available through my blog and social media platforms, giving a broader audience the chance to experience and appreciate the complexity of my methods.
My hope is to inspire fellow stitching enthusiasts from all backgrounds to push the boundaries of what can be accomplished with a needle and thread. By sharing my methods and showing the artistry that is possible in this medium, I aim to spark curiosity and imagination in others. Regardless of whether one approaches needlework as a hobby or as an art form, I believe that exploring new possibilities leads to growth, innovation, and a deeper appreciation for textile arts. Ultimately, it is my wish that others will feel empowered to experiment, develop their own unique voices, and discover the endless creative opportunities that needlework offers.
To keep up with new posts, subscribe to this blog. Your contact info will not be shared. If you’d like to see more frequent photos tracking the projects in my studio, please follow me on Facebook and/or Instagram.