Baby Polar Bear Suit

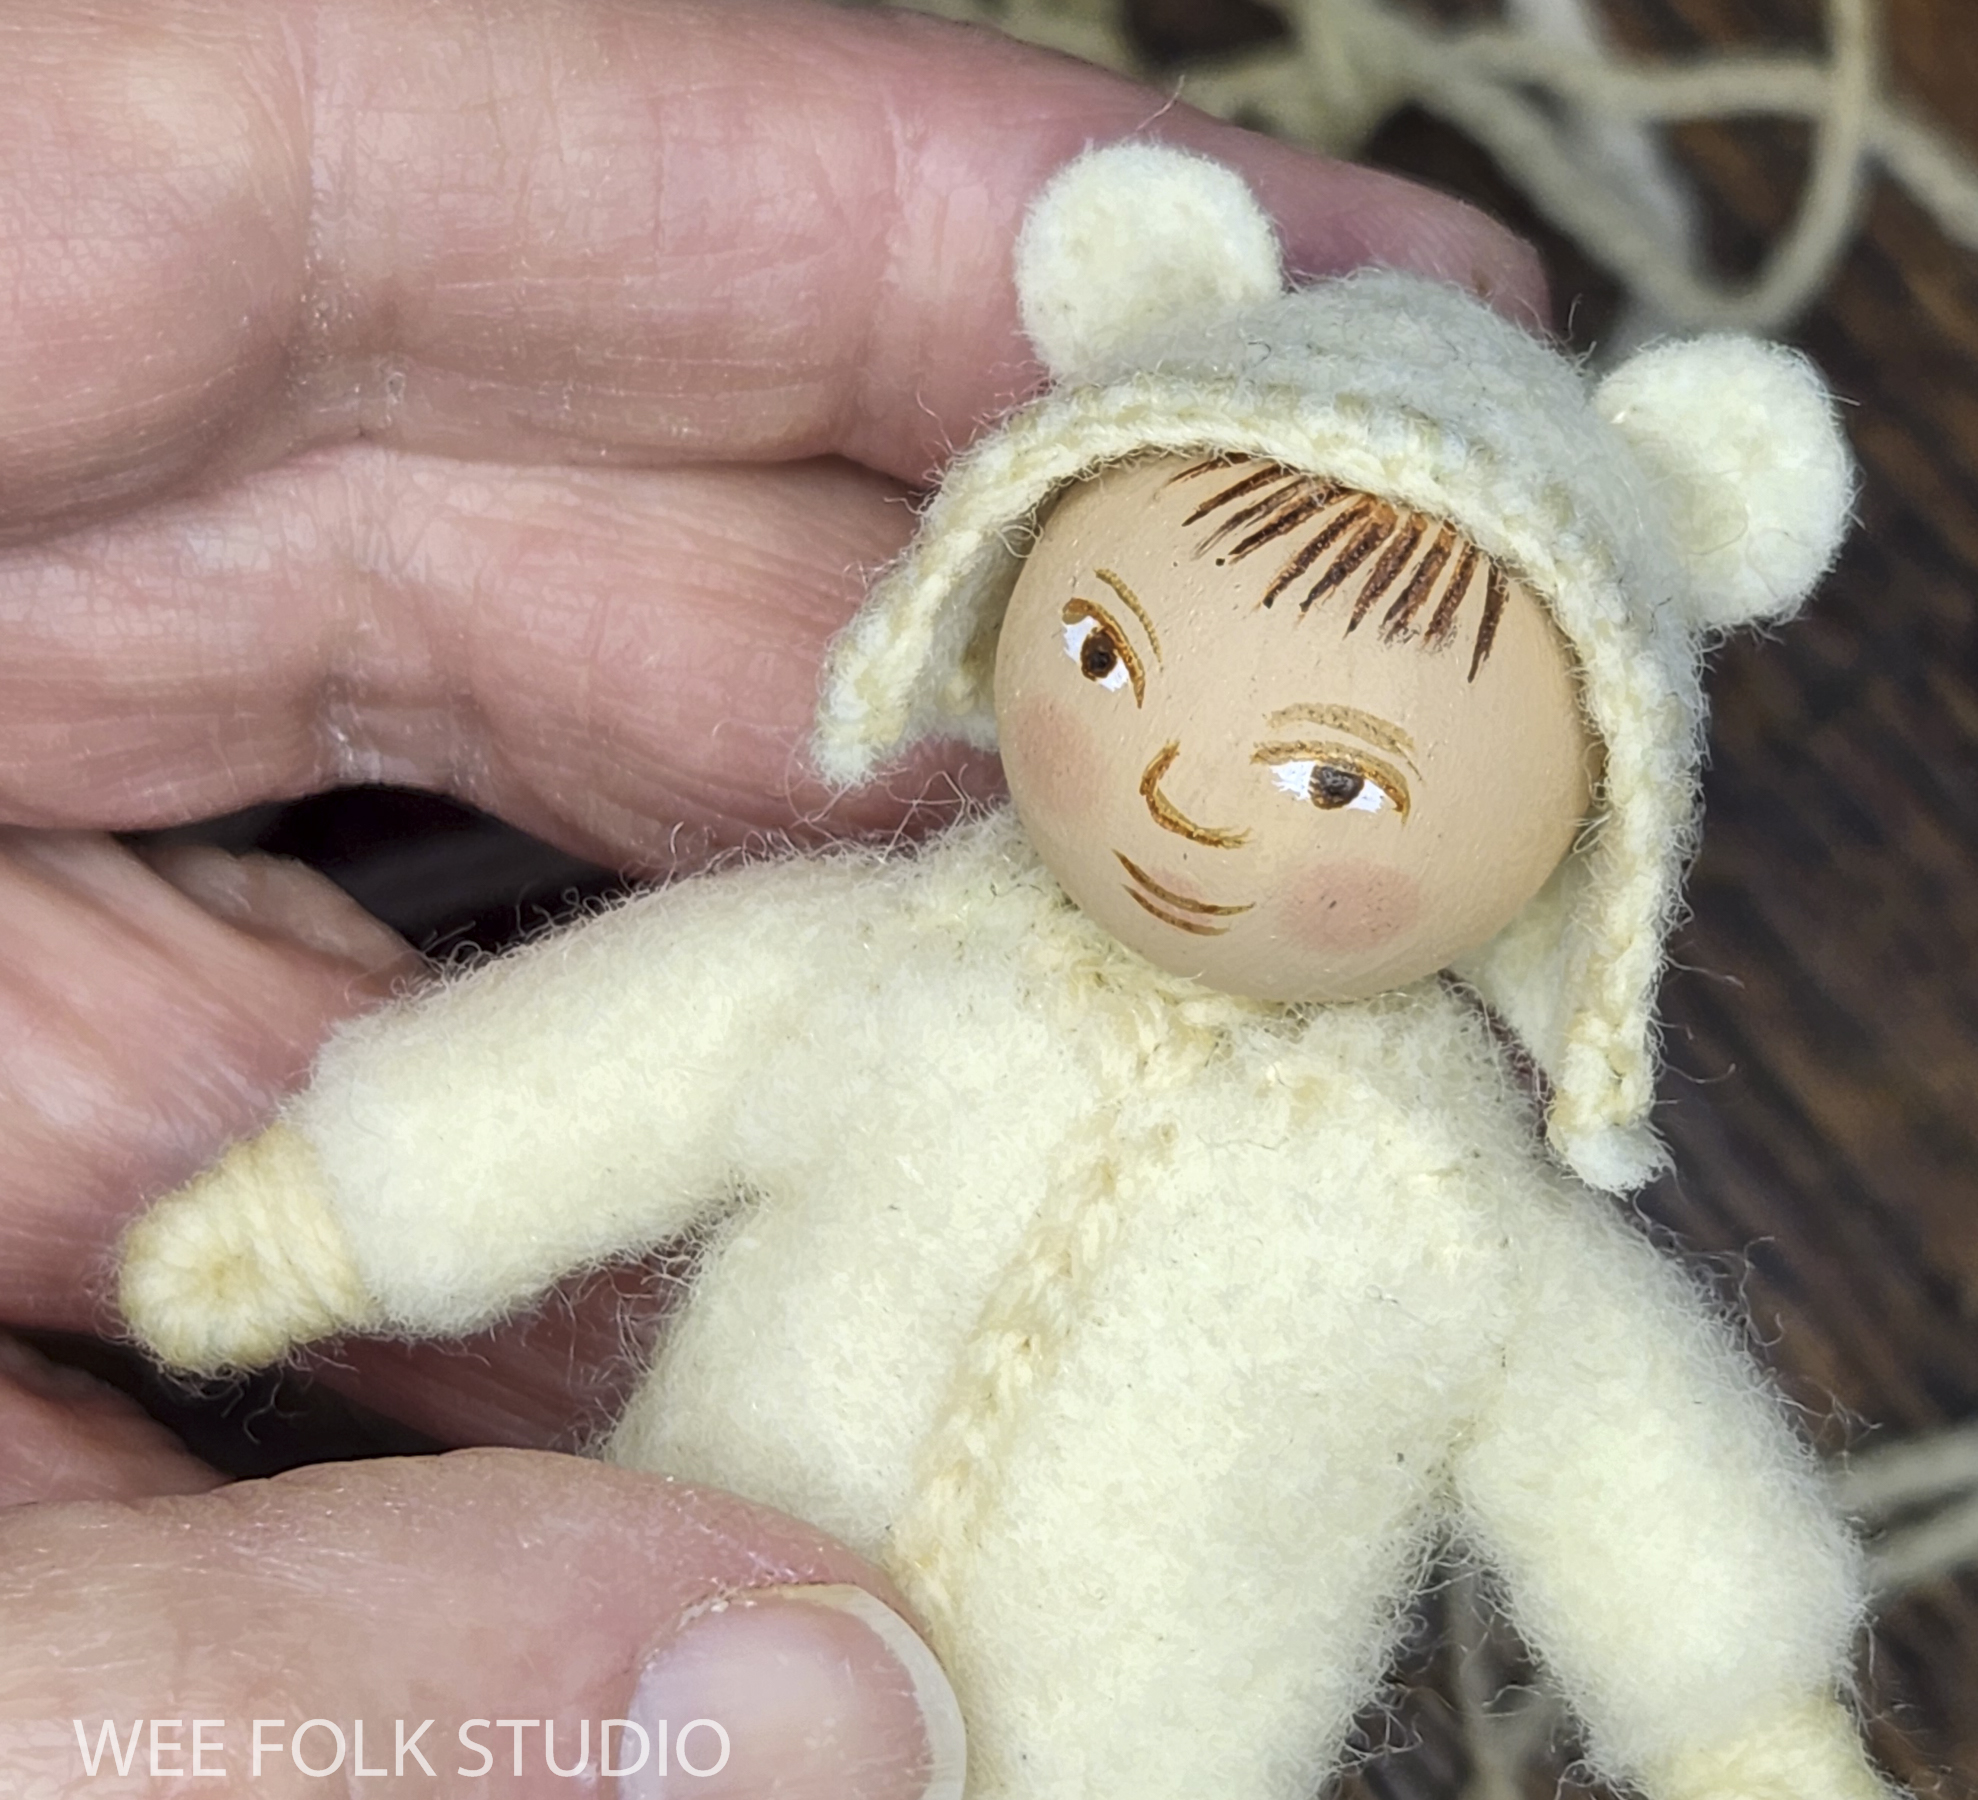
Last December, I made some small gifts, including a little version of my grandson Elias in his polar bear snow suit. I’m looking forward to making more mementos like this and hope it becomes a yearly tradition! These days, it seems that practically every children’s hat and hooded outfit comes with a pair of animal ears on top. That’s fine with me – the more playful, the better!

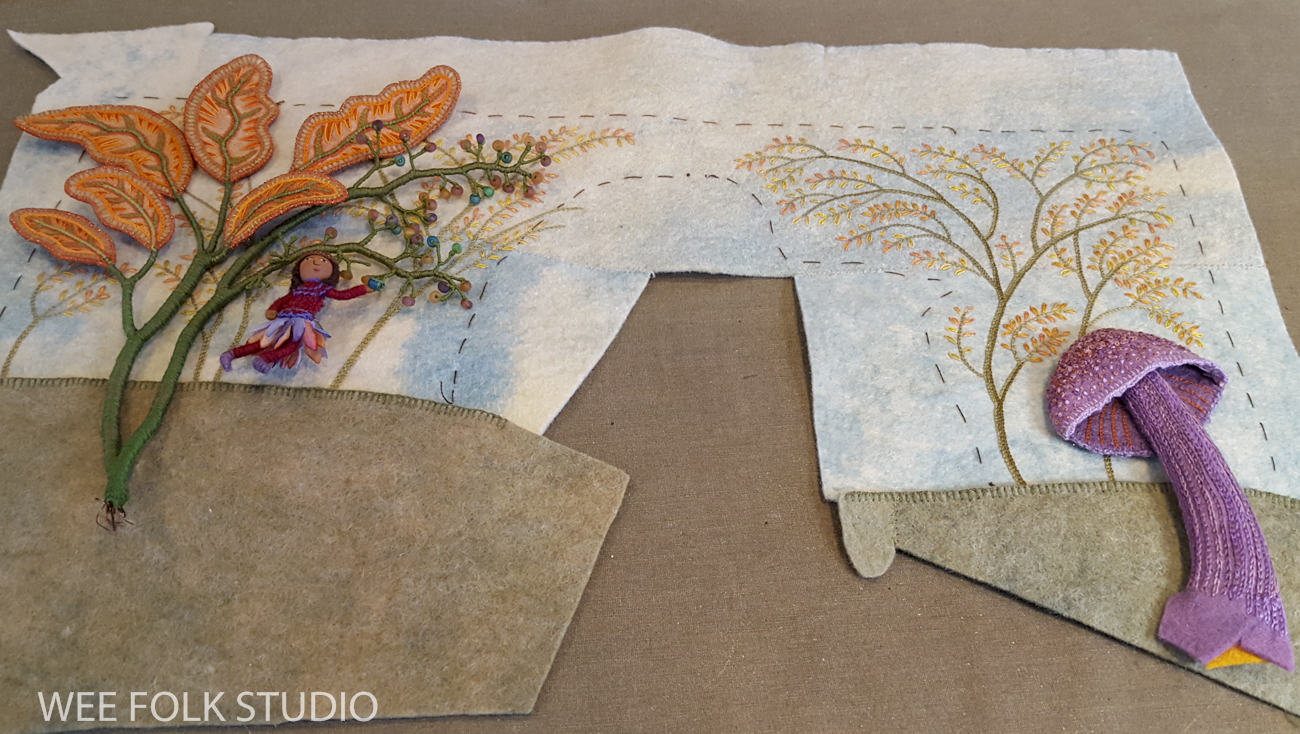
I also made new Inuit dolls, which I’ll write about in a future post. They are a redo of a project I originally made for my kids and designed for Better Homes and Gardens magazine in 1986.

Baby Polar Bear Doll
The 4″ doll is based on the figures in my how-to book, Felt Wee Folk, only I used wool needlepoint yarn (regular knitting yarn is too bulky) instead of embroidery floss to wrap the hands and feet on the pipe cleaner armature.

As usual, I painted multiple faces on wooden beads and picked out the one I like best. Even after painting thousands of faces, I still mess up sometimes.

The suit is made with some really thick wool felt that I was given years ago. It is probably manufactured for industrial purposes rather than little polar bear suits. The video below shows how I wrapped the feet and hands and sewed on the suit.

In the past year or so, I’ve used a hands-free phone/light stand made by Canvas that makes documenting my process a lot easier. I used to have to bug Rob to stop whatever he was doing and come film different steps with his camera. Now, I can take photos or videos whenever I want to. The downside is that I can’t get into the flow because I’m always thinking about recording some aspect of how I work. And there are times when I’m so engrossed that I skip entire sections of the process. That’s why my demonstration videos aren’t really tutorials. They’re more like peeking over my shoulder while I work. You might not see every detail, but you can get the gist of it.

After sewing on the suit, I made the hood – ears and all. The hood is made from a lighter weight wool felt.

The following video shows how I glued on the head and constructed the hood.

After the doll was finished, I got the idea of chain stitching Elias’s name and the year on the back. Yes, this will definitely be a yearly tradition!

To keep up with new posts, please subscribe to this blog Your contact info will not be sold or shared. If you’d like to see more frequent photos tracking the projects in my studio, please follow me on Facebook and/or Instagram.

Harvest Time – Part 9 (embroidered trees)

As promised, I’m winding down the string of posts about Harvest Time, the fall scene in my series of seasonal landscape. Part 9 features the embroidered trees in the background sky portion of the piece. For over a year now, I’ve shared photos, videos and commentary about different aspects of the project, from moss to underground tunnels to miniature storage containers (see list with links below). This year, I’ll be writing about Summertime, so stay tuned!

Harvest Time is the fall scene in a series of seasonal landscapes that capture the wonder and magic of the natural world. Note cards, prints and jigsaw puzzles of Harvest Time and the other scenes in the series (Frosty Morning, Mossy Glen and Summertime) are available in my Etsy Shop.

Here’s a list of the other posts about Harvest Time:
The overview introduces the piece.
Part 1 features moss making.
Part 2 is about making the turkey tail mushroom.
Part 3 shows the construction of felt leaves.
Part 4 gives a peek at embroidering the plants.
Part 5 is about making the toadstool mushroom.
Part 6 covers the underground tunnels, roots and stones.
Part 7 shows how I made the wee folk harvesters.
Part 8 is about miniature storage containers

Embroidered Trees
I saved this part until the very end, when it was clear how much of the sky area would be visible. During the months-long process of making this piece, all of the separate parts and figures piled up, waiting in the wings until it was time to go on stage, like scenery and characters in a play.

I used a mottled blue naturally dyed wool felt to make the sky portion. Years ago, I bought some unevenly dyed felt, which was sold as “seconds”. Unfortunately, I can’t get it anymore, so I make do with what I have. Since I didn’t have a large enough piece of this color combo, I sewed together smaller scraps from my stash. If you’re looking for naturally dyed wool felt in solid colors, check out A Child’s Dream.

This felt is so precious that I’ve kept every little scrap. I used some of the smallest pieces of blue and lavender to patch together a background for mounting the animals from my book, MY BED.

Animals from MY BED

It’s one of the 18 framed originals from My Bed included in my touring exhibition, Bedtime Stitches. For information about the book and where the show is going through 2025, please visit this page.

Bedtime Stitches at the Southern Vermont Arts Center in 2023

Now, back to Harvest Time. After sewing together the pieces of felt, I marked the edges of the open areas with large stitches.

Drawing on felt isn’t very effective, but I managed to mark a few faint lines with a pink chalk pencil. While I chain-stitched the branches and handled the felt, most of the chalk brushed away.

The next step was to add leaves along the branches with daisy chain stitches. For a naturalistic look, I used single strands of variegated embroidery floss.

I created a horizon line by sewing pieces of grayish brown felt along the bottom of the sky section. Every once in a while, I tested how it looked by temporarily positioning parts on top.

To make the leaves stand out visually, I filled them in with bright yellow floss. I then stitched blades of grass and other vegetation that was growing up along the ground.

Before assembling the scene, I covered the wooden stretcher bars with upholstery fabric. Then, I stapled the background fabric to the back of the stretcher and sewed all of the individual trees and figures in place on top. Everything is secured with a needle and thread. This video shows the whole piece put together.

I hope that you enjoyed this behind the scenes peek at my process. To start from the beginning, please go to Harvest Time’s introductory post here.

To keep up with new posts, please subscribe to this blog Your contact info will not be sold or shared. If you’d like to see more frequent photos tracking the projects in my studio, please follow me on Facebook and/or Instagram.