

In Part 2 in the series about making Harvest Time, I share photos, commentary and a stitch-minute video about creating the turkey tail mushroom overhanging the doorway in the stump. In the coming weeks and months, I will post more stories that focus on different aspects of the process of making the fall scene, including the toad stool mushroom, wee folk figures, tunnels, roots, stones and foliage of all kinds.
The overview introduces the Harvest Time piece.
Part 1 features moss making.
Part 2 is about making the turkey tail mushroom.
Part 3 shows the construction of felt leaves.
Part 4 gives a peek at embroidering the plants.
Part 5 is about making the toadstool mushroom
Part 6 shows the process of making the underground

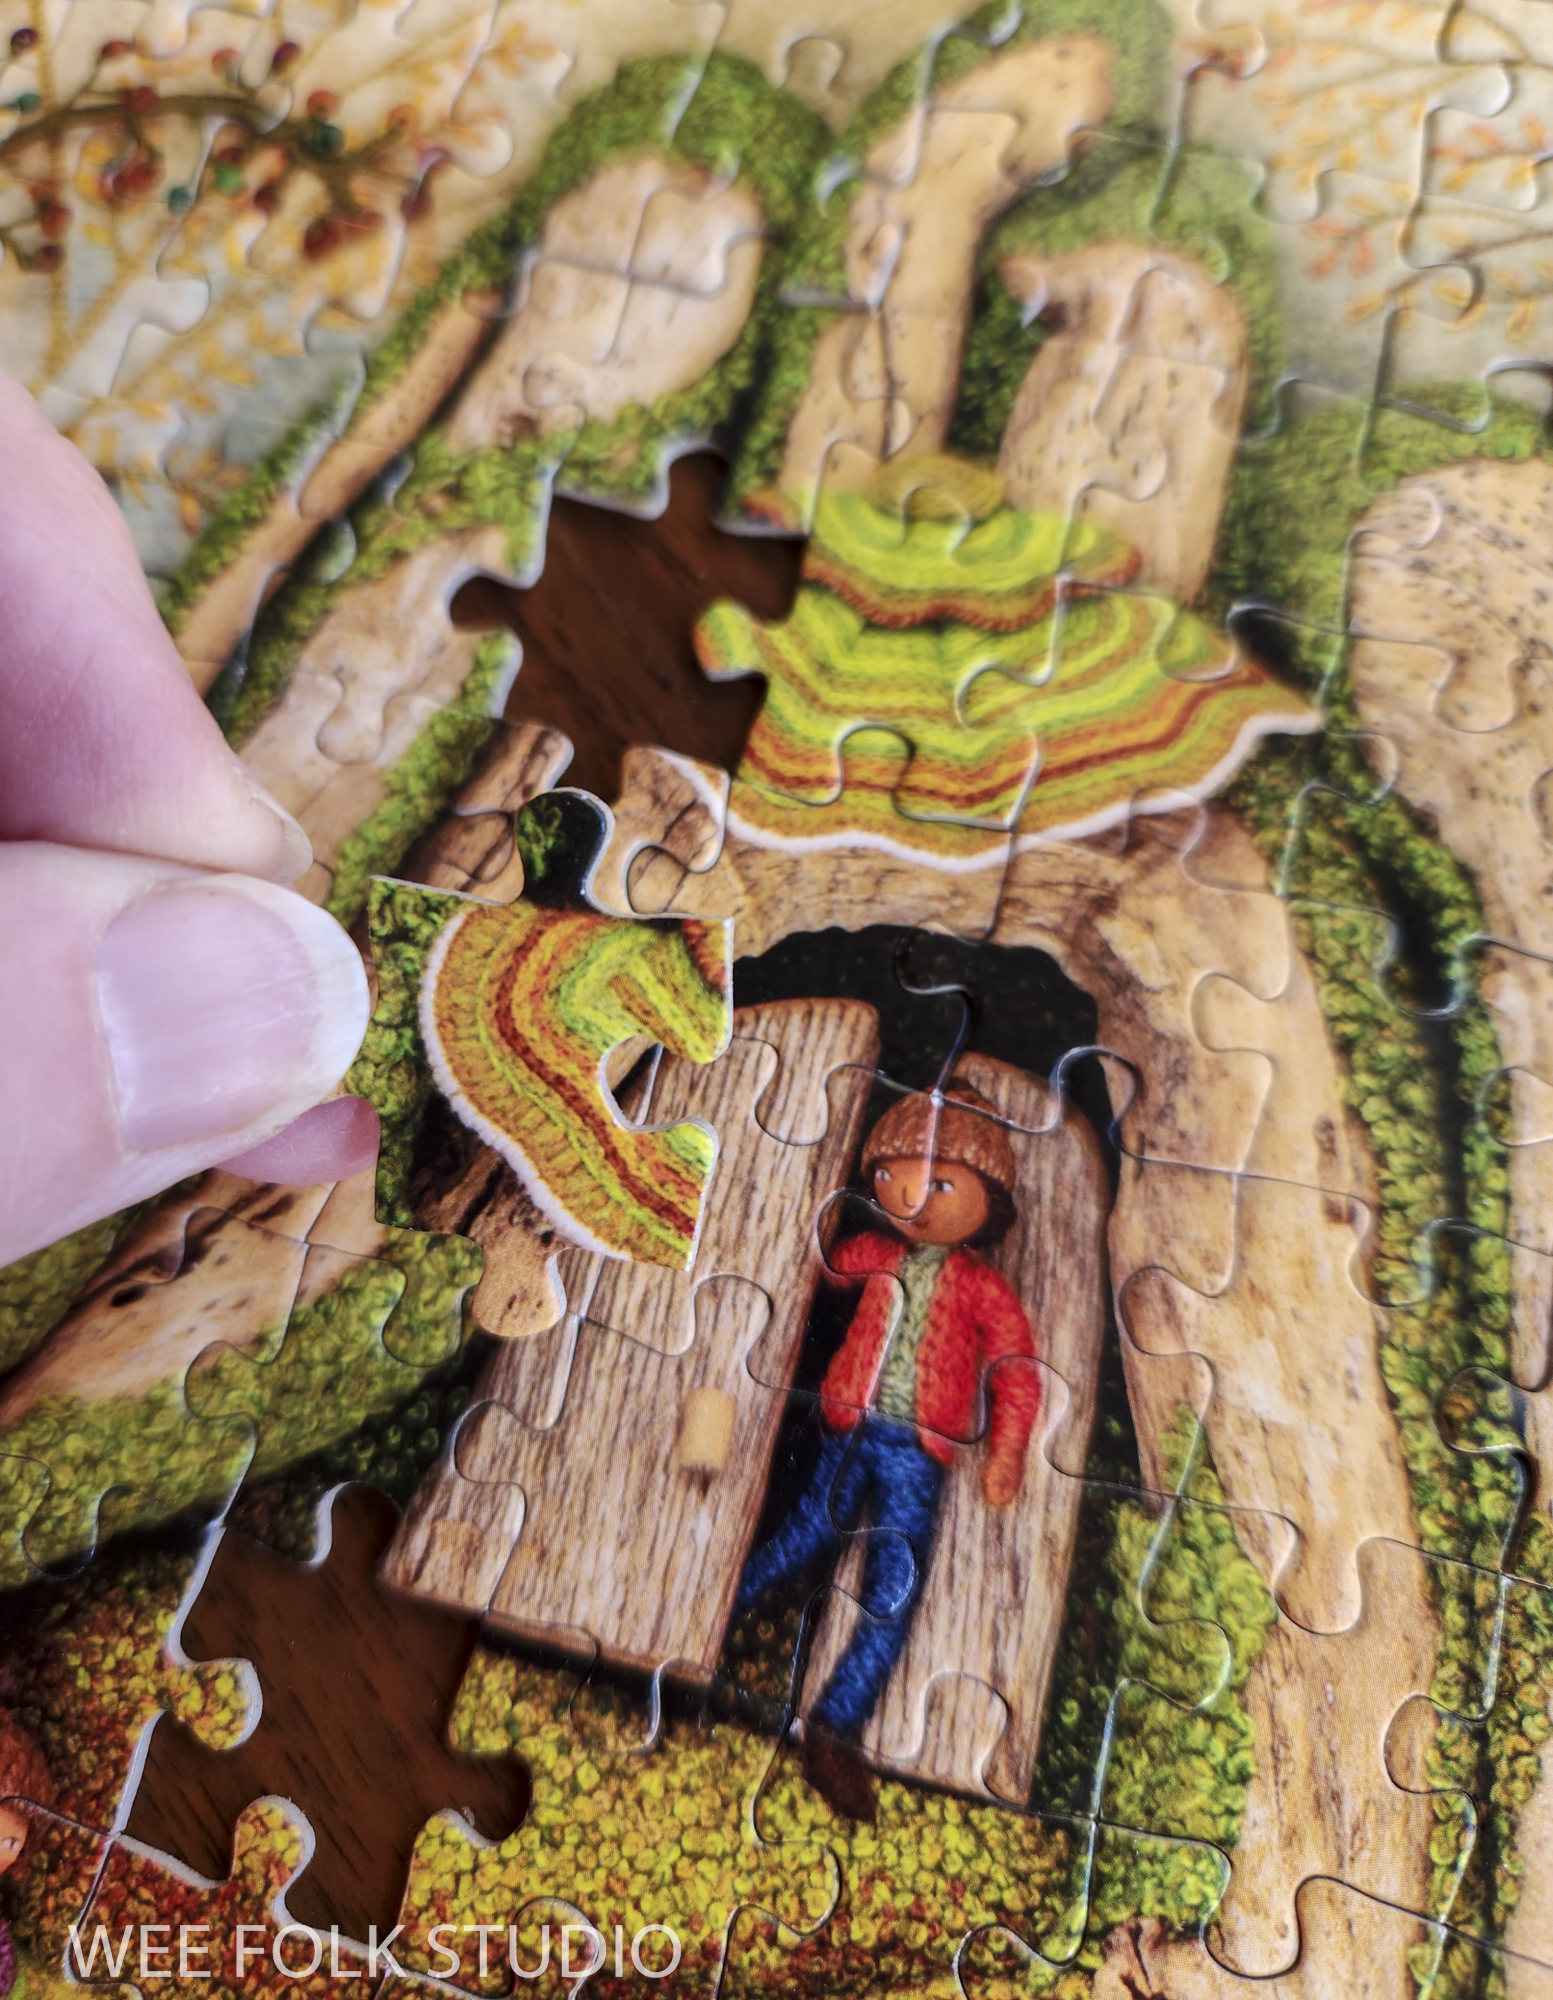
Harvest Time is the fall scene in a series of seasonal landscapes that capture the wonder and magic of the natural world, both real and imagined. Harvest Time and 2 other scenes I’ve completed and written about, Frosty Morning and Mossy Glen, are available as note cards and jigsaw puzzles in my shop here.
Turkey tail mushrooms or shelf fungi are found all over the world. They usually grow on dead hardwood stumps and downed hardwood trunks or branches.

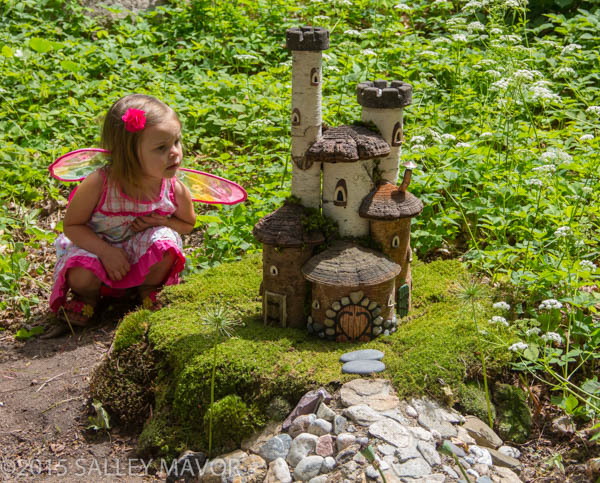
I love how Glen Carliss used shelf fungi for the roofs in “Glendell Towers”, which he made for The Fairy Houses of Highfield Hall, an outdoor exhibition that I curated in 2015. Glen told me that he’d been eyeing the mushrooms growing on trees along his road for years, imaging what to do with them.
I didn’t use actual mushrooms in Harvest Time, but I was inspired by their fanciful appearance. My photo search came up with multiple color combinations, from earthy hues to shades as garish as 1960’s fashion. I chose a more subdued mixture of fall colors for the mushroom roof.
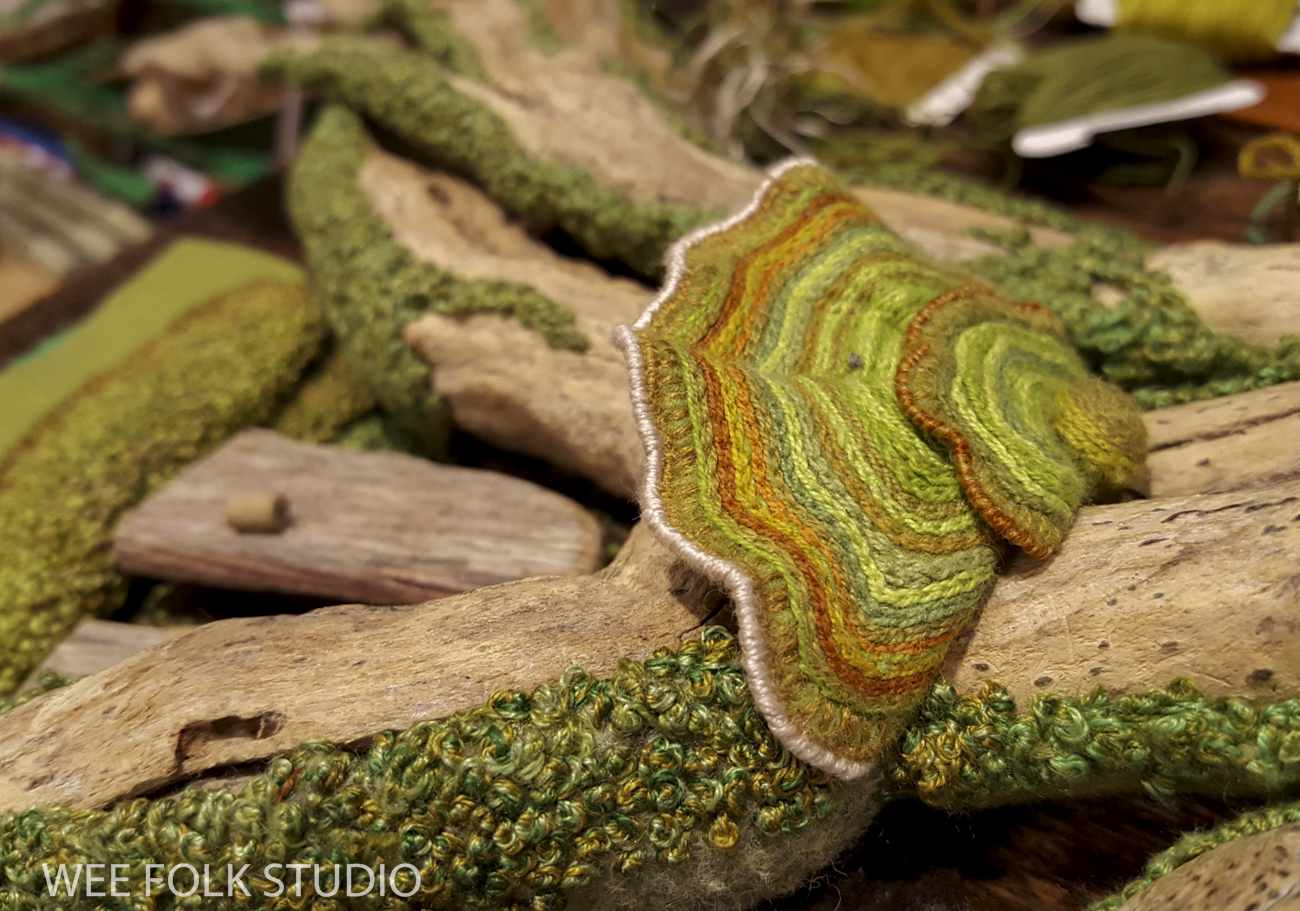
To make the striped concentric pattern, I chain stitched rows and rows of different shades of green and orange DMC cotton flower thread to a piece of felt. It took two tries to get the shape and colors the way I wanted it.

In this Stitch Minute video, I demonstrate chain stitching the stripes and adding wire.
After we filmed it, I wasn’t happy with the overall shape and color combo, so I started over and made a new one that was more curvy and included orange and yellow.

I stitched wire around the outside edge and covered it with white embroidery floss.

Then I made a smaller mushroom and a really little one that looked like a pompom on top of a hat. It’s been a year since I started working on this piece, so my memory is a bit foggy. I can only guess at how I formed the layers into a roof shape and attached it to the driftwood. I do remember that the mushroom wasn’t very cooperative and I had to torture it into shape. Most likely, I glued felt to the wood and then sewed the mushroom to the felt.
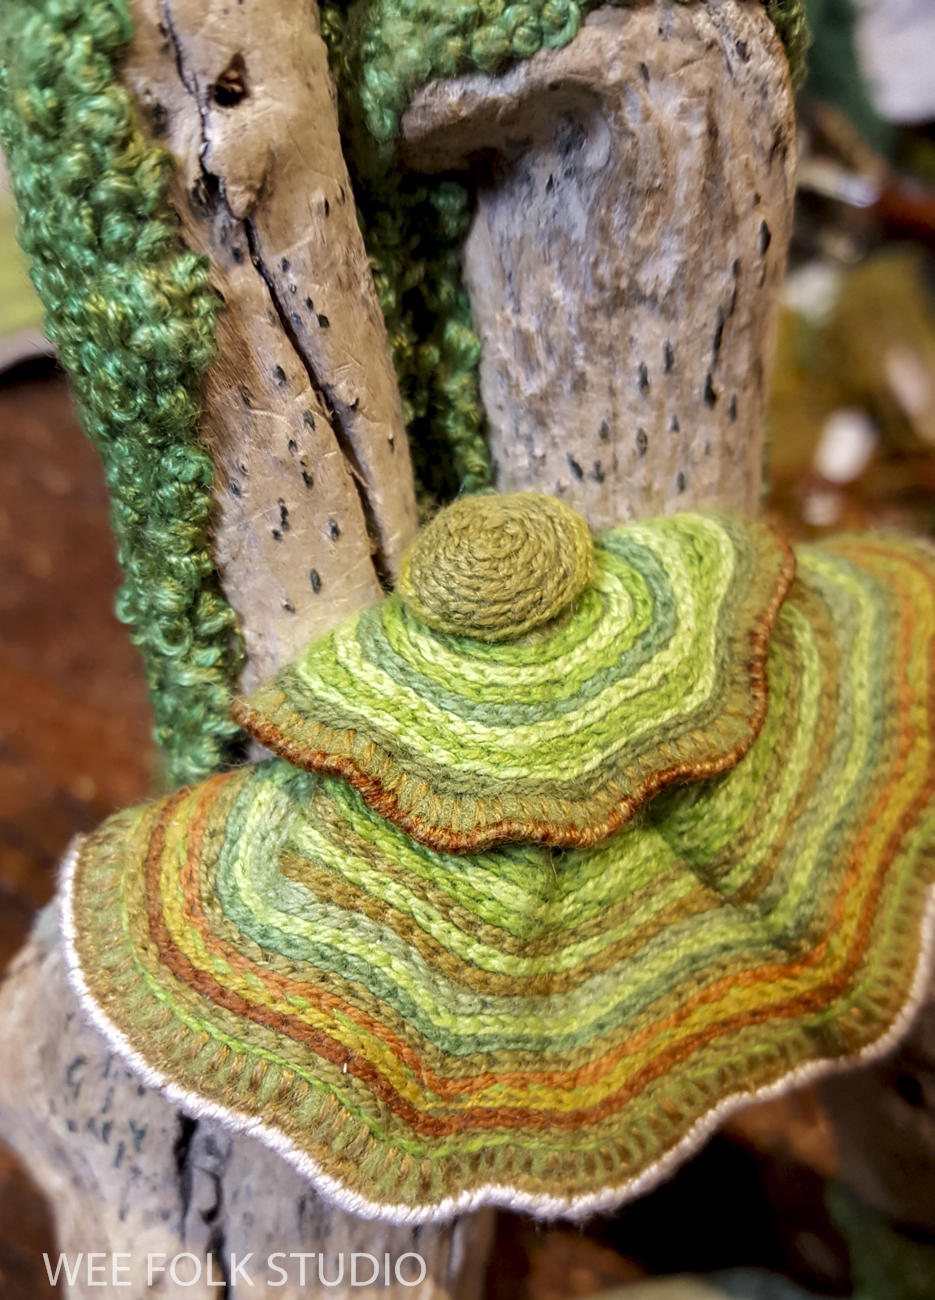
During the process, I constantly measured the depth of the trunk to make sure that it would fit behind the glass when the finished piece was framed. After the mushroom roof was added, there was just enough clearance!

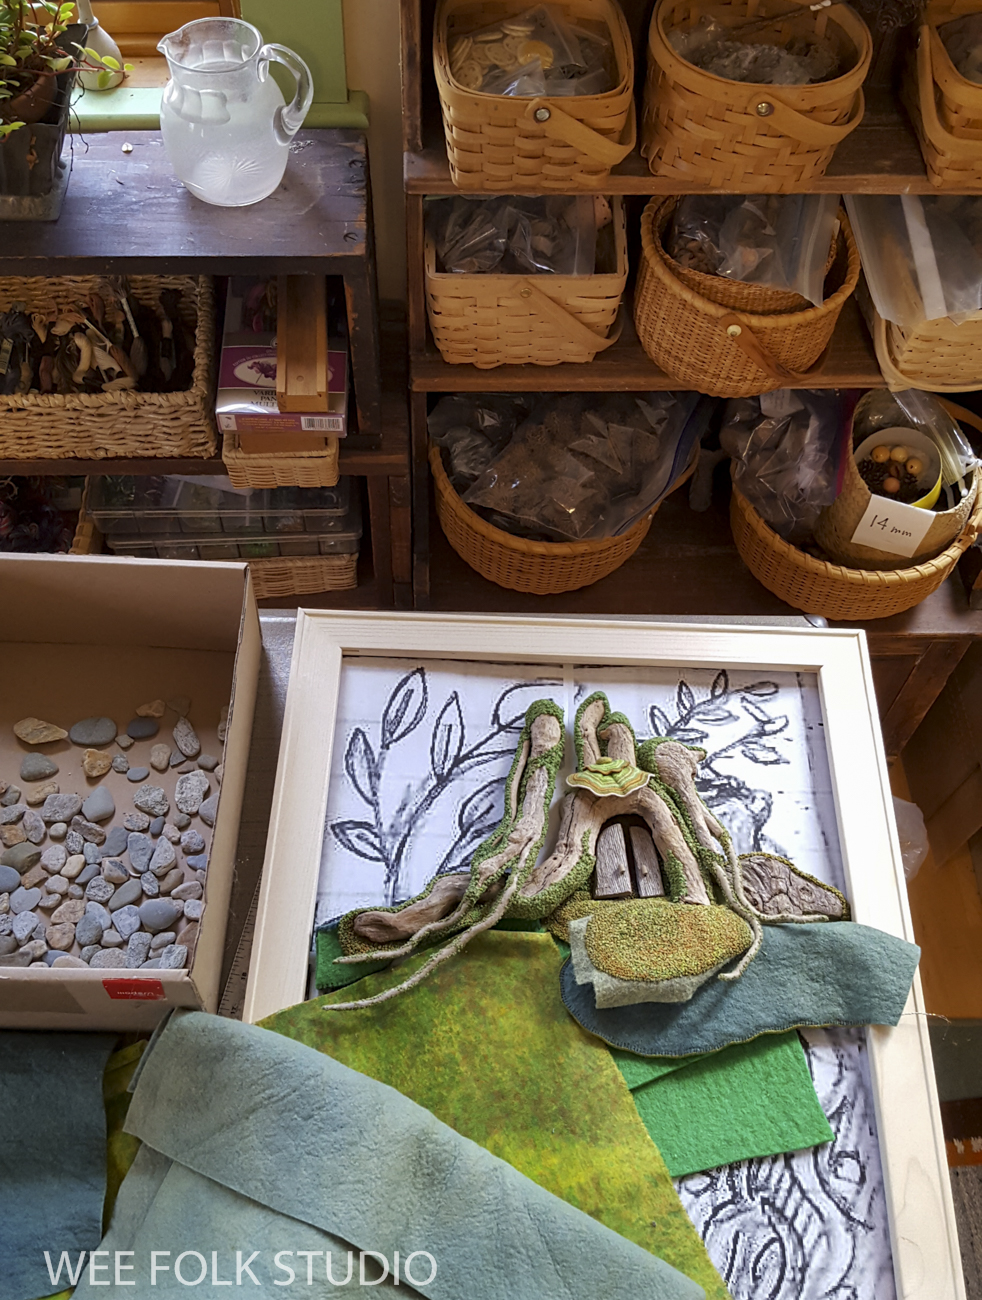
My use of found objects is mostly limited to individual items that are sewn in place and incorporated into embroidered scenes. This trunk was different because it was made up of several driftwood parts that created a fairly large mass that stuck out from the background. Its depth and breadth would determine how I created everything else in the landscape.

Now that the trunk was finished, I could start building the other parts of the scene, including the ground at its base.
Next time, I will show the process of making the felt and stitched foliage growing on the ground at the foot of the tree trunk.


Hi Salley! I live over in Sandwich. Love your amazing work! Thanks for sharing your process. Jean Tobey
Really special, Salley!
I love turkey tail mushrooms. Yours are beautiful.
Your work and artistry is AMAZING! Thank you for sharing.
Hi Salley, you inspired me to make a play-book, made of felt with a little doll that lives in it and can be put to bed, bath etc. I want to use wire as you do, to make some parts sturdier. I searched your blog but can’t find much about how you use it. My main question is, how do you make sure the wire ends don’t stick out?
Do you have a post on how to use wire ?
Thanks, Danielle
I’m glad that you are inspired by my work and are trying out some new techniques, Danielle. Your play book sounds really fun! As for how I use wire – on my blog I share photos and some Stitch Minute videos showing me working with wire.. What I share is purely for inspiration and not really instructional. mostly because it hurts my brain to recount how I do it. I use wire in many ways, each piece is different and I honestly don’t remember how I hide the wire ends. Maybe it’s folded over. I’m sure that you’ll figure out a solution. Good luck with your project!
Hi Salley, thanks for the reply. I understand very well why you don’t do instructies video’s, I would have the same problem. Too occupied to think of taking pictures and logging.
I will find a solution.
All the best to you.
Thanks for getting me inspired how to do embroidery again in a fun and creative way!
Danielle
Hi Salley, thanks for the reply. I can very well understand why you don’t do instruction video’s. I would have the same problem, being too occupied creating to remember taking pictures and logging everything. I will find a solution. Thanks for inspiring me how to do embroidery again in a fun and creatieve way All the best to you, Danielle Verzonden
I found your site a few months ago and bought your books. Waiting to finish up a few things quilty and then will dive into your books. I would love to incorporate something into a quilt if I can. I am so inspired by your work. I think we all have a little child left in us I am 83.
Helen Lessells