

In Part 6 in the continuing series about making Harvest Time, I share photos and commentary about making the tunnels, roots, and stones in the underground portion of the landscape. In the coming weeks, I will post more stories that focus on different aspects of making the fall scene, including the wee folk figures, their storage containers, and the embroidered trees. So far, I’ve written the following posts:
The overview introduces the Harvest Time piece.
Part 1 features moss making.
Part 2 is about making the turkey tail mushroom.
Part 3 shows the construction of felt leaves.
Part 4 gives a peek at embroidering the plants.
Part 5 is about making the toadstool mushroom
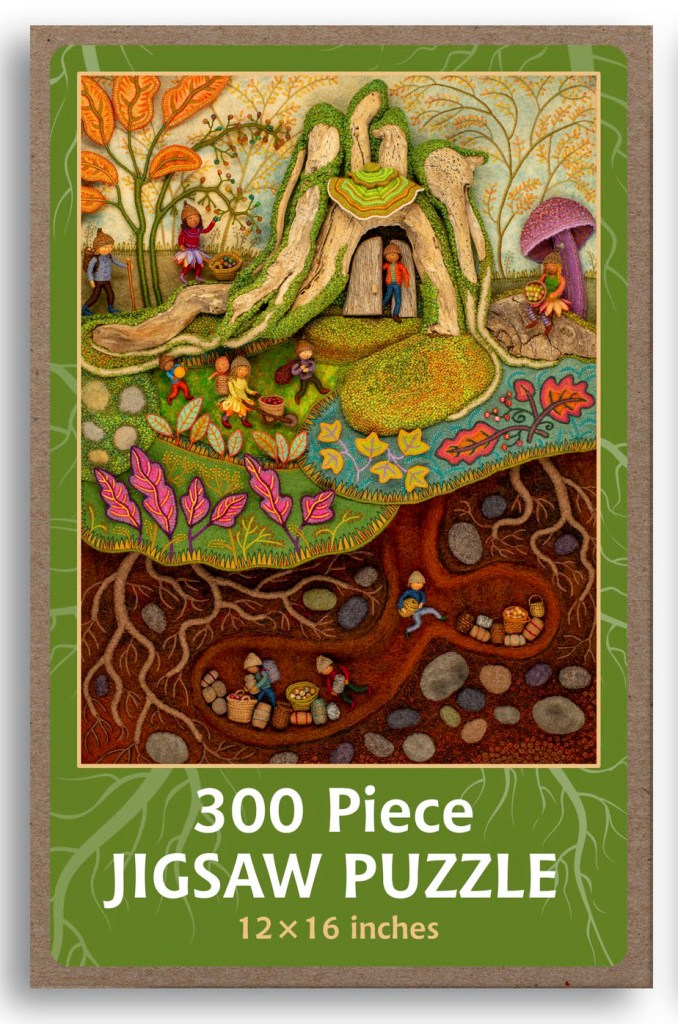
Harvest Time is the fall scene in a series of seasonal landscapes that capture the wonder and magic of the natural world, both real and imagined. Note cards and jigsaw puzzles of the this and other scenes in the series (Frosty Morning, Mossy Glen and Summertime) are available in my Etsy Shop.
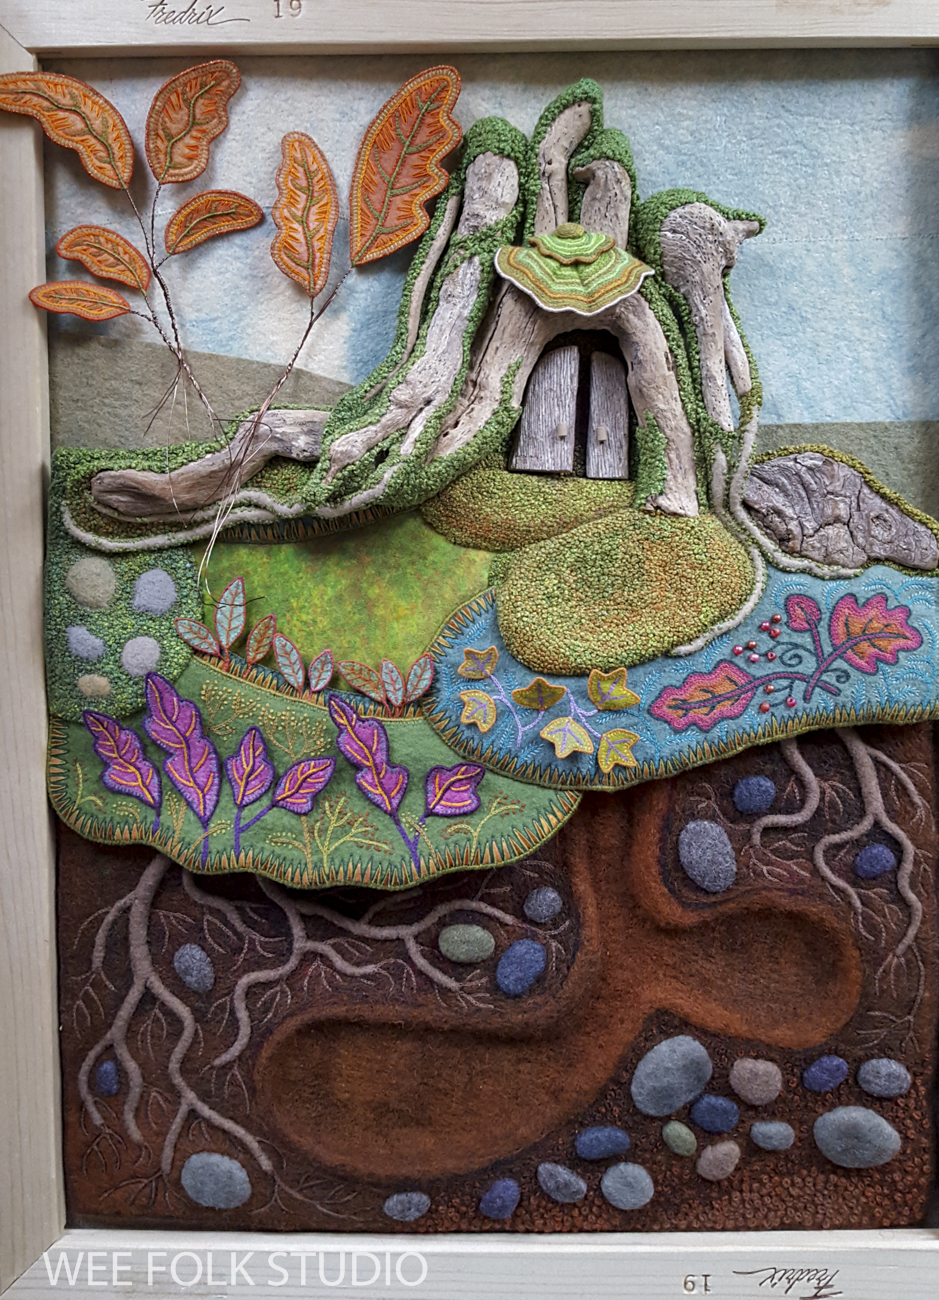
I’m never sure where my ideas come from. They usually appear in my head as pictorial concepts that ferment for a long time before transferring into my sketchbook and then as finished pieces. The fall scene lived in my imagination for many months before I began visualizing 3 separate areas – sky, a forest floor and below ground. I’ve always been fascinated by dioramas of underground tunnels and burrows dug by animals. I wanted to create similar storage areas for the wee folk to keep their fall harvest.

Once I became fixated with the idea of a cut-away underground view, I couldn’t wait to bring it to life! From the start, I knew that translating the picture in my mind’s eye into something real was going to require exploring different ways of working. While mulling over the possibilities, I decided to try both wet and dry felting, which I’ve dabbled in over the years.
Felting does have an appeal, but in the end, all that poking and meshing of wool fibers creates a uniform fuzzy texture that blends everything together. I wouldn’t ordinarily want that in my work because I’m more interested in creating lines and clear, defined edges. But for this project, a soft texture might be exactly what I needed for the dark soil below ground.
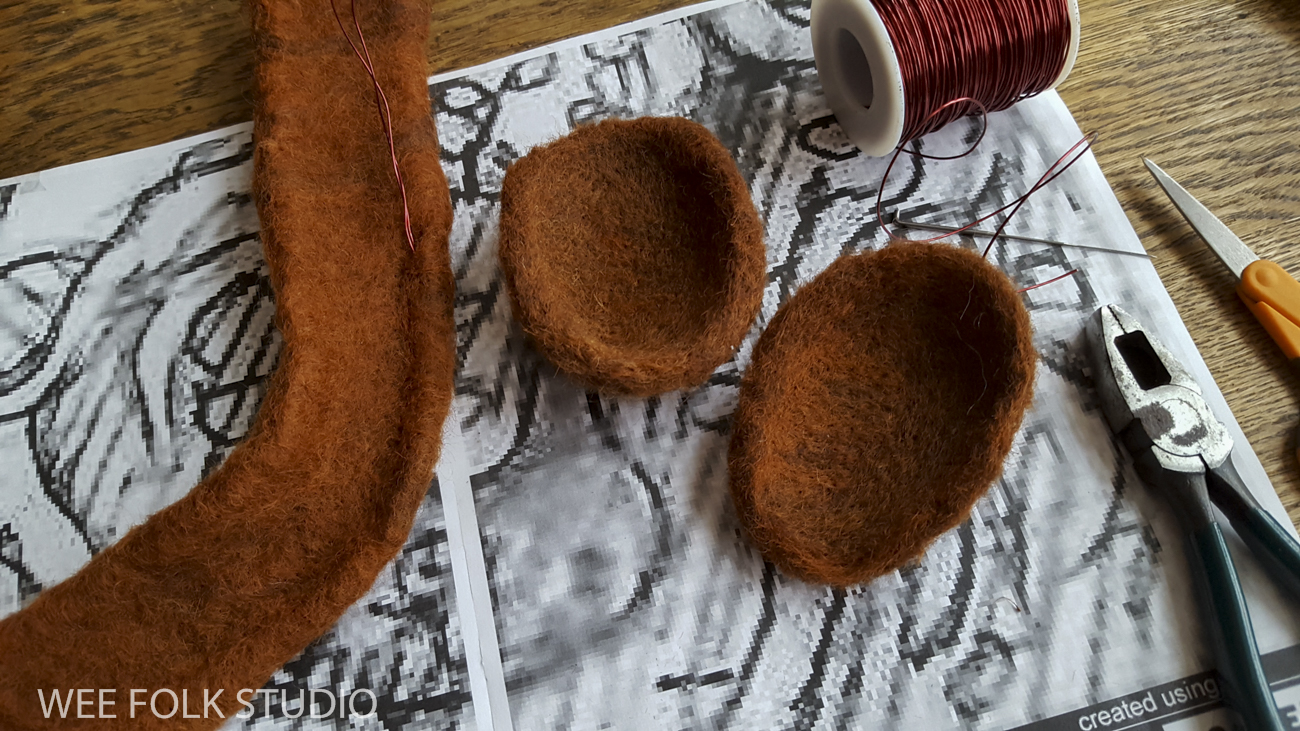
I also thought that felting would be a good way to form the concave shaped tunnel and storage areas. After reviewing the wet felting process on this YouTube tutorial, I wrapped a couple of stones and a curved stick with brown wool fleece and felted them in soapy water. When they dried, I cut through the thick felt and removed the stones and stick.

At this stage of the process, I needle felted the different parts together. An advantage to working with a barbed needle is that with enough jabbing, you can make seamless joints. Then, I cut out openings in a sheet of red felt (it happened to be what I had), inserted the tunnel, and needle felted them together.

To create the soil color, I needle felted layers of brown fleece on top of the red felt background.

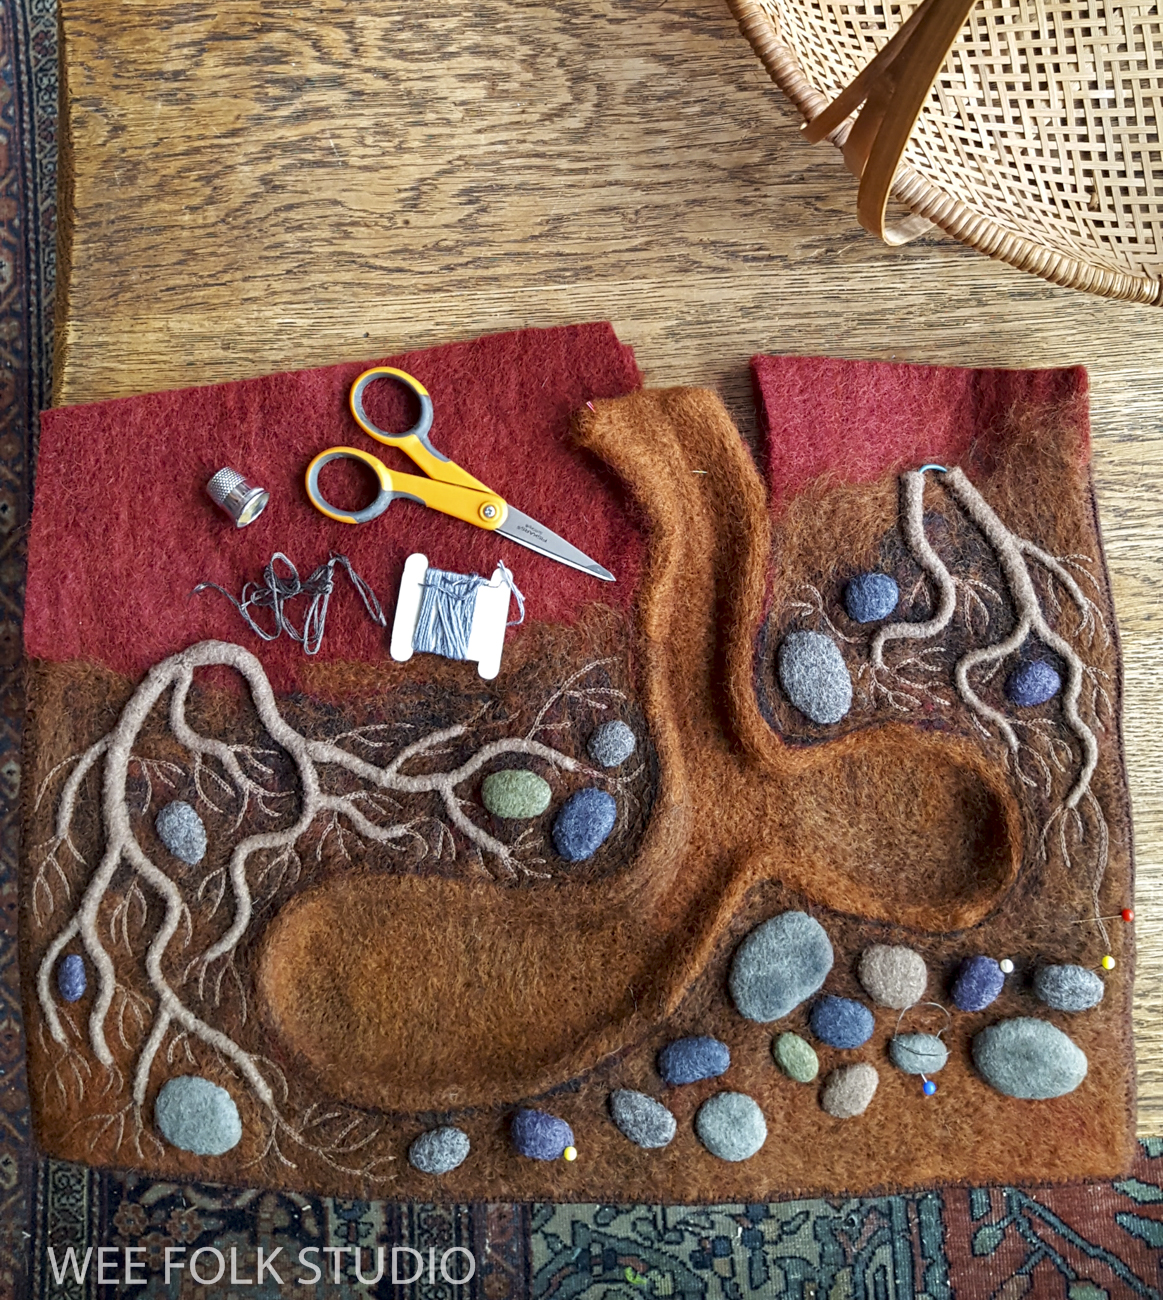
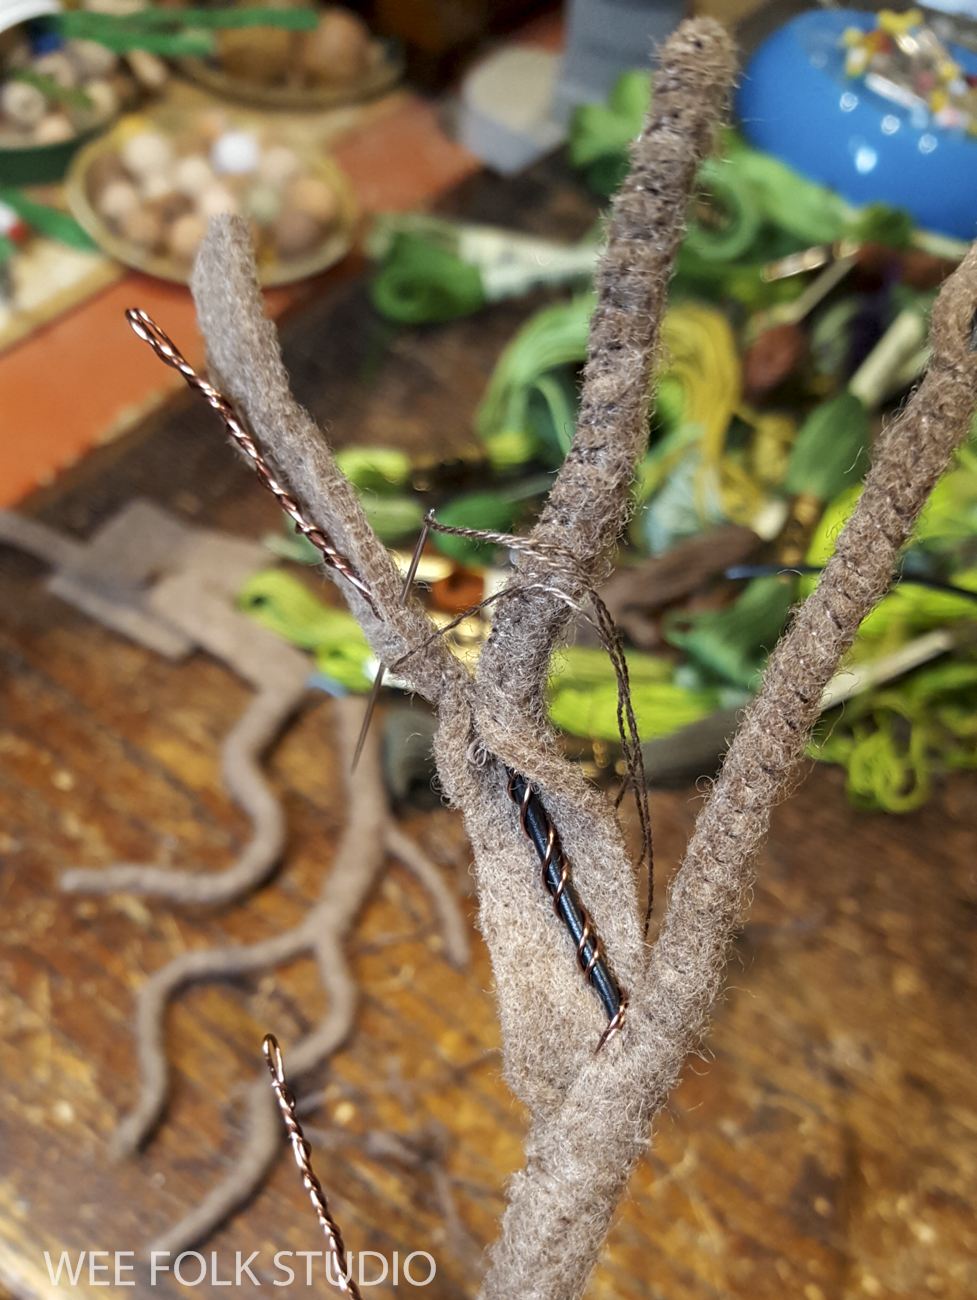
I made the underground roots by covering wire with felt, the same way that I make trees.
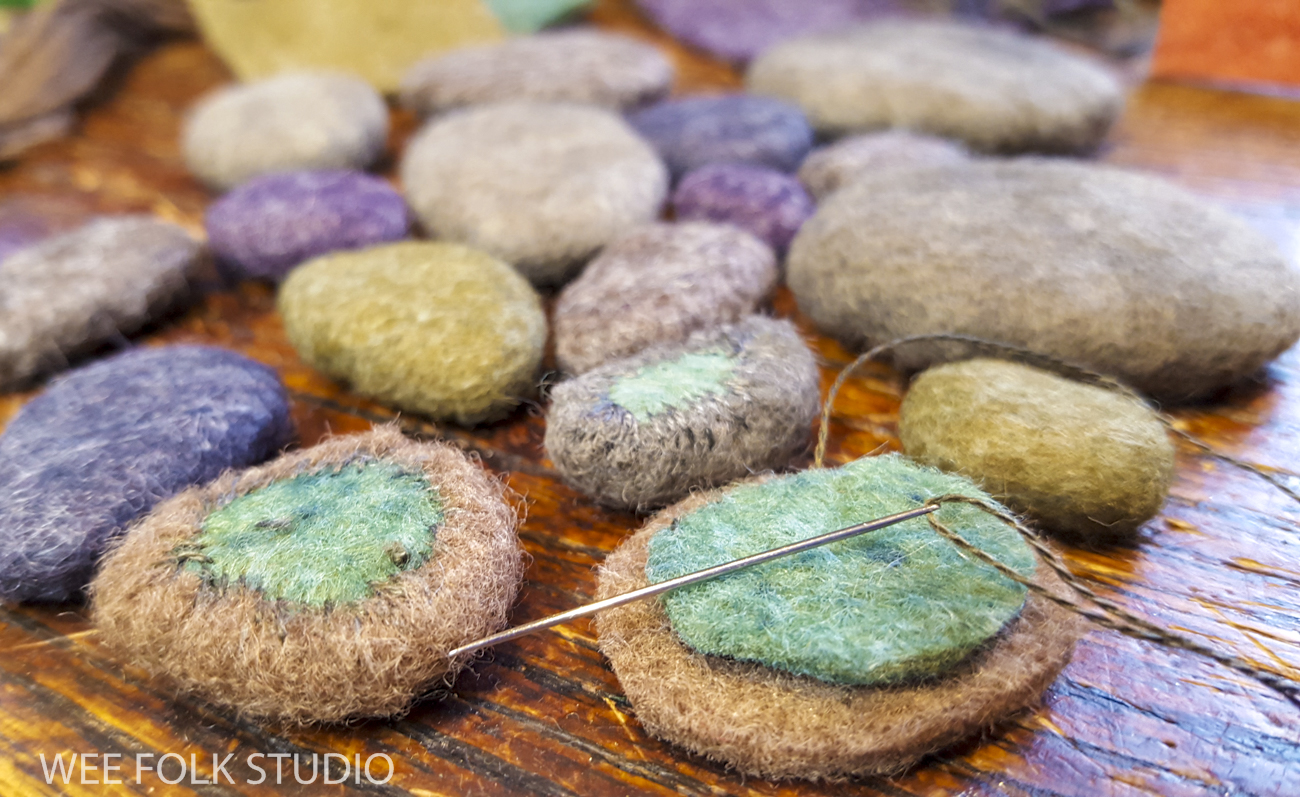
The stones are made with 2 layers of heather shades of felt, folded over and sewn on the back.
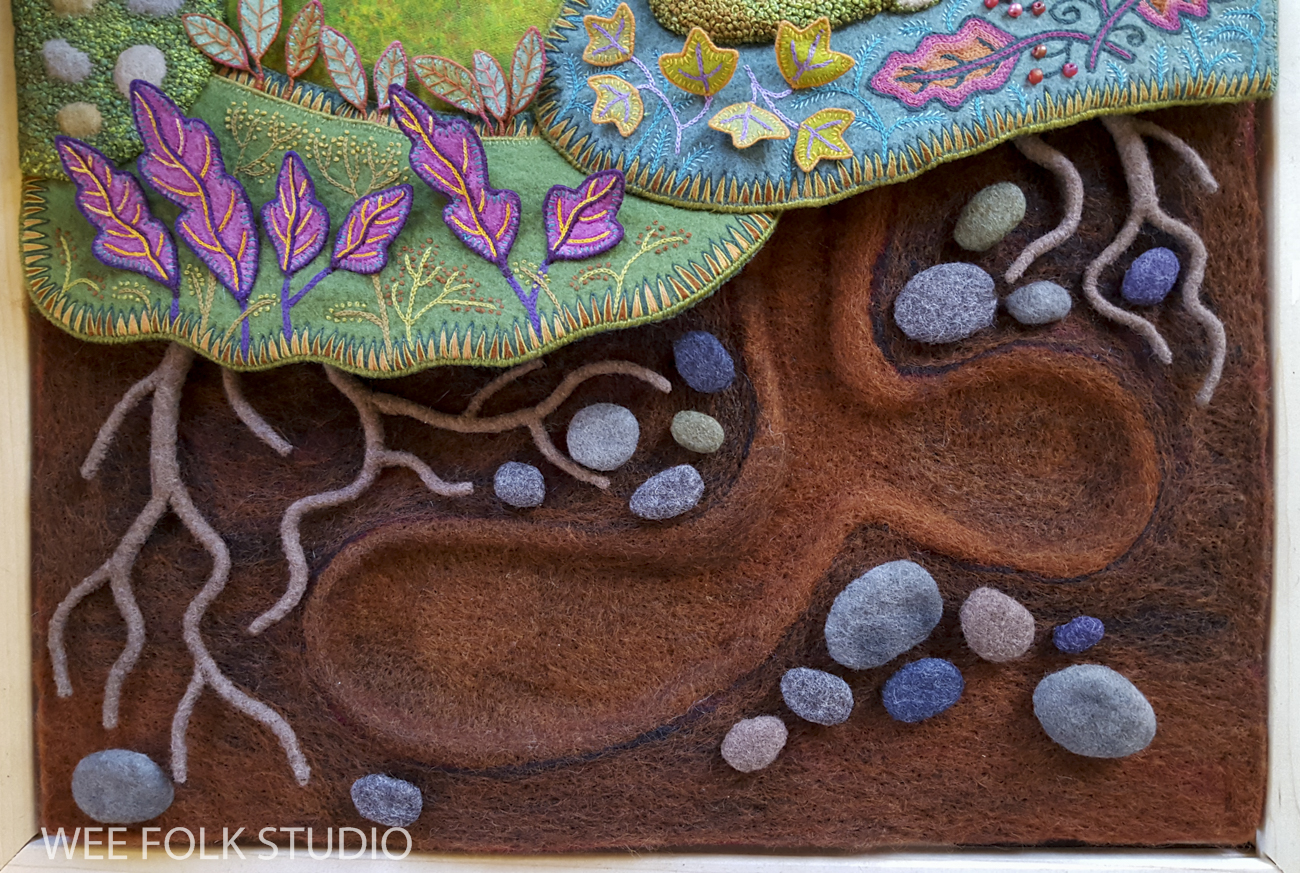
Once the roots and stones were sewn in place, I could go in and add embroidered details like the chain stitched finer roots…

and French knot “dirt”.

After all of the manic stabbing with a barbed needle, it was a relief to get back into stitching mode. It felt great to get out a large embroidery needle, thread it with tapestry yarn, and create a distinctive texture that contrasted with the fleecy wool.

With the underground section in place and most of the landscape complete, I could now begin to focus on populating the scene with the wee folk who lived and worked there.
Please stay tuned for more stories about making Harvest Time, including the wee folk figures, storage containers, and embroidered trees.
The overview introduces the Harvest Time piece.
Part 1 features moss making.
Part 2 is about making the turkey tail mushroom.
Part 3 shows the construction of felt leaves.
Part 4 gives a peek at embroidering the plants.
Part 5 is about making the toadstool mushroom

To keep up with new posts, please subscribe to this blog. Your contact info will not be sold or shared. If you’d like to see more frequent photos tracking the projects in my studio, please follow me on Facebook, Instagram and BlueSky.

Beautiful work. Fantastic imagination!!!
Sally, thank you so much for posting all these updates on your work. I love seeing your progress and process.
Congratulations on becoming a Grandma!
Isn’t it fun!
You are so welcome, Janice. I’m glad that you’re enjoying following only. And, yes, being a Grandma is the best!
Hello,
I have admired your work for years. Your books were always on the shelves of my children’s bookstore. I live on the west coast and despaired of ever seeing your stitching in the flesh. However, yesterday I drove to La Conner, WA to view your exhibit there. I spent a such a happy time studying your techniques, your storytelling abilities and marveling at your attention to detail. I left the museum with such a grin on my face. Thank you for sharing your work in such detail and inspiring me to continue stitching every day.
Diane Blakely
>
Oh, Diane, your words warm my heart so! Thank you for making the trip to see the exhibit.
You are amazing! I can’t imagine the patience it takes to make such beautiful pieces❤️
Pure magic x
I love your work! I can sit (which isn’t hard because I’m in a wheelchair) and look at all the detail you put in each piece.