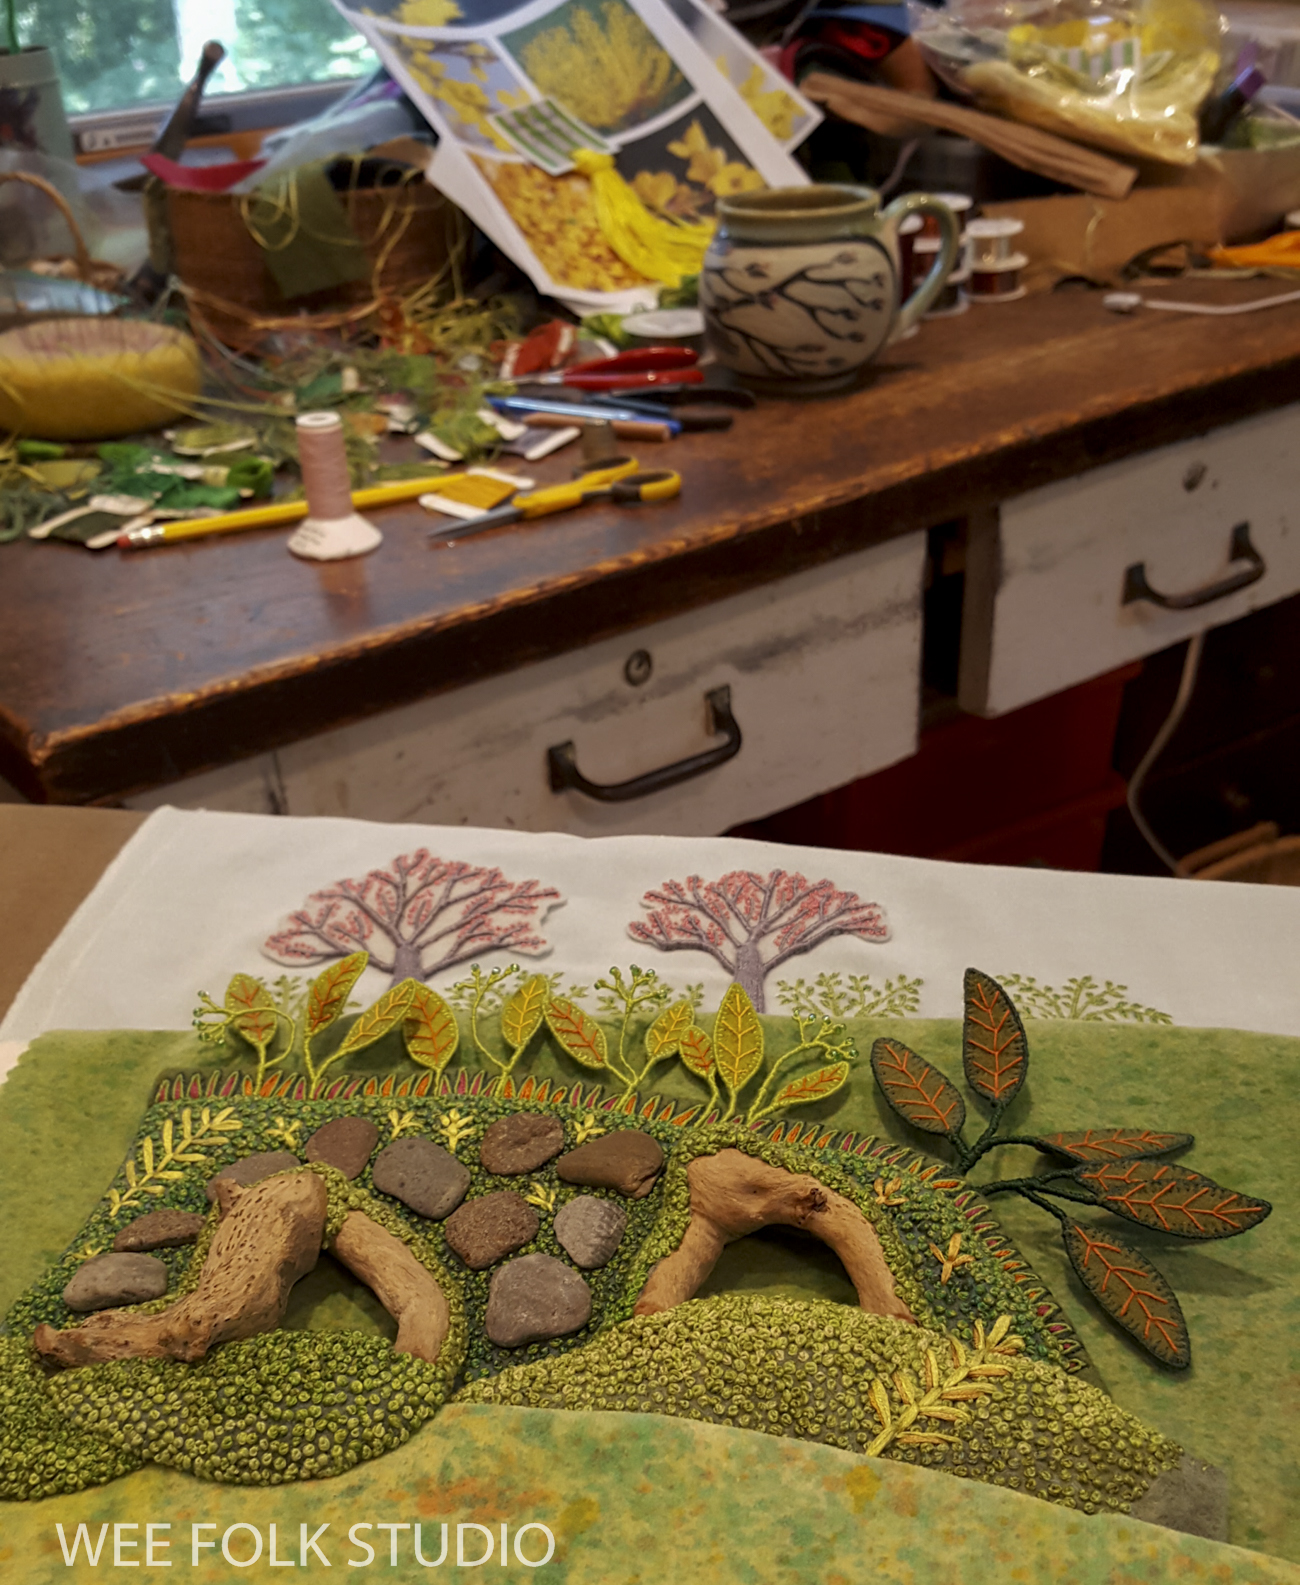
Part 8 completes the series about making Mossy Glen. All spring I’ve shared photos, videos and commentary about how I created the piece, from stitching moss to forming wire stems. I’ve saved the best for last – today’s post is about making the wee folk characters!
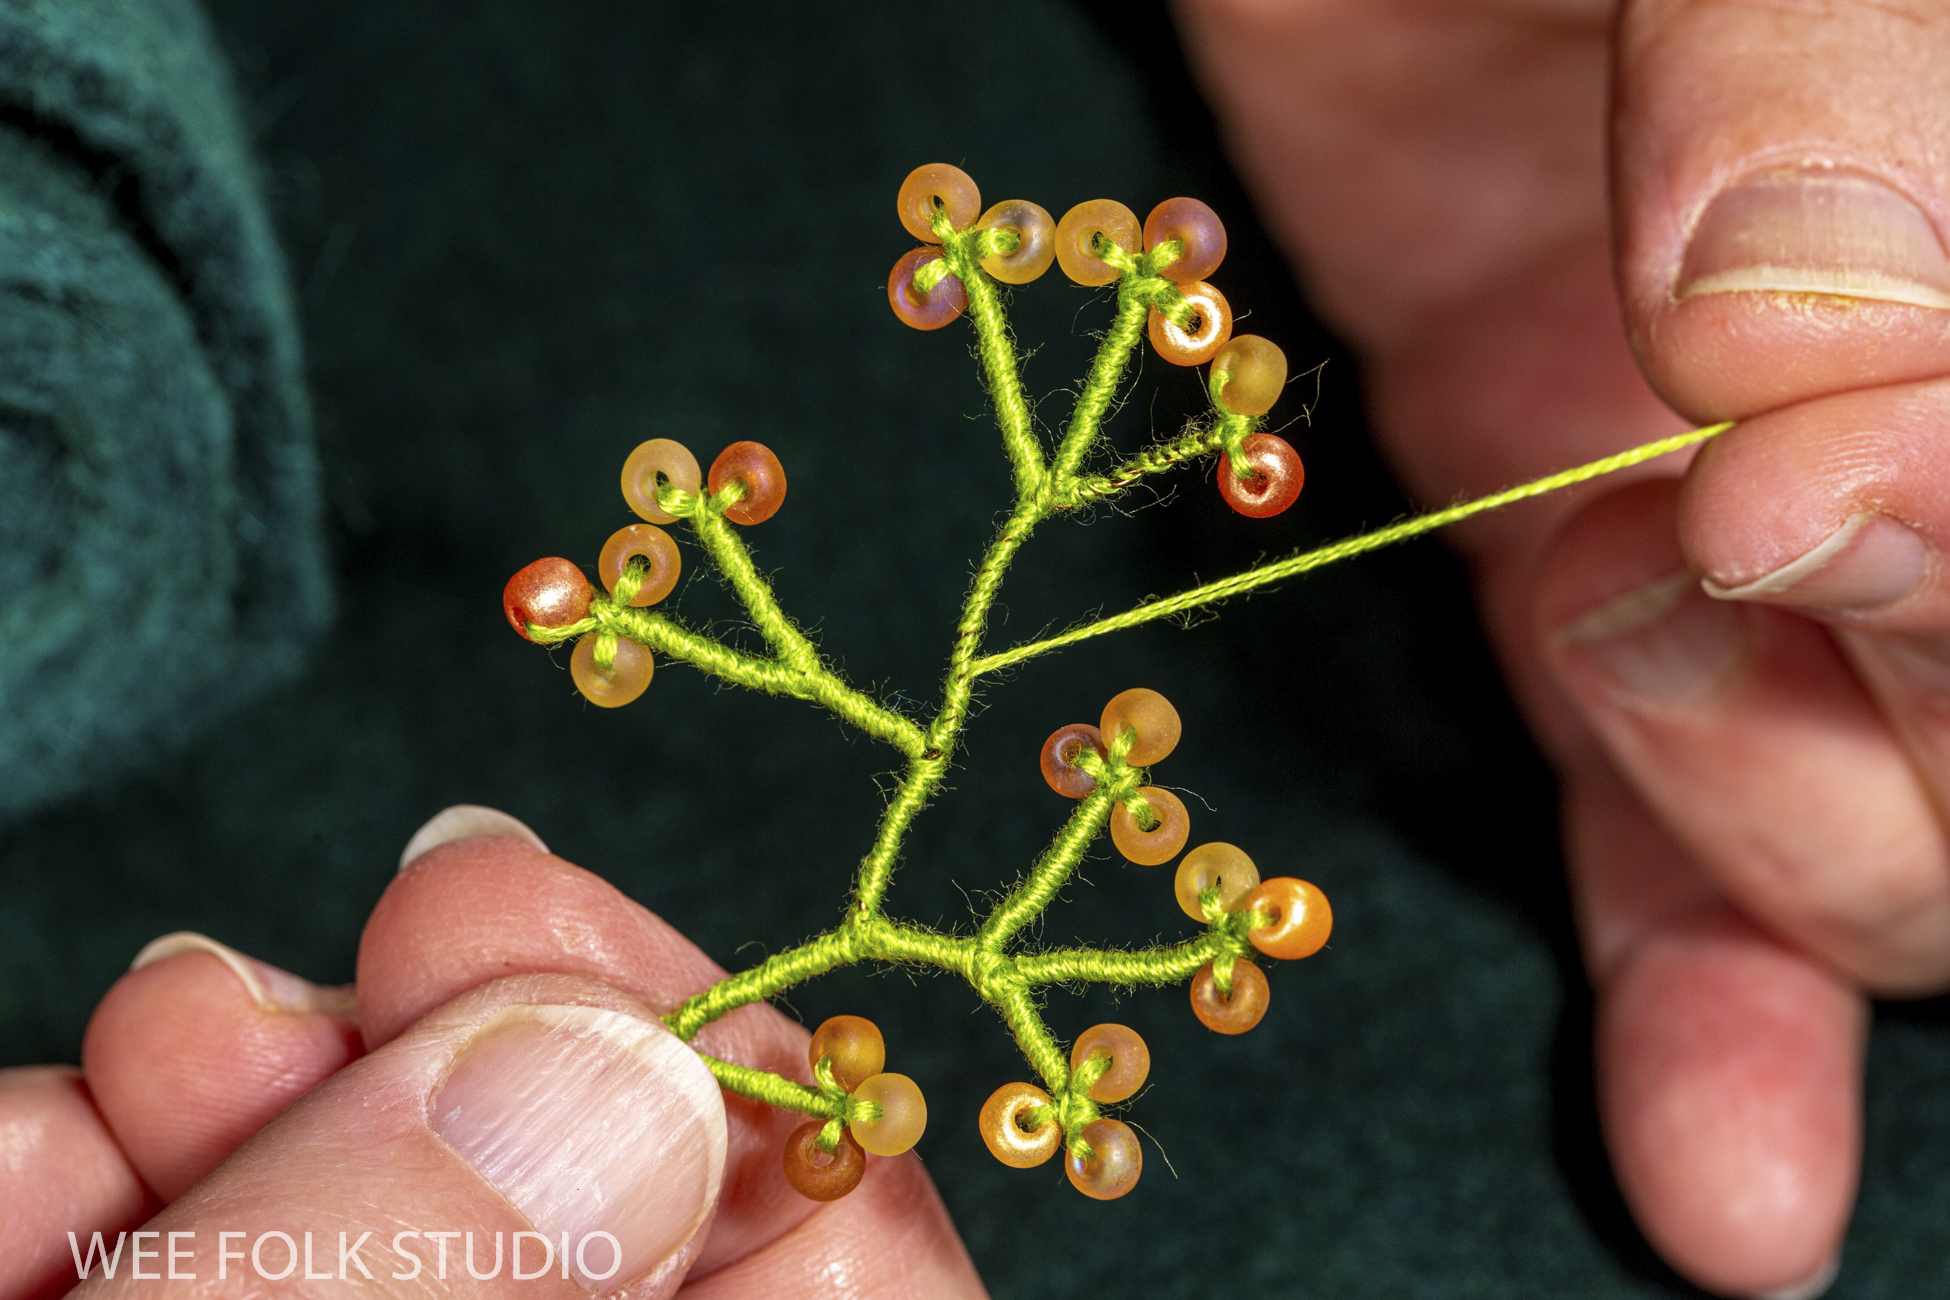
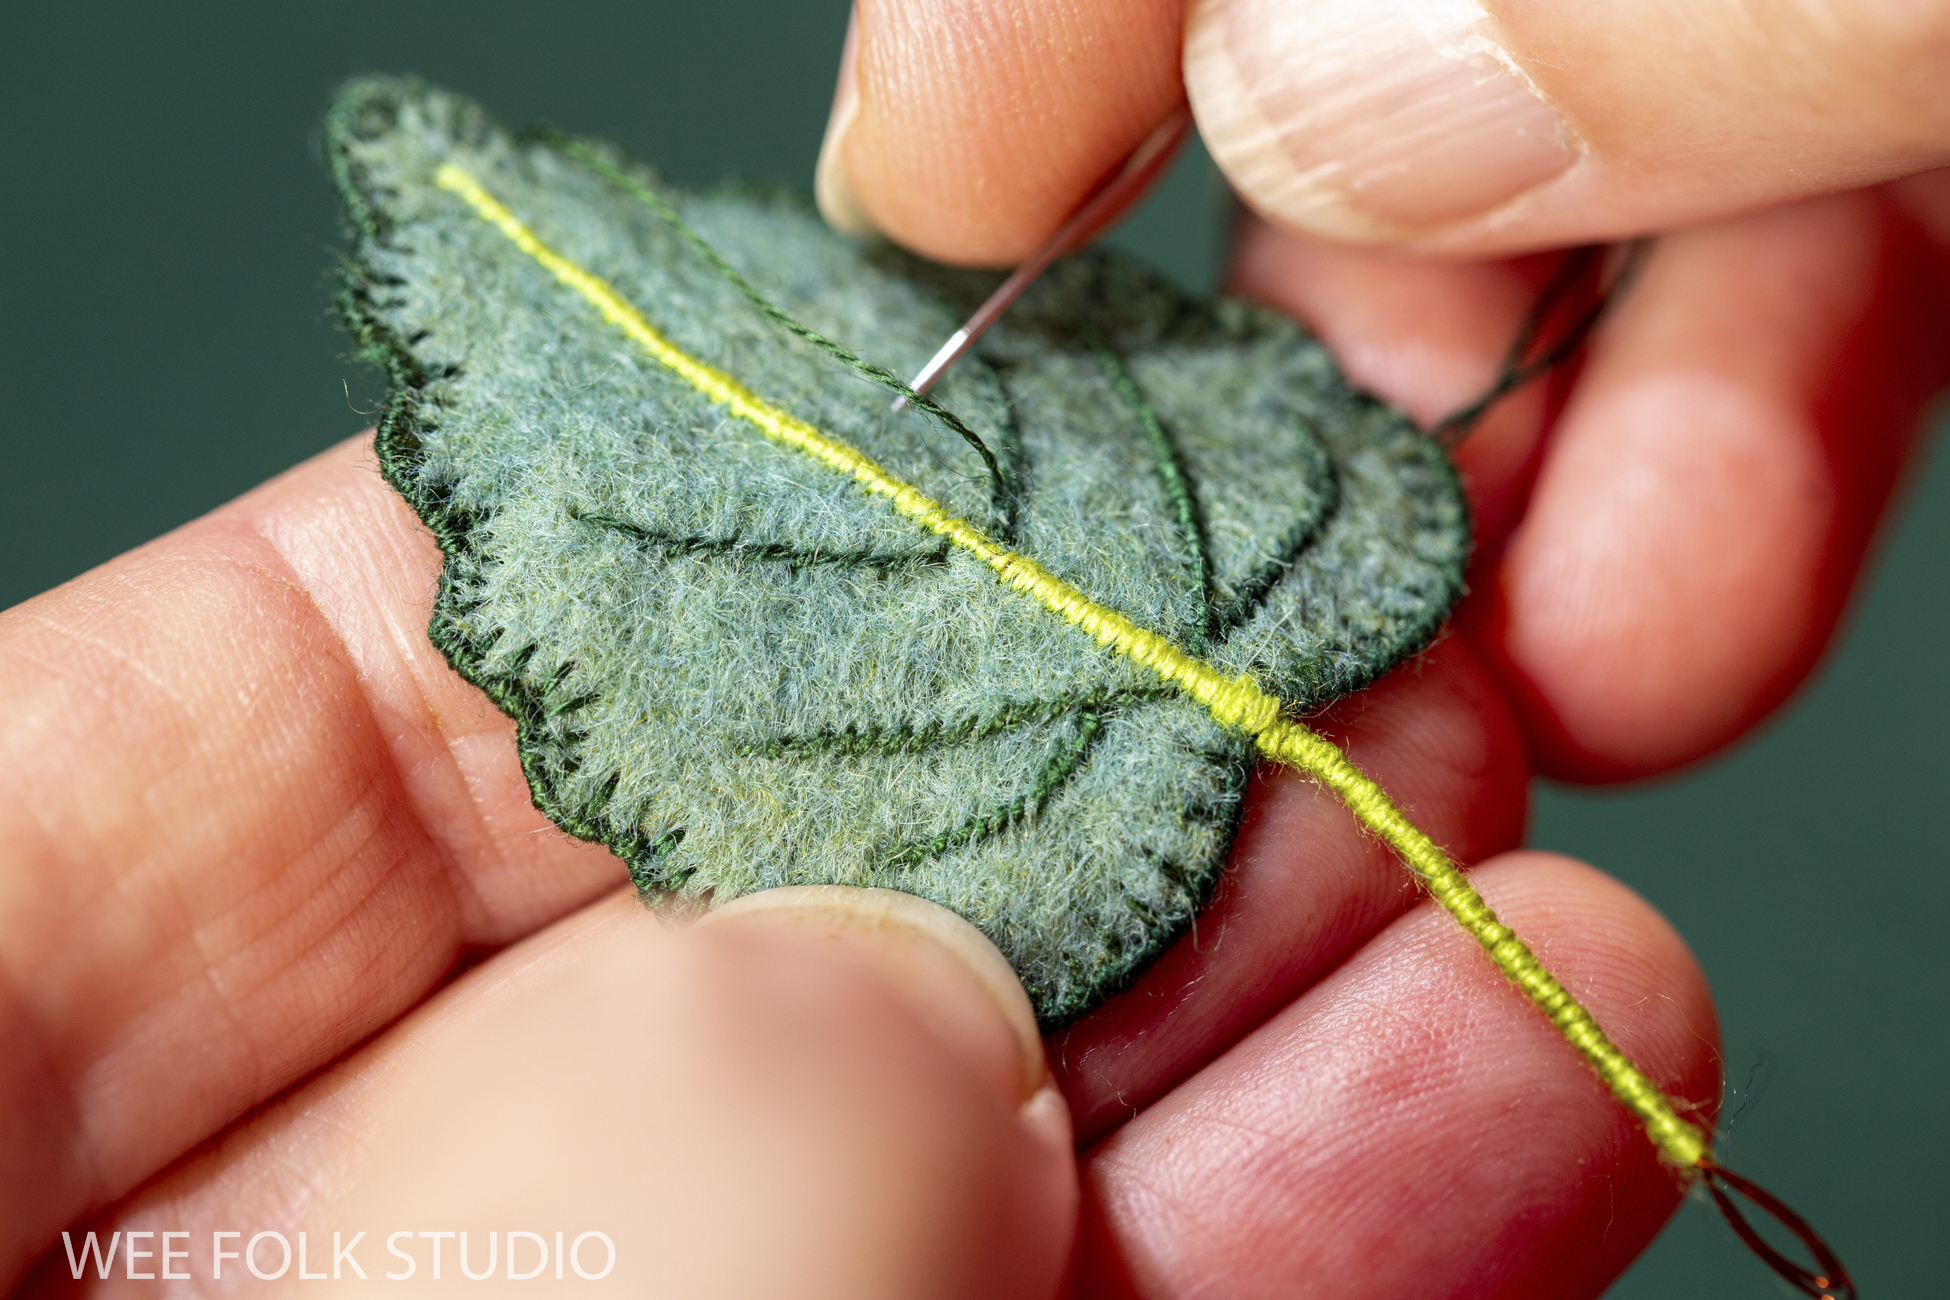
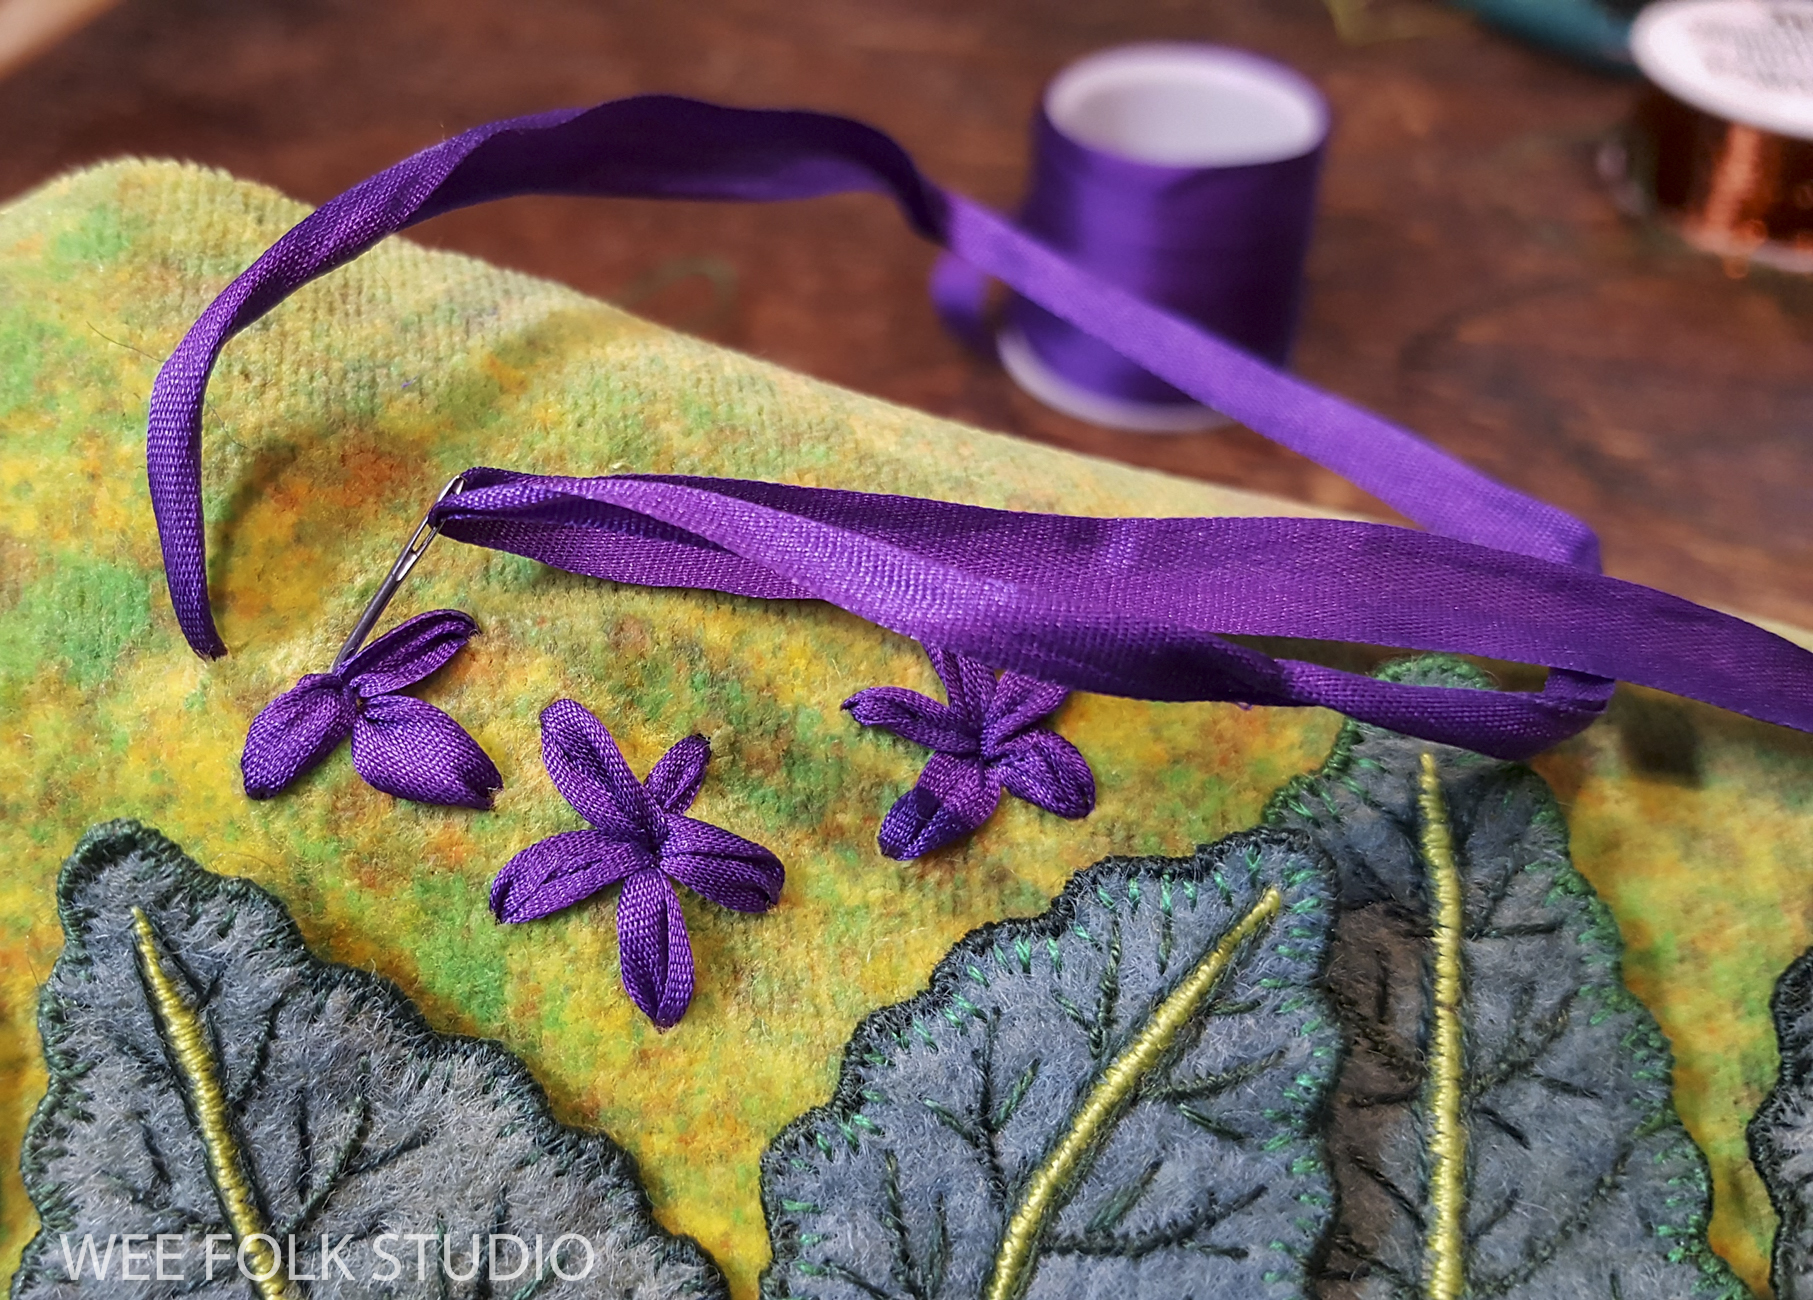
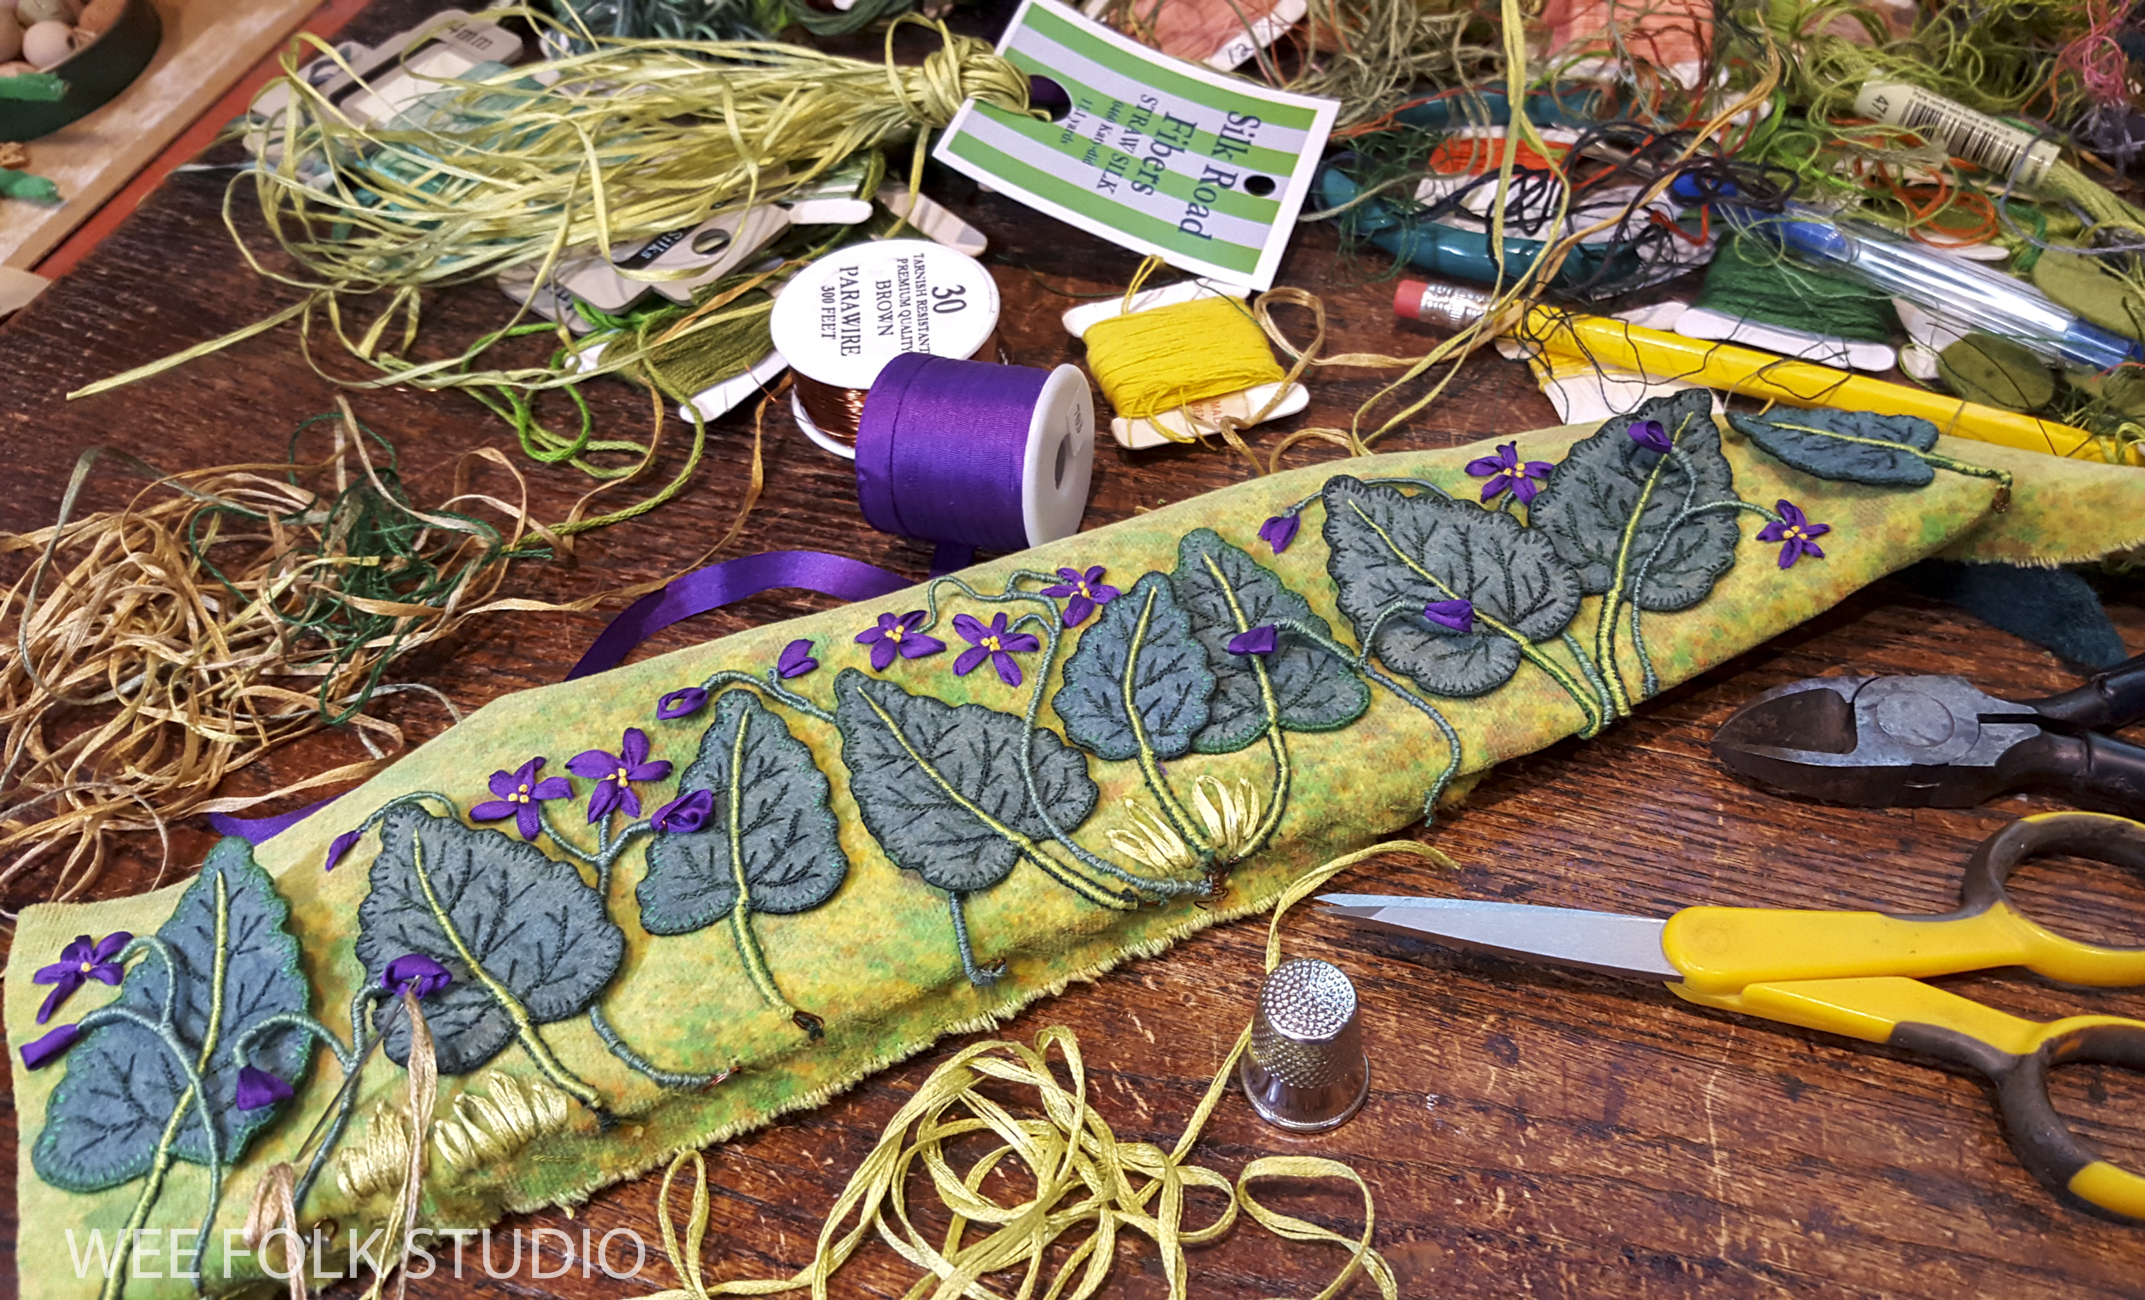
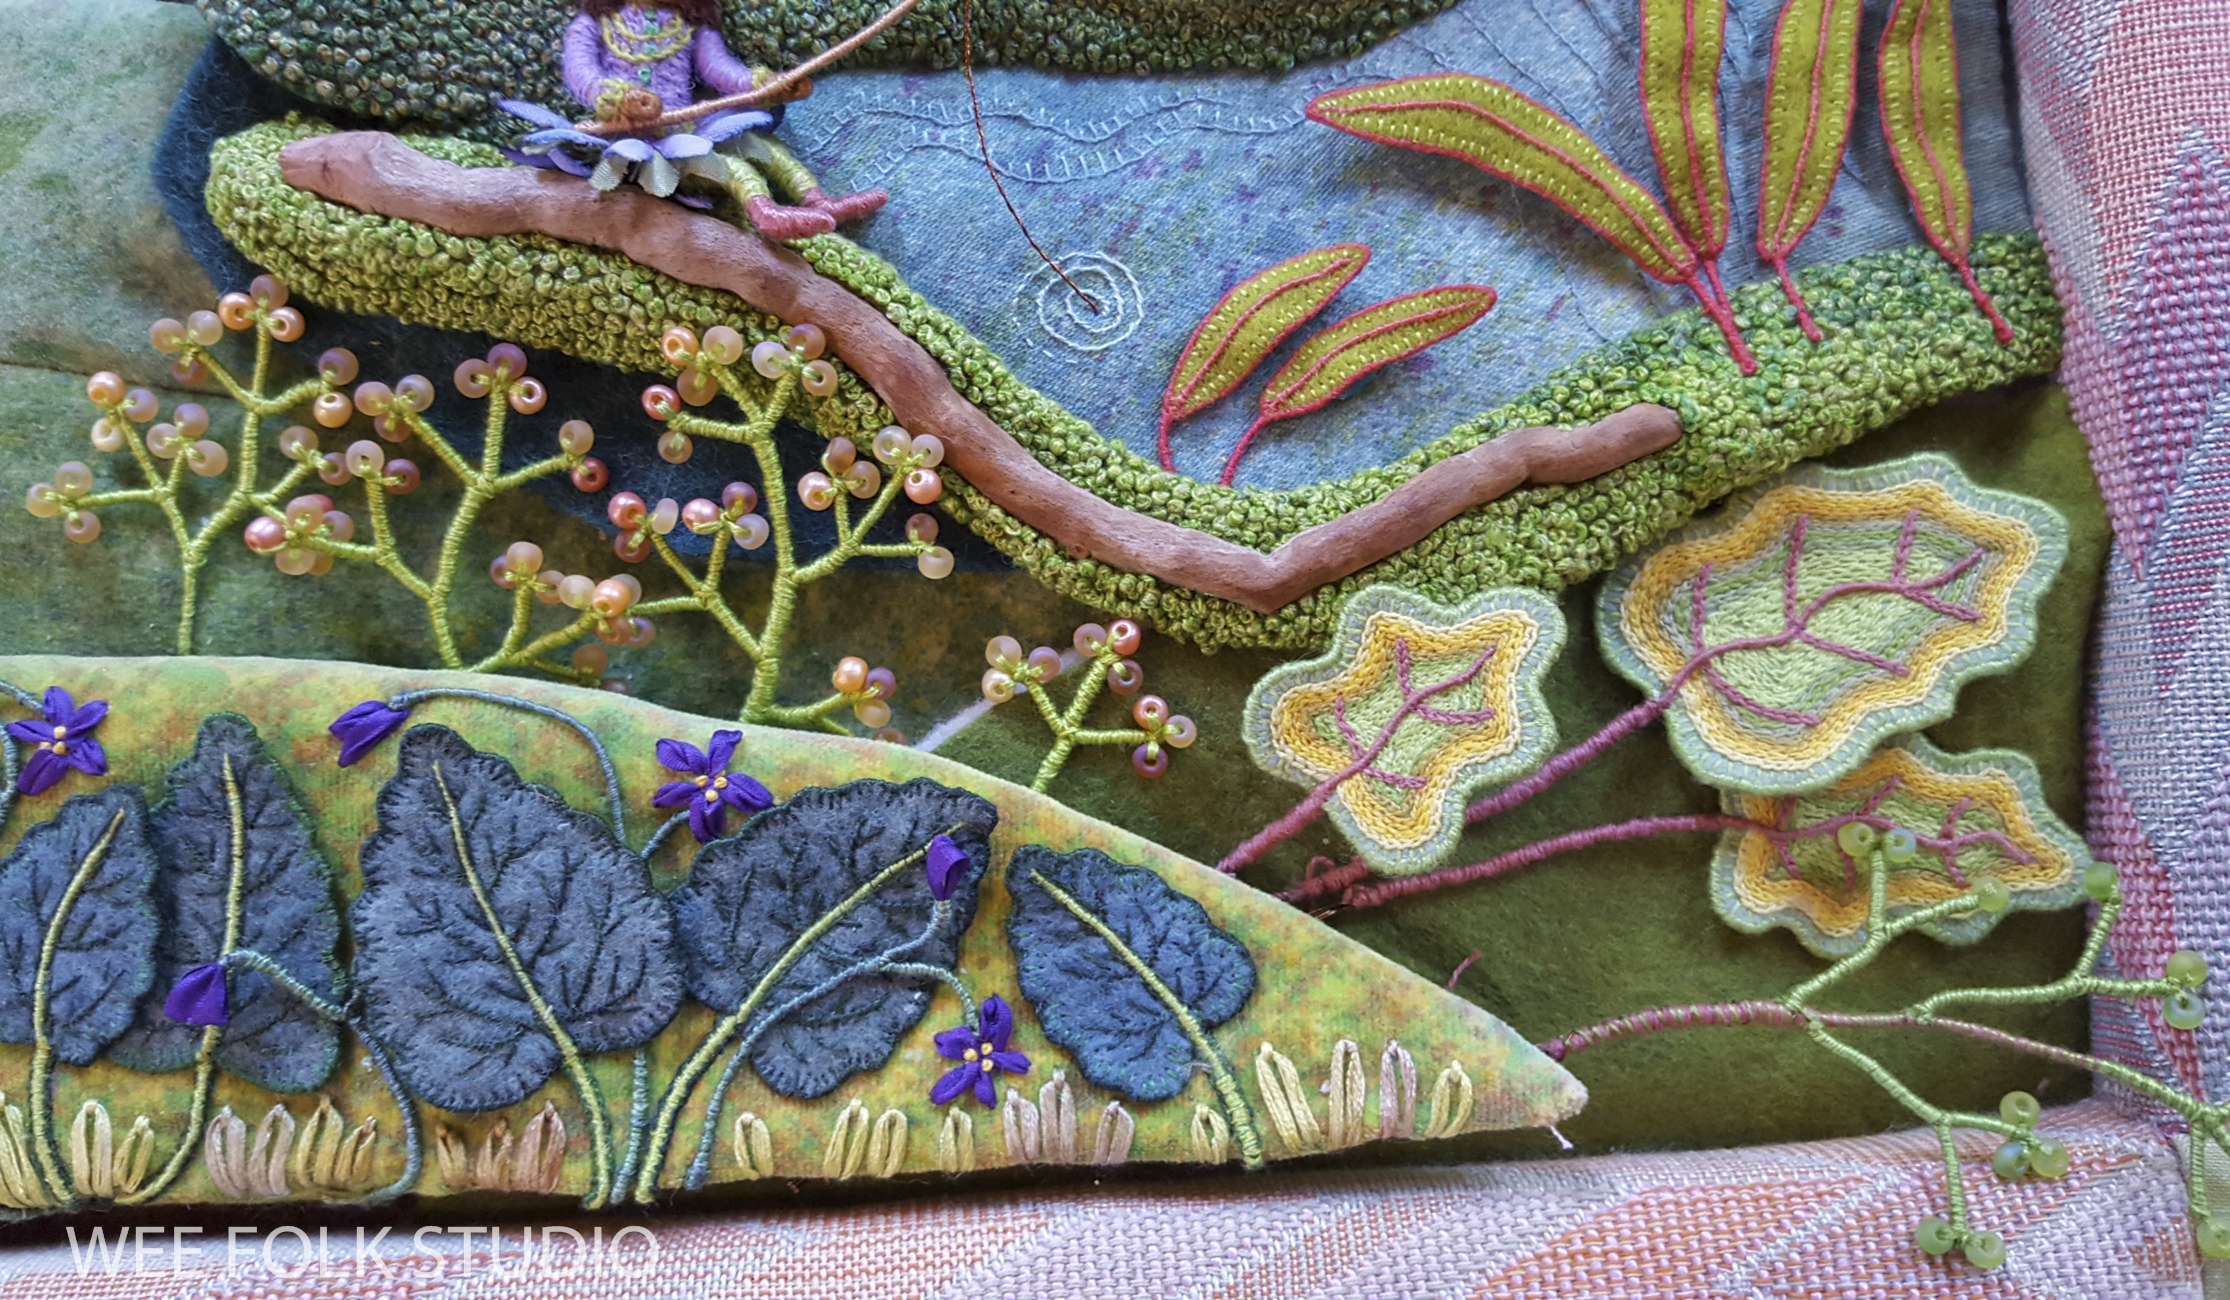
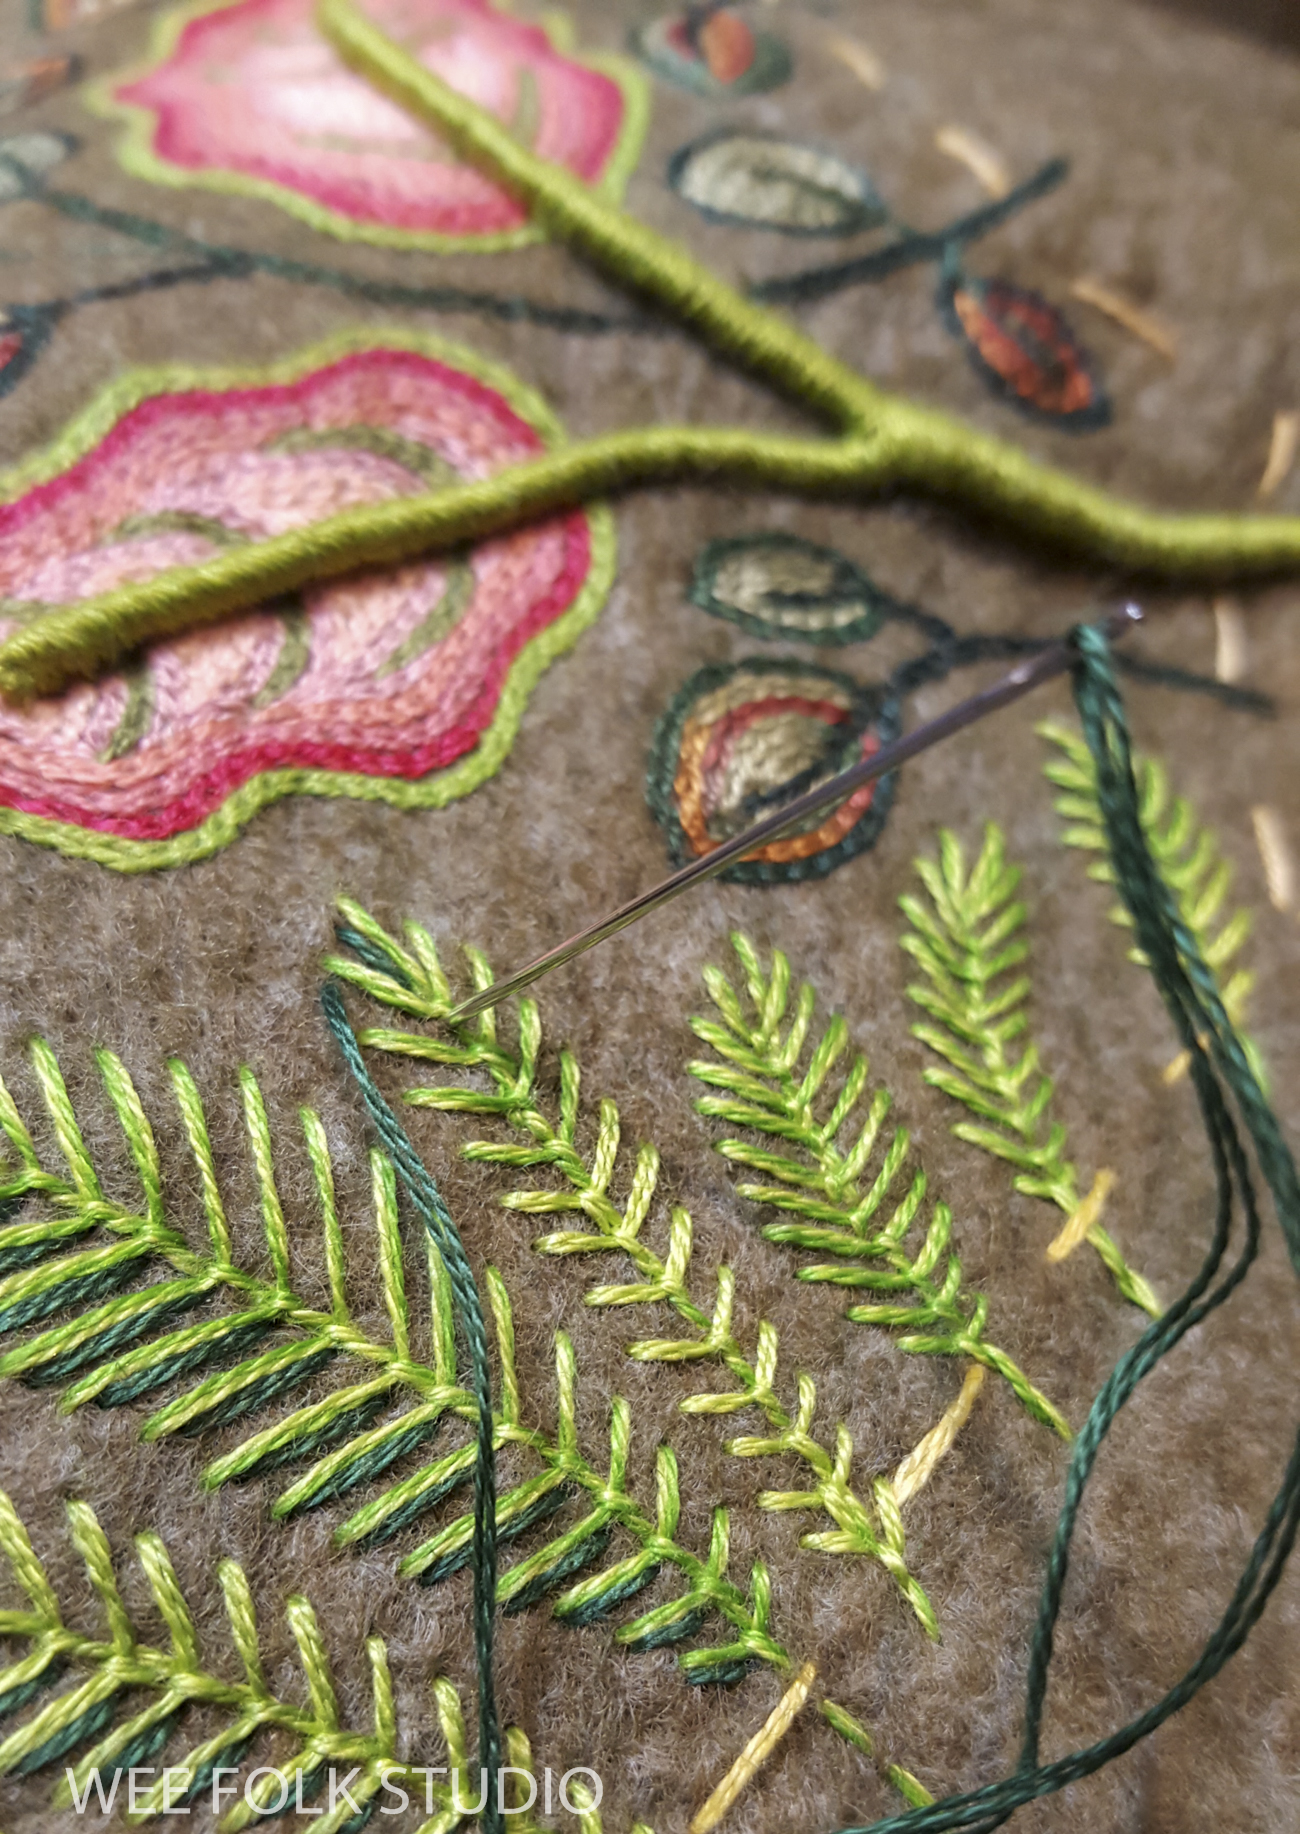
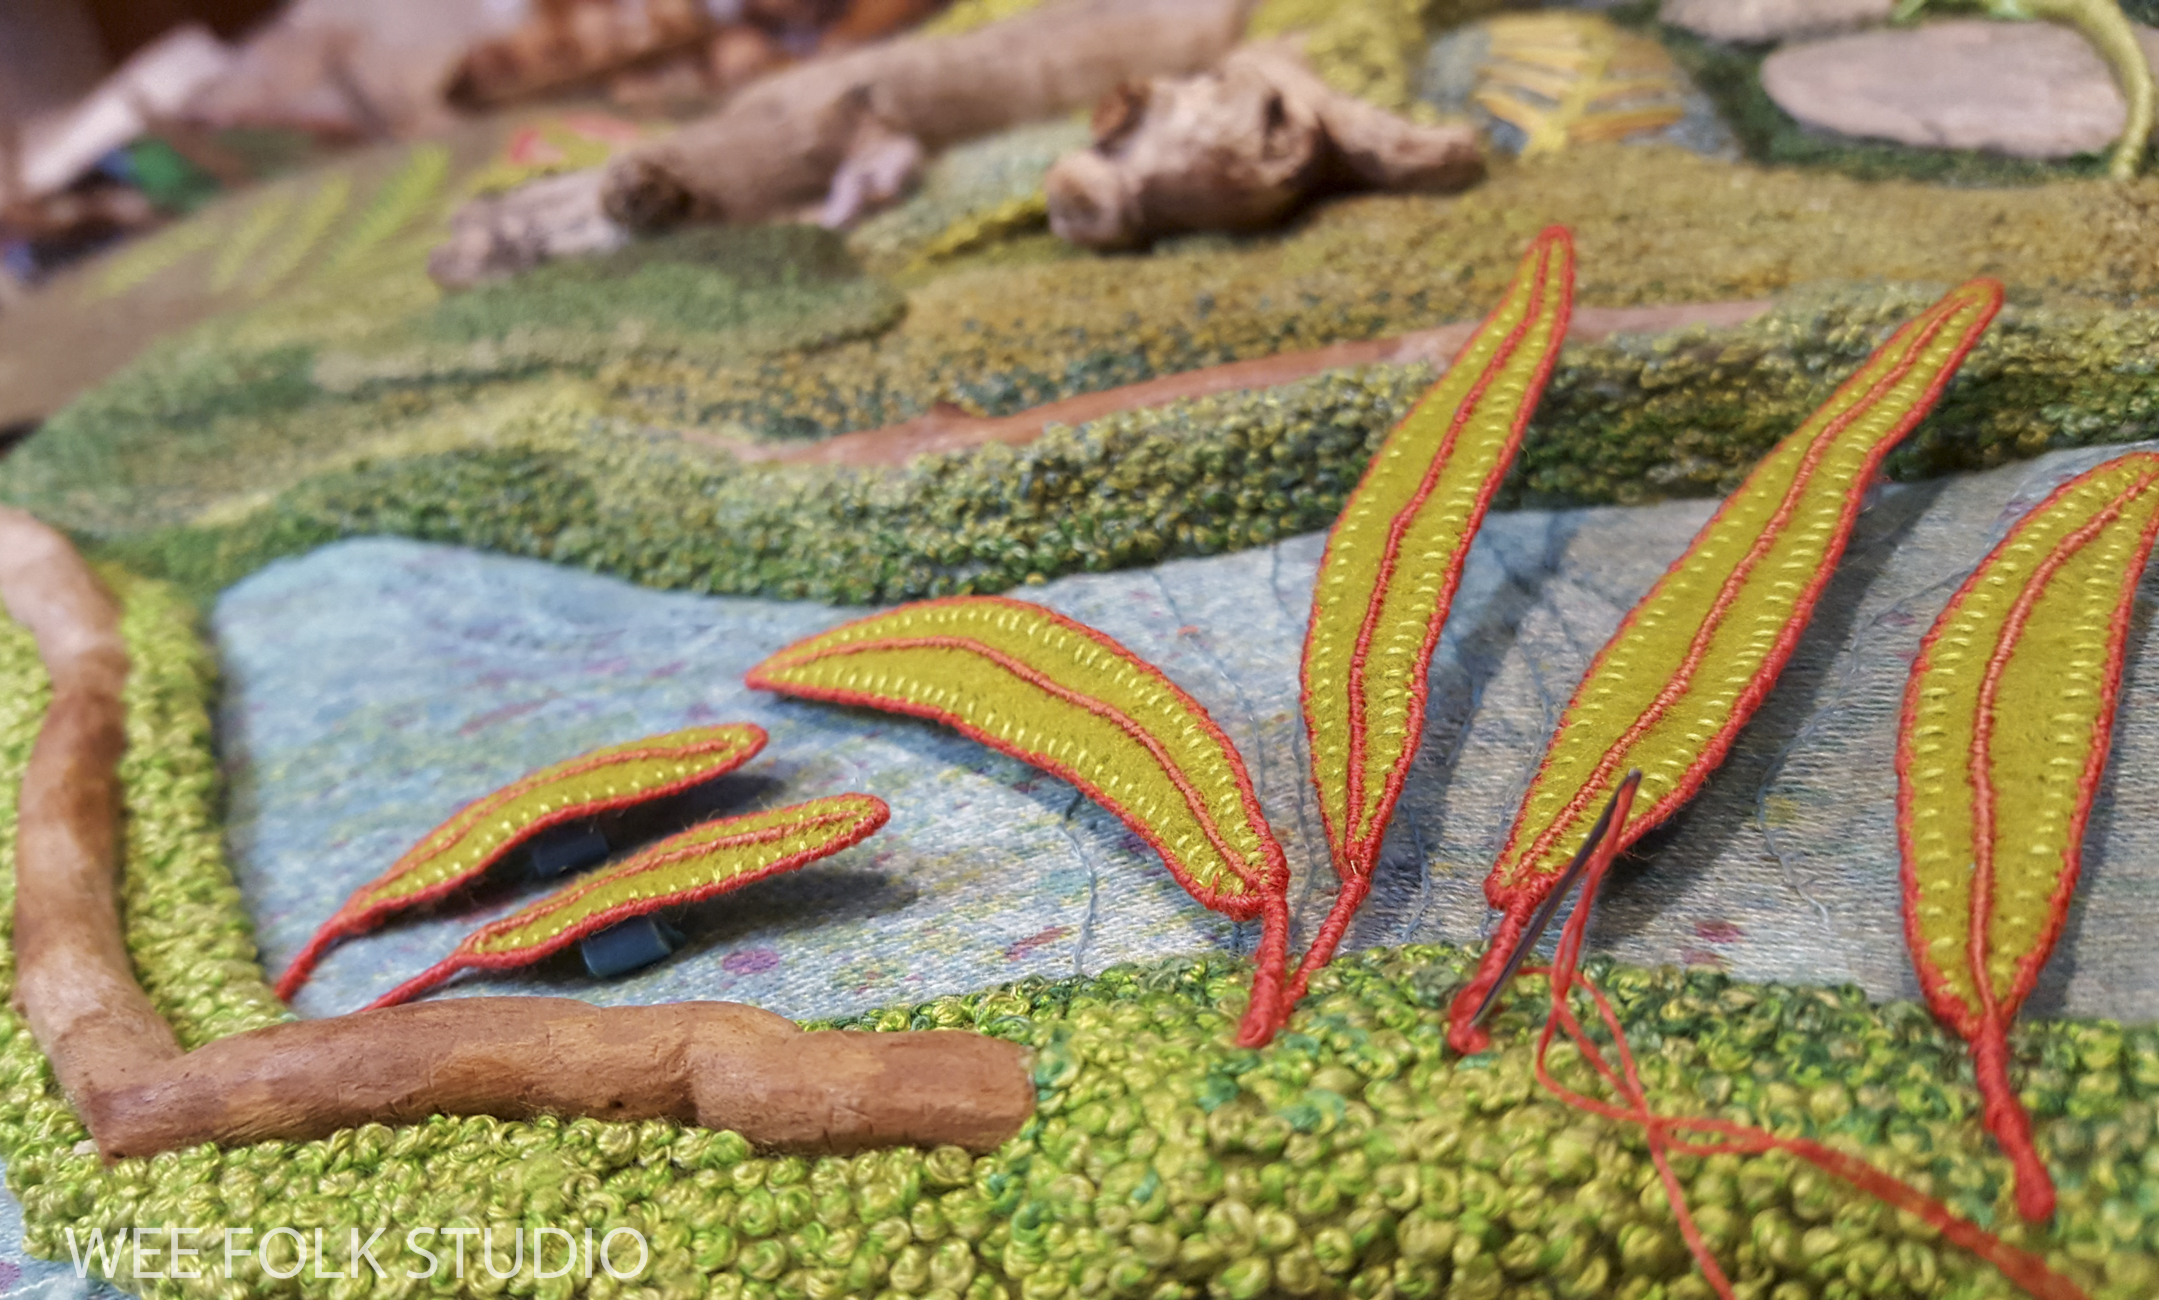
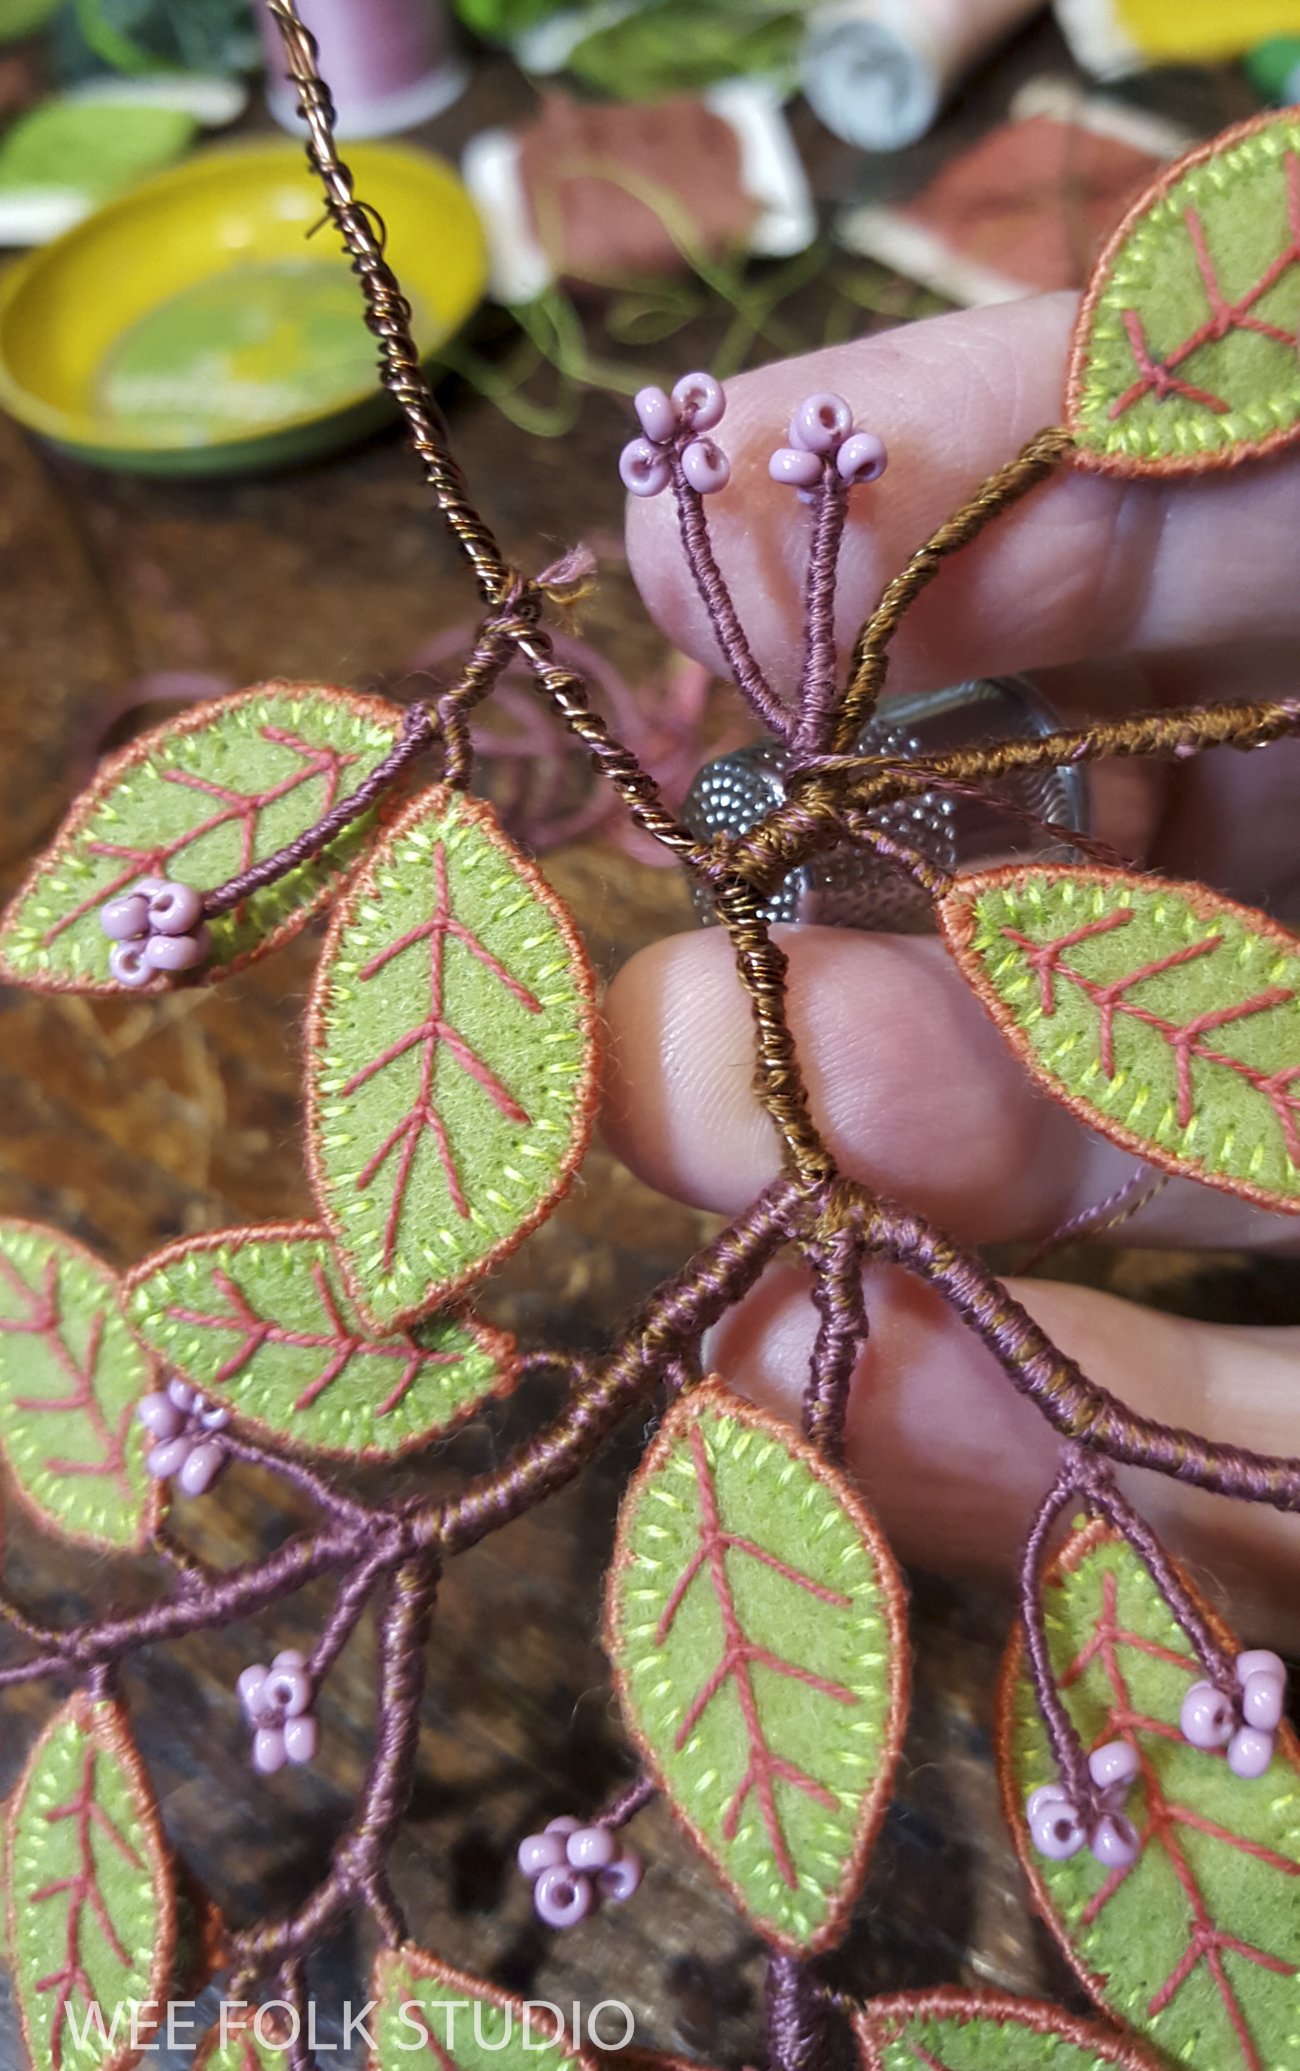
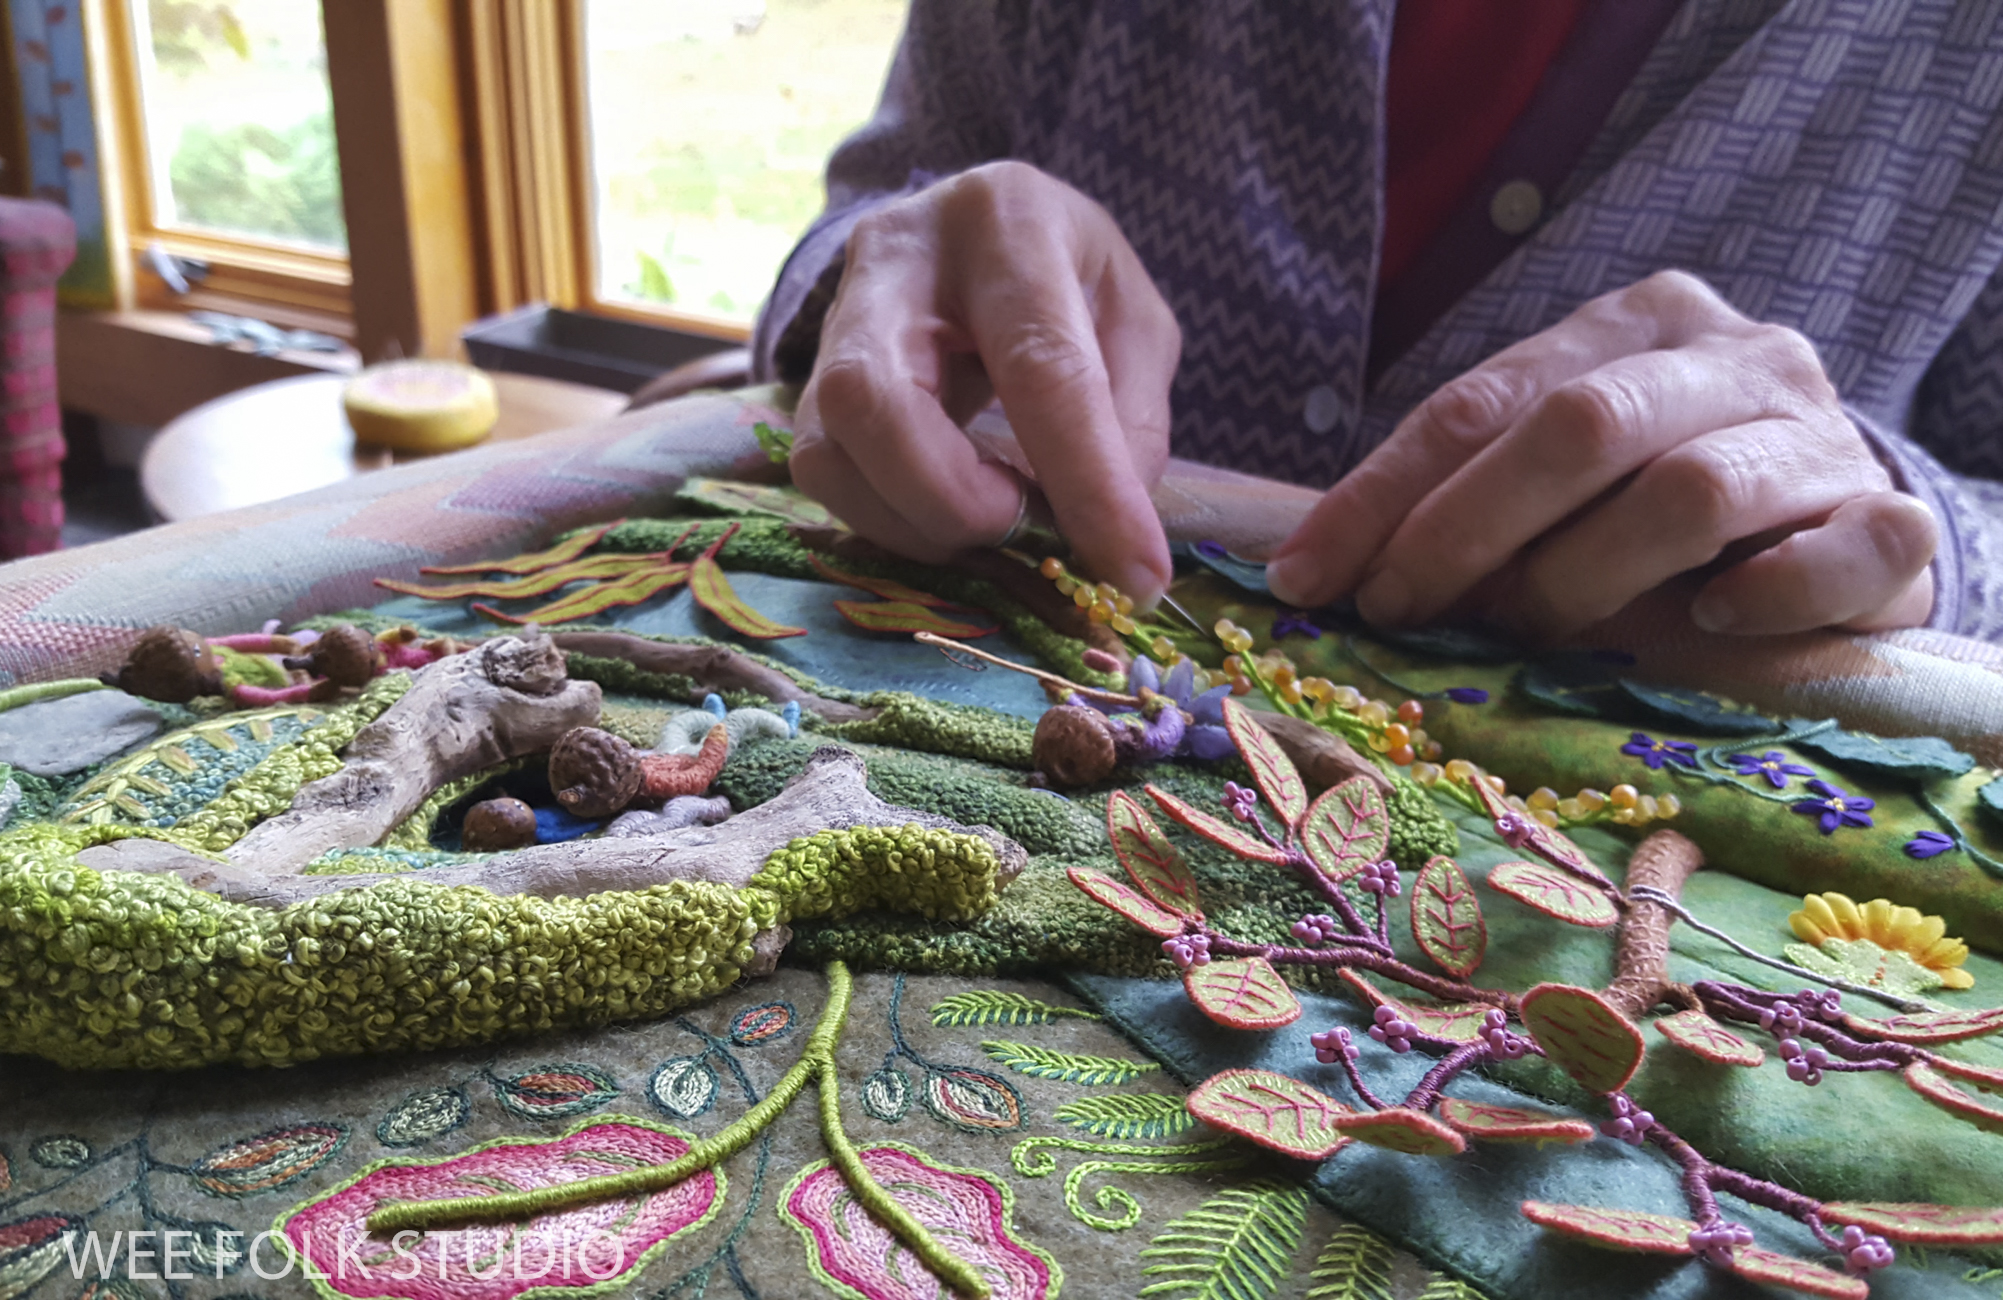
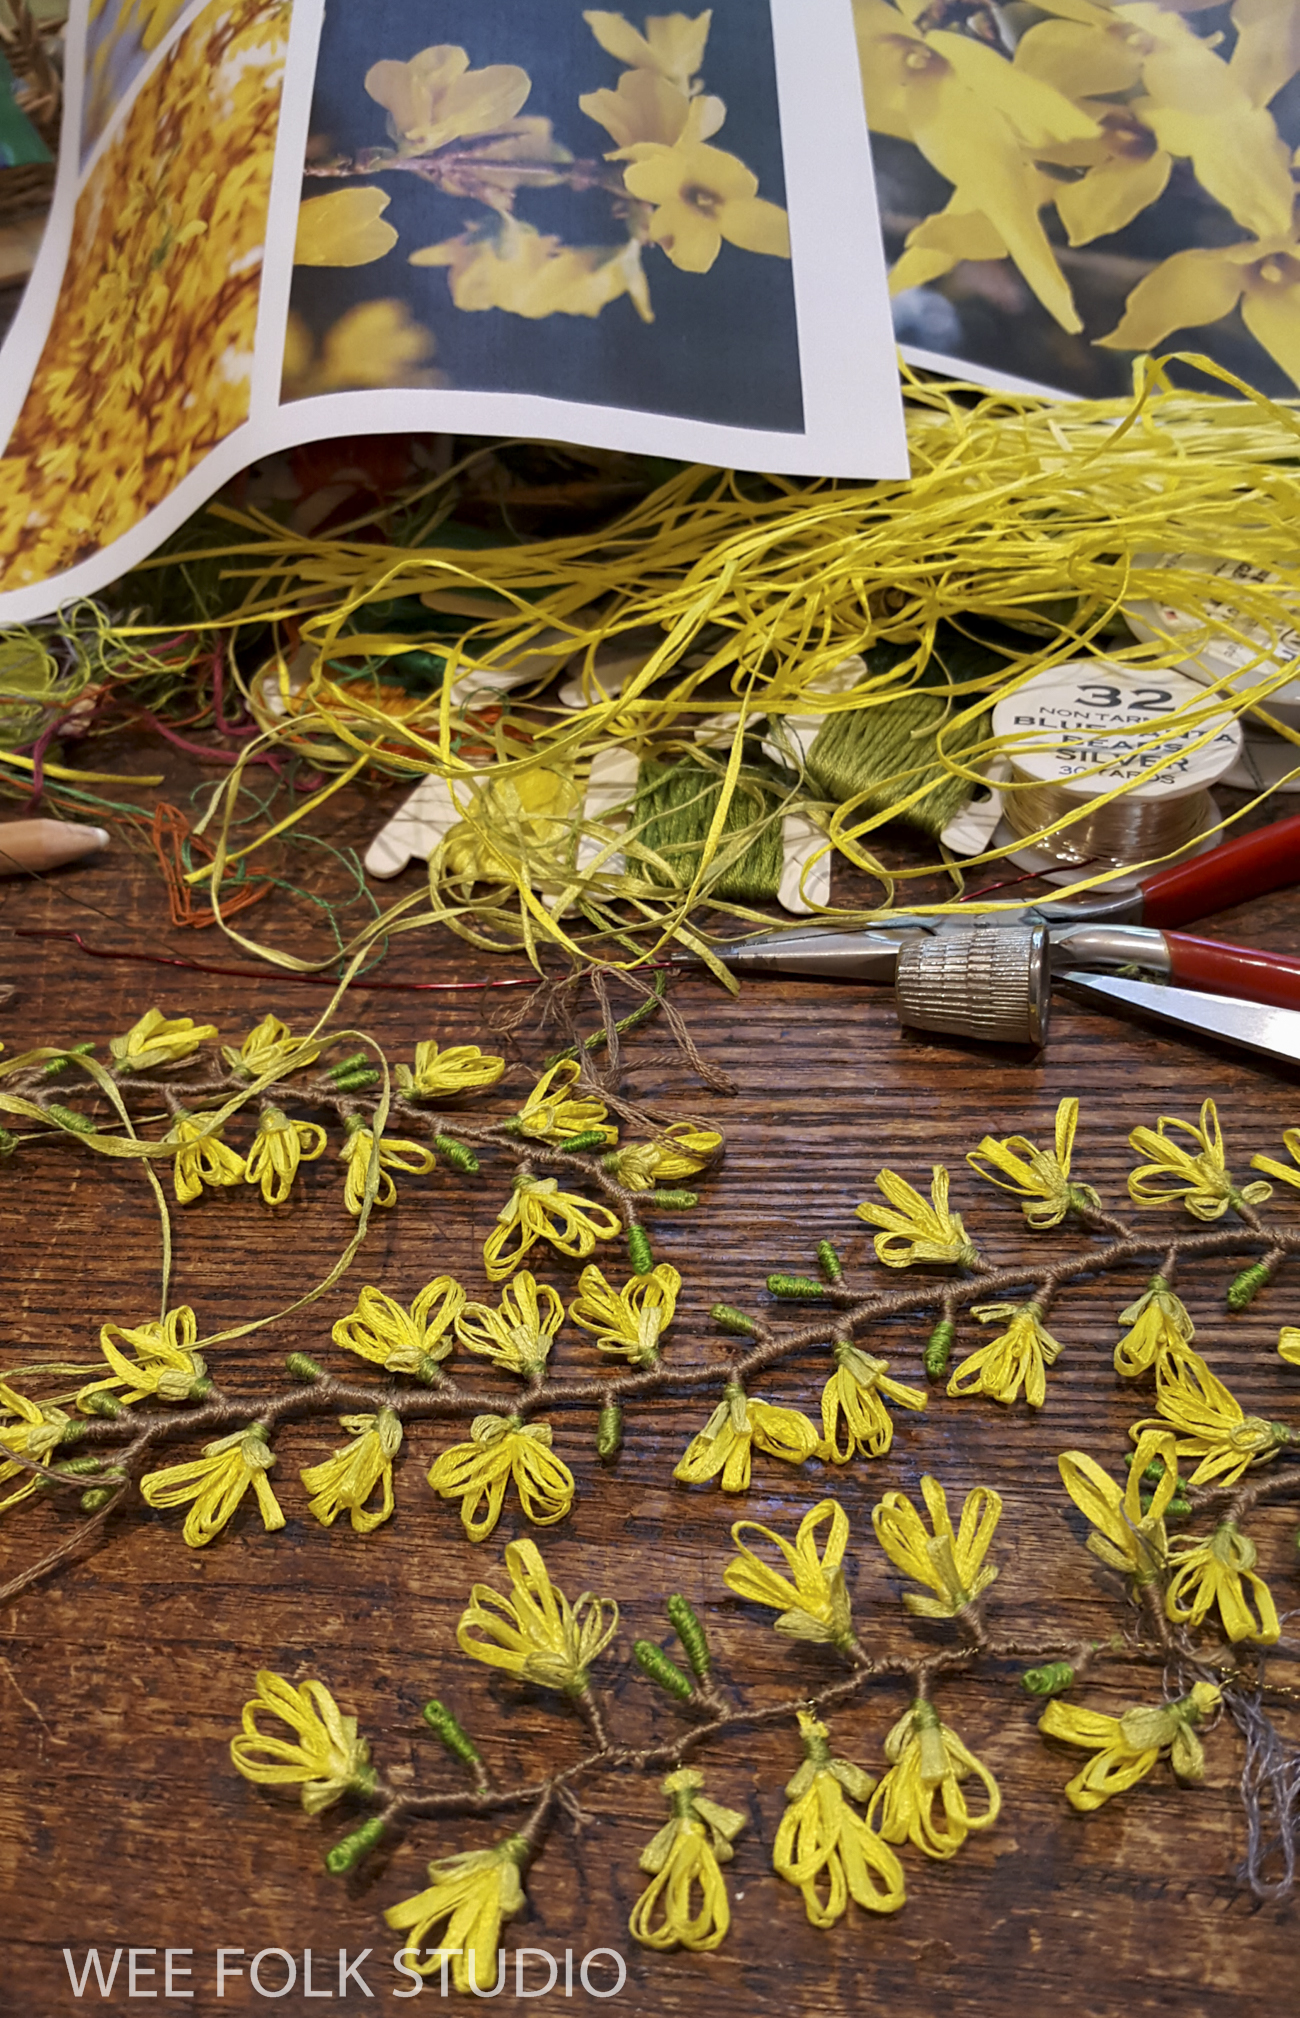
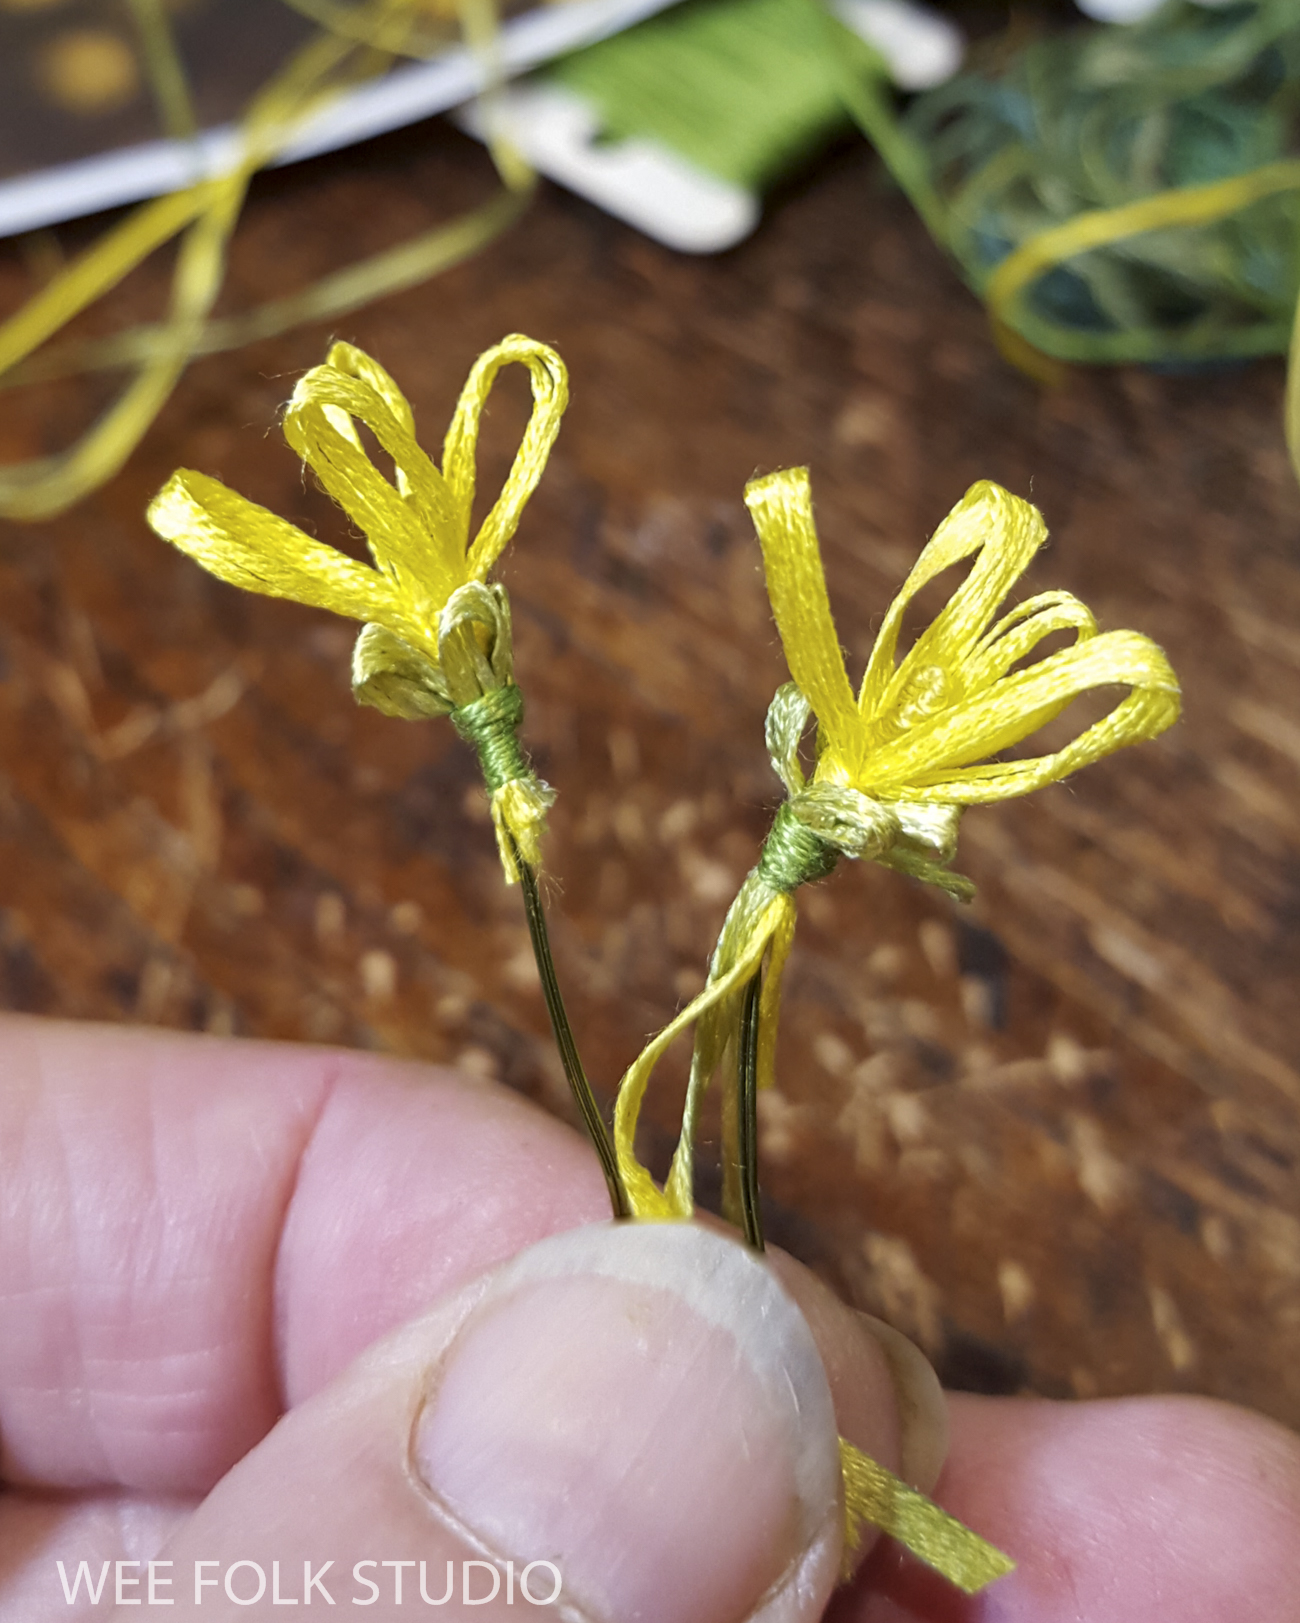
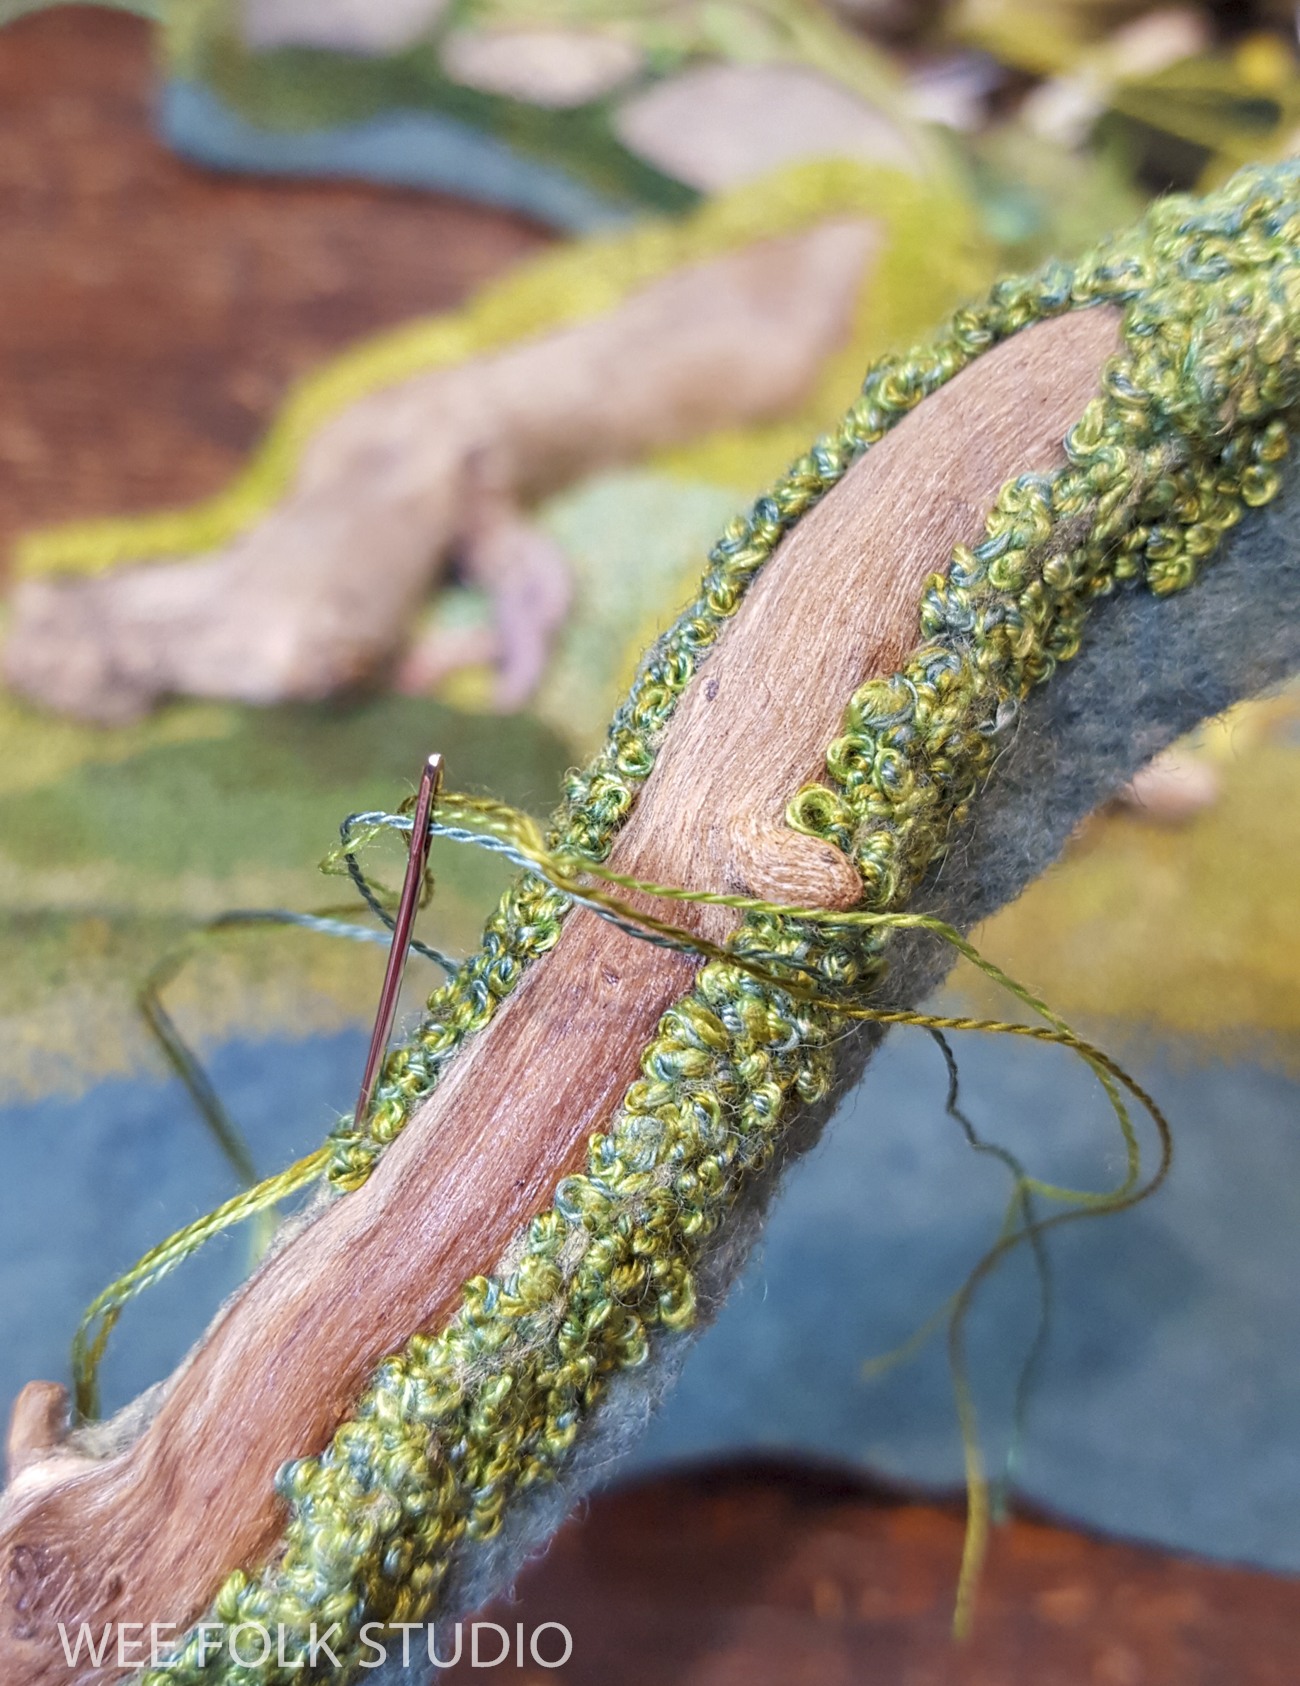
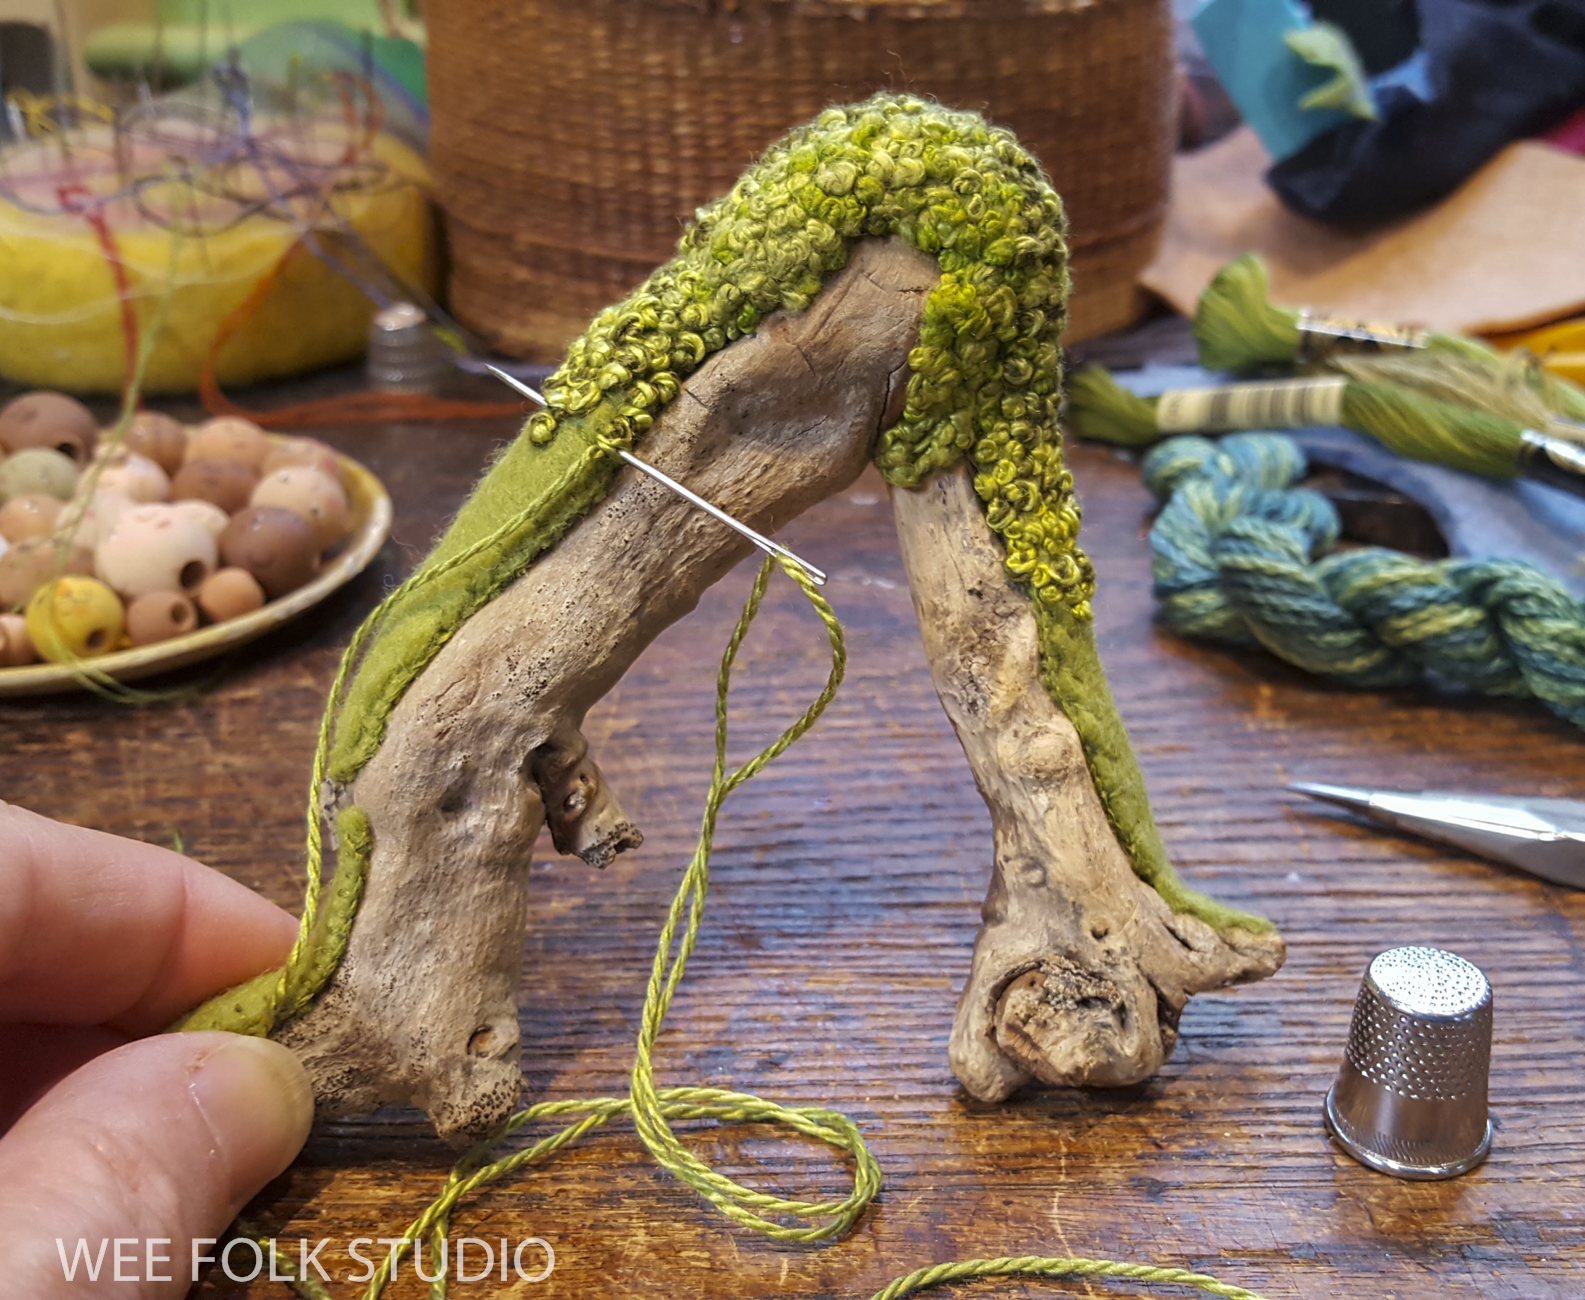
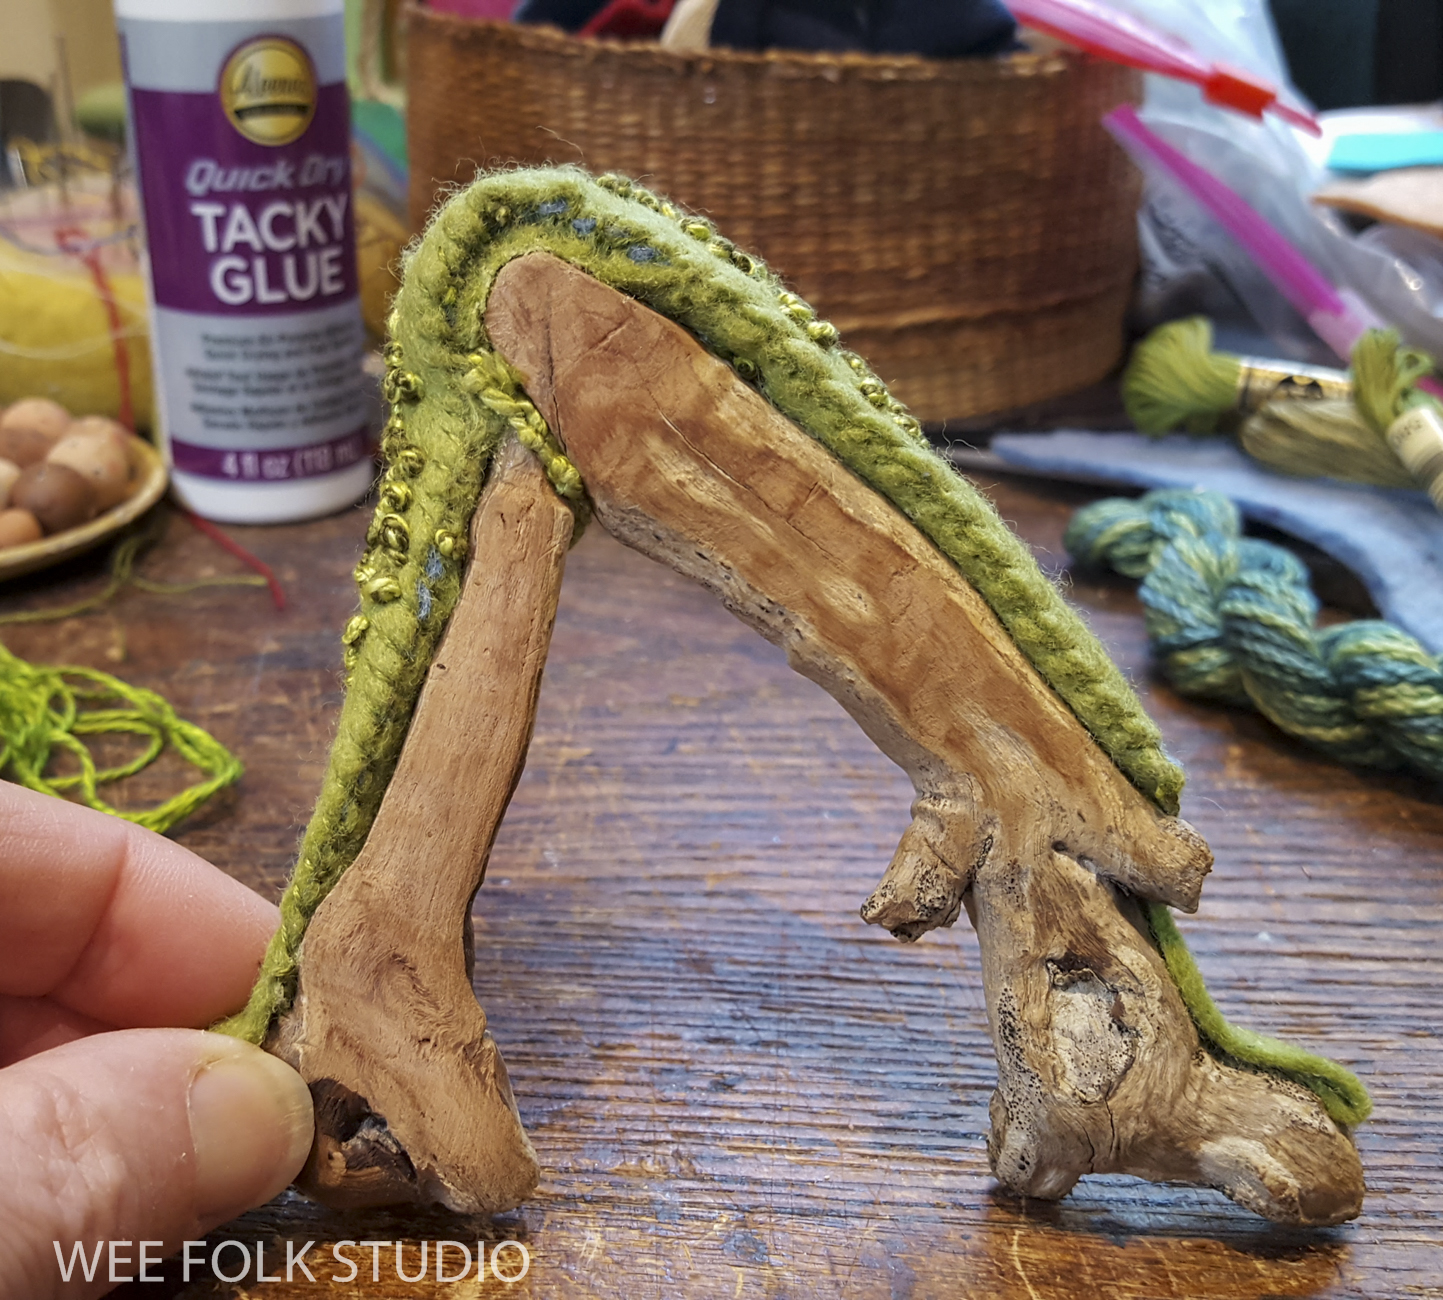
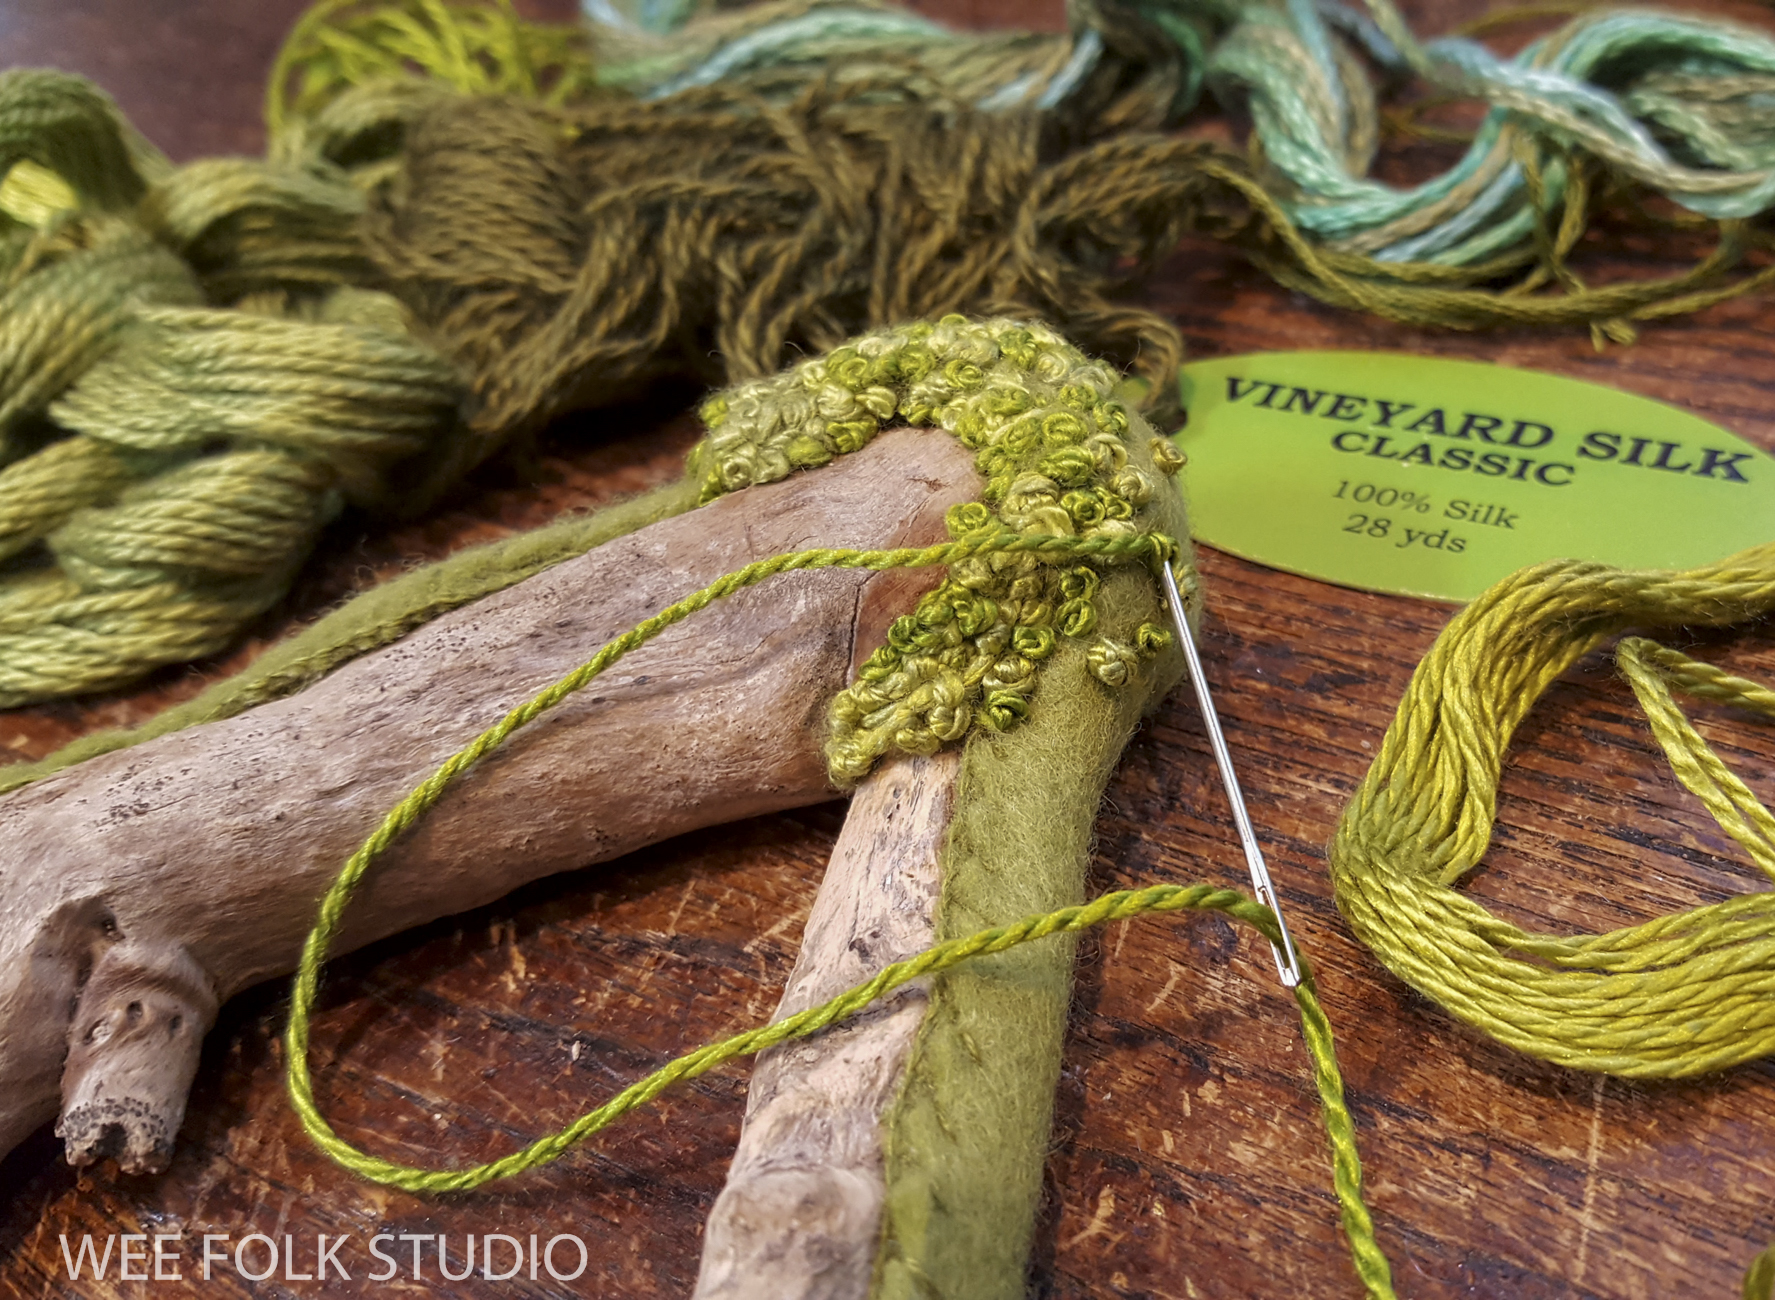
Part 1 is all about stitching a moss-like texture, Part 2 gives a glimpse at how I made the cherry trees, Part 3 is about the stone walls, Part 4 shows how I made the forsythia blossoms, Part 5 features wire and felt leaves, Part 6 is about chain-stitching leaves and Part 7 looks at the violets and berries.
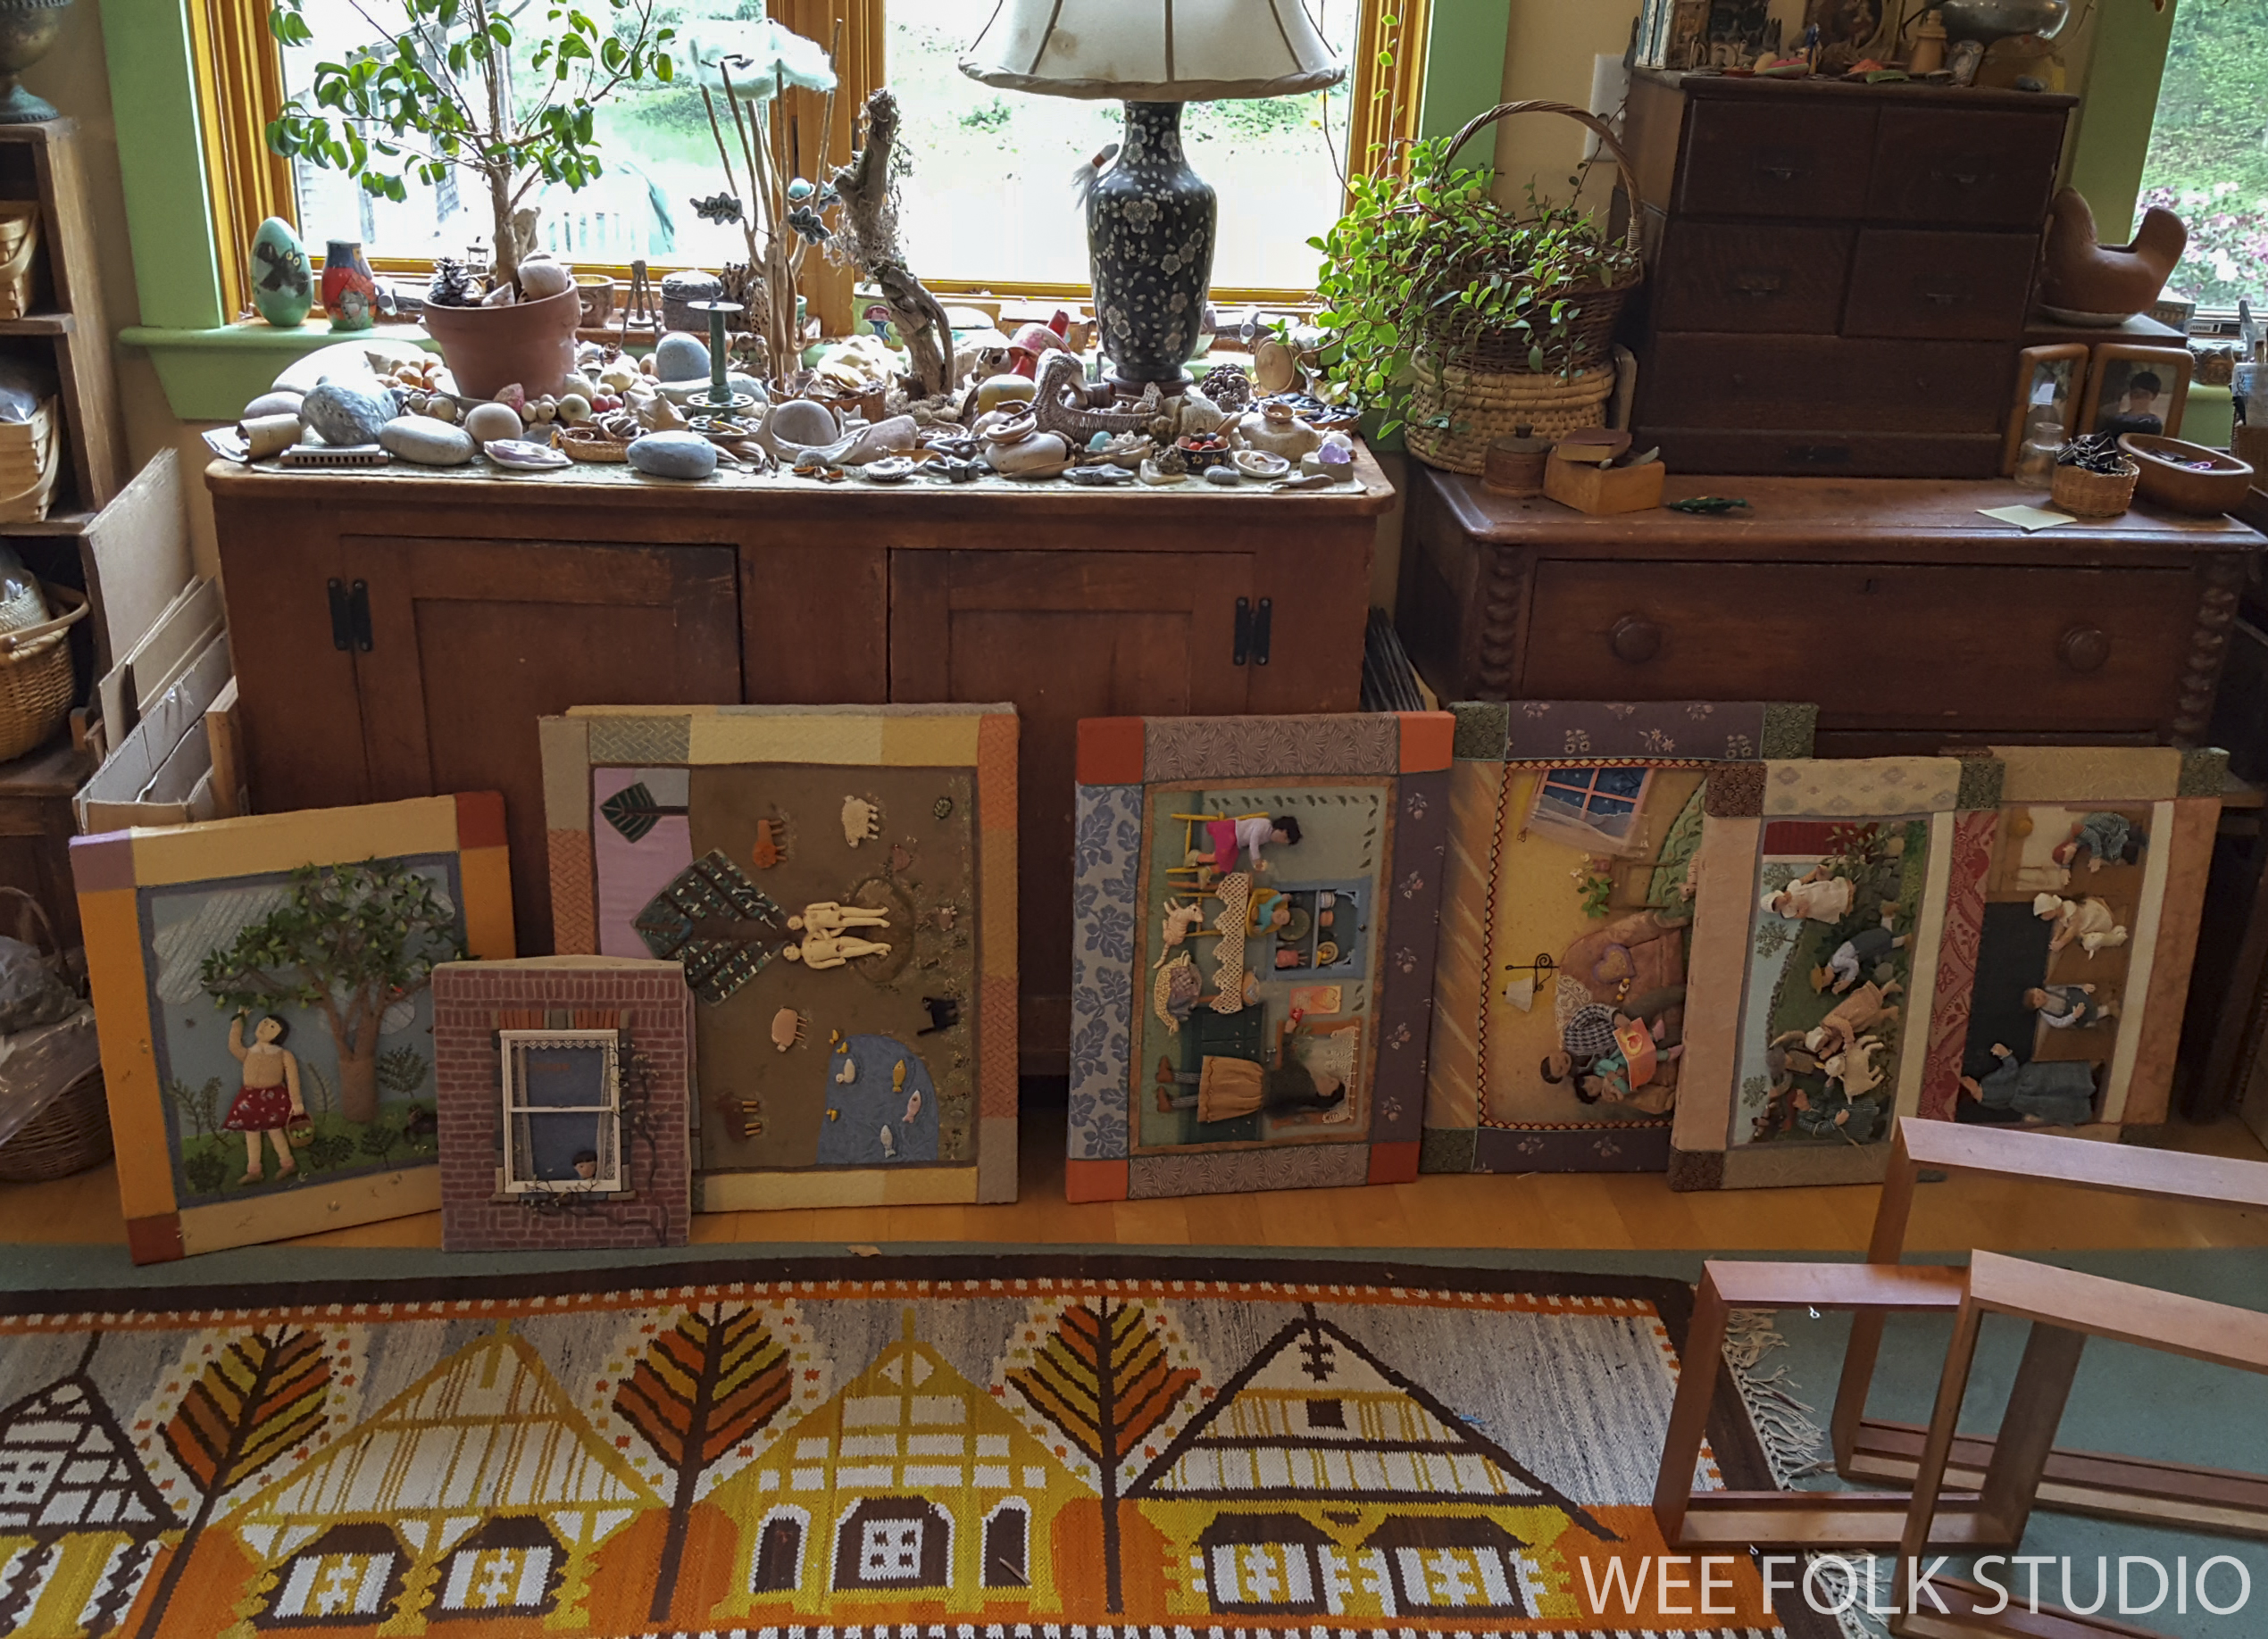
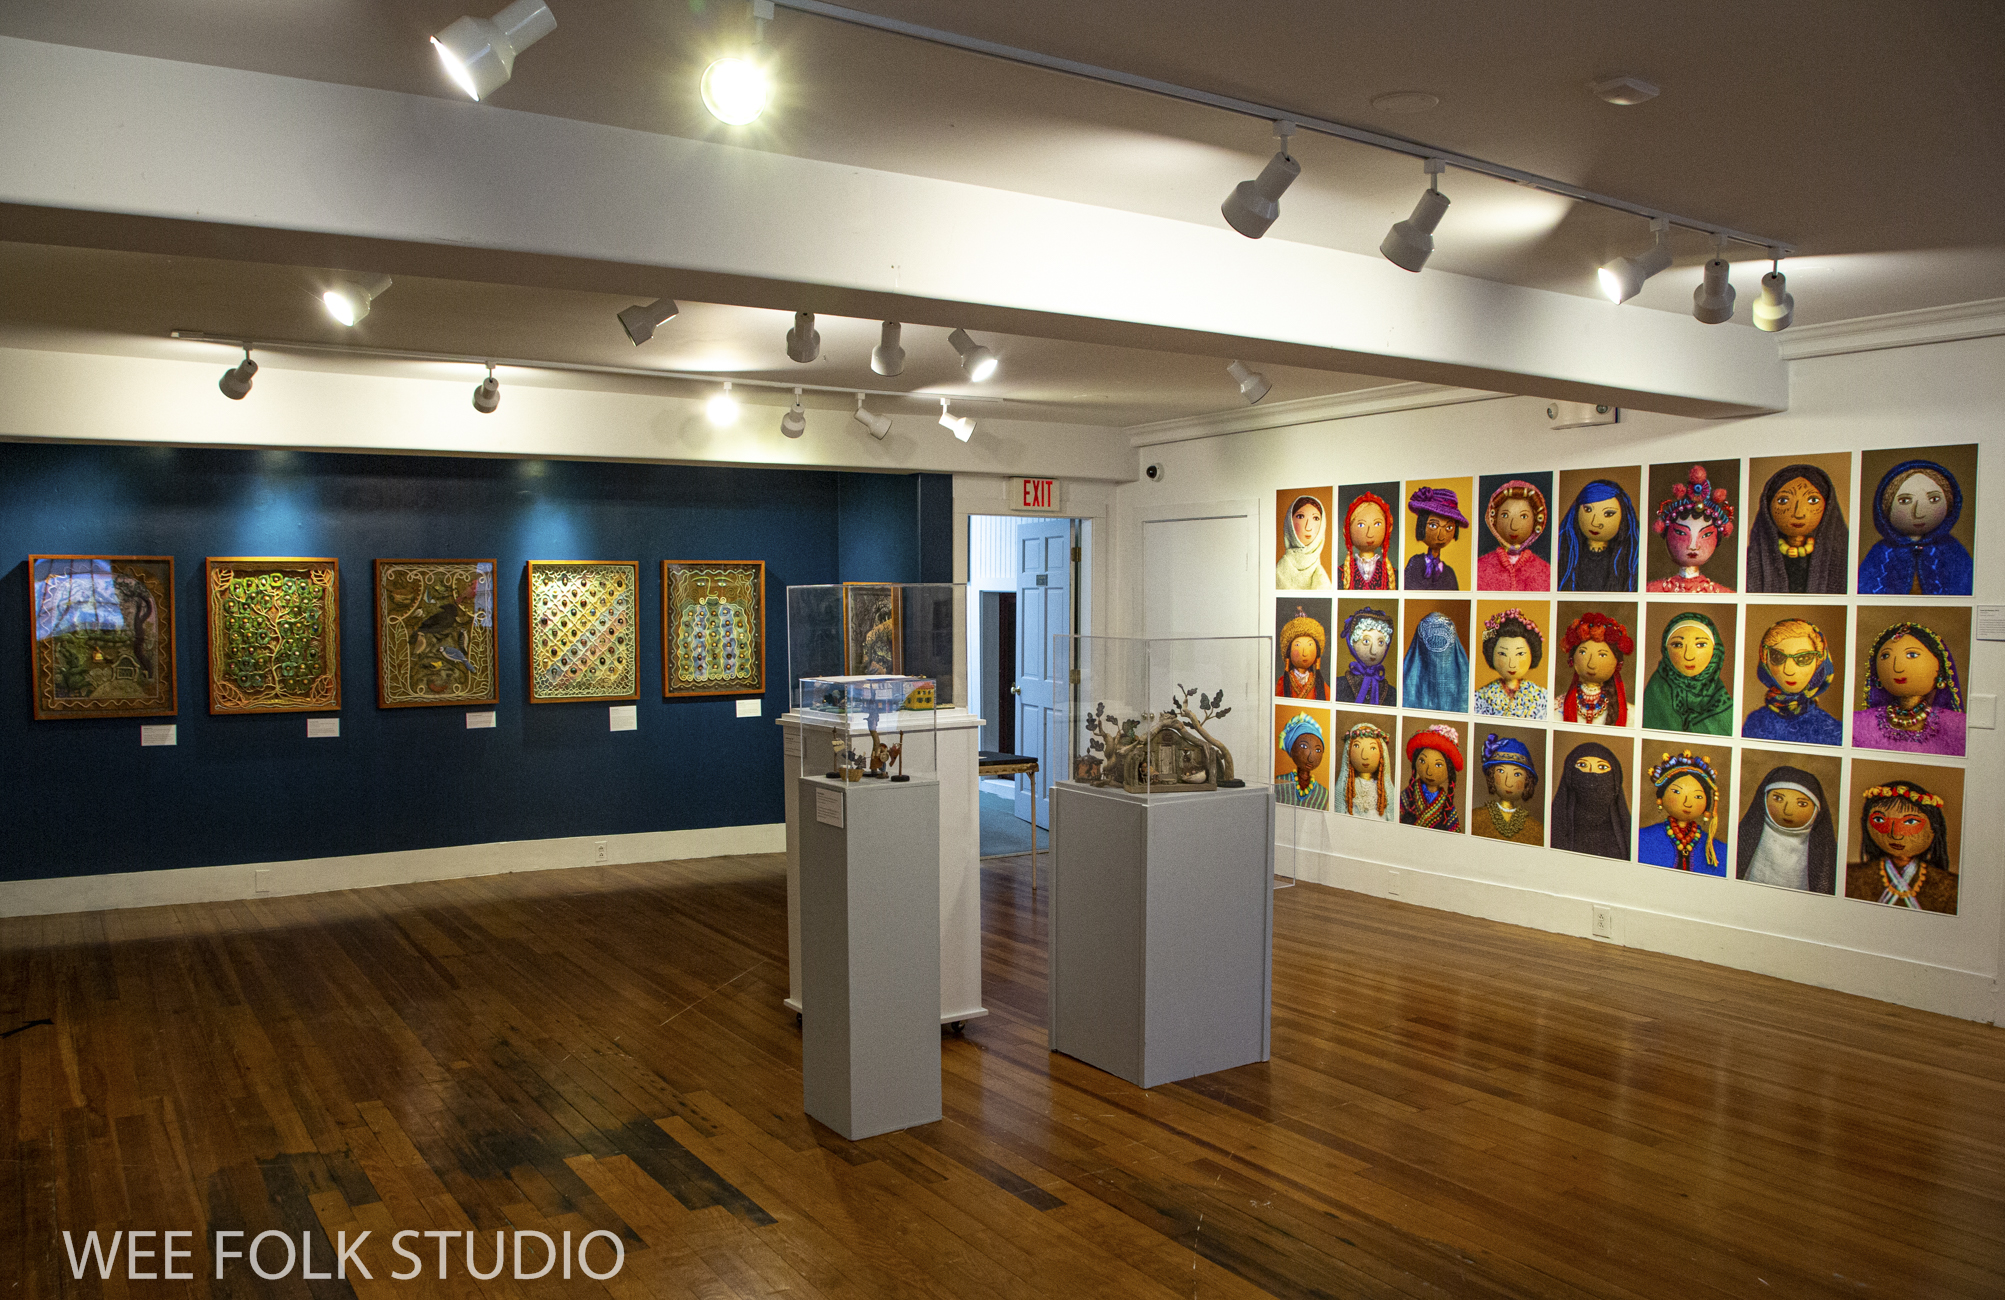
Before delving into how I made the wee folk in Mossy Glen, I’d like to announce the opportunity to see a large selection of my work in person this summer. The exhibition, What a Relief, has been in the works for years and I’m happy to say that its doors are open to the public this week! For those of you who live too far away to come see the show, I’ll be sharing photos and videos of the exhibition in future posts.
WHAT A RELIEF: The Art of Salley Mavor
June 7 – Sept. 11, 2022
Brick Store Museum, Kennebunk, ME
Meet the Artist on June 25, 1 – 3 PM
This is the first major retrospective exhibition of my artwork, spanning over 40 years, from early on in my career to the present day. Rarely seen works on loan from private collections fill multiple galleries on the Museum’s entire first floor. The show is laid out somewhat chronologically, so visitors can see the evolution of my style and techniques through the years. Over 150 framed pieces and sculptural objects are on display, including the series of original illustrations from my most recent picture book, MY BED.


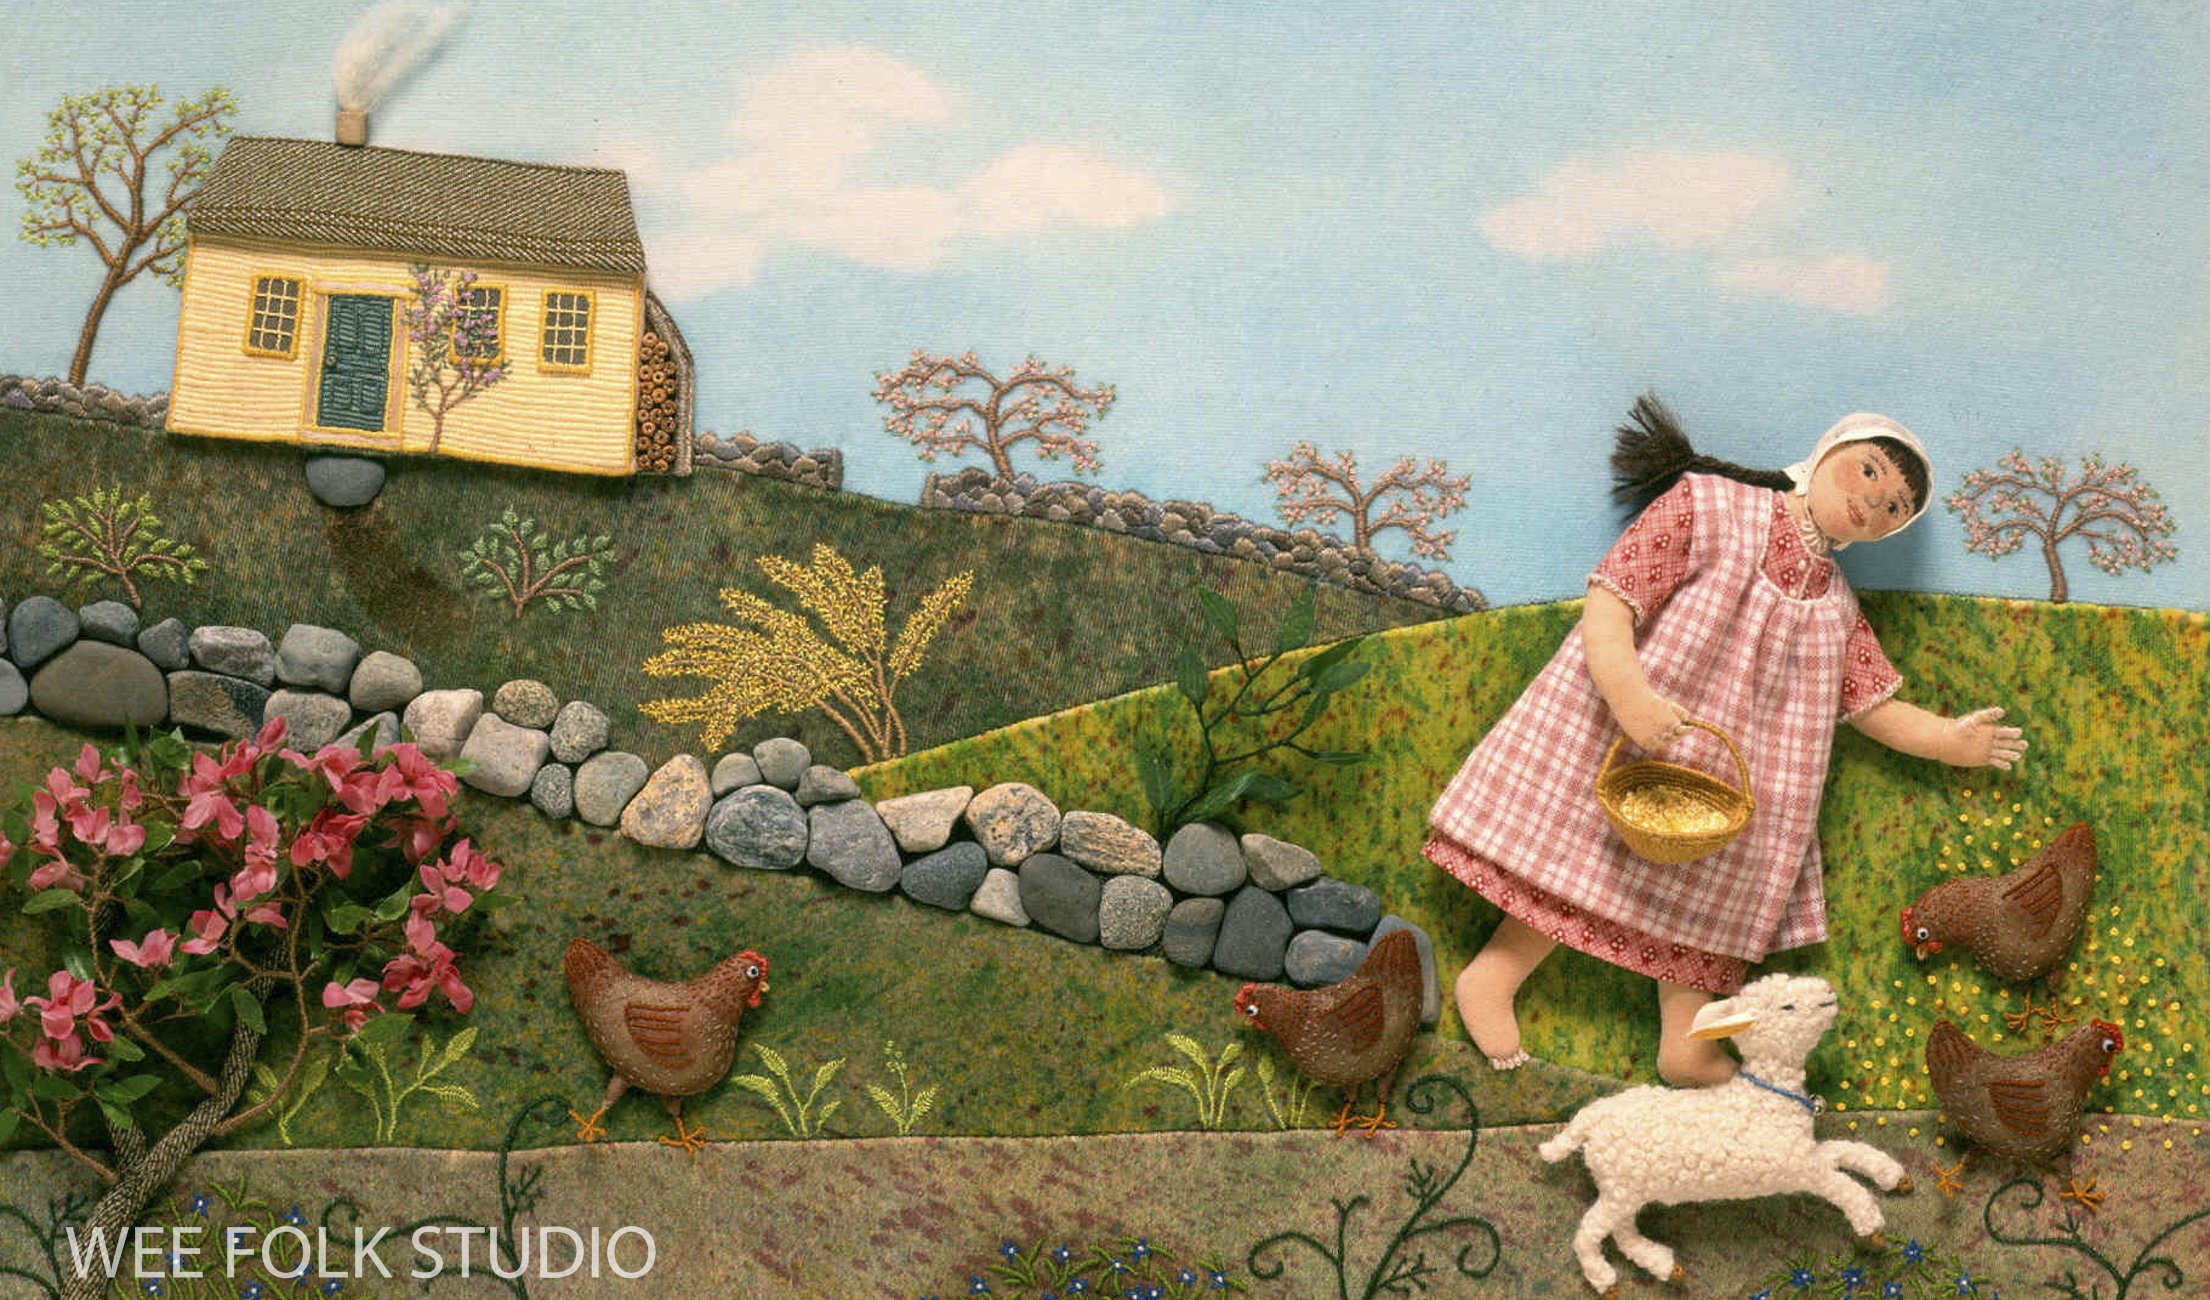
Wee Folk in Mossy Glen
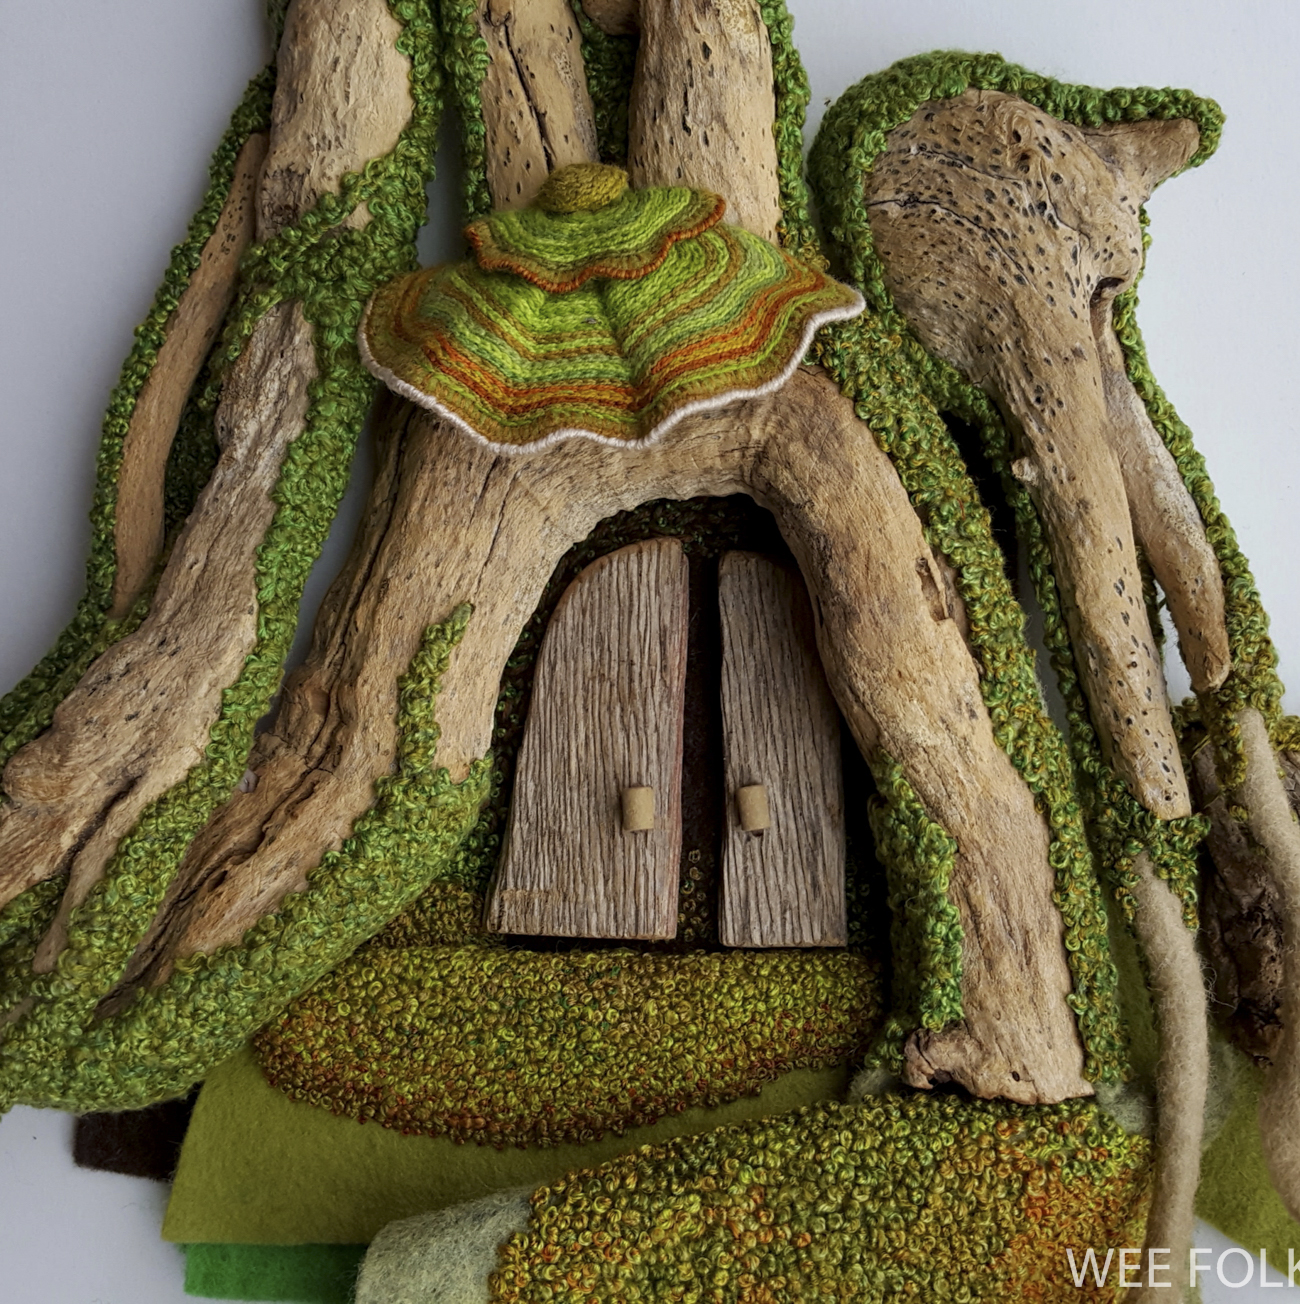
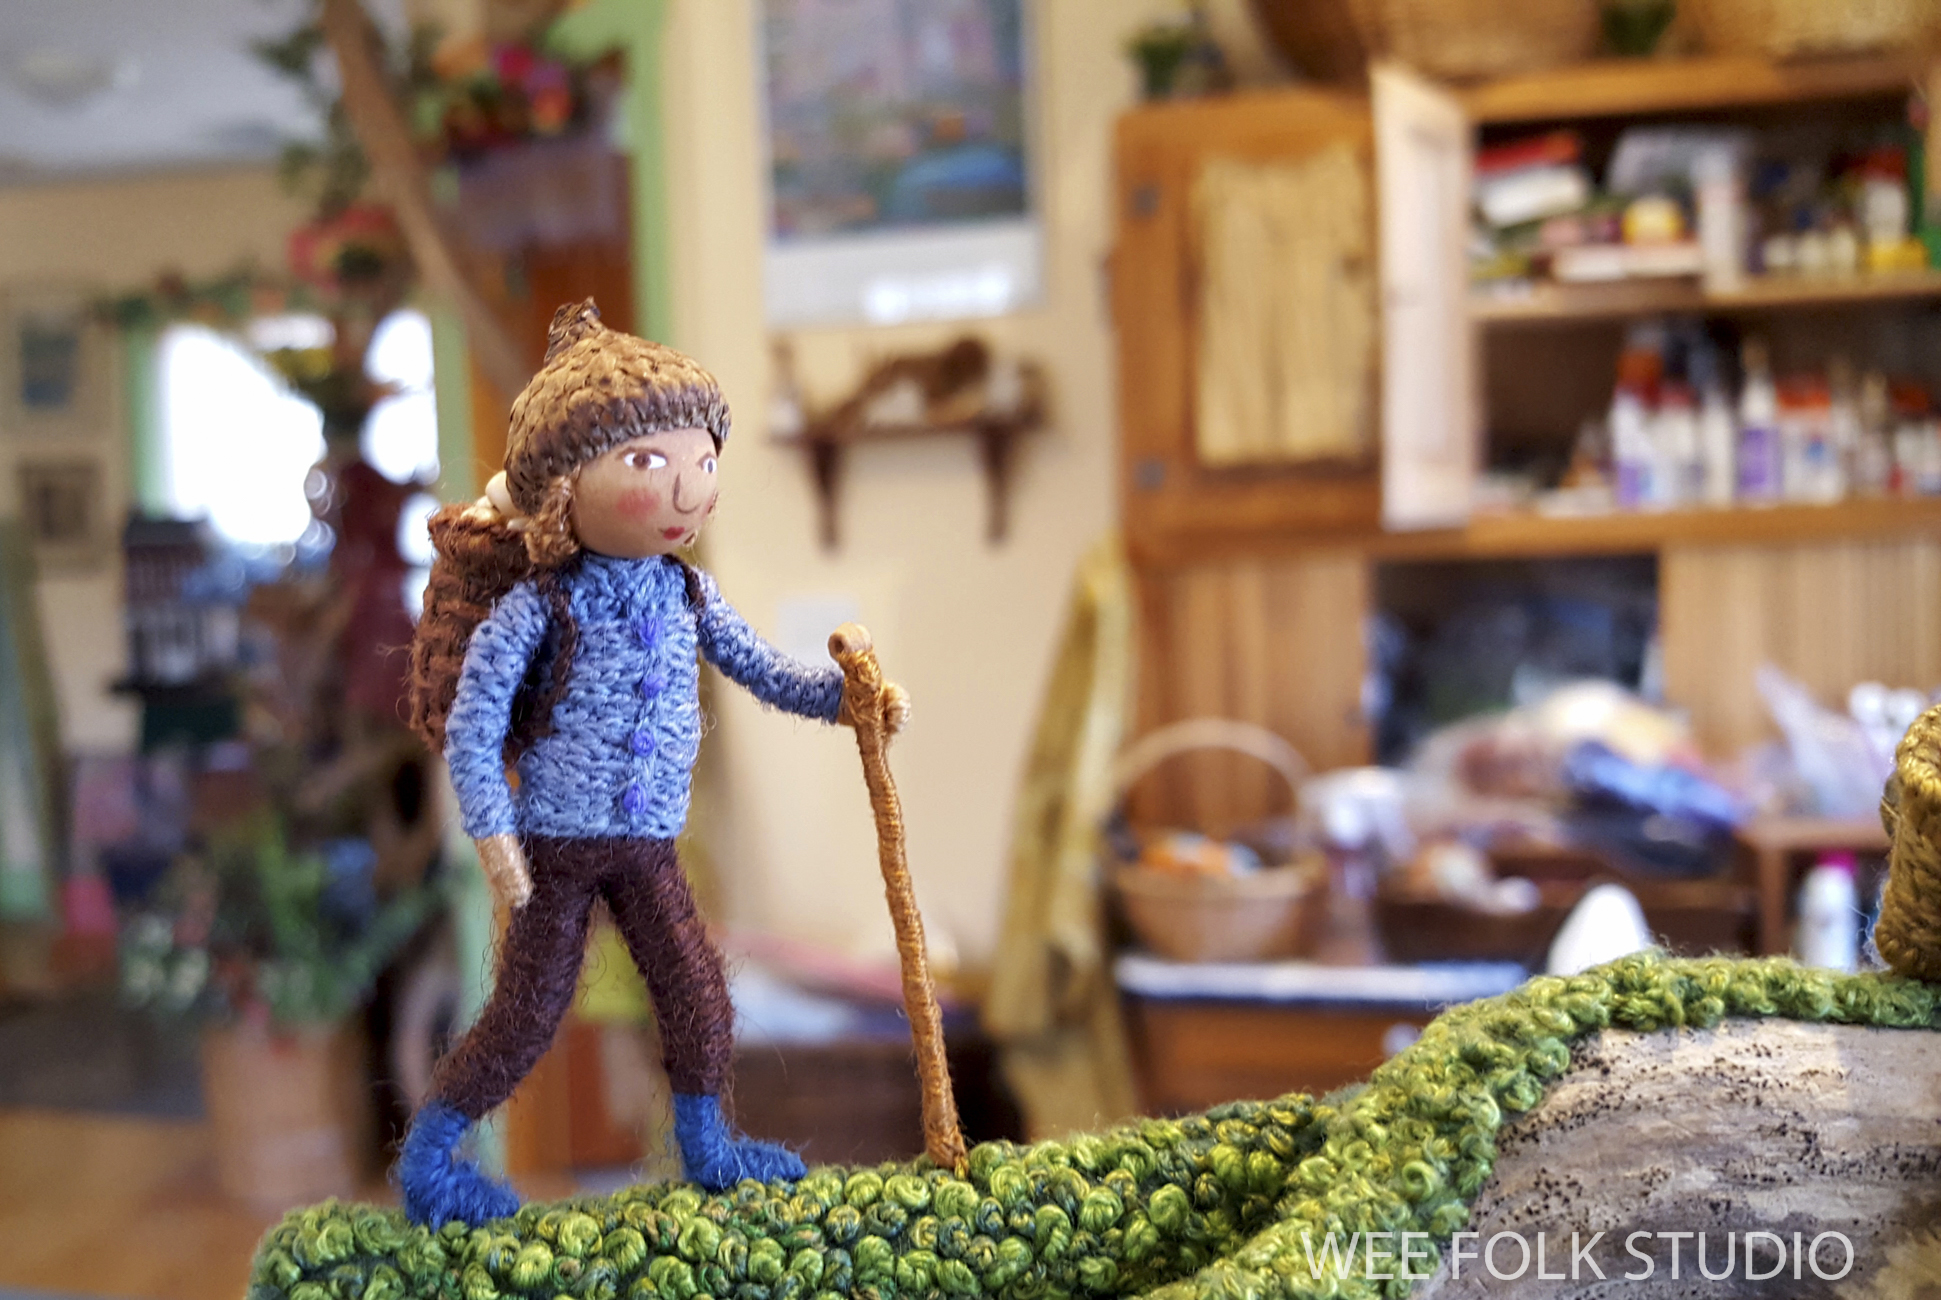
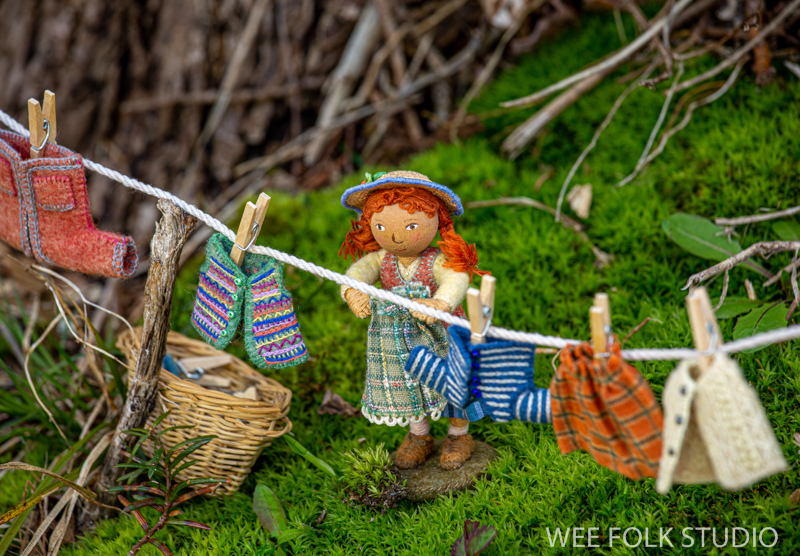
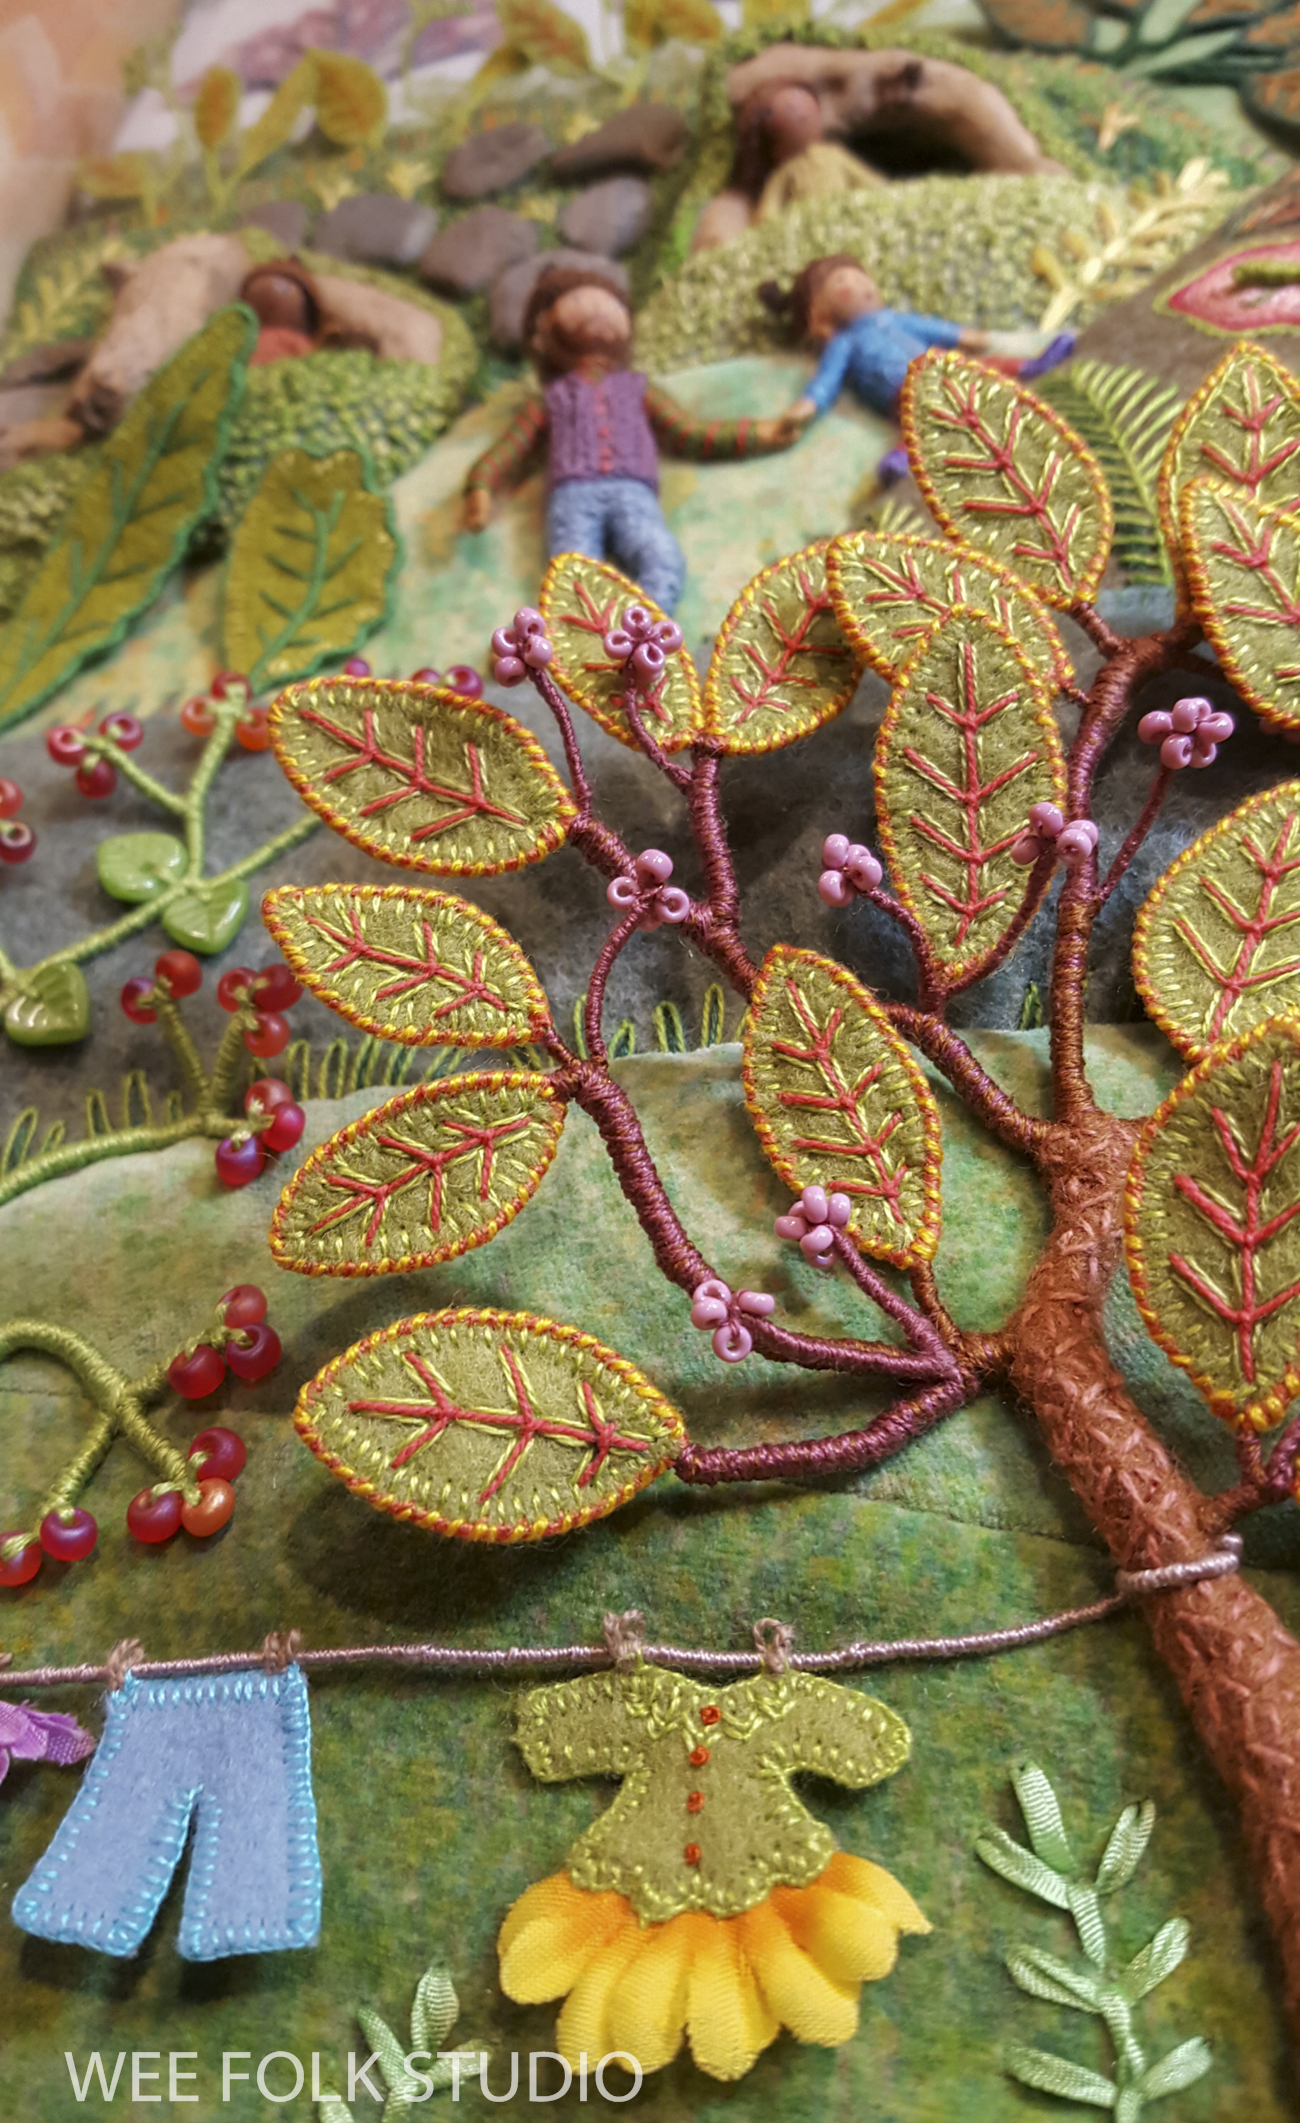
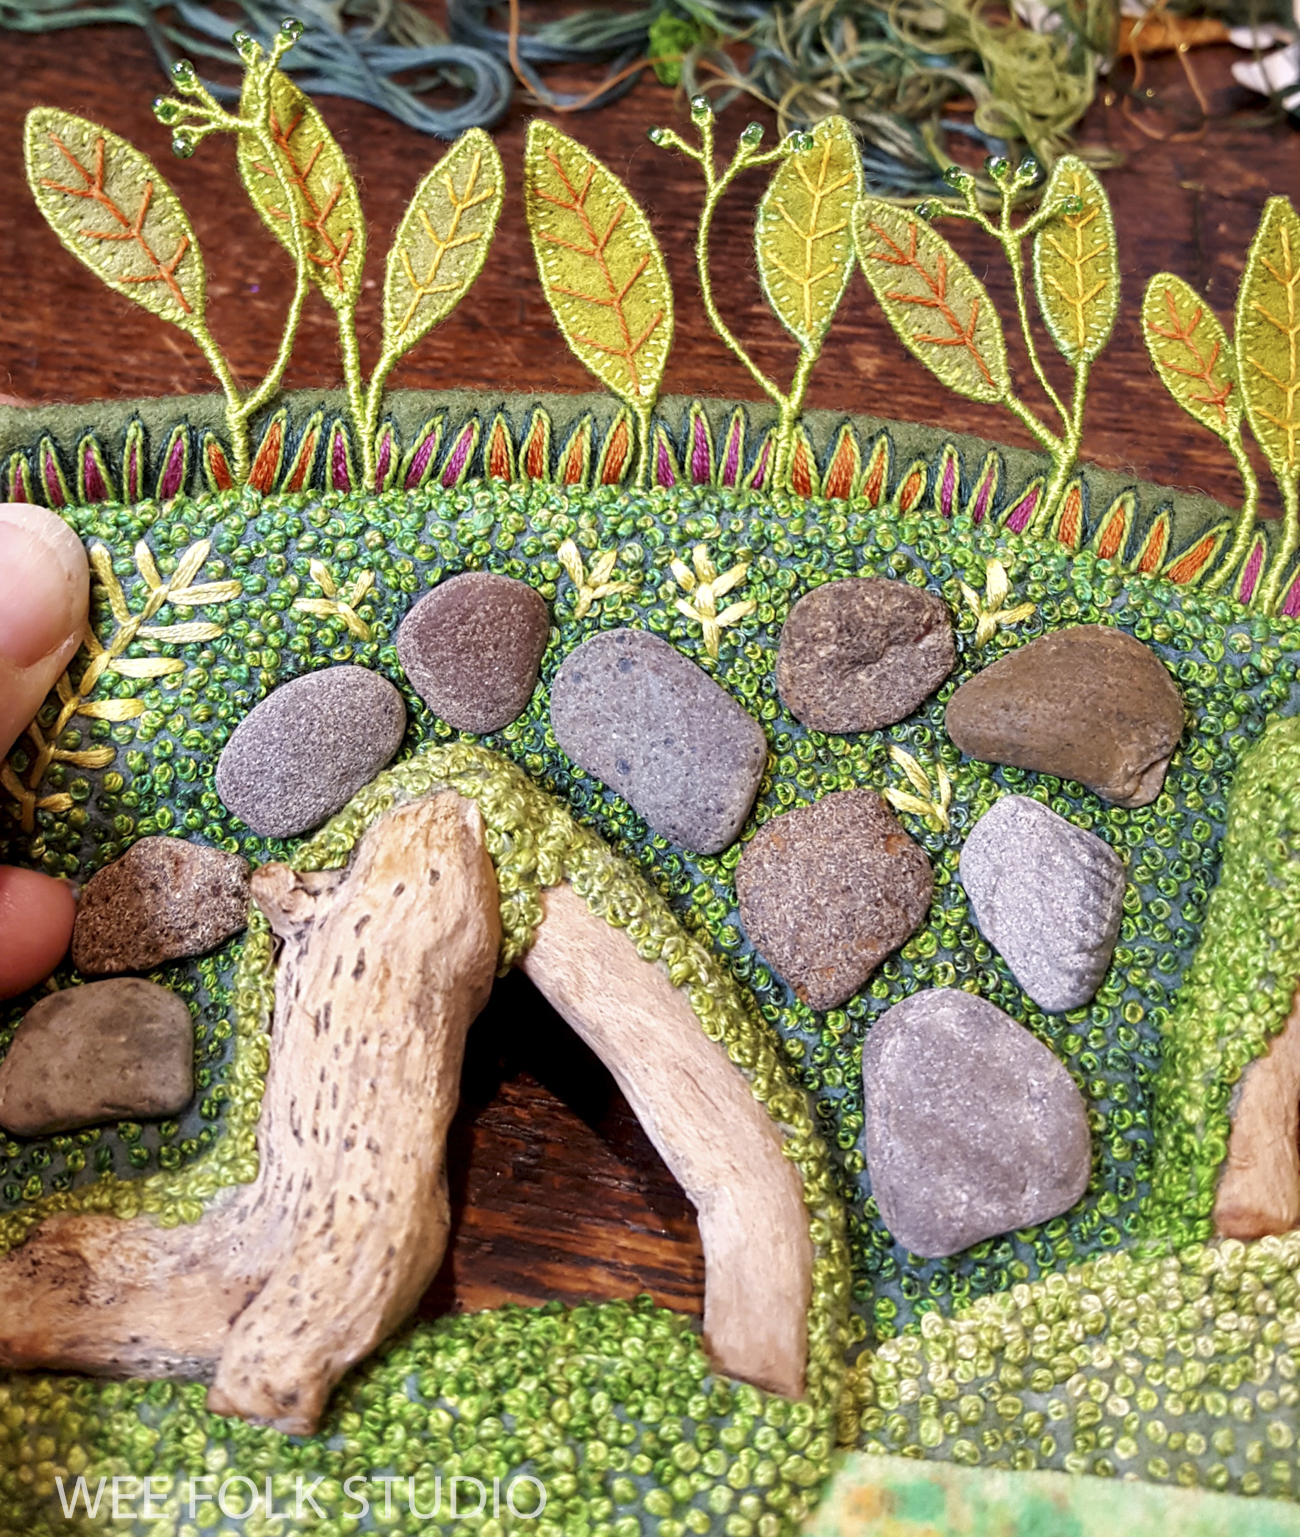
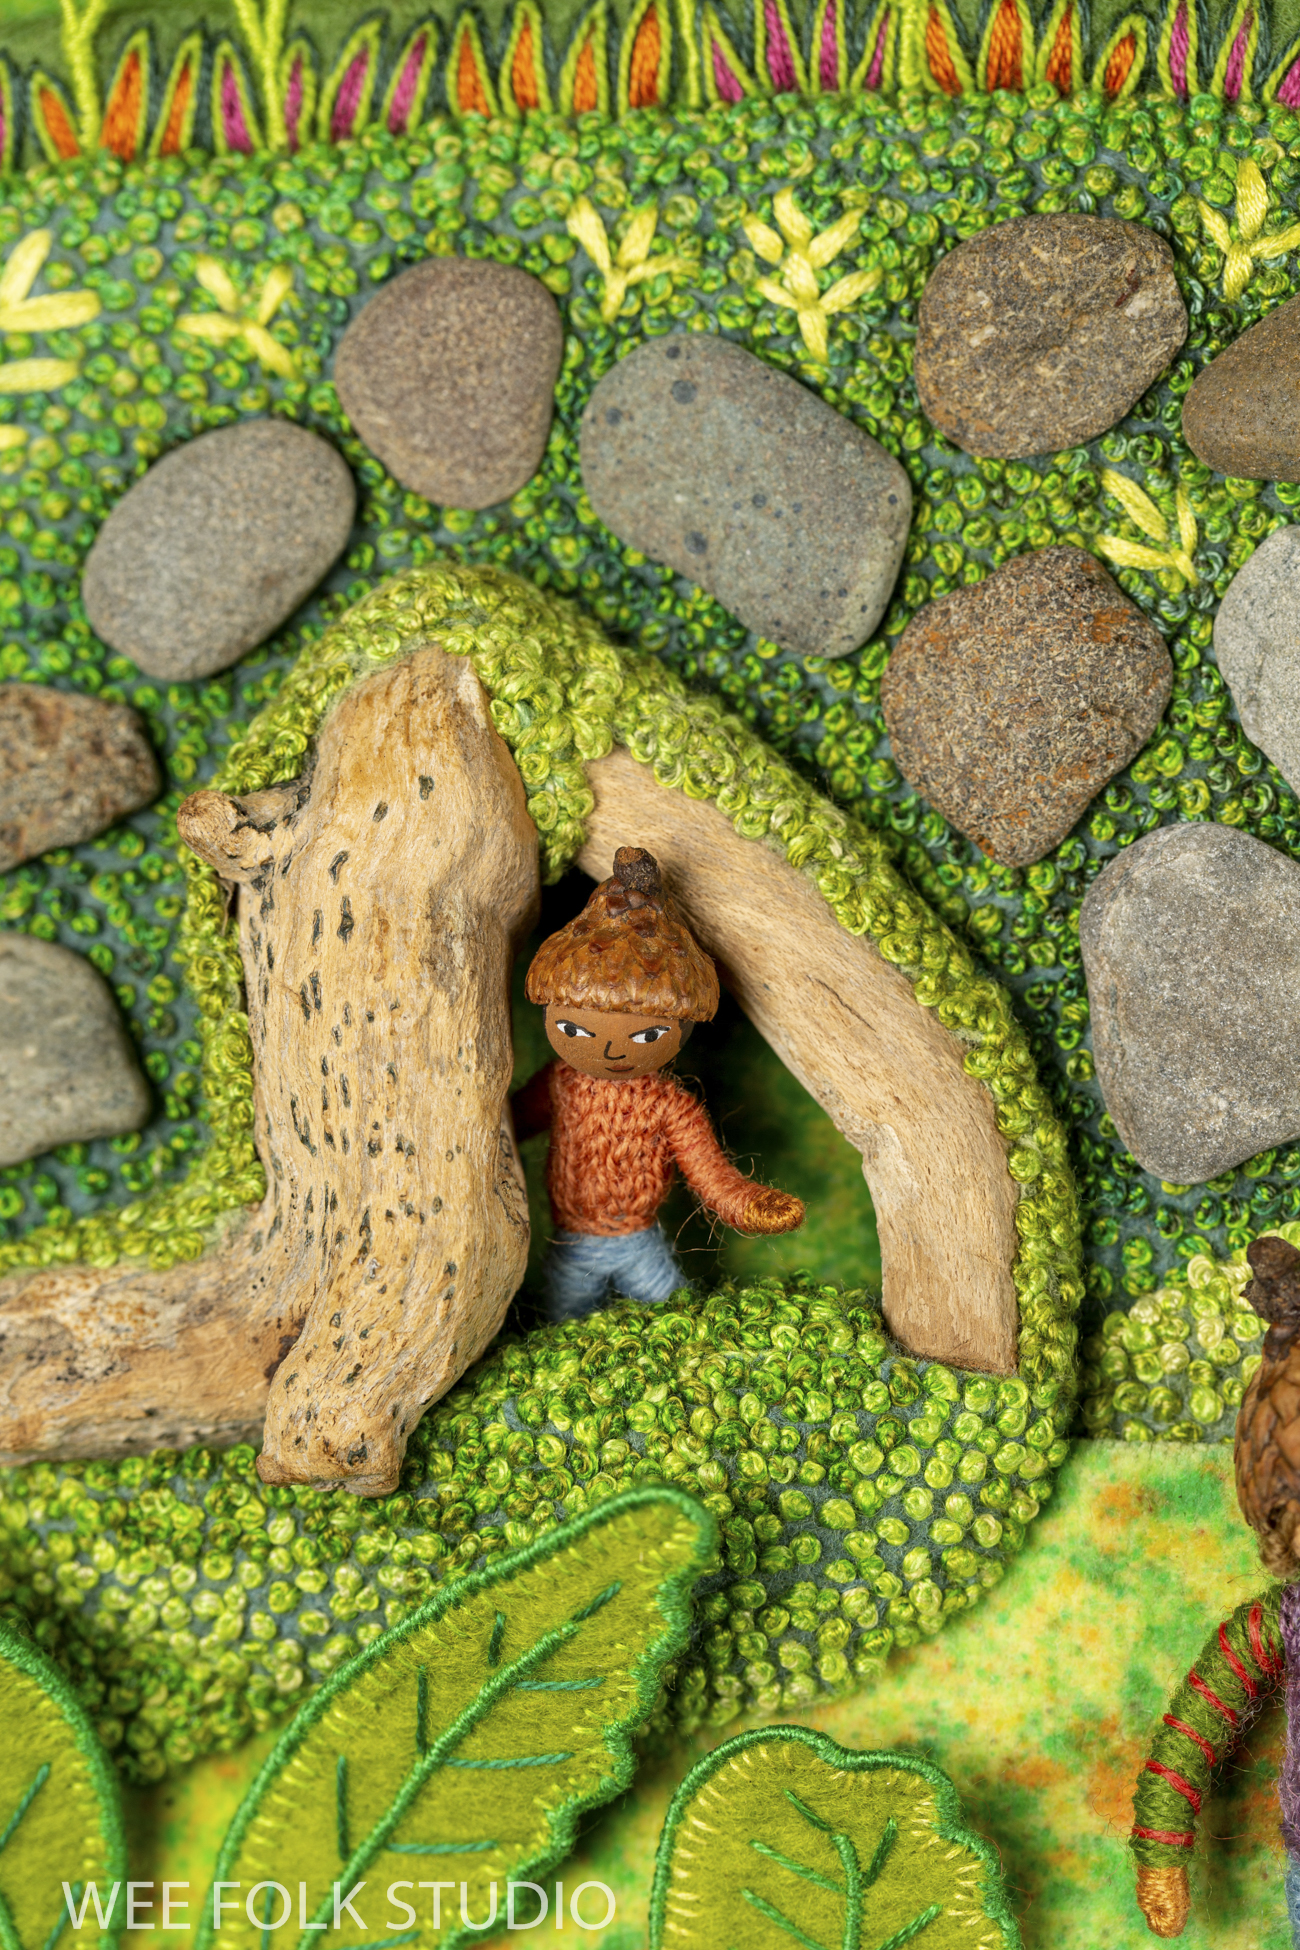
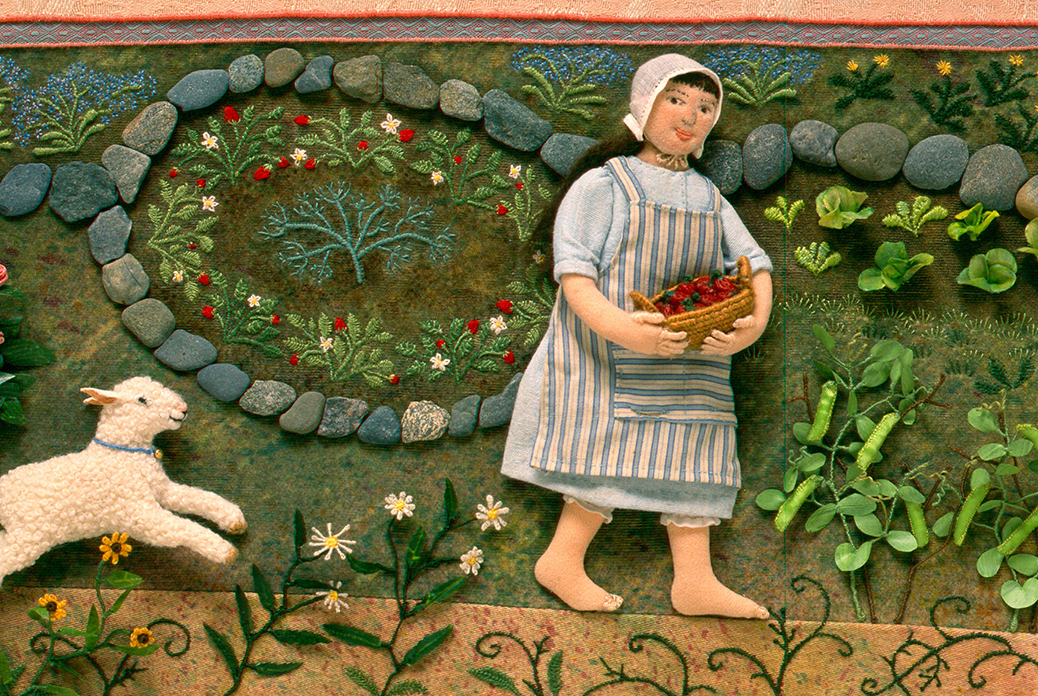
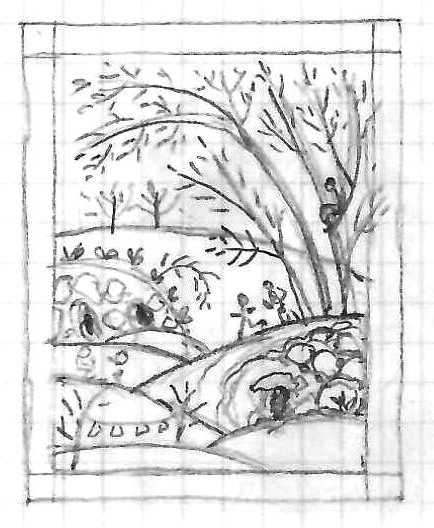
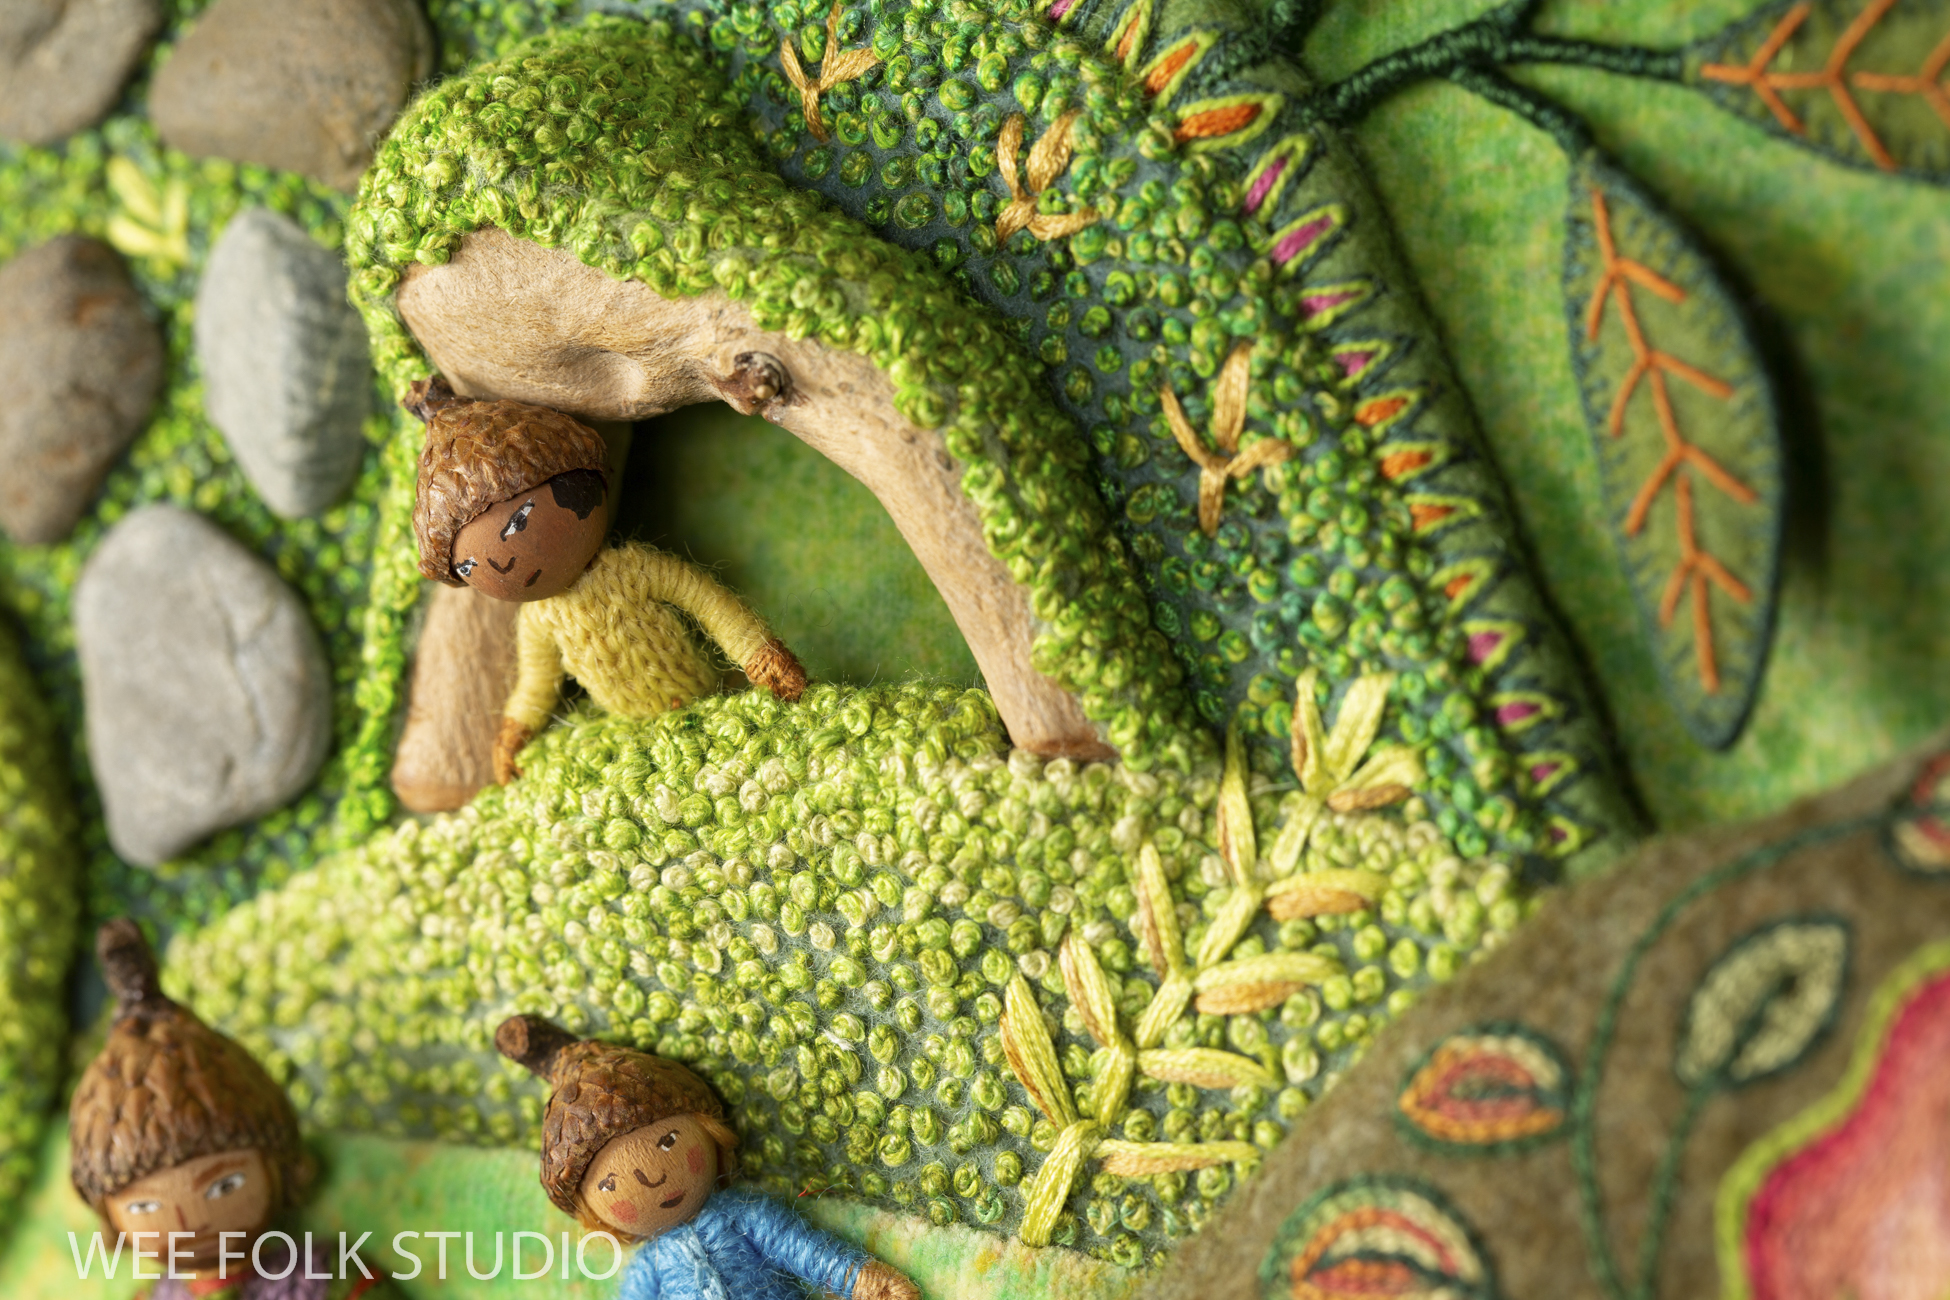
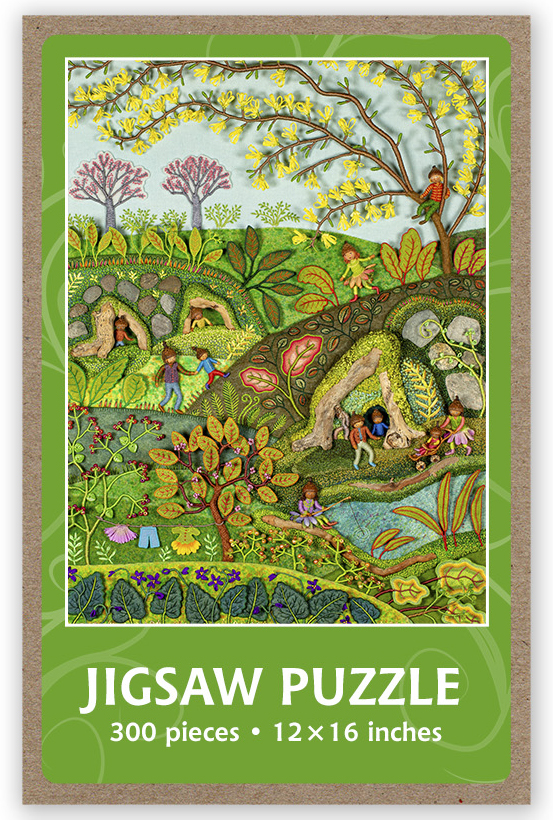
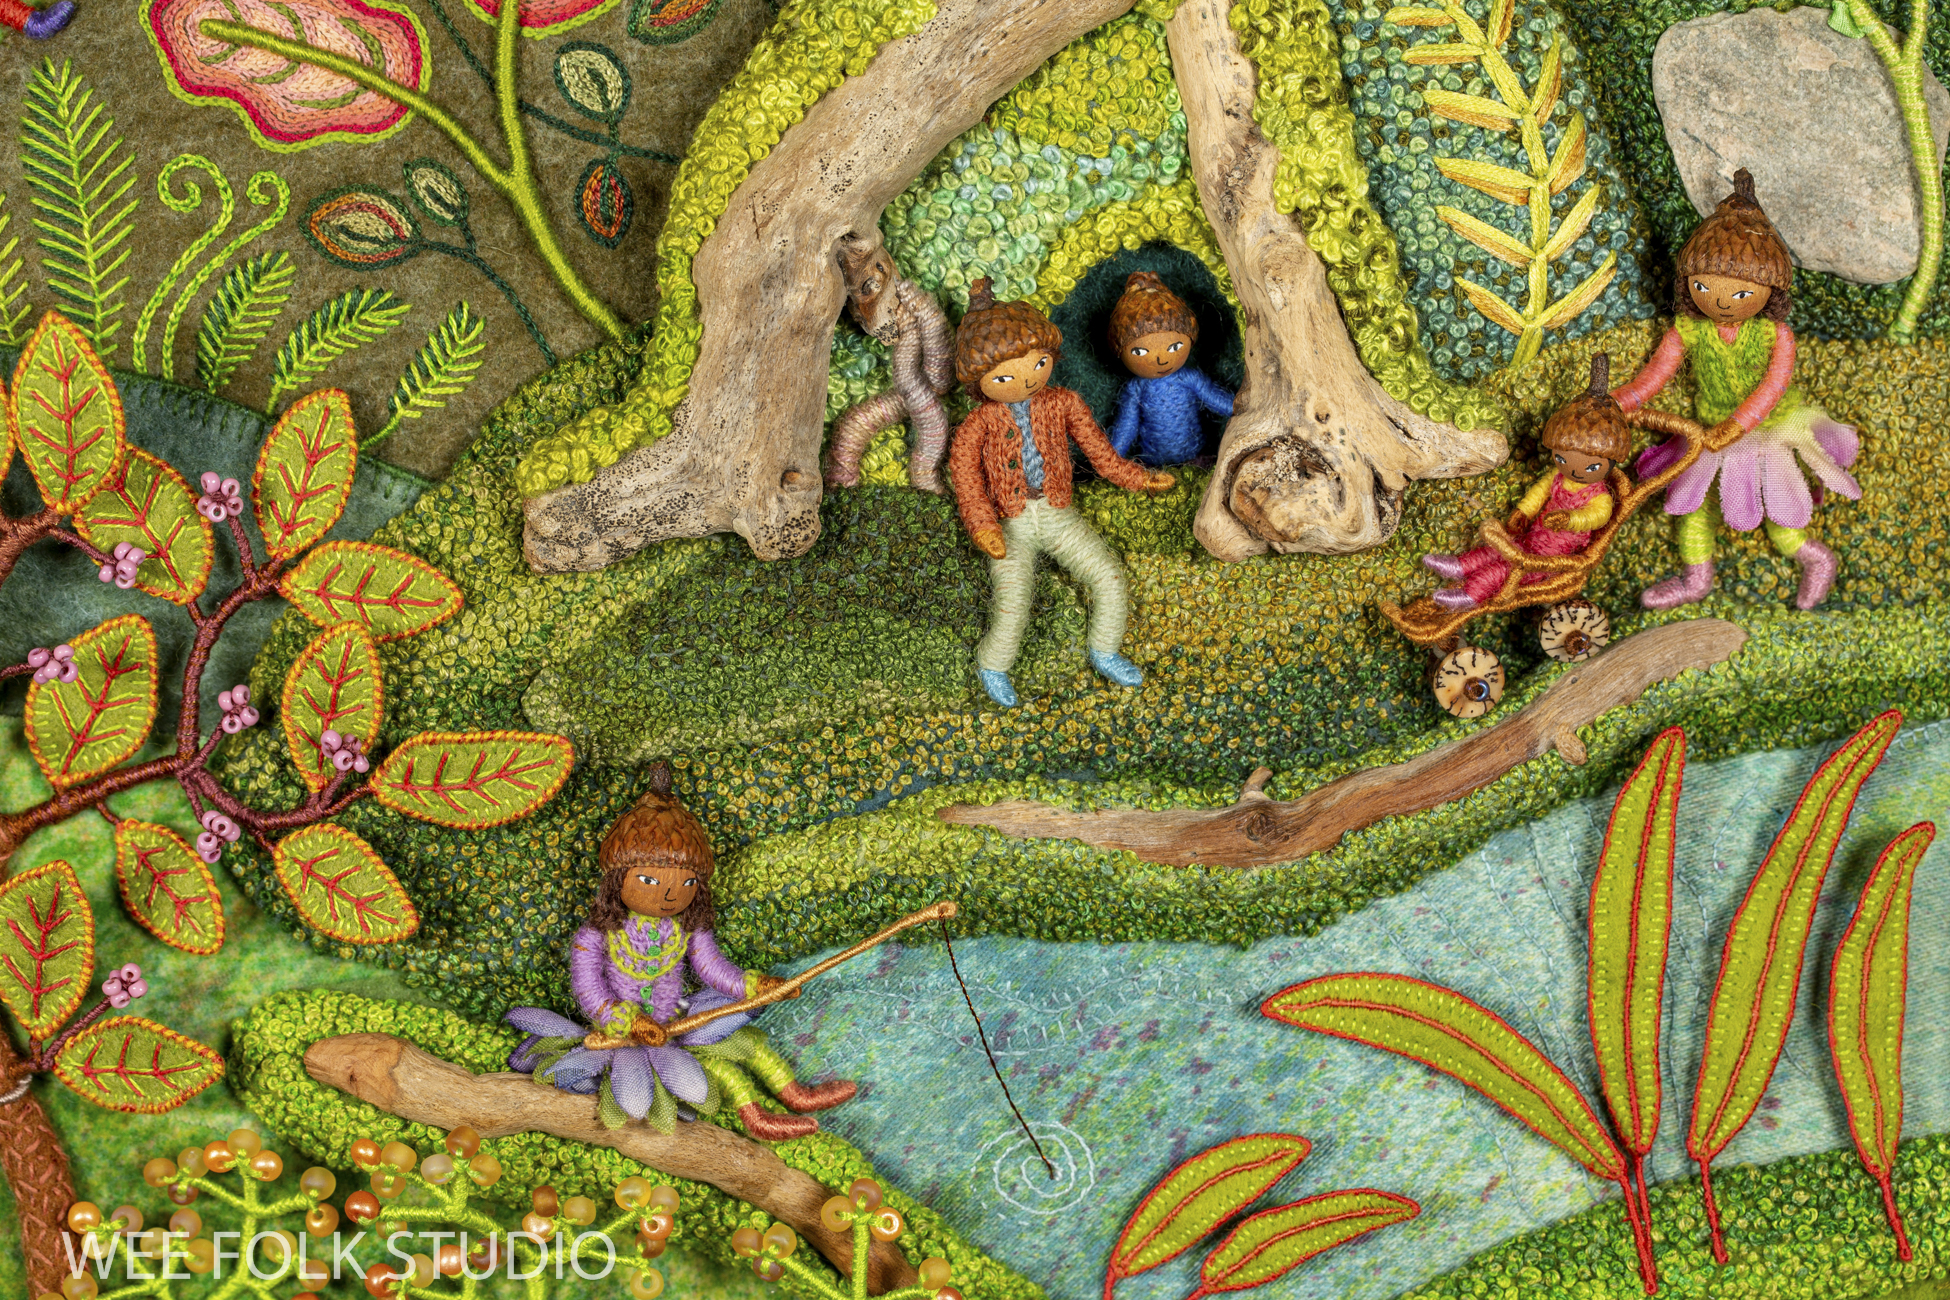
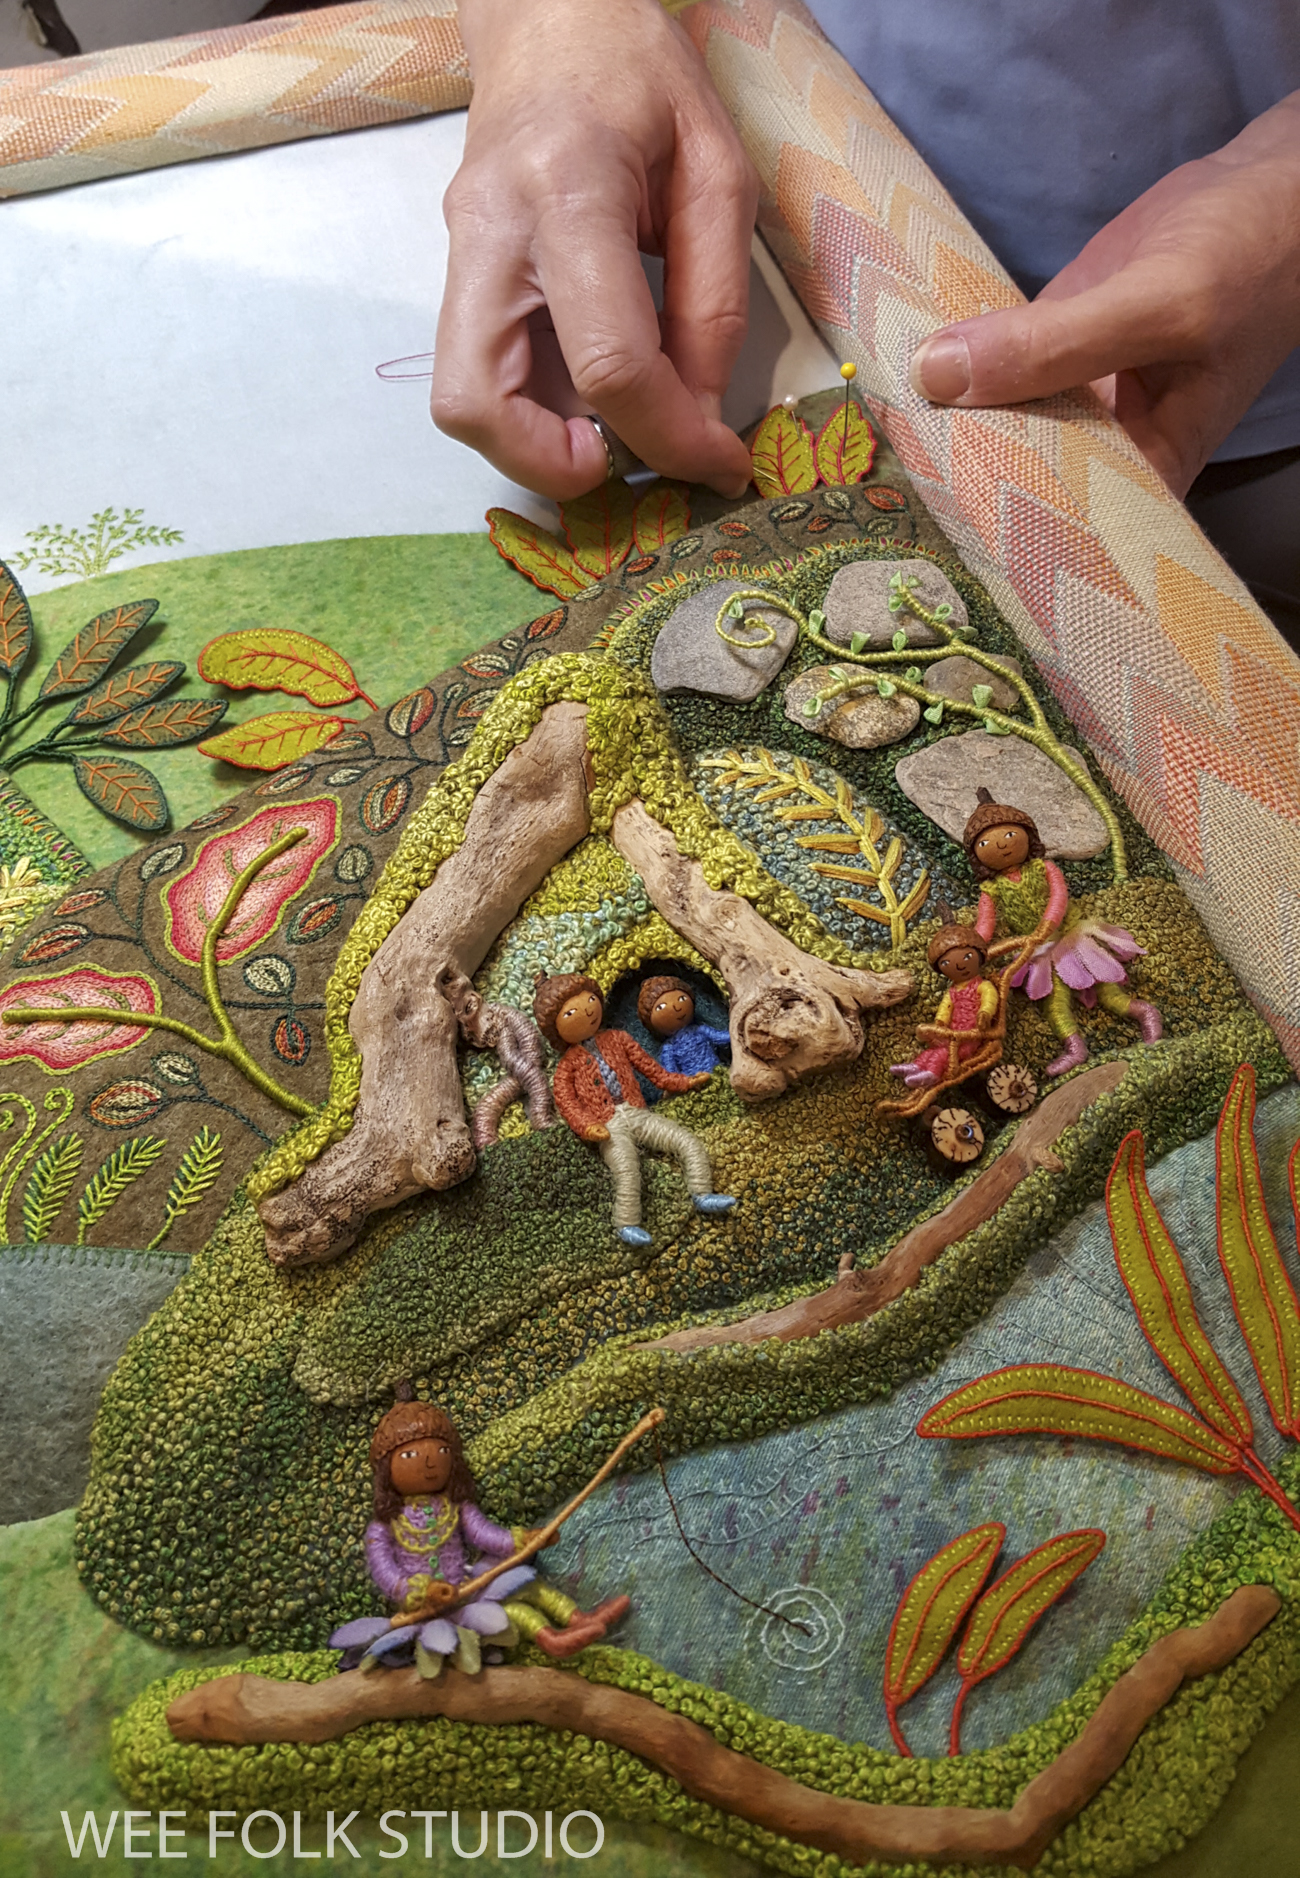
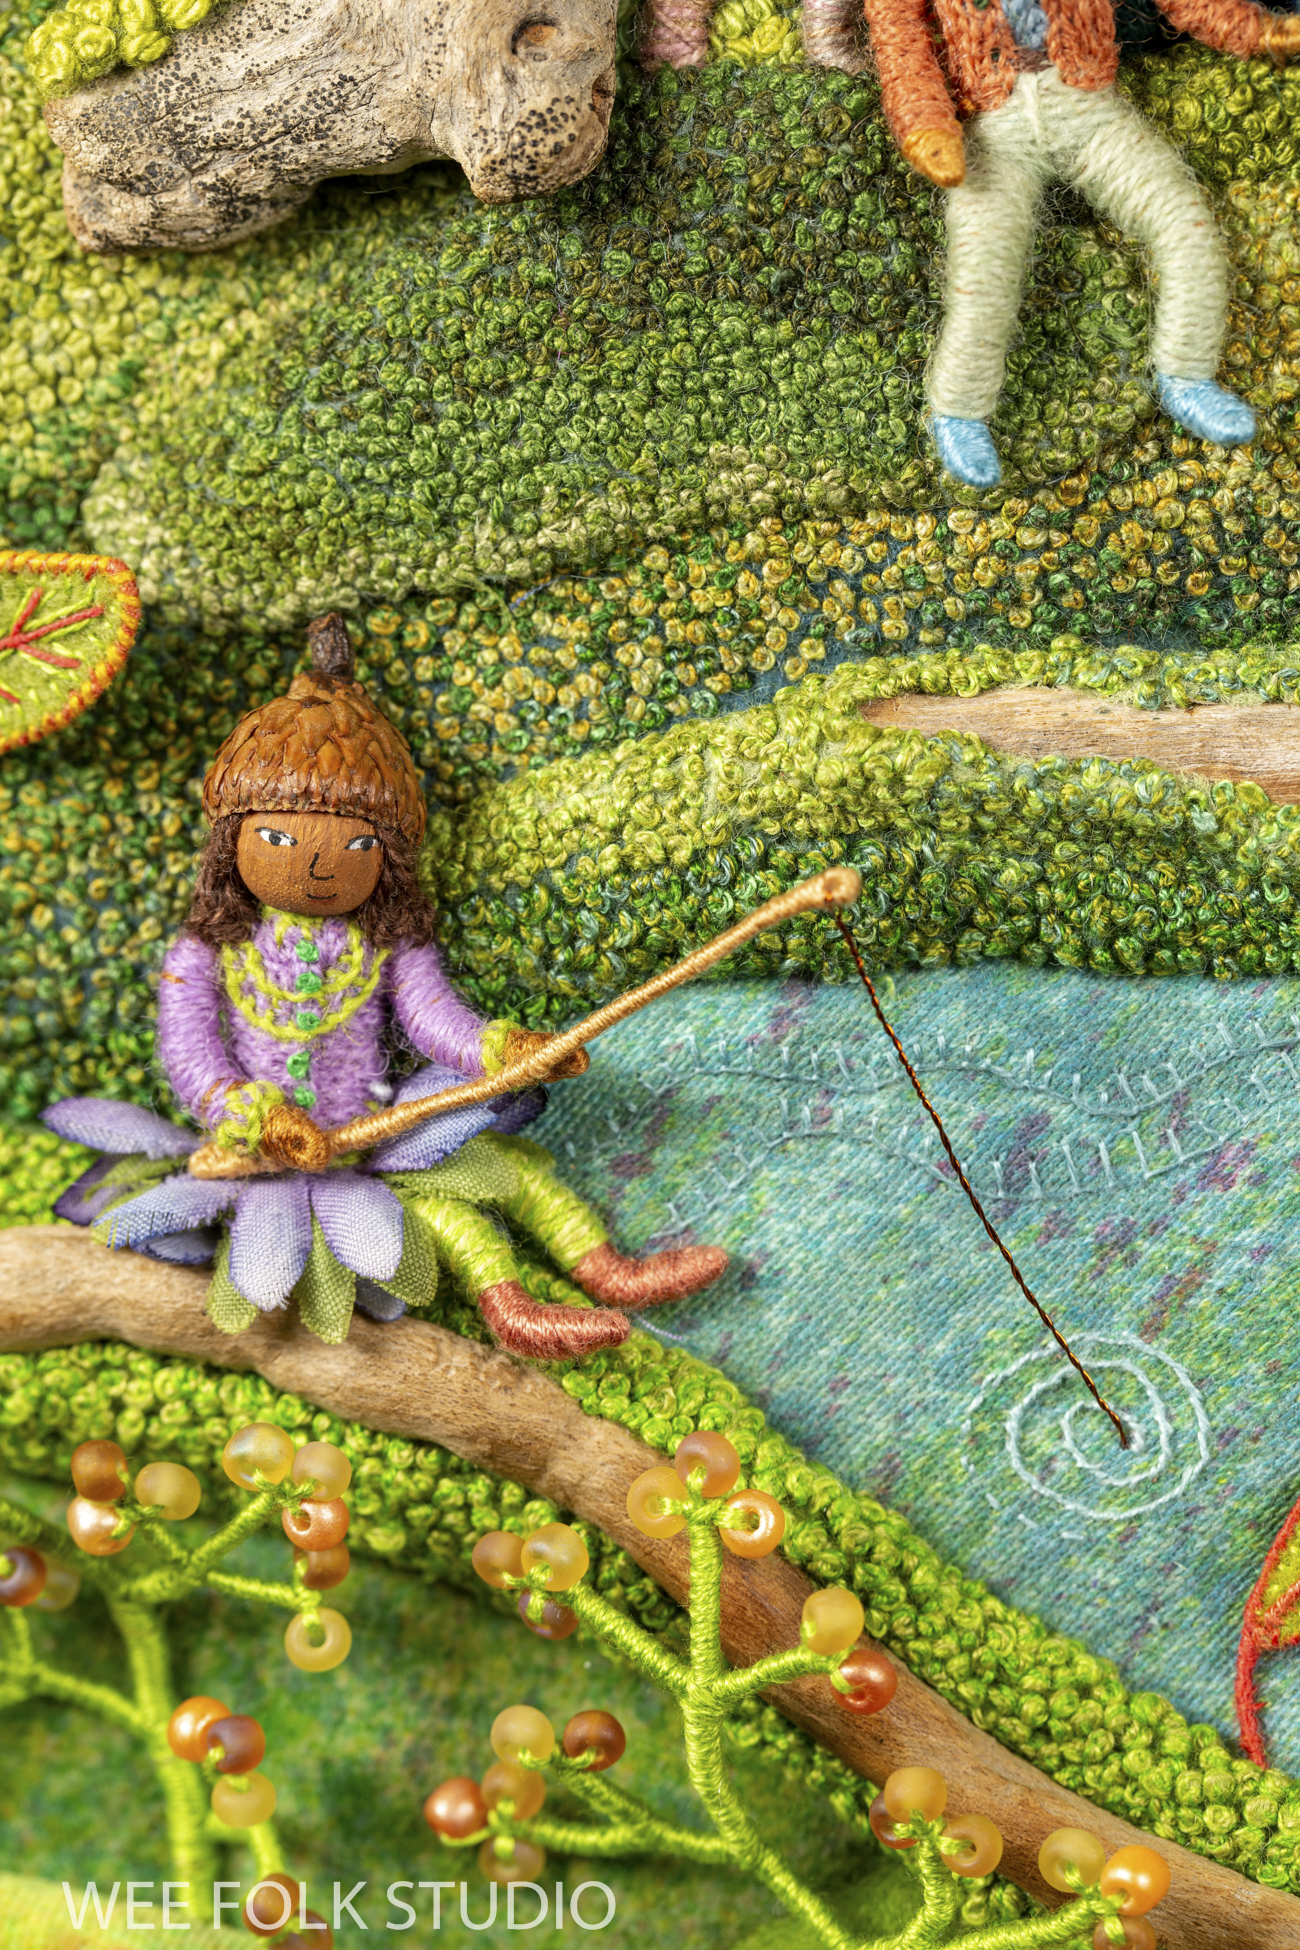
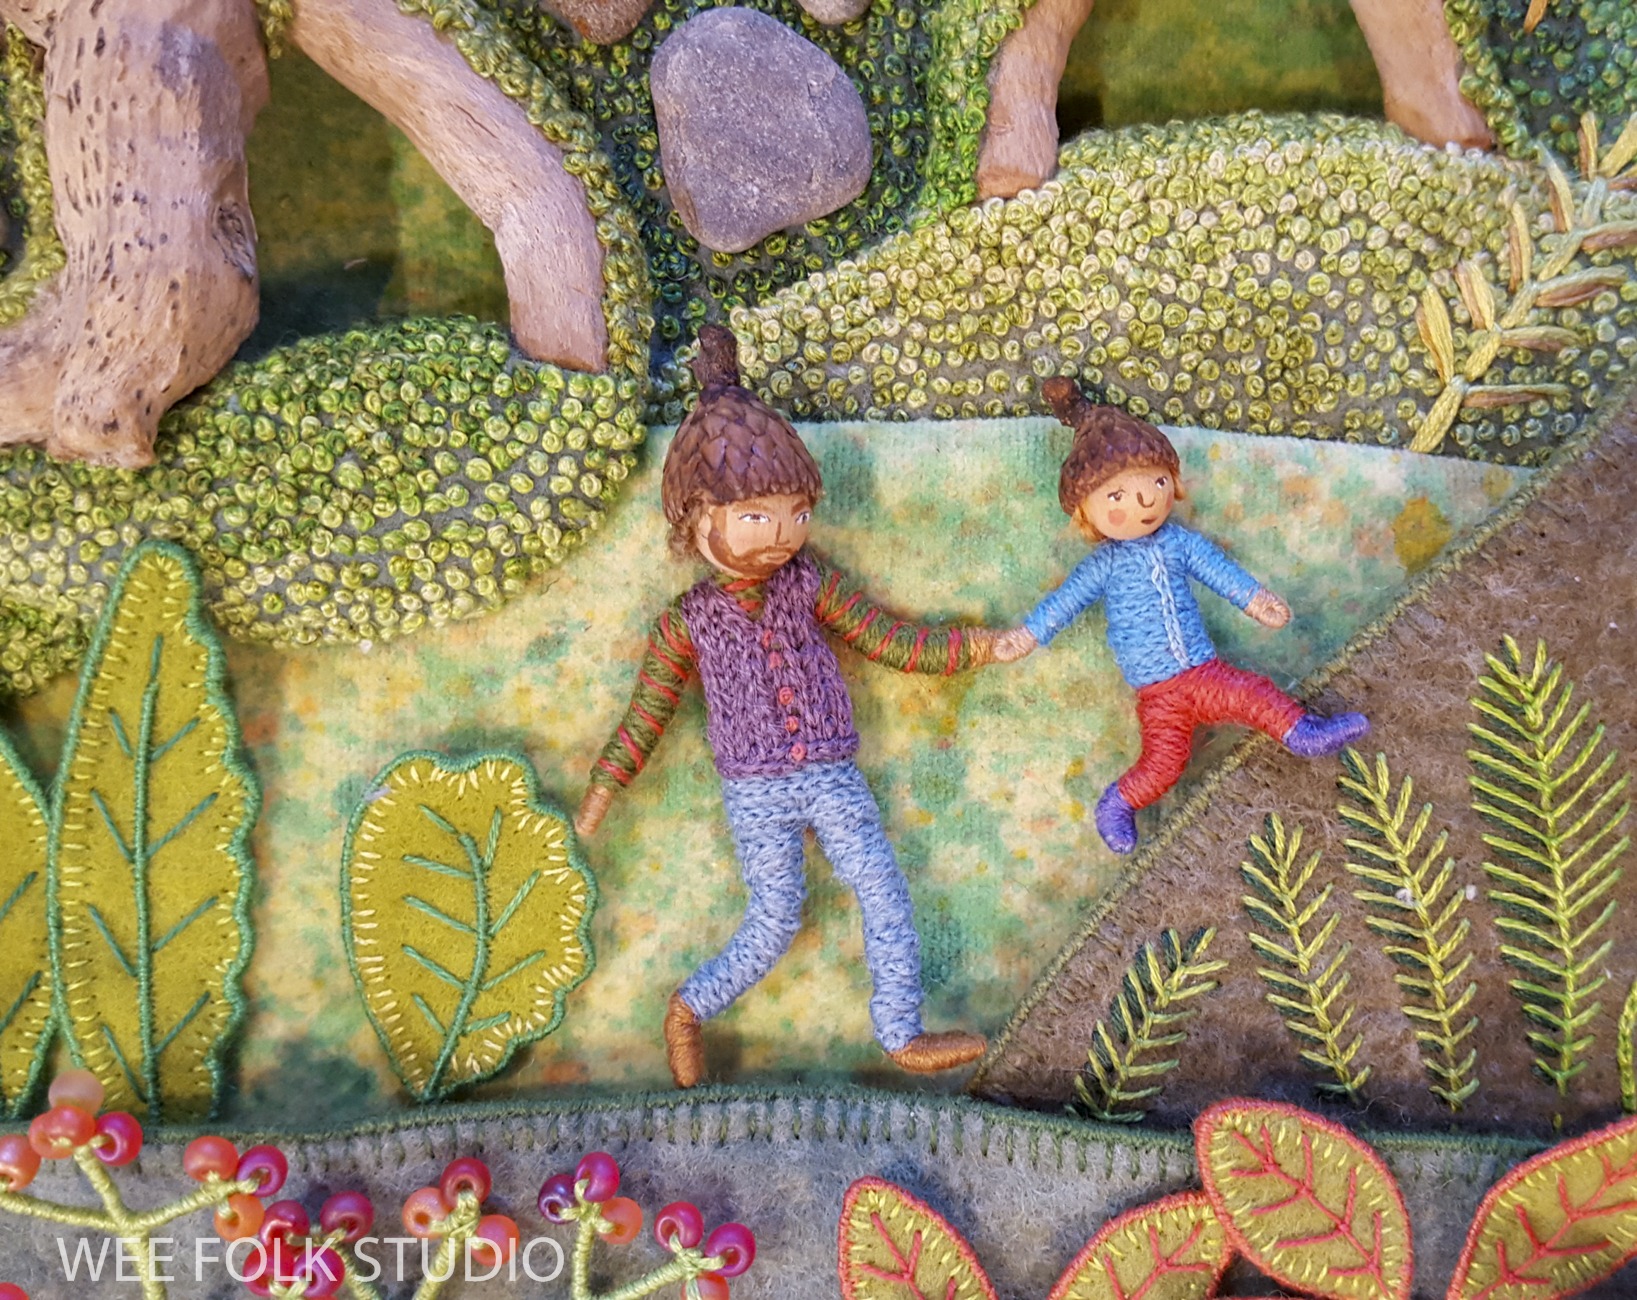
Now, let’s turn our attention back to the characters frolicking in the Mossy Glen. I’m never sure who is going to appear in these landscapes. They just show up one by one and claim their spots. After many months building places for the wee folk to live, it feels satisfying to finally meet them and let them take over.


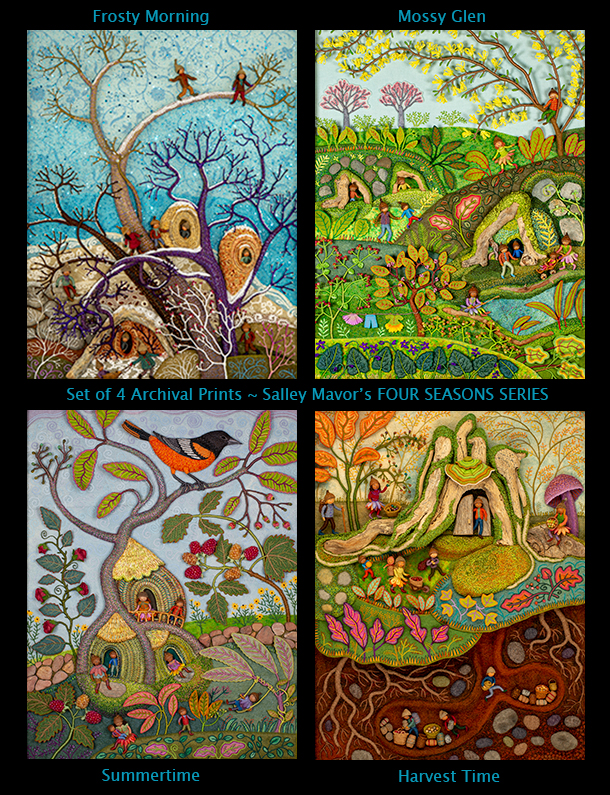
Mossy Glen is the spring scene in a series of seasonal landscapes that capture the wonder and magic of the natural world. Note cards, prints, bookmarks, and jigsaw puzzles of Mossy Glen and the other scenes in the series (Frosty Morning, Harvest Time, and Summertime) are available in my Etsy Shop.
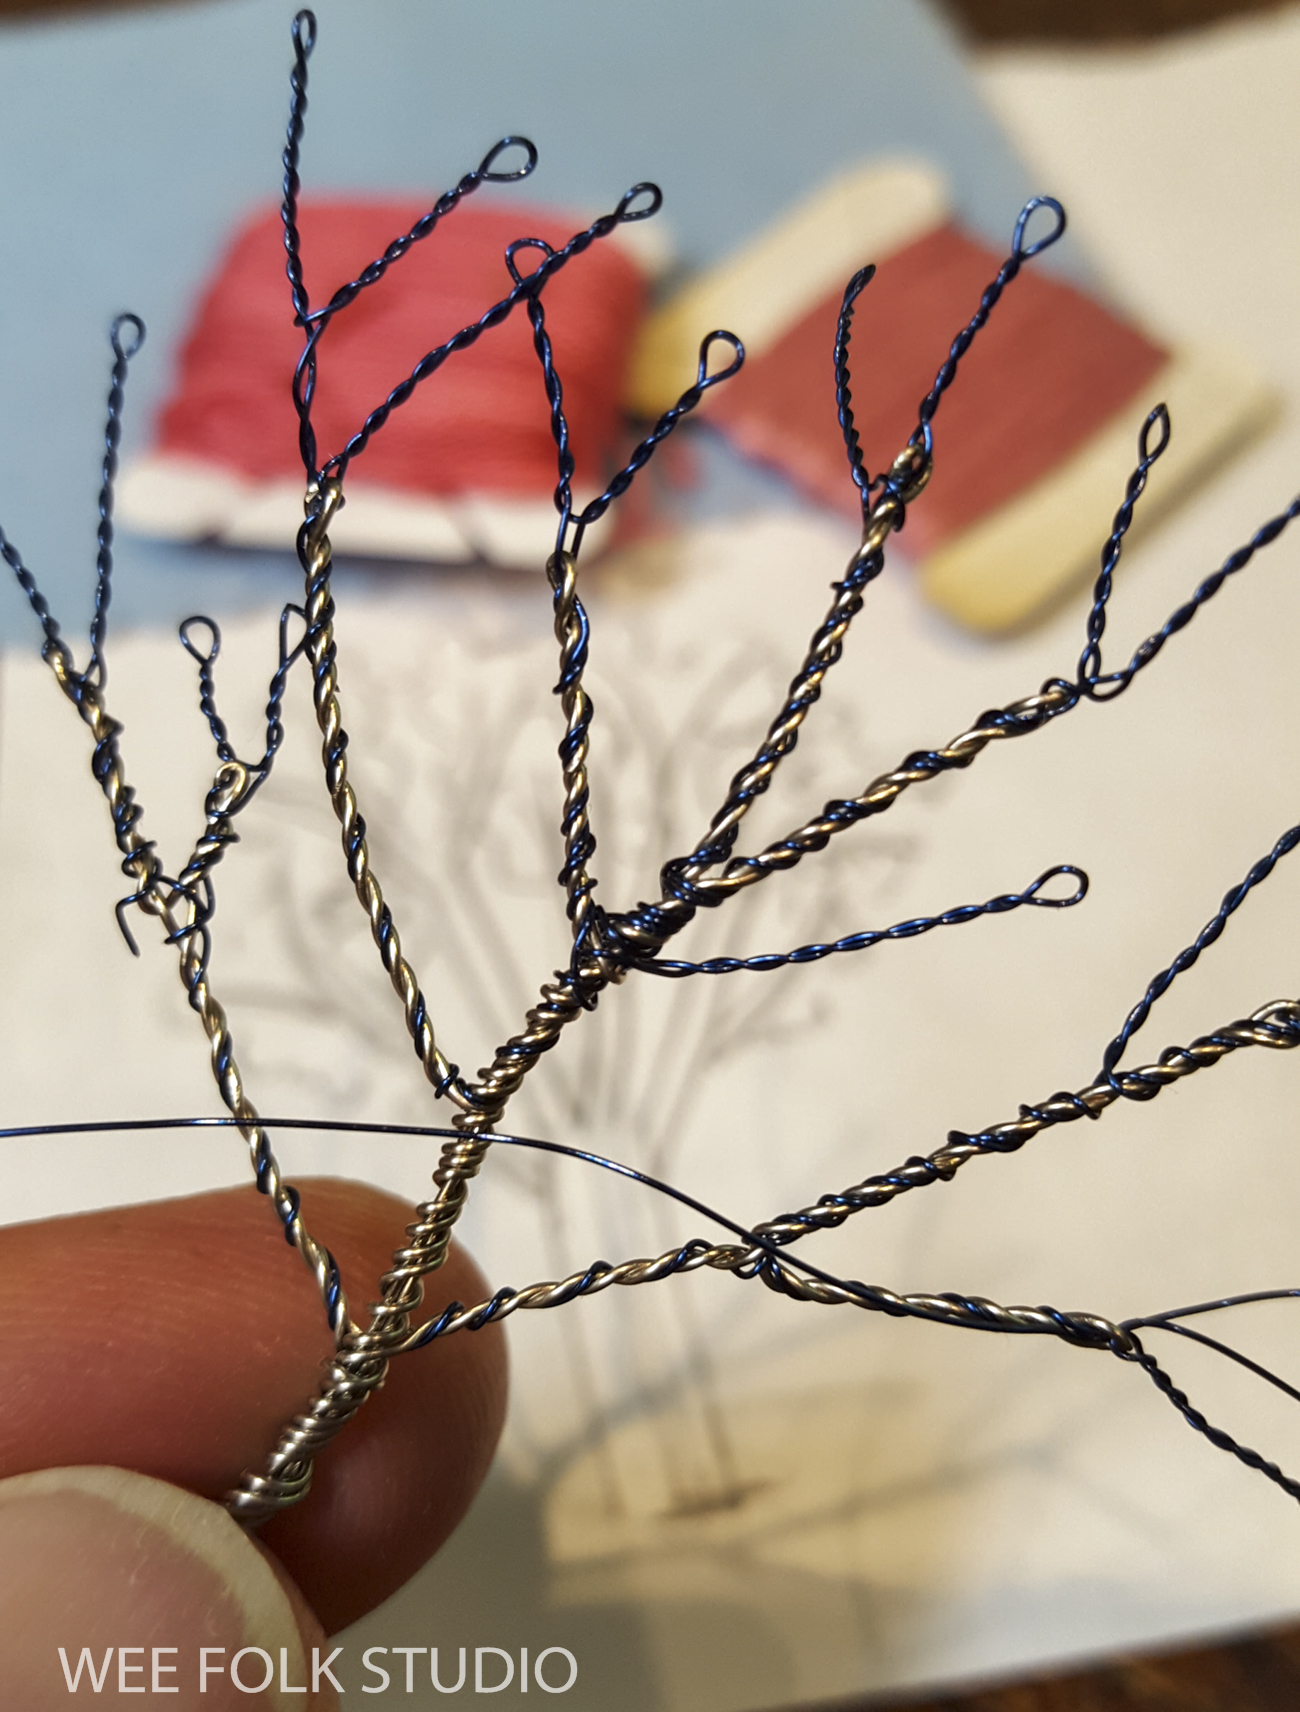
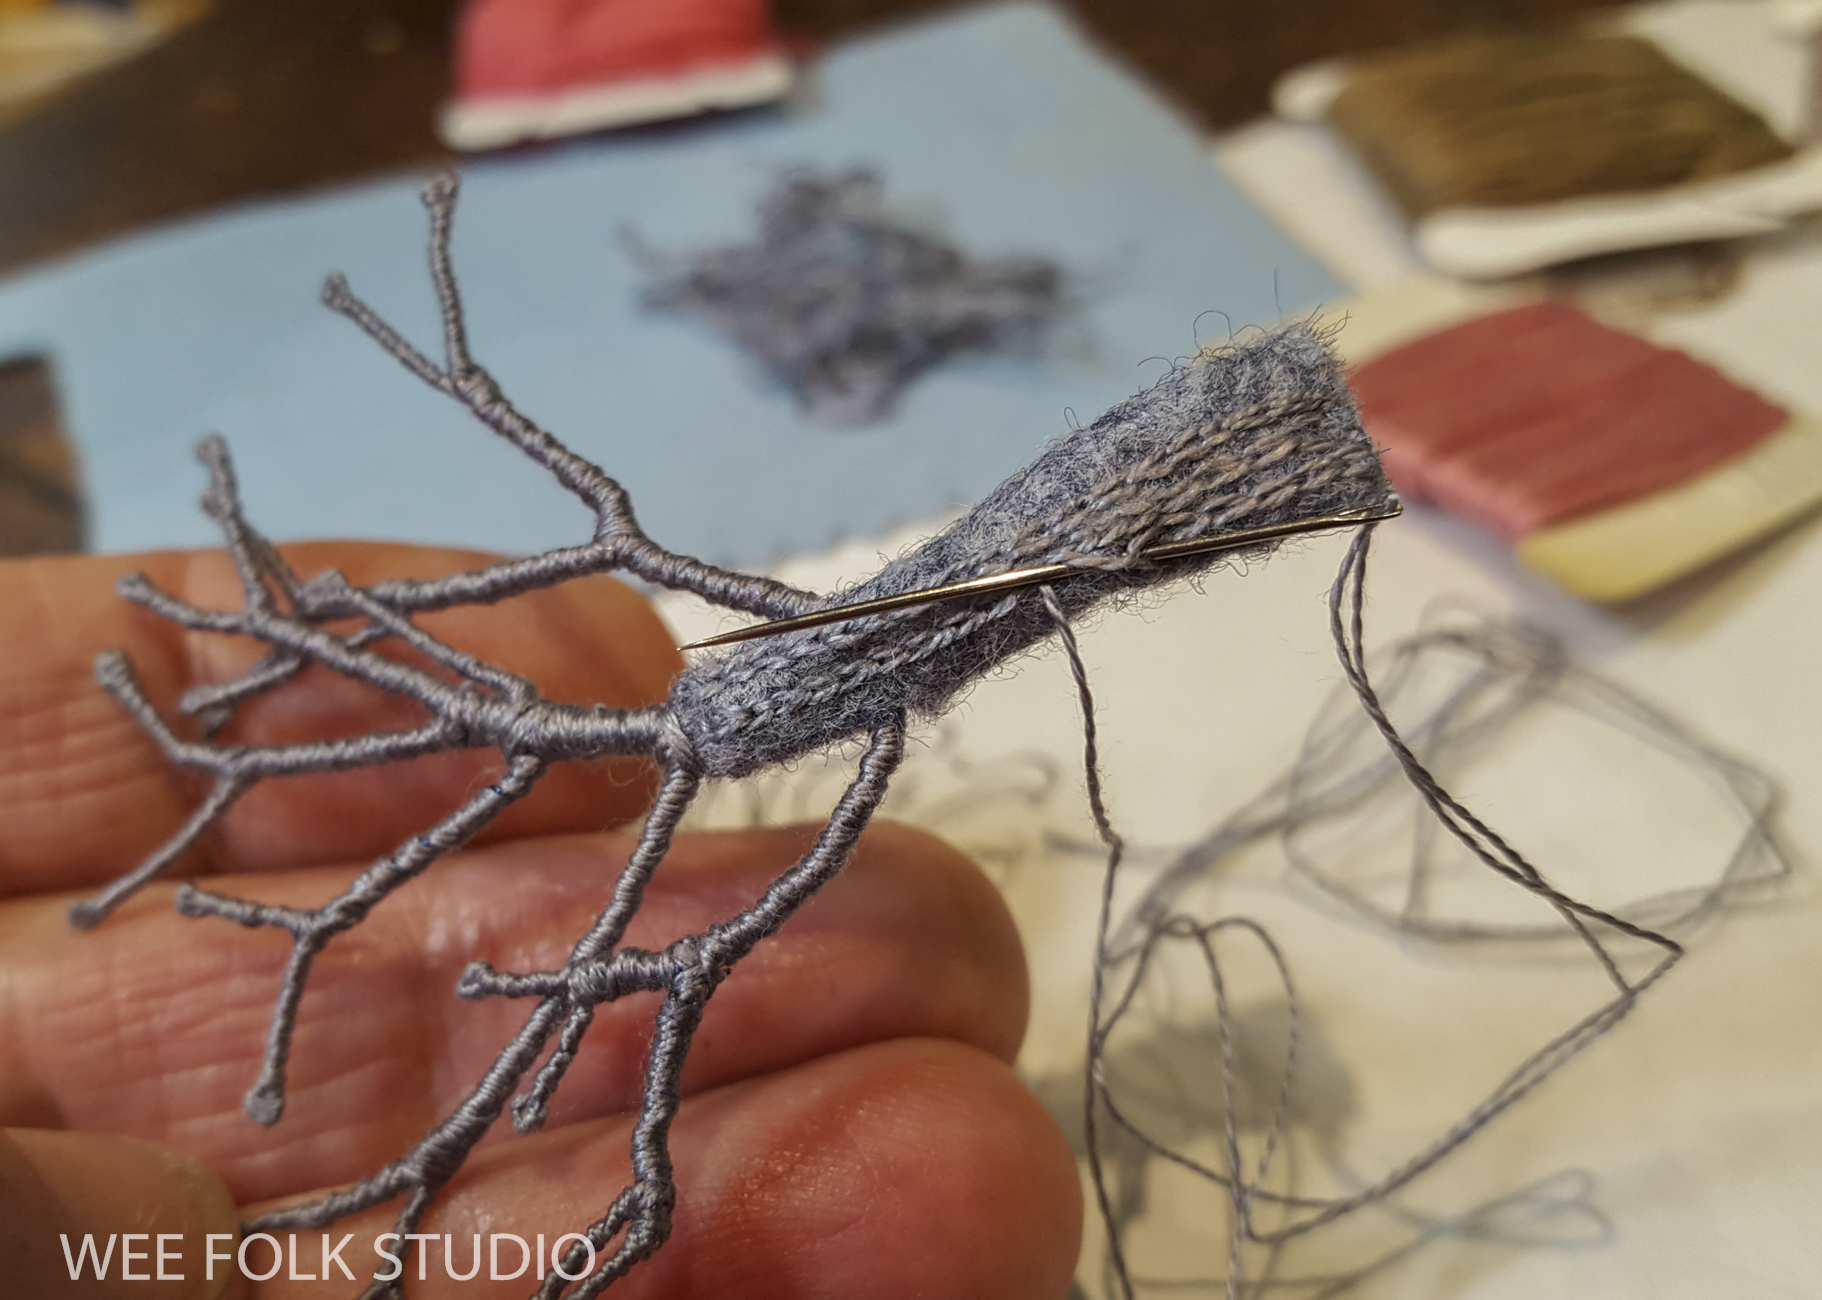
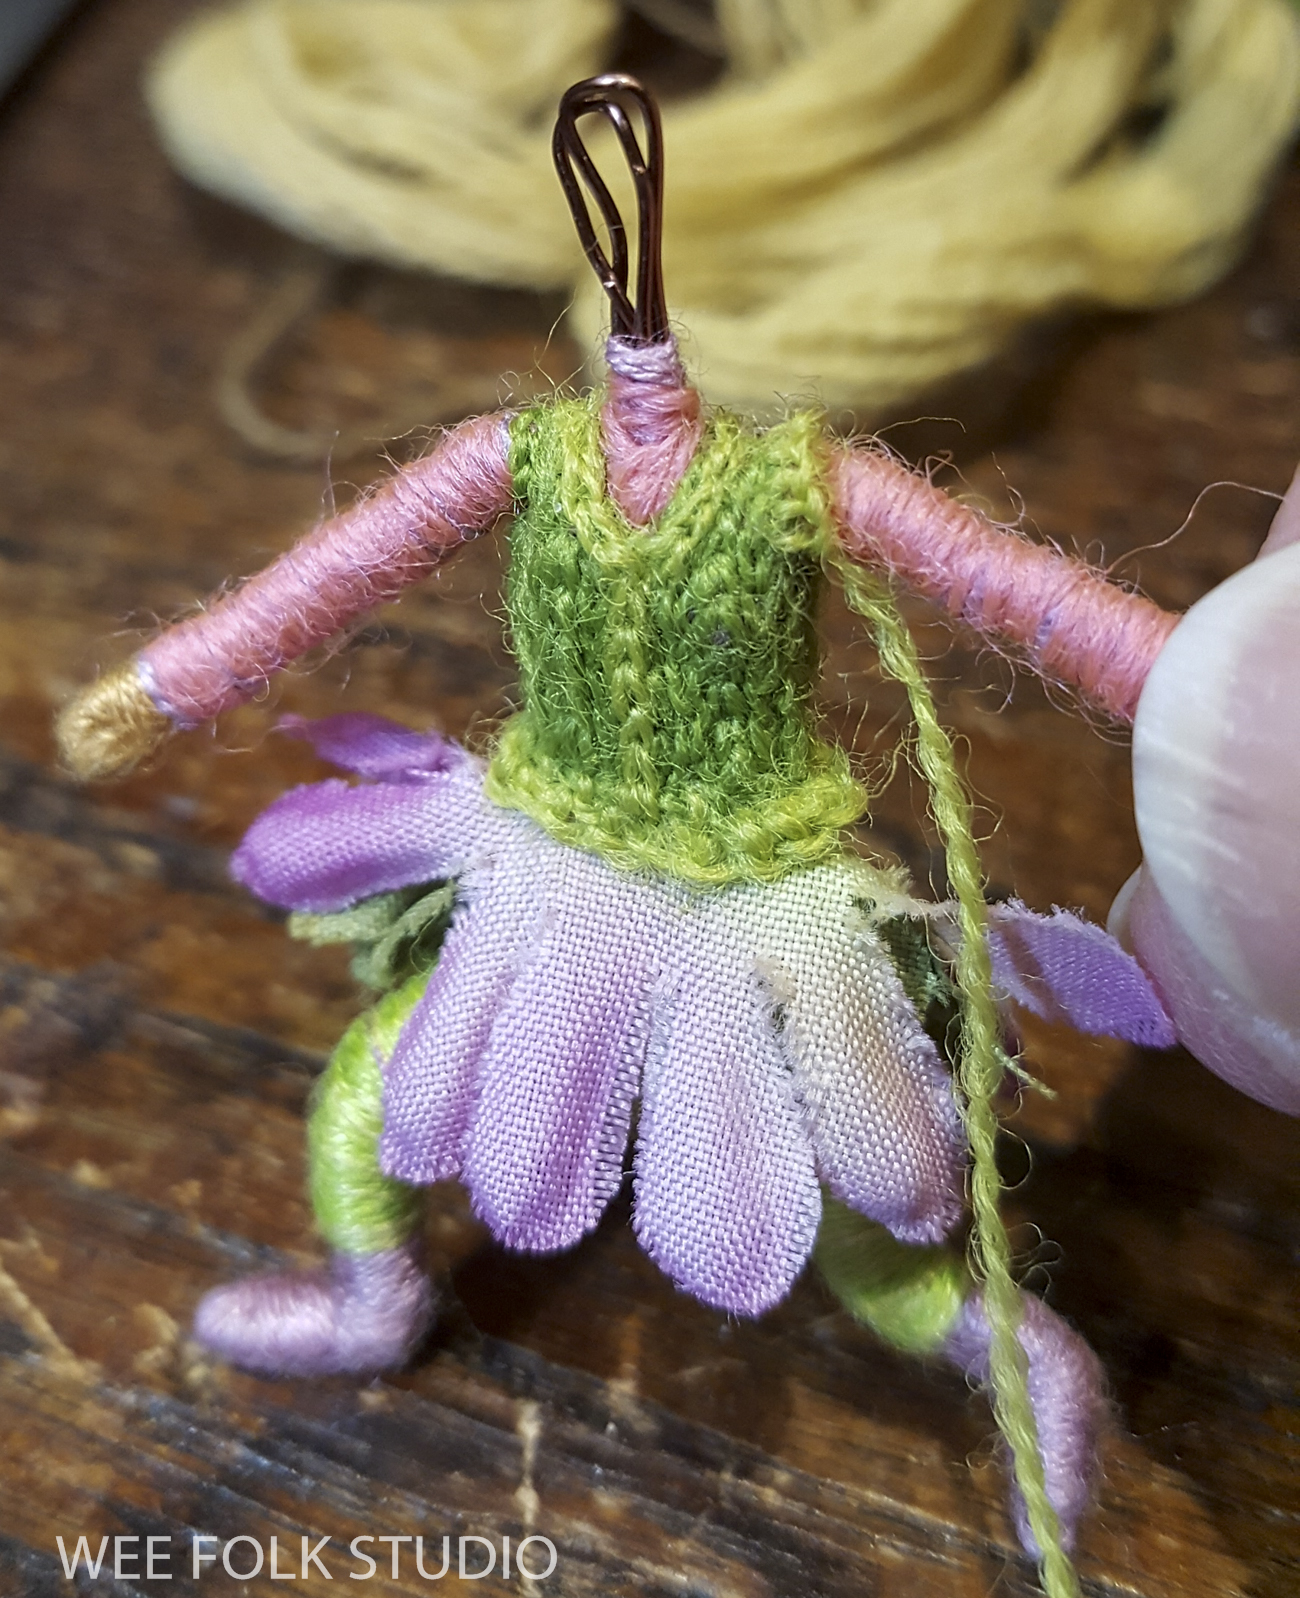
The figures are similar to the acorn-capped dolls in my how-to book, Felt Wee Folk, just smaller in scale. Instead of pipe cleaners, I made the armatures with 24 gauge jewelry wire. You have to wind a lot of thread around the wire to make the limbs look proportional and not too spindly. At least you don’t have to deal with pipe cleaner fuzzies poking out.
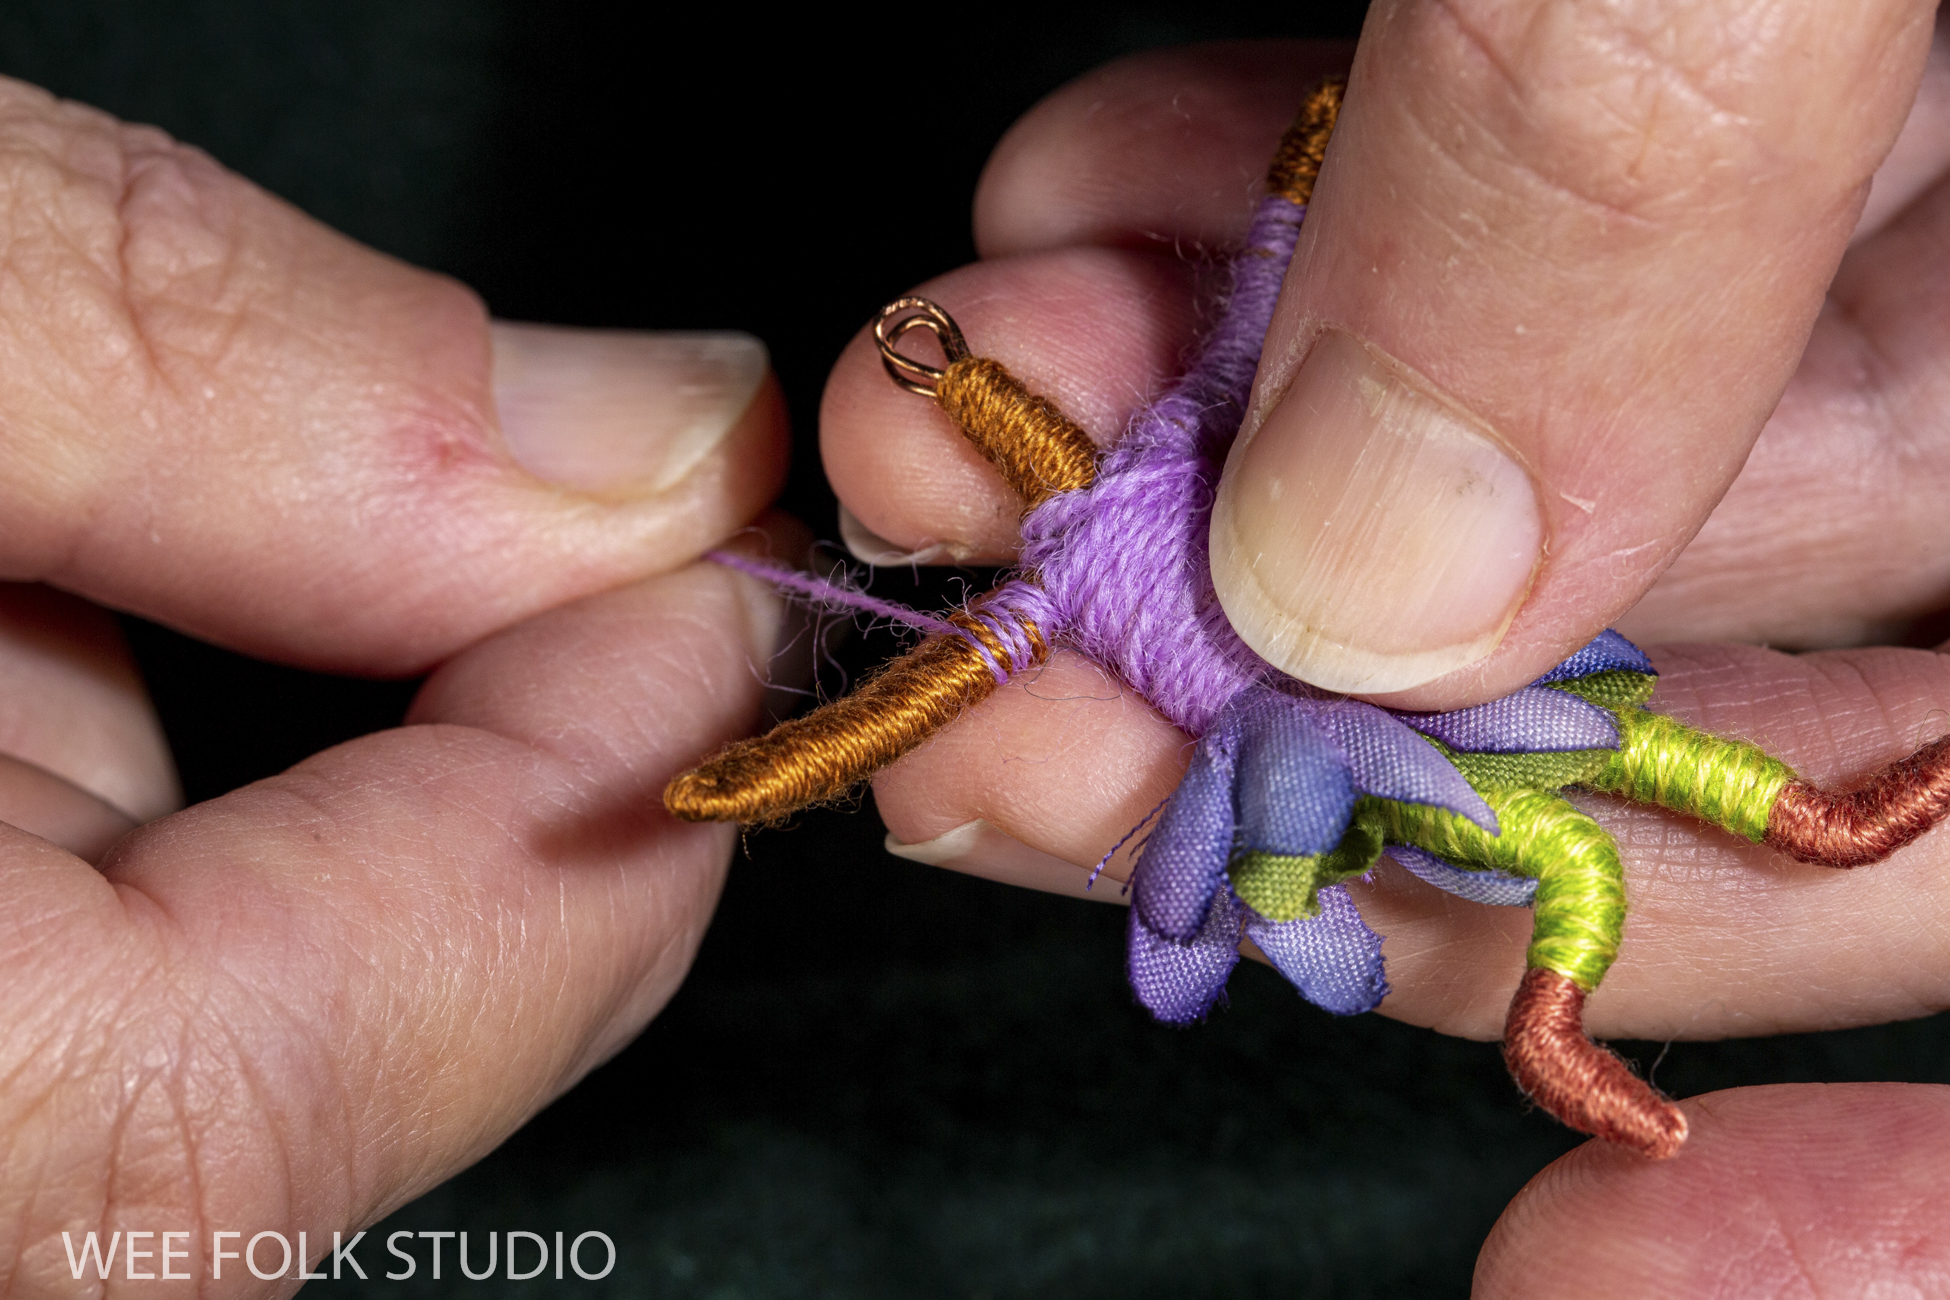
After wrapping the wire armature with either embroidery floss or tapestry yarn, I embellished the torso and arms with faux knitting. which is basically rows of chain stitching.


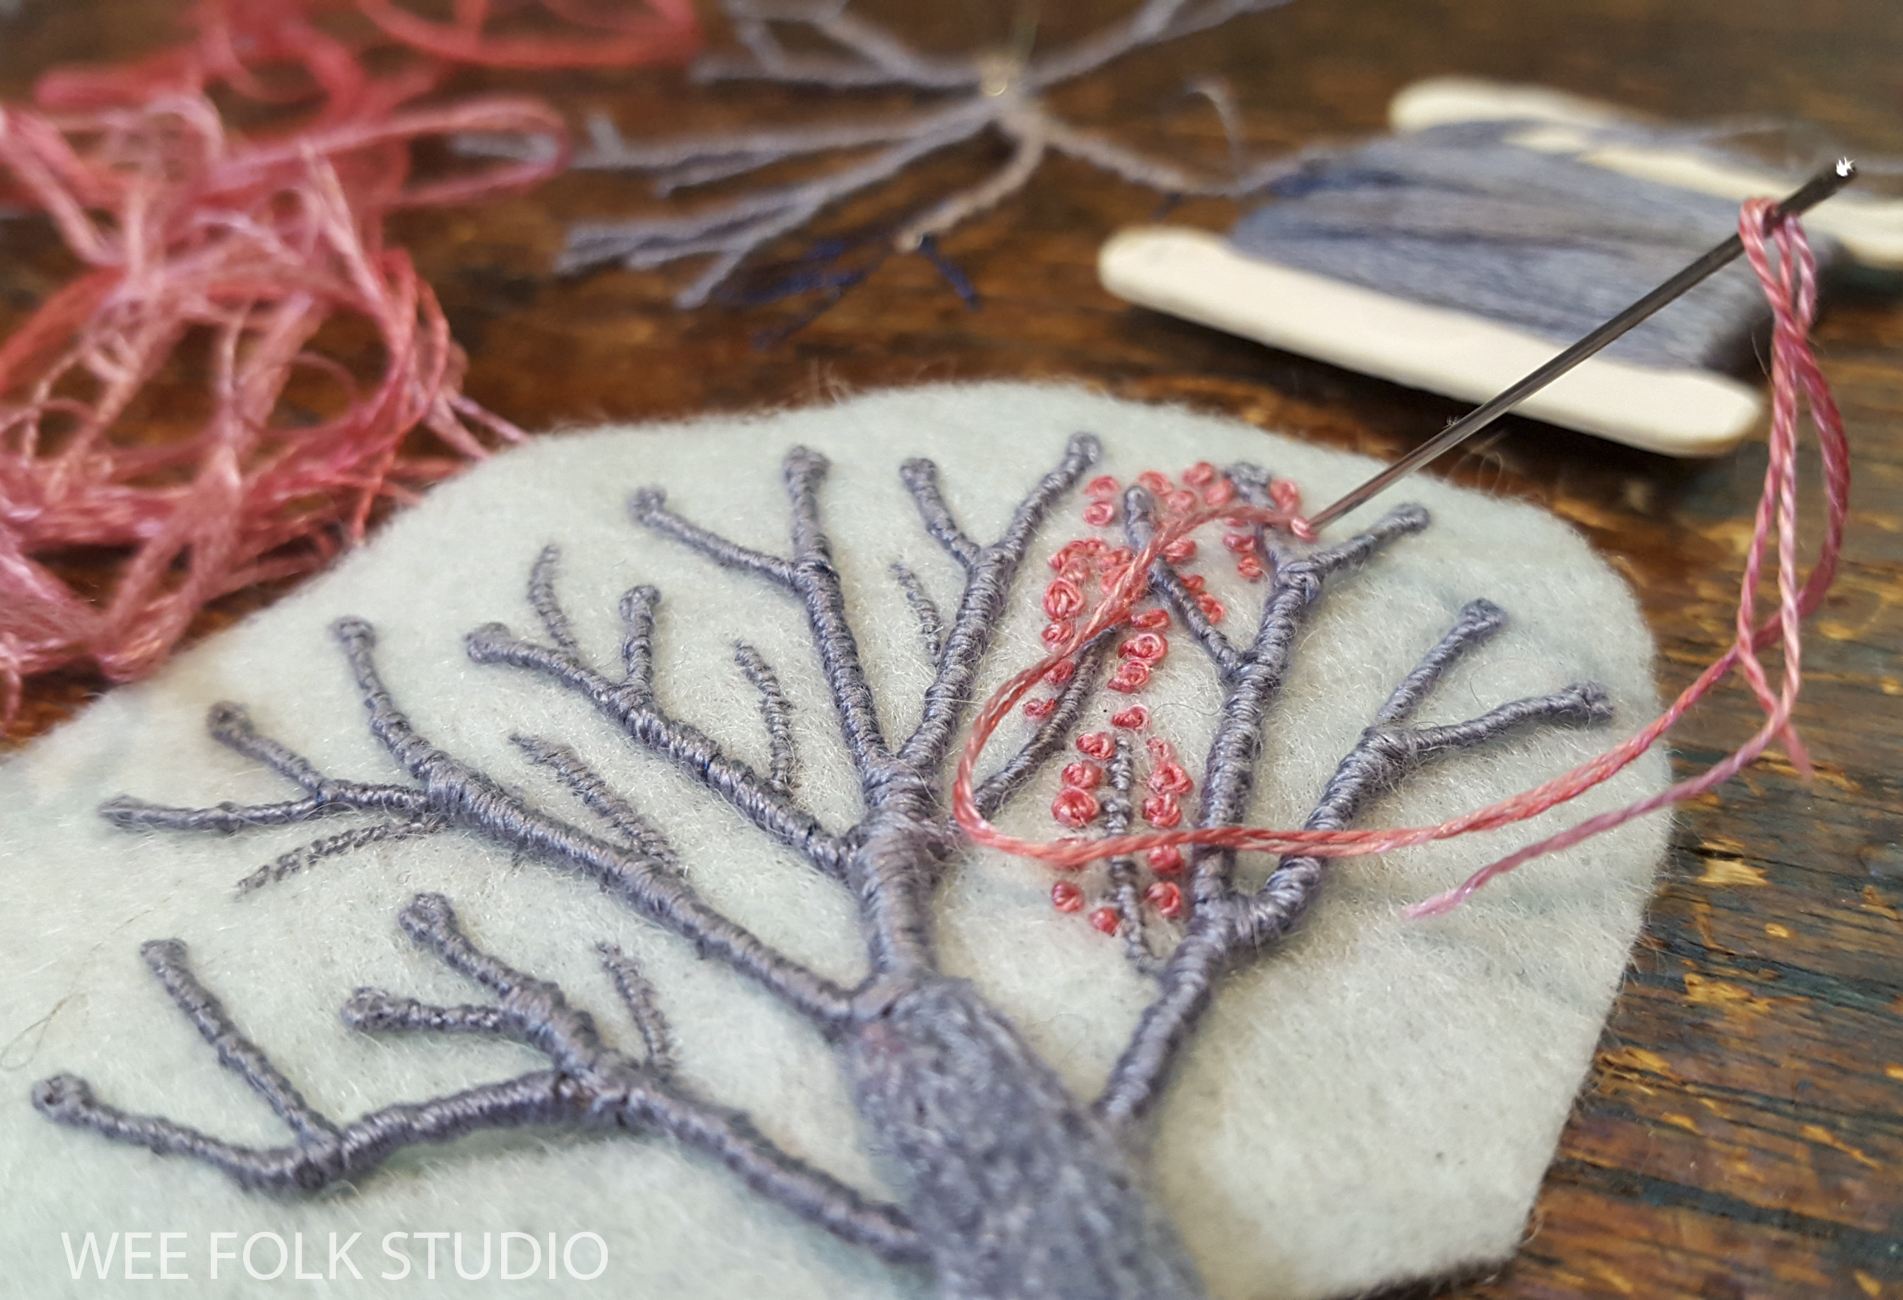
I first started experimenting with fake or faux knitting when I made Polly’s Irish sweater by embroidering patterns and textures on felt. I’m not very experienced with knitting or crocheting, so this seemed like a good solution.
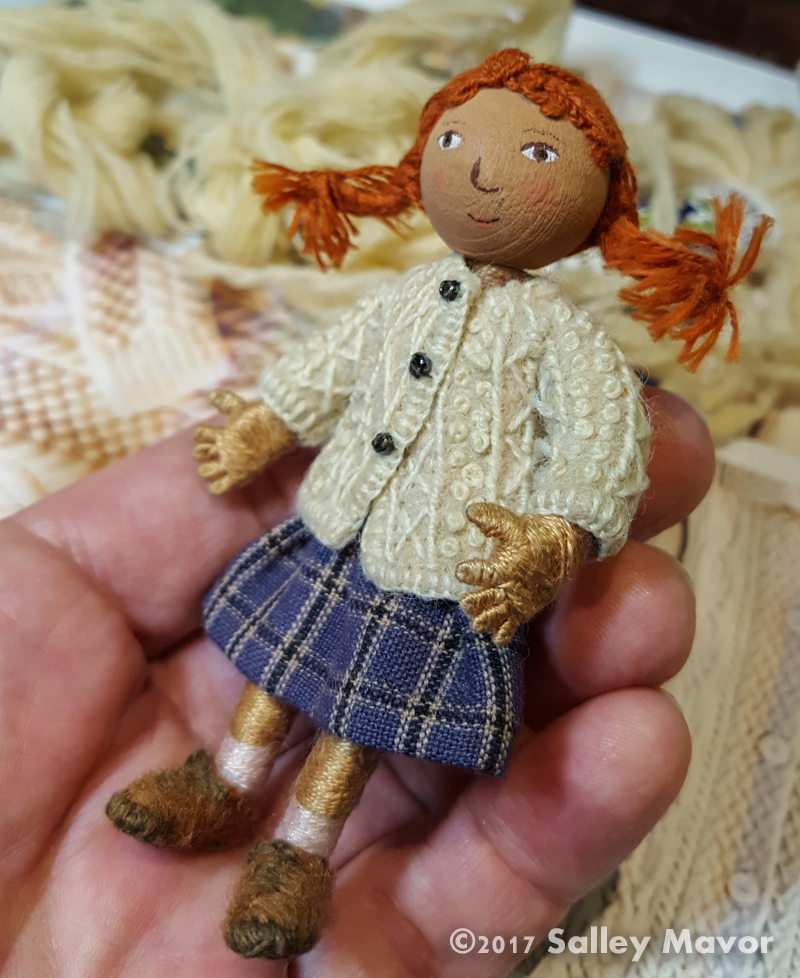
Since then, I’ve left out the felt and stitched directly onto the thread wrapped bodies. It’s fussy for sure, but the clothing comes out looking the way I want it to.
Here’s a Stitch Minute video showing some of my faux knitting.


I know this fellow looks uncomfortable, but I didn’t want to hide what he endured for the sake of fashion.

I made this stroller out of wire, which I covered with embroidery floss. The wheels are beads. As usual, I was so absorbed in figuring out how to make it, that I didn’t think to take photos along the way. I’ll try better with the next scene.


I hope that you’ve enjoyed this series about making Mossy Glen. Here’s a list of the different parts:
Mossy Glen (overview)
Part 1 (moss)
Part 2 (cherry trees)
Part 3 (stone walls)
Part 4 (forsythia)
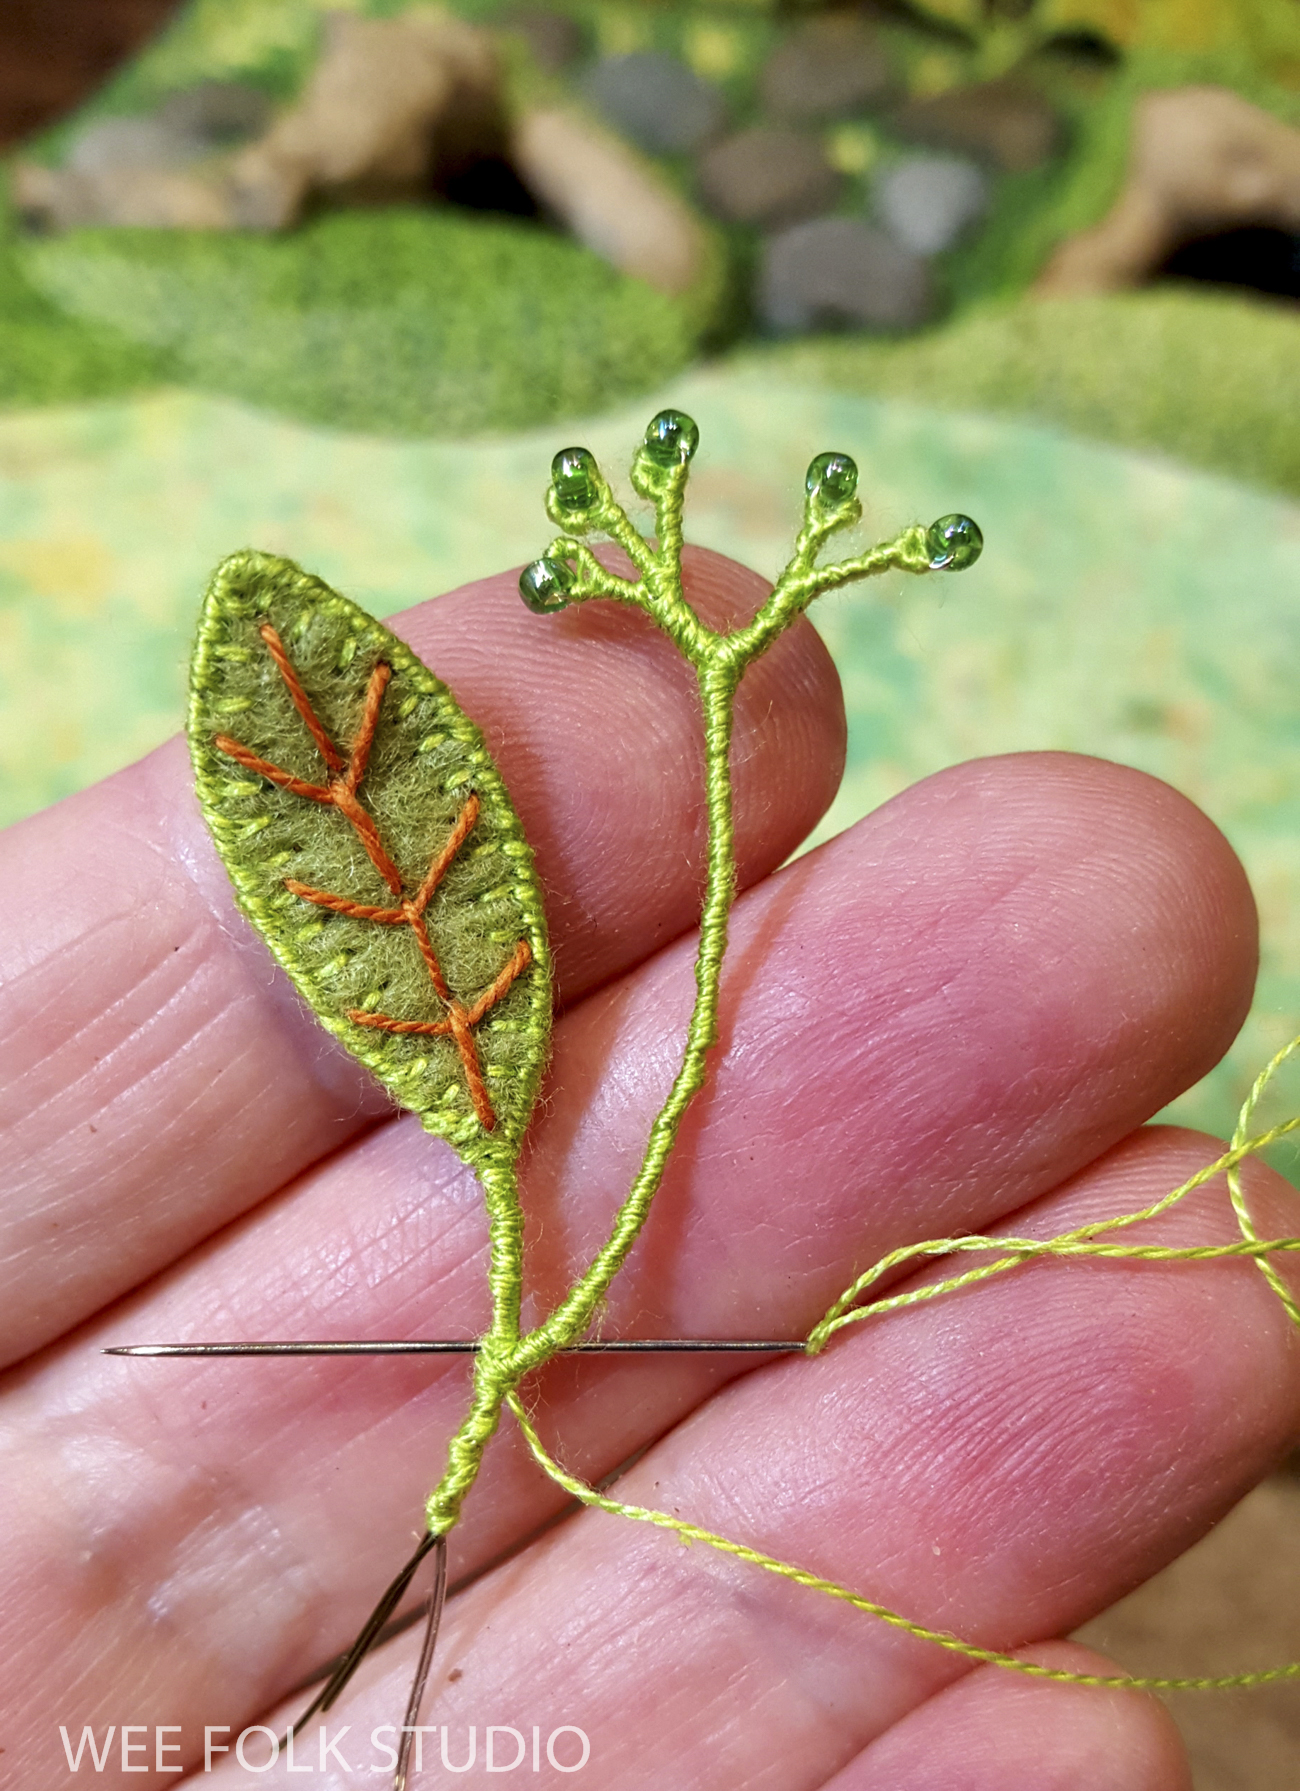
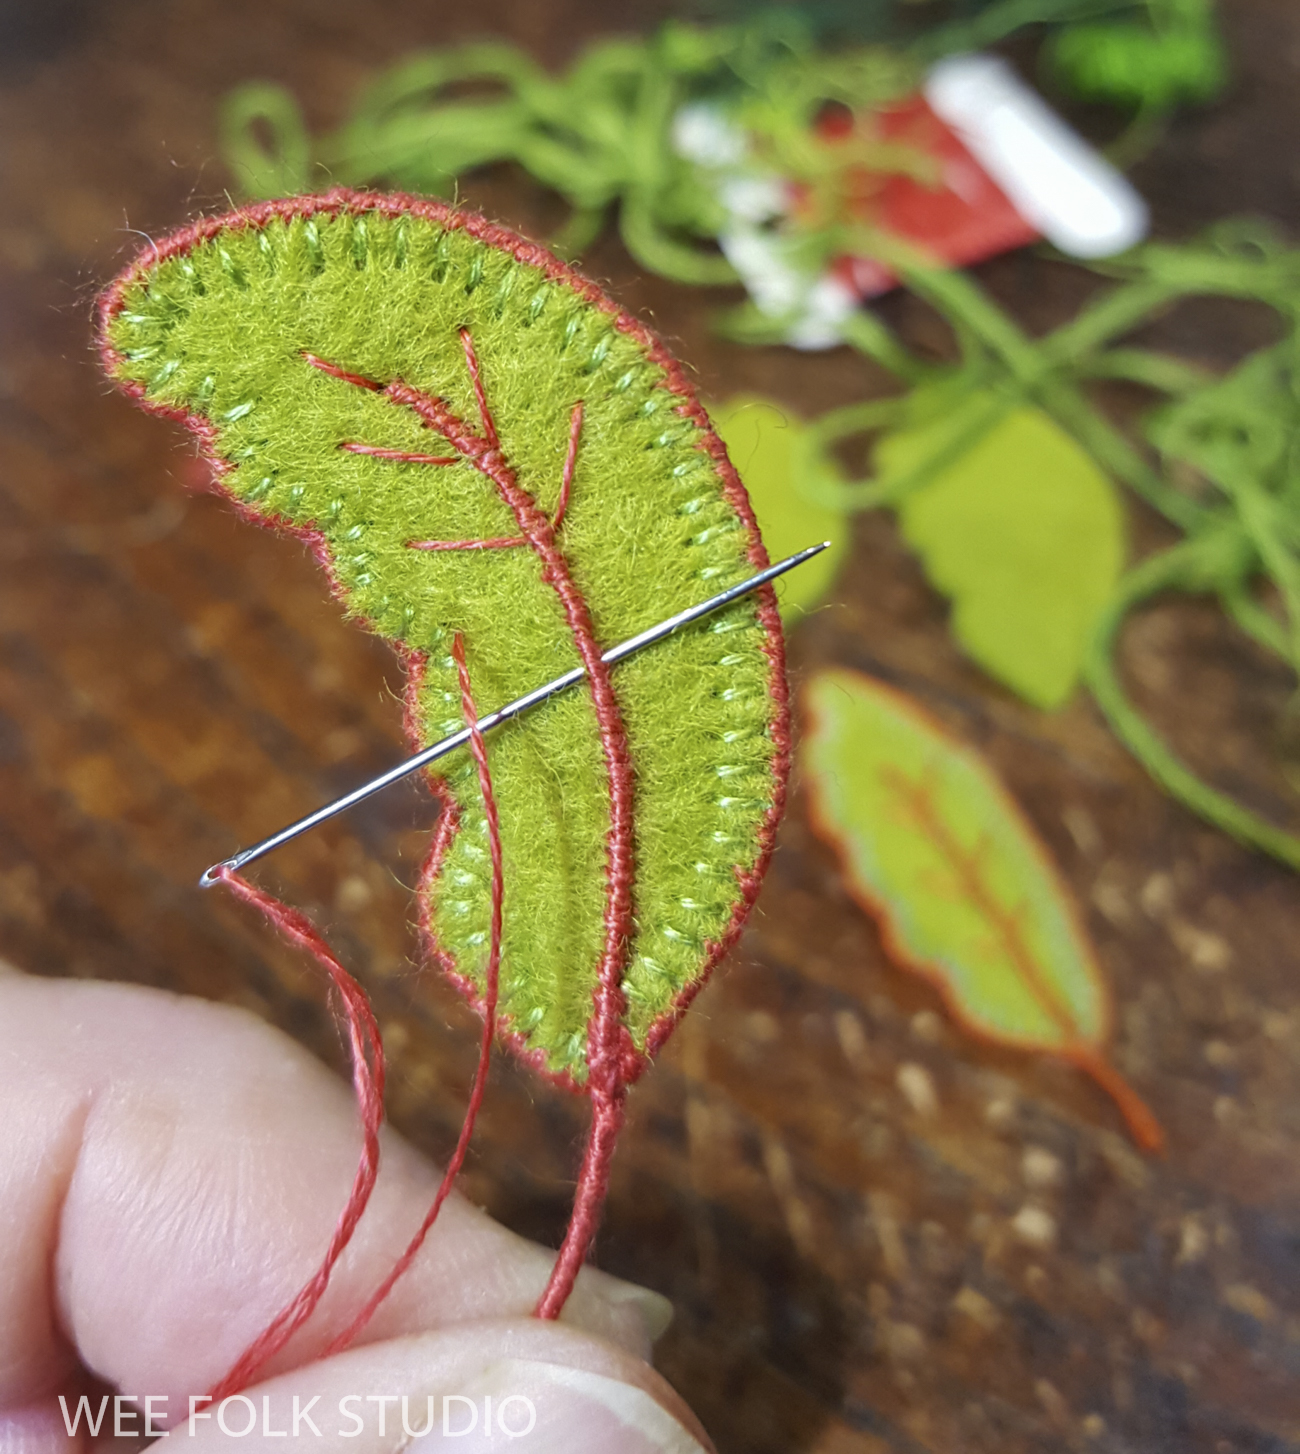
Part 5 (wire and felt leaves)
Part 6 (chain stitched leaves)
Part 7 (violets and berries)

To keep up with new posts, please subscribe to this blog (top right column on the home page). Your contact info will not be sold or shared. If you’d like to see more frequent photos tracking the projects in my studio, please follow me on Facebook and/or Instagram.