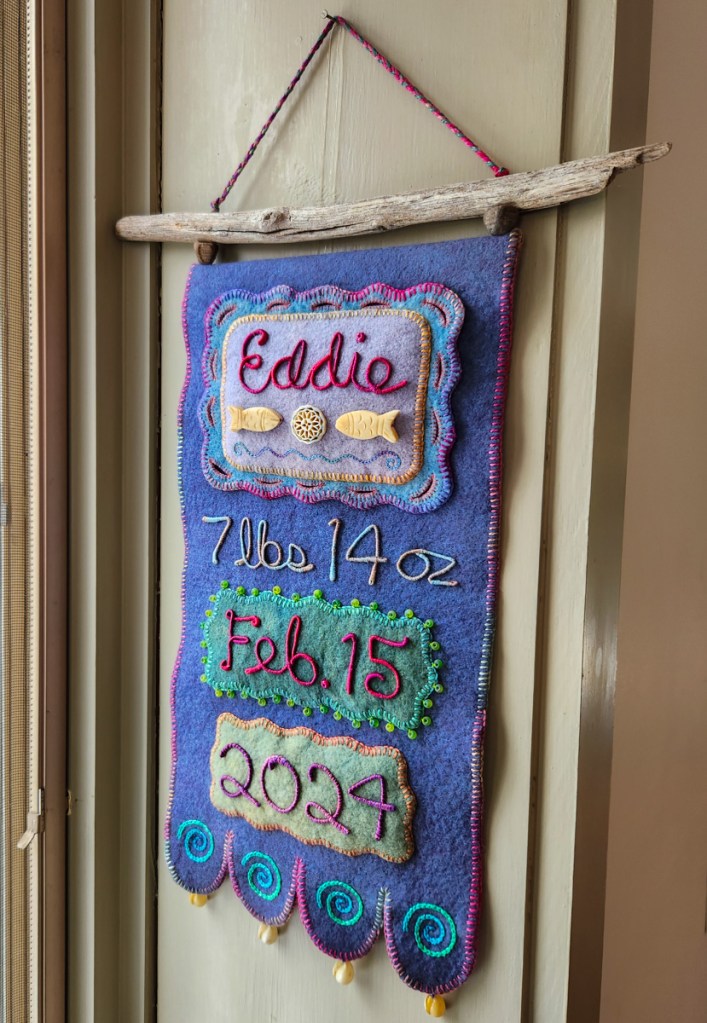
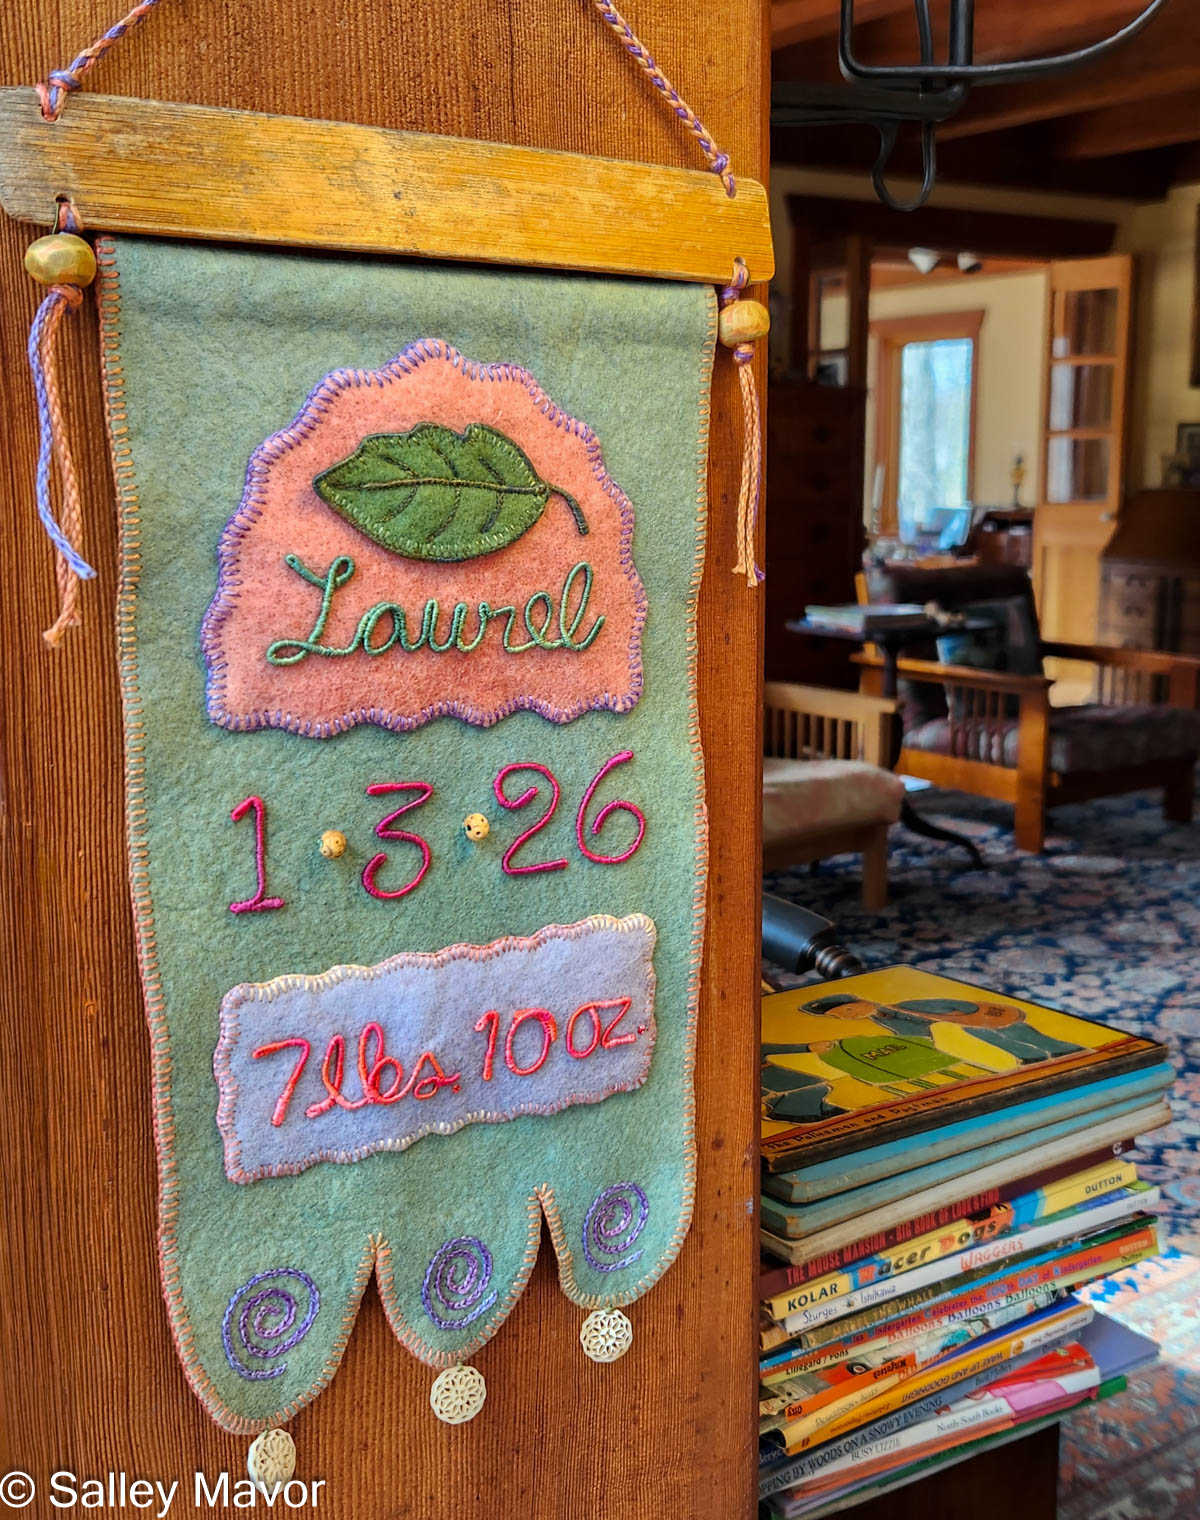
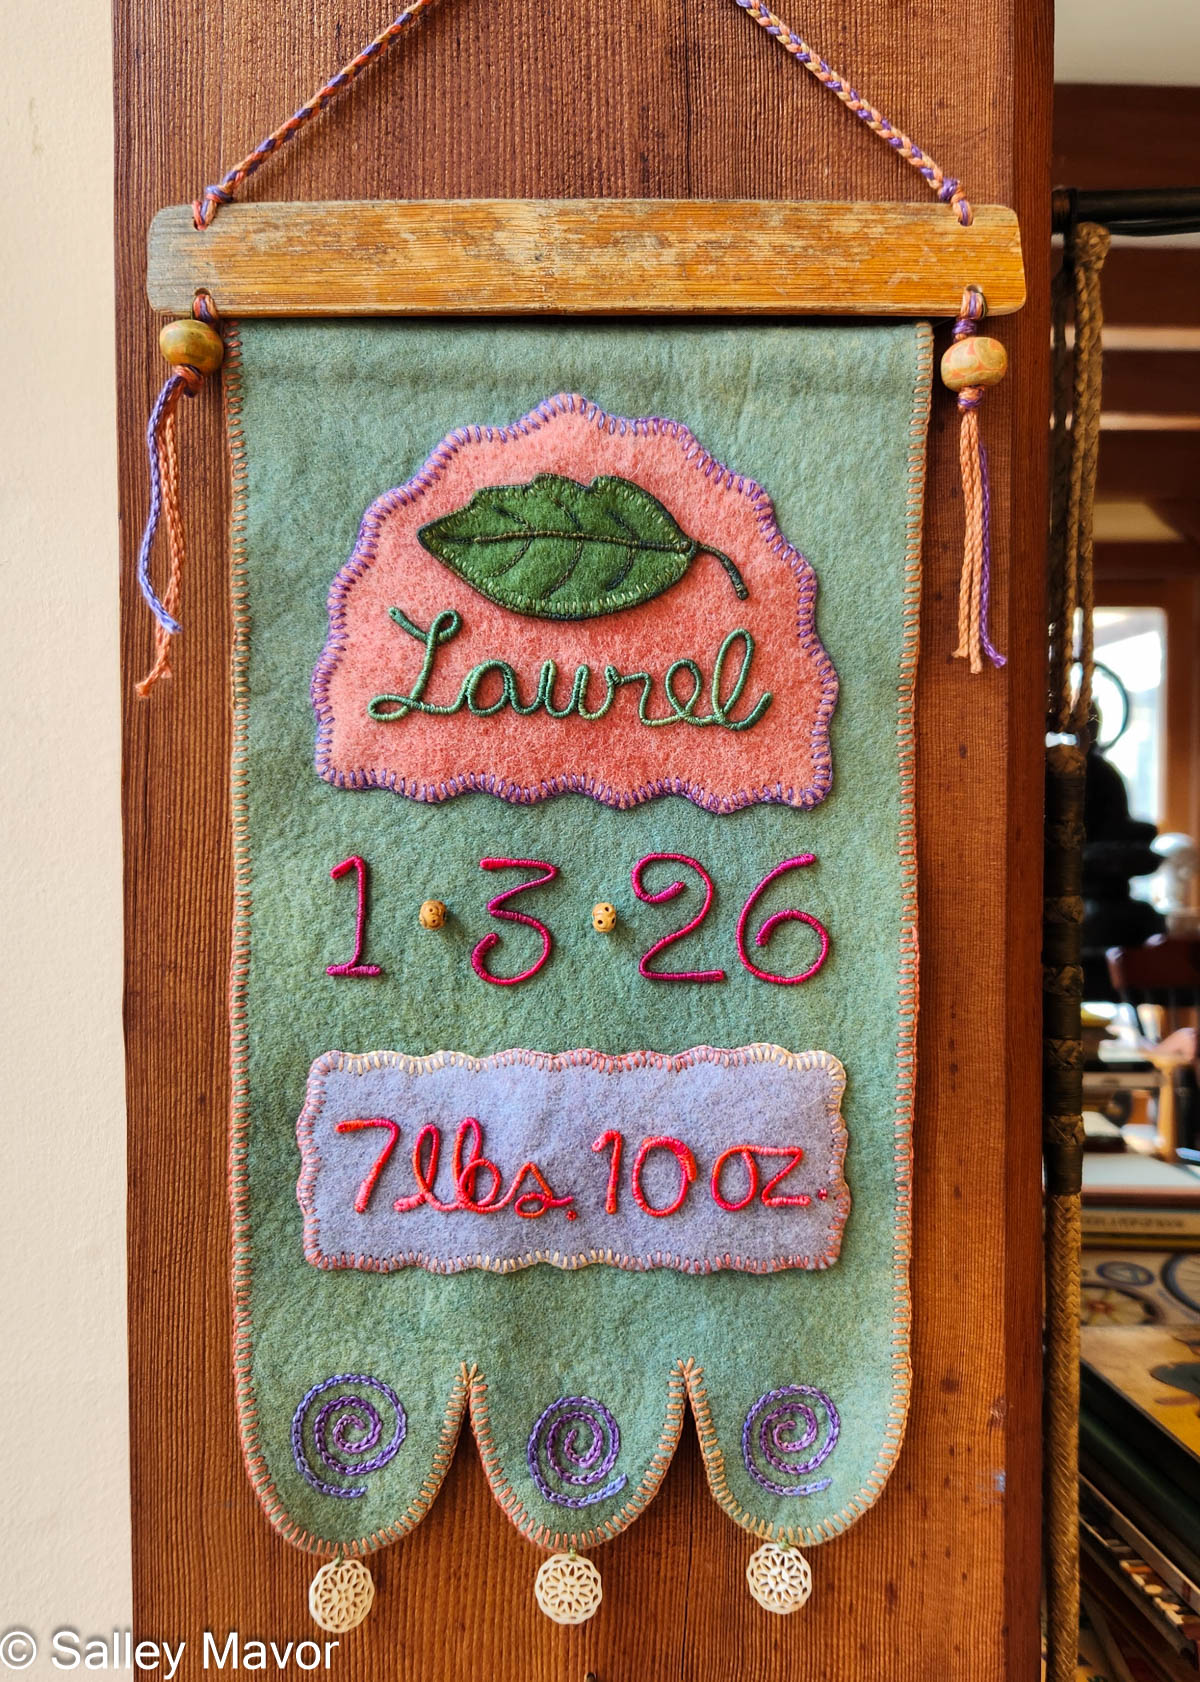
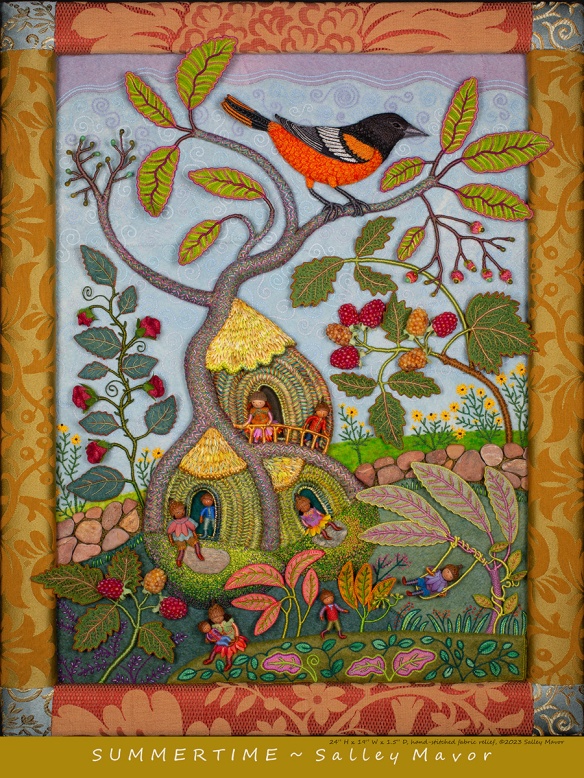
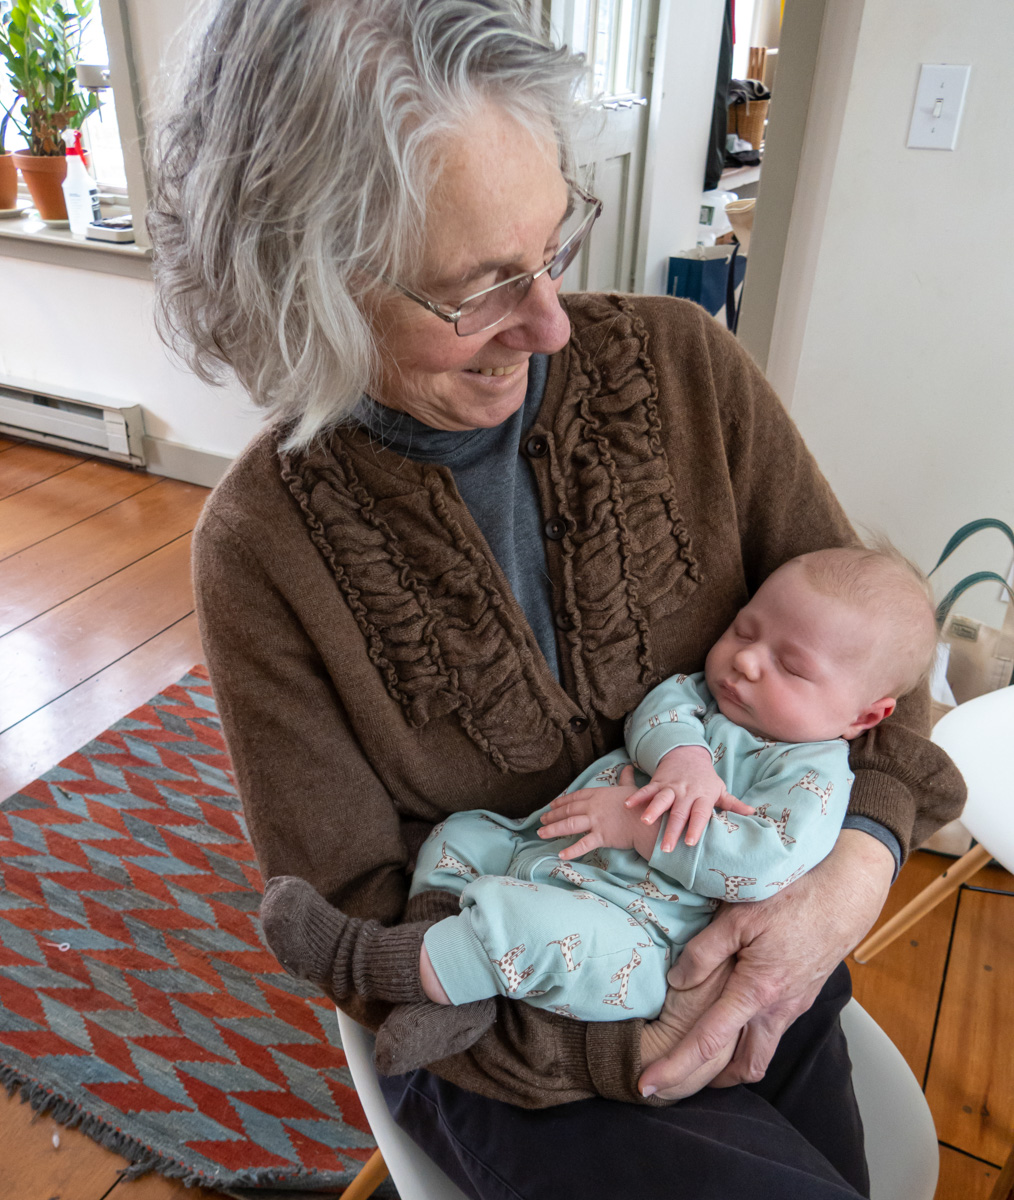
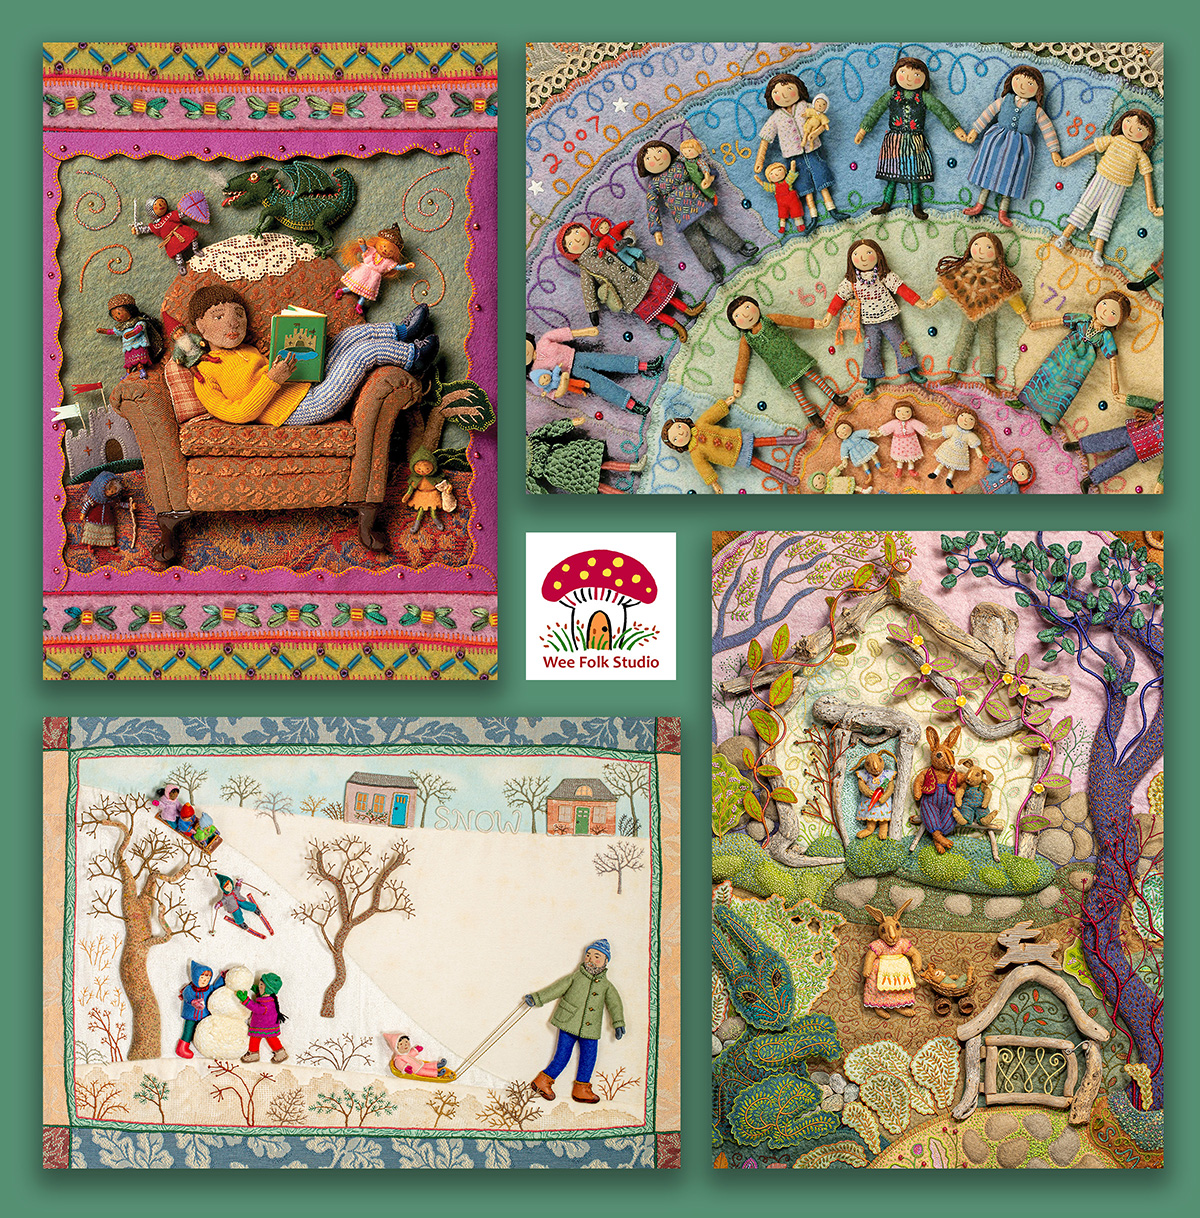
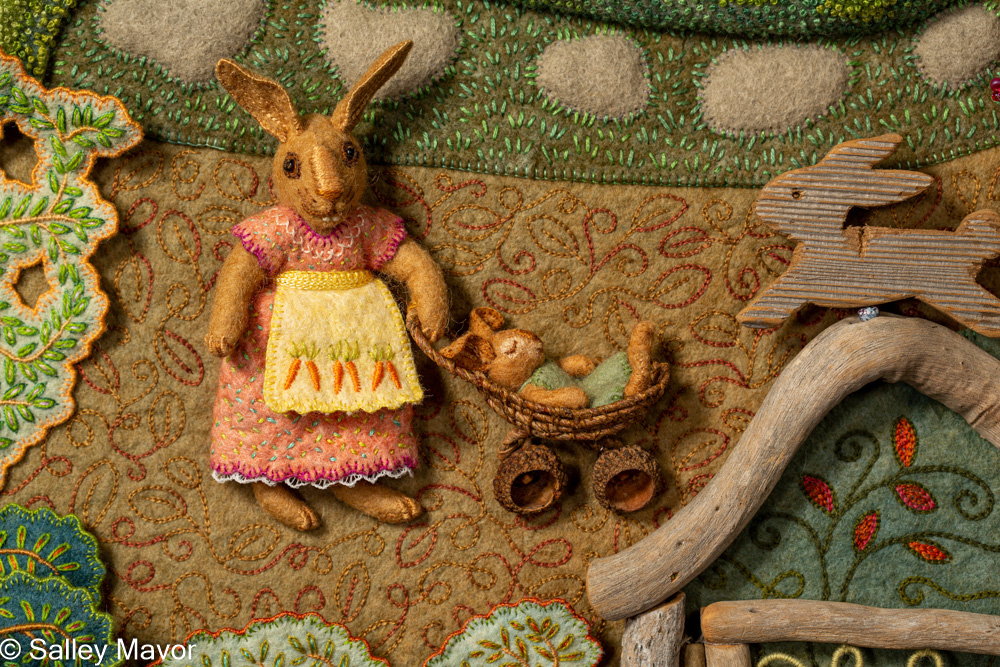
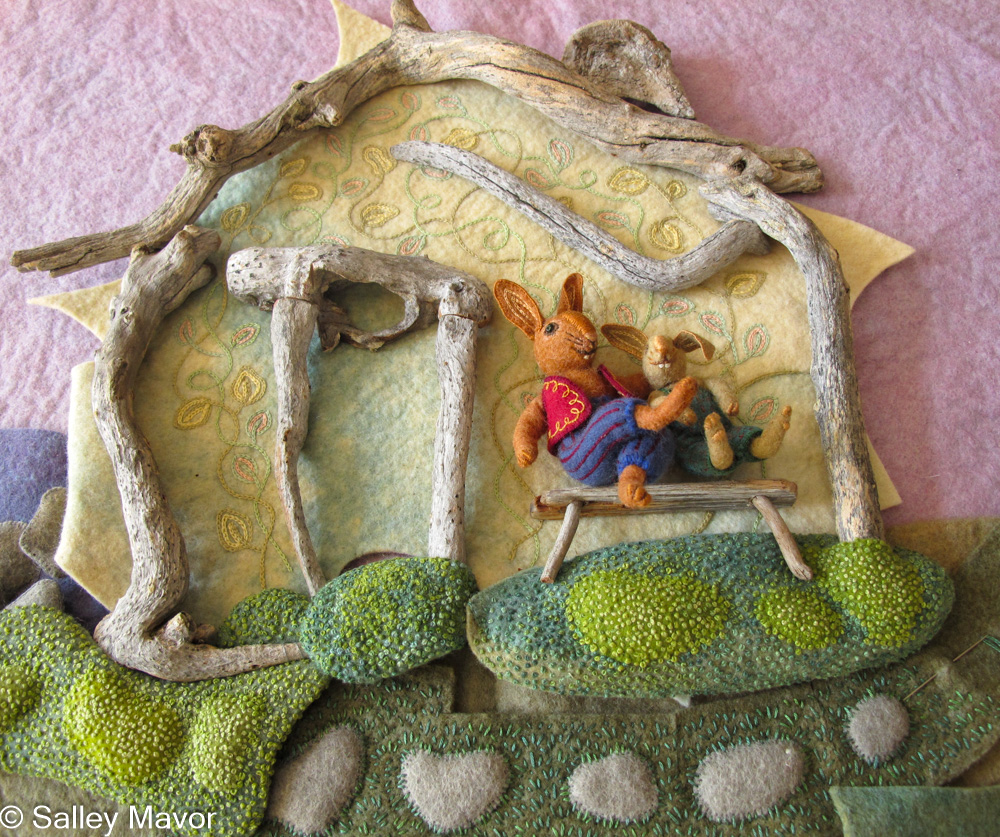
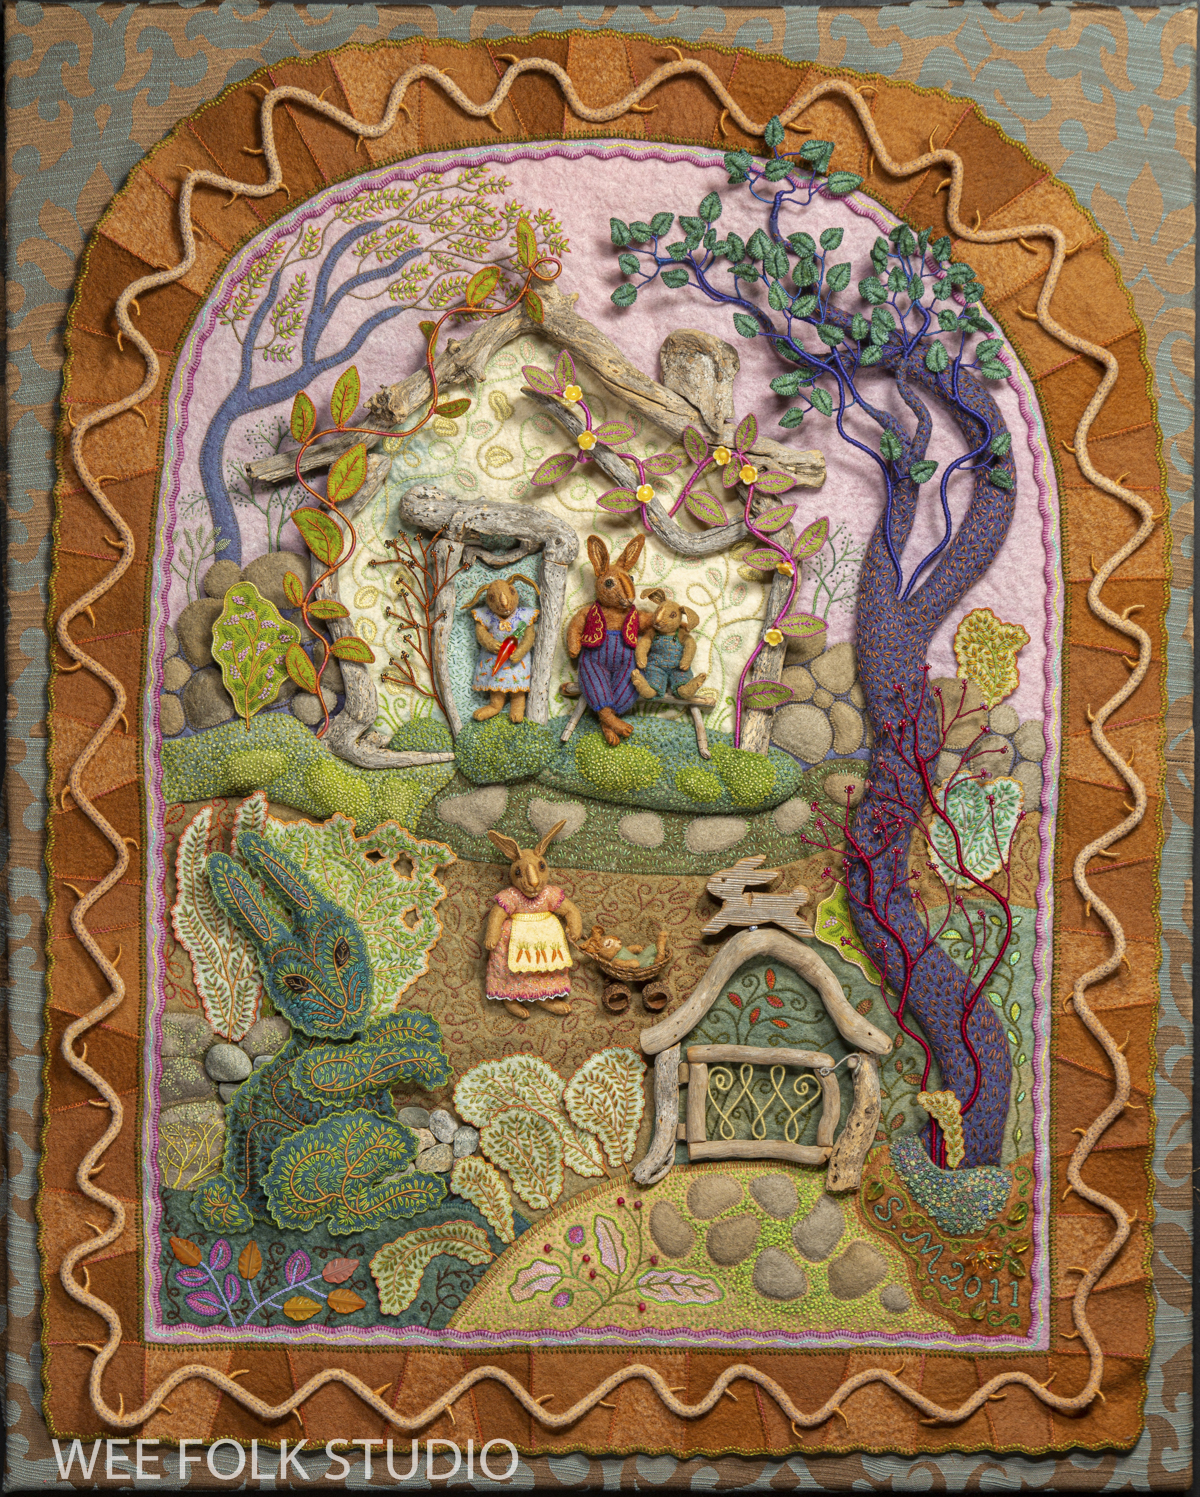
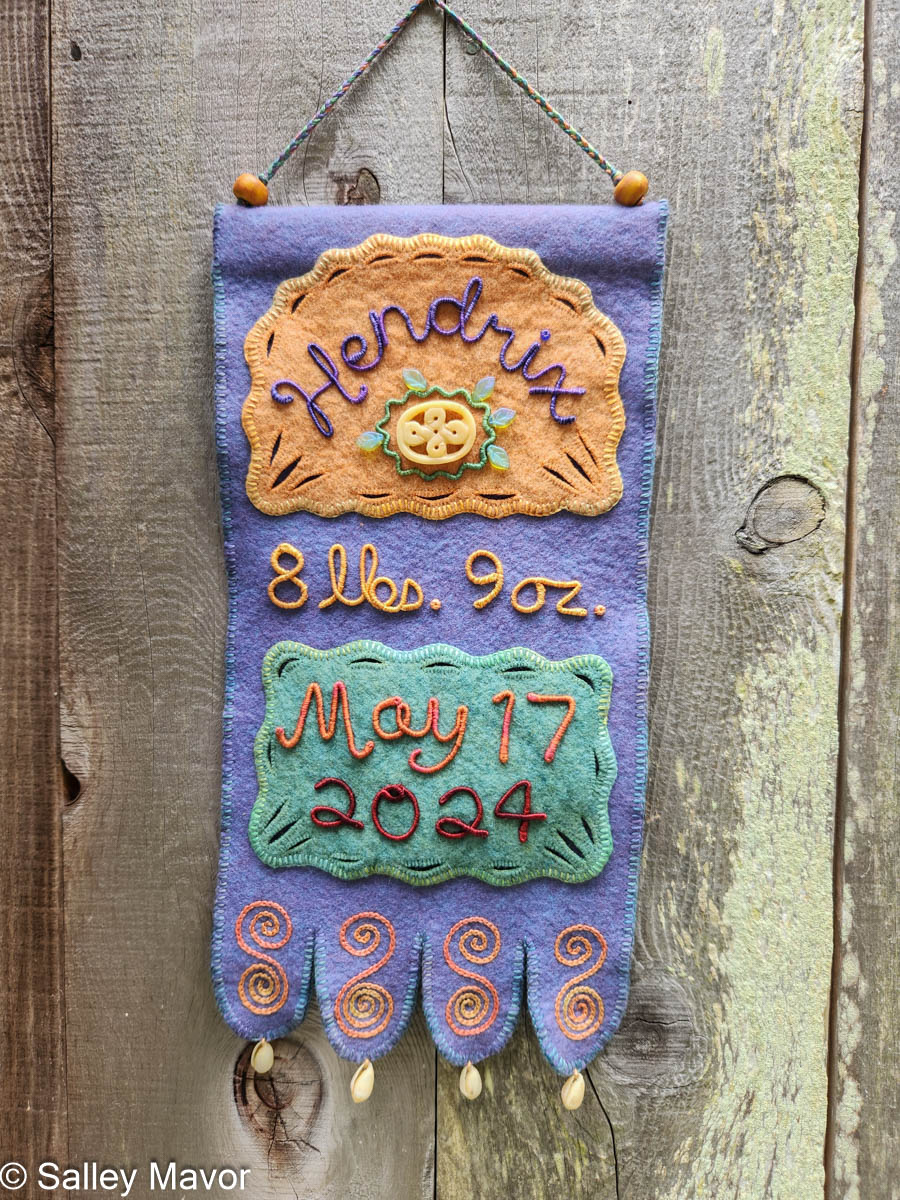
I’m delighted to share the baby banner I made for Hendrix—Henny for short—who is celebrating his second birthday today. If you’ve followed this blog for a while, you may already be familiar with these felt banners, which have become my go-to gifts for friends and family. You can browse posts about this banner and others in the archives here.
A BANNER FOR HENDRIX
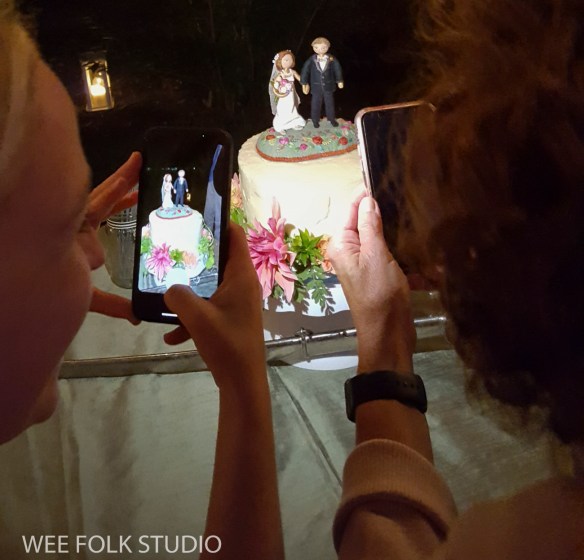
In today’s post, I’m sharing a behind-the-scenes look at how this banner came together, with photos, videos, and commentary. I made the banner for Hendrix shortly after he was born in 2024. His parents, Sam and Louisa, are dear friends, and I also had the pleasure of creating their wedding cake topper, which you can see here.
STITCH MINUTE VIDEO
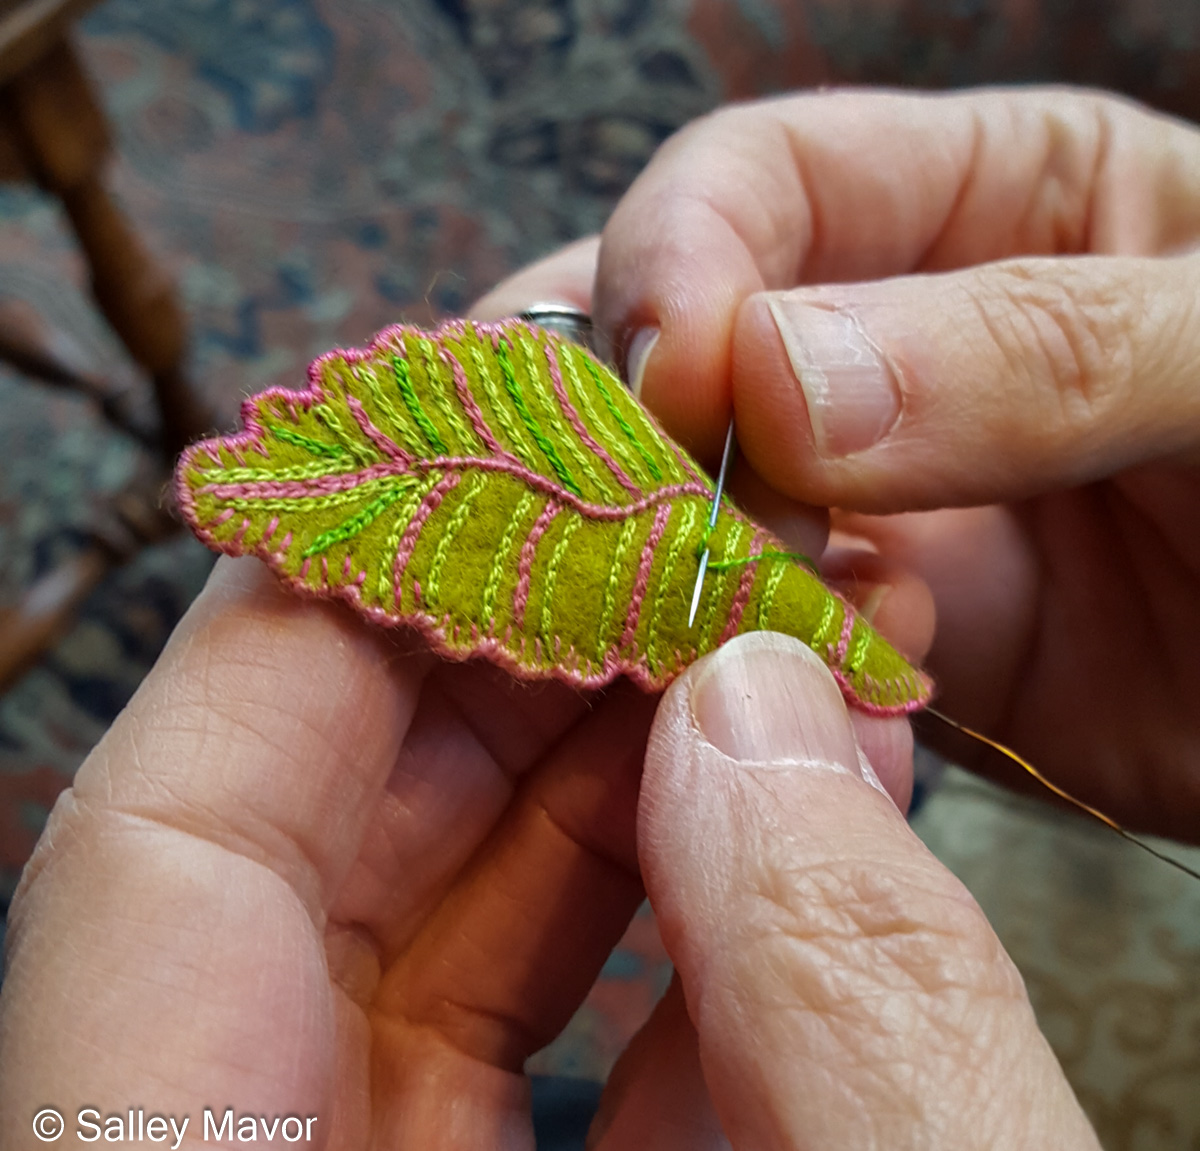
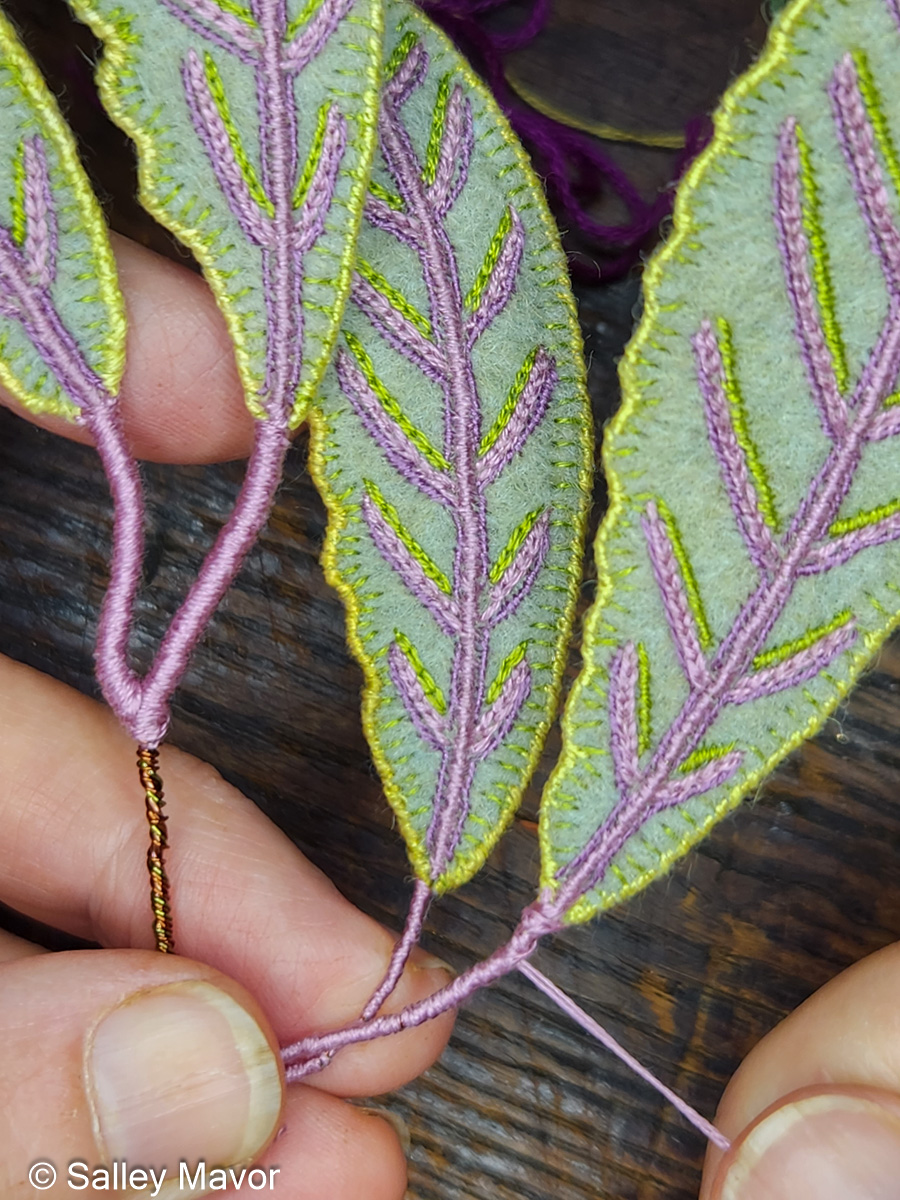
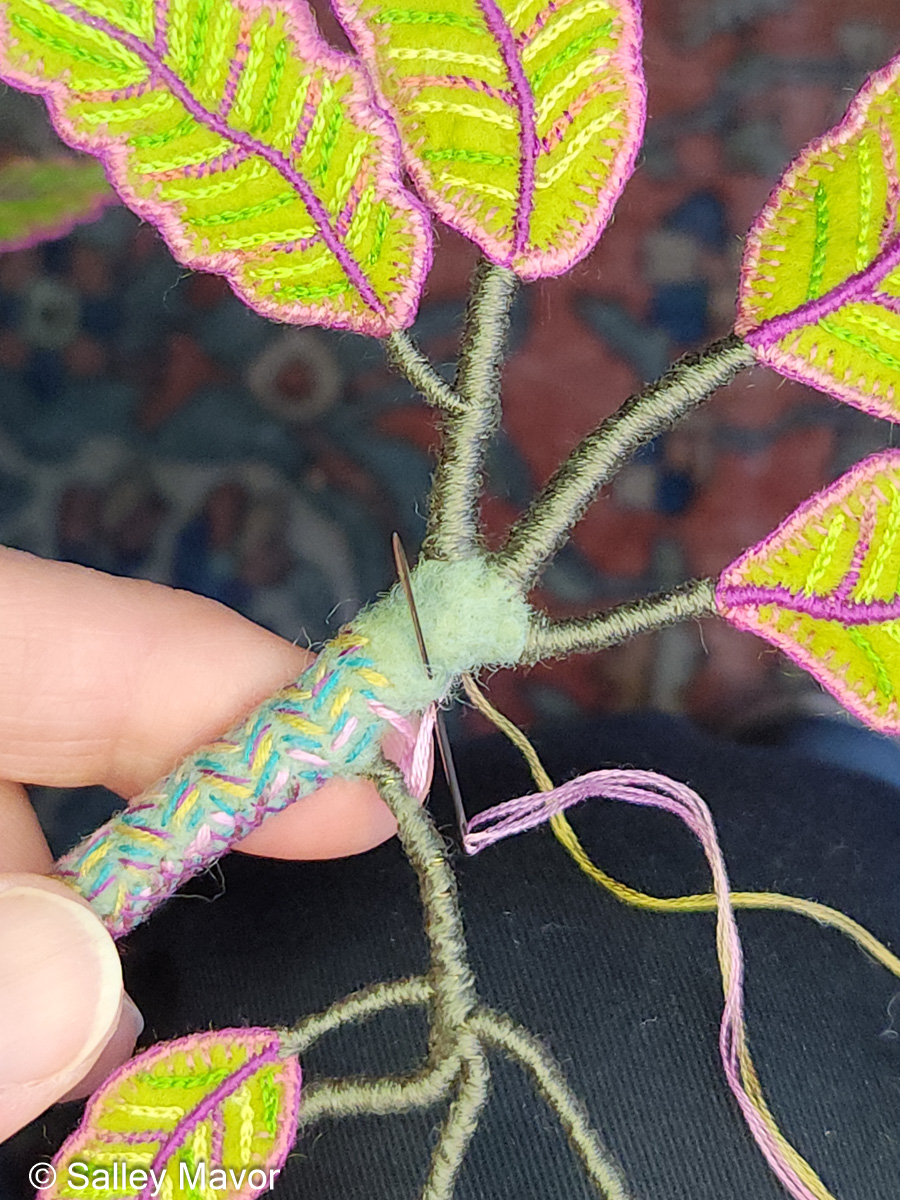
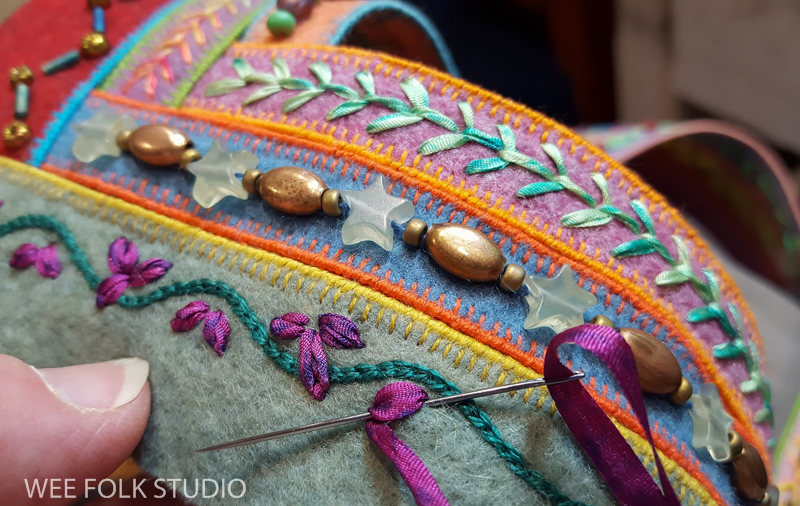
The following video offers a brief overview of the banner-making process, with close-up views of wrapping, stitching, and embellishing. For a closer look at the finer technical details, continue reading for additional videos later in this post that explore some steps in more depth.
WRAPPING WIRE LETTERS
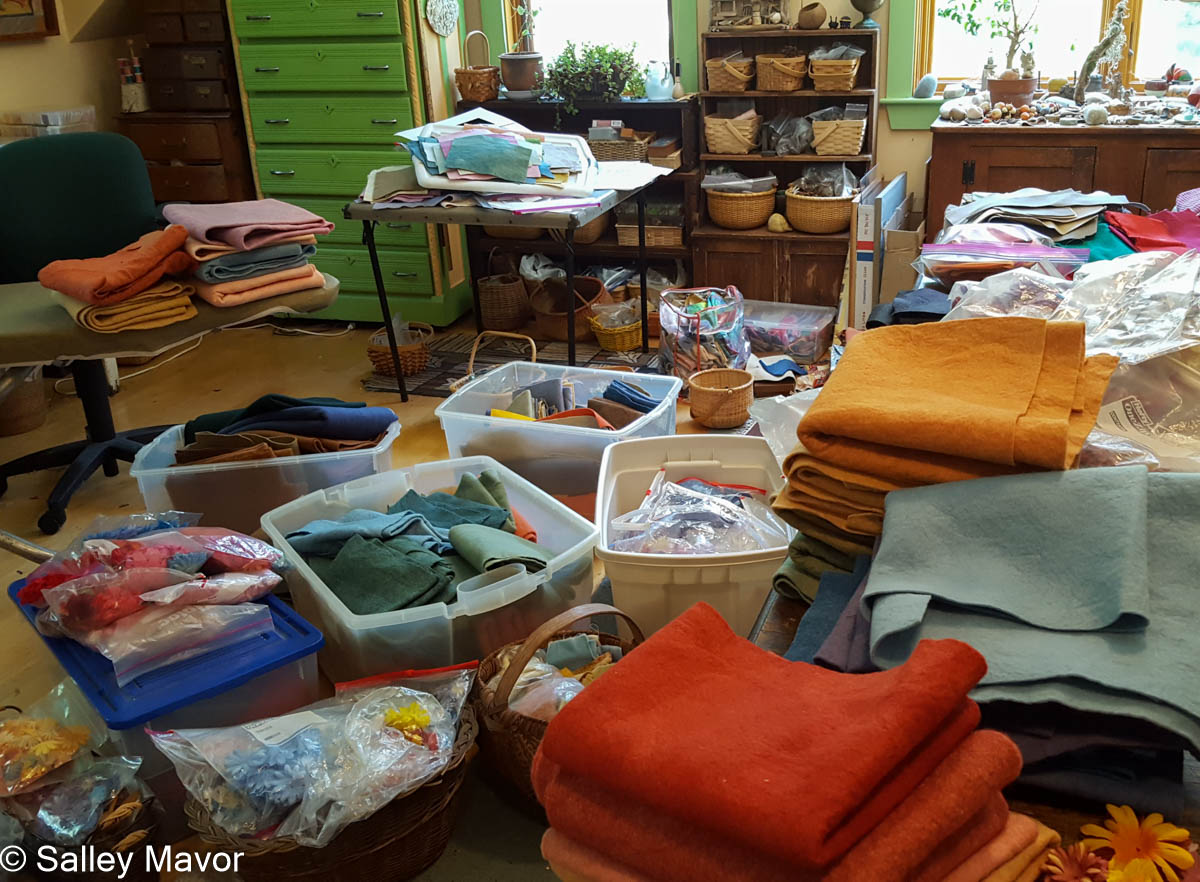
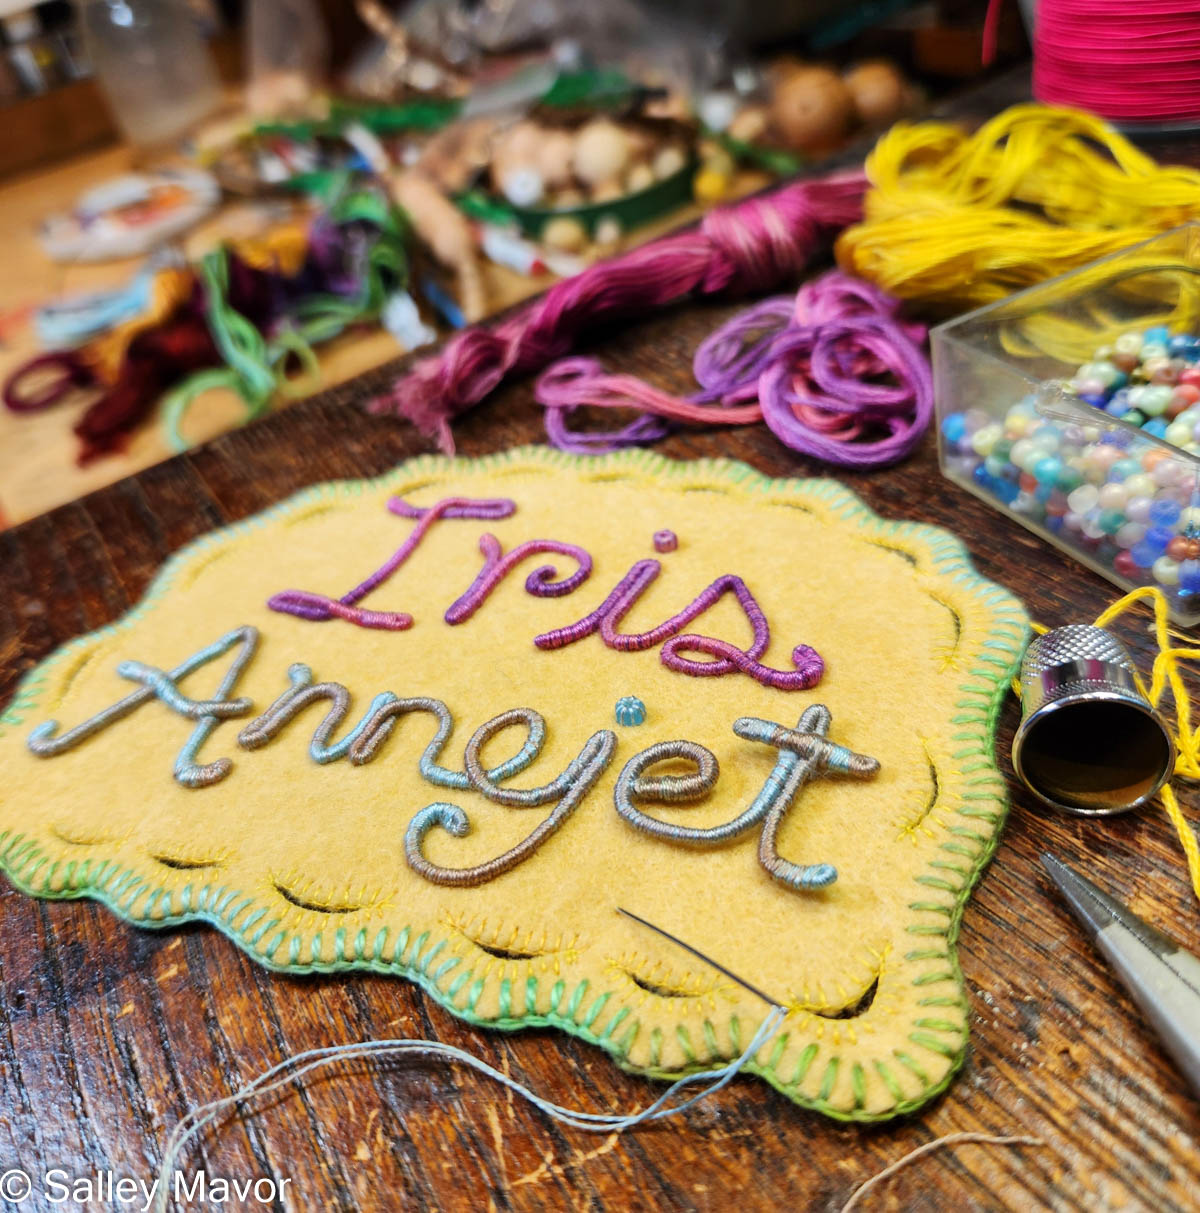
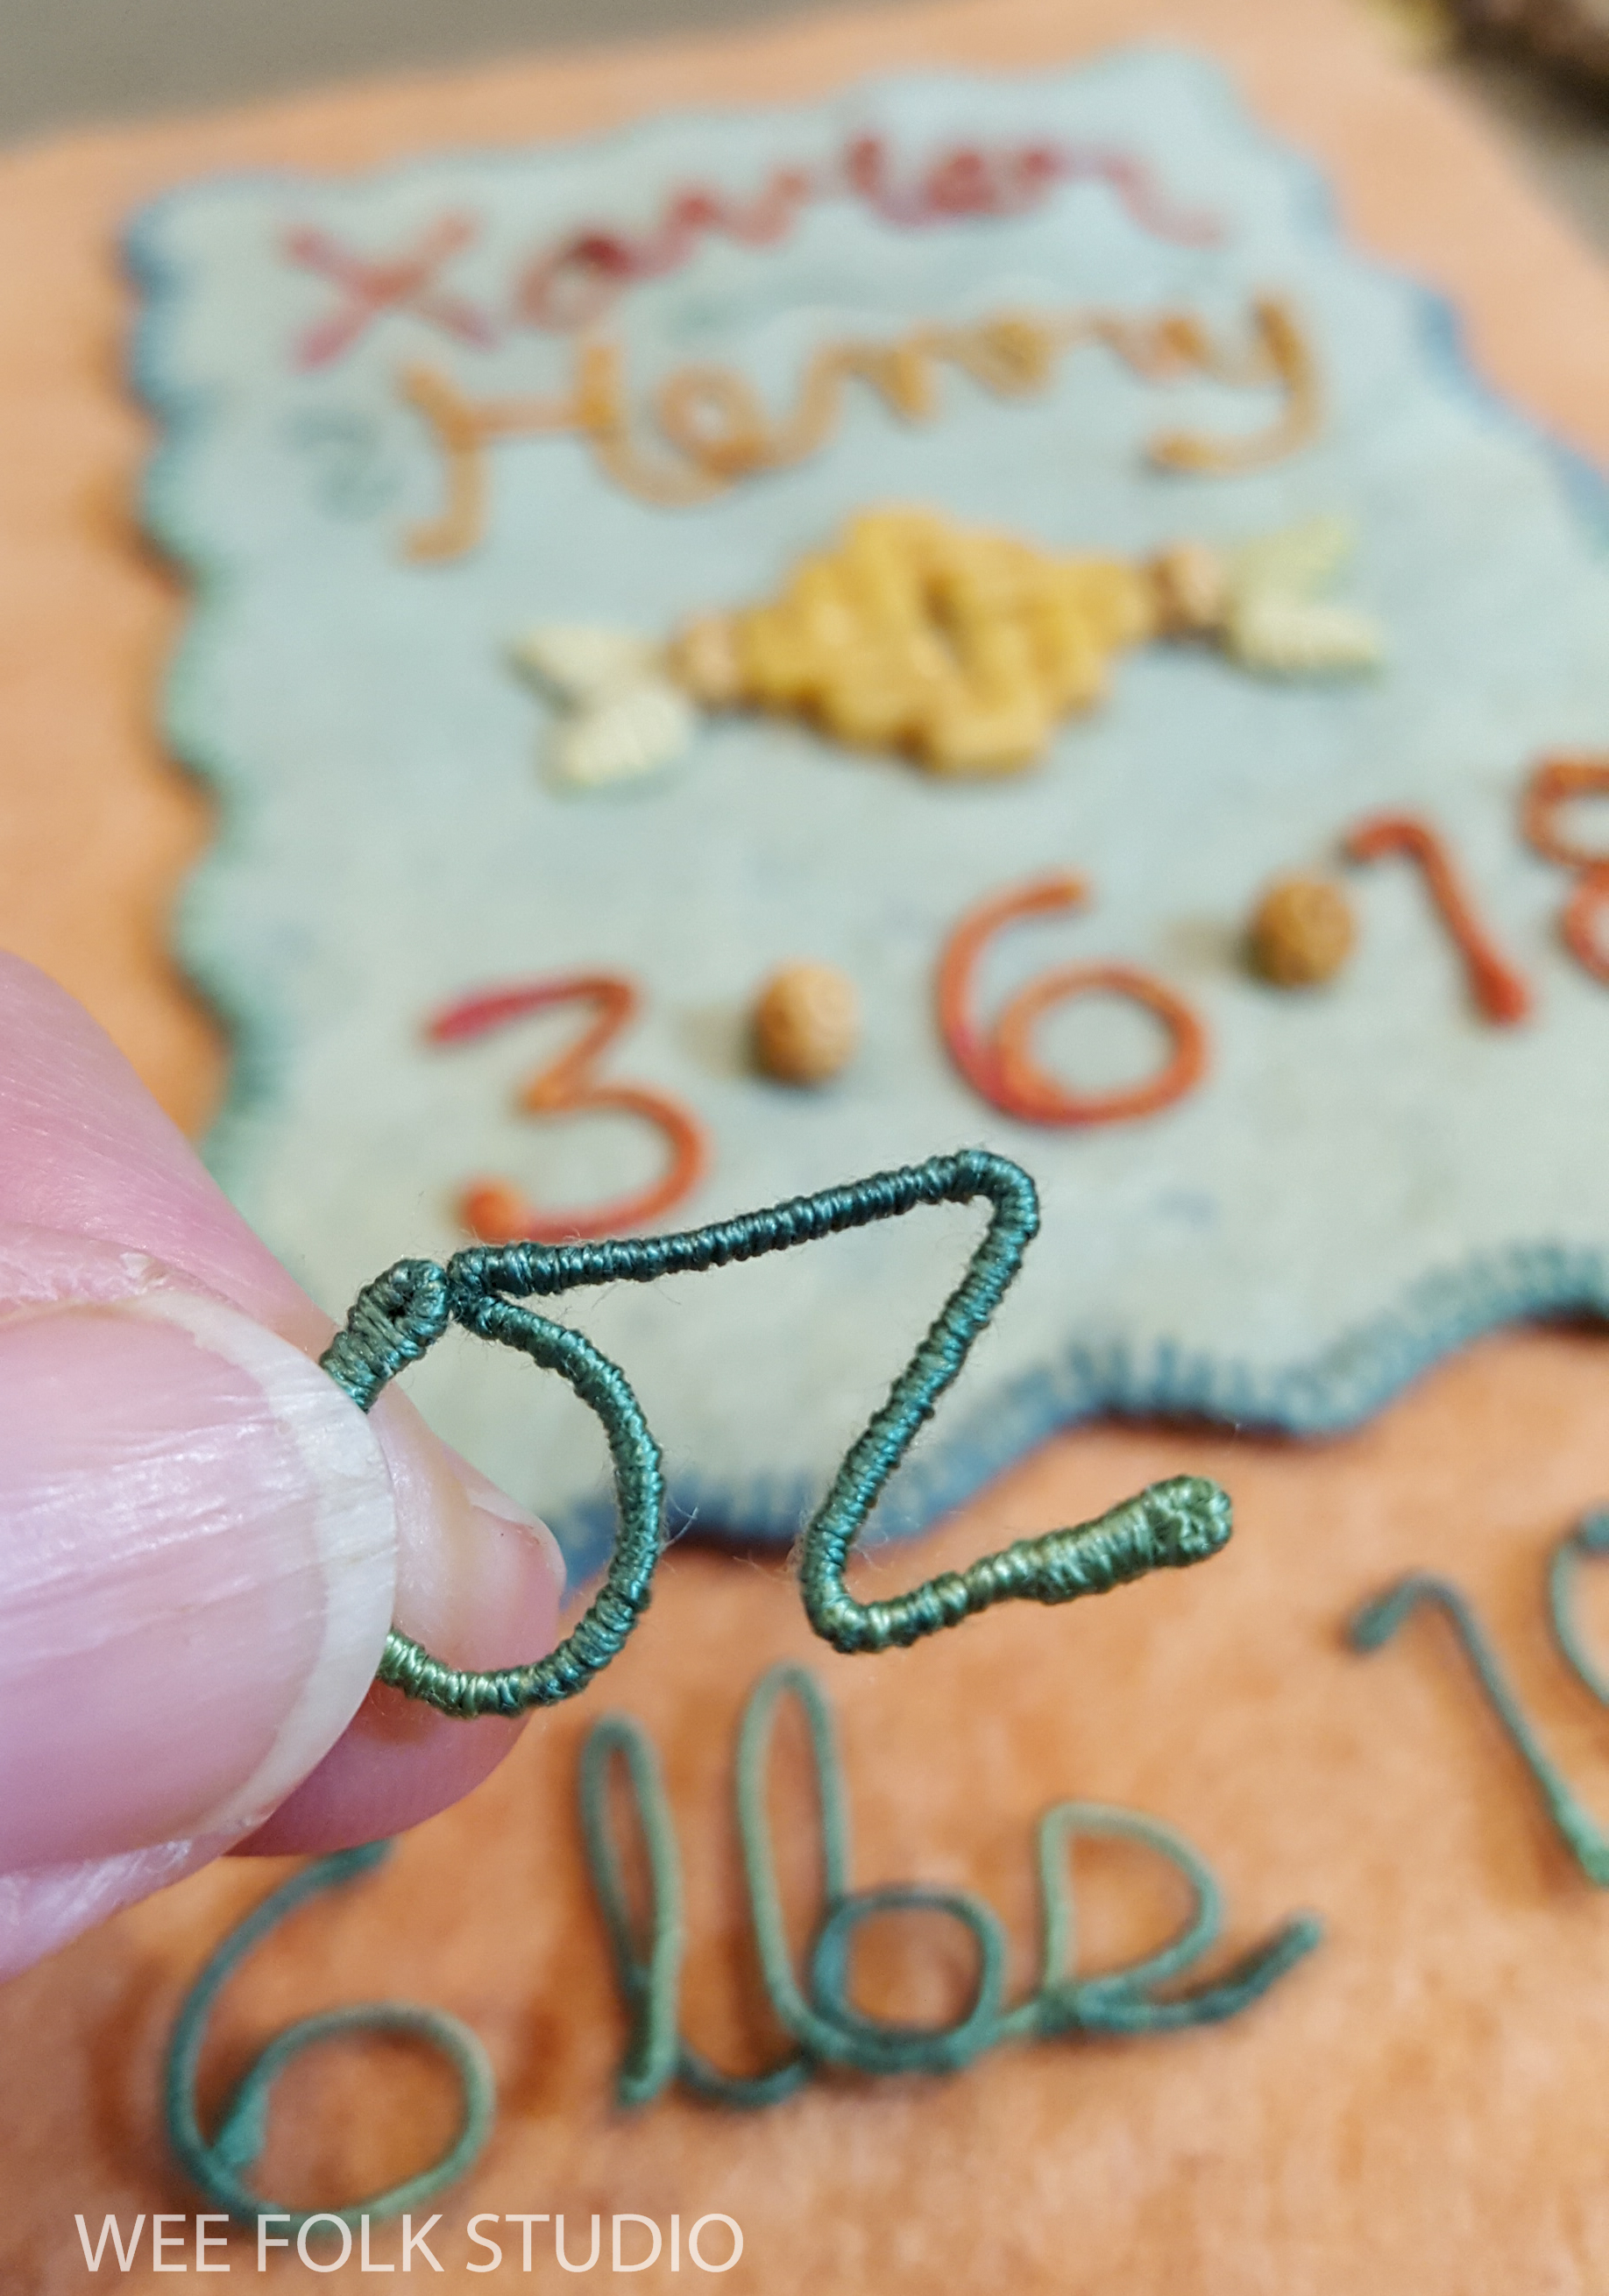
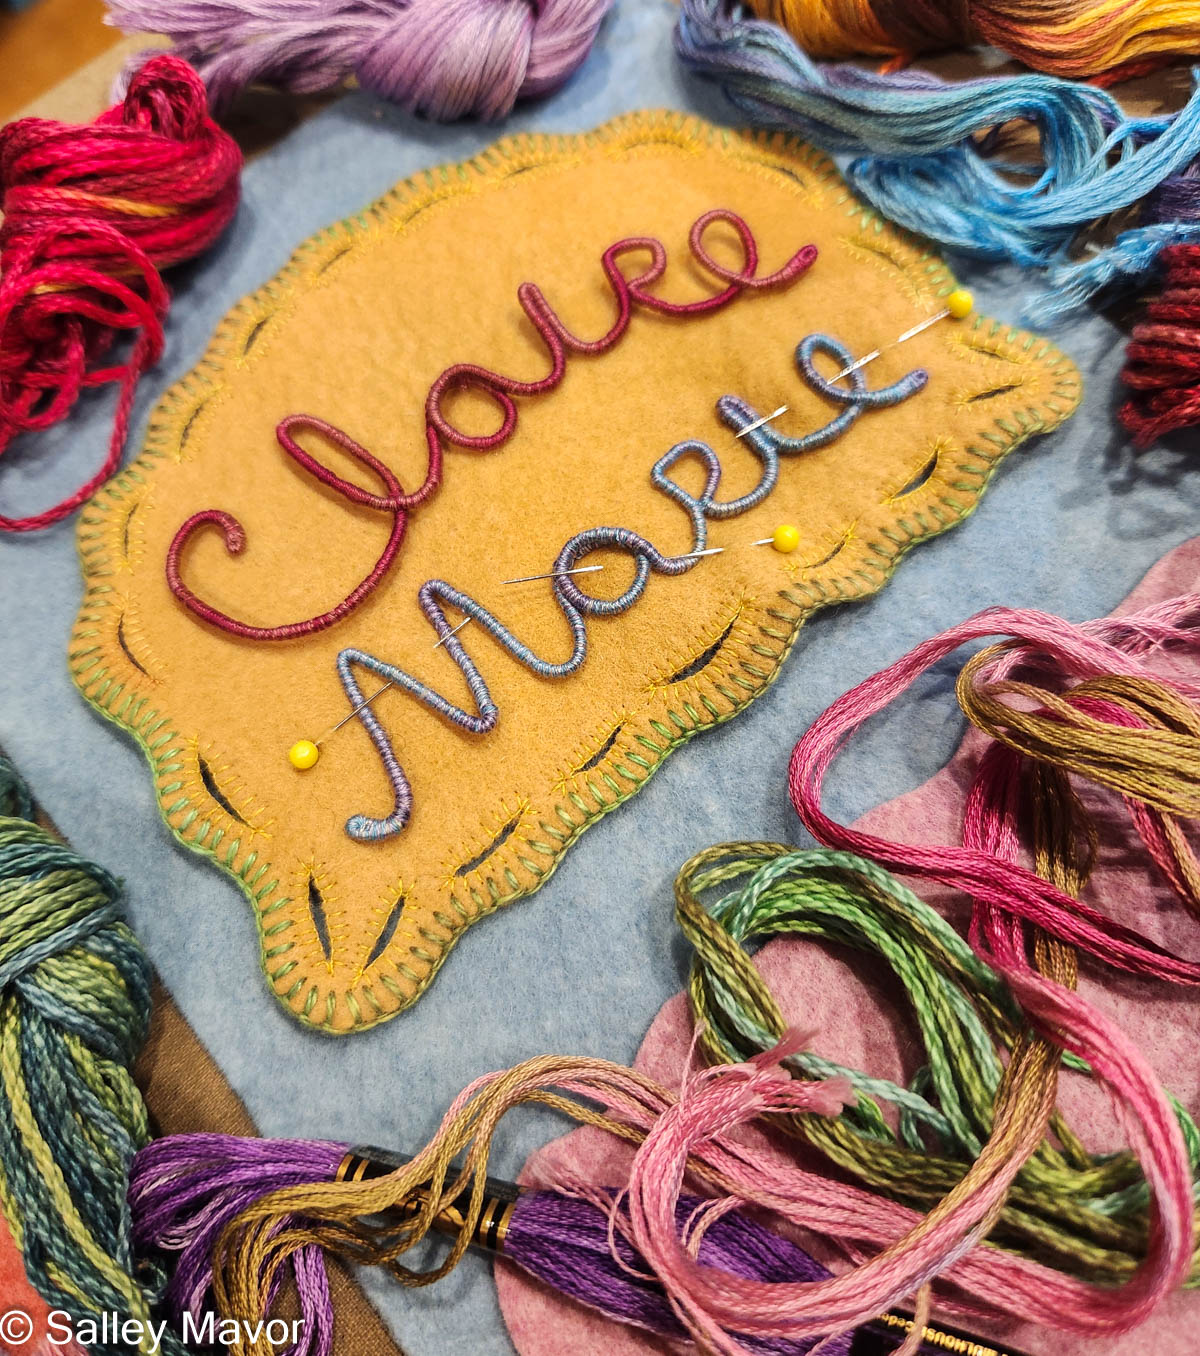
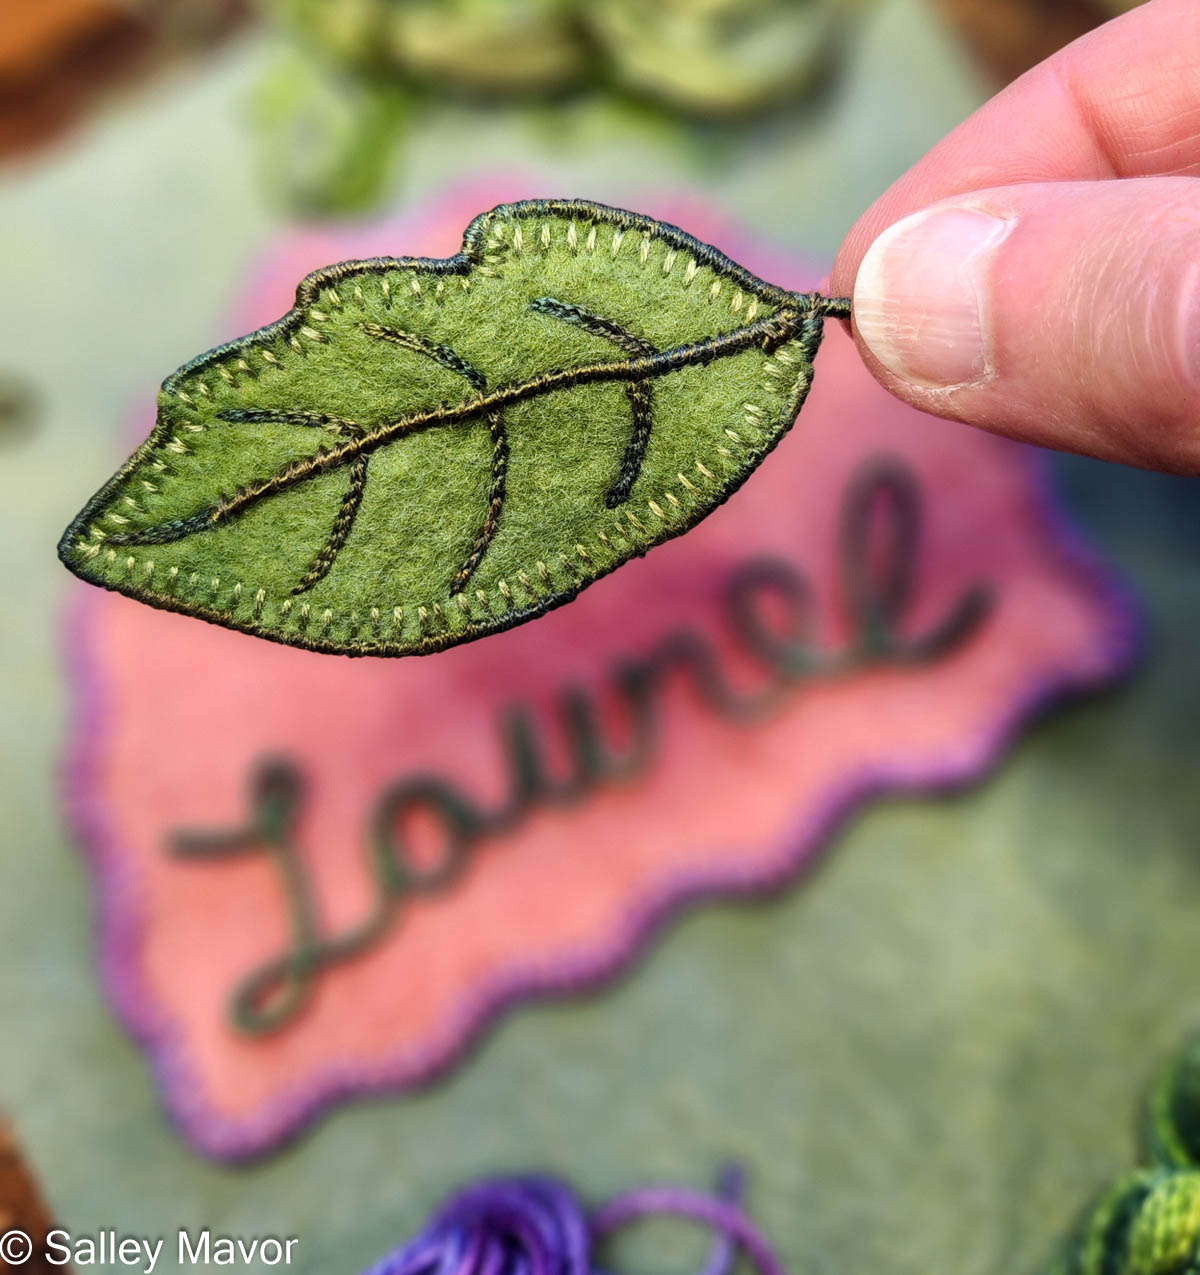
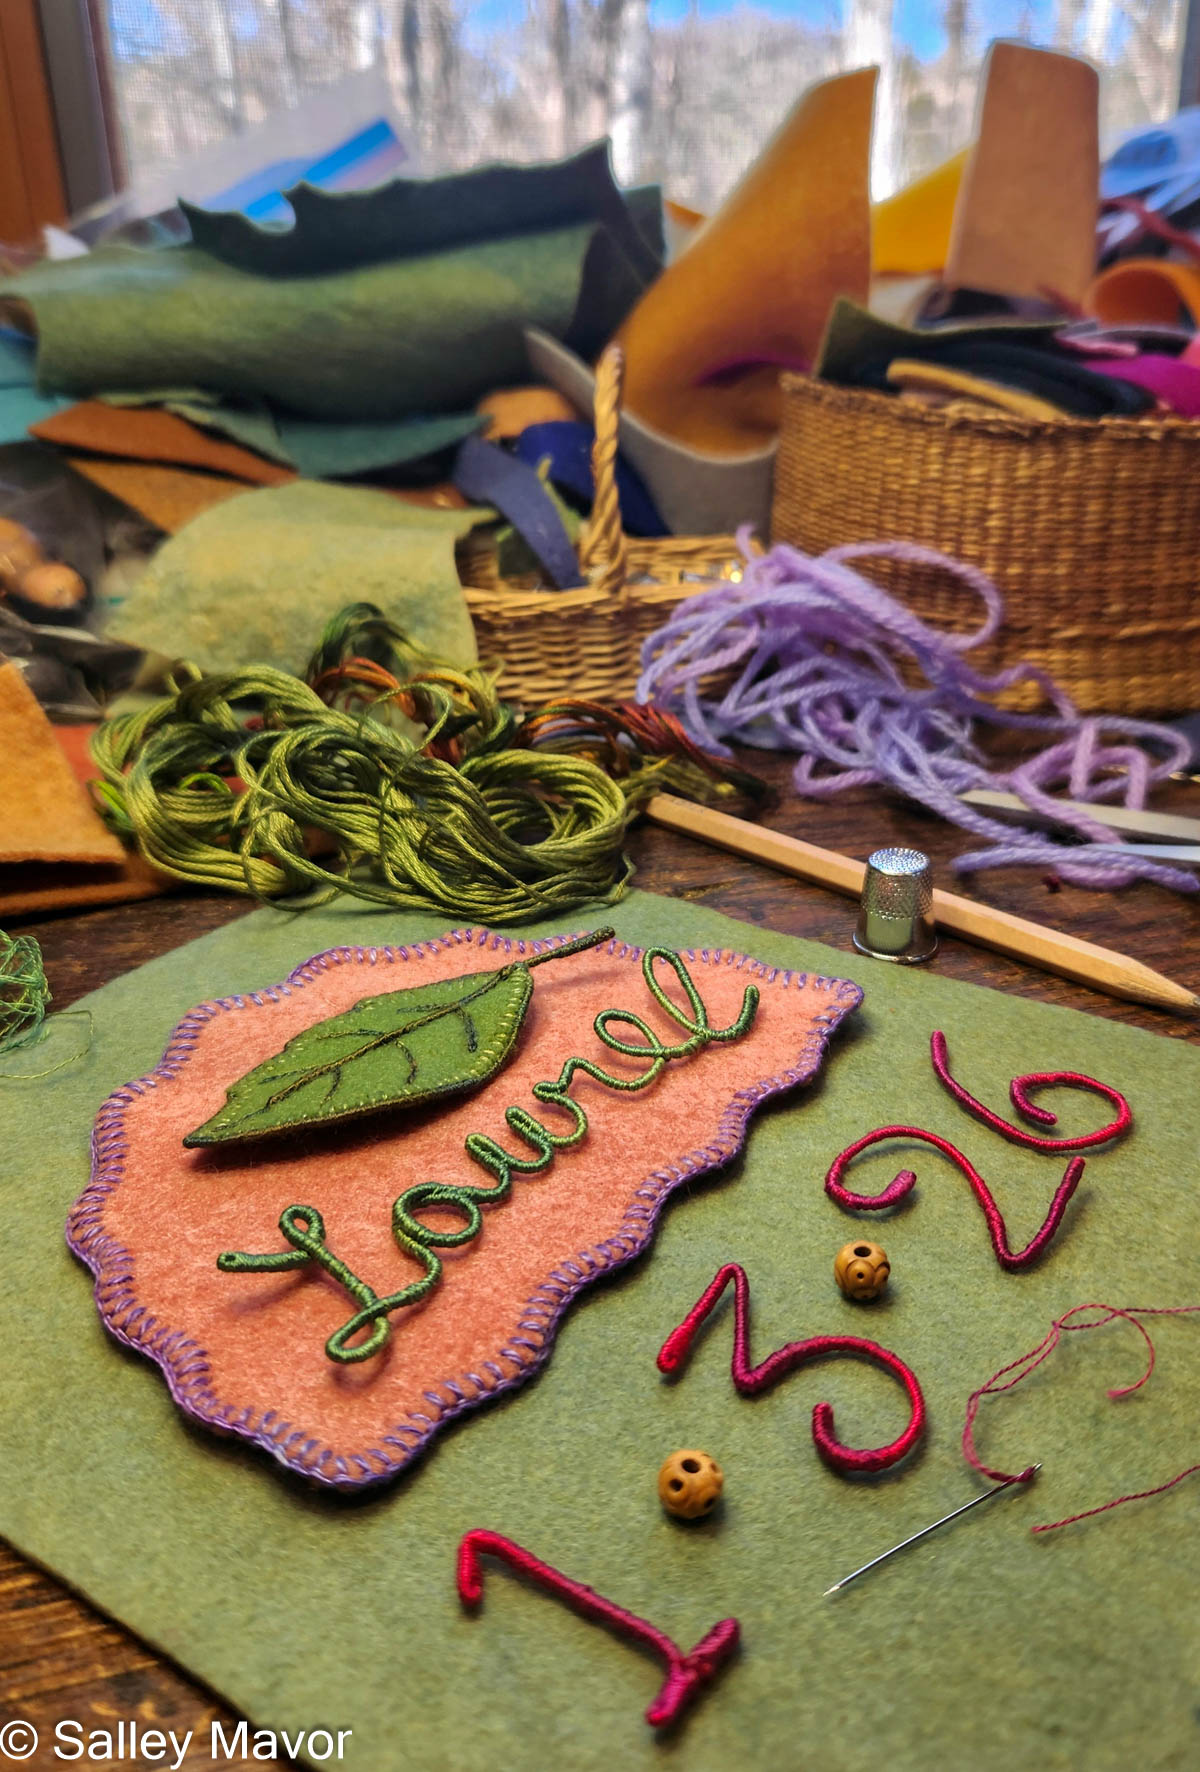
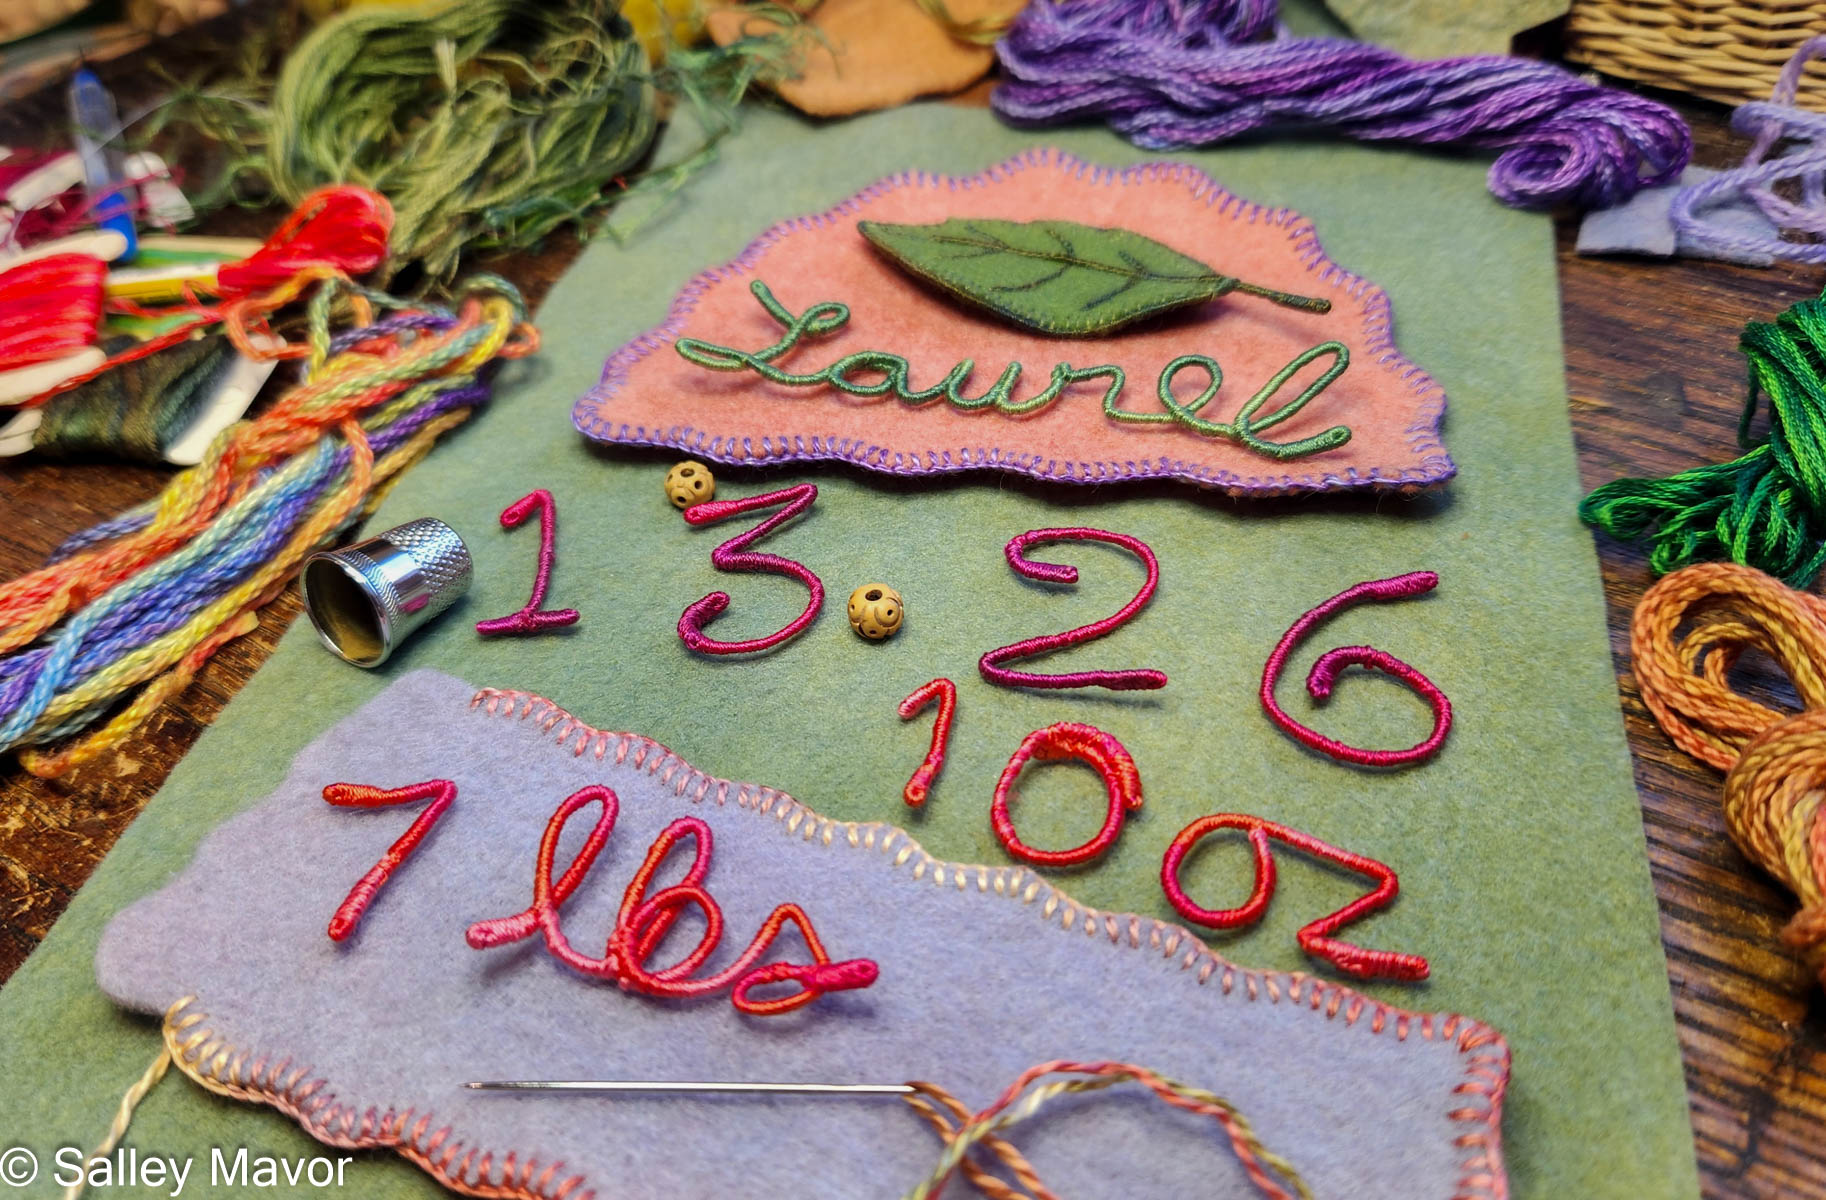
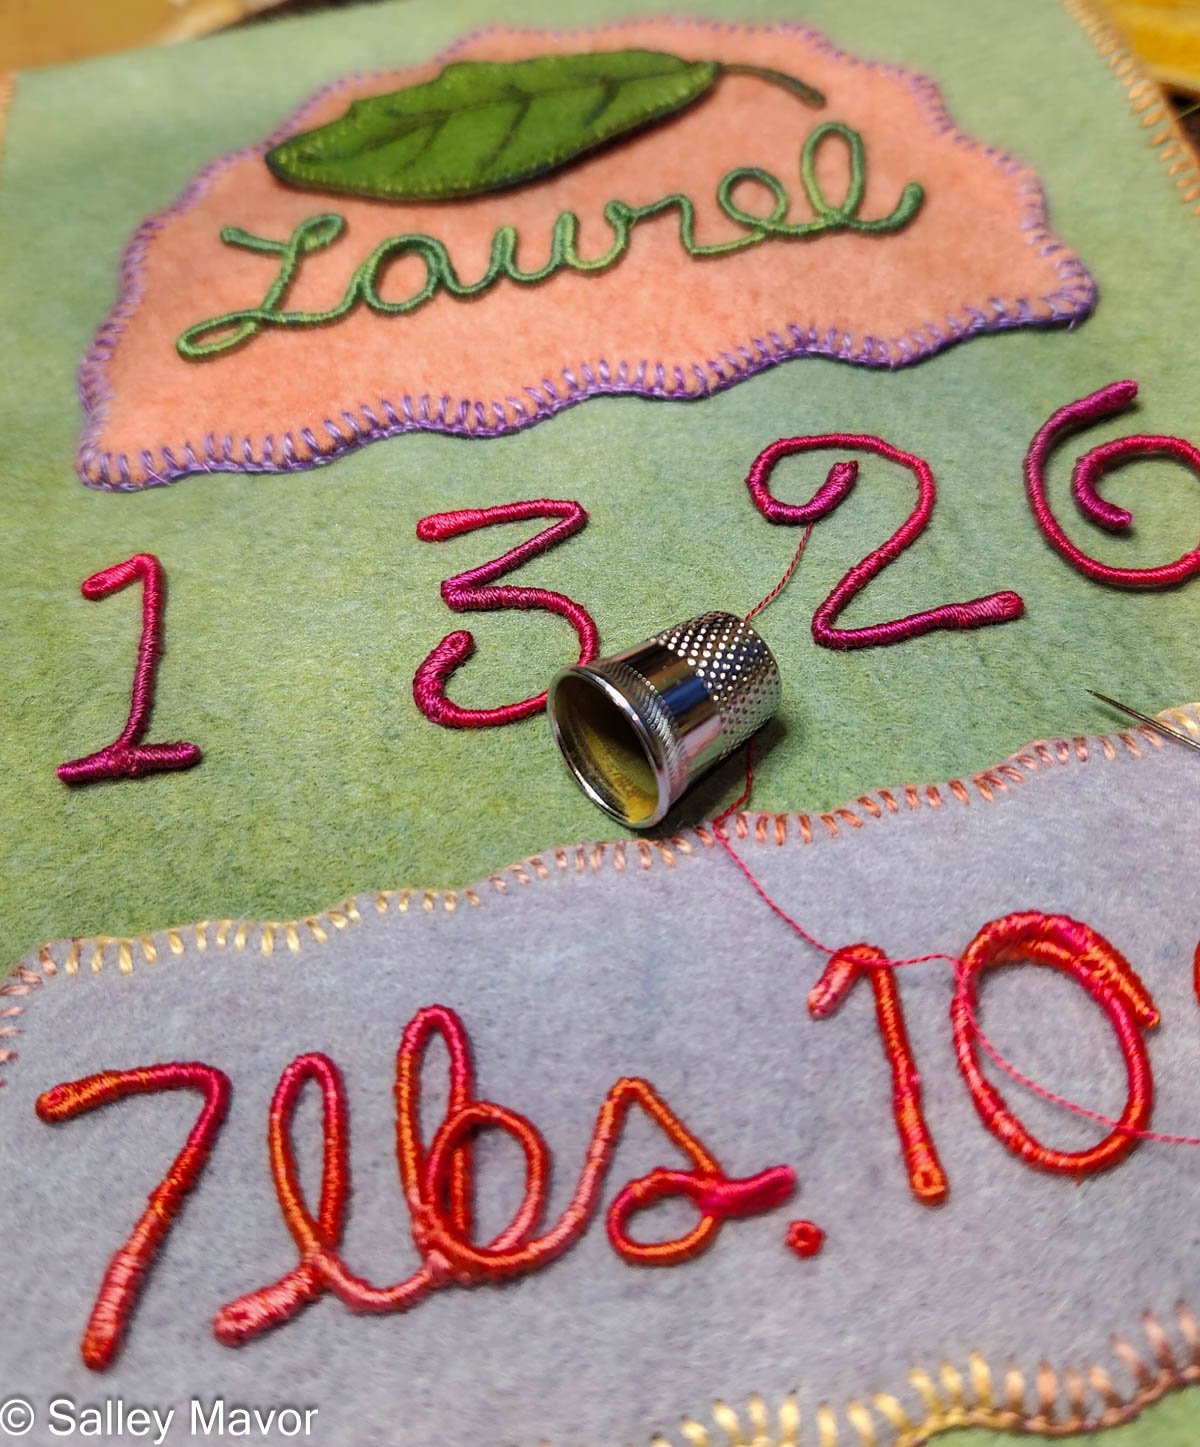
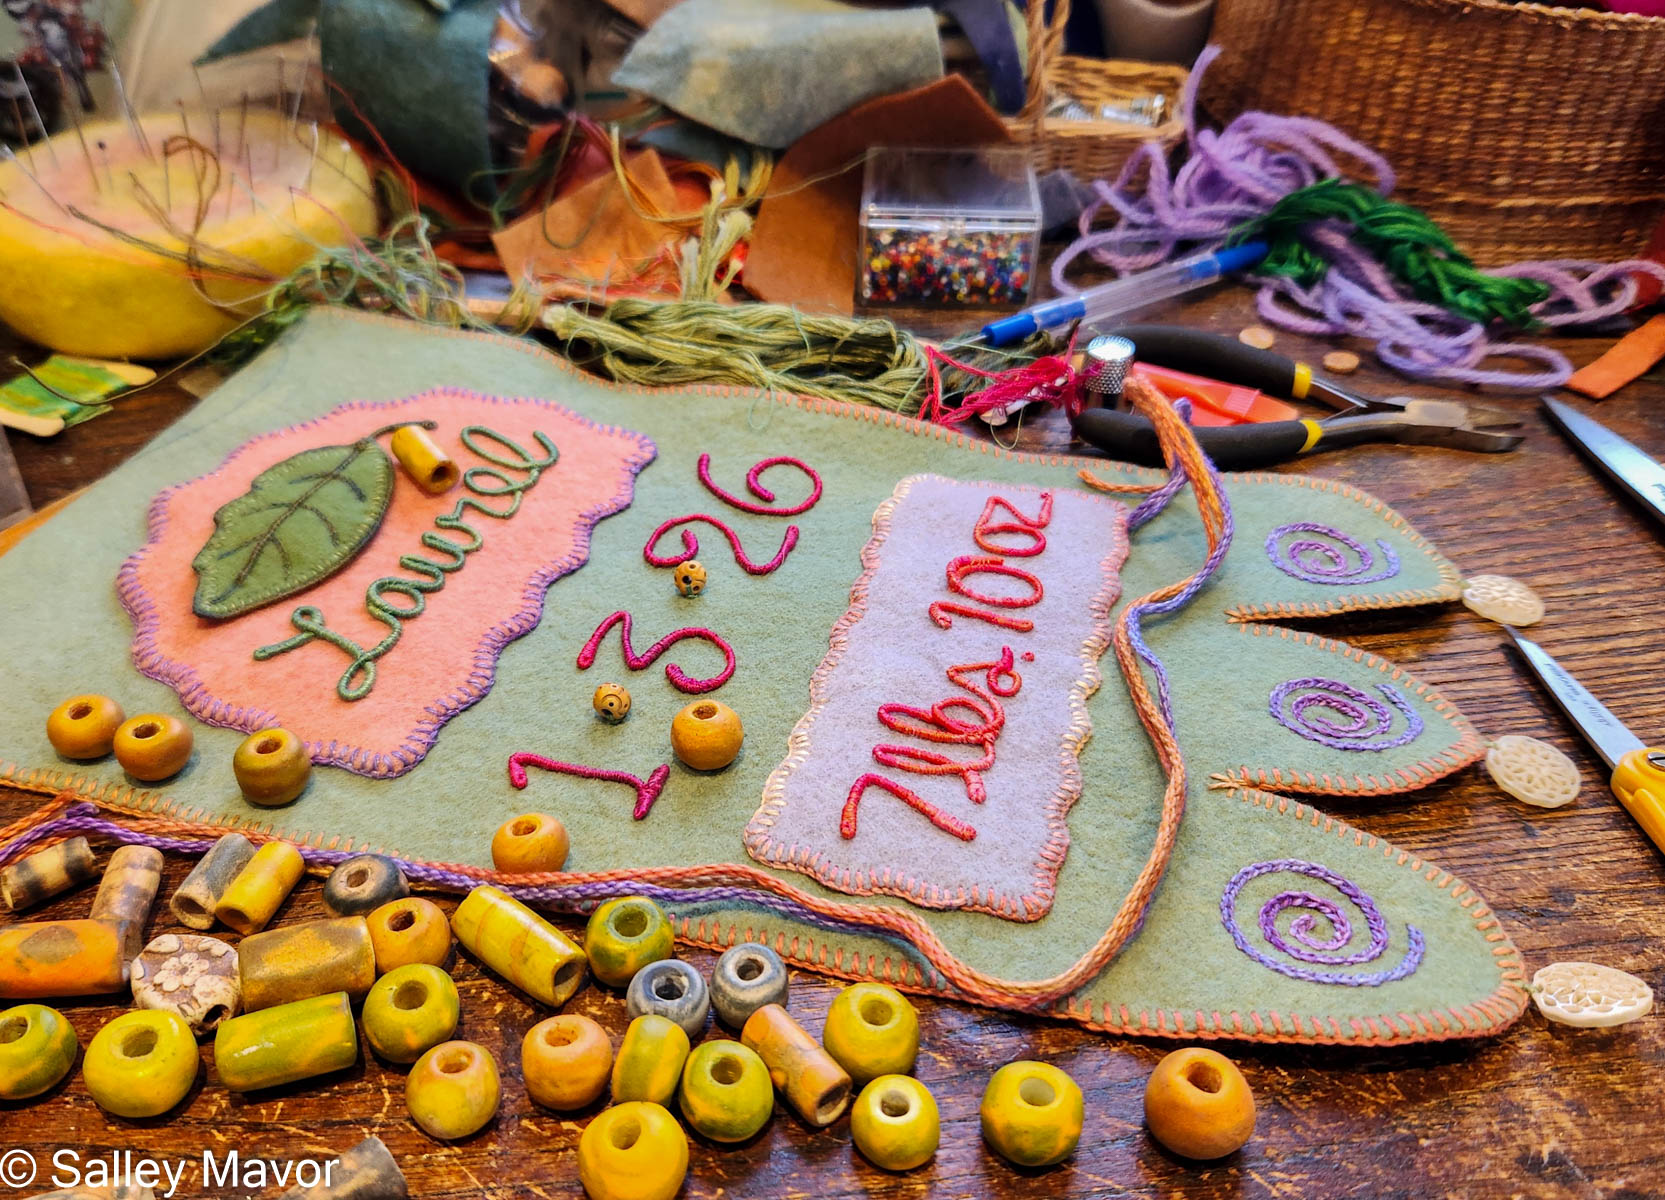
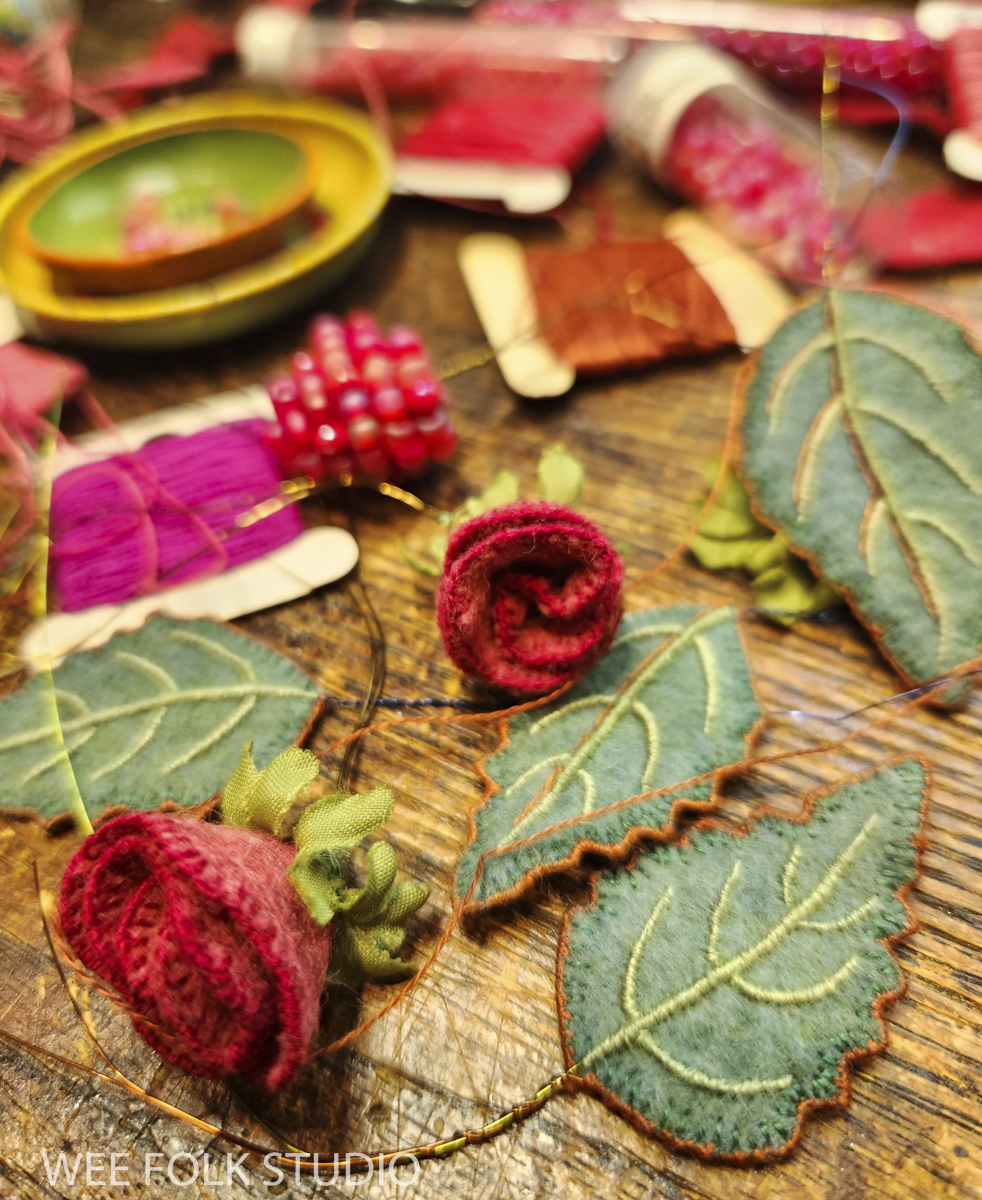
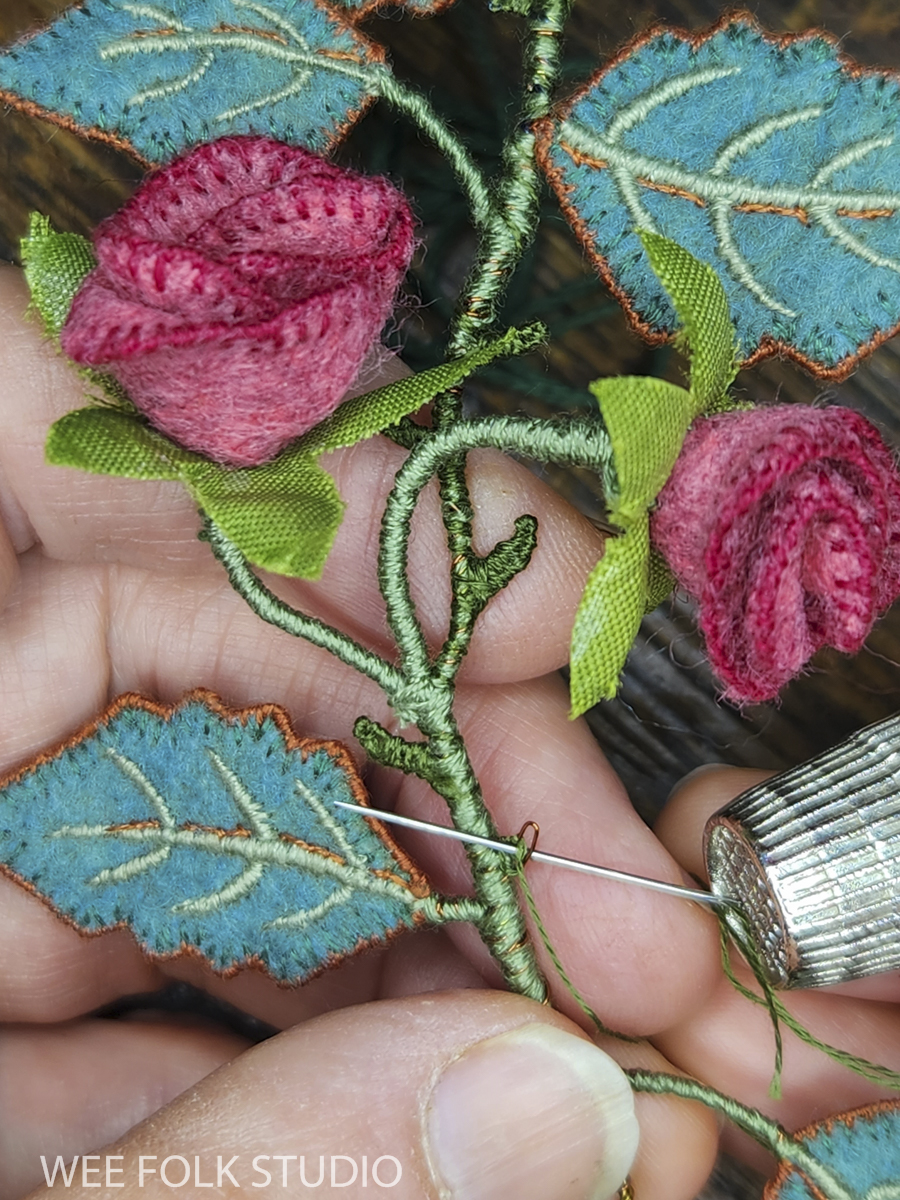
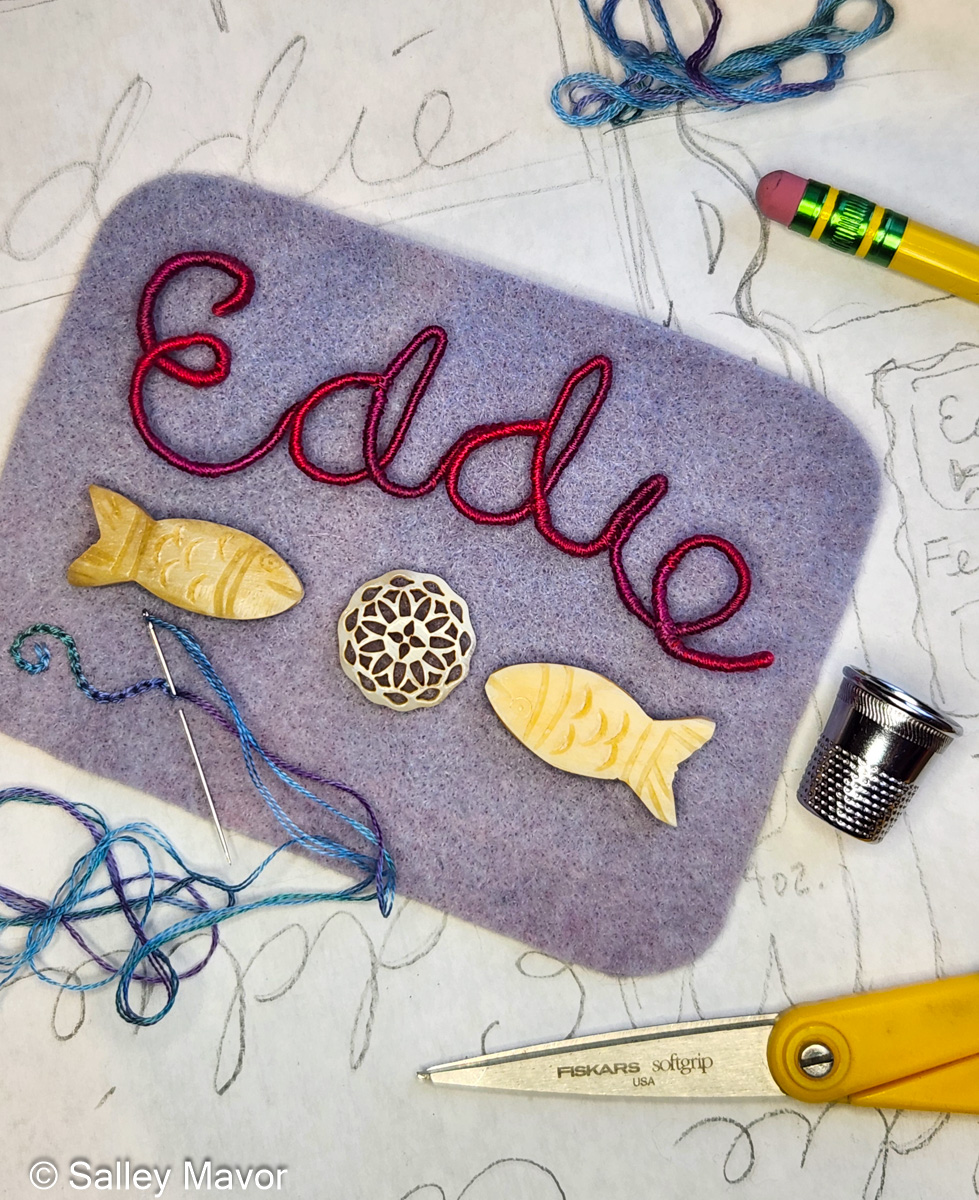
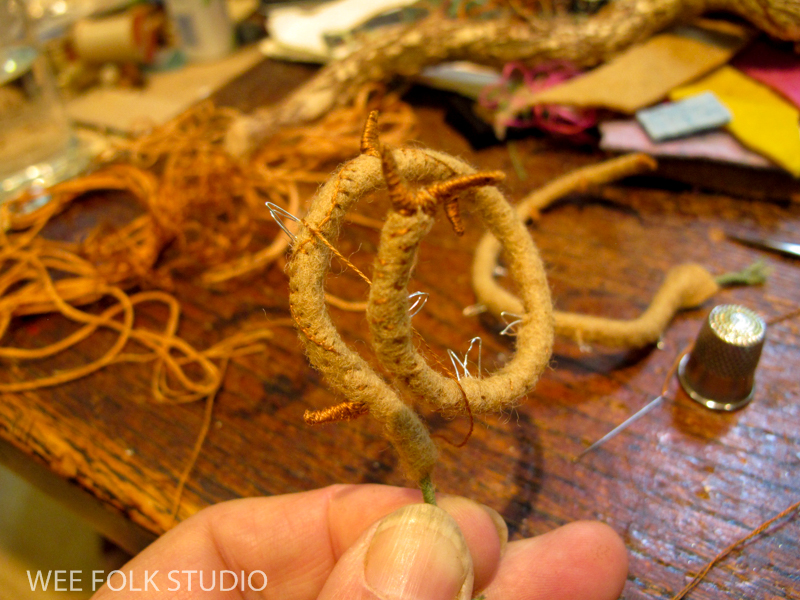
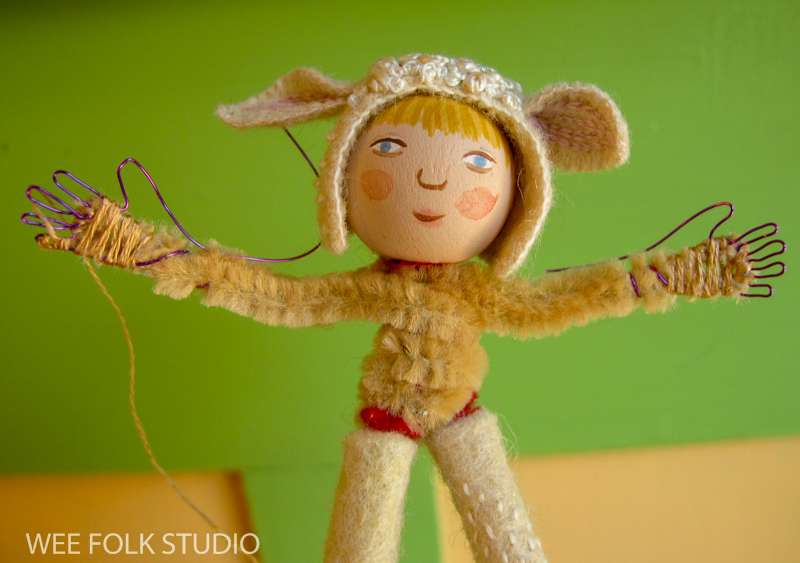
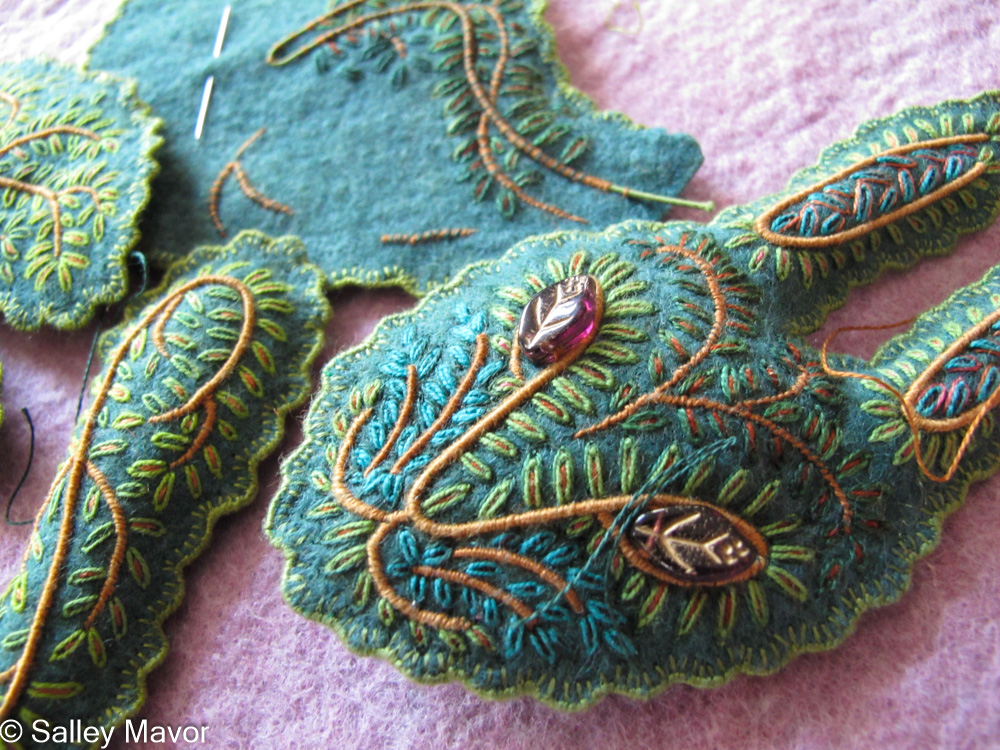
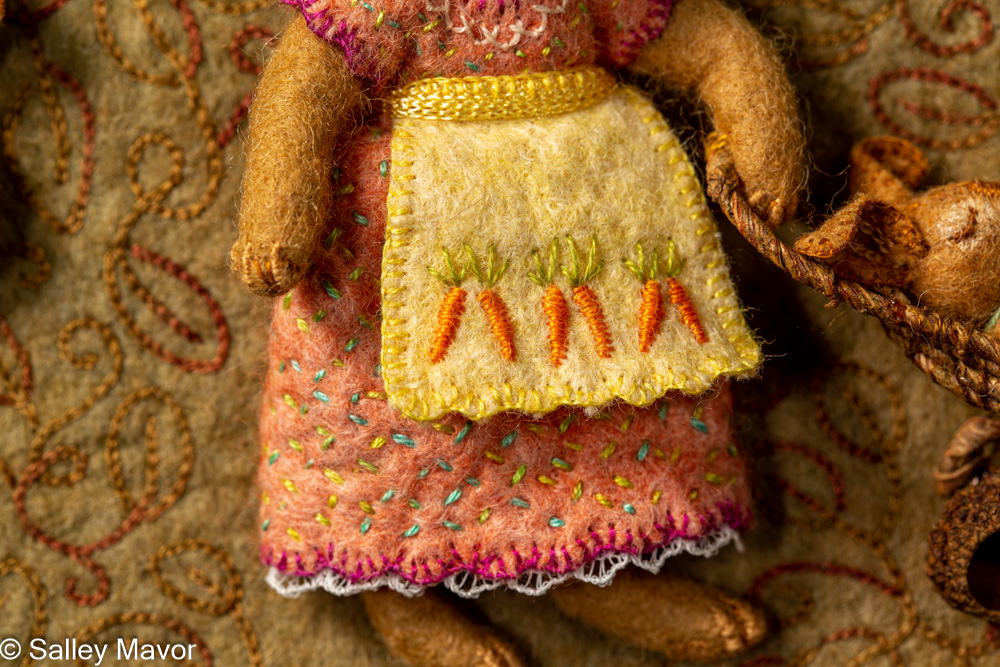
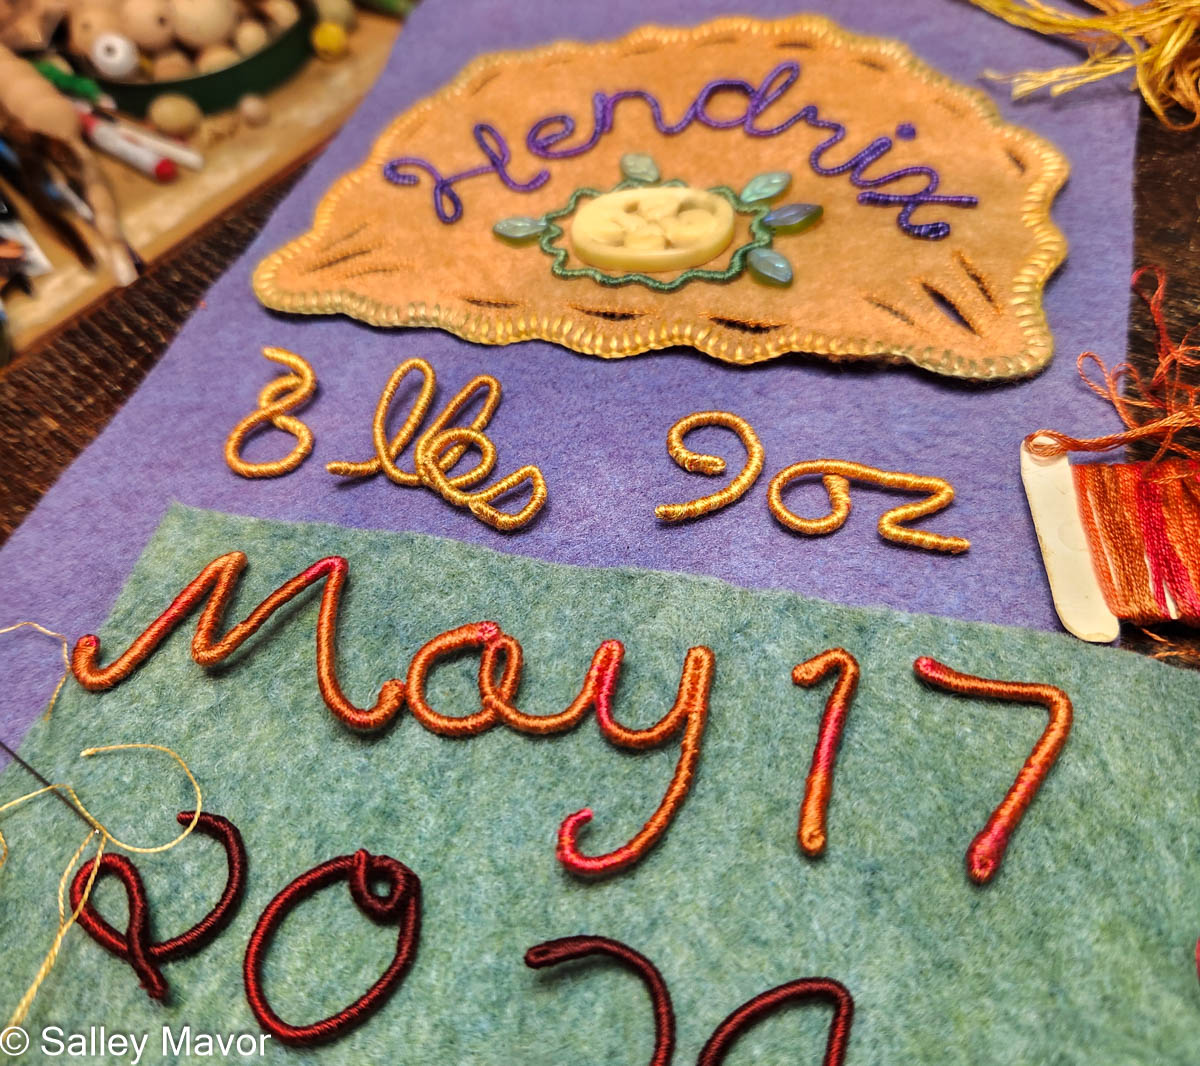
After choosing a color scheme and picking out pieces of felt and thread, I wrote out Hendrix’s name in cursive handwriting with a pencil on paper. I then wrapped the length of DMC memory thread, a flexible wire, with three strands of variegated embroidery floss. Using the sketch as a template, I bent the wire to form his name and stitched the letters together where they touched.
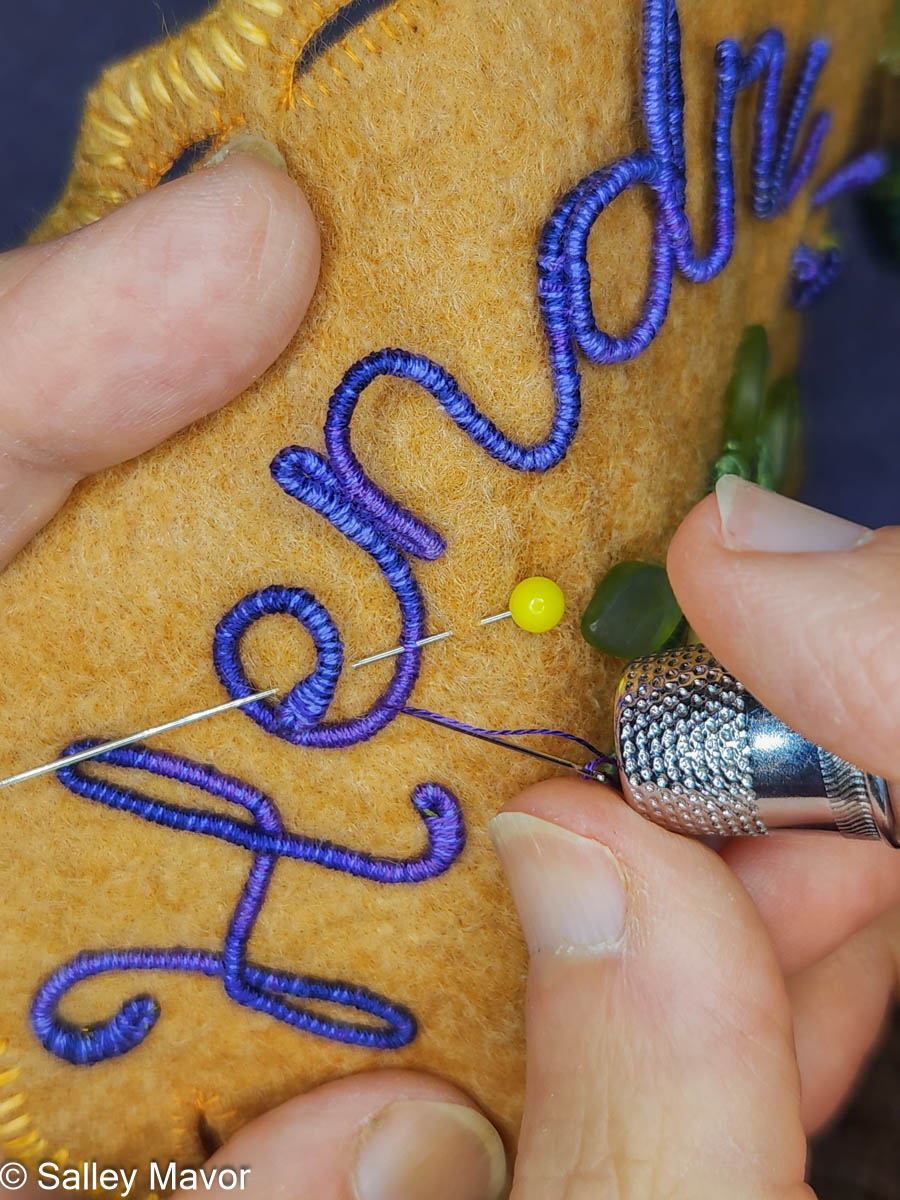
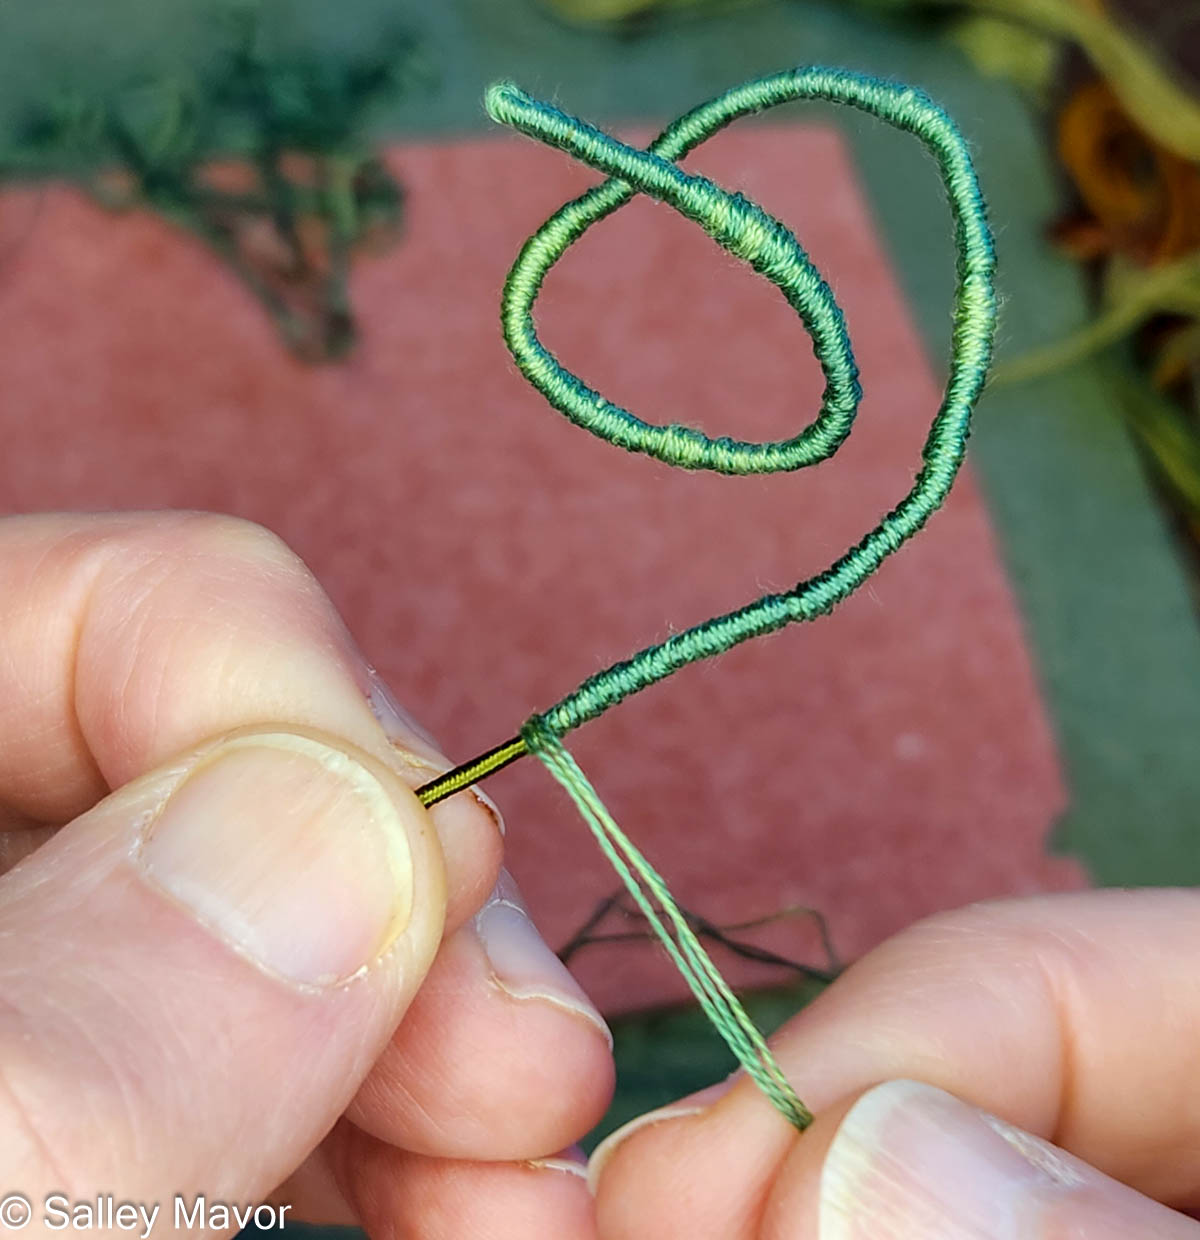
In the following video, I demonstrate how to wrap DMC memory thread with embroidery floss. For these banners, I typically use variegated floss instead of solid colors because the shifting shades give the letters a more lively, natural look. As you’ll see, the process is slow and methodical, and wrapping the wire smoothly and evenly takes practice—so be patient.
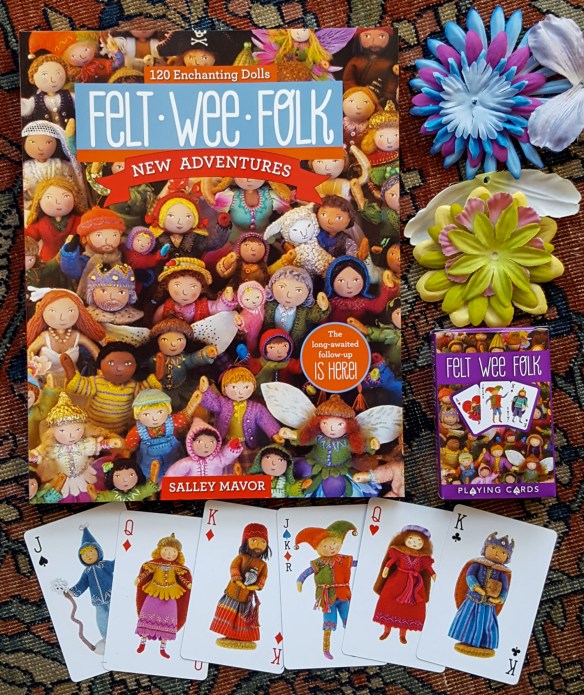
The wire ends are bent over and wrapped so that no raw thread ends are left exposed. One advantage of memory thread is that the coating of fibrous material is easier to grip than slippery metal wire. If you’ve learned to wrap pipe cleaner arms and legs for the wee folk dolls in my how-to book, Felt Wee Folk, you already have a helpful head start with this technique.
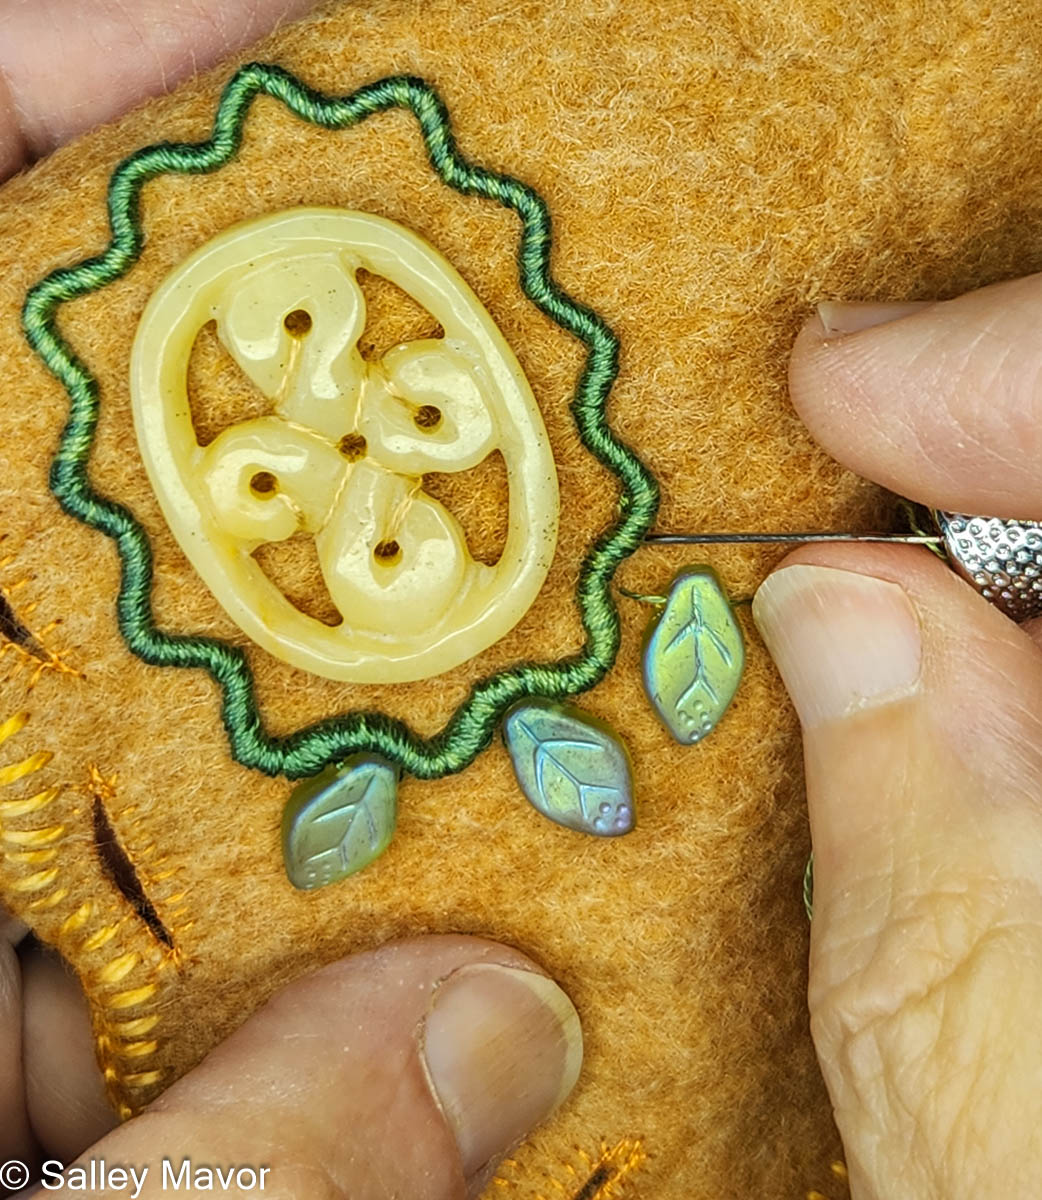
WRAPPING THE WIRE WREATH
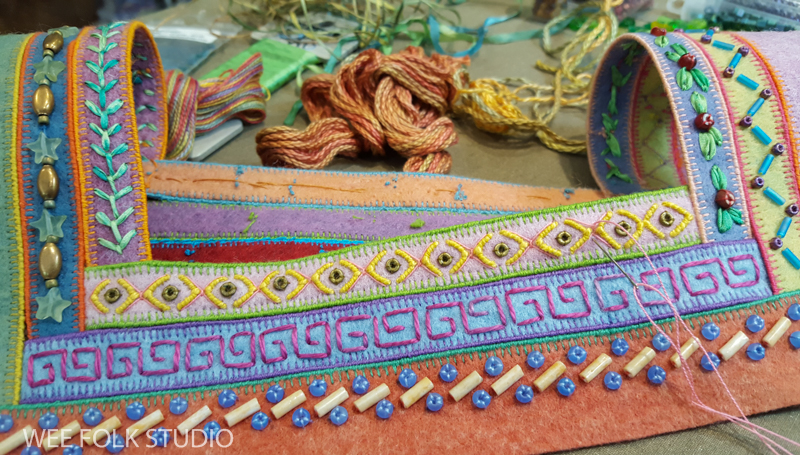
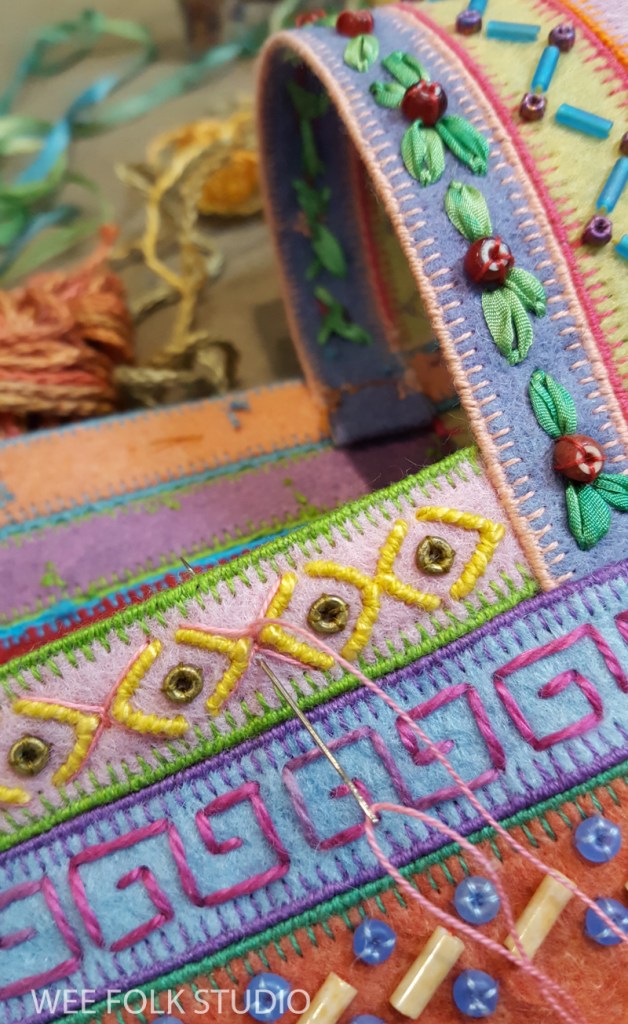
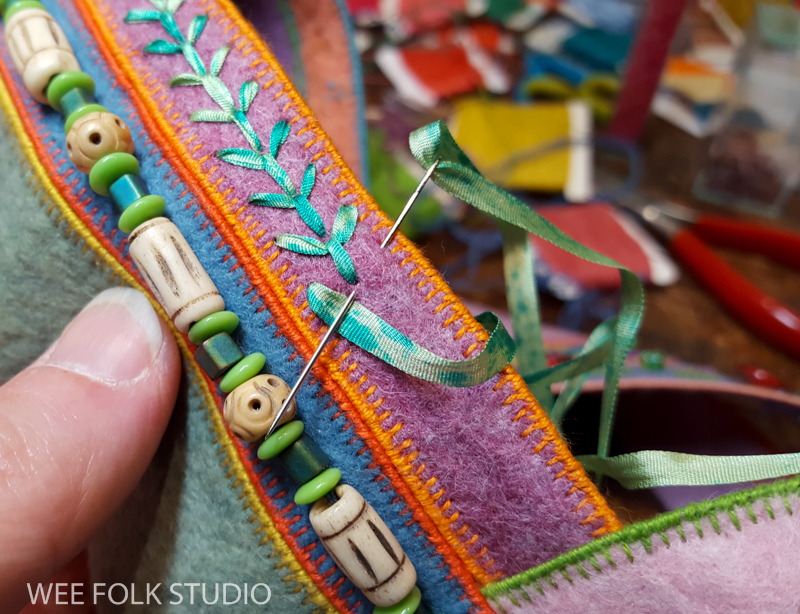
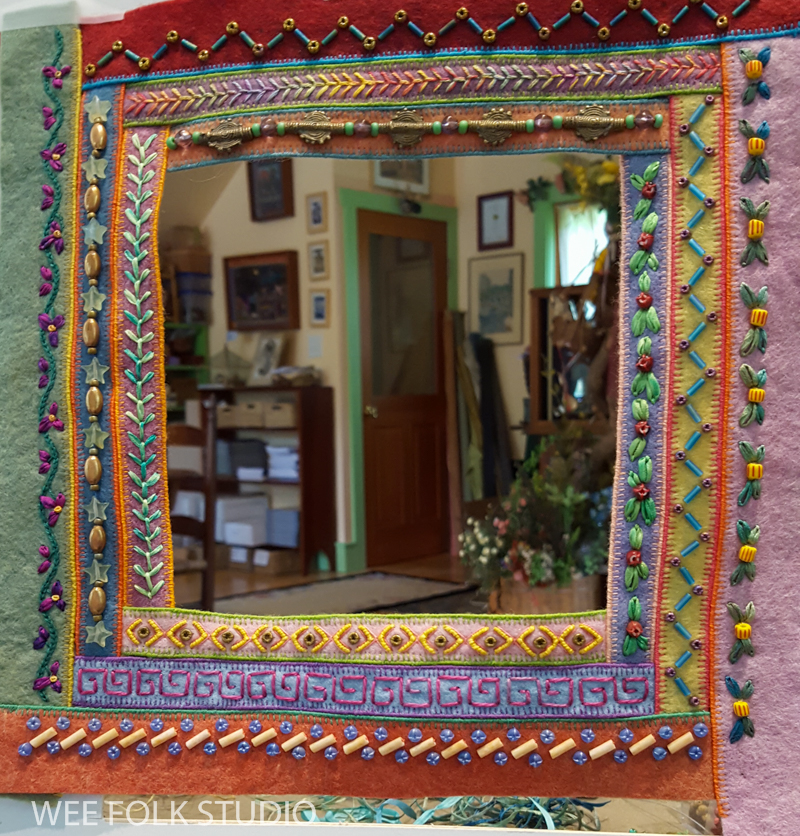
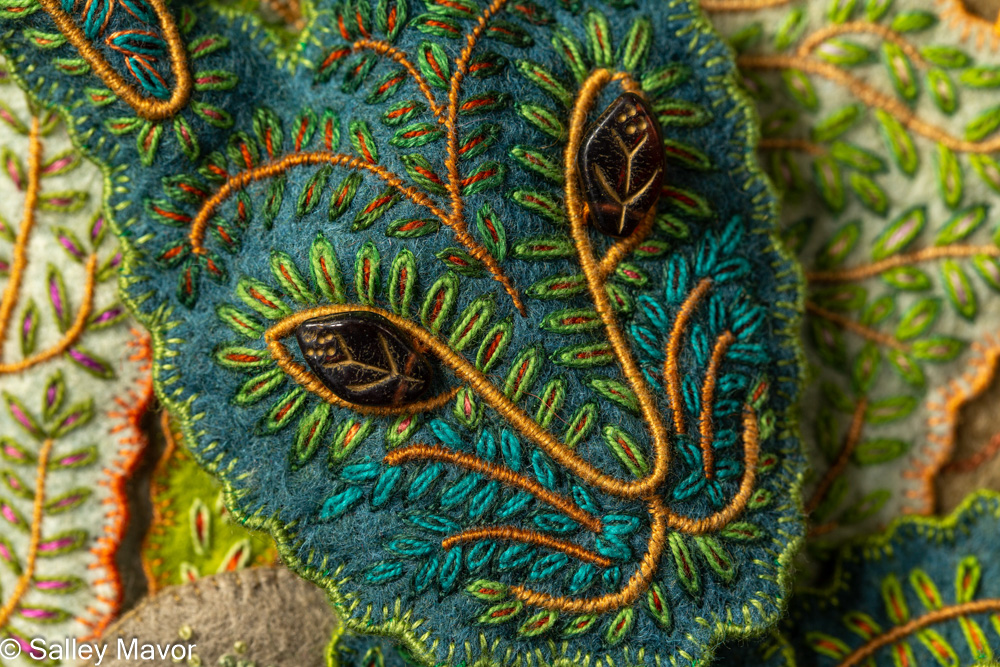
I’ve always loved wavy lines and rarely miss a chance to add curves where there might otherwise be a straight edge, so making a zigzag wreath felt like a natural choice. In the following video, I show how I form the wreath into one continuous line with no visible ends. It’s a fussy process, but the finished result is well worth the extra effort.
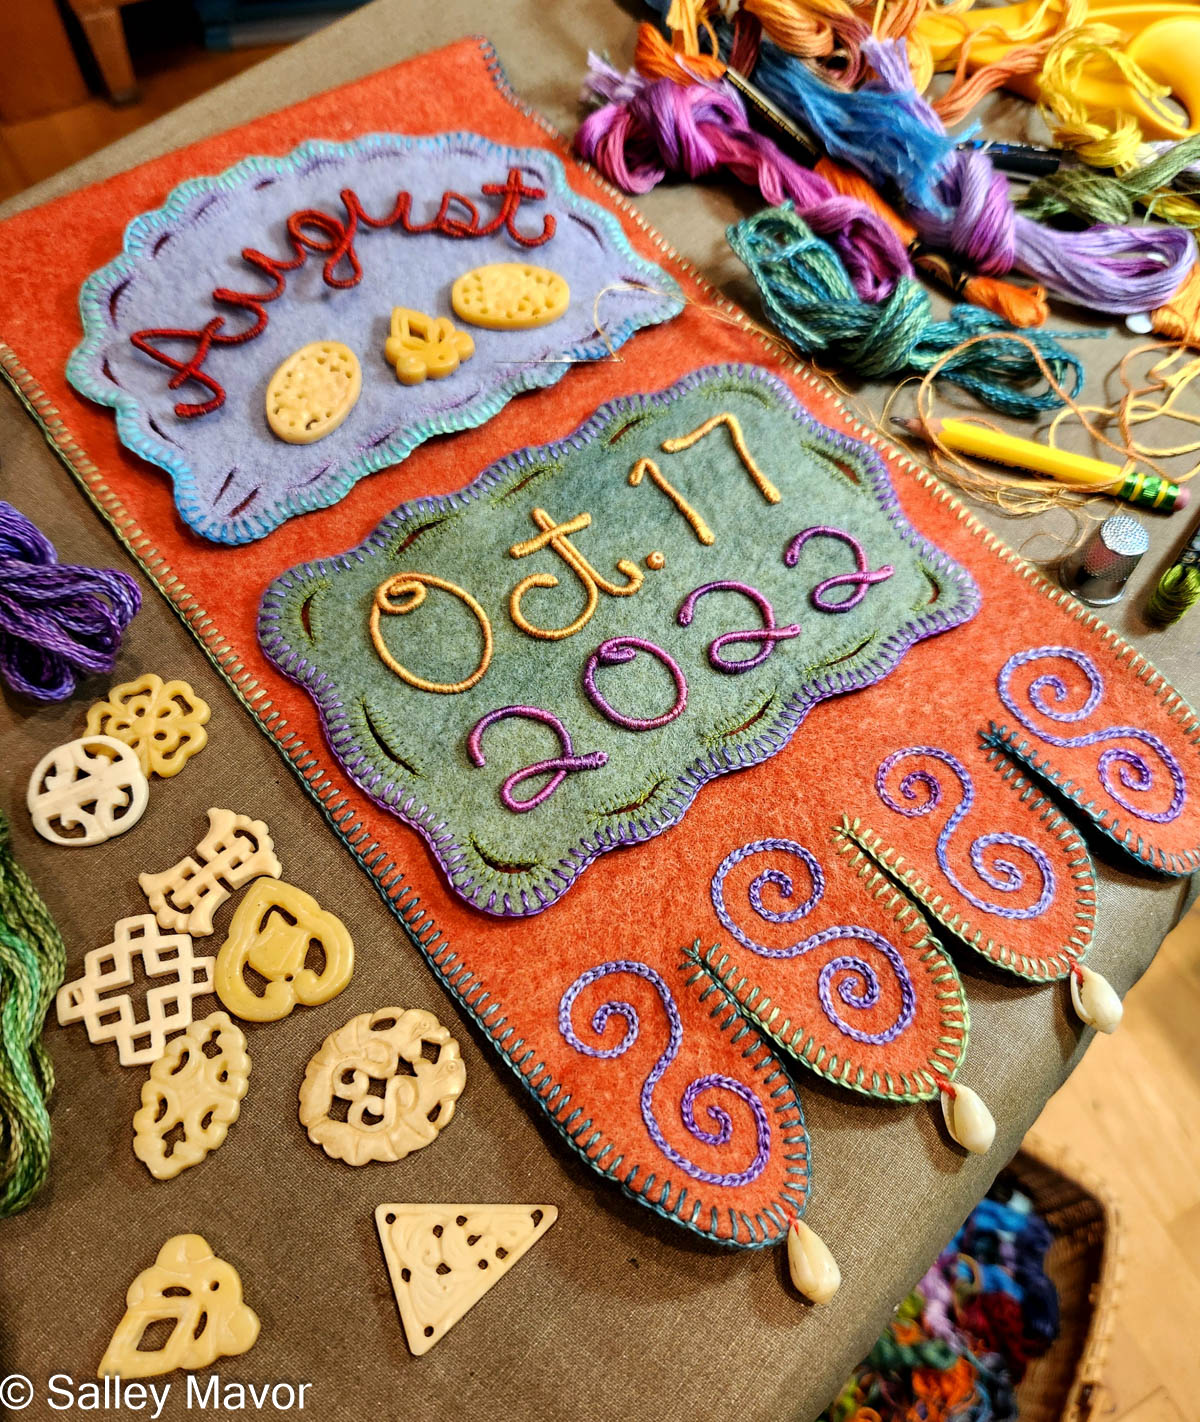
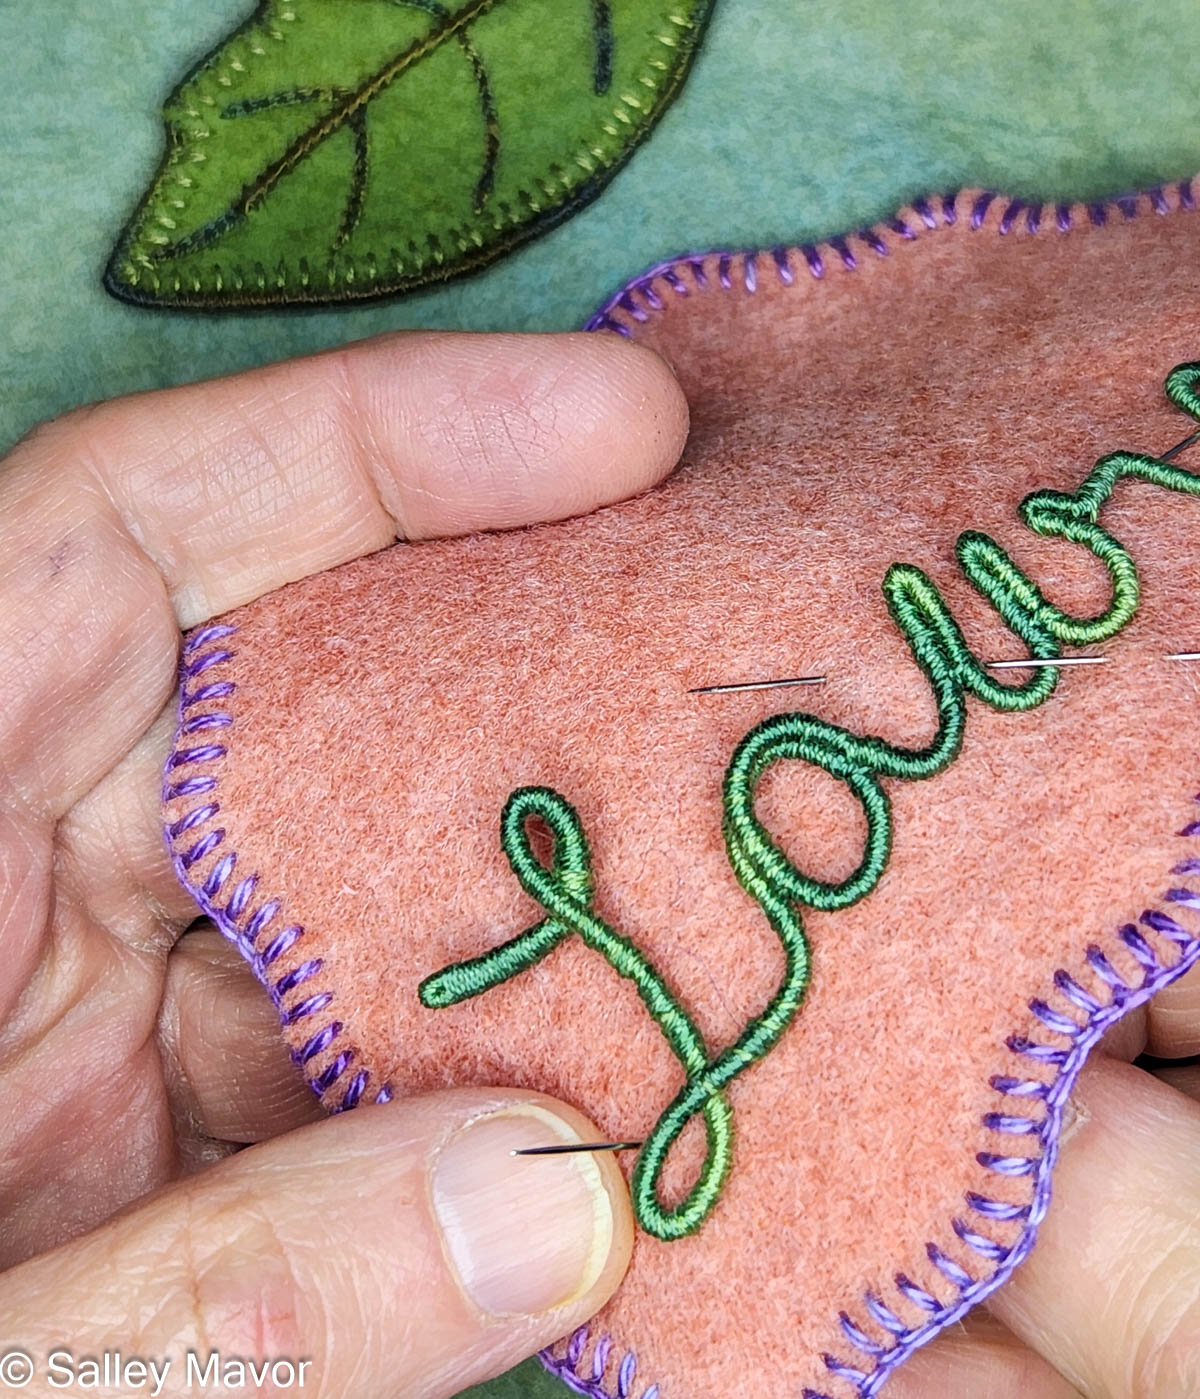
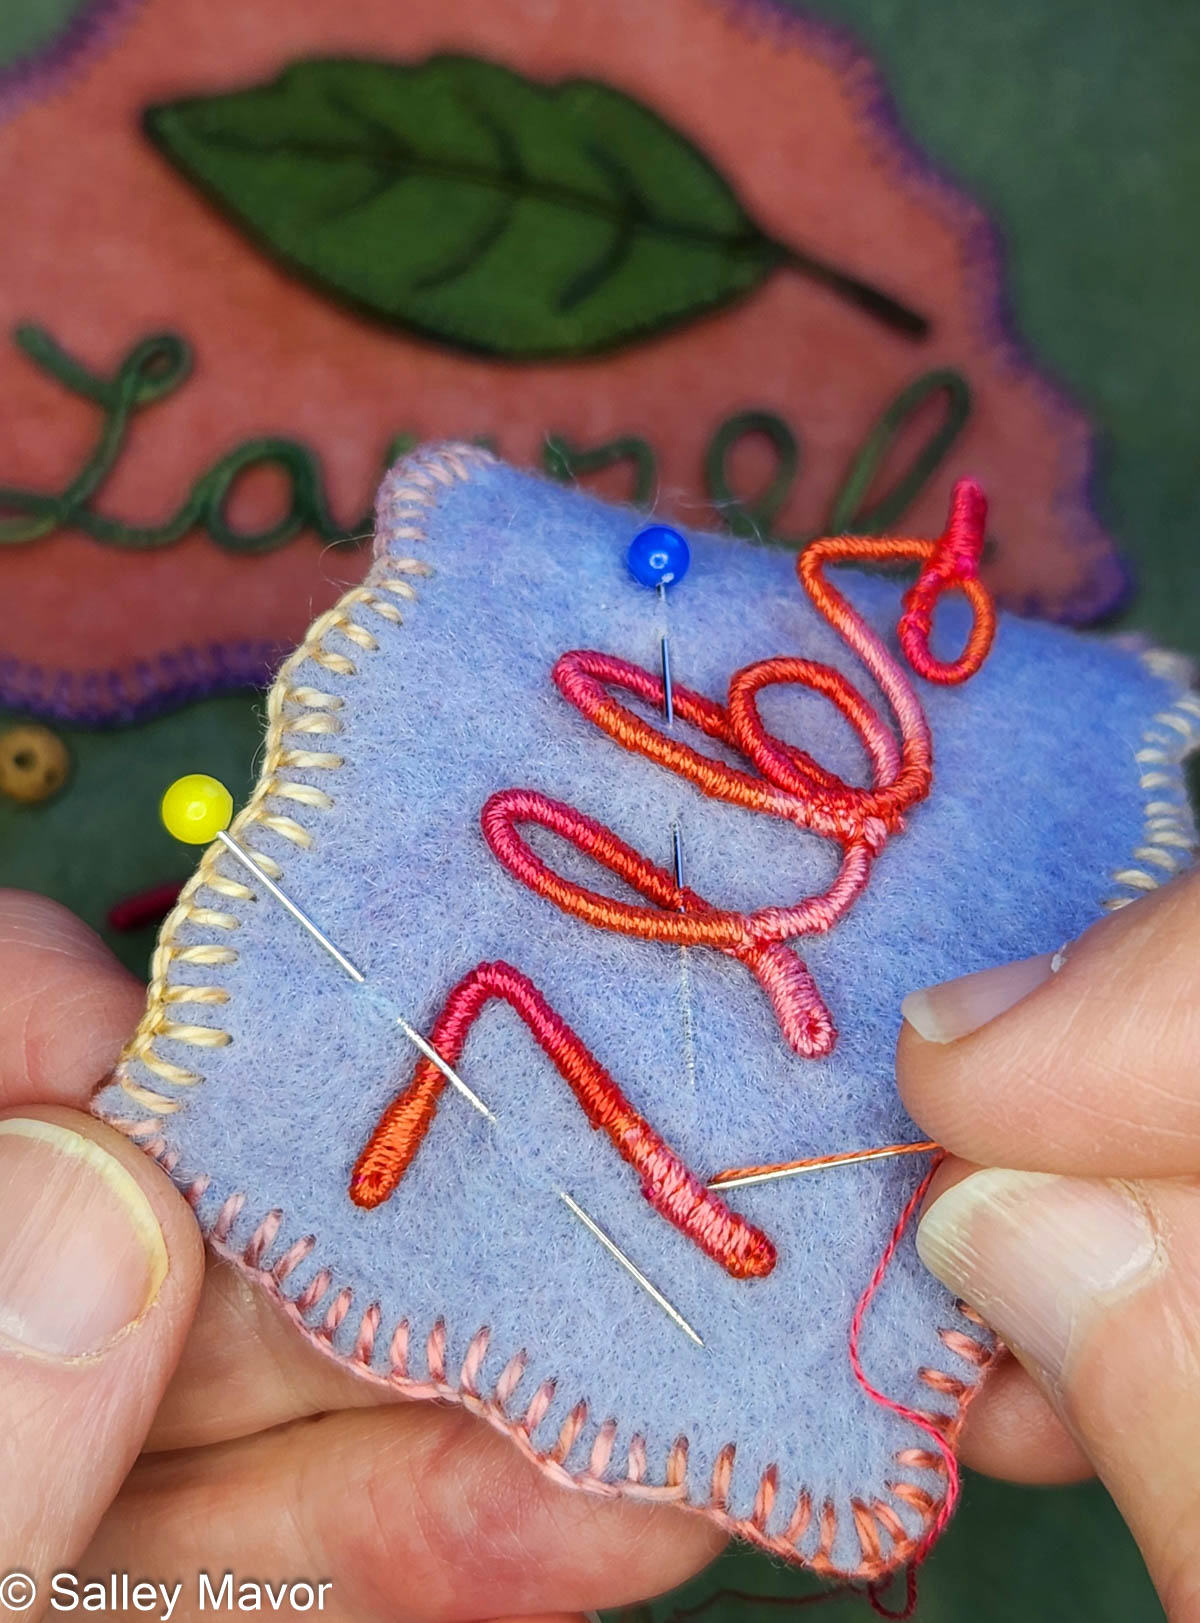
After wrapping all the letters and numbers, I pinned them in place and stitched them to the felt pieces.
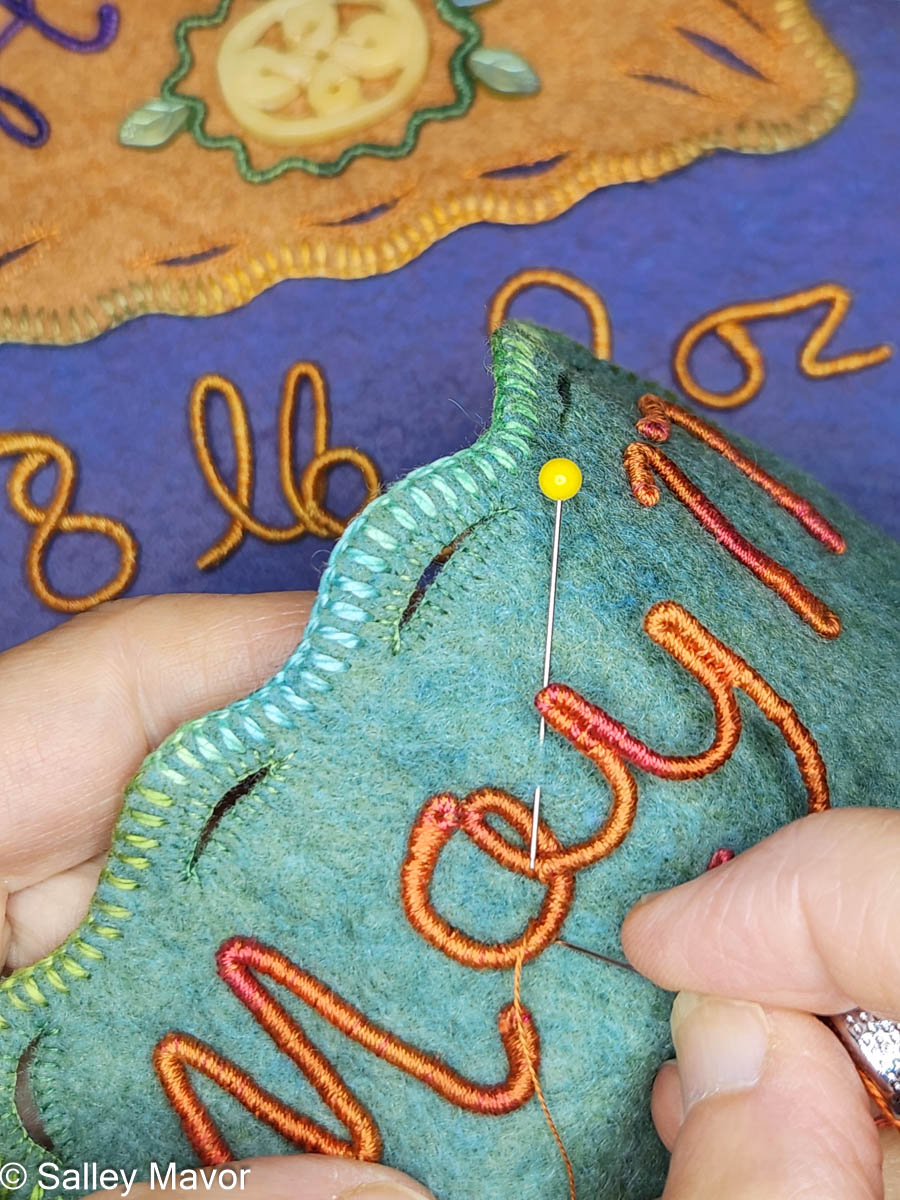
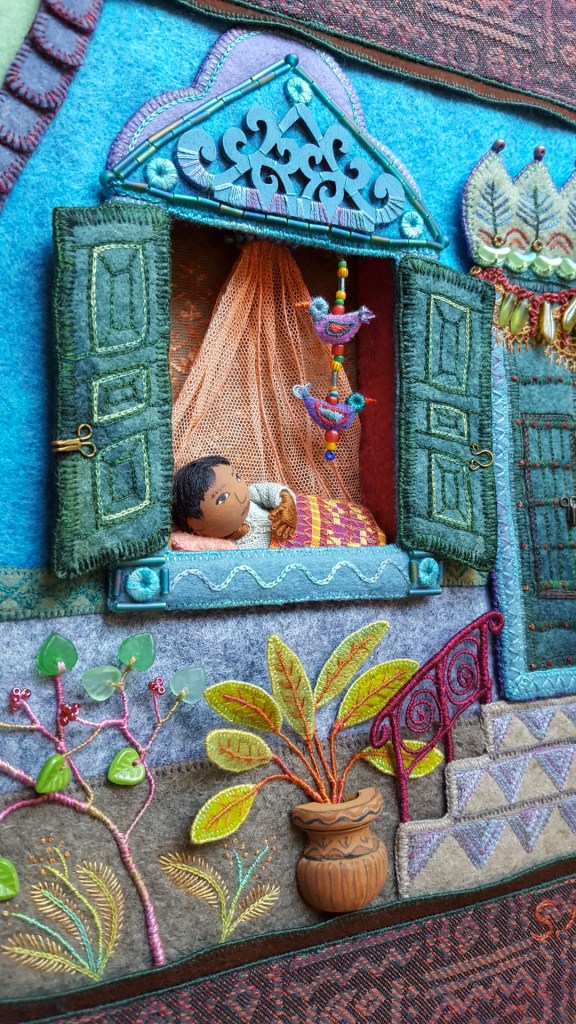
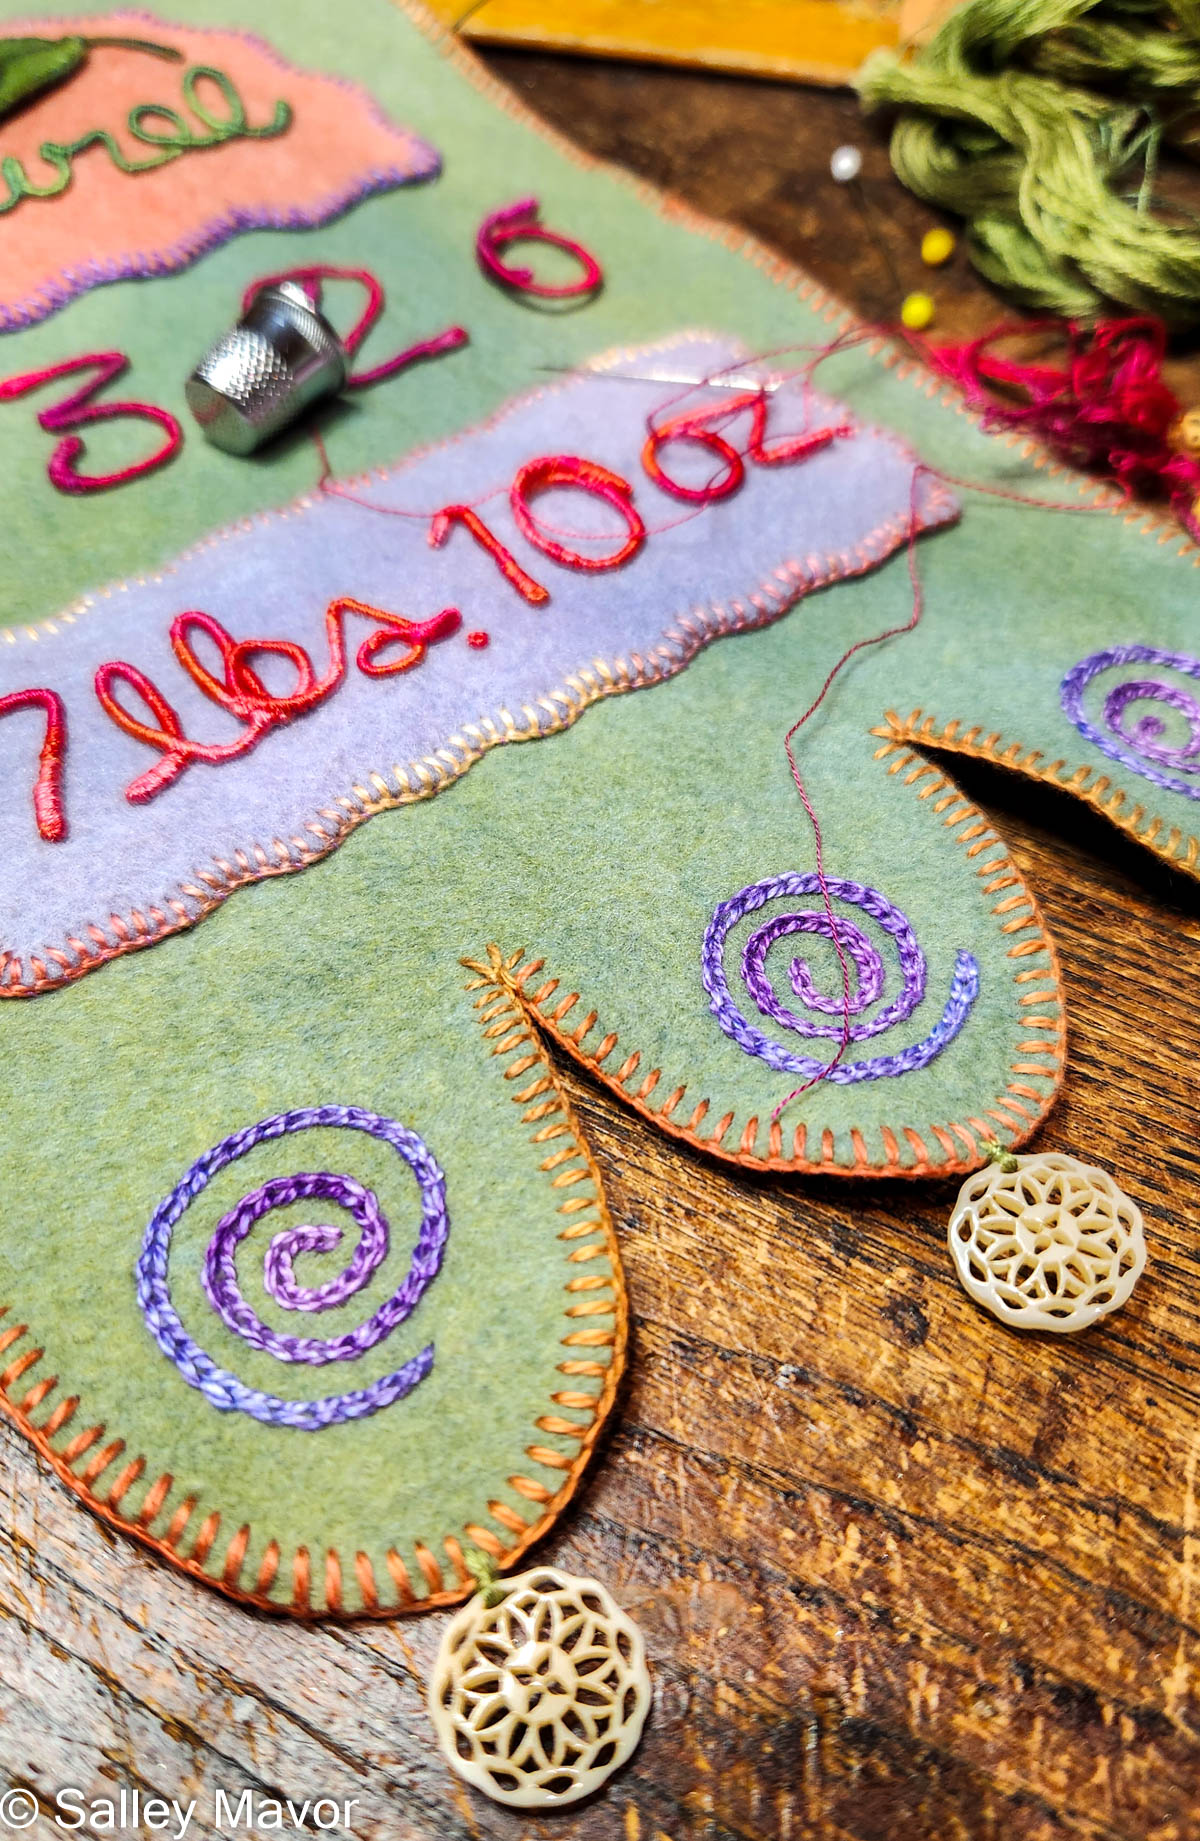
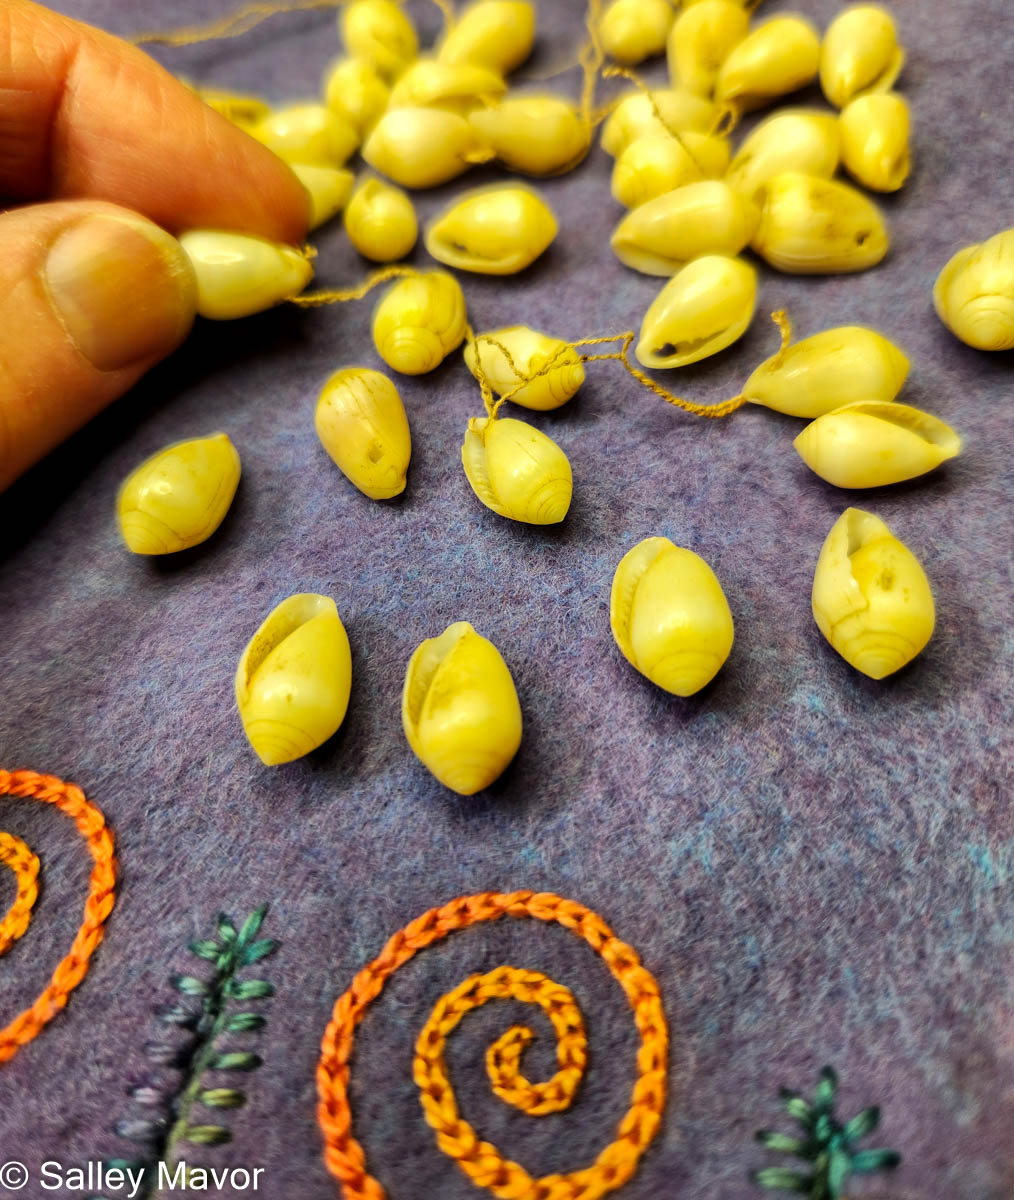
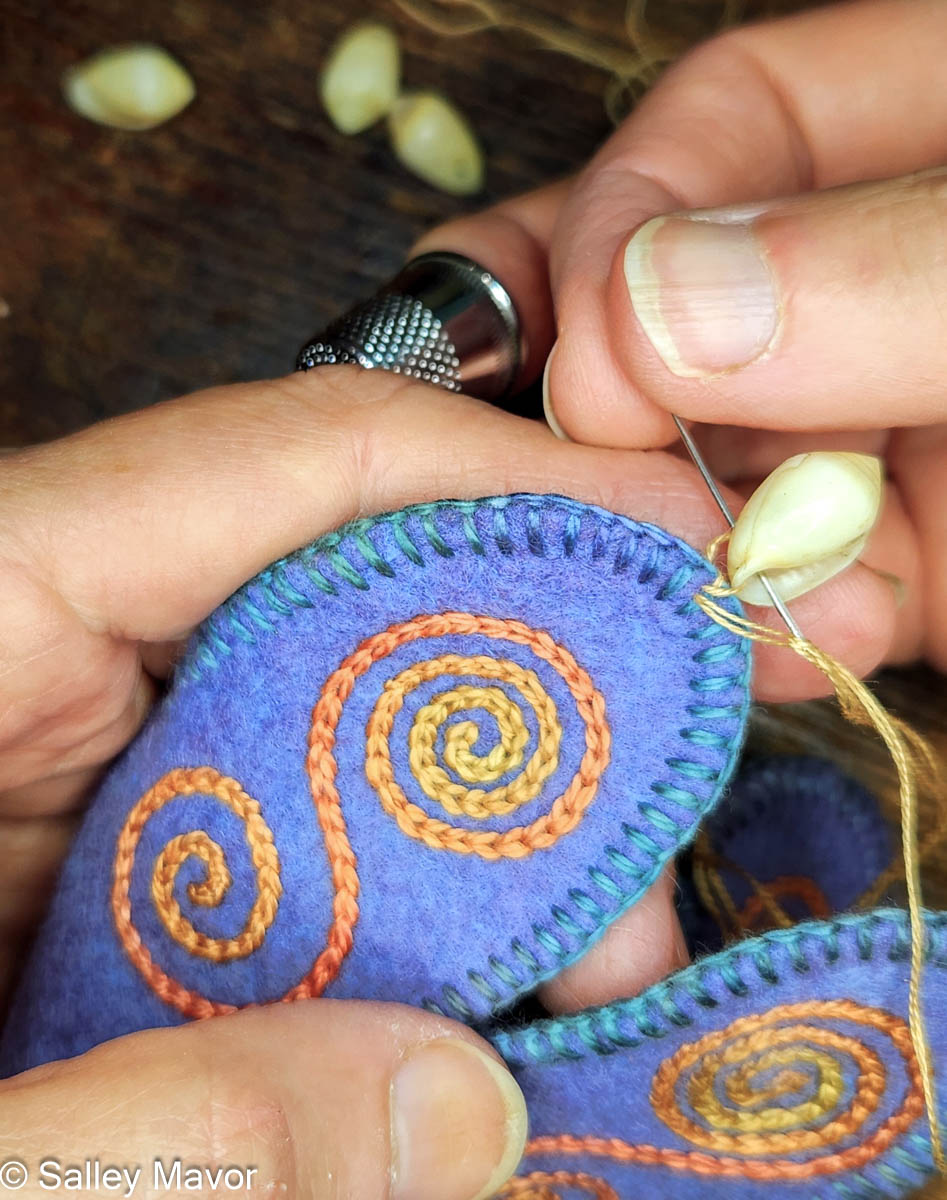
The bottom edge of the banner is finished with four scallop-edged flaps, each embroidered with chain-stitched spirals. At each point, I sewed on a shell that conveniently already had a hole for stitching. They came from a souvenir necklace my grandmother bought many years ago in her travels.
Happy Birthday, Henny!
To keep up with new posts, please subscribe to this blog. Your contact info will not be sold or shared. If you’d like to see more frequent photos tracking the projects in my studio, please follow me on Facebook, Instagram and BlueSky.