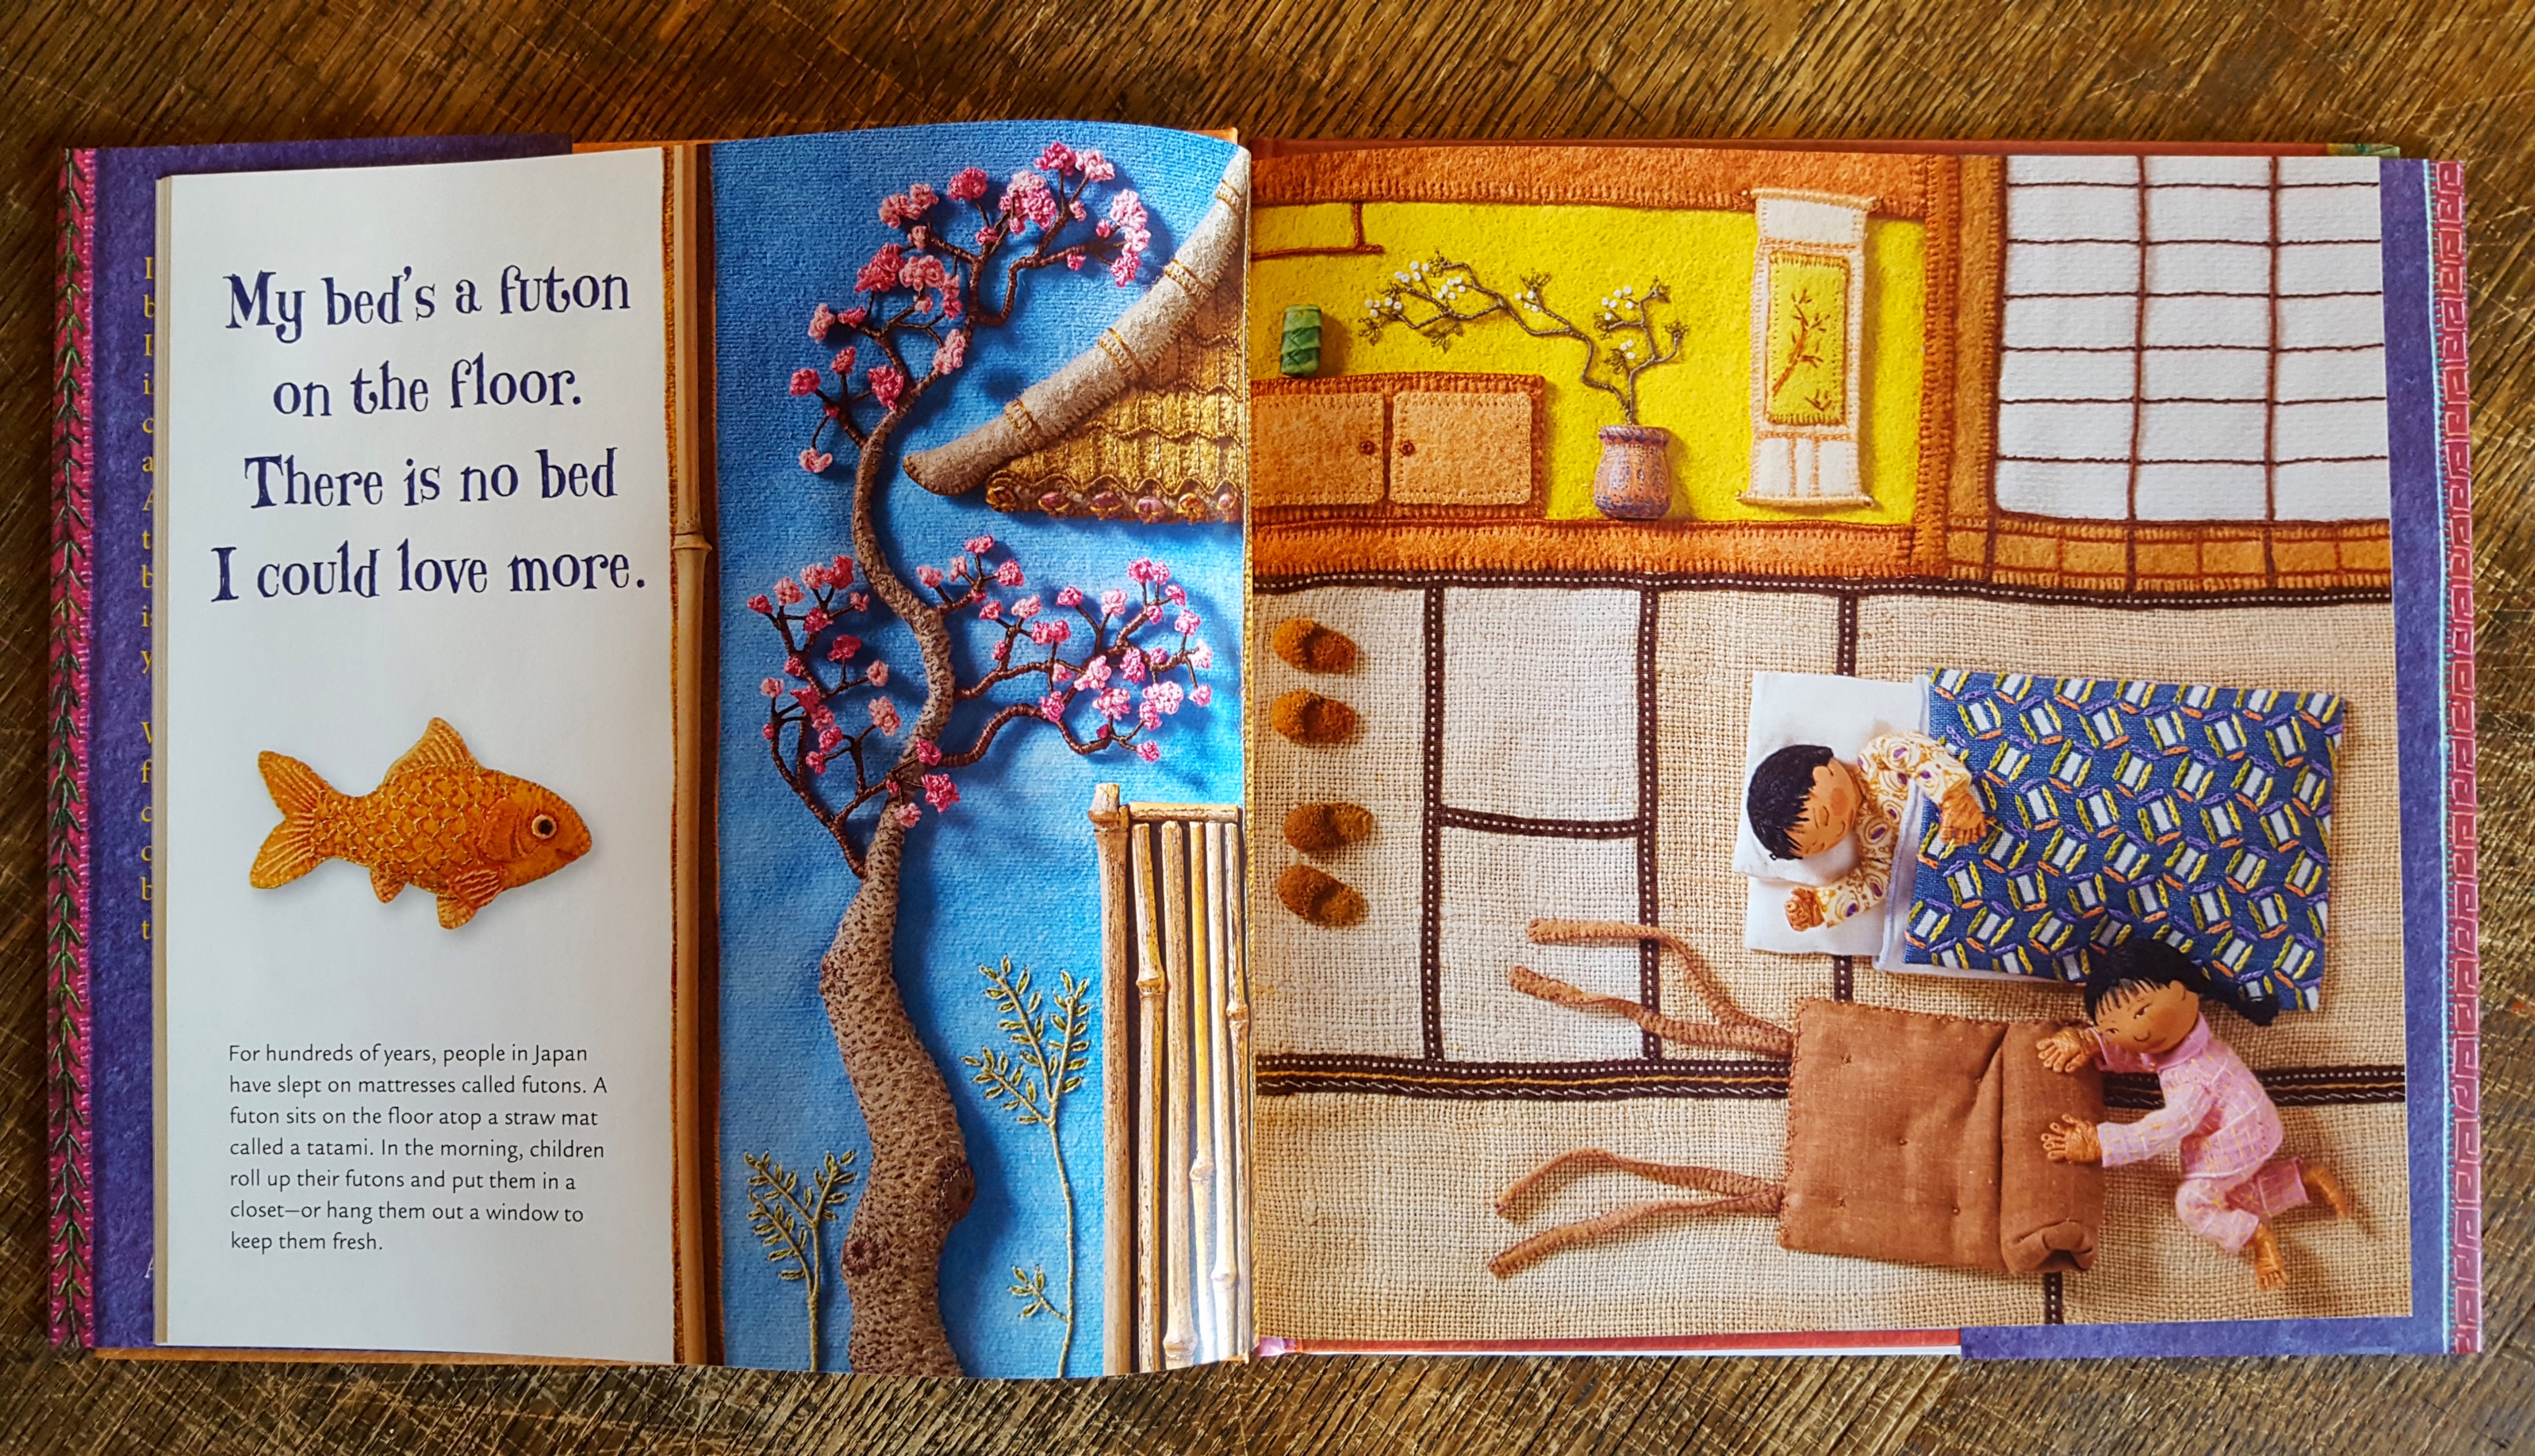
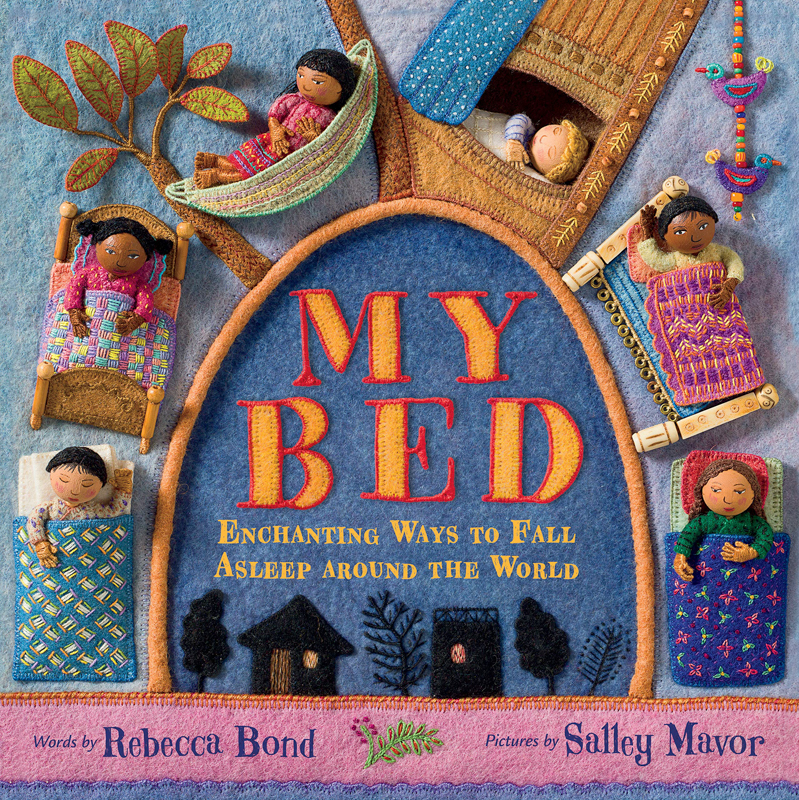
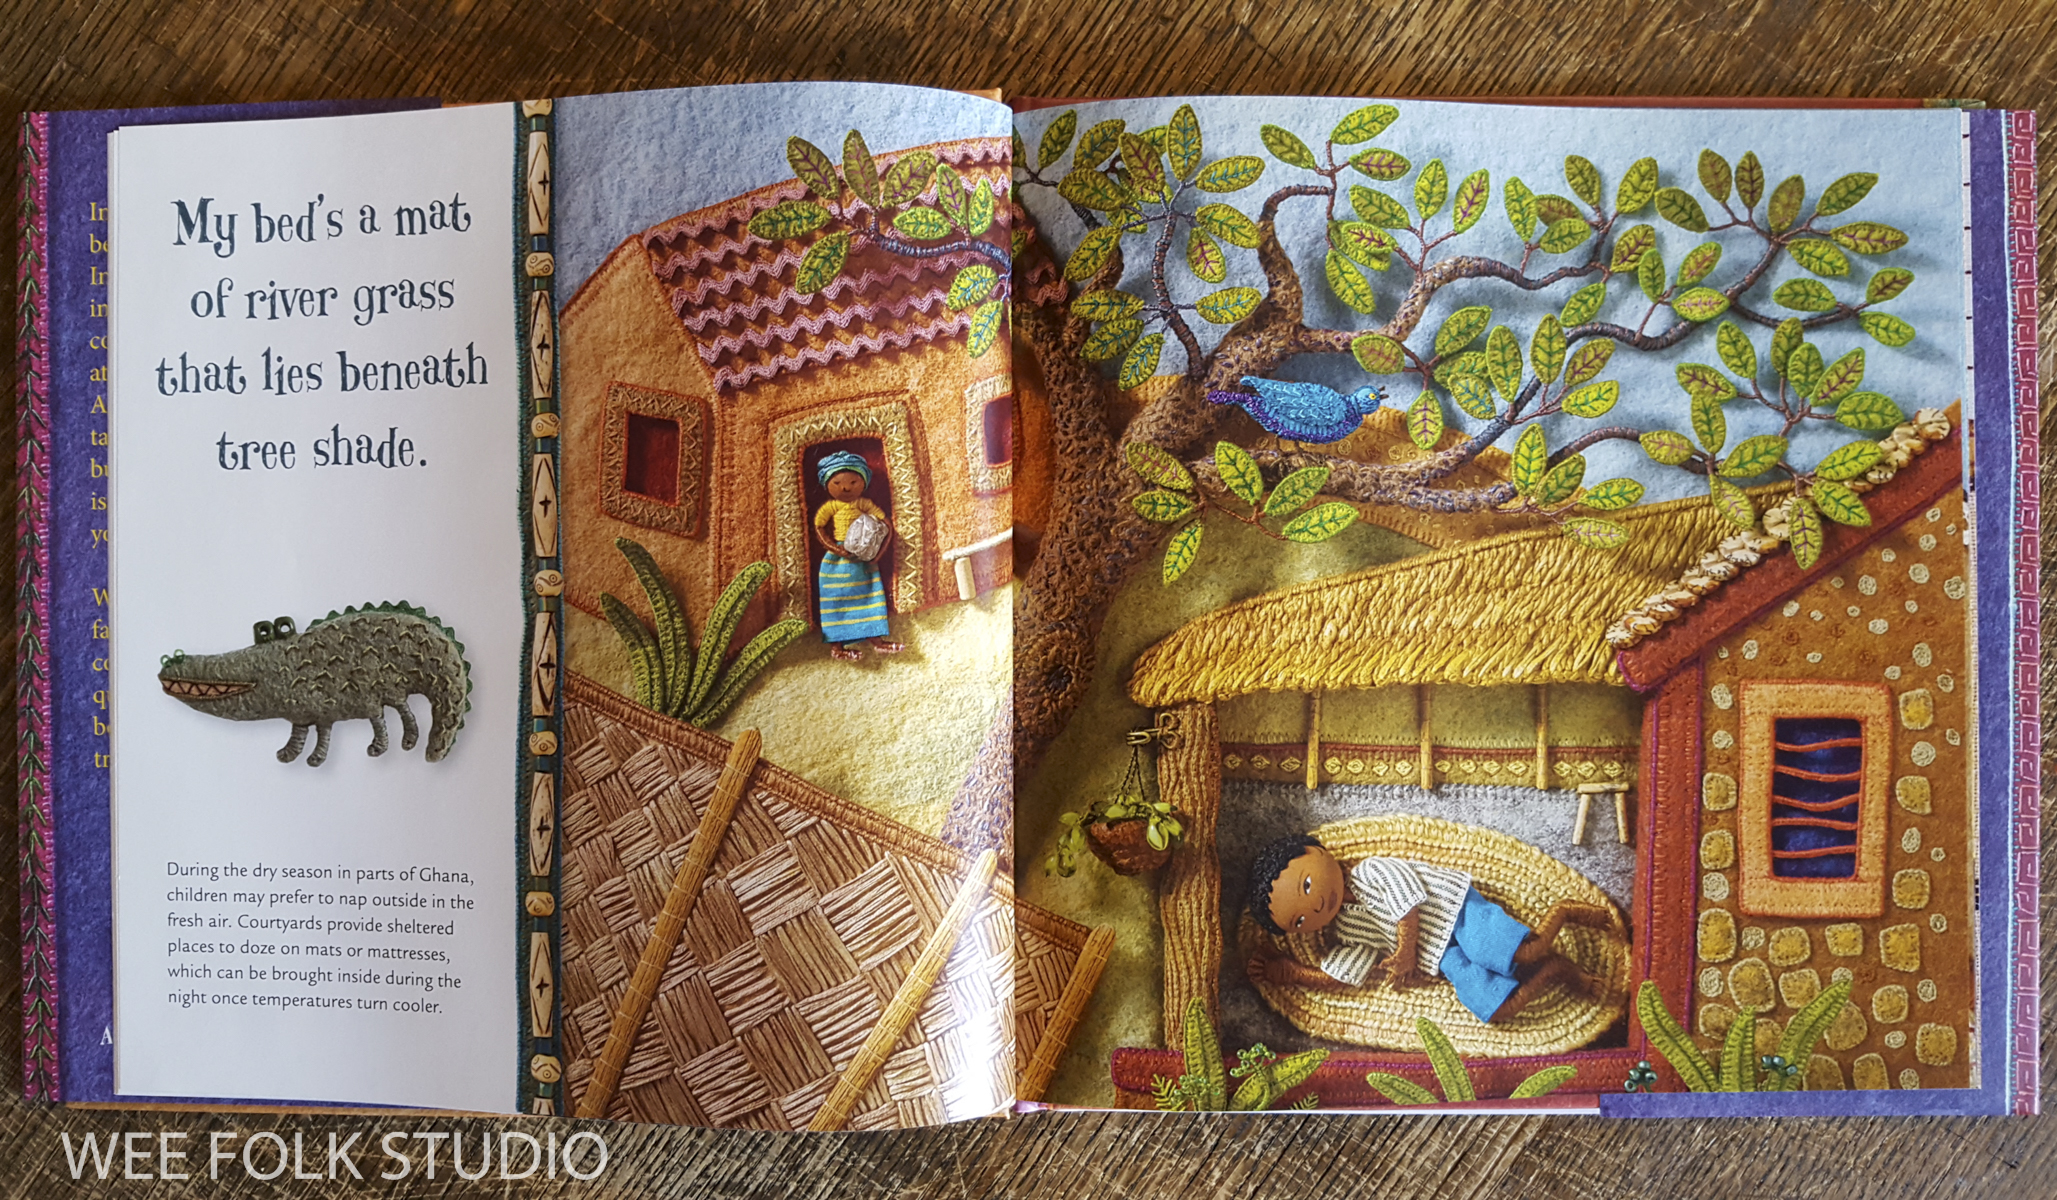
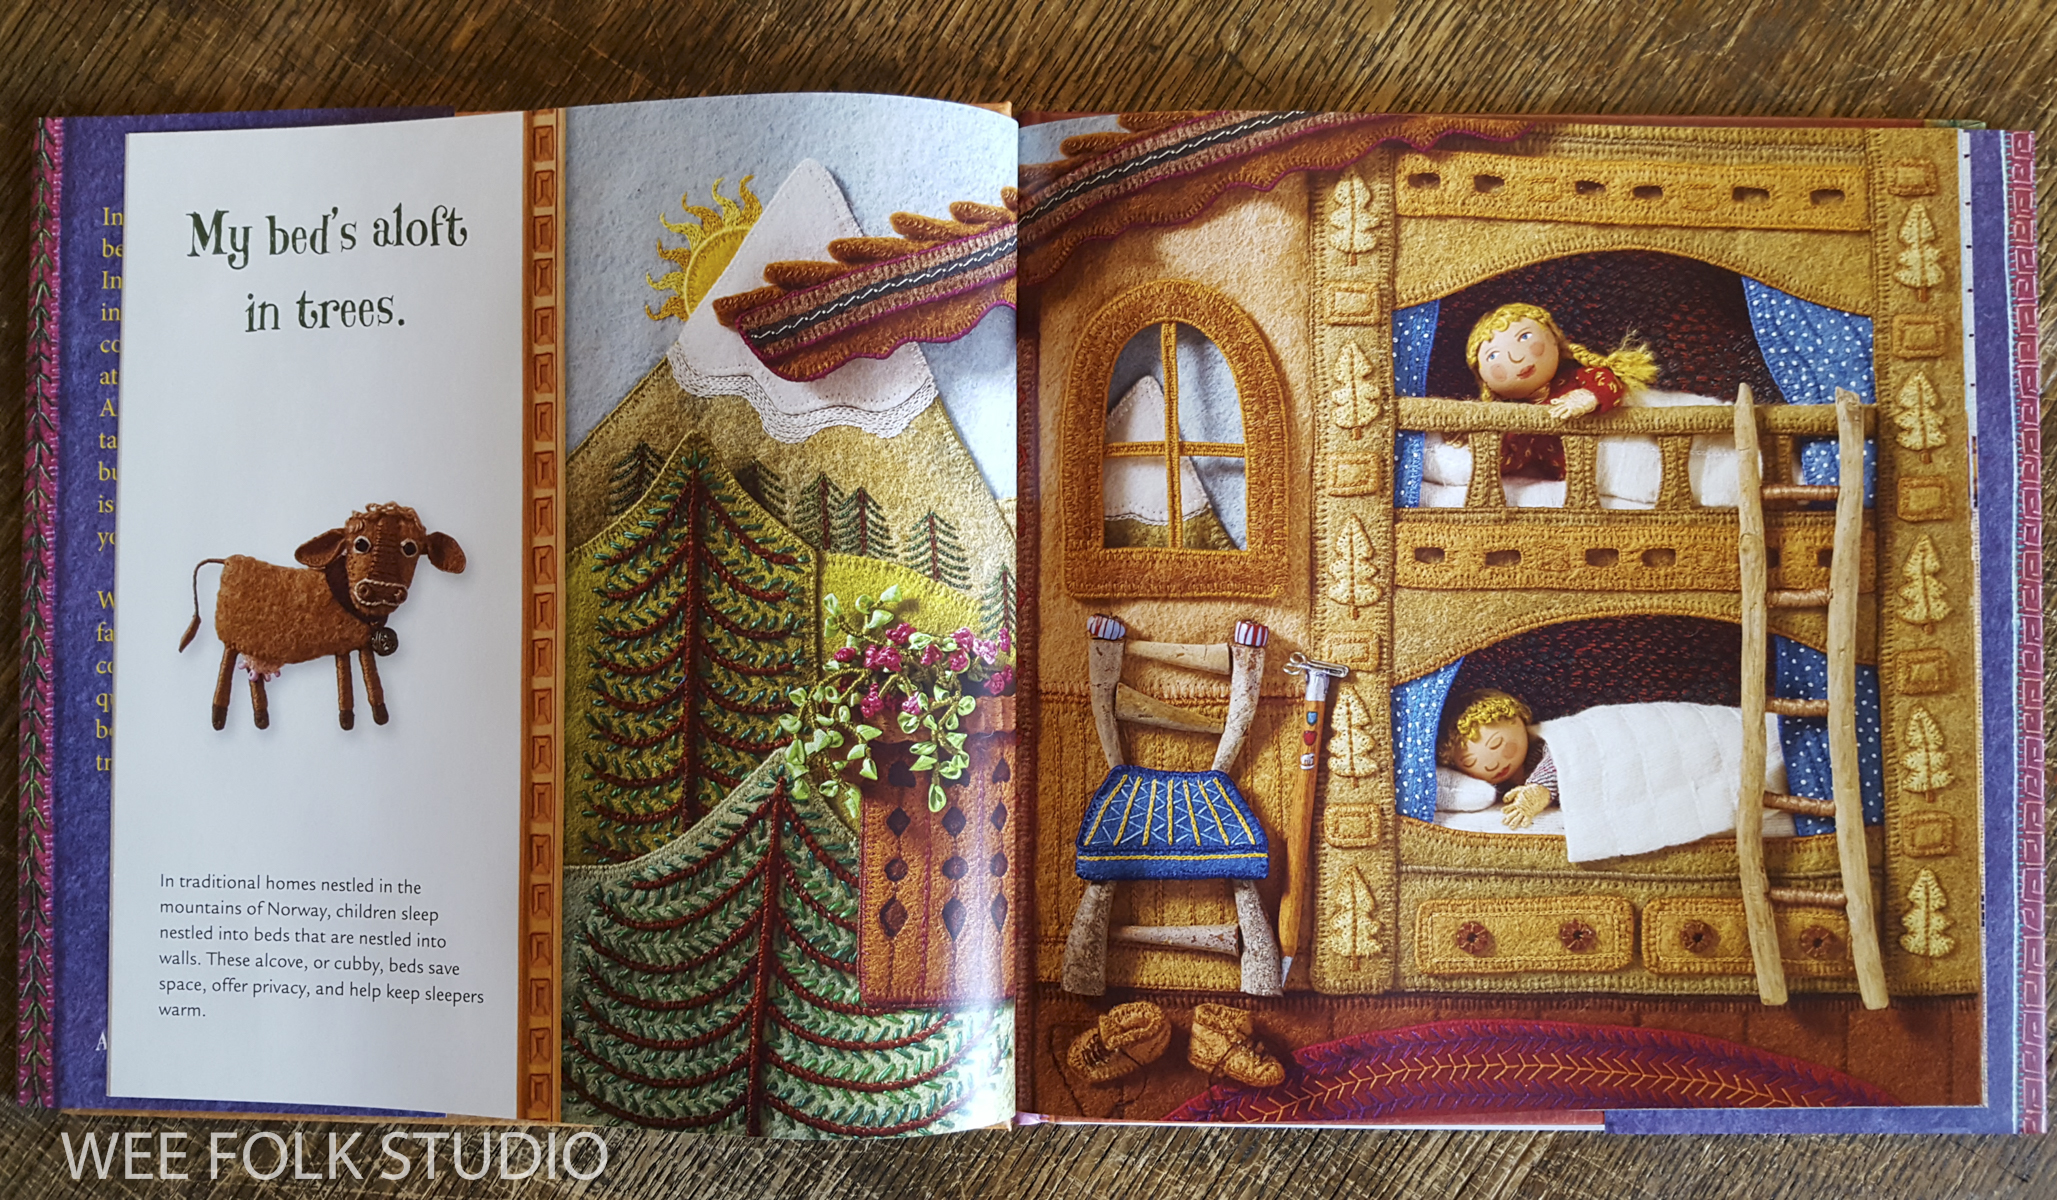
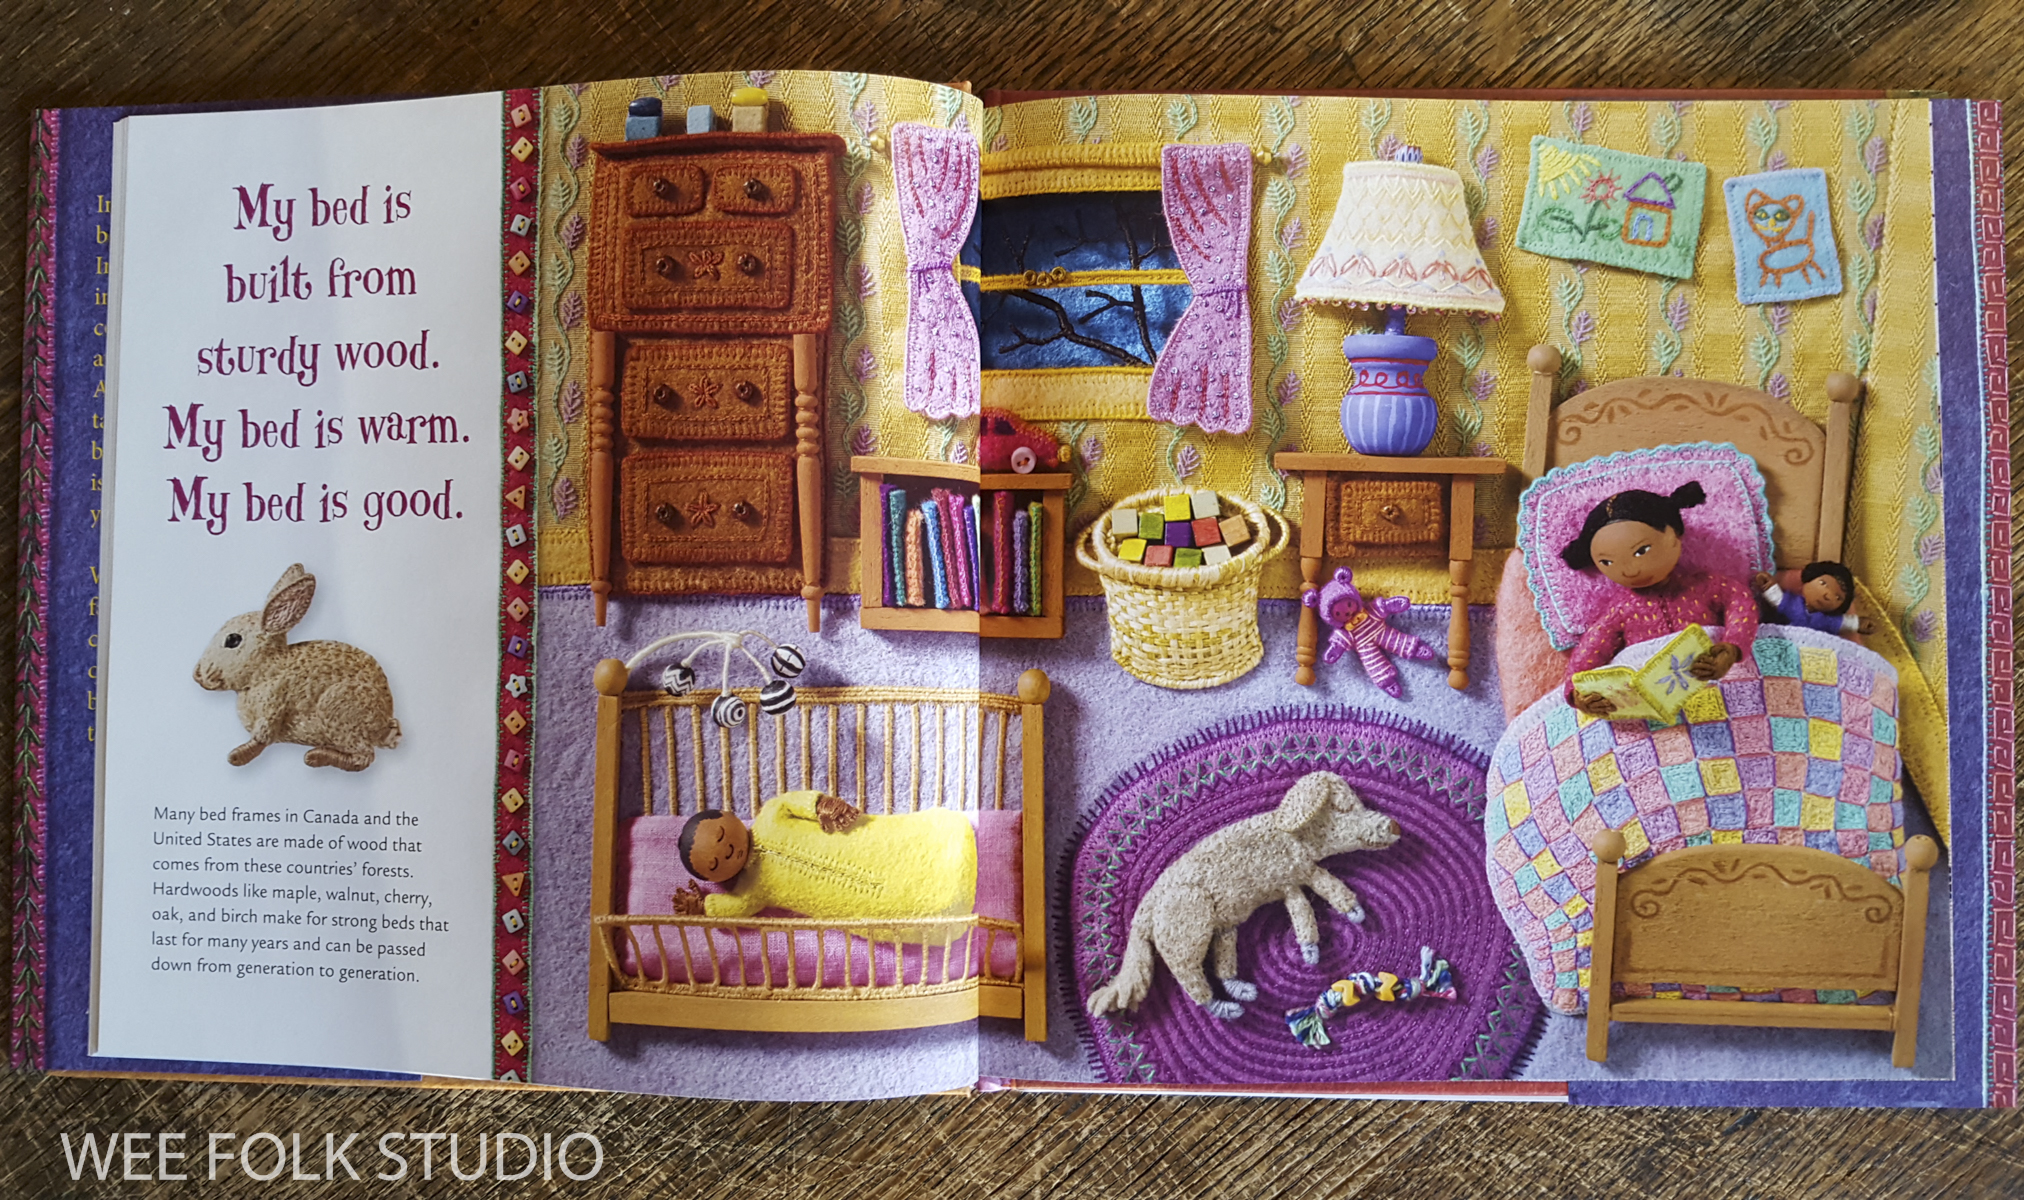
PART 5 – Rooster, Cow, Parrot, Camel, Bunny, Crocodile, Duck, Cat, Pony and Sheep: Today’s post finishes up the “Home” series about making the illustration in My Bed, where all of the animal icons featured throughout the book come together in a child’s bedroom at the end.
Part 1 gives an overview of the page.
Part 2 focuses on the outside architectural details of the cut-away house.
Part 3 takes a peek inside at the furniture and the sleeping child.
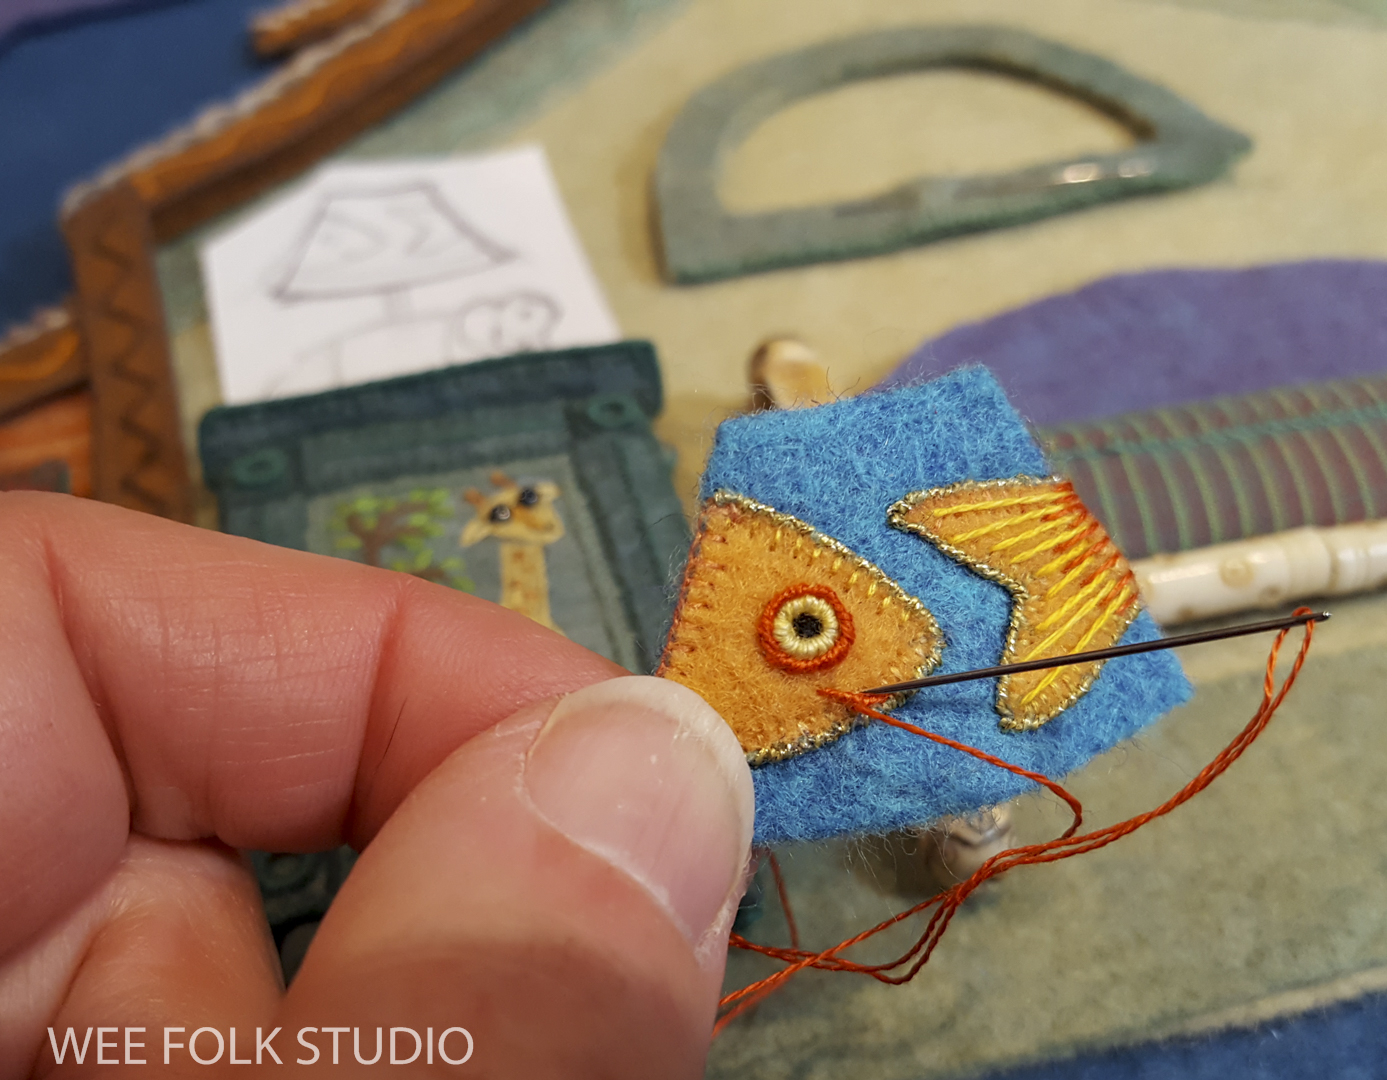
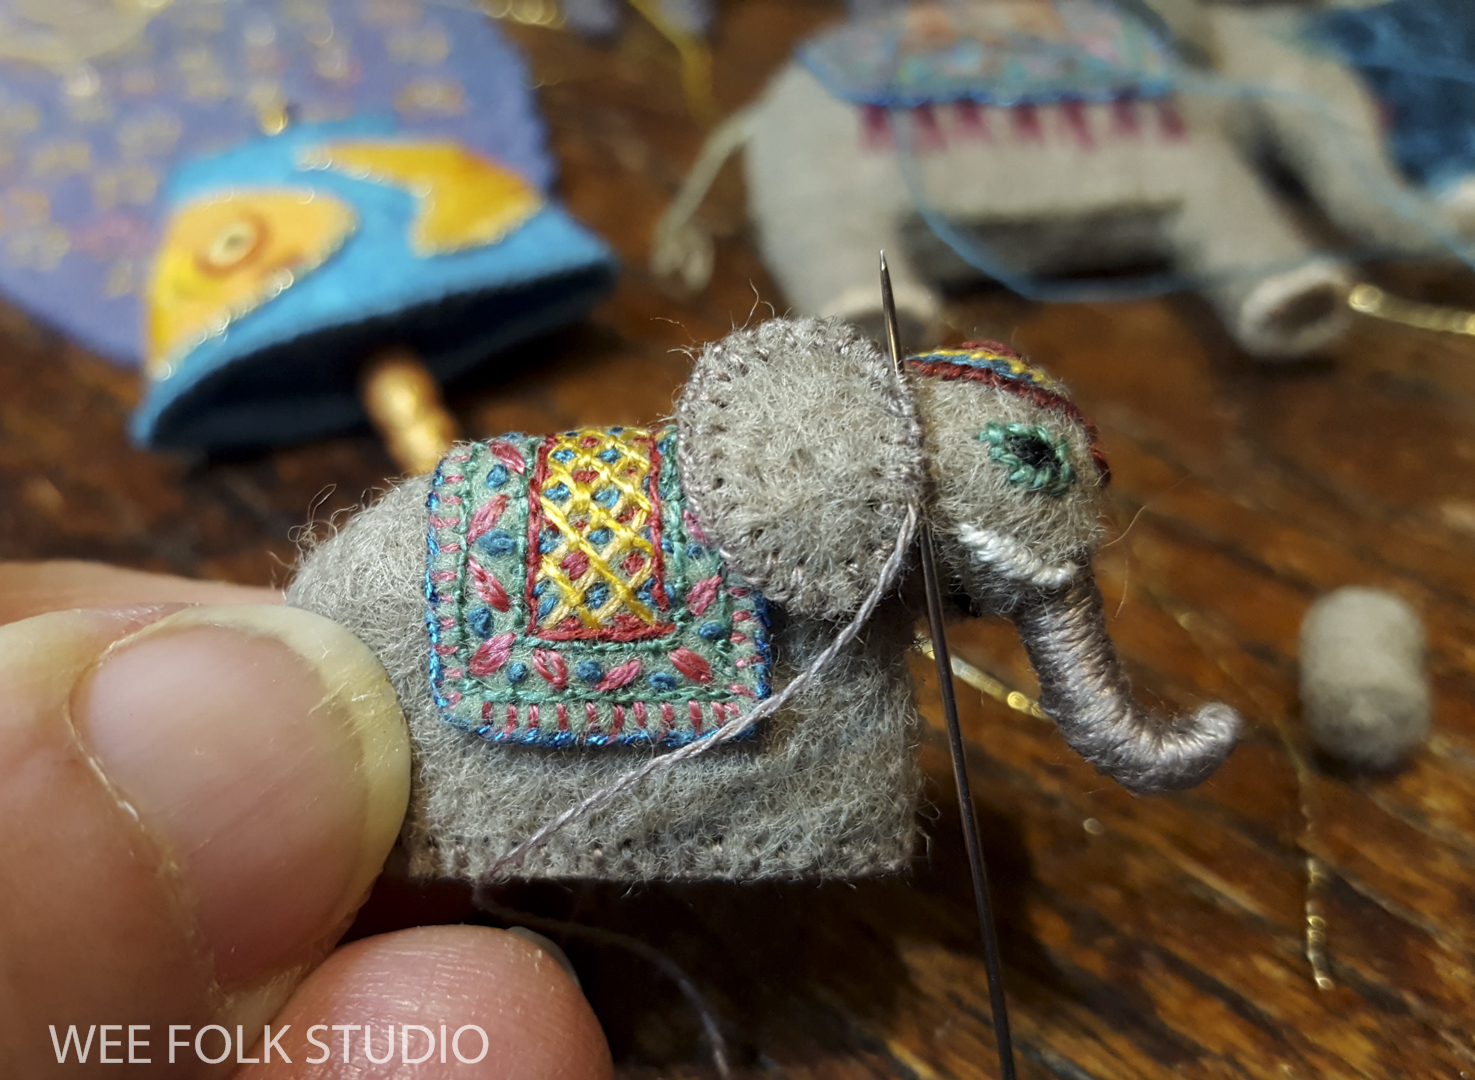
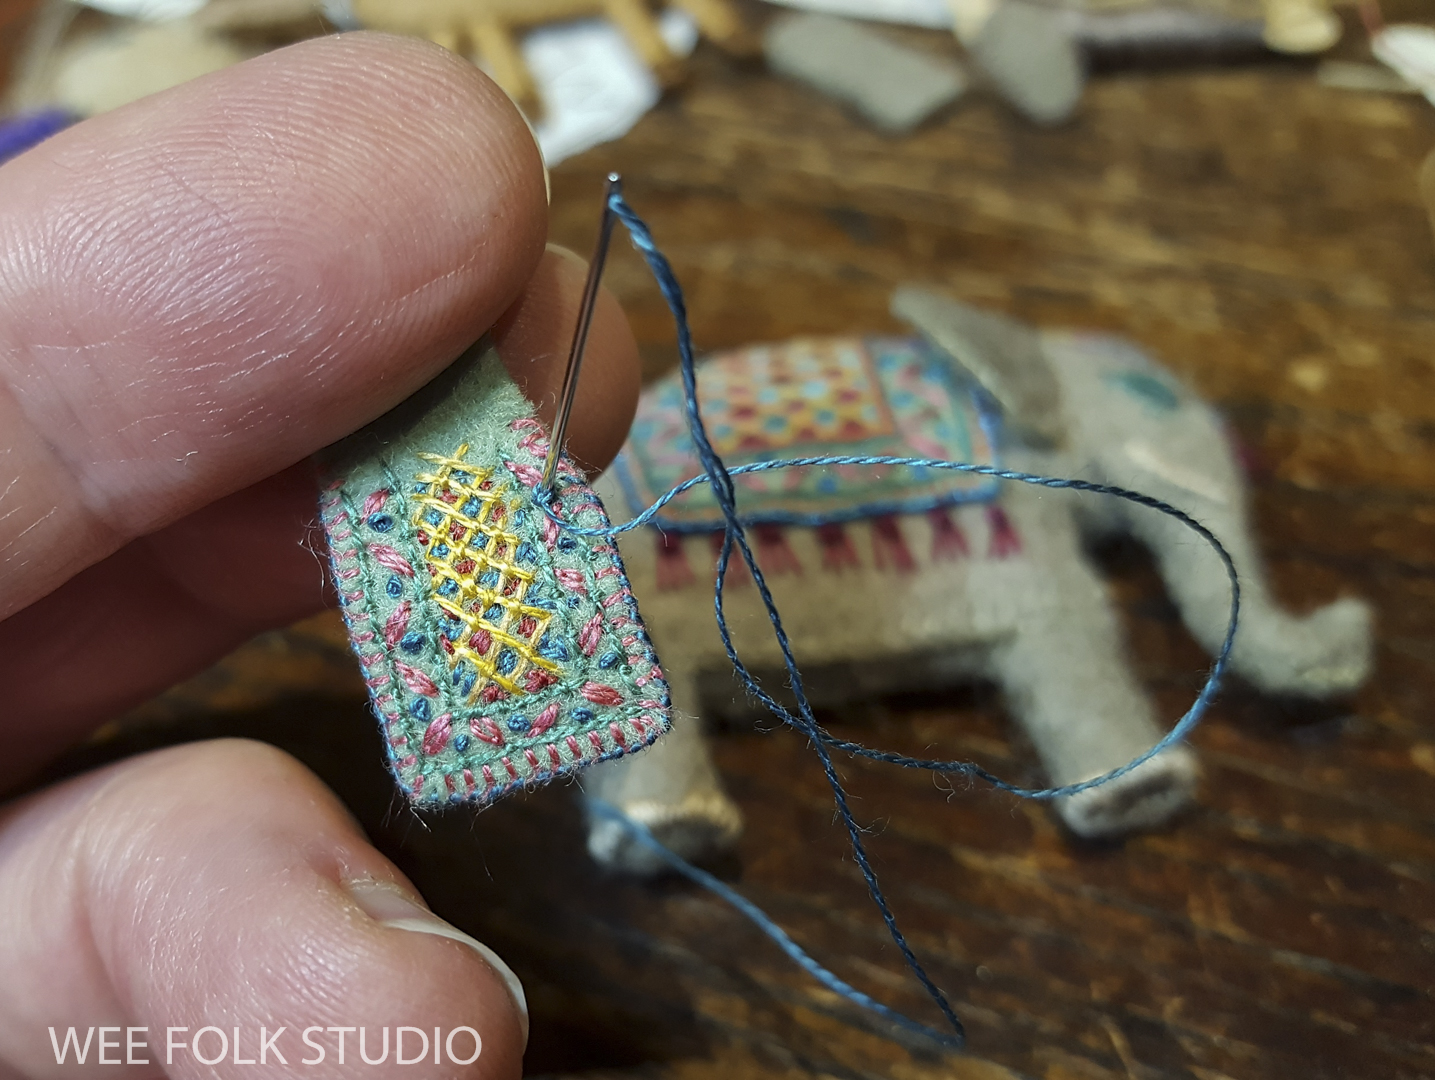
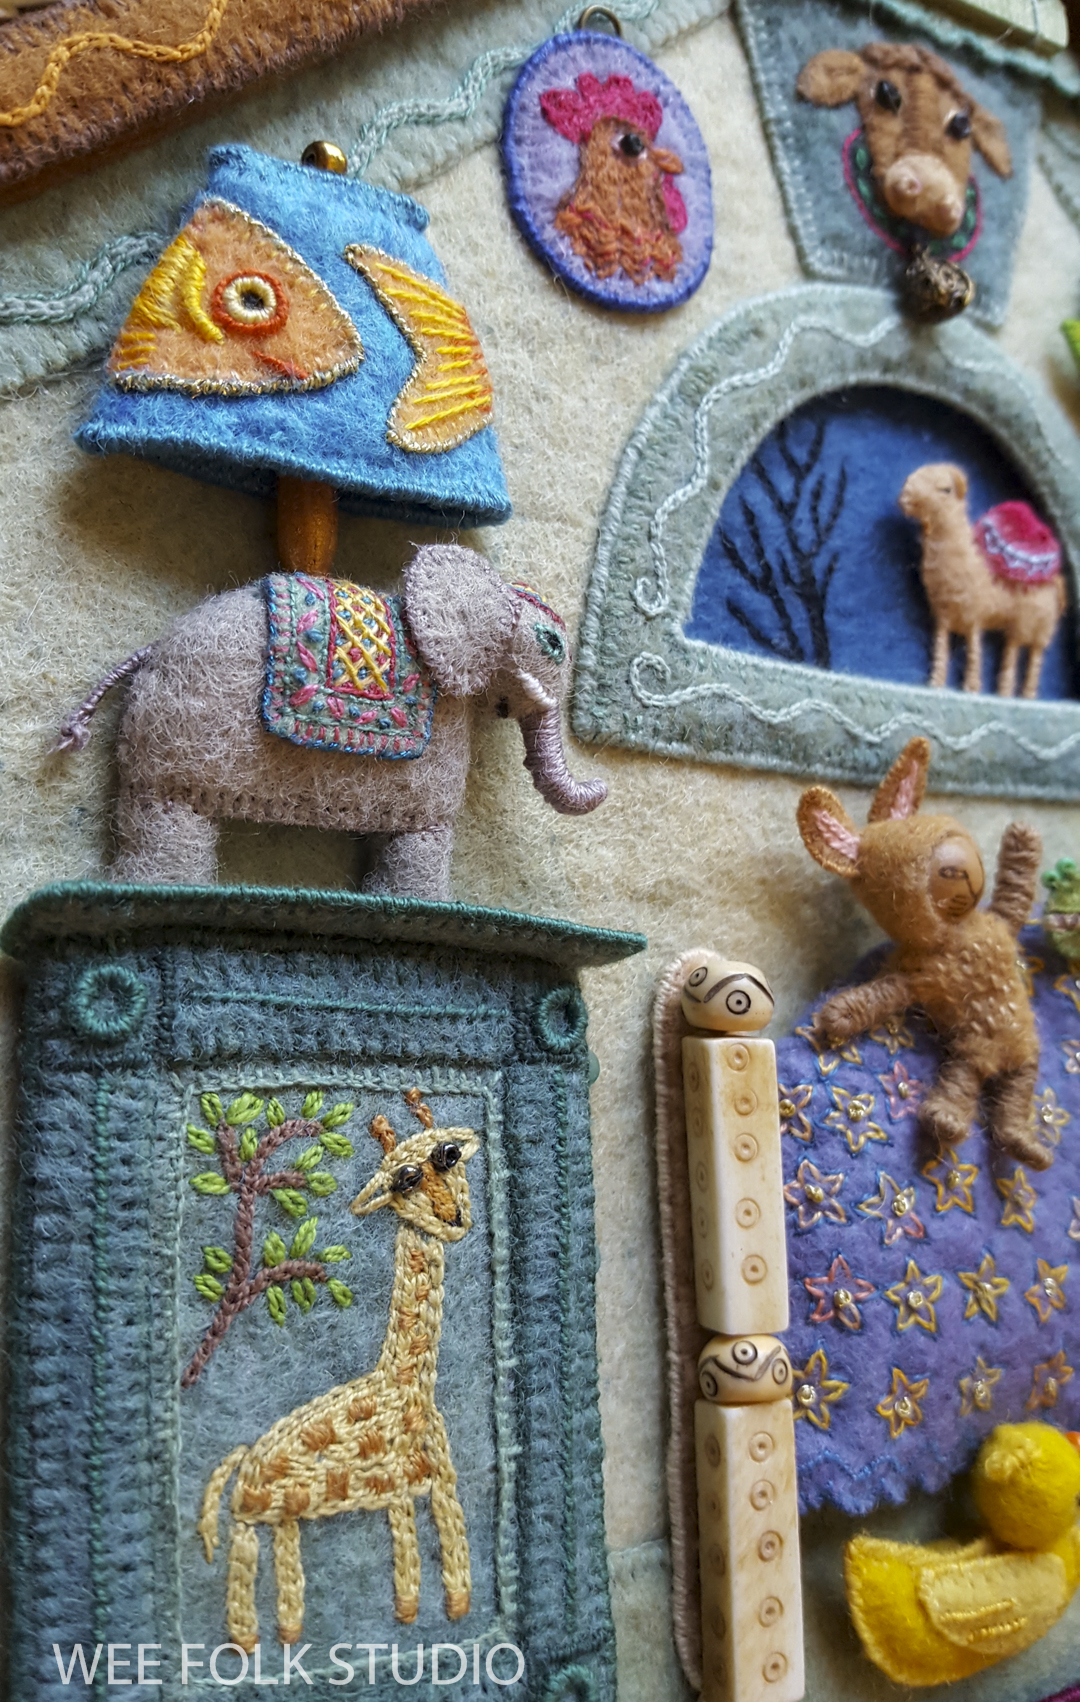
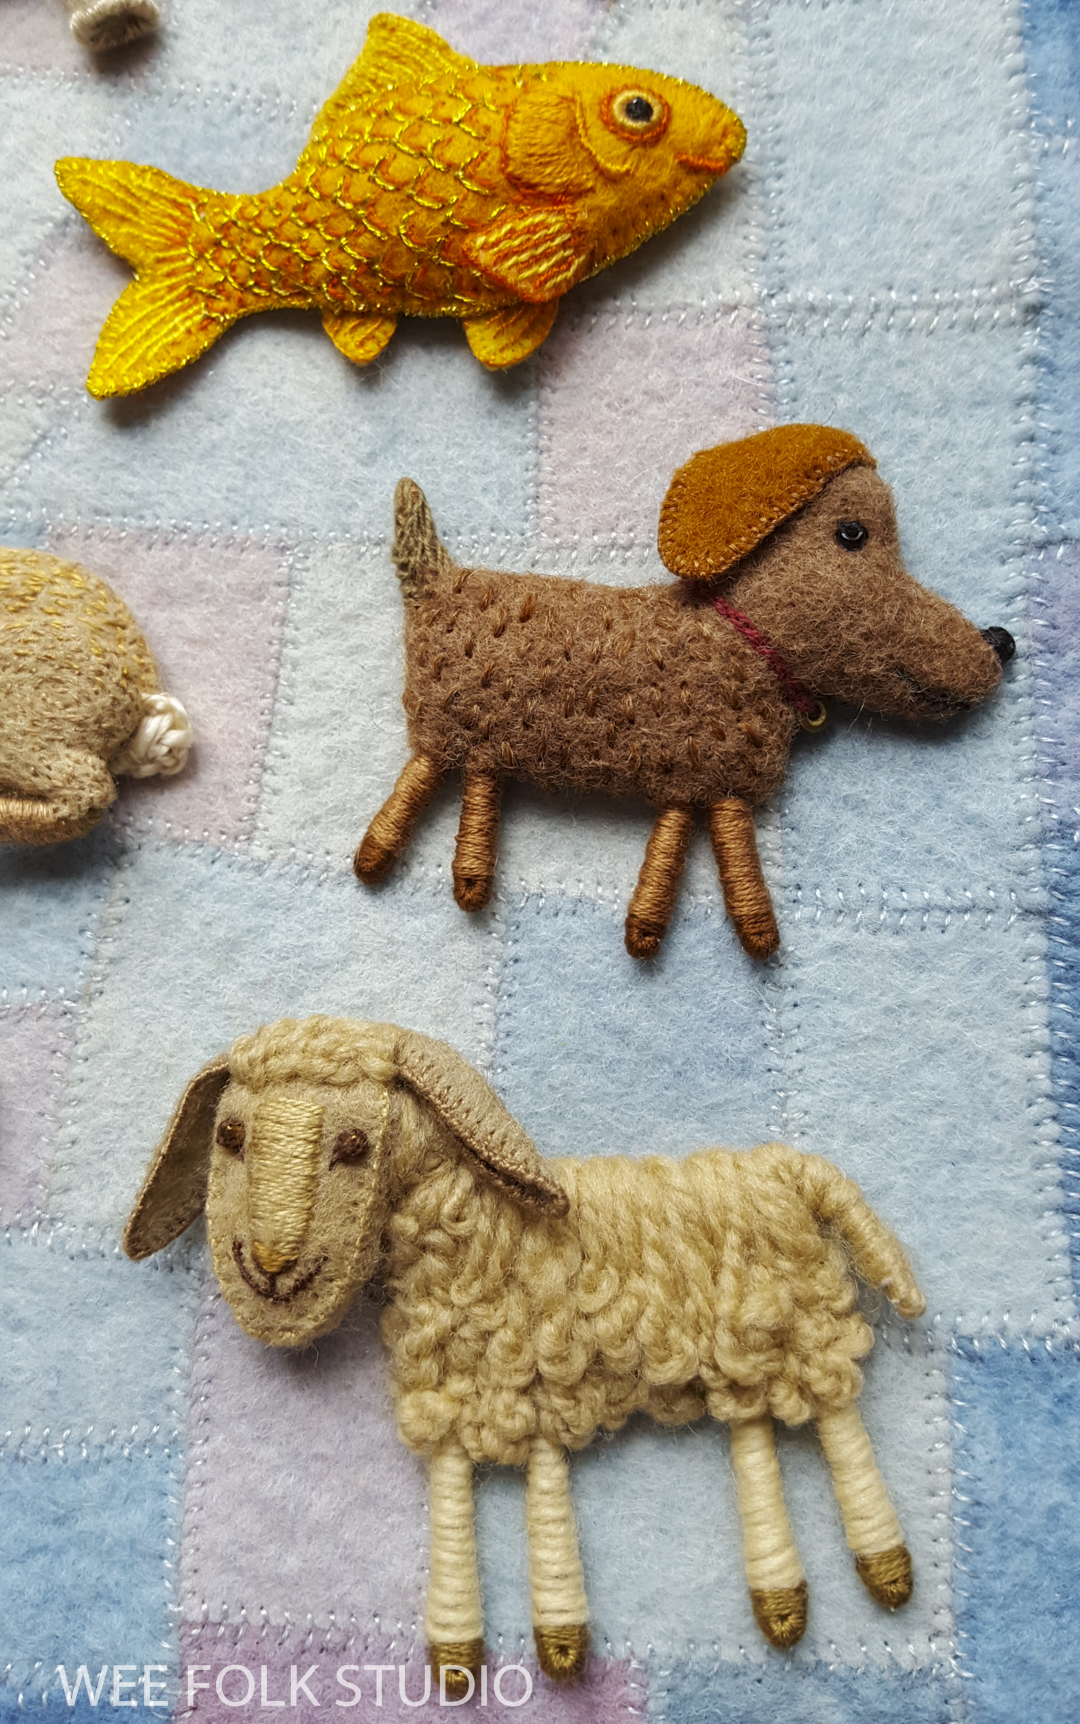
Part 4 shows how I made the elephant lamp and goldfish lampshade.


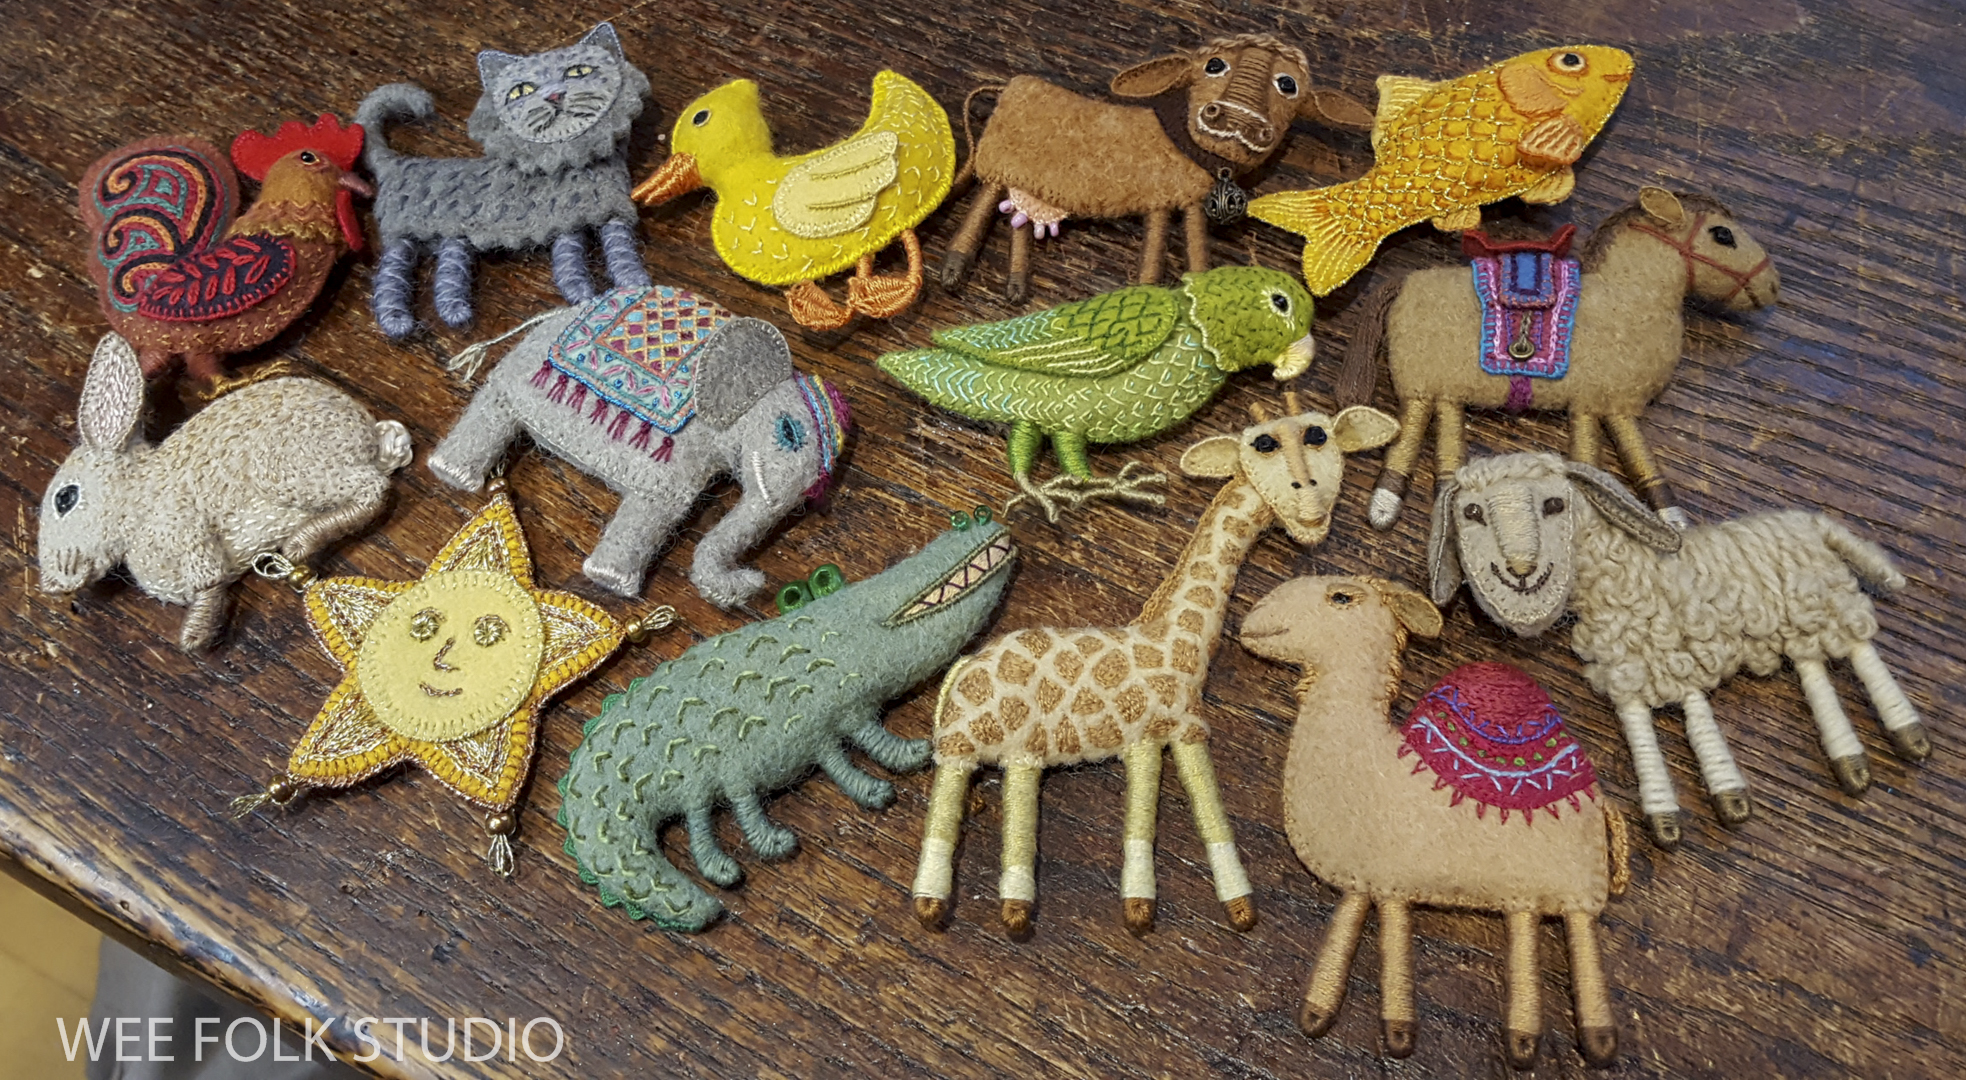
It was so much fun to find ways to cram all of the animals into the child’s bedroom – overhead and underfoot, hanging on the wall, resting on the windowsill and crowding the bed. I like to think of these mini versions as souvenirs from the places around the world where the book travels. As you can see, my interior design style is anything but minimalist.
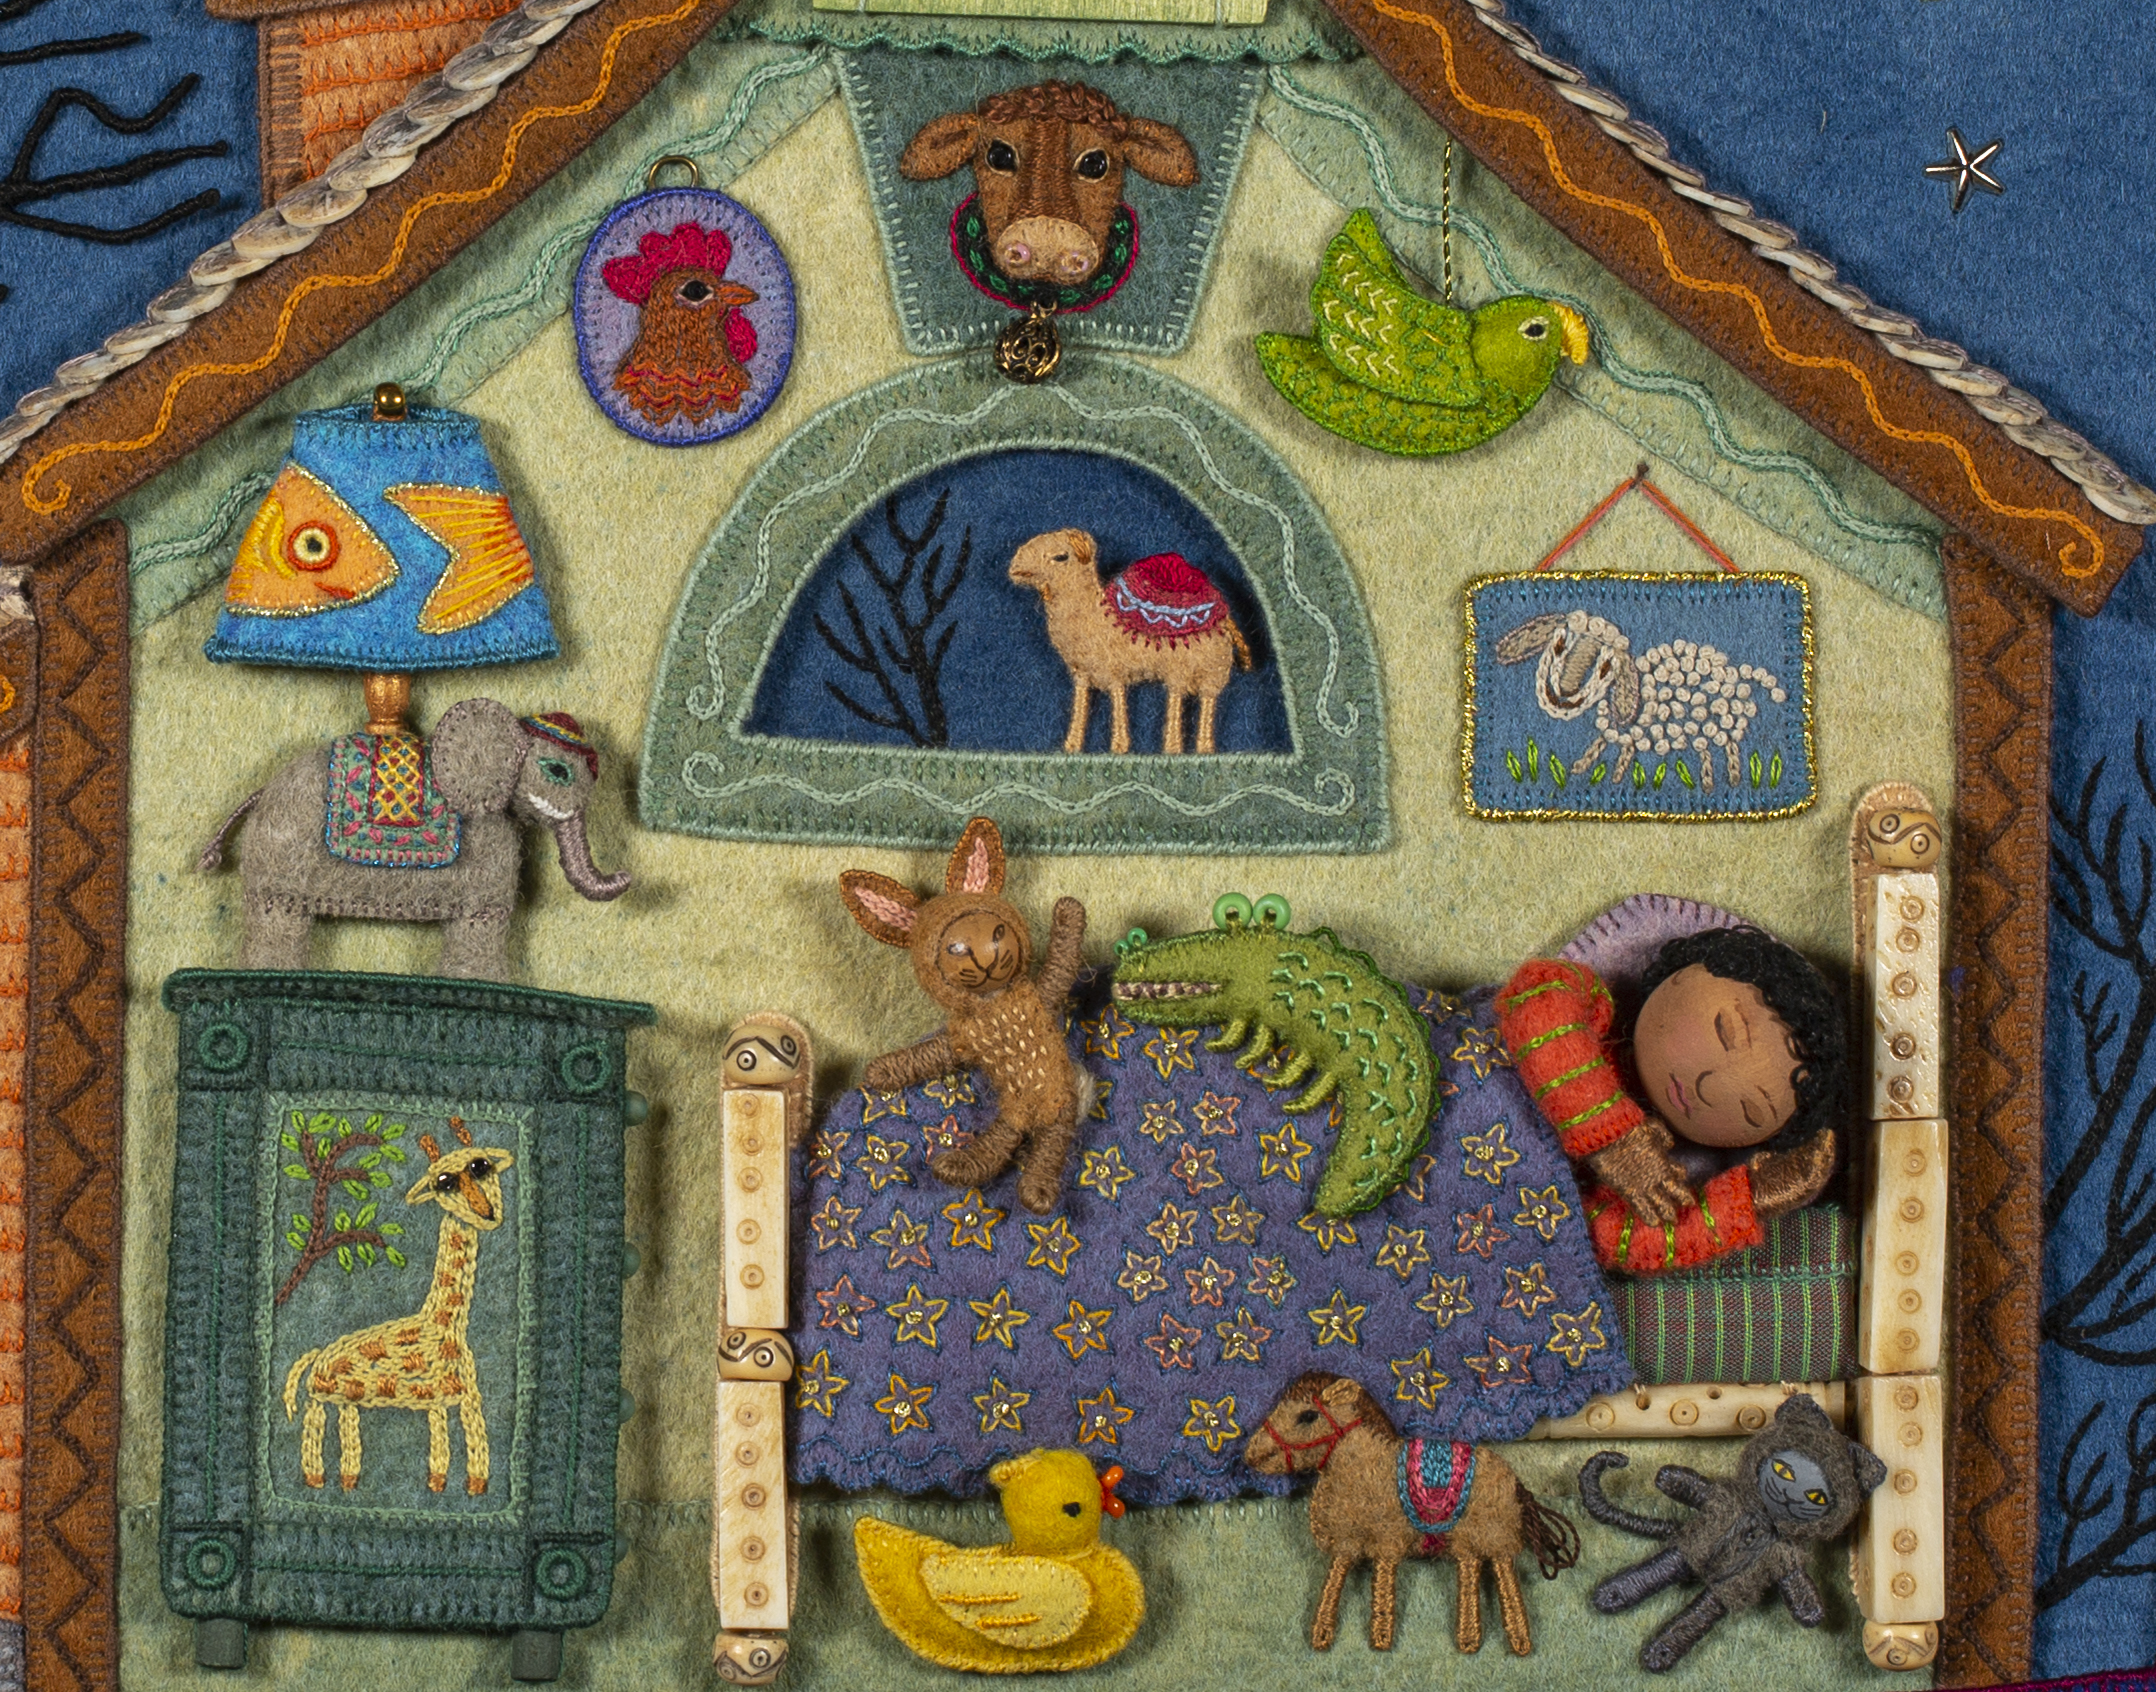
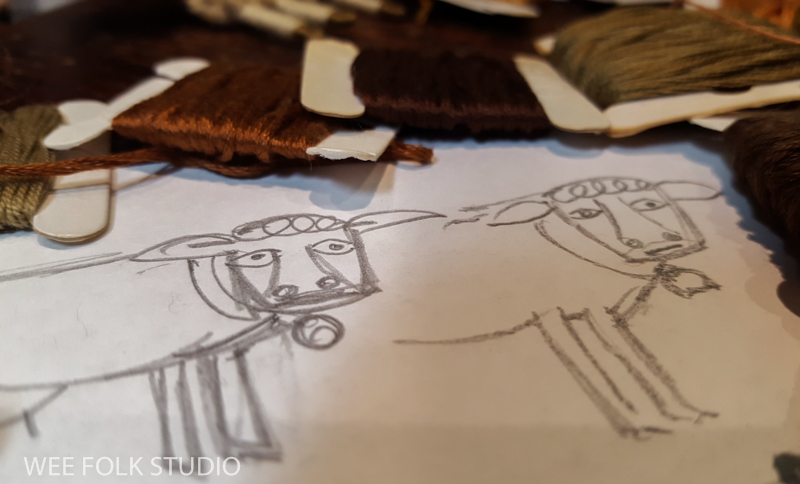
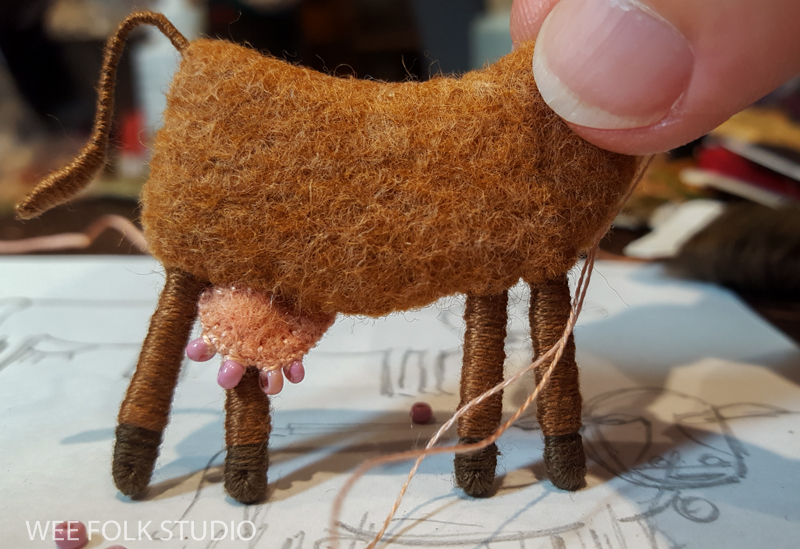
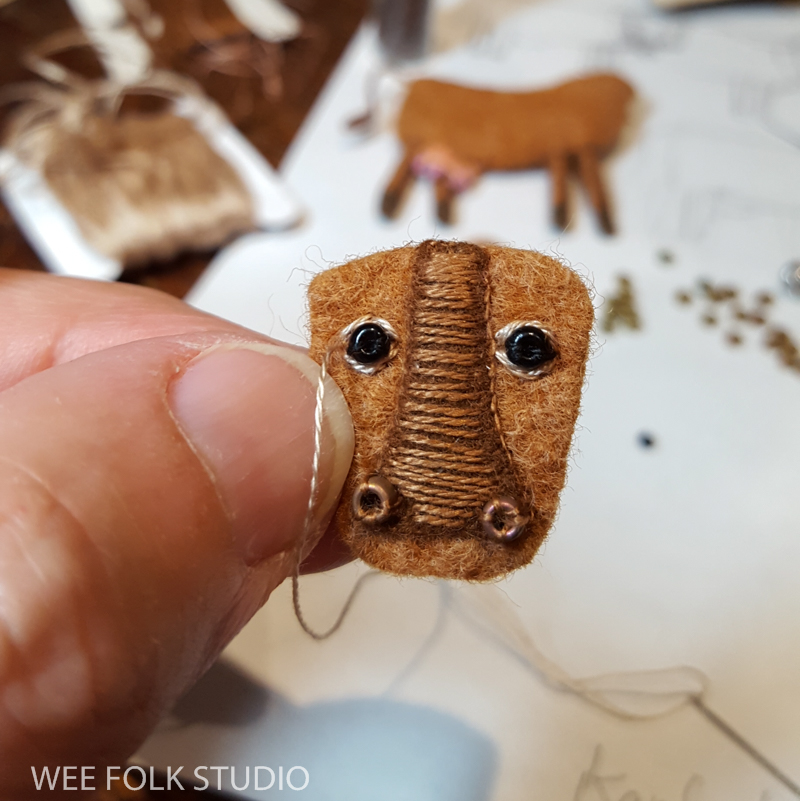
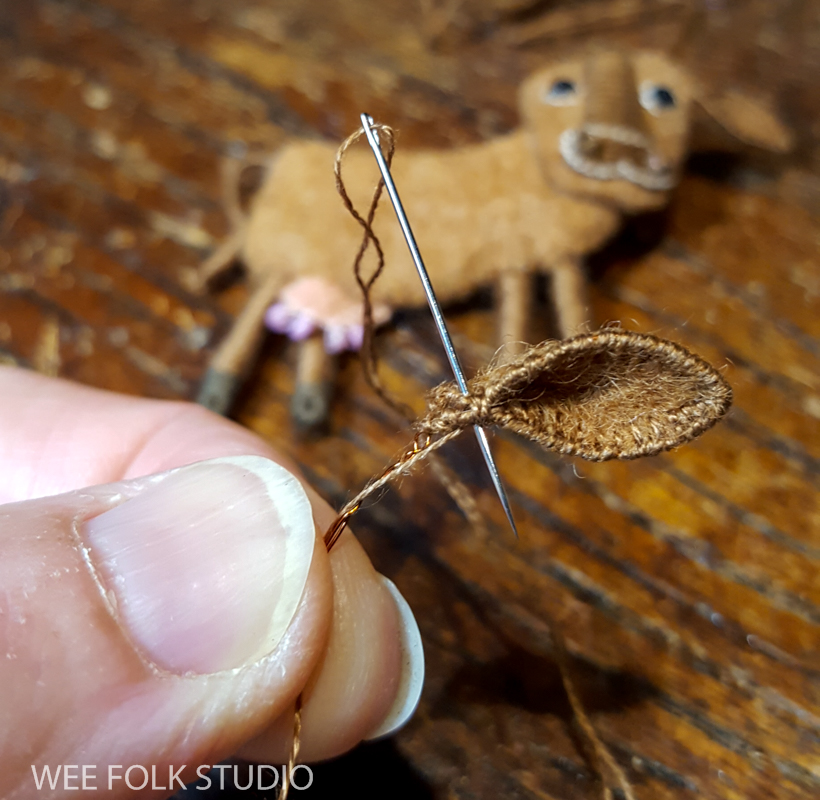
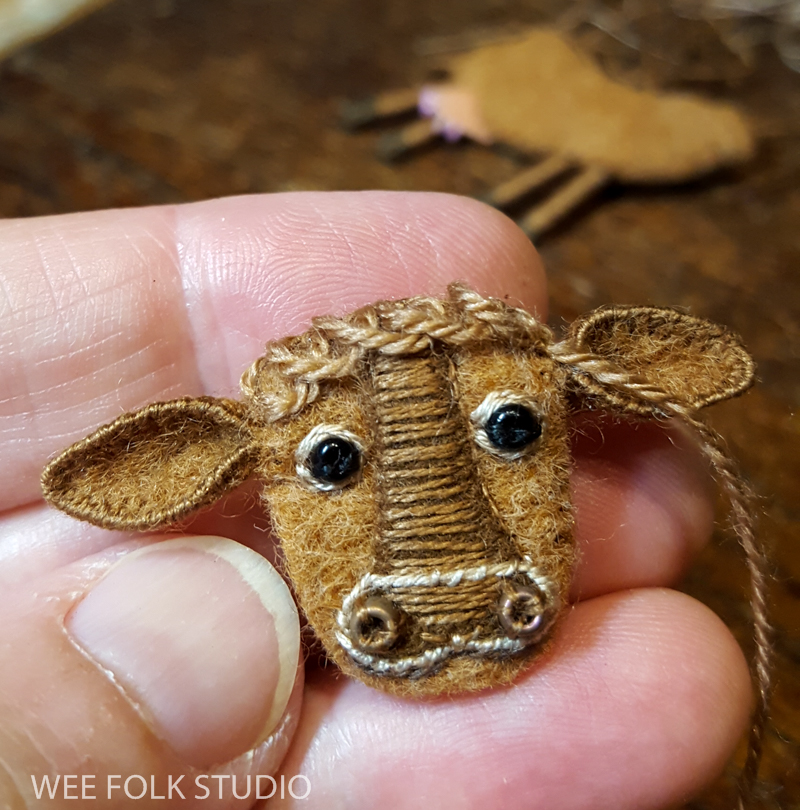
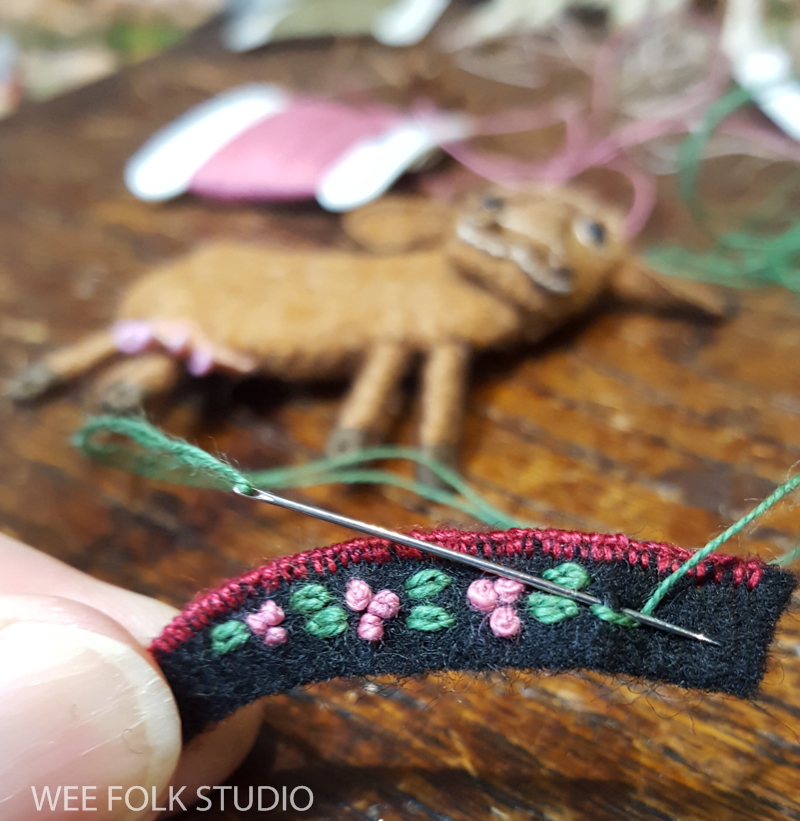
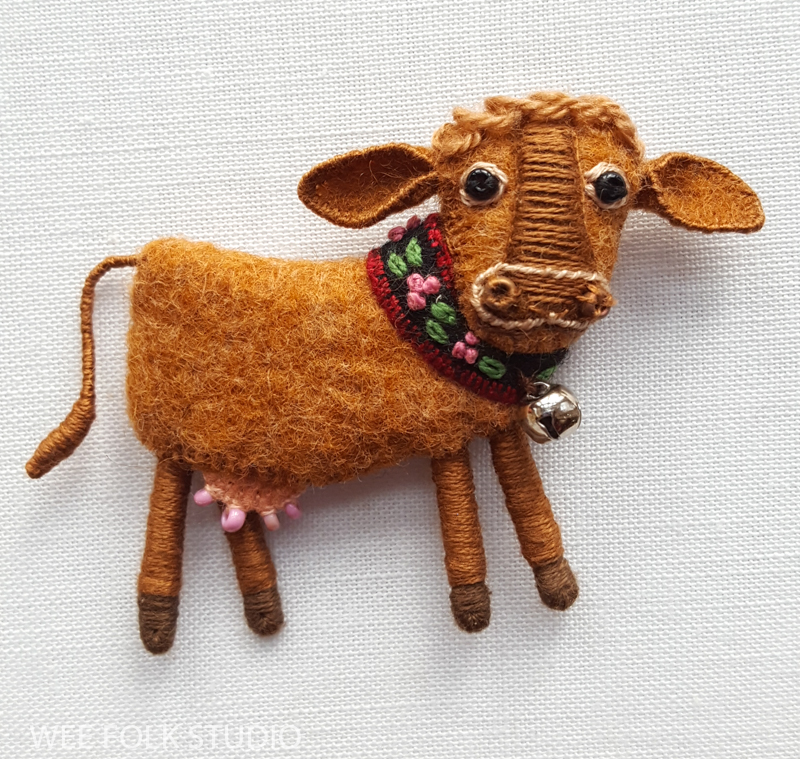
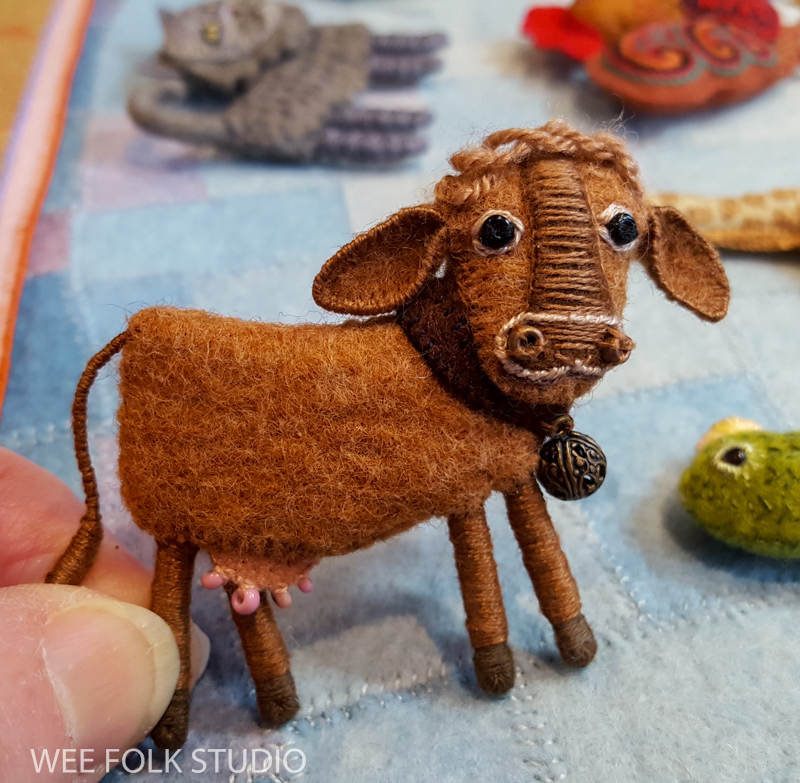
Some of the animals are depicted in portrait form, such as the rooster and the cow.


The parrot took flight…

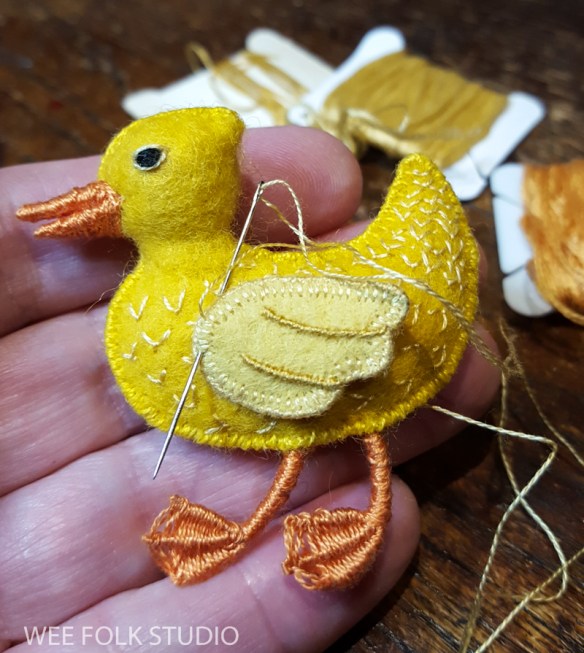
and the sheep emerged through french knots and chain stitches.

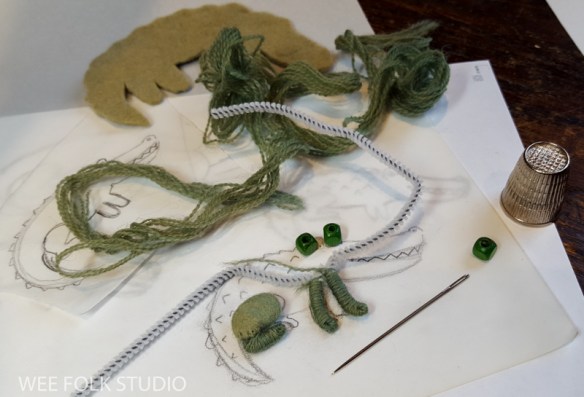
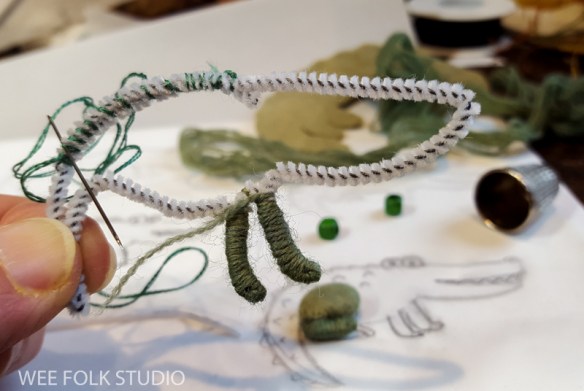
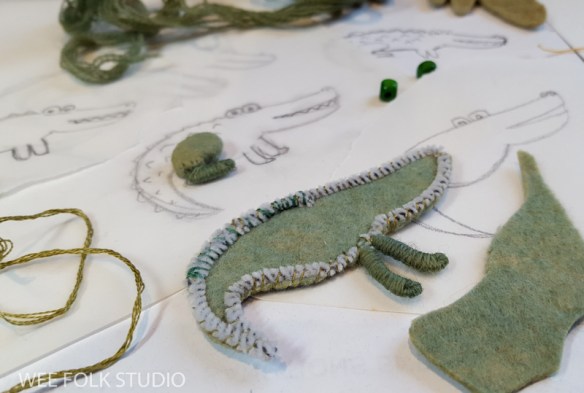
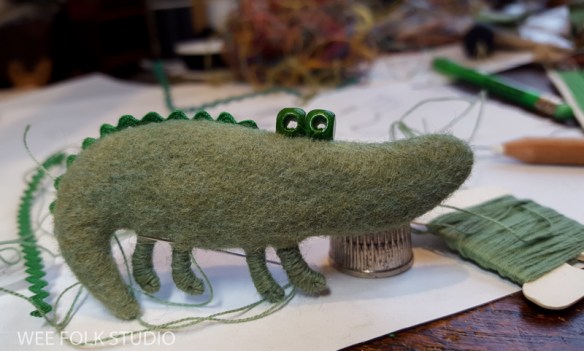
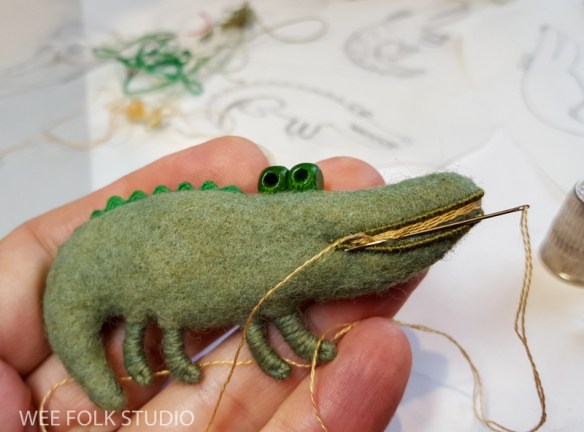
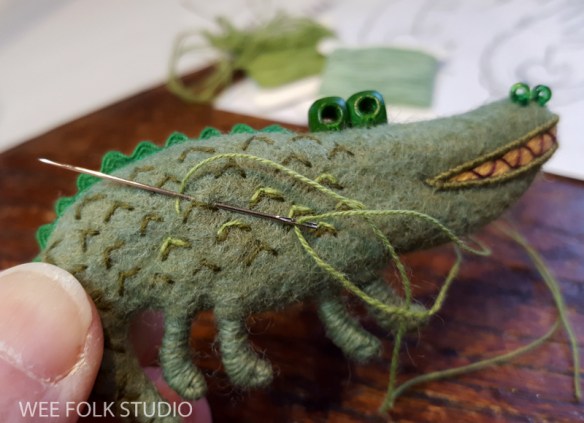
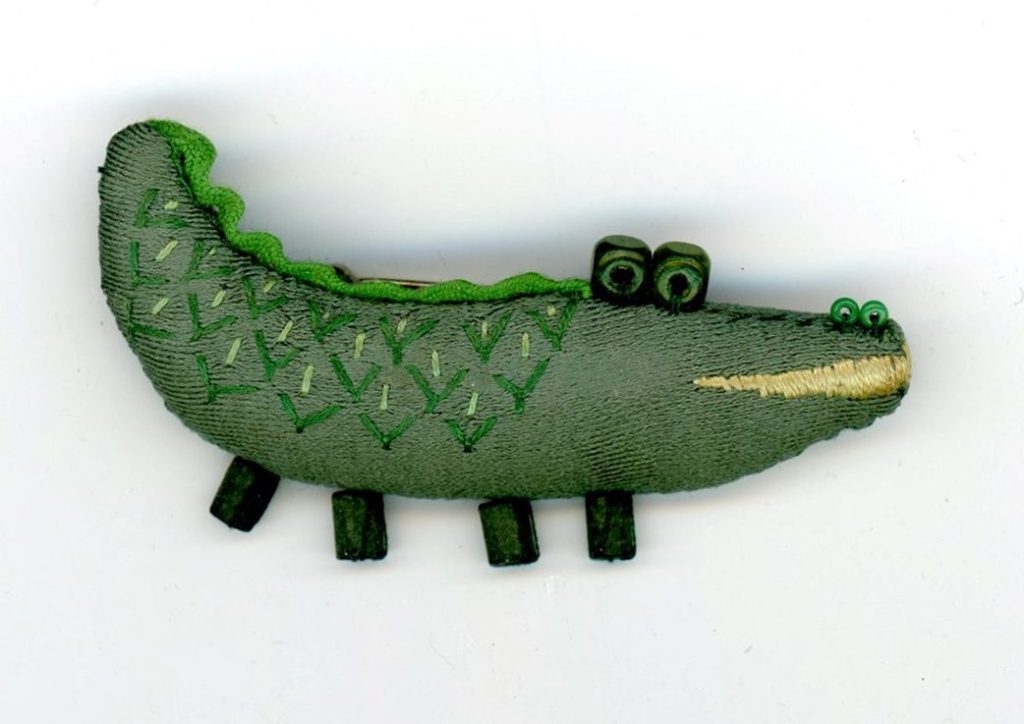
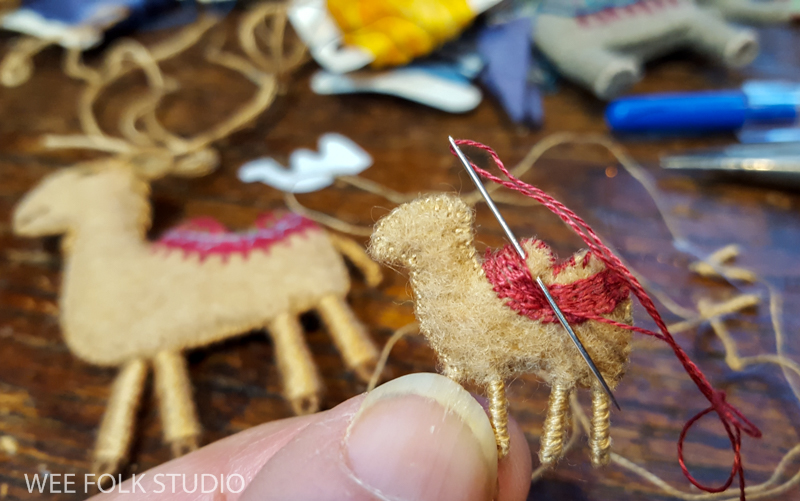
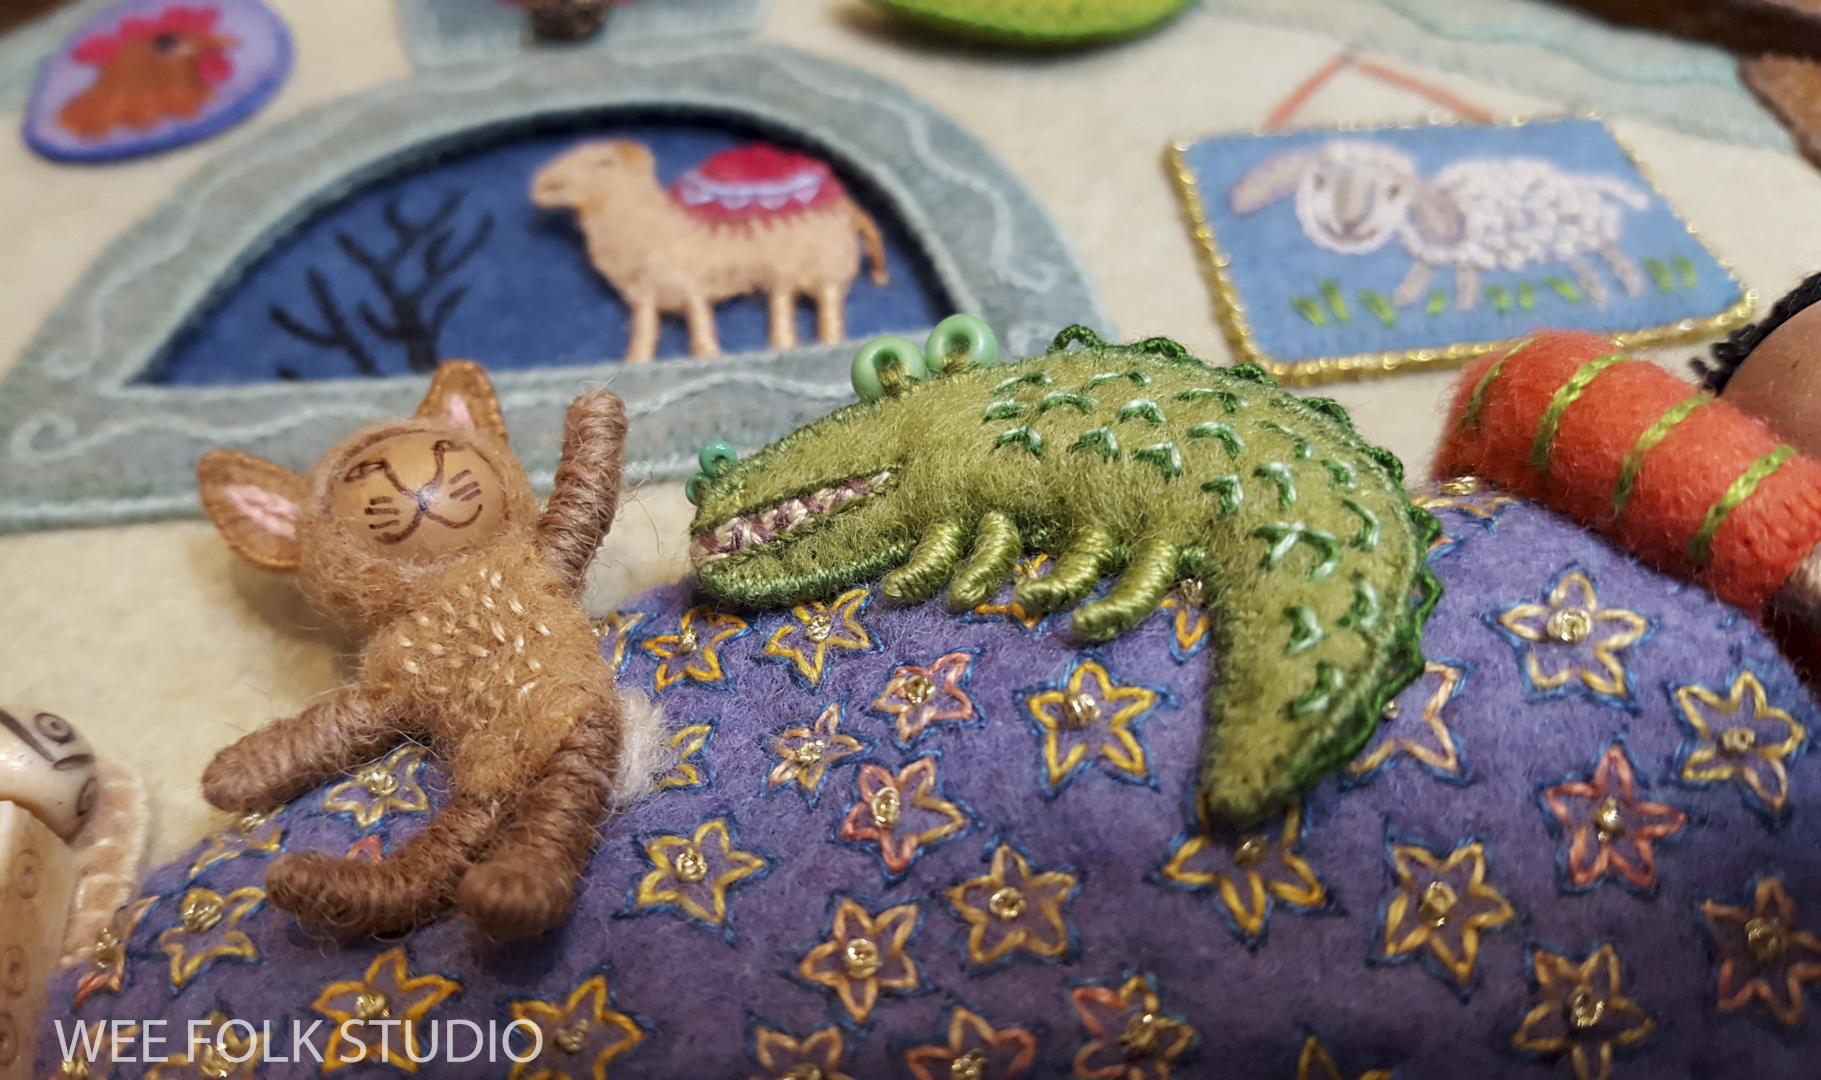
I shrunk the crocodile to about half it’s size. You’d think it would be tedious, but I relish this kind of thing. I like figuring out how to reduce the scale, while preserving what makes something or someone identifiable.


The crocodile was a last minute addition due to some editorial adjustments, but luckily there was room to fit him on the bed.
We filmed this little animation before the crocodile was added.
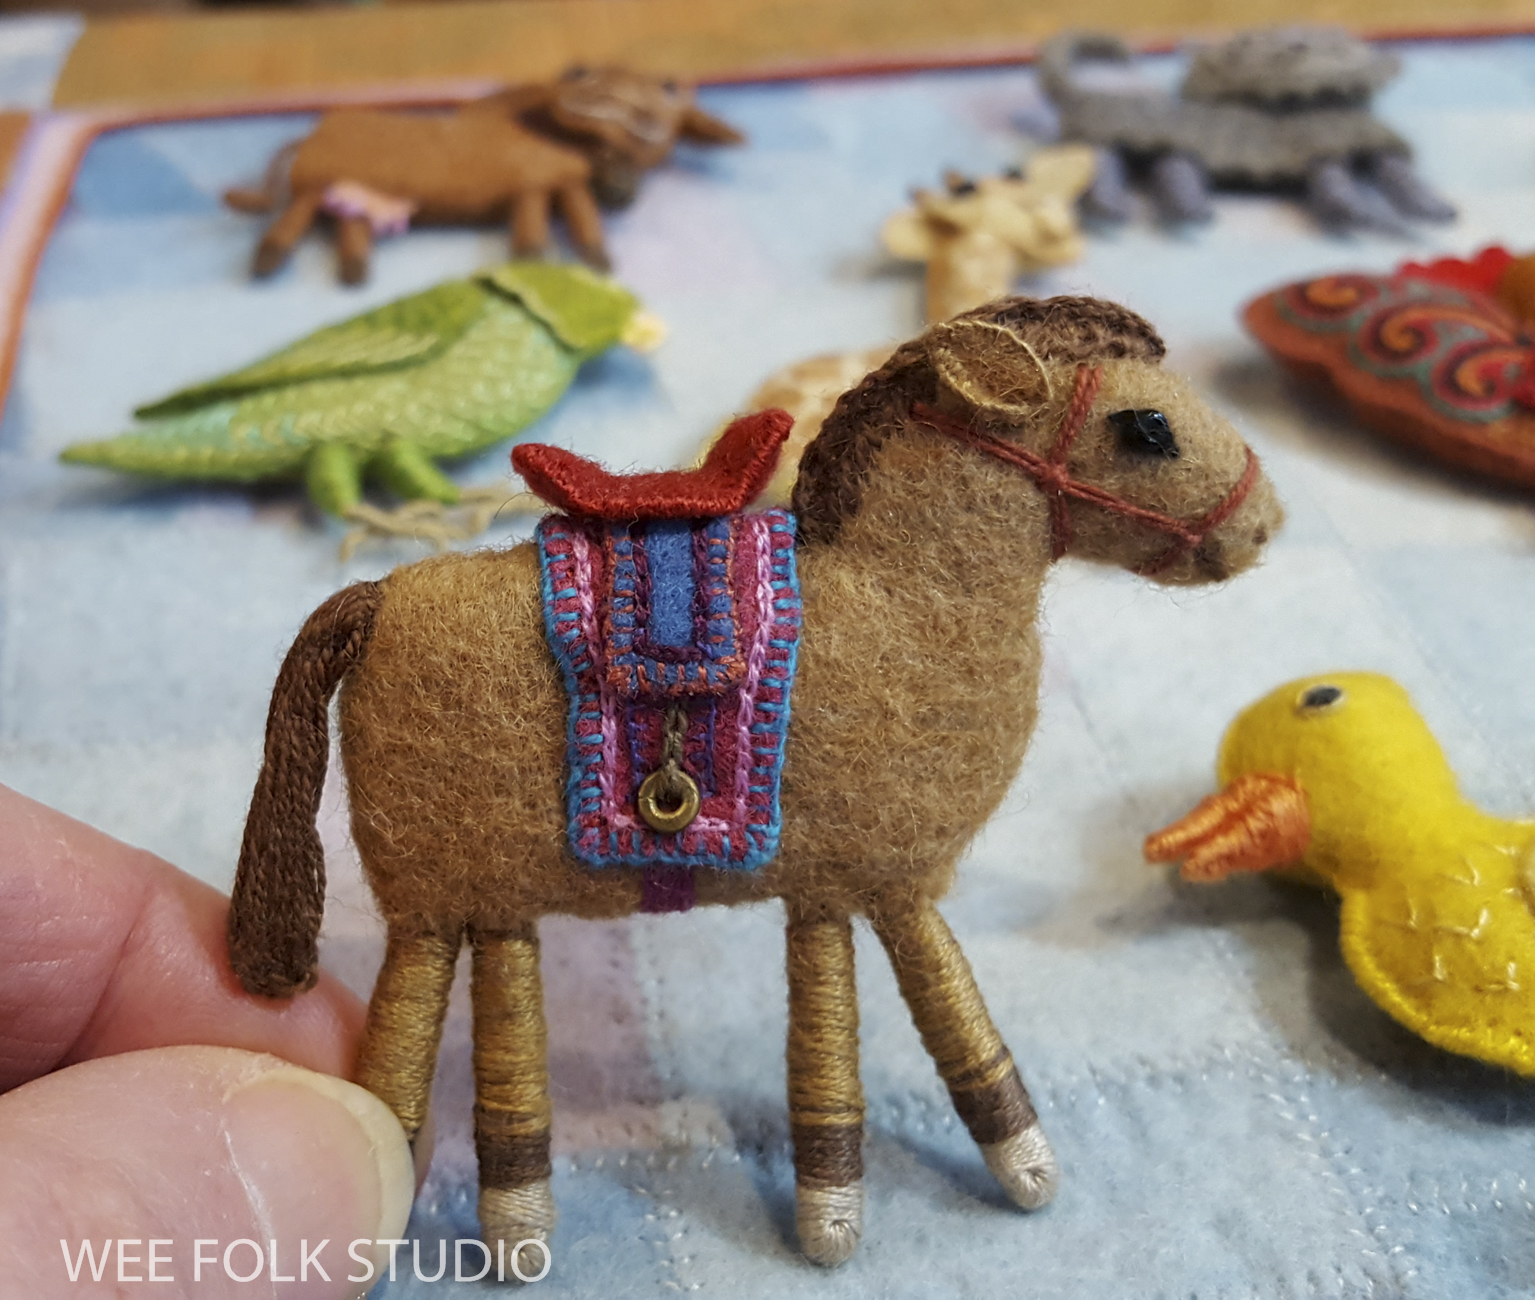
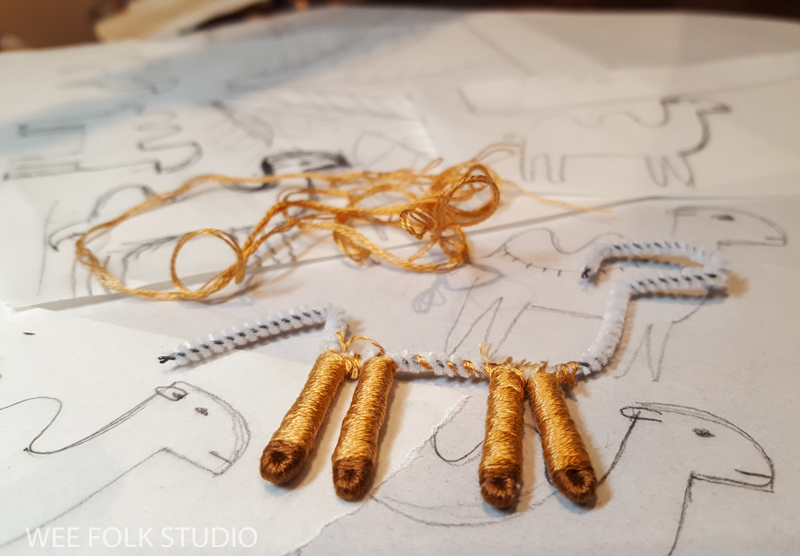
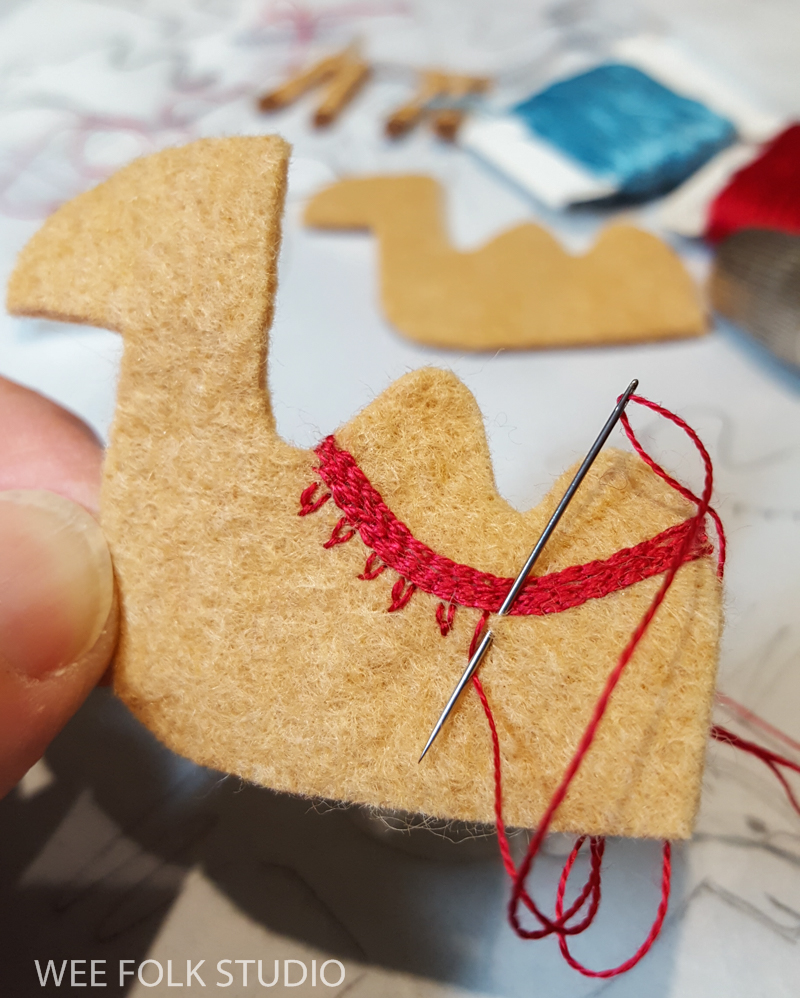
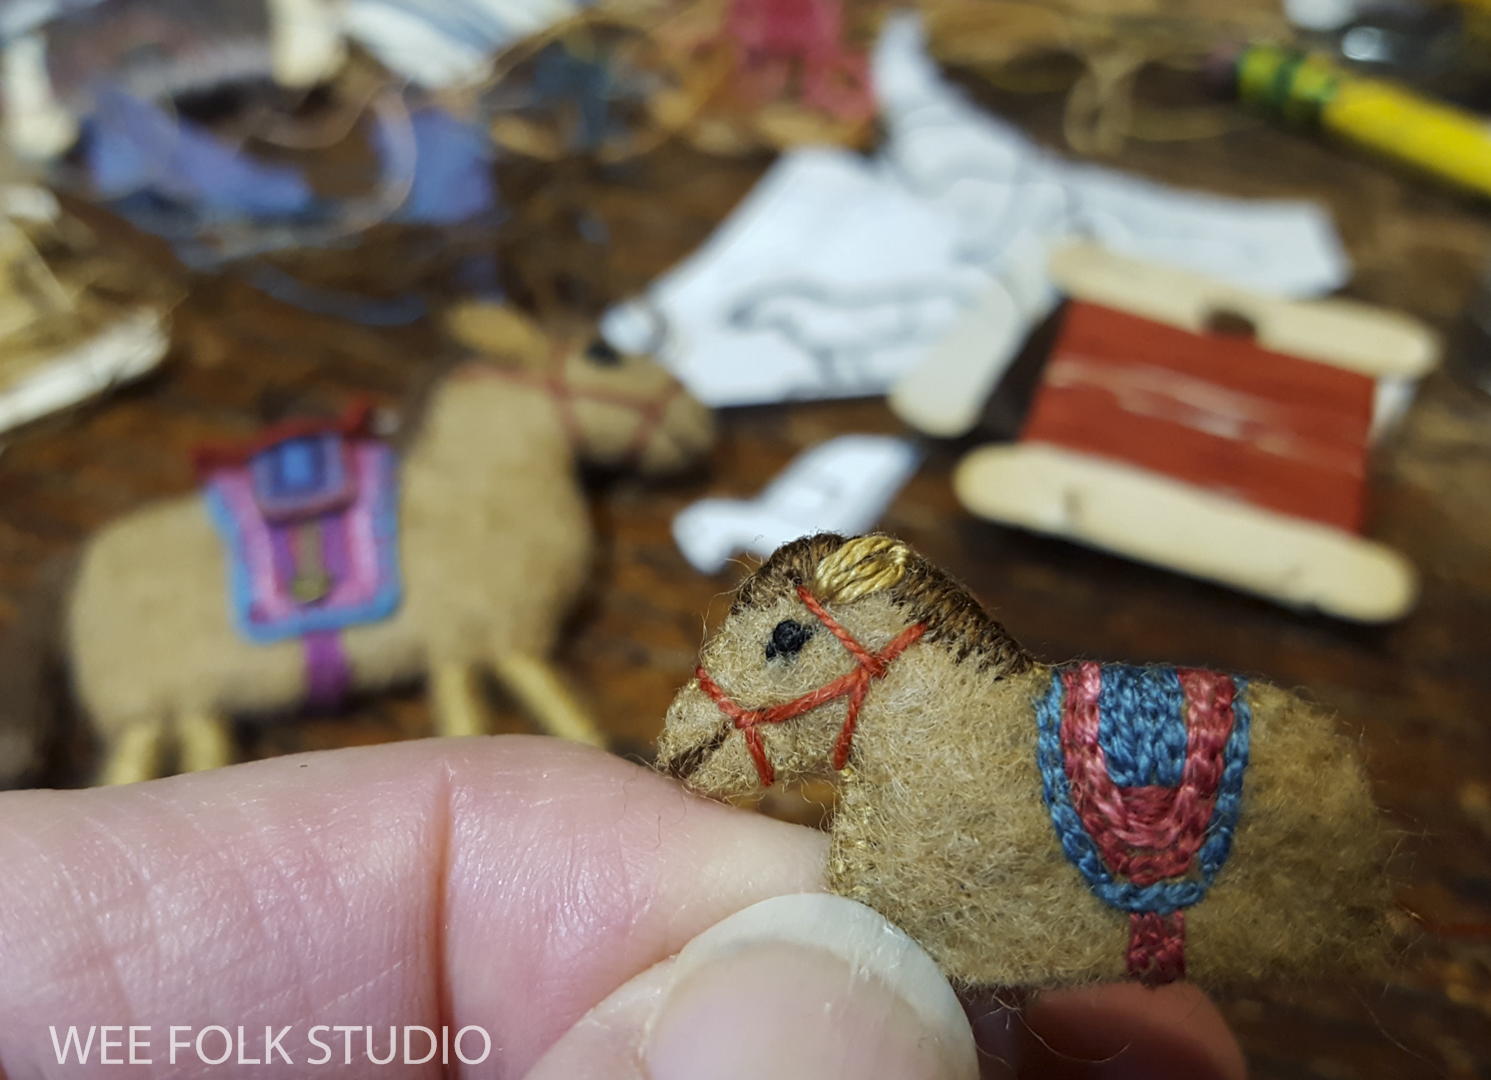
There were other changes, too. Both the larger and mini versions of the camel had to undergo plastic surgery, when a follower pointed out that African camels are the dromedary or one-hump type, which shows sloppy research on my part. So, I transformed this guy’s two-humps into one! Luckily this all happened while I was still making the illustrations, so it could be fixed before the artwork was photographed for the book.

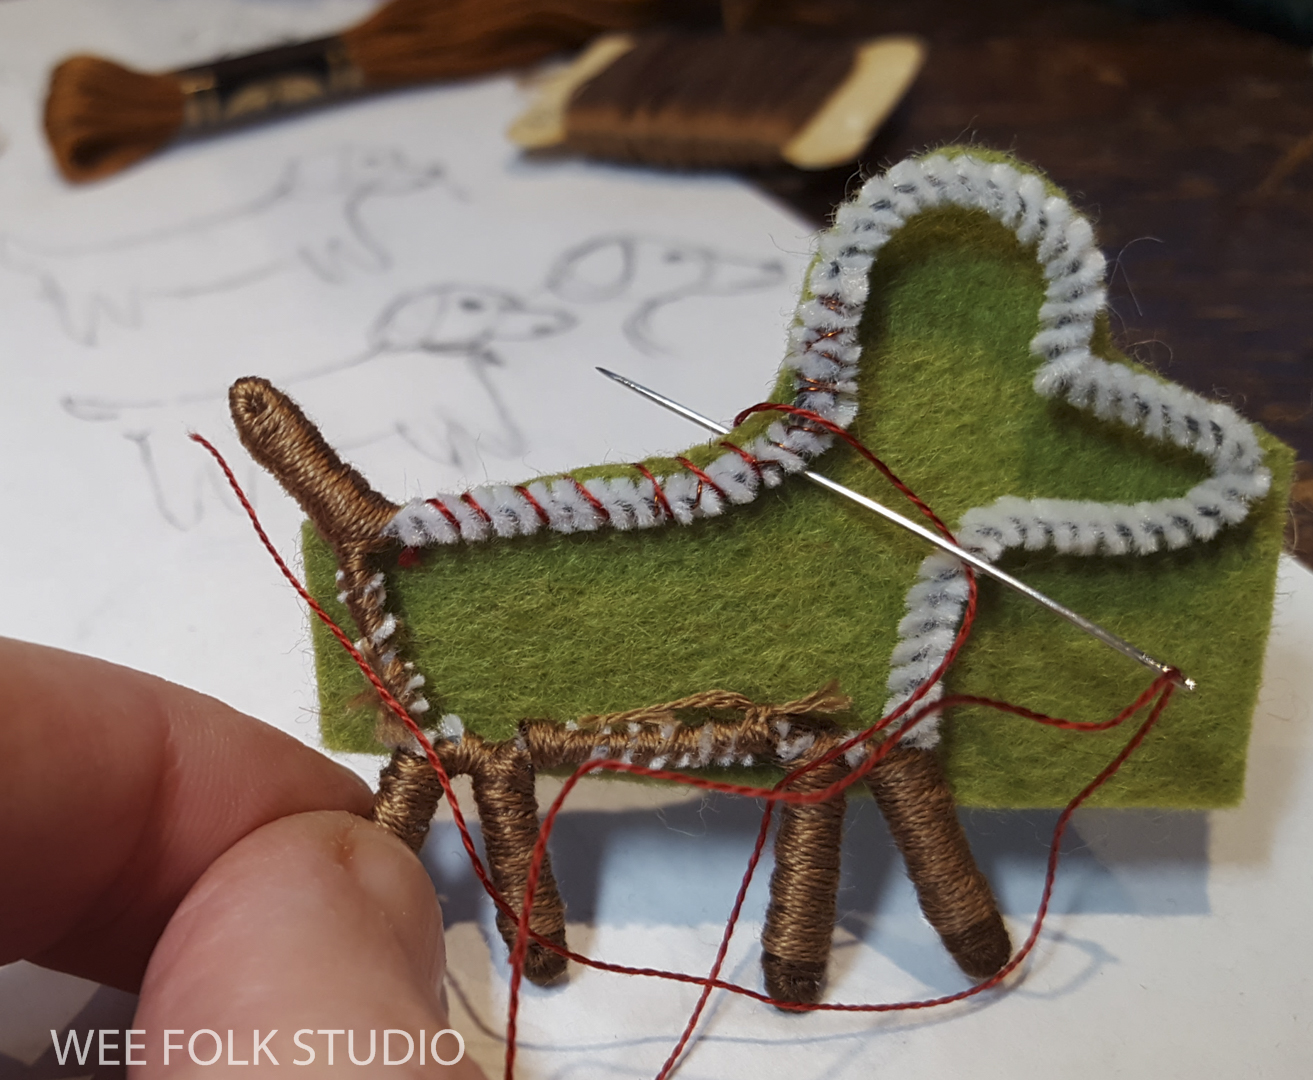
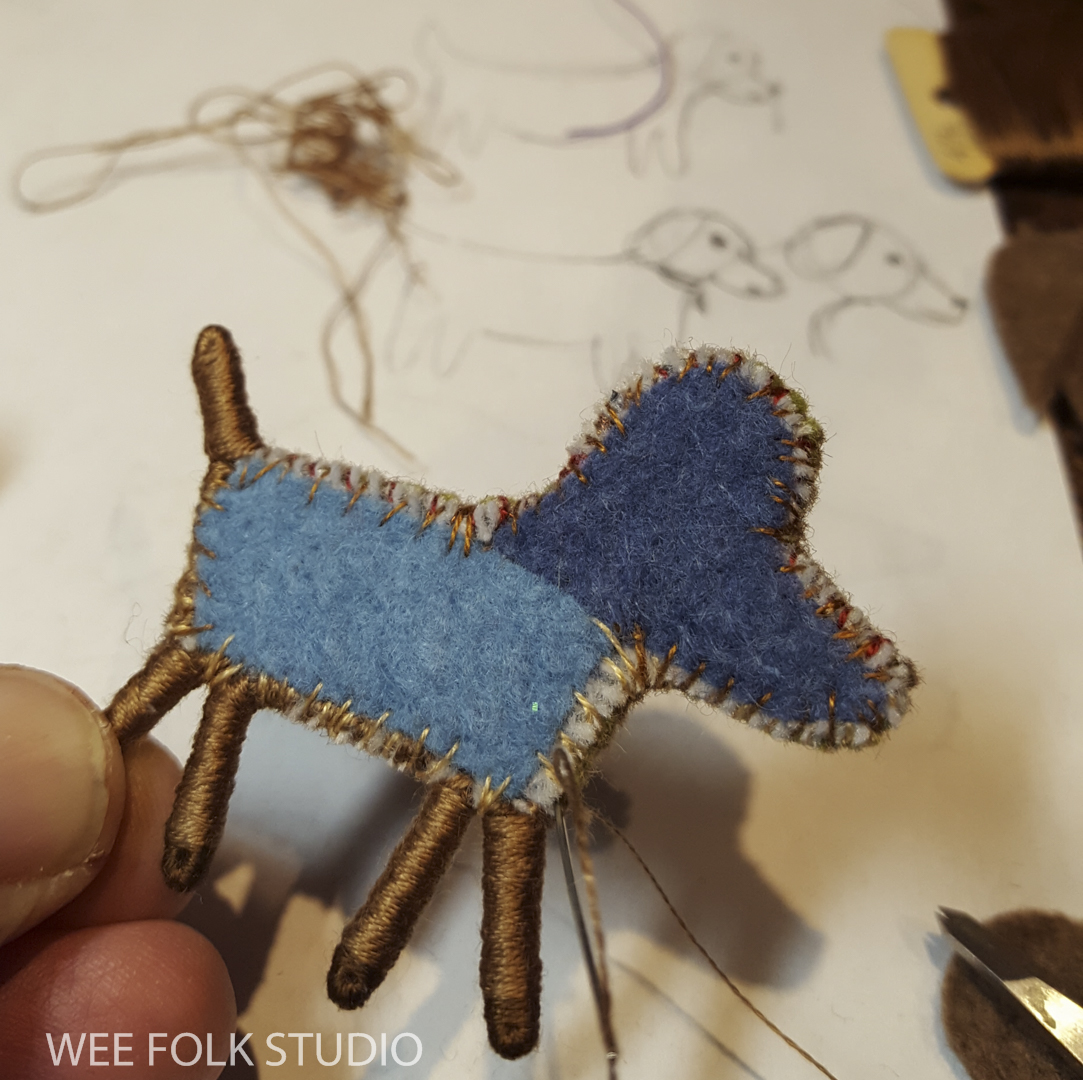
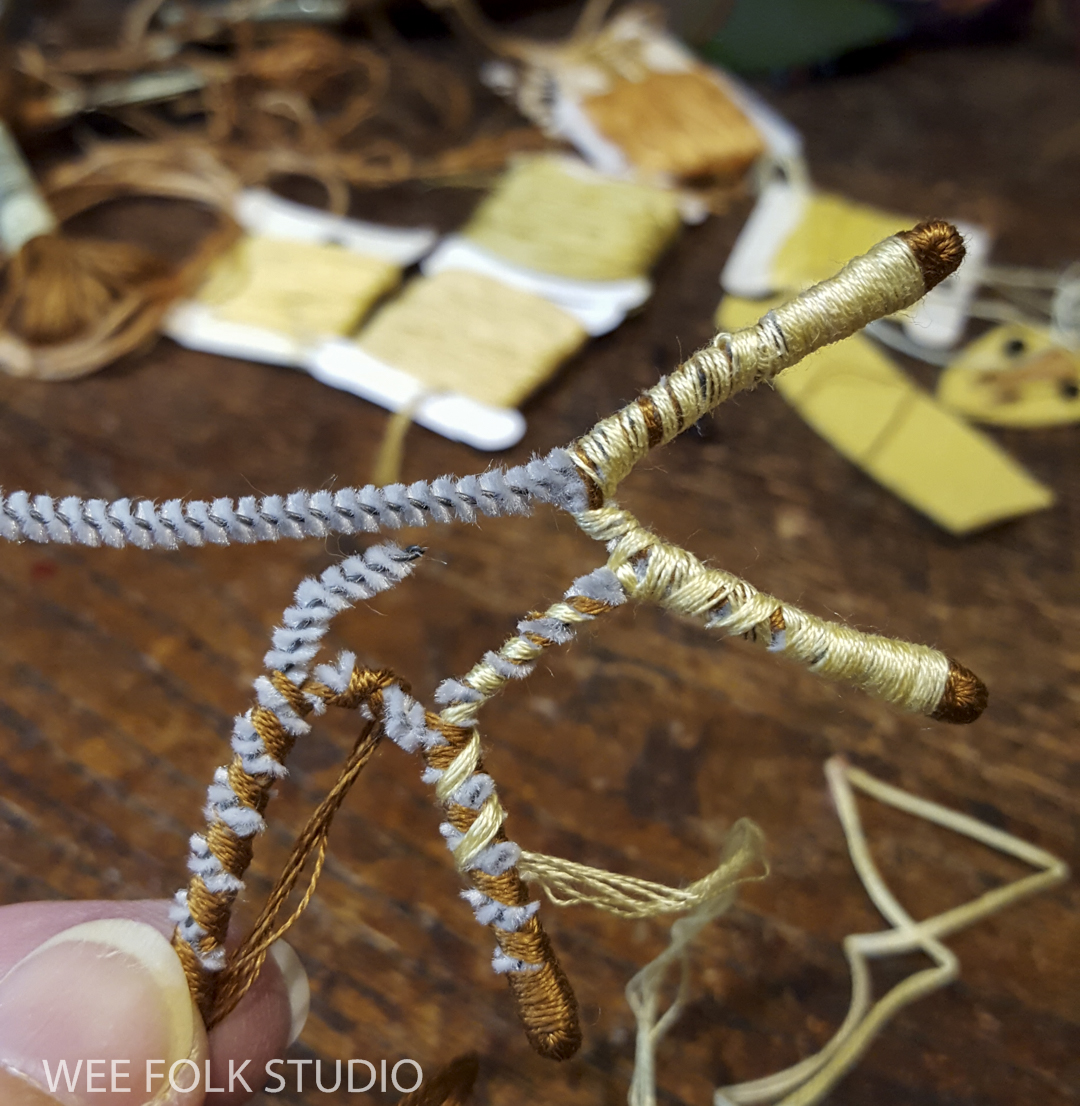
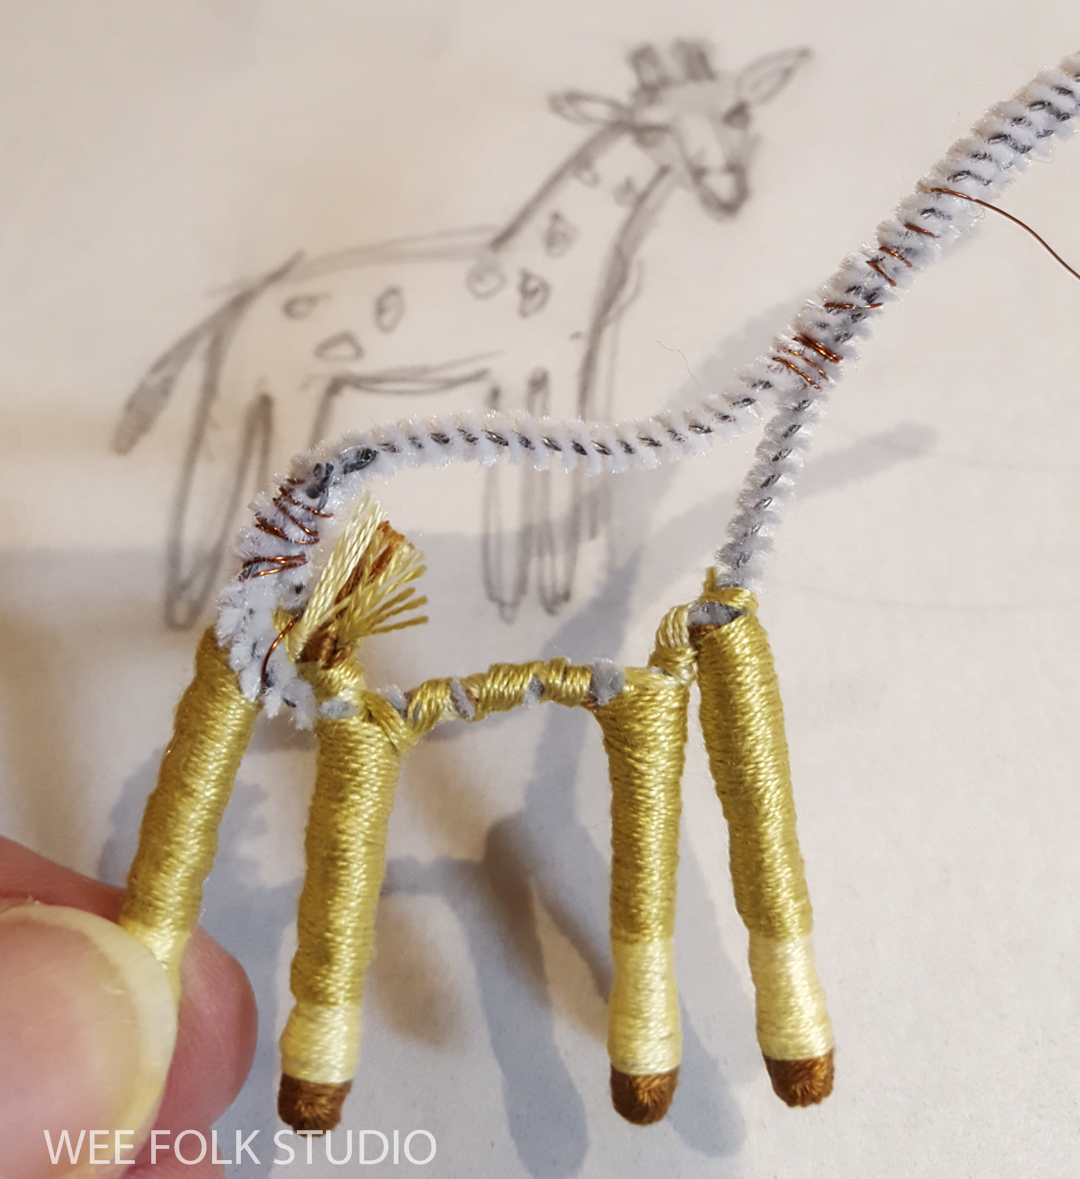
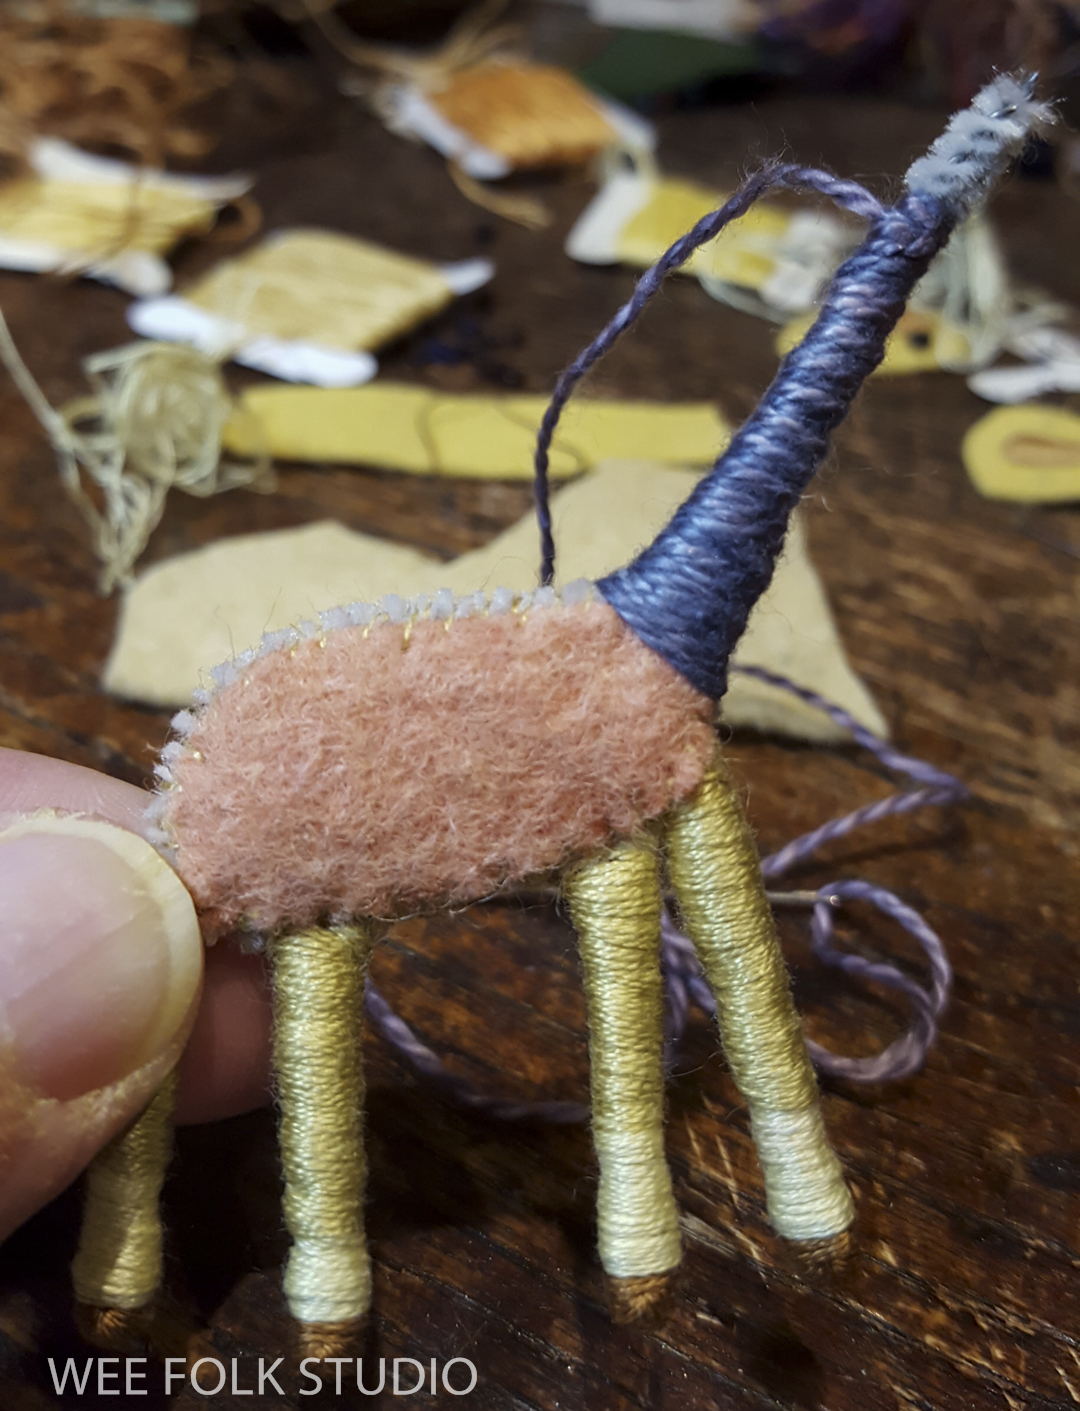
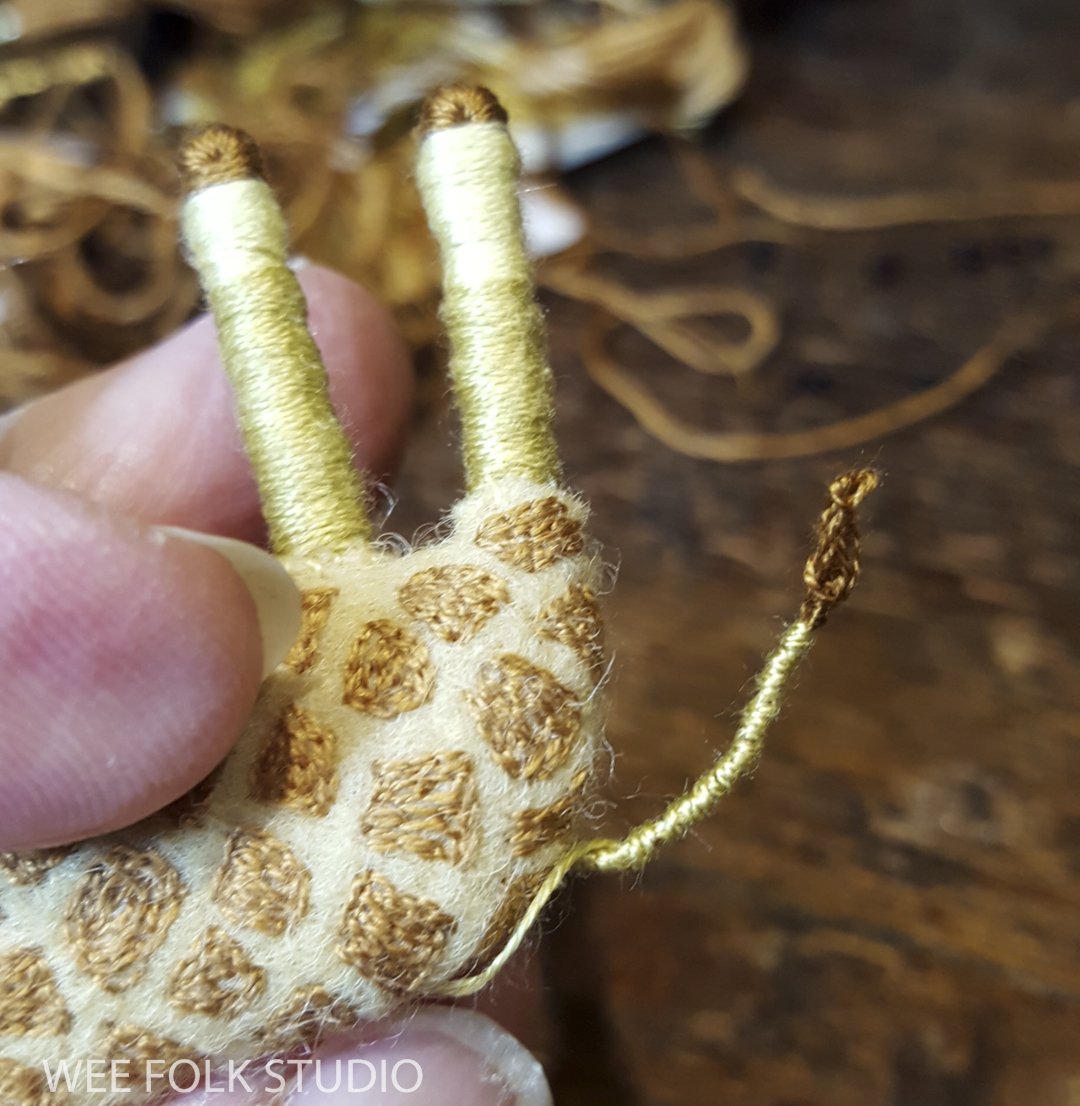
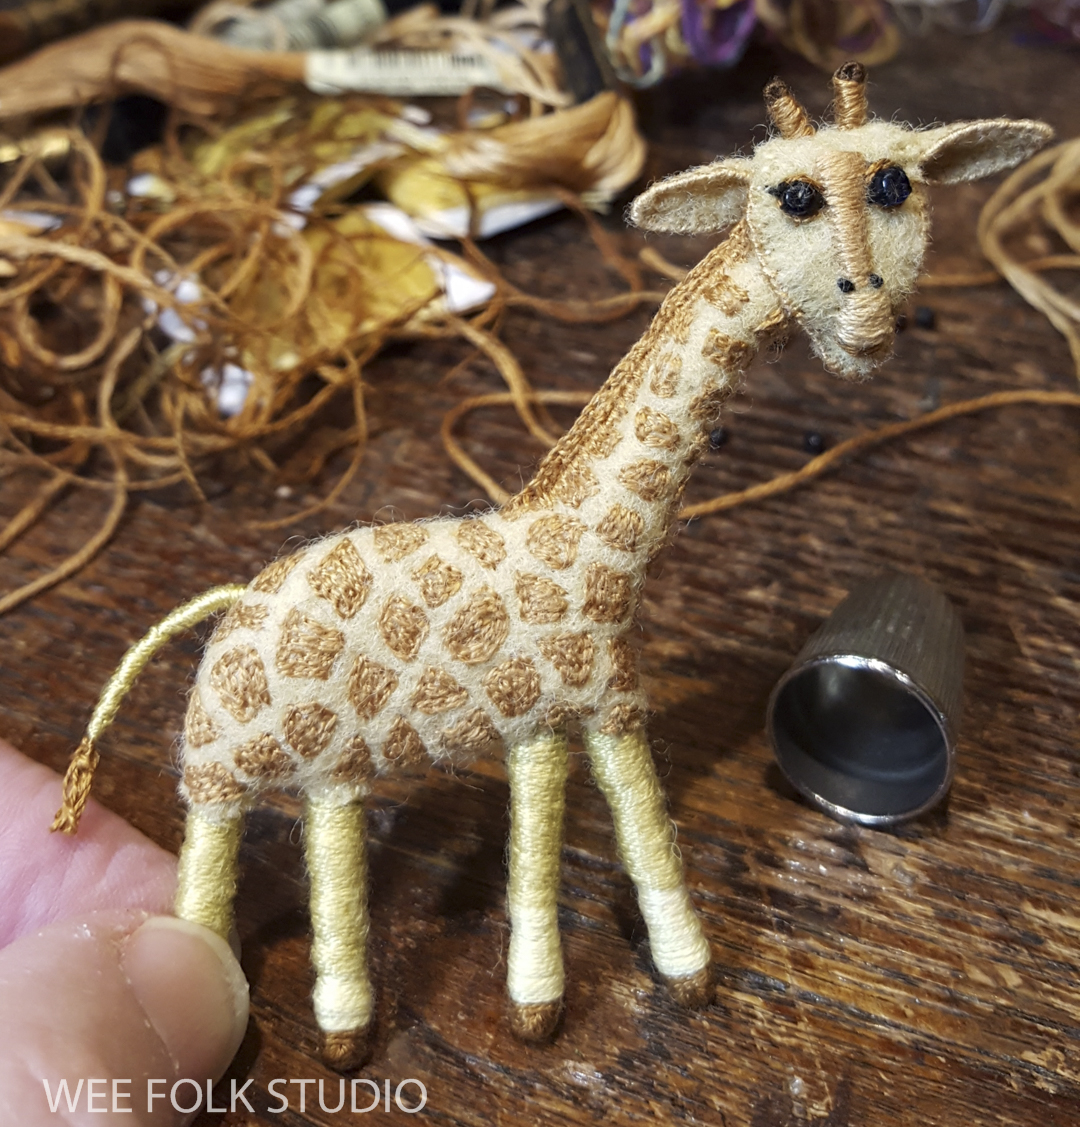
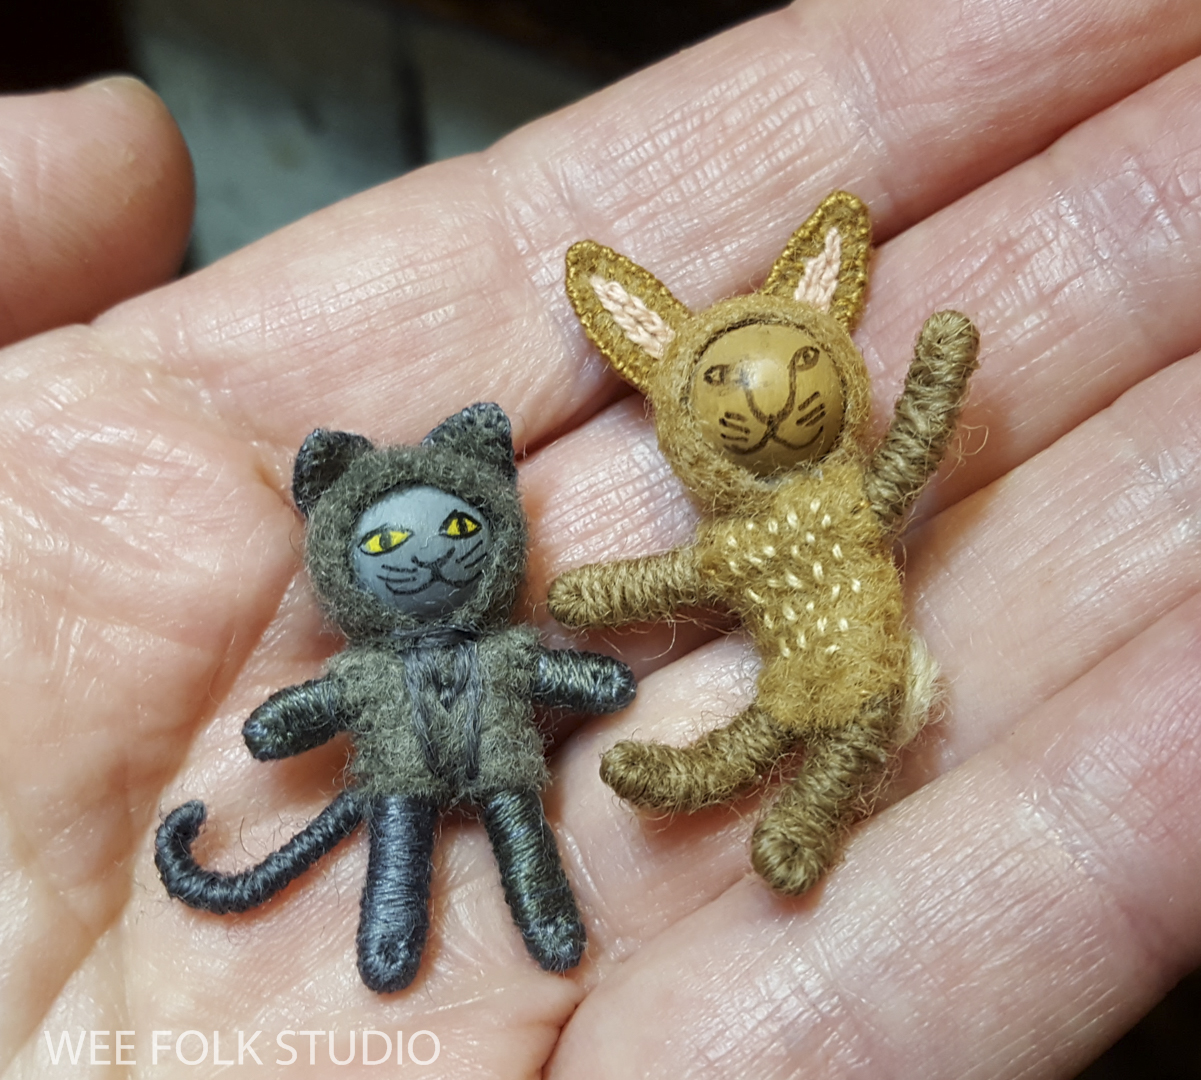
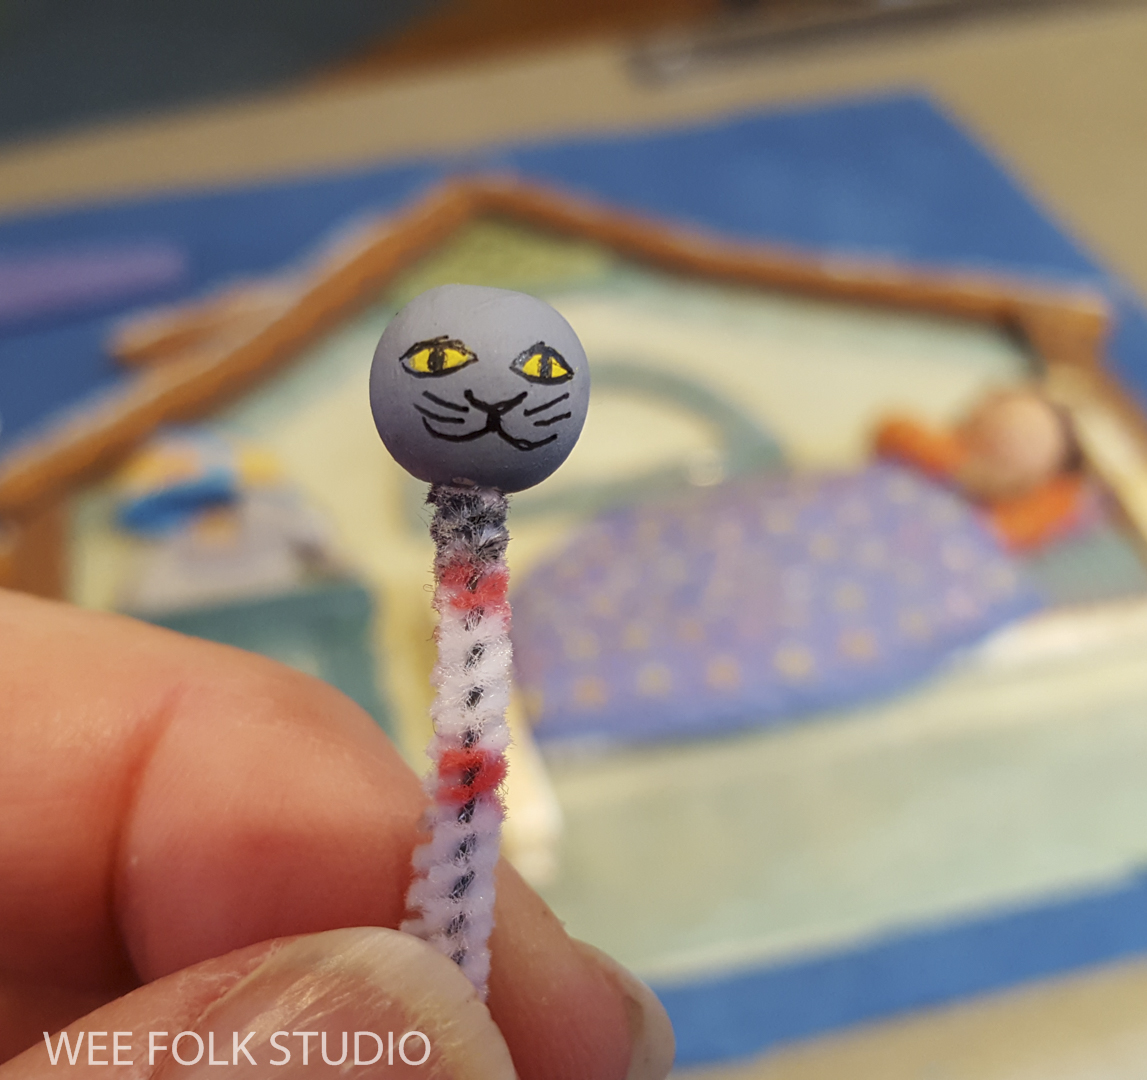
The cat and bunny look like they’re dressed in Halloween costumes! I made them using a scaled down version of the wrapped wire method I teach in Felt Wee Folk.


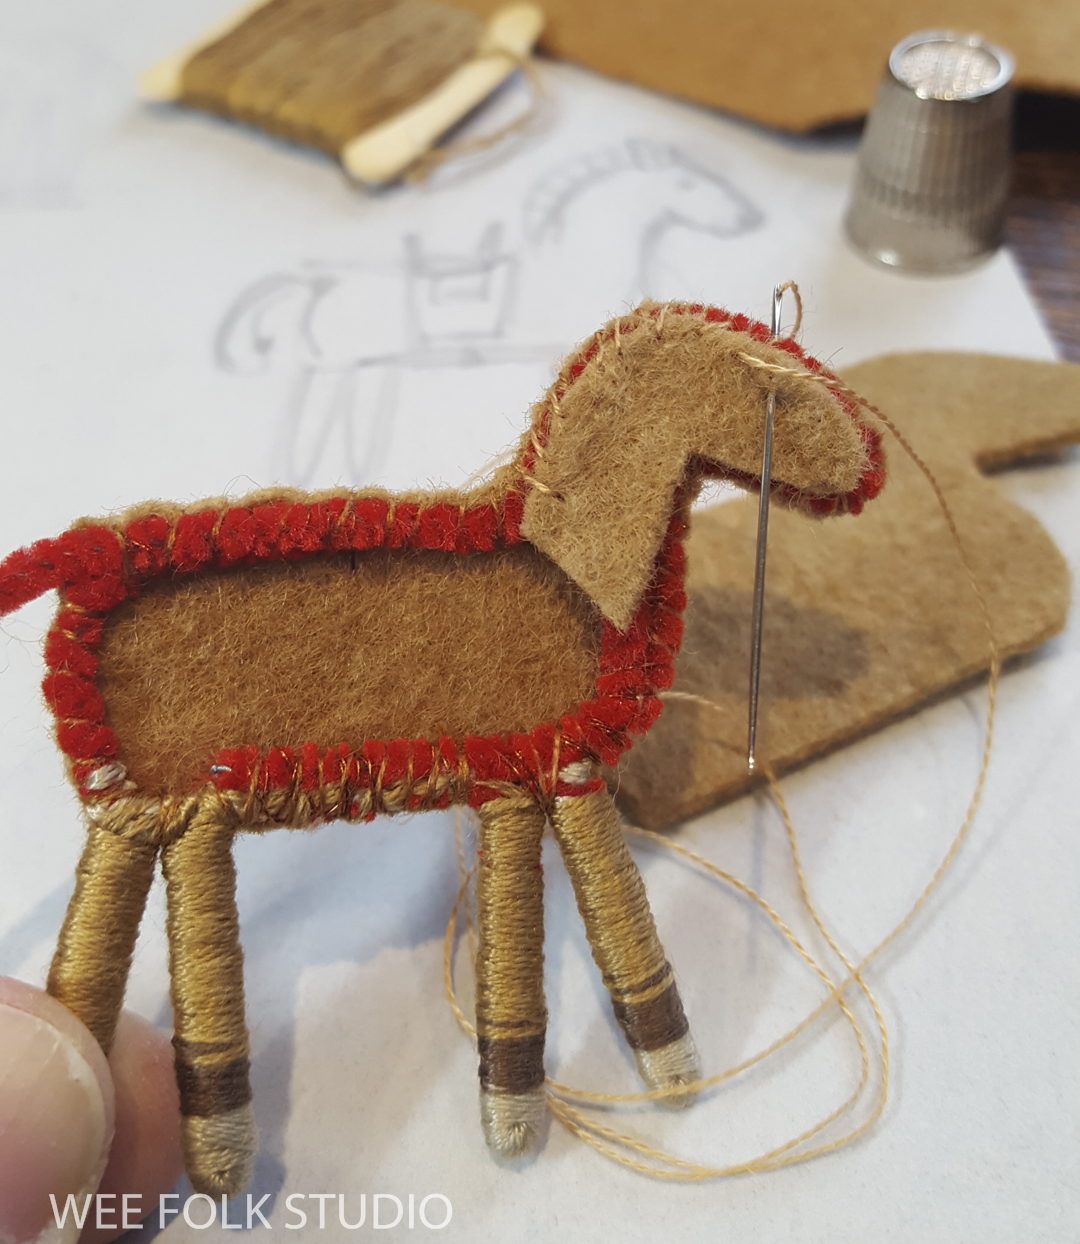
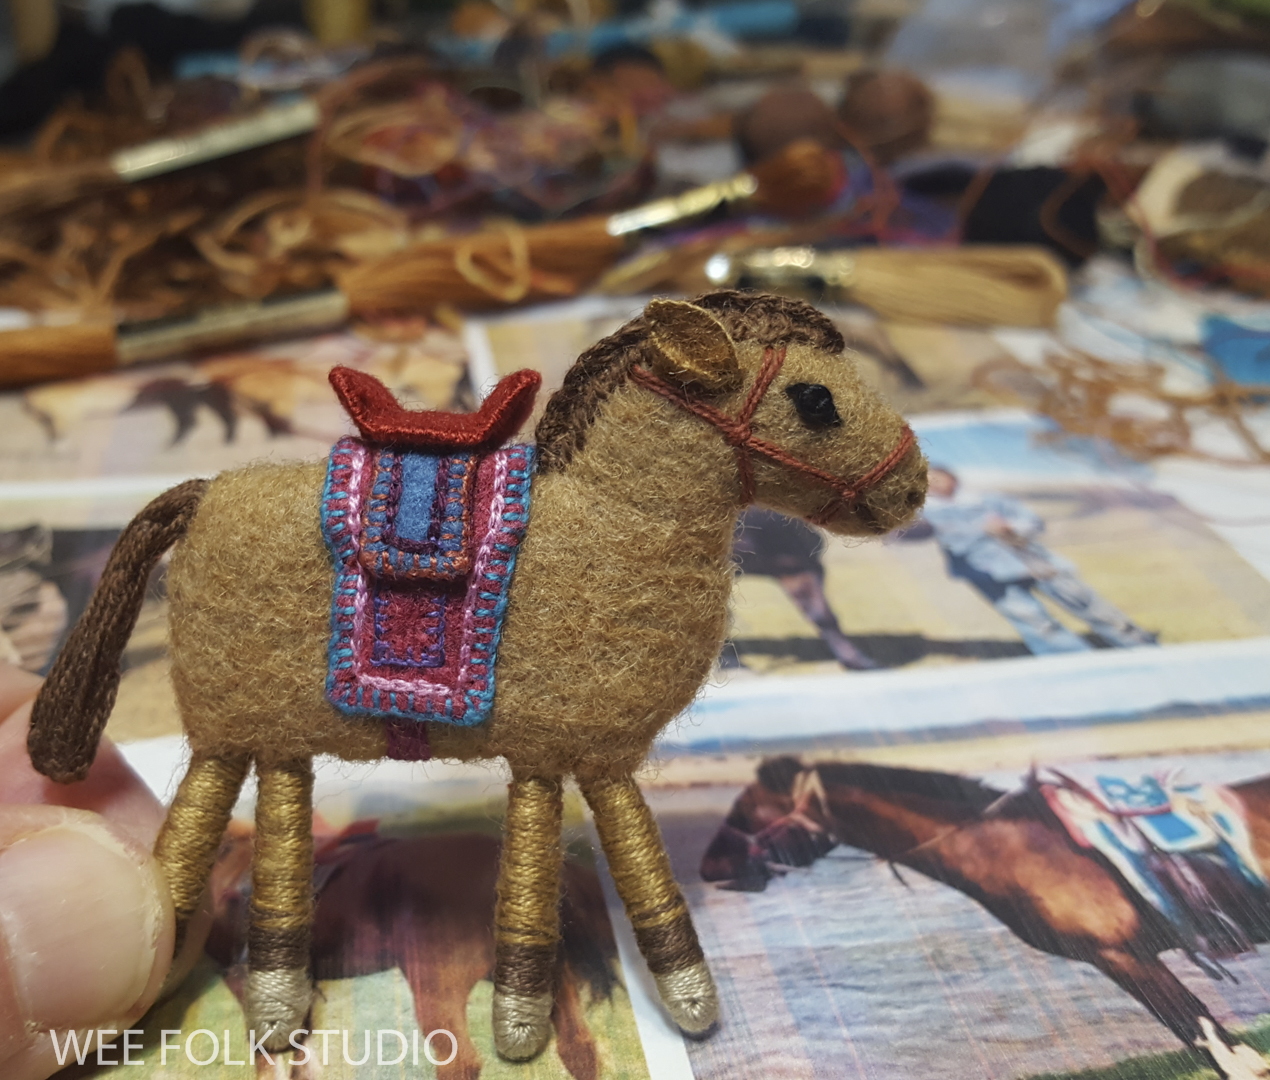
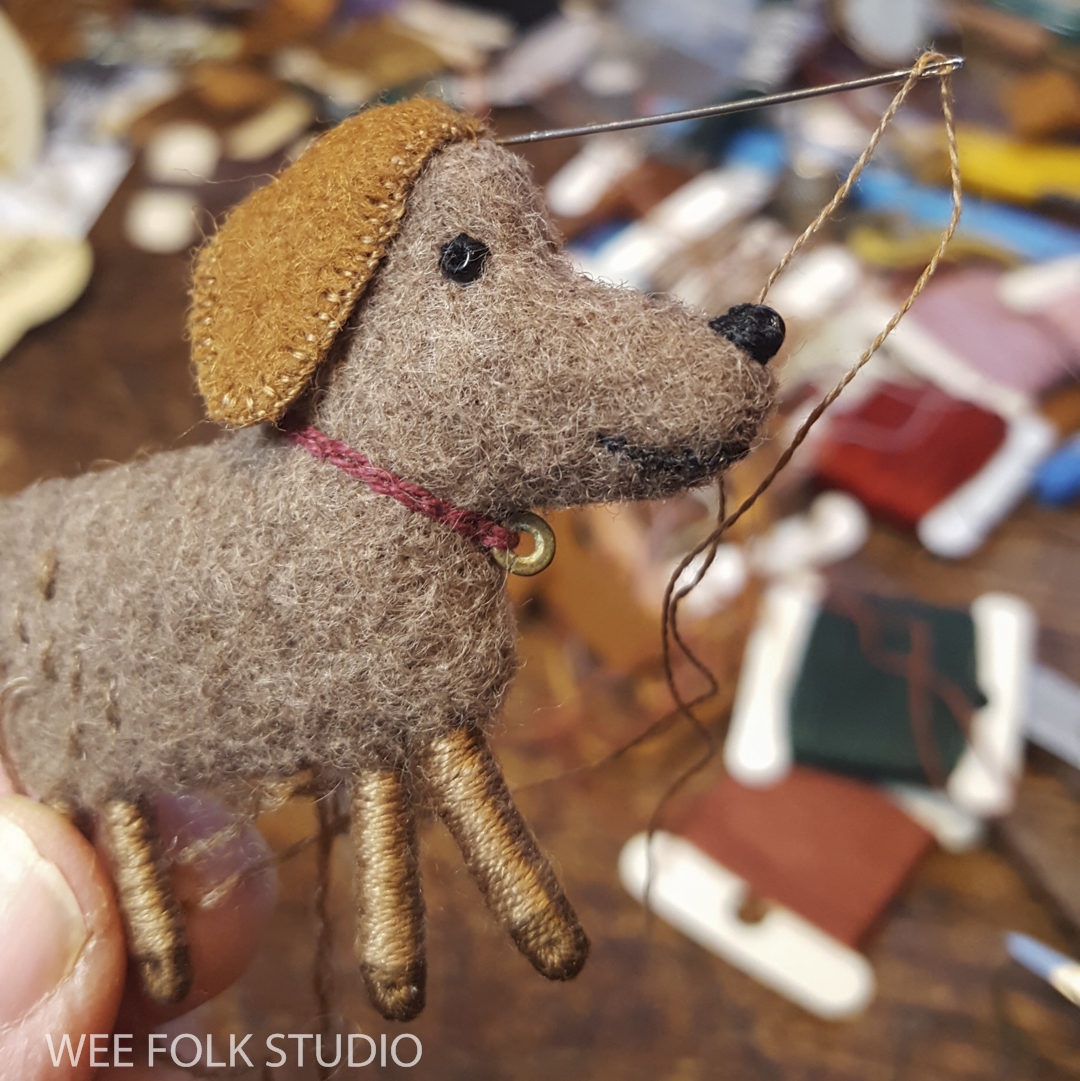
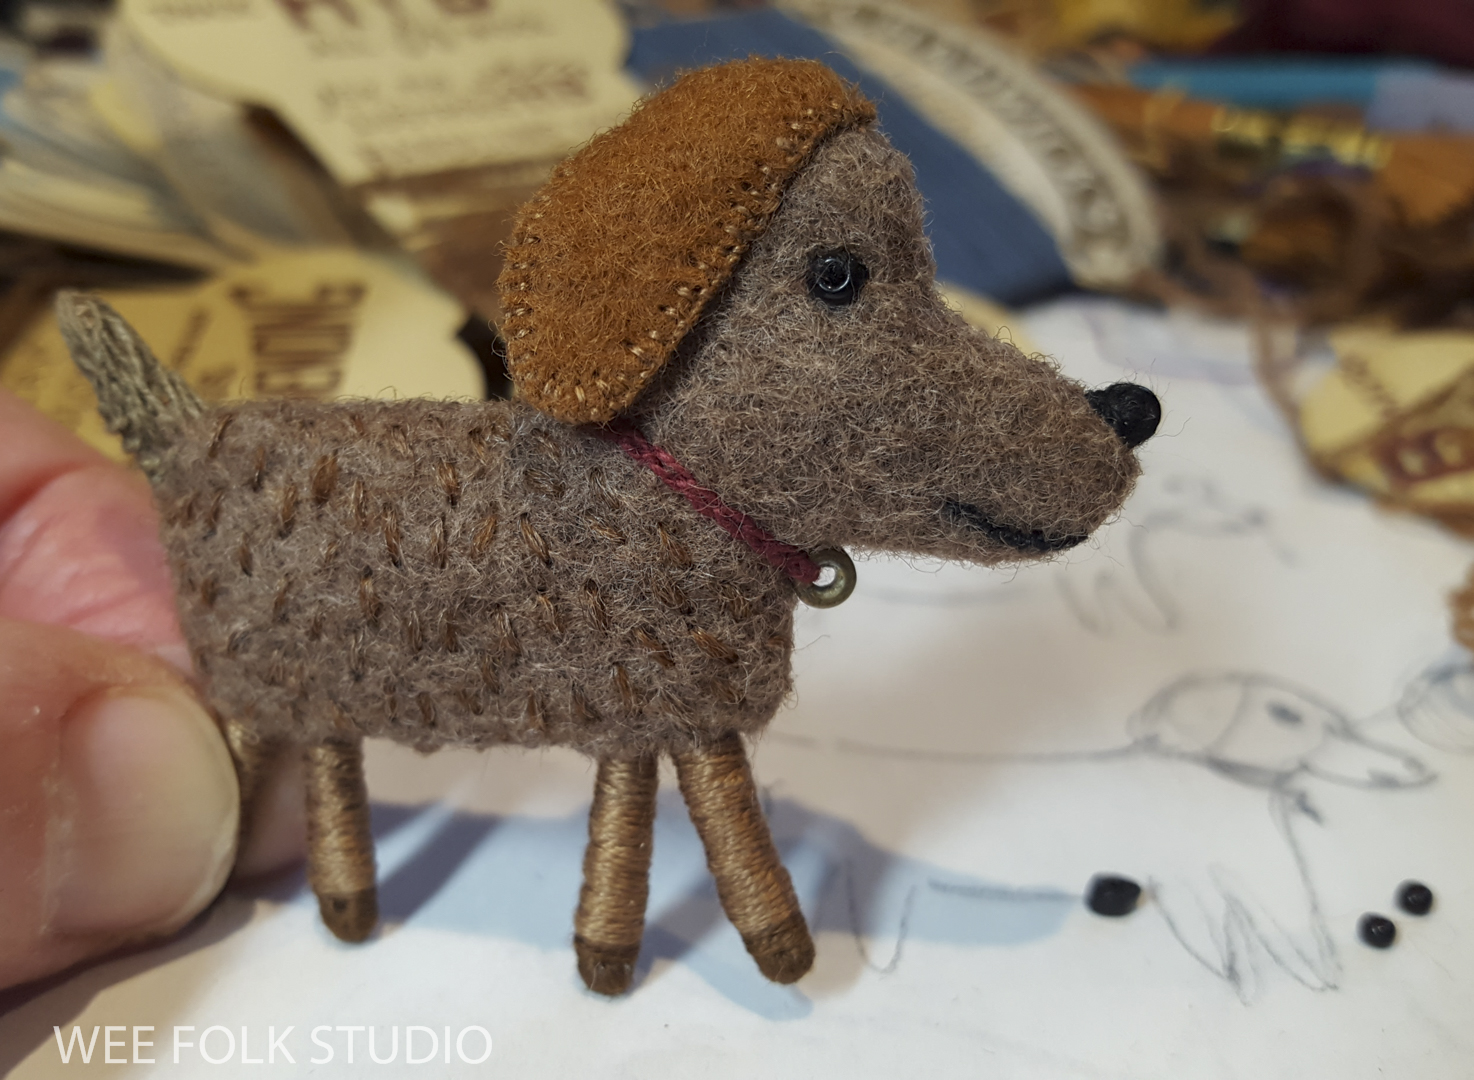
This sweet little Mongolian pony completes the 5 part series about making the “Home” page for MY BED. I hope that you’ve enjoyed this glimpse behind the scenes at my process.
Part 1 gives an overview of the page.
Part 2 focuses on the outside architectural details of the cut-away house.
Part 3 takes a peek inside at the furniture and the sleeping child.
Part 4 shows how I made the elephant lamp and goldfish lampshade.
To keep up with new posts, please subscribe to this blog. Your contact info will not be sold or shared. If you’d like to see more frequent photos tracking the projects in my studio, please follow me on Facebook and/or Instagram.