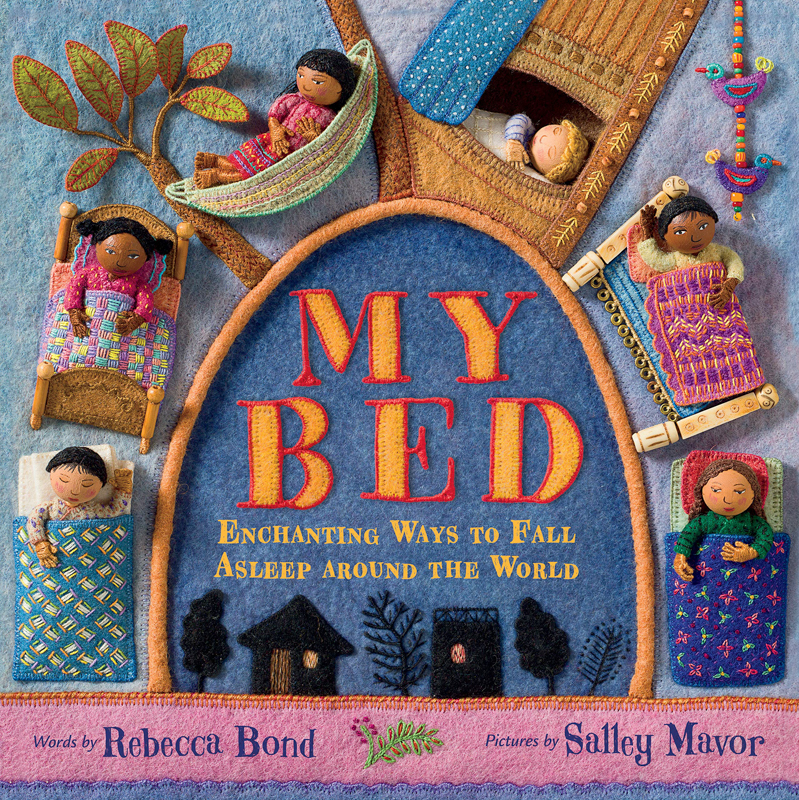
Today, I’d like to share how I made the embellished border strips that are on the back cover of MY BED. While the cover of the book introduces the children in their beds, the back is purely decorative. I wanted it to be a cross-cultural celebration of color, pattern and texture that hopefully will make the person looking at it to want to open the book. There were a couple of practical requirements, too, like a place for the bar code and an open area for the publisher to print promotional copy and add book reviews in future printings.

UPDATE: Personally signed copies of My Bed are available in my shop.
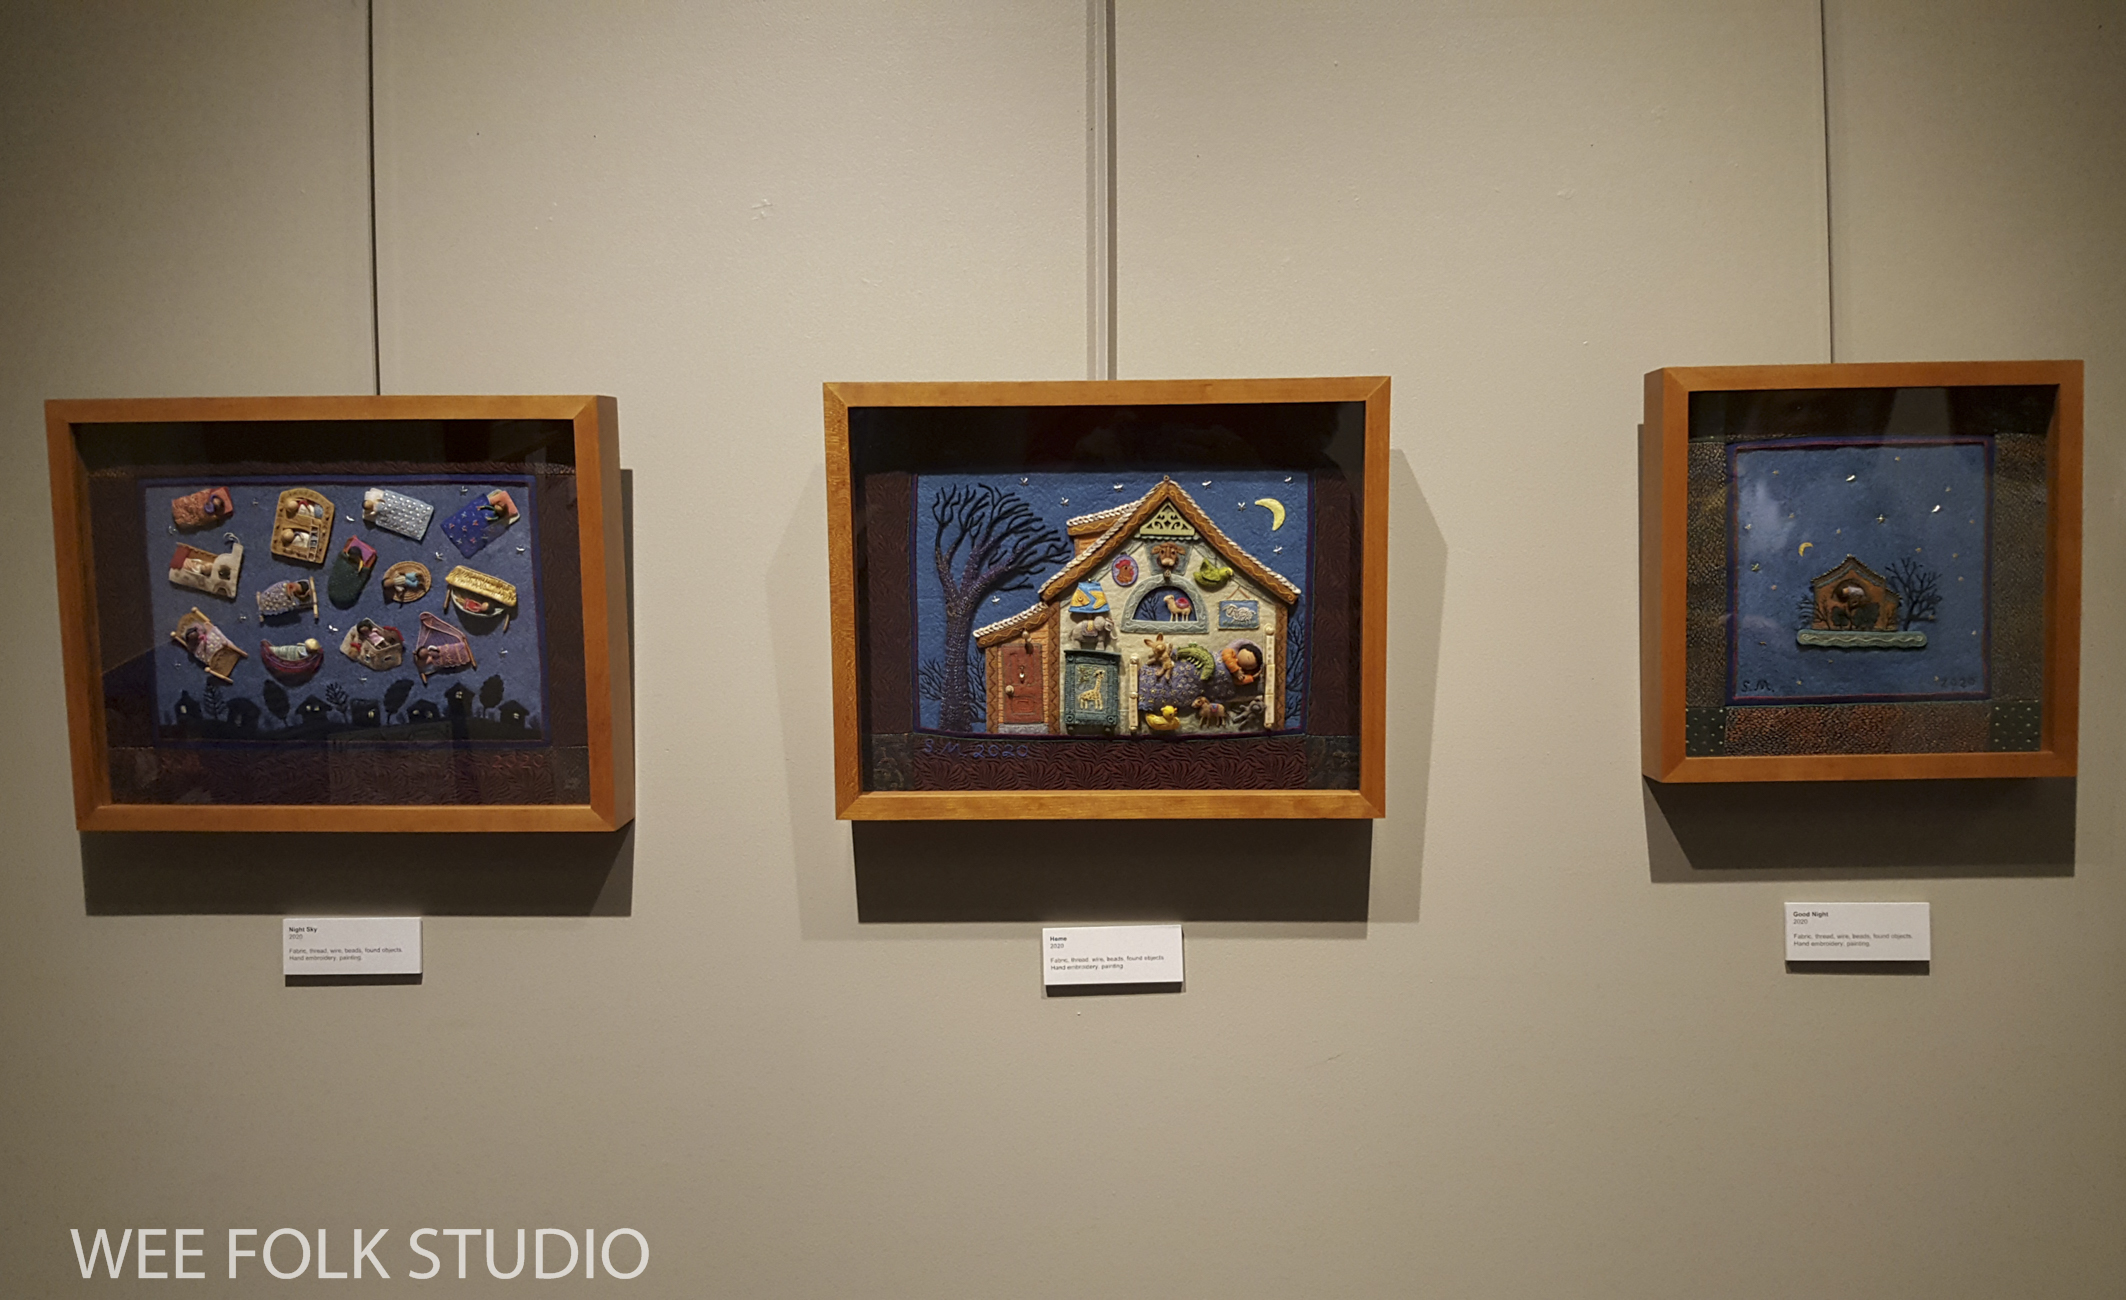
Also, all of the original 3-dimensional embroidered illustrations for the book are included in my current exhibition at the Albany Institute of History and Art in Albany, NY. Enchanting Threads: The Art of Salley Mavor is on view now through Feb. 23, 2025.

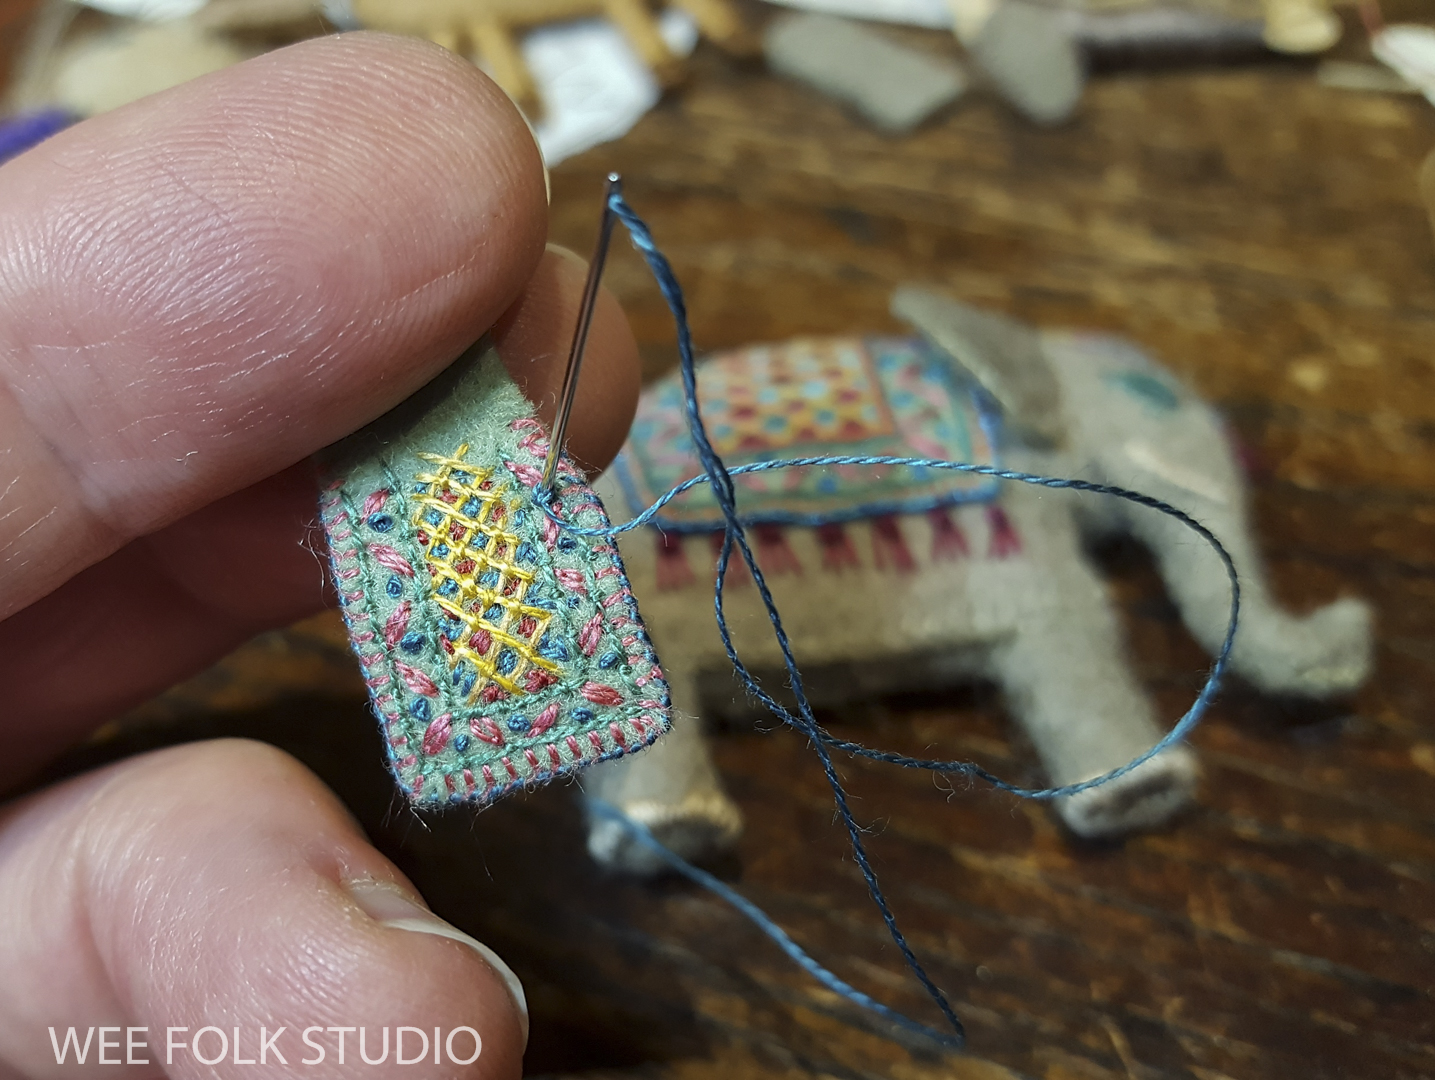
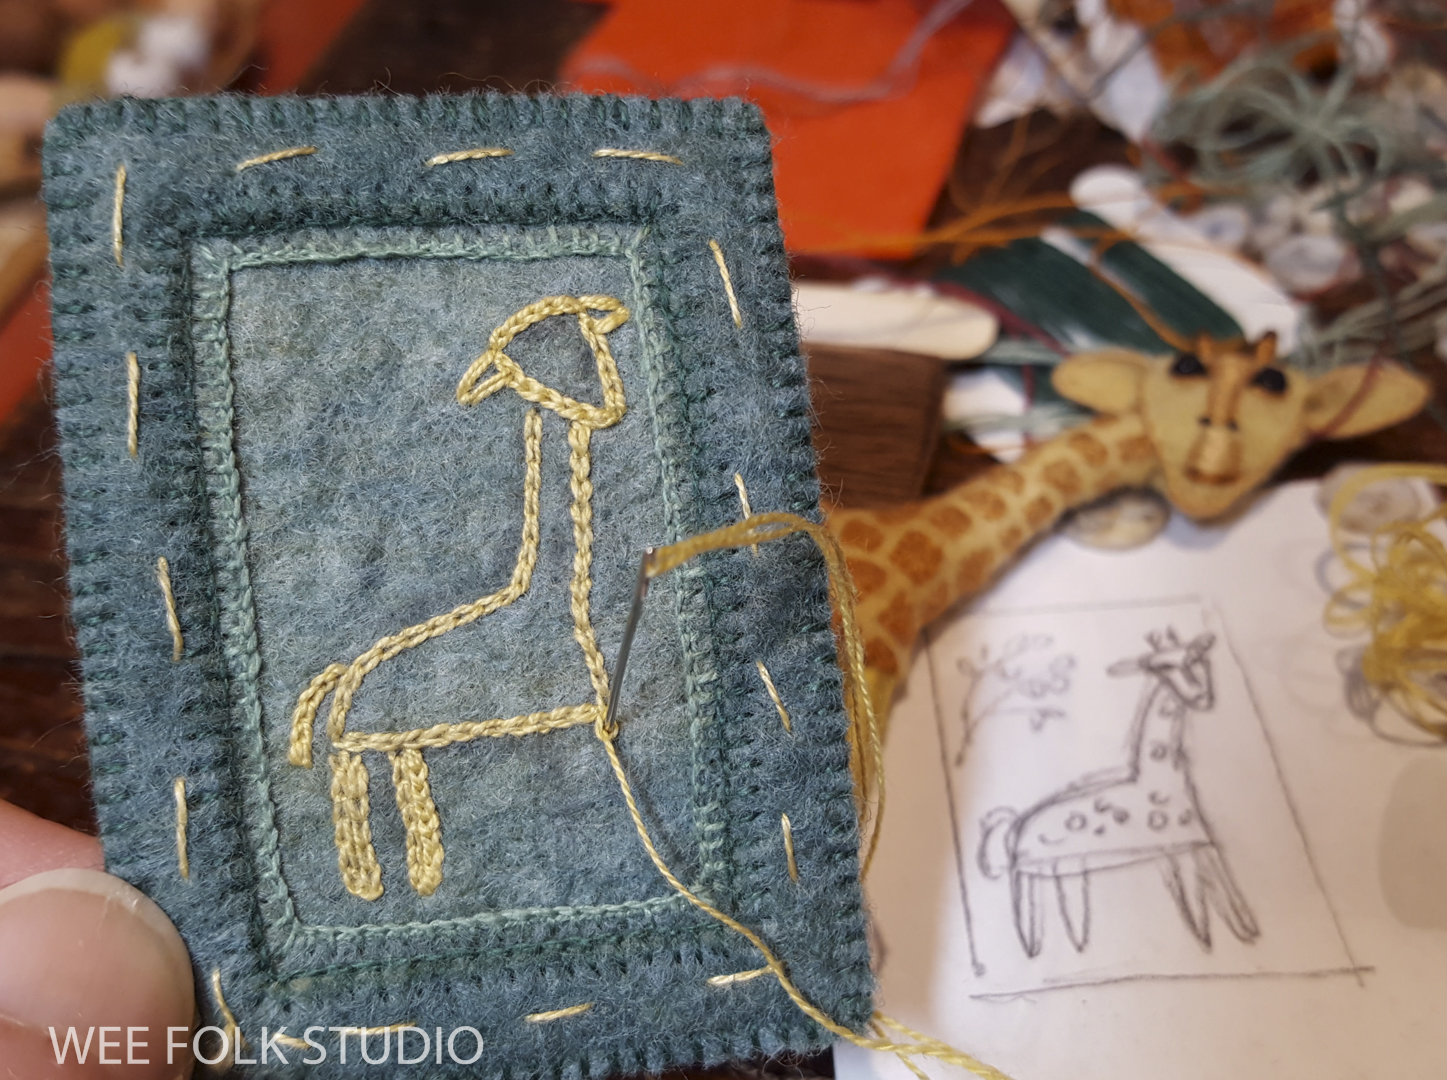
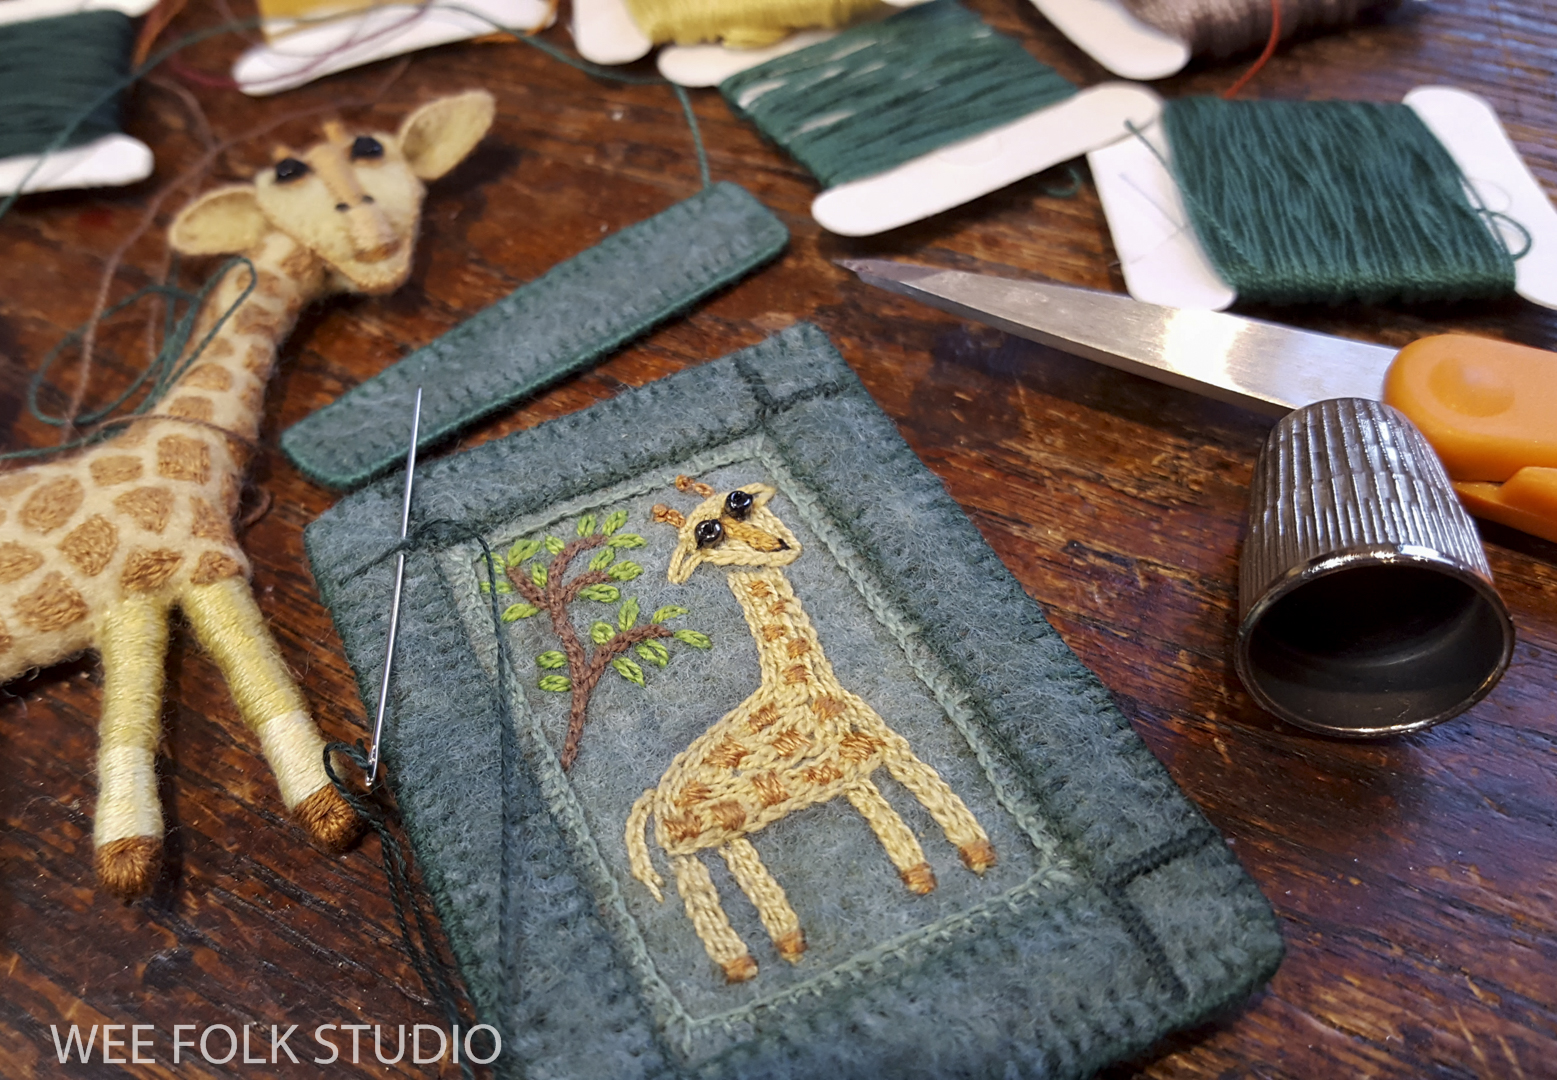
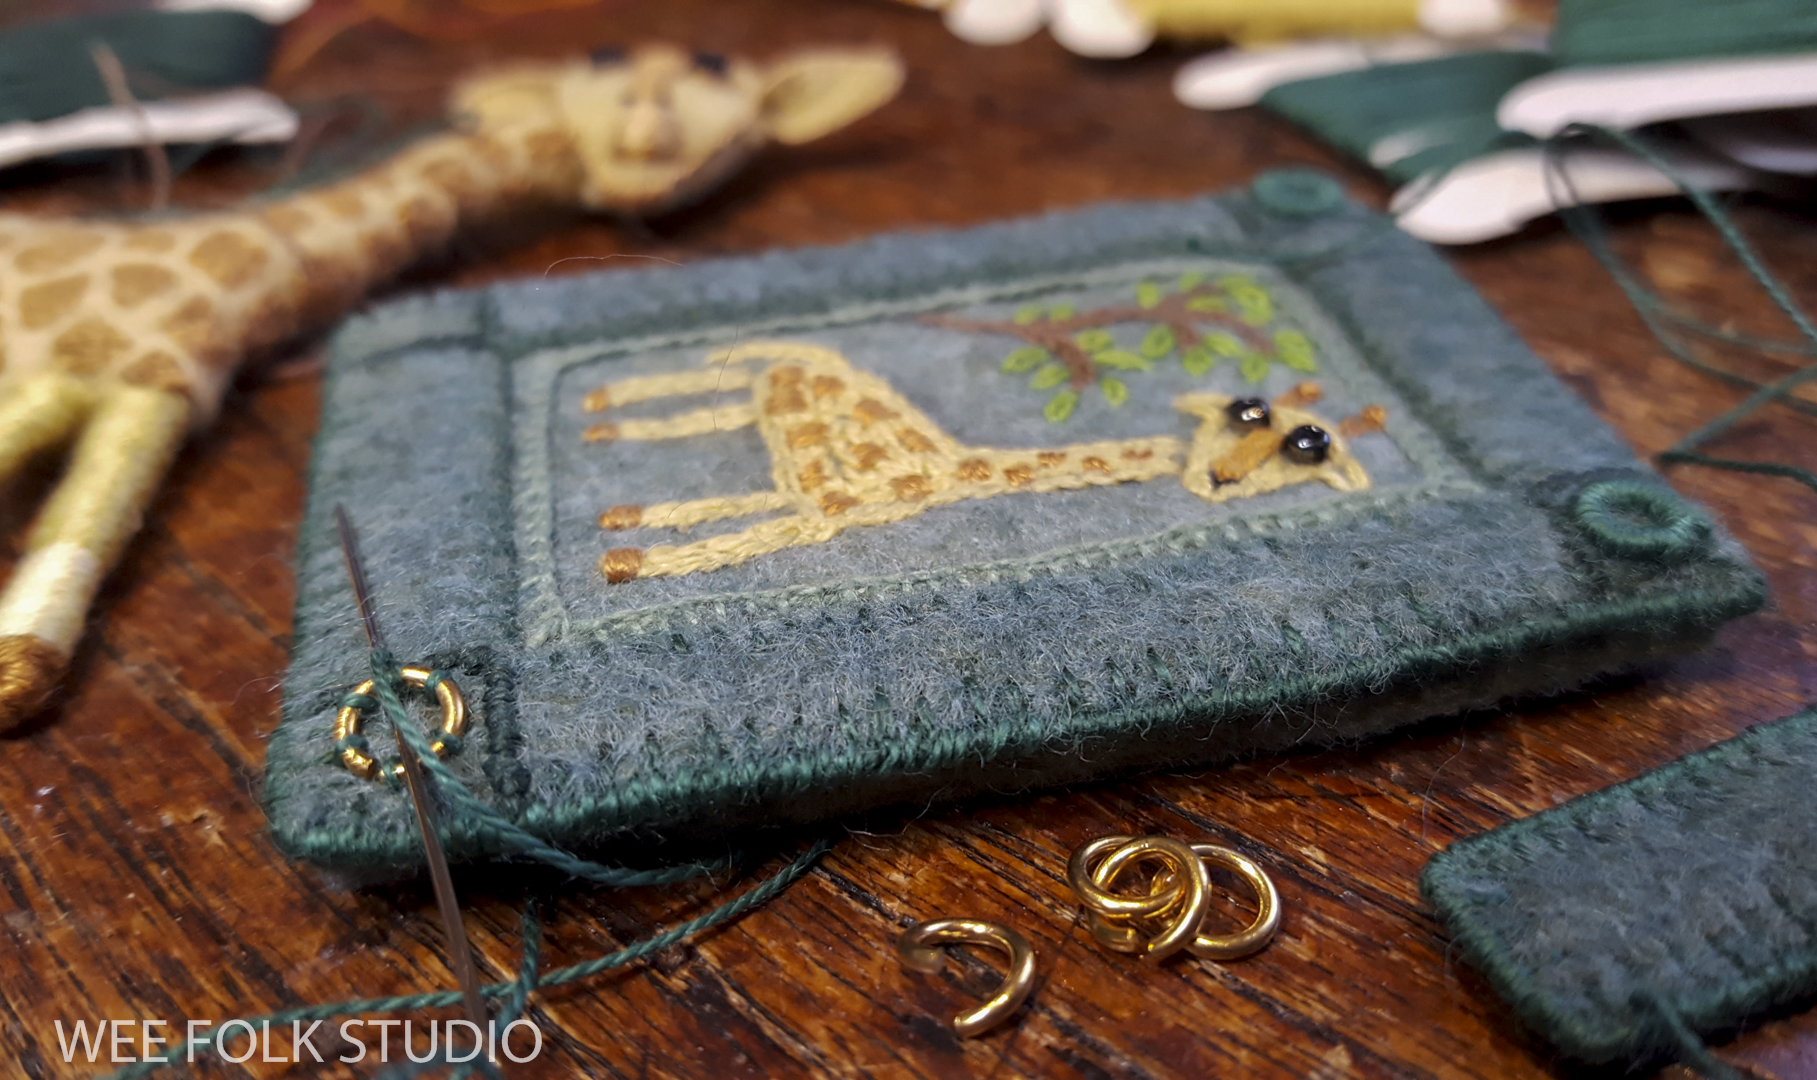
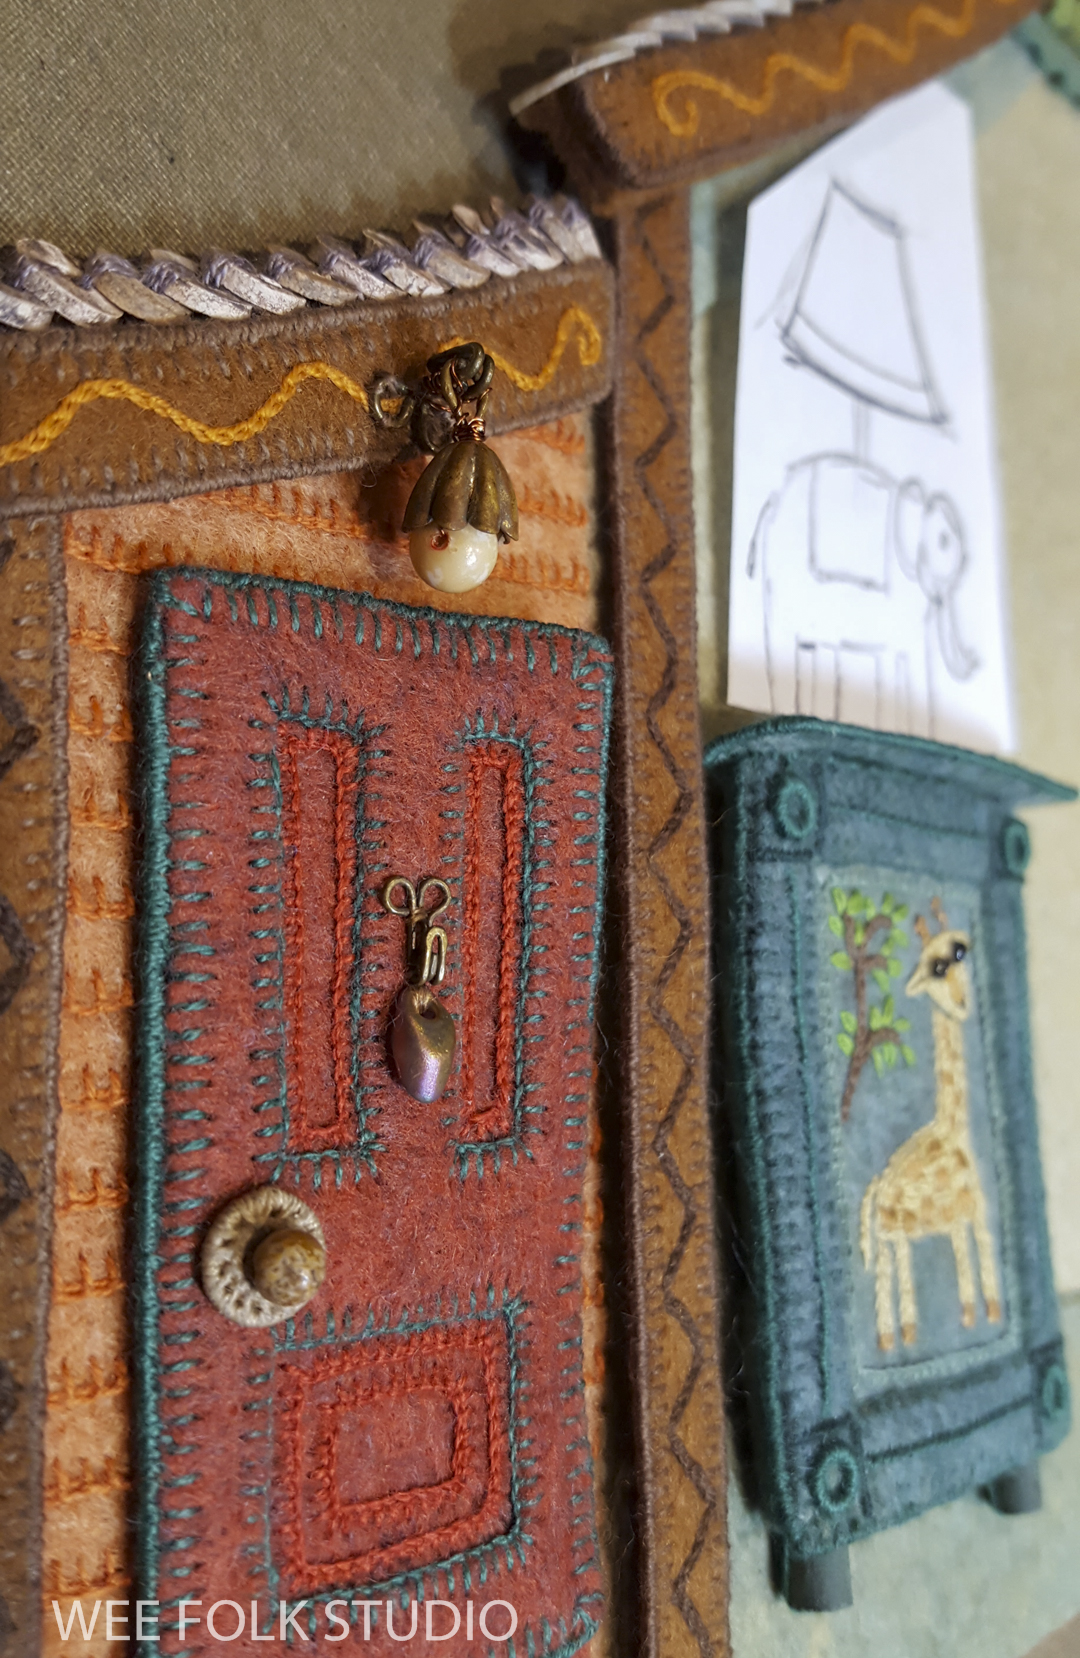
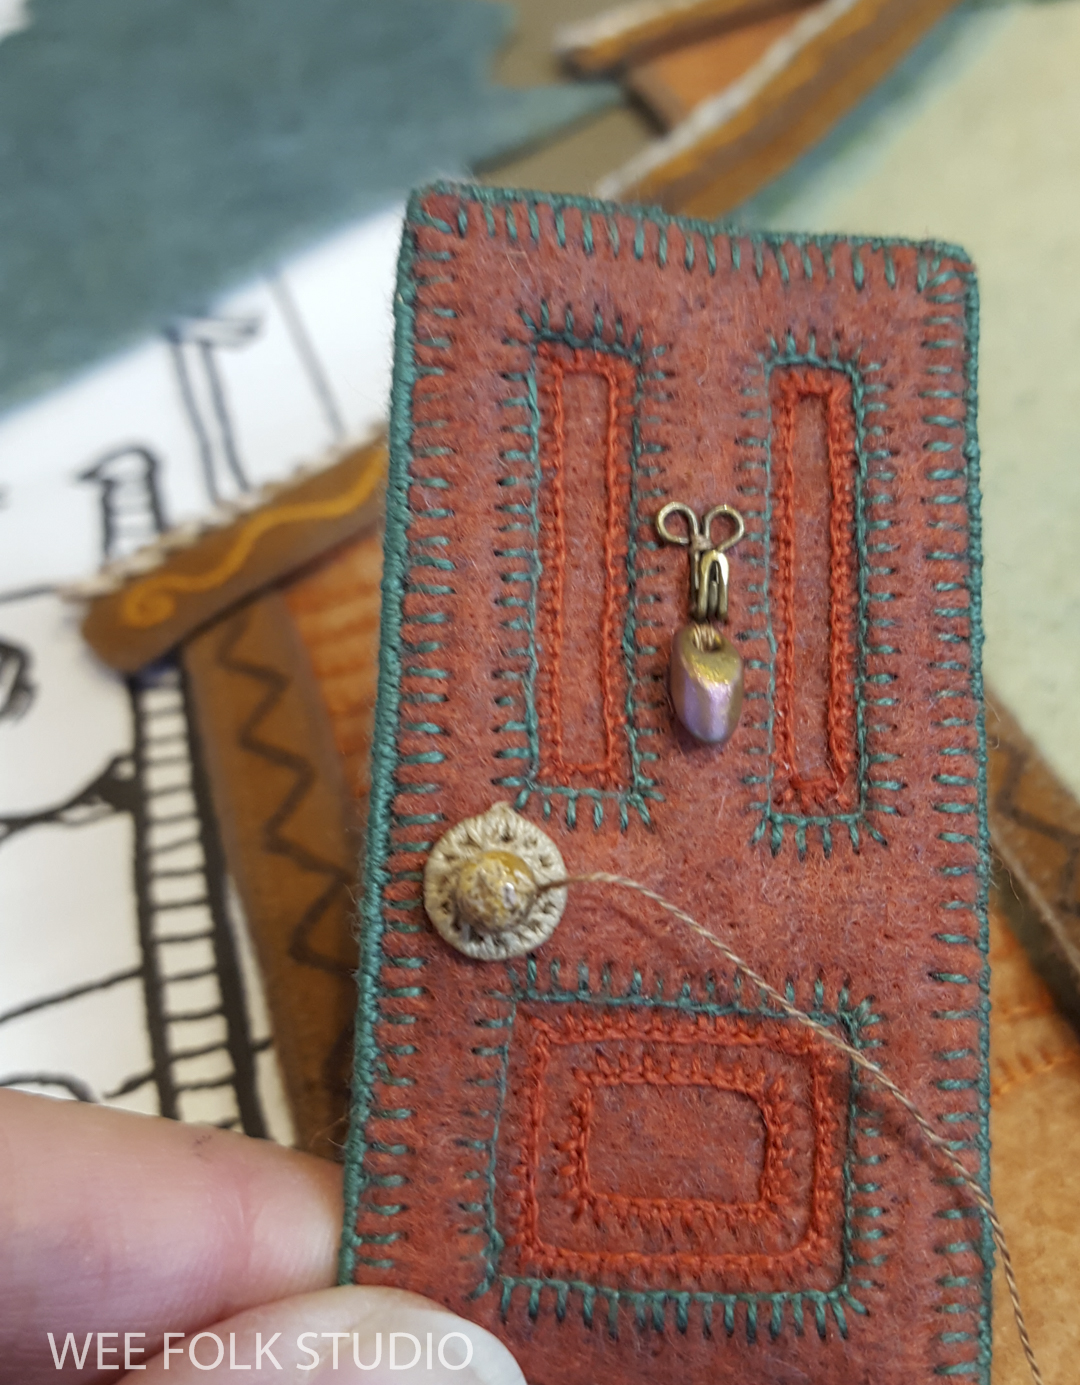
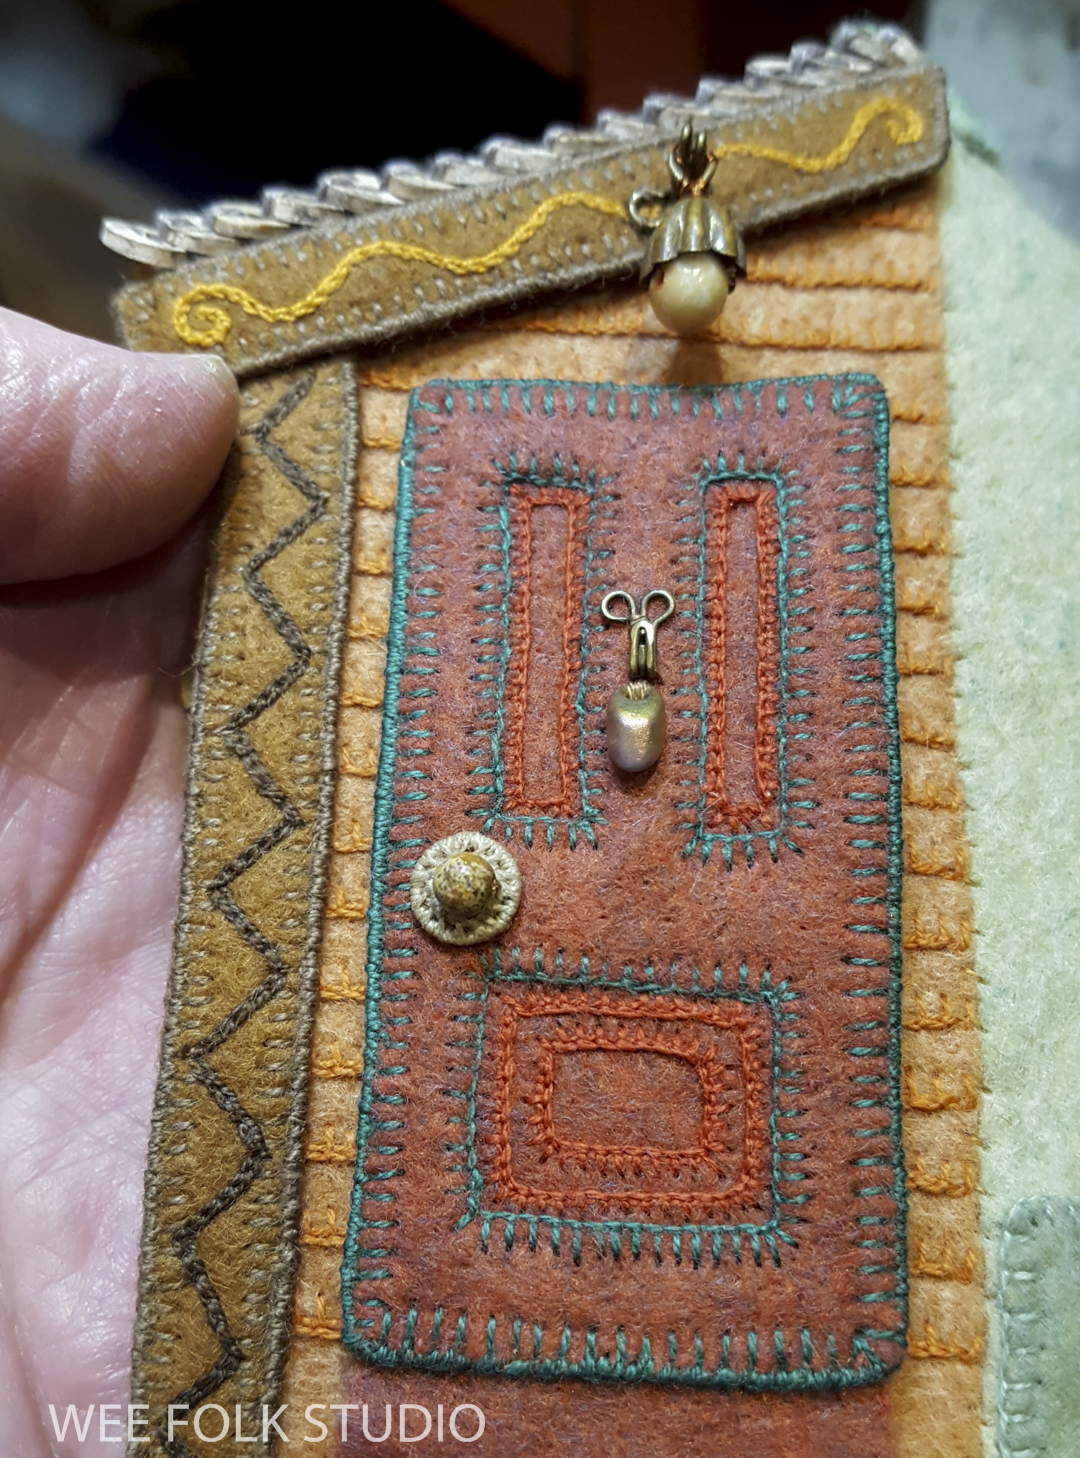
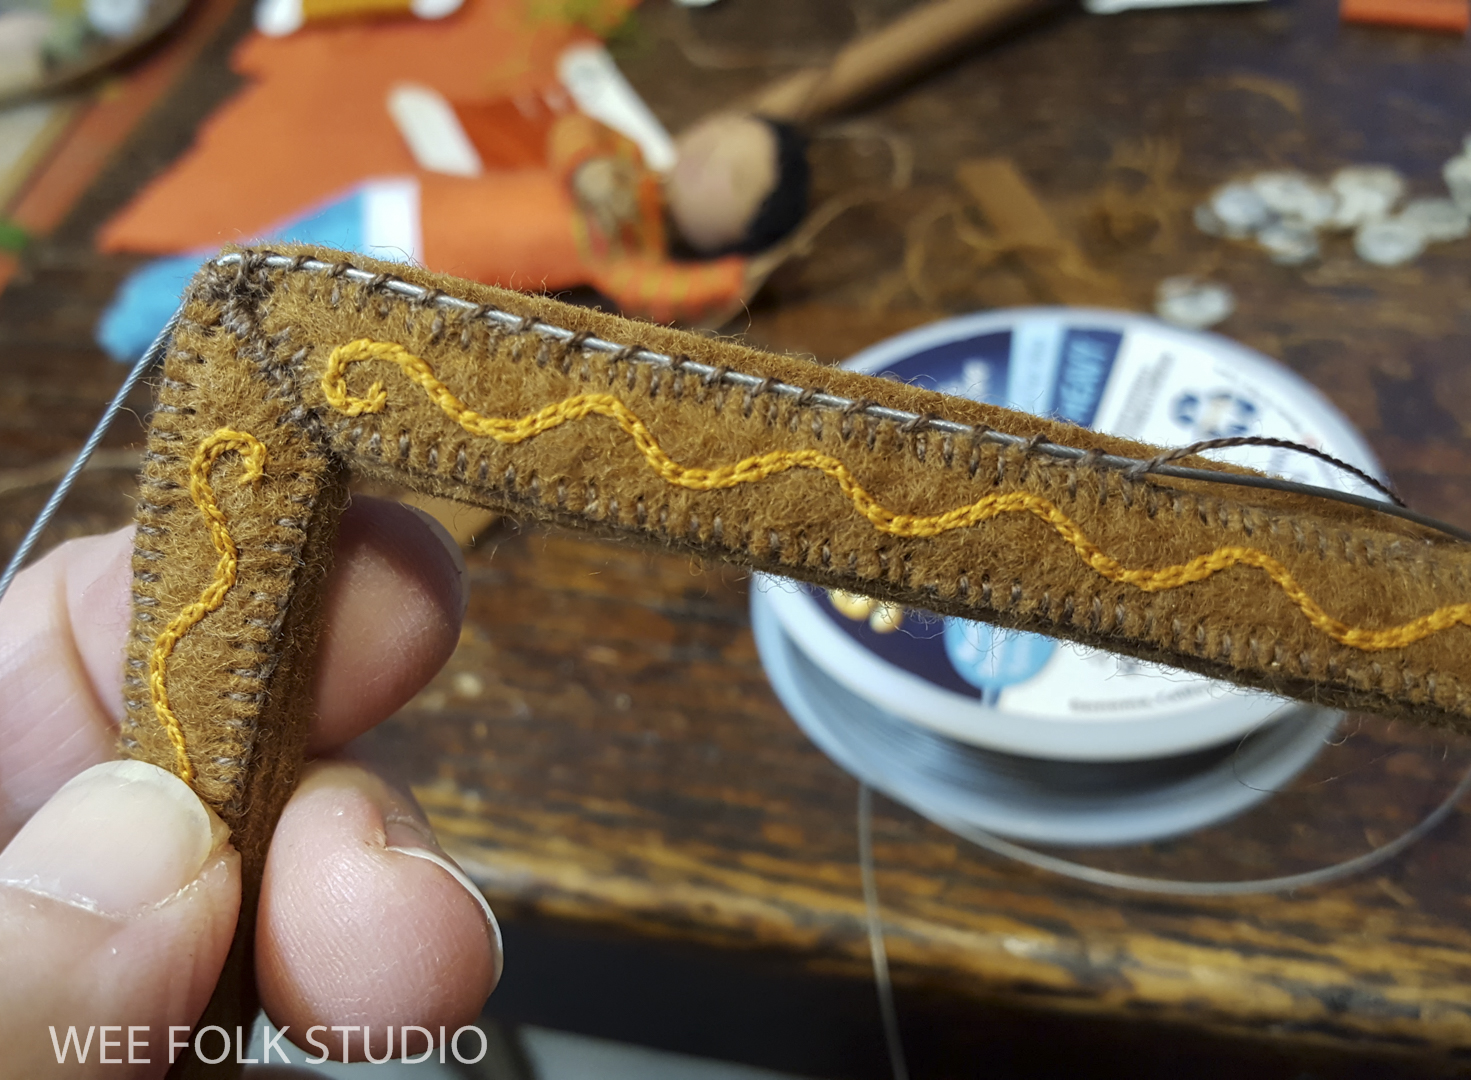
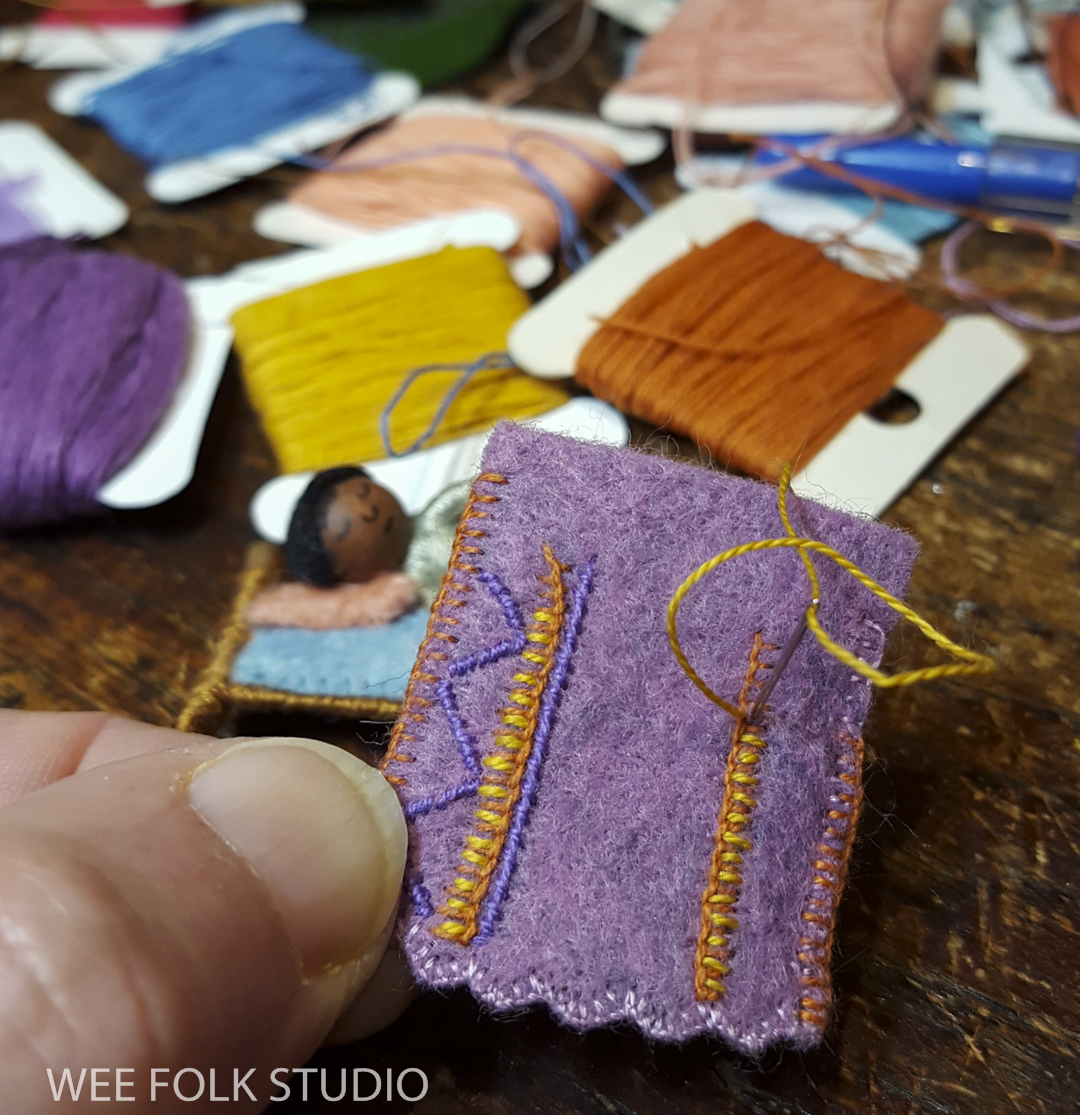
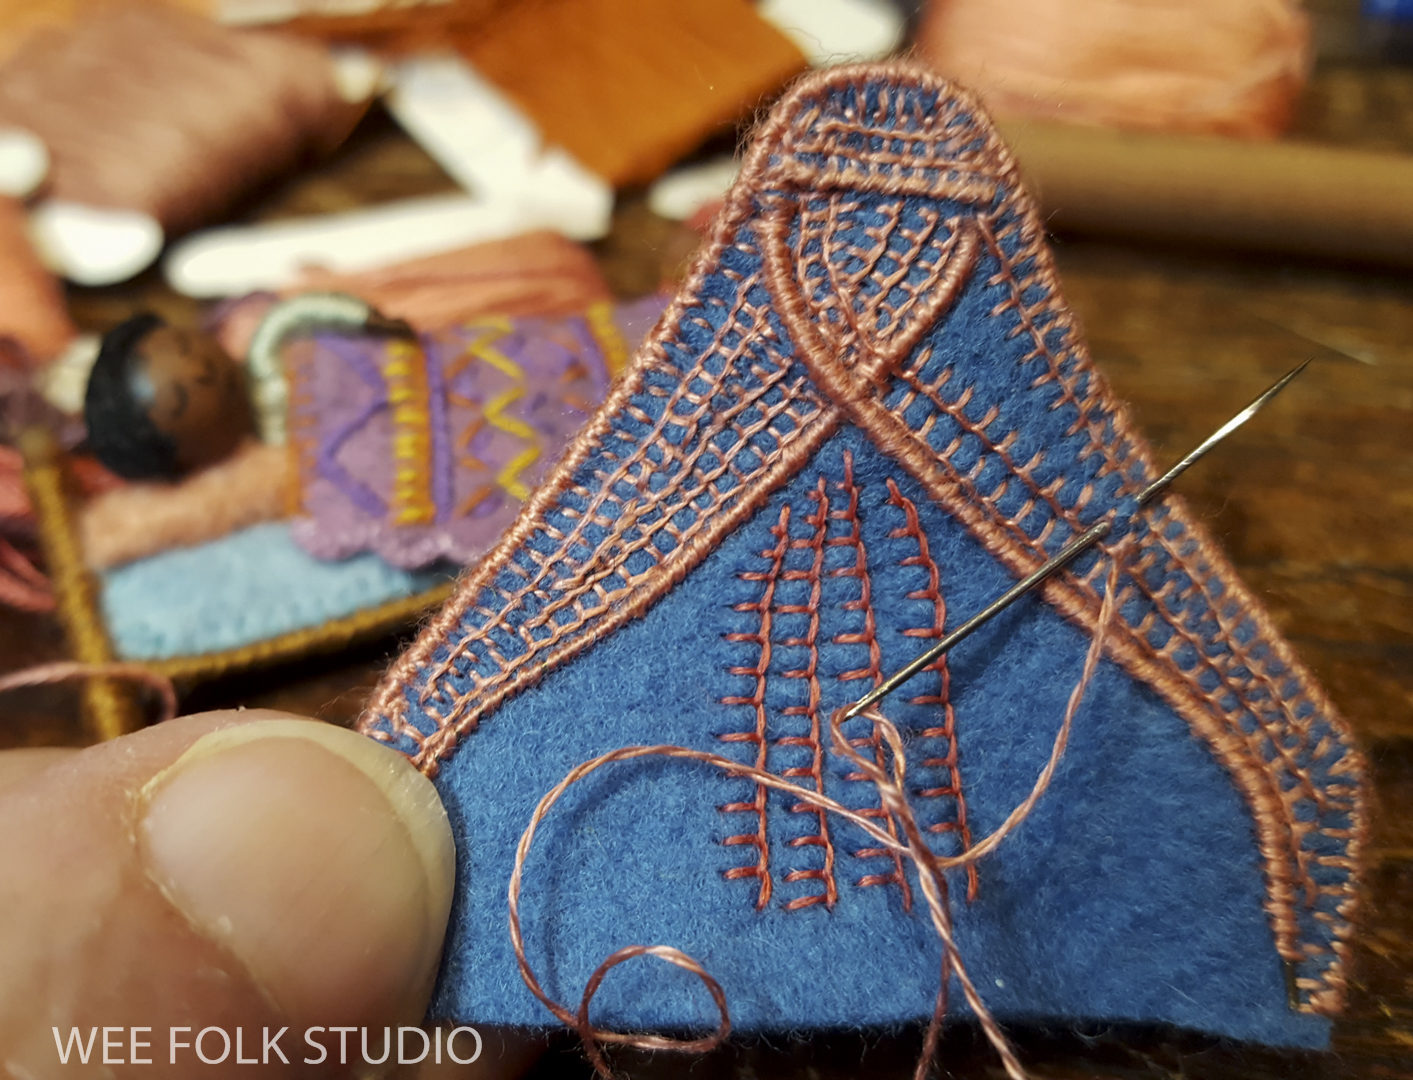
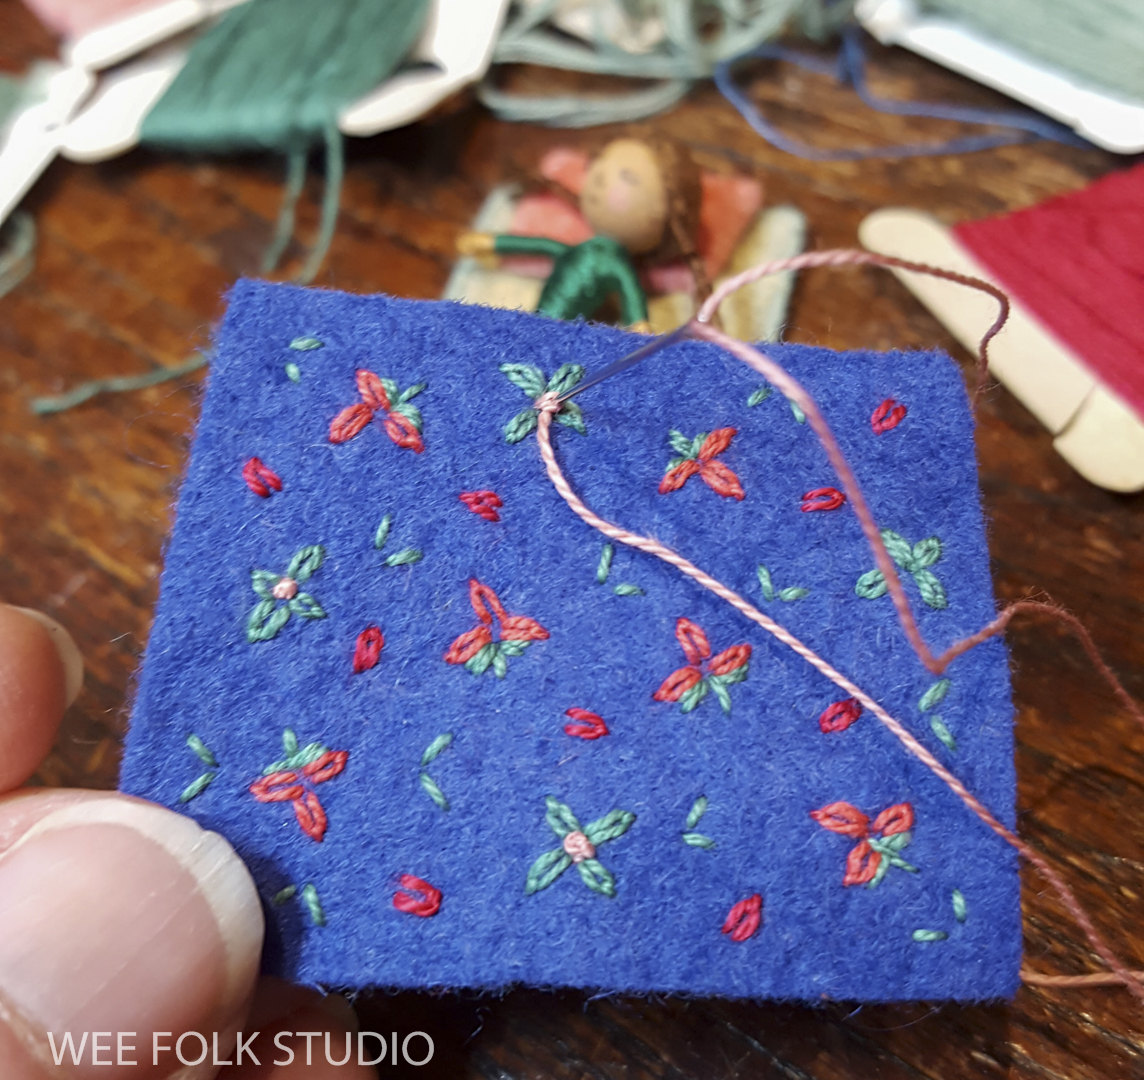
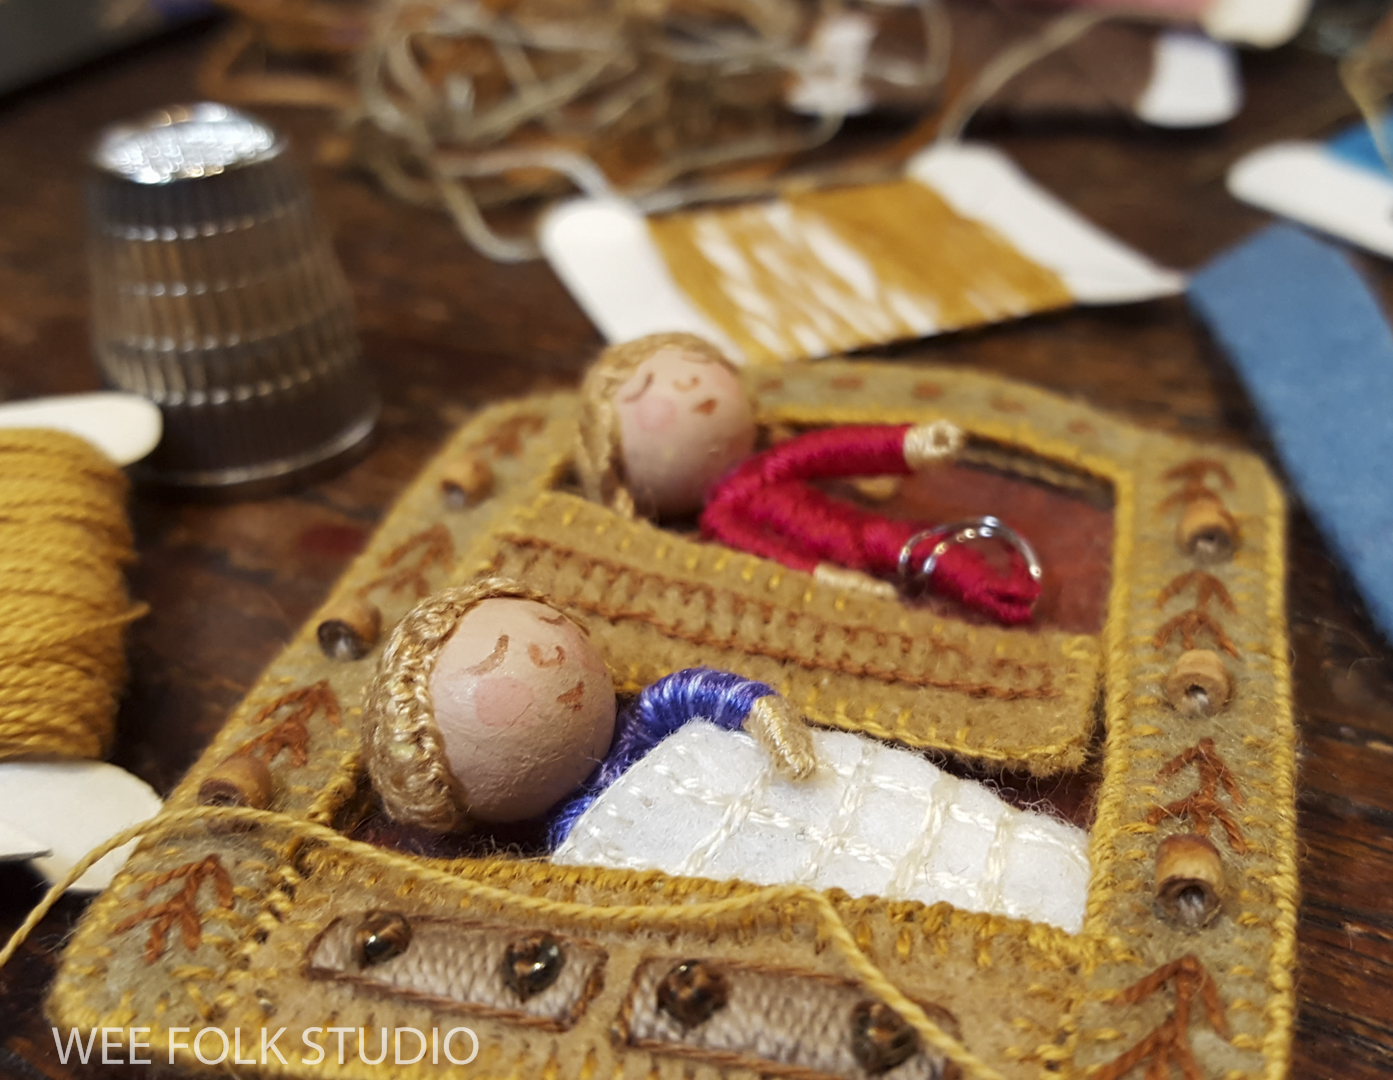
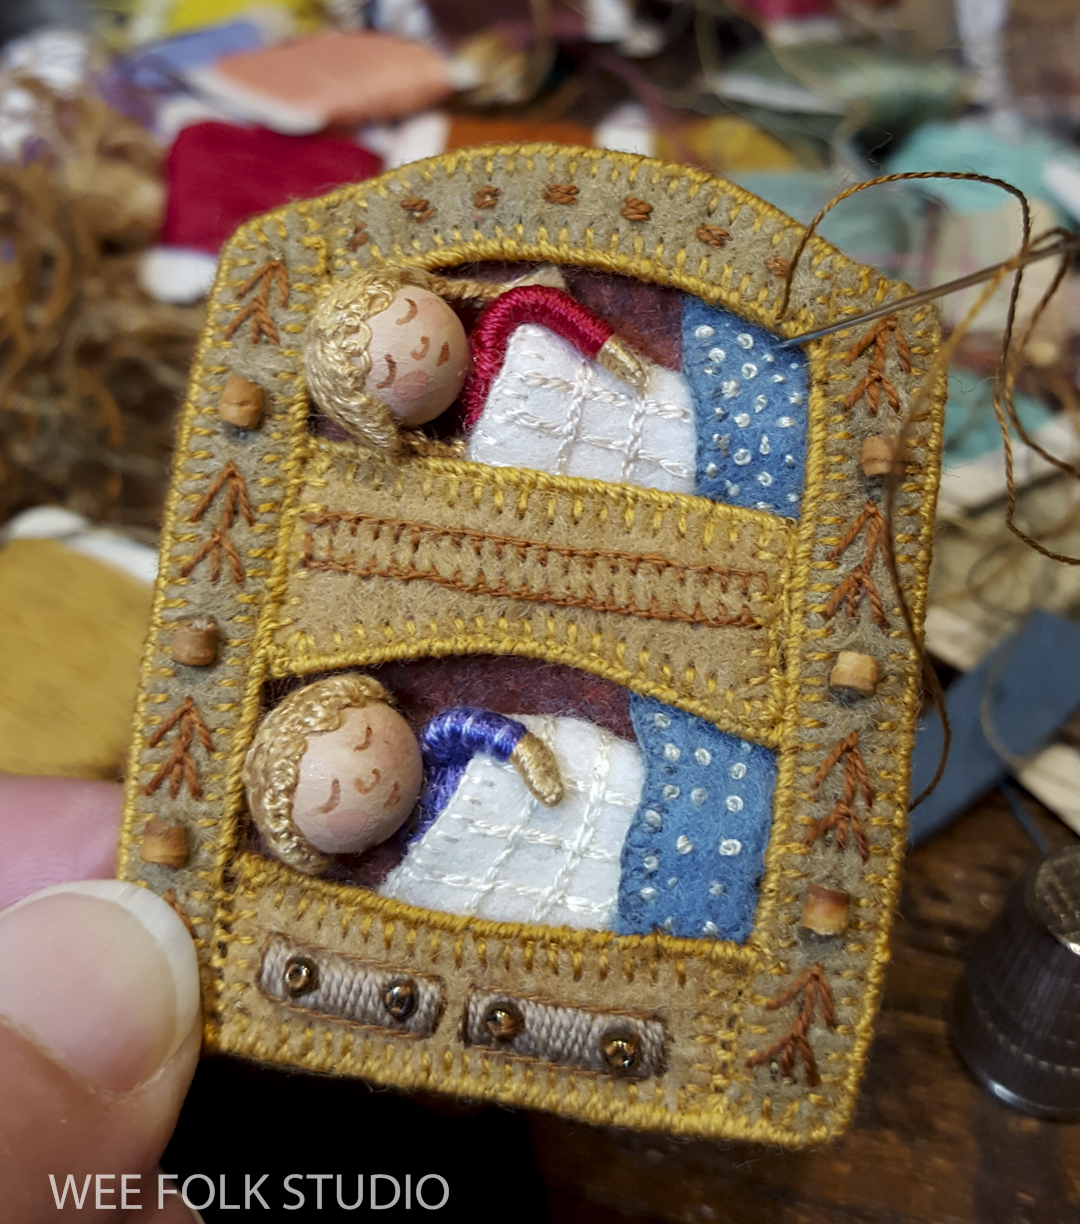
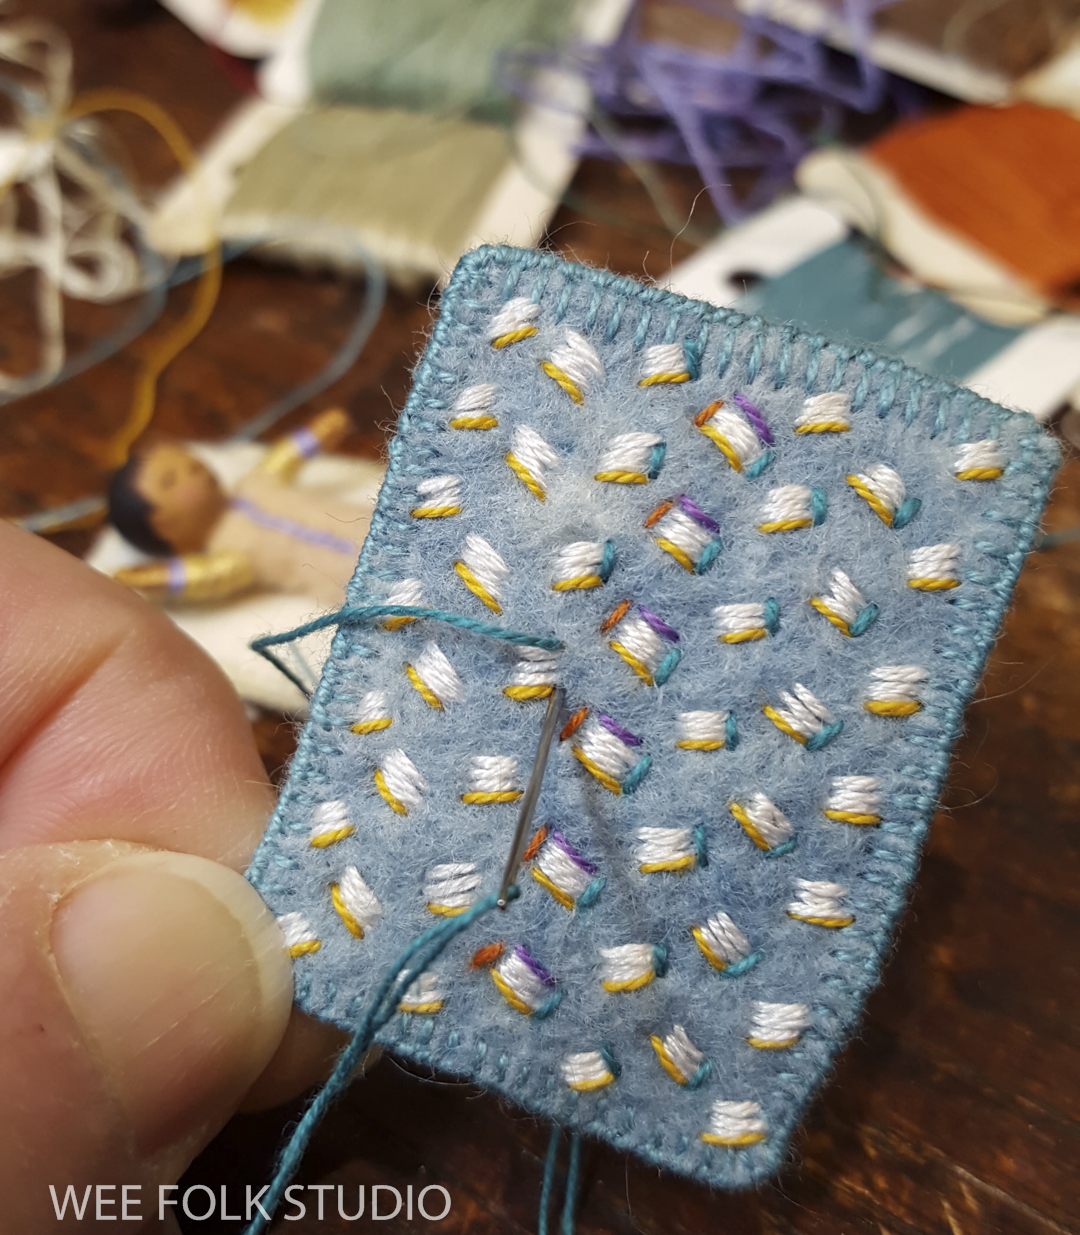
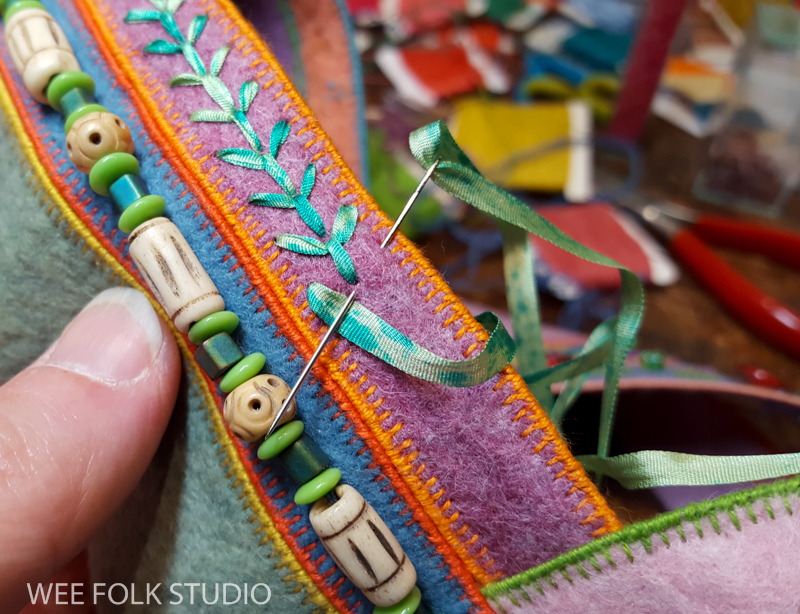
The design on the back cover includes multiple narrow (about 1/2″ wide) lengths of felt that I embroidered and pieced together in the style of a log cabin quilt.
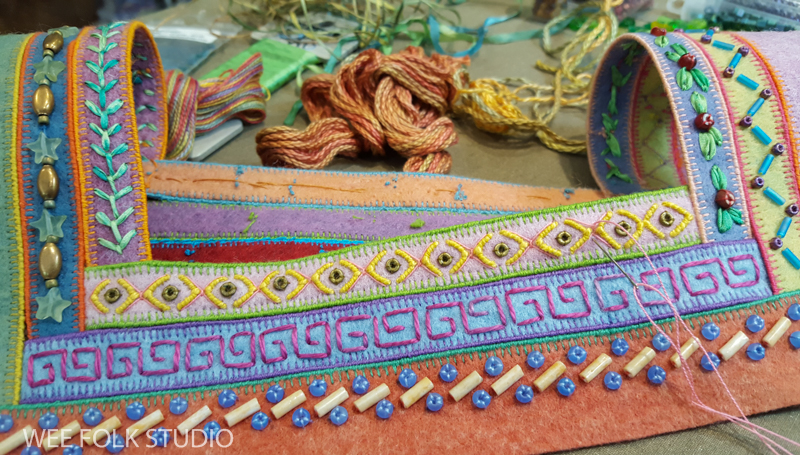
I edged each strip of felt with blanket stitch and then sewed on wire, to make the long sides firm and straight, like bones on a corset. Otherwise, the strips would be too limp and wobbly to work with. You can’t see the wire because it’s wrapped with thread.
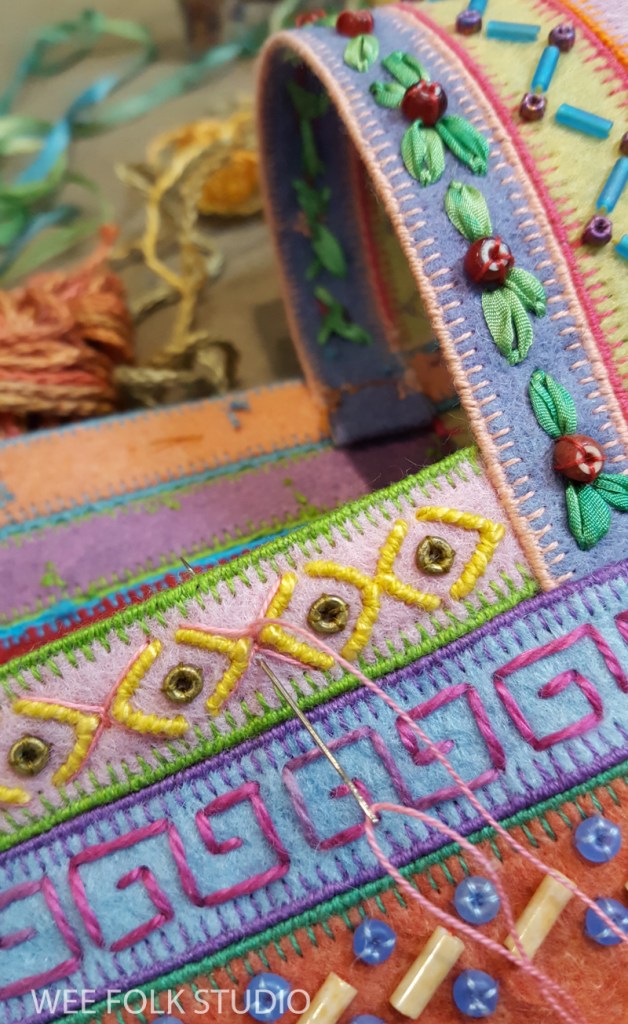
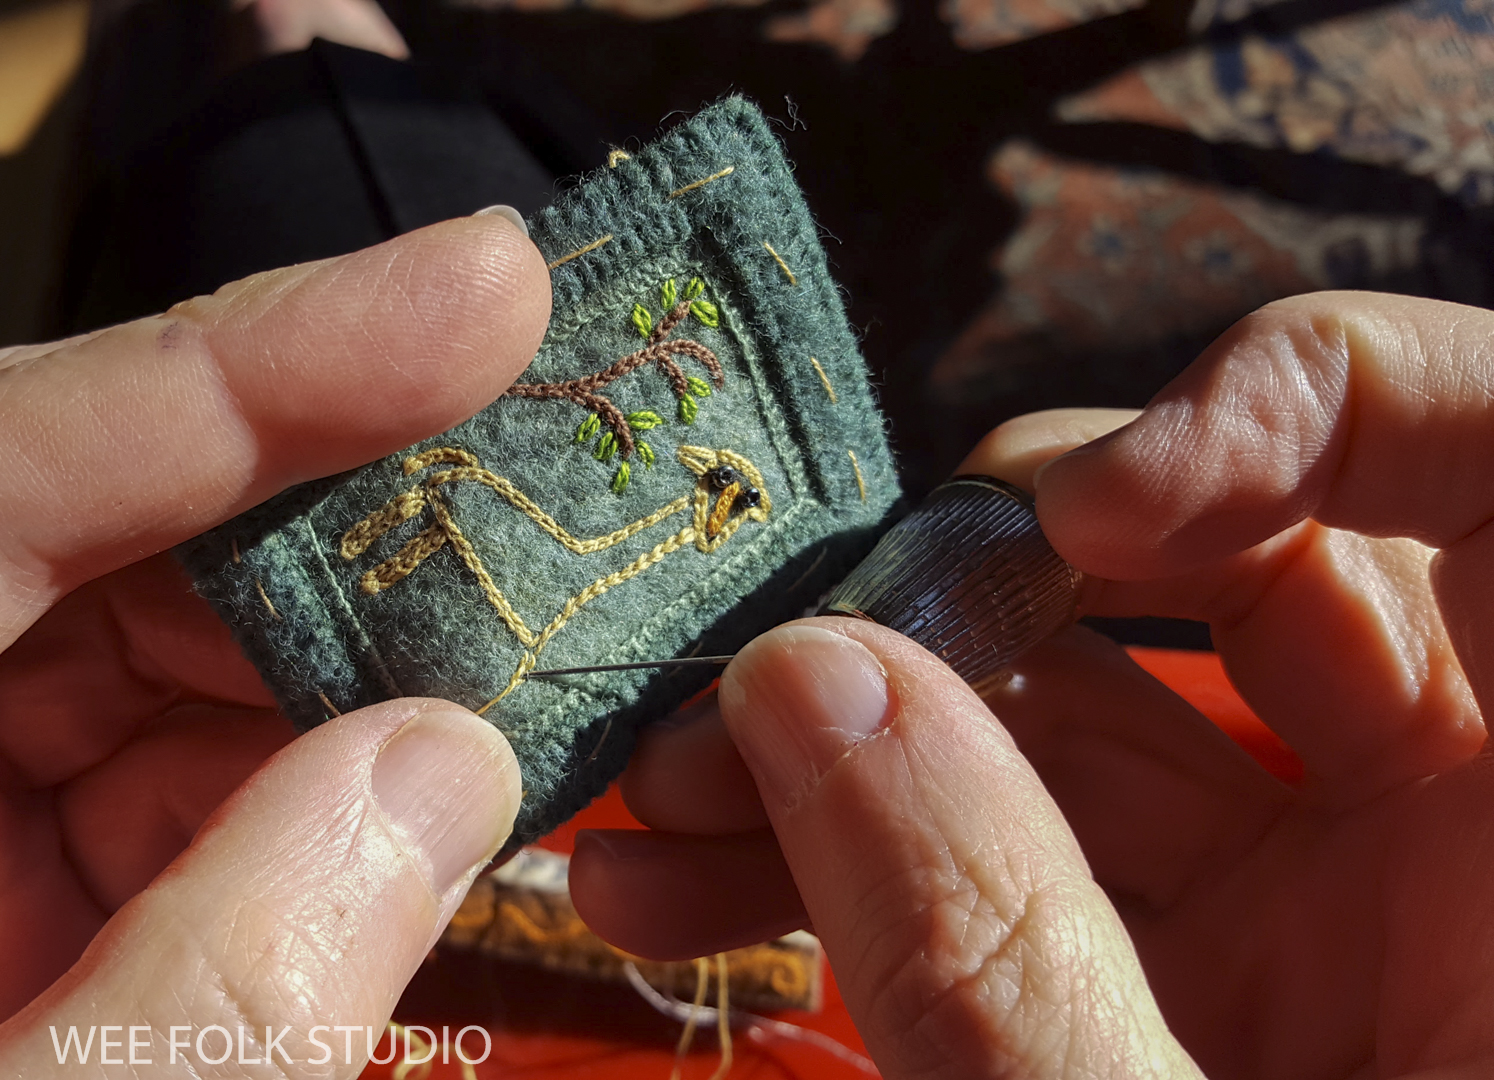
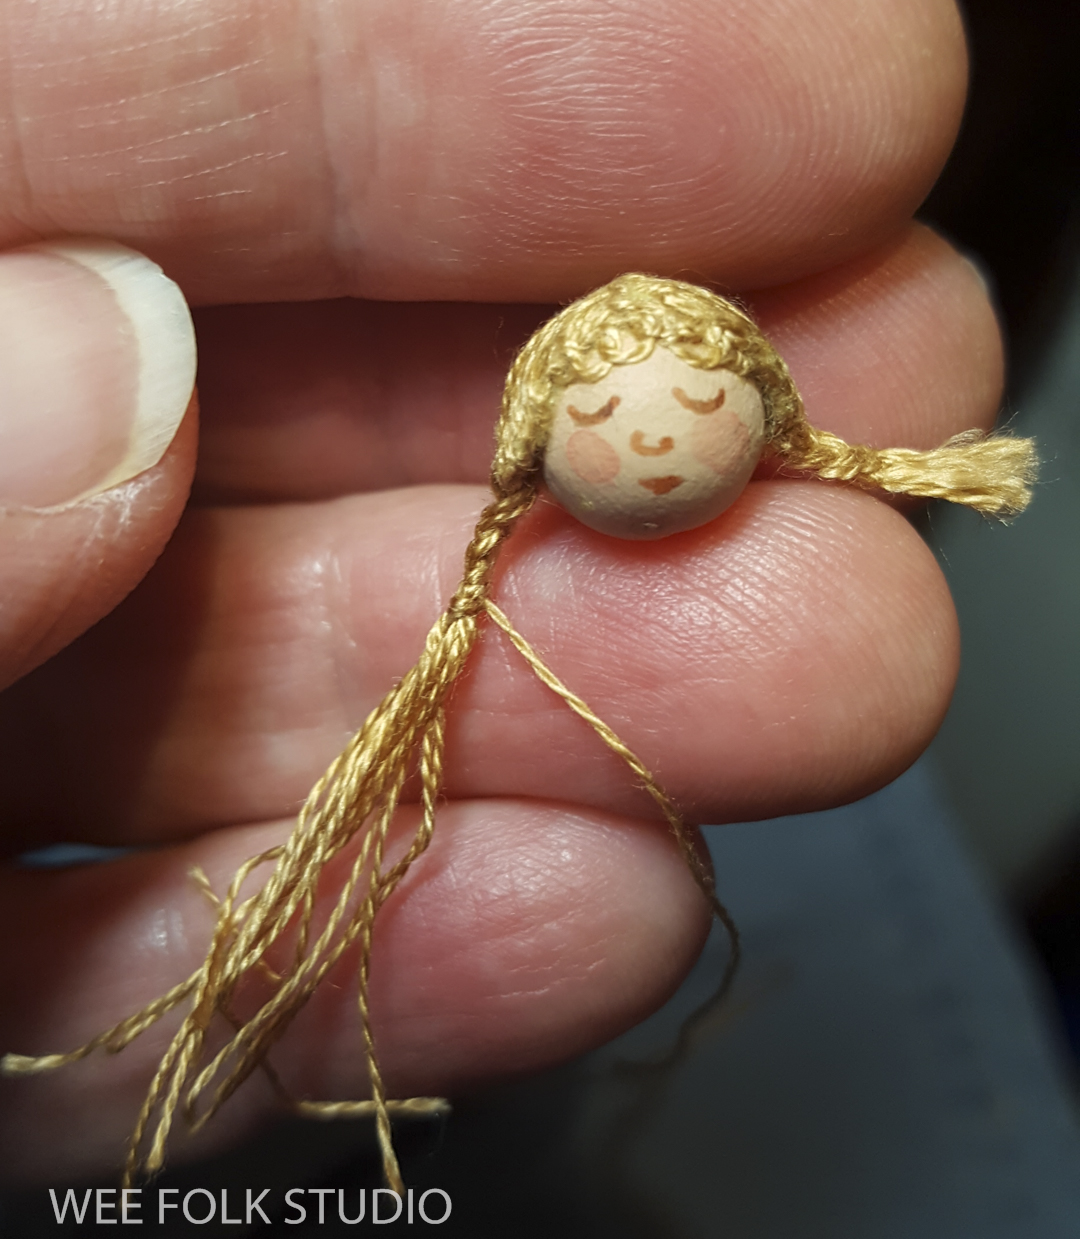
After stitching the strips together, I embellished different motifs on each one with beads, silk ribbon and embroidery stitches.
I combed through my vast collection of beads, which all seemed to be waving their hands wildly, calling out “pick me!”. The hardest part was selecting which ones to use and coming up with a combination that was interesting, but not cluttered looking.

I love embroidering simple stitches with silk ribbon.
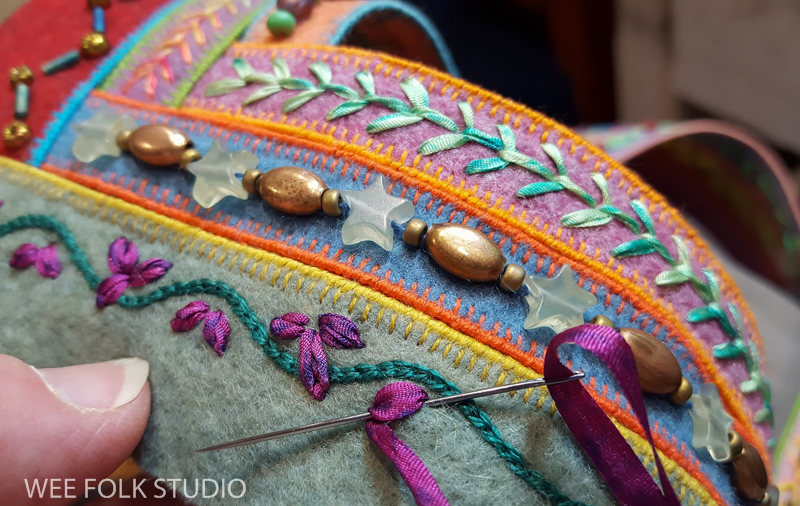

I wanted each strip to be distinctive, but also work in harmony with the others.


The border looked like a window when it was finished
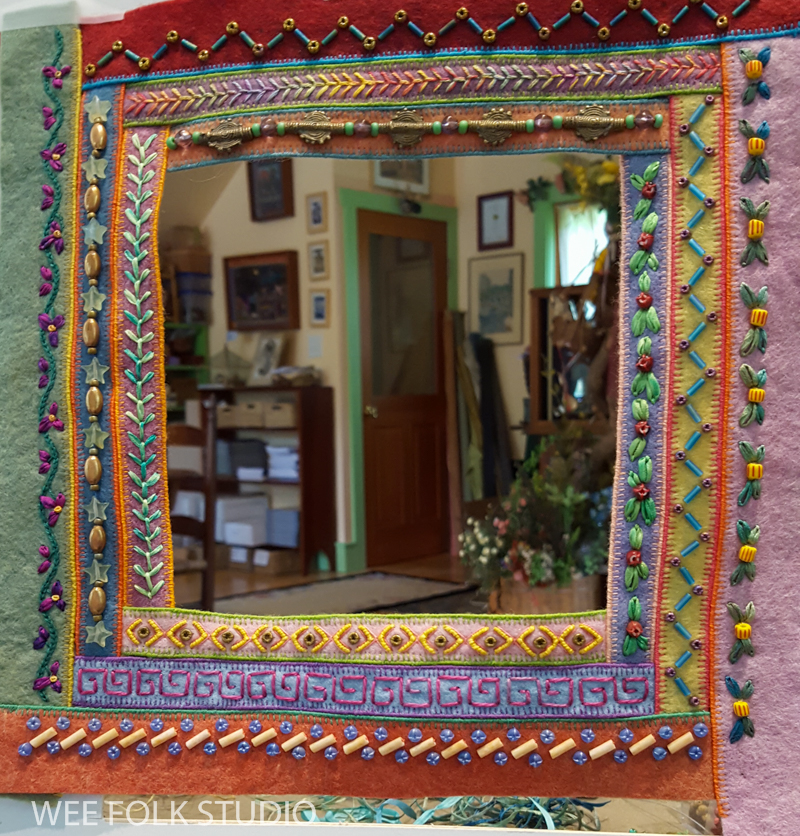
The last part involved sewing the border in place on top of a solid felt center piece. Since the book is a perfect square, everything had to line up just right.

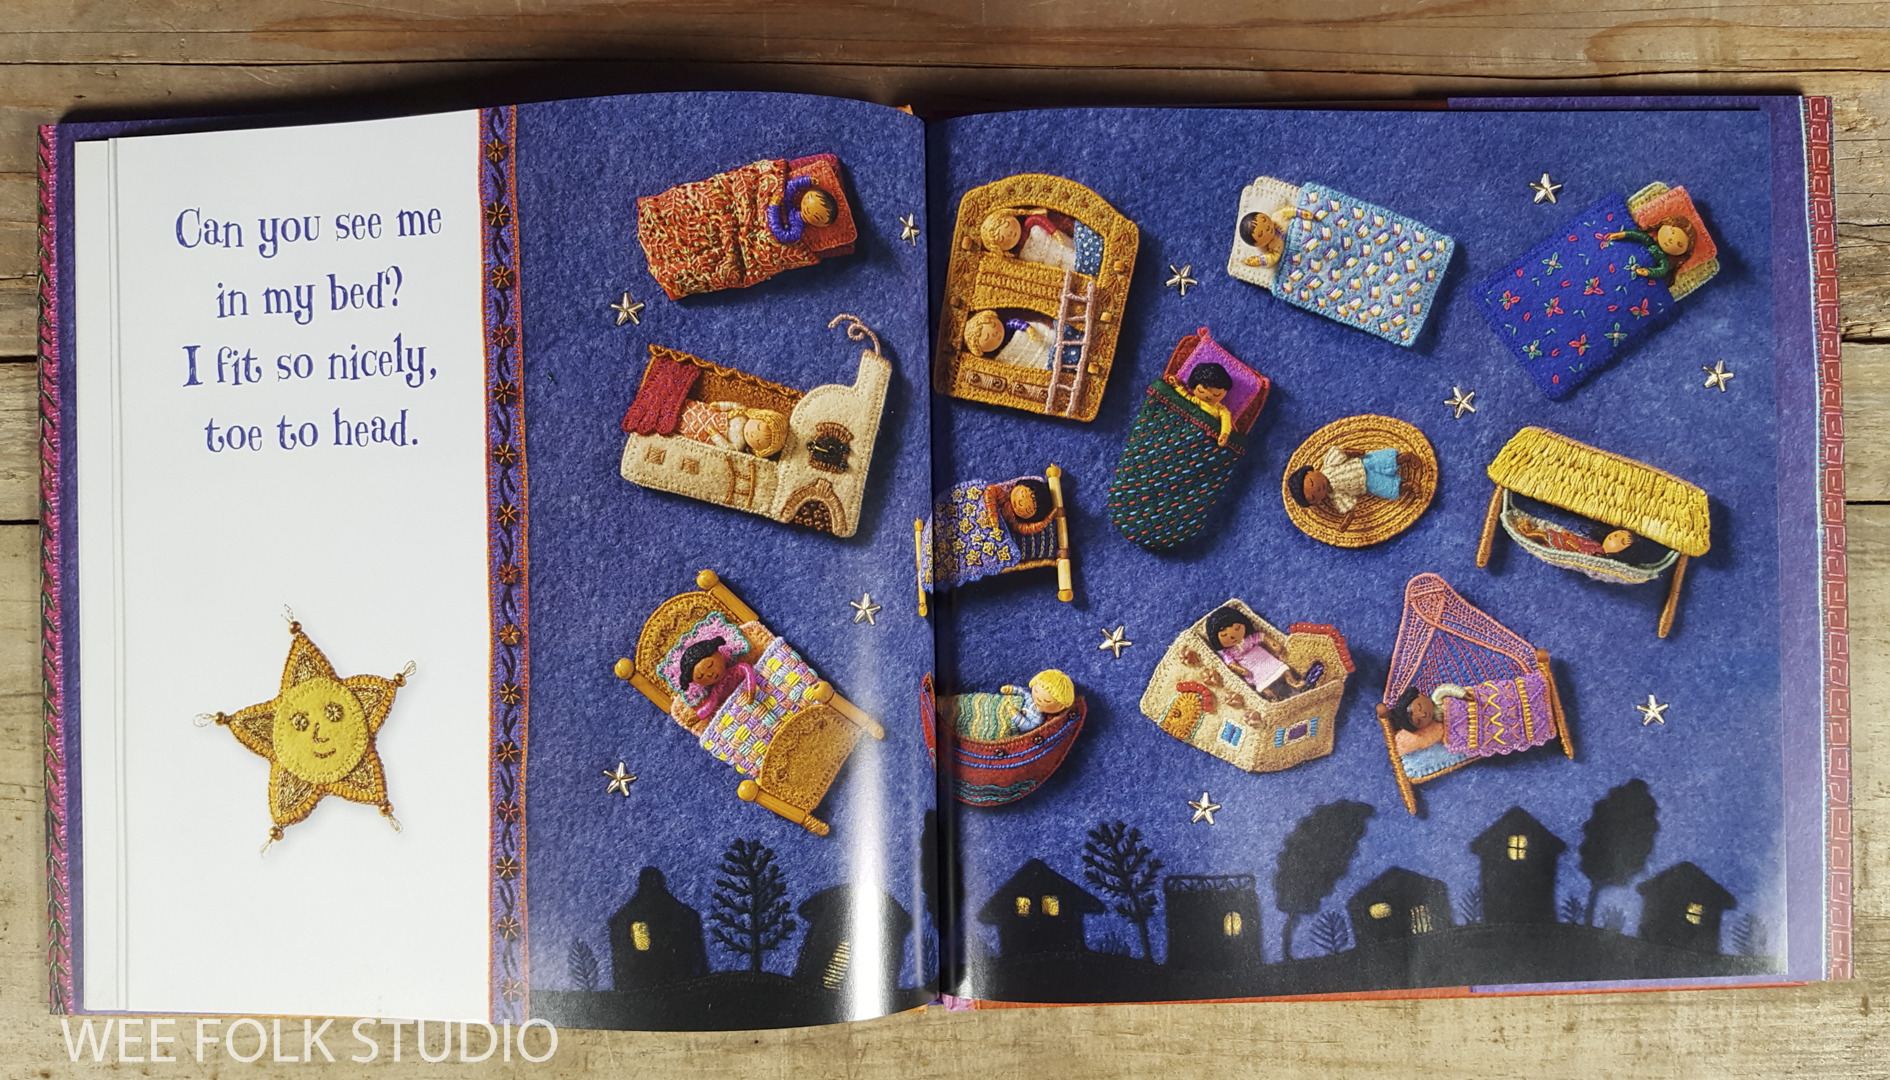
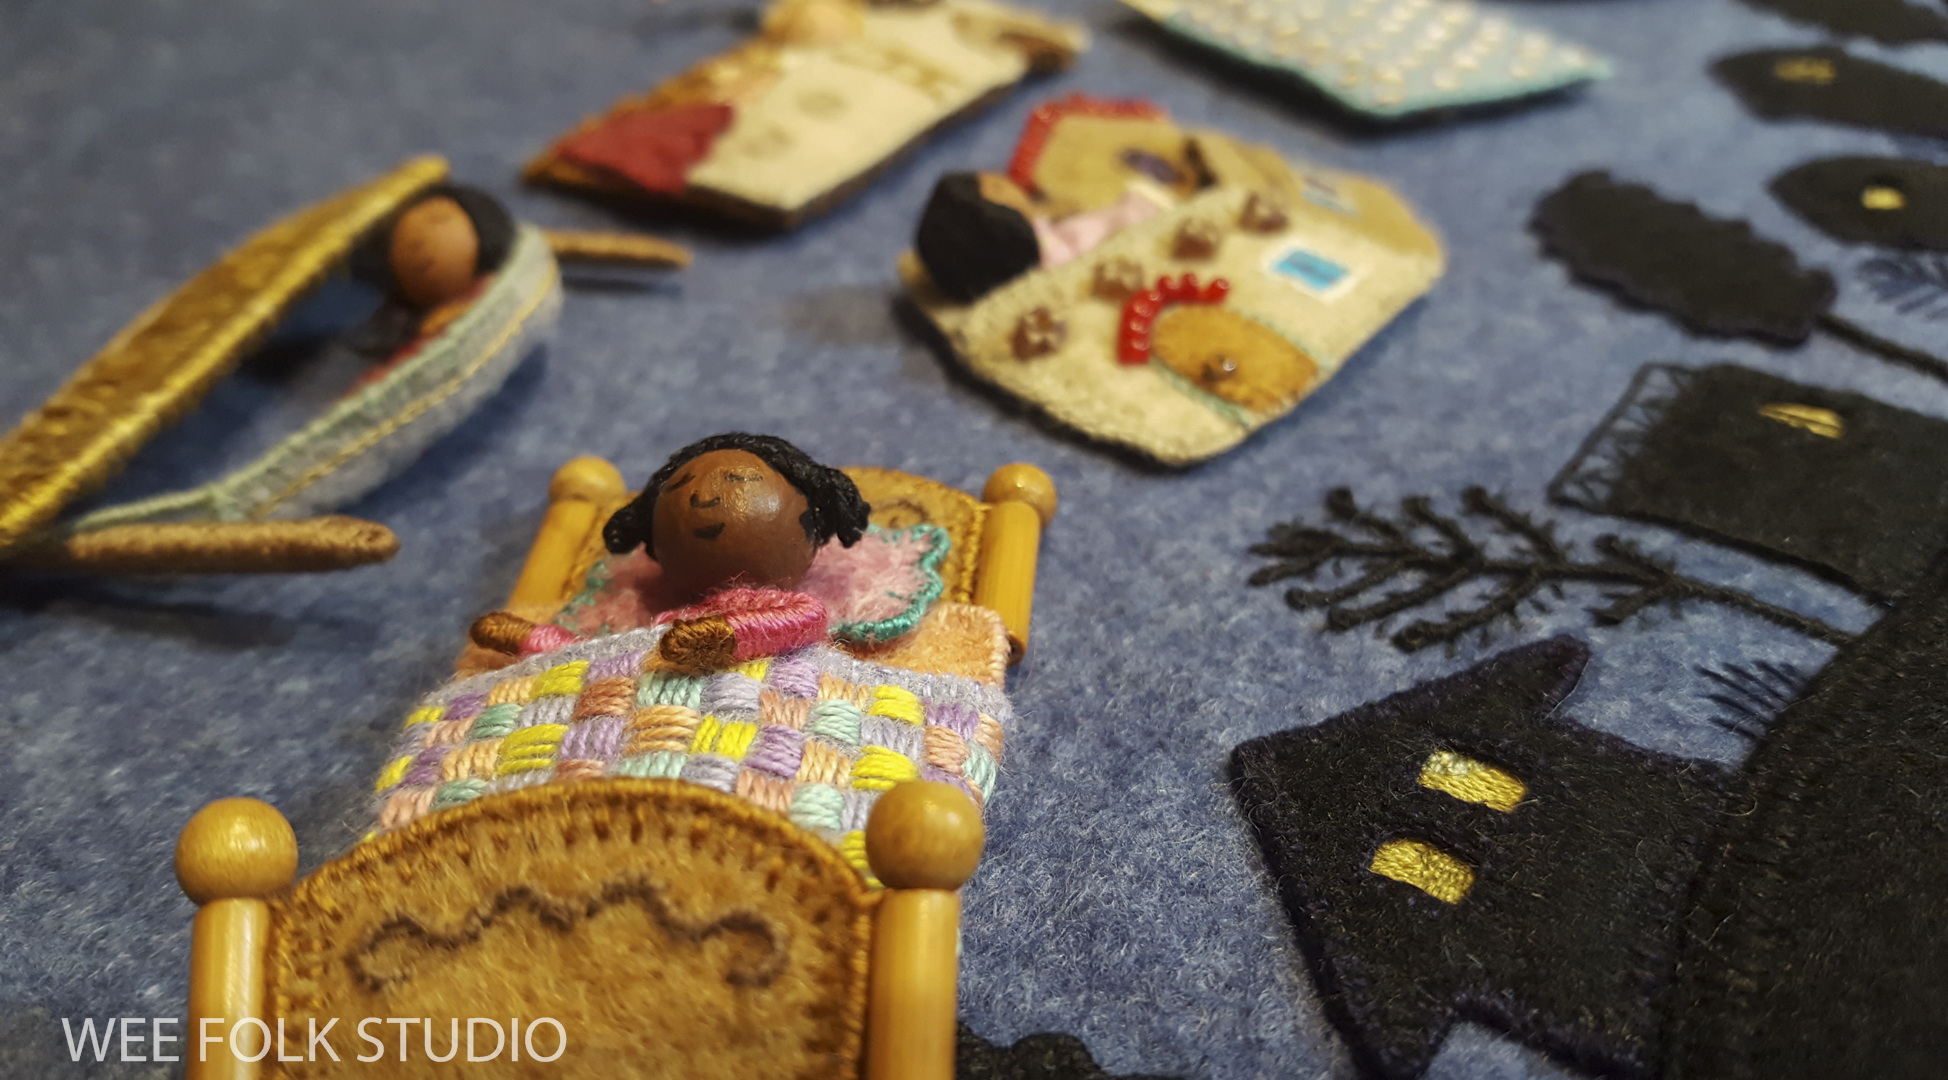
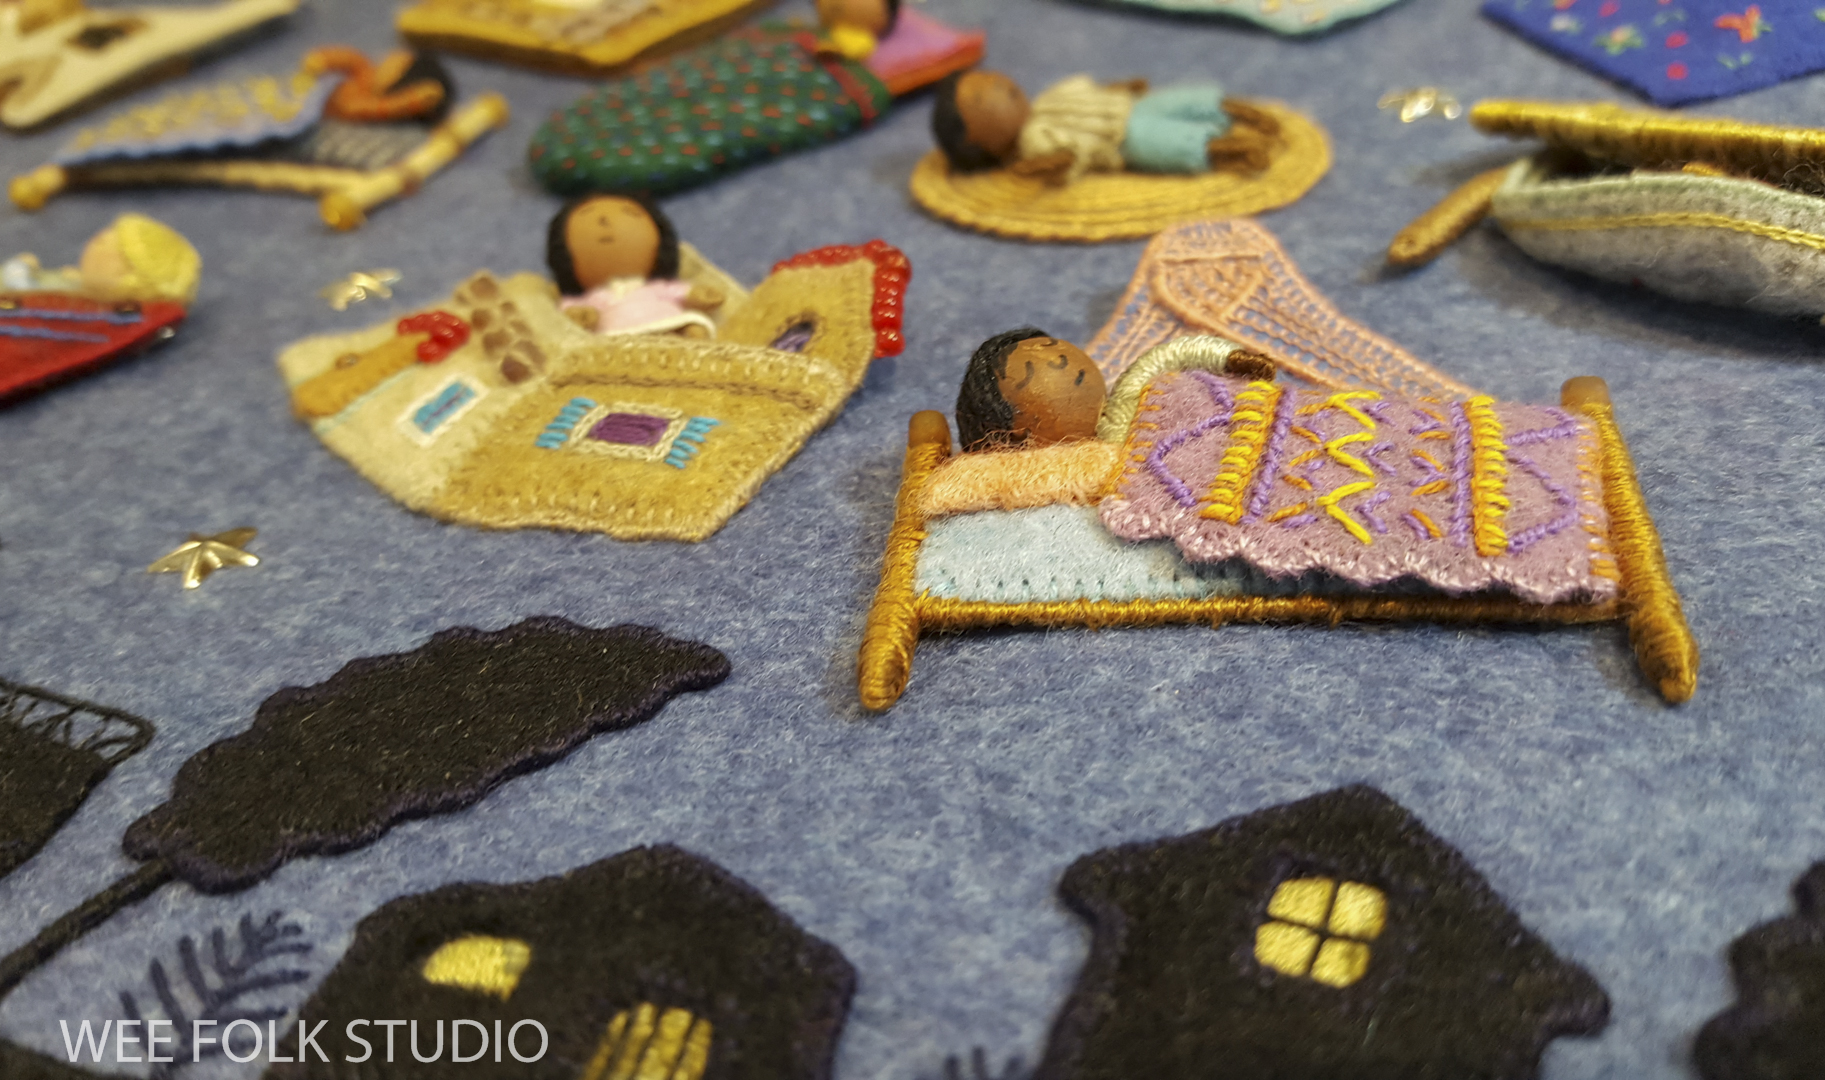
Please keep in mind that while this book is technically a children’s book, it’s really for all ages! Over the past few years, I’ve published posts about making several of the different scenes. Here’s a list of the posts I’ve written:
- Afghanistan – part 1, part 2
- Holland – part 1, part 2, part 3
- India – part 1, part 2, part 3
- Iran – part 1, part 2, part 3
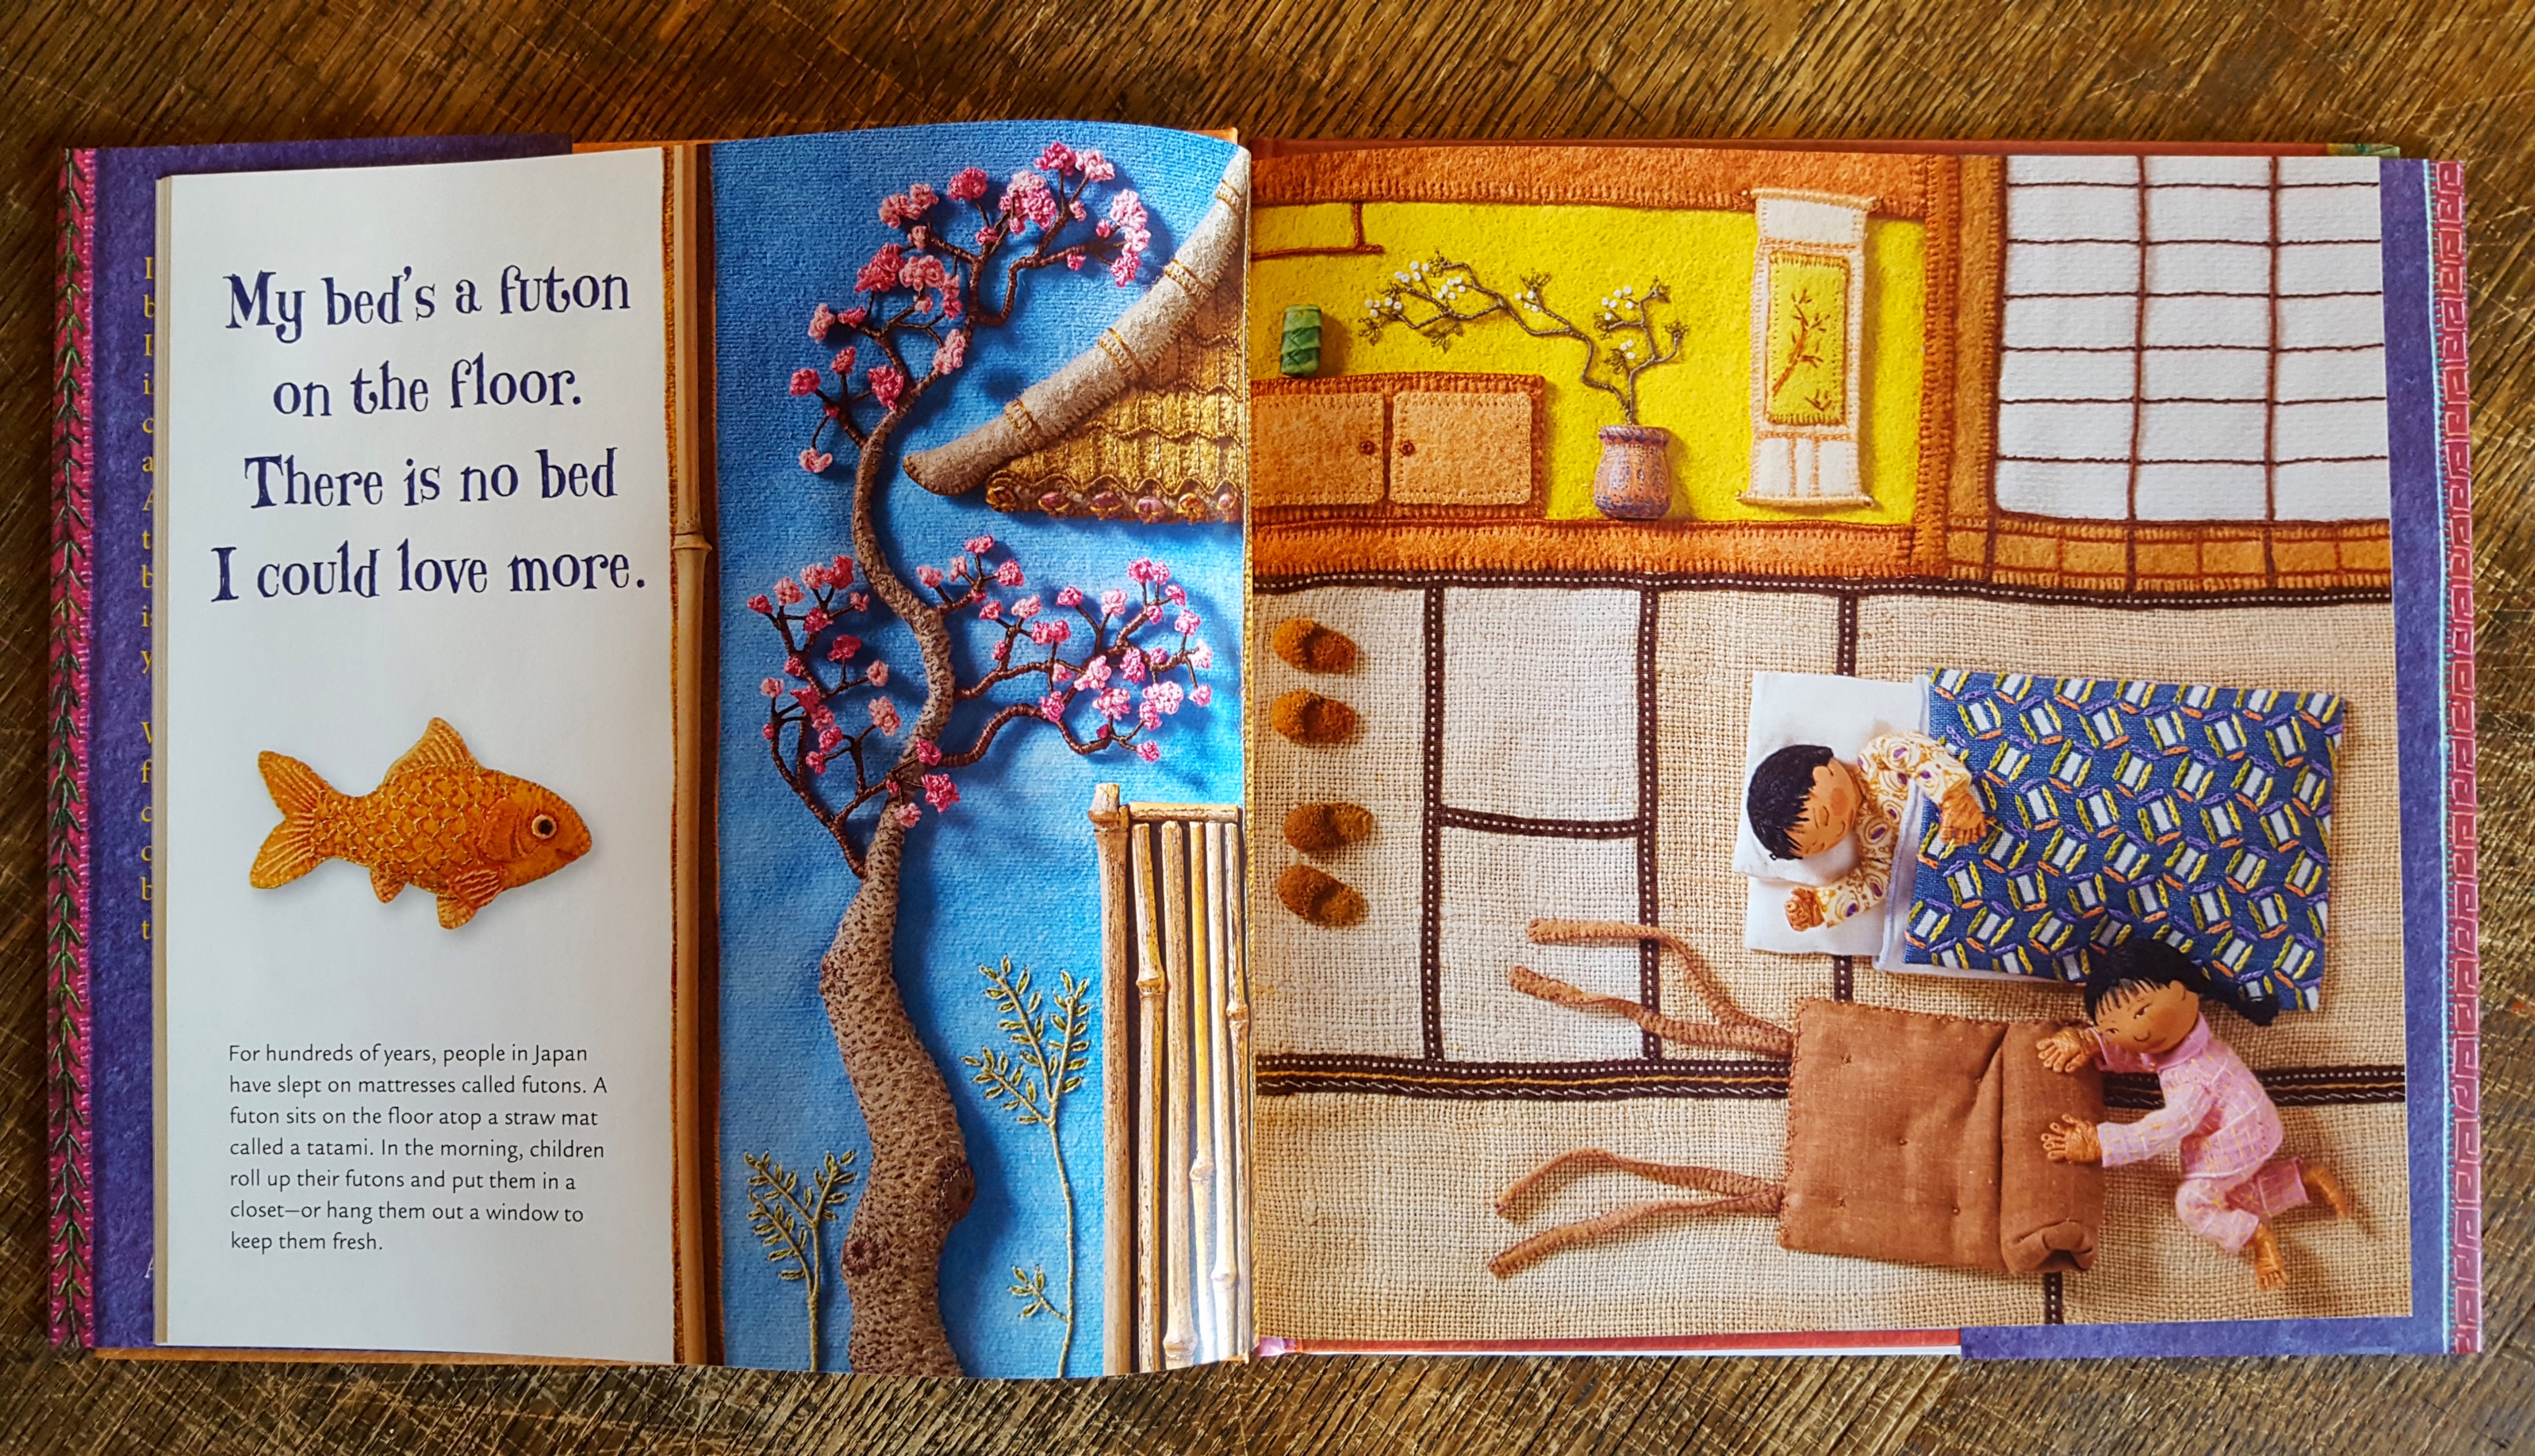
- Japan – part 1
- North Africa – part 1, part 2, part 3
- North America – part 1, part 2, part 3
- Russia – part 1, part 2, part 3
- Scandinavia – part 1, part 2, part 3, part 4
- South America – part 1
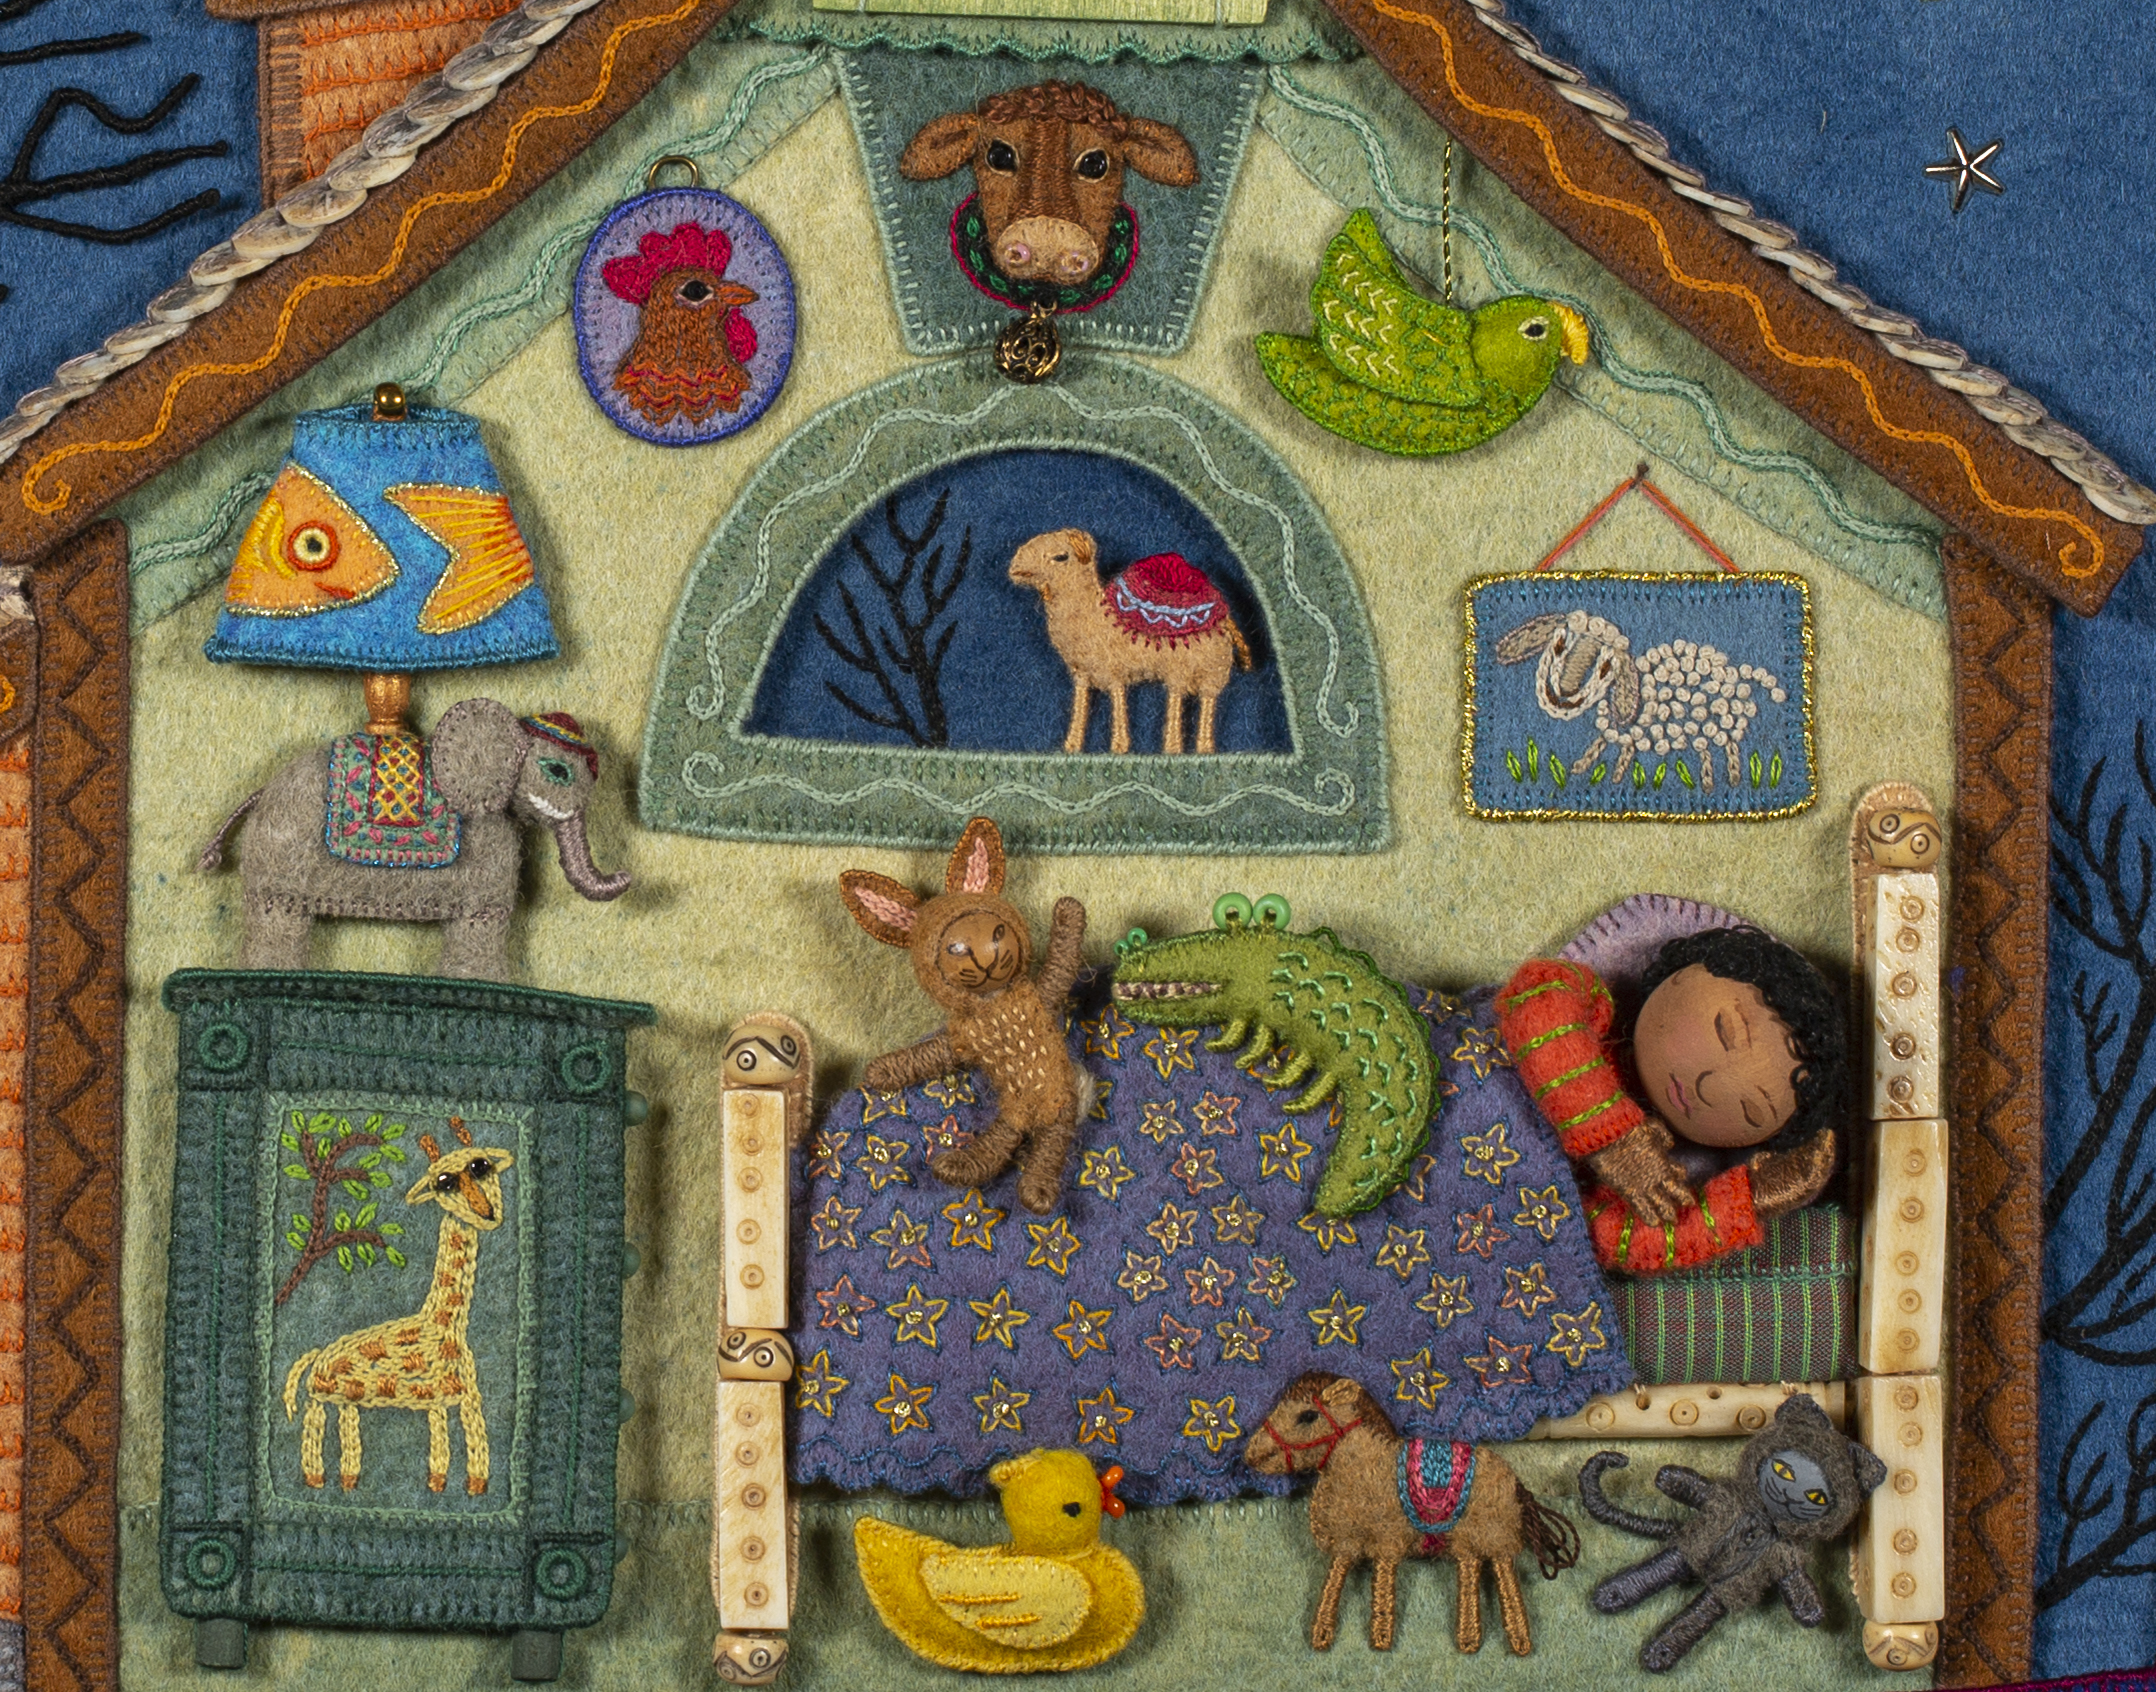
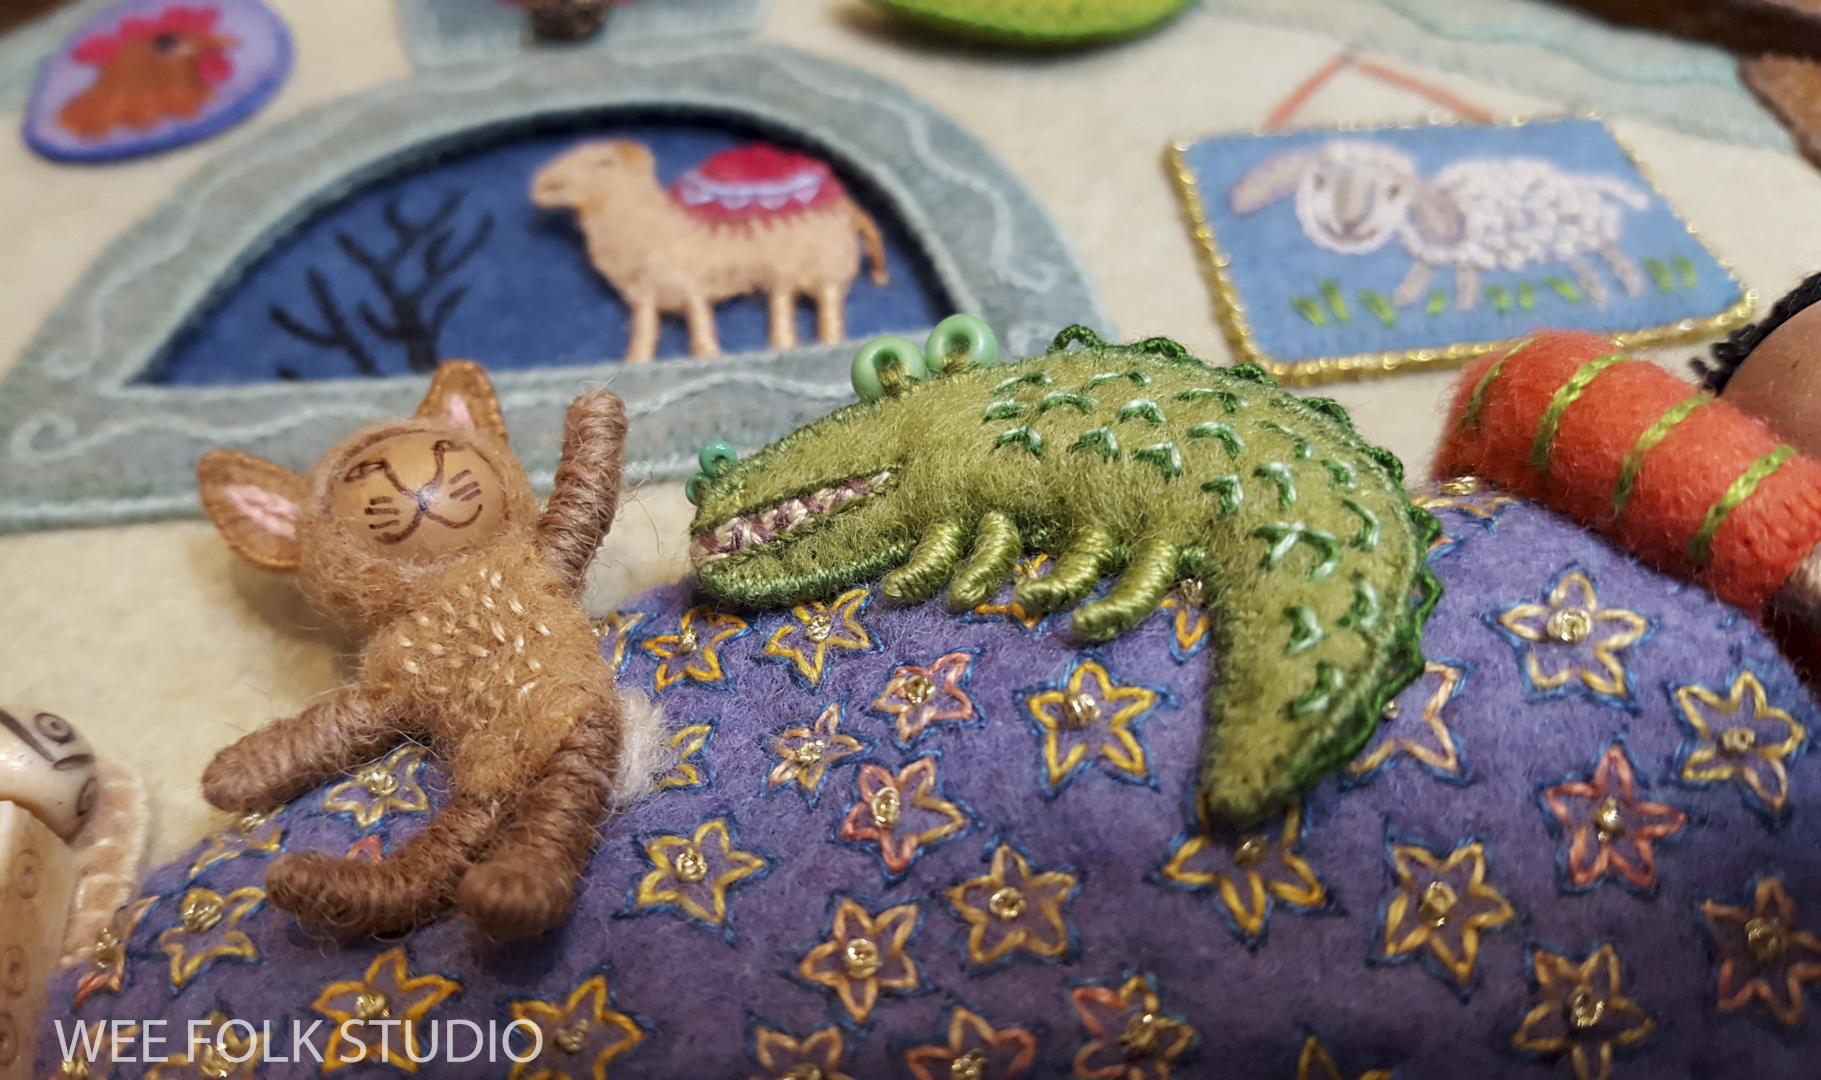
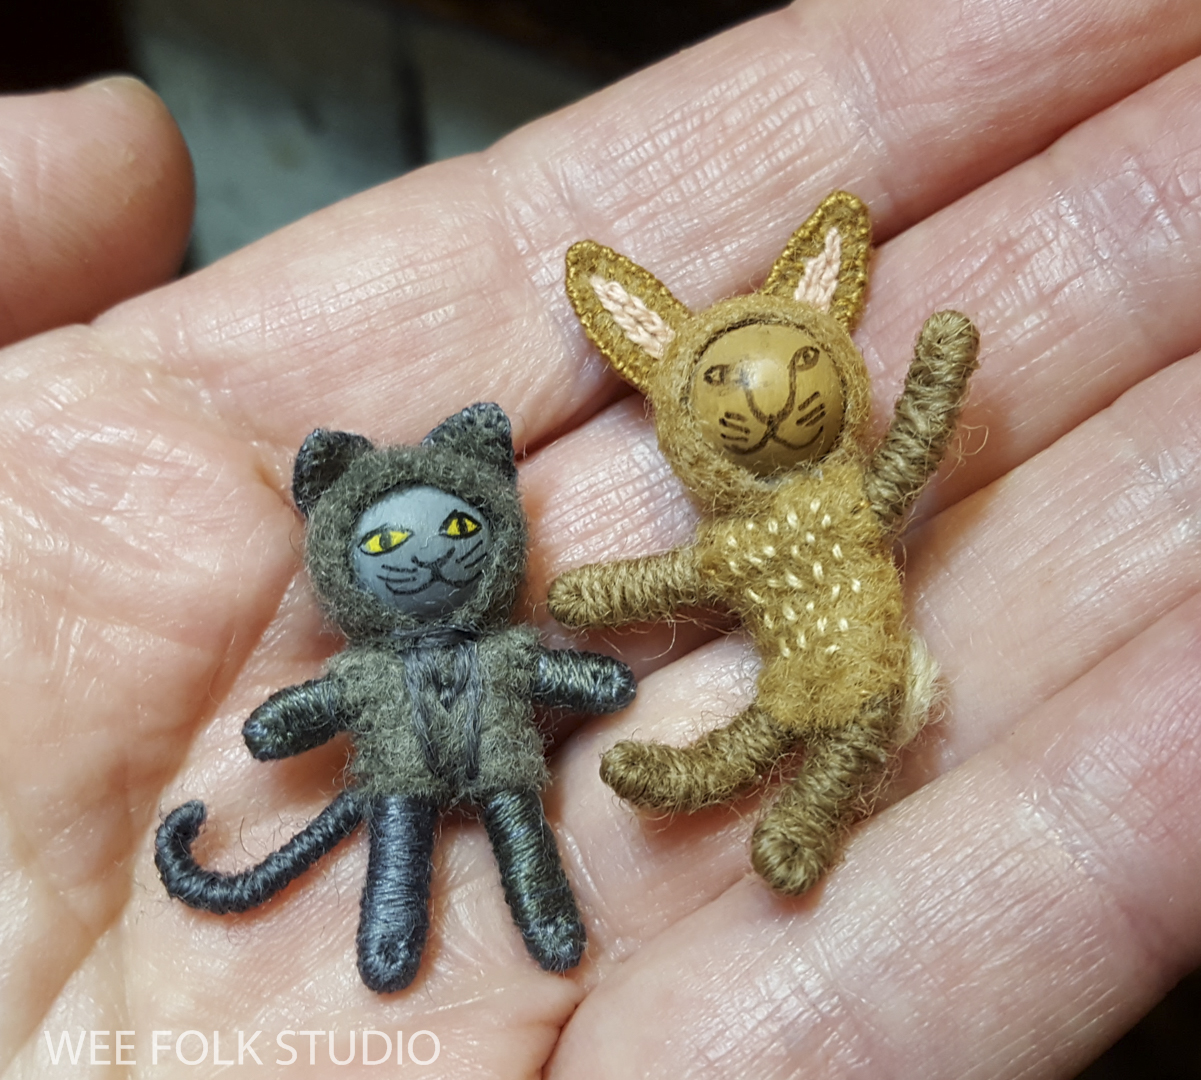
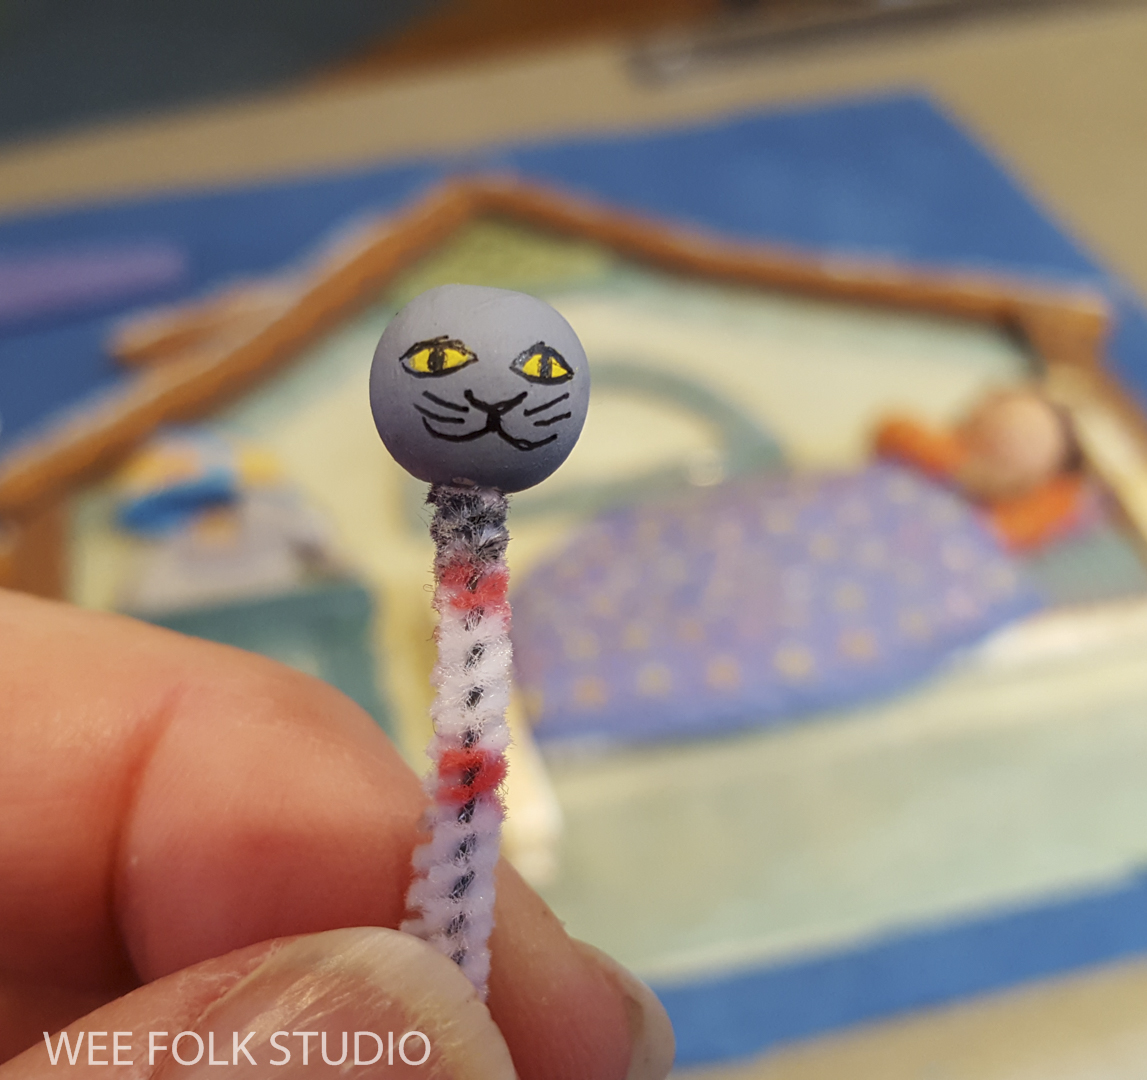
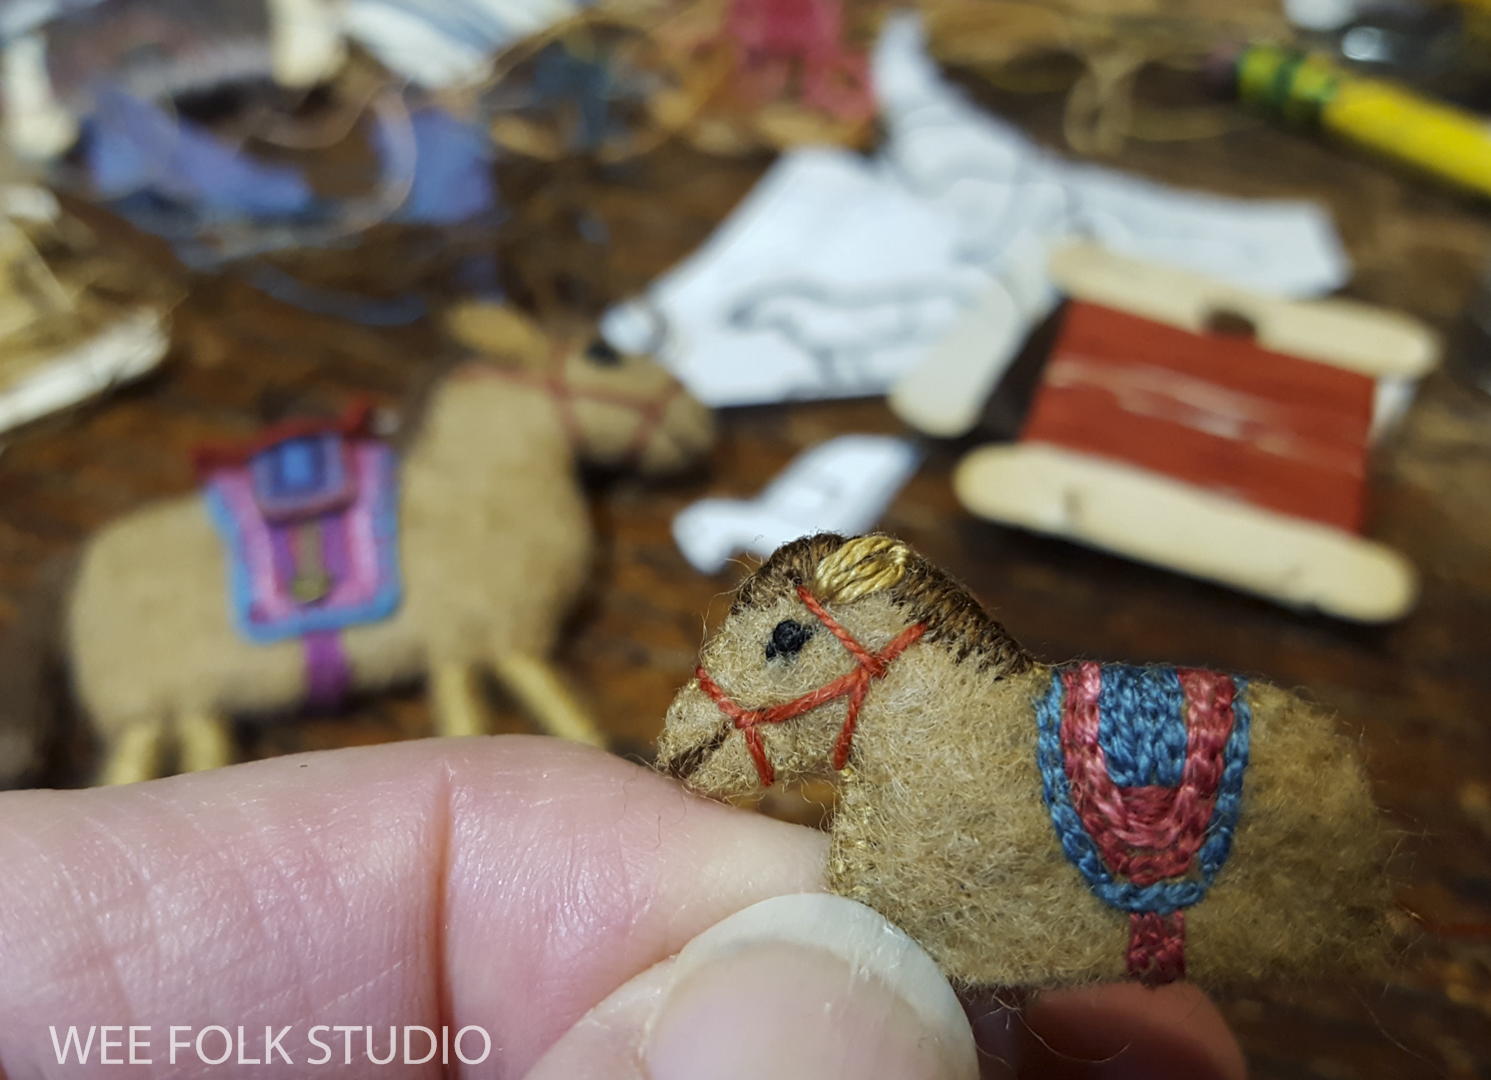
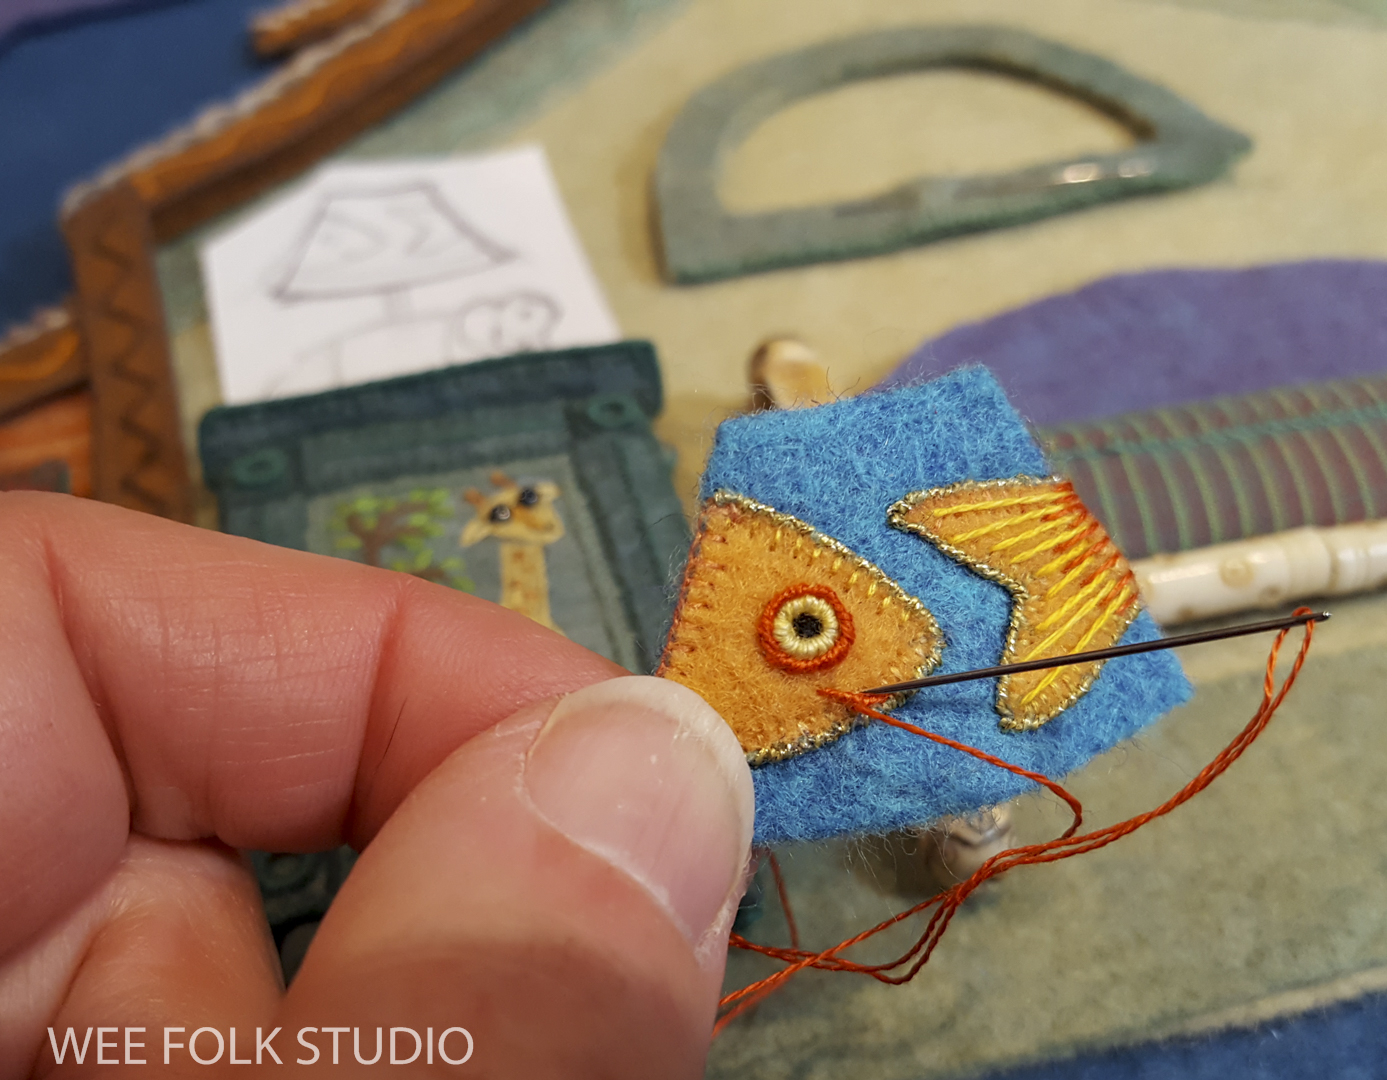
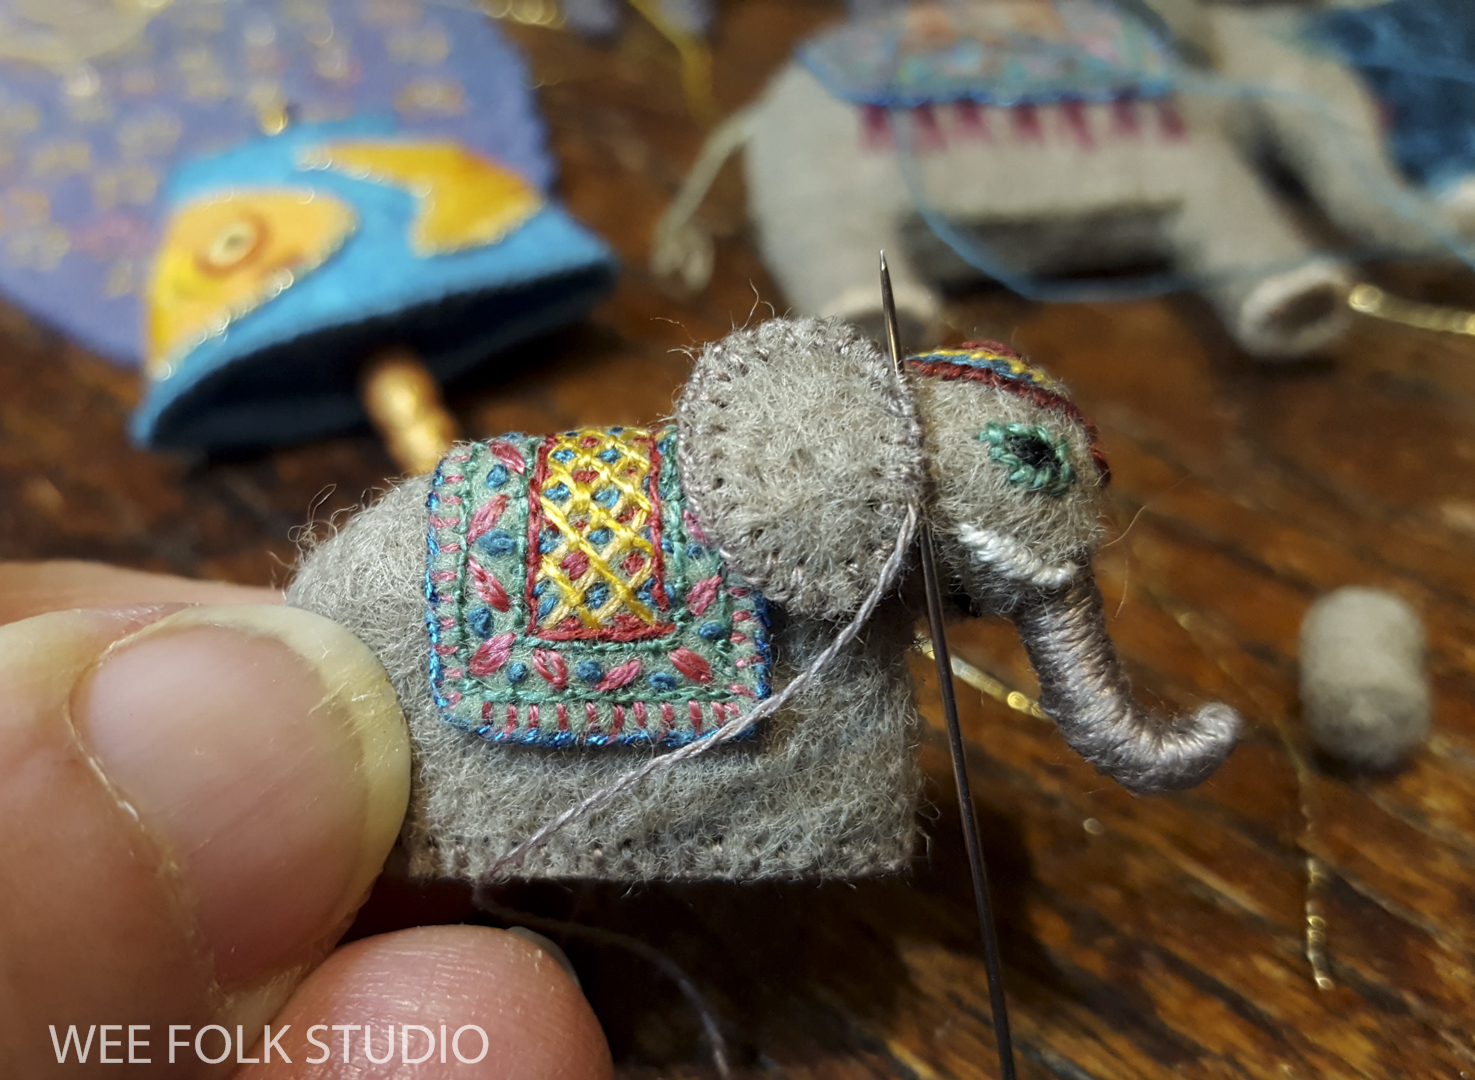
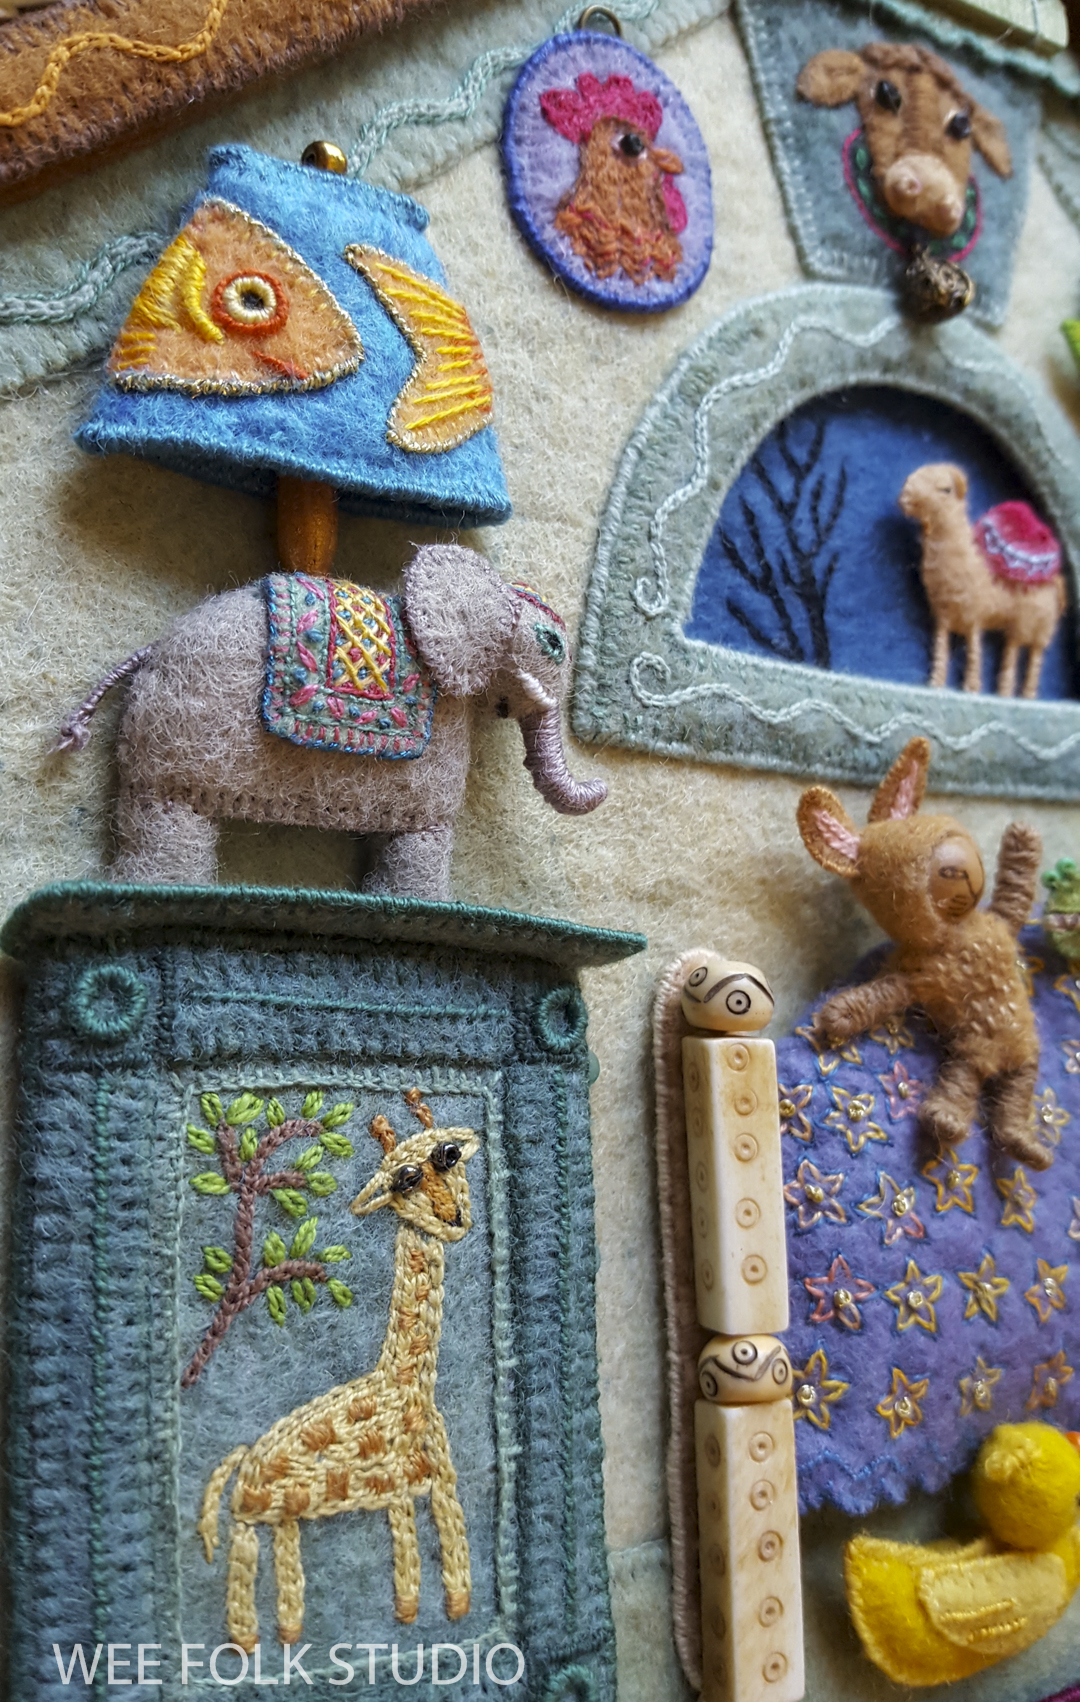
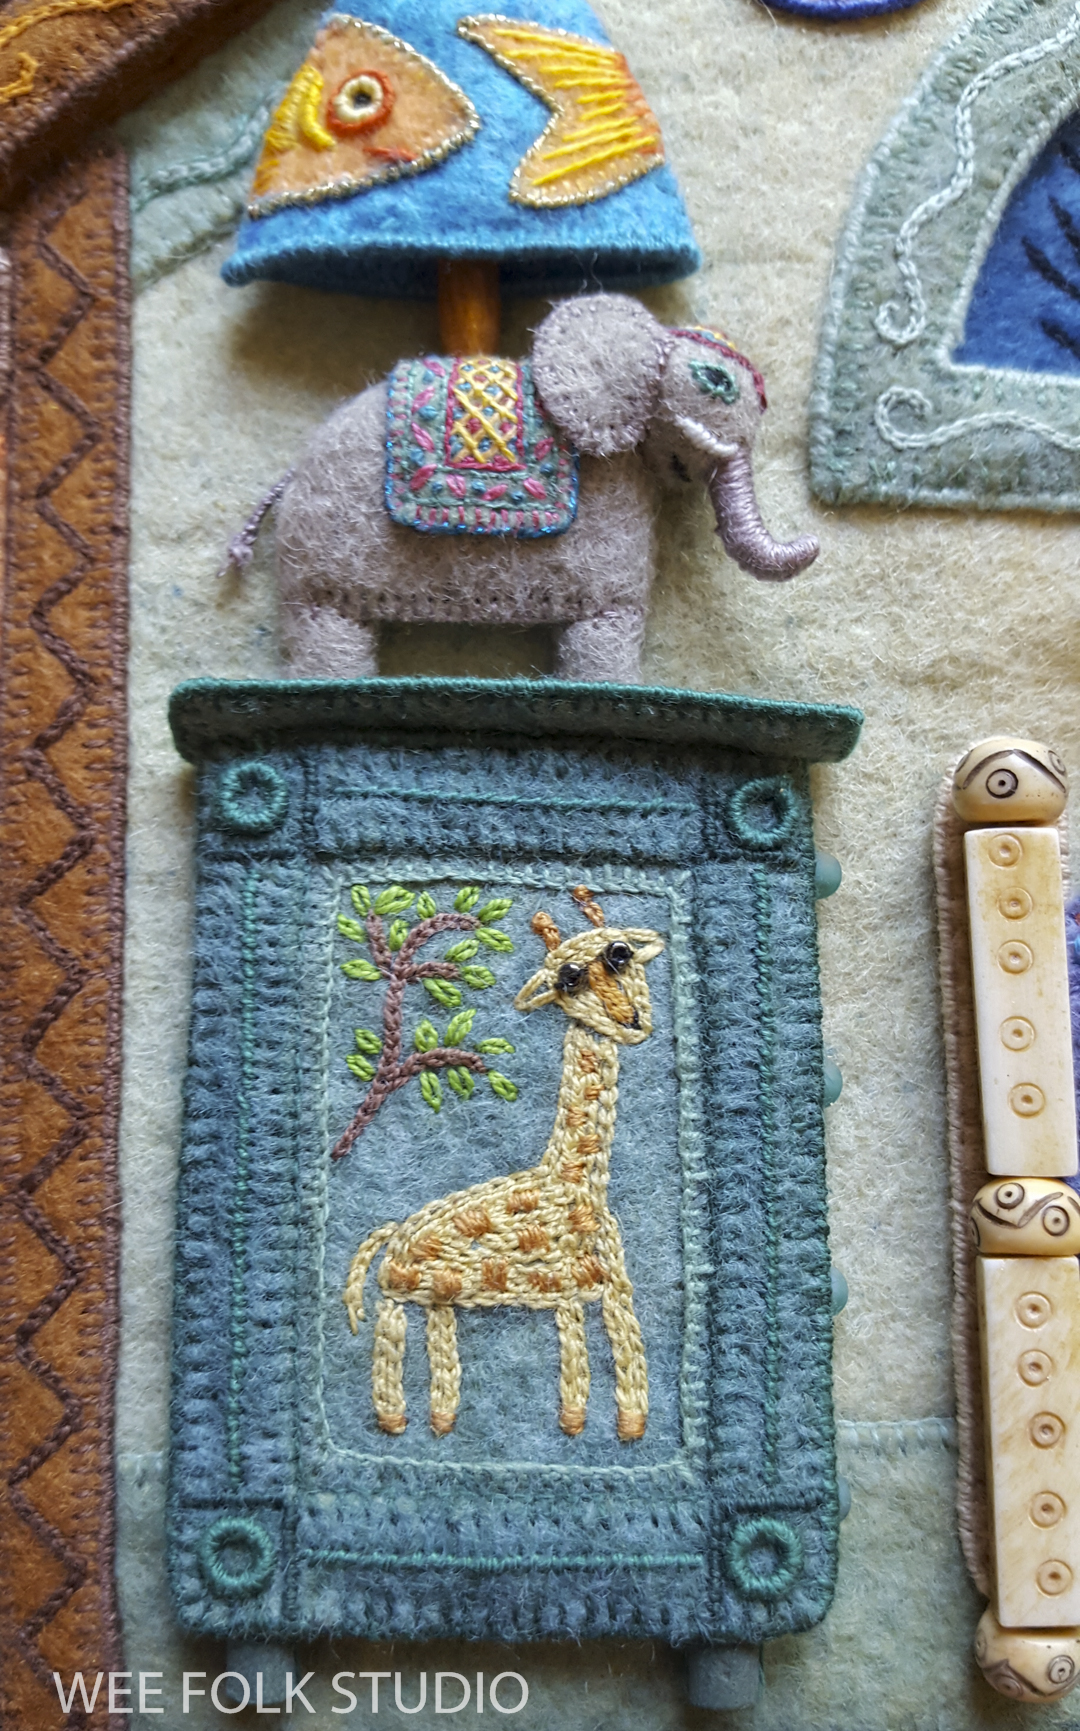
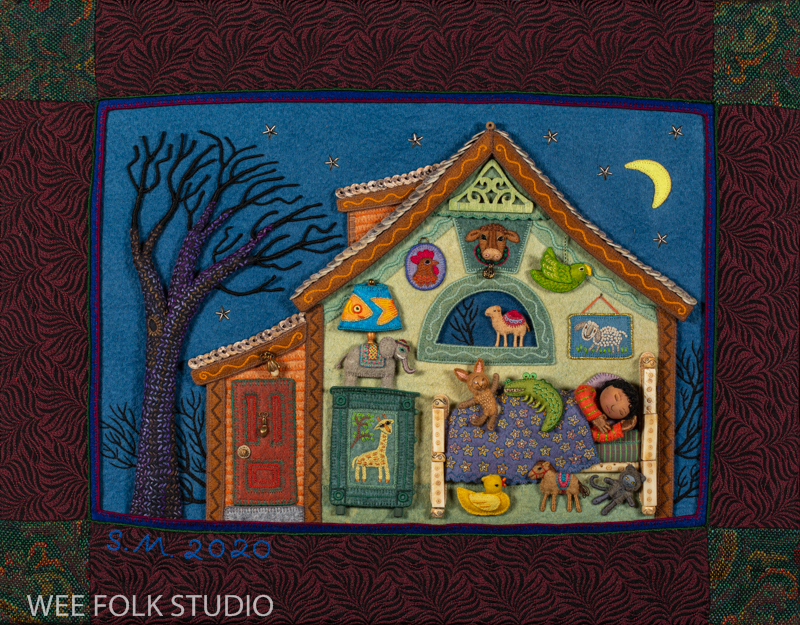
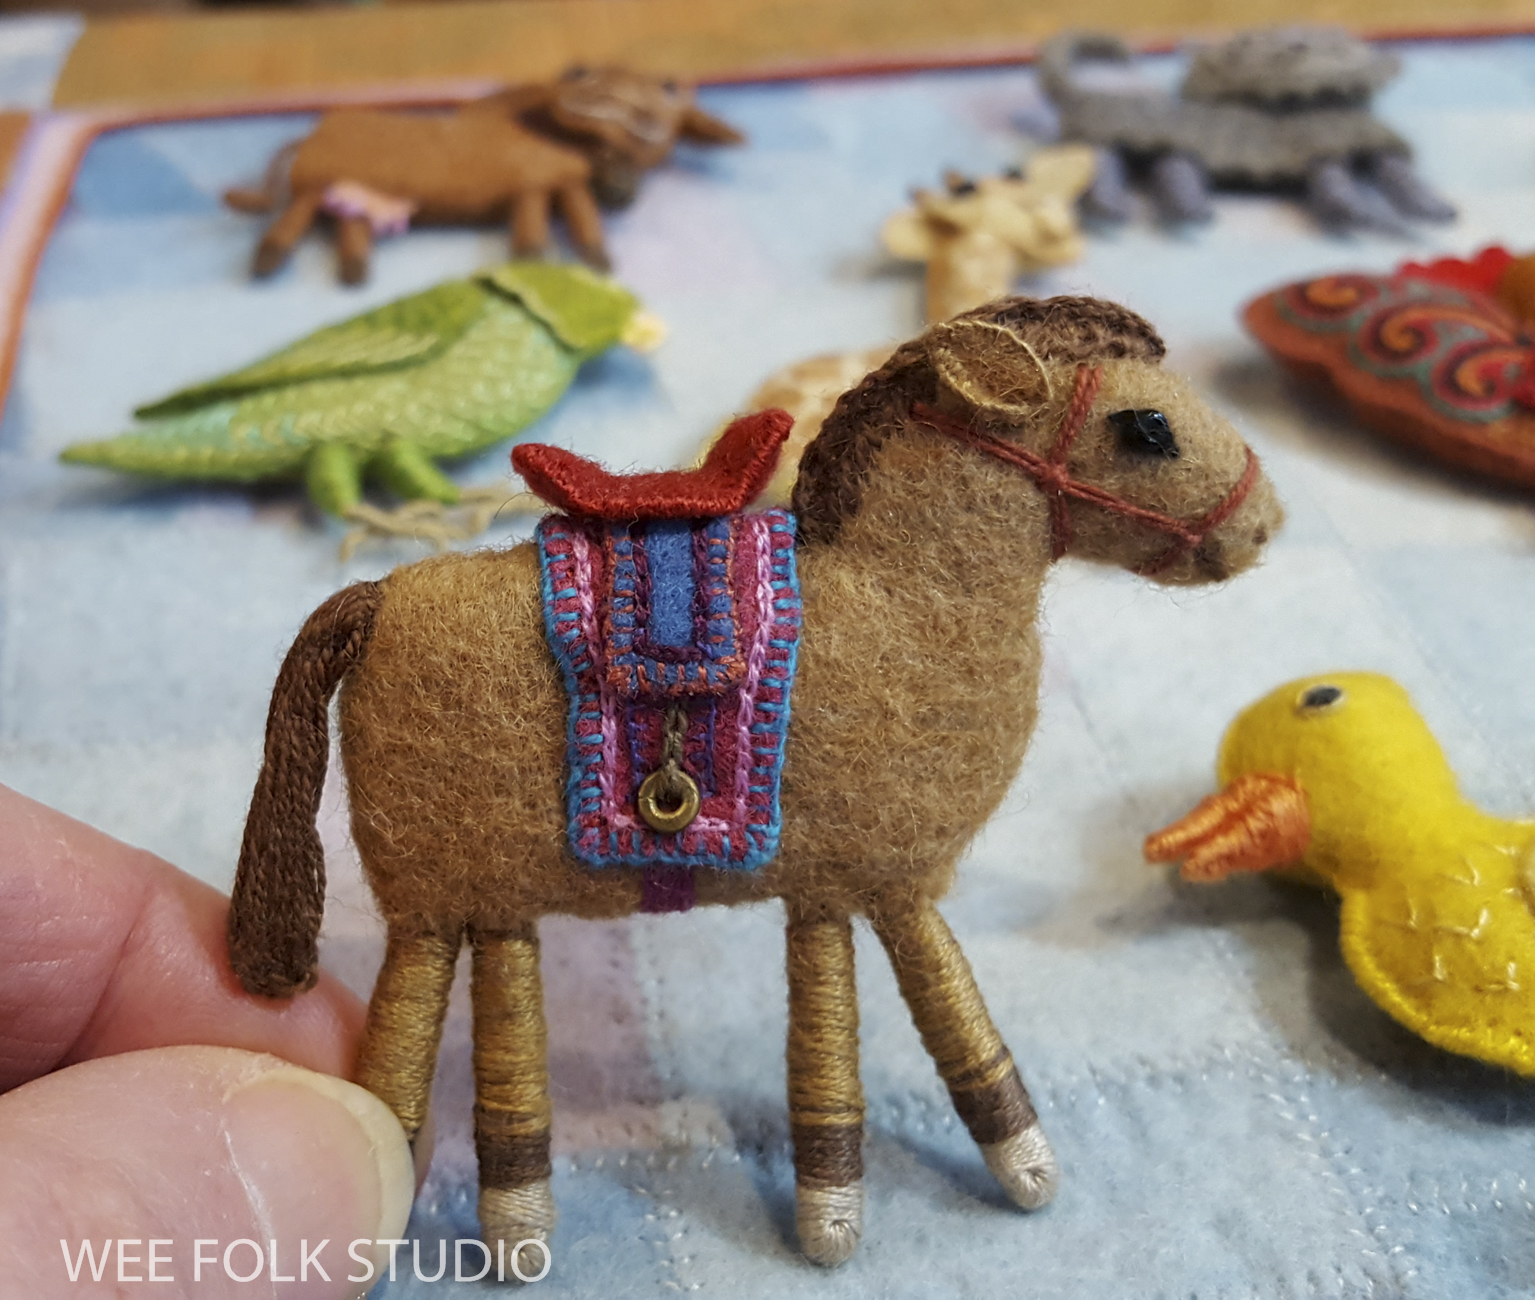
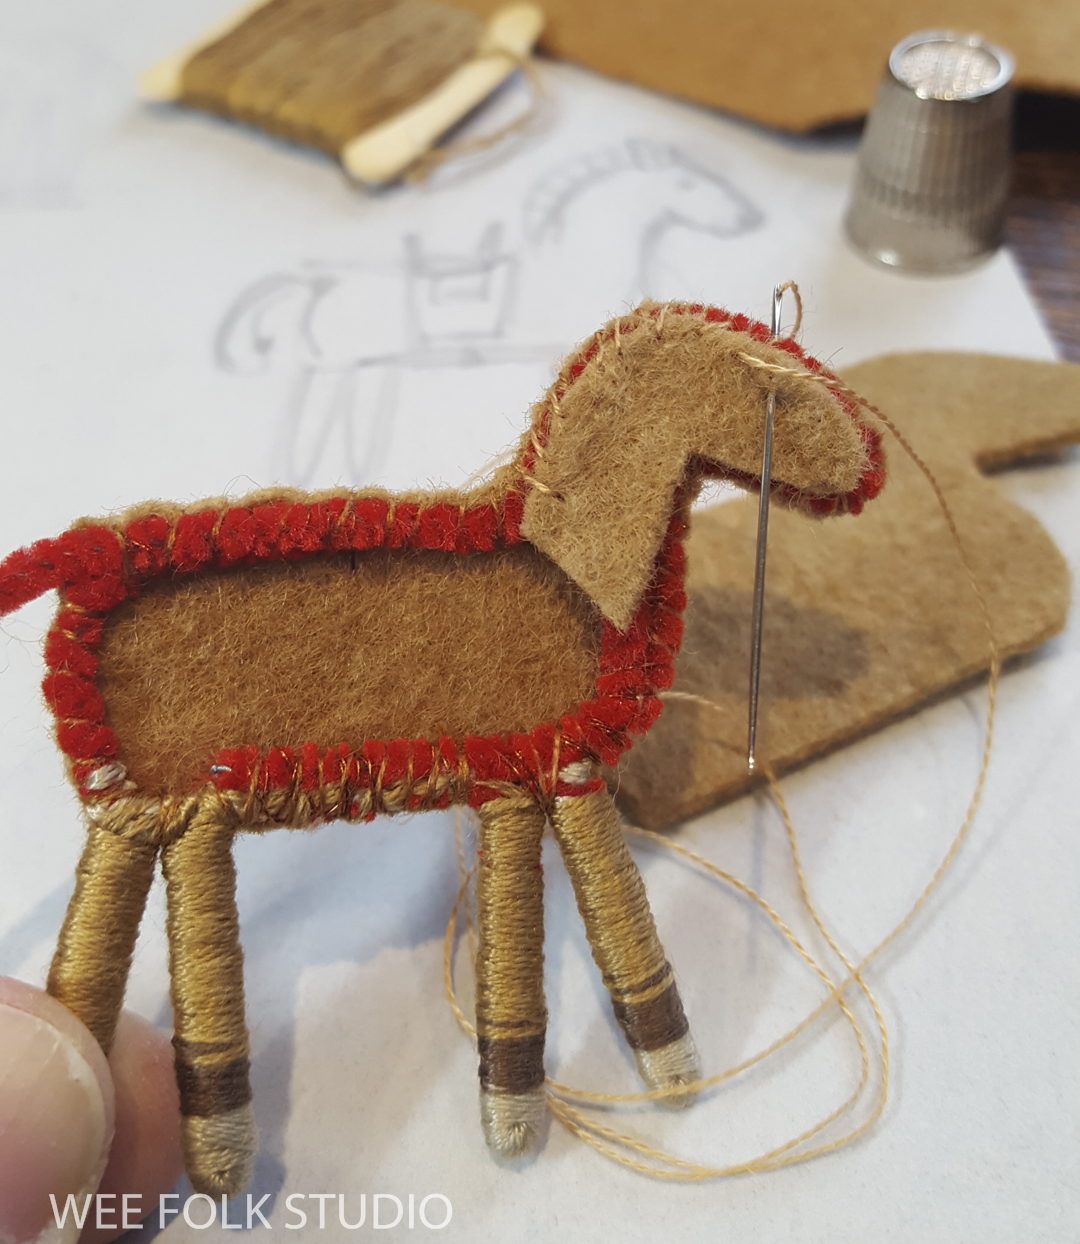
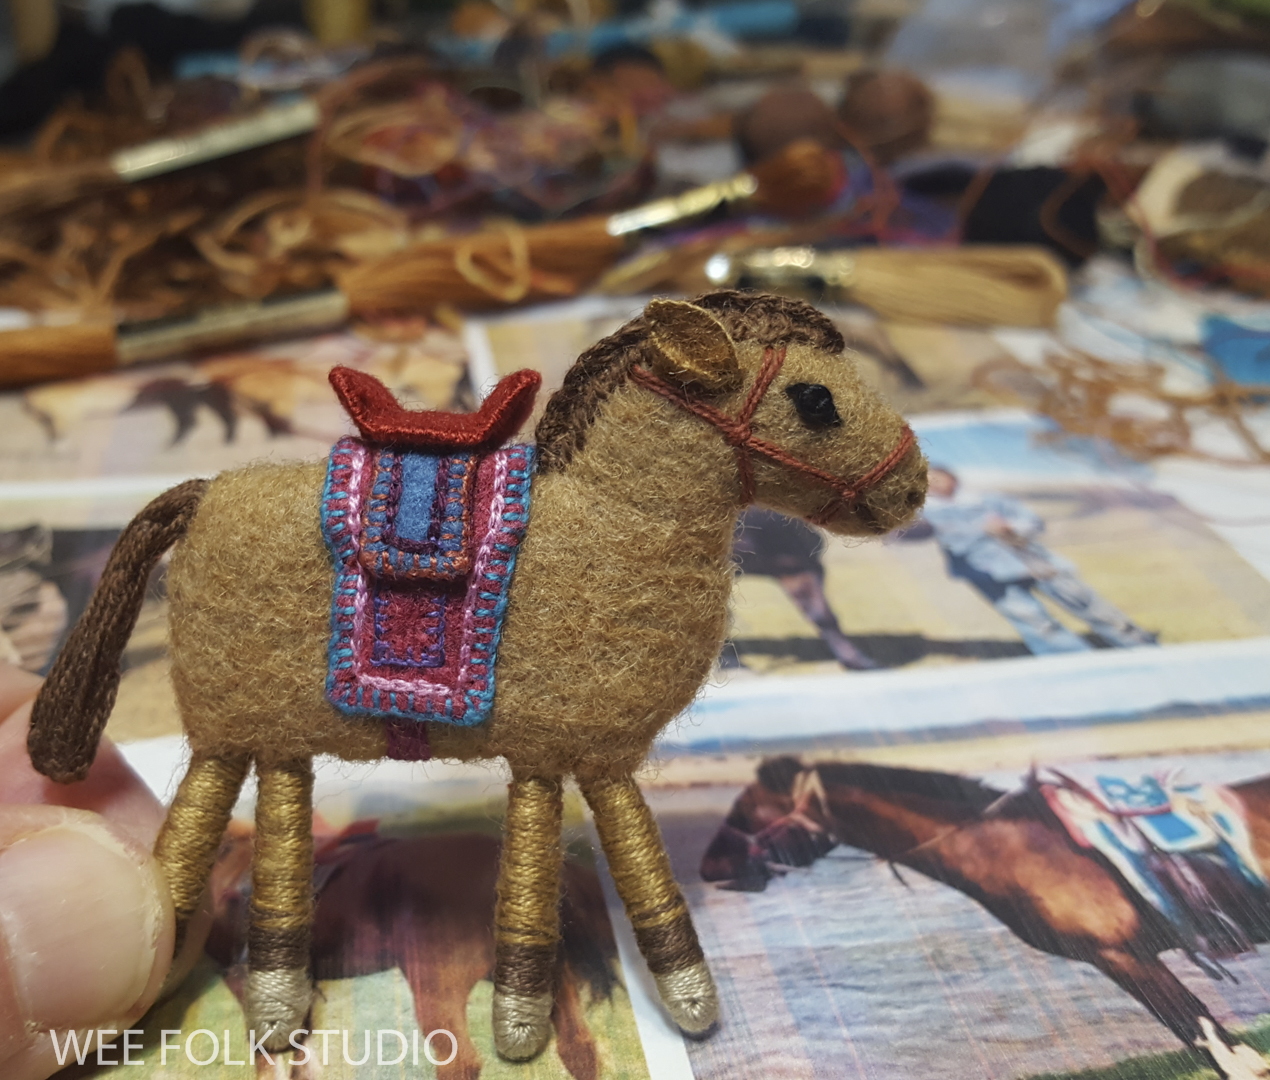
- Animals (spot illustrations) – Rooster, Camel, Parrot, Elephant, Goldfish, Cat, Duck, Sheep, Rabbit, Cow
To keep up with new posts, please subscribe to this blog. Your contact info will not be sold or shared. If you’d like to see more frequent photos tracking the projects in my studio, please follow me on Facebook, Instagram and BlueSky.