

This is part 2 in the series about making the night sky illustration for my new picture book, My Bed. It’s like a finale at the end, with all of the children and their beds hovering above the nighttime skyline. Today, I will give a behind the scenes peek at how I made the miniature versions of the Scandinavian children sleeping in their cubby style bunk bed and the Japanese child on his futon. Part 1 covered the mini children from N. Africa and Holland.
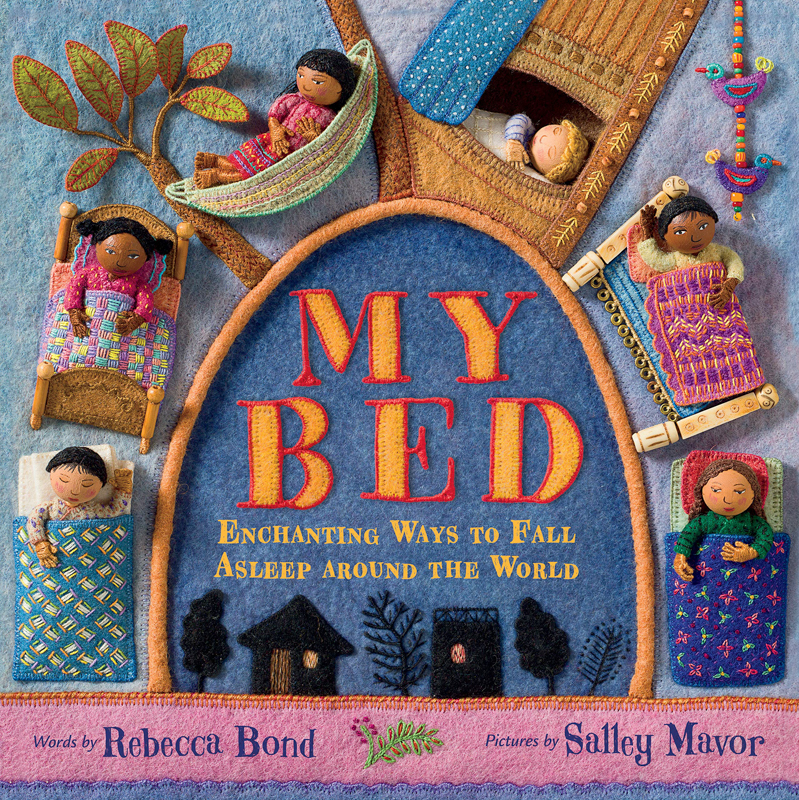

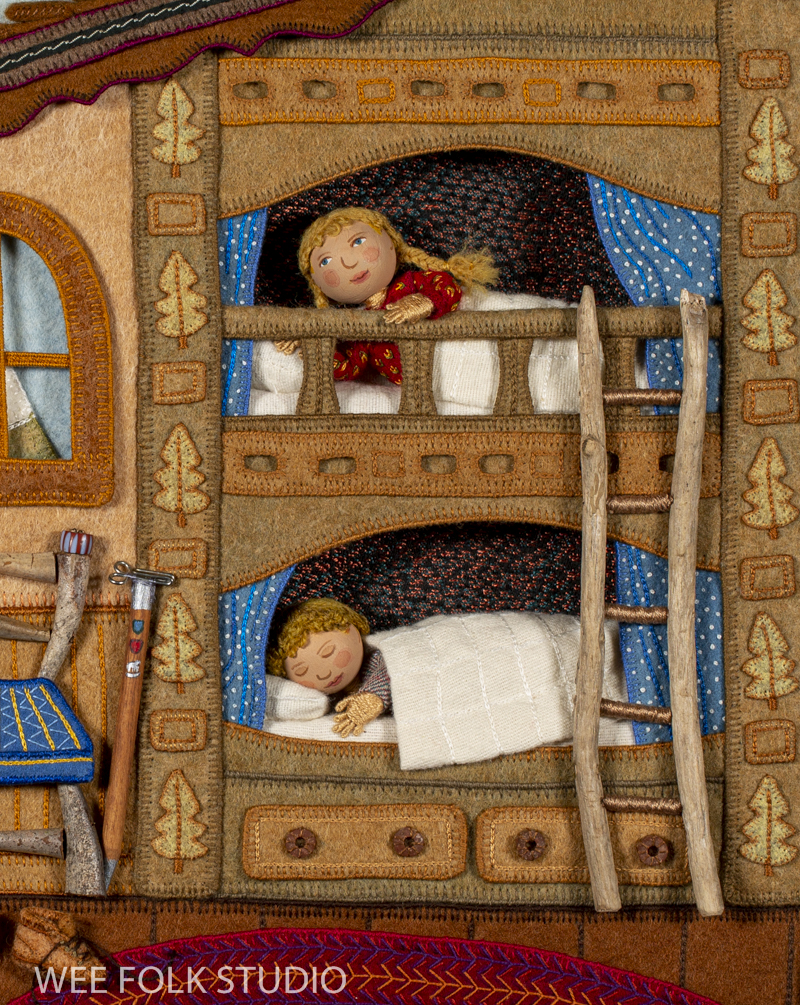
The tiny beds floating in the night sky represent different children, beds and regions of the world that are featured individually throughout the book. To make the mini Scandinavian bunk bed, I simplified and shrunk down the bed frame to the point where it wouldn’t look too unwieldy next to the other beds. You can read about making the full size artwork (below) for the Scandinavian scene here.
I painted their faces on really tiny (3/8″) wooden beads and added embroidery floss hair. I think these are some of the smallest braids I’ve ever made. The doll wigs in my how-to book Felt Wee Folk – New Adventures are larger and more manageable than this.
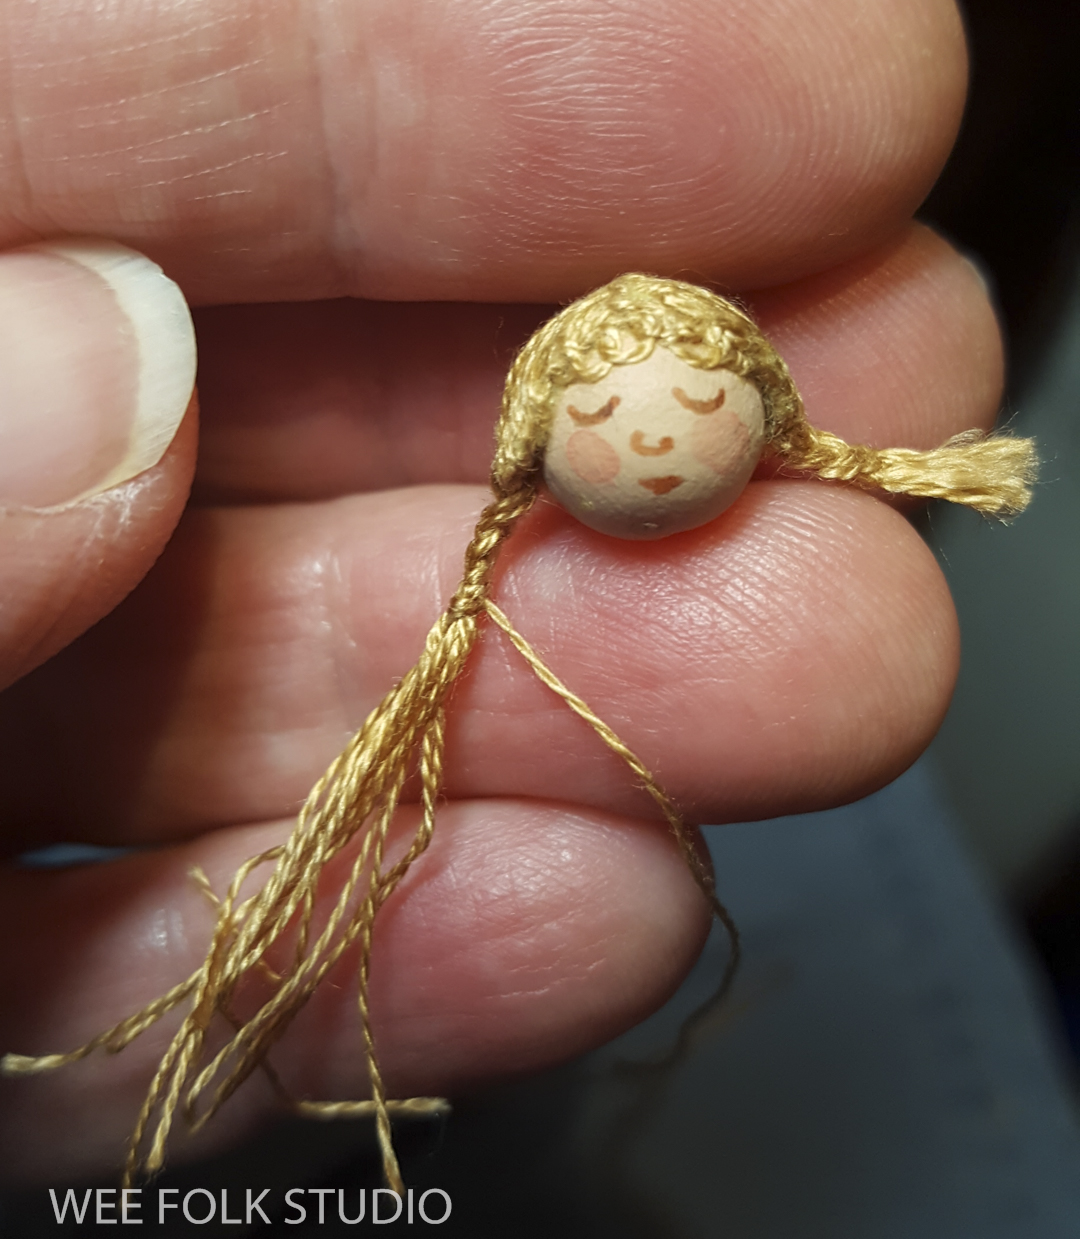
Scale-wise the figures were too big for the bed, but I was determined to fit them in their cubbies nonetheless. The absence of legs helped a lot.

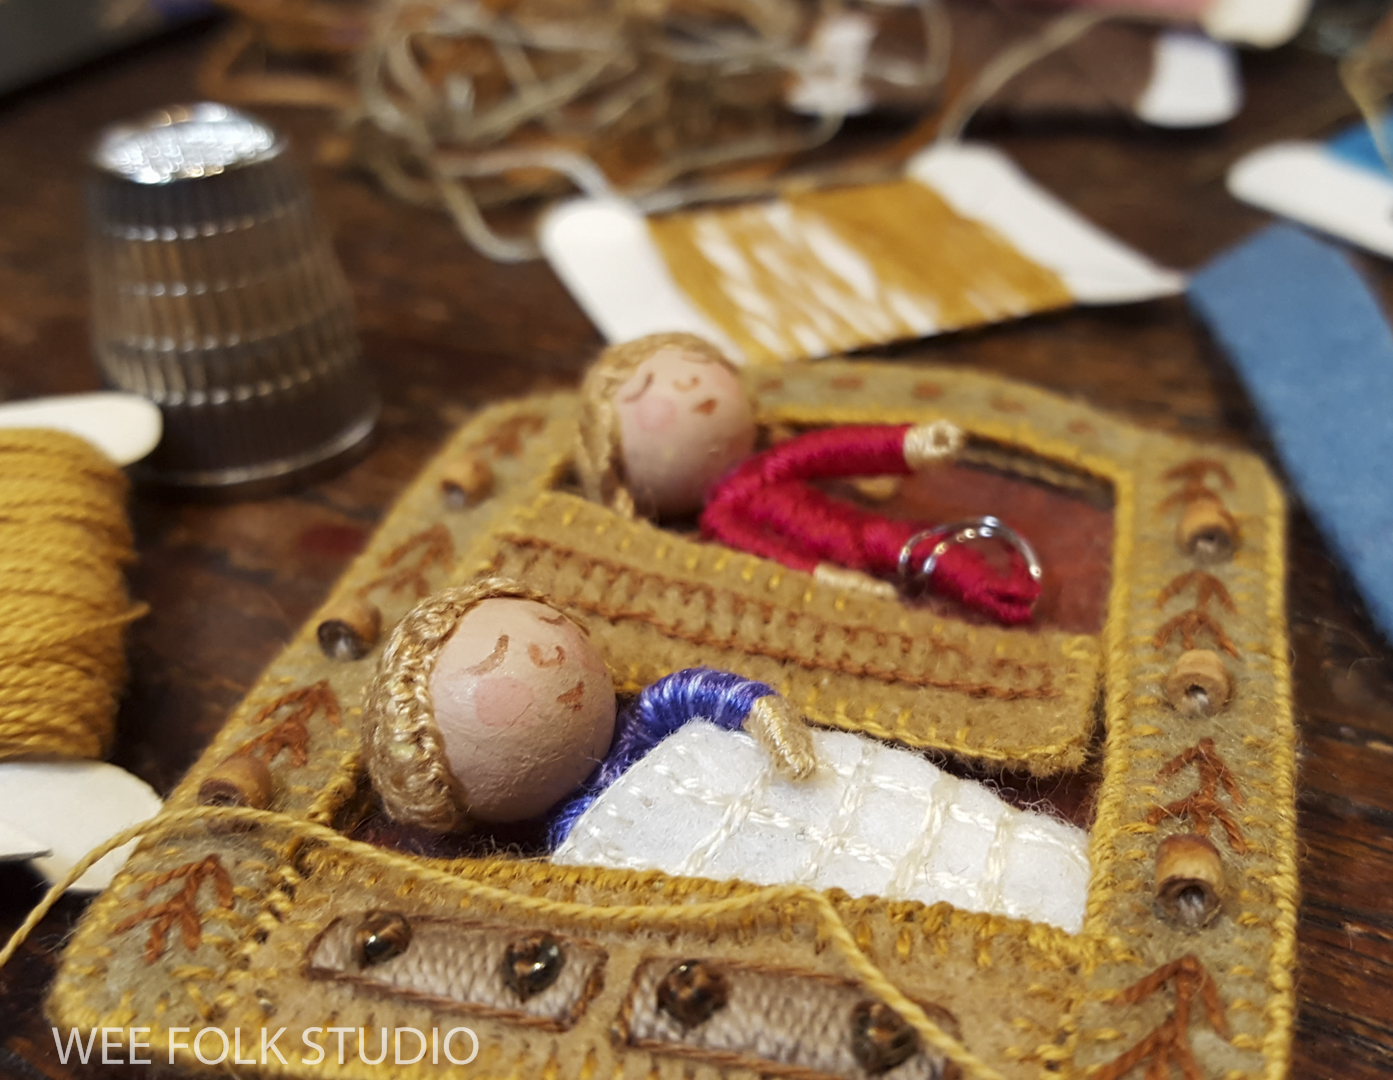
I cut sections of the bed frame out of wool felt and pieced them together on top of a background layer. As usual, everything was edged with blanket stitching. To create depth in the frame, I stacked layers of felt.

I stitched wire around the outside edge to smooth out the bumps and give it a crisp, architectural look.

After making eiderdown quilts and polka-dot curtains, I put the children to bed.
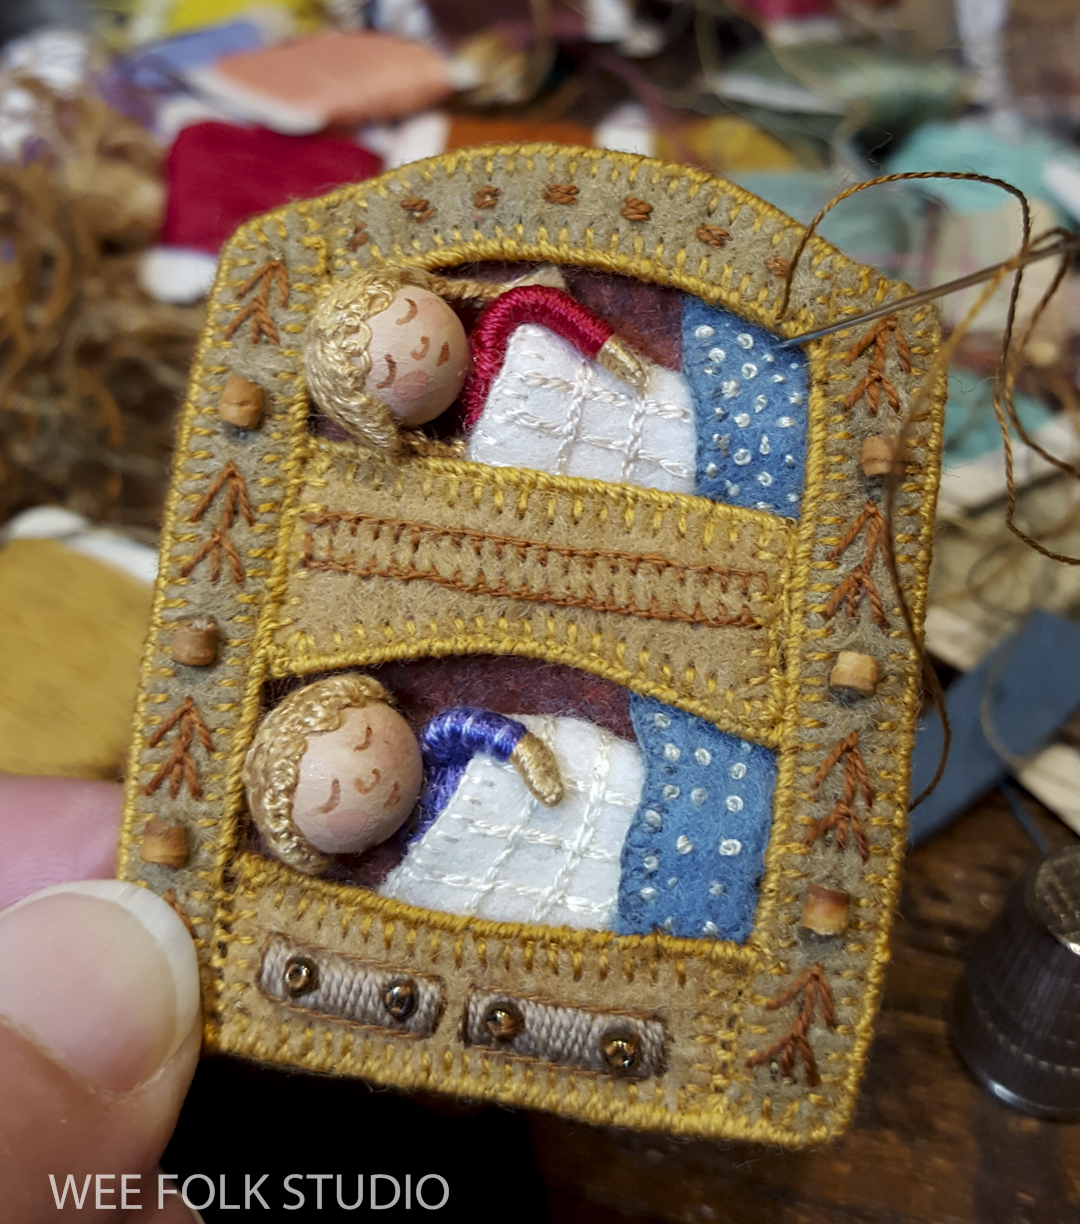
To finish it off, I made a mini ladder with wire and covered it with embroidery floss.


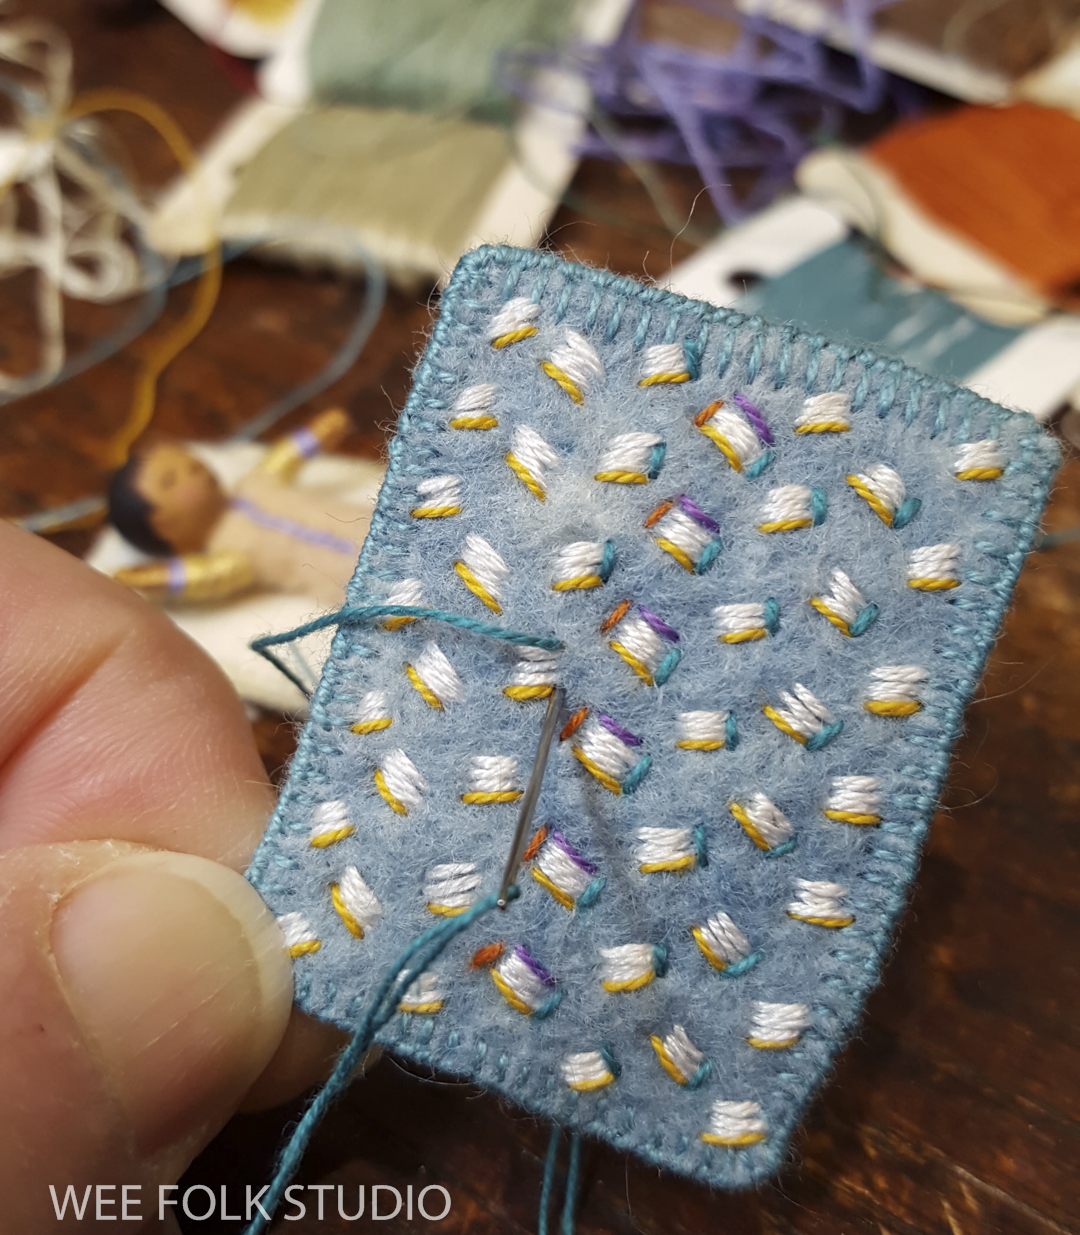
Duplicating the Japanese futon in miniature was easy compared to the bunk bed. To see how I made the full size artwork (below) for the Japanese scene, click here.

I made the the top half of the child’s body and then a futon mattress and pillow for him to sleep on.

Because the scale was all off, I couldn’t use the same blue fabric to make the quilt, so I embroidered a reduced version of the pattern on felt.
I hope that you enjoyed this peek behind the scenes at how I made some of the tiniest beds in MY BED. Please stay tuned for more posts about different beds in the night sky scene. See Part 1 here.

To keep up with new posts, subscribe to this blog. Your contact info will not be shared. If you’d like to see more frequent photos tracking the projects in my studio, please follow me on Facebook and/or Instagram.

Just enchanting to see the process of creating these tiny pieces. I especially like the photos of you actually holding them in your hand. Thank you so very much for sharing!
every email you send, I’m just amazed with your work – thanks for sharing your process with us
I absolutely love your talents and just admire following your ‘Bedtime Stories’! Your wee folk are just so fantastic!
Salley, thank you for continuing to share a peak behind the curtain of your work. I love to imagine your artist’s brain finding solutions to every miniature marvel of engineering. While giving each little person their own character and expressions. I look forward to your posts.
I love your artwork!! And also any any of Arthur Rackham’s fairy tale books 😊