© Victoria and Albert Museum, London
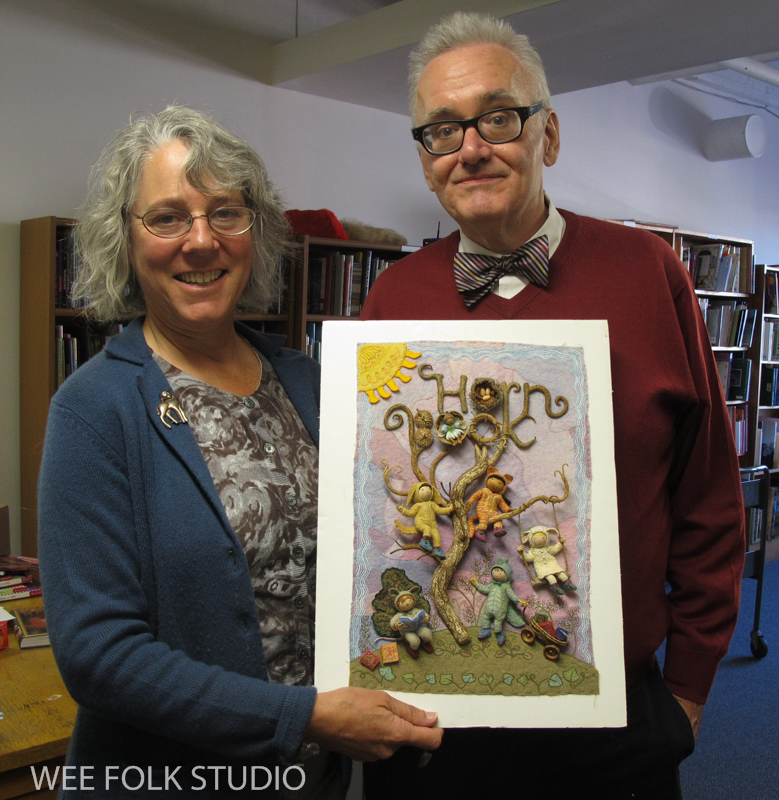
Fifty years ago, an encounter with an unusual and historical style of embroidery steered the course of my artistic development, leading the way to a career in children’s books. This is the story of how it happened:
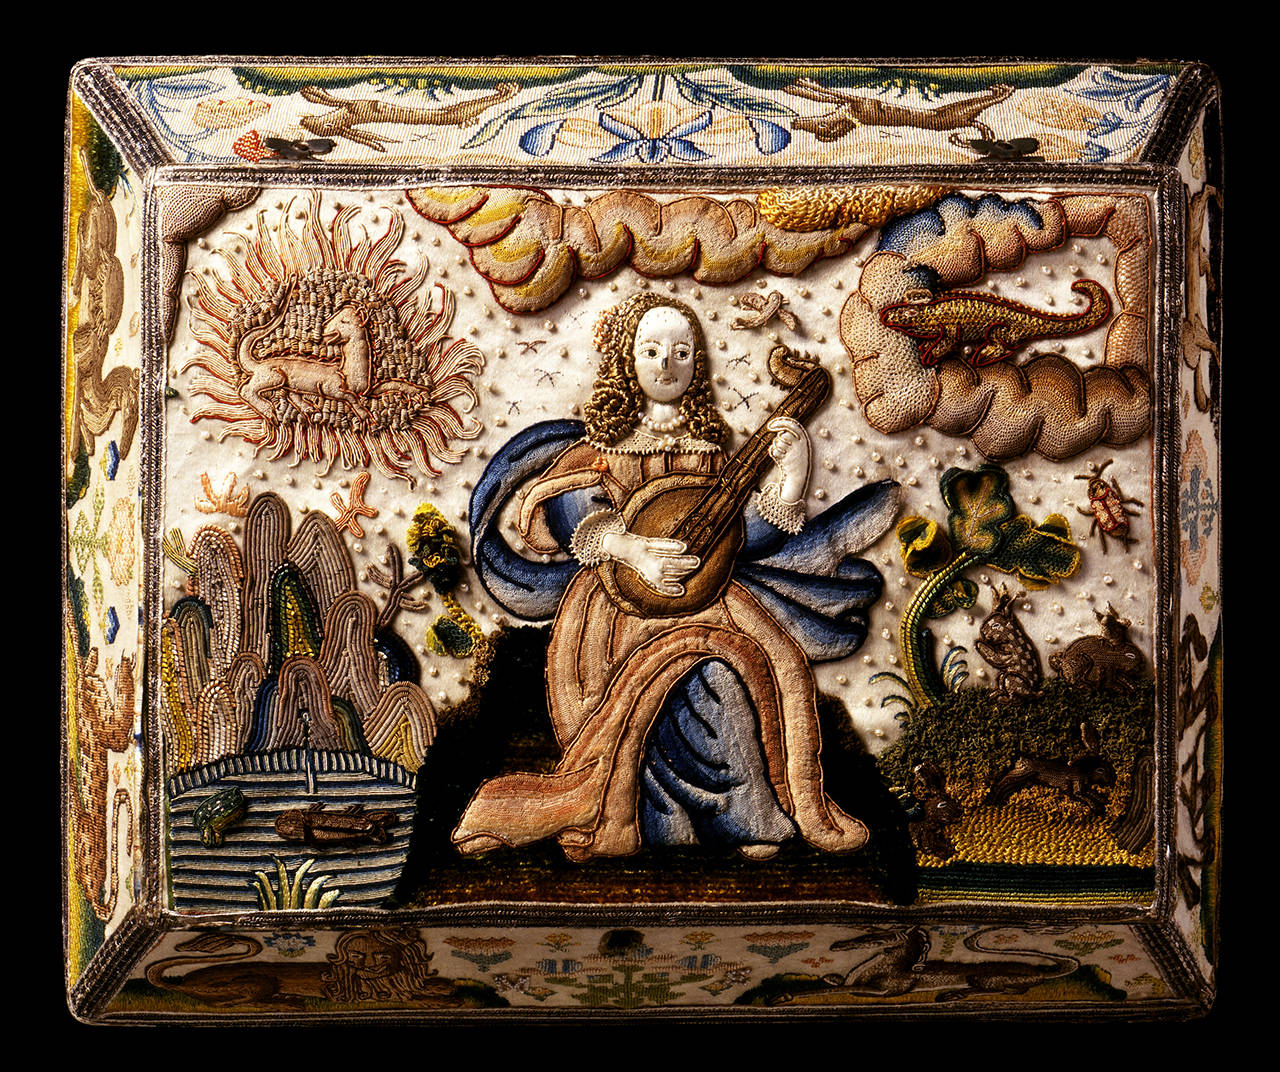
In the mid-1970s, during those early impressionable years in art school when I was searching for inspiration, I came across a distinctive 17th century English raised embroidery technique known as stumpwork. Although I cannot recall the circumstances that led me to discover a book with photographs of this oddly named type of needlework, I clearly remember the impact it had on me.
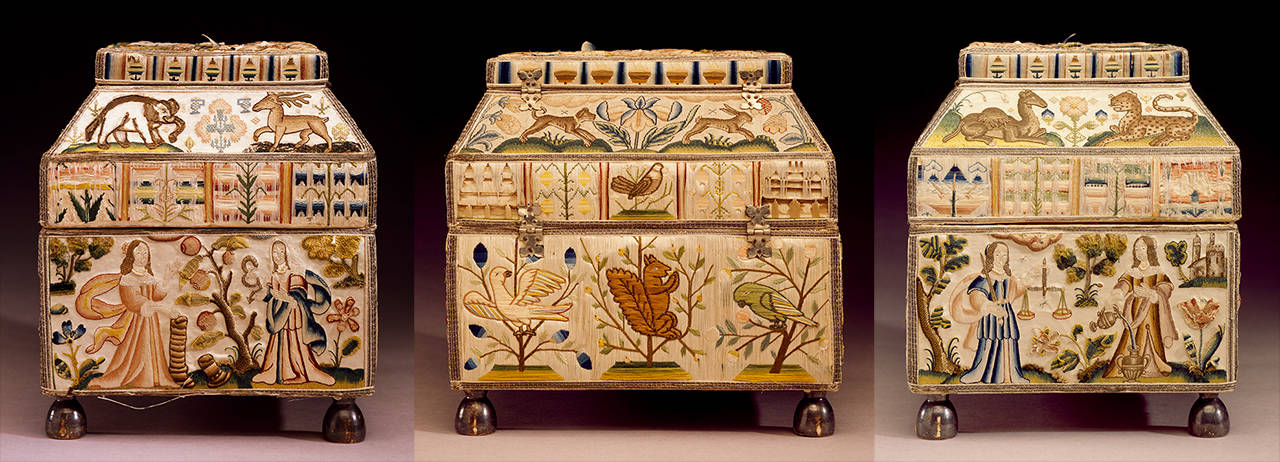
The elaborately embroidered panels and padded keepsake boxes created over three centuries ago piqued my curiosity more than any other form of art I had encountered up to that point. It was not just their remarkable technical skill that drew me in; these pieces contained sculptural and narrative qualities that completely blew me away. This introduction to stumpwork marked a major turning point in my artistic growth, as embroidery would before long turn from a sporadic interest into the full-blown obsession it is today.
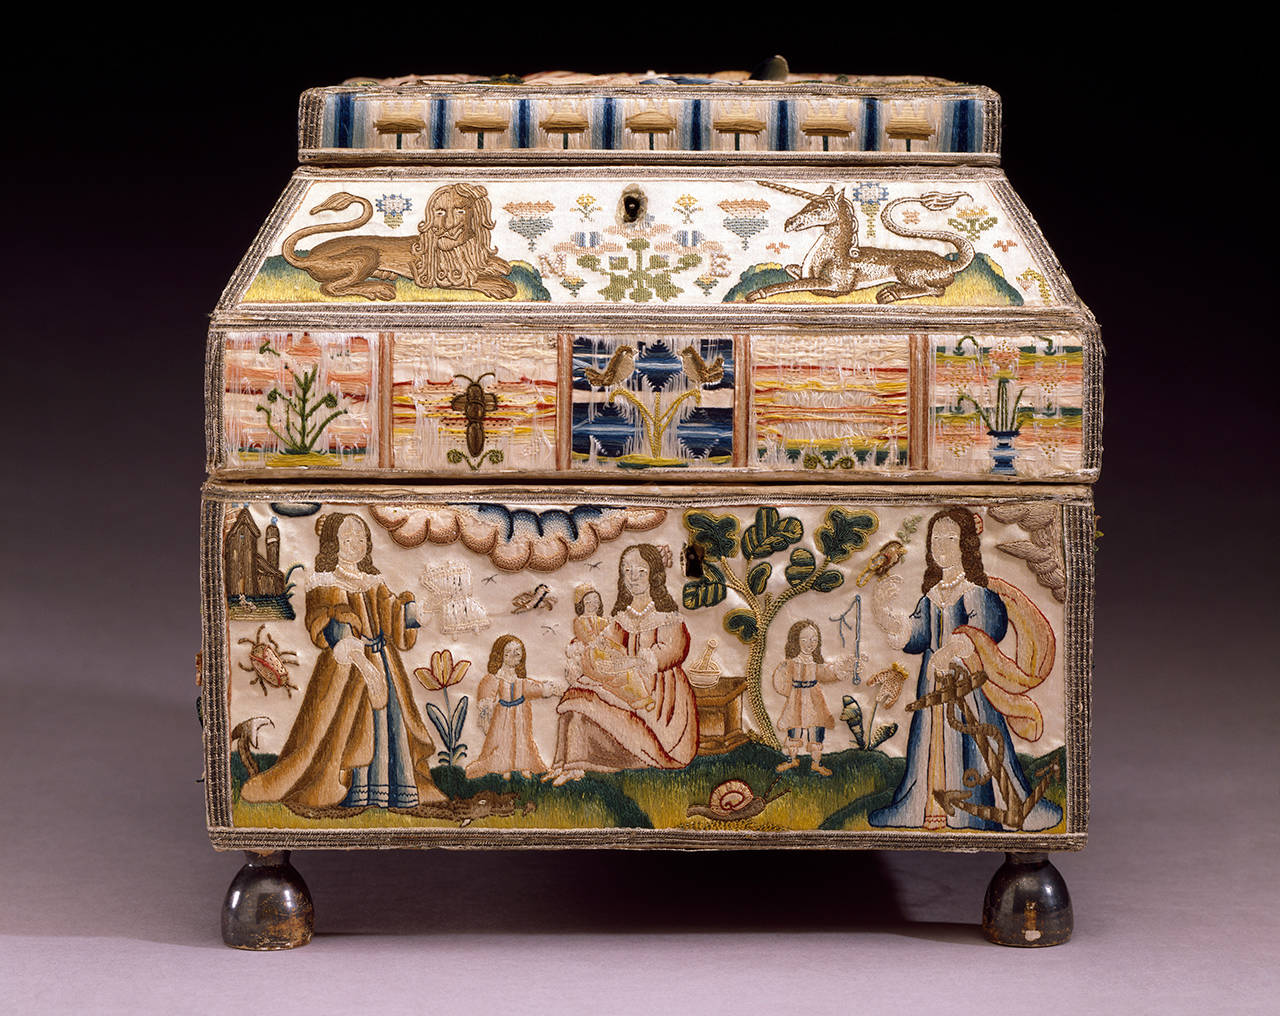
This stumpwork casket is in a collection of embroideries at the Victoria and Albert Museum in London. It was made by Martha Eldin in 1671, when she was just 11 years old! The V & A’s website shares this bit of history about Martha’s casket: “Caskets like Martha’s were produced in England between about 1650 and 1695. The decorative needlework panels were worked by young girls as part of their needlework education.”
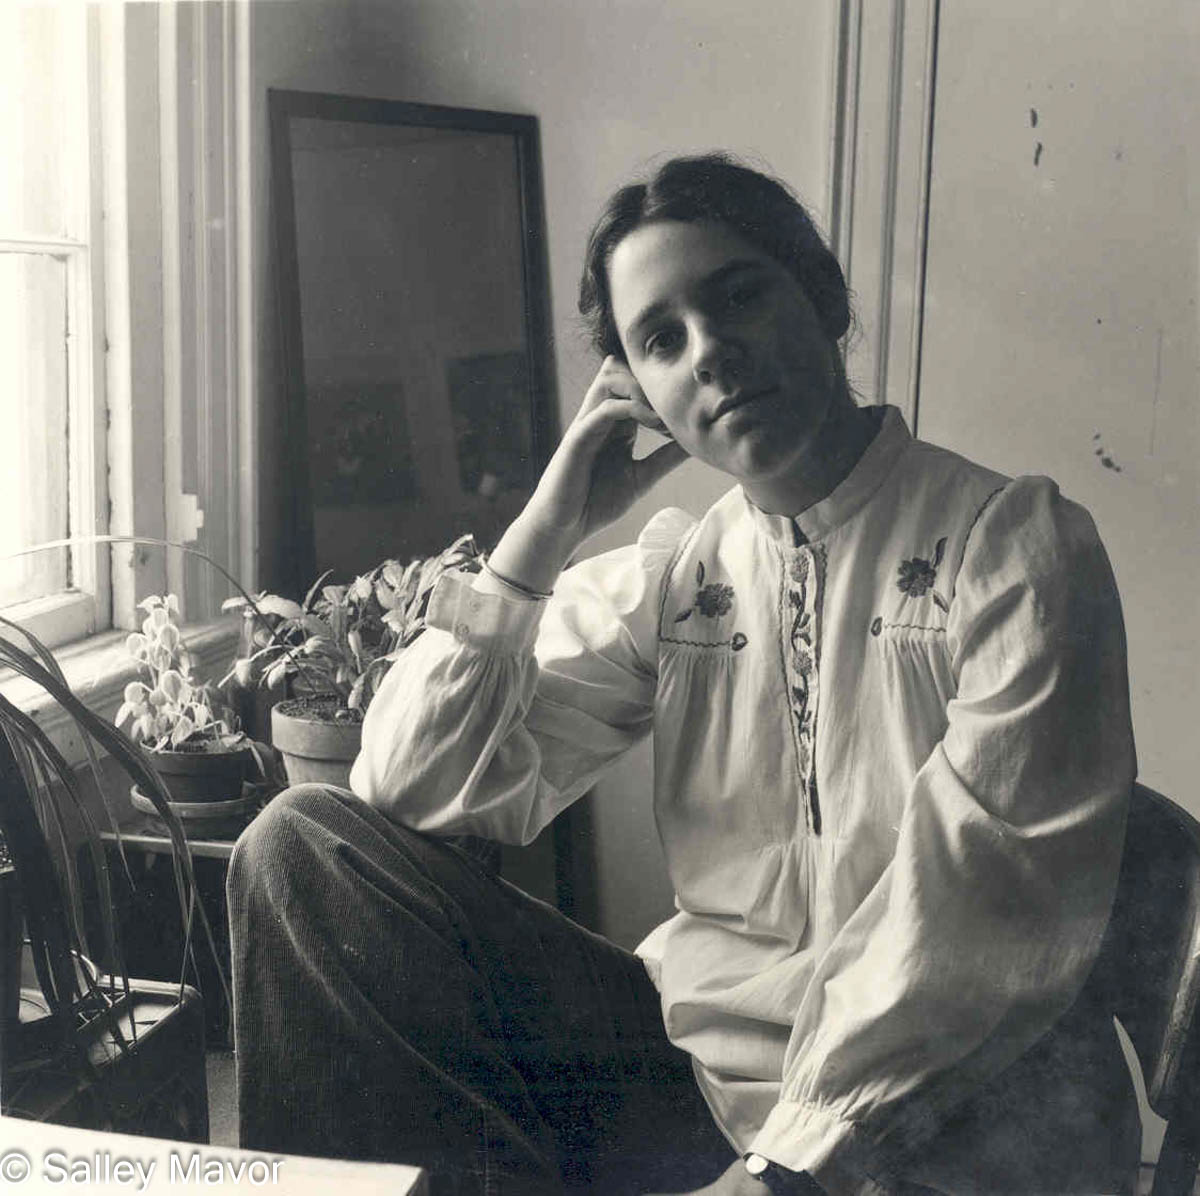
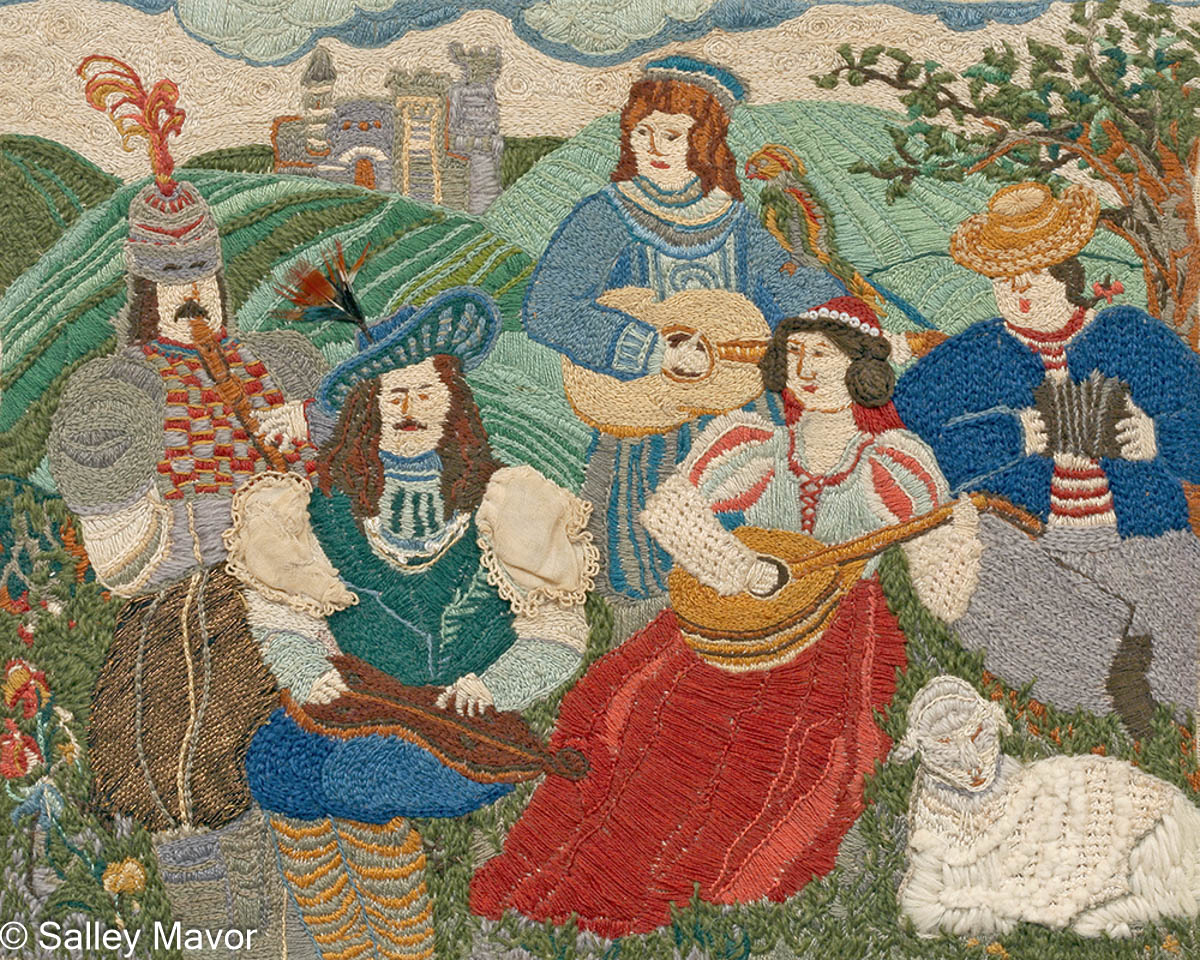
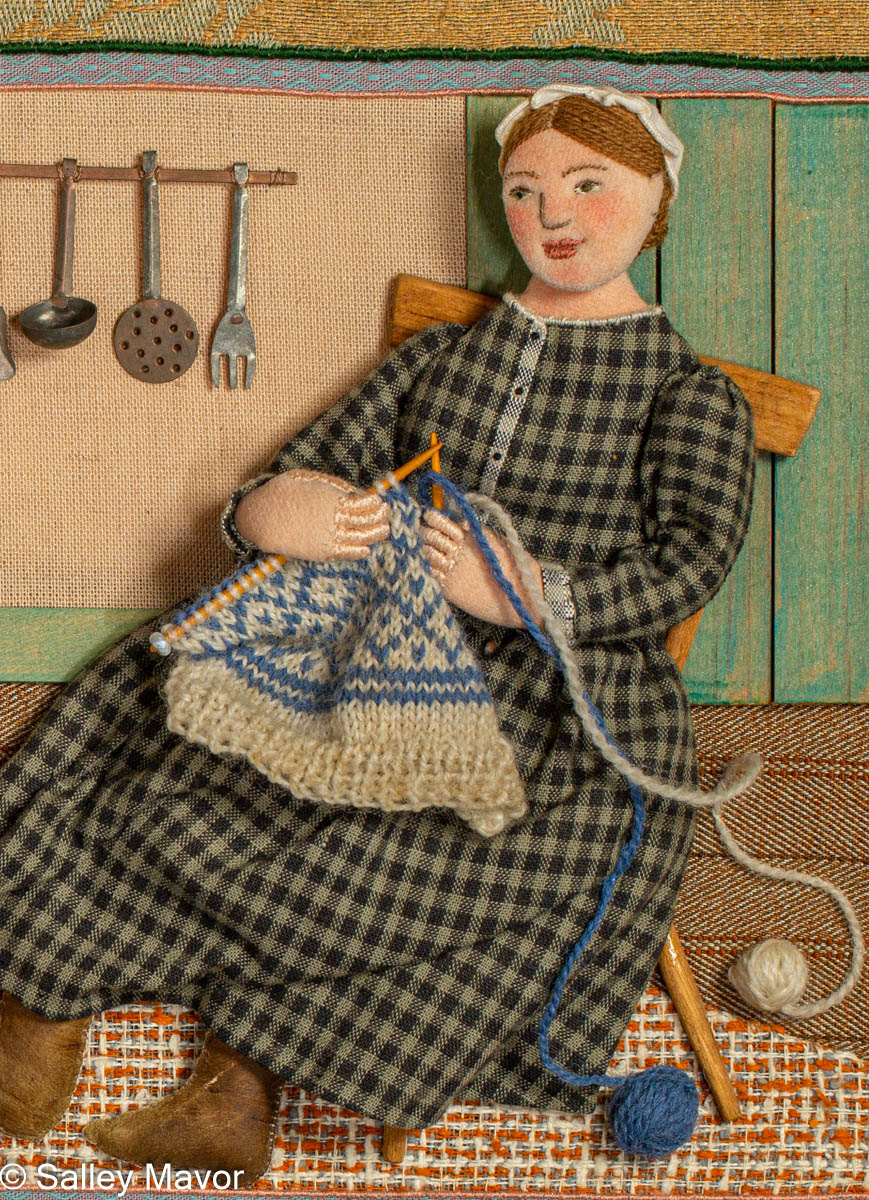
In 1975, just before discovering stumpwork, I embroidered Old World Musicians for an illustration class. At the time, I was already interested in pictorial subjects and enjoyed experimenting with various textural embellishments in my work. However, seeing examples of stumpwork opened my eyes even further to the creative opportunities within needlework.
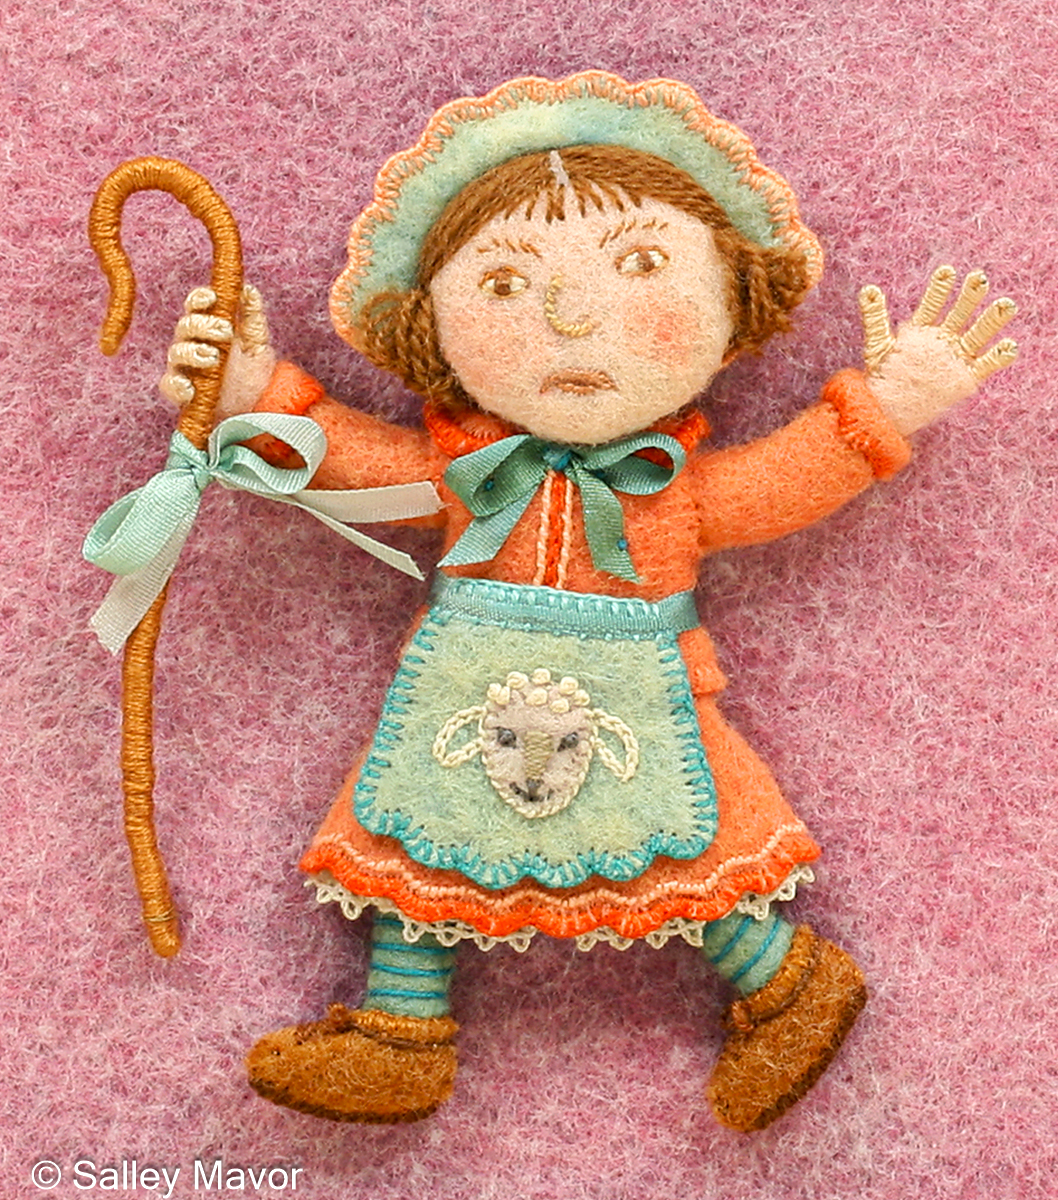
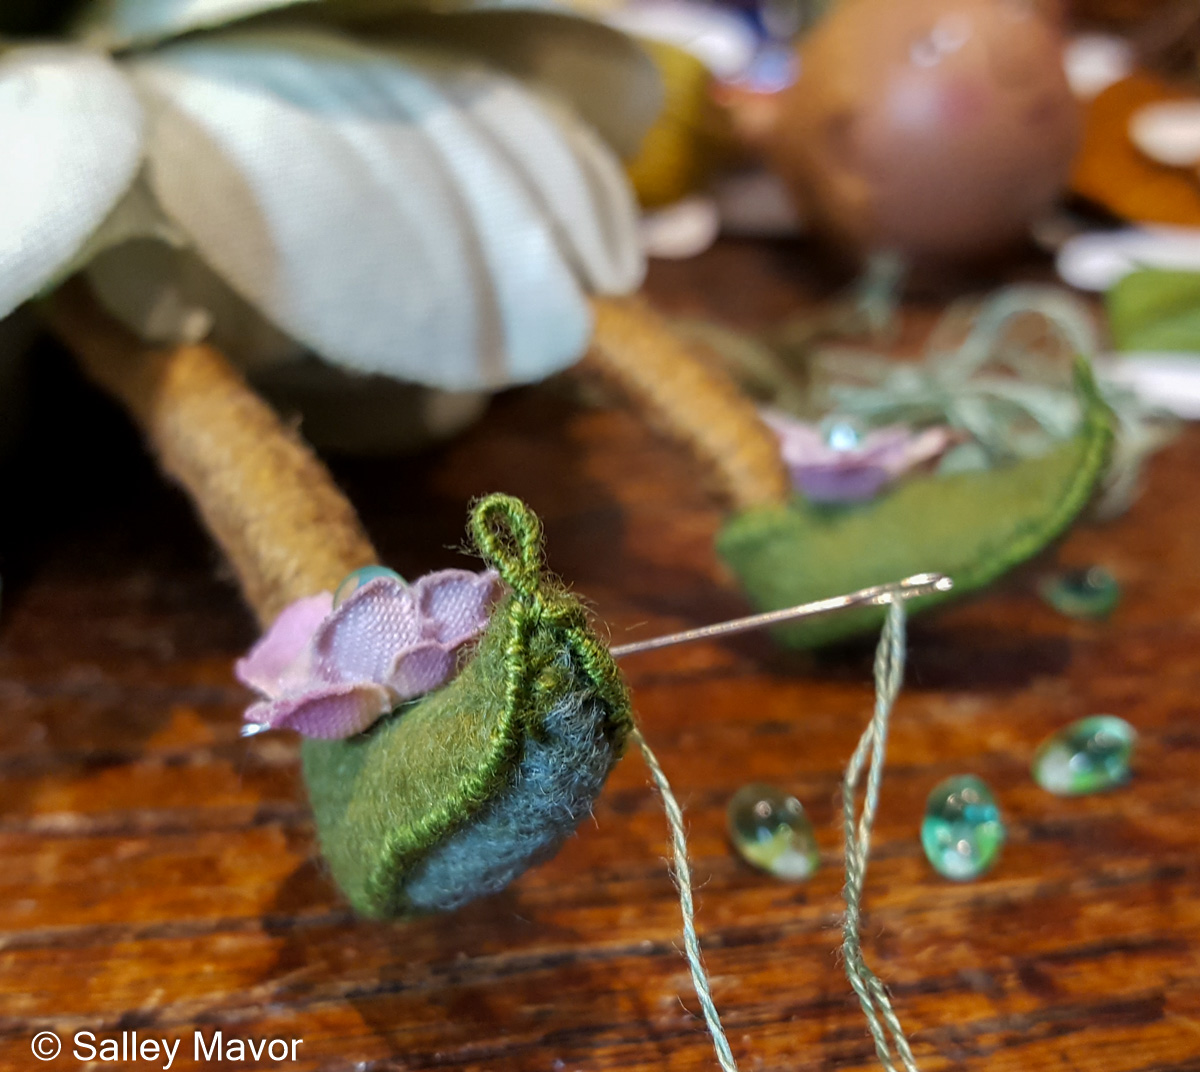
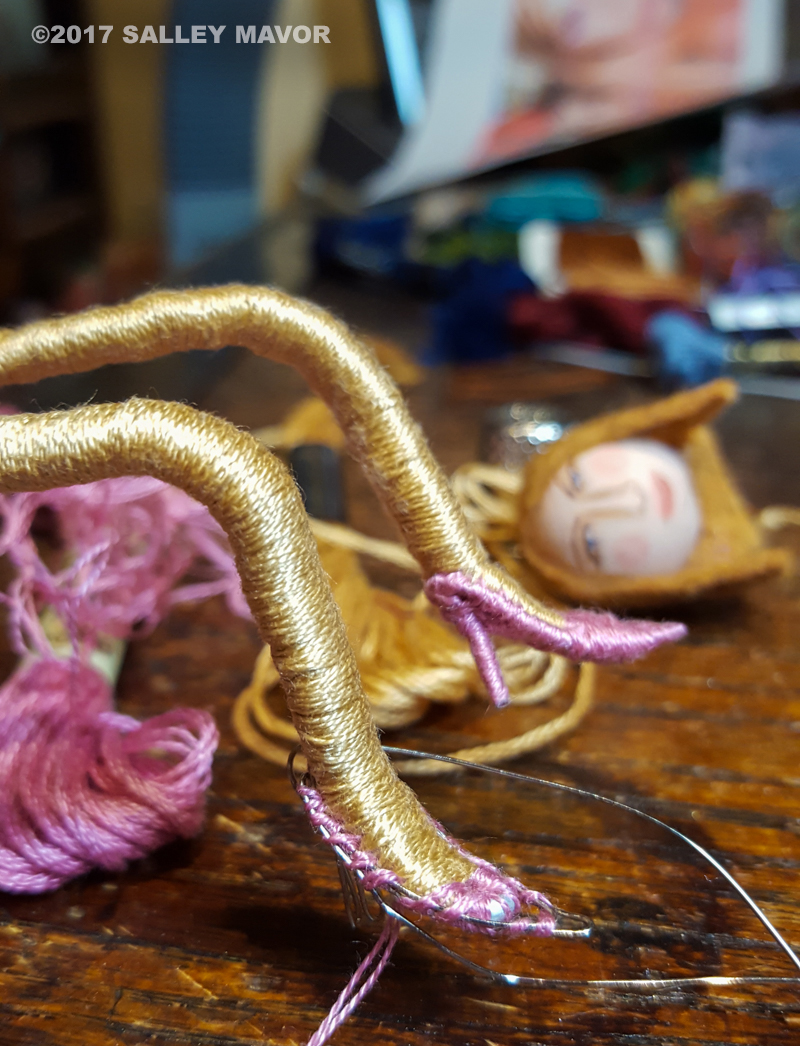
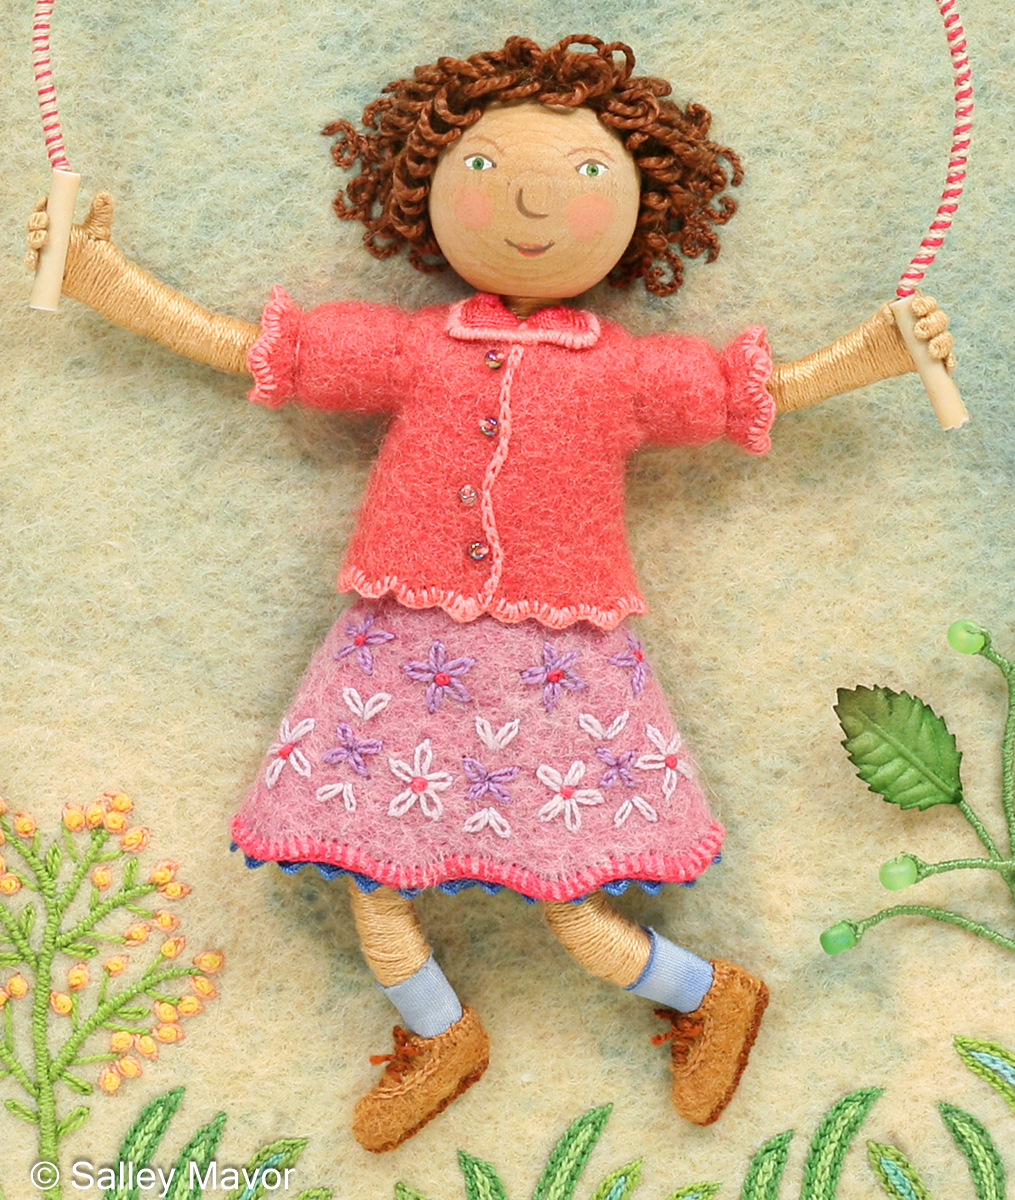
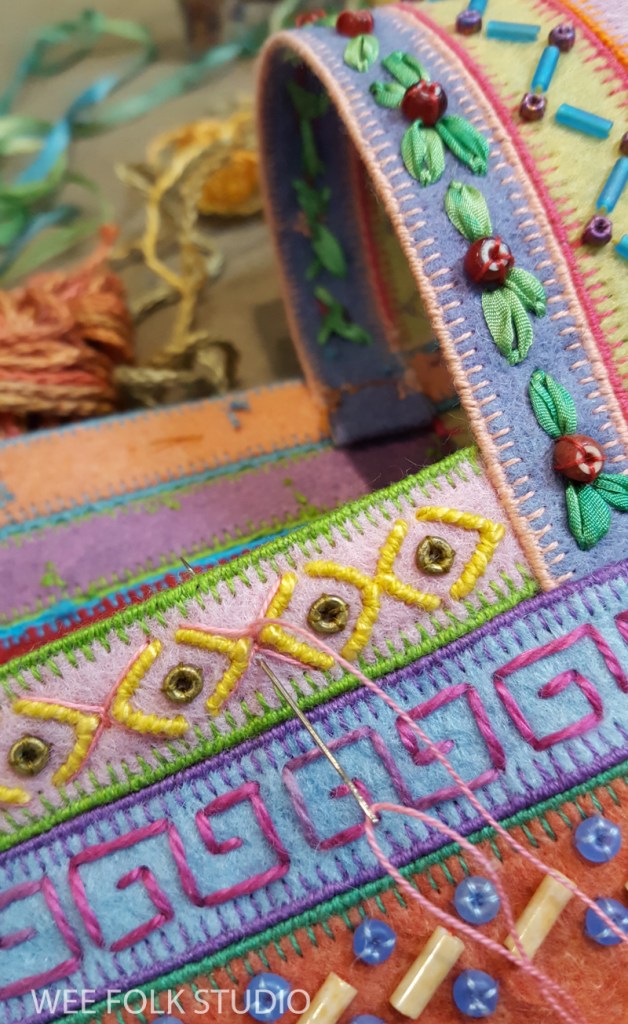
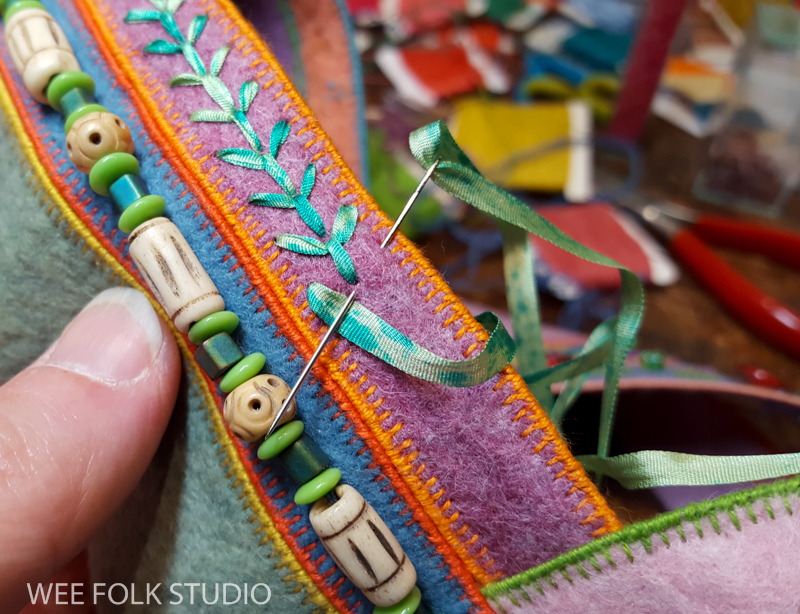
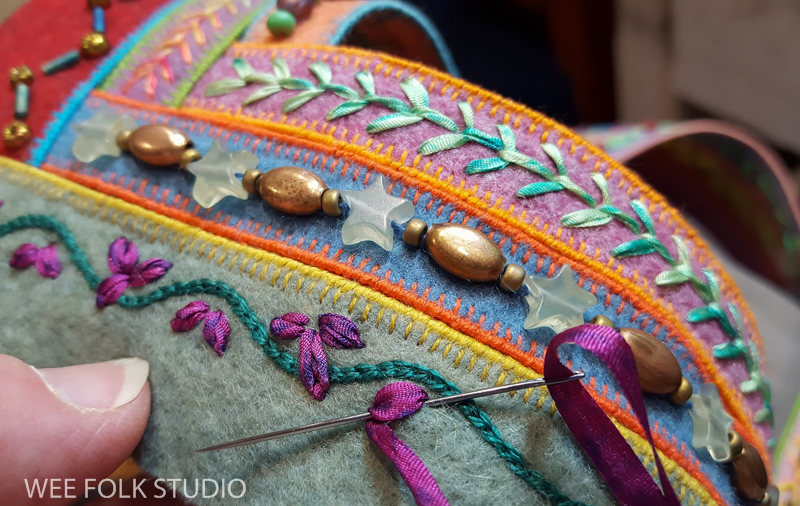
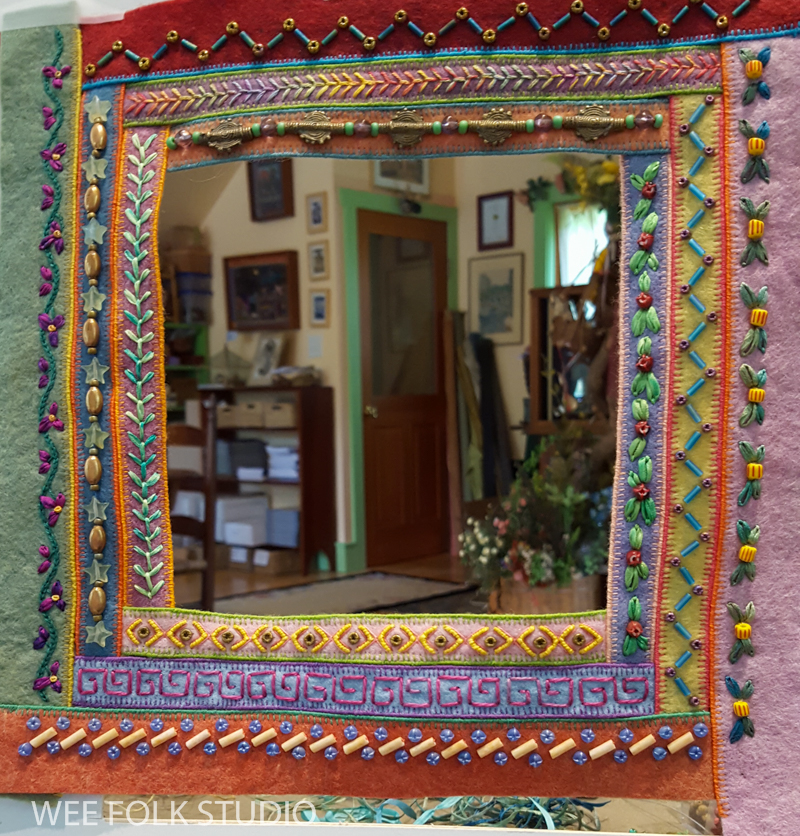
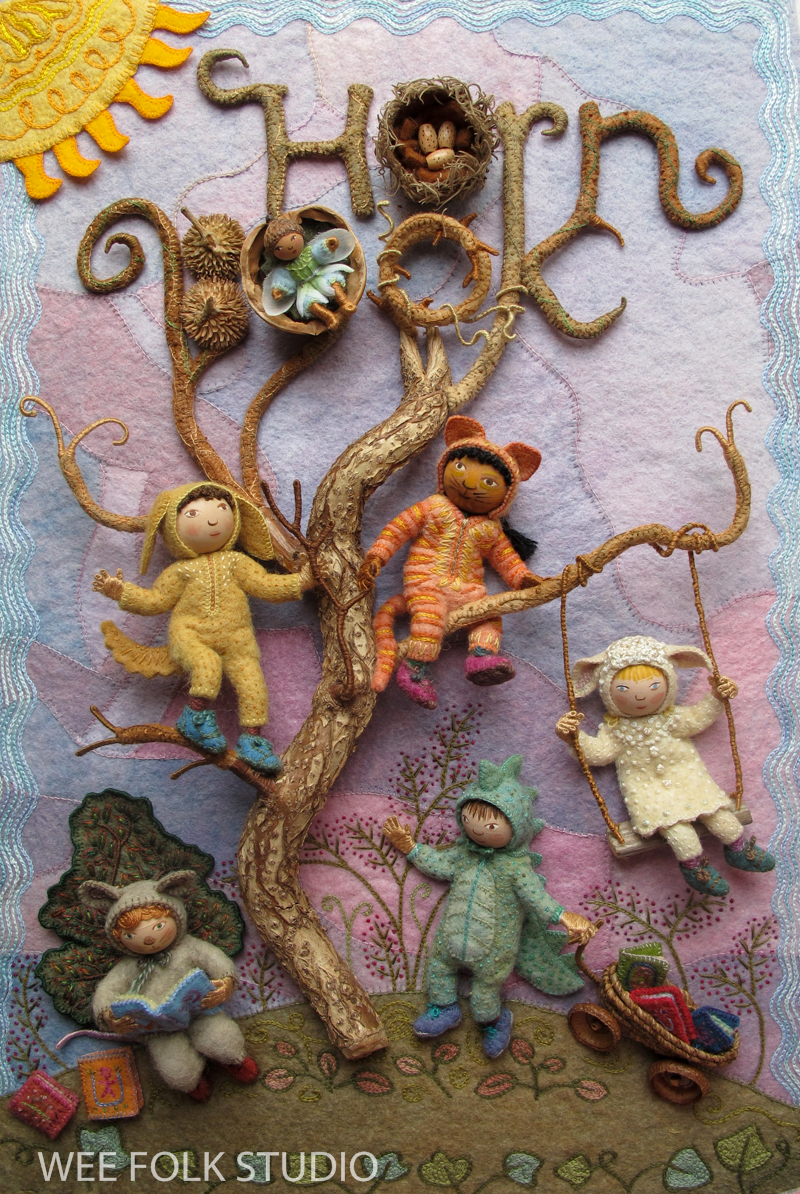
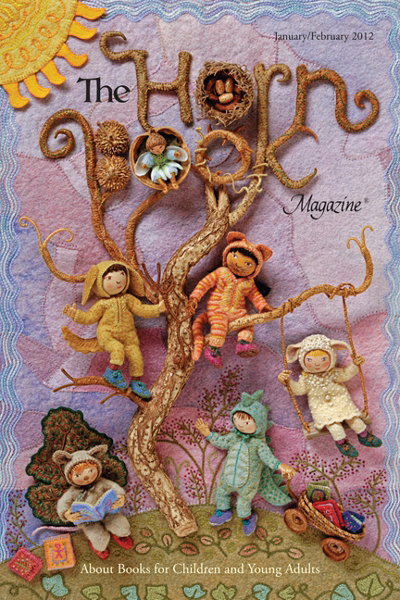
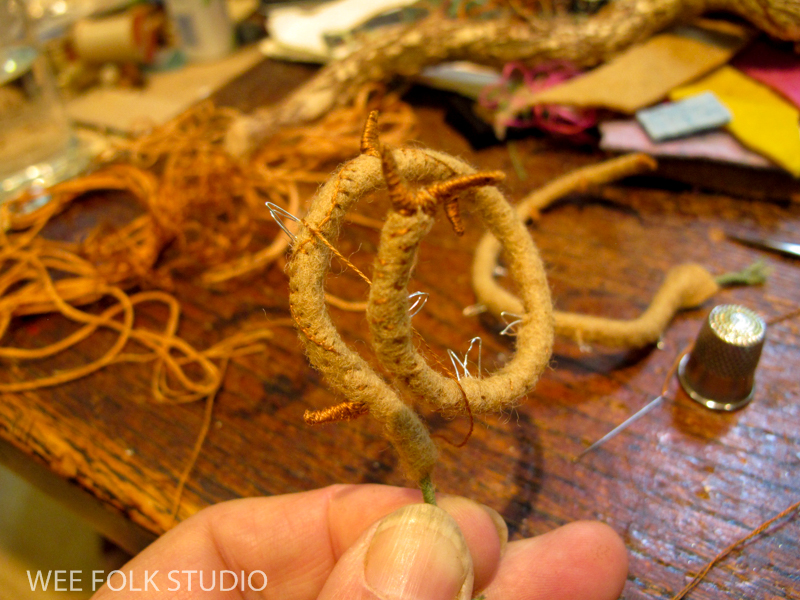
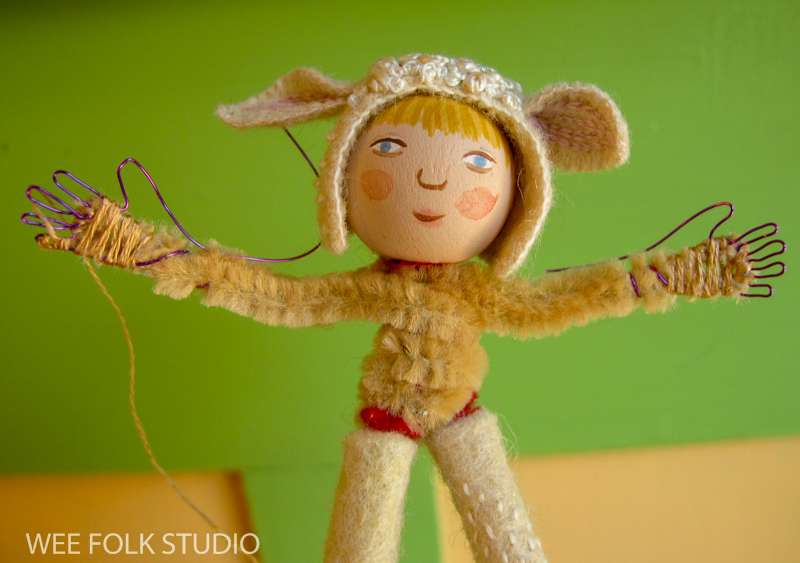
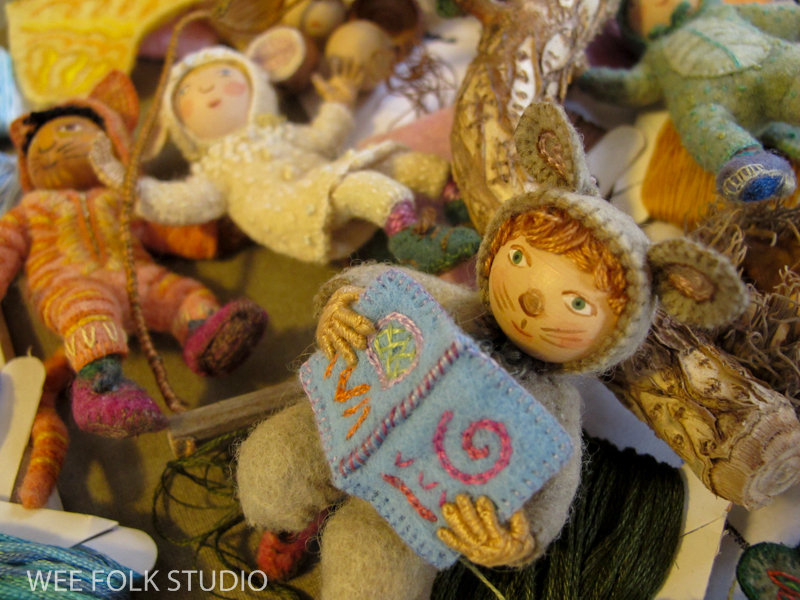
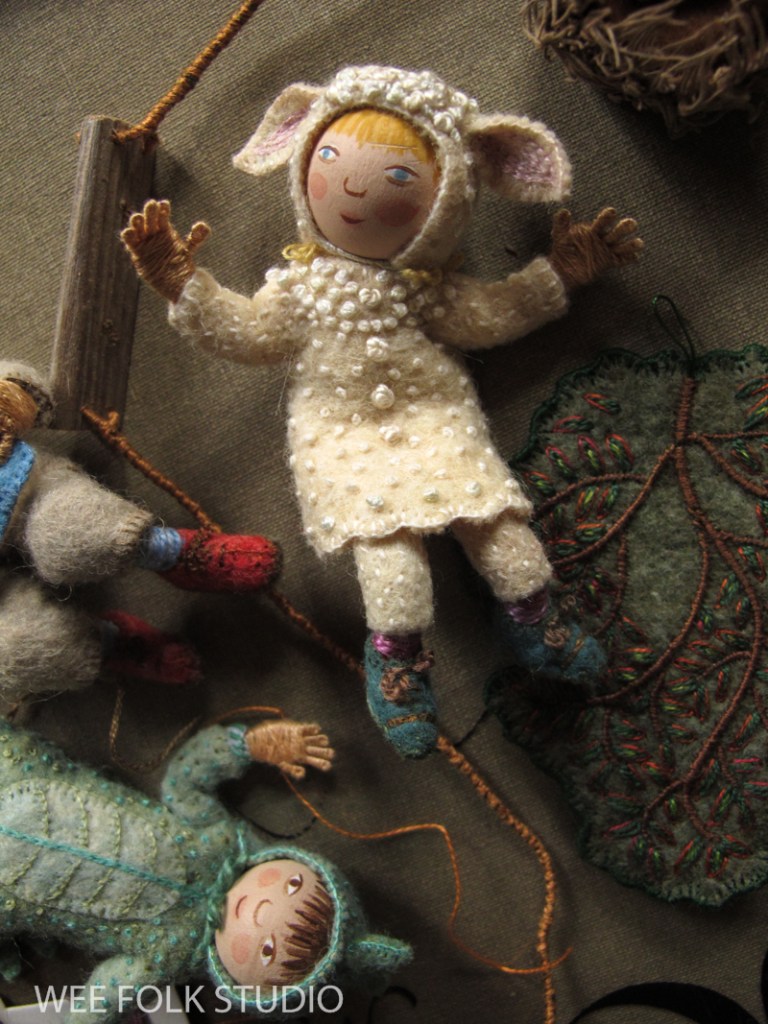
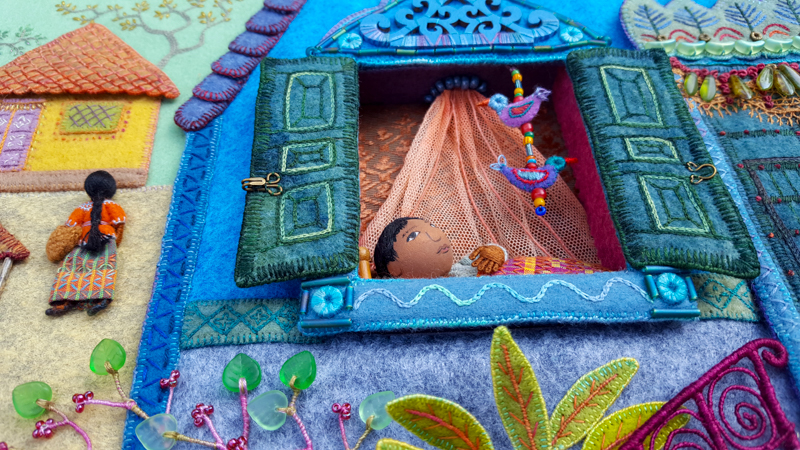
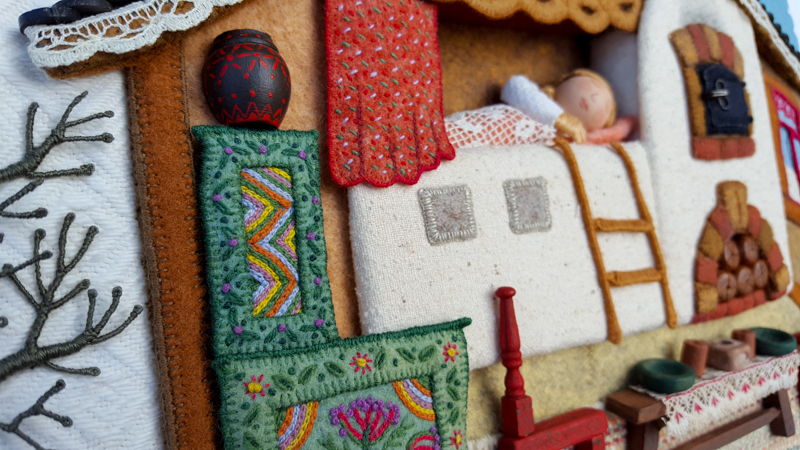
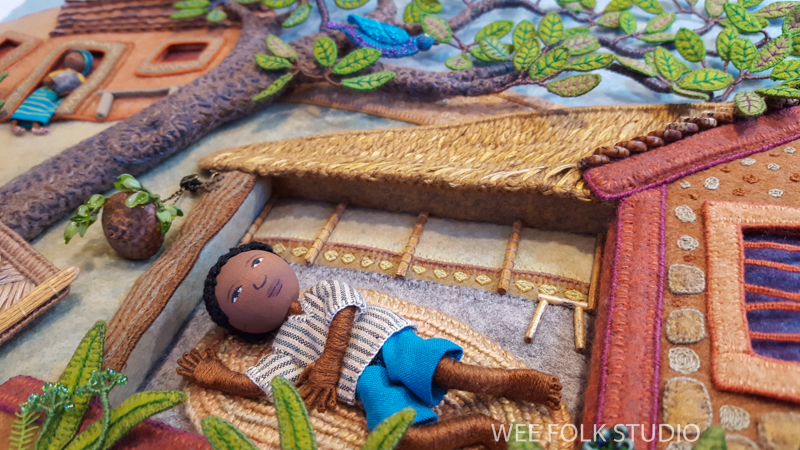
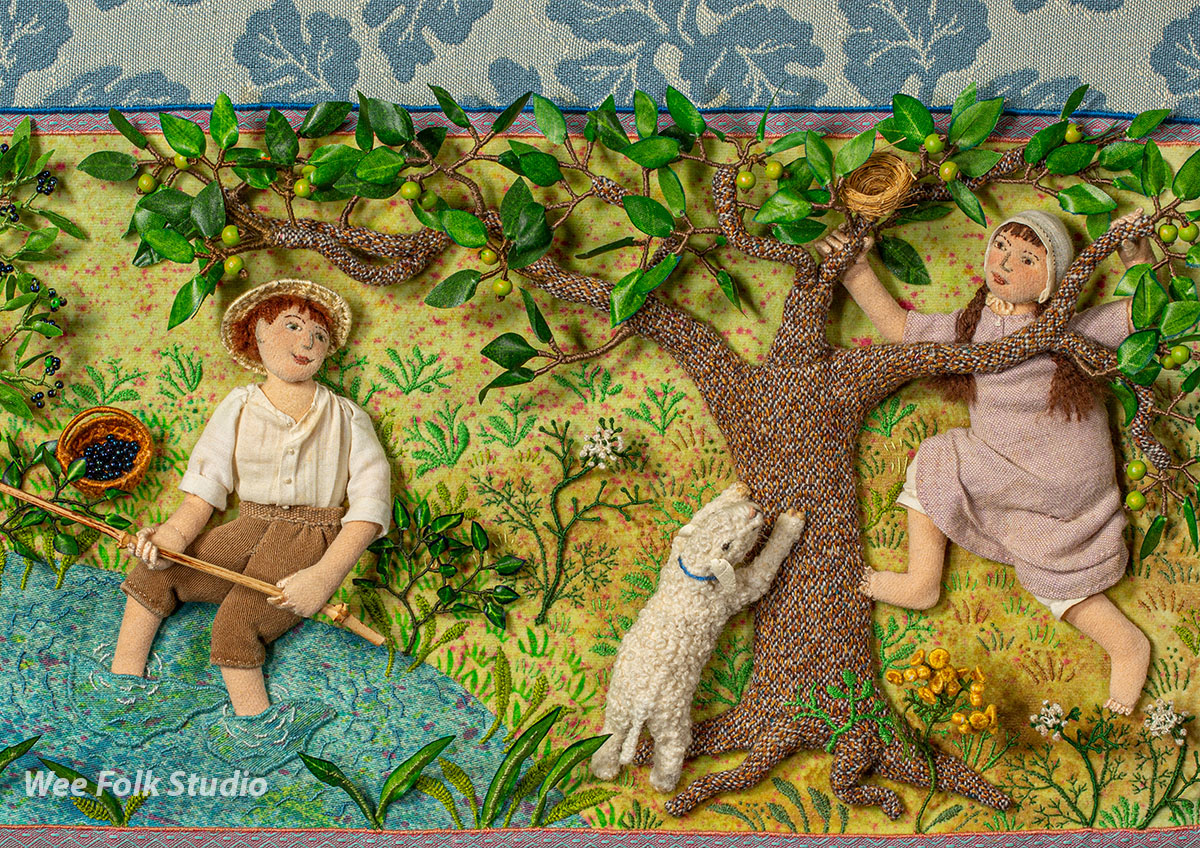
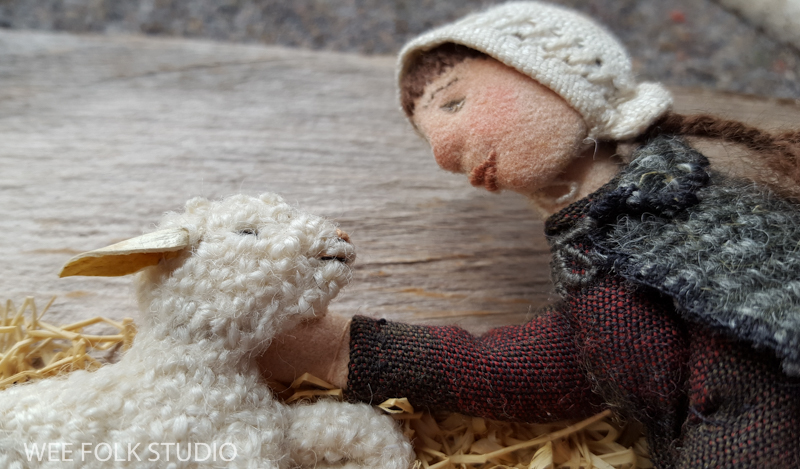
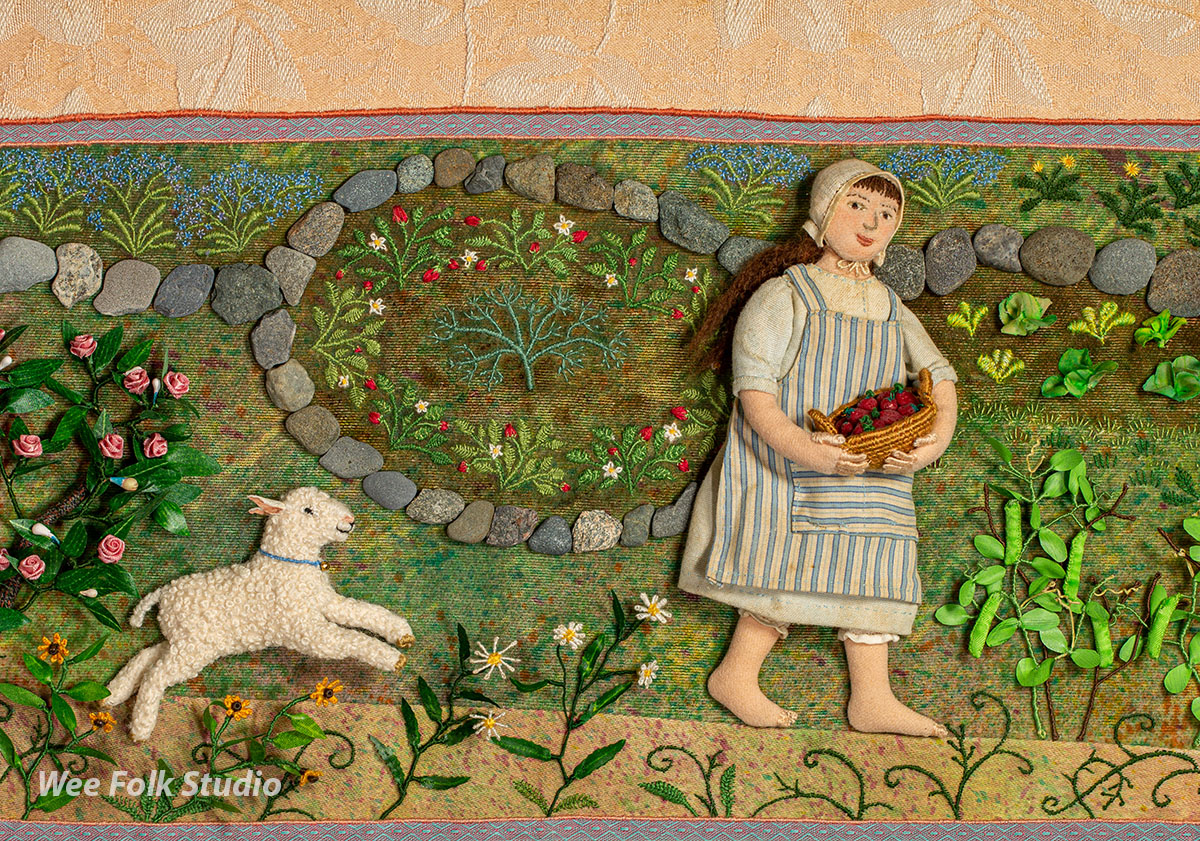
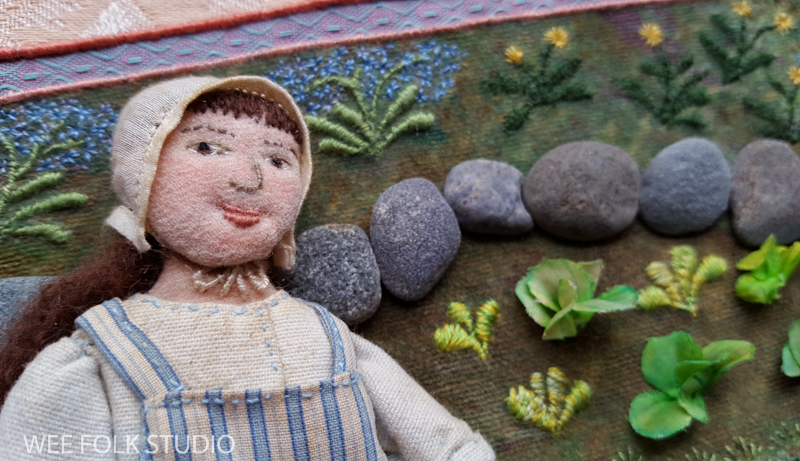
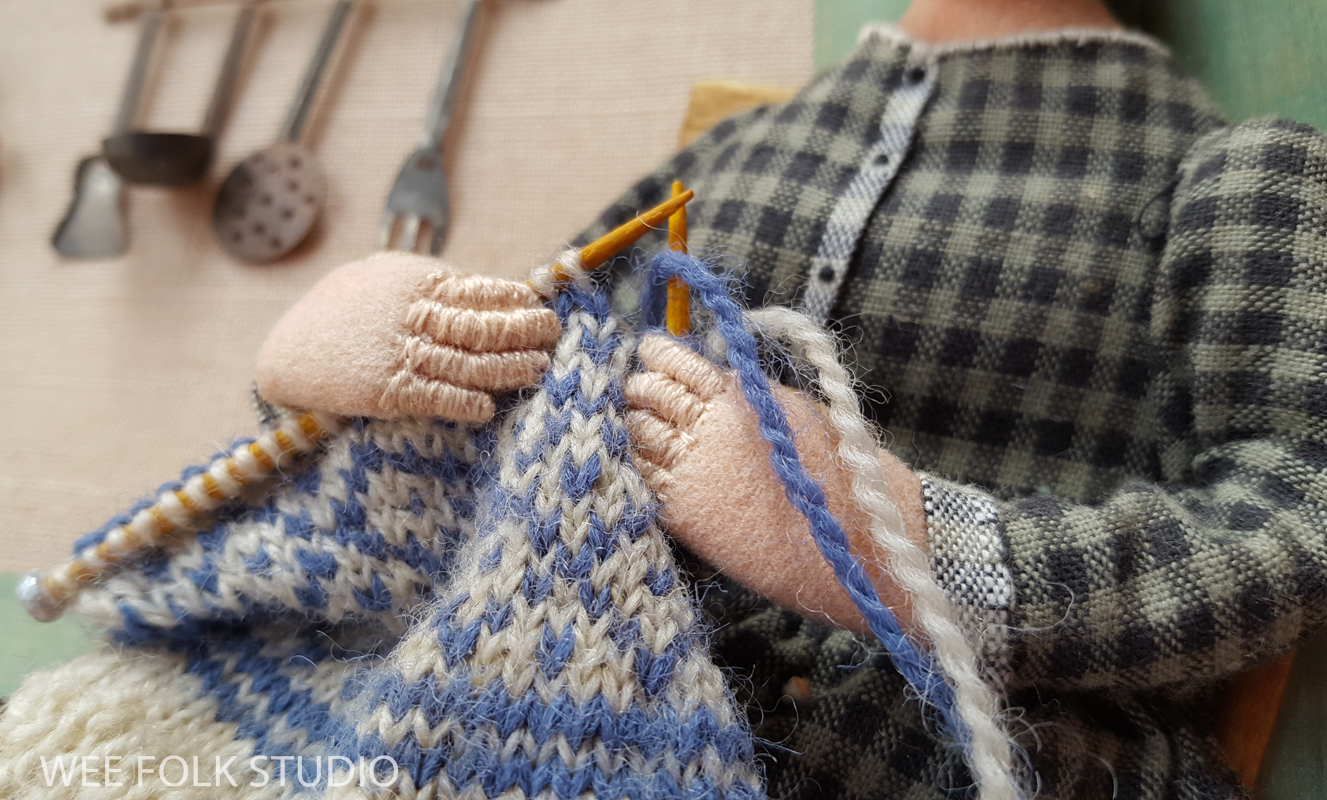
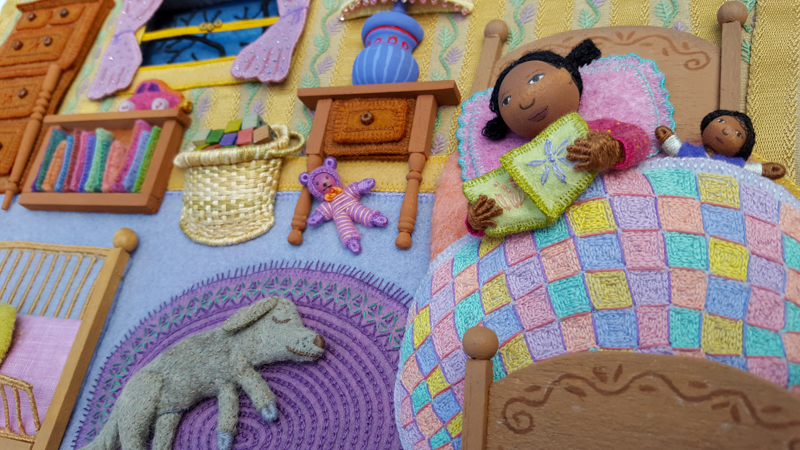
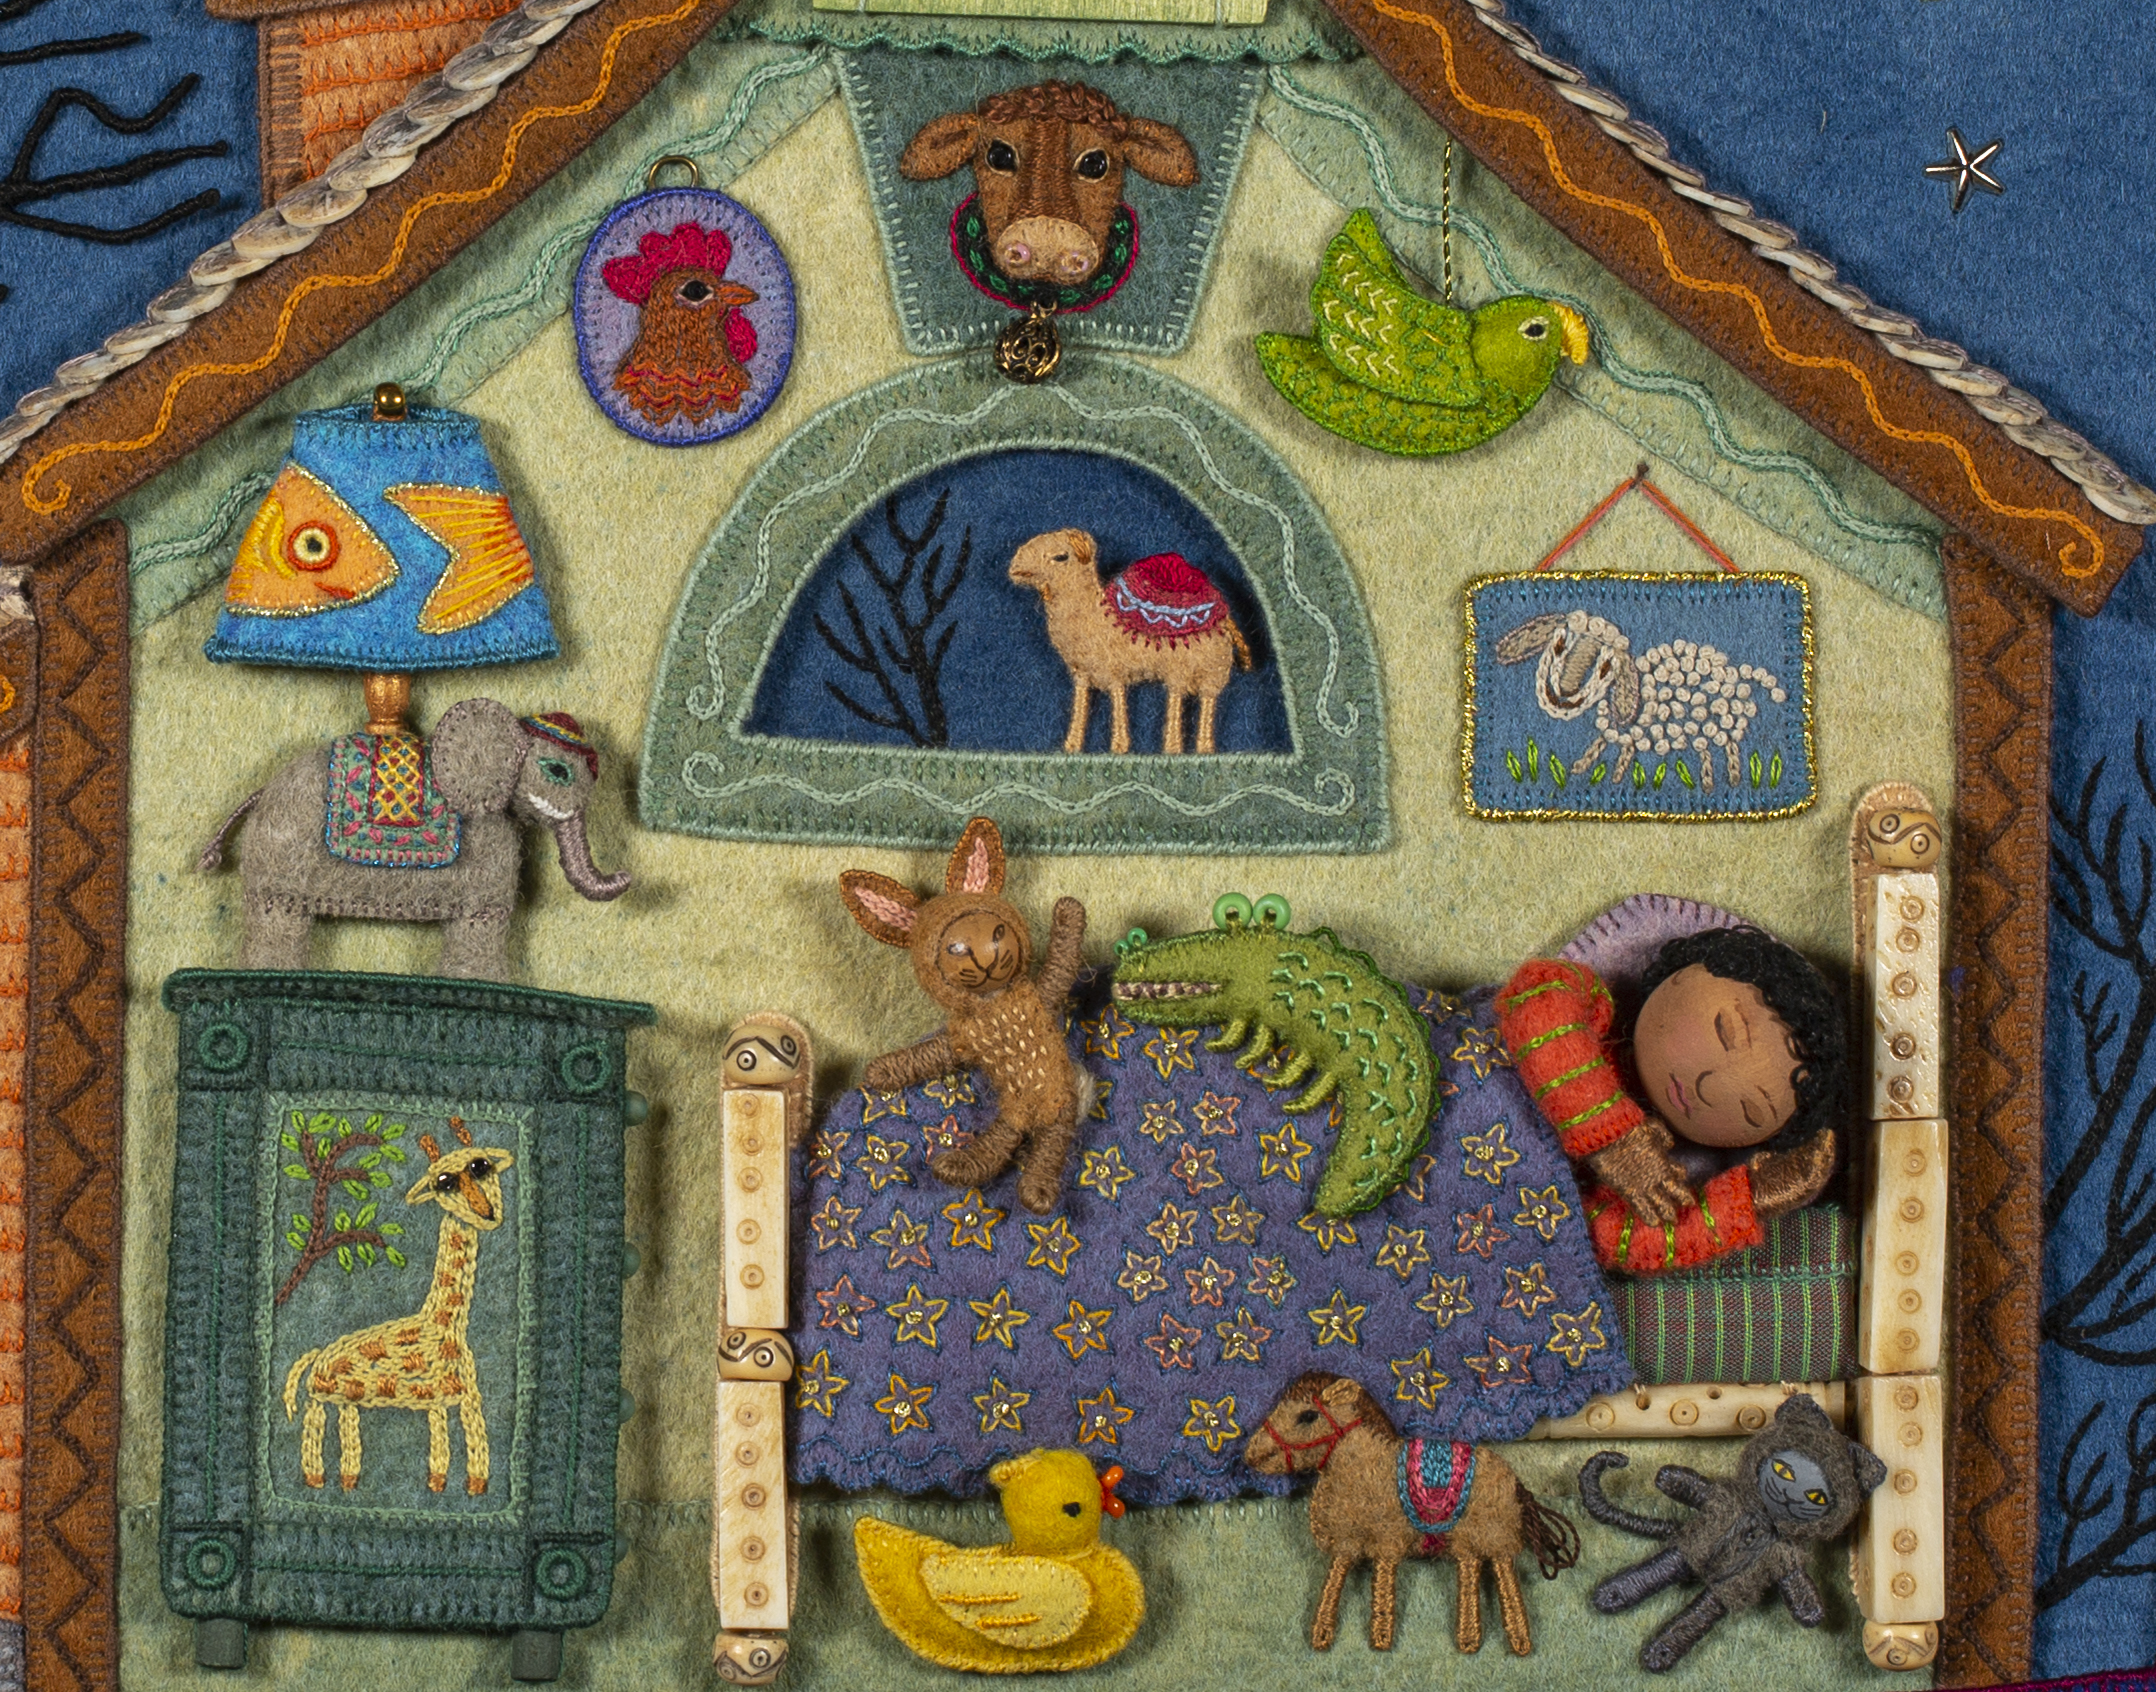
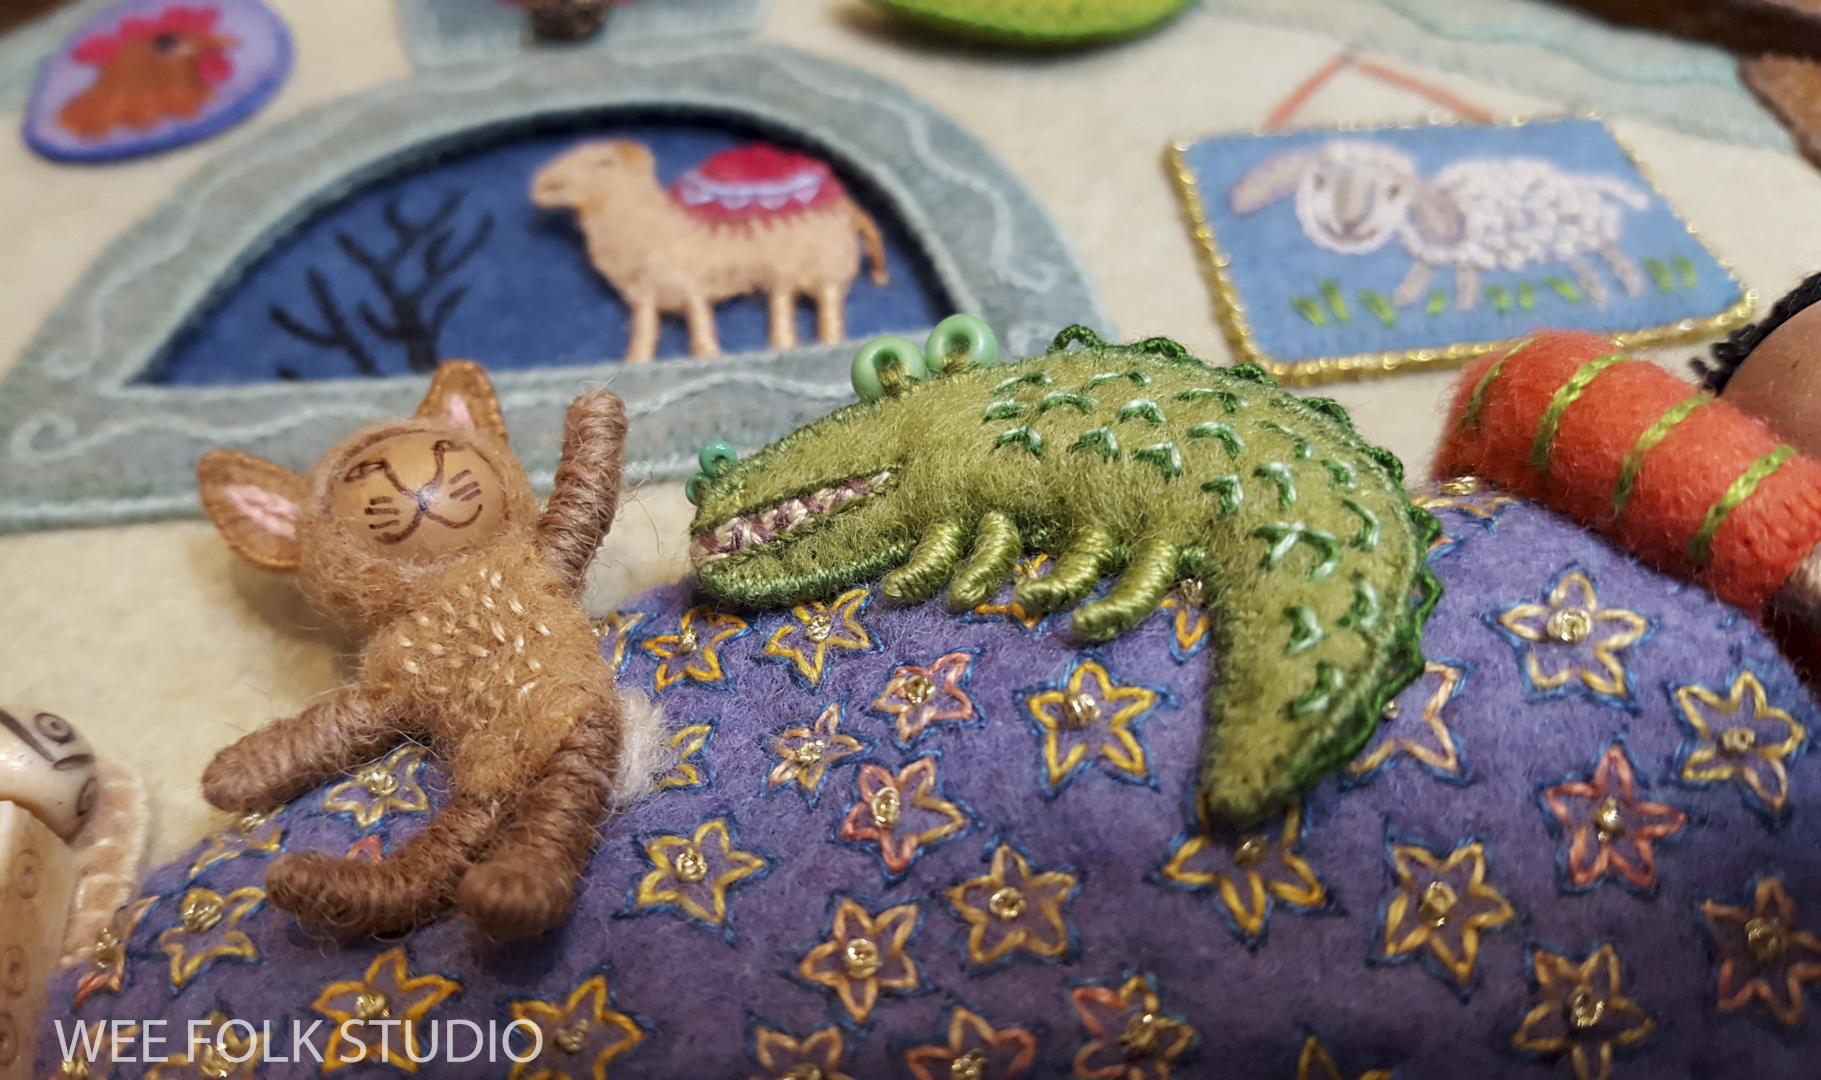
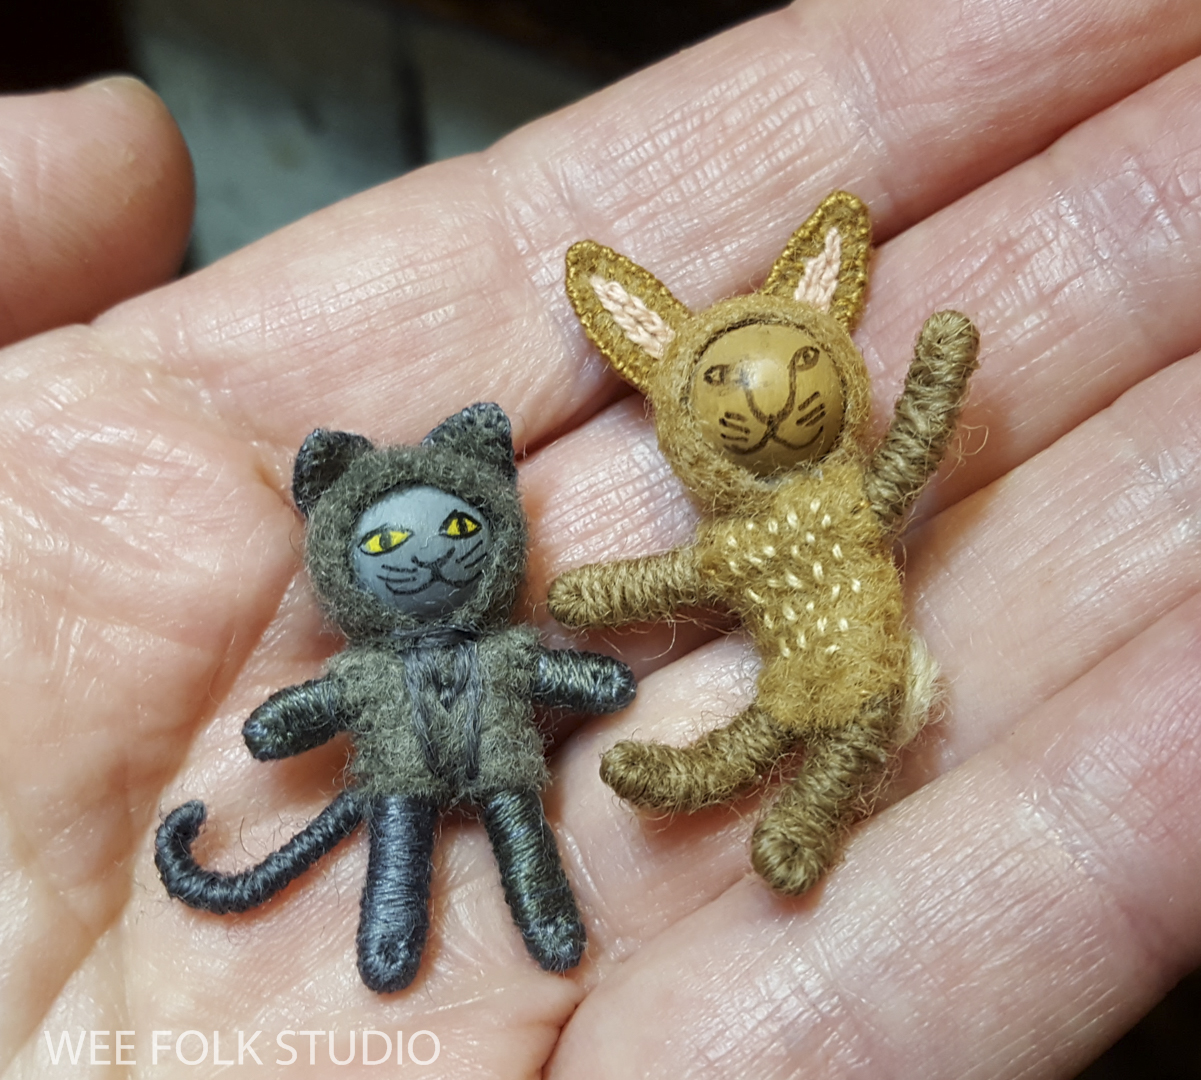
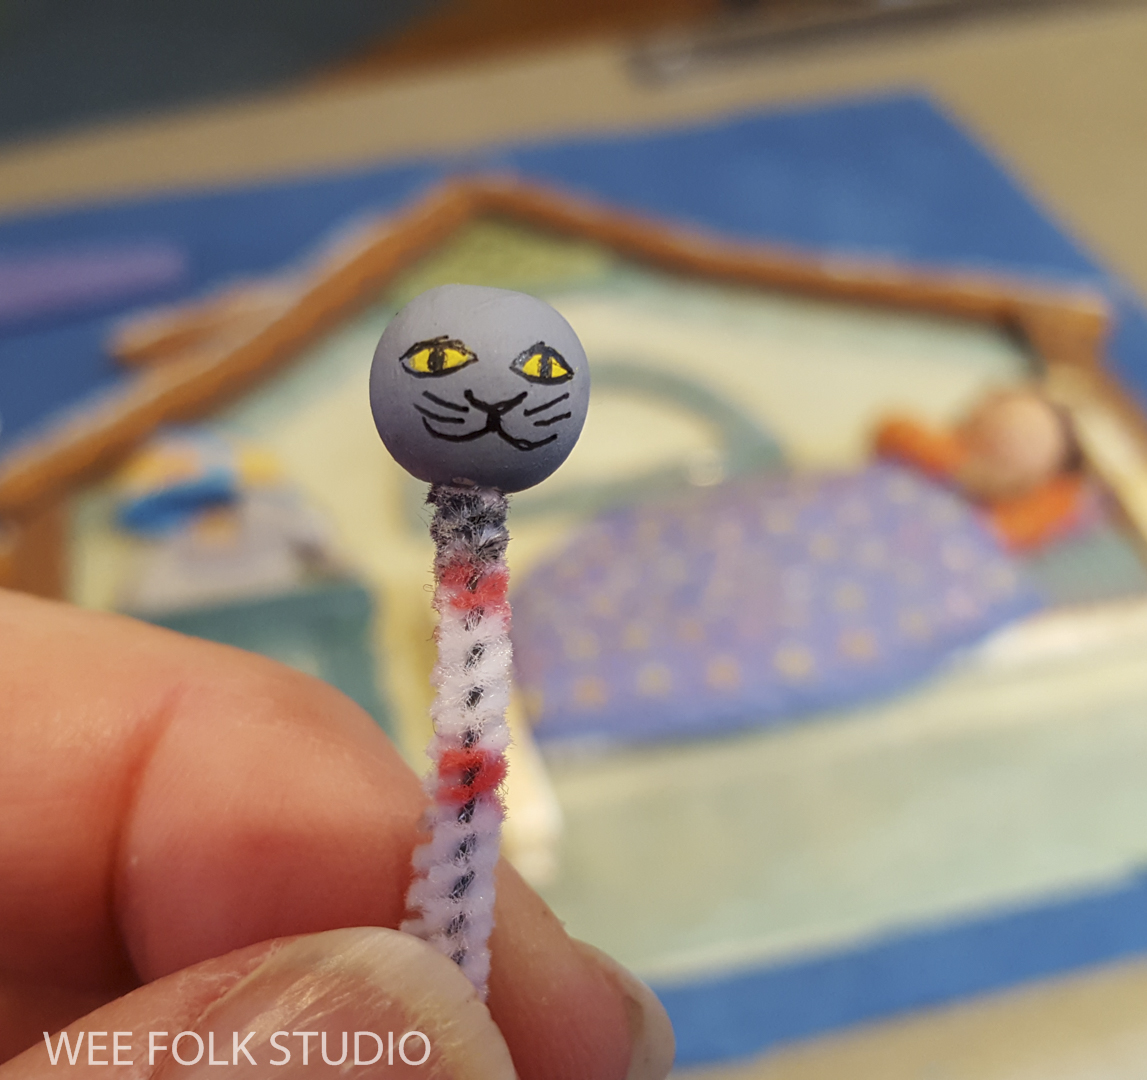
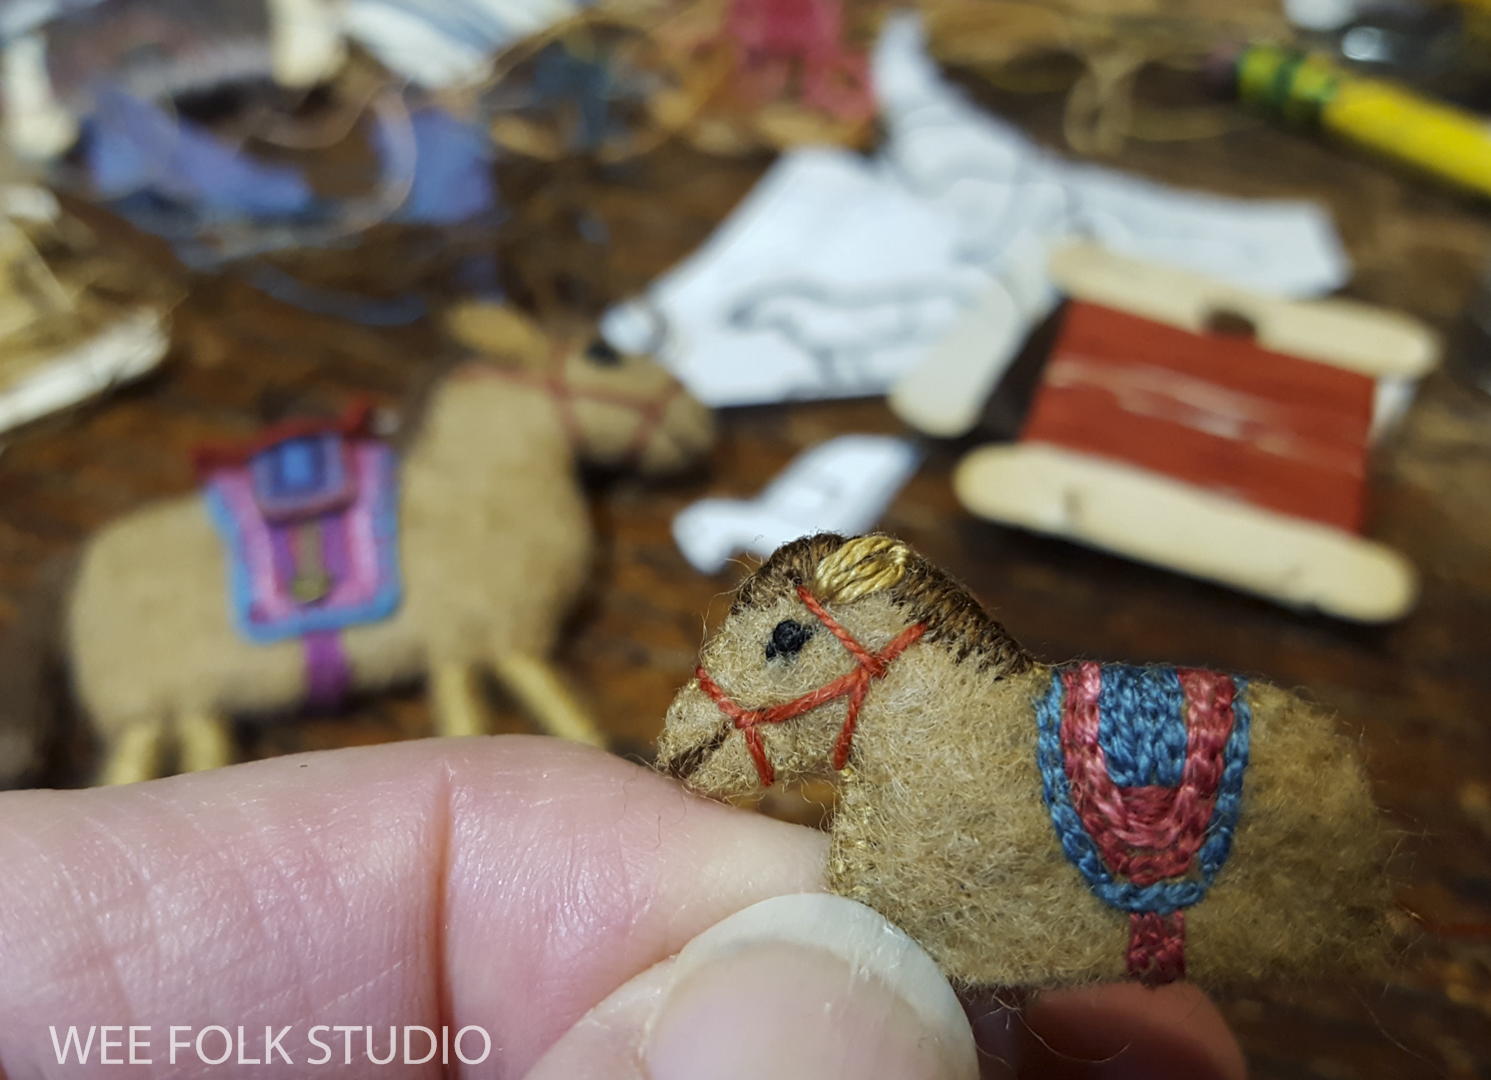
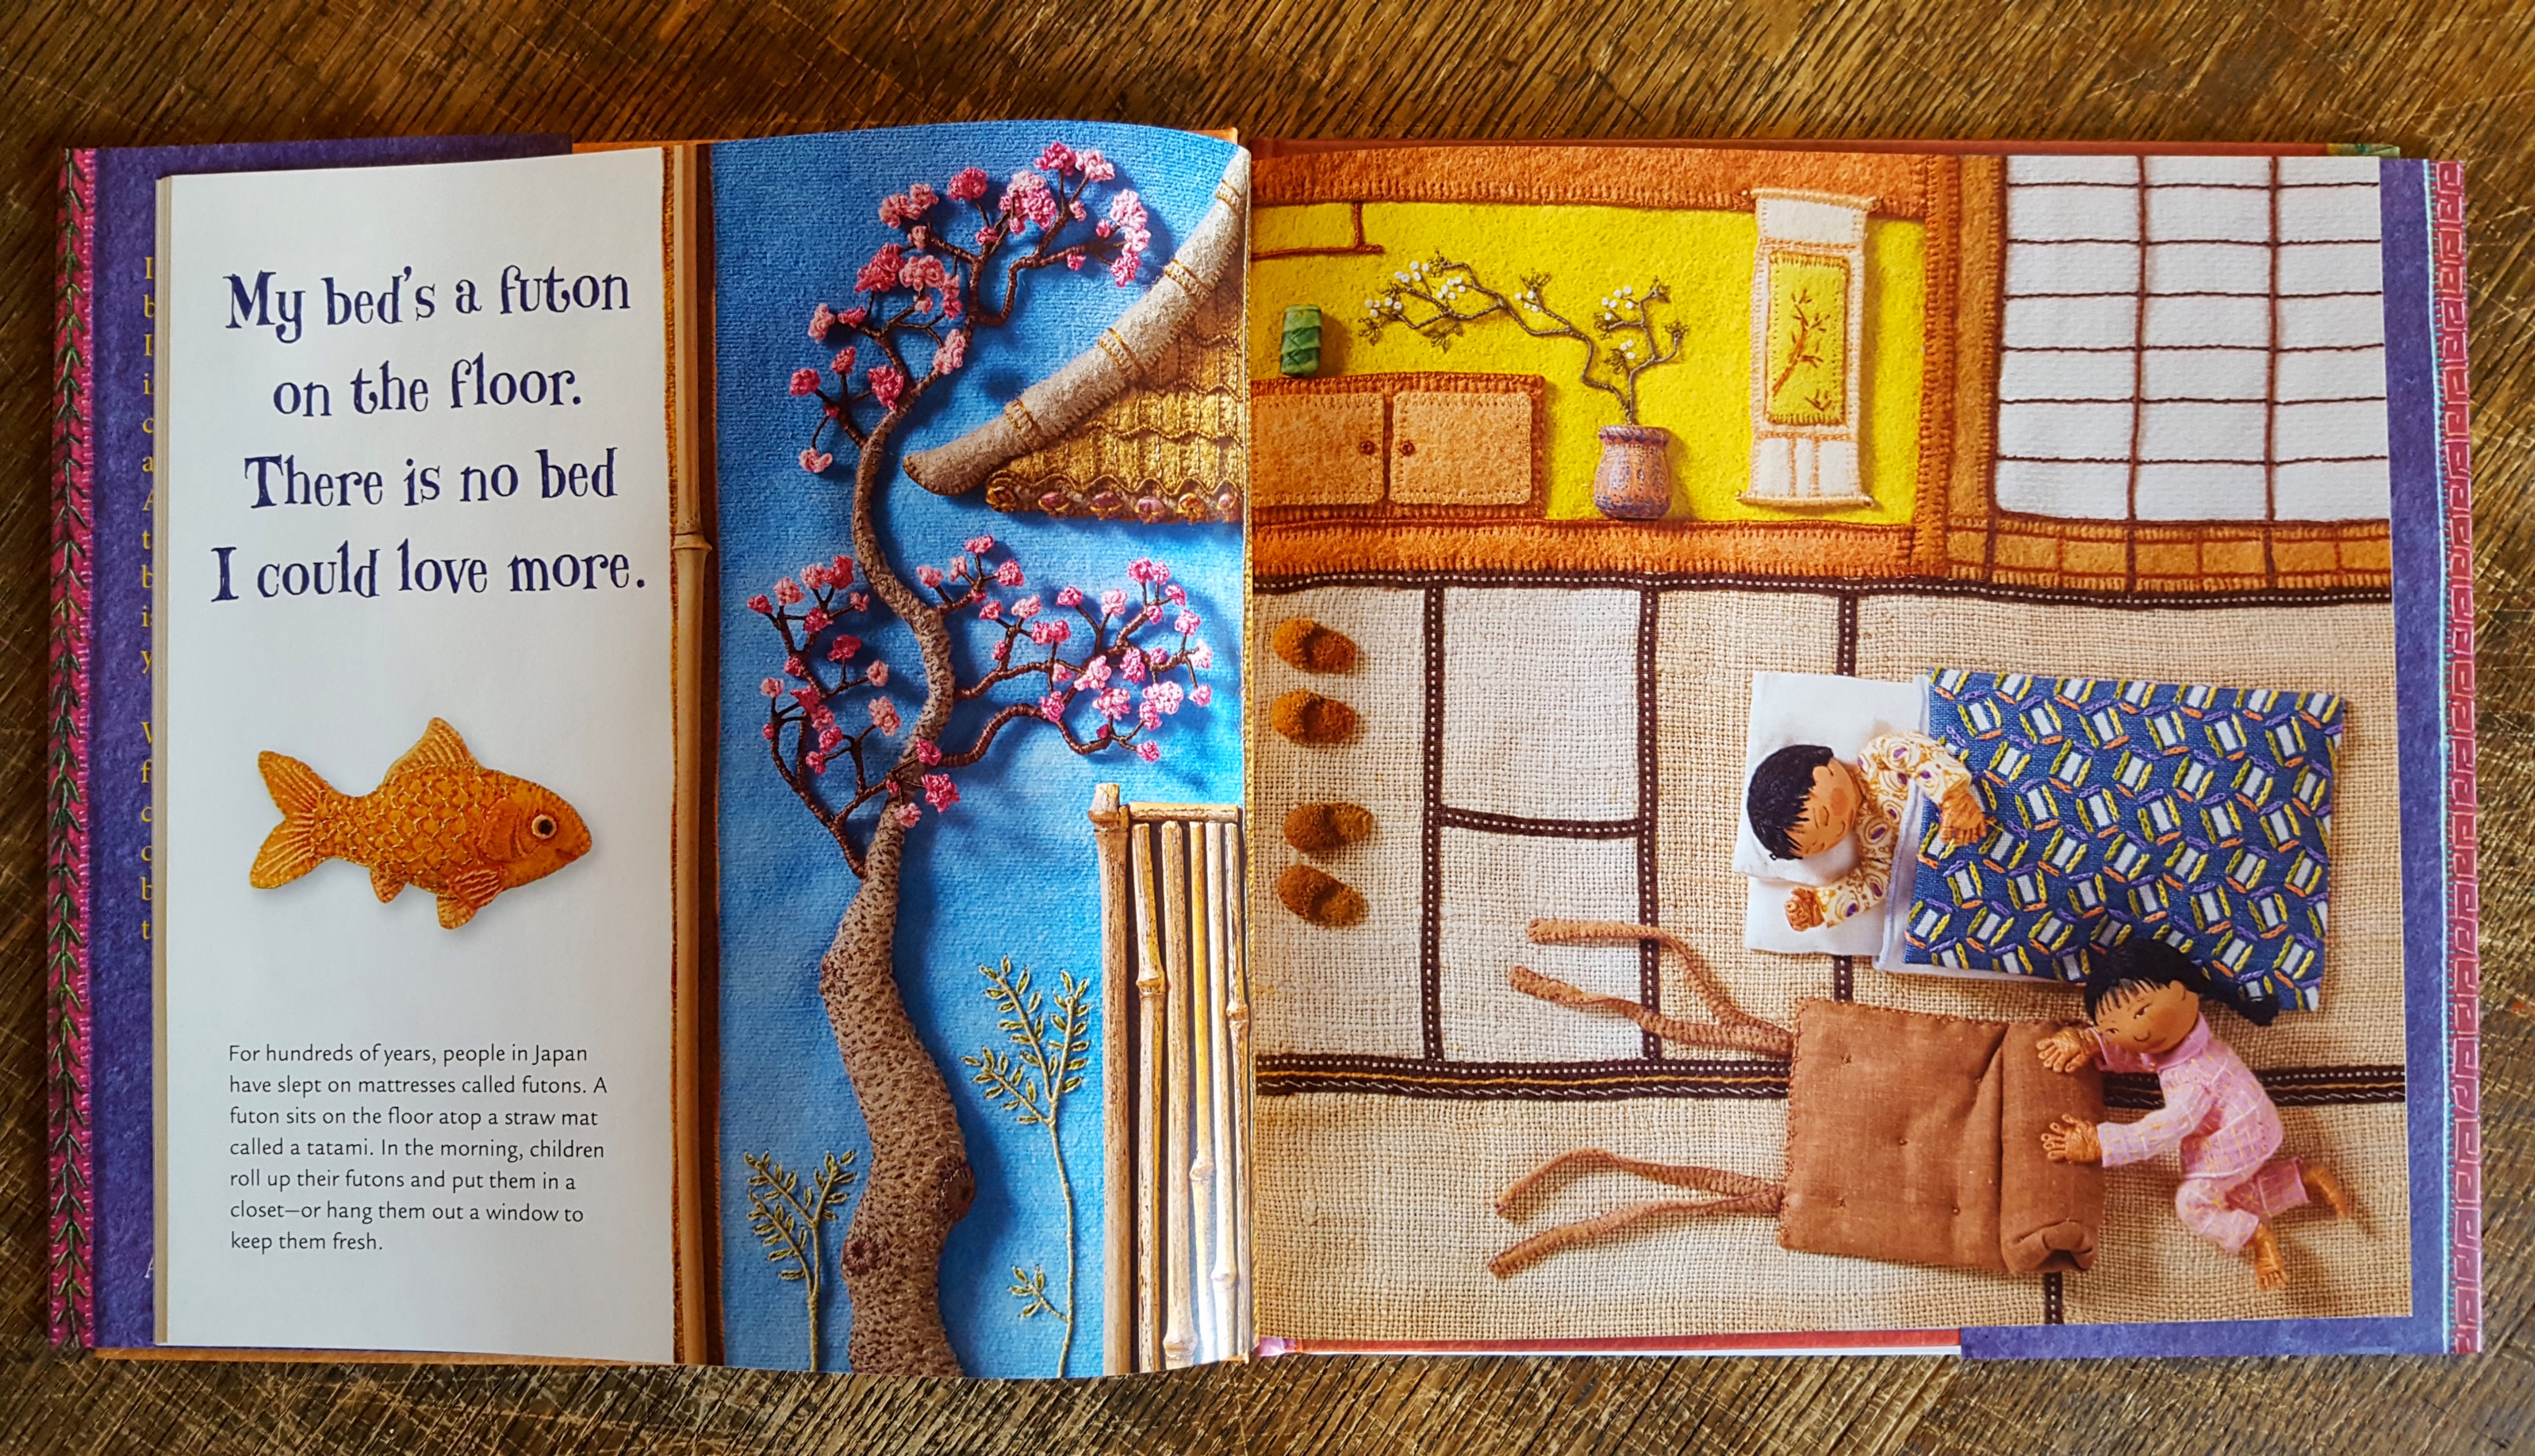
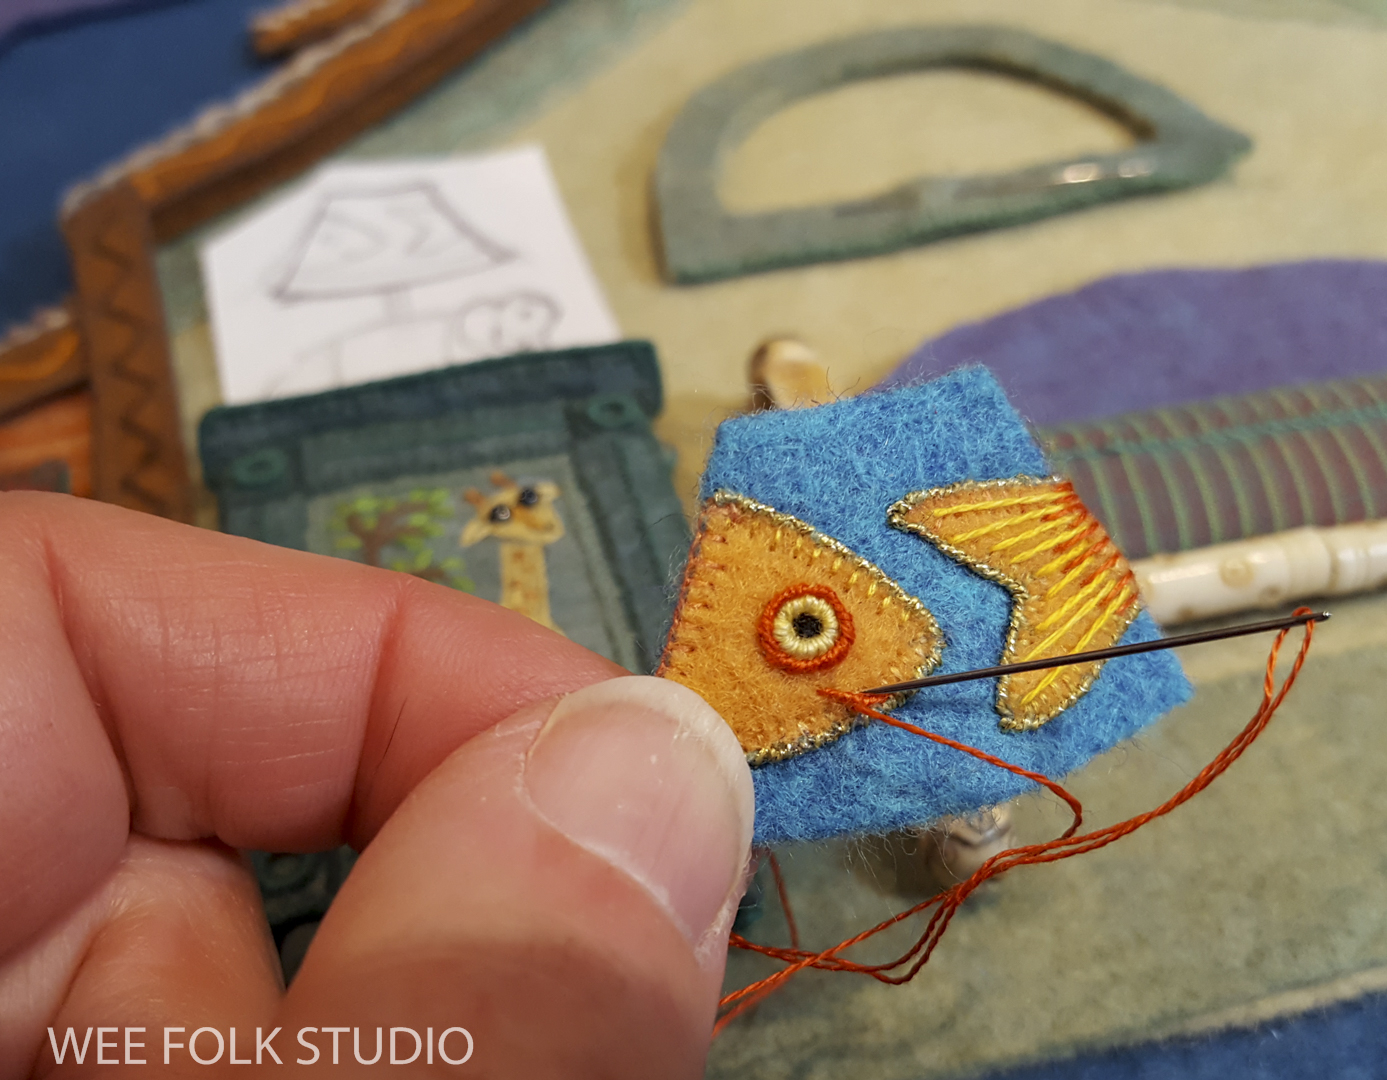
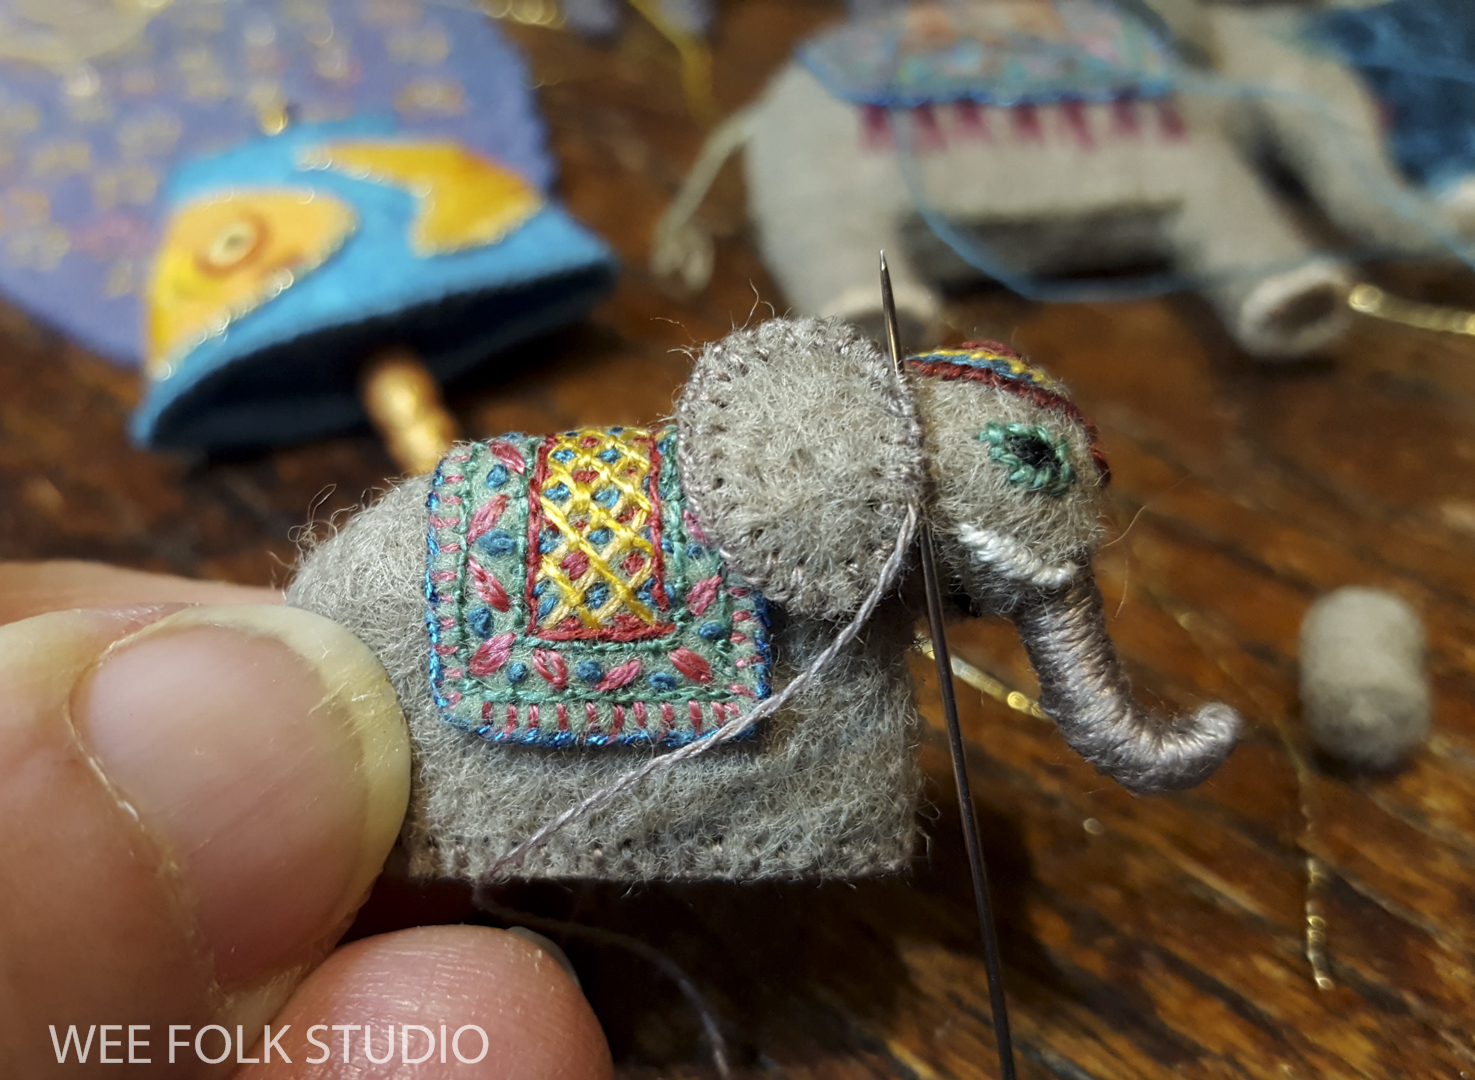
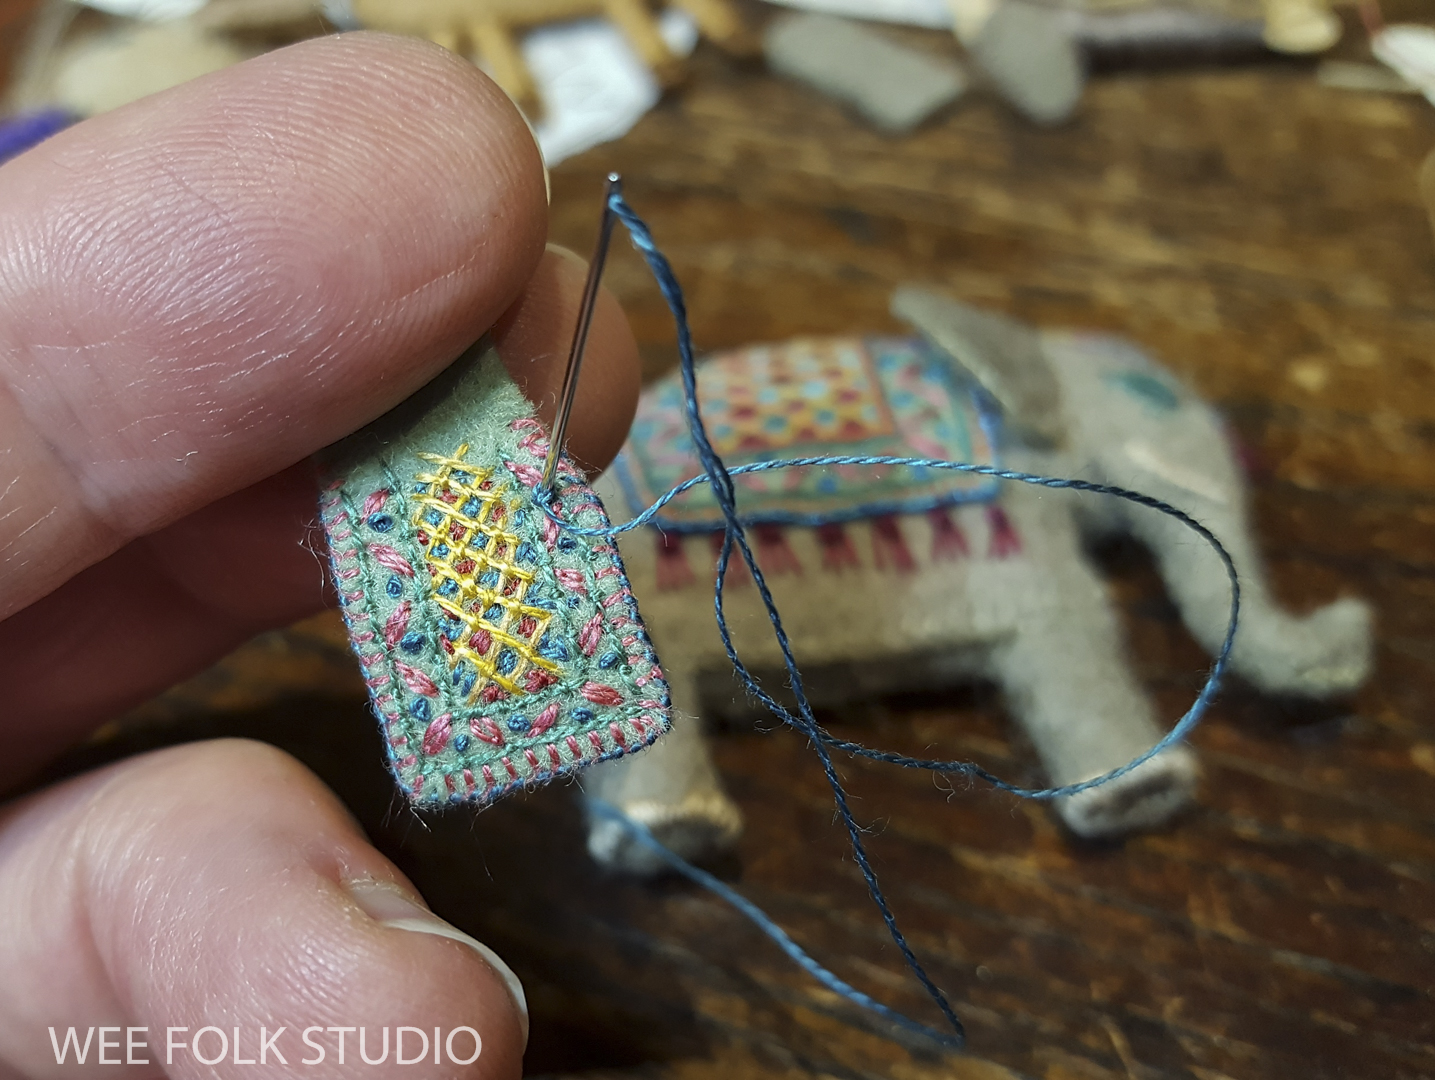
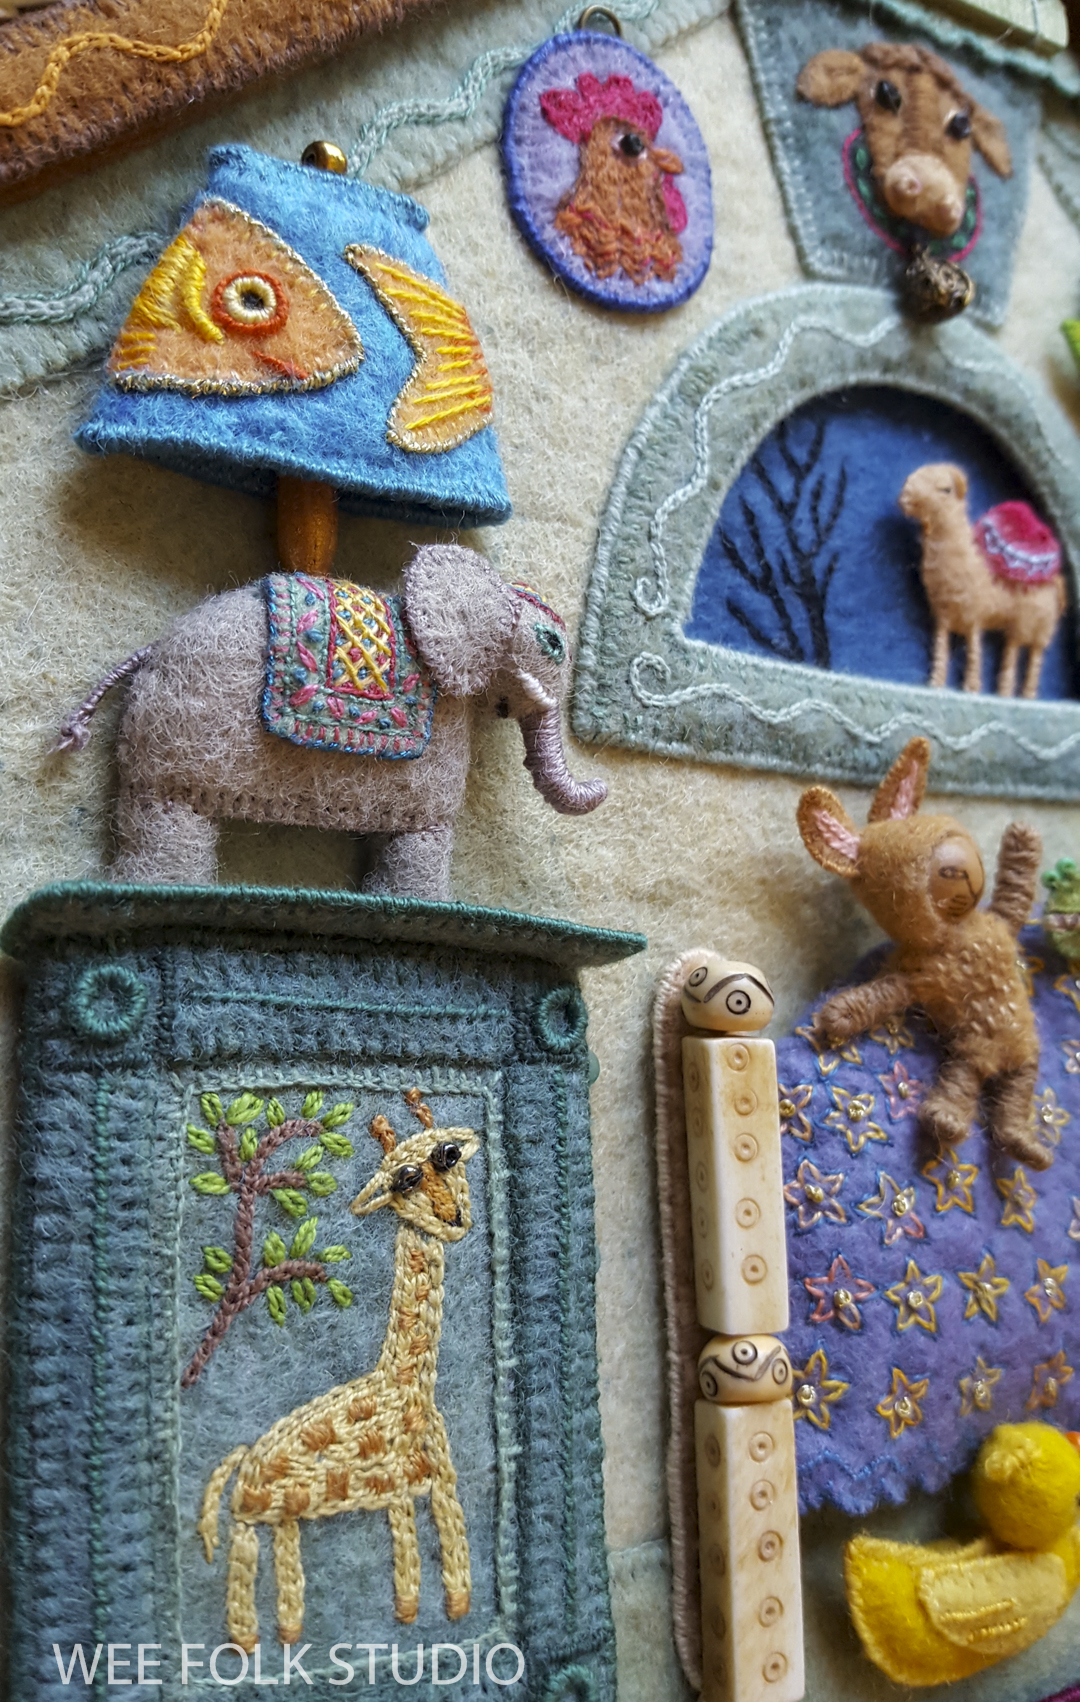
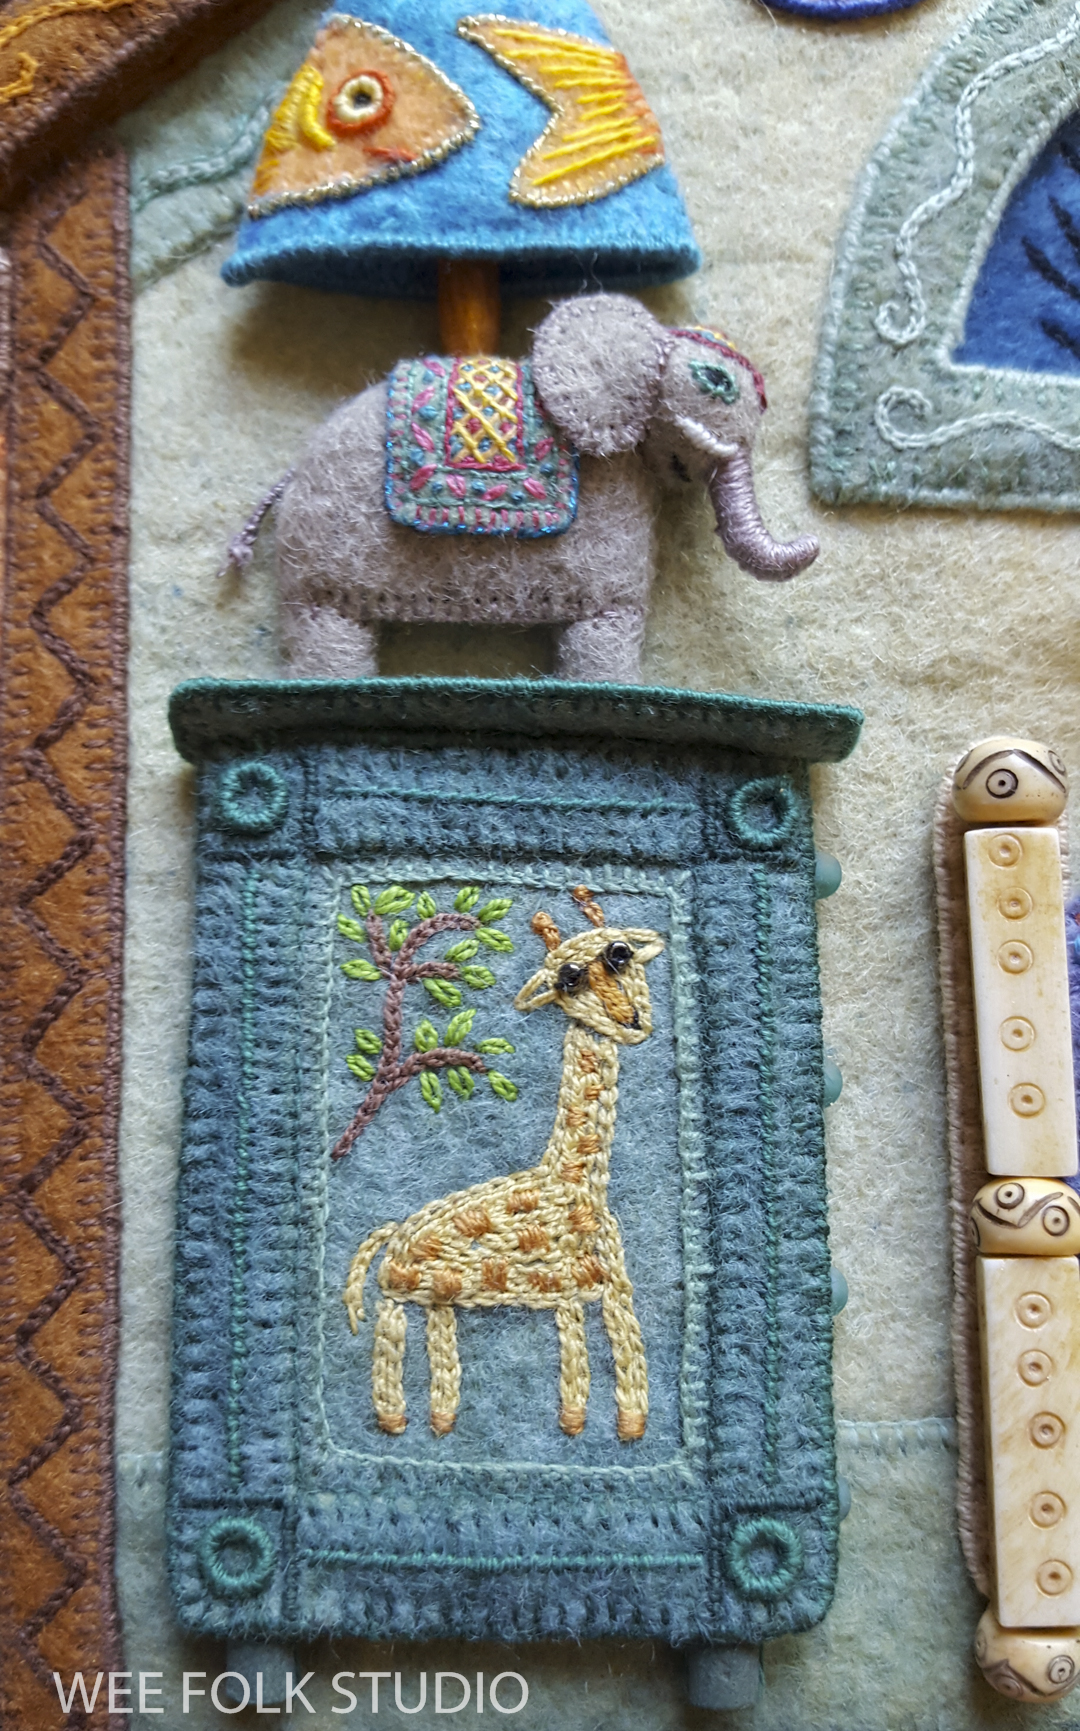
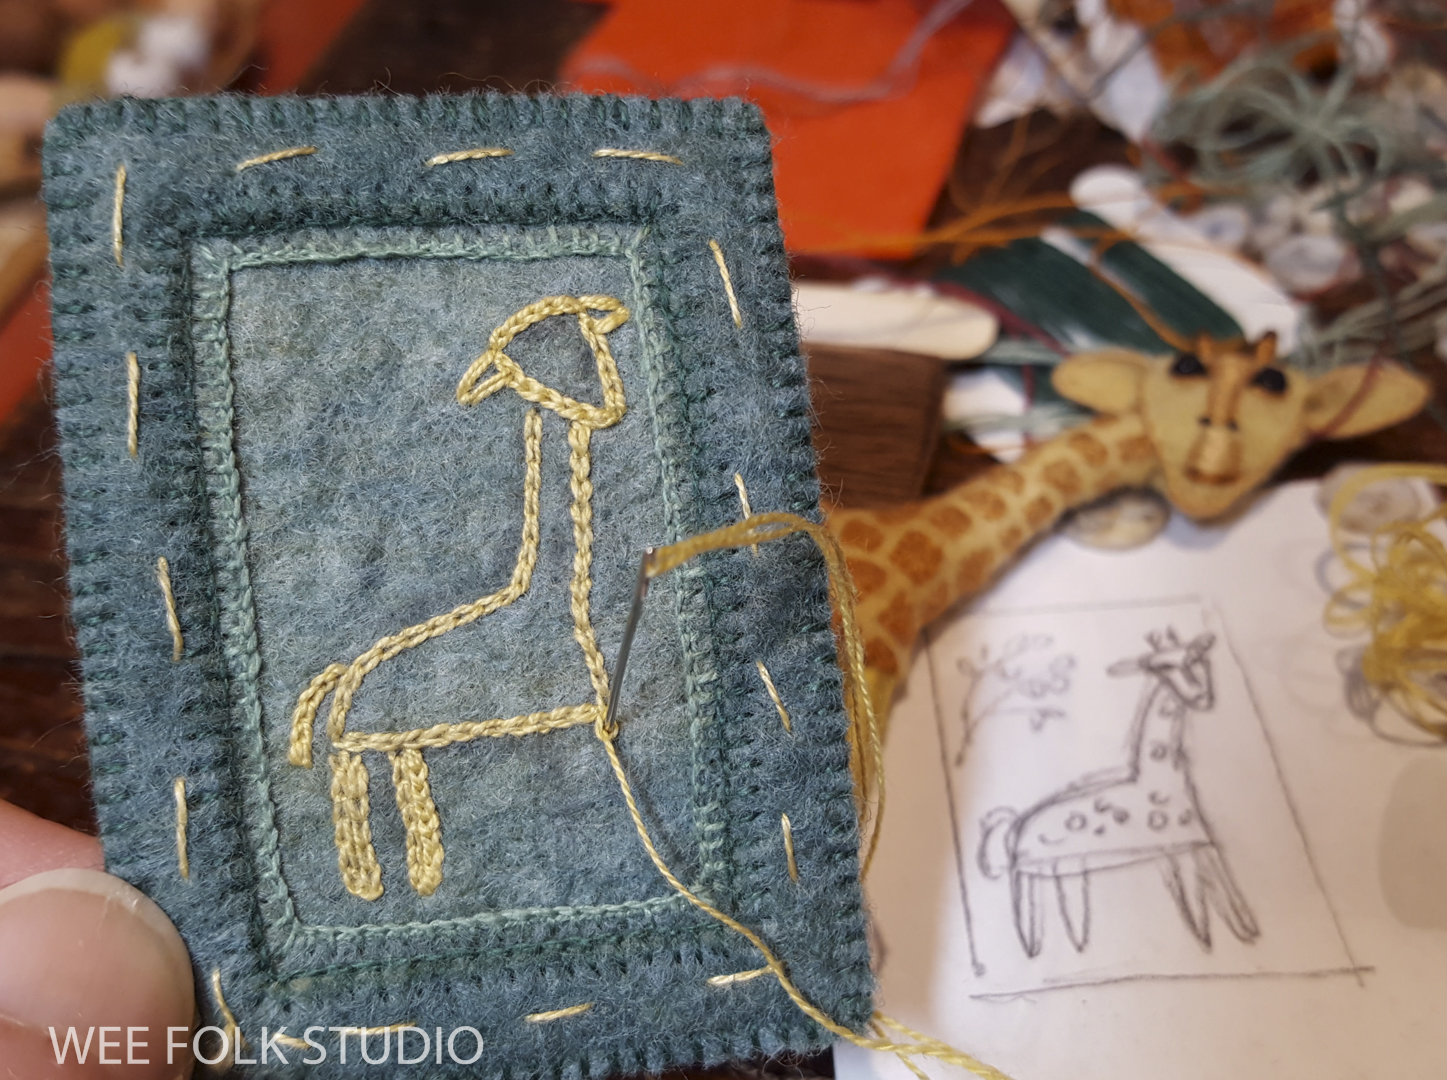
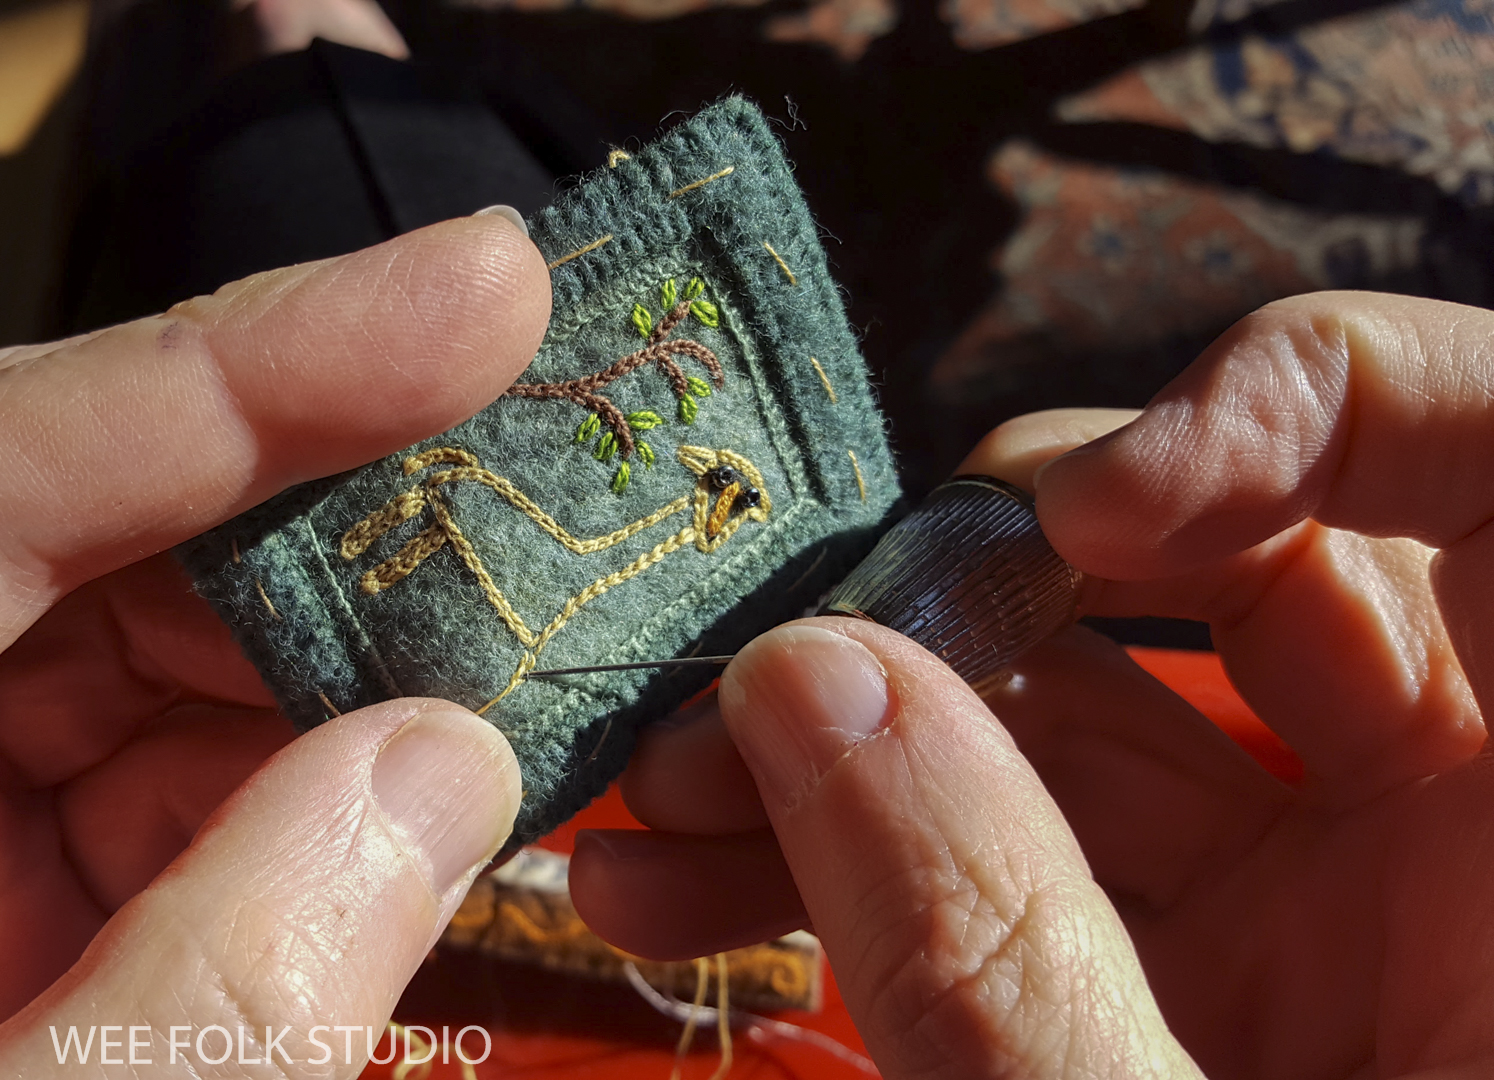
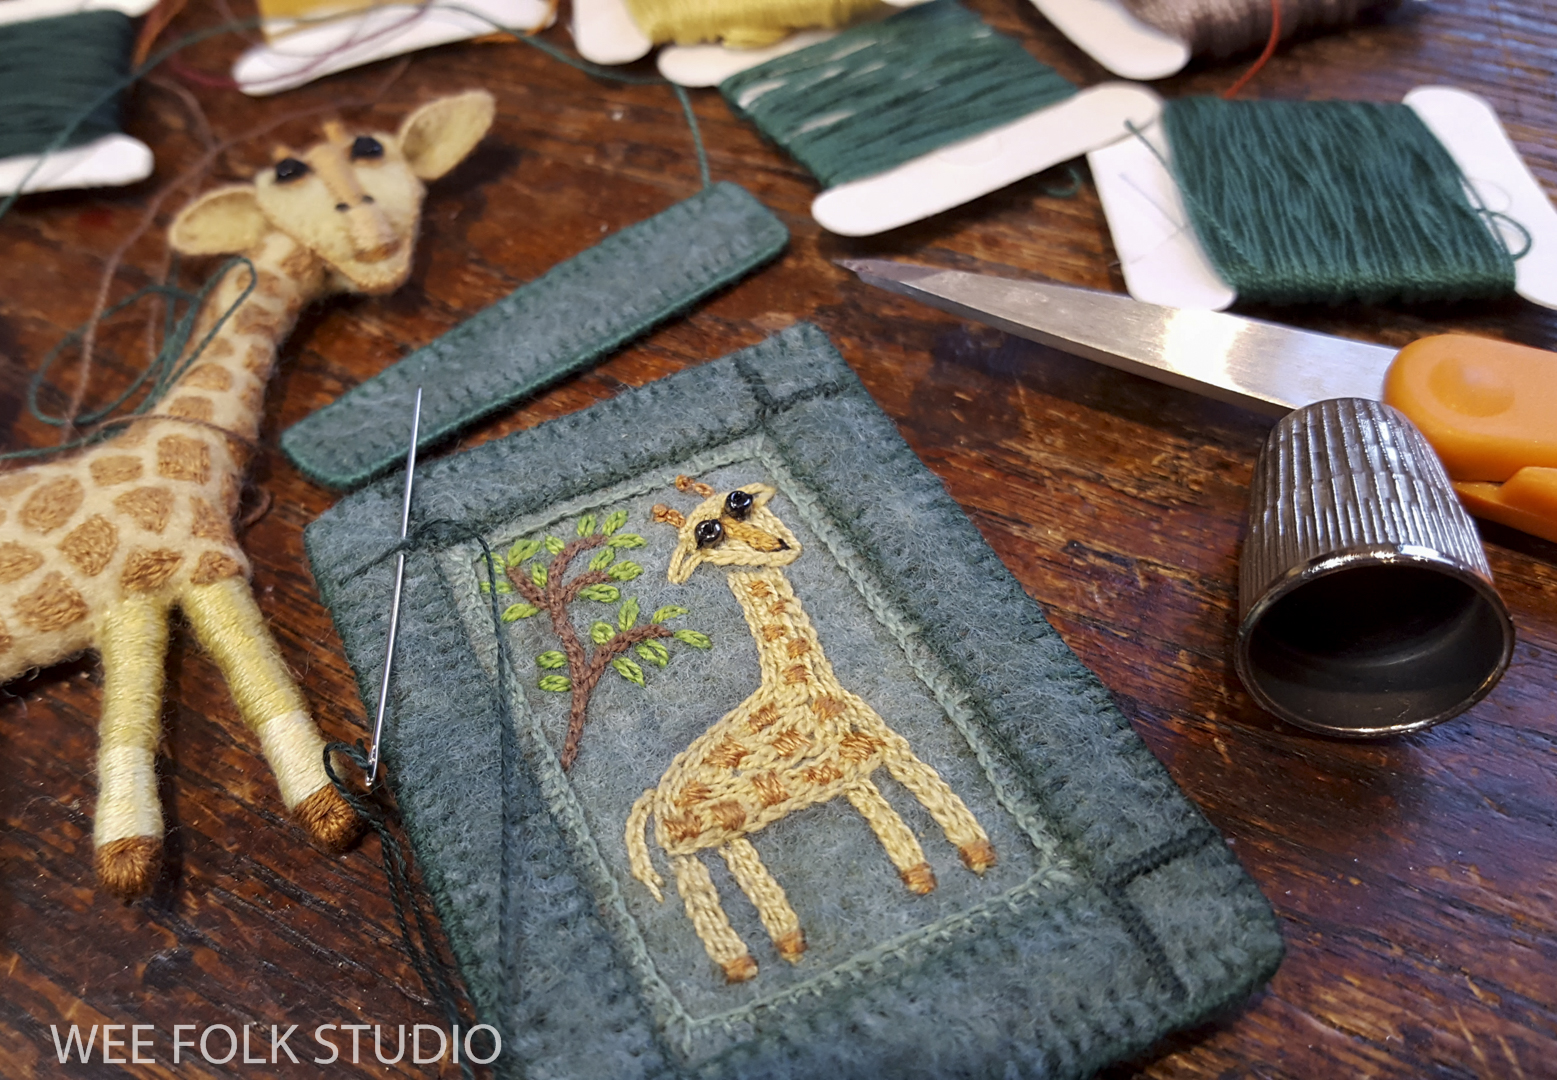
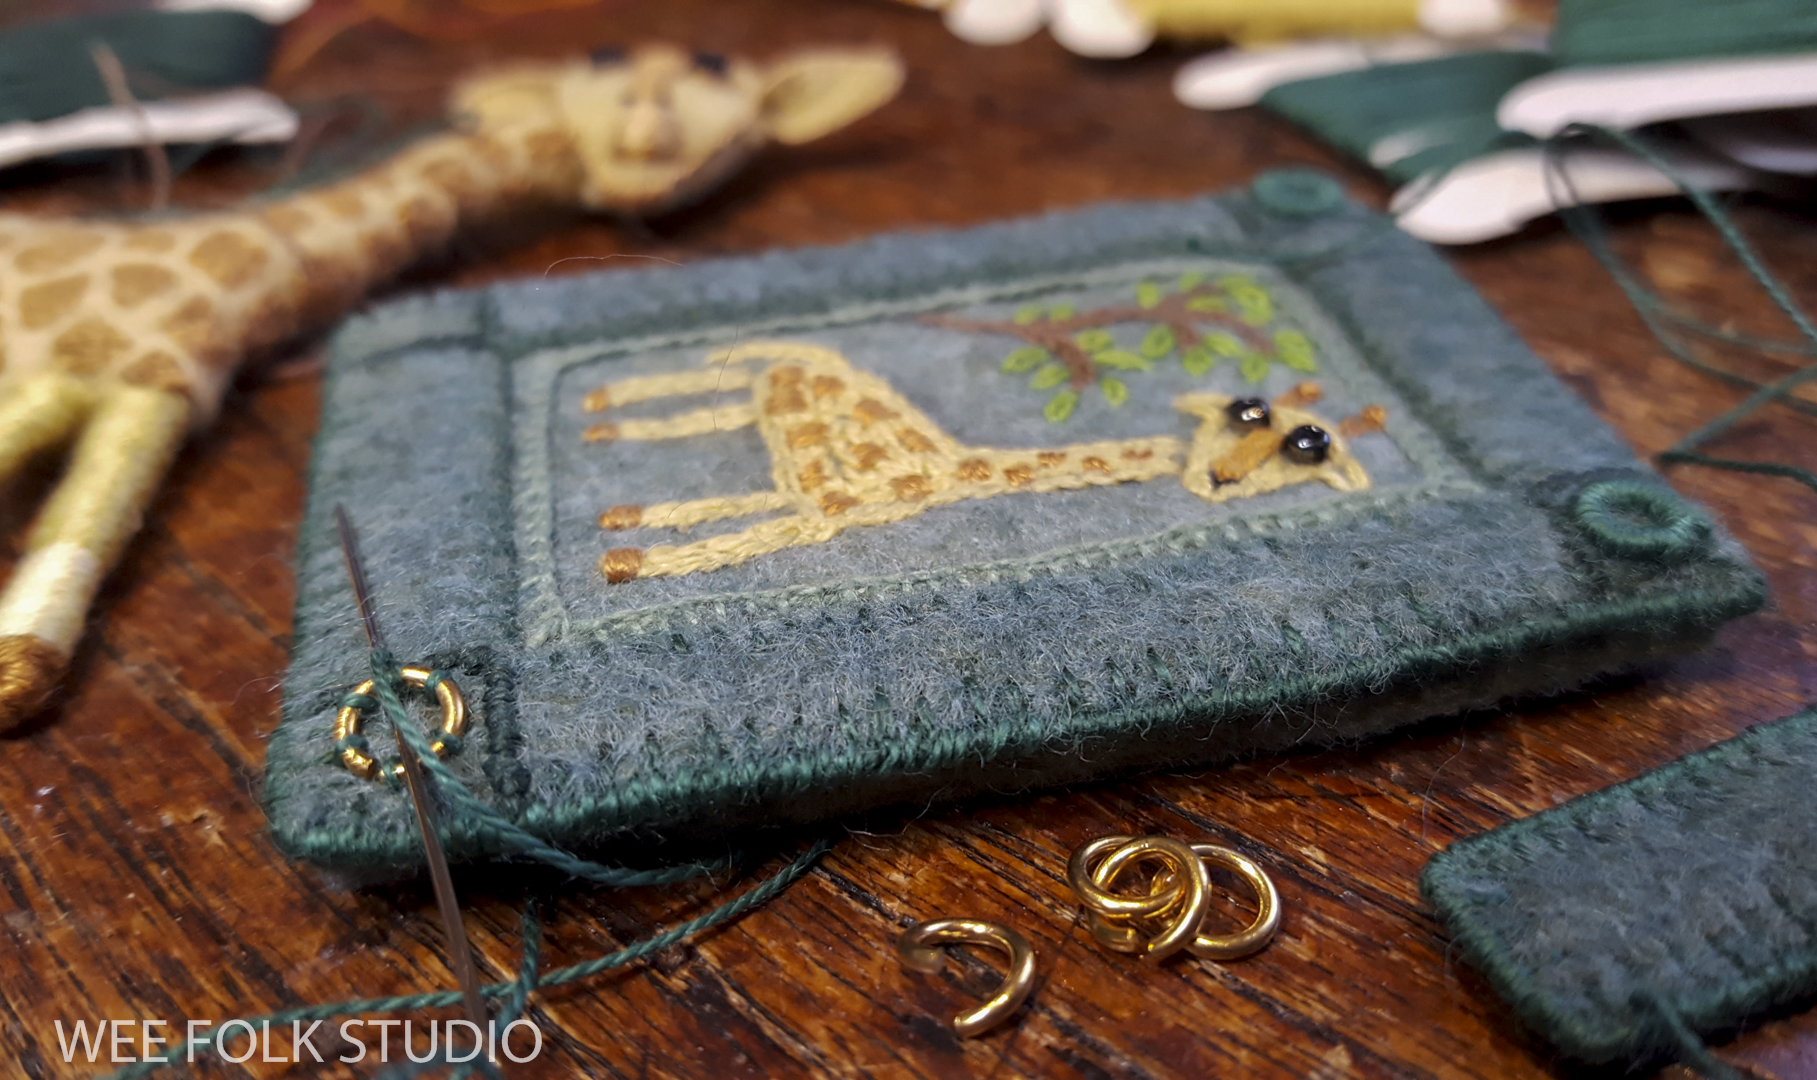
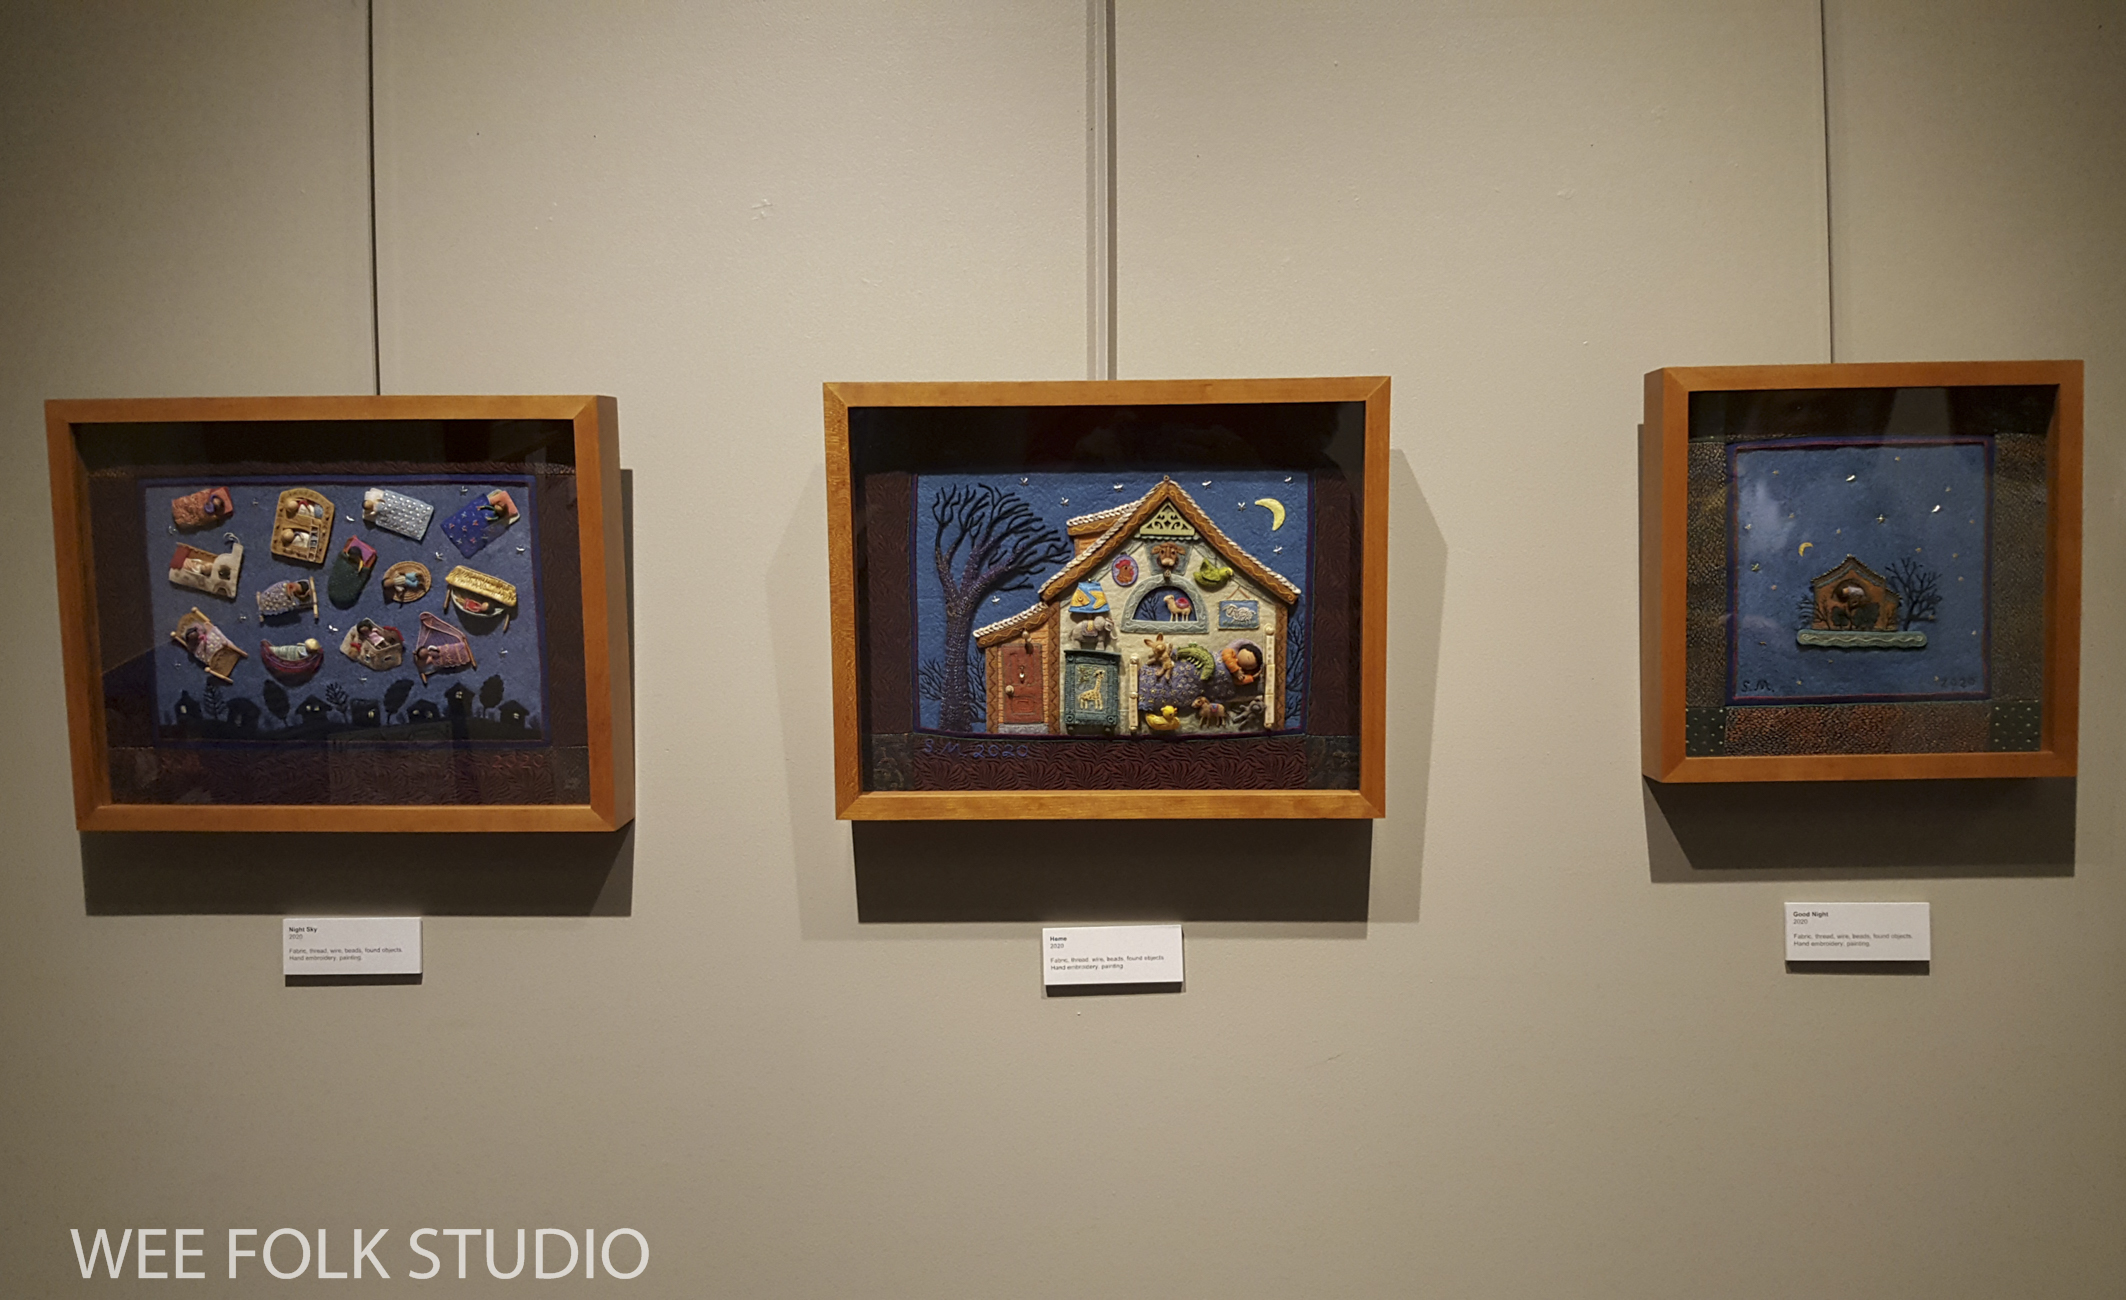
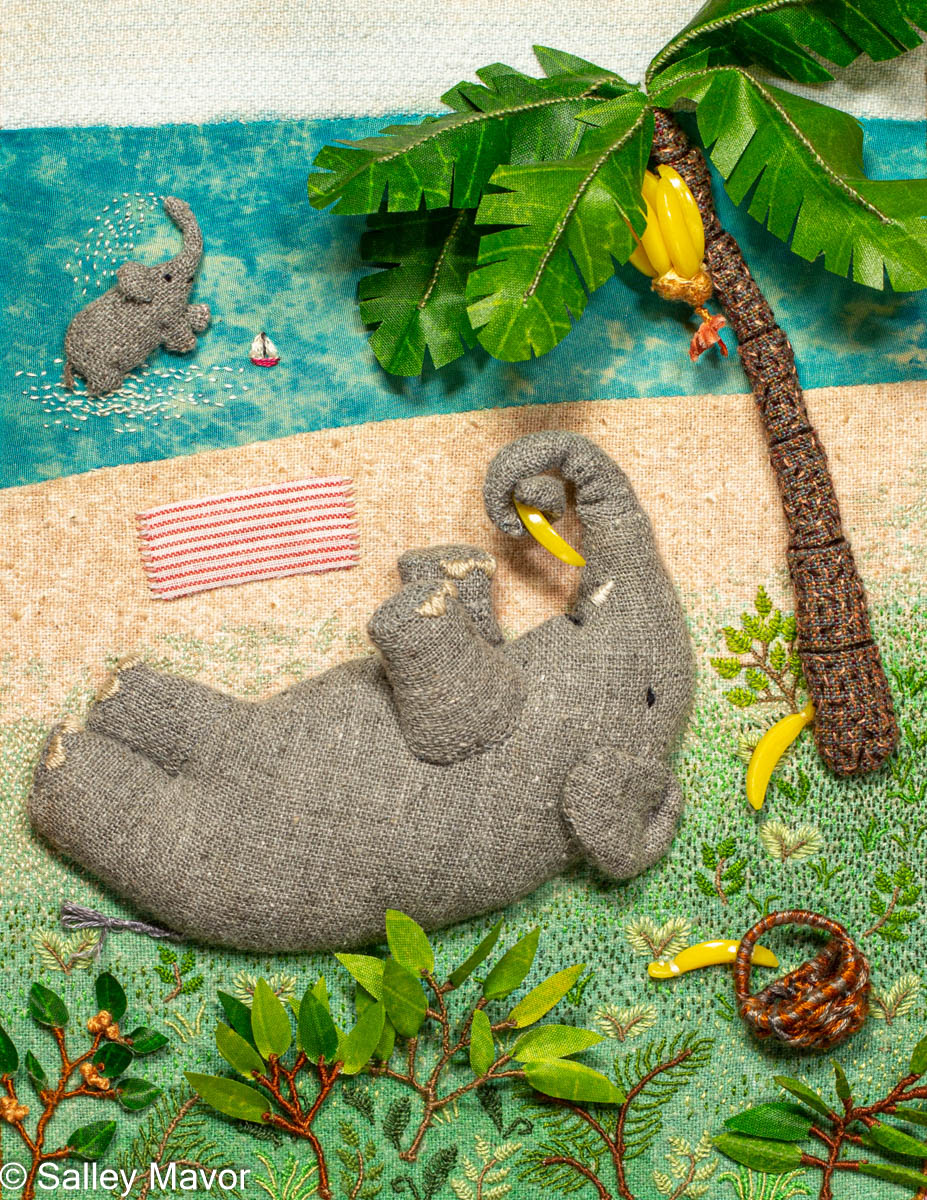
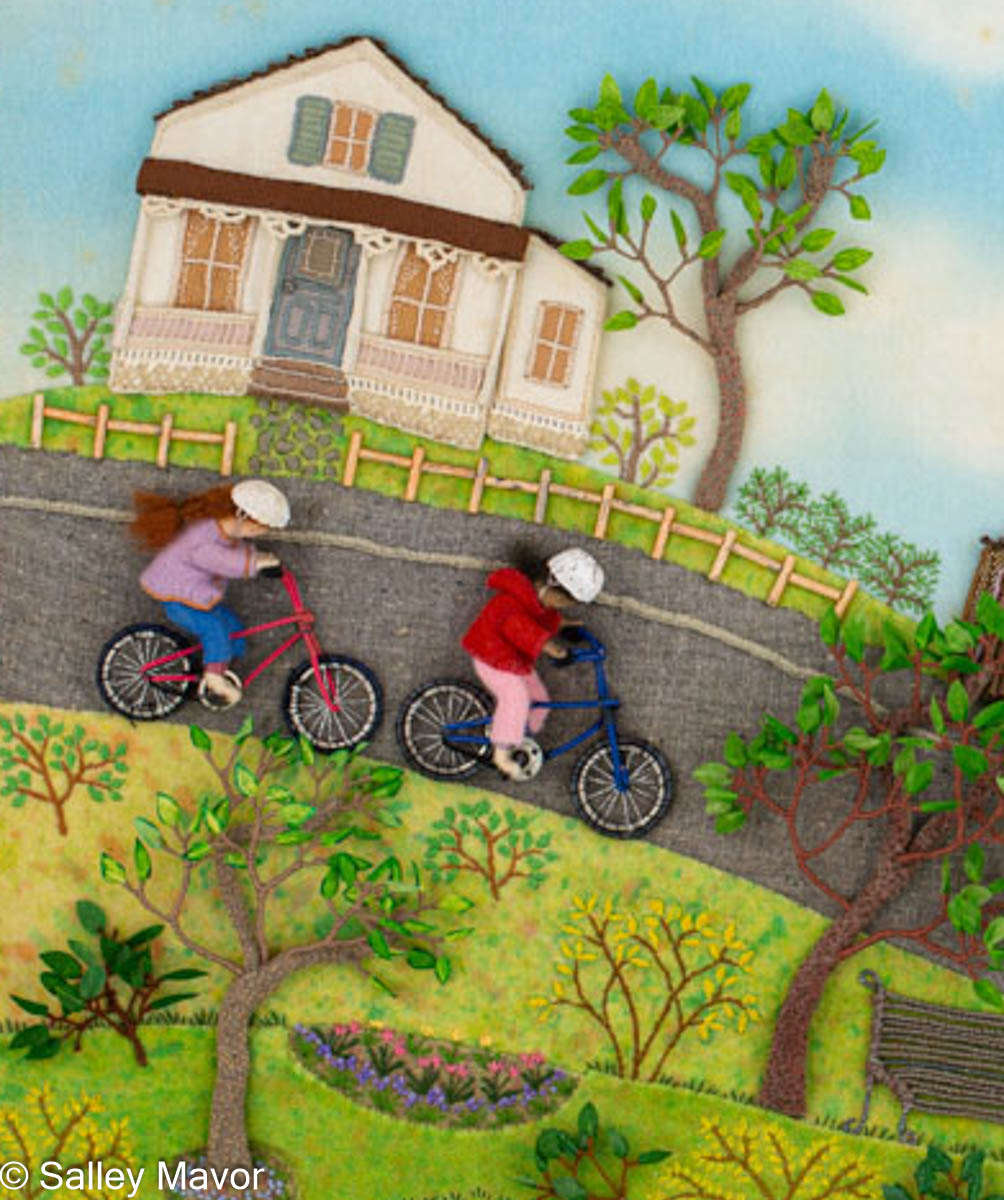
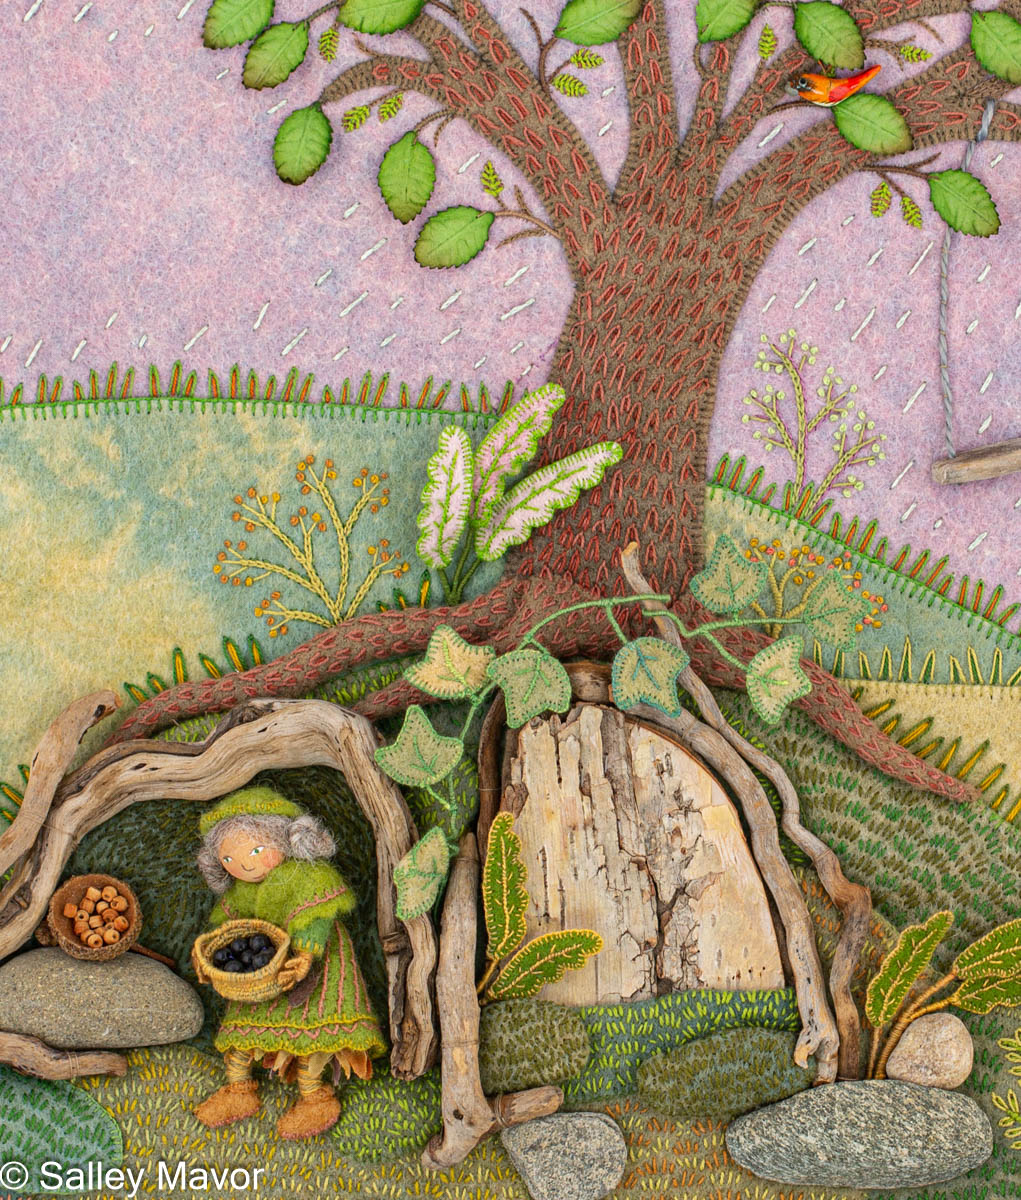
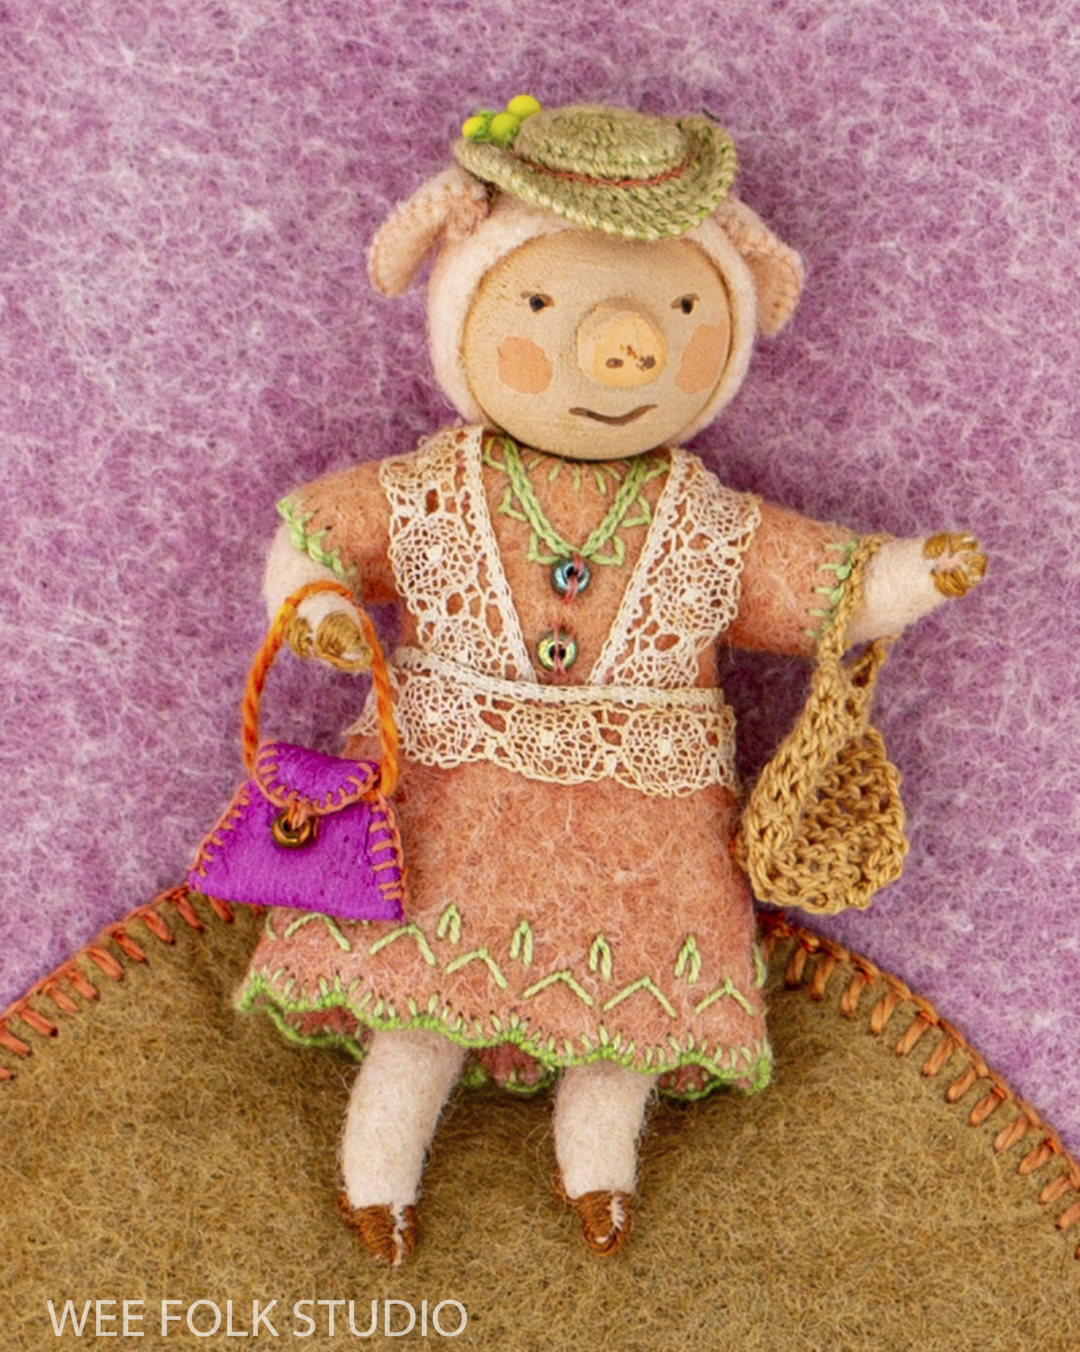
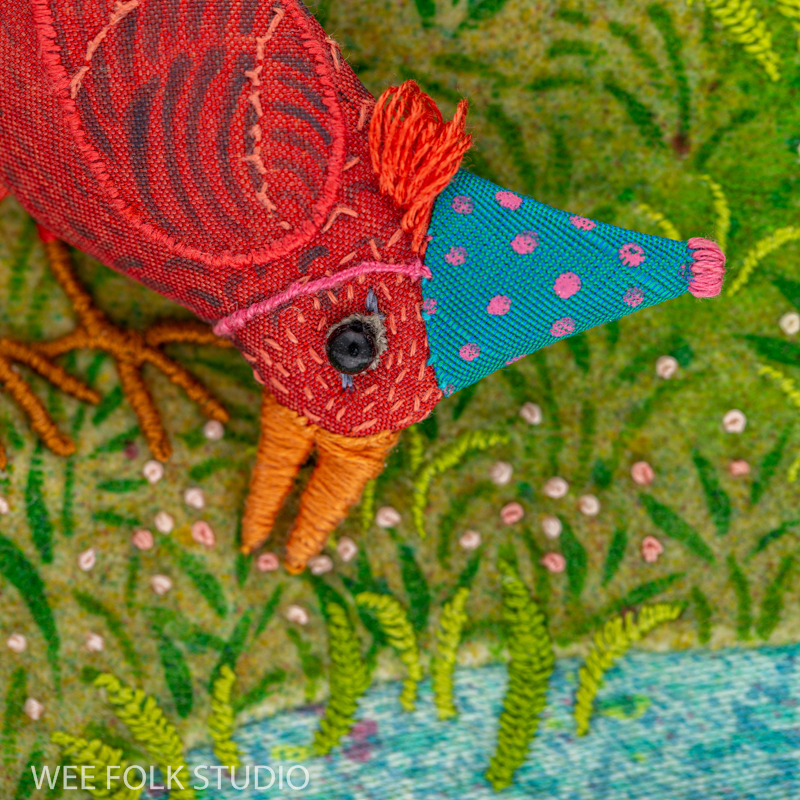
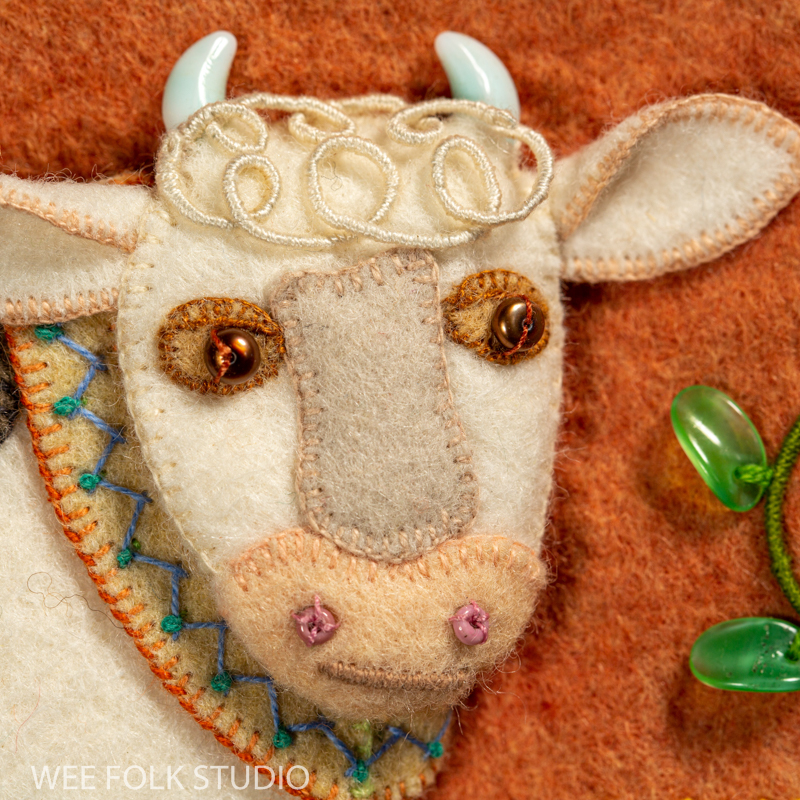
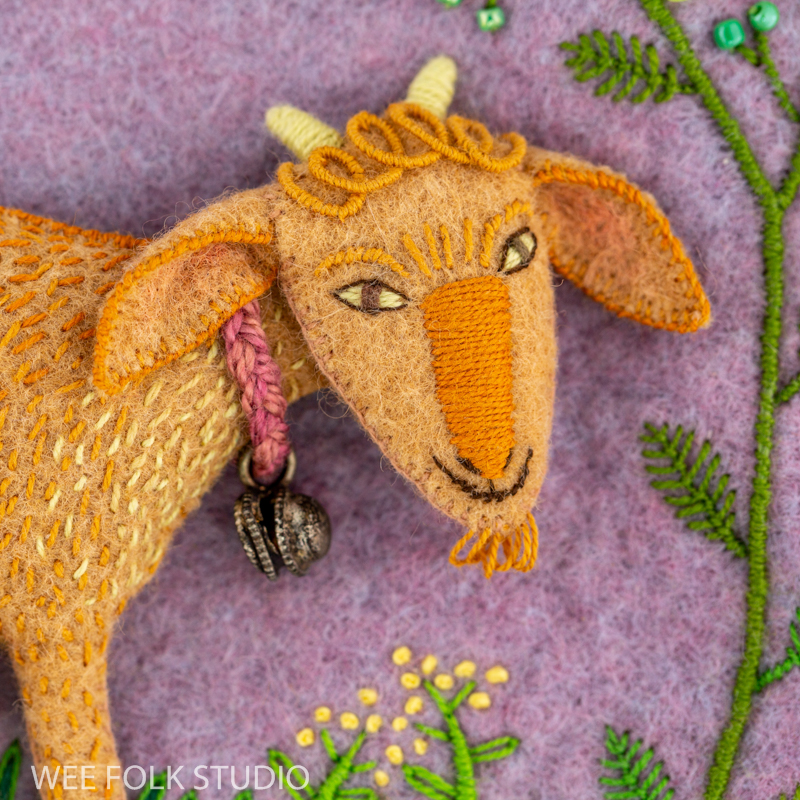
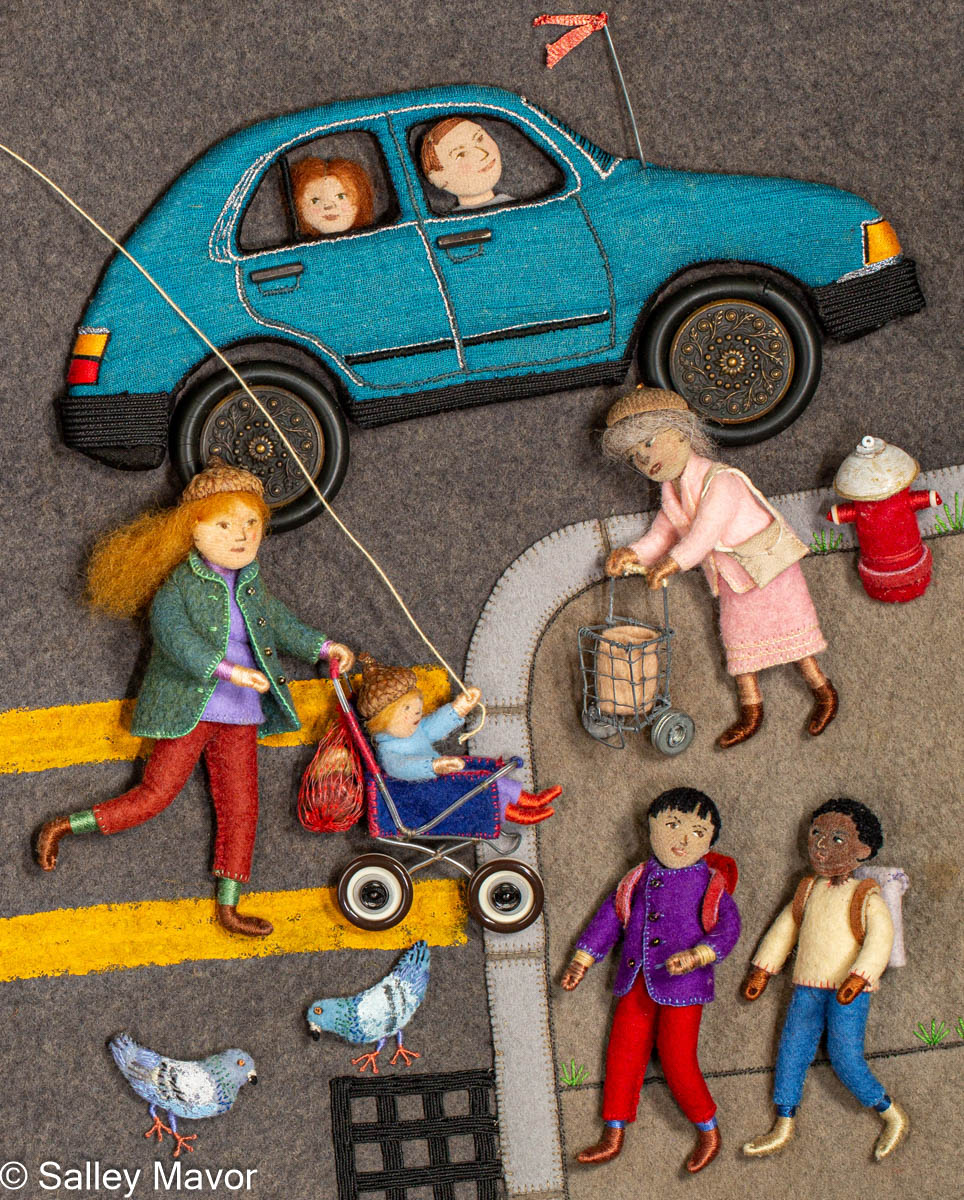
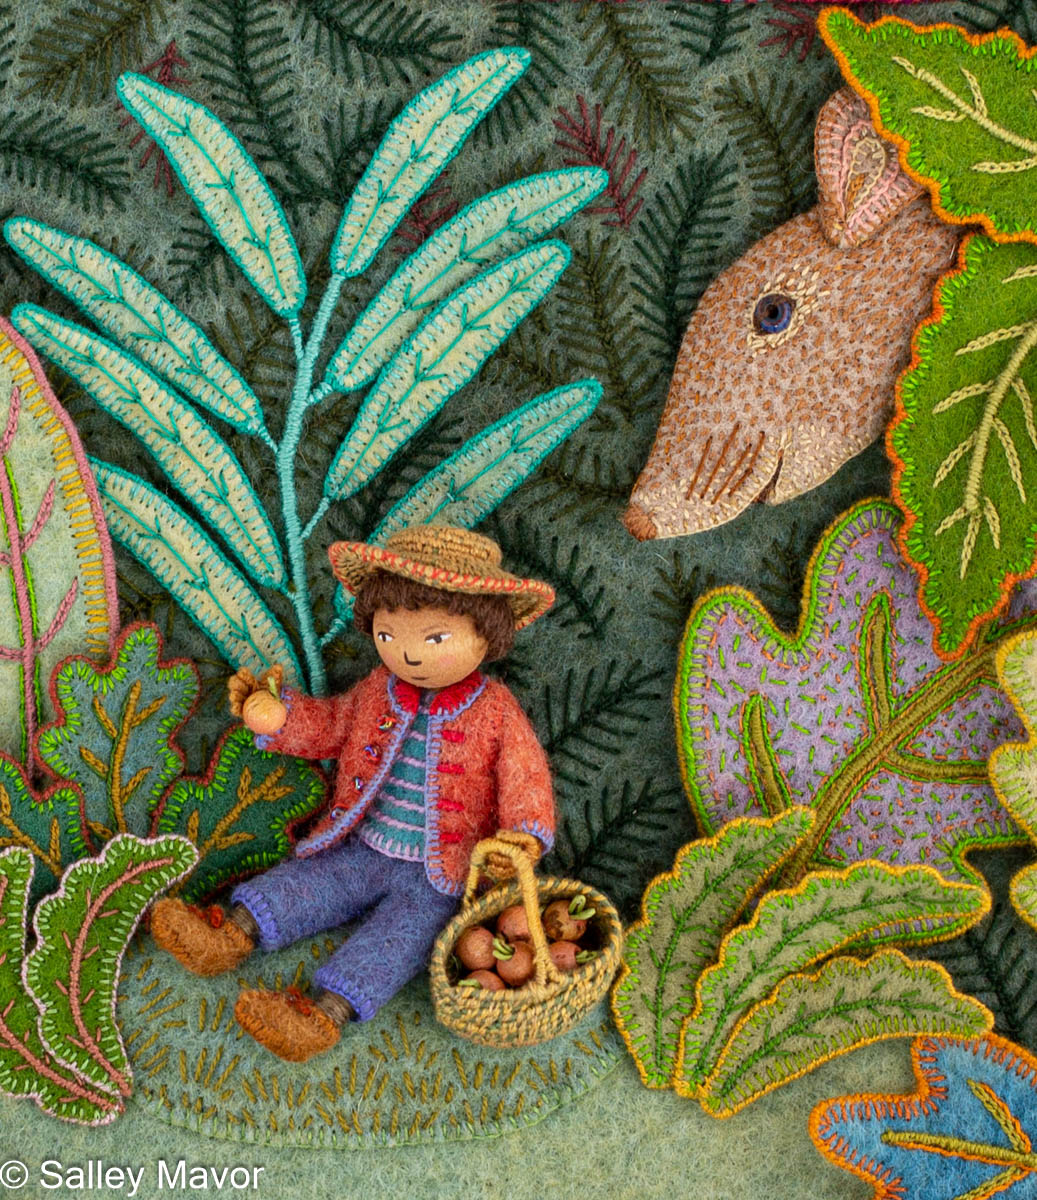
What intrigued me most about stumpwork was that it showed how embroidery could literally rise above the surface and add depth to otherwise flat, traditional textiles. By elevating certain components and creating a dramatic interplay of light and shadow, I realized that needlework could become far more engaging than mere decoration. It could be transformed into an immersive visual experience, complete with objects shaped like animals, human figures, and other familiar elements that invite the viewer to take a closer look.
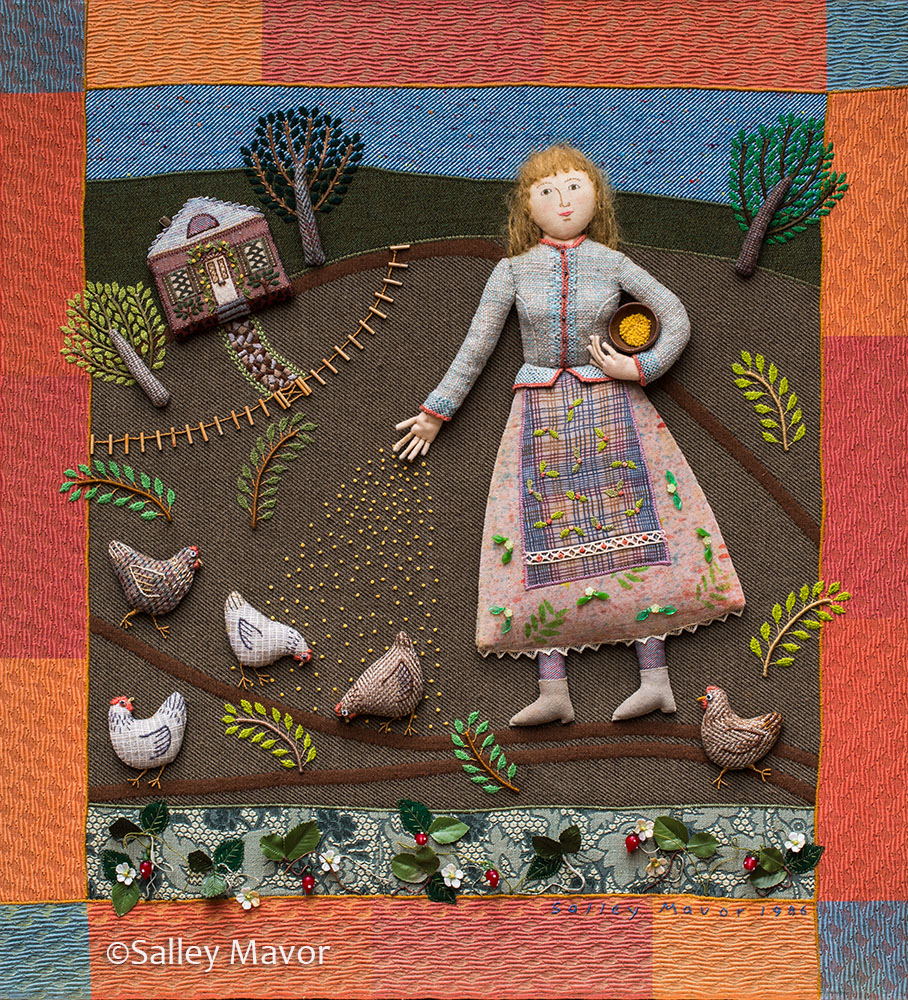
Fascinated by the three-dimensional aspect of stumpwork and its storytelling potential, I was eager to adapt the concept in a way that matched my own artistic style and abilities. Unlike other textile processes with pre-planned designs or grids—essentially functioning as color-by-number projects—stumpwork allowed ample wiggle room to make changes as I worked. This freedom to manipulate and rearrange parts midstream made this method especially appealing to me, as I typically began with a simple sketch and refined my work as I progressed.
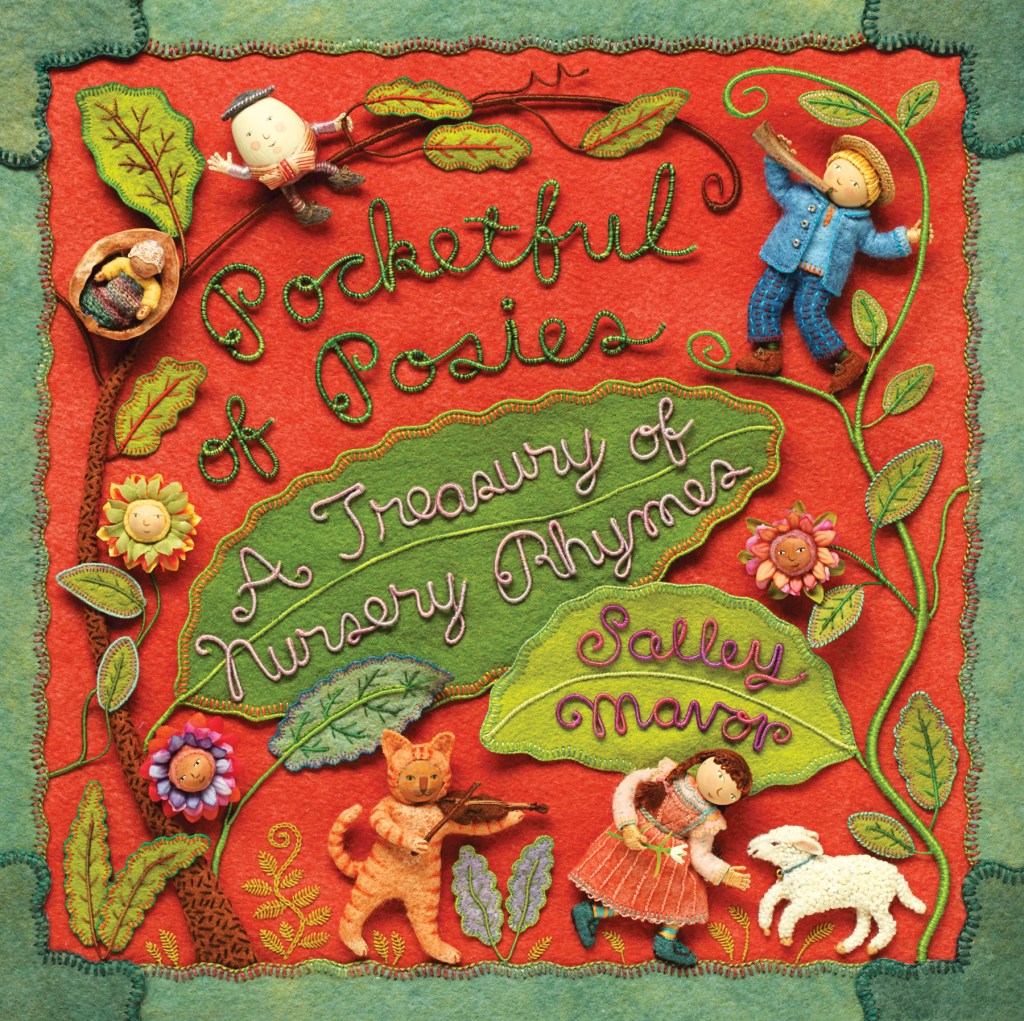
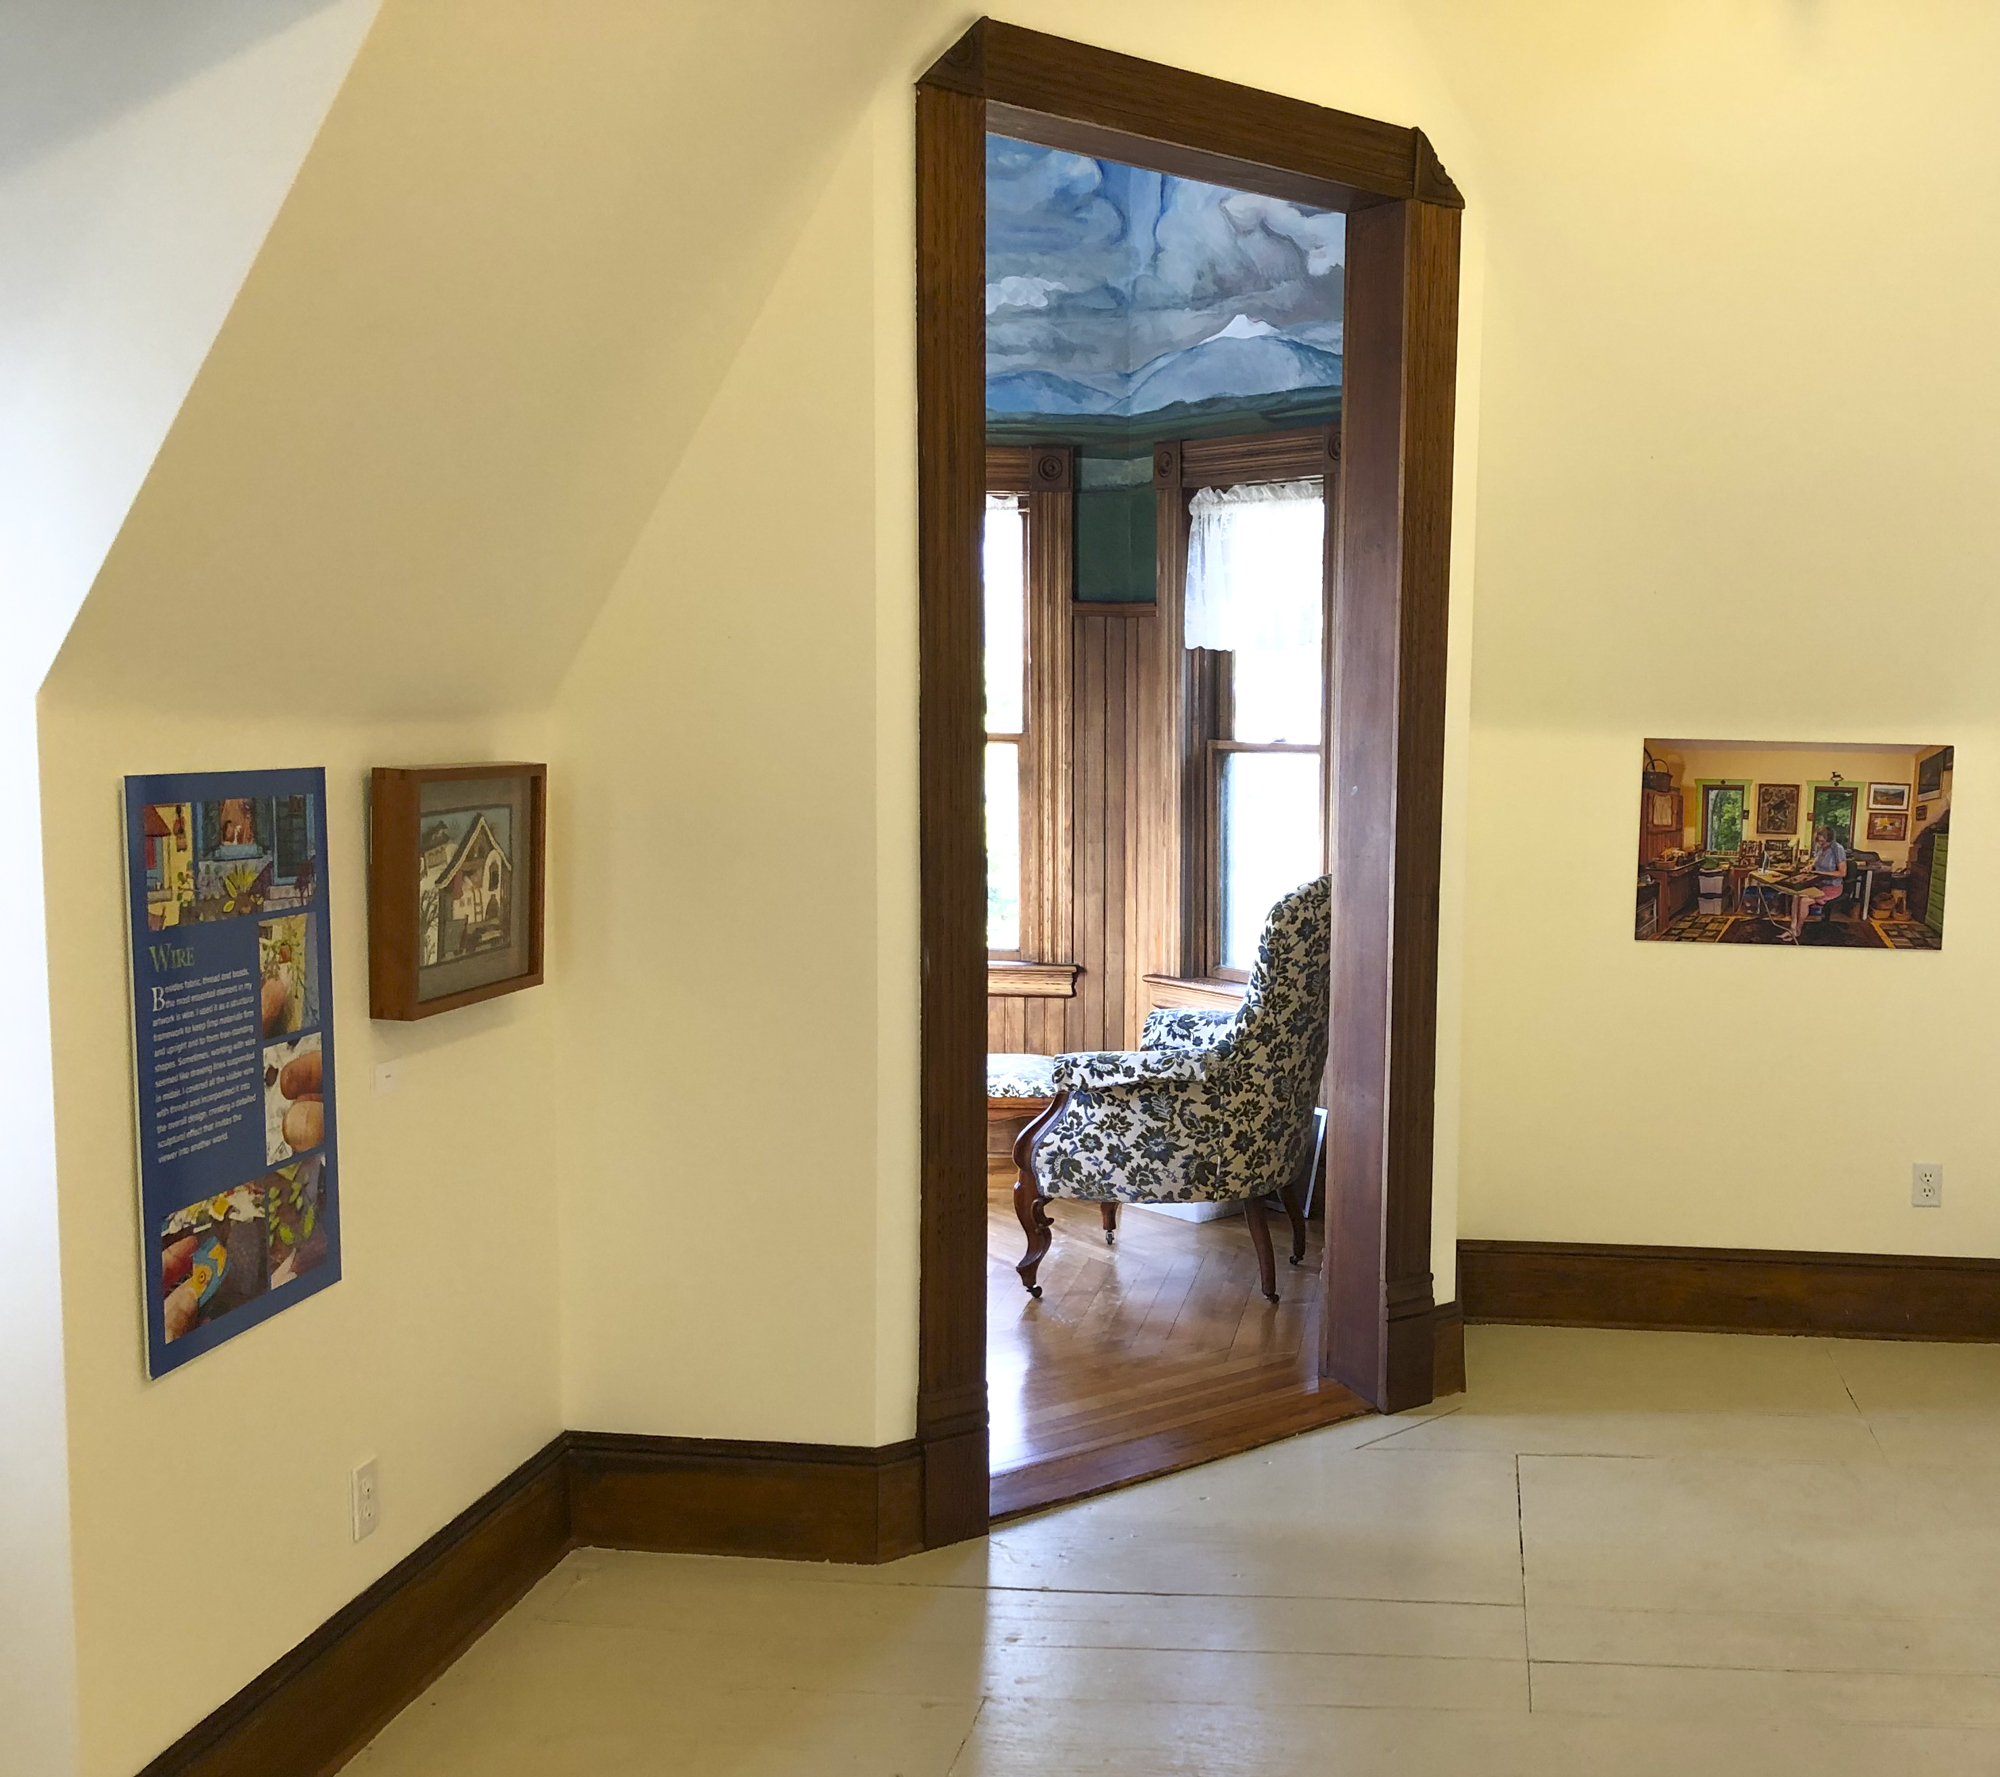
While my artwork was inspired by stumpwork, my techniques, materials, subject matter, and presentation were entirely different. Even if I could have found instructional materials for learning traditional techniques from the 17th century, I doubt I would have had the tolerance to follow the patterns and directions as prescribed. My creative process has always been more self-guided, involving a lot of experimentation until I discover something that works. When asked what my medium was called, I hesitated to use the term “stumpwork”, concerned that it sounded too homely. I soon labeled my new work ”fabric relief”, a name that I thought more accurately described my art.
In the fifty years since I first encountered stumpwork, this distinctive form of embroidery has undergone an extraordinary revival. Its renewed popularity has led to numerous books, instructional classes, and online tutorials. For those eager to explore the many facets of stumpwork, I highly recommend Mary Corbet’s Needle ‘n Thread, which offers book reviews and information on various techniques.

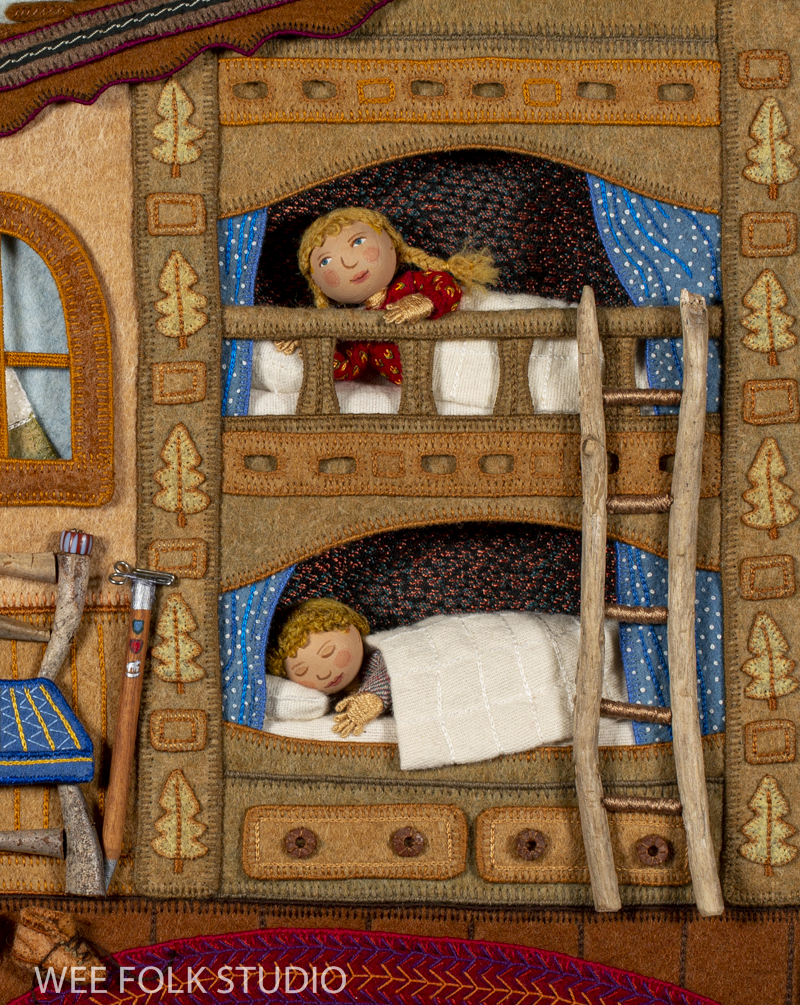
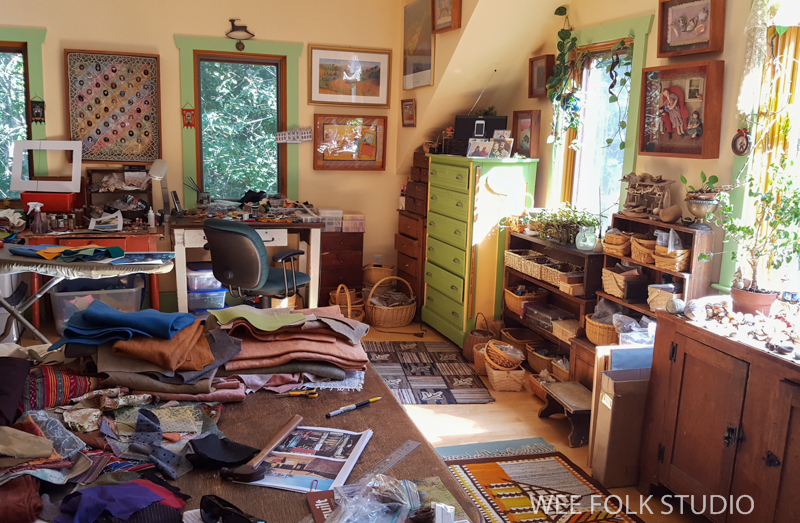
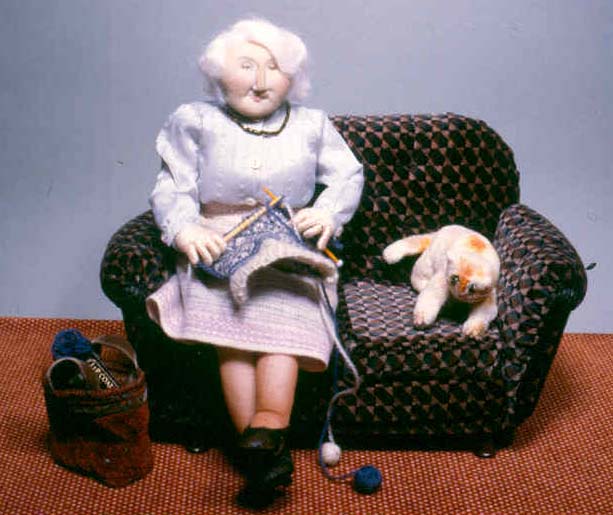
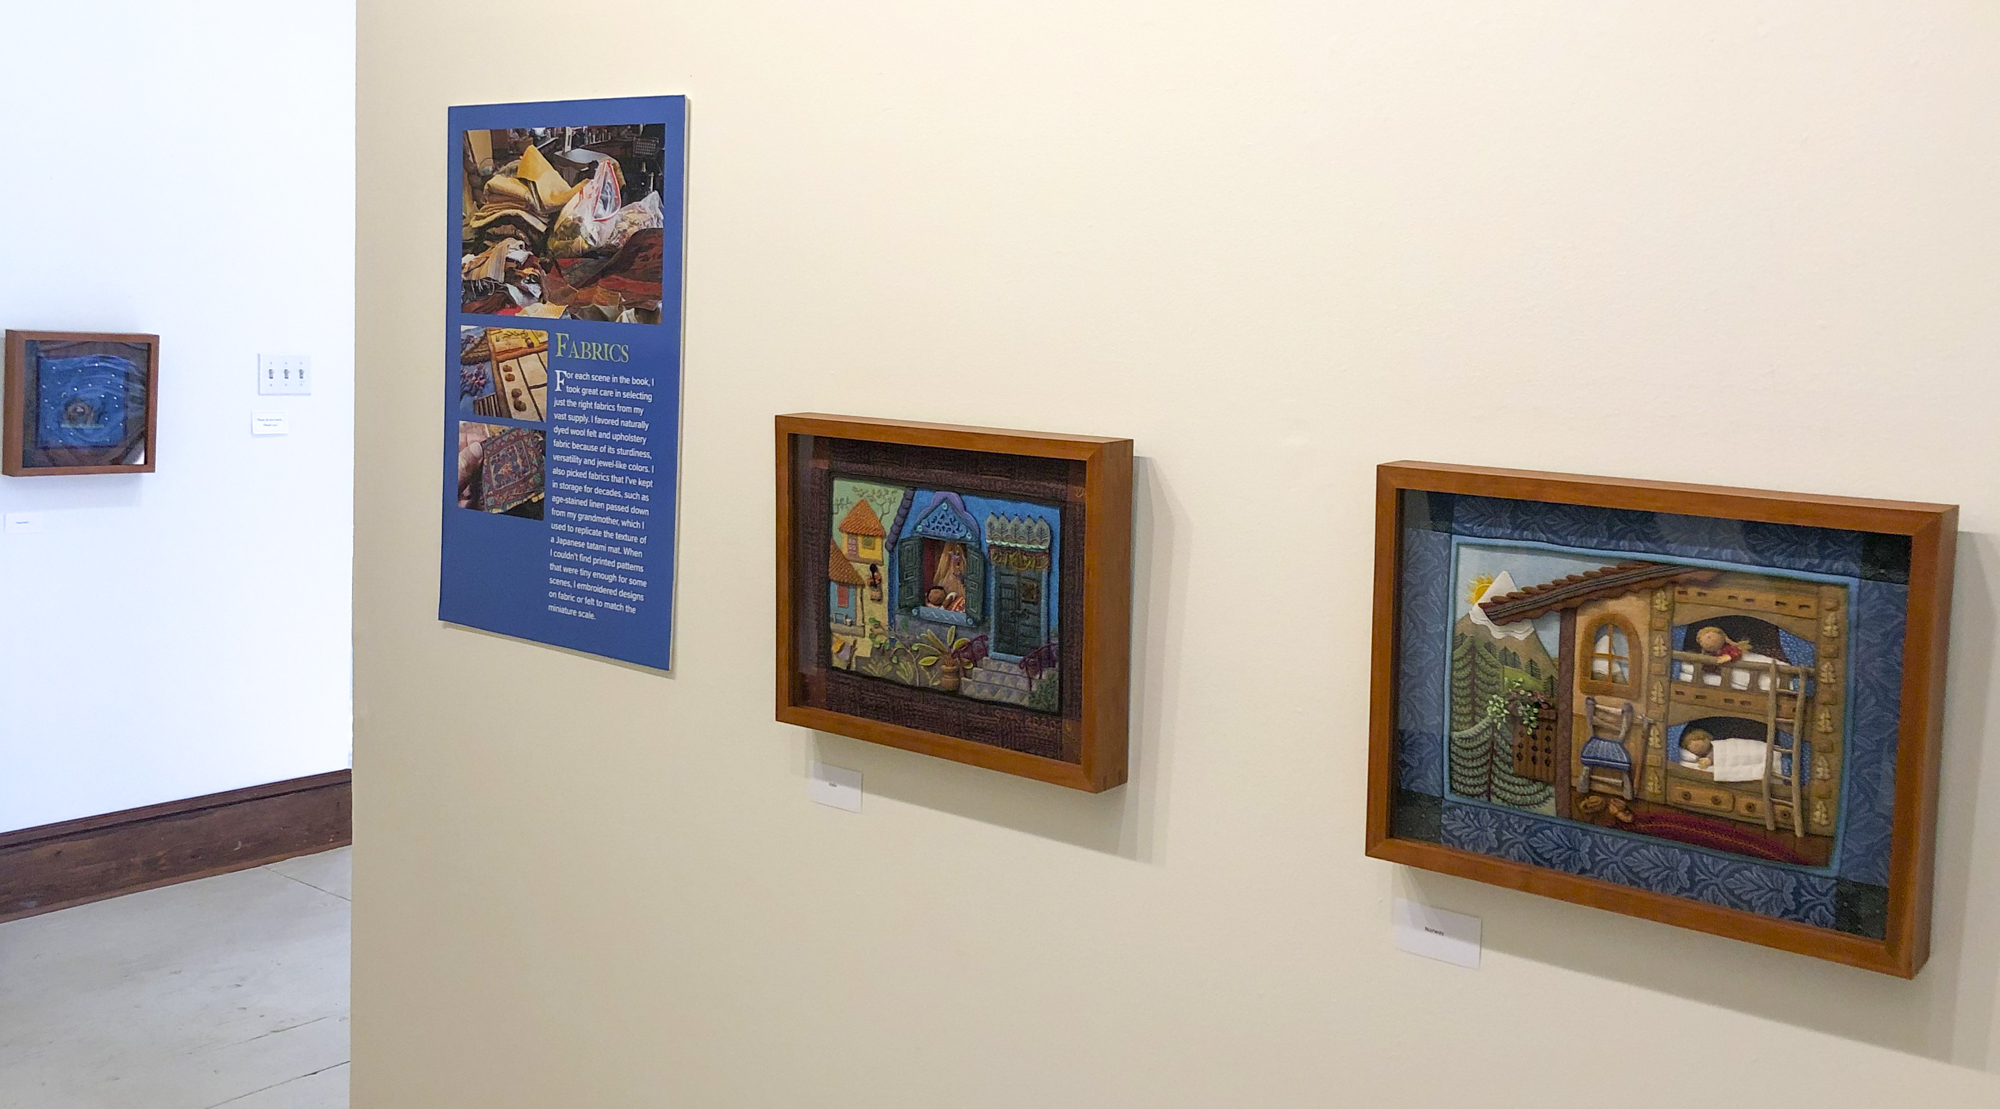
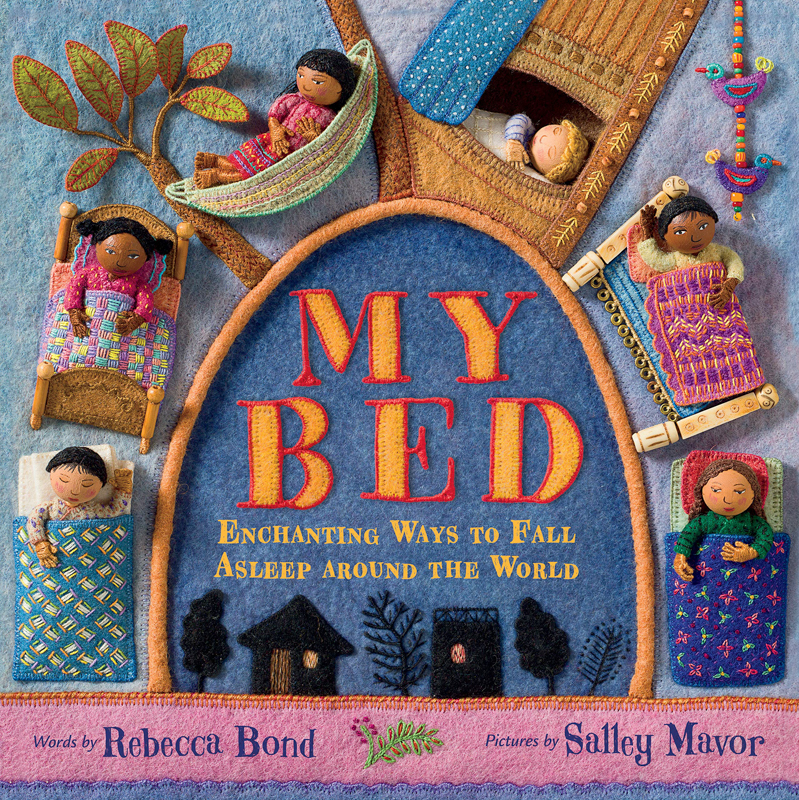
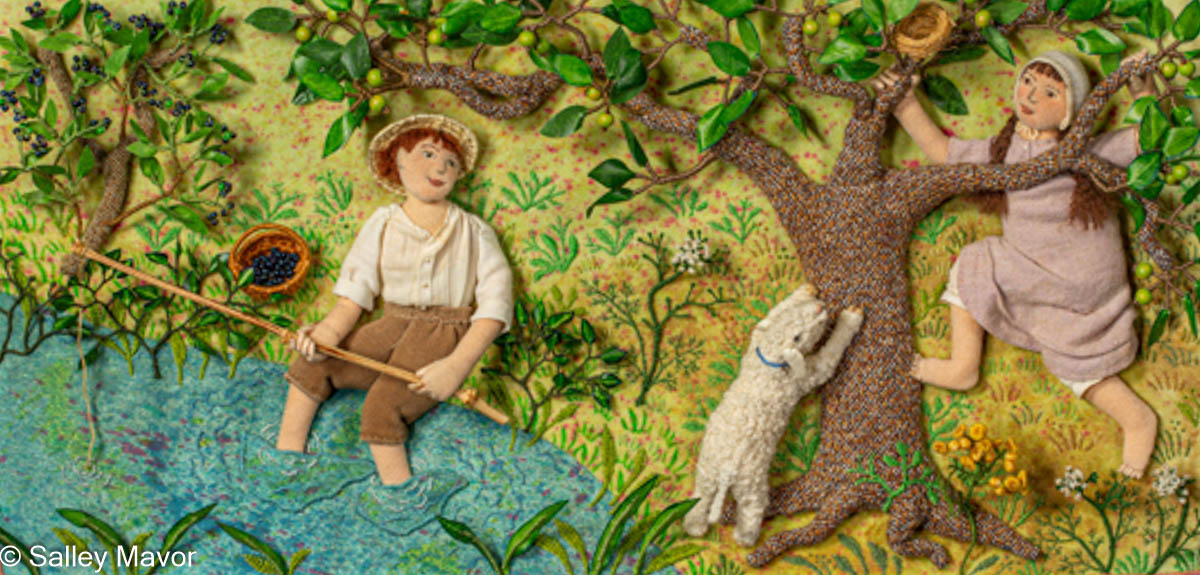
At this early stage of my artistic evolution, I was primarily concerned with finding ways to bring my imagination to life, oblivious to what might be required to take it to the next step professionally. I wasn’t thinking about the realities of photographing and reproducing three-dimensional illustrations. It was only years later, as I began to seriously contemplate illustrating picture books, that I recognized the practical advantages of working in bas-relief rather than sculpture in the round. From both a lighting and focusing perspective, positioning all characters, props, and scenery on a single plane with a shallow depth of field simplifies the composition and makes it much easier to photograph. To see a list of my books, please visit this page.
The summer after graduating from RISD in 1978, I went on a pilgrimage to London to see the Victoria and Albert Museum’s collection of stumpwork in person. Considering the impact that this historical artform has had on the course of my career, I will forever be grateful to the English women and girls of the 1600s who created these unique and charming pieces. Because these works were treasured and safeguarded for more than three hundred years, we are able to be inspired by their beauty and ingenuity today.

To keep up with new posts, please subscribe to this blog. Your contact info will not be sold or shared. If you’d like to see more frequent photos tracking the projects in my studio, please follow me on Facebook, Instagram and BlueSky.