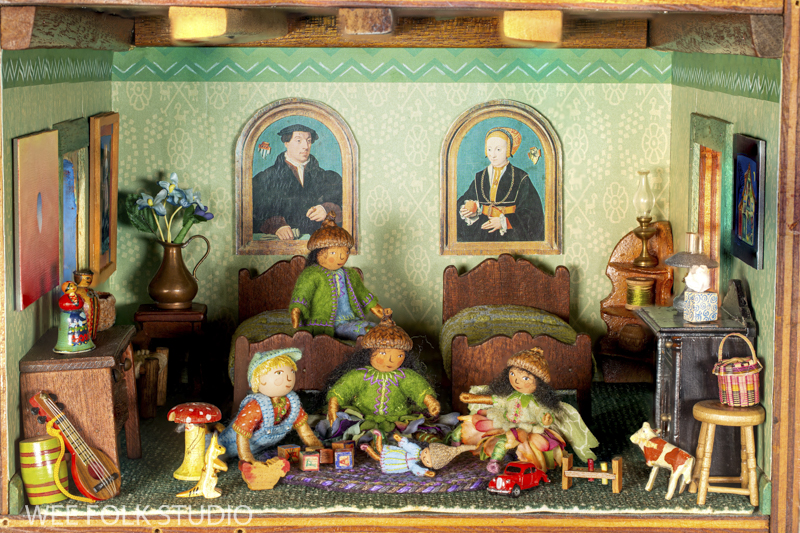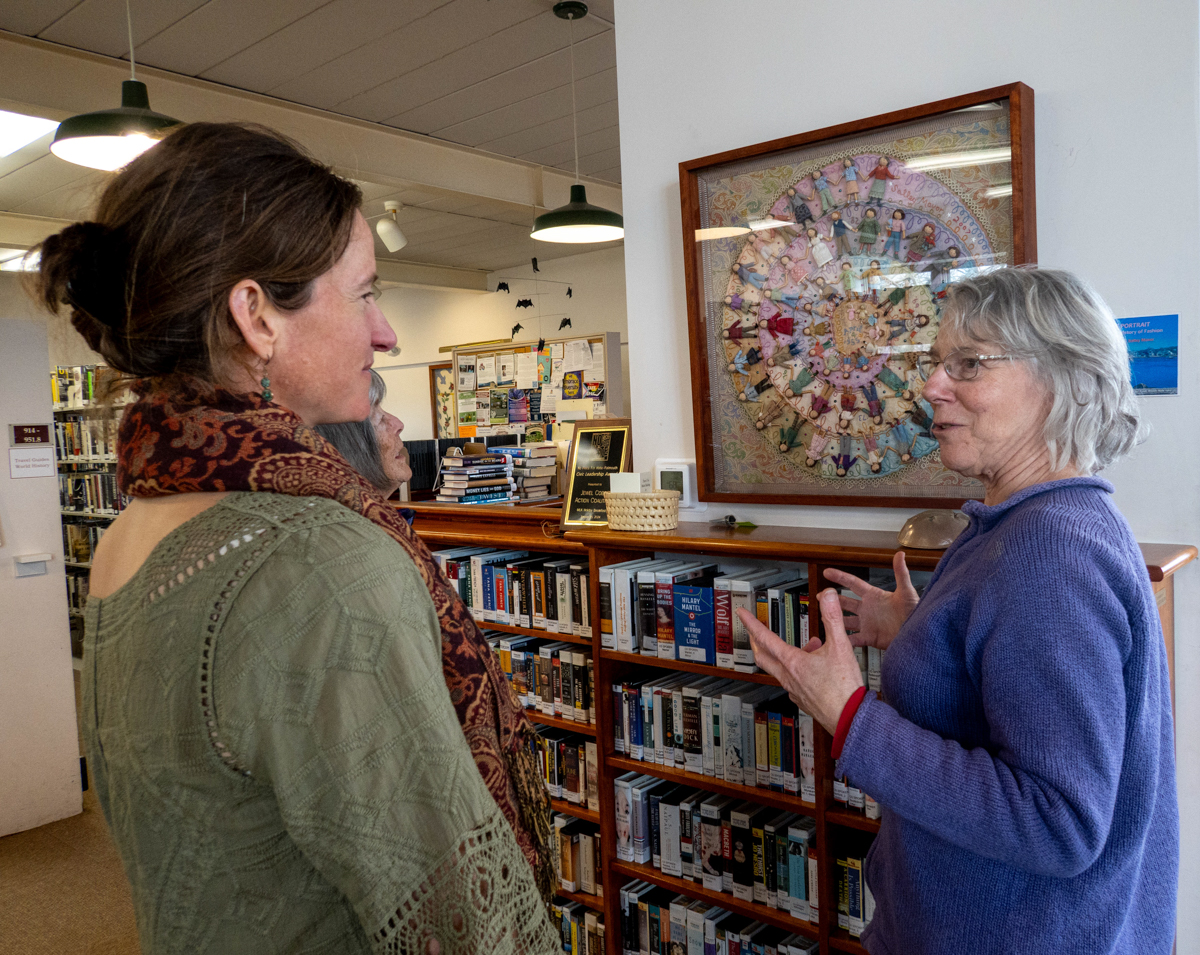
My Self Portrait: A Personal History of Fashion is back on public display at the Woods Hole Library. The library has been its semi-permanent home (except when it is exhibited elsewhere) since I made the piece in 2007. So, why loan it to the Woods Hole Library? Because this particular stone building has been a constant source of comfort and stability during my whole life. It’s a central part our community that reflects the unique charm and character of our village.15 years ago, I made a quilt square of the library for the Woods Hole Village Quilt, which is also on view.

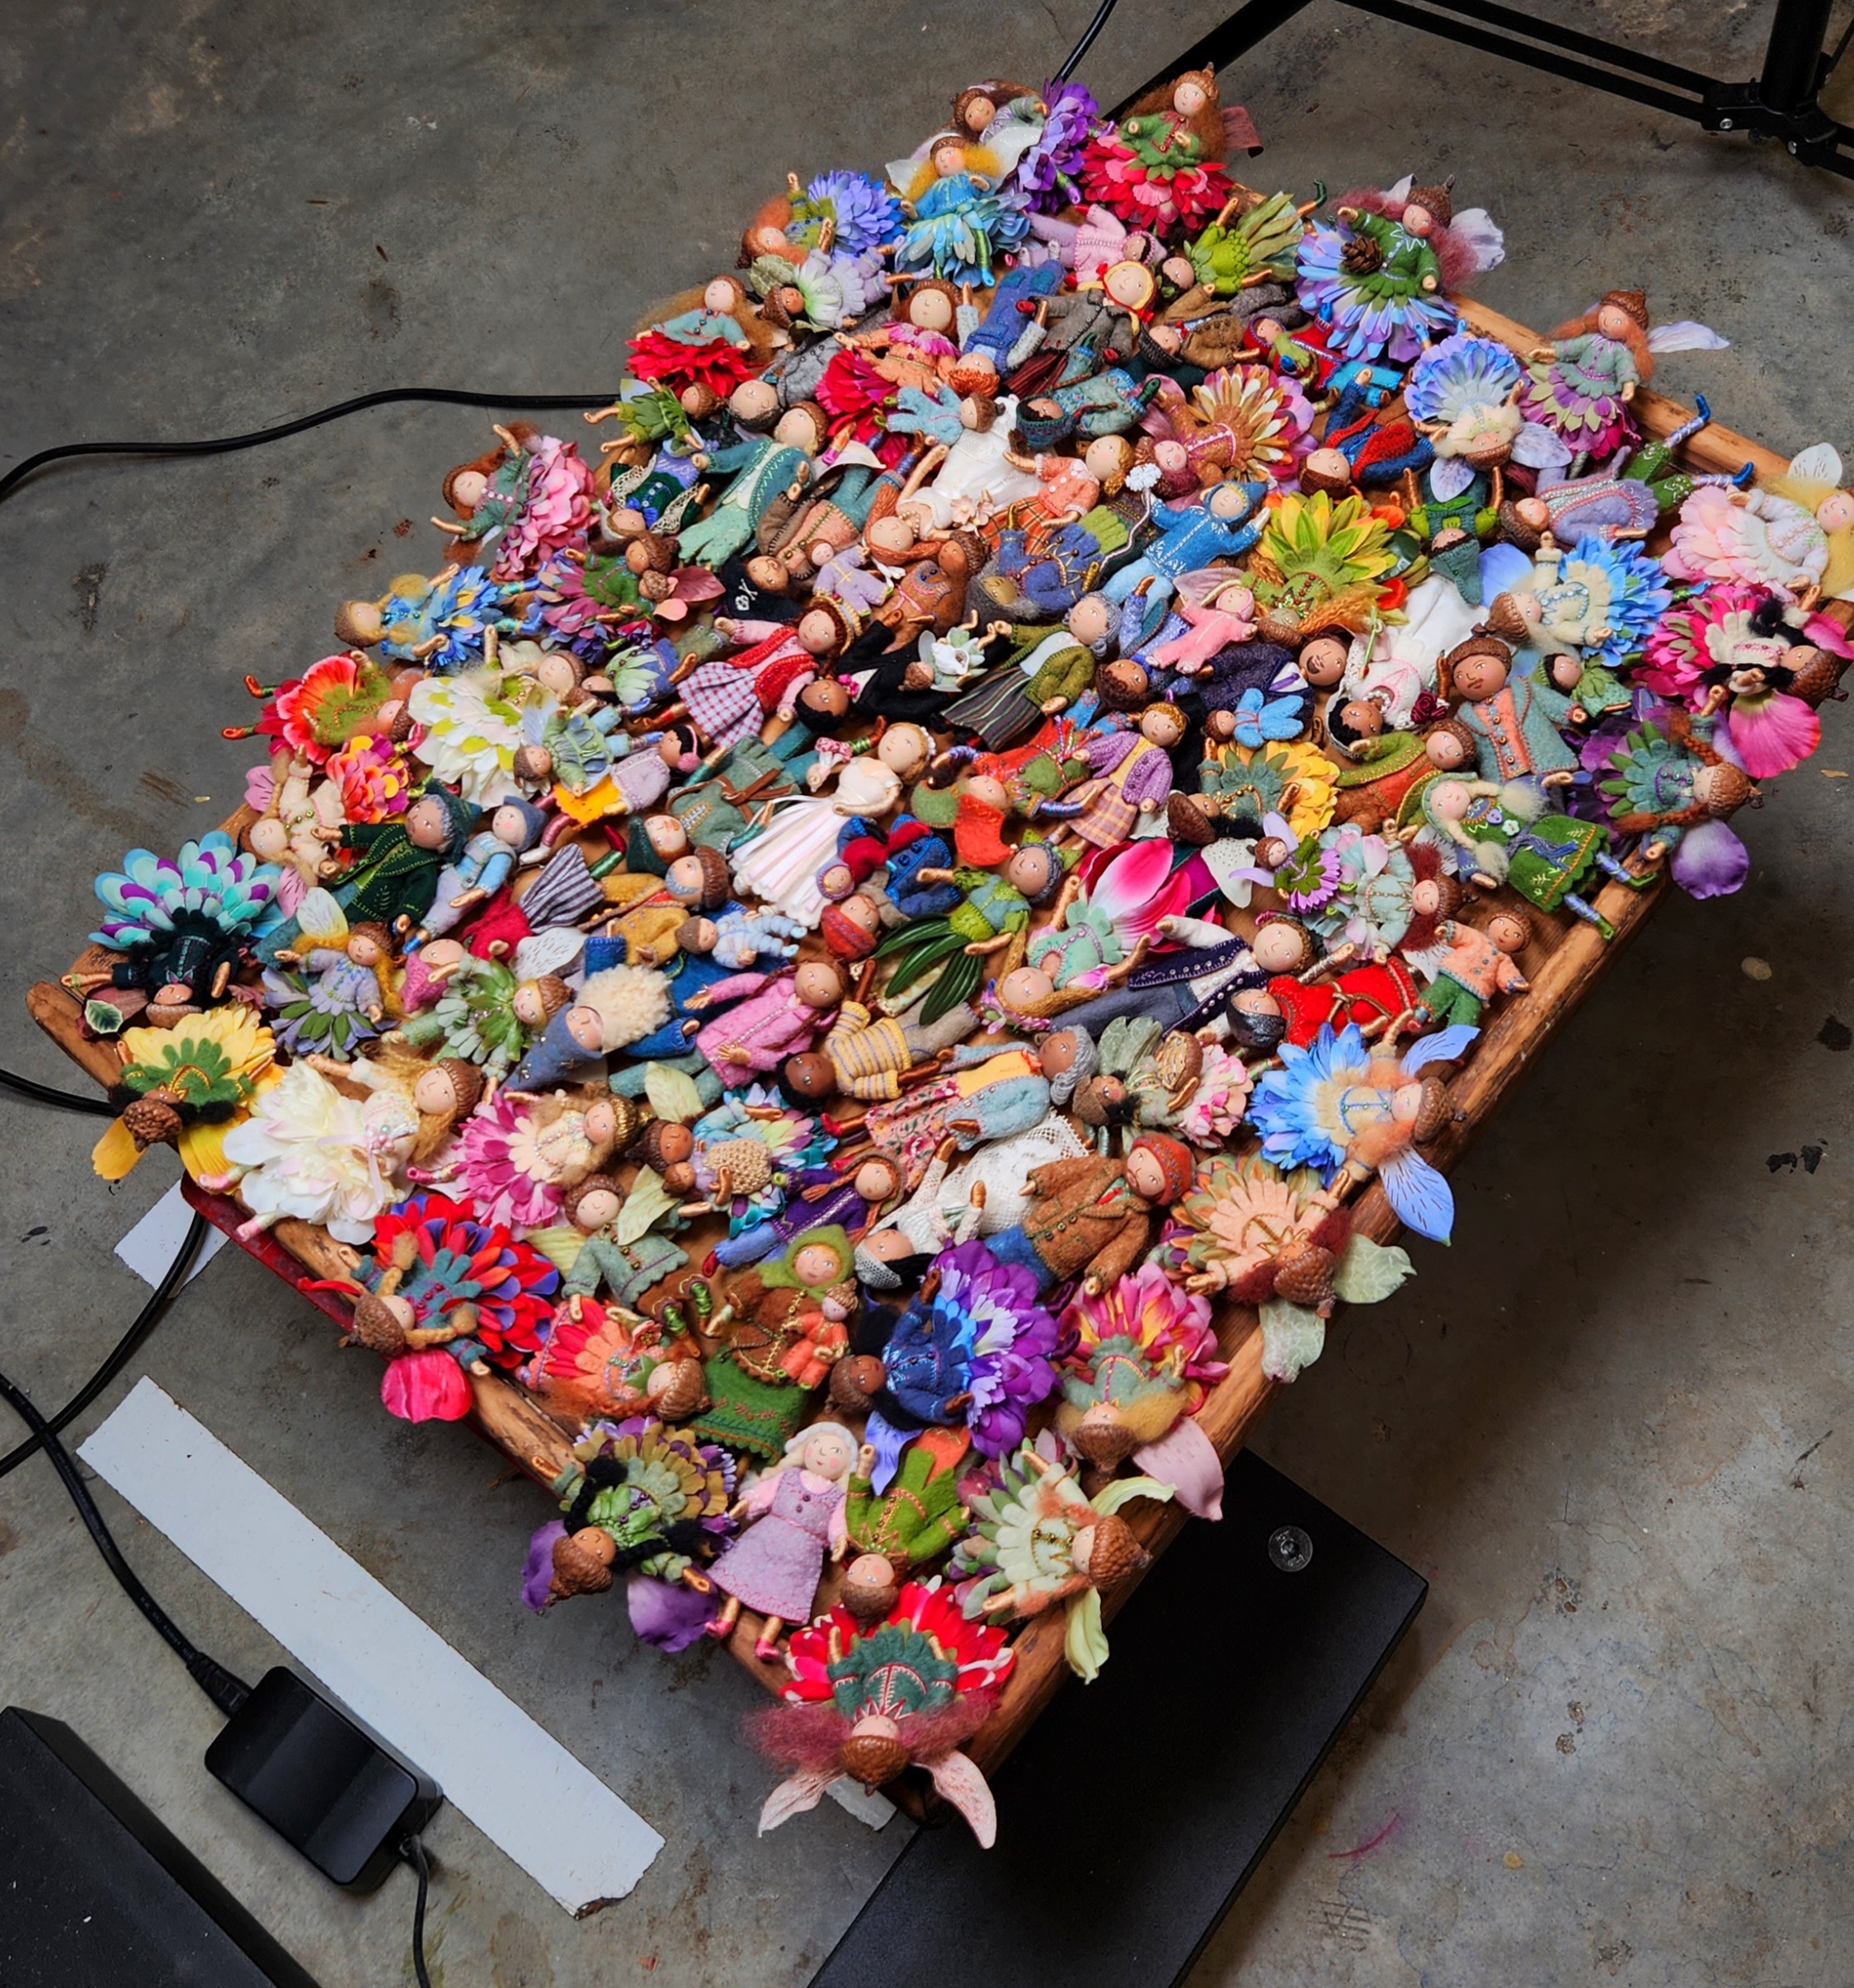
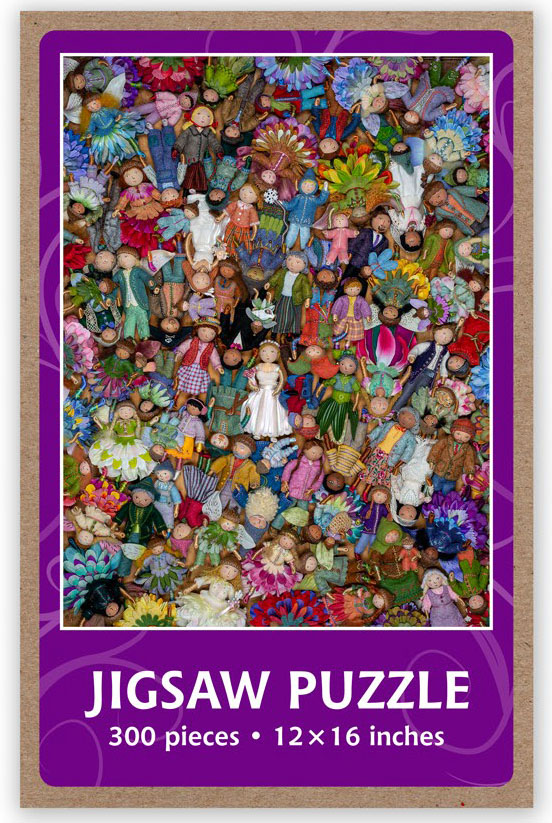
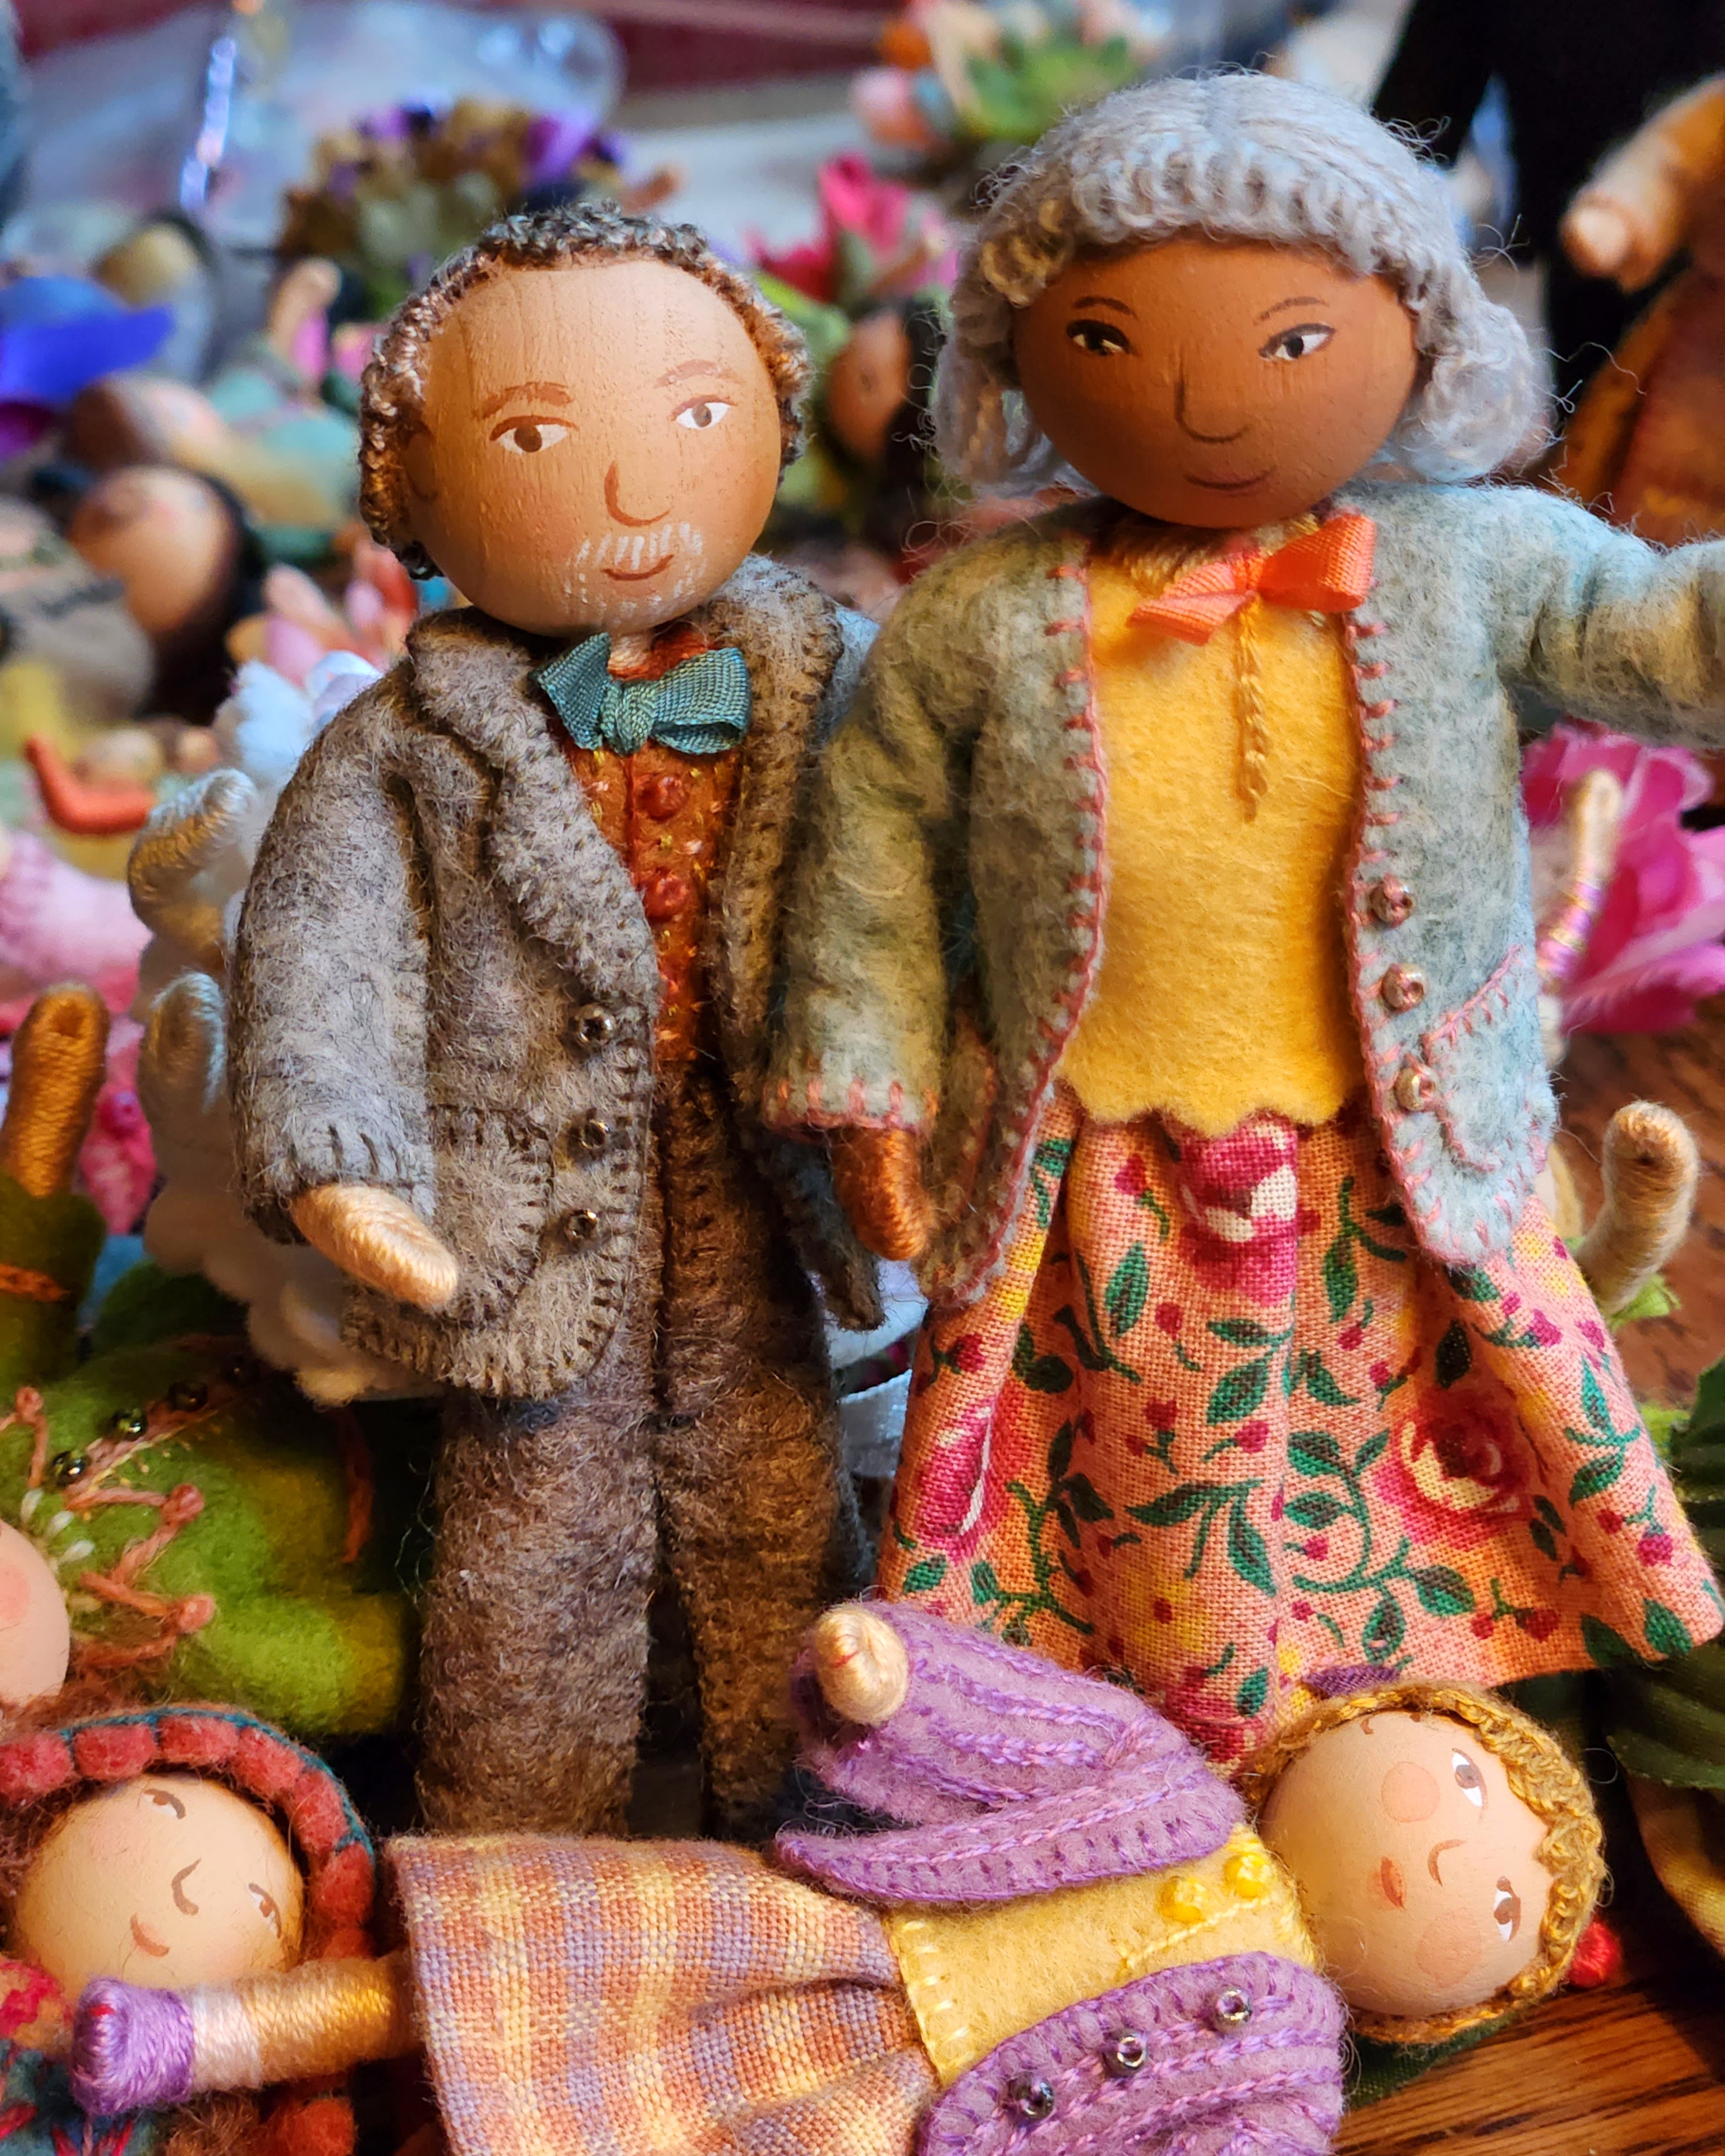
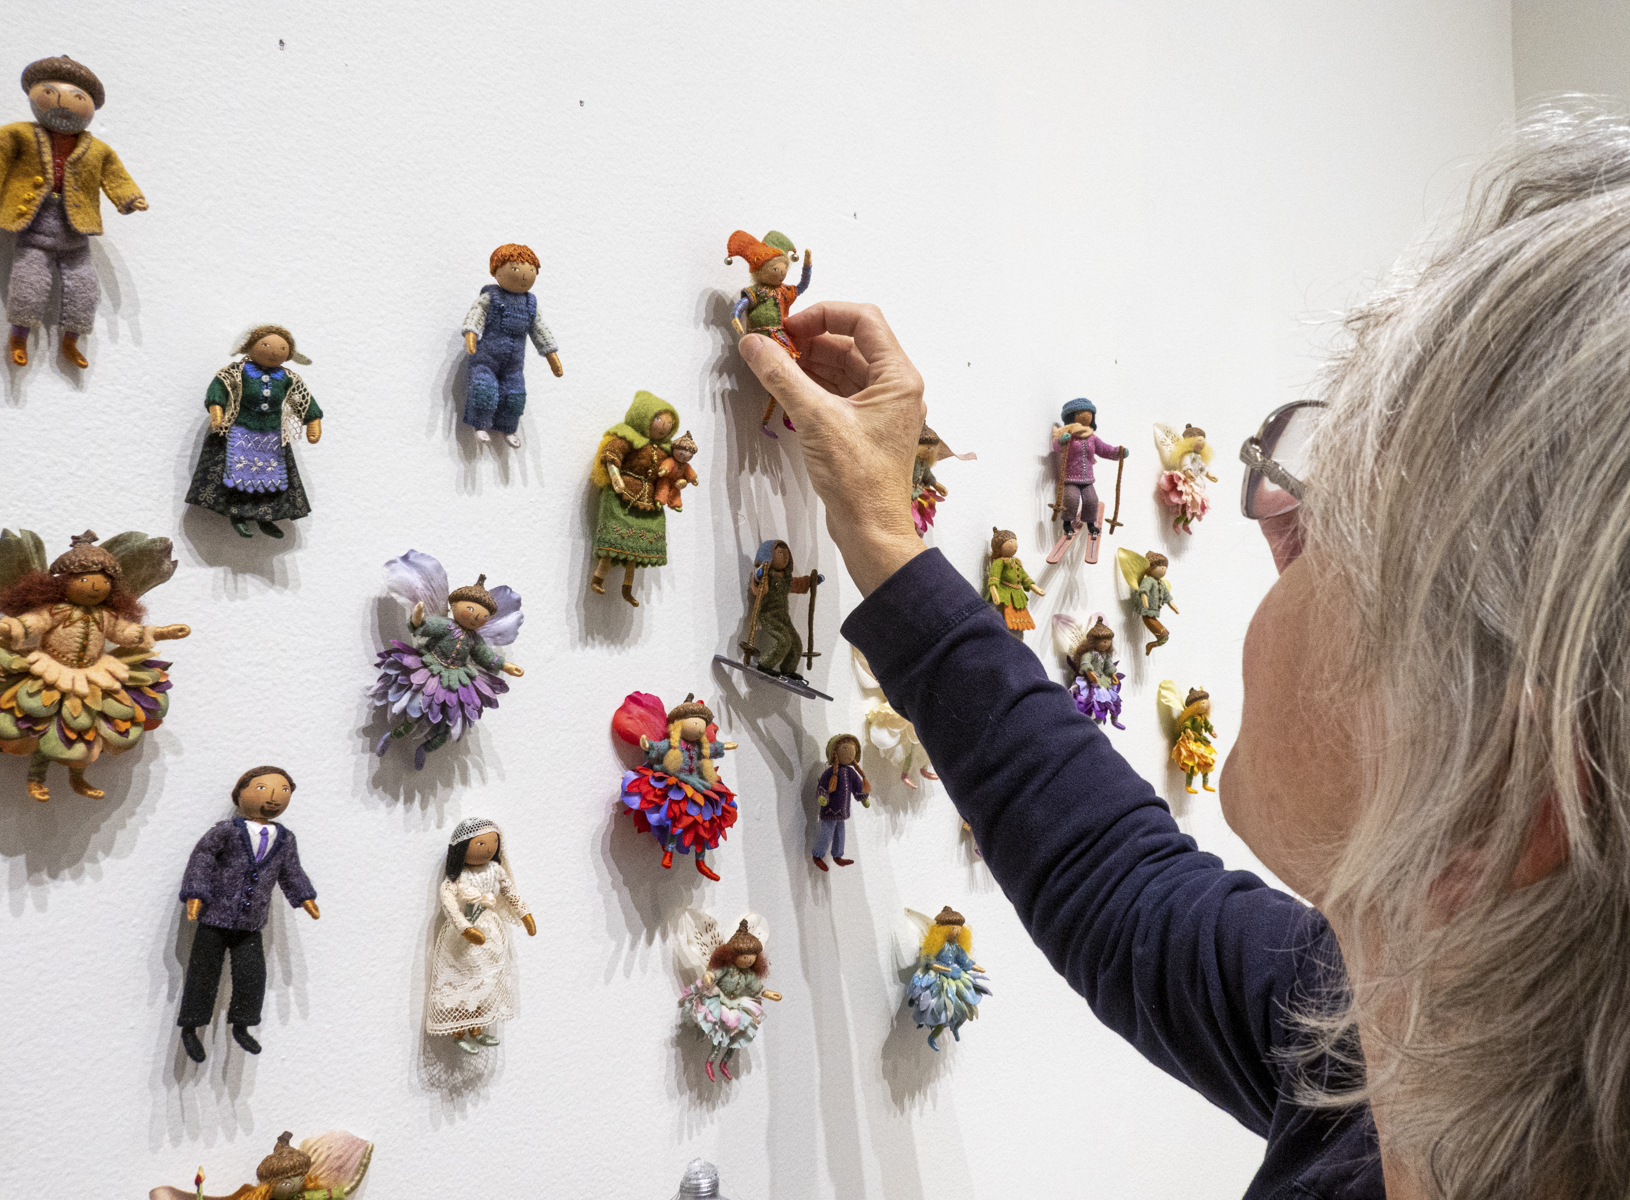
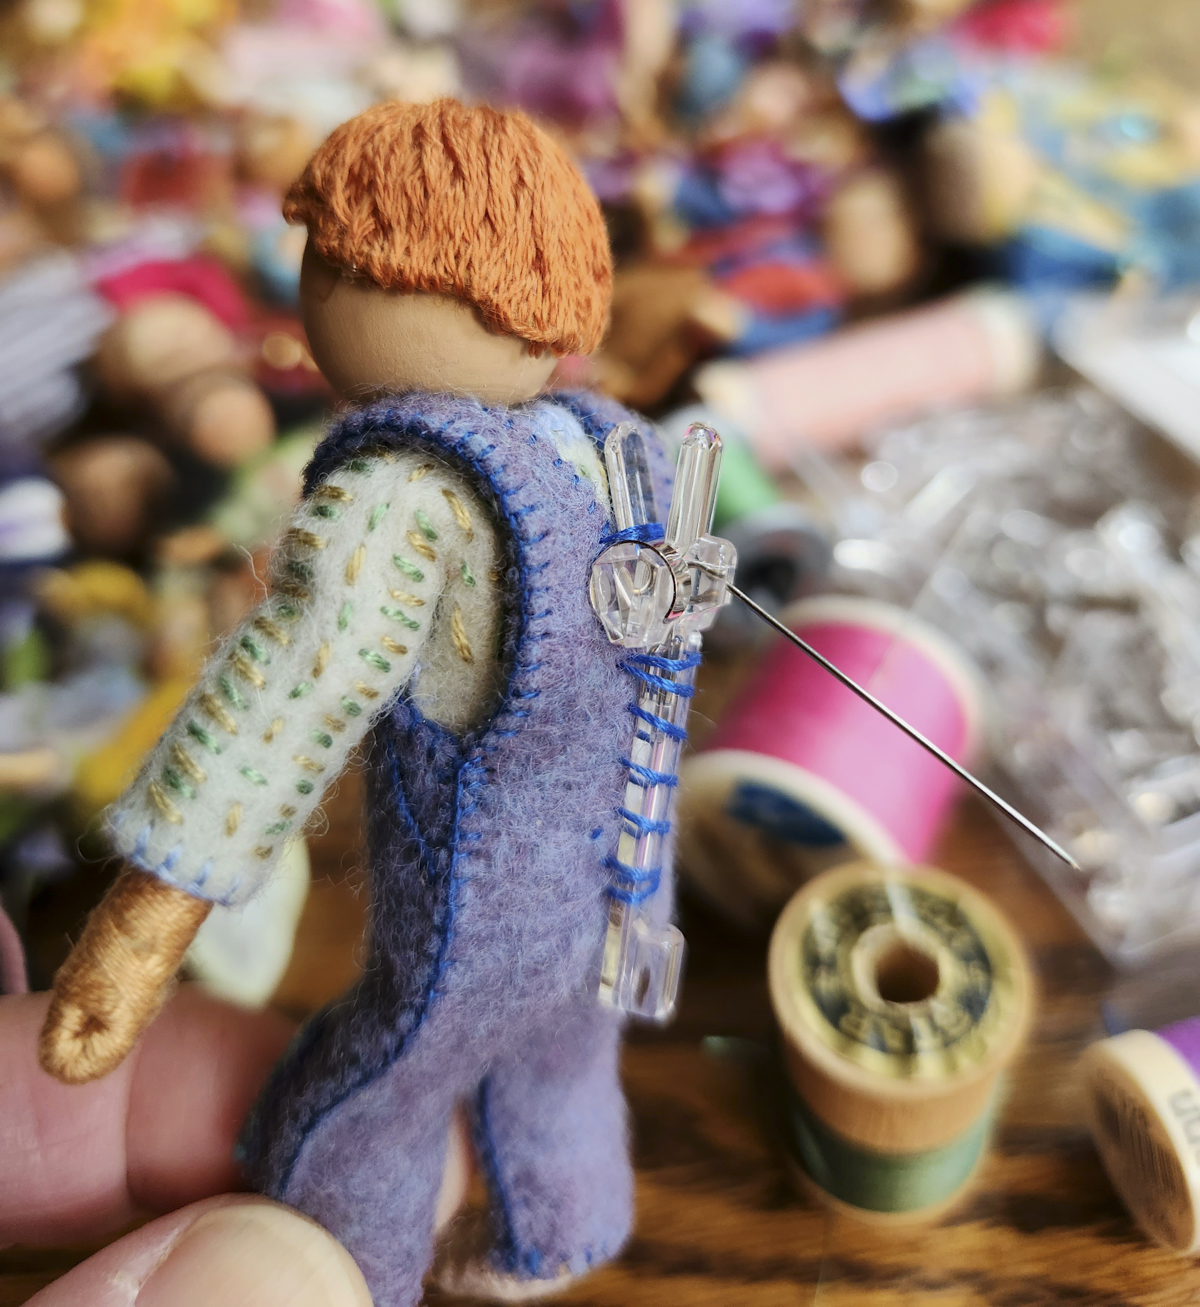
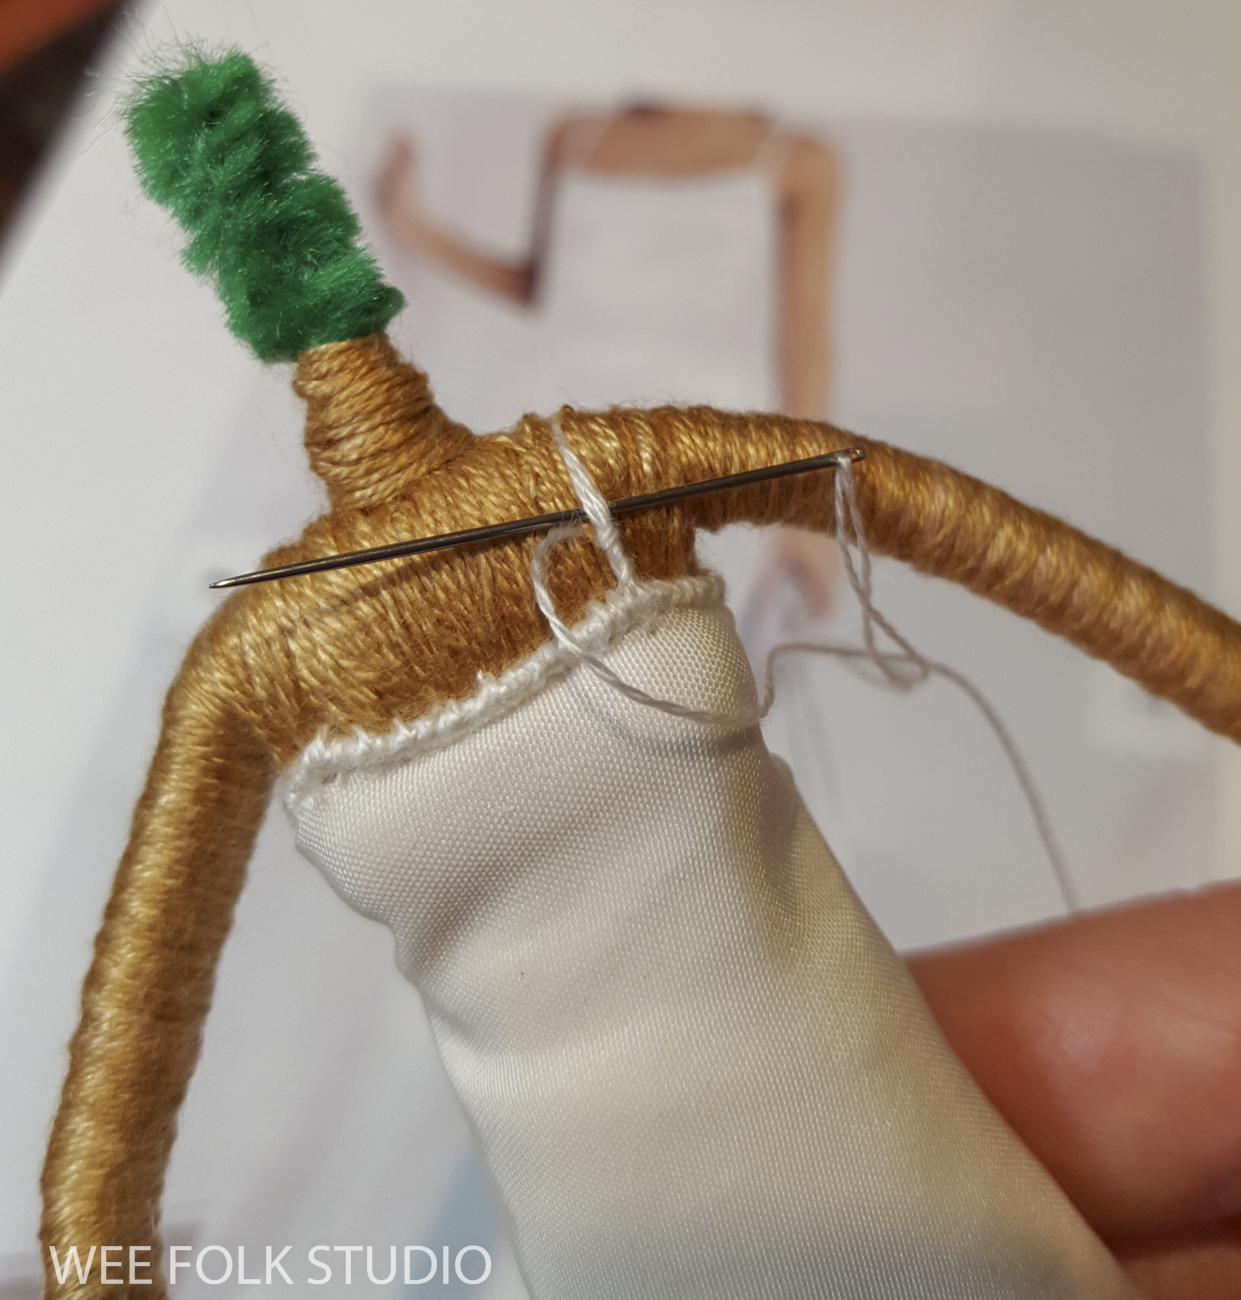
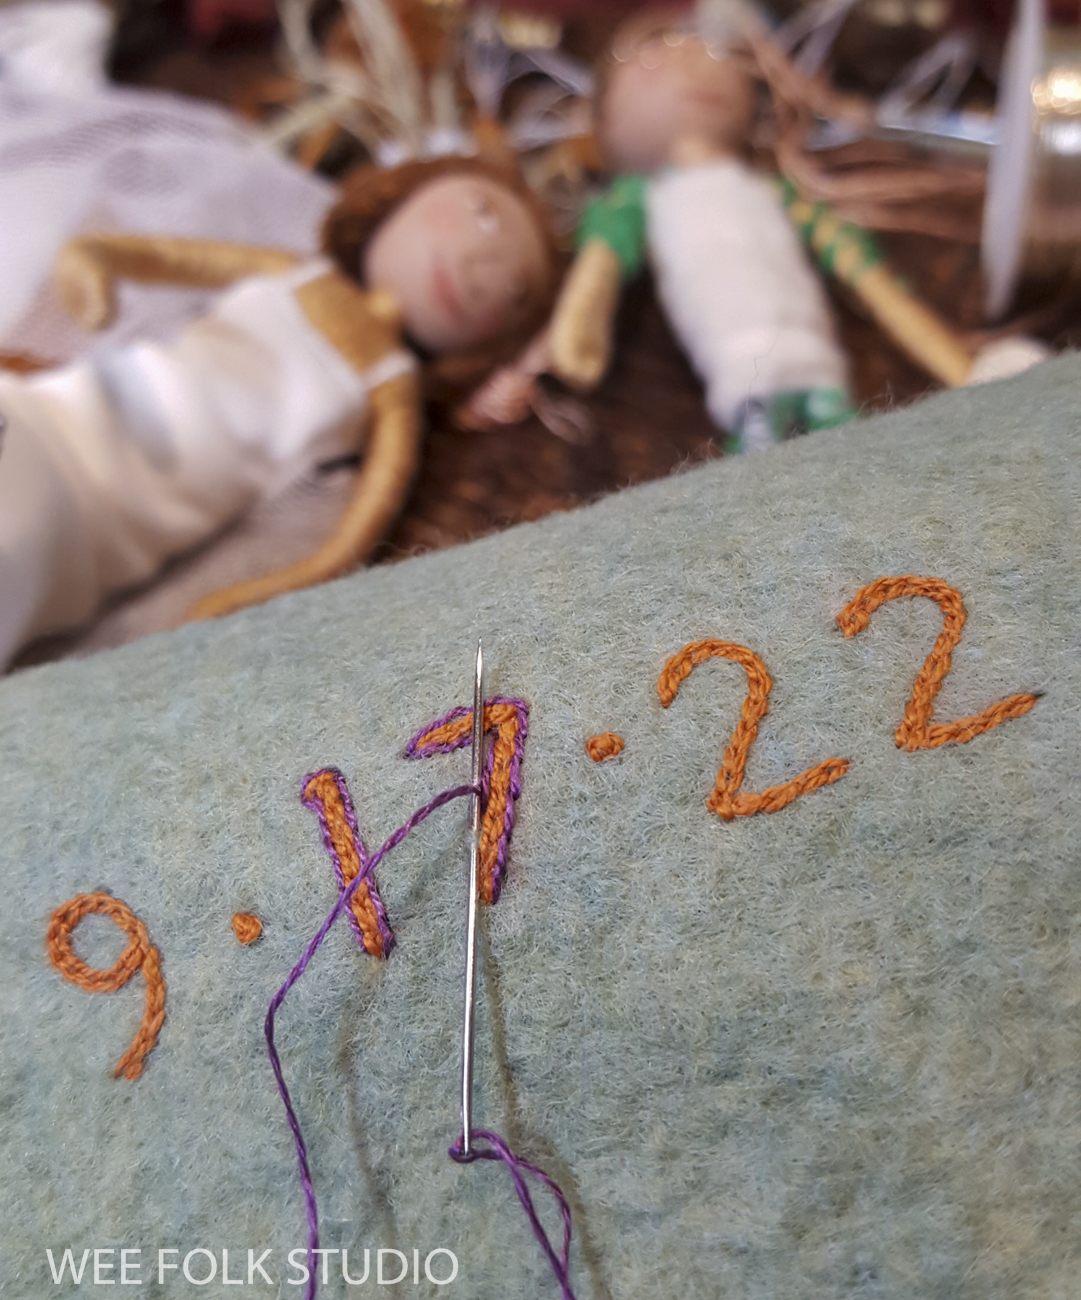
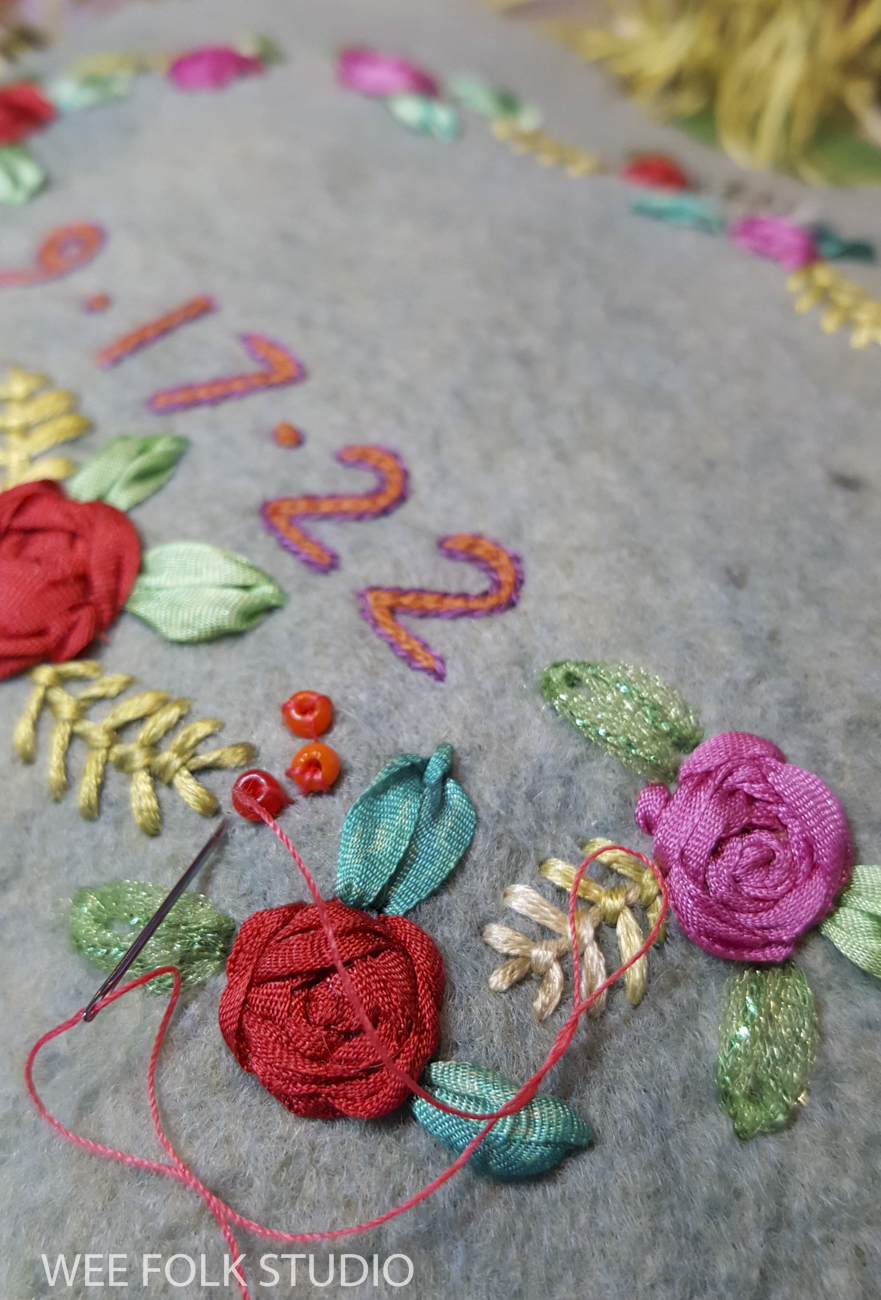
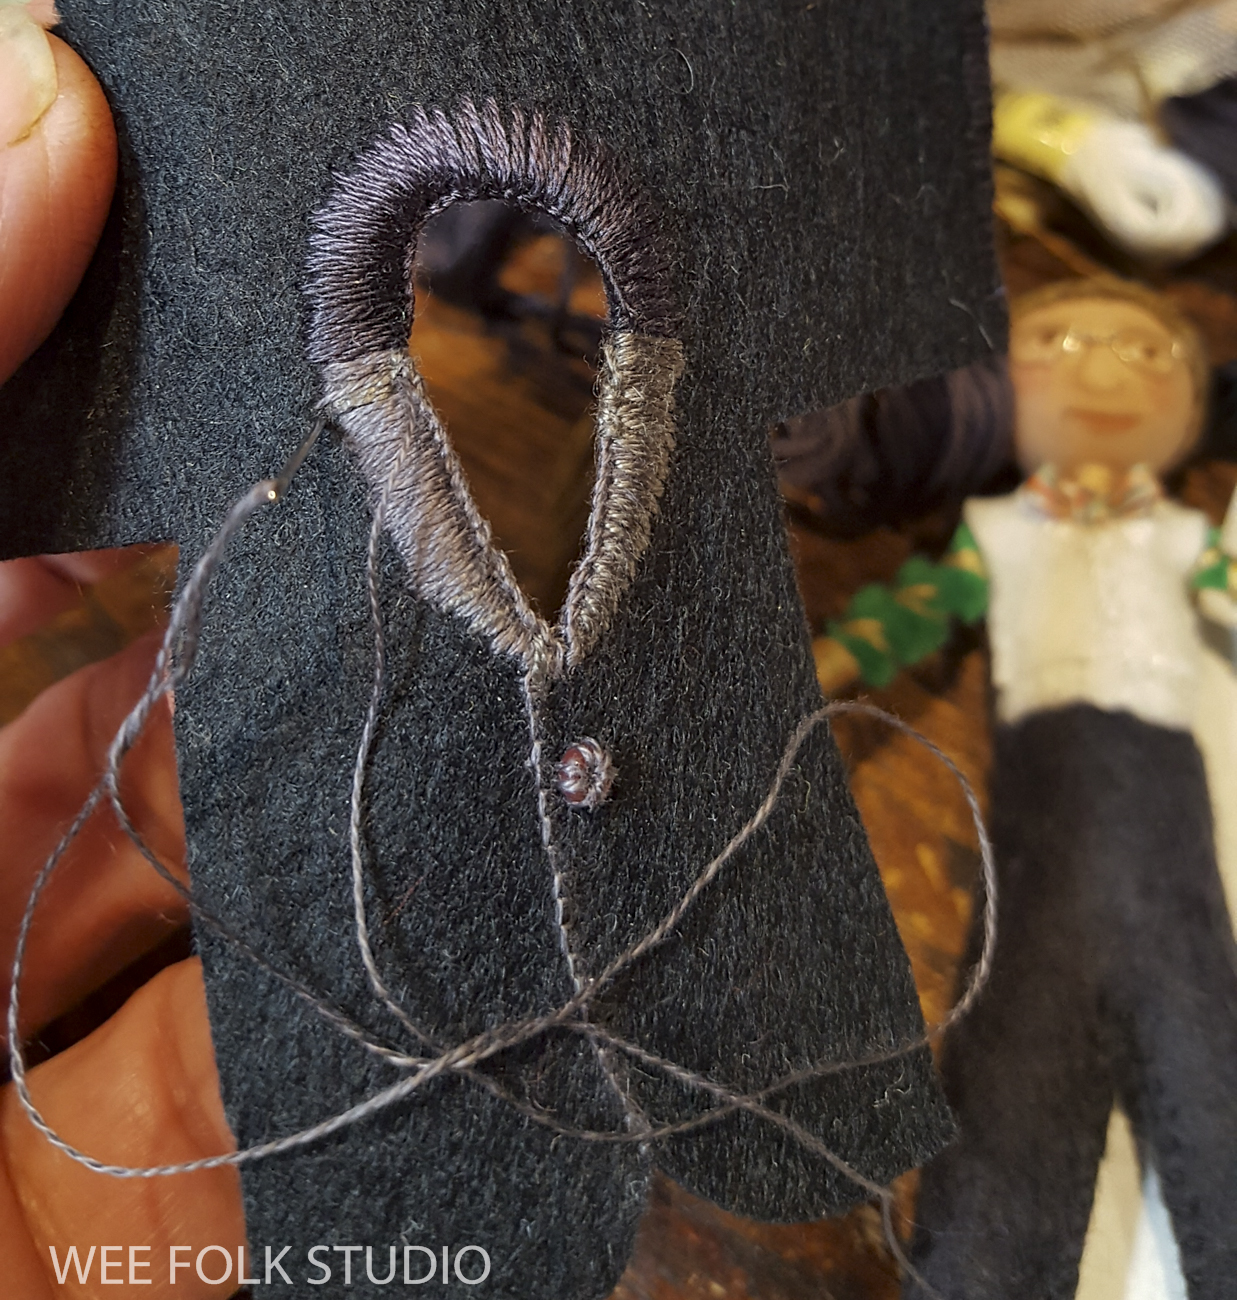
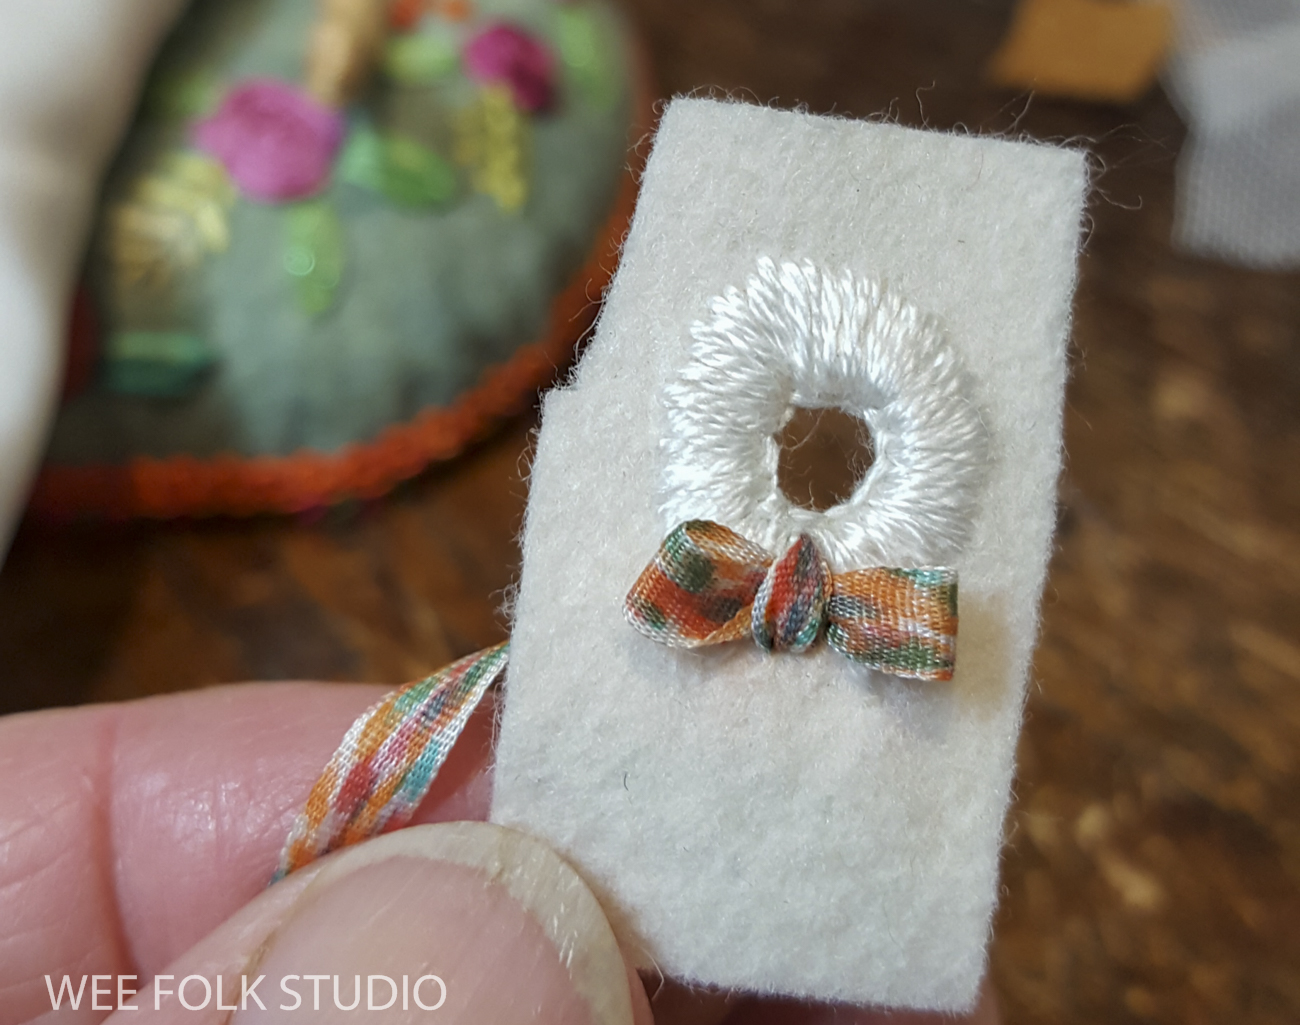
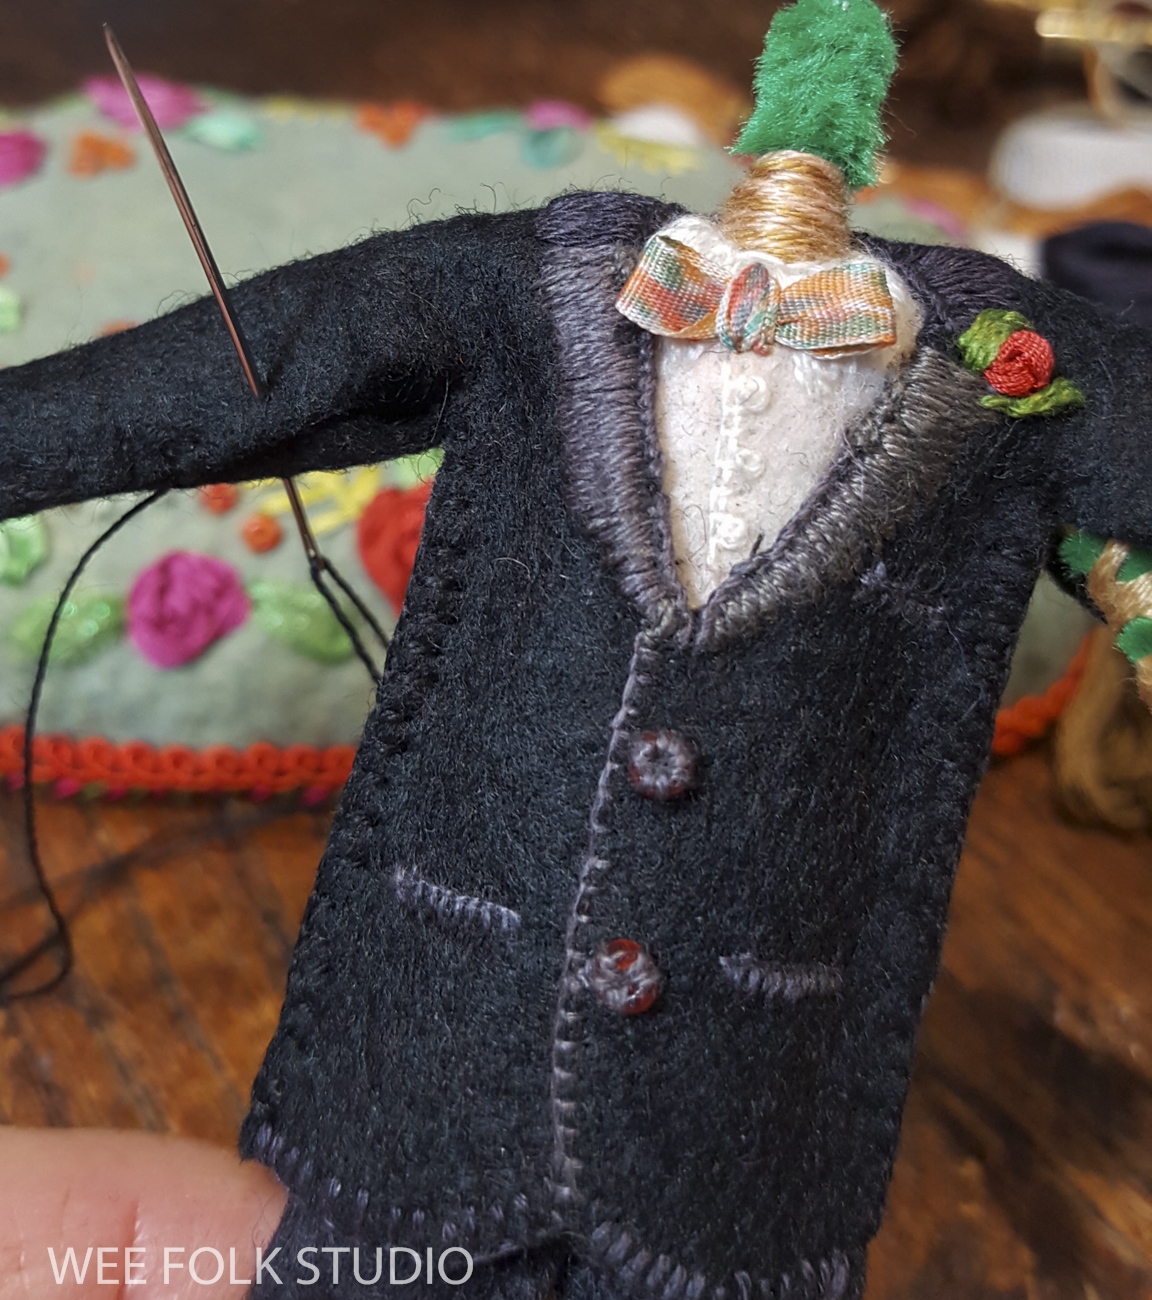
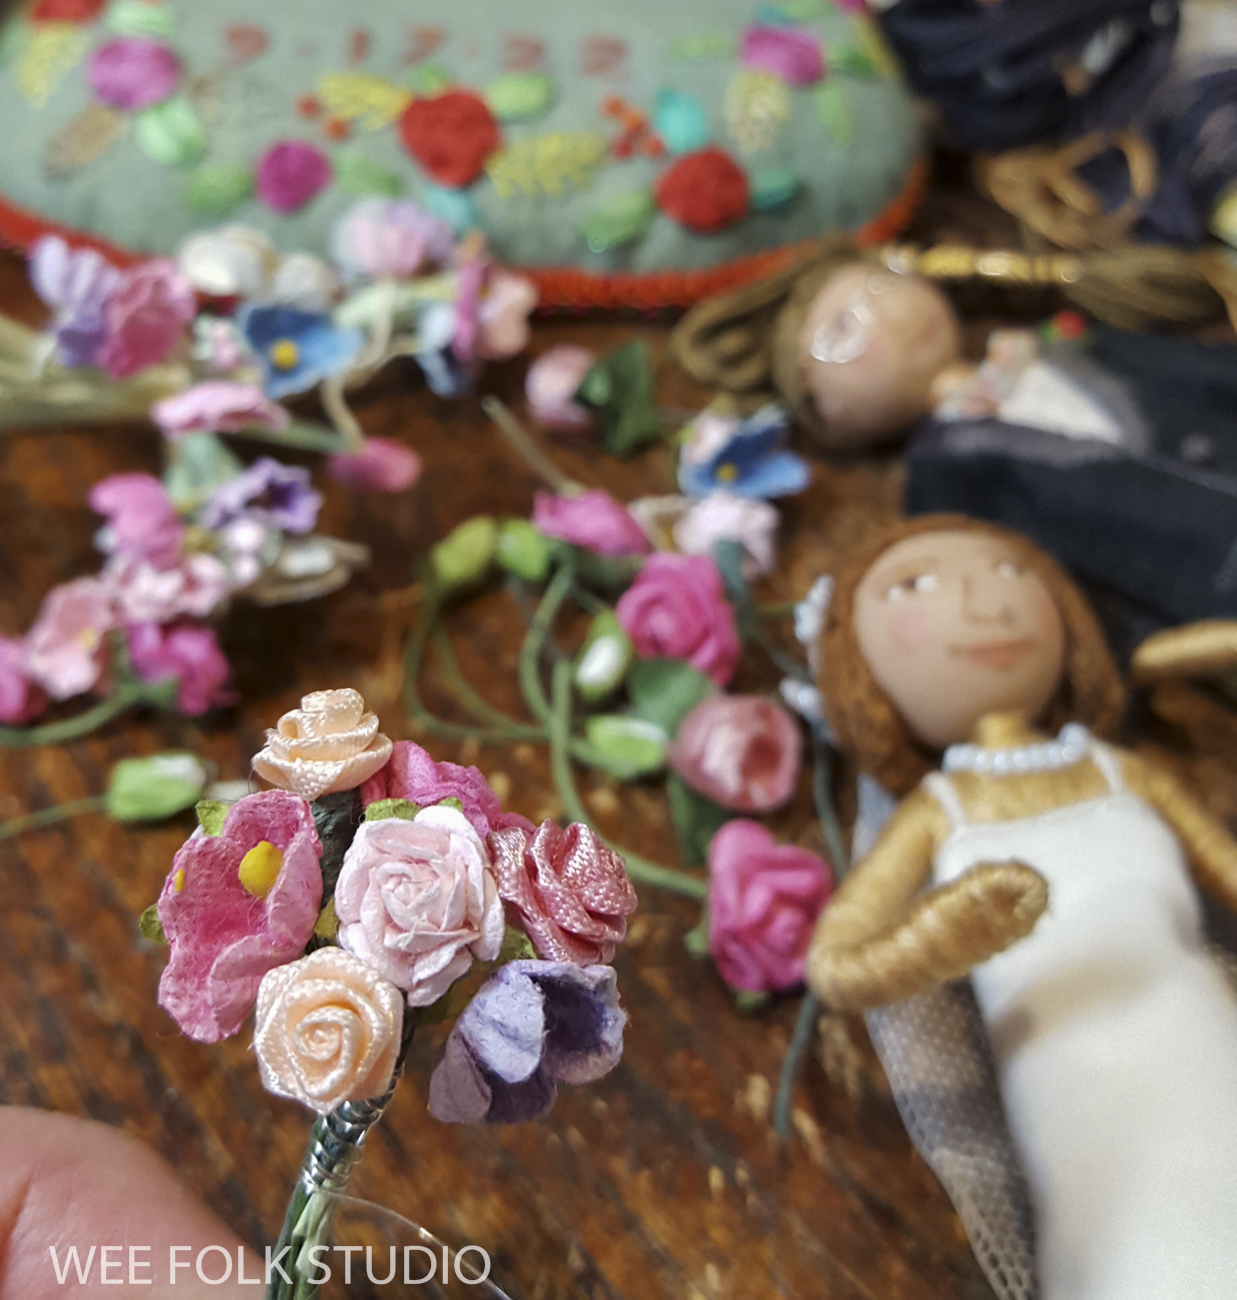
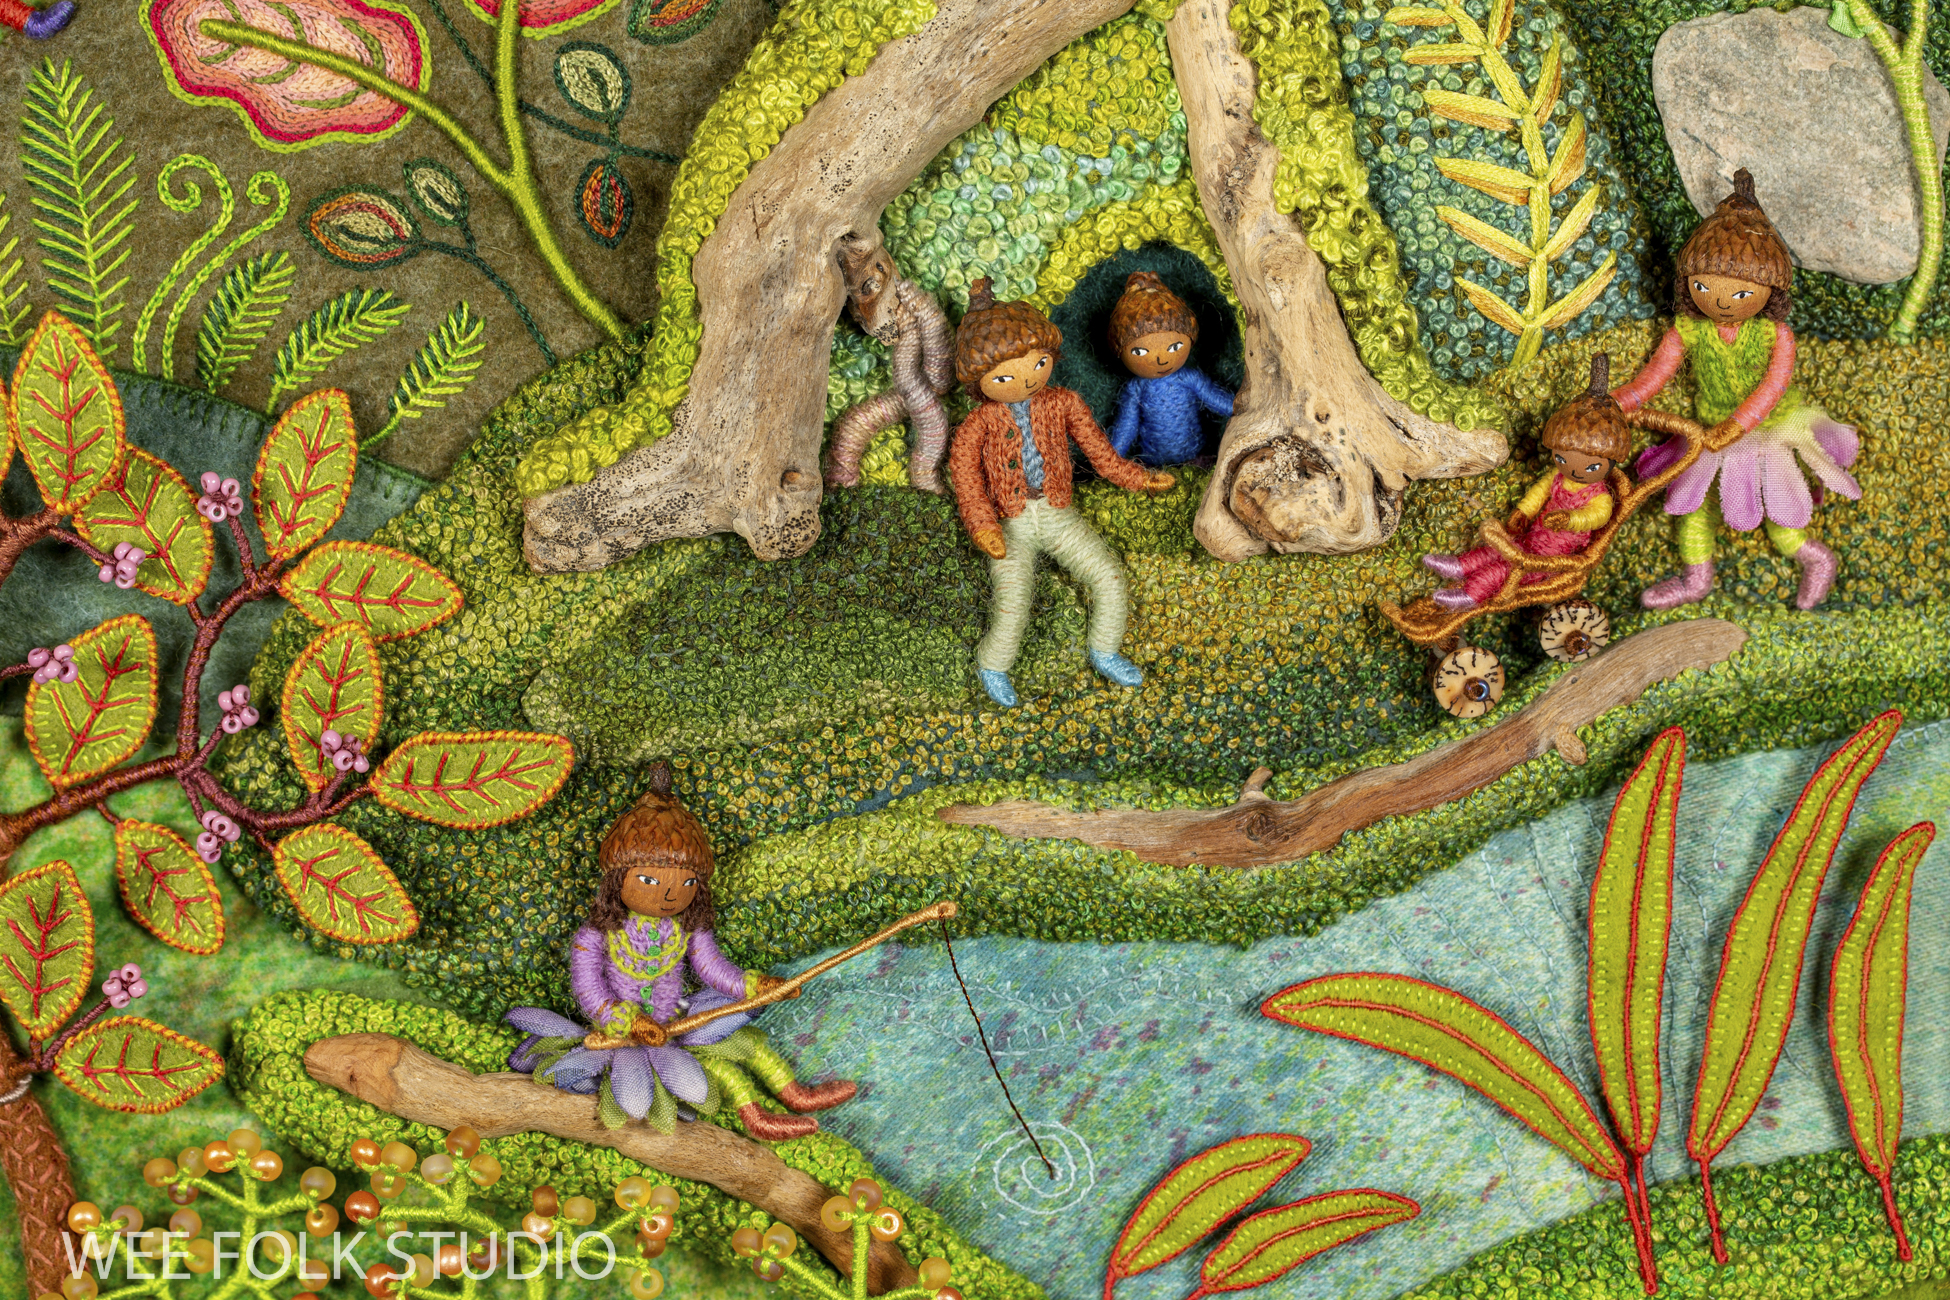
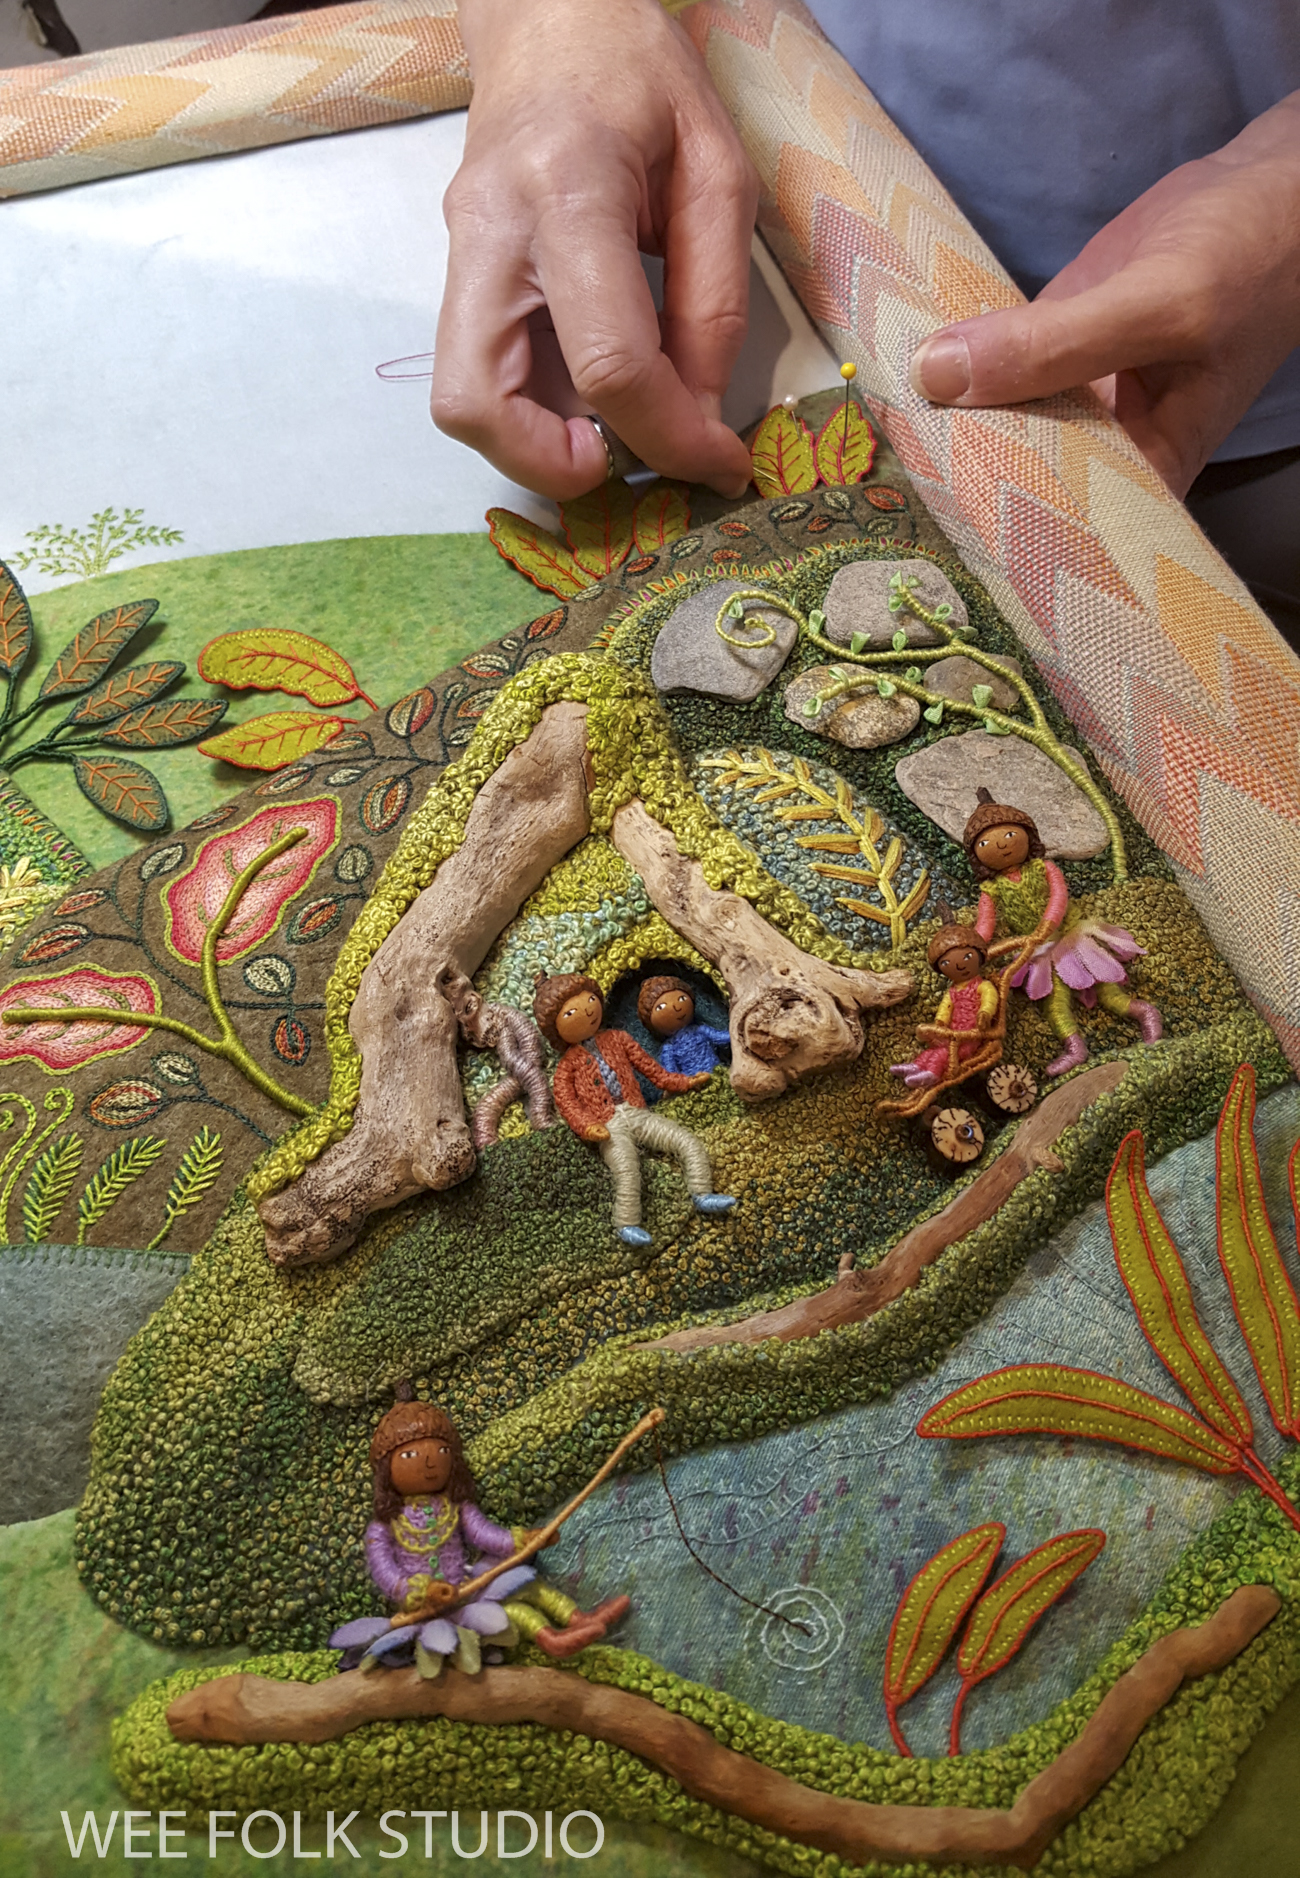
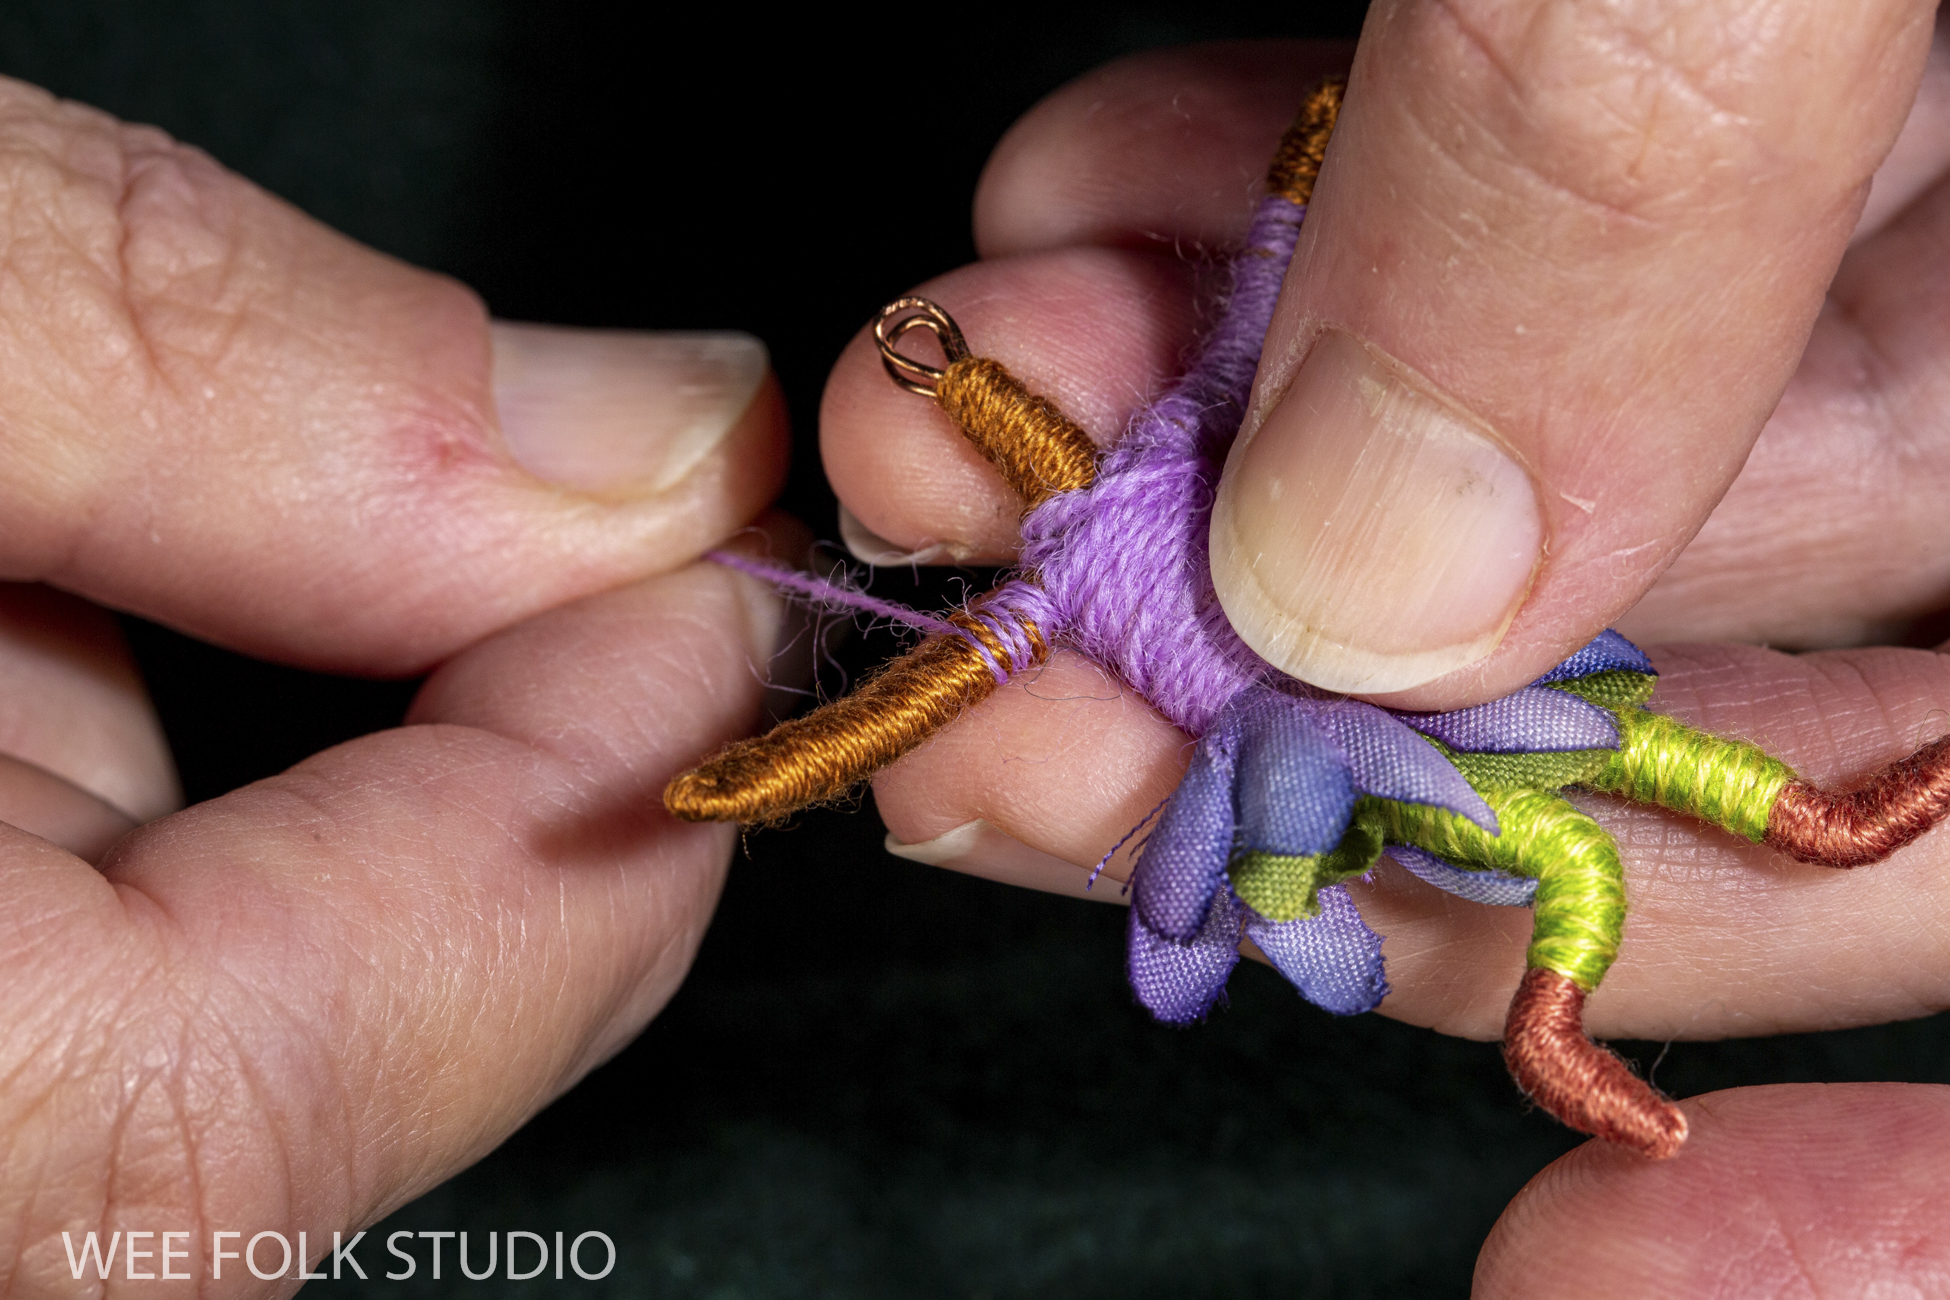
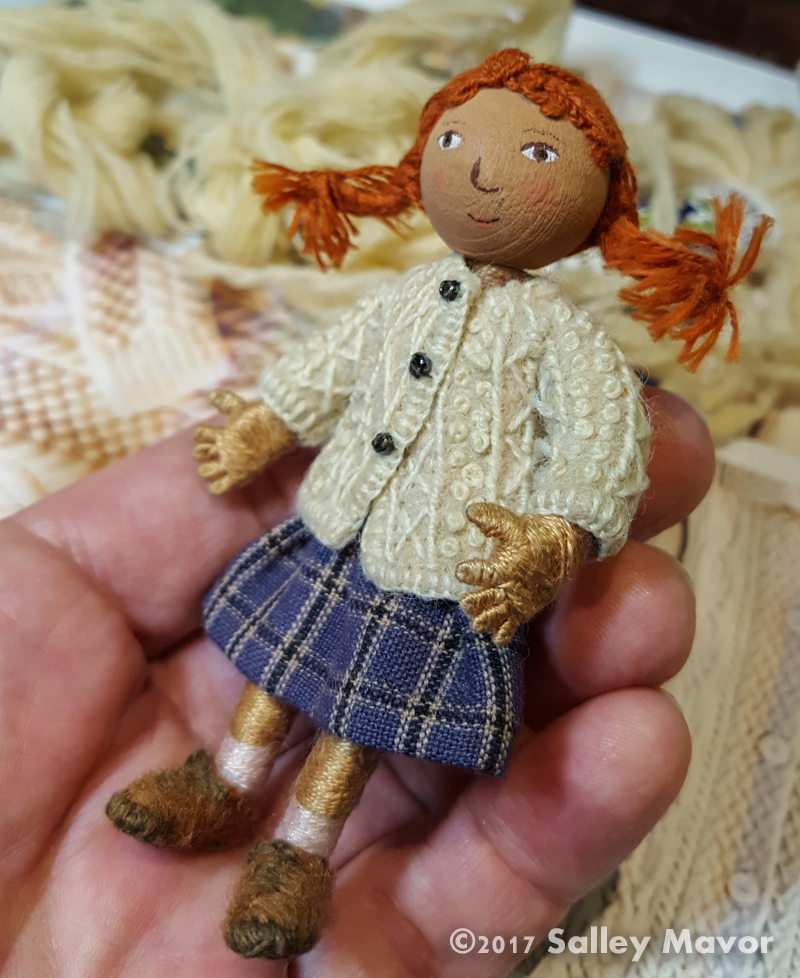
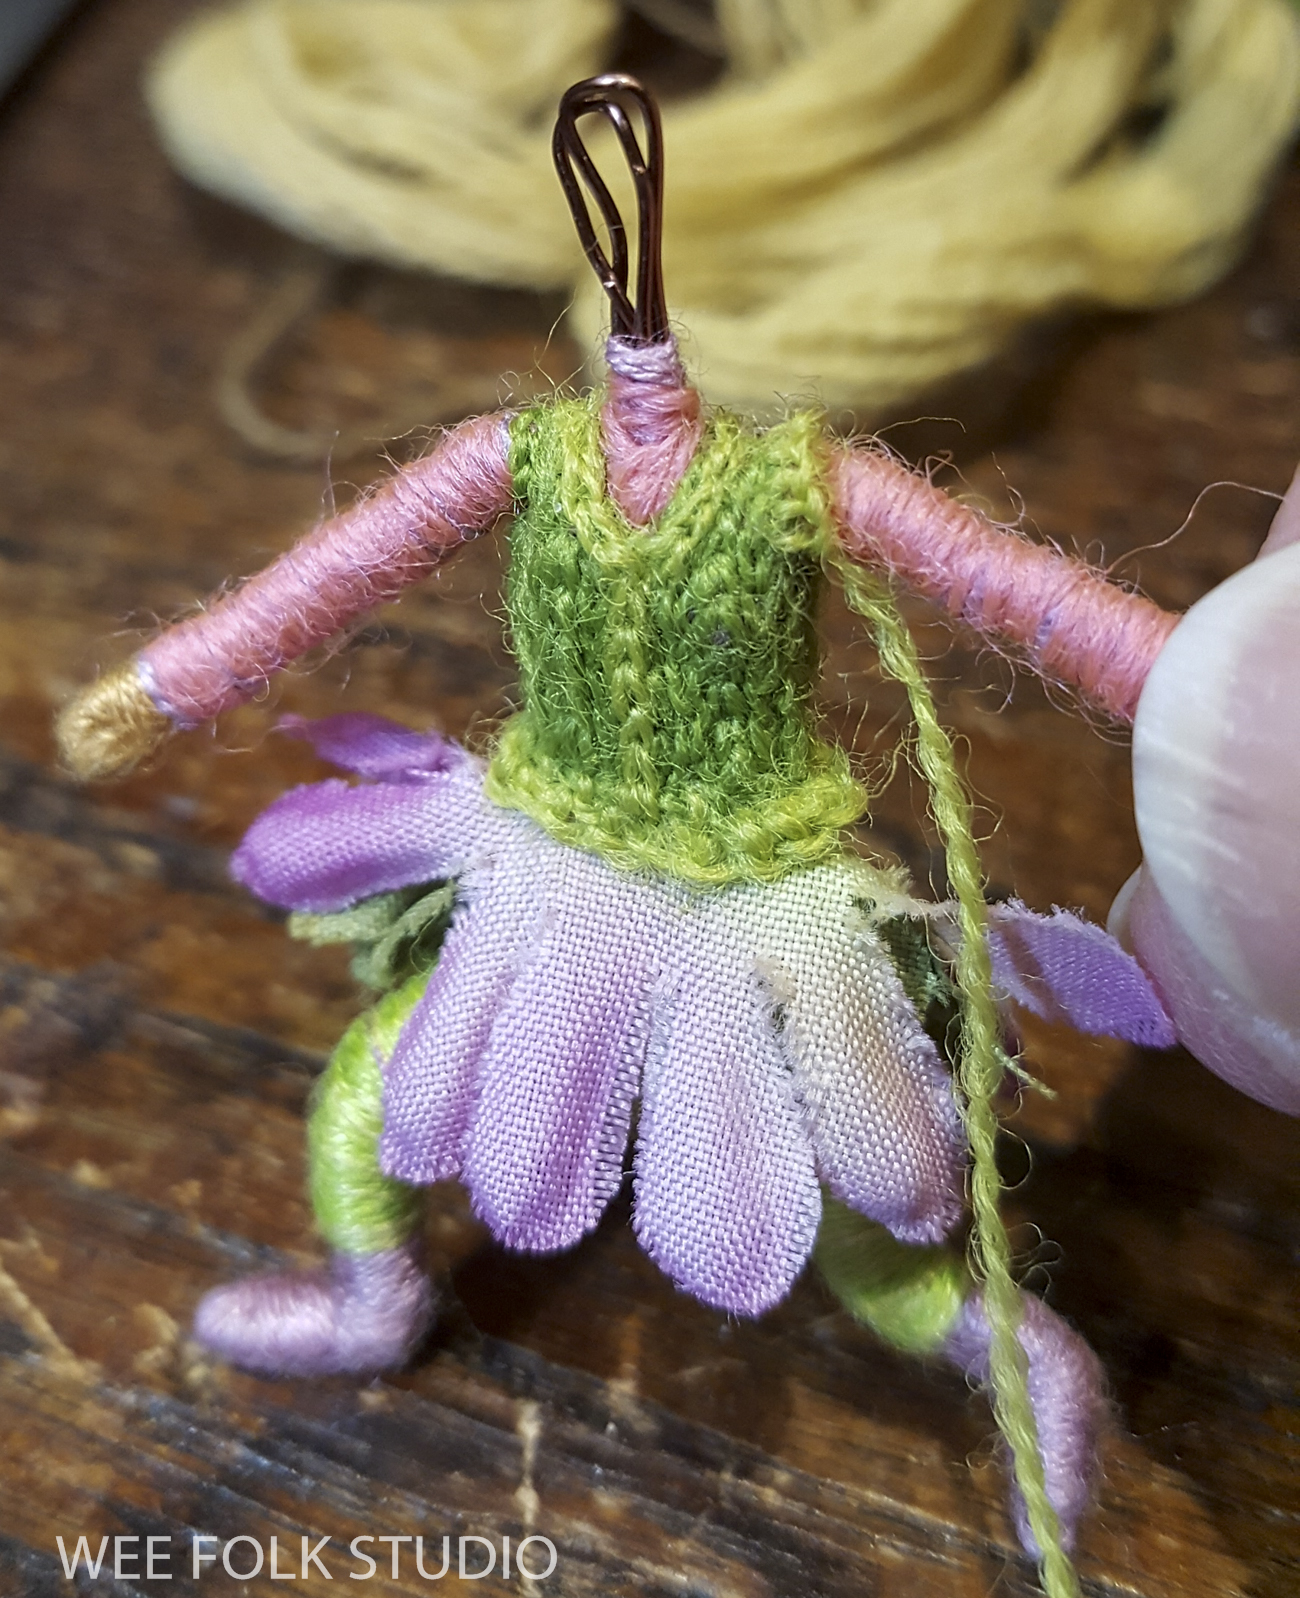
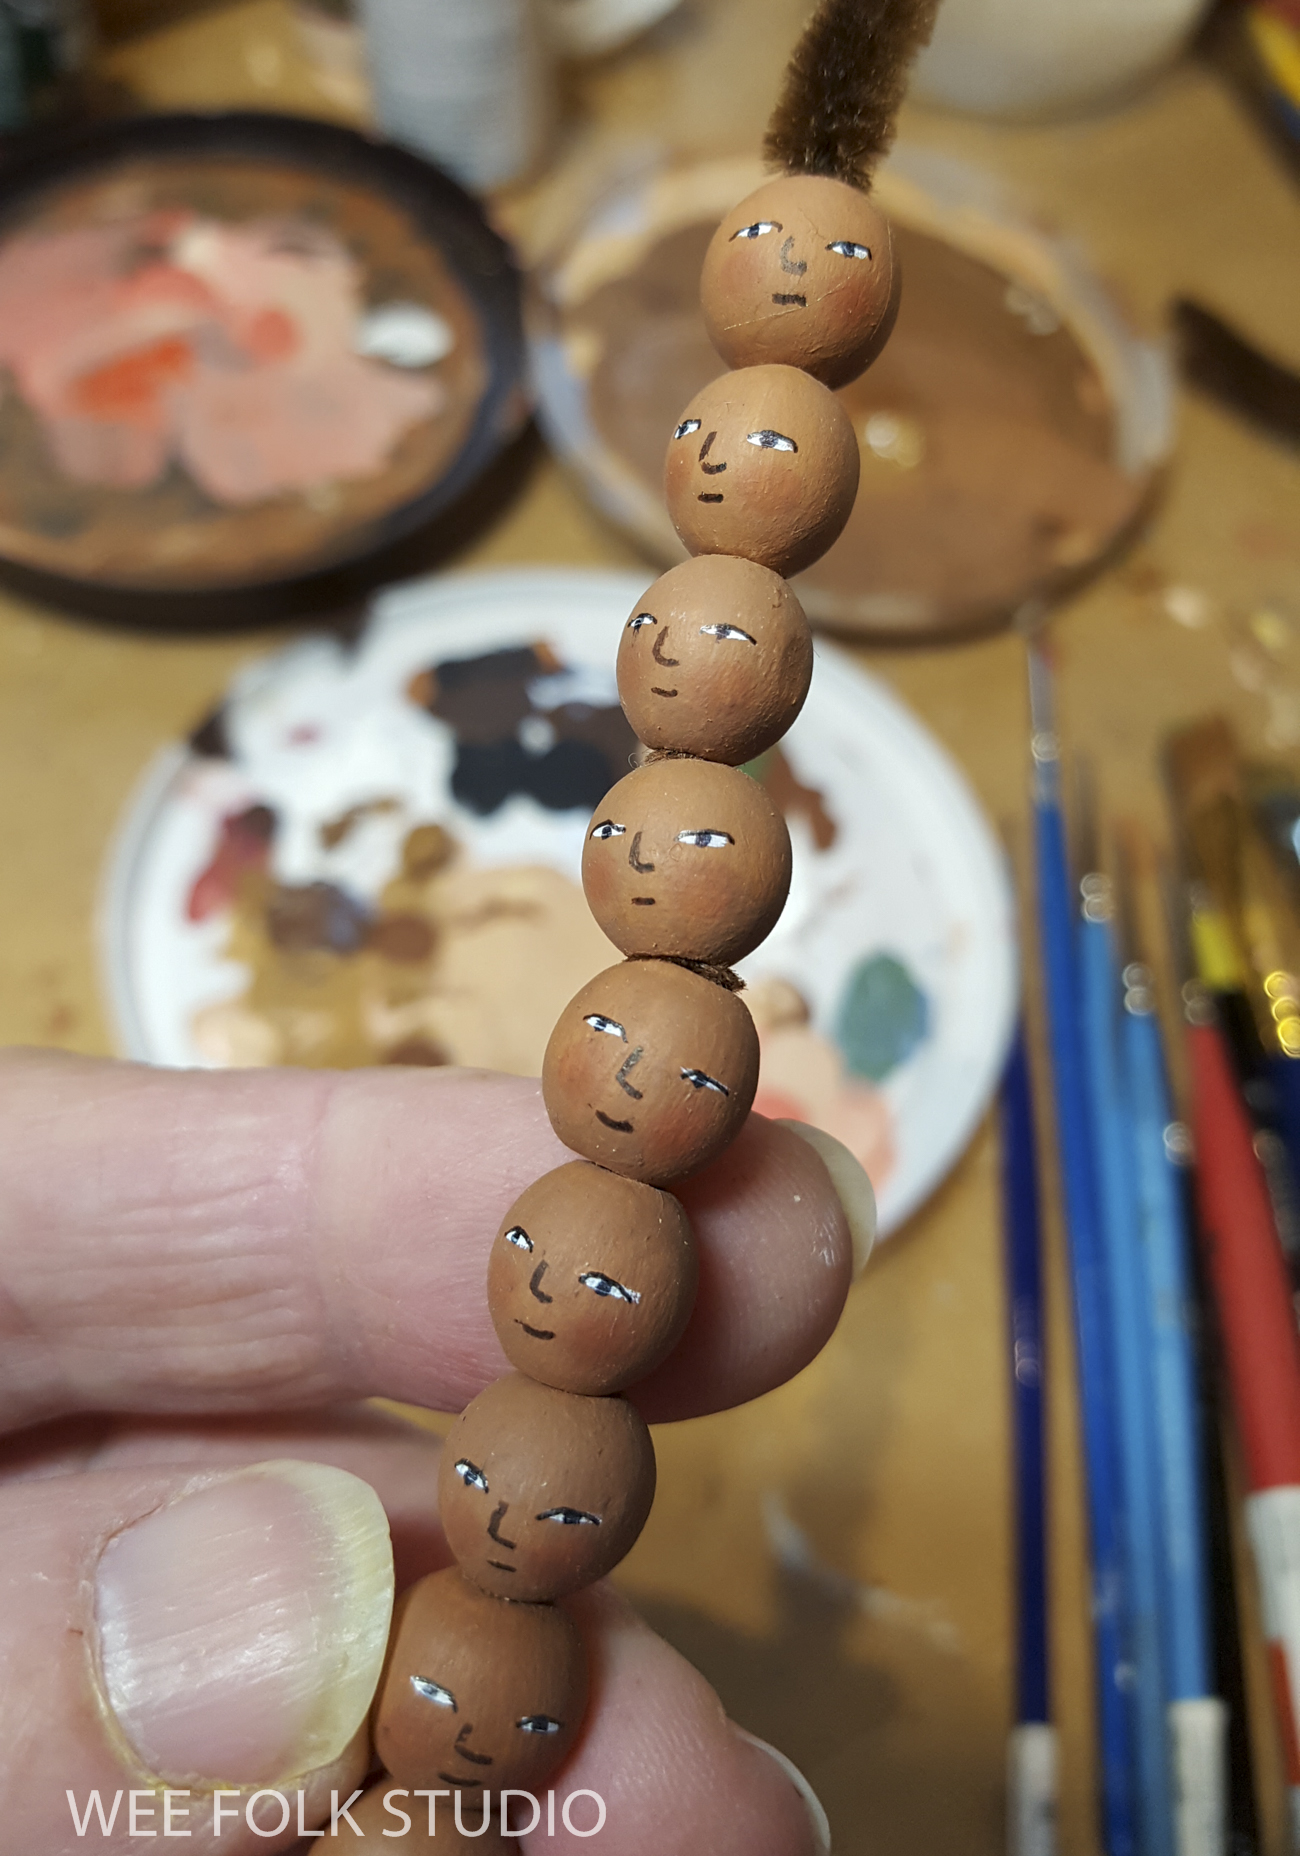
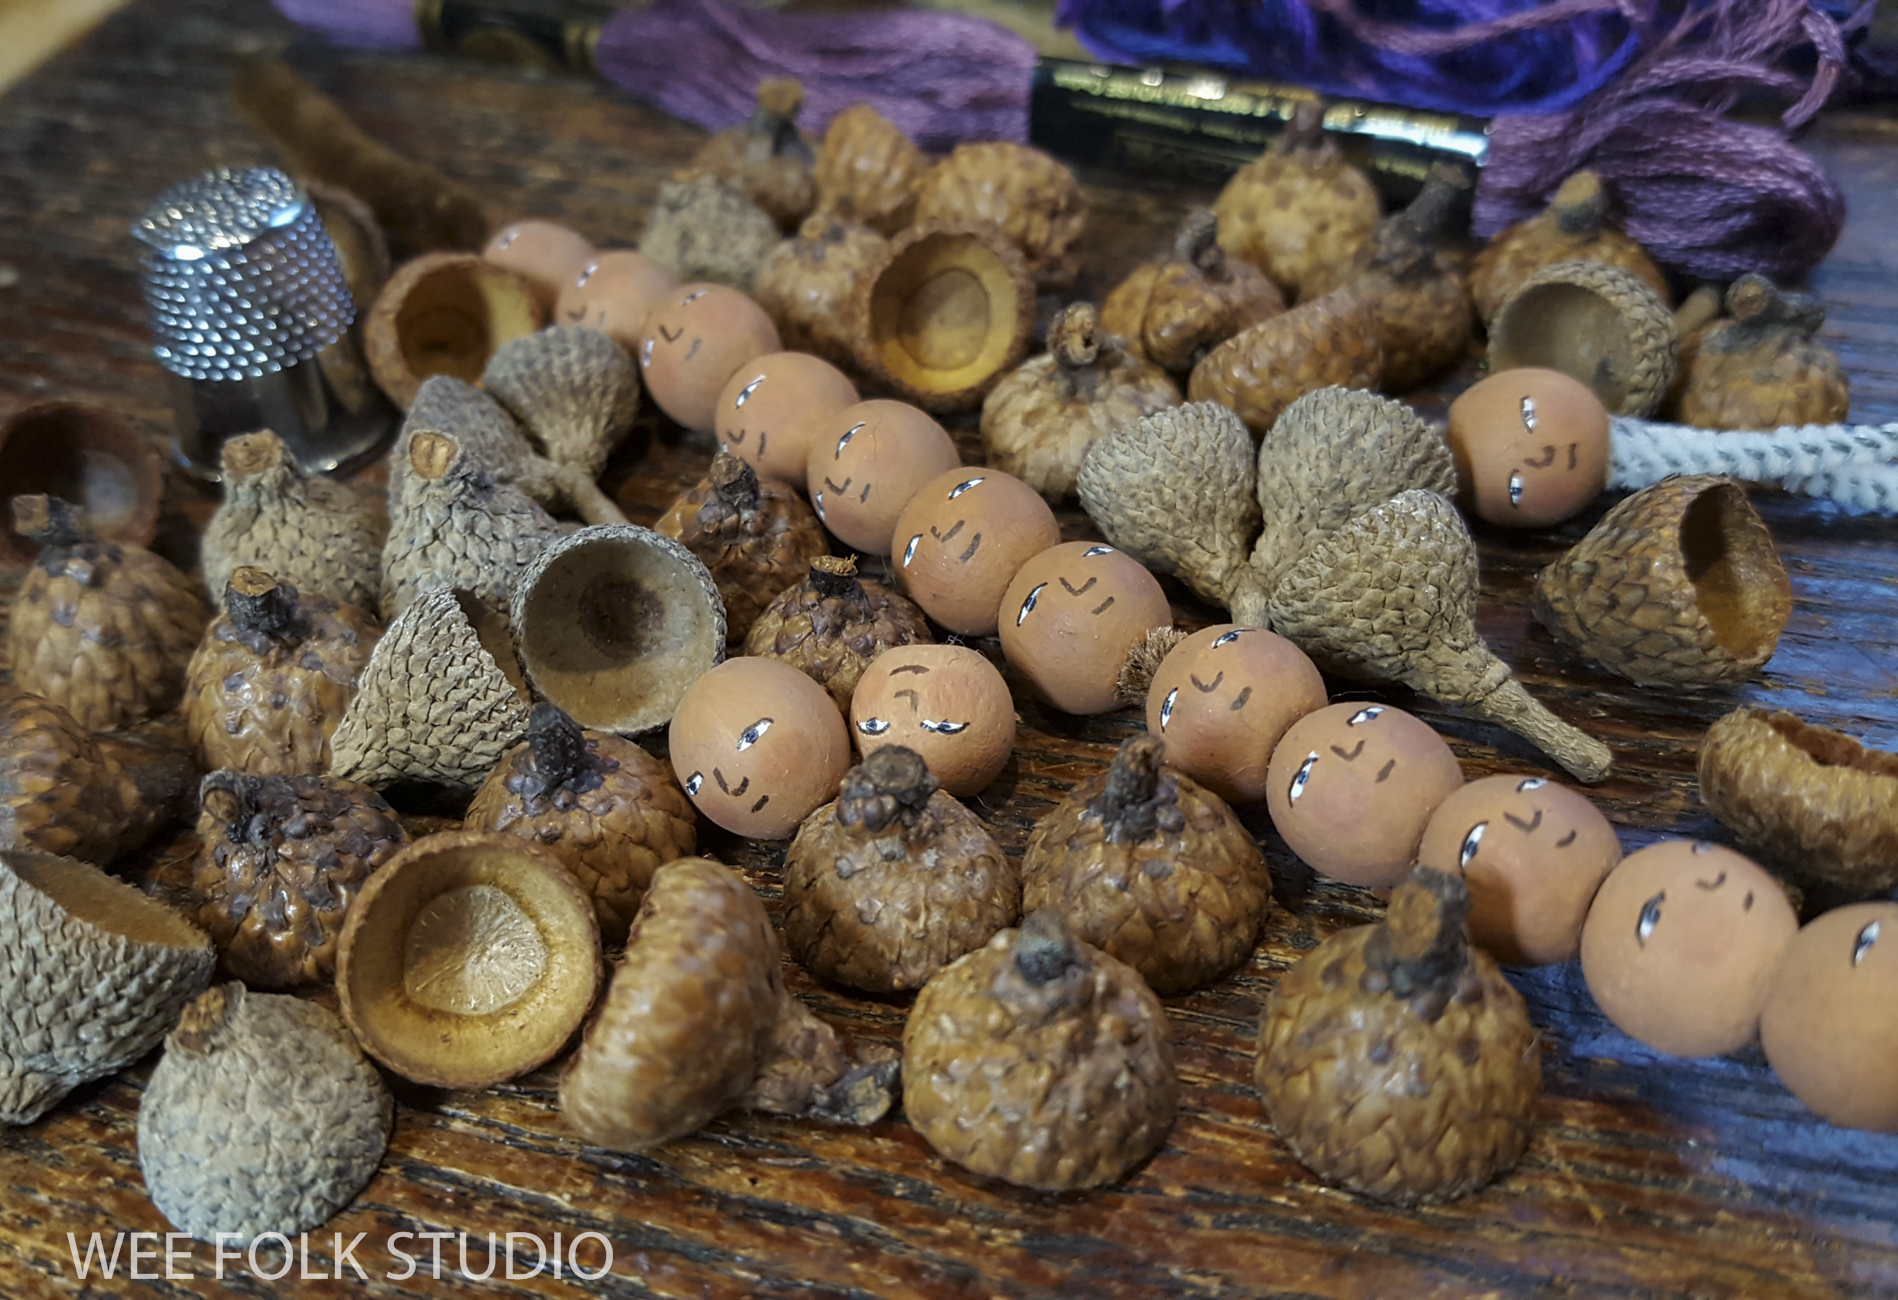
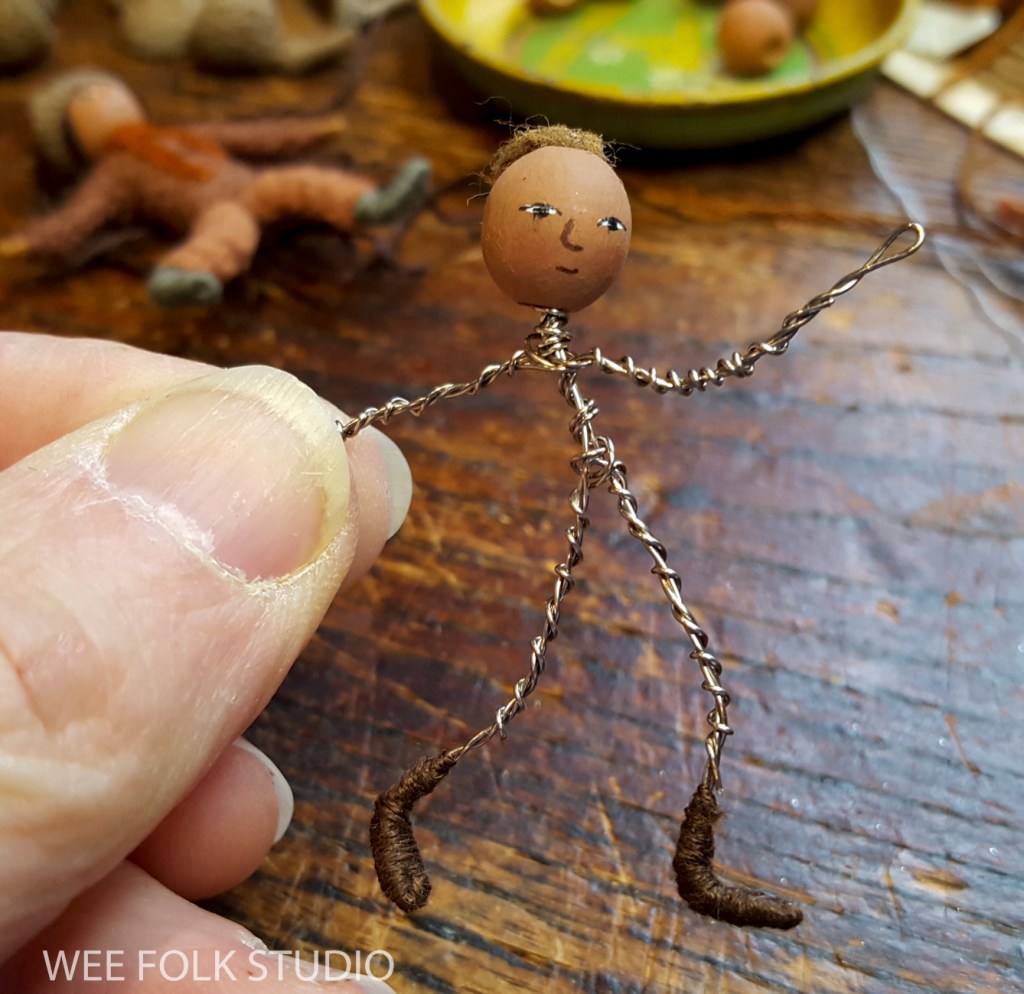
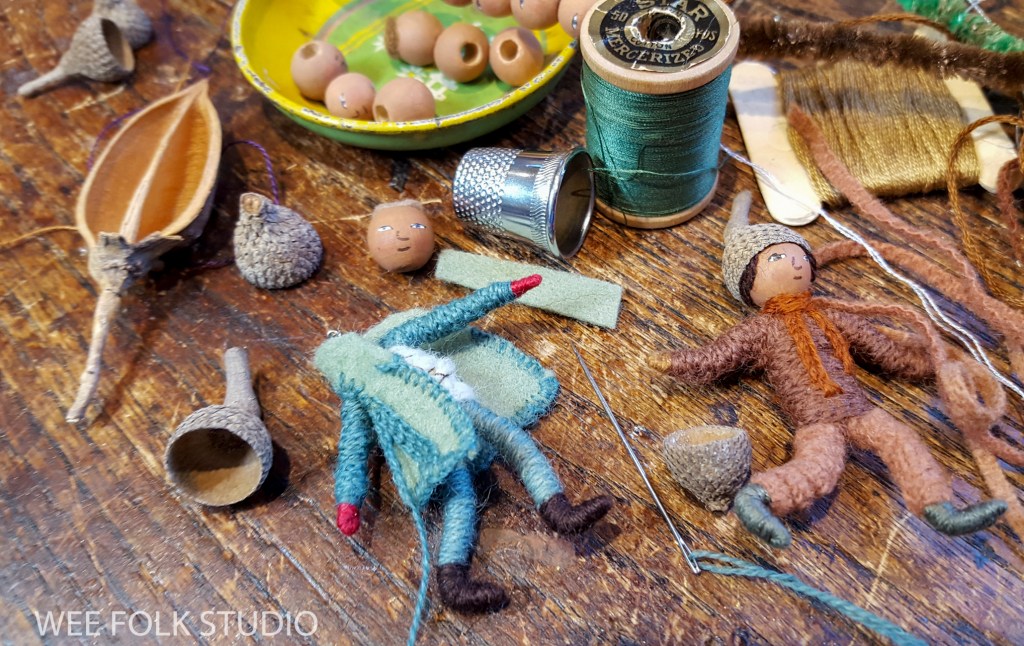
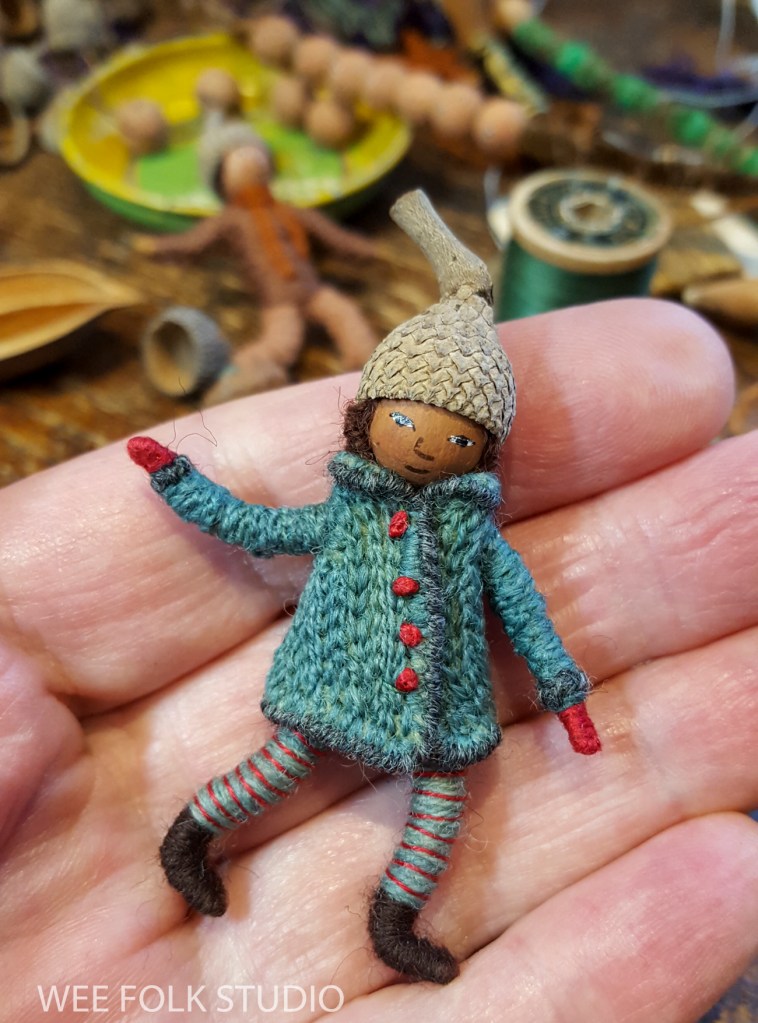
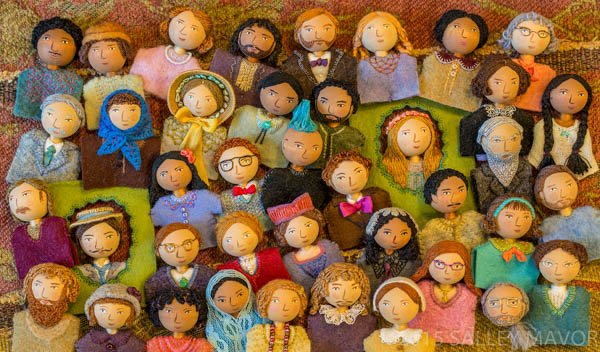
My Self Portrait shows a spiral of dolls, one for each year up to age 52, which was my age in 2007. My birth date is embroidered in the center. Yes, I’ll soon be turning 70! Each figure is dressed in an outfit I would have worn that year, taken from memories, family photos or my imagination. The figures range from 1 in. to 3 1/2 in. and are variations of the wee folk dolls in my how-to book, Felt Wee Folk.
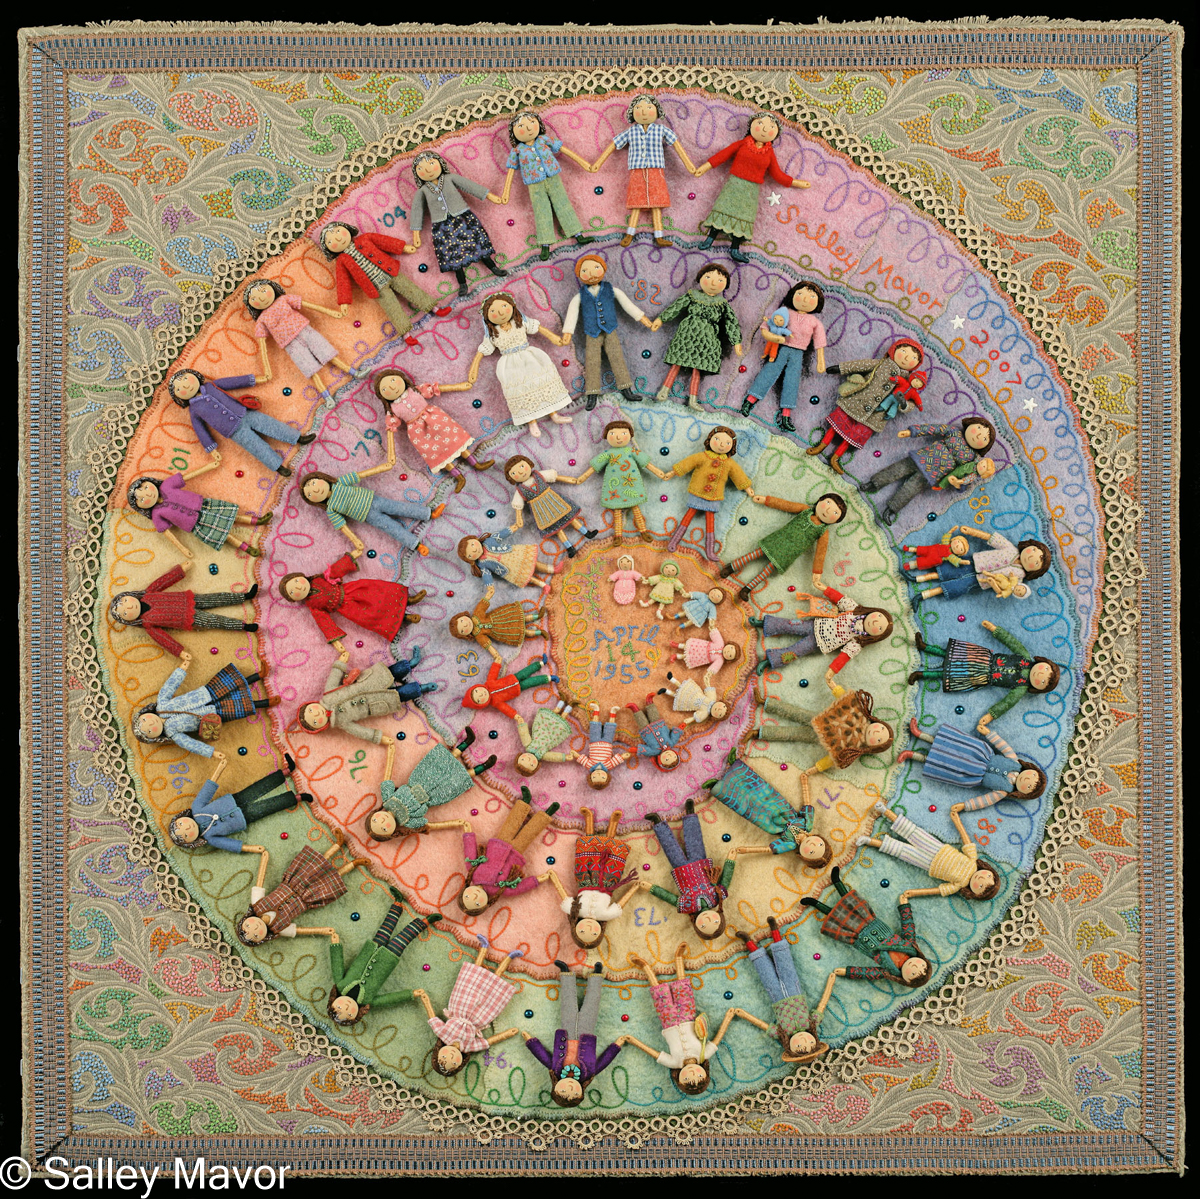
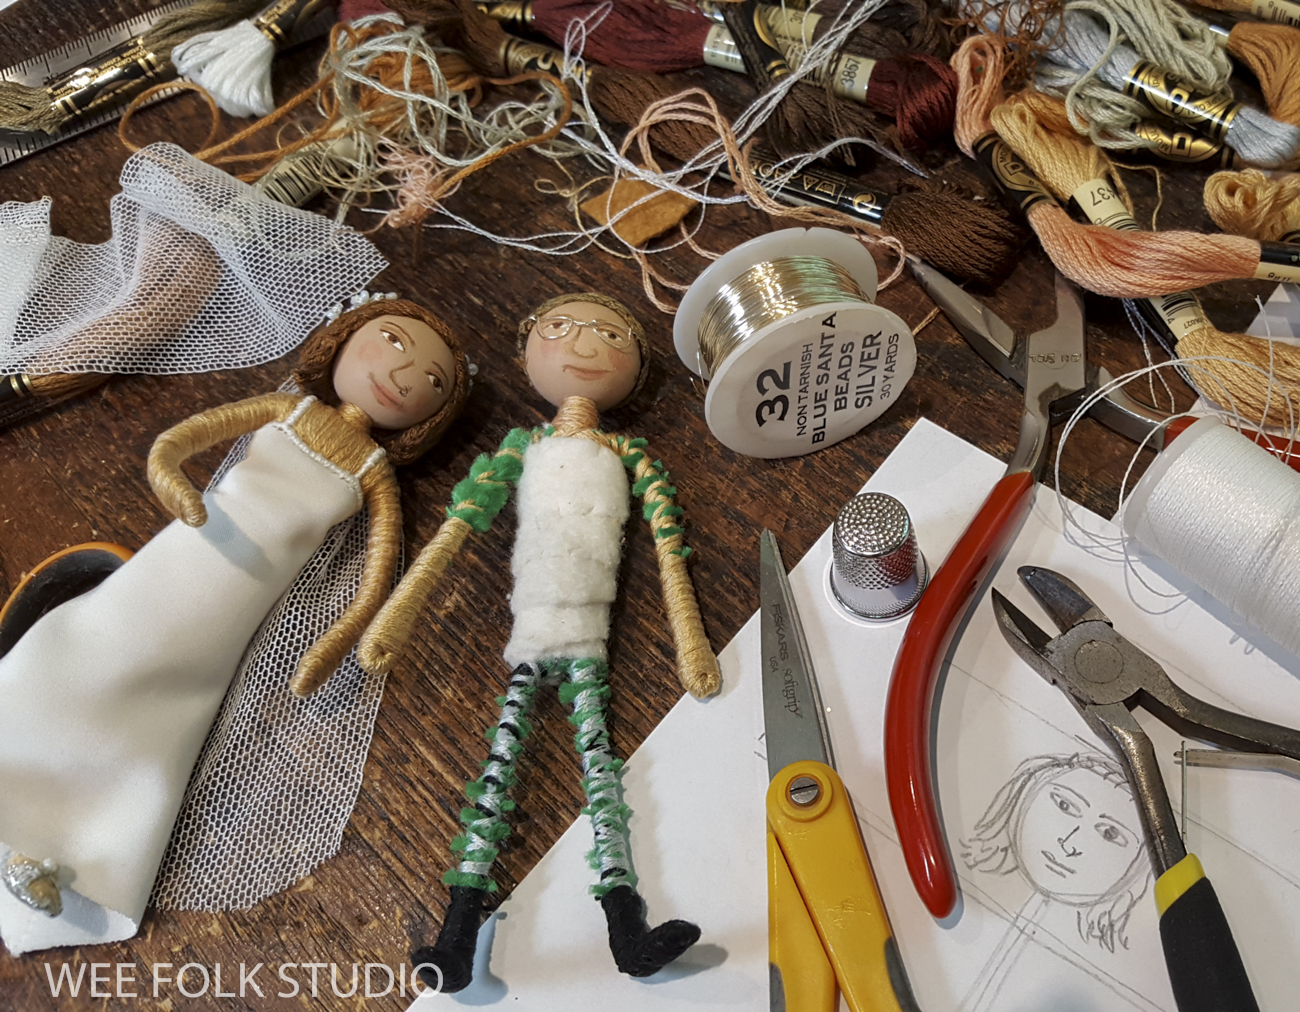
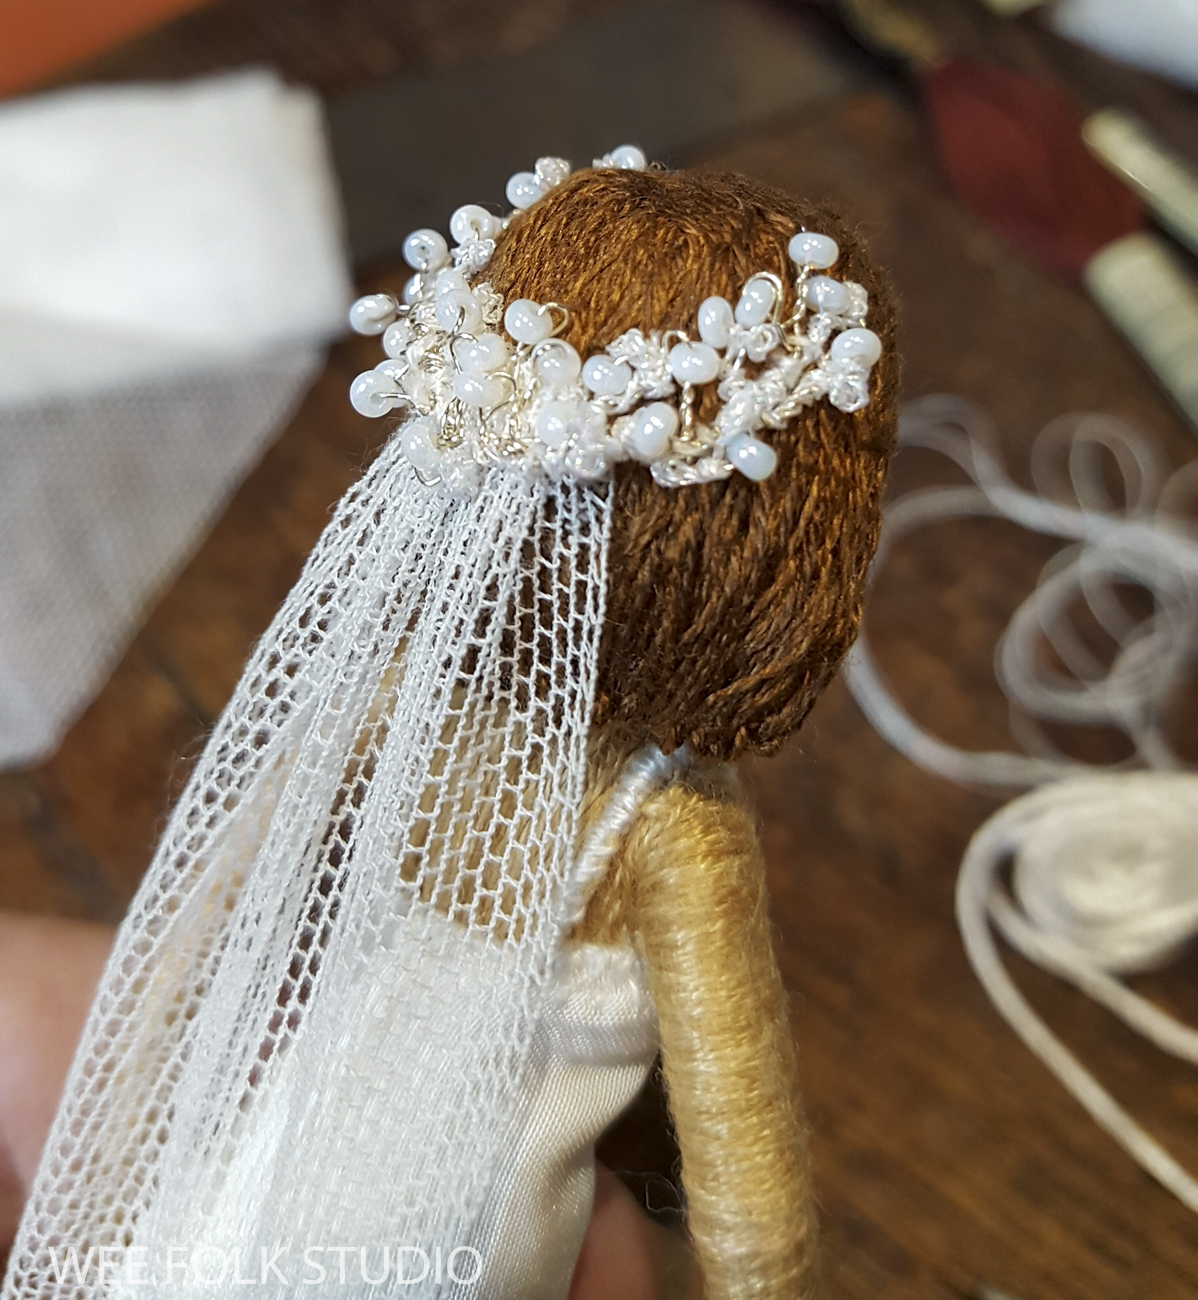
Since I made many of my own clothes, I remember the fabrics and clothing styles. They are recreated here with smaller scale fabric and embroidered wool felt. My husband, Rob, appears the year we were married and my sons, Peter and Ian, are included through the years when they were little and physically connected to me. The tatting around the outside of the circle was made over 100 years ago by my grandmother. This piece resonates with a lot of people whose lives parallel the same time period. I can’t tell you how many women remark that they had an alpaca poncho, too!

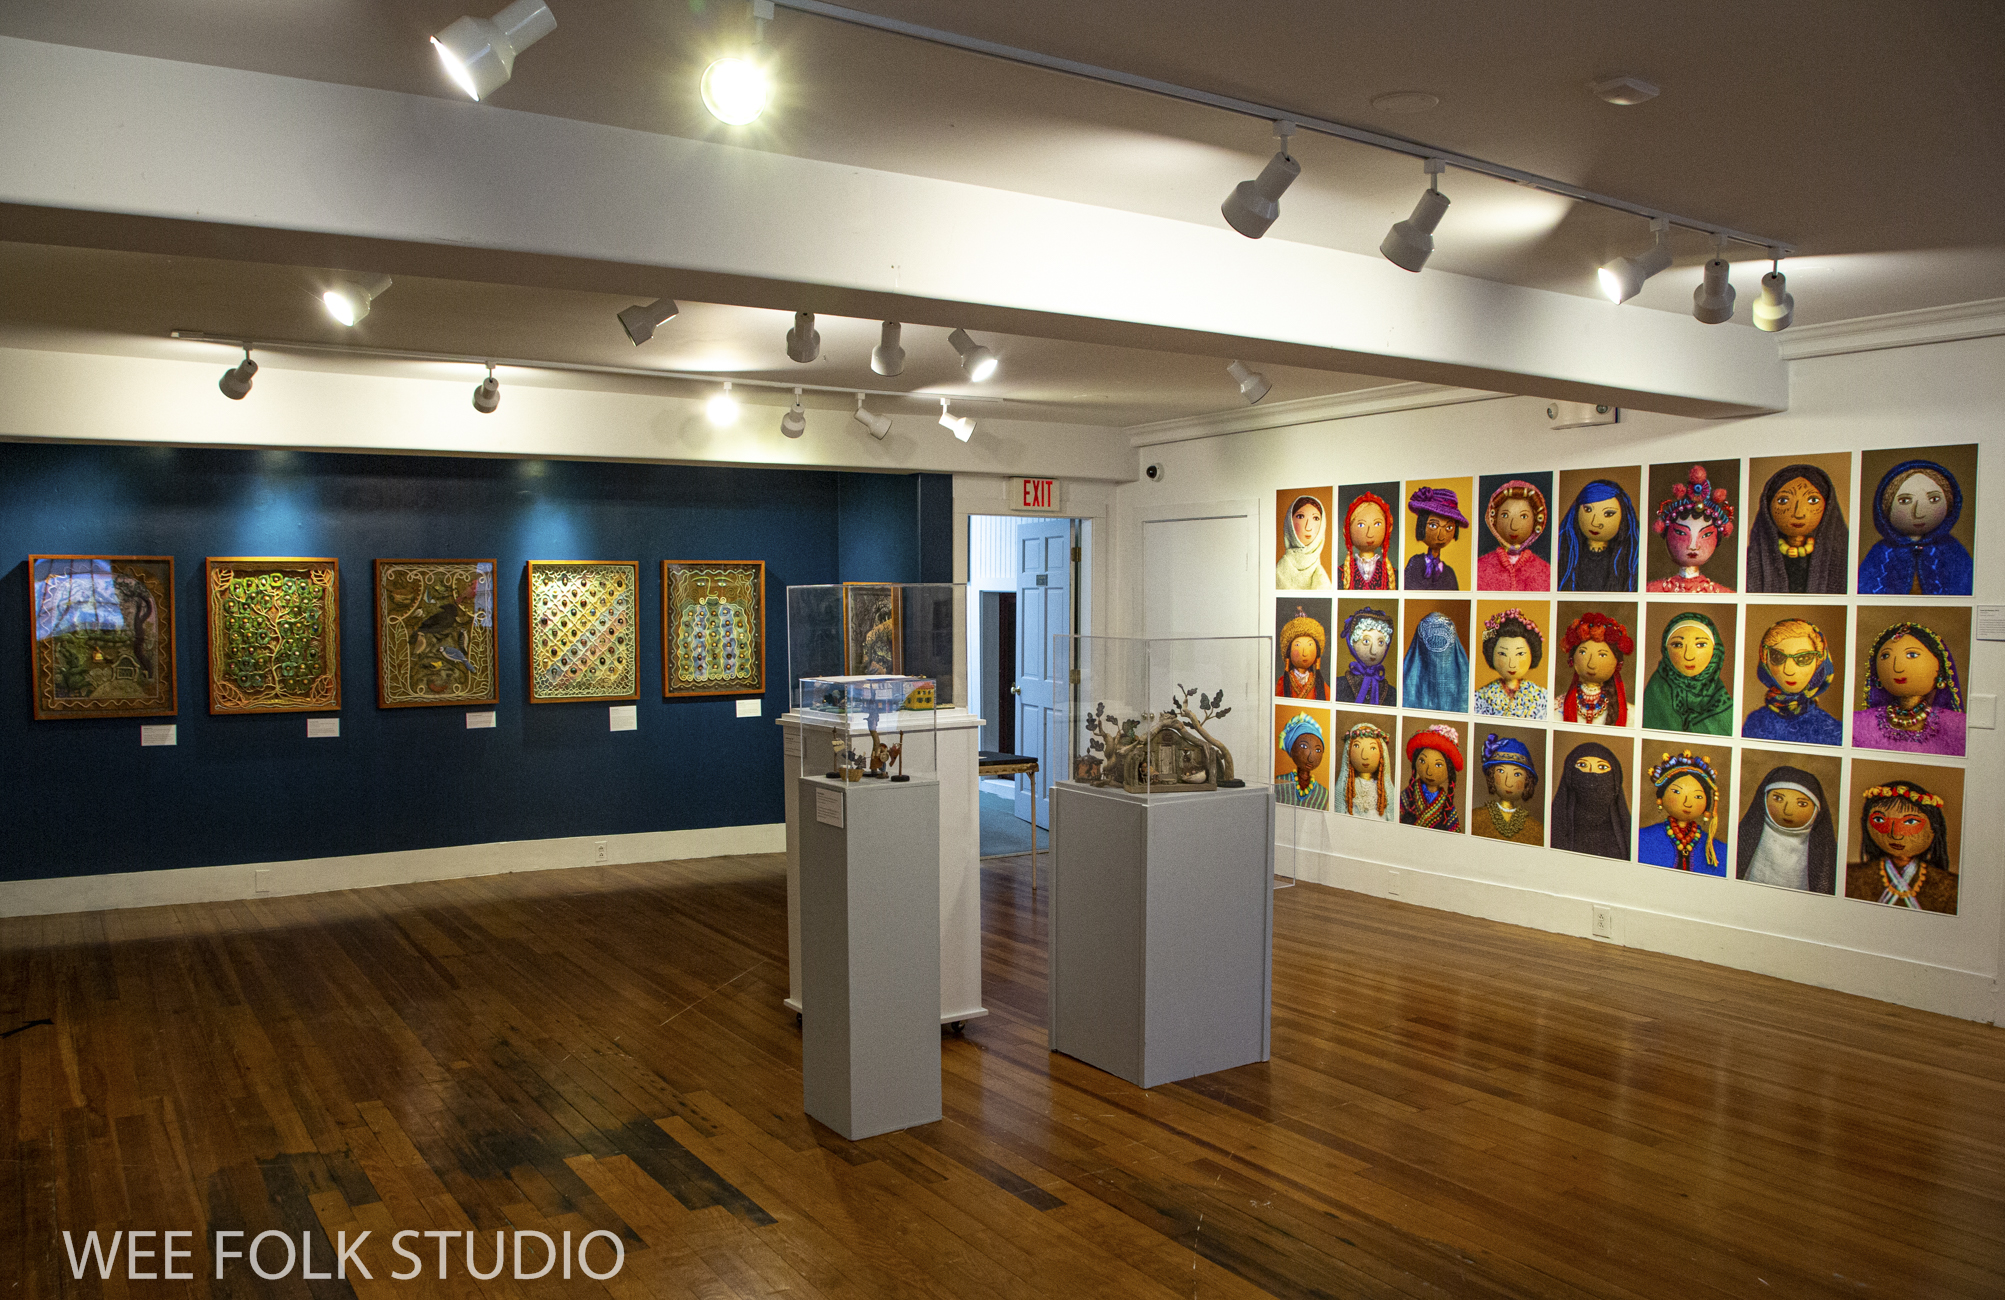
A woman wrote to tell me that 3 generations of her family enjoyed seeing my work at a recent exhibition. She especially wanted me to know that her 4 year old granddaughter was so taken with my self portrait that they couldn’t tear her away. For little Emma, the progression of dolls opened up the concept of growing up and visualized the passage of time in a simple, direct way. I love hearing accounts like this, because it reaffirms my intention to make art for all ages, whether it’s book illustration or stand alone embroidered pieces like this one.

NEW PODCAST: In this podcast interview, I share the inspiration and process behind my Self Portrait: A Personal History of Fashion. The Object Itself Podcast, hosted by the Albany Institute of History and Art was published 1/23/25.
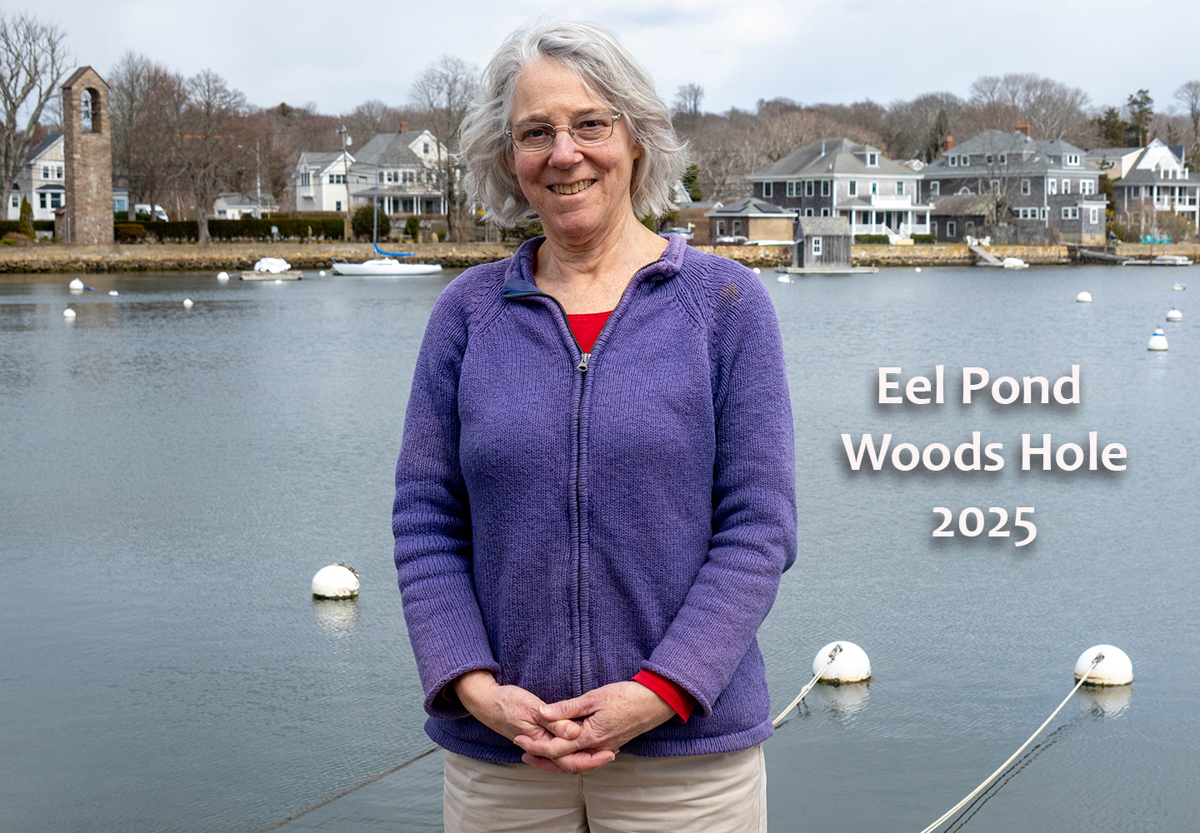
The following 2 photos of me with Eel Pond in the background, one taken in 1960 and the other in 2025, are hung on the wall next to the Self Portrait.

VIDEO tour through fashion and music: As well as clothing memories, we all have a personal soundtrack that goes with different times in our lives. This video is a nostalgic tour through fashion and music that my husband Rob and I put together. At the end, there’s a list of the music that I remember listening to.
Note cards and posters of the piece are available in my Etsy shop here.

To keep up with new posts, please subscribe to this blog. Your contact info will not be sold or shared. If you’d like to see more frequent photos tracking the projects in my studio, please follow me on Facebook, Instagram and BlueSky.