

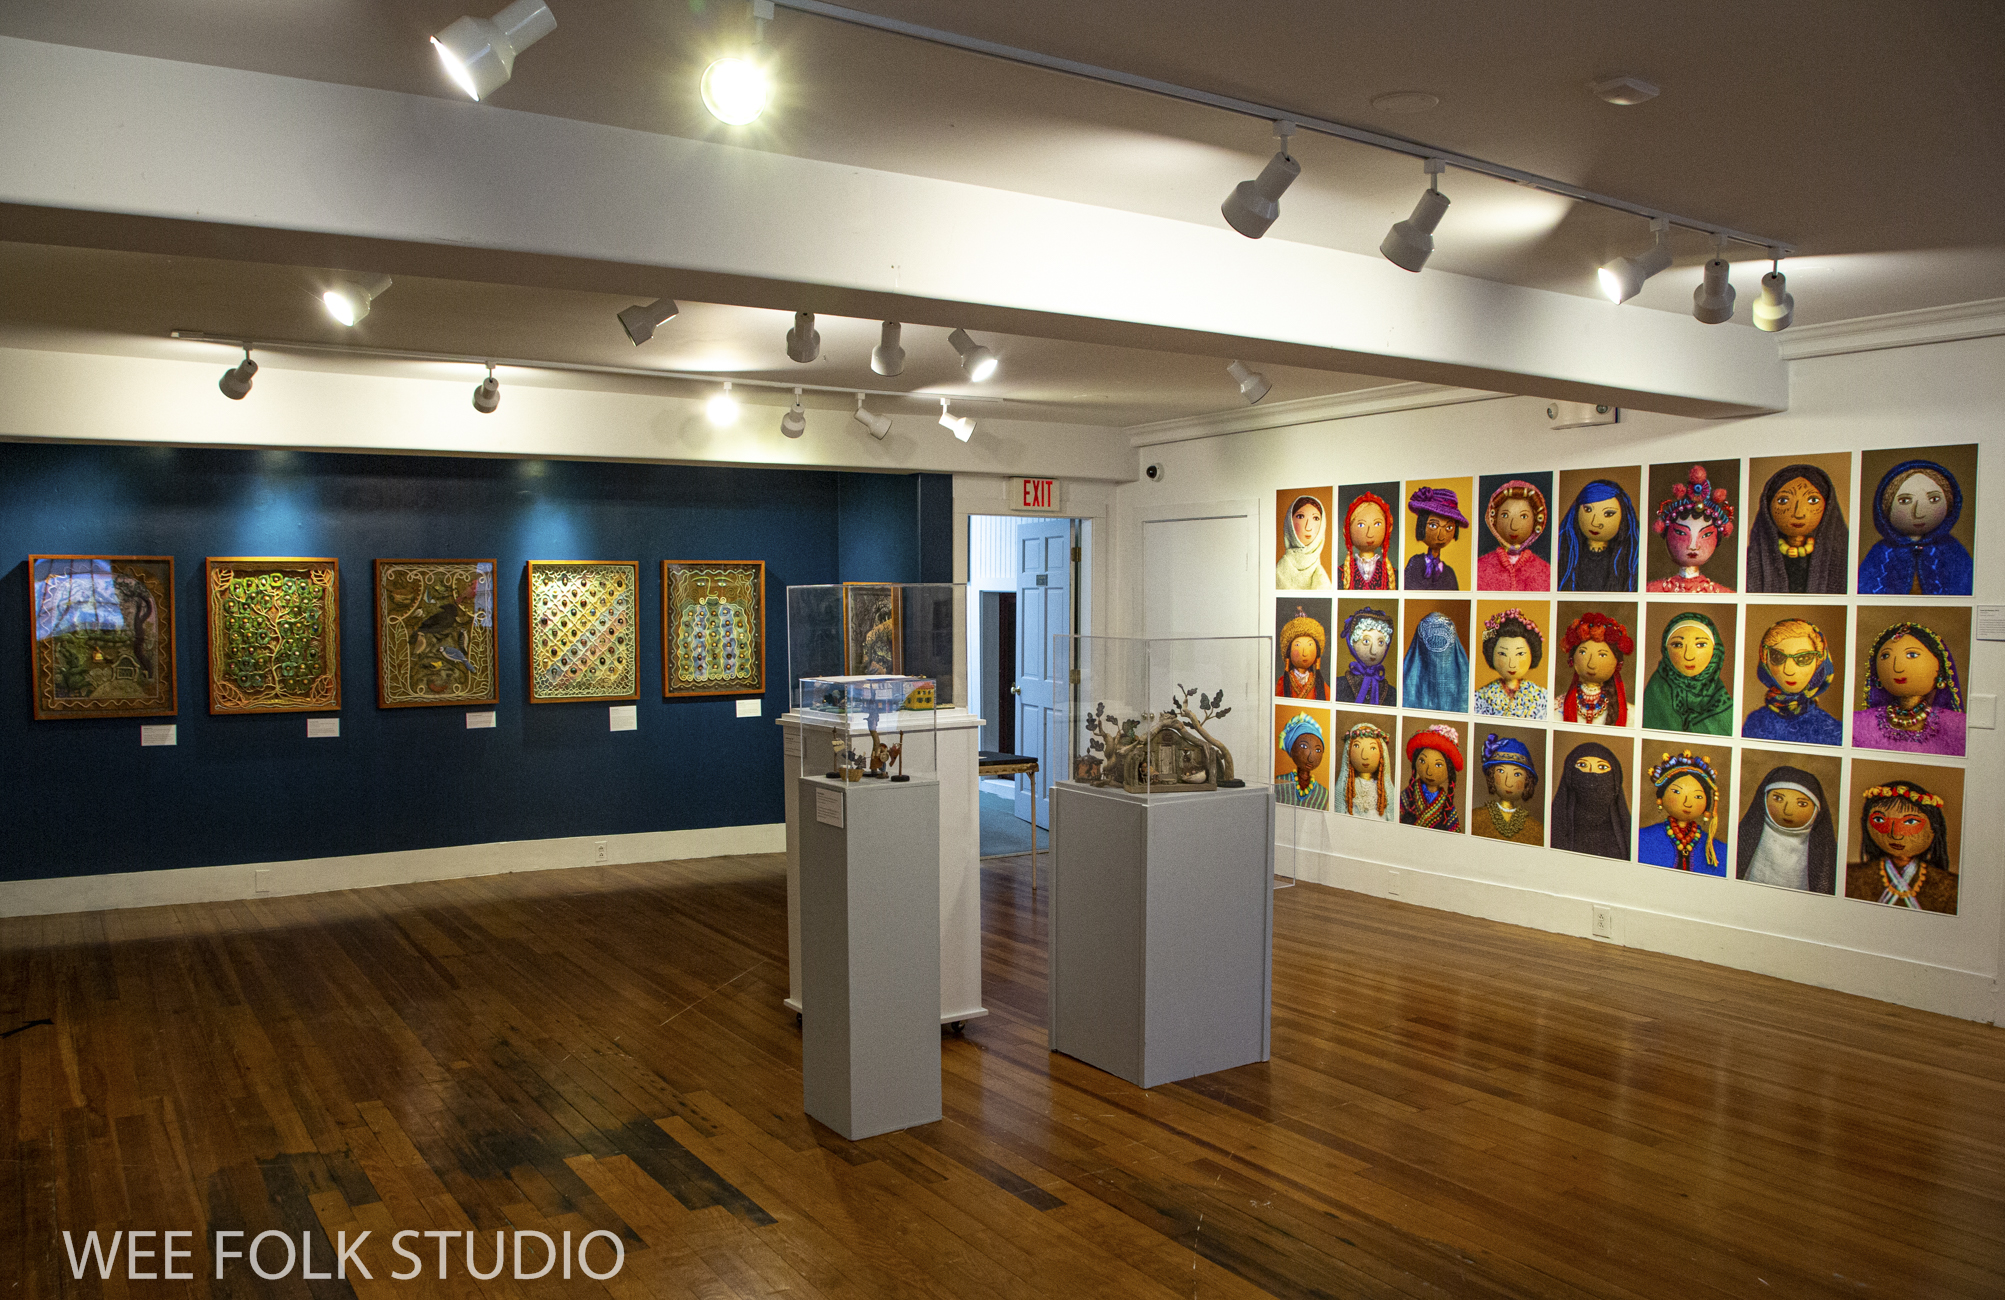
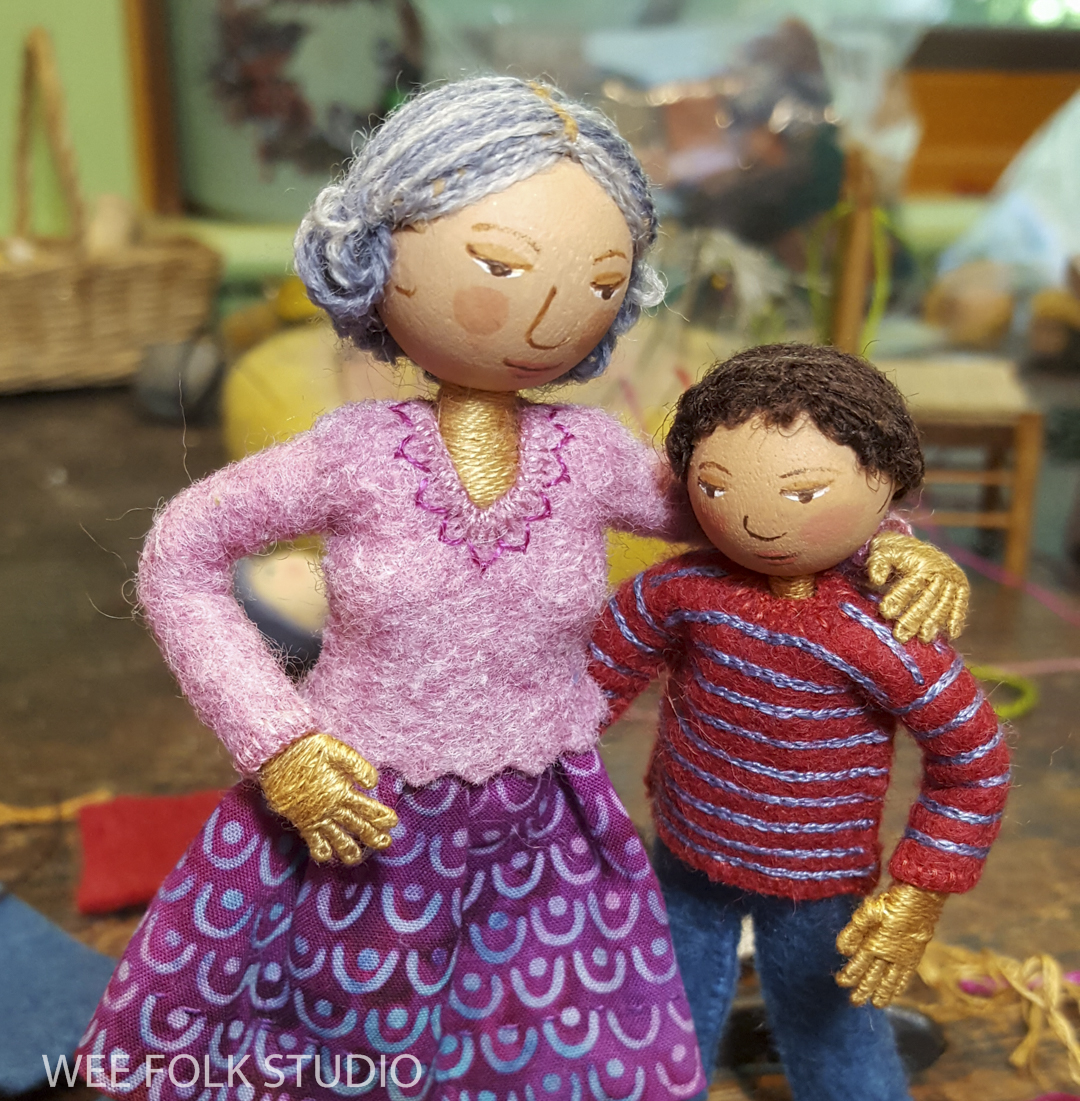
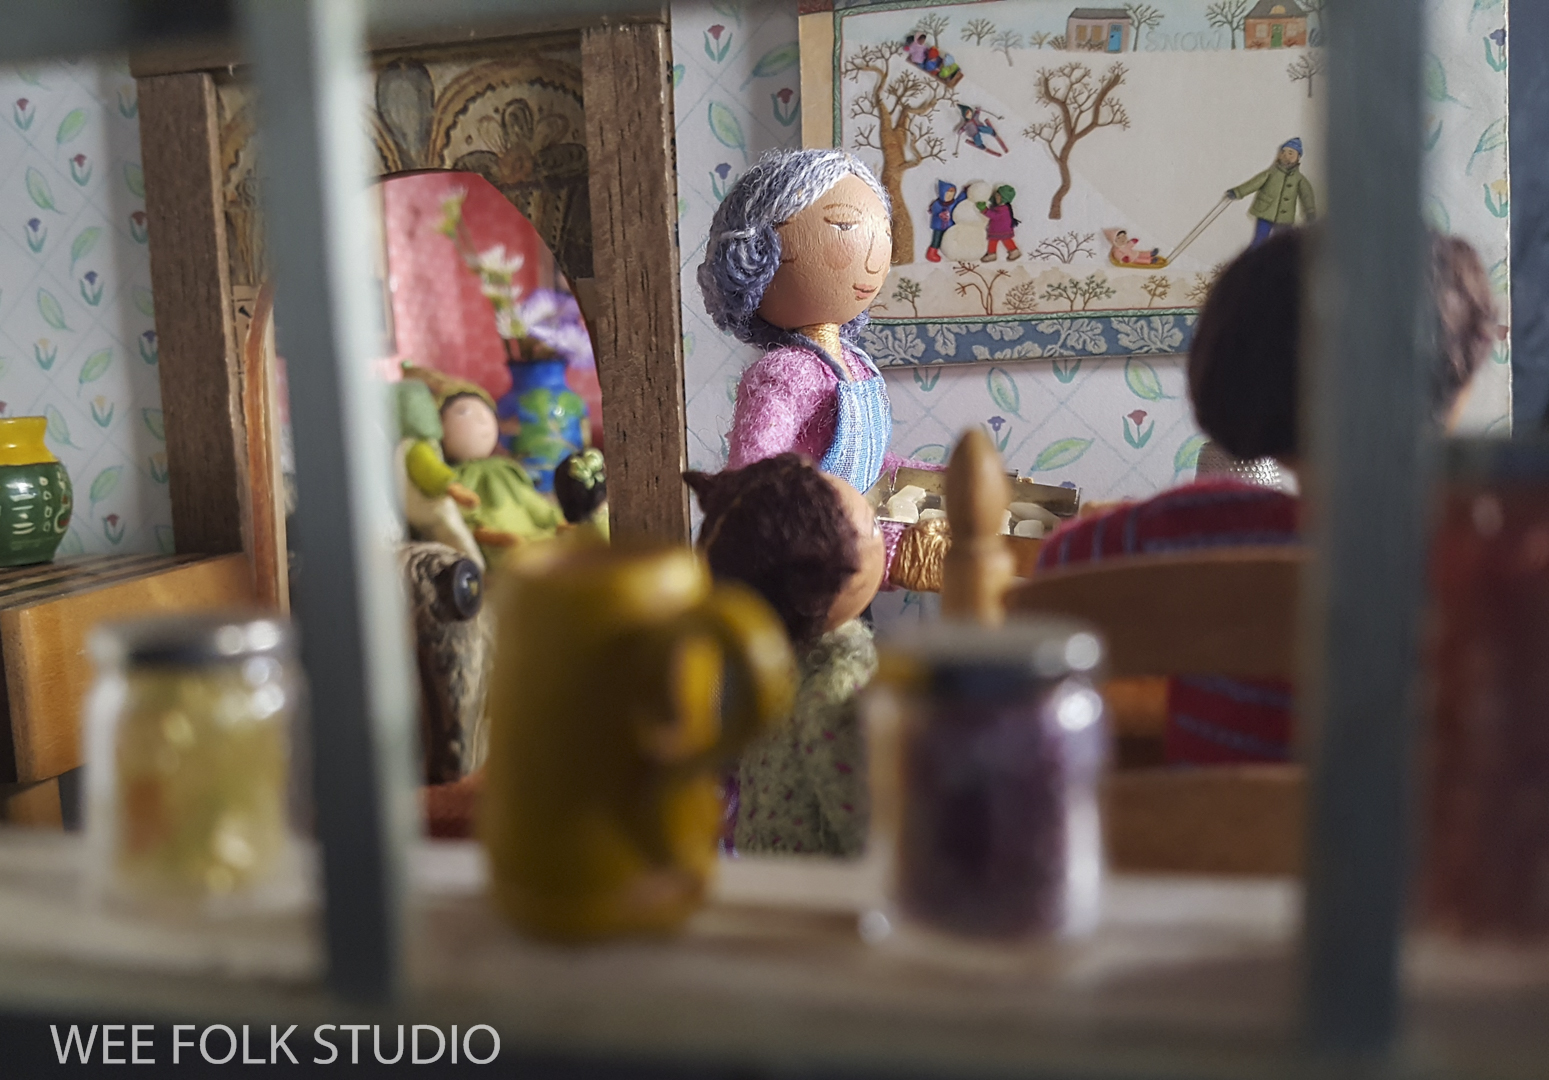
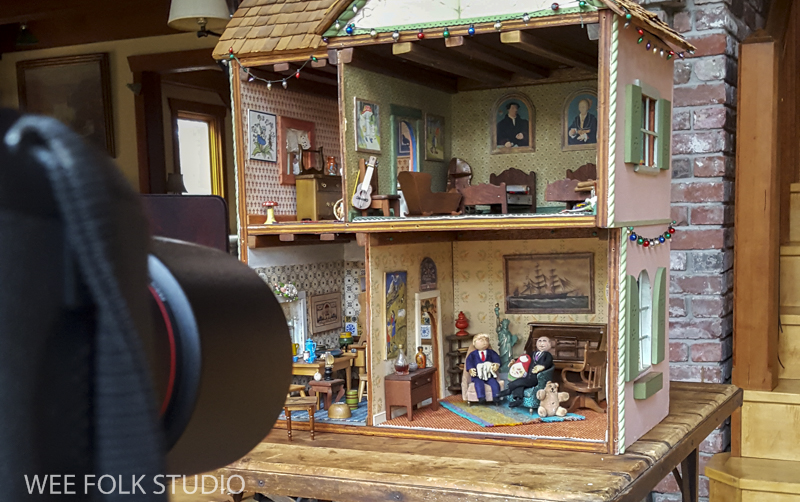
Before sharing the process of making wedding cake topper dolls for my son Ian and his new bride Liz, I want to remind you to sign up for a ZOOM Talk that I’ll be giving on August 25th at 2:PM (eastern time). “An Afternoon with Salley Mavor” will be hosted by the Brick Store Museum, where my retrospective exhibition is currently on view until Sept. 11. The Talk will be recorded so that those registrants unable to attend the live chat will receive the recorded version the next business day. I look forward to seeing your smiling faces, as I share the story of my life’s work, touching on where it came from, how it has evolved and why I do it. Have your questions ready! Please register HERE.

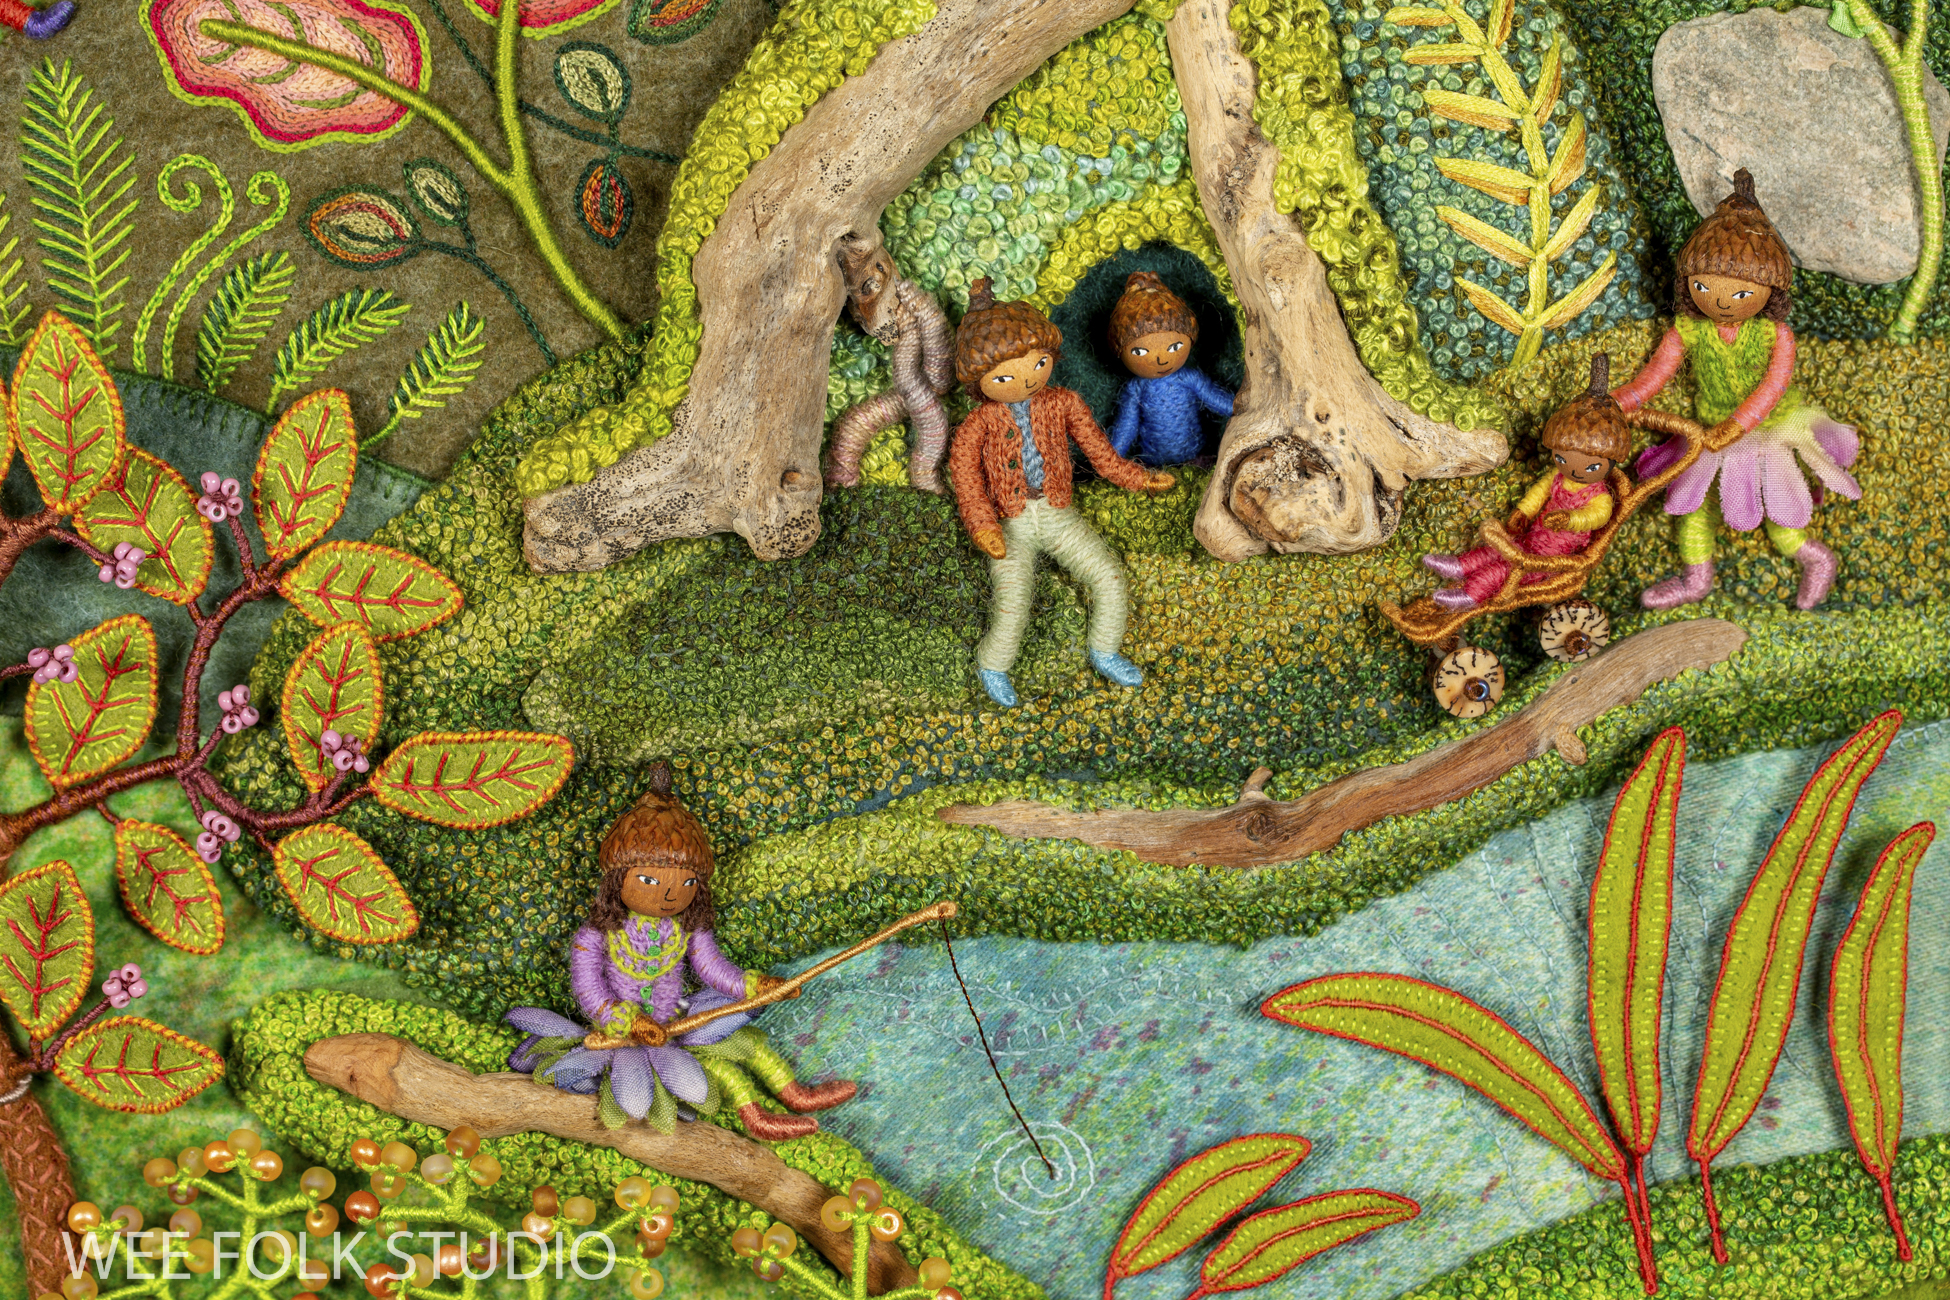
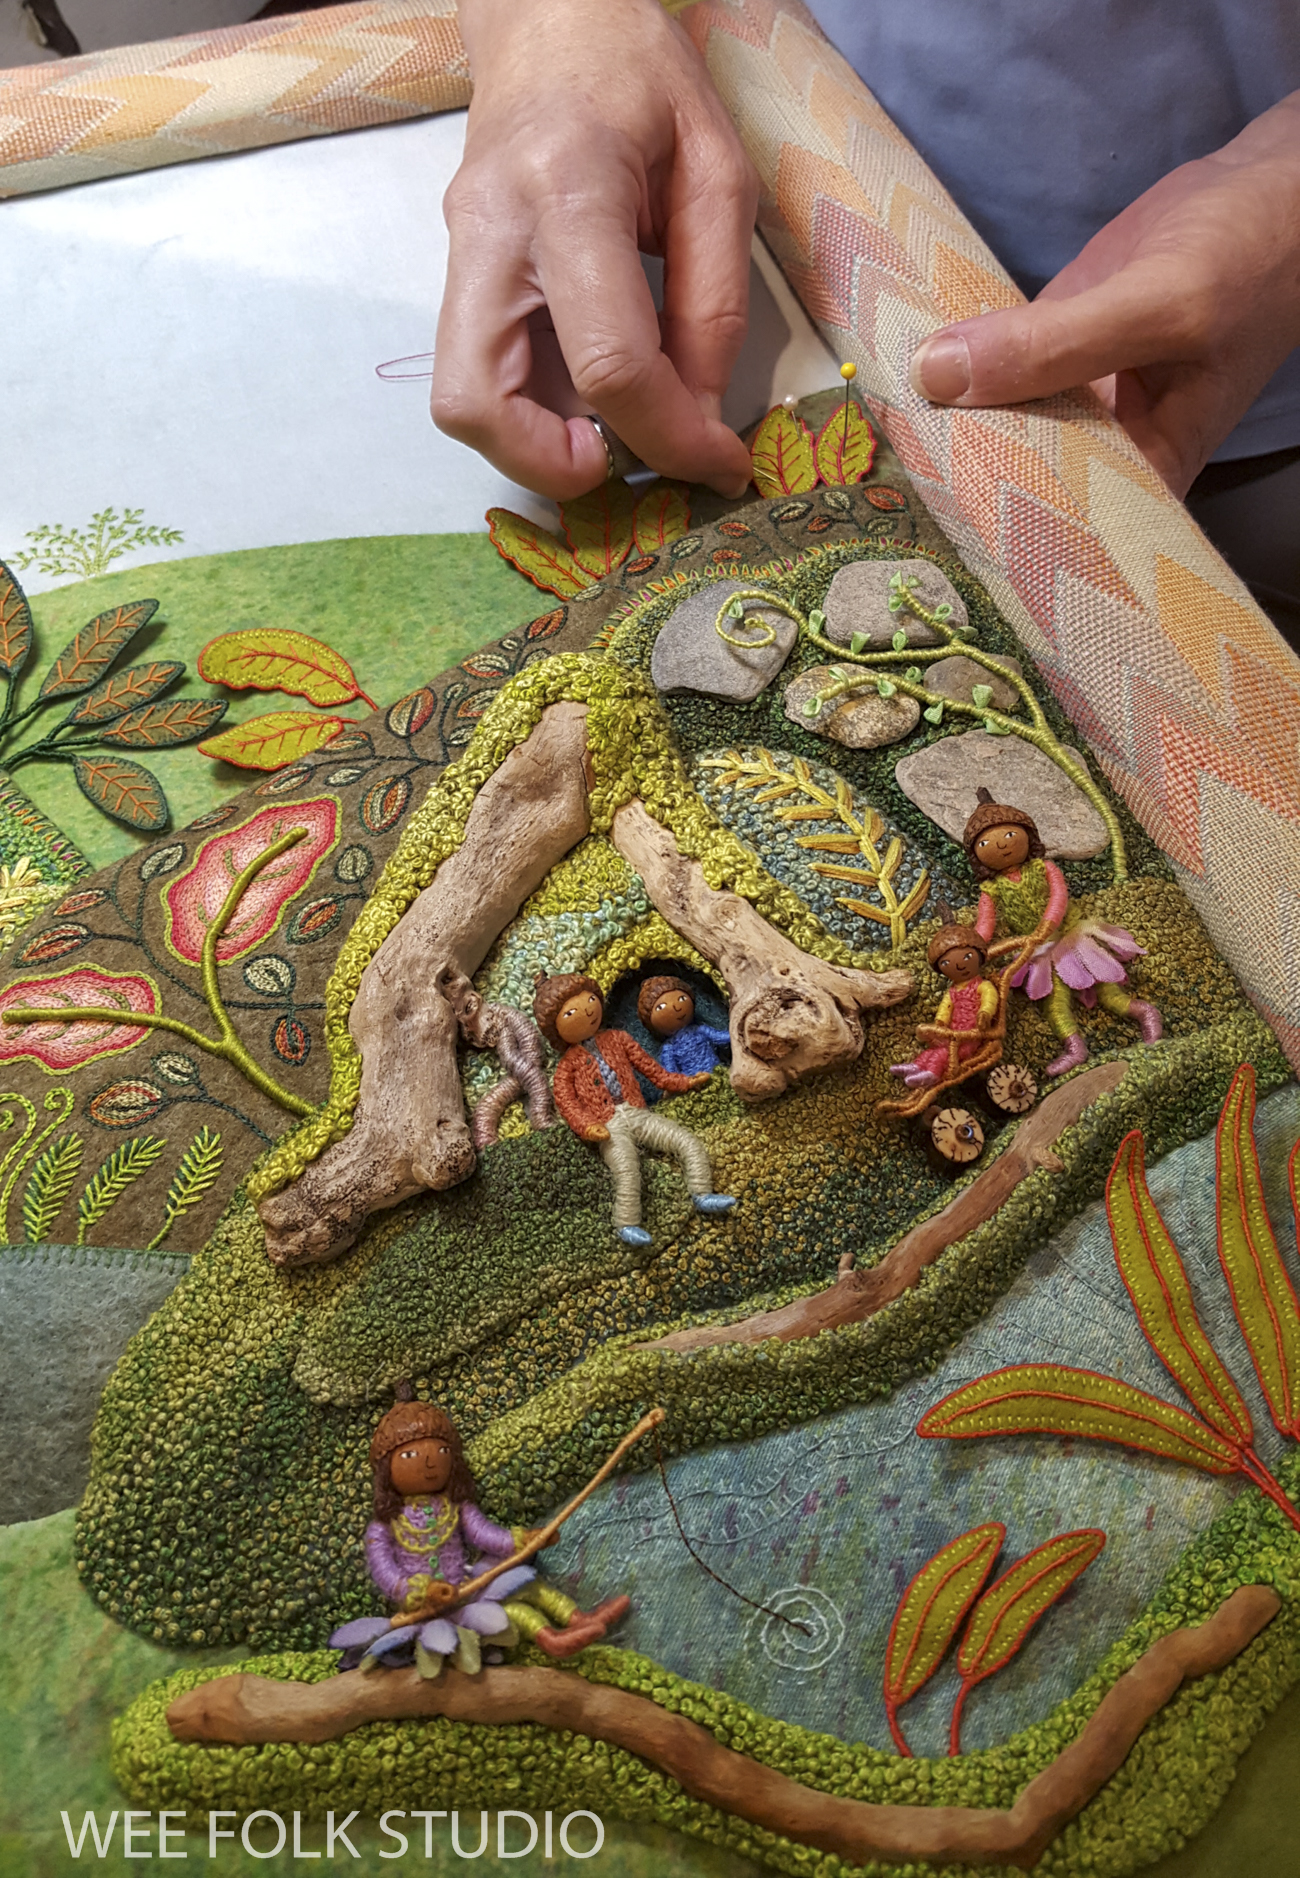
at the Brick Store Museum in Kennebunk, Maine until Sept. 11, 2022

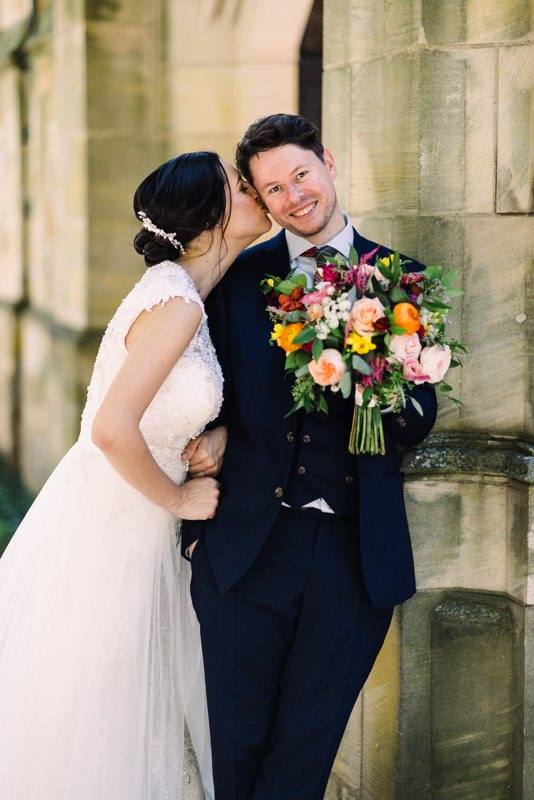
Now back to Ian and Liz, who are as adorable in real life as they are in doll form. Their wedding, which took place on July 23rd in New Haven, CT on what could have been the hottest day of the year, was a wonderful and joyous event. Rob and I are thrilled to welcome Liz into our family!
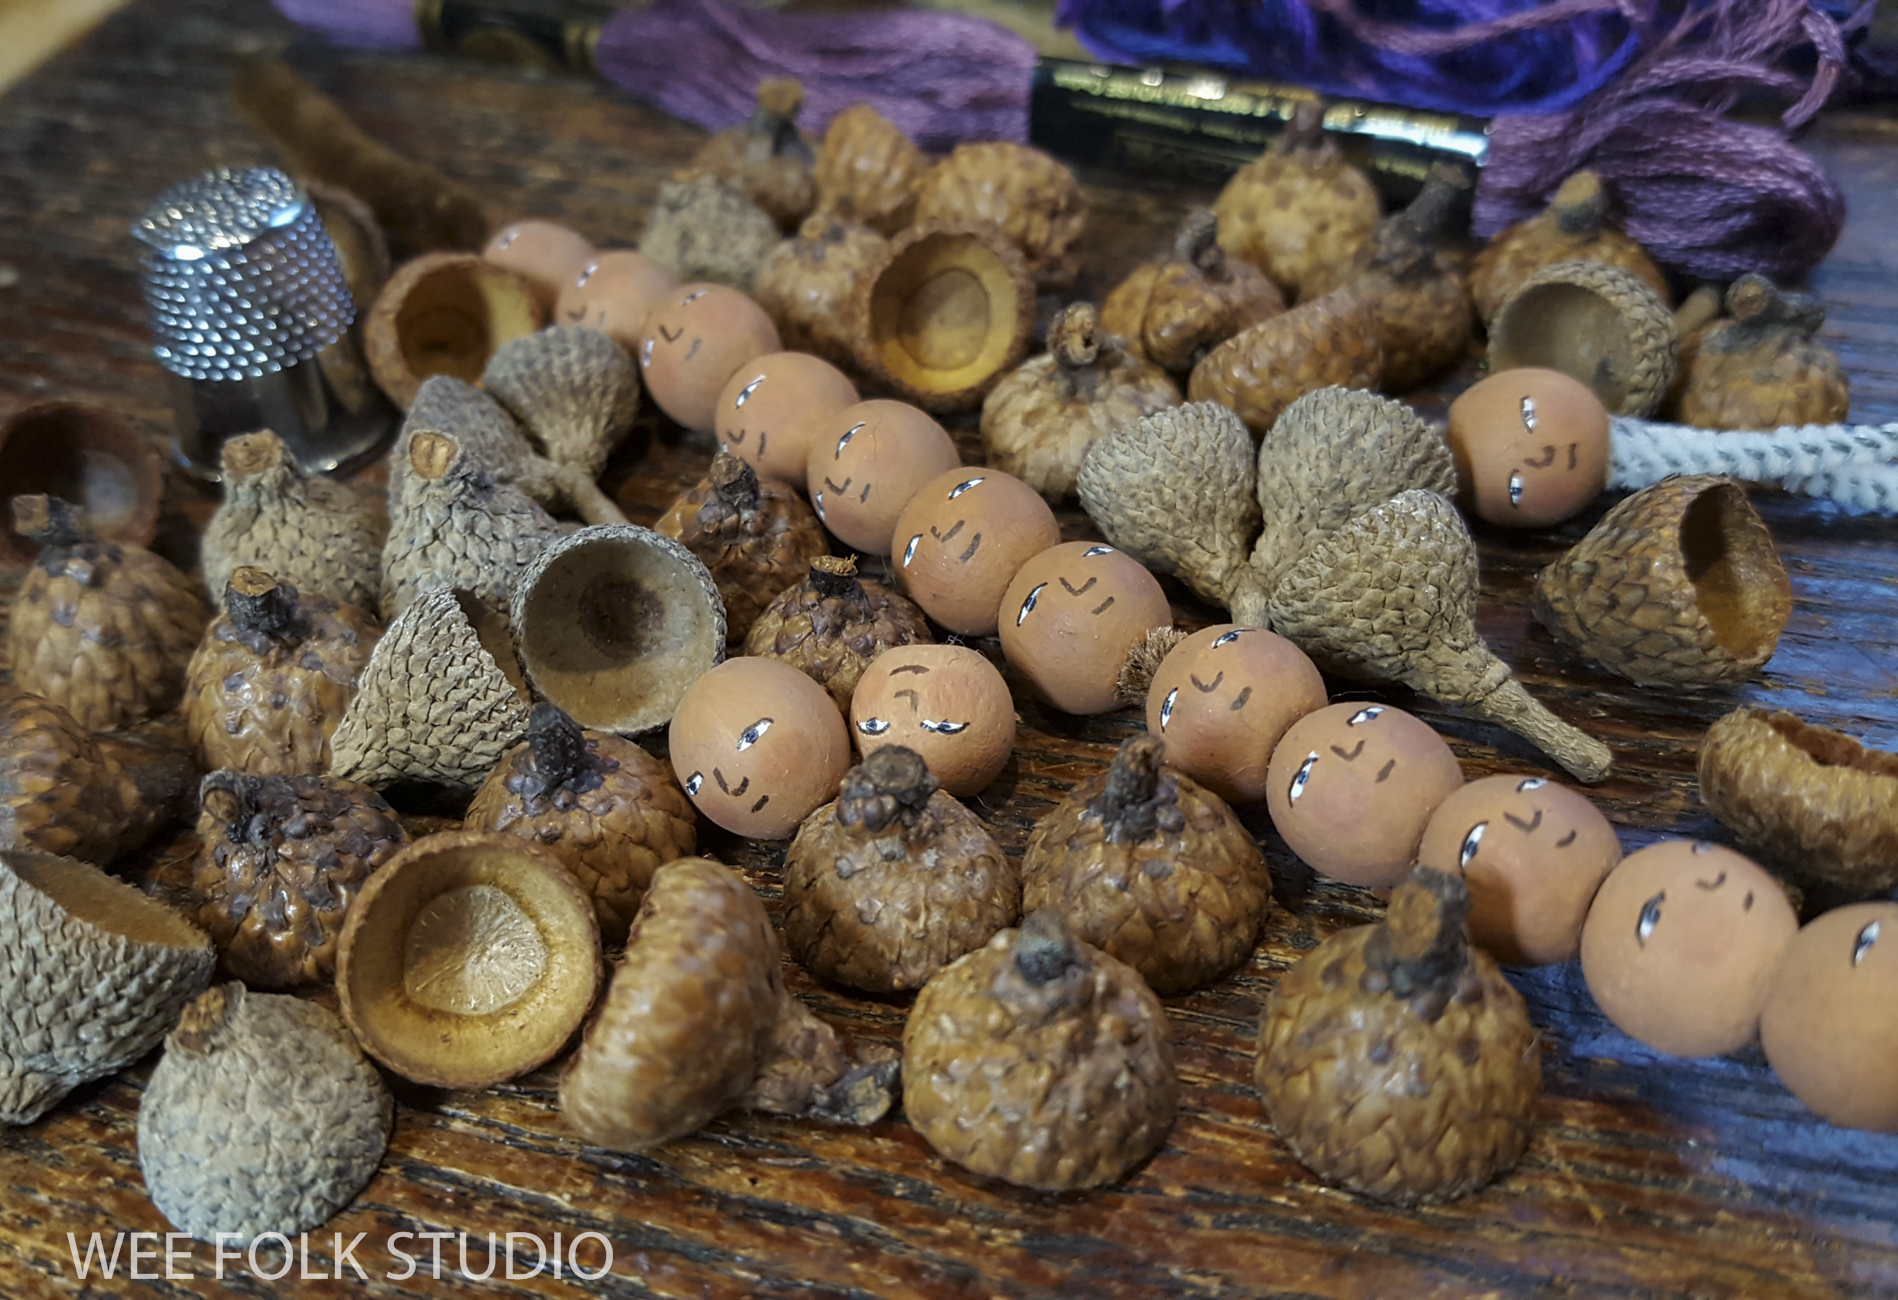
Ever since they announced their engagement a year ago, I’ve looked forward to making Ian and Liz a personalized set of wedding cake toppers. Over the years, I’ve made wedding dolls for close friends (see them HERE) and samples for a chapter in my how-to book, Felt Wee Folk, but this is the first time in several decades that someone in our family has had a wedding to make them for!


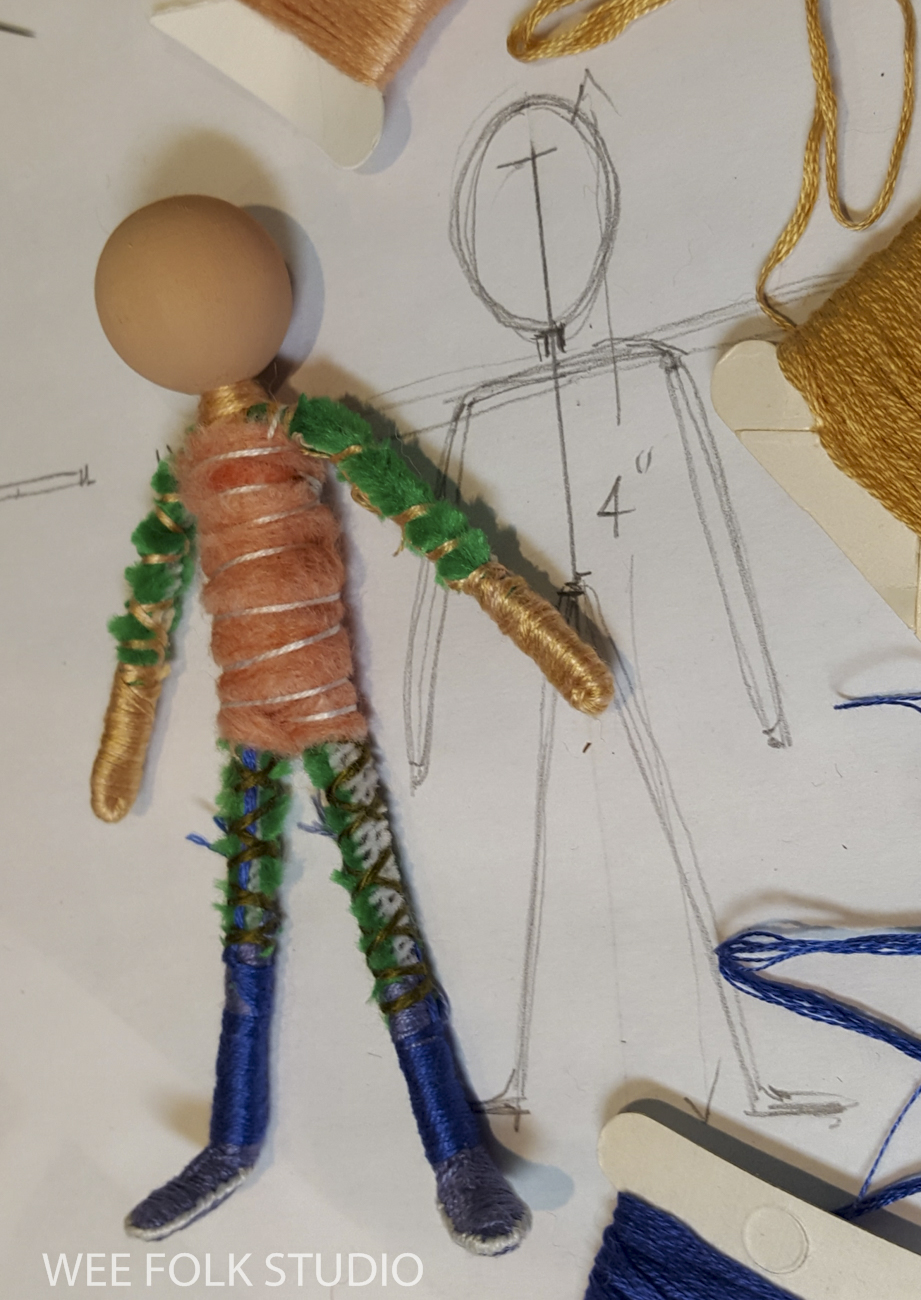
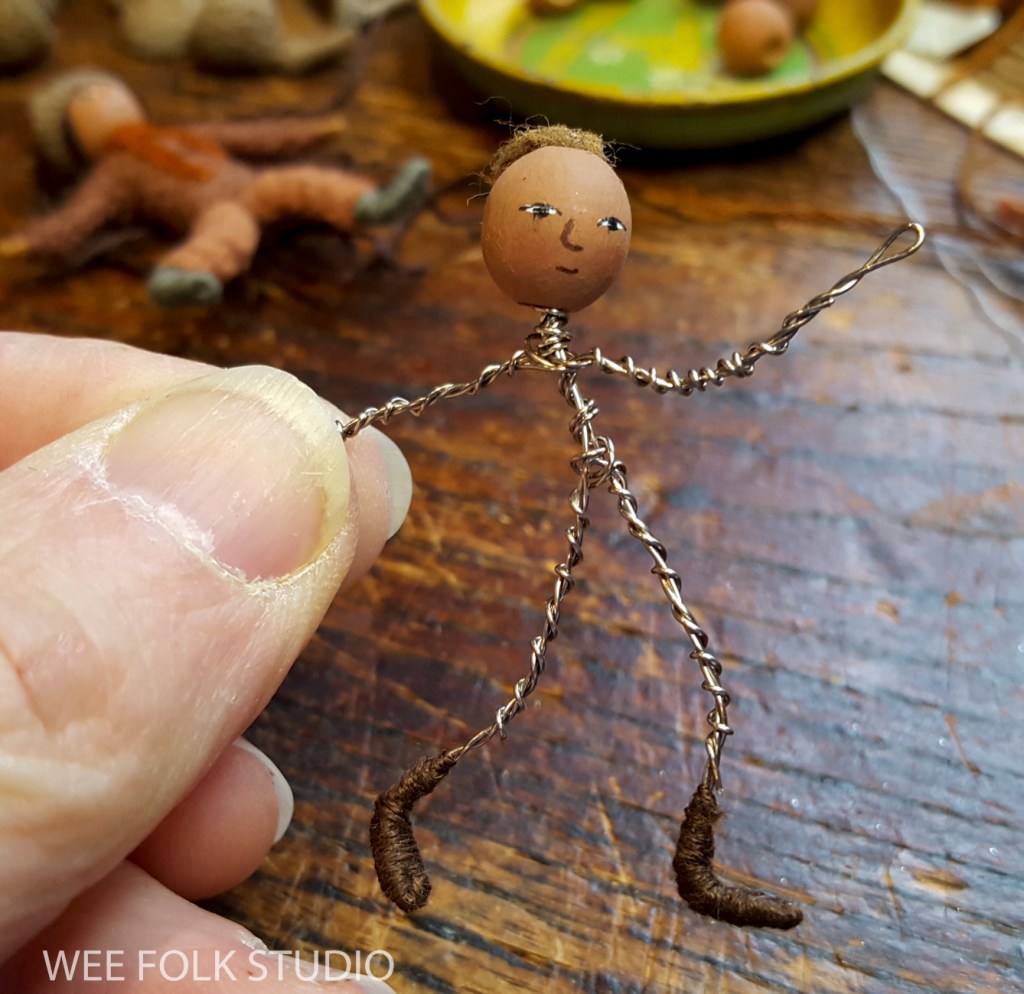
I had a short window of time to work on them in late June and early July, after my exhibition in Maine was underway and when Ian and Liz could provide reference photos of their clothing, hair styles and other details. If you’ve made figures using the instructions in Felt Wee Folk, you’ll know that you start with the feet, so I couldn’t begin until I had photos of their shoes.
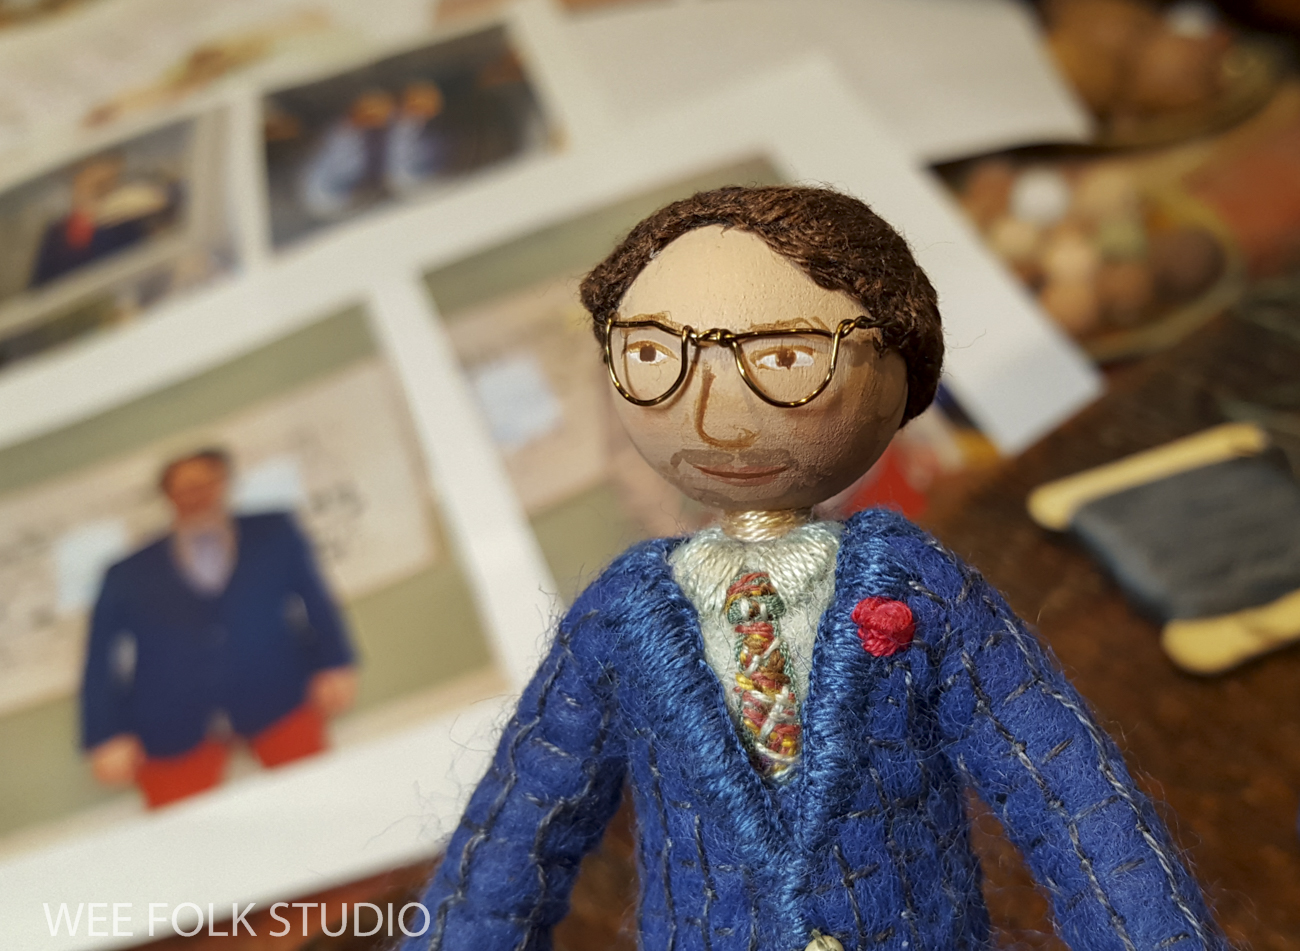
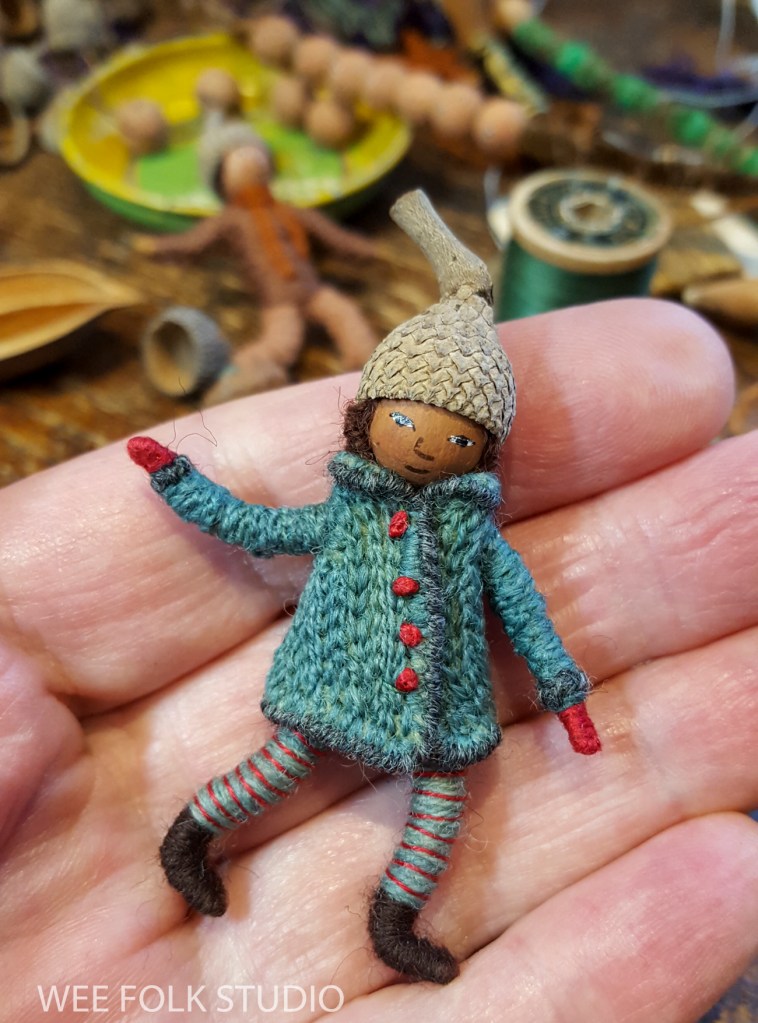
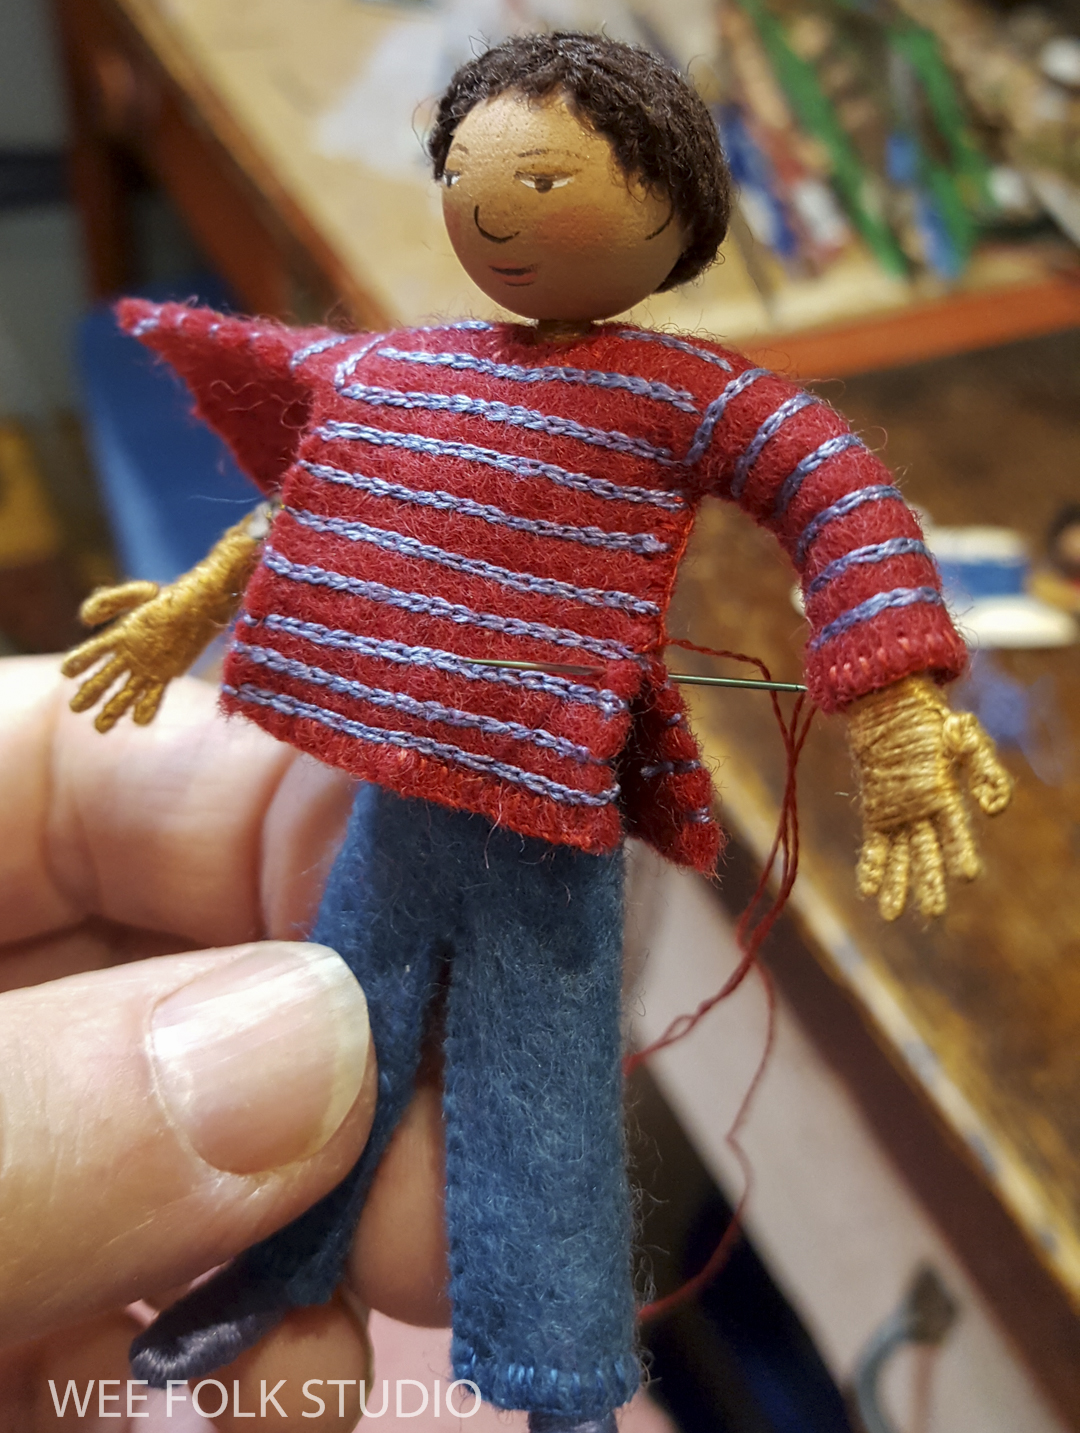
Ian chose a tartan tie (Buchanan from my mother’s side) that we bought for him on our last trip to Scotland. We have Scottish ancestors through many branches of the family, so there are a few different tartans to choose from, but those are never available in souvenir shops.

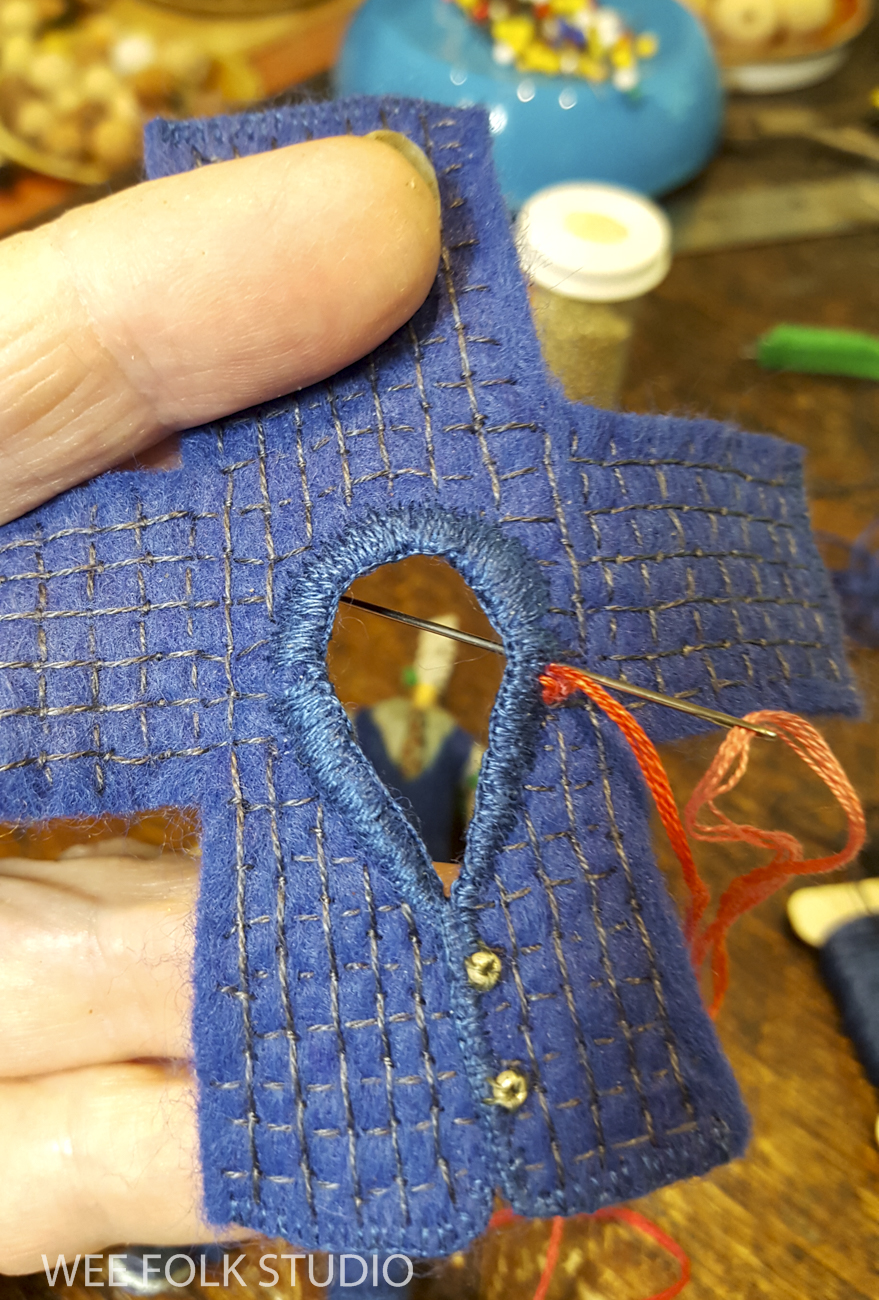
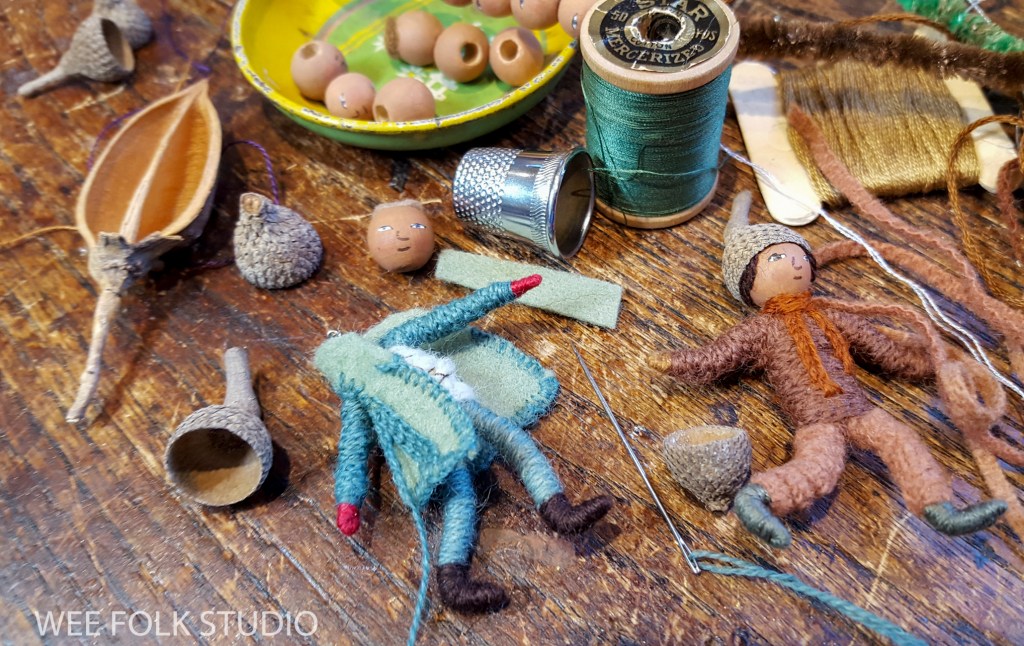
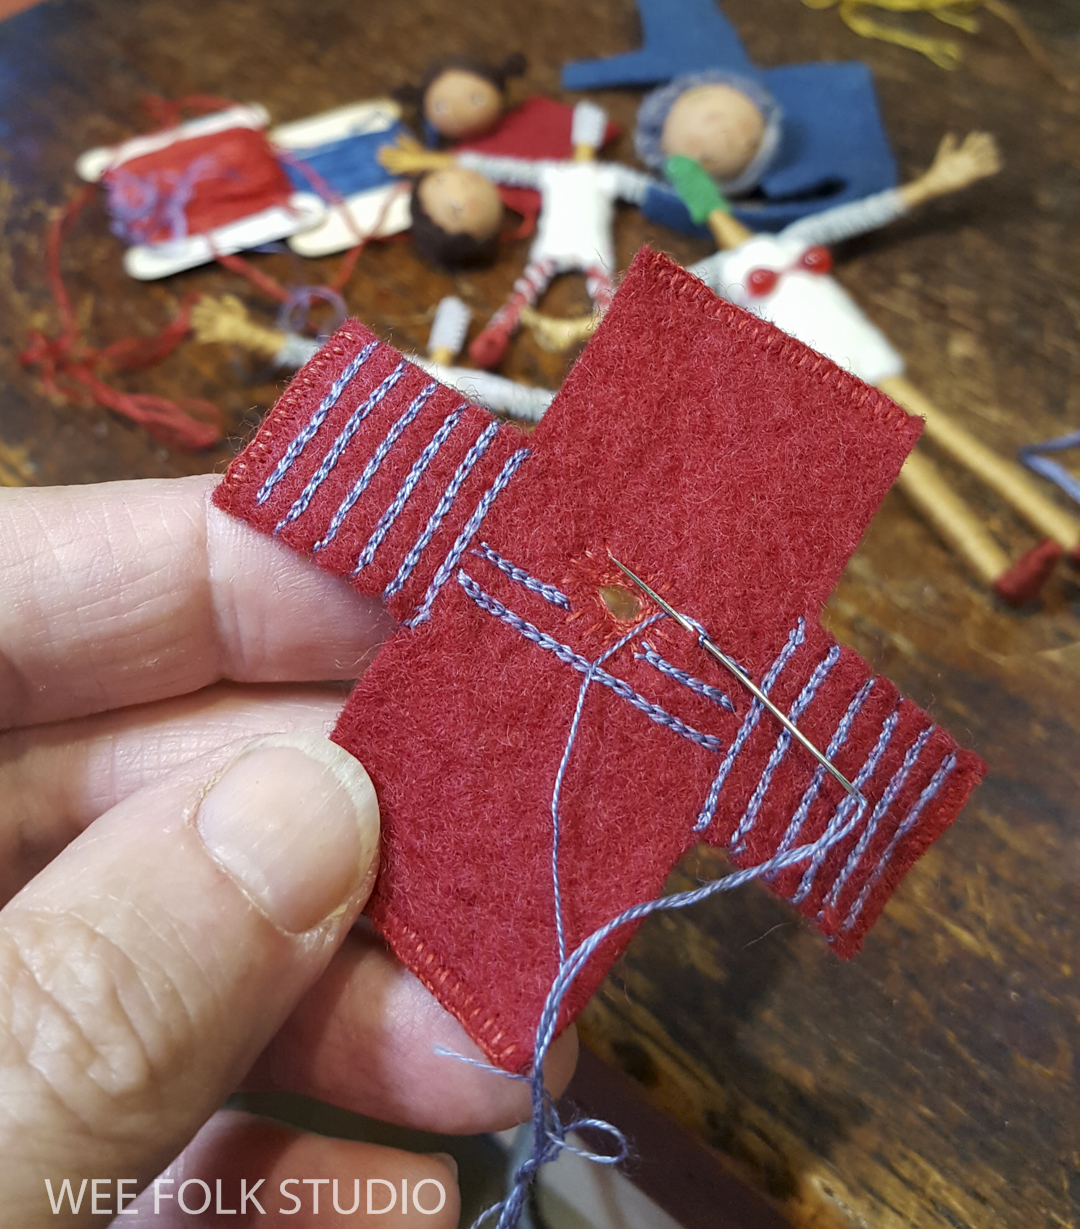
I matched the window pane weave of Ian’s suit with a stitched grid of embroidery floss and added a French knot boutonniere to the button hole stitched collar.
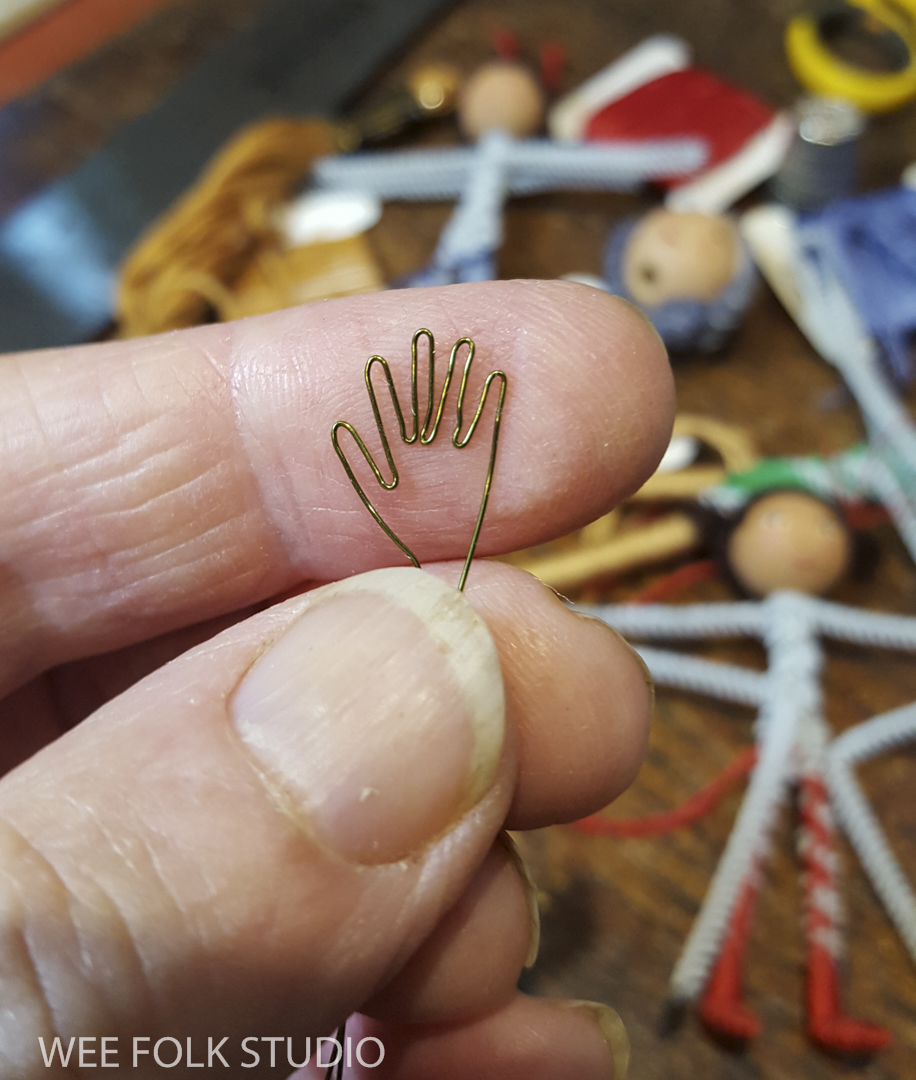
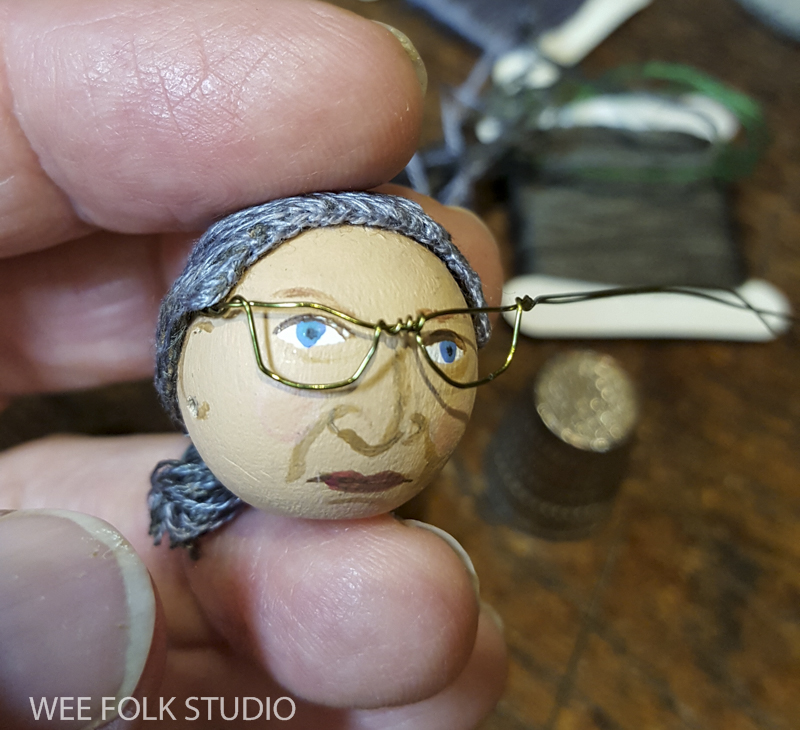
It’s been a while since I’ve made glasses, so I referred to my Cover Up poster to see how I twisted wire to form their shape.

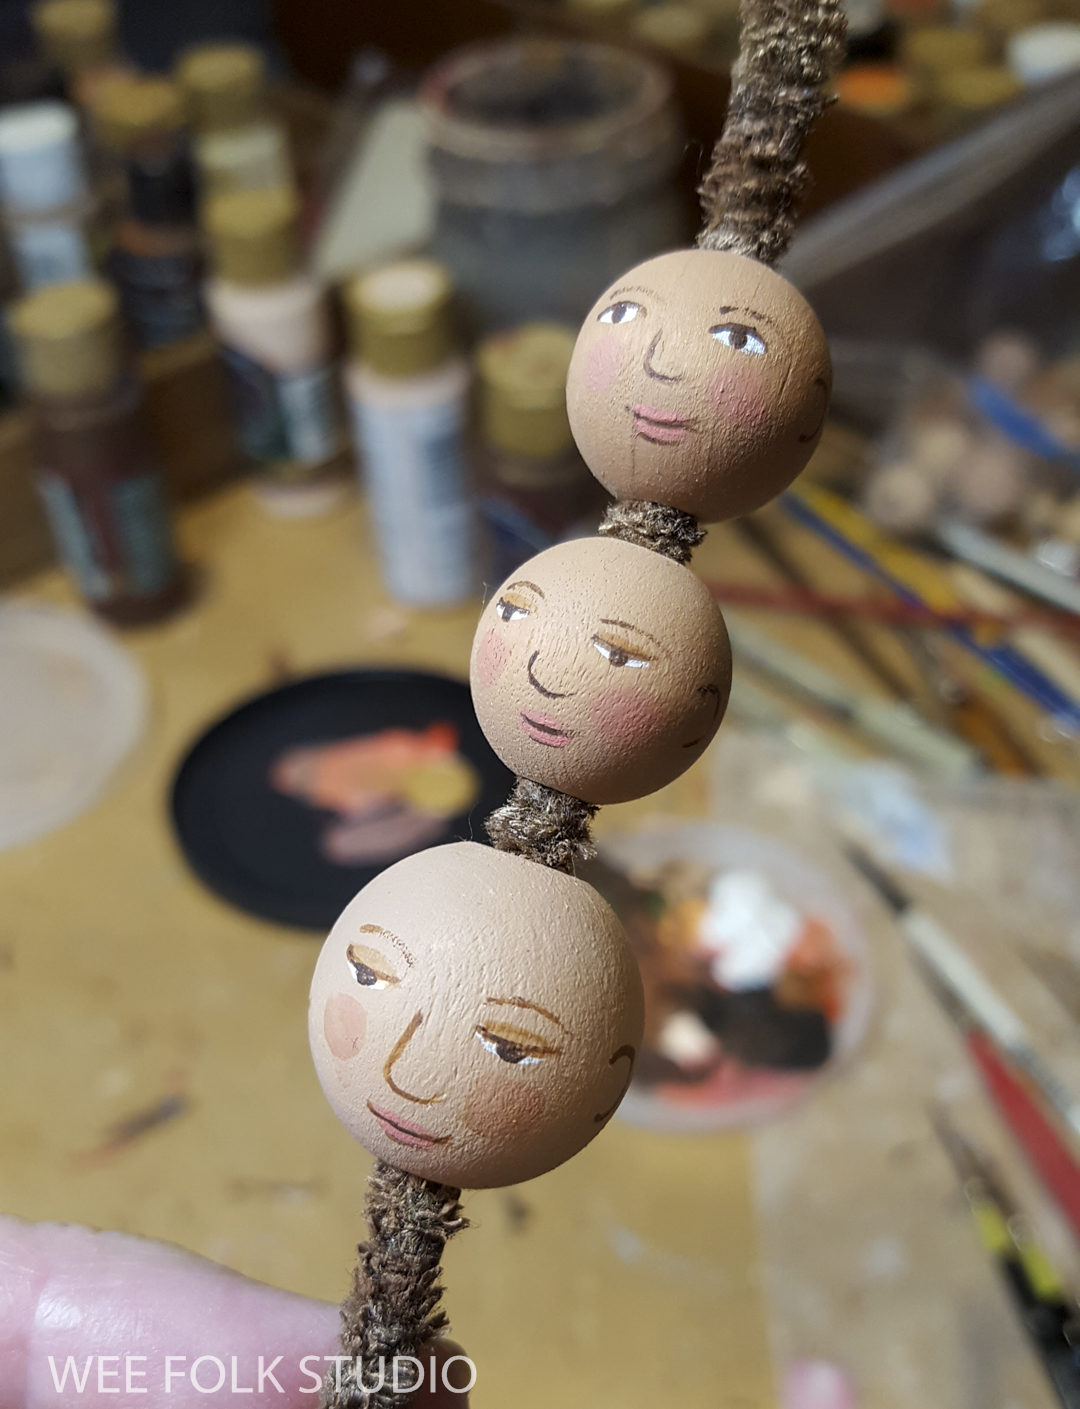
Before painting his face, I asked Ian if he would be clean shaven or sport a beard on his wedding day. He carefully planned for a 3 day old scruff look, a favorite with millennials.
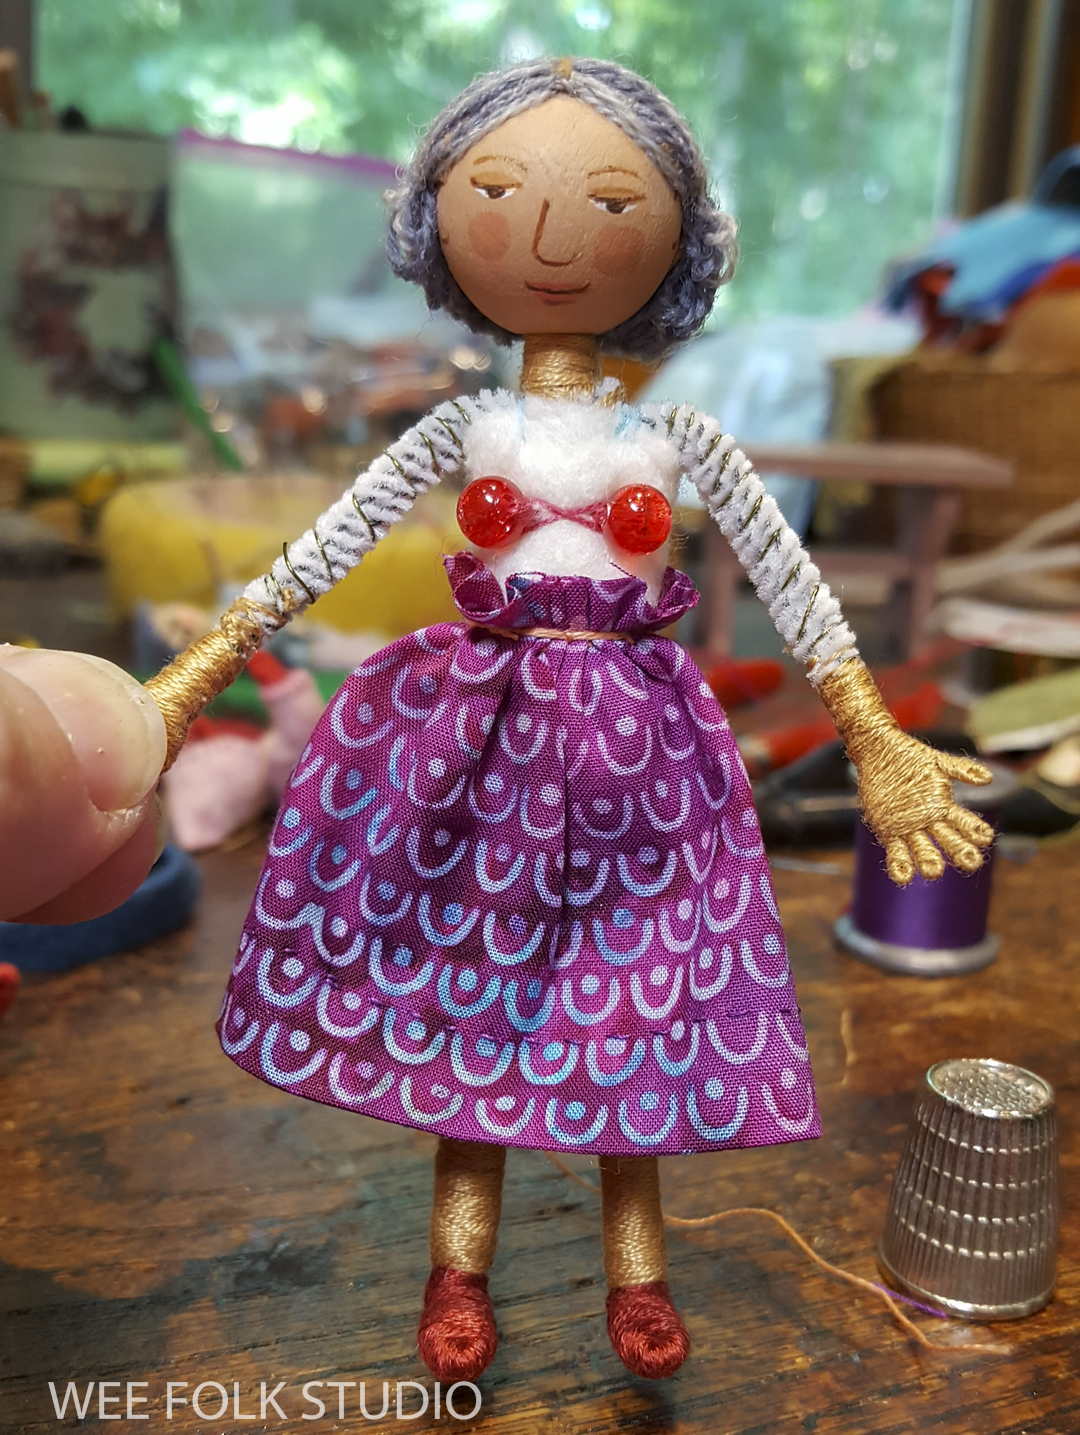
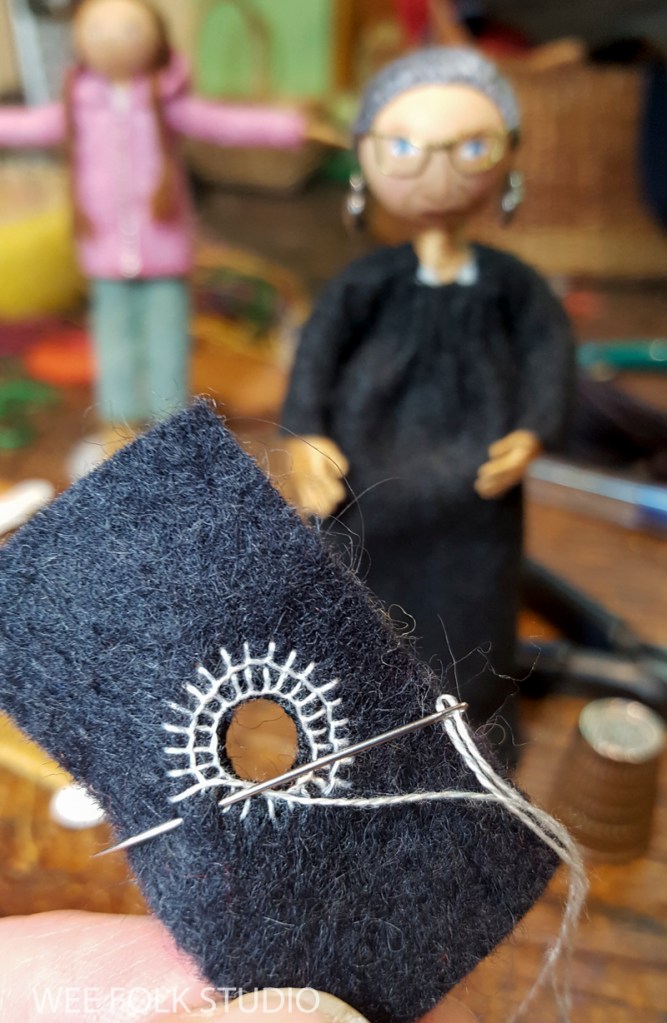
The bridal gown was so much fun to replicate in miniature. To get a womanly shape, I sewed a pair of boob beads onto the armature and then created the bodice with a combination of felt, embroidery floss and metallic thread.

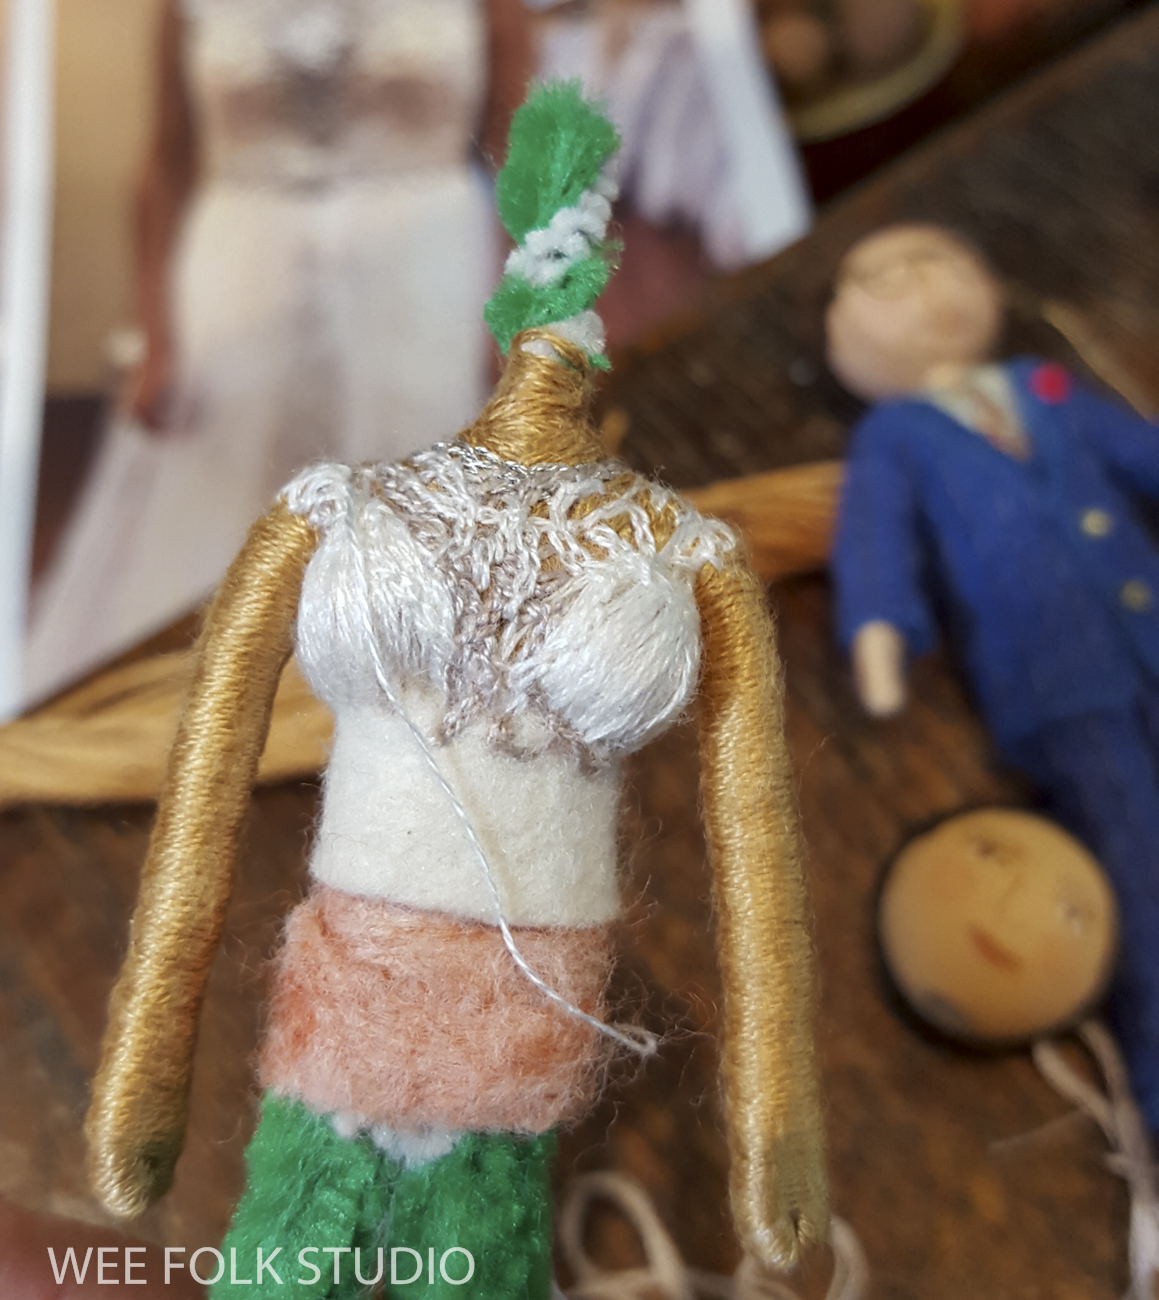
The metallic thread was a pain to work with, but it did the job!

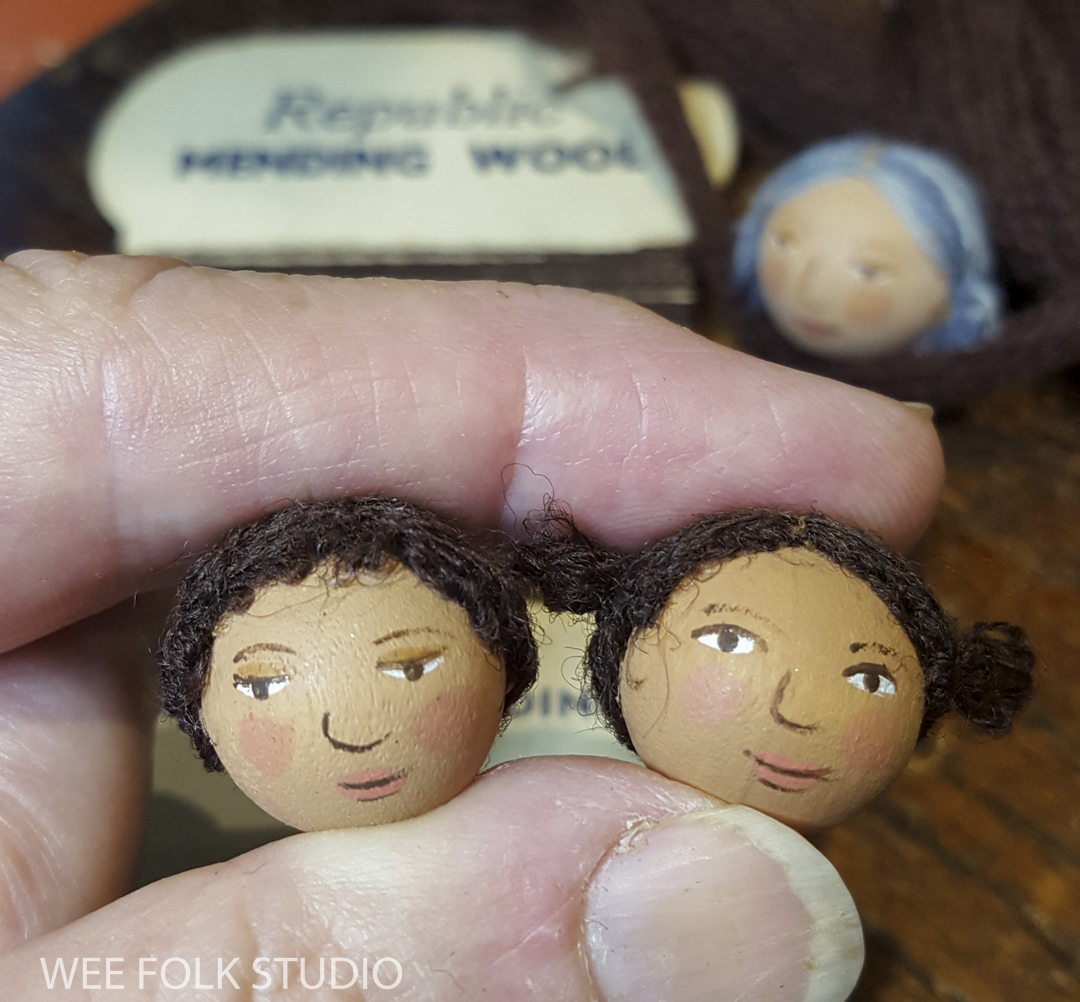
Liz sent photos of her hair in a low bun, which I copied.


To make the curly tendrils in front, I smeared glue on a few strands of floss and wound it around a piece of insulated wire until it dried.


When the dolls were finished, I moved onto their platform, which was an oval shaped piece of wood I found at Michael’s.

Planning ahead for when I would sew them in place, I drilled 4 holes (one for each foot) through the wood.

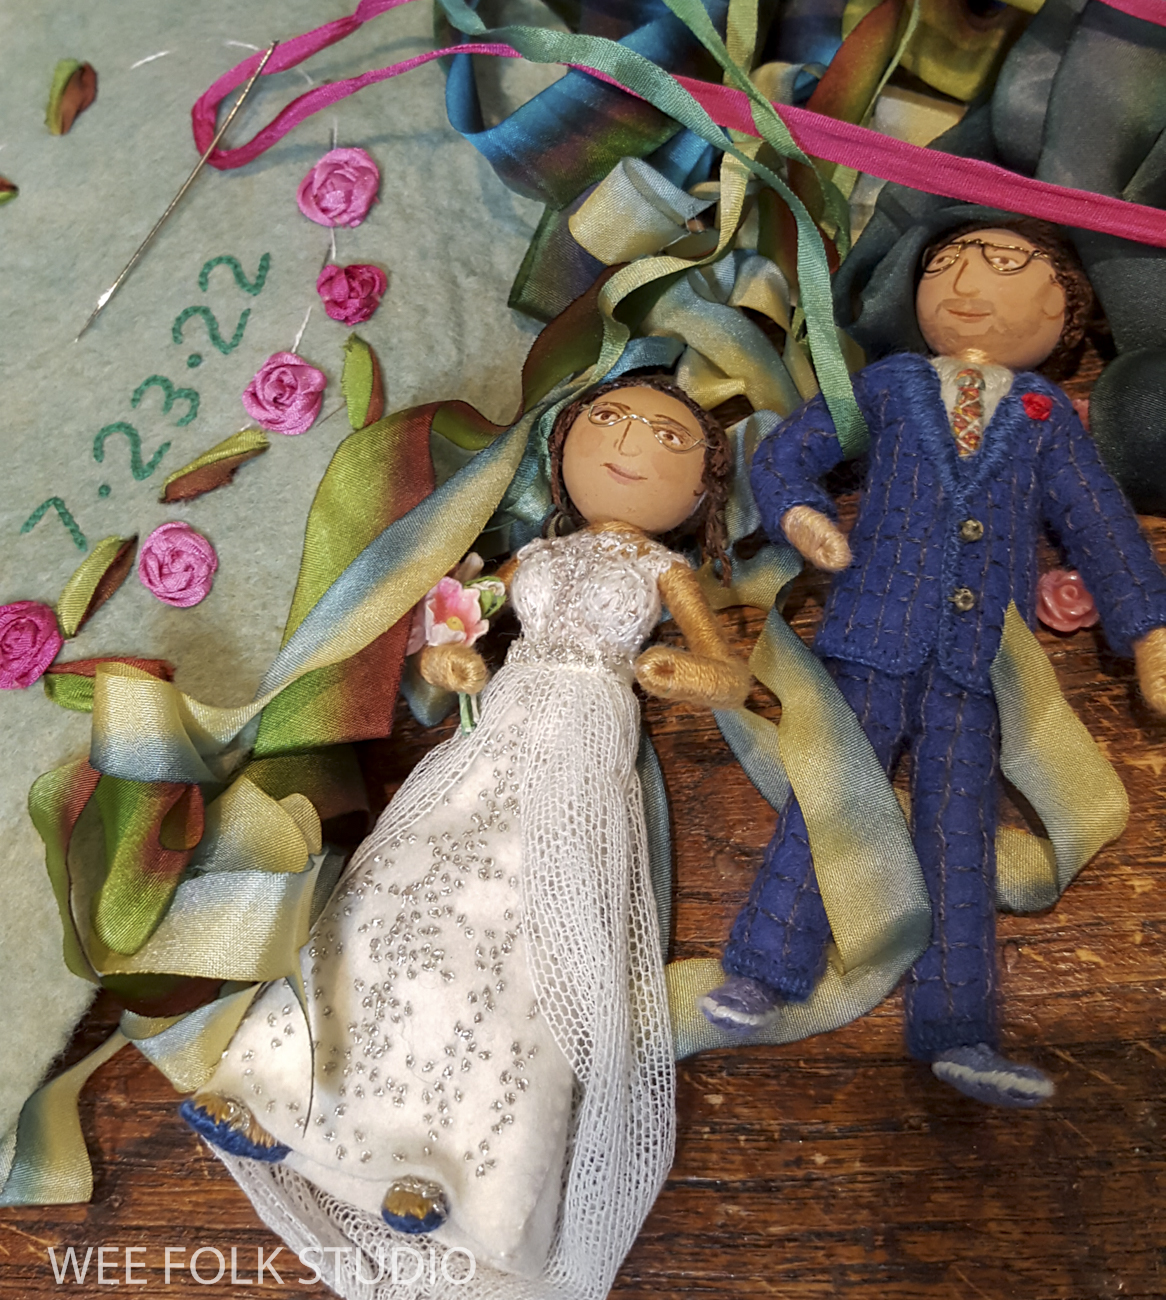
I cut out a piece of wool felt and chained stitched their wedding date in the space that would be in front of their feet. In the photo, the dolls aren’t sewn in place yet, just balanced there while I gauged the spacing.

I used a spider web technique to embroider ribbon roses, which I learned on YouTube.
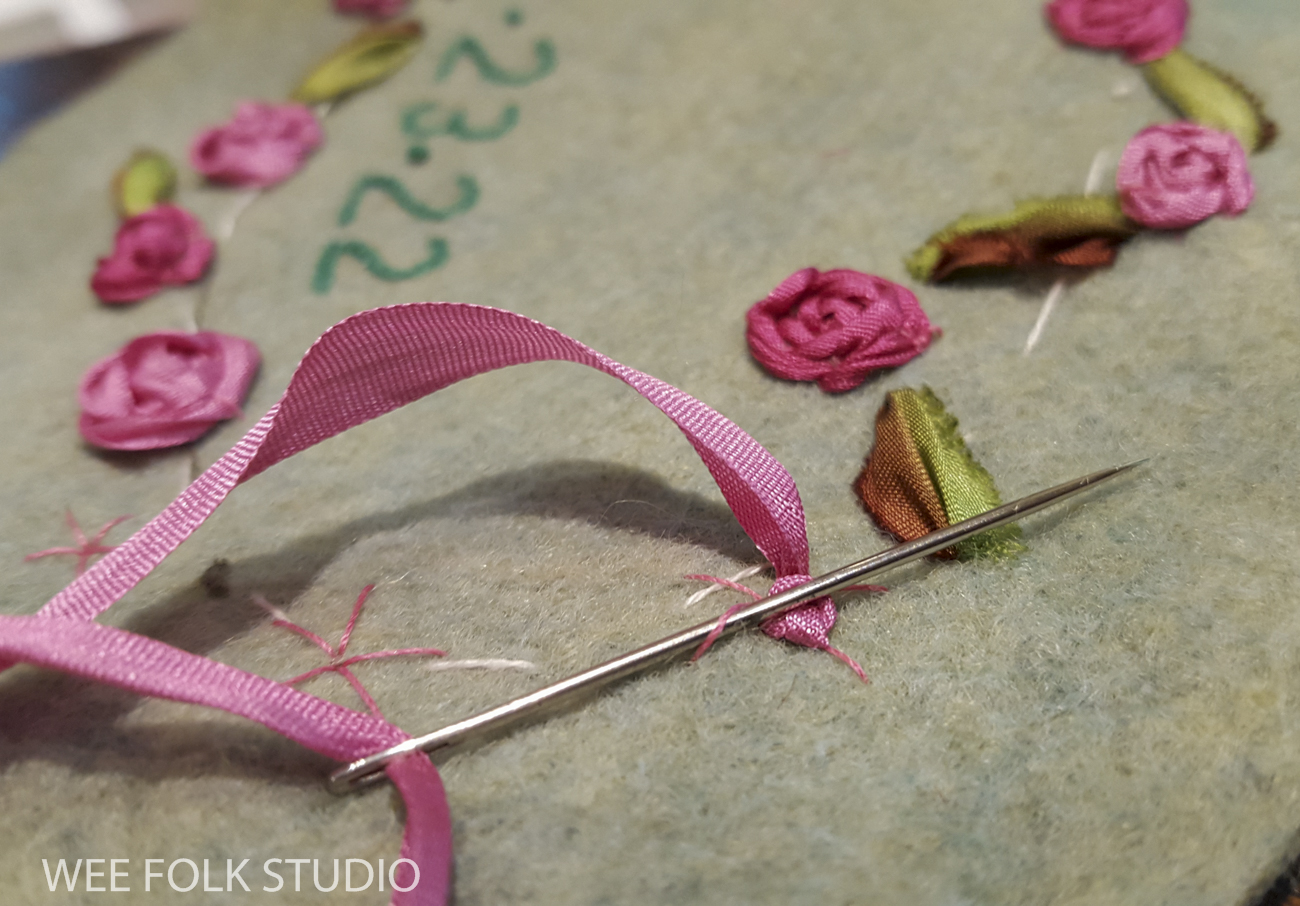
It was a chance to use some of my collection of silk ribbon, which usually just sits in a basket looking pretty.

The dolls relaxed while I decorated their stand.
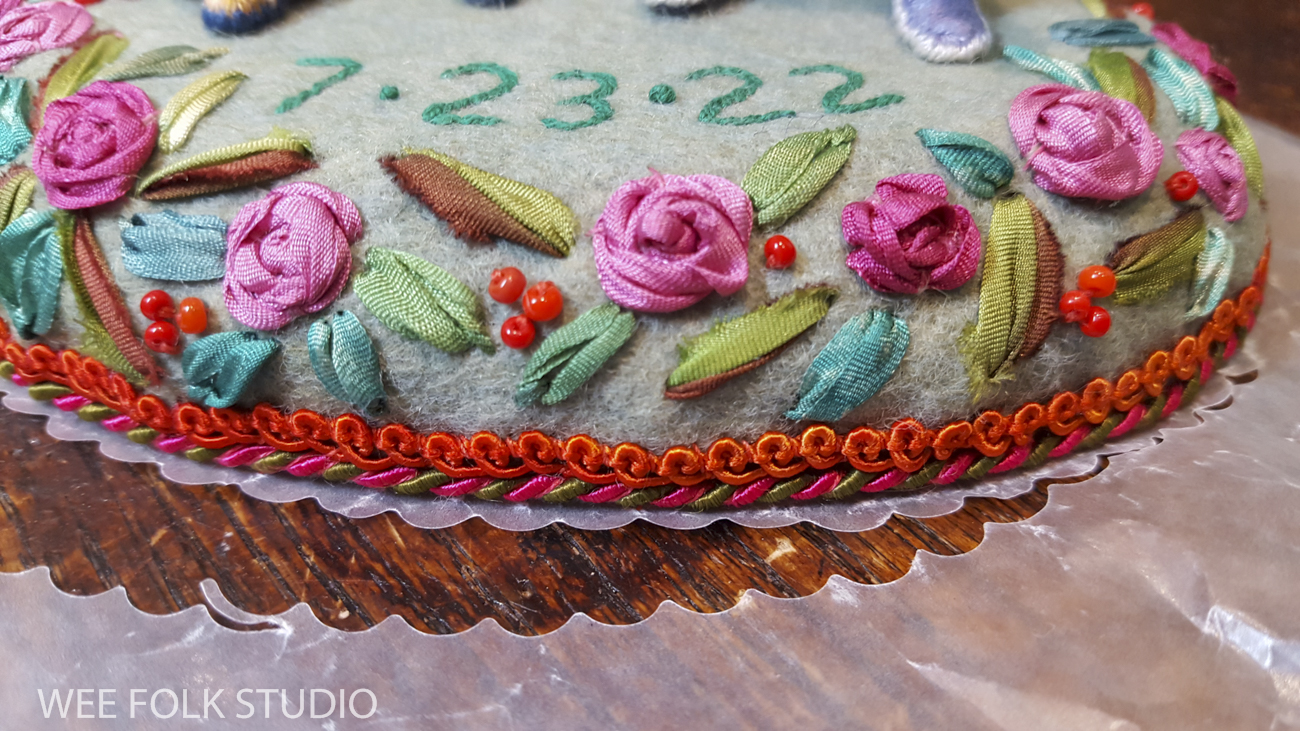
I glued a piece of felt to the bottom of the wooden platform and stitched the embellished felt top piece to it around the outside edge.

For a finishing touch and to add some visual weight, I sewed rows of braid and twisted red and green memory wire to the bottom edge of the stand. I had marked the location of the drill holes, so it was easy to anchor their feet with a few stitches using a long sewing needle.


In anticipation of the fact that the wedding couple would be placed on top of a frosted cake (it was carrot cake with cream cheese frosting), I stitched a layer of wax paper to the bottom to protect the felt. It was a good thing, because afterward the wax paper was a bit sticky when I ripped it off.

To keep up with new posts, please subscribe to this blog Your contact info will not be sold or shared. If you’d like to see more frequent photos tracking the projects in my studio, please follow me on Facebook and/or Instagram.


