

This is part 4 in a series of posts about my new embroidered bas-relief piece Cover Up. In part 1 and part 2, the collection of “covered” women are introduced and discussed. Part 3 shows how I made the pieced felt background.
The next phase in the project involved making a felt covered wire border, which is a new technique I’ve developed over the past few years. The idea originated with a desire to form and stitch lines that have a 3-dimensional quality. I’ve used wire in my work for many years, but mostly in miniature scale. With larger gauge wire, covered in strips of embroidered felt, I have been able to incorporate bolder, linear patterns and designs into my work, like in the pieces shown below; Birds of Beebe Woods, Face Time, Whiskers and Rabbitat.

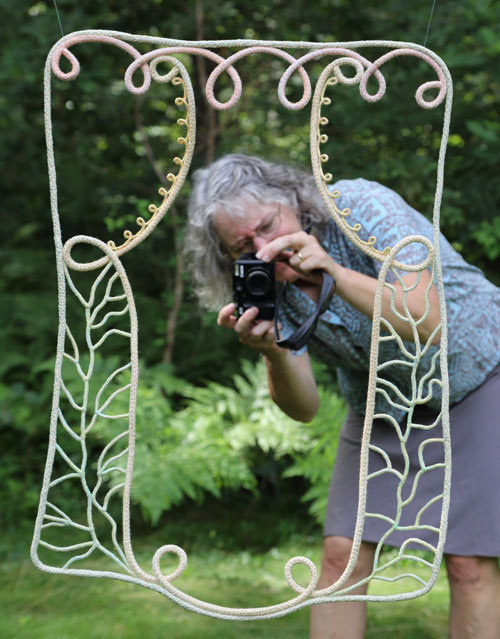


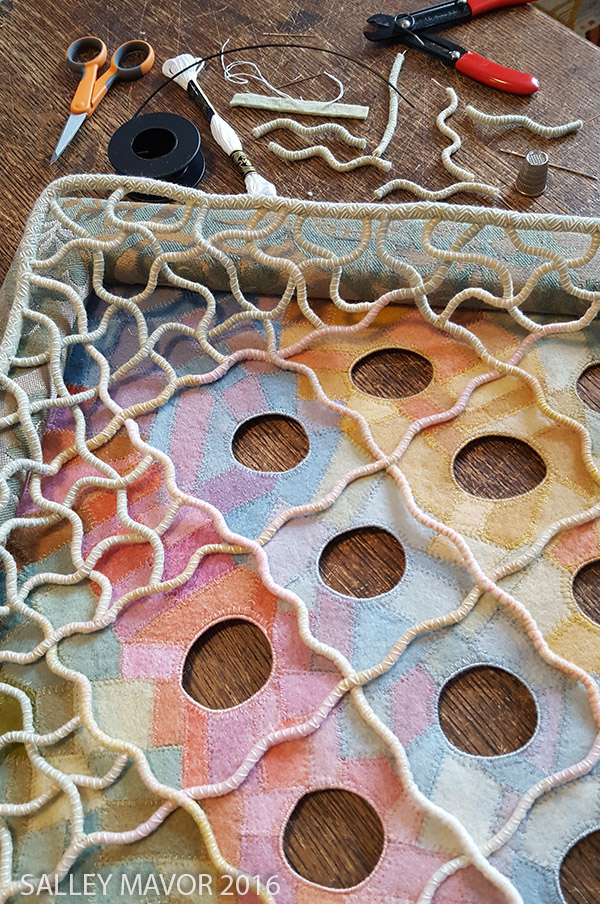
Cover Up’s border started with a sketch of a vine-like pattern. As usual, plans changed once my hands began the process of forming and articulating the wire lines. It ended up looking more like a lattice topped pie or a chain linked fence.
I sewed strips of felt to lengths of insulated electrical wire and embroidered the felt with pastel shades of variegated floss. Straight lines seemed too rigid and unwelcoming, so I wiggled the wire and arranged them in a diagonal grid.


This video shows close-ups of me covering and stitching wire with my non-manicured fingers.

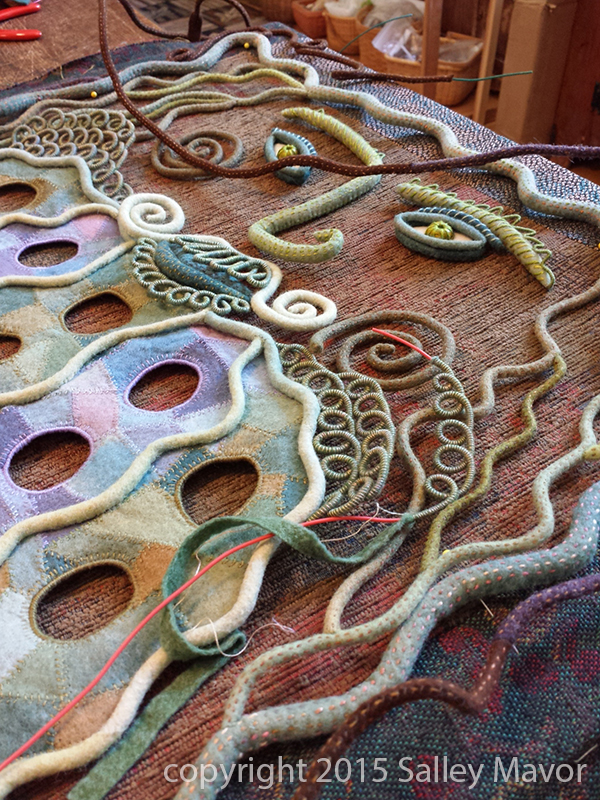
For the lattice pattern, I used many worm shaped lengths of covered wire. I joined the wire ends in a way that’s hard to explain. Let’s just say that it involves poking wire through felt, with lots of fussy sewing to keep the wire from pulling out.
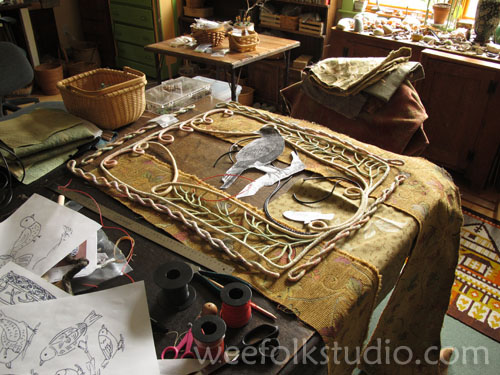
Here I am, working on the border downstairs, all cozy and warm in front of the wood stove, with snow outside.

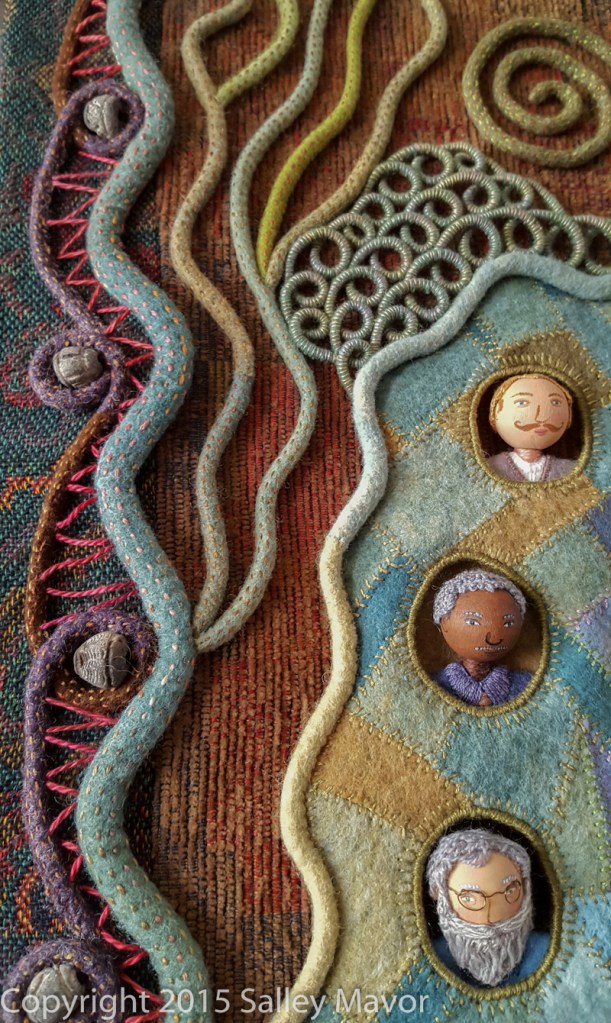
When the border was finished, I spent a long time repositioning the doll heads until I was satisfied with the arrangement. I then secured each portrait inside their hole with a few stitches on their shoulders.
I want to mention the time commitment, because people are always curious. This size (24″ x 30″) piece usually takes 3 or 4 months of solid work. But, I must add that I believe time alone doesn’t give a piece of art its value. Like other artists who do labor intensive work, I am not deterred by the prospect of spending countless hours on a single piece, as long as it holds the promise of transcending the effort involved. I hope that you are enjoying this series of posts as much as I relished the process of making Cover Up. Stay tuned for one more post in the series! By the way, you can receive notice whenever I publish a new post by subscribing to this blog (at the top of the right column on the home page). Rest assured that I will not share your information.


12 x 17 posters featuring of a selected group of portraits from Cover Up are available in my Etsy Shop here.
Cover Up is part of a series that includes Face Time and Whiskers, which focus on bringing to life different people from around the world, using themes of history, style and cultural identity. In each piece, head and shoulder busts peek out of “cameo” framed holes. Their faces are painted 20mm wooden beads, with wigs and adornments, similar to the doll heads in my how-to book Felt Wee Folk – New Adventures.
The next post (part 5) will show the end of the process, with the finished piece. Read Cover Up (part 1), (part 2) and (part 3).
To keep up with new posts, please subscribe to this blog Your contact info will not be sold or shared. If you’d like to see more frequent photos tracking the projects in my studio, please follow me on Facebook and/or Instagram.

I’m always astonished at the amount of work and detail there is in each of your pieces. Just wonderful! And I hadn’t realised about the wire – either the branched frame or the edgings to each little person’s window.
Thanks Val, I’m glad that you understood about the wire, since it’s a bit hard to explain.
Salley,
I enjoy each post that you put up about your projects and look forward to the next one.
I live looking at all the detail you put in your work and the story around it.
Can’t wait to see what your next project will be!
Thank you, Diane for following along on my artistic journey!
I’m also a mini doll maker, completely different to yours, so I relate to the time and different decissions involved in each project. Sometimes I leave them behind because I can;t see to find the right attire or legs/arms to jive. I have been following you for years, I so admire your work.
Thank you so much for sharing your talent
I love the way you are willing to show some of the process.
Could you tell us about your studio practice – like how much time in the day and when you think is the best time for you to work?…if you have a regular system.
Sandy in the UK
Thanks for checking in, Sandy. As for my studio practice, it’s pretty much all day, every day. Please go to my About page for a bit more info.
Sent from my Verizon, Samsung Galaxy smartphone
Hi Sandy, Sorry, I should have sent you to the FAQ page instead of the About Page for more info. https://weefolkstudio.com/faq/
I am always thrilled when I see a post from you on FB; it makes my day. I love all the things you create, and it is fun for me to imagine the process and surroundings in my mind when I see your creations. I love color and the many details involved in what you do; even the gathering of deadwood from the area you live in. Please know that all of it is enjoyed by your followers and readers. Happy creating😋💕😜
Thank you for your generous comment, Pam!
I just discovered your work and your blog a couple of weeks ago. It is inspirational! Thank you so much for sharing your process!
Welcome, Maggie!
Oh Sally! What a beautiful tribute to all the women of the world. I loved seeing your hands at work. Colors, textures, tiny head-dresses, curlers, necklaces. I love the tiny worlds that you create whether it’s a children’s book, nursery rhyme or this Cover-up. You make them all magical. Thank you again. Squeeze Polly and Rosie for me.
Thank you so much for consistently checking in. It makes a big difference to hear from people like you!
You know I love all your work, but this is my new most-favorite! Beautiful.
Your work is inspirational. The concept reminds me a bit of Judy Chicago’s Dinner Party series.
Thank you so much Sherri. To be associated with Judy Chicago’s amazing installation is quite an honor!