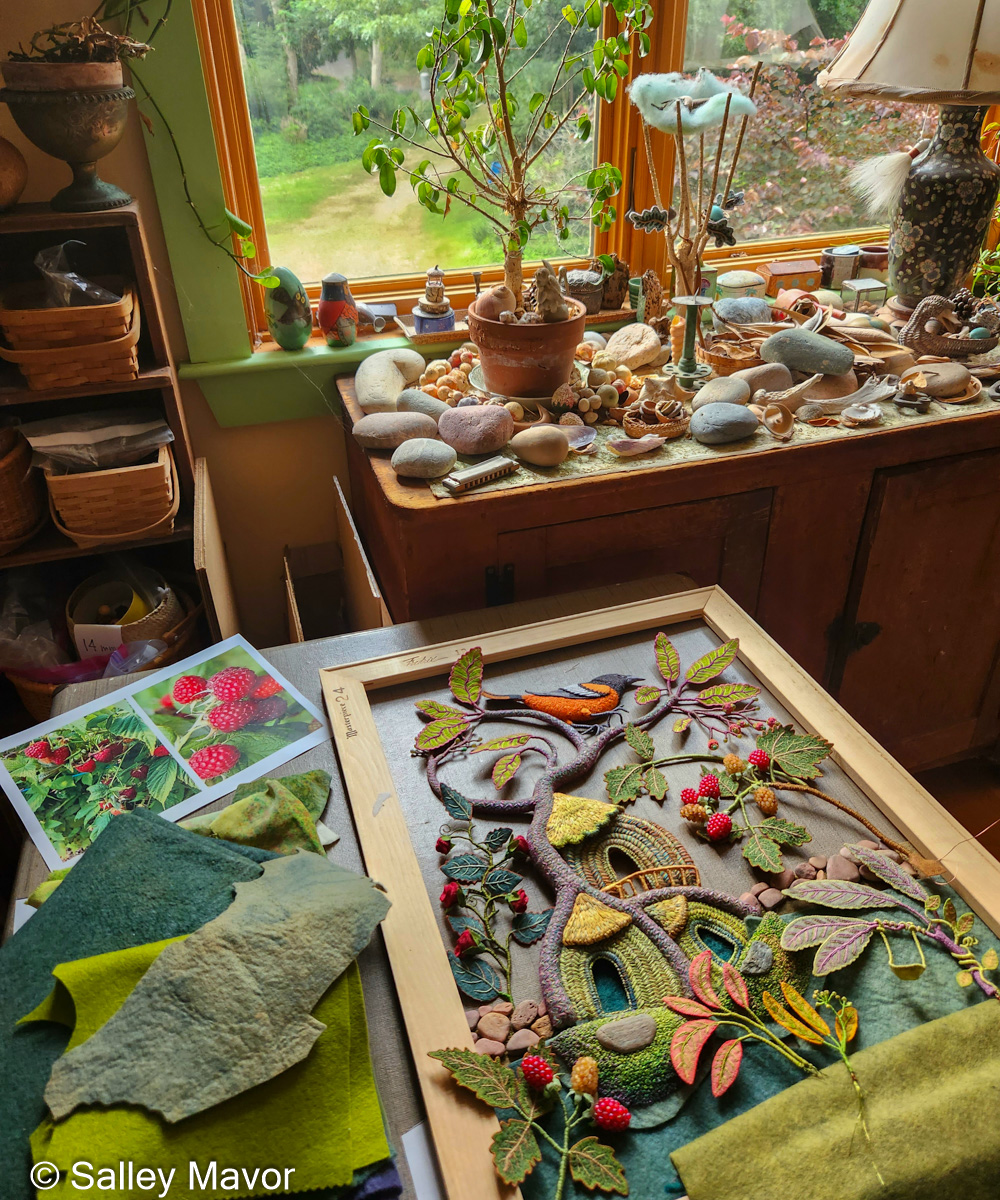
Part 9 in the series of posts about making my piece Summertime features photos and videos documenting the process of creating landscape details, such as moss, sky and the stone wall. For a more comprehensive understanding of my process, I encourage you to explore other posts in this series: Overview of the piece, Part 1 – Tree Trunks, Part 2 – Tree Houses, Part 3 – leaves, stems and branches, Part 4 – Baltimore Oriole (body), Part 5 – Baltimore Oriole (head and feet), Part 6 – rose vine, Part 7 – raspberry plants, Part 8 – stitching flora, Part 9 – moss, sky and stone wall, and Part 10 – wee folk.

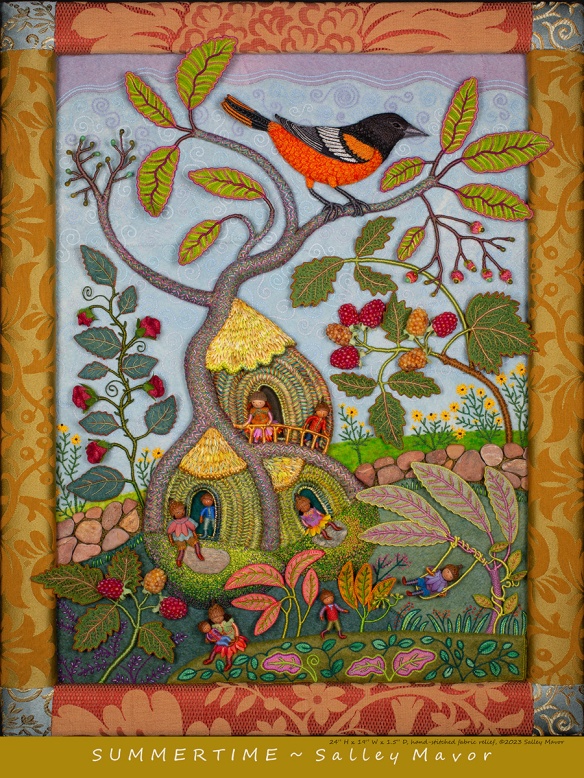
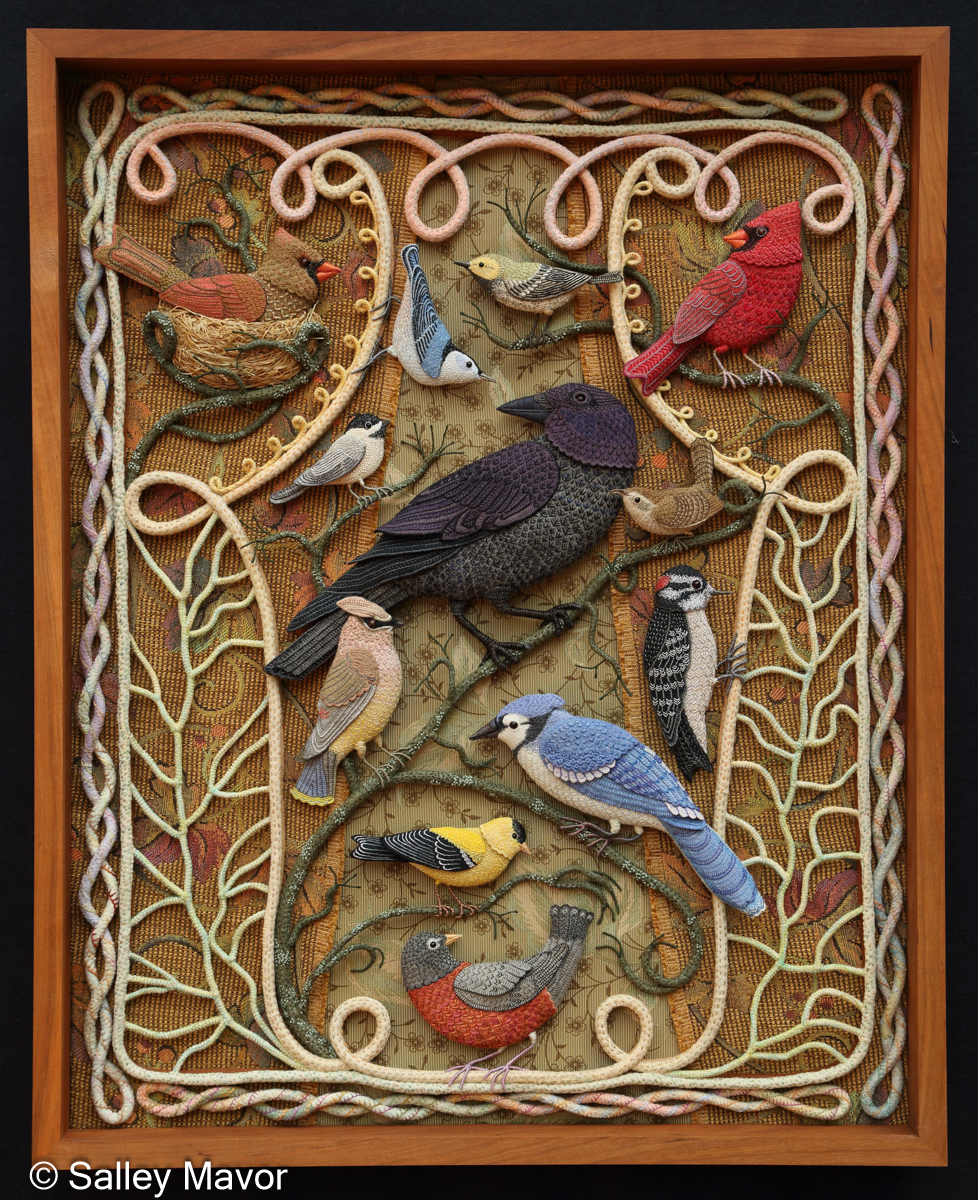
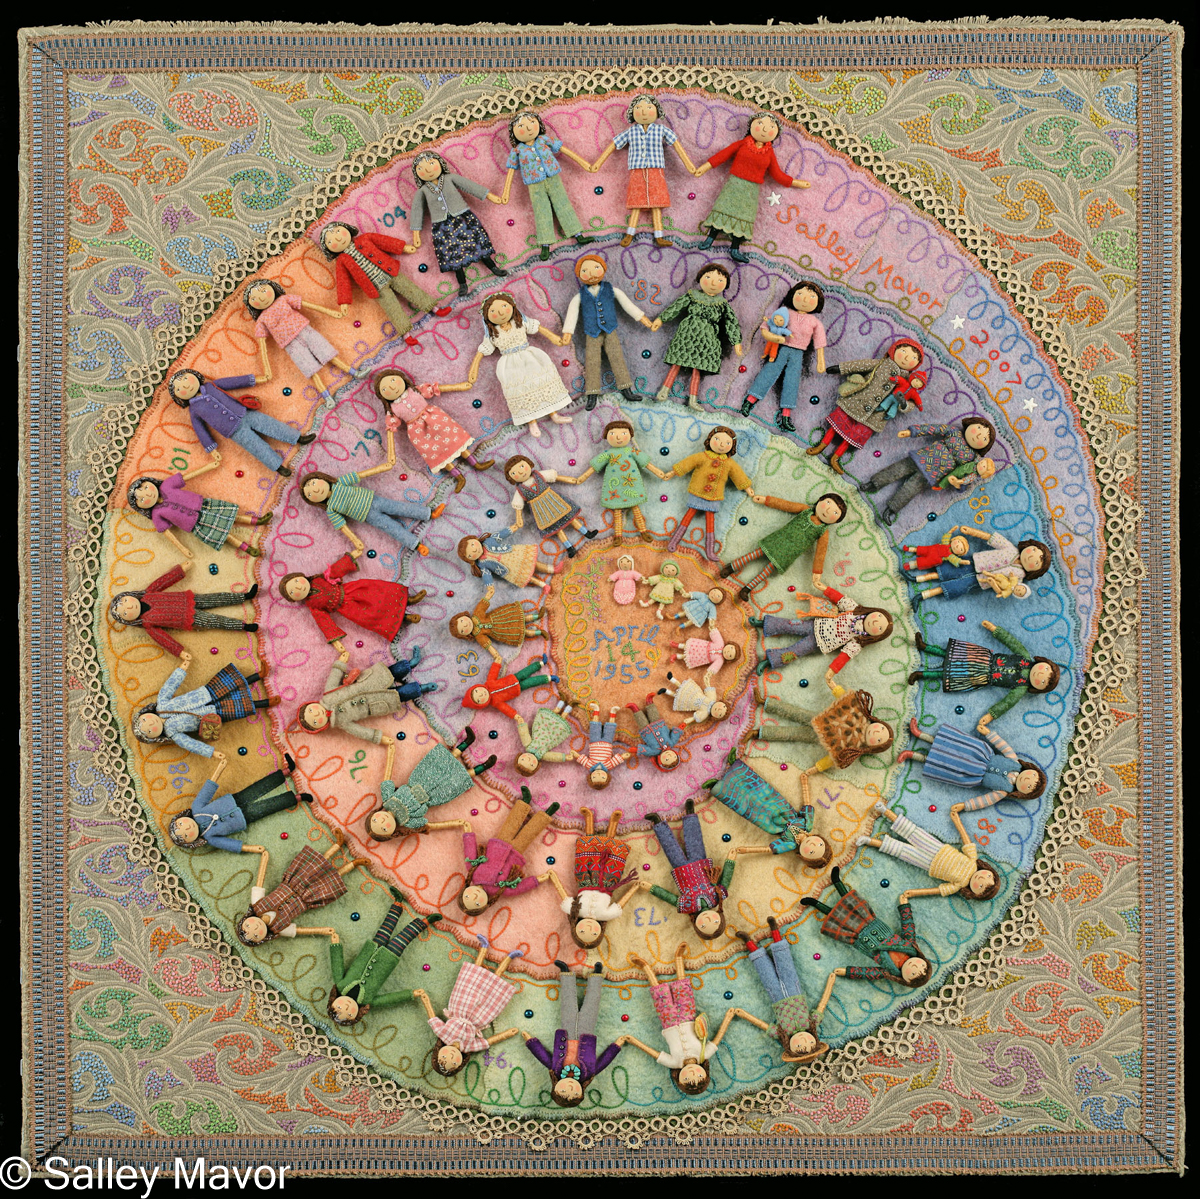
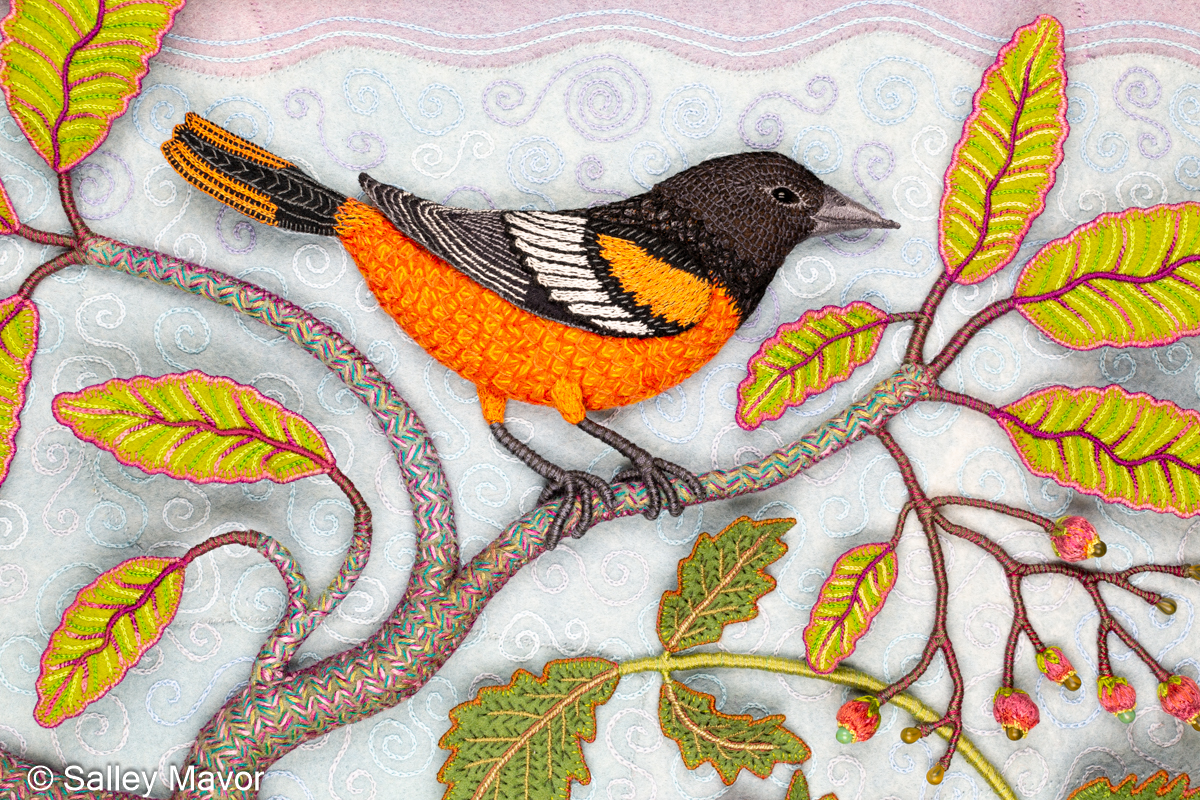
Summertime is the summer scene in a series of four seasonal landscapes that capture the wonder and magic of the natural world. Posters, note cards, prints, bookmarks, and jigsaw puzzles of Summertime and the other scenes in the series (Frosty Morning, Mossy Glen and Harvest Time) are available in my Etsy Shop.

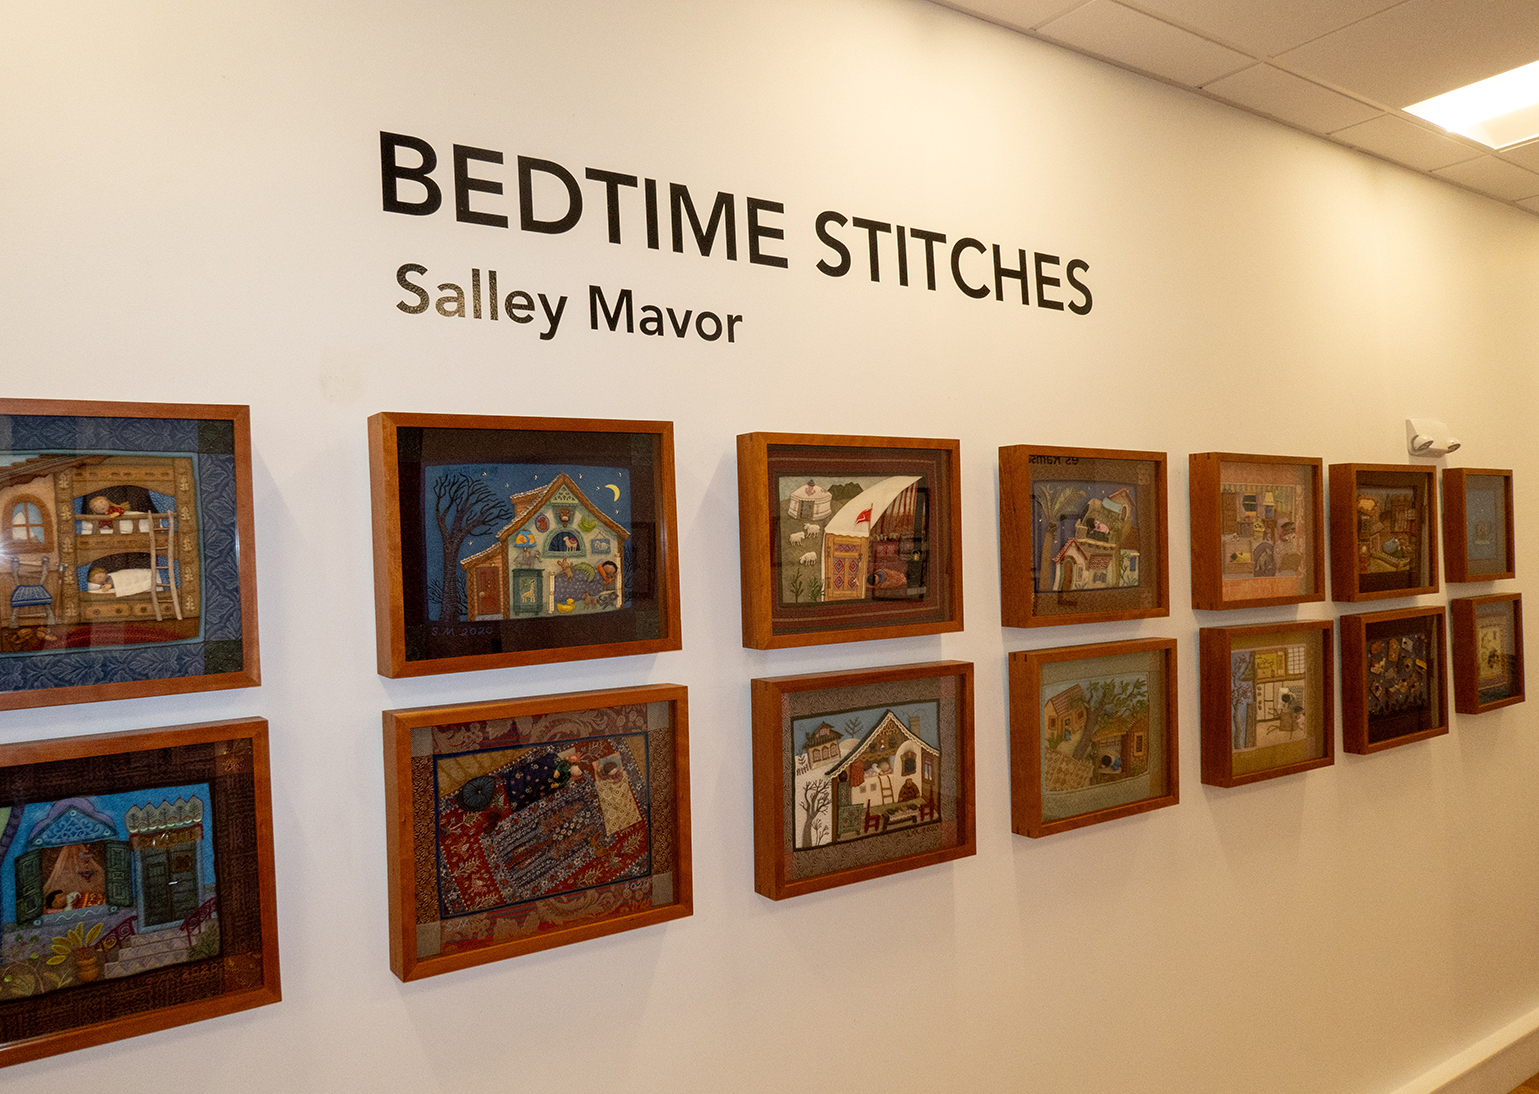
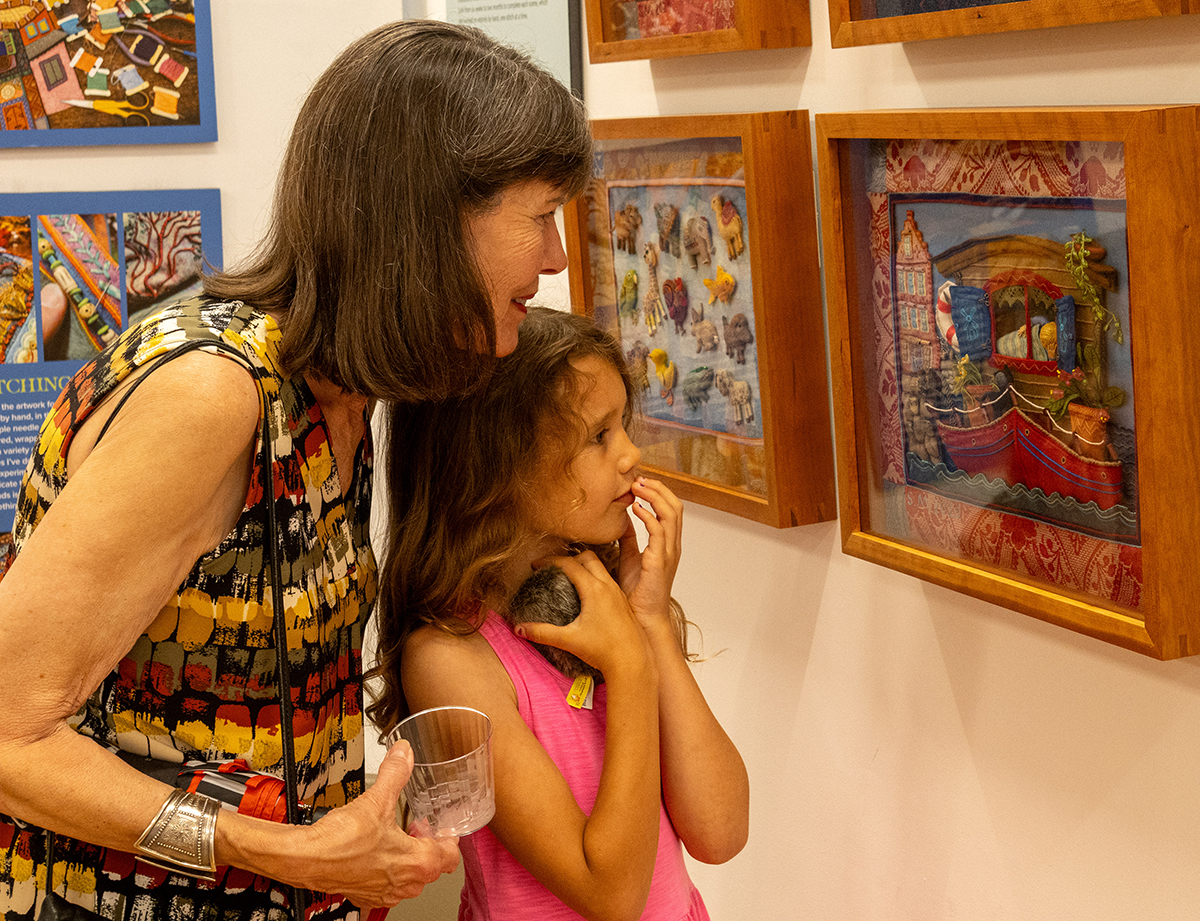
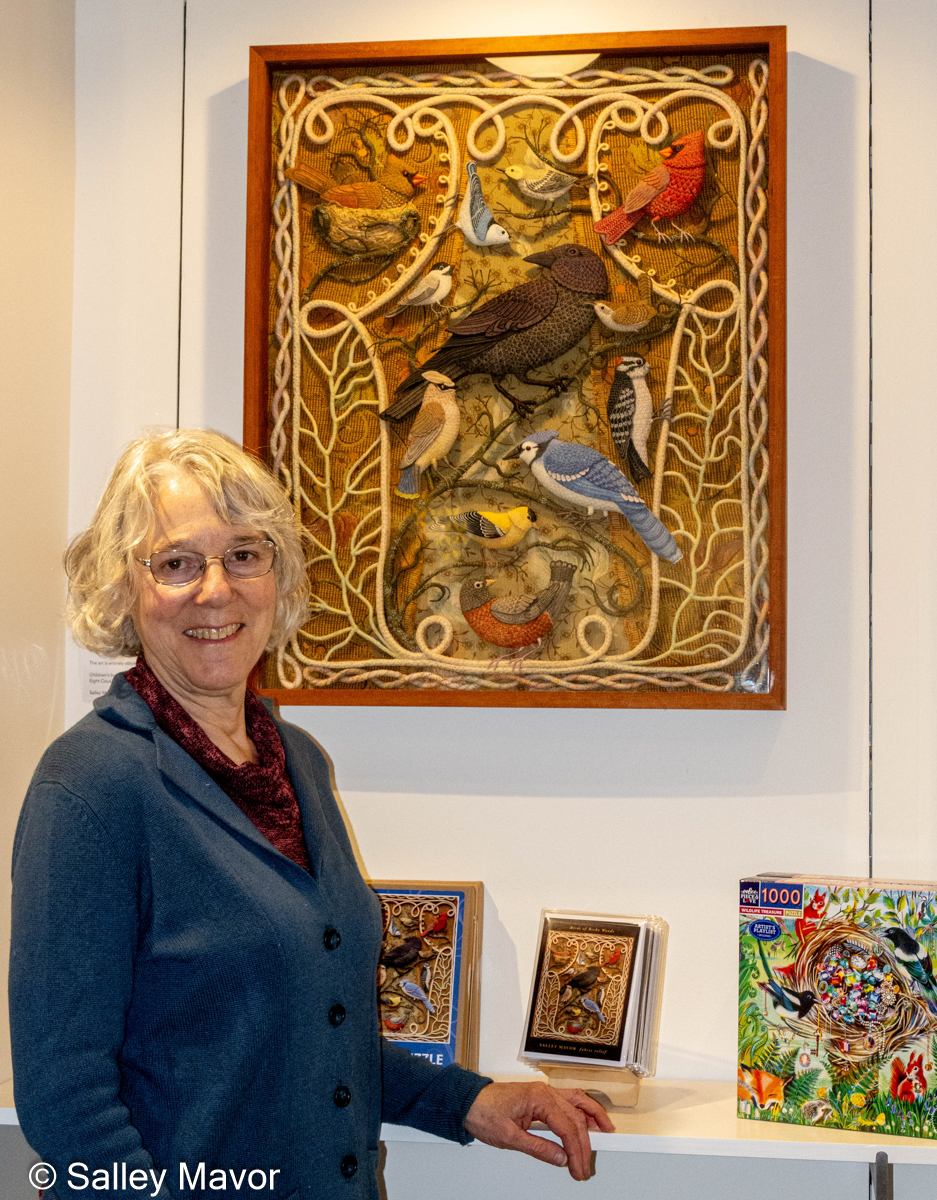
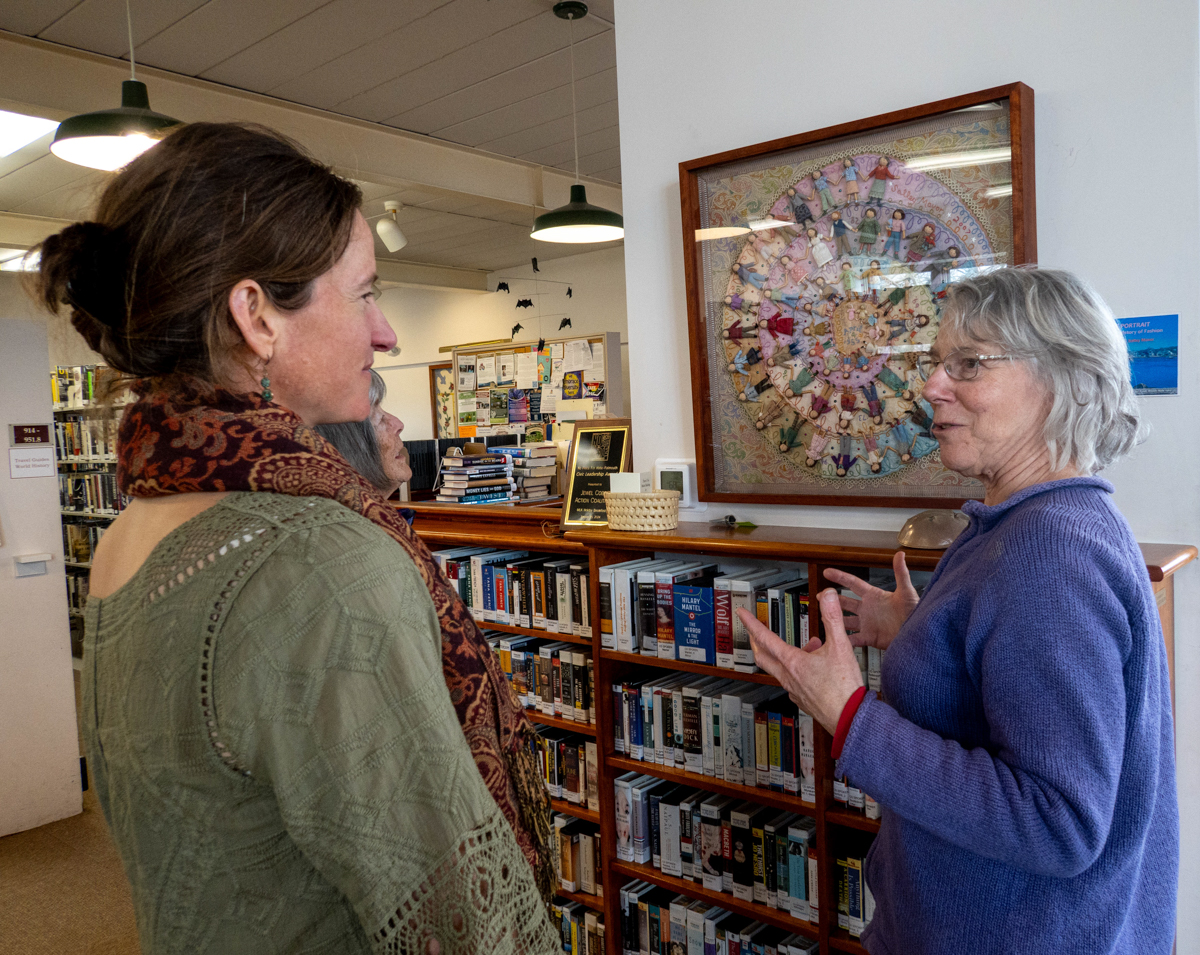
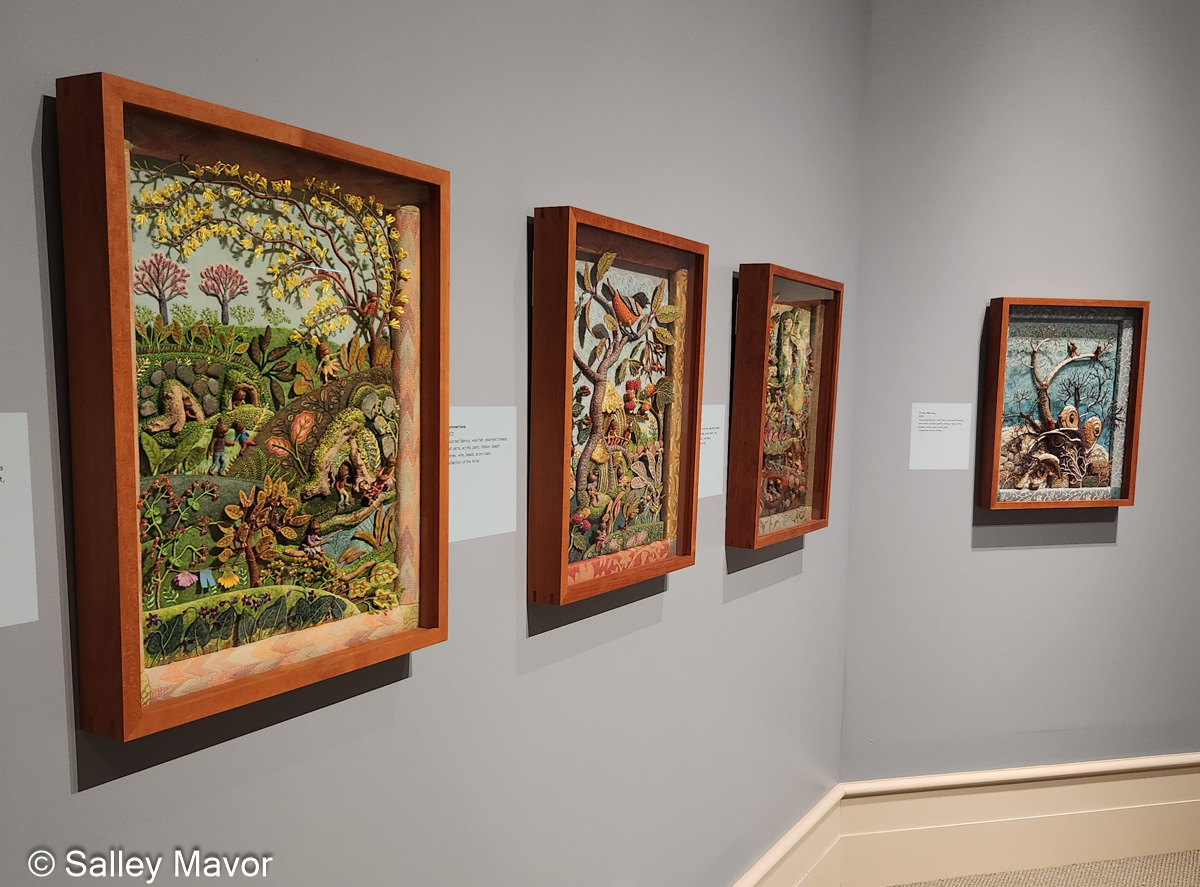
See the Four Seasons Series and dozens of other works in my upcoming exhibition, Works by Salley Mavor: To Every Season at the New England Quilt Museum, Lowell, MA, Sept. 9 – Dec. 27, 2025. The show will include recent work, as well as rarely seen early pieces on loan from private collections.

MOSS
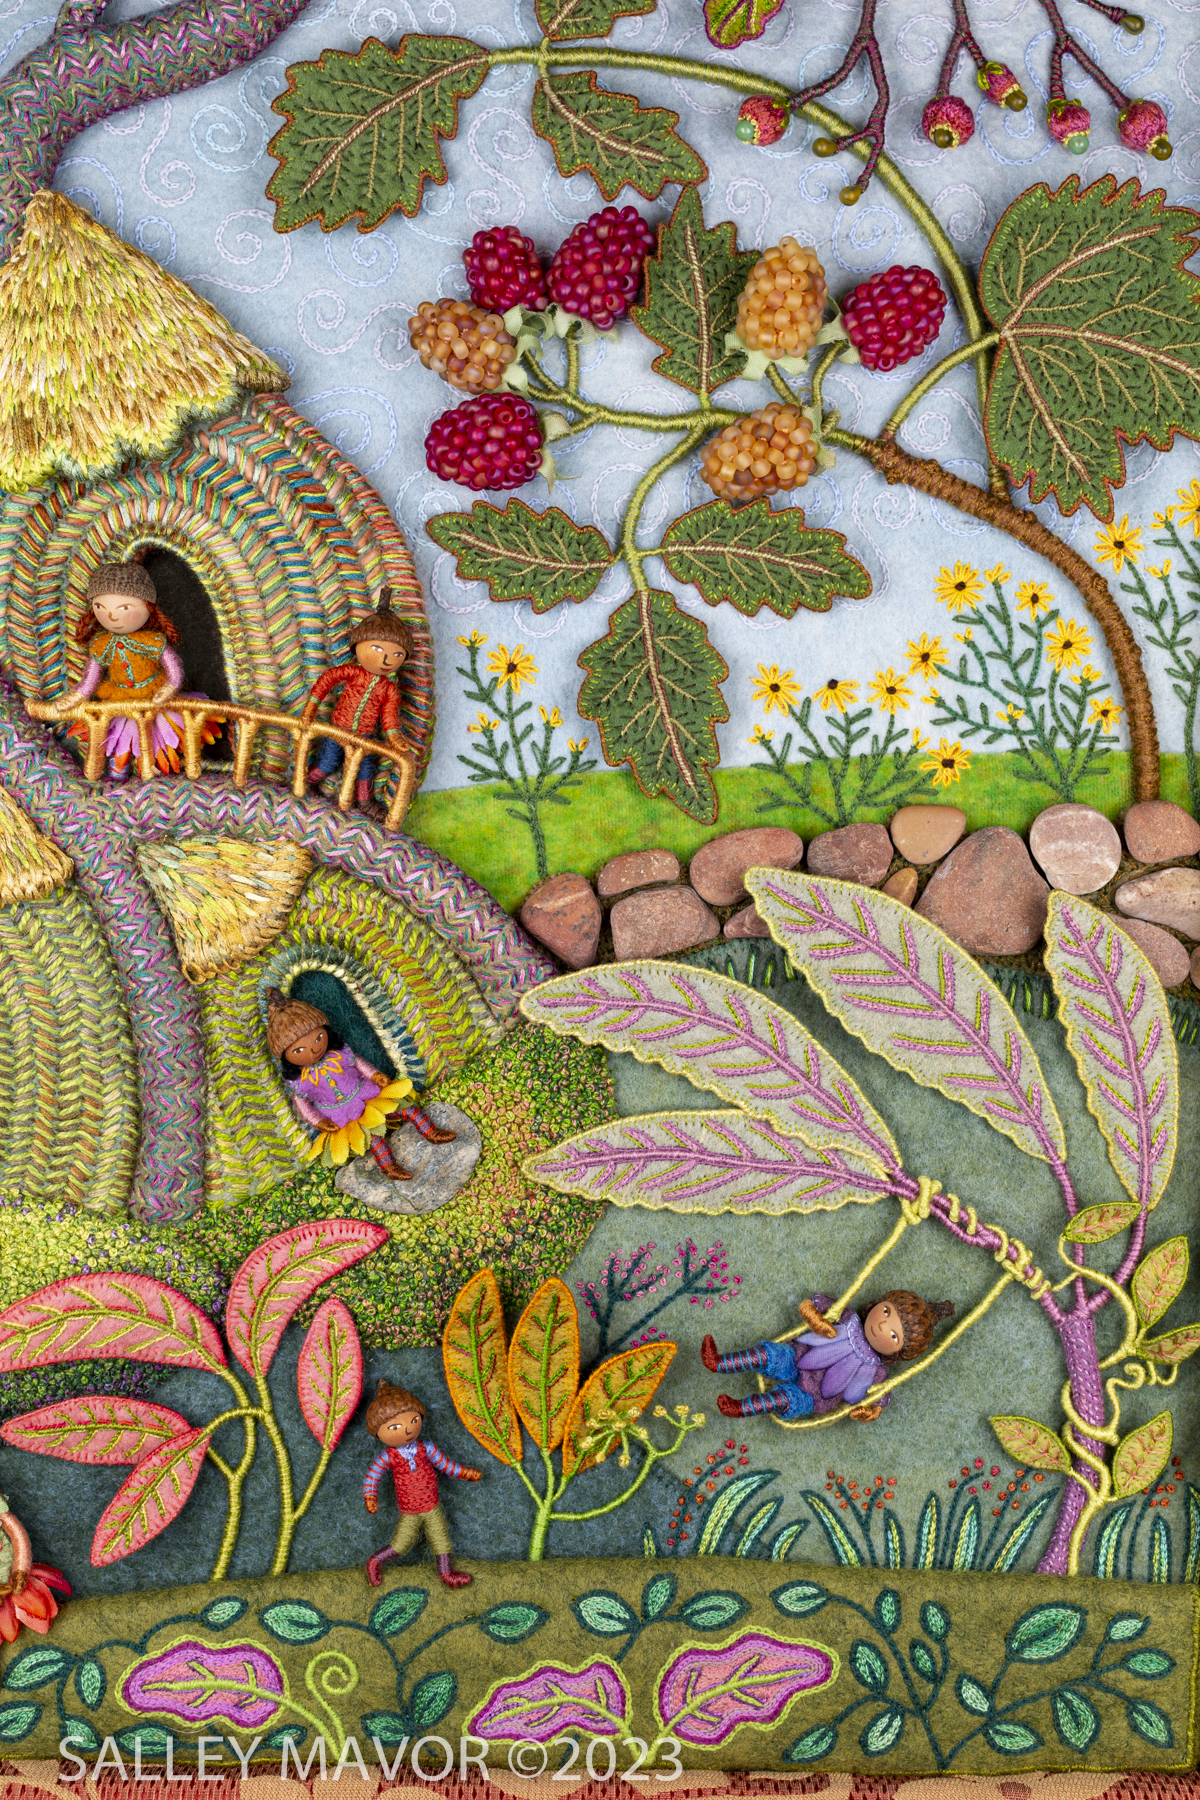
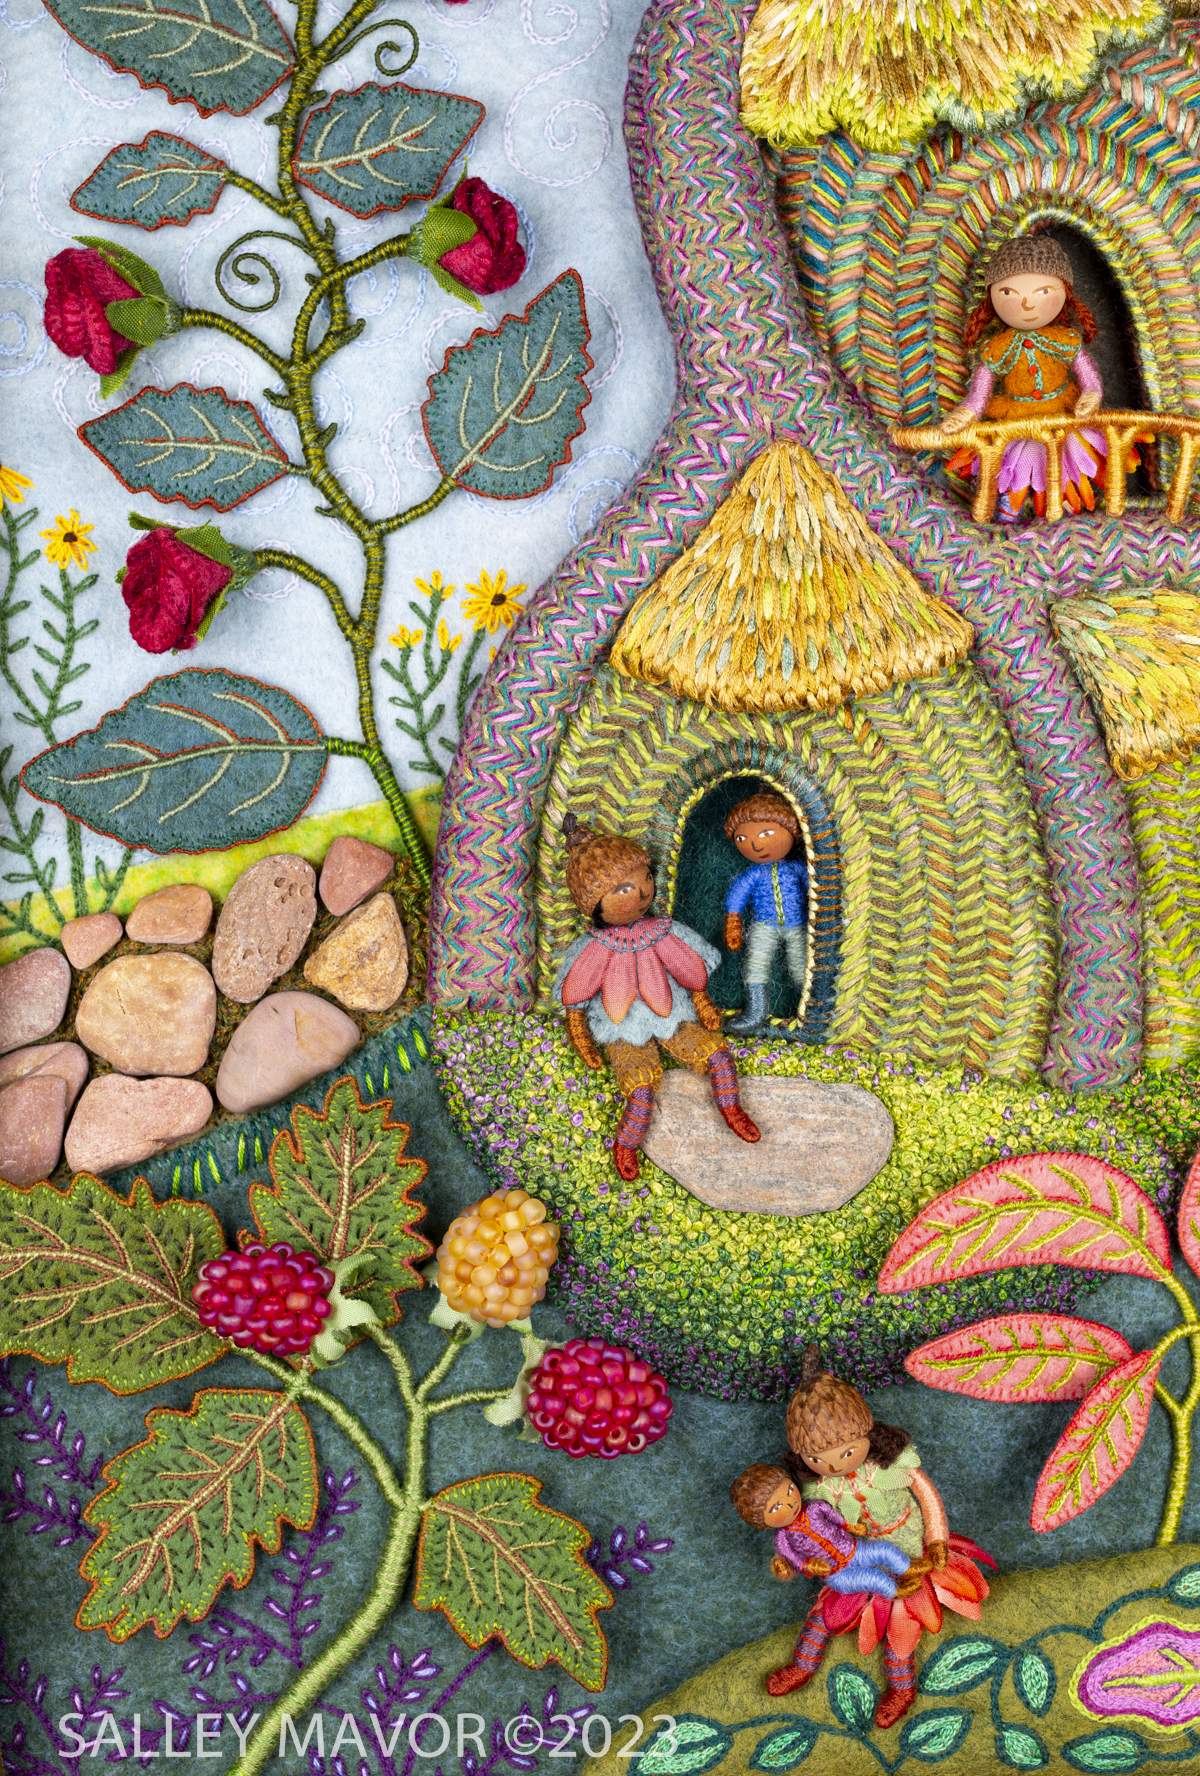
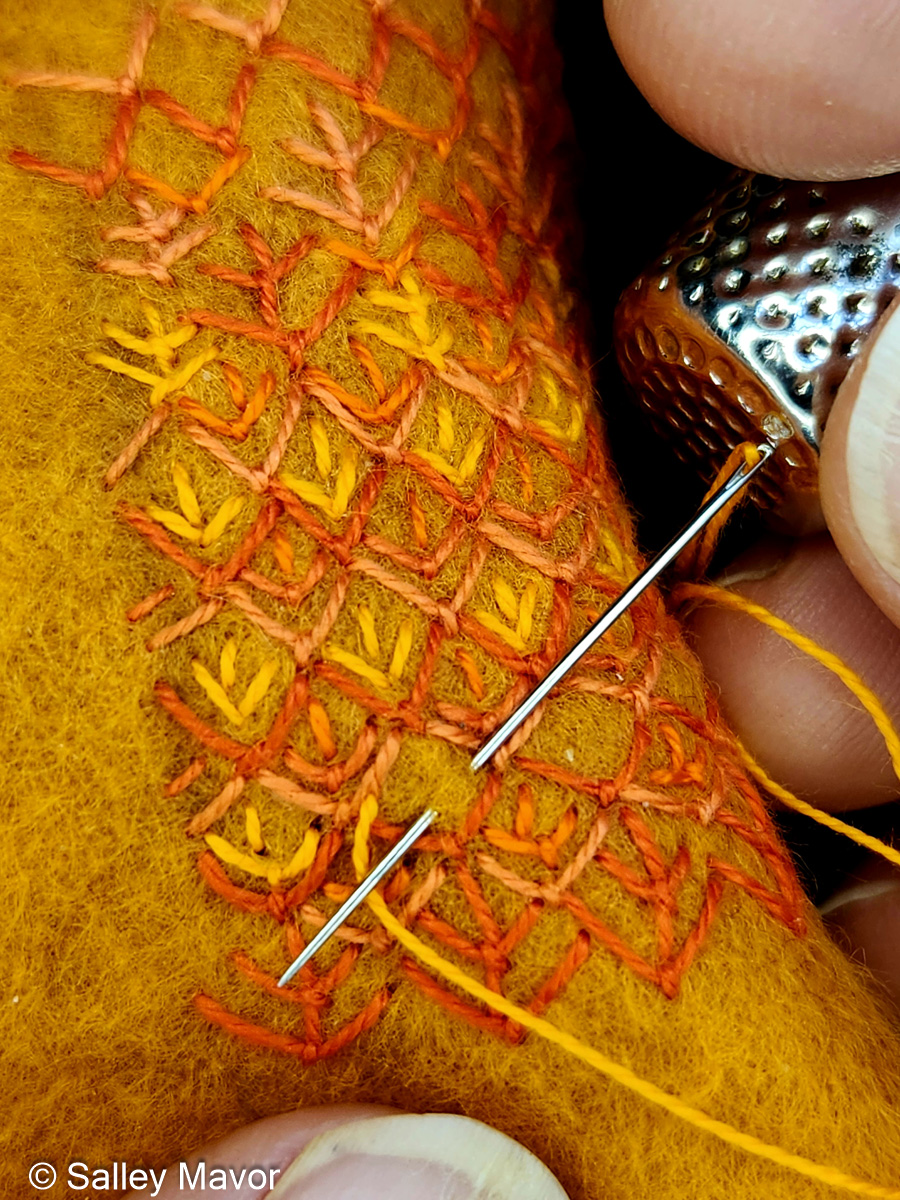
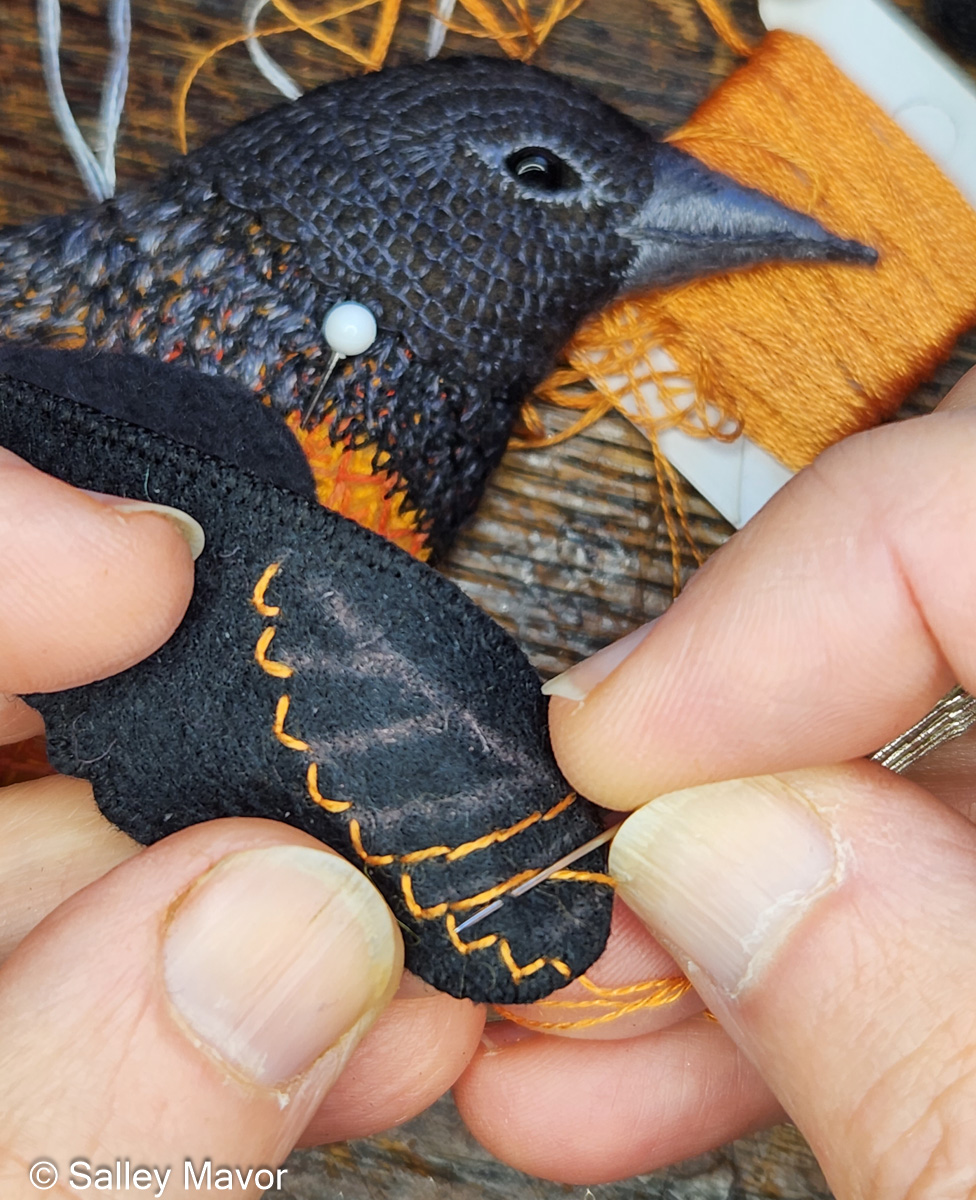
Wouldn’t it be nice to step out your front door onto a mossy carpet every morning? The simple idea of stitching multiple French knots side by side to form a naturalistic ground cover isn’t a new concept. But it reached a heightened level of obsession for me throughout this Four Seasons series. It’s one of those repetitive activities that has you totally mesmerized.

To make the moss, I used all kinds of thread, from silk to cotton floss, depending on what kind of look I was after. The naturalistic appearance comes from combining different colors and shades of thread in groups of 3 or 4 strands. After all, the world is made up of variegated shades, not solid colors.
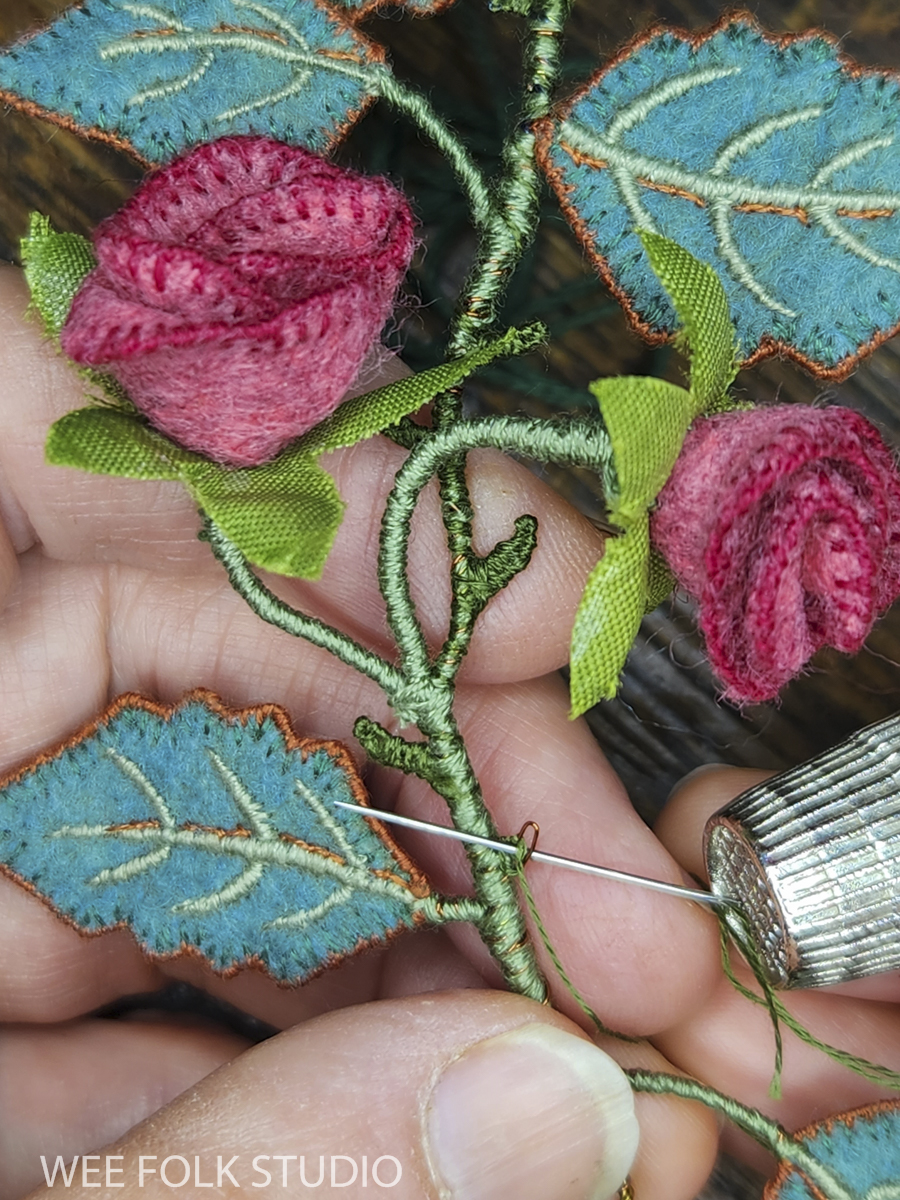
SKY
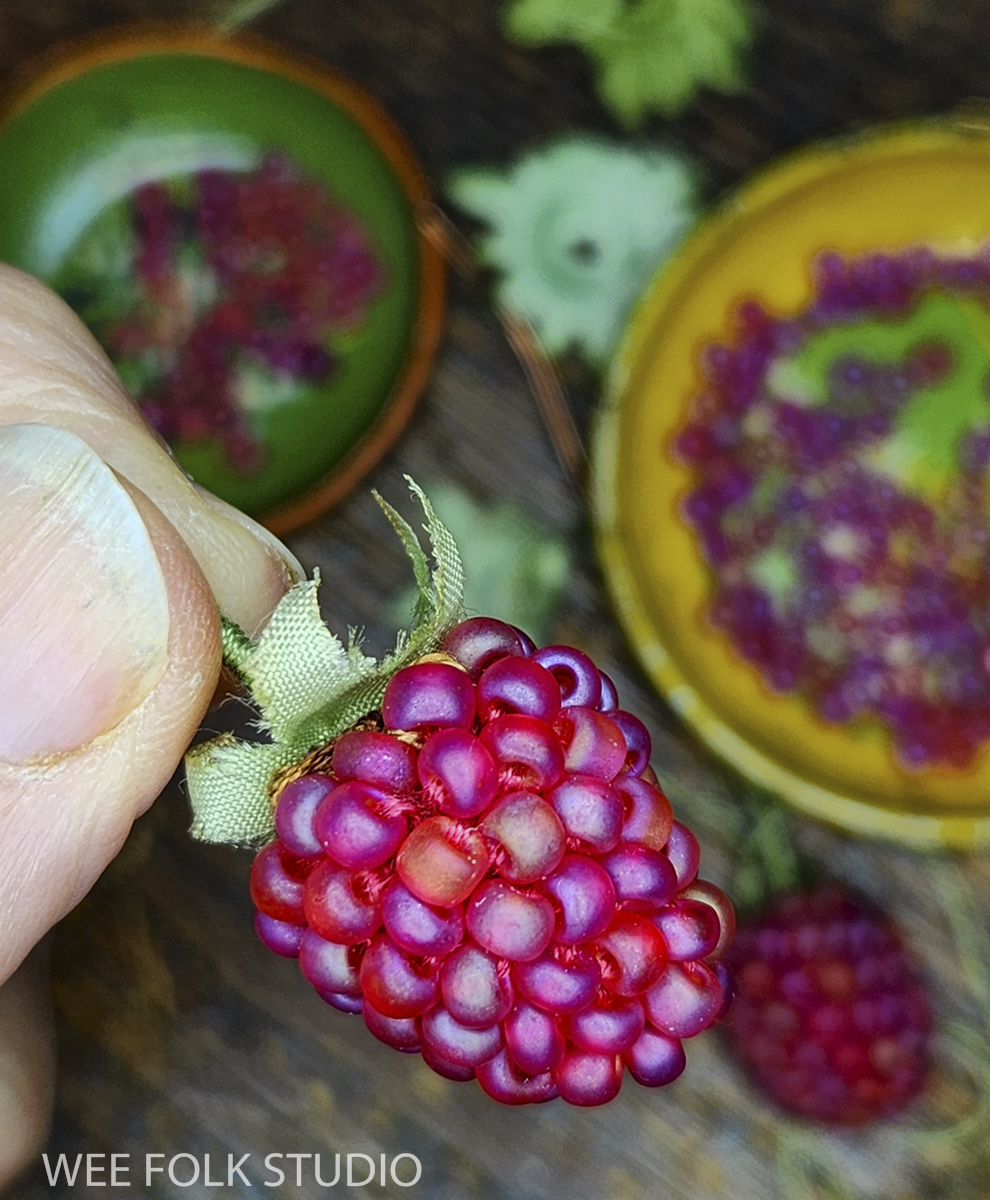
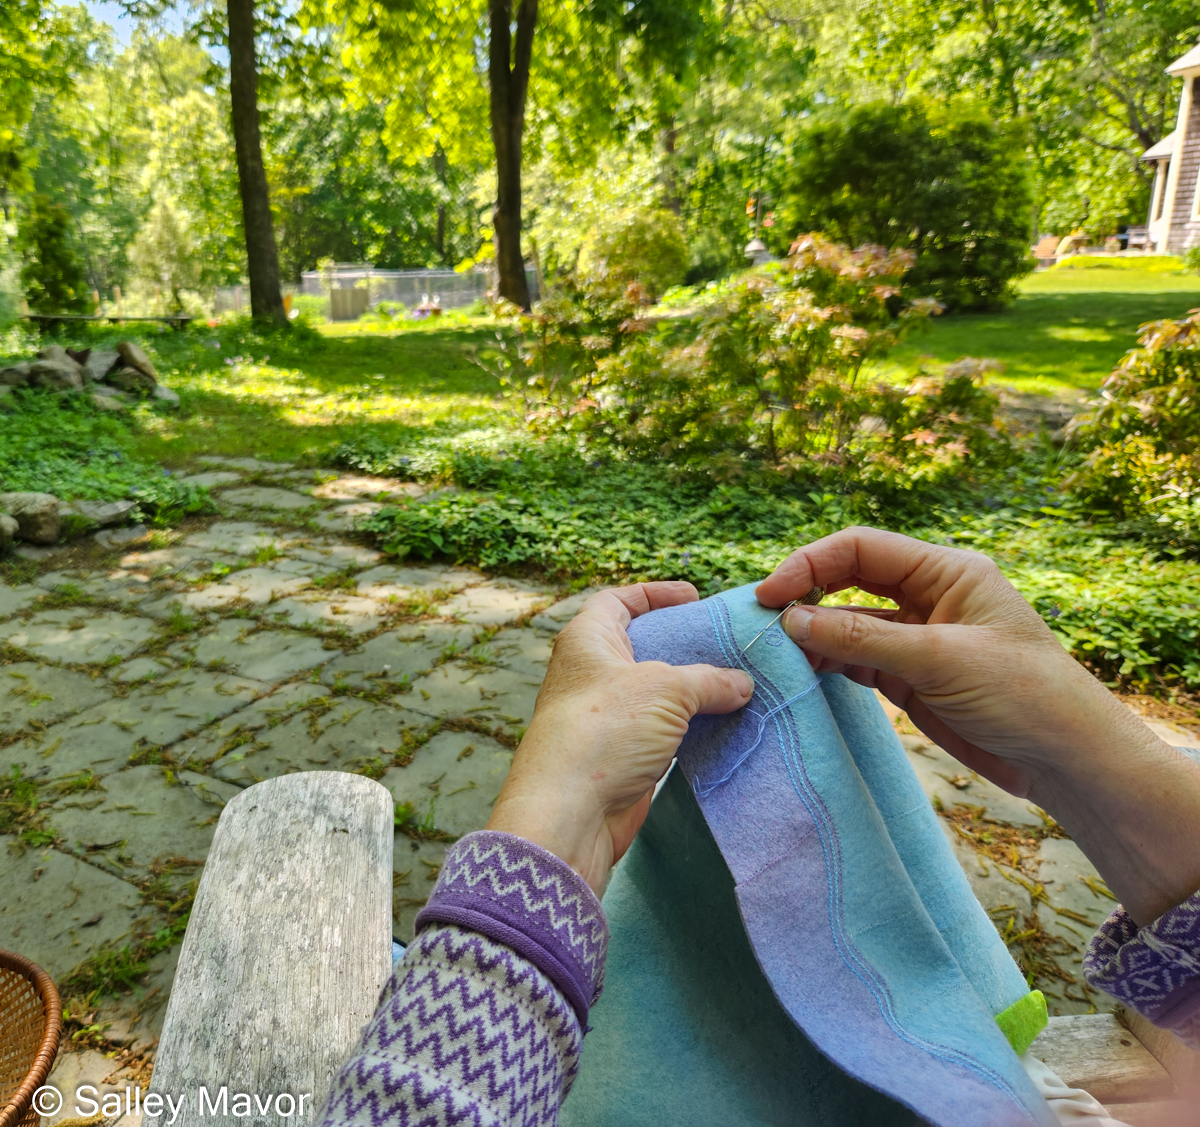
To make the blue sky background, I patched together scraps from my stash of plant-dyed wool felt. My supply of this extra special felt is limited because the cottage business that produced it is longer in operation. Luckily, I stocked up and have enough felt to keep me going for the rest of my productive life, although the blue pieces are dwindling. When asked where to find felt, I usually refer people to A Child’s Dream, which offers a nice selection, including similar subtly hued plant-dyed wool felt.
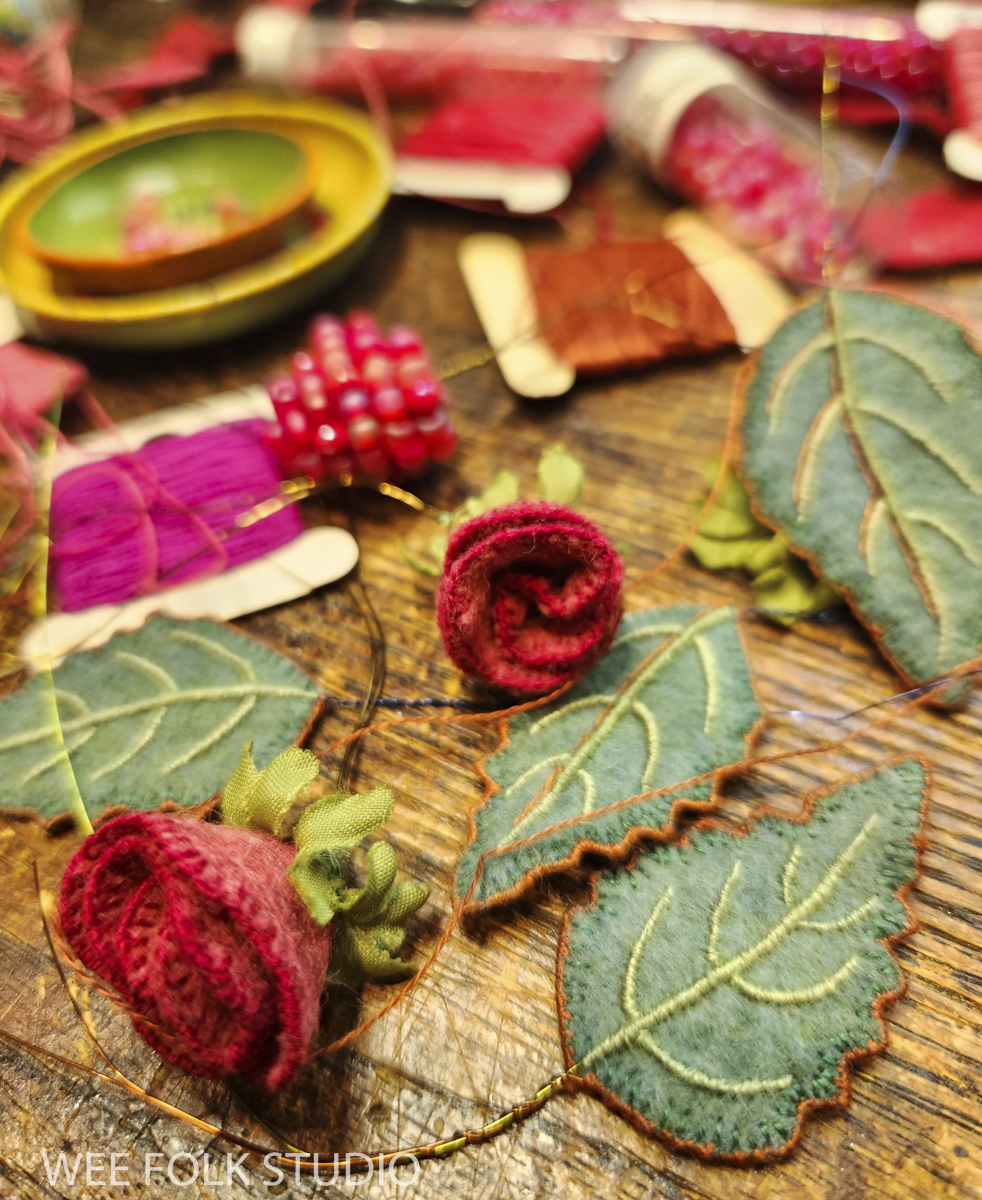
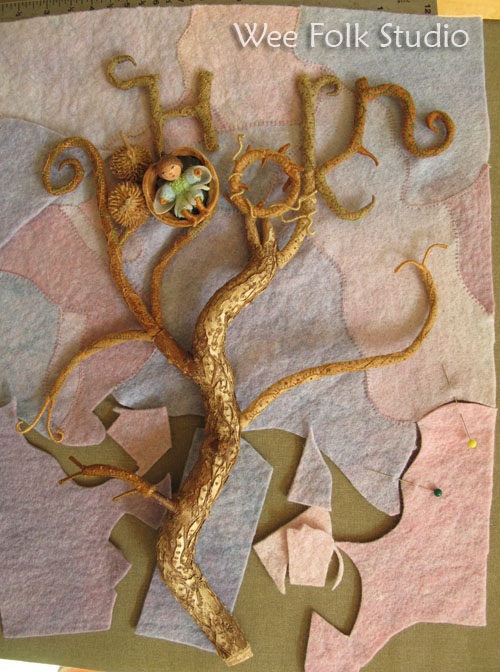
This approach harkened back to 2012, when I pieced scraps of lavender and blue felt to make the background of my Hornbook Magazine cover illustration.

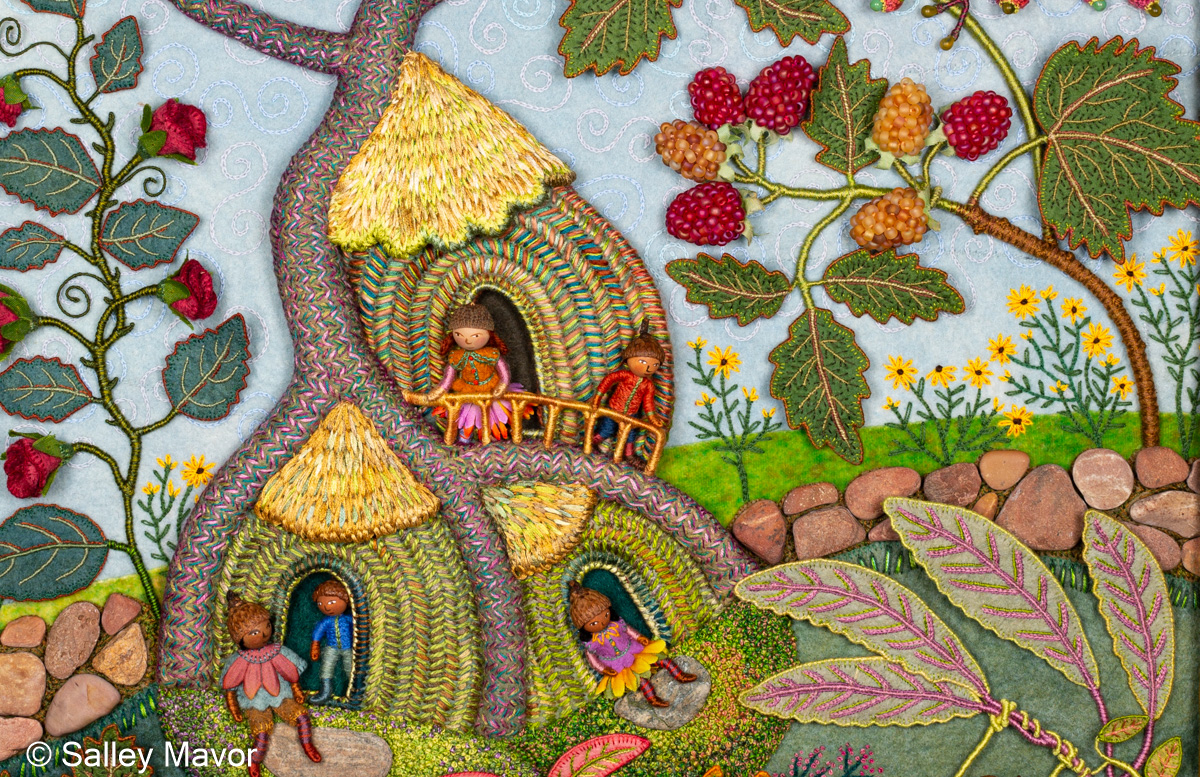
With Summertime, I was not content to leave the blue expanse alone, especially with its distracting scars stretching across the sky. My solution was to divert attention away from the patched pieces by filling the blue background with swirly lines and spirals.
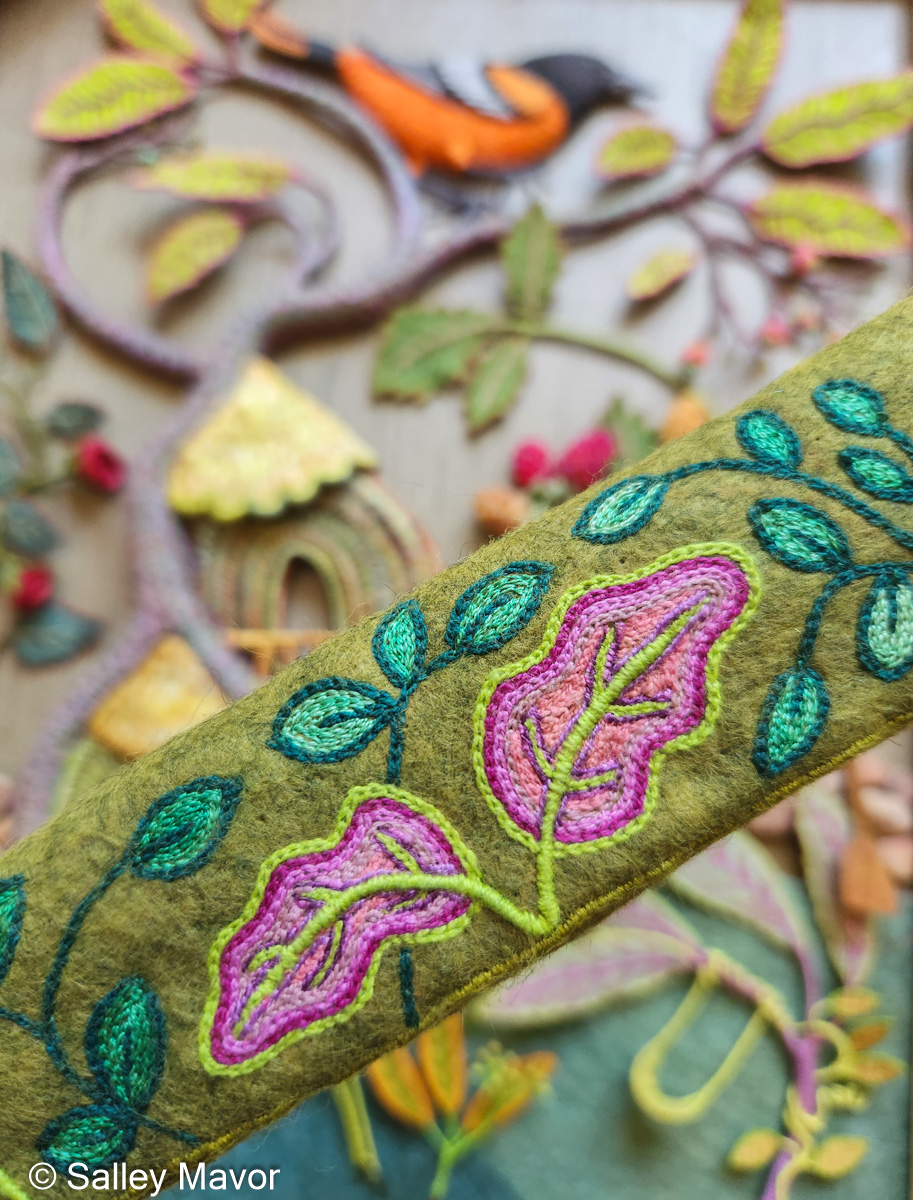
The following video shows how I chainstitched the spirals in subtle hues of cotton flower thread. Its matte finish is different from the glossy sheen of cotton embroidery floss. DMC flower thread is no longer available, but if you’re interested, Dutch Treat Designs has some of the discontinued thread in stock.
STONE WALL
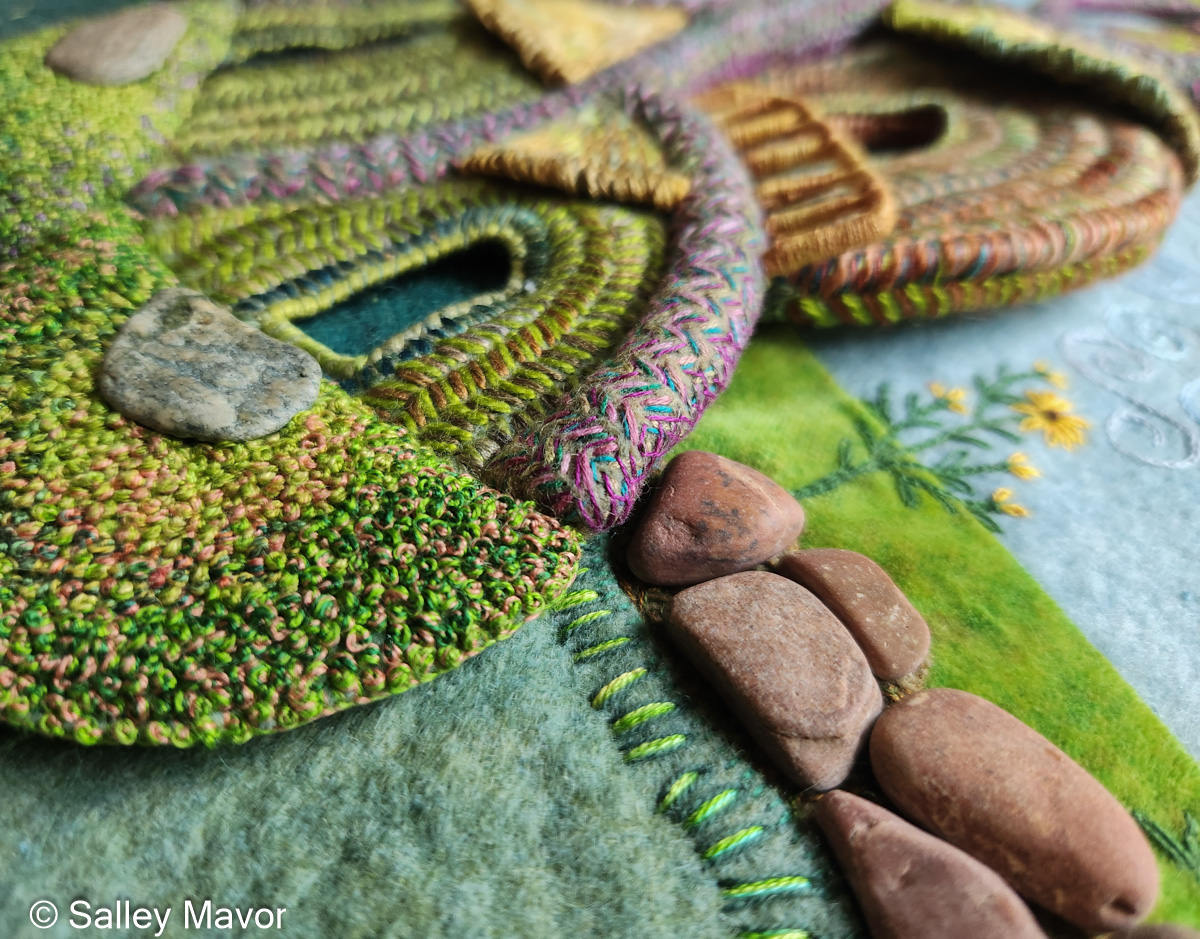
Sometimes, I incorporate natural objects in my work. For the Summertime scene, I built a wall with stones that I gathered at the beach. I picked out a selection of small thin ones with a flat surface area on the back, which were glued to a piece of felt. I used Alene’s Jewel-It, which is a fabric embellishment adhesive.
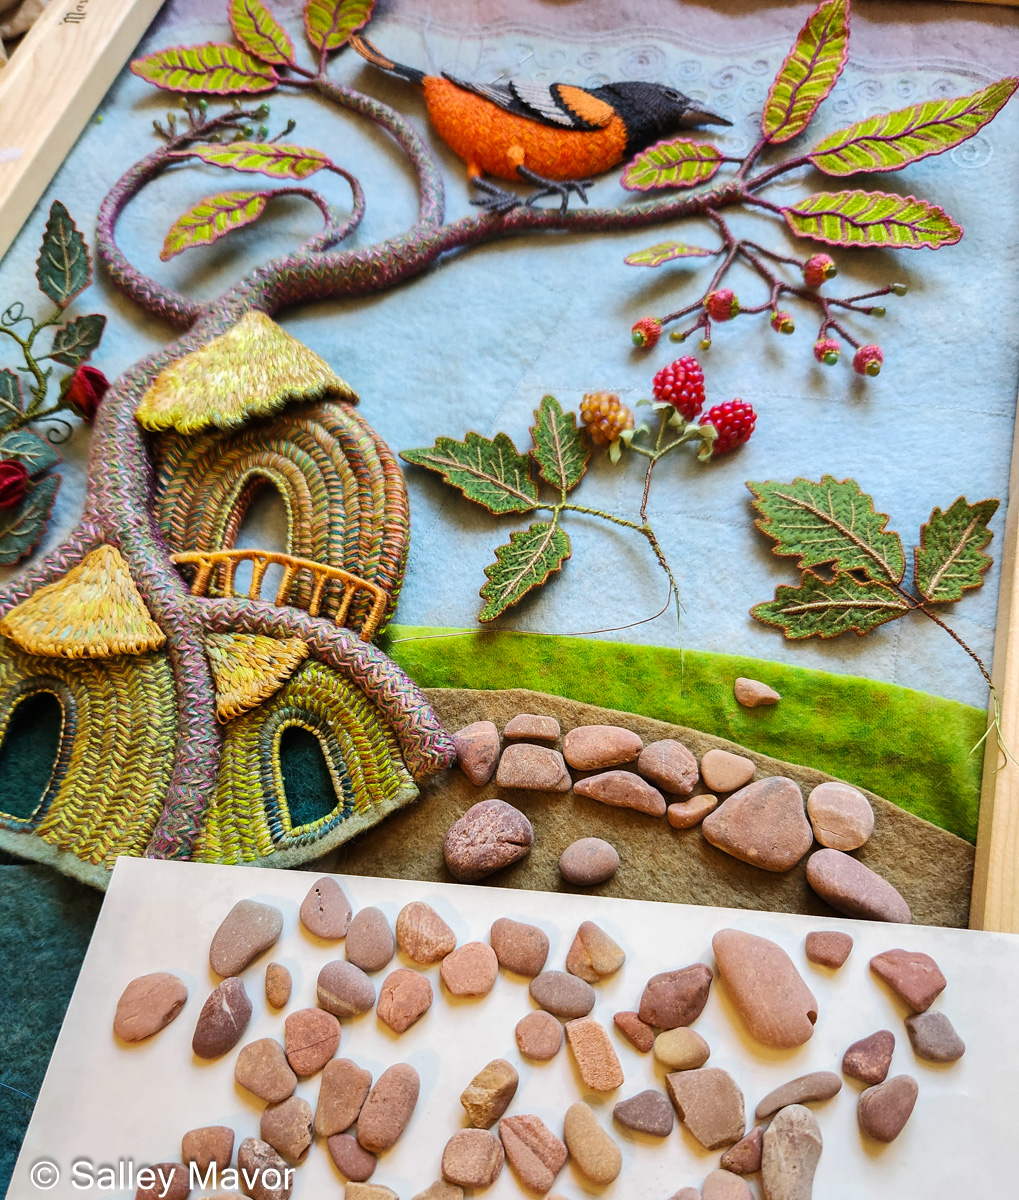
After the glue completely dried, I filled in the spaces between the stones with a mishmash of stitches. The other 3 scenes in the seasonal landscape series have stones, too. Some are real and some are made of felt. Click on the following links to learn about incorporating stones in the other scenes:
Mossy Glen: Part 3 – stone walls
Frosty Morning: Part 4 (stone walls)
Harvest Time: Part 6 (underground)

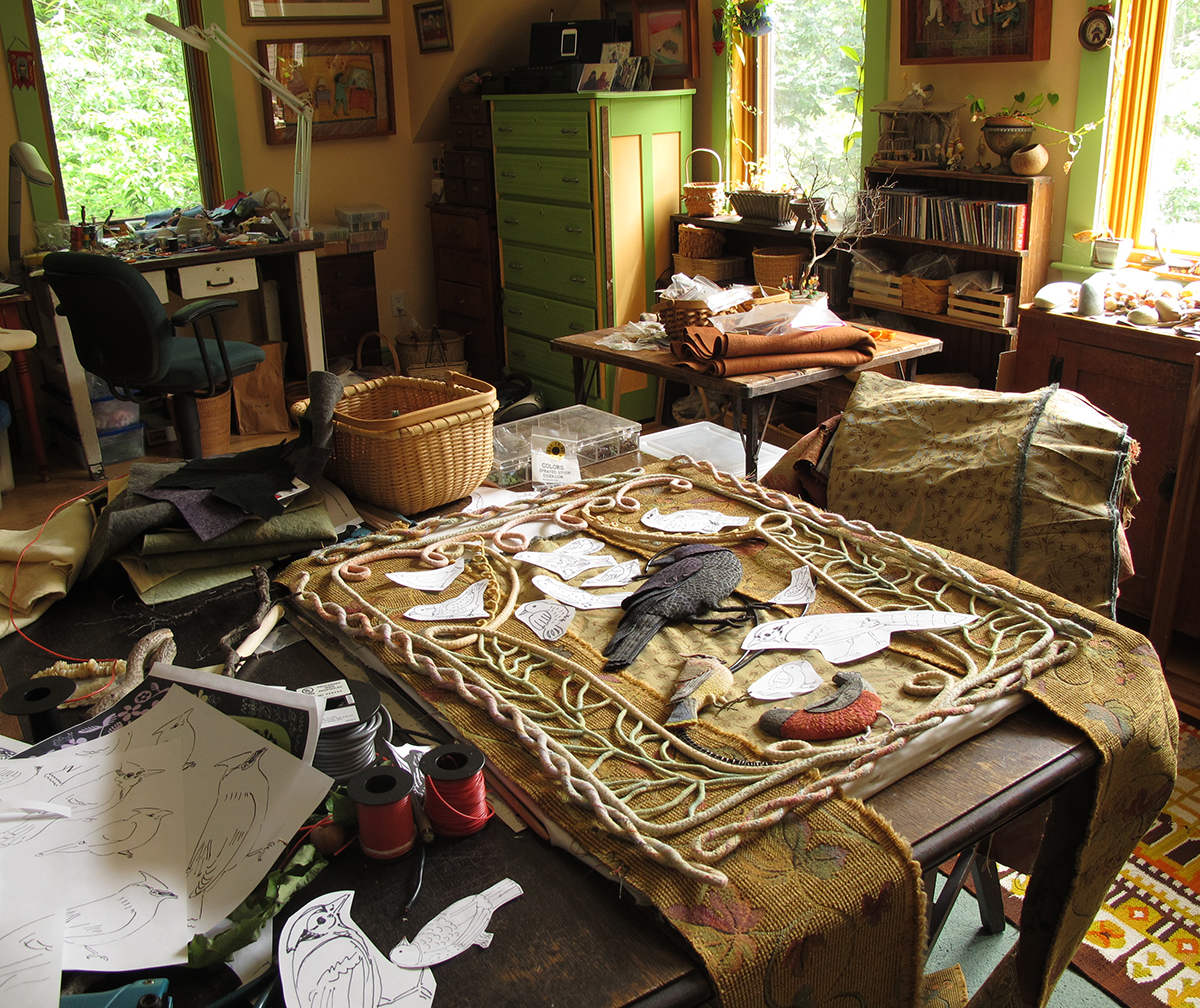
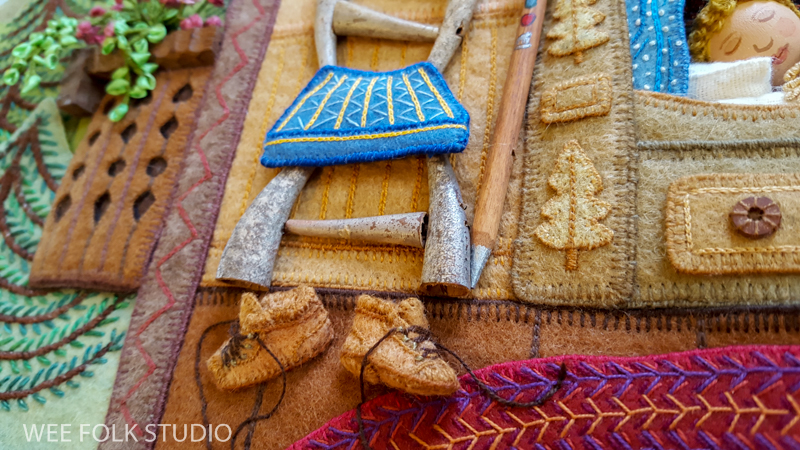
The following video shows how I arranged different parts of the scene before sewing the pieces in place.
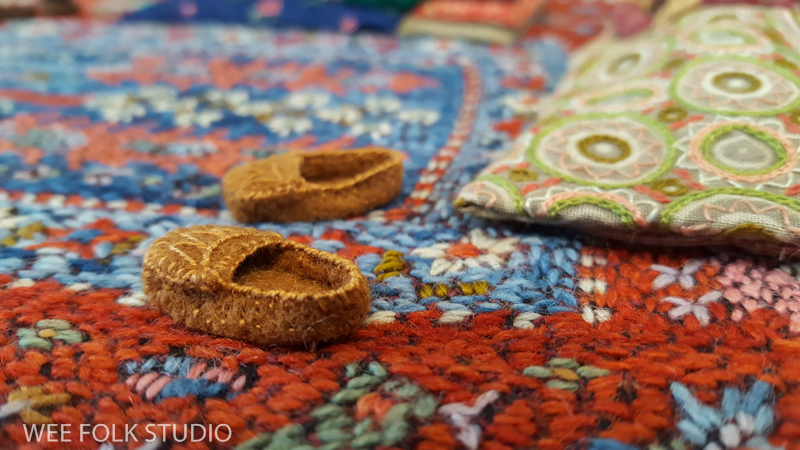
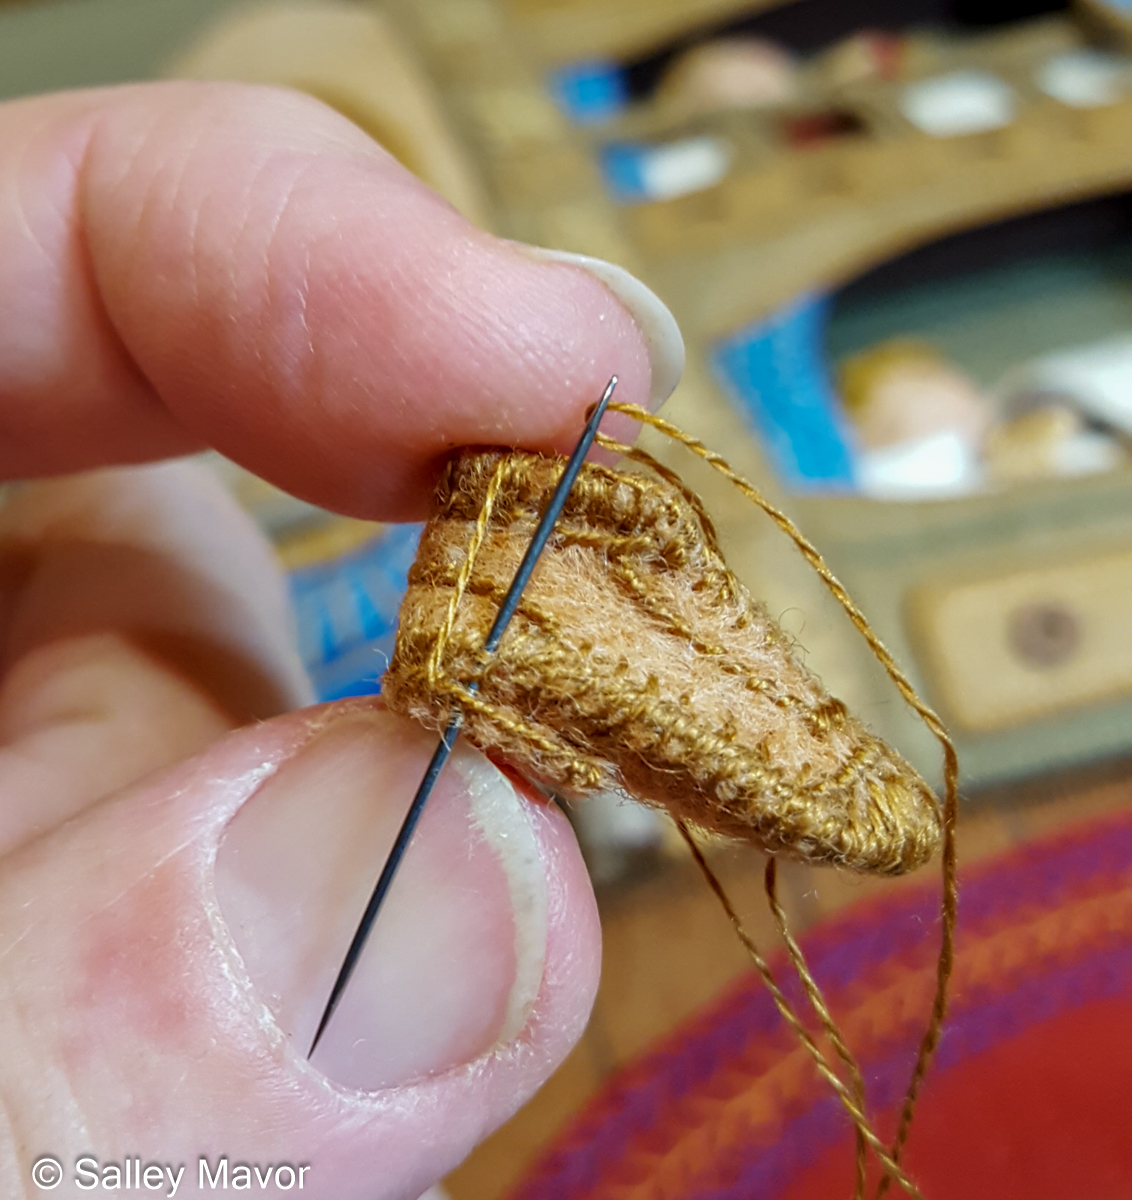
Stay tuned for Part 10, where I’ll share photos and videos documenting the process of making the wee folk characters in Summertime. Unless I discover that I’ve overlooked something, Part 10 will be the final segment about making Summertime.

To keep up with new posts, please subscribe to this blog. Your contact info will not be sold or shared. If you’d like to see more frequent photos tracking the projects in my studio, please follow me on Facebook, Instagram and BlueSky.