I’m excited to announce some upcoming virtual and in-person events that you may be interested in attending. Please read ahead for details.
- May 29th at 2PM EDT – Textile Talk, Textiles in 3D (online only)
- June 14th at 1PM – Slide Talk, Once Upon a Stitch: The Artistic Journey of Salley Mavor at the Osterville Village Library in Osterville, MA (in-person only)
- July 27, 2025 – March 2, 2026 – Exhibition, Enchanting Threads: The Art of Salley Mavor at the Albany Institute of History and Art (in-person only)
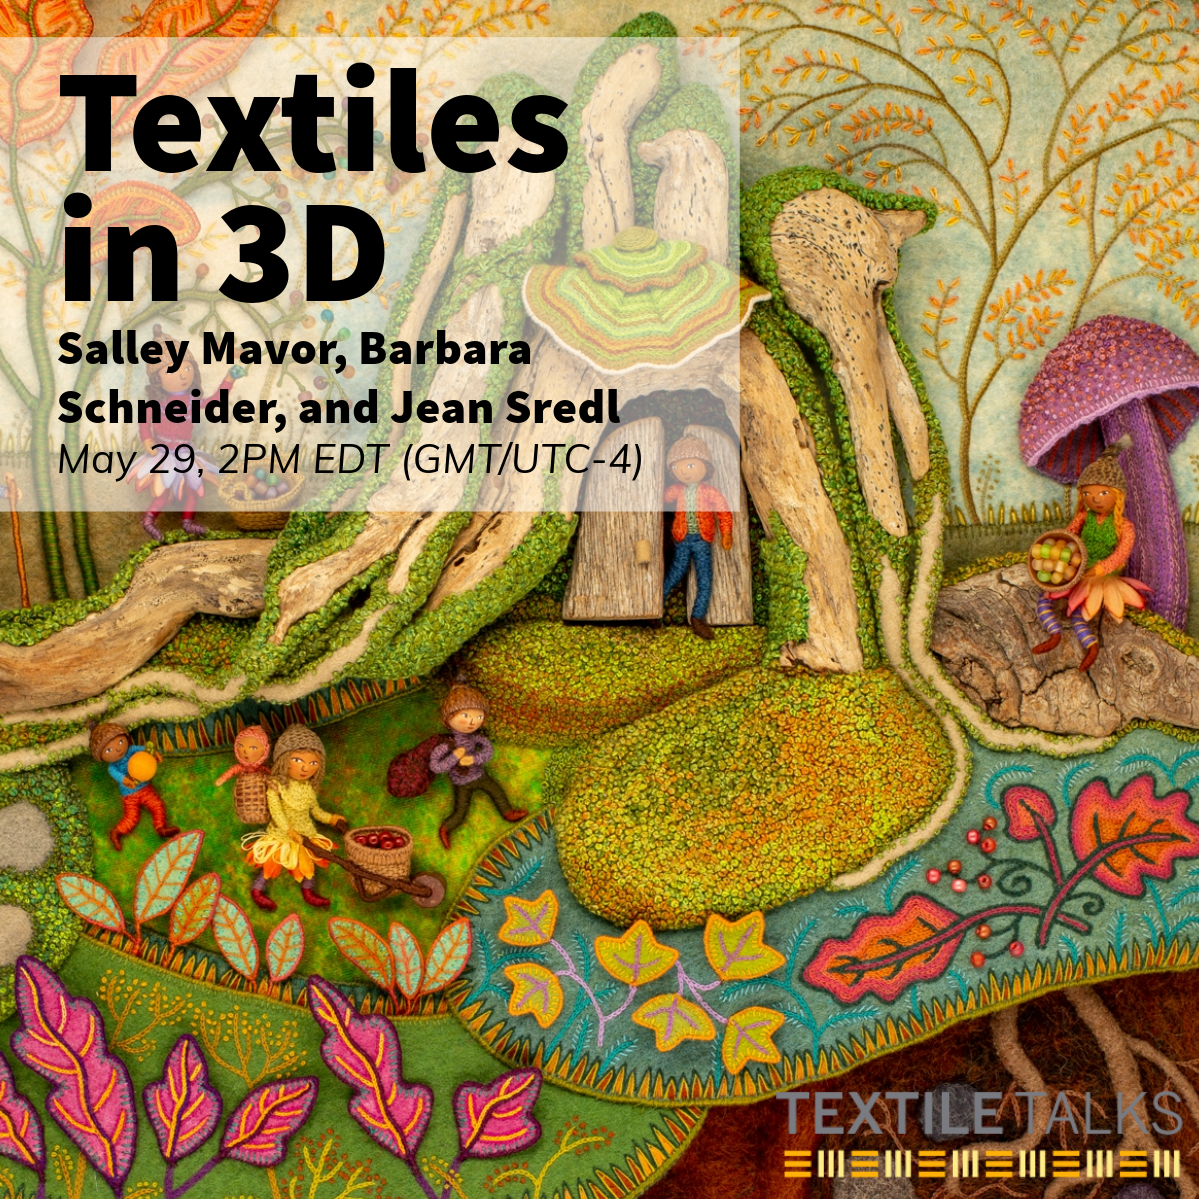
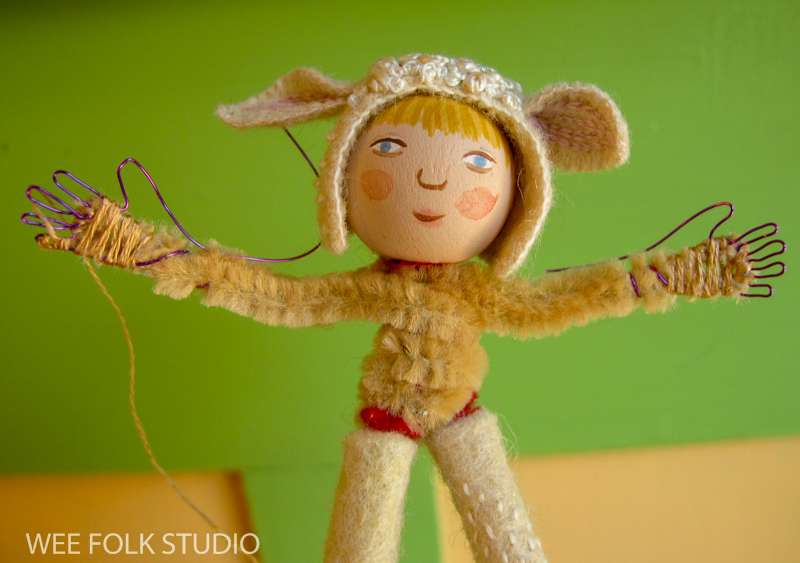
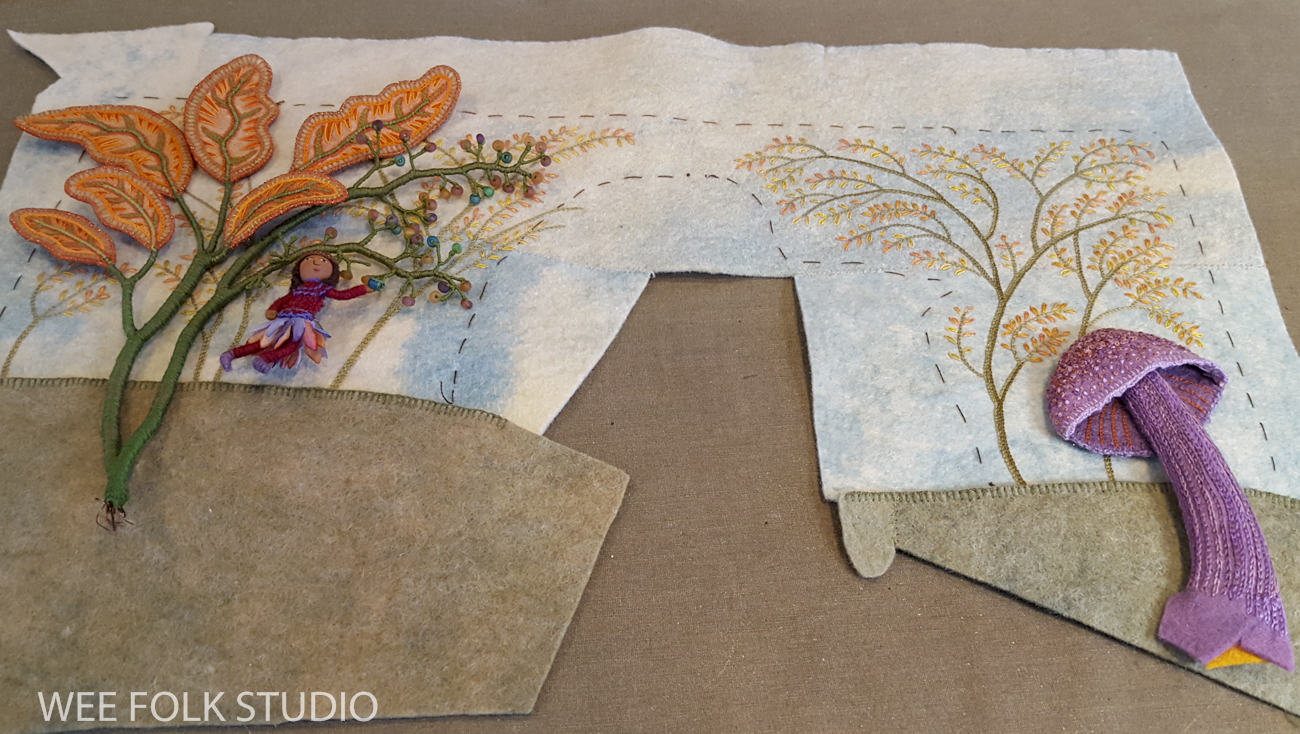
TEXTILE TALK – May 29 at 2PM EDT (GMT/UTC-4 Textiles in 3D with Salley Mavor, Barbara Schneider, and Jean Sredl
Join us for an engaging discussion with three artists creating with fiber in 3D! Link to sign up: www.saqa.com/textiletalks
Textile Talks are always free and open to everyone. They are presented each week by Studio Art Quilt Associates (SAQA), International Quilt Museum, Surface Design Association, and Quilt Alliance.
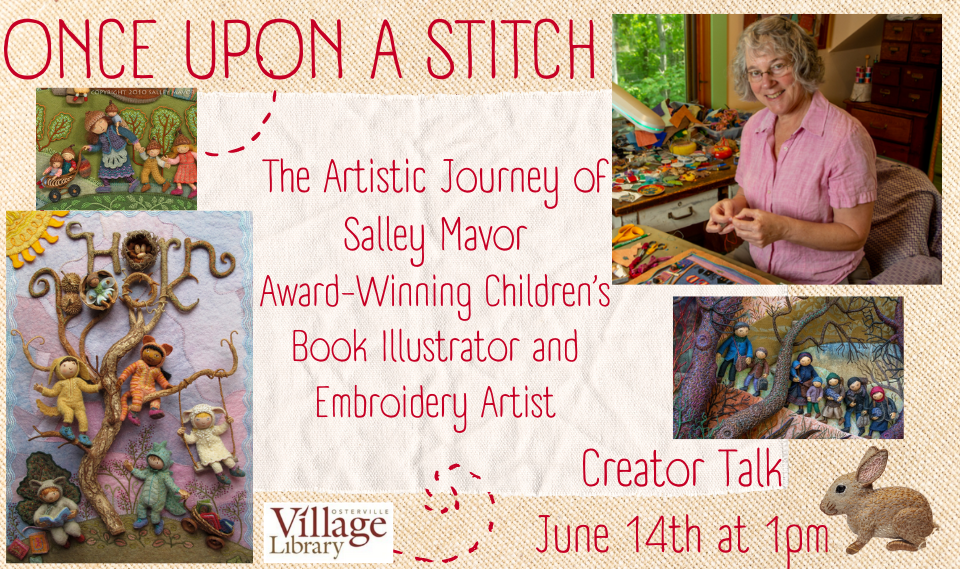
Once Upon a Stitch: The Artistic Journey of Salley Mavor
Osterville Village Library in Osterville, MA on June 14th at 1pm.
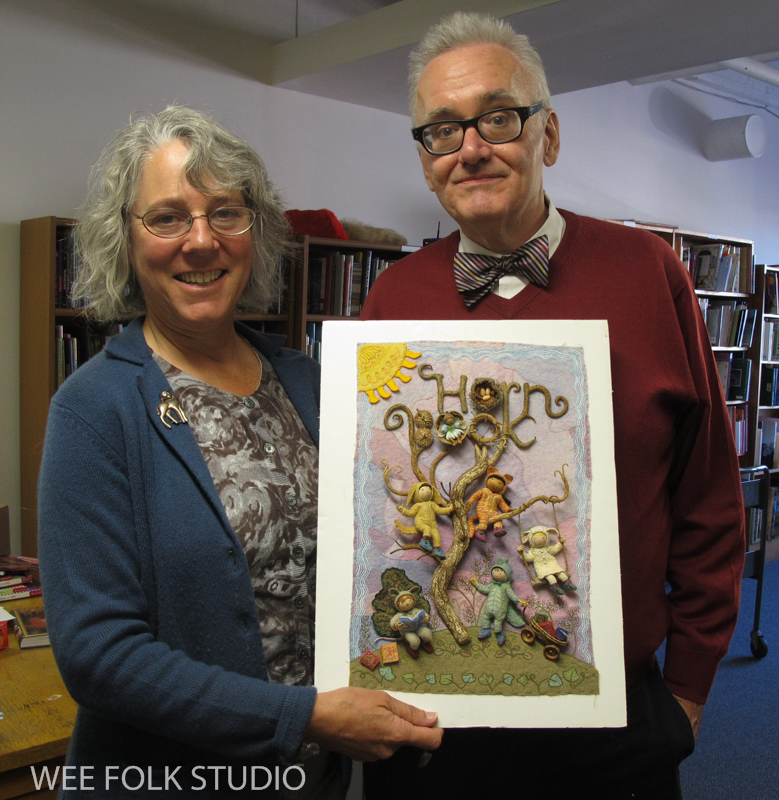
I will give a slide talk about my life’s work and offer some insight as to where it came from, how it’s evolved and why I do it.
A book signing will follow the presentation.

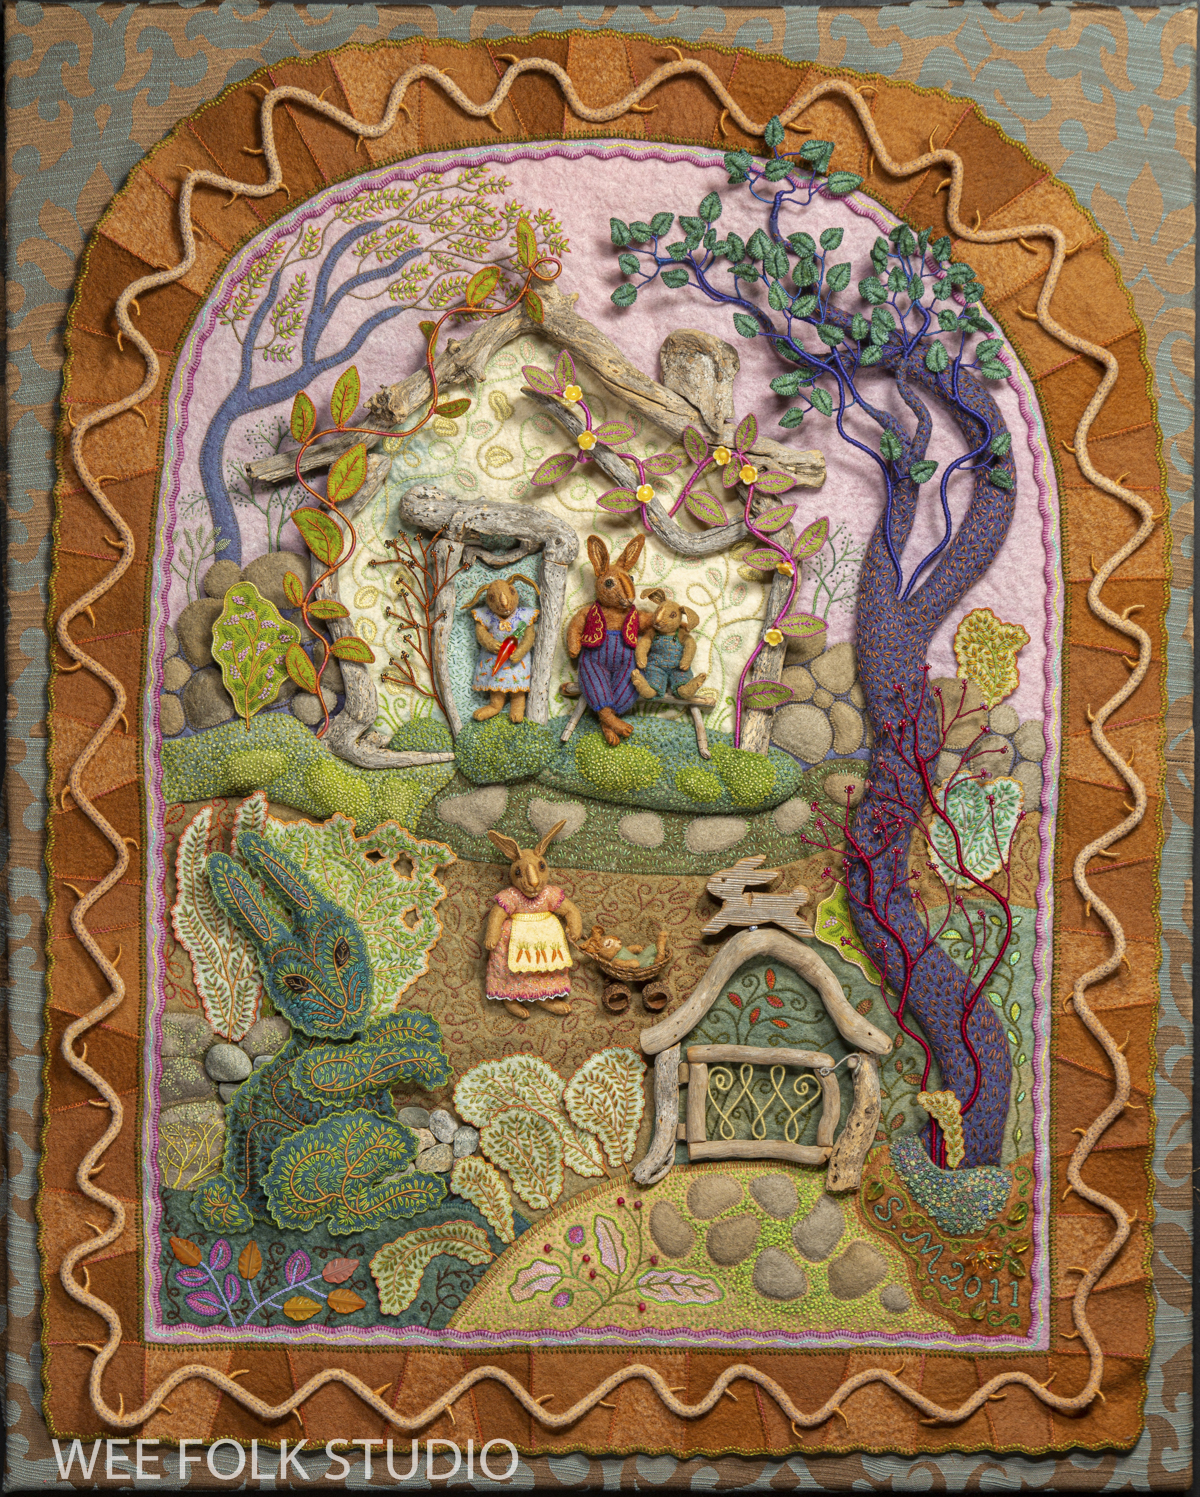
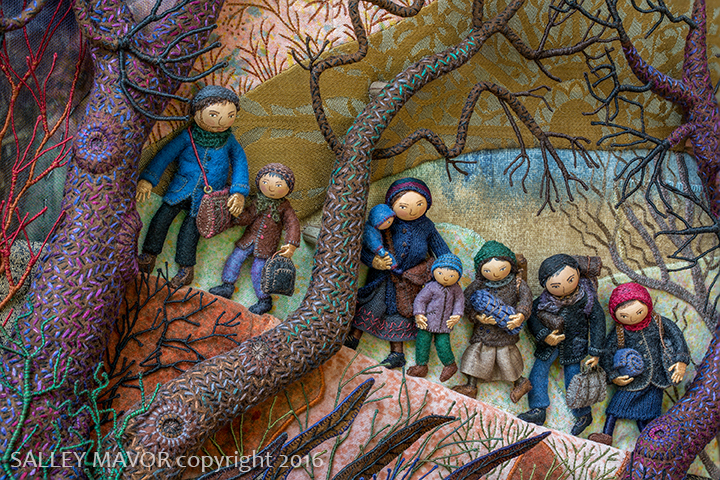
UPCOMING EXHIBITION
Enchanting Threads: The Art of Salley Mavor
Albany Institute of History and Art, Albany, NY.
July 27, 2024 – March 2, 2025
Opening Reception for the Artist – Fri., July 26, 5:30 – 7:30PM
Opening reception with the artist on July 27th. Artist talk TBA later in the fall.

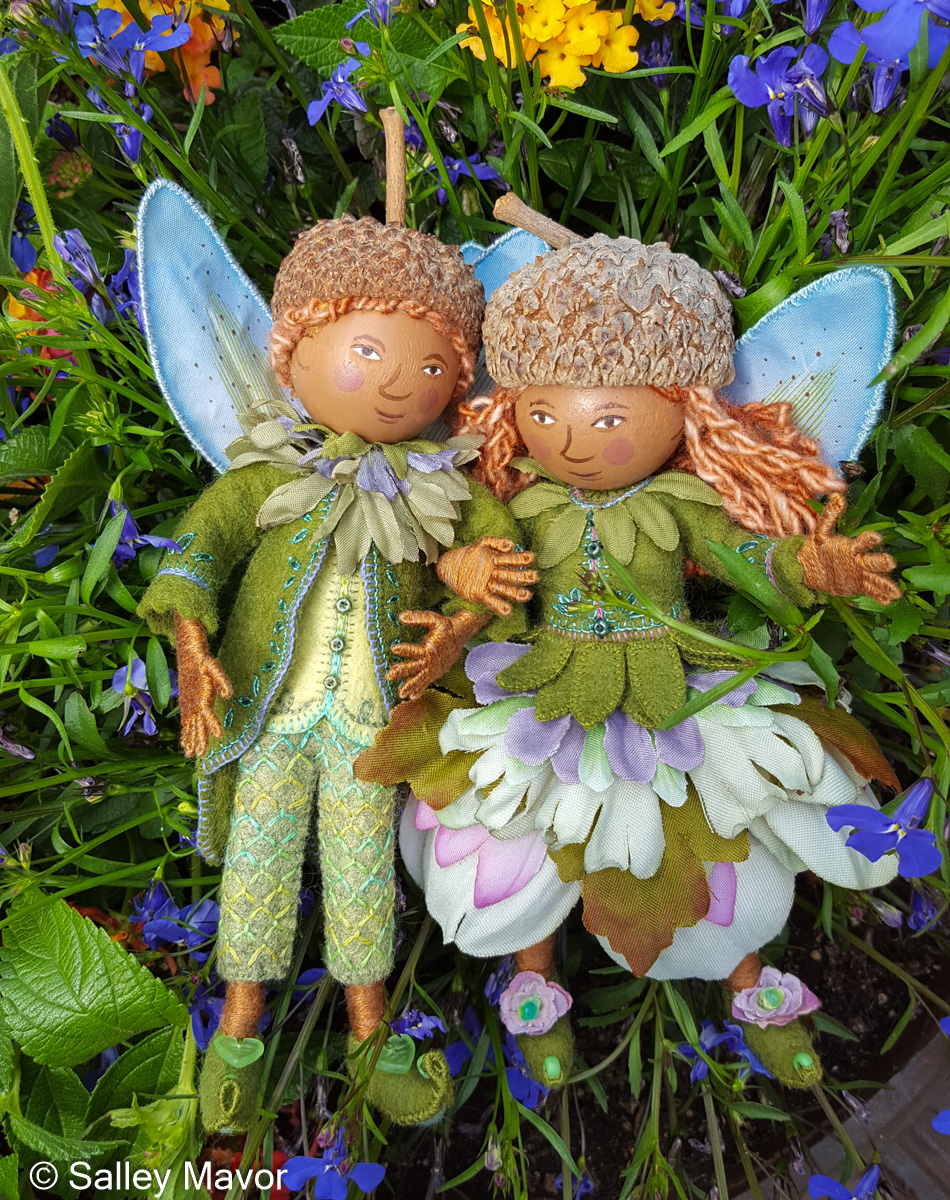
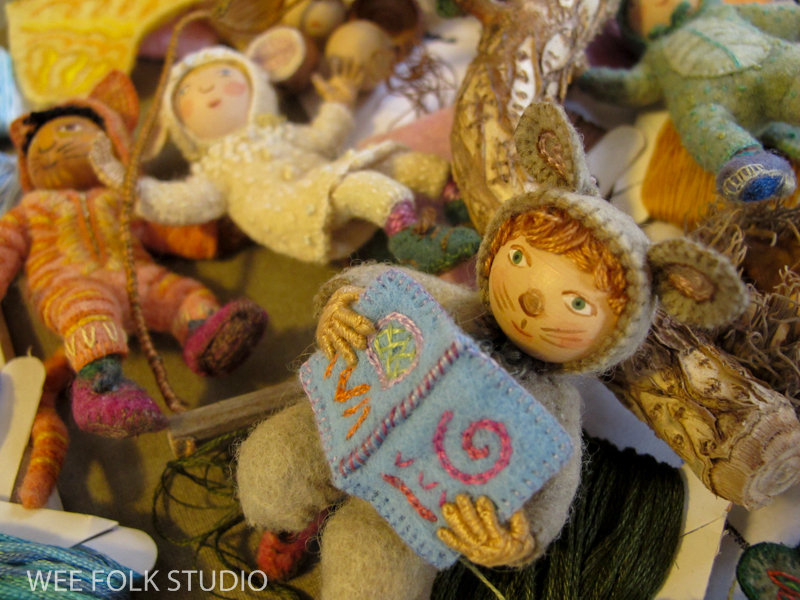
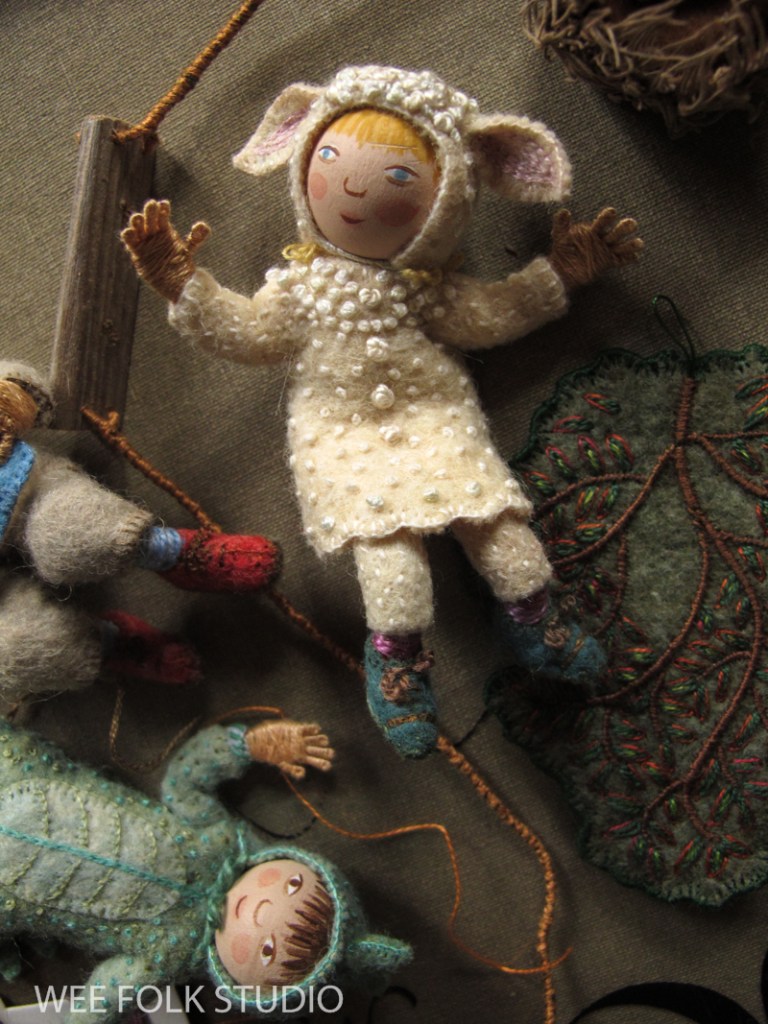
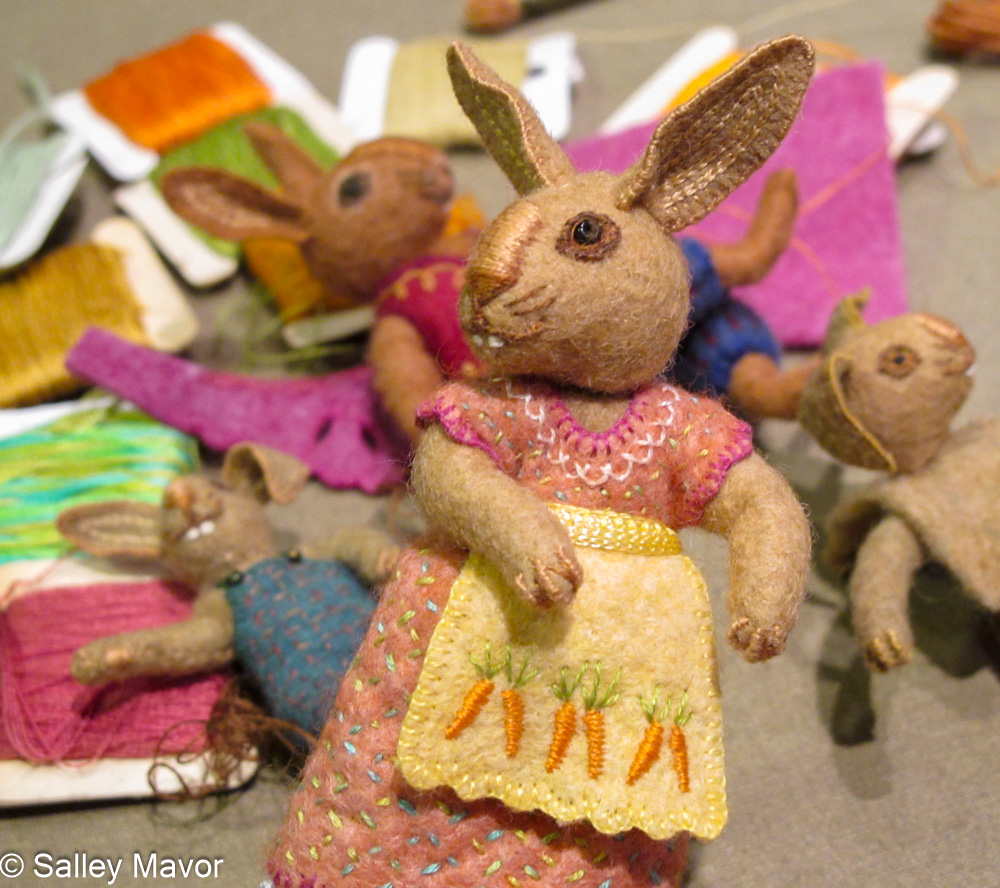
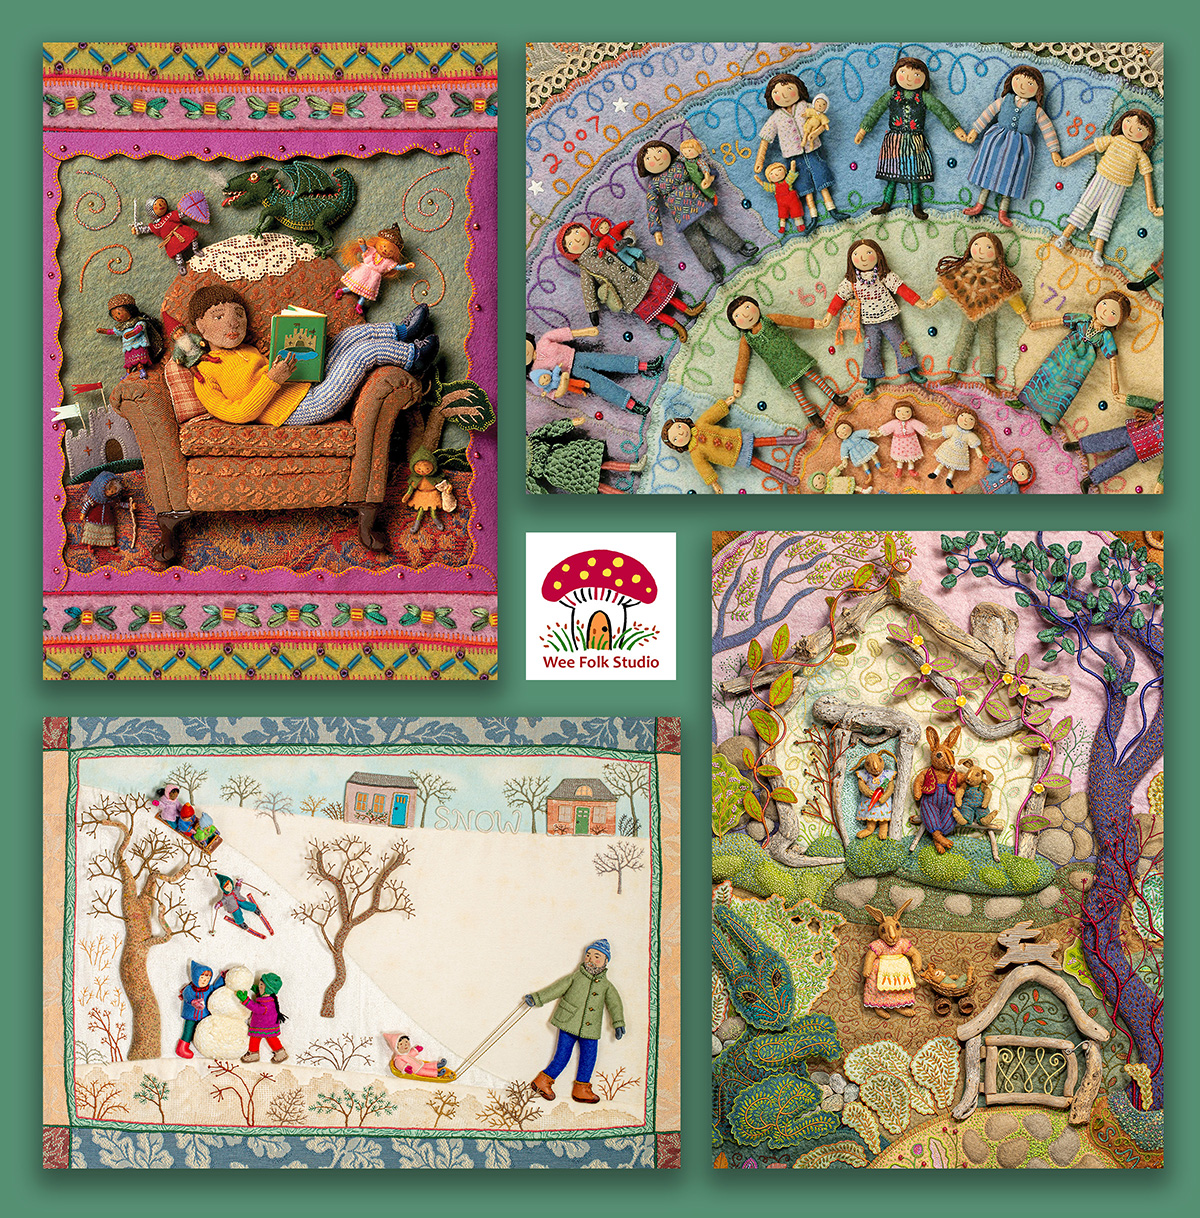
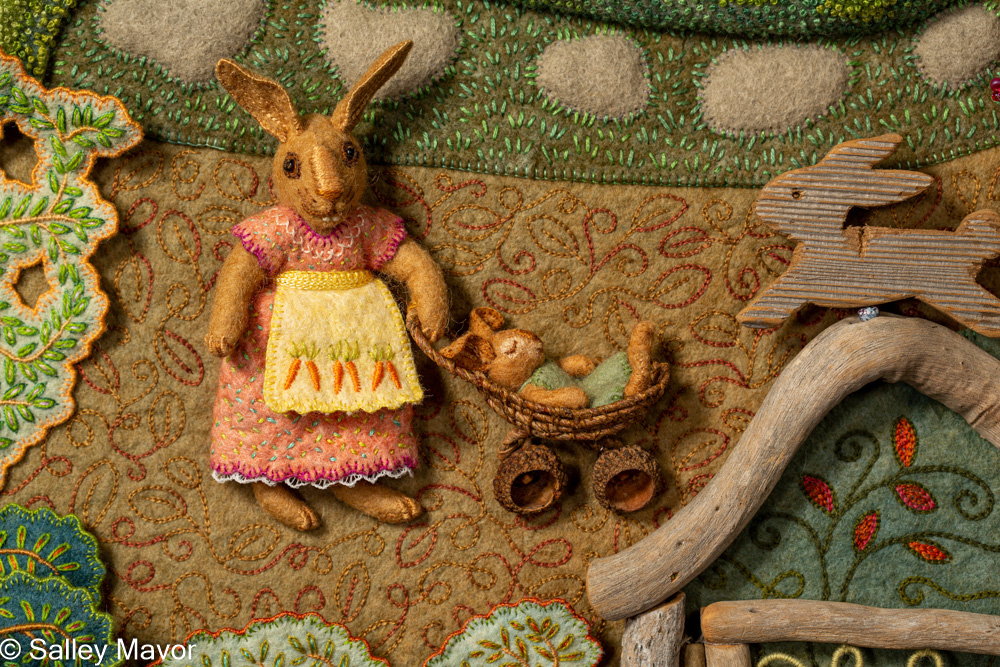
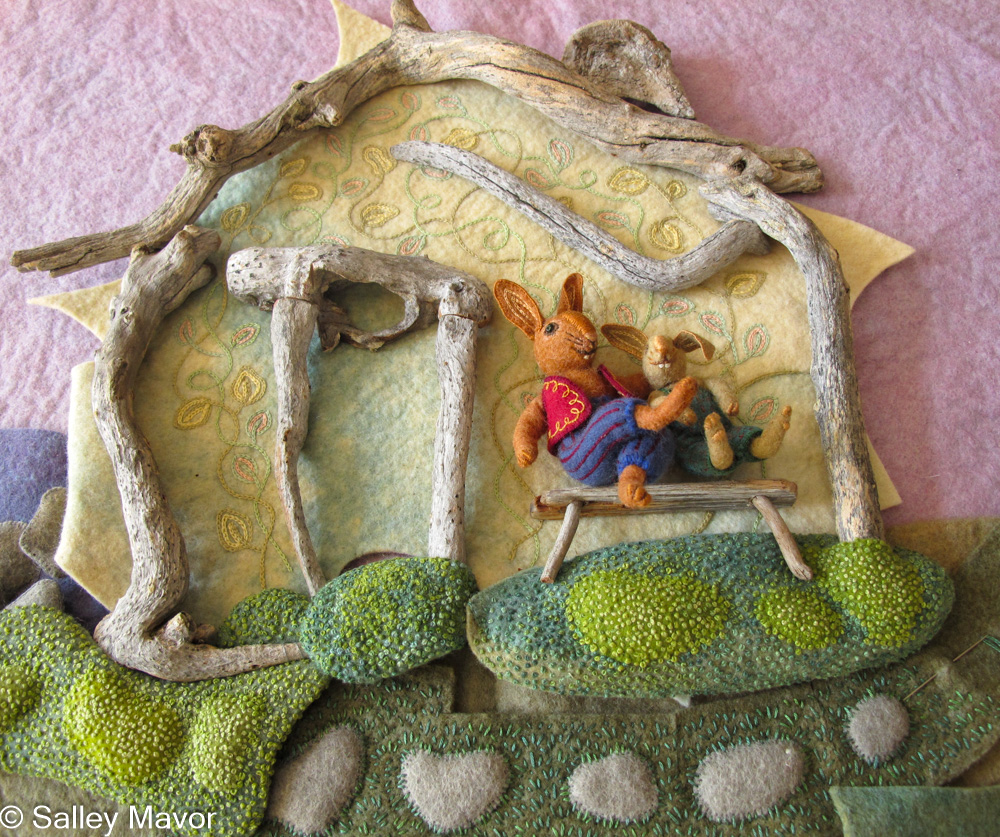
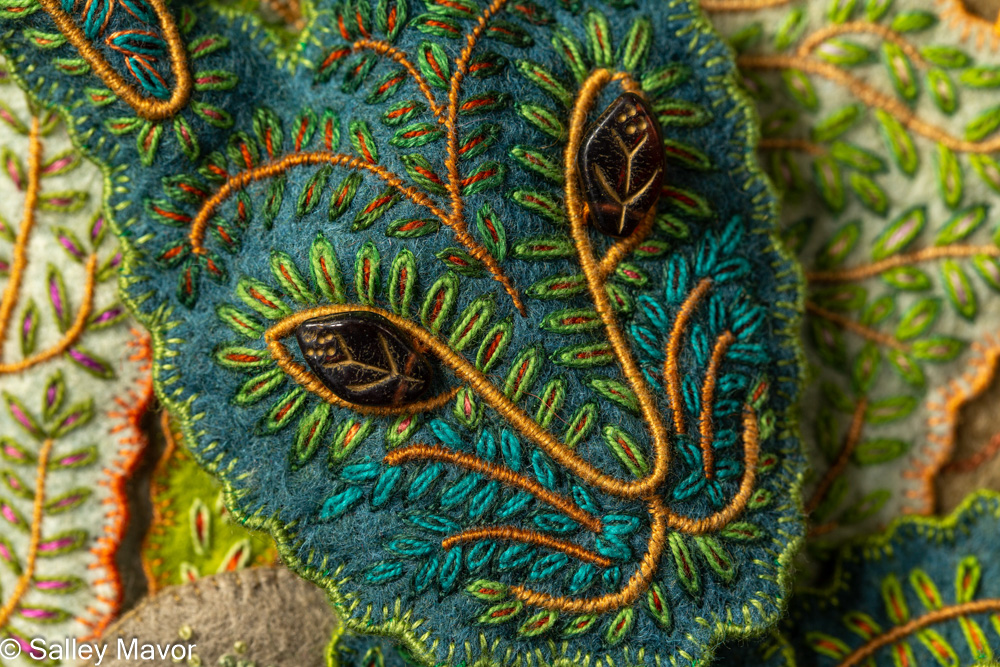
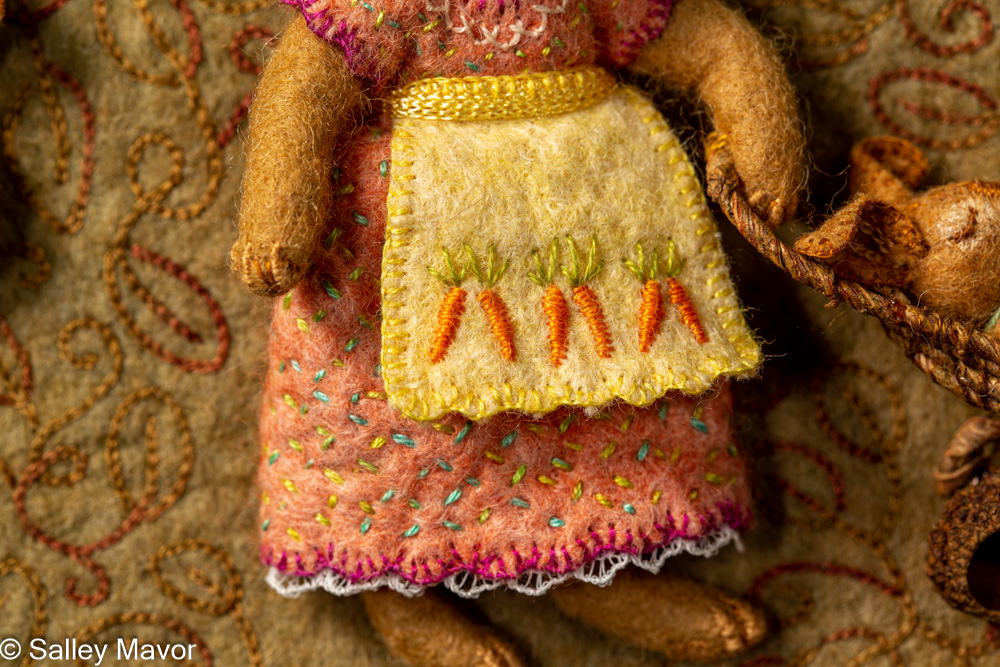
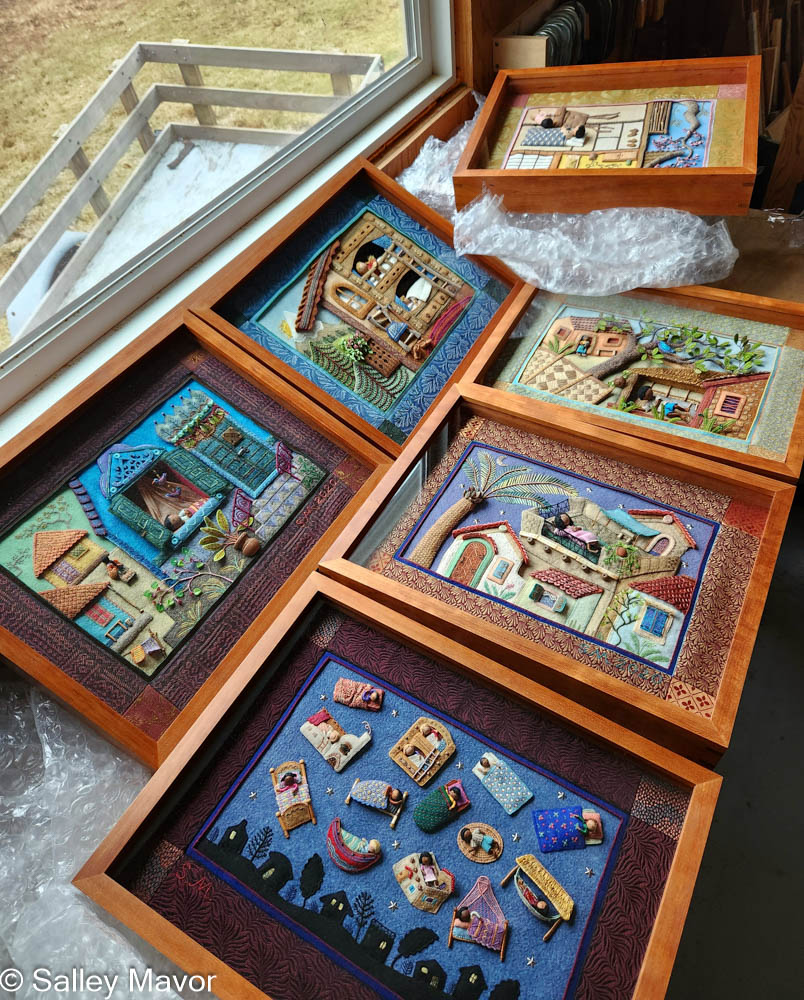
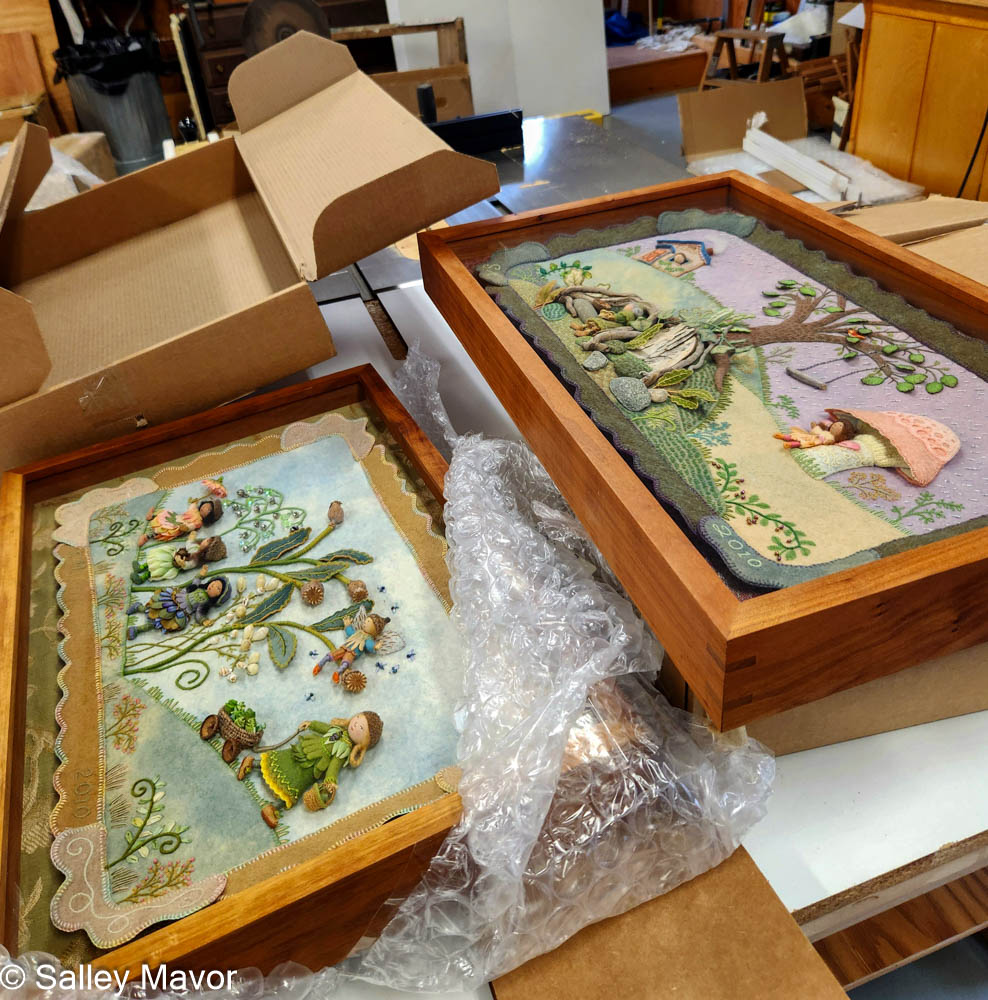
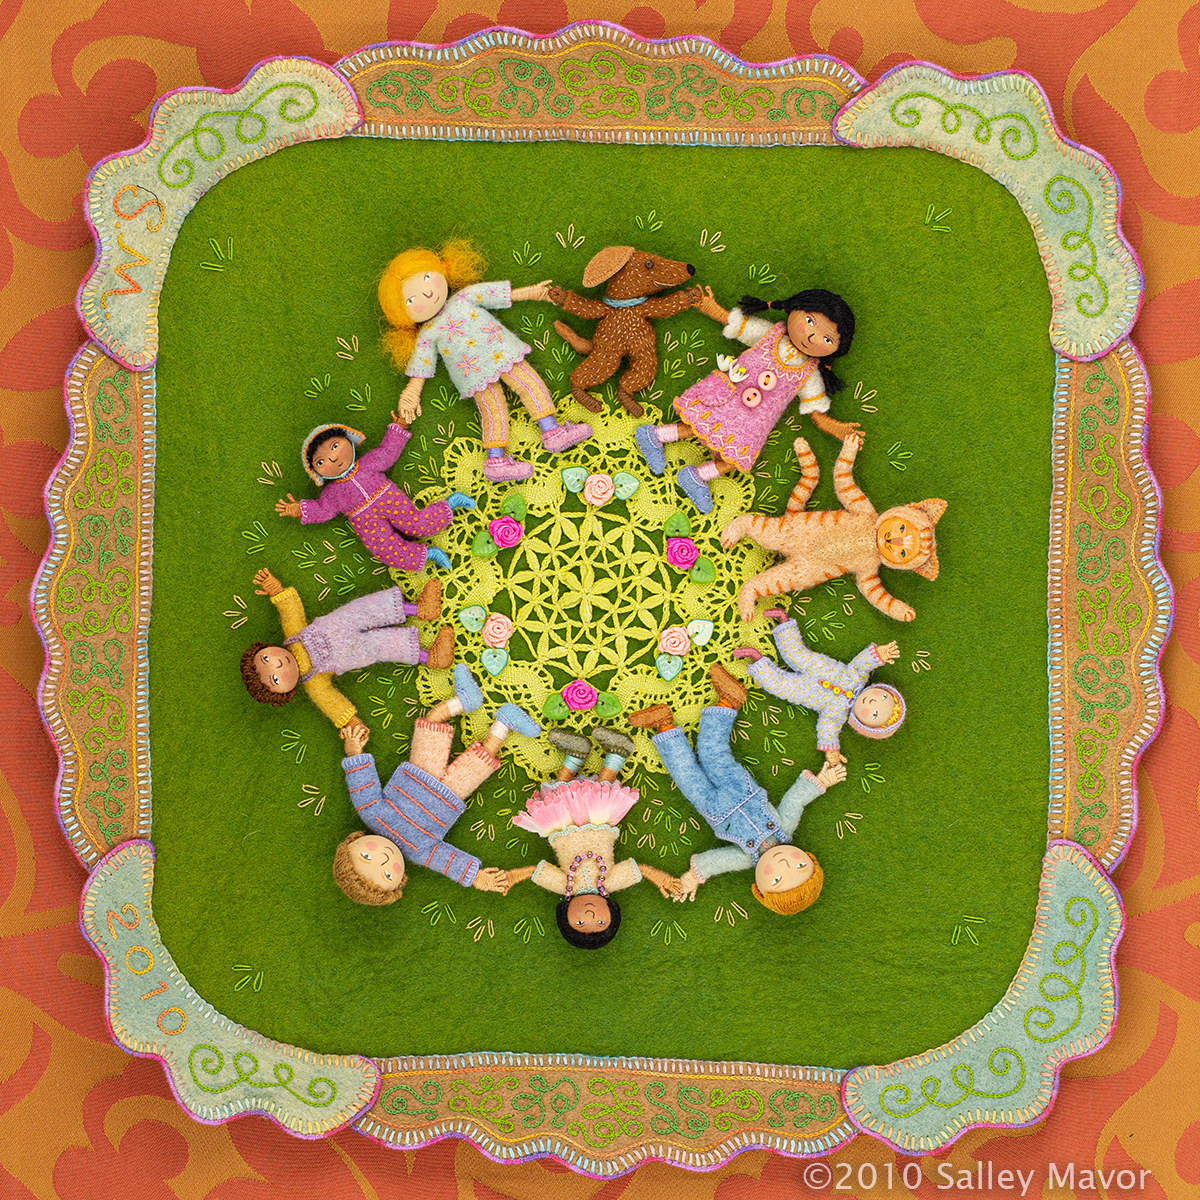
Starting this summer, The Albany Institute of History and Art will host a major exhibition of over 80 bas-relief pieces and sculptural objects from my collection. Enchanting Threads: The Art of Salley Mavor will be on view for 7 months, from July 27, 2024 – February 23, 2025. The show will include a large selection of my artwork from the past 30 years, including Bedtime Stitches, the touring exhibit of original illustrations for my most recent picture book, MY BED: Enchanting Ways to Fall Asleep around the World. Also on display will be recent works that explore cultural diversity, migration, fashion, the natural world, and a range of social narratives, from the everyday to topical subjects.
To keep up with new posts, please subscribe to this blog. Your contact info will not be sold or shared. If you’d like to see more frequent photos tracking the projects in my studio, please follow me on Facebook, Instagram and BlueSky.