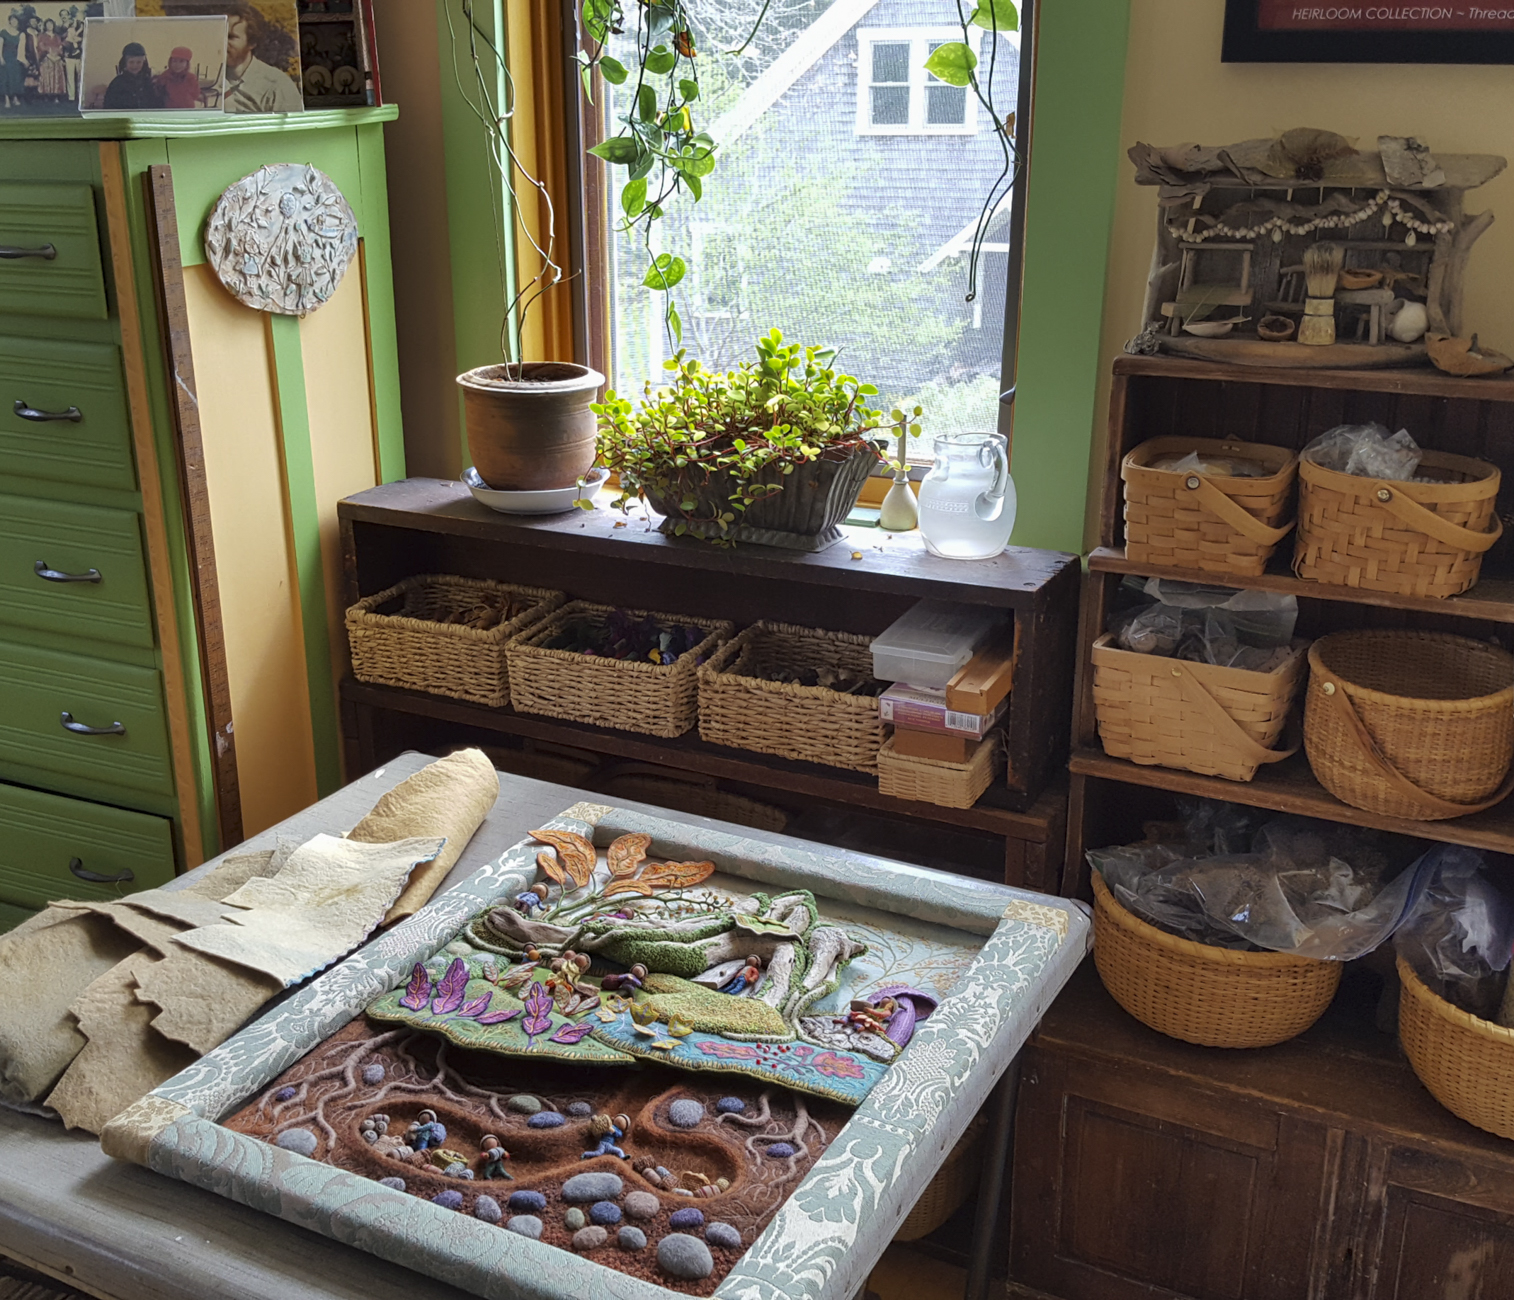
As promised, I’m picking up where we left off last year and continuing the series about Summertime, the fourth of my seasonal landscapes. Part 3 features photos and videos documenting the process of creating the leaves, stems, and branches.
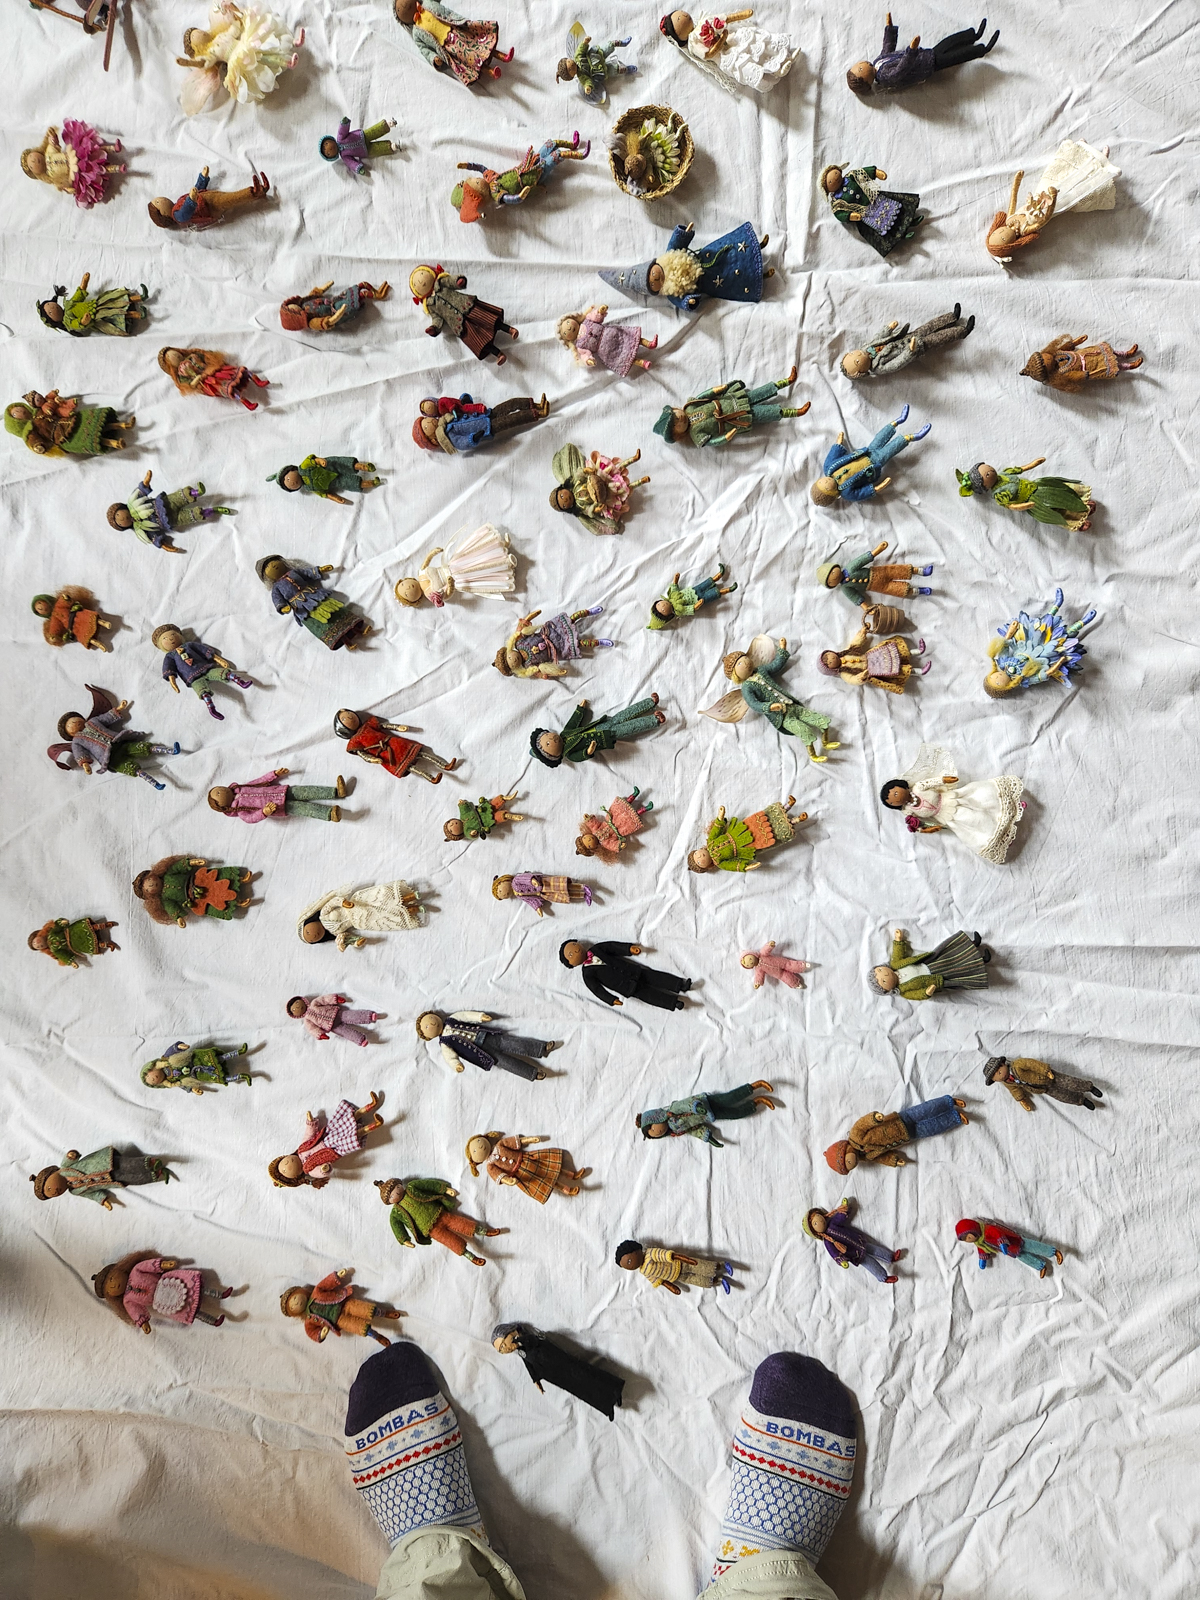
For a more comprehensive understanding of my process, I encourage you to explore other posts in this series: Overview of the piece, Part 1 – Tree Trunks, Part 2 – Tree Houses, Part 3 – leaves, stems and branches, Part 4 – Baltimore Oriole (body), Part 5 – Baltimore Oriole (head and feet), Part 6 – rose vine, Part 7 – raspberry plants, Part 8 – stitching flora, Part 9 – moss, sky and stone wall, and Part 10 – wee folk.

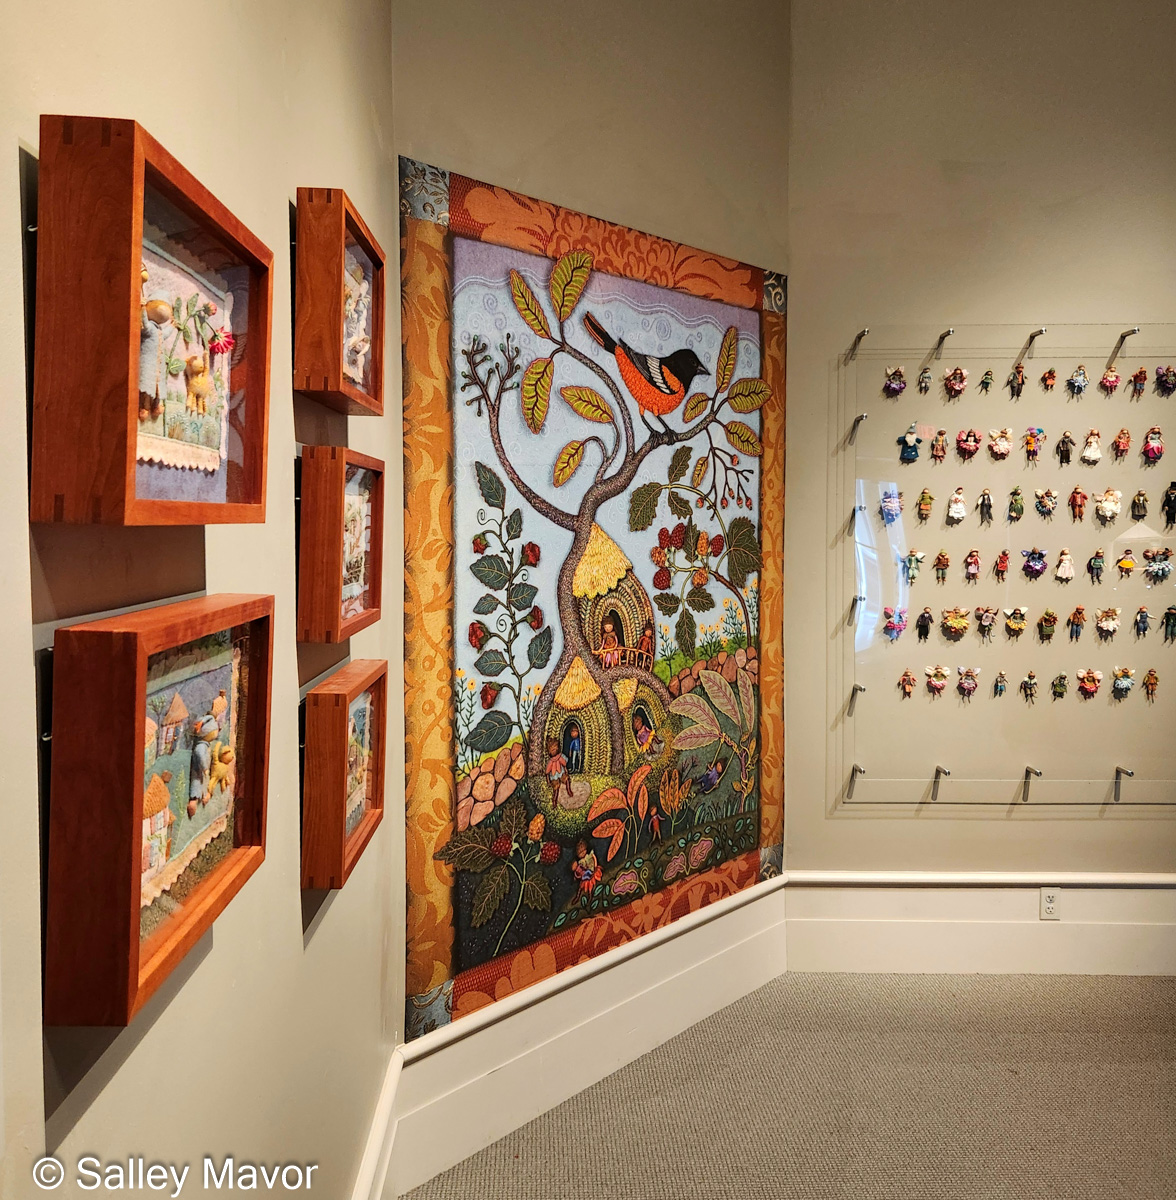
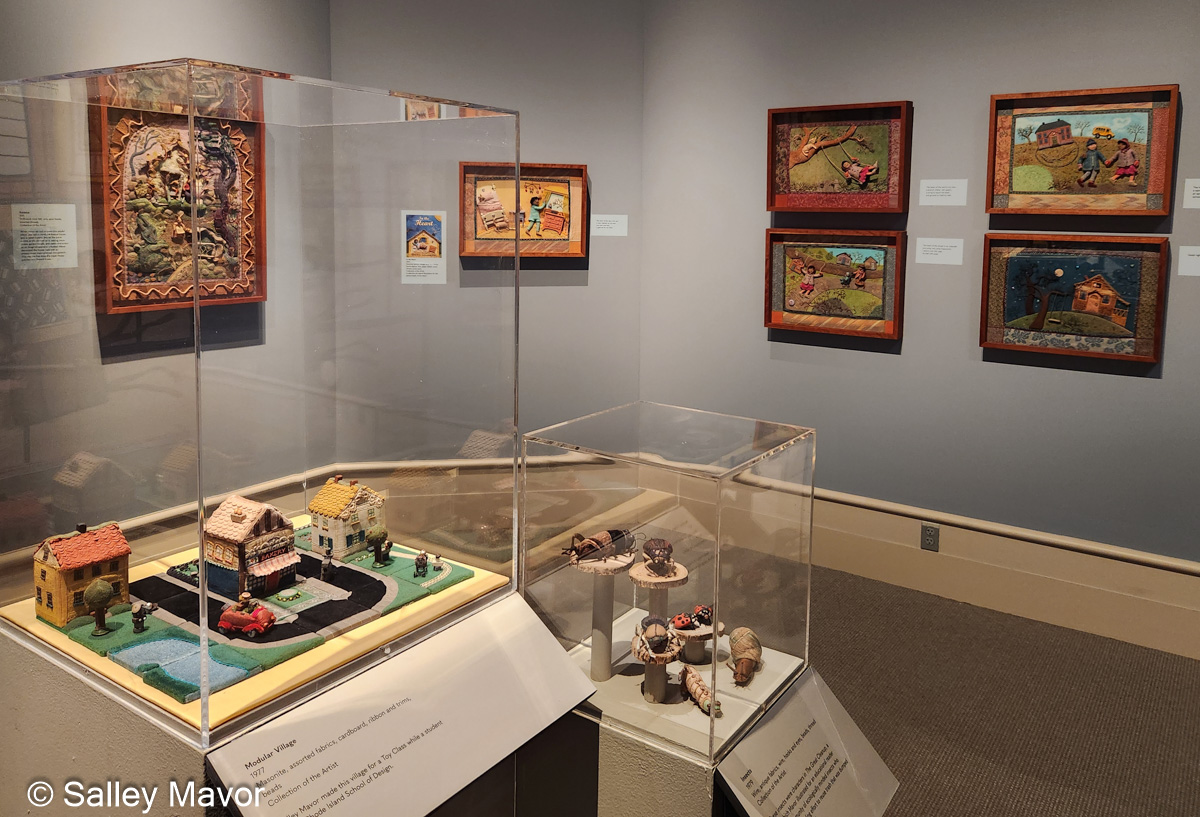
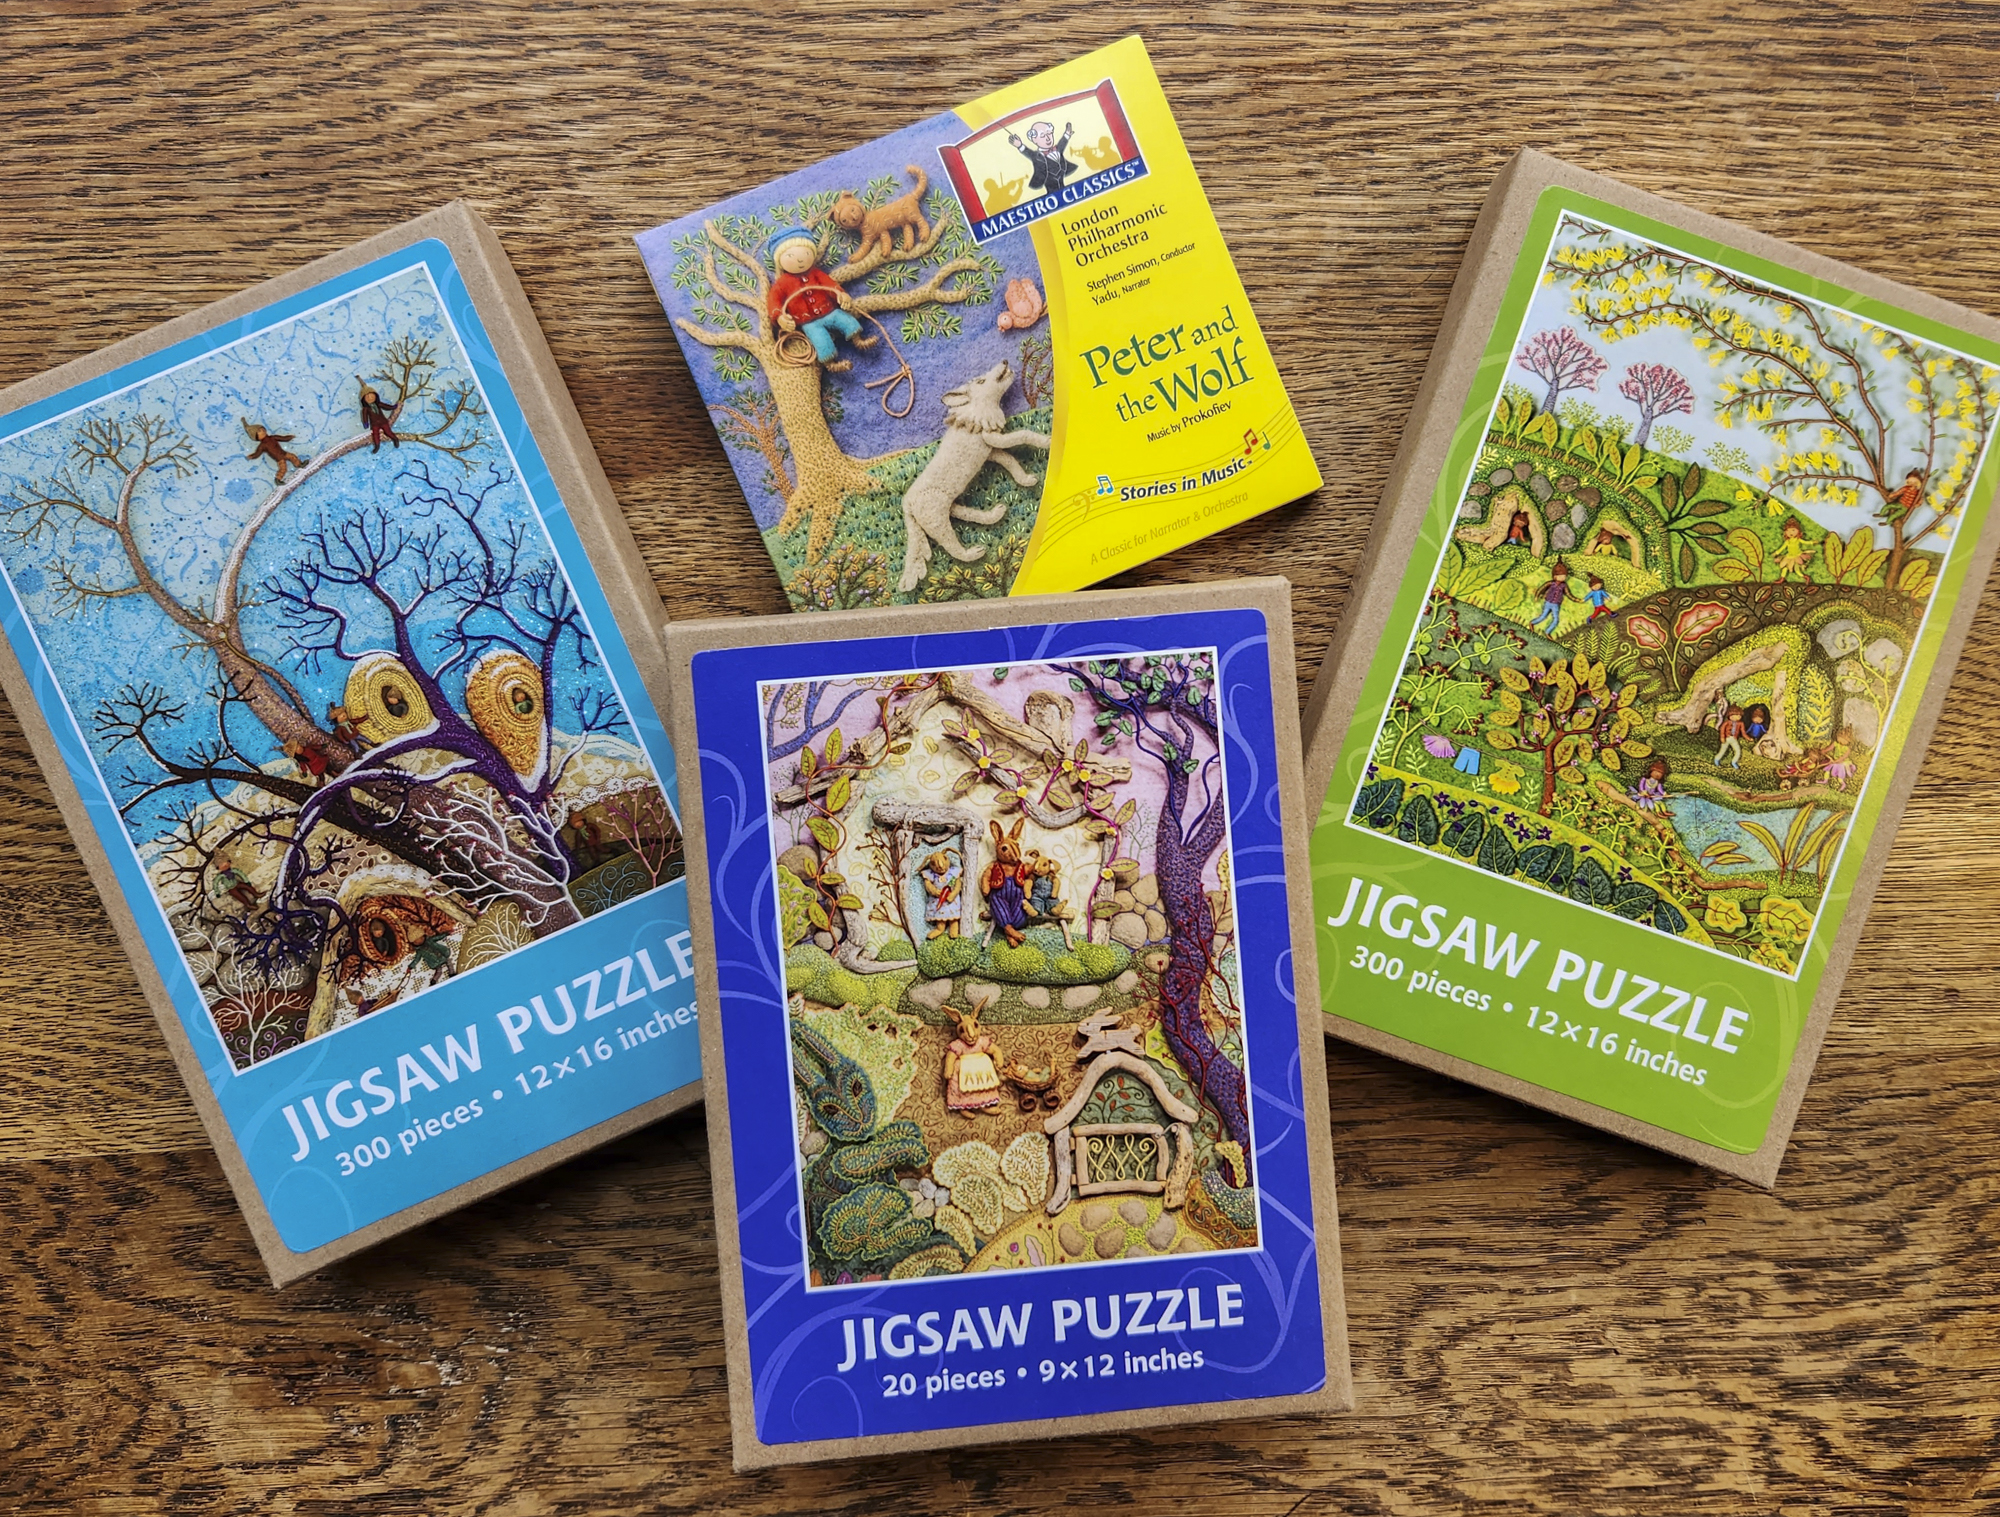
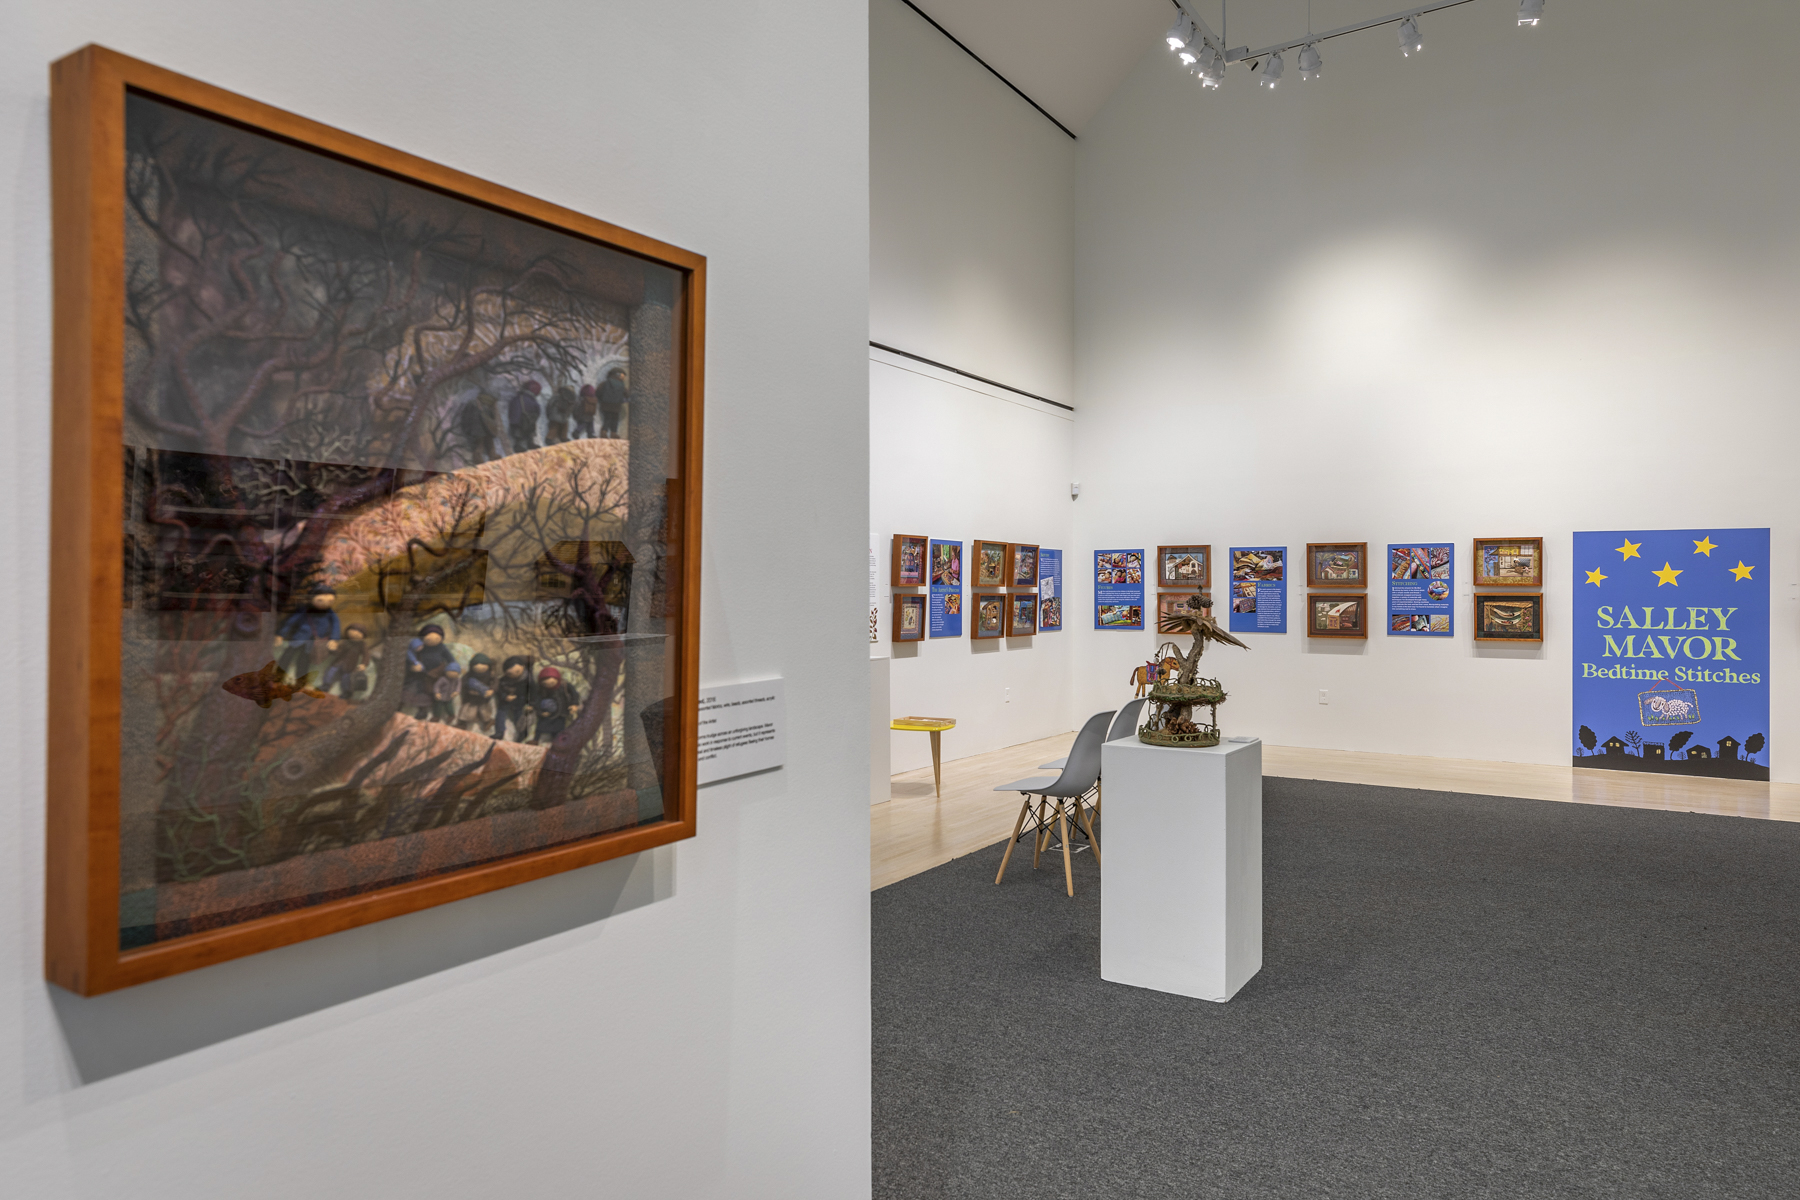
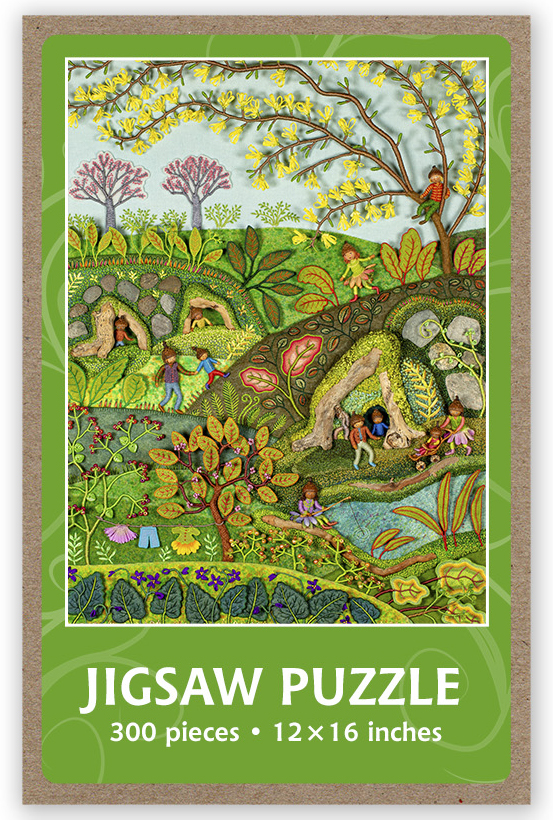
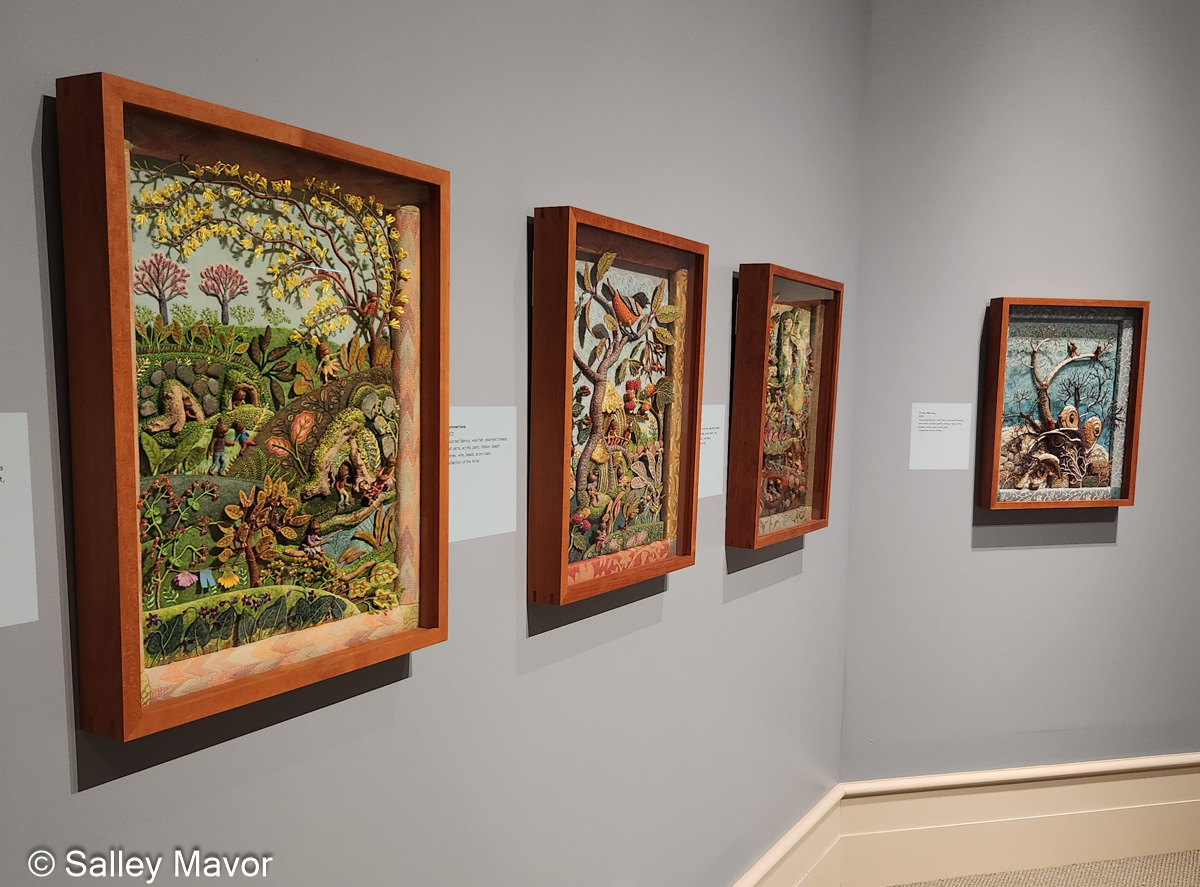
Summertime is the summer scene in a series of four seasonal landscapes that capture the wonder and magic of the natural world. Posters, note cards, prints, bookmarks, and jigsaw puzzles of Summertime and the other scenes in the series (Frosty Morning, Mossy Glen and Harvest Time) are available in my Etsy Shop.
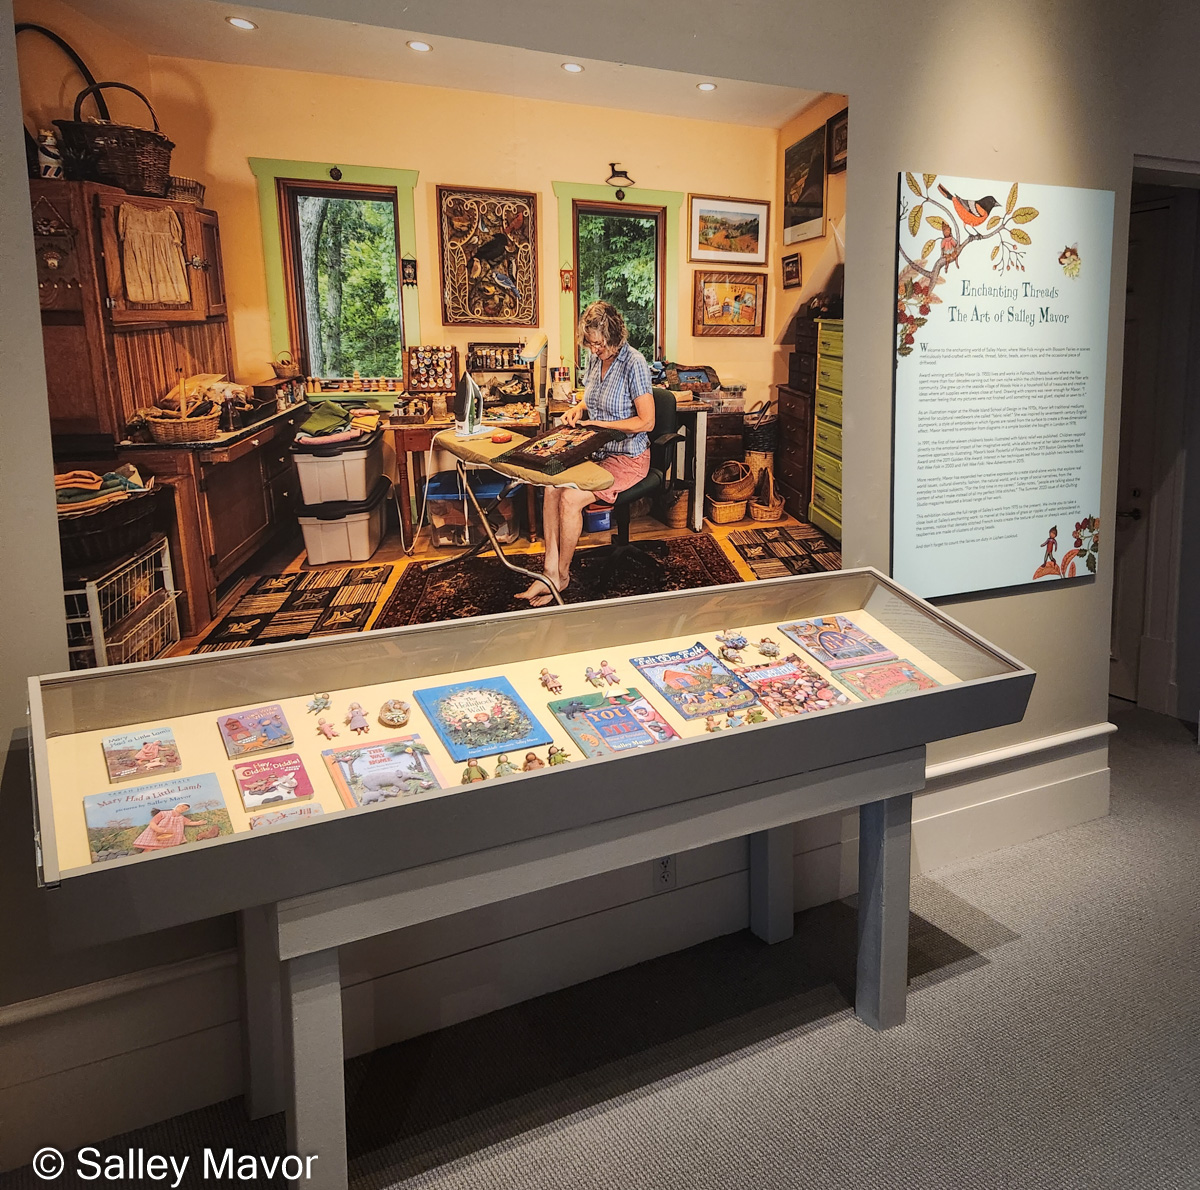
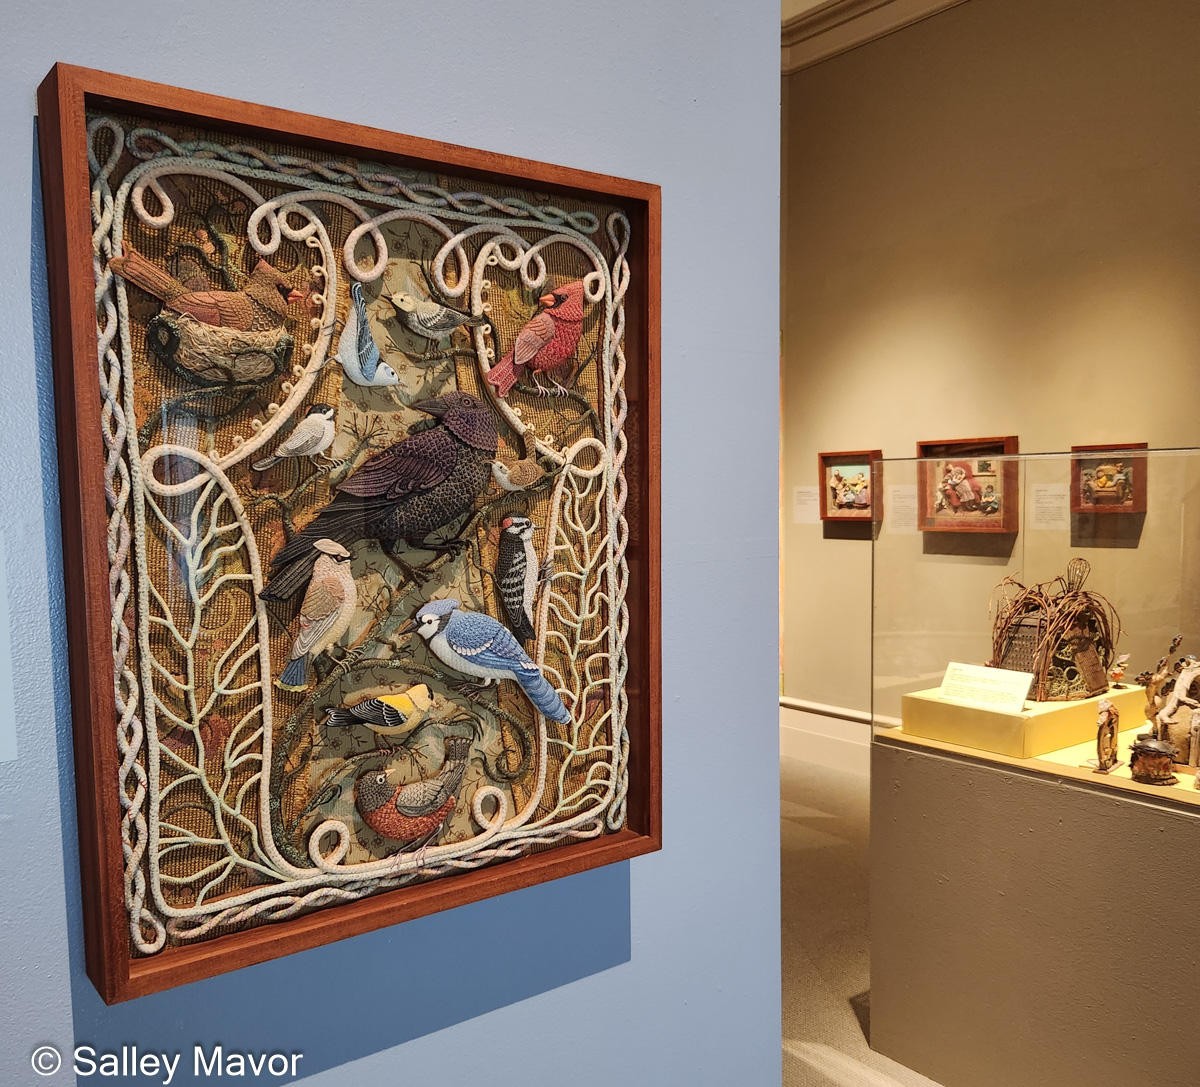
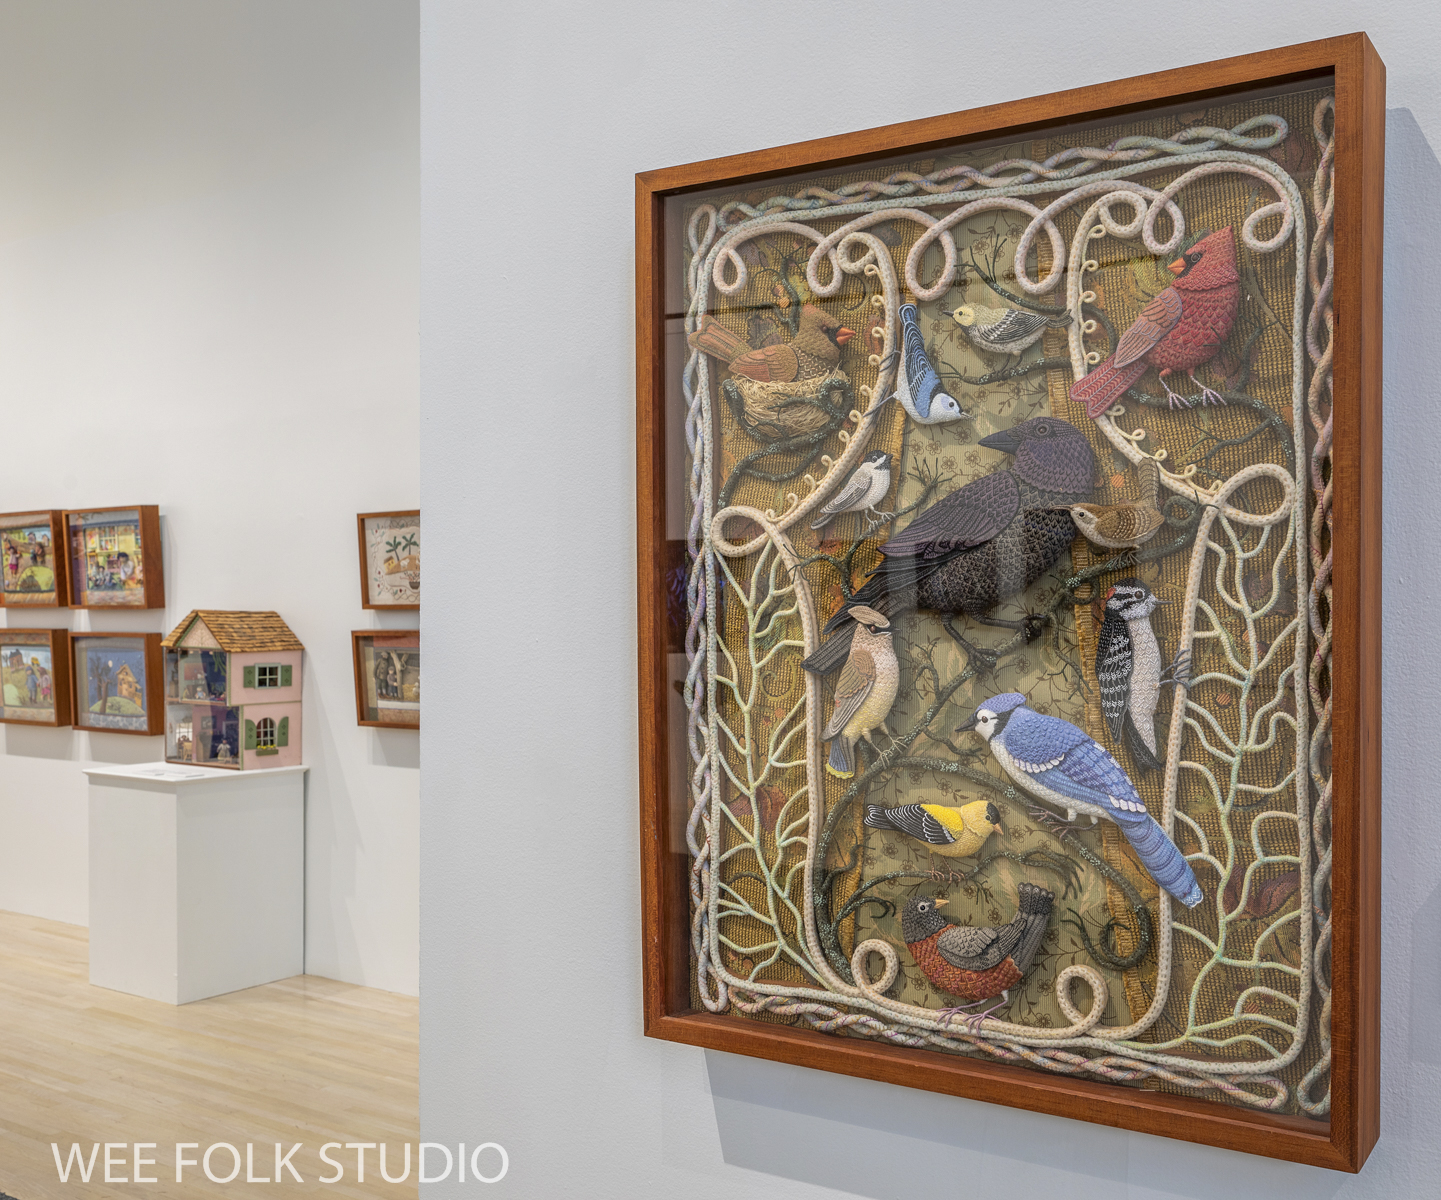
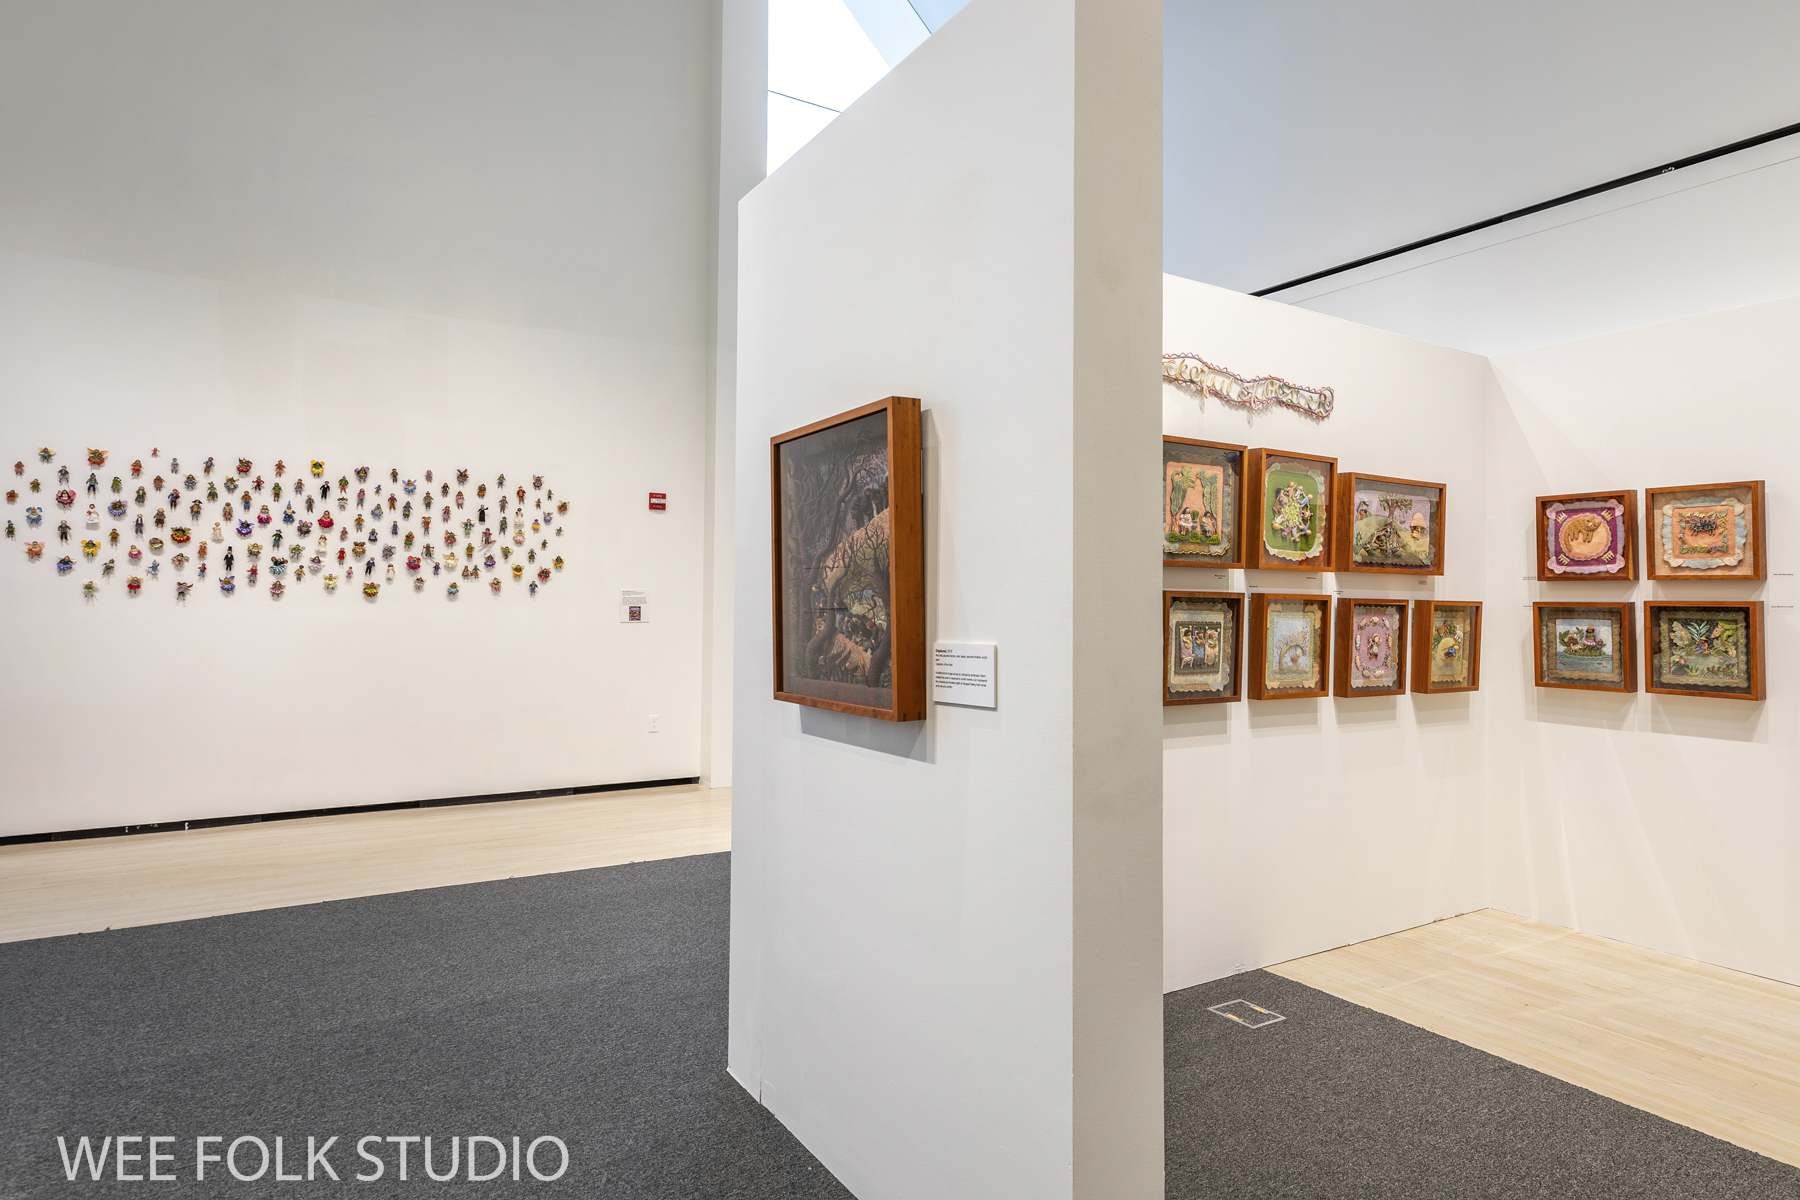
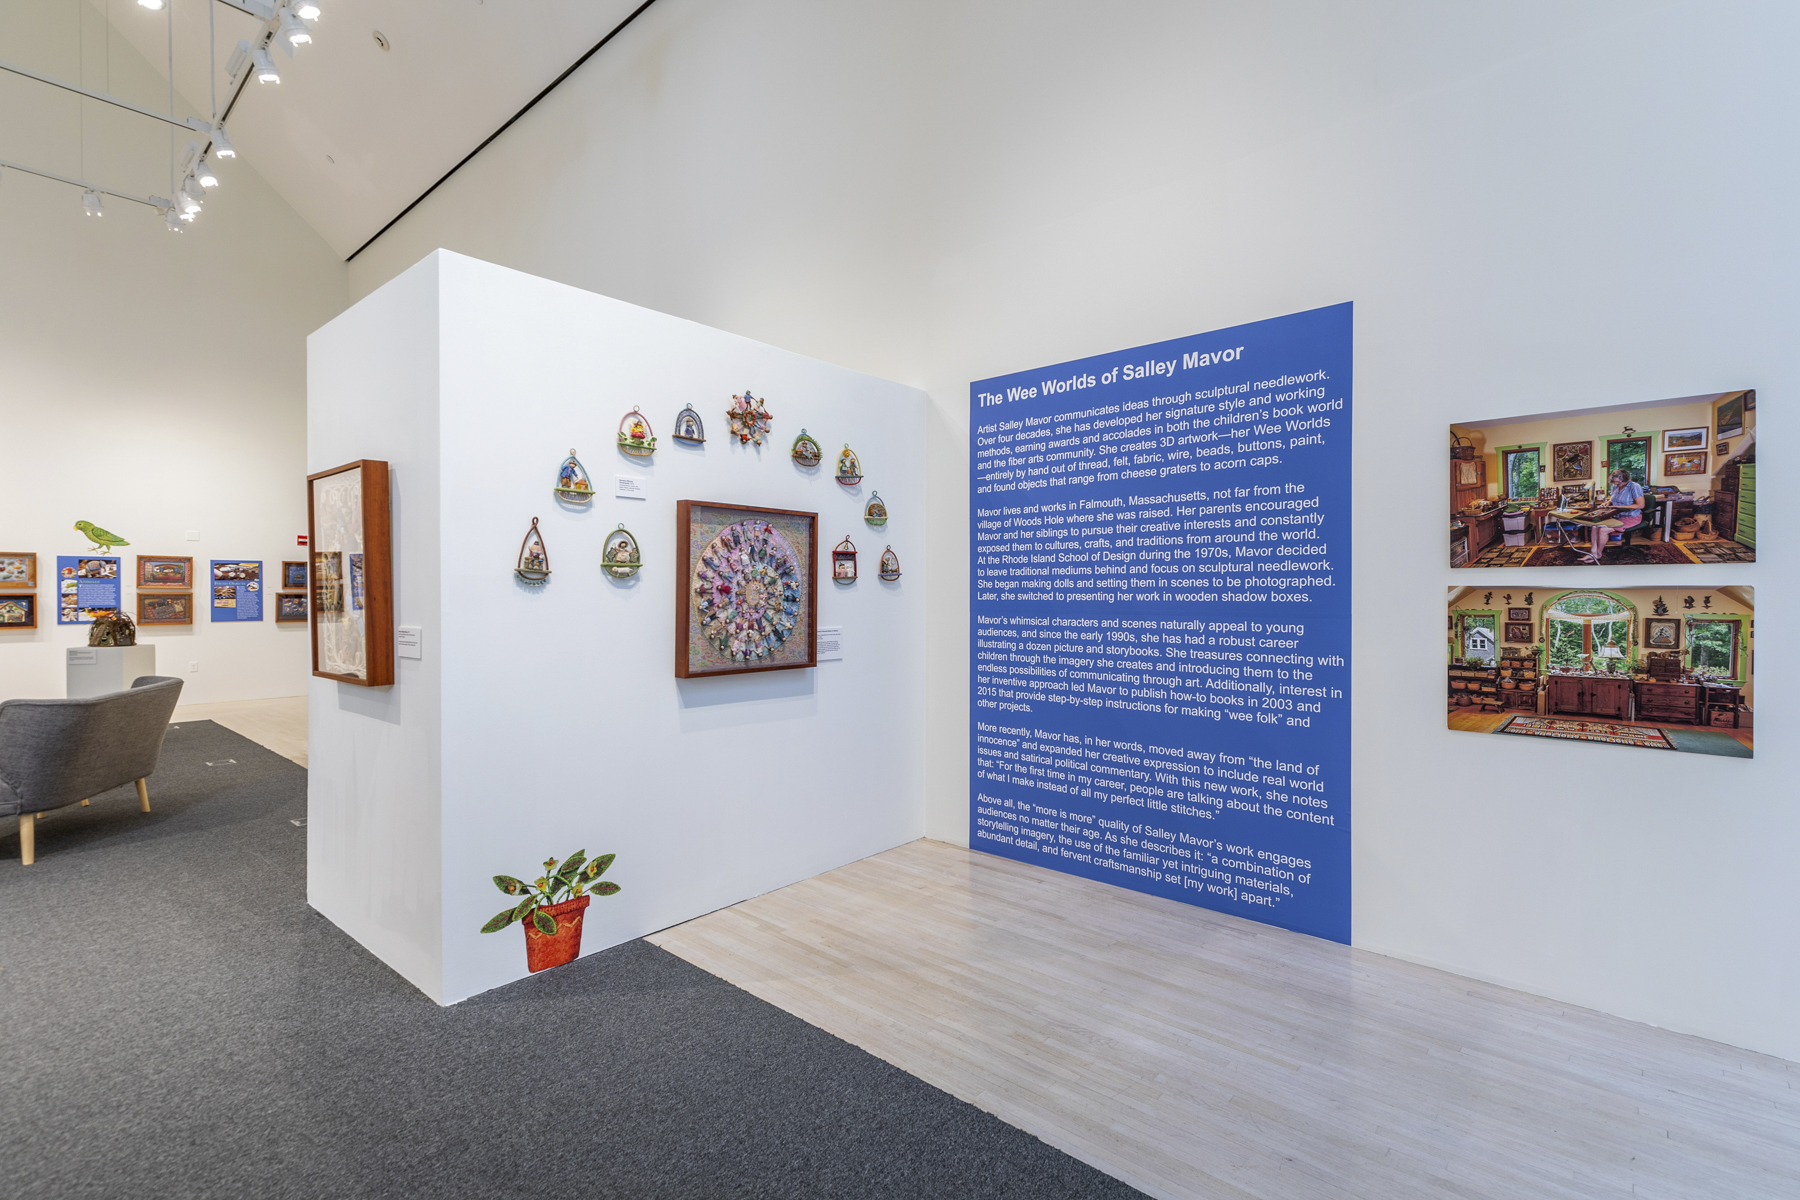
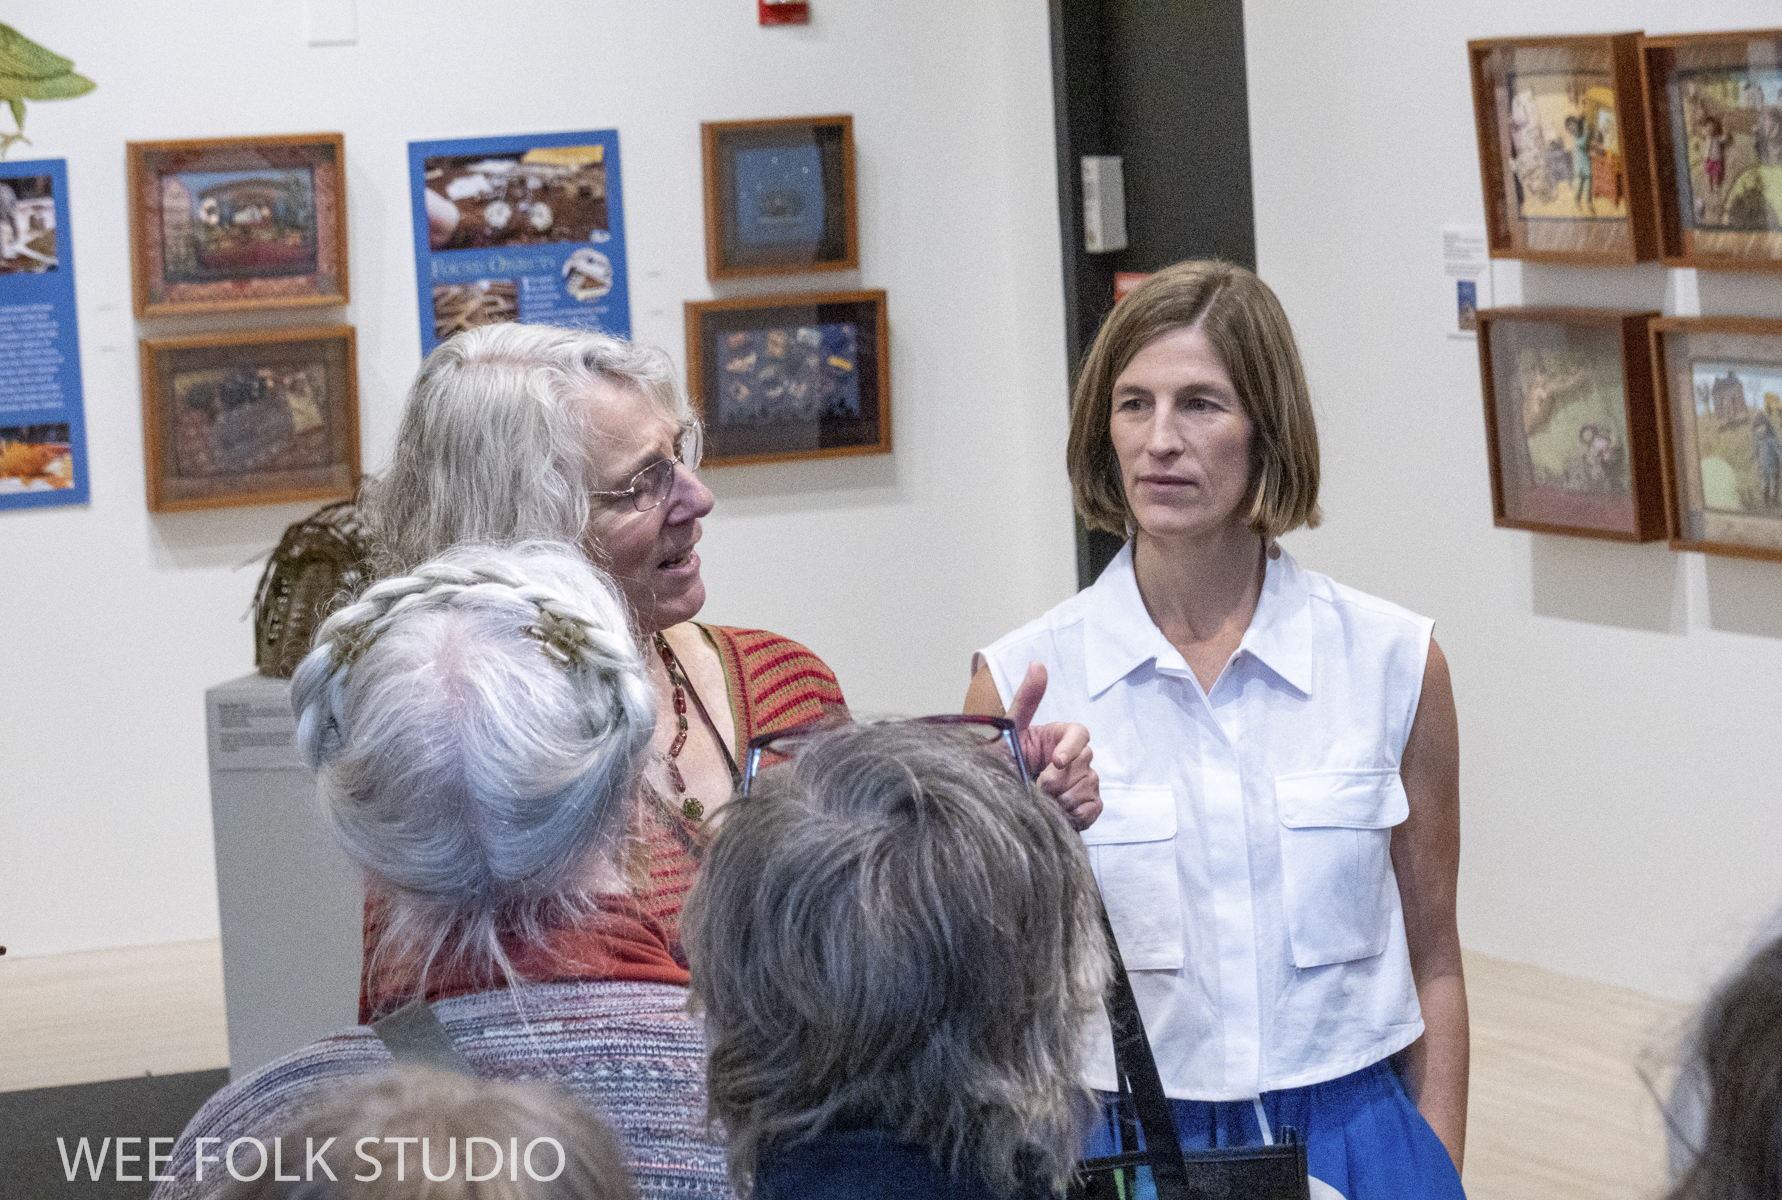
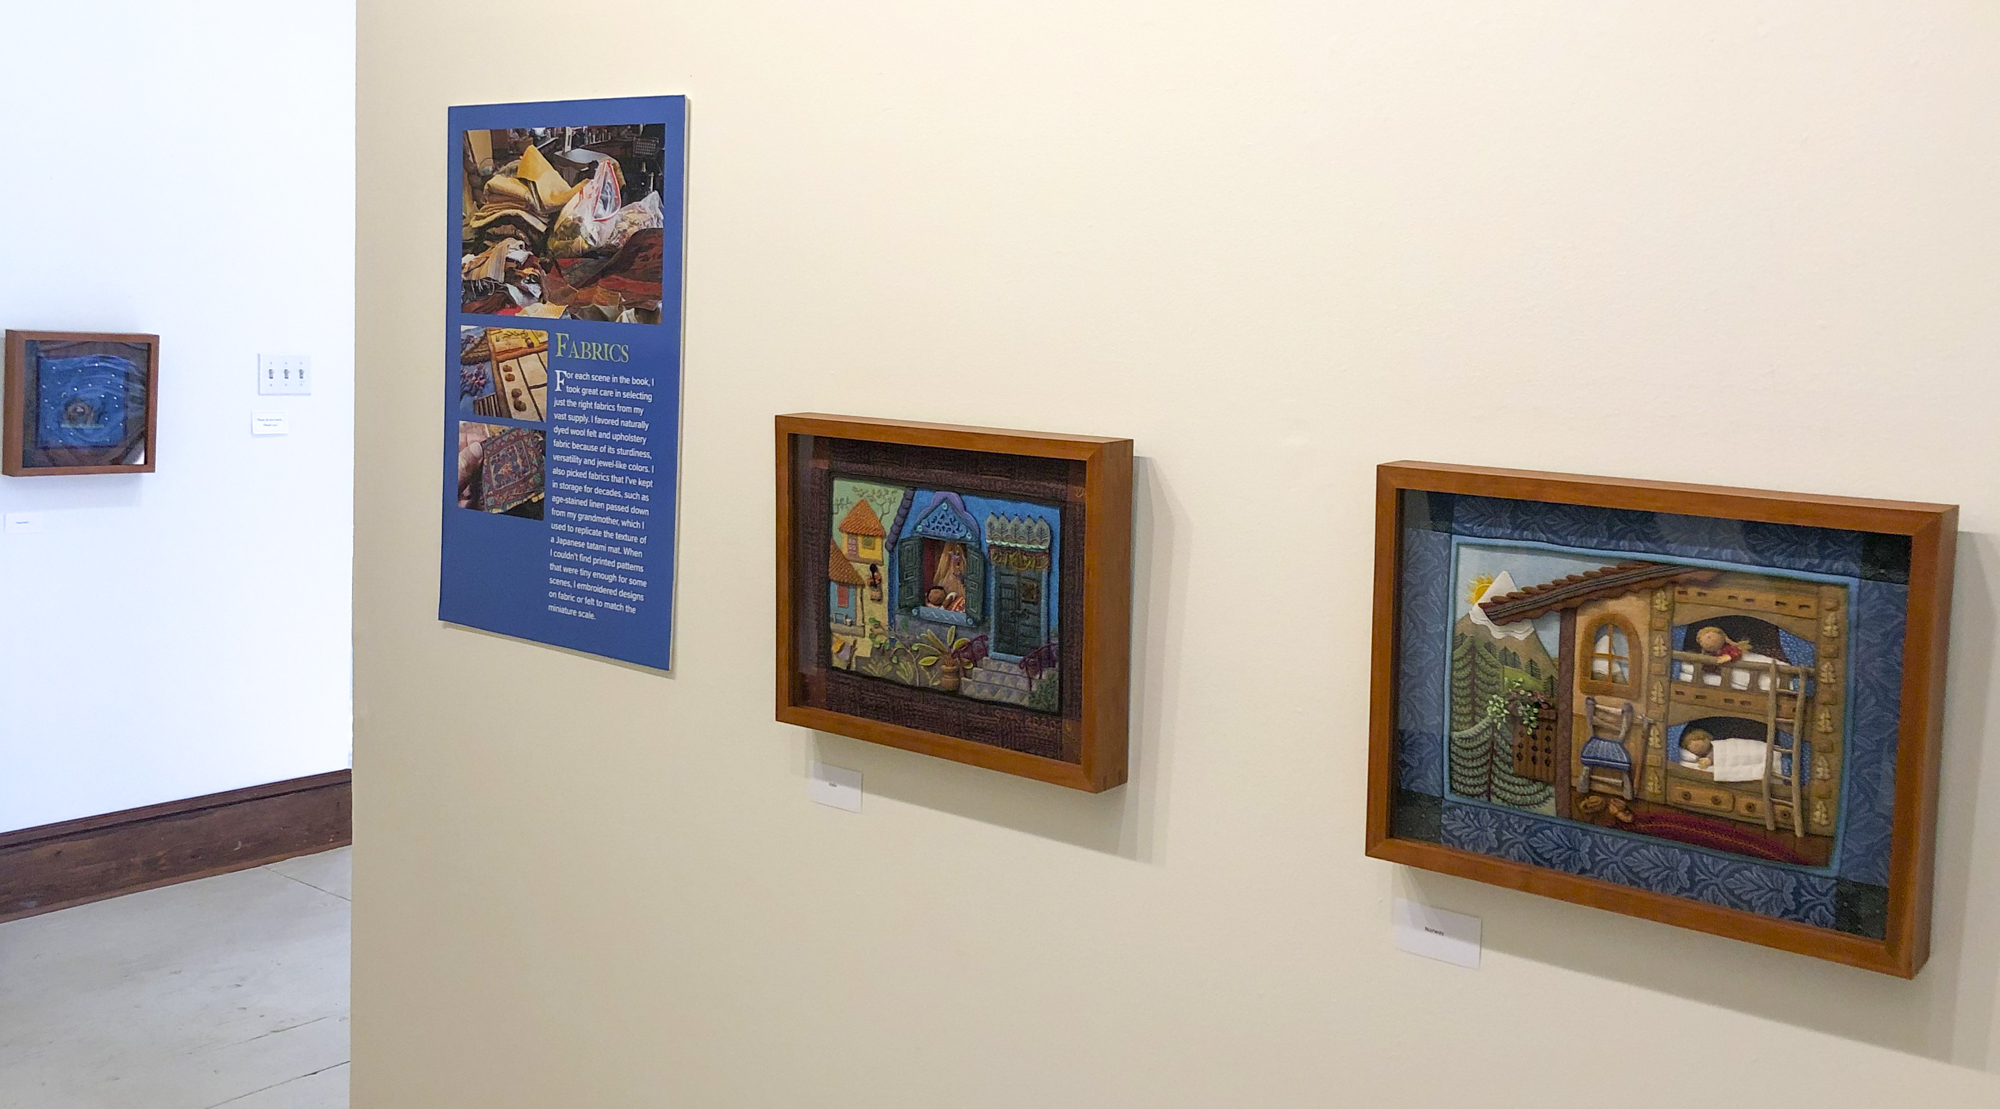
See the Four Seasons Series and dozens of other works in my exhibition, To Every Season: Works by Salley Mavor at the New England Quilt Museum, Sept. 9 – Dec. 31, 2025.

LEAVES
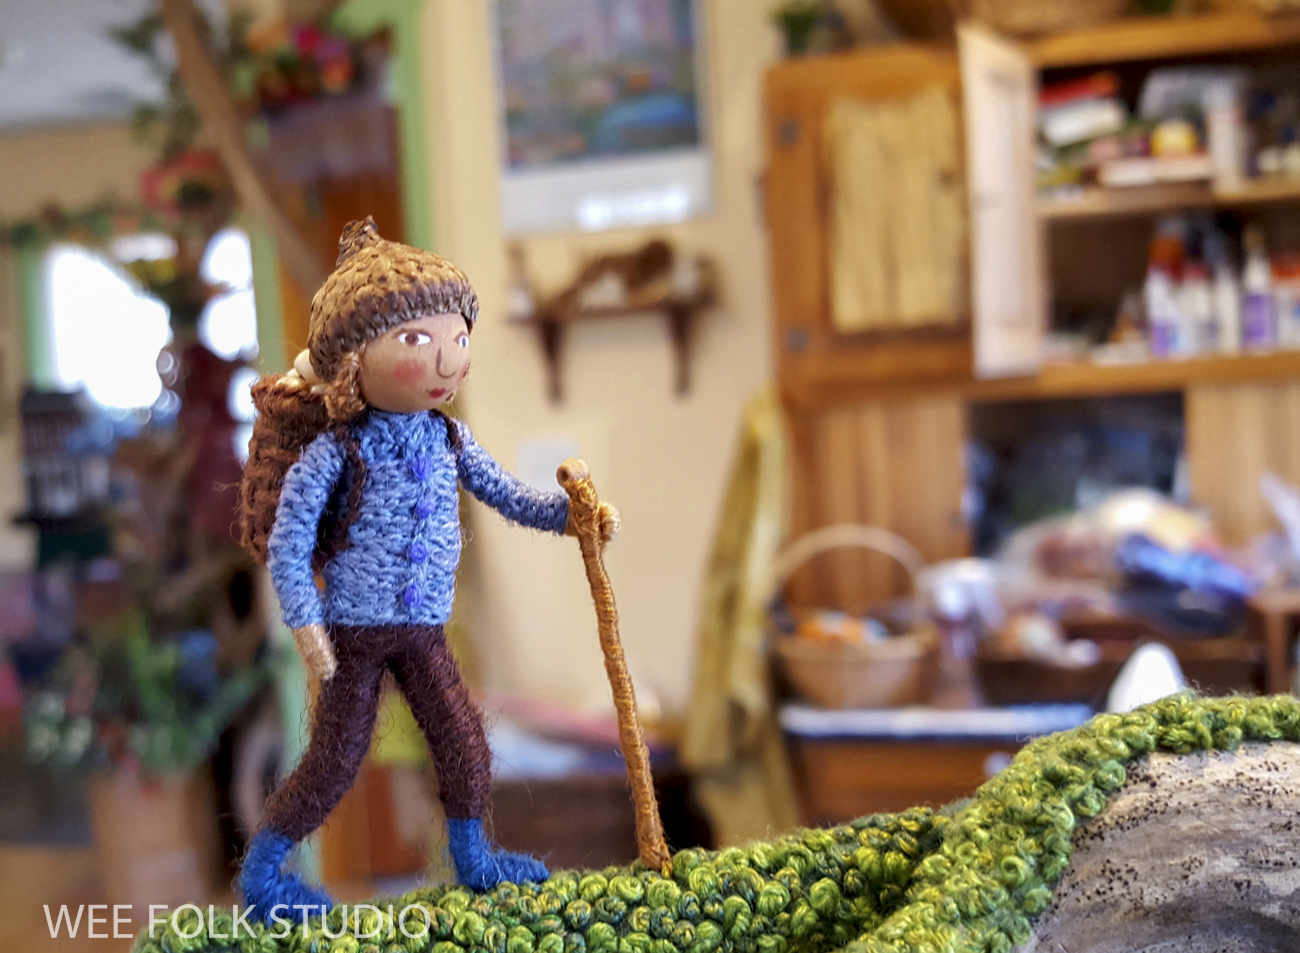
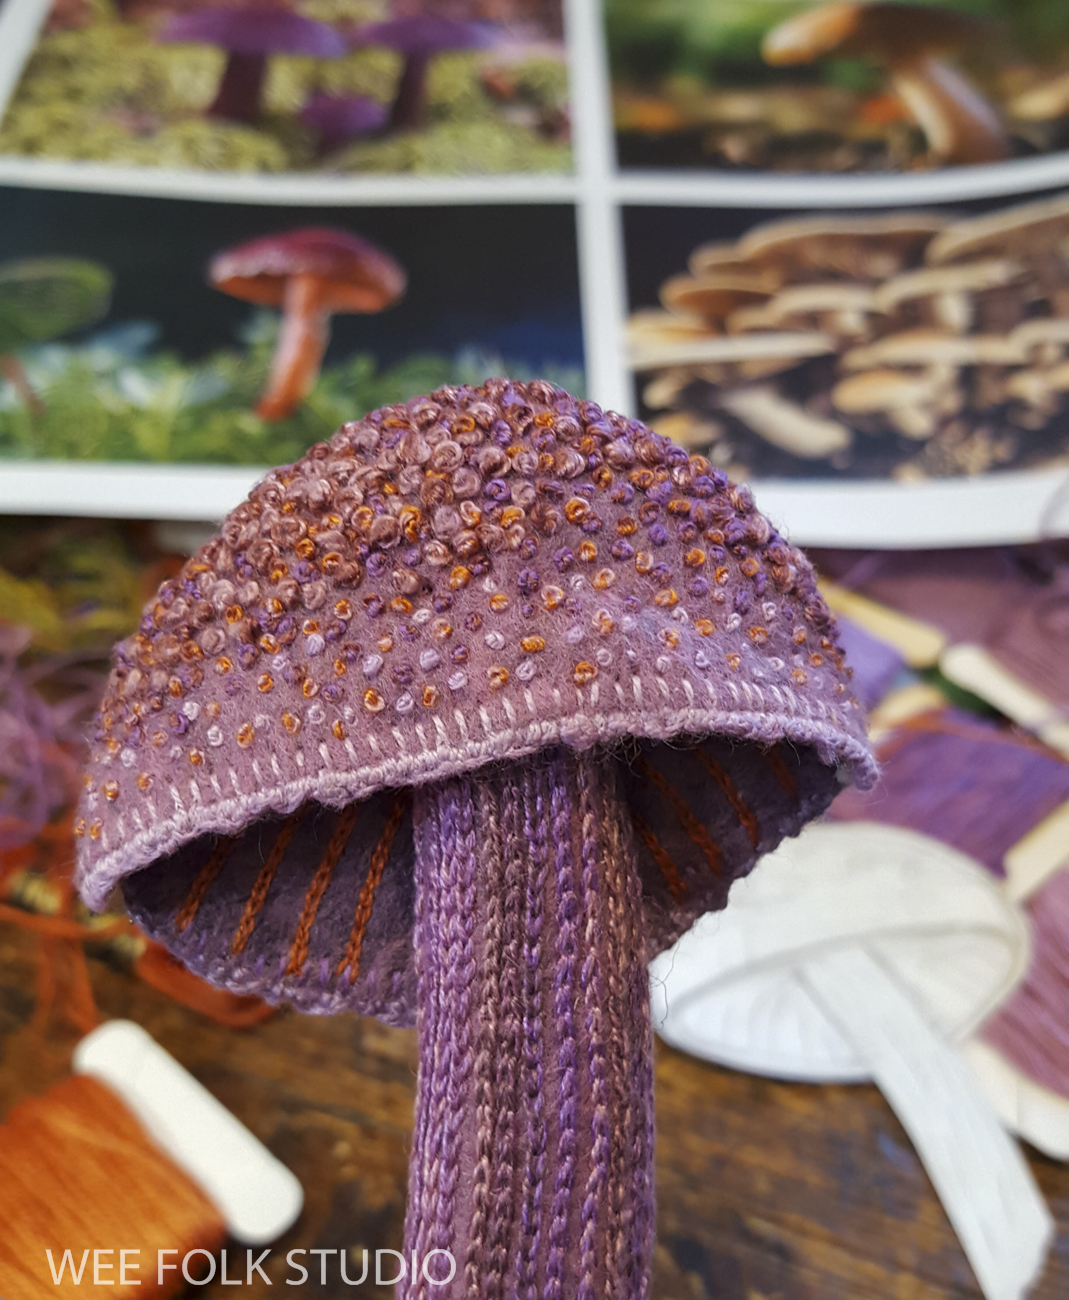
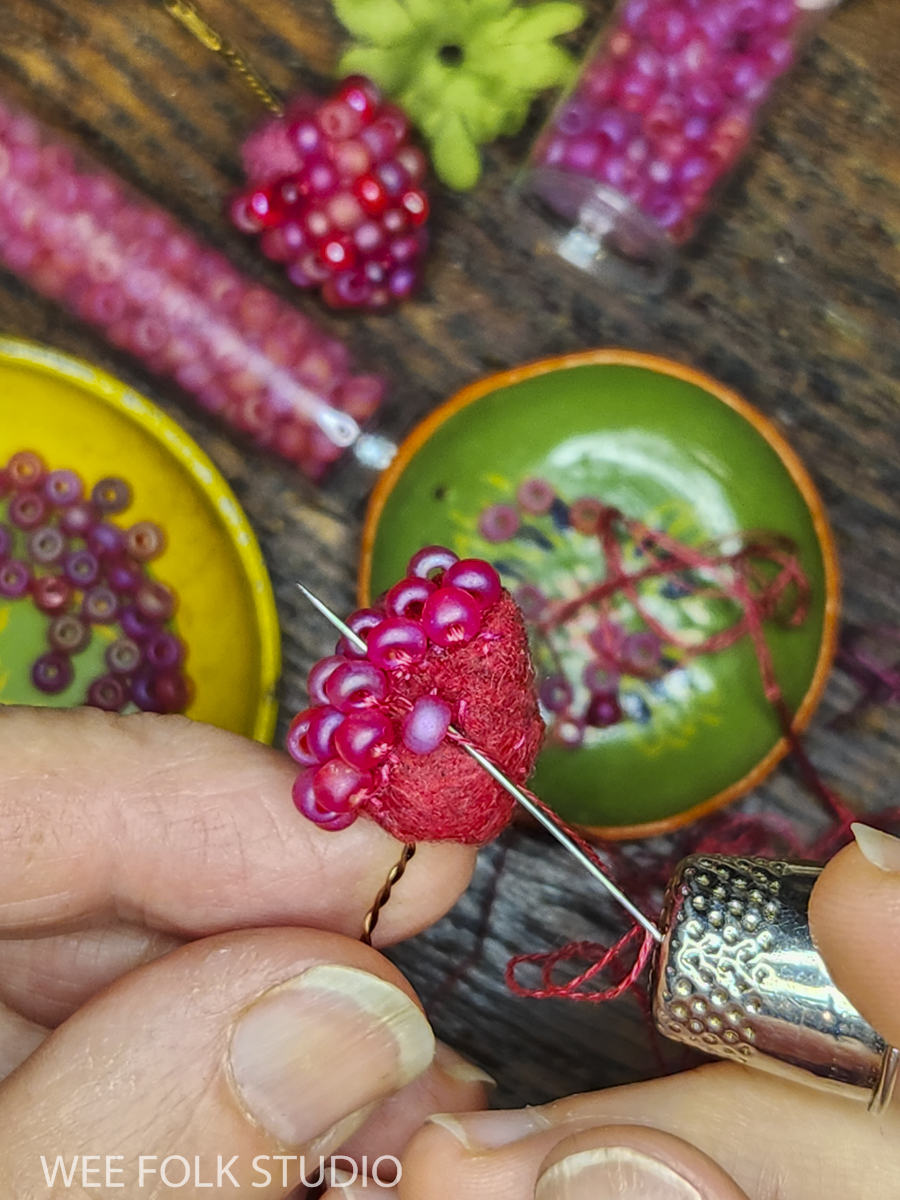
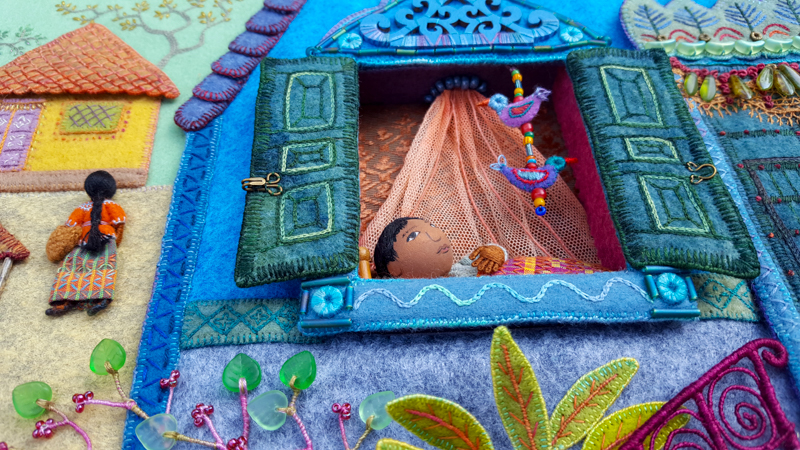
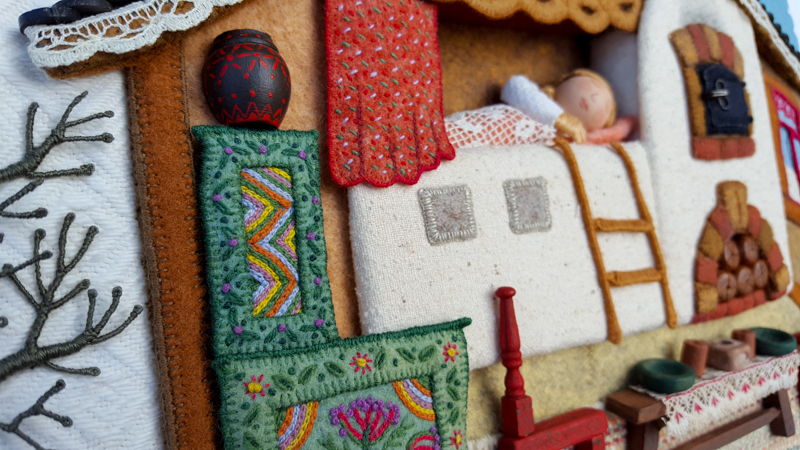
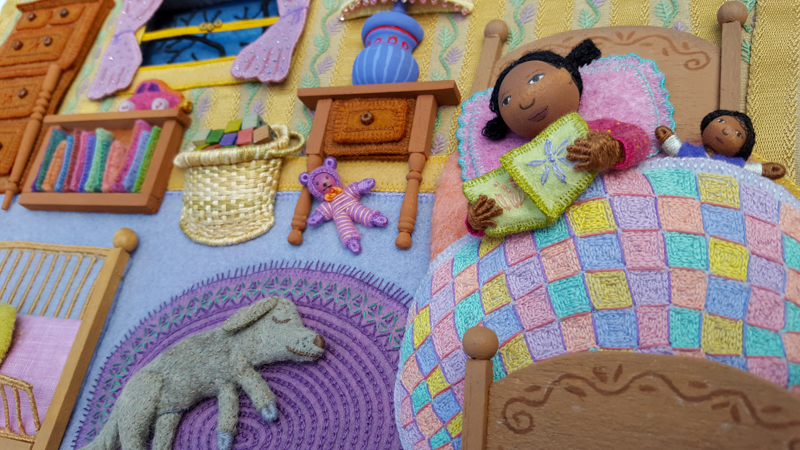
Some of the foliage in this piece are realistic interpretations, like the leaves on the rose vine and raspberry plants (which will be covered in future posts), but others are pure fantasy. I wanted the scene to look believable, without being completely true to life. It’s not biological illustration; I was more interested in creating a unique ecosystem where little people could live alongside birds and berries.
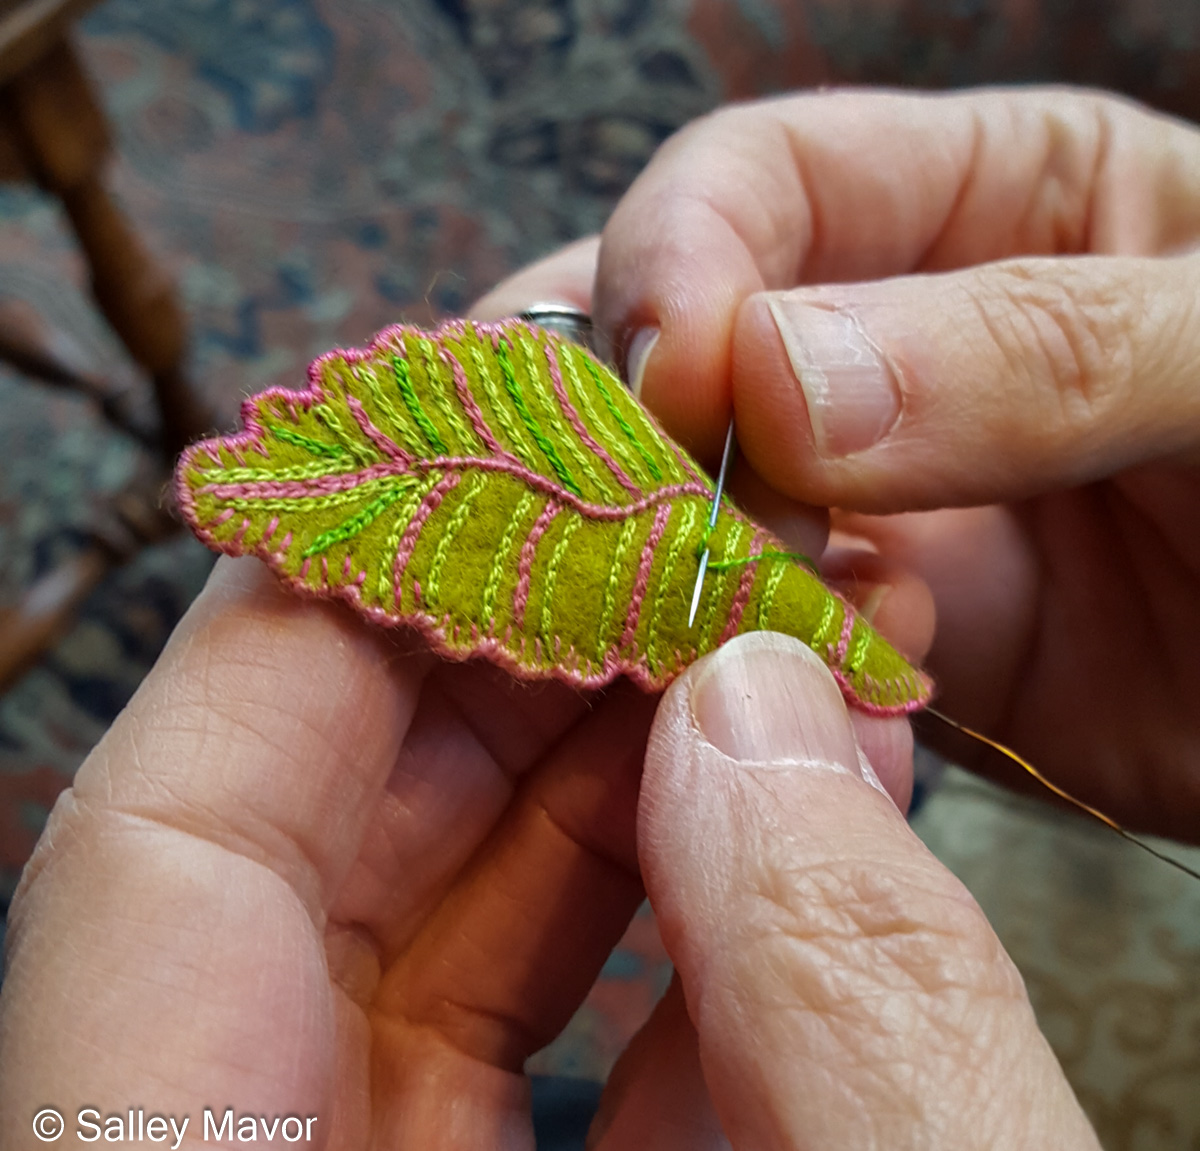
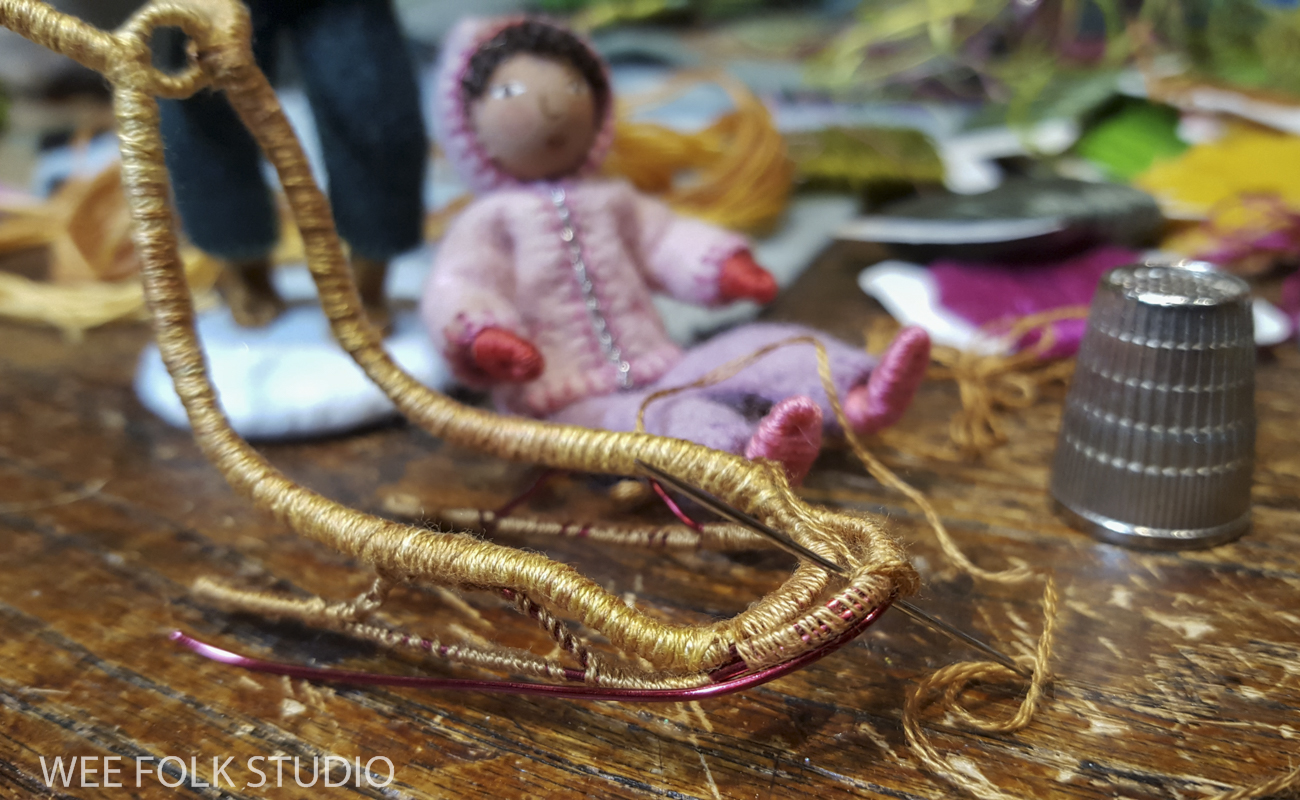
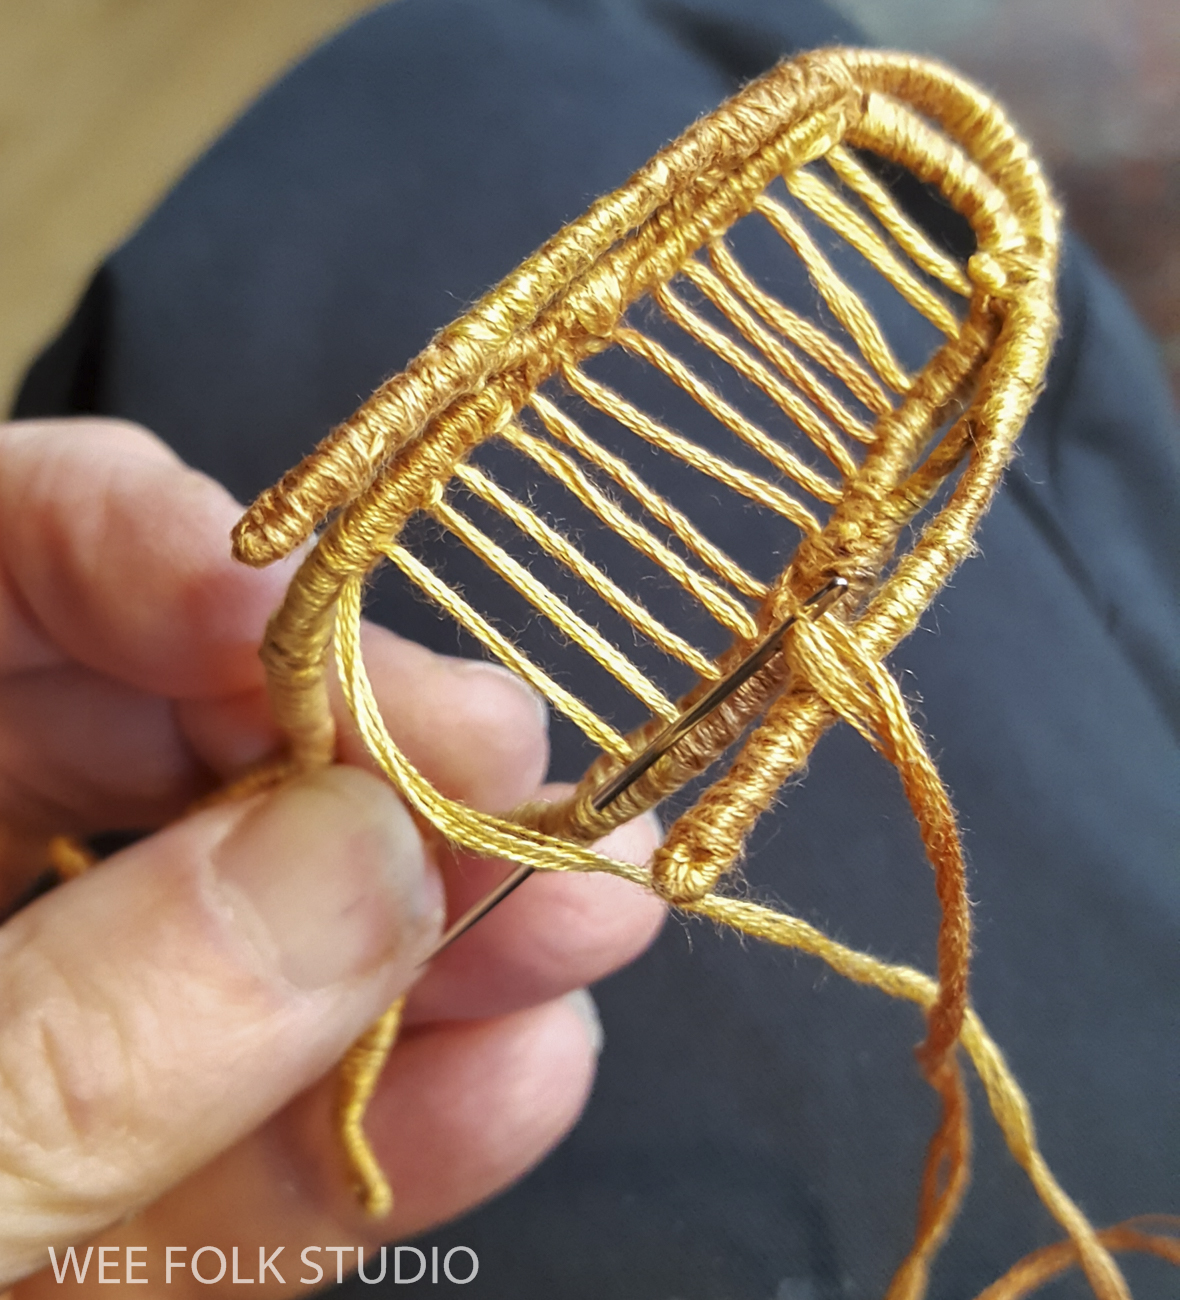
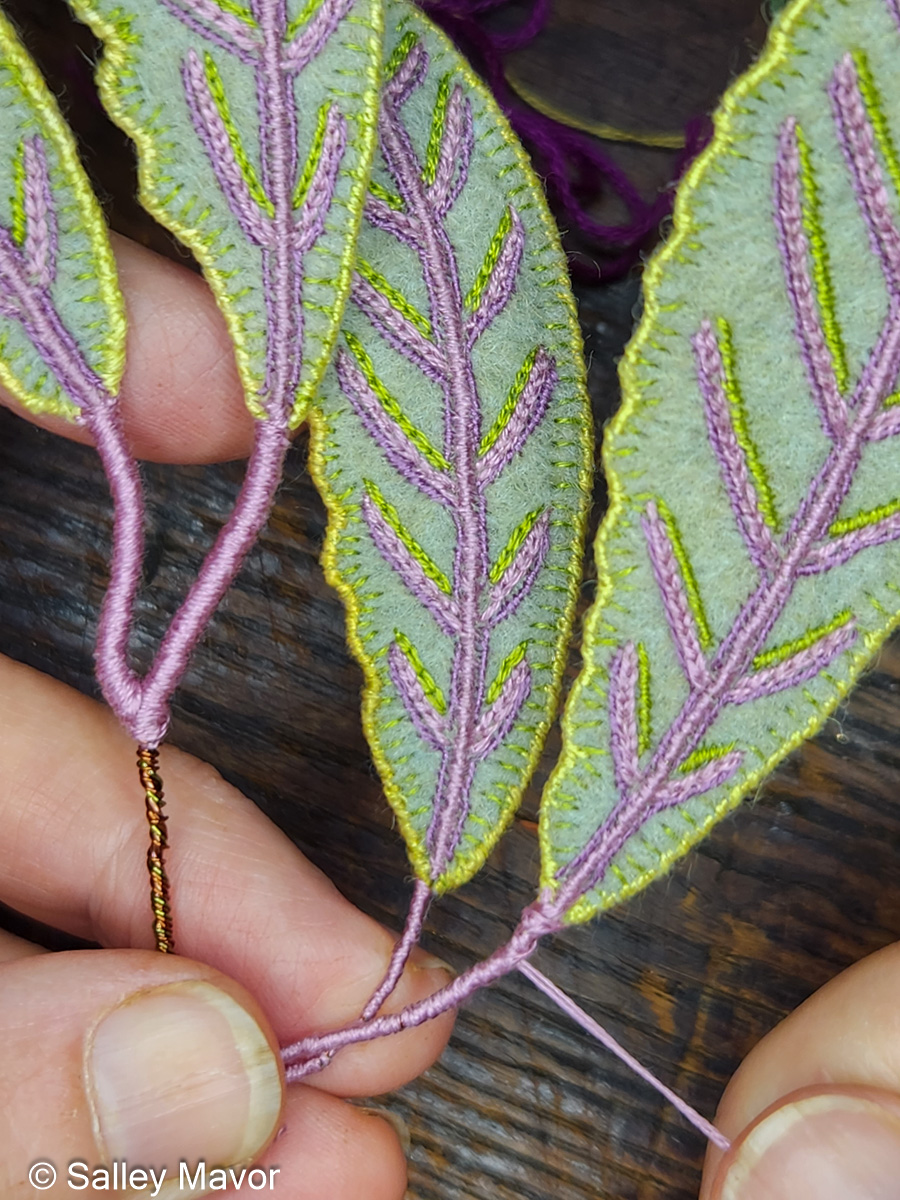
I made the leaves with 3 basic materials – wool felt, wire, and embroidery floss. The following Stitch Minute video demonstrates how to make a simple leaf, edged in wire.

STEMS
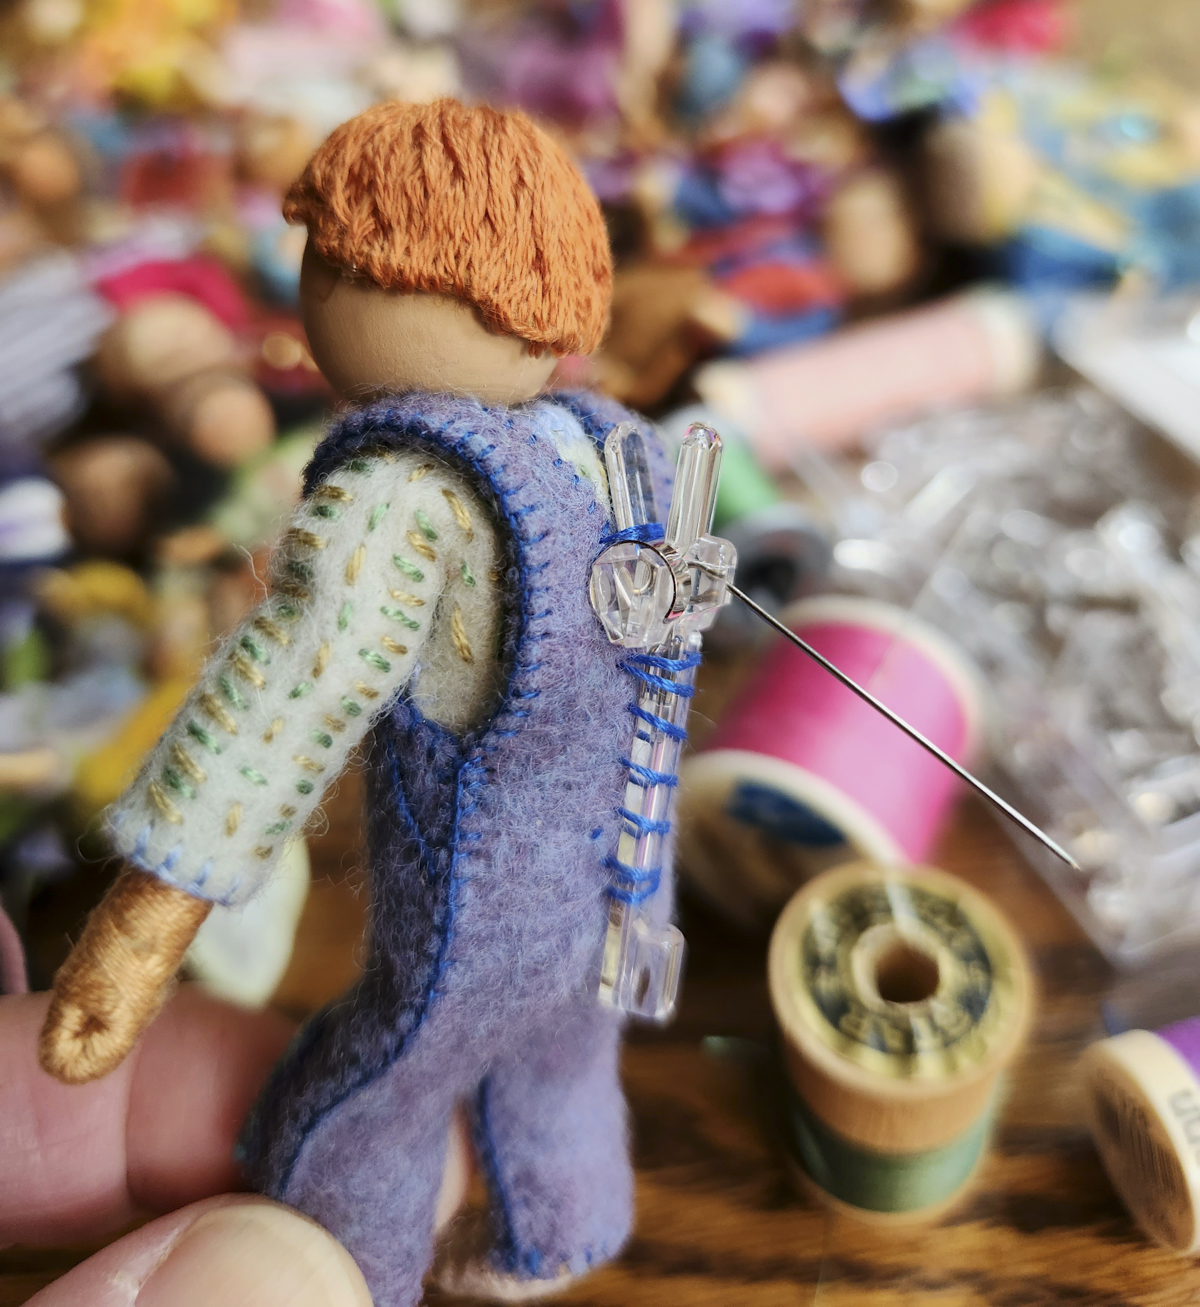
Wire is literally the backbone of my work. I use it as a structural framework to keep floppy materials (like felt) firm enough to exist in space, above the background fabric. In this piece, I used copper wire made by Parawire to edge the leaves and form their stems.

The trick is to cover all of the shiny metal with floss. It takes many passes around the wire to make a smooth surface.
This video shows how I wrapped the wire stems on the central tree in the Summertime scene.

For me, making curvy stems and bending them around is like doodling with wire. I’m never sure how a vine is going to grow and climb. This purple bush was calling out for something extra, so I made a curly vine to wrap around its trunk.

In this Stitch Minute video, you can see how I wrapped the curly vine, including its little corkscrew tendril.
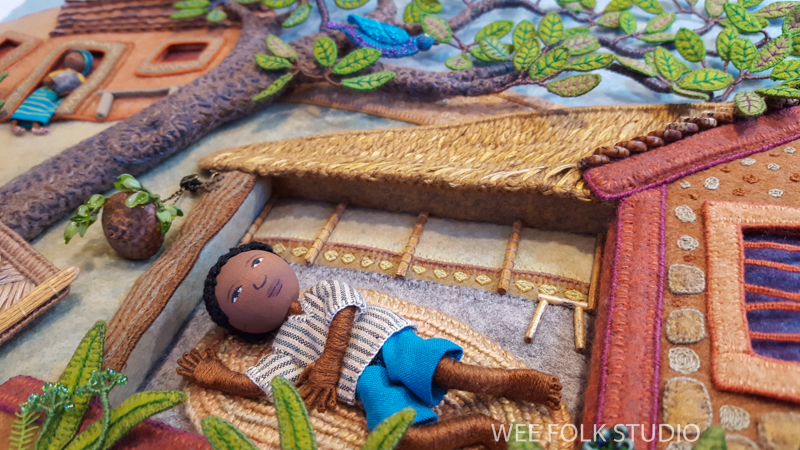
BRANCHES
After years of developing ways of making tree branches, my preferred method these days is forming wire armatures and covering them with felt or embroidery floss. I usually embroider a textured “bark” pattern onto the felt before sewing it around the wire. Thicker tree trunks involve a different process, which I wrote about in Part 1.
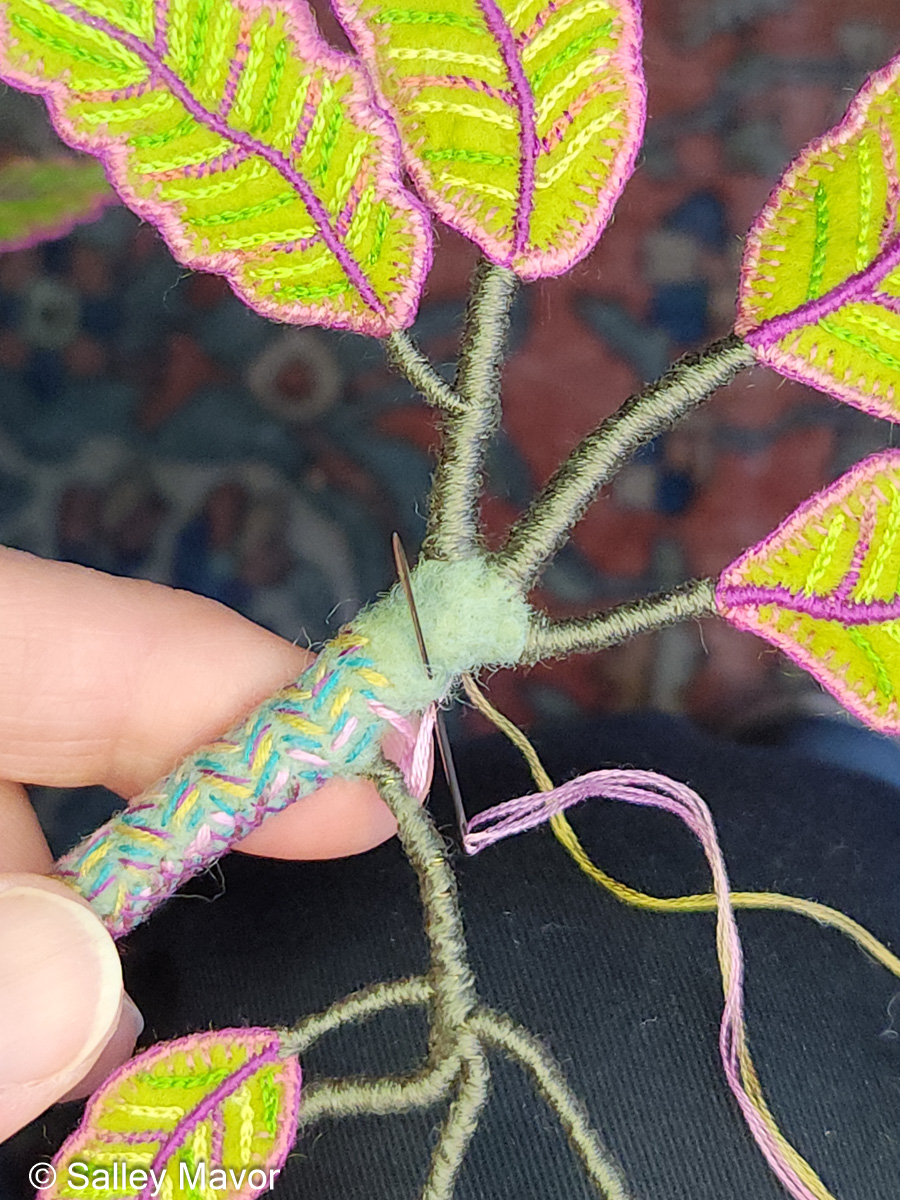
In the following video, you can see how I stitched felt to cover the section that branches off into 3 separate wire limbs.
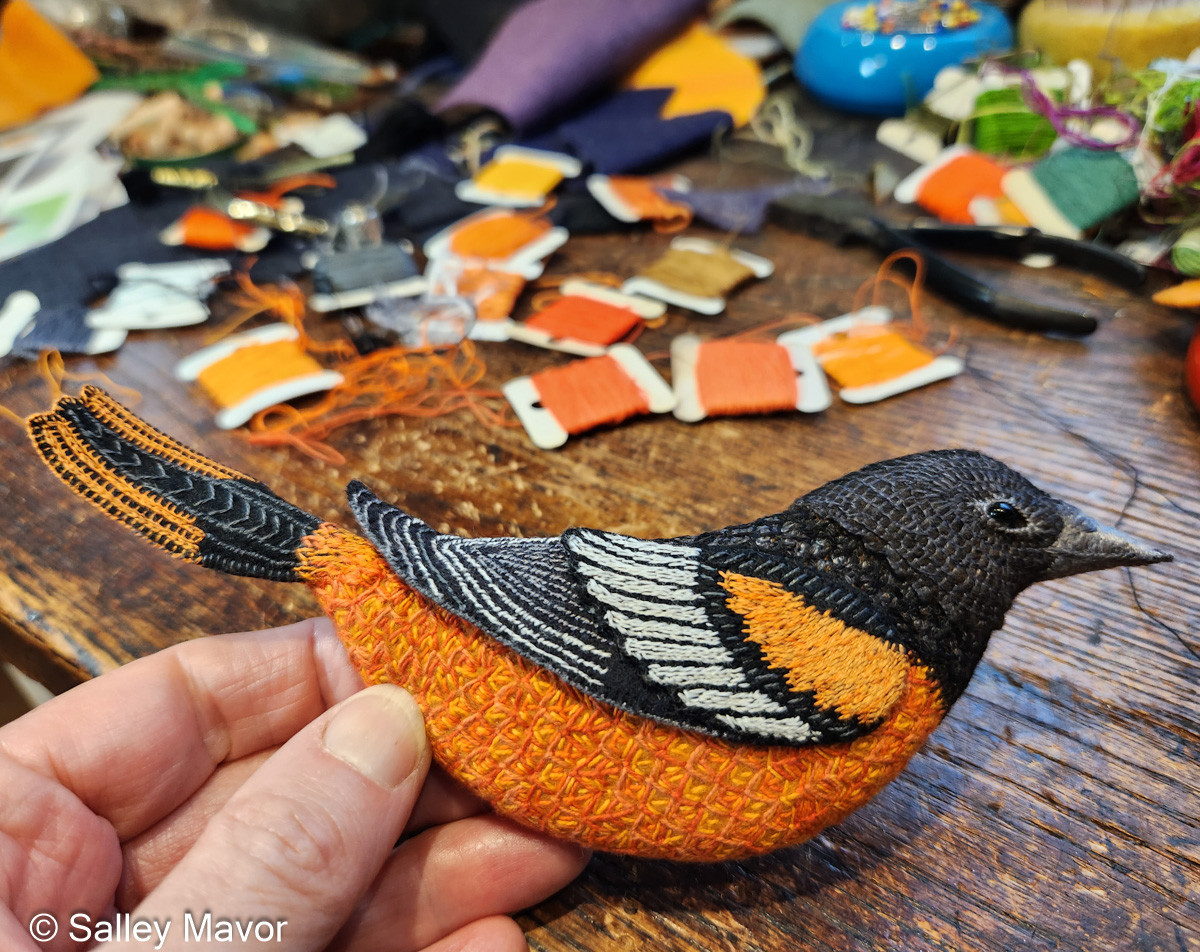
Stay tuned for Part 4 in this series, which will be about the Baltimore Oriole. If you want to receive email notices when I publish new posts, please subscribe to this blog using the form below.
To keep up with new posts, please subscribe to this blog. Your contact info will not be sold or shared. If you’d like to see more frequent photos tracking the projects in my studio, please follow me on Facebook, Instagram and BlueSky.