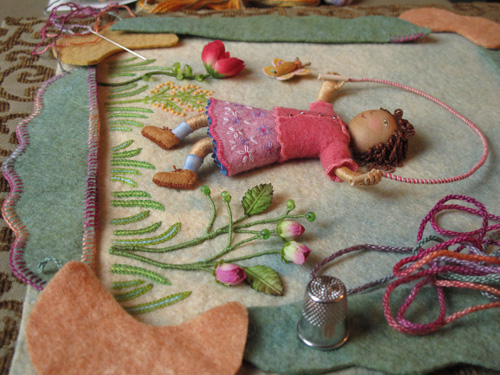
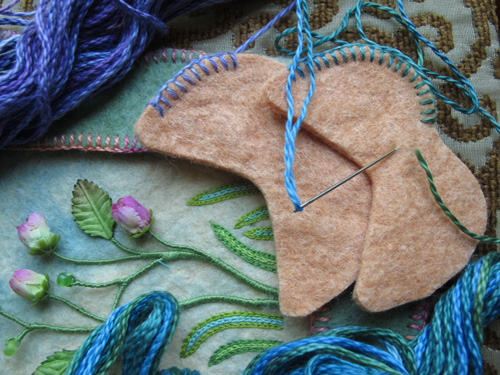
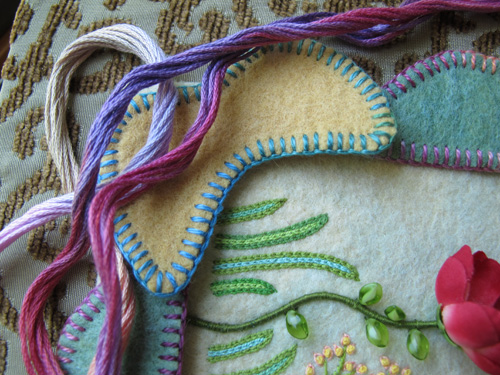
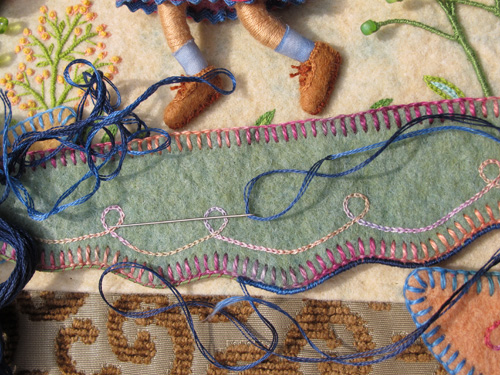
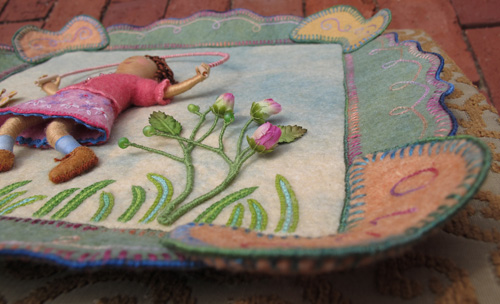
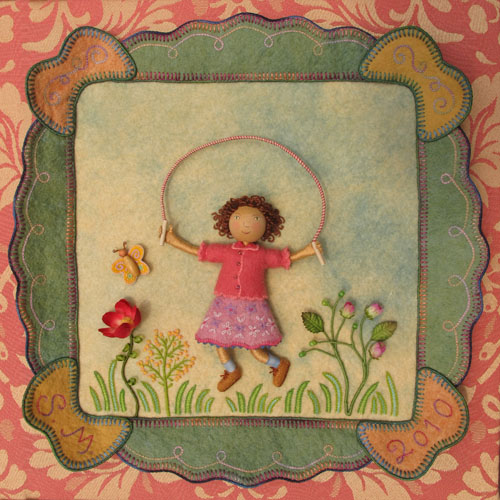
Look what came in the mail last week! The marketing staff at Houghton Mifflin had 18″ x 18″ posters printed to promote my up-coming book, Pocketful of Posies. It was a complete surprise to me, and to celebrate this along with the summer solstice, I’d like to offer a Poster Giveaway to 3 of my readers (international addresses included). Please leave a comment on this post by June 30th and the winners will be picked at random.
Peas in the garden
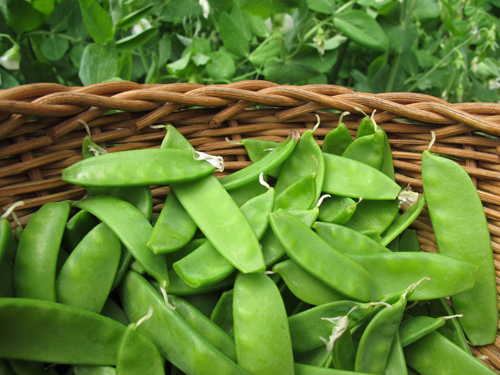
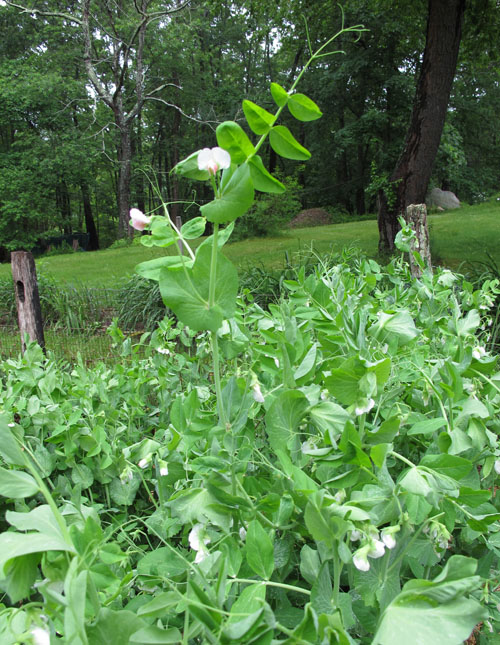
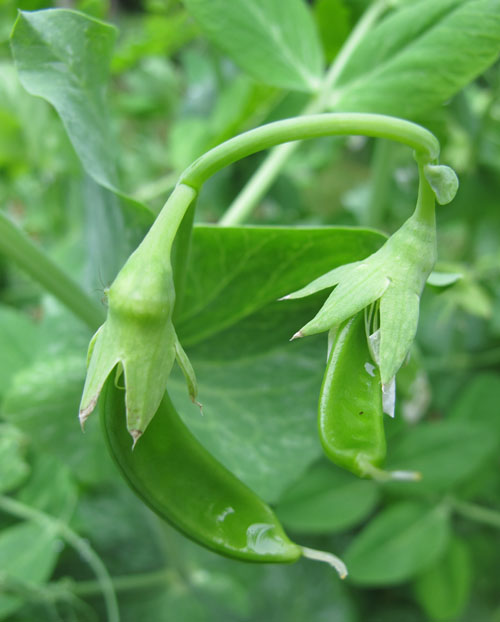
This is the first harvest of peas from my garden this summer! Lately, I only plant snap peas, having given up on the chore of shelling regular peas. Later in the season, I’ll be shelling Lima beans, though, which are just starting to climb like Jack’s bean stalk. One pea plant is a rogue, shooting up way beyond the Burpee’s Oregon Sugar Pod II plants.
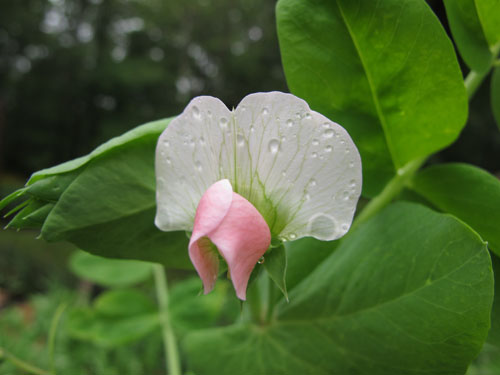
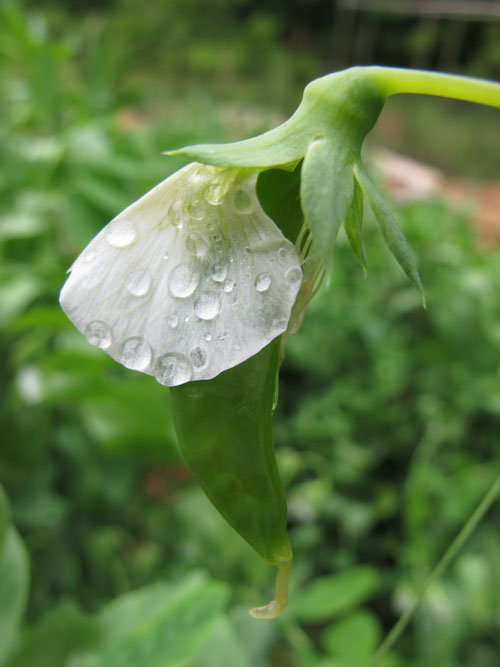
It has a pink and white flower and we shall see what kind of pea it offers.
The sugar snap peas are so tender when they’re young.
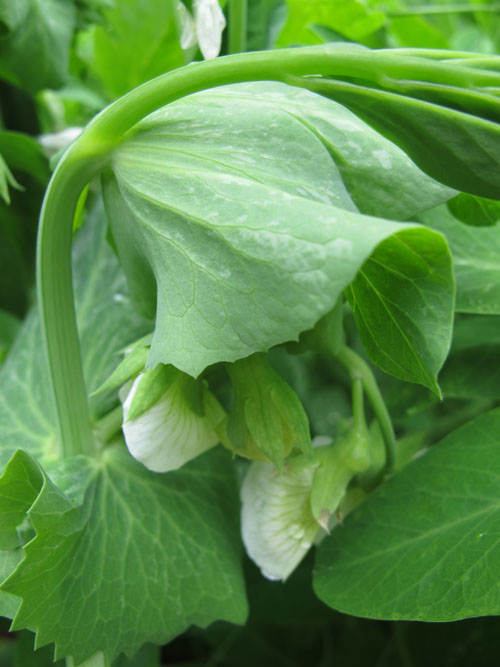
Early in the season the pea plants are healthy and lush. In a few weeks, I’ll barely be able to keep up with the picking. When the leaves are forming, they look like fans or complex origami.
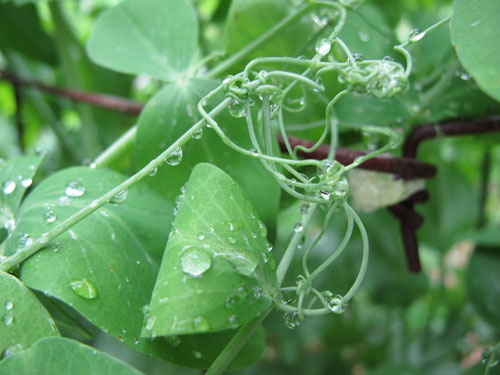
The plant’s tendrils remind me of hopelessly tangled and knotted thread.

Soon, the peas will be growing so fast that I’ll miss picking them while they’re small. There will more than we can eat, so it’s blanching and freezing time! See some of my artwork that includes peas in an earlier post here.
Wedding Banner (Karen & Graham)
Update: See other banners with wrapped wire lettering here.
This summer I’ve been invited to two weddings, with the first being held on June 25th on Cape Cod. Both the bride and groom are designers and I thought they would like something artsy and personal for a wedding gift.
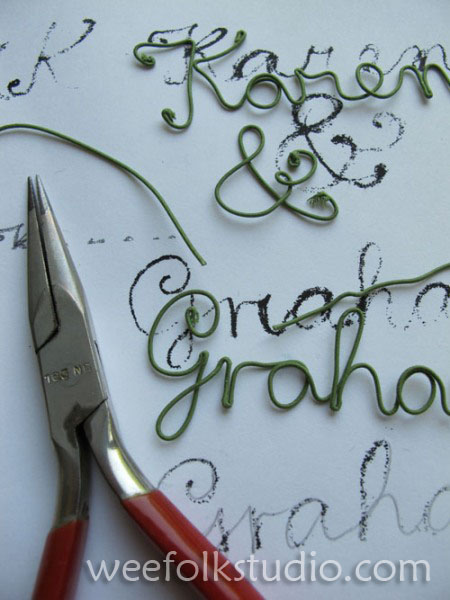
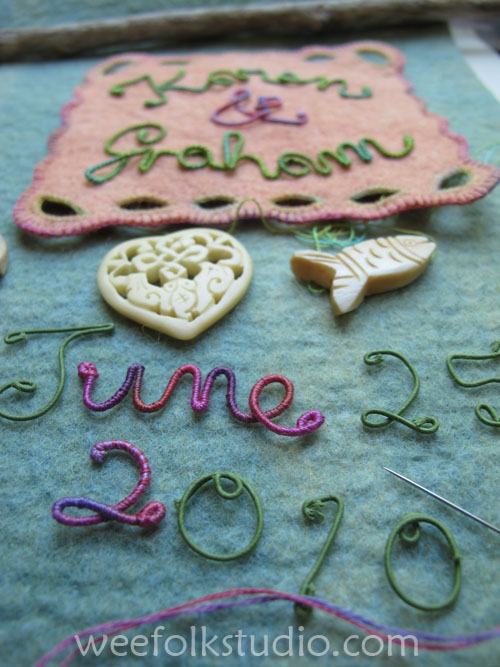
I started by writing out Karen & Graham in a flowing script and then enlarging it to a lower case height of about 1/2″ . Then, using long-nosed pliers, I bent some 32 gauge cloth wrapped wire, using the hand written lettering as a guide.
This is a technique that I figured out while sewing the book cover design for my children’s book, Pocketful of Posies, which you can see here. I wanted letters that were raised enough to create shadows. And because the wire was a separate flexible piece, it was easy to move the words around for proper positioning on the artwork.
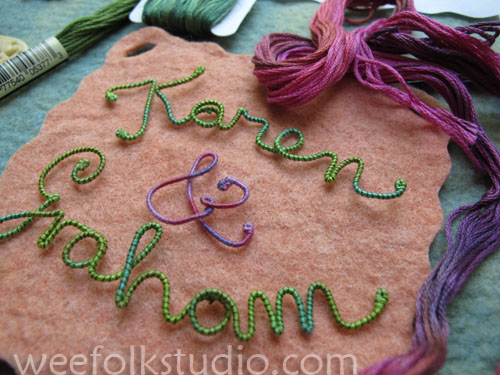
After determining the size of the names and their placement, I cut out a square of orange wool felt and added my customary wavy edge and some cut out holes. I then wrapped the wire with 2-ply variegated embroidery floss, hiding the knots in the back.
This is where I do most of my work, on an old ironing board.
The light green floss wrapped wire didn’t provide enough contrast with the background, so I wrapped a single strand of dark green floss around the wire, candy cane style.
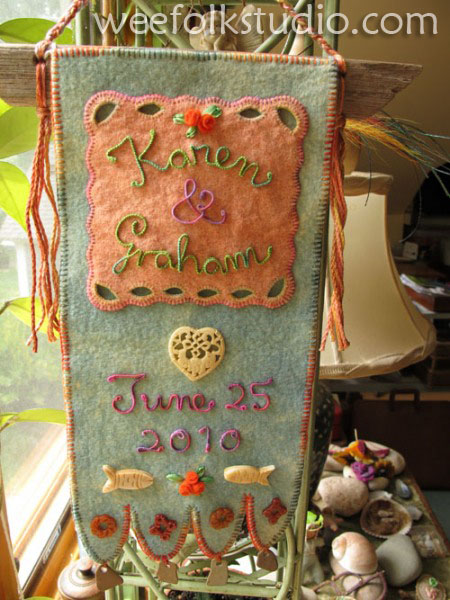
The banner was cut out of a light teal colored wool felt that matched Karen & Graham’s invitation. Then I blanket stitched around the orange felt edges with pink variegated embroidery floss. I chose some fish beads and a heart made of bone to decorate around the wedding date.
Then I made some tiny 1/4″ roses following Mimi Kirchner’s great instructions from her easy felt rose tutorial. Some silk ribbon leaves were added, too.
After I figured out how much space to leave for the date and beads, I cut out the scalloped bottom edge of the banner. The outside edge was blanket stitched with some variegated pima cotton (Caron Collection). From my collection of stuff, I picked out some more beads and some beach stone pendants with holes drilled in them to hang from the scallops.
I then stitched the floss wrapped wire words and numbers in place and sewed the beads and stone pendants to the banner. It needed some color on the bottom to balance the orange square on top, so I added another clump of felt roses and silk ribbon leaves.
I made a sleeve of felt at the top and slipped a piece of driftwood through. After drilling 2 holes in the driftwood, I threaded some pima cotton through and braided a strap for hanging the banner.
Here is the finished banner, which I hope Karen & Graham will enjoy for many years! 
To keep up with new posts, please subscribe to this blog (top right column on the home page). Your contact info will not be sold or shared. If you’d like to see more frequent photos tracking the projects in my studio, please follow me on Facebook and/or Instagram
Doll Collection (Scandanavian couple)
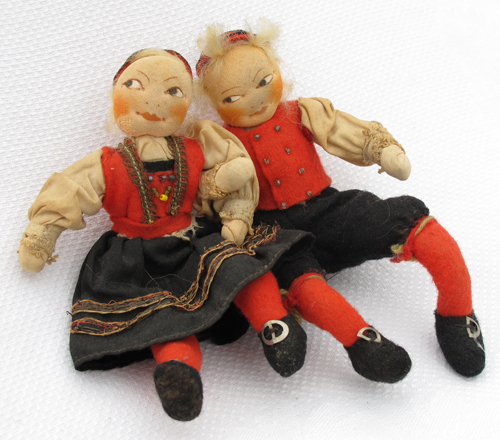
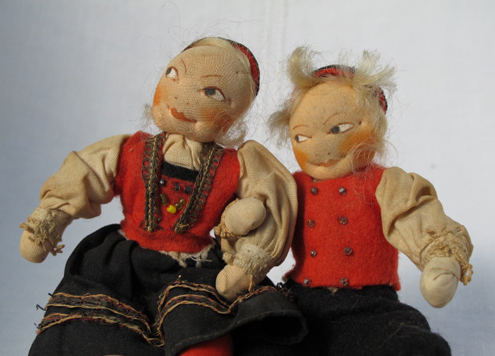
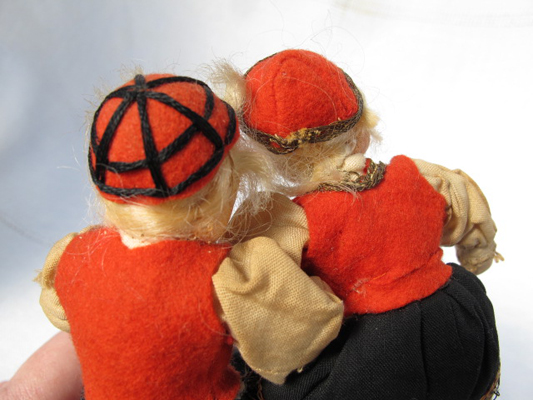
I’d like to share these Scandinavian dolls from my family’s collection. They were either bought by my parents or grandparents in Europe. I have clear memories of playing with this pair of 5″ tall dolls. They are sturdy, with wire bodies and limbs, so they could actually do things, unlike Barbie dolls.
My blogging friend and official doll consultant, Helen from Dollzandthings says, “They look earlier than 50’s to me–maybe 40’s or even late 30’s. It is very hard to identify some of these costume/souvenir dolls because there were so many talented people making dolls–including souvenir dolls and cottage industries. Your dolls seem to have the cutest traits of all the doll makers combined: great facial expression & painting and great costuming.”
Thank you, Helen for your help. I’ll be seeking your expertise with other dolls from the collection in the future.
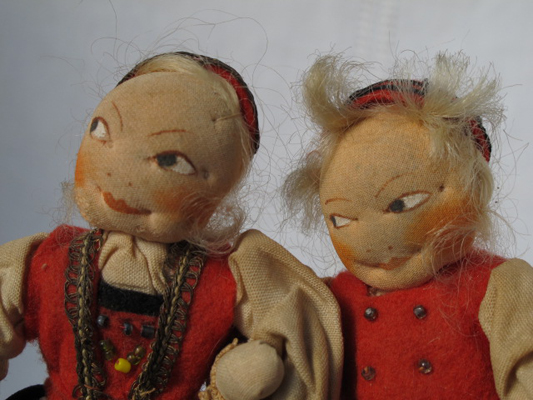
Their heads and bodies are covered with stockinette. The clothing is either thin wool felt or cotton. The faces are delicately painted, with some needle sculpting around the mouth and eyes. I love their wispy hair.
Pocketful of borders (crooked man & black sheep)
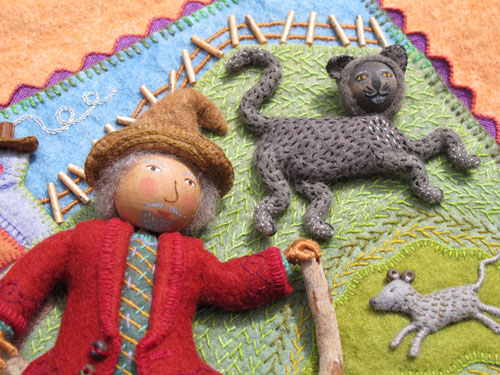
The borders for the illustrations from Pocketful of Posies are coming along faster now and I don’t always remember to take pictures of the process. Here are two finished pictures, starting with the “Crooked Man” rhyme, with all of the crooked things from the verse. In the book, the words from the verse will be printed on the orange felt background, traveling all around the center illustration clockwise.
I’ve added a crooked line of tube beads to the border sides. The inside border of purple rick rack has a hand stitched edging of dark orange embroidery floss.
Here’s the crooked man, with his crooked cat and mouse.
This is the illustration for “Baa, Baa, Black Sheep”. I made the original small, about 75% of the printed size of 10″ square. It need a larger border to balance the larger stretched upholstery fabric background, so I made the side pieces bulge out to fit the space more.
To get an idea of the scale, the felt leaves are about 1″ long. These shades of orange and green are my favorite color combination. They’re definitely not my colors to wear (I’m a winter), but I find them pleasing to look at. See these colors in the post about my studio here.
Note: See other posts from the Pocketful of Borders series here.
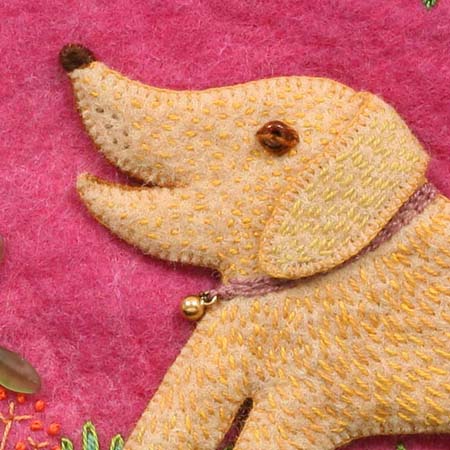
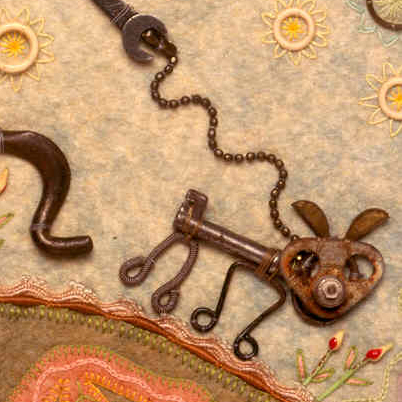
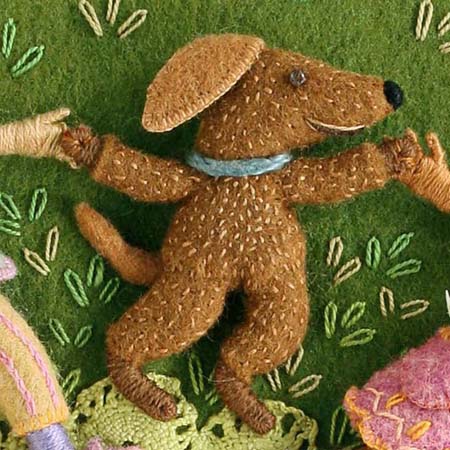
Close-ups (dogs)
I’d like to present this group of dogs in honor of my pet and studio companion, Ceilidh, who died last month. Her name, pronounced Kay-lee, is from the Gaelic word for a folk music and dance party. This is the last photo I took of her this past winter, just before she turned 14. She was a lab/golden mix and a real sweetheart who gave us many wonderful years.
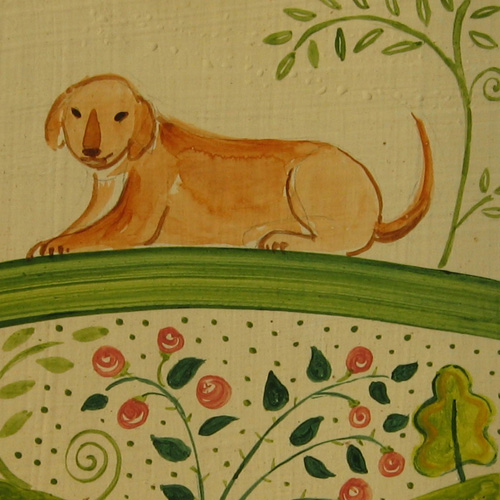
The first picture in the series is a faux tile I made in 1990 for our kitchen. See all of the tiles on an earlier post here.
This white dog is in the “Sidewalks” poem illustration from my book You and Me: Poems of Friendship.
Here’s the dog who laughed to see such sport in Hey, Diddle, Diddle!
This little dog is made from a key, hook eyes and other found objects. See an earlier post about the whole piece, “Walking the Dog”, here.
This dog is dancing in a ring around the rosies from my upcoming book, Pocketful of Posies.
Note: See other posts in the Close-ups series archive here.
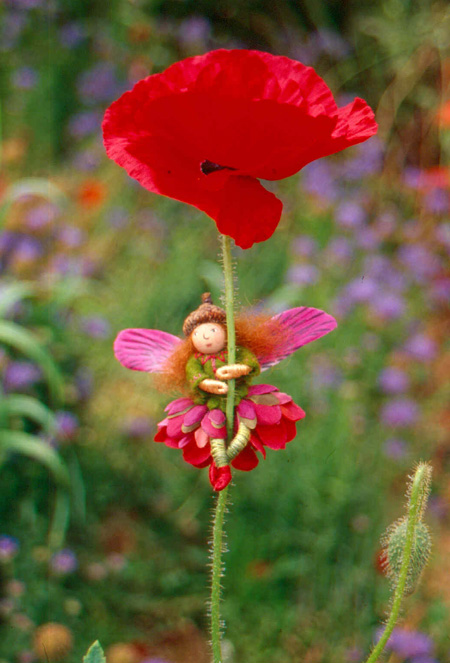
Wee Folk: Dandelion & Poppy
This little guy was able to hold onto a dandelion long enough to take his picture. And this fairy wanted to swing on a poppy stem, but looks a bit wary. Learn how to make dolls like these from my how-to book, Felt Wee Folk: Enchanting Projects.
Bike Path (going north)
To counteract my sedentary activity of sewing, I ride my bike along the Shining Sea bike path everyday. Early morning is best, when the air is cool, the path is less crowded, and the light is good for photography.
I live near an entrance to the path, in the middle of its 12 mile length from Woods Hole to North Falmouth. Some mornings I go south, along Vineyard Sound (see this post) and other days I head north through West Falmouth on the Buzzard’s Bay side of town.
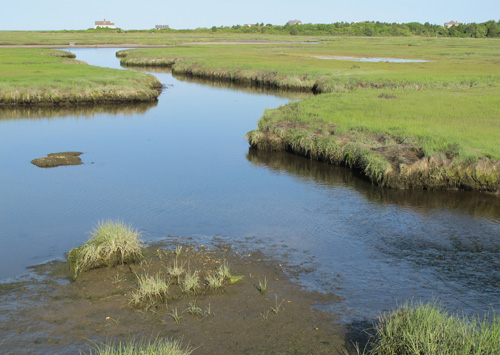
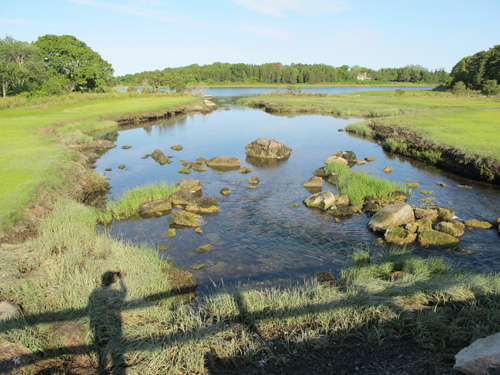
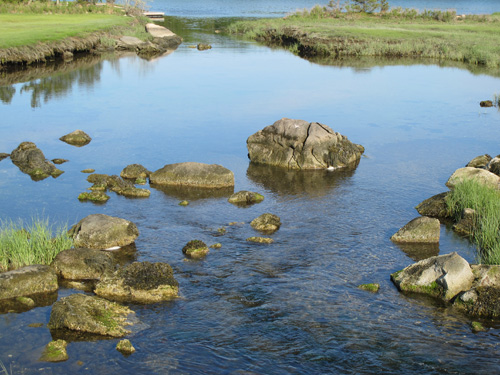
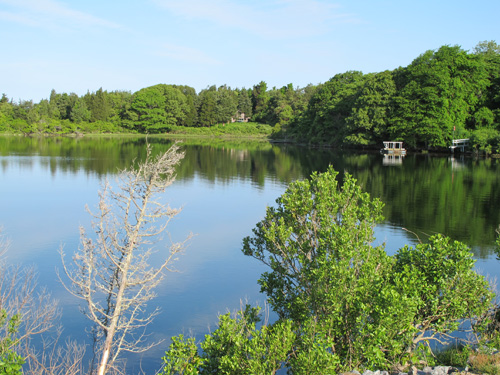
Going north is a different experience, with salt marshes and brackish ponds and streams. Just out of sight are beaches along the coast of Buzzard’s Bay.
The landscape changes rapidly from open marshes to woods with tall trees. Here’s the back of Bourne Farm, looking toward the barn. I find this biking ritual good for my body, mind and spirit.
Pocketful of borders (Pat-a-cake, etc.)
This double-page spread pictures 3 rhymes from my upcoming children’s book, Pocketful of Posies: A Treasury of Nursery Rhymes. I’m preparing the fabric relief illustrations for a traveling show, which you can learn about here.
I chose a border of dark felt to contrast with the light lavender background. The outside edges were blanket stitched with variegated pima cotton.
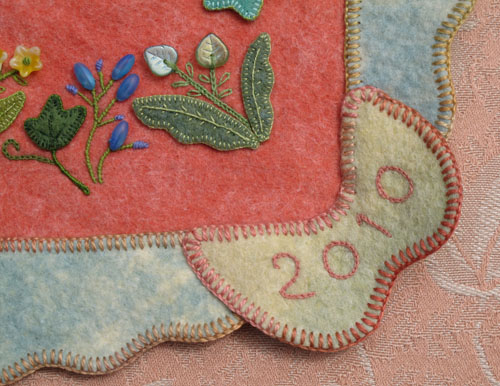
The corner pieces have the usual squiggles, along with my initials and the date.
The 4 side border pieces are green, with variegated embroidery floss loops. These pictures show the tea house, which illustrates the rhyme, “Polly put the kettle on”.
Here’s the cobbler shop from “Cobbler, cobbler mend my shoe”. I cut out the wooden signs with a jig saw and painted them. The shoe sign is a little over 1″ long. The cobbler’s apron is made of leather.
Here is the finished border mounted on the stretched upholstery fabric background.
This shows the bakery for “Pat-a-cake, Pat-a-cake”. The baby buggy is made with floss wrapped wire, coiled around like a basket. Yes, I admit that it’s a bit obsessive.
Note: See other posts from the Pocketful of Borders series here.
Mushroom houses
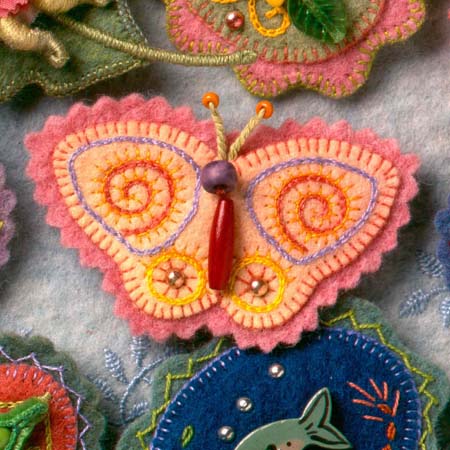
These mushroom house have been packed away for over 30 years and earlier this spring I brought them outside and took some pictures. I made them for a story that was included in an elementary school text book. This was my first real illustration job after graduation from art school. I recently wrote about the project in a post about my first picture book, The Way Home, here.
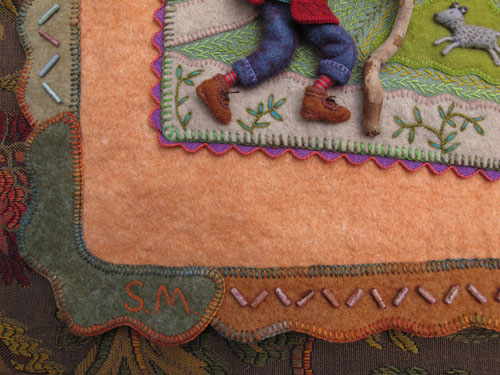
The Great Cleanup was a story about some ecologically minded insects who organized a recycling effort to reuse the trash that was dumped on their neighborhood. I’ll show some pictures of the insects in a future post.

I was still using my Singer Featherweight back then, which was good for top stitching and maneuvering around tight corners. There was plenty of hand stitching, too, around the mushroom cap roofs and front landings.
The houses are 8 ” to 9″ tall and the stems are hollow, with walls of 1/2″ foam rubber. The caps are filled with fiber fill stuffing.
I can remember picking out textured and knobby fabric for the stems, caps and chimneys. It was good to dust them off and display them in the grass.
To keep up with new posts, please subscribe to this blog (top right column on the home page). Your contact info will not be sold or shared. If you’d like to see more frequent photos tracking the projects in my studio, please follow me on Facebook and/or Instagram.