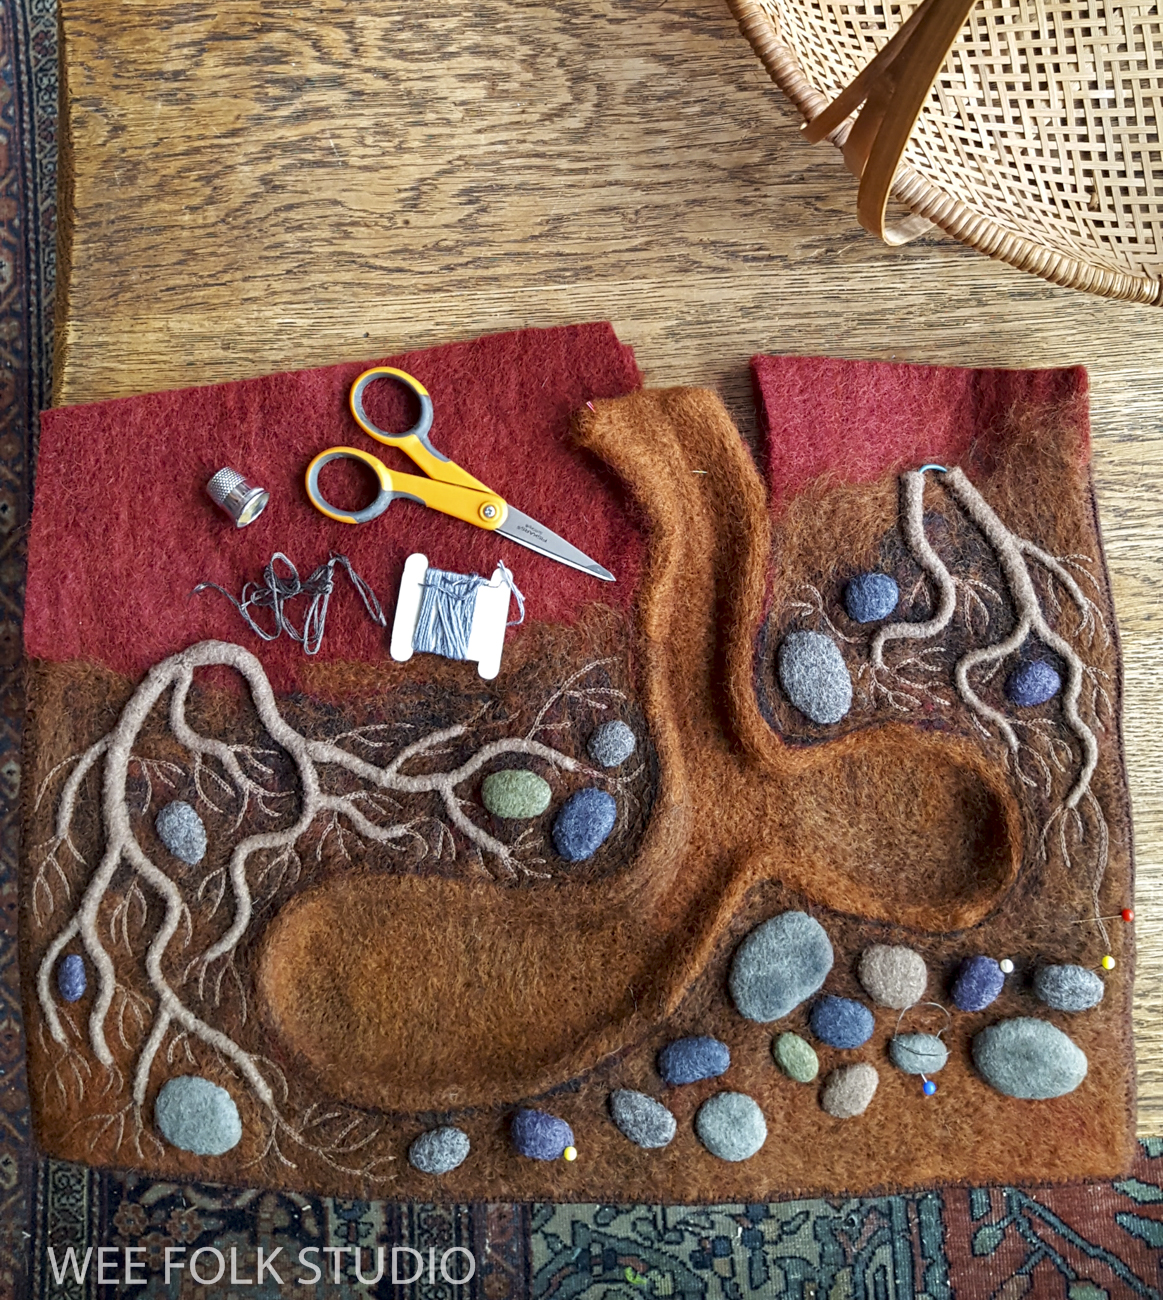
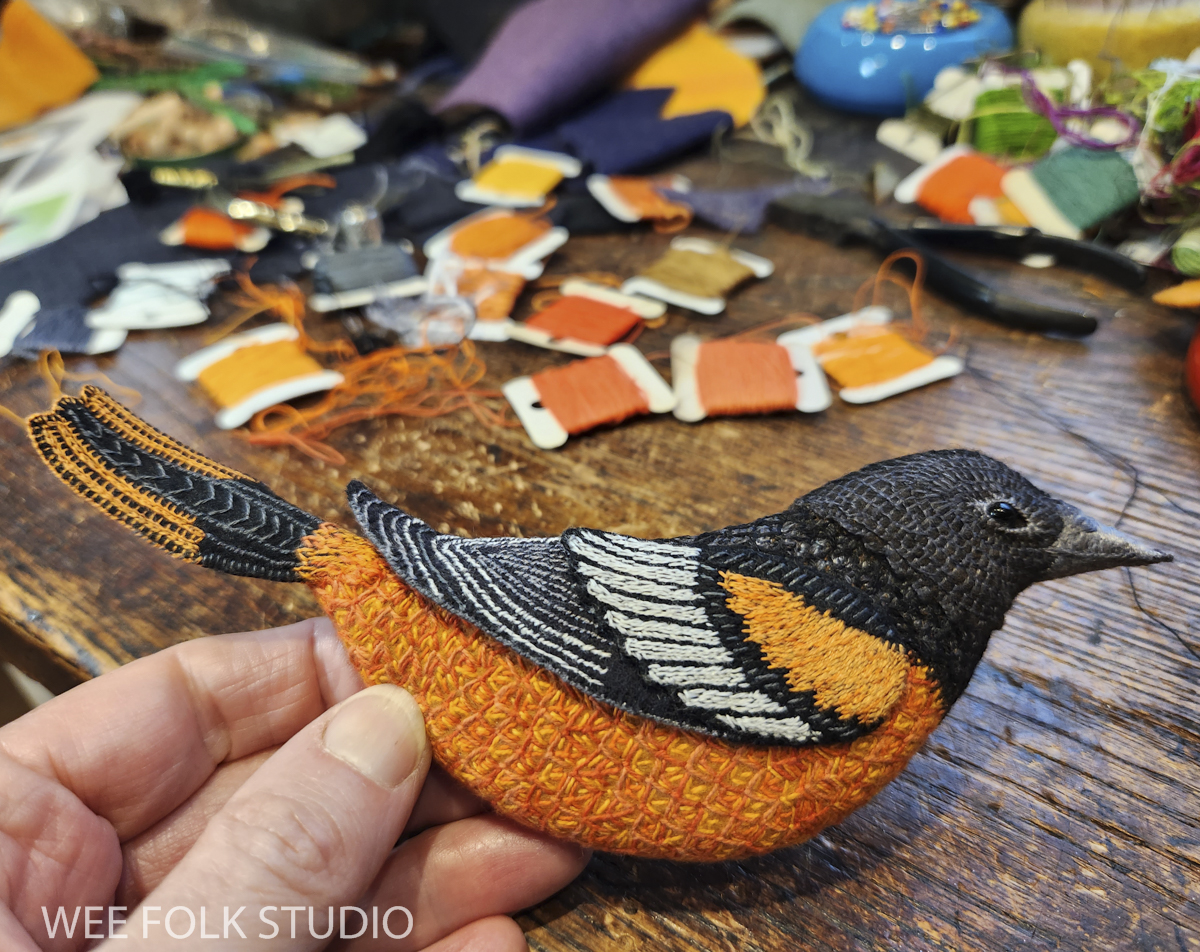
I’m right in the middle of making the summer scene in my series of seasonal landscapes. Normally, I wait until a piece is finished before writing blog posts about it, but I just have to give you a preview of what’s to come! This scene features a flashy male Baltimore Oriole, which I’m excited to show.
It’s been ten years since I made a bird this size, like the ones in Birds of Beebe Woods. Back then, I didn’t take many pictures while I worked. This time, I documented every stage of the process with photos and videos, which I’ve shared on Facebook and Instagram over the past month and now here in this post.

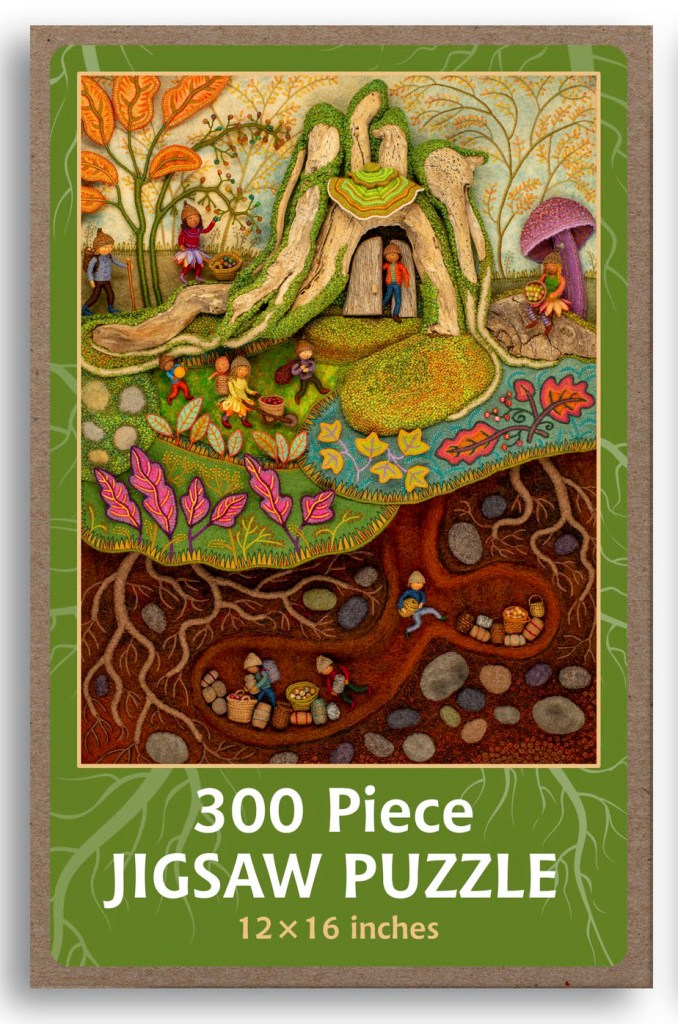
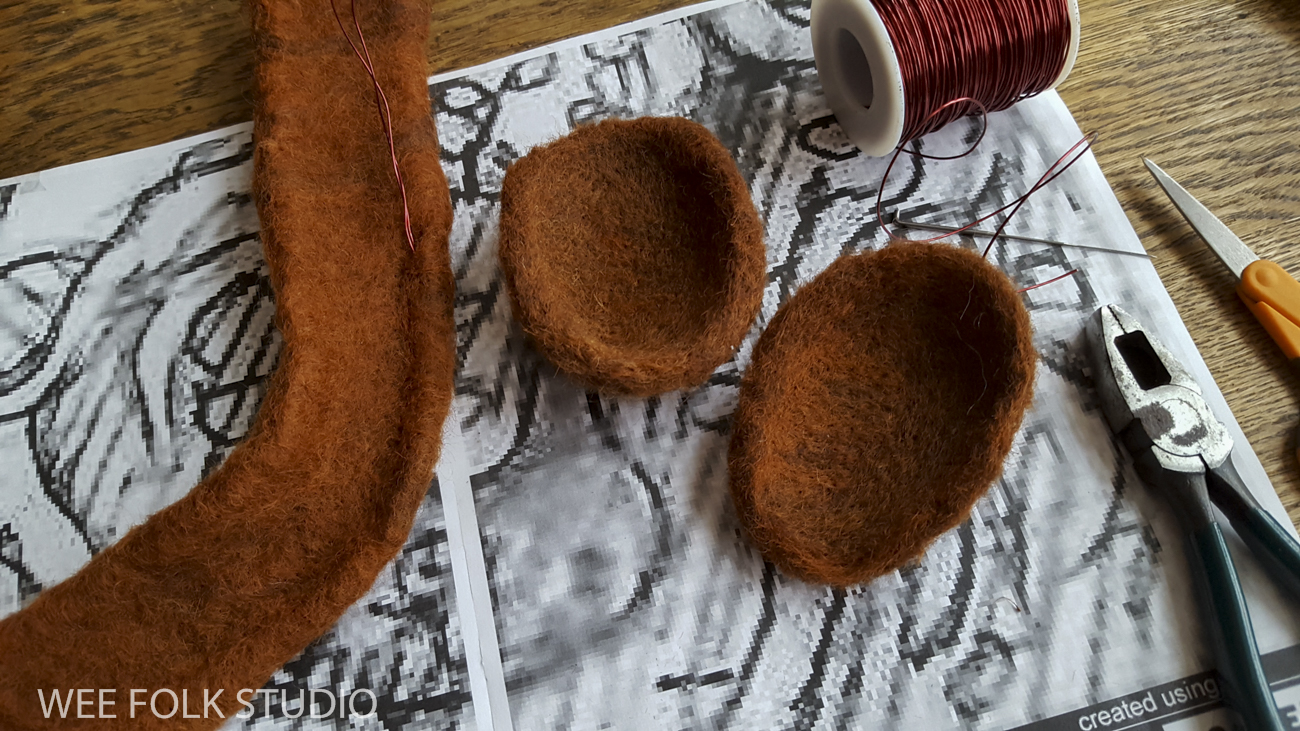
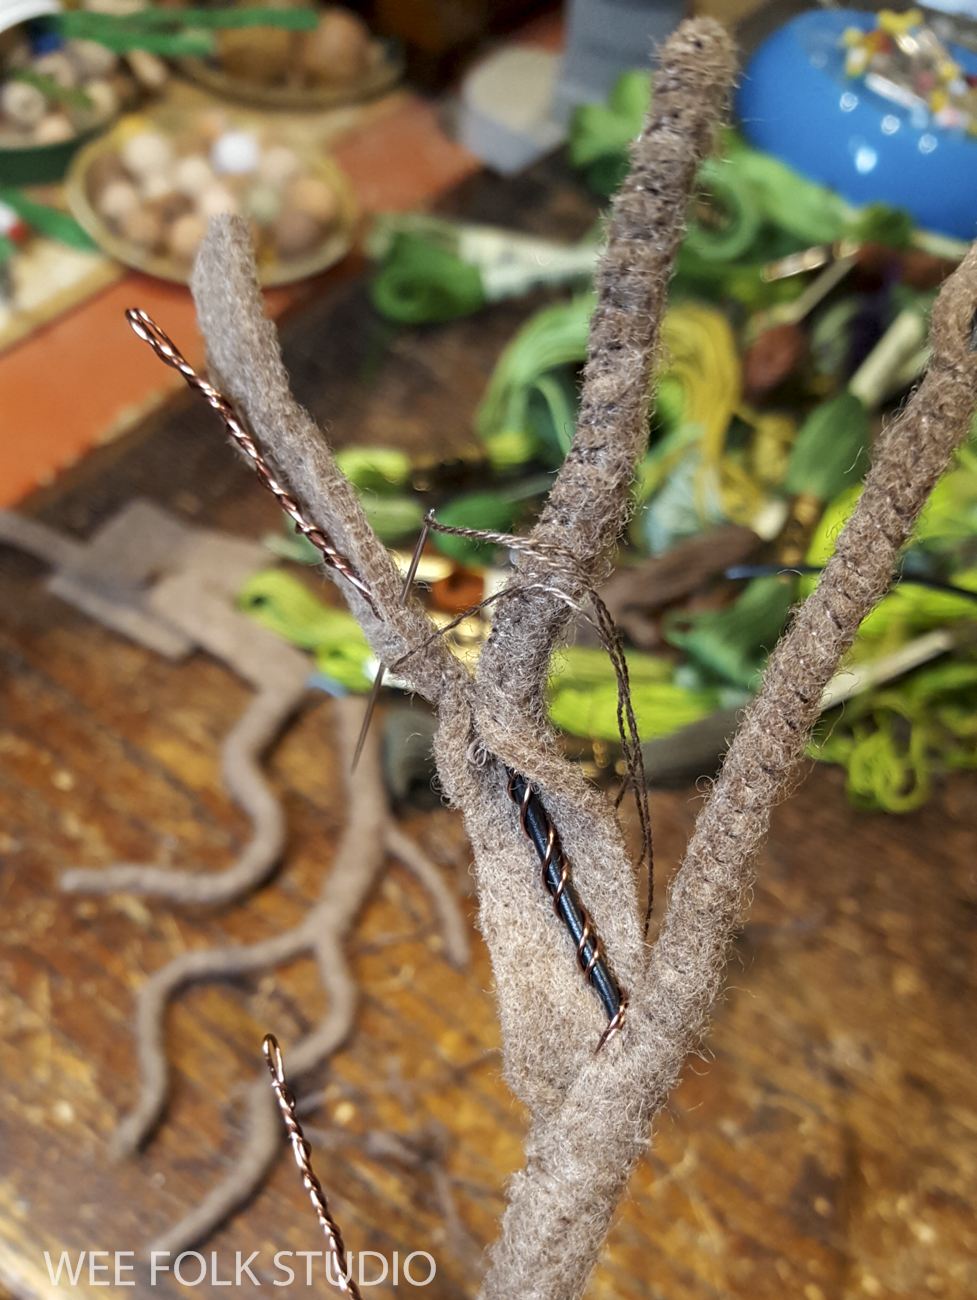
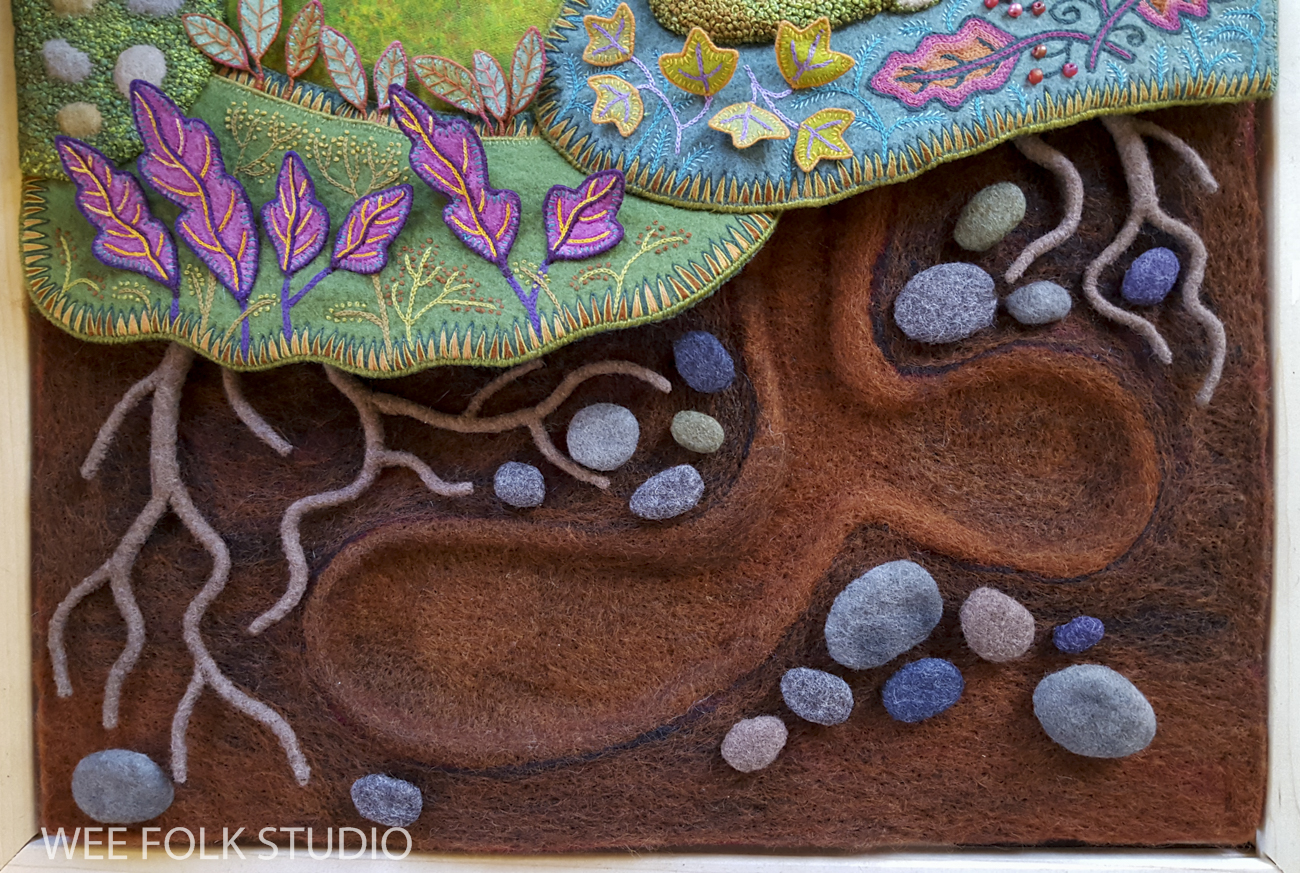
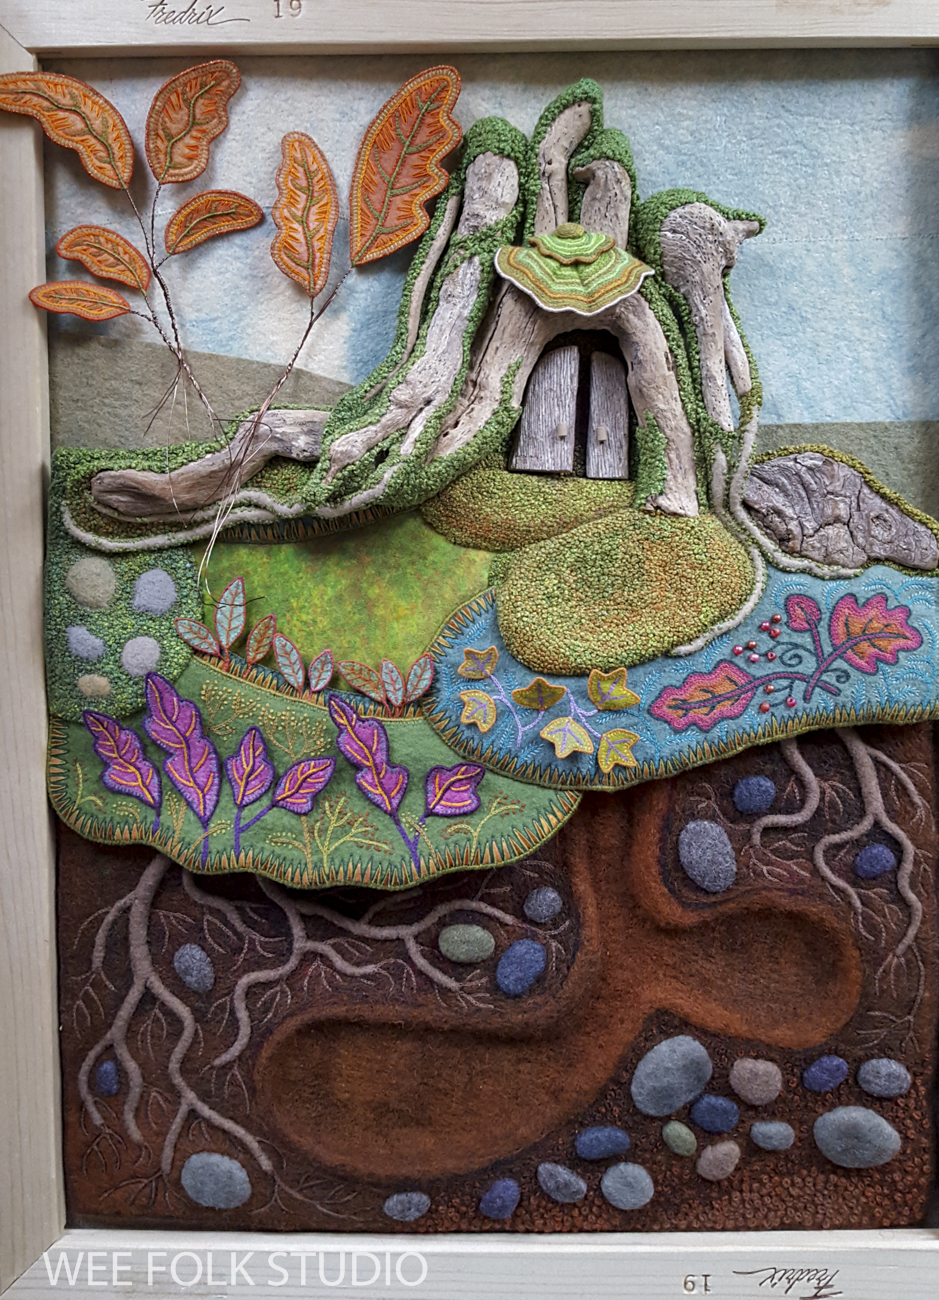
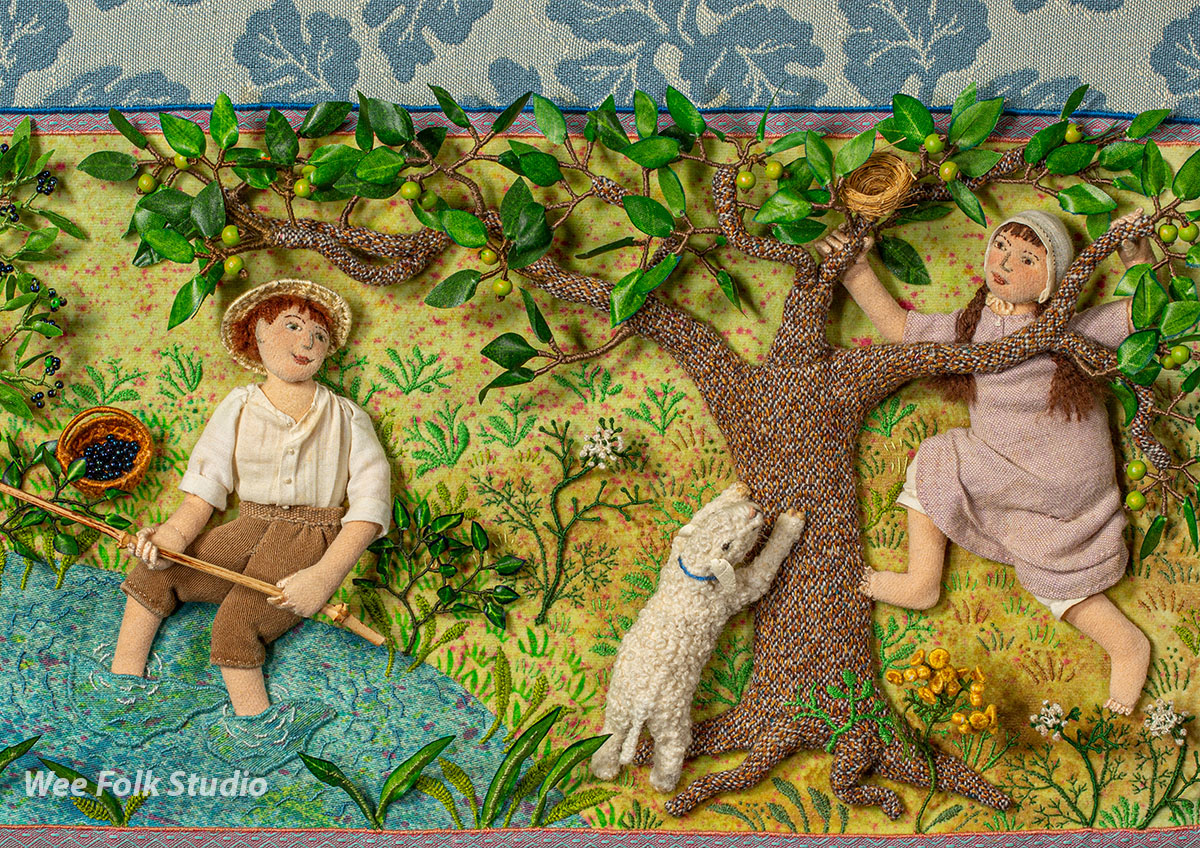
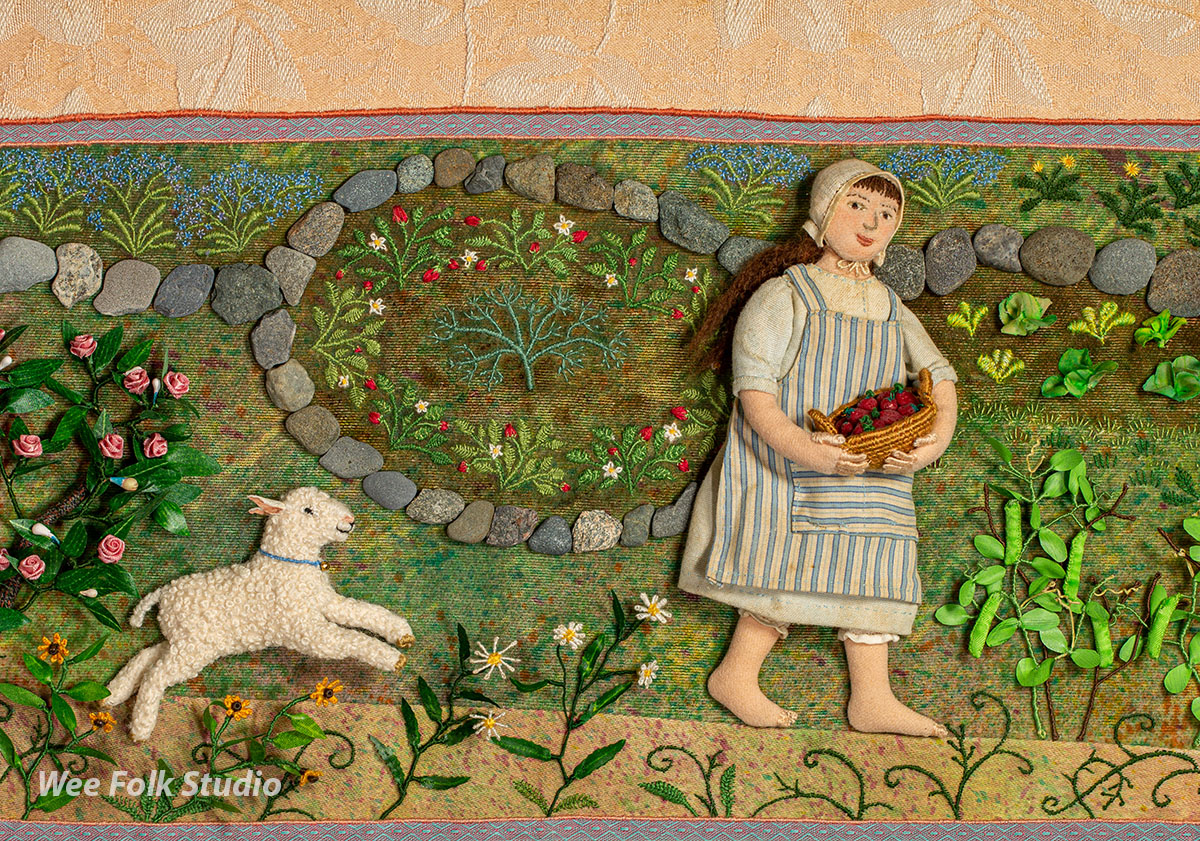
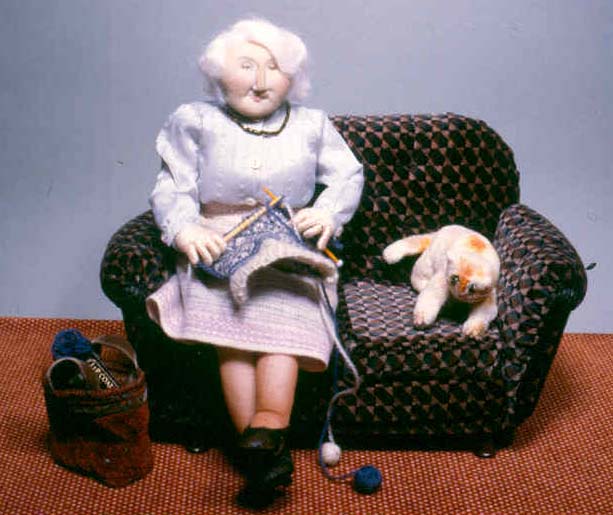
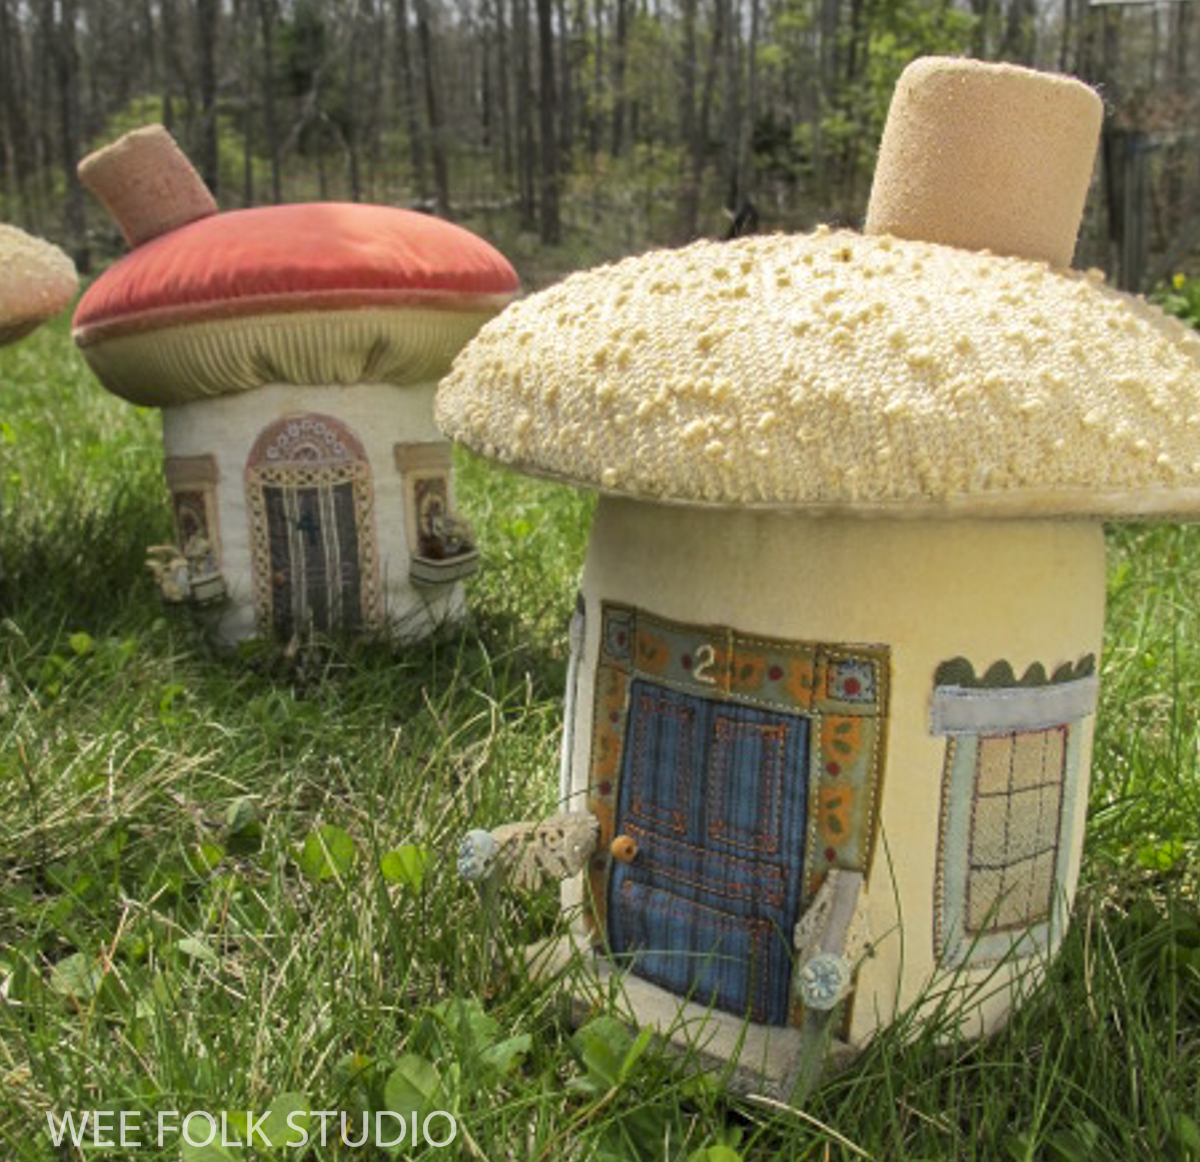
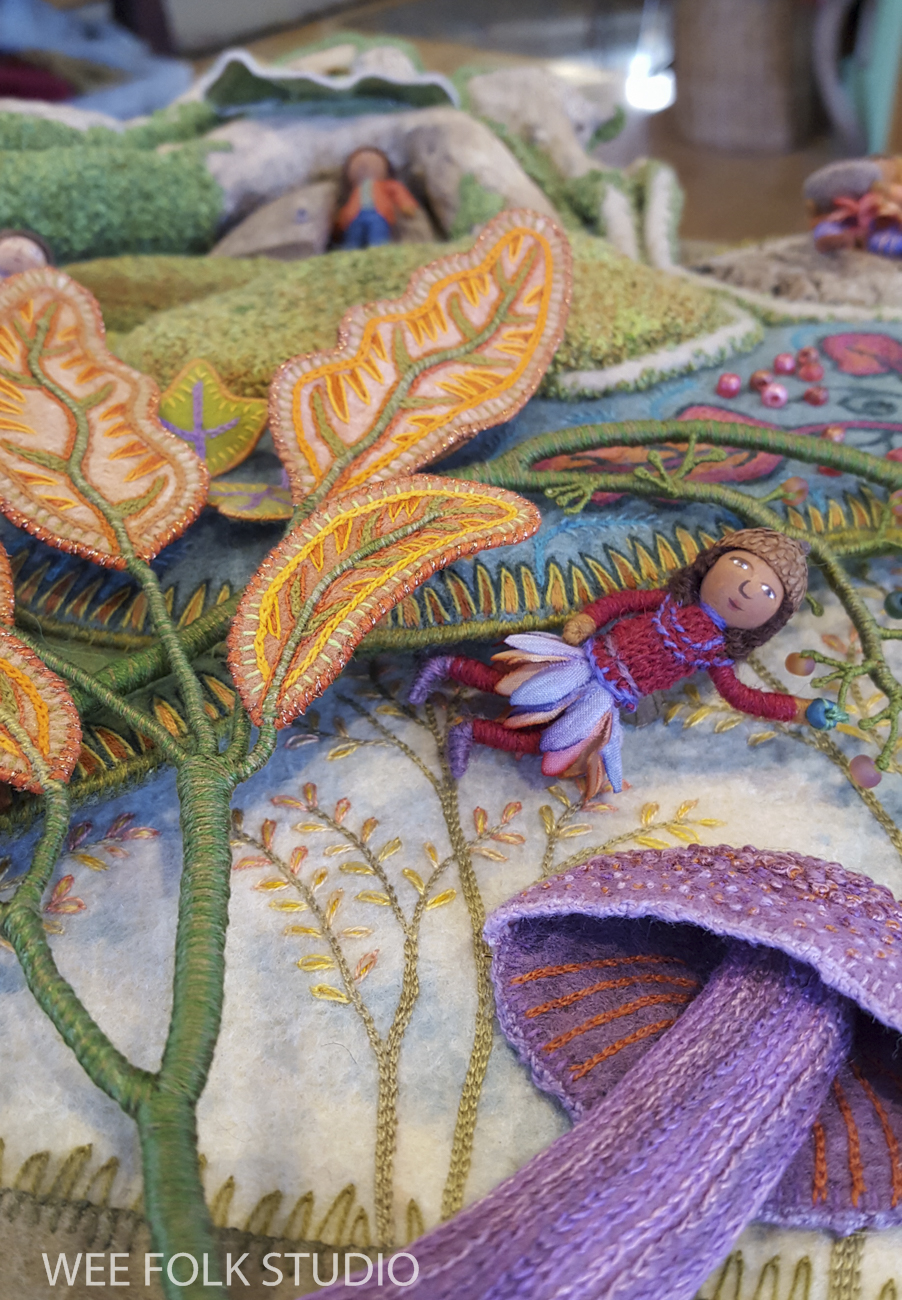
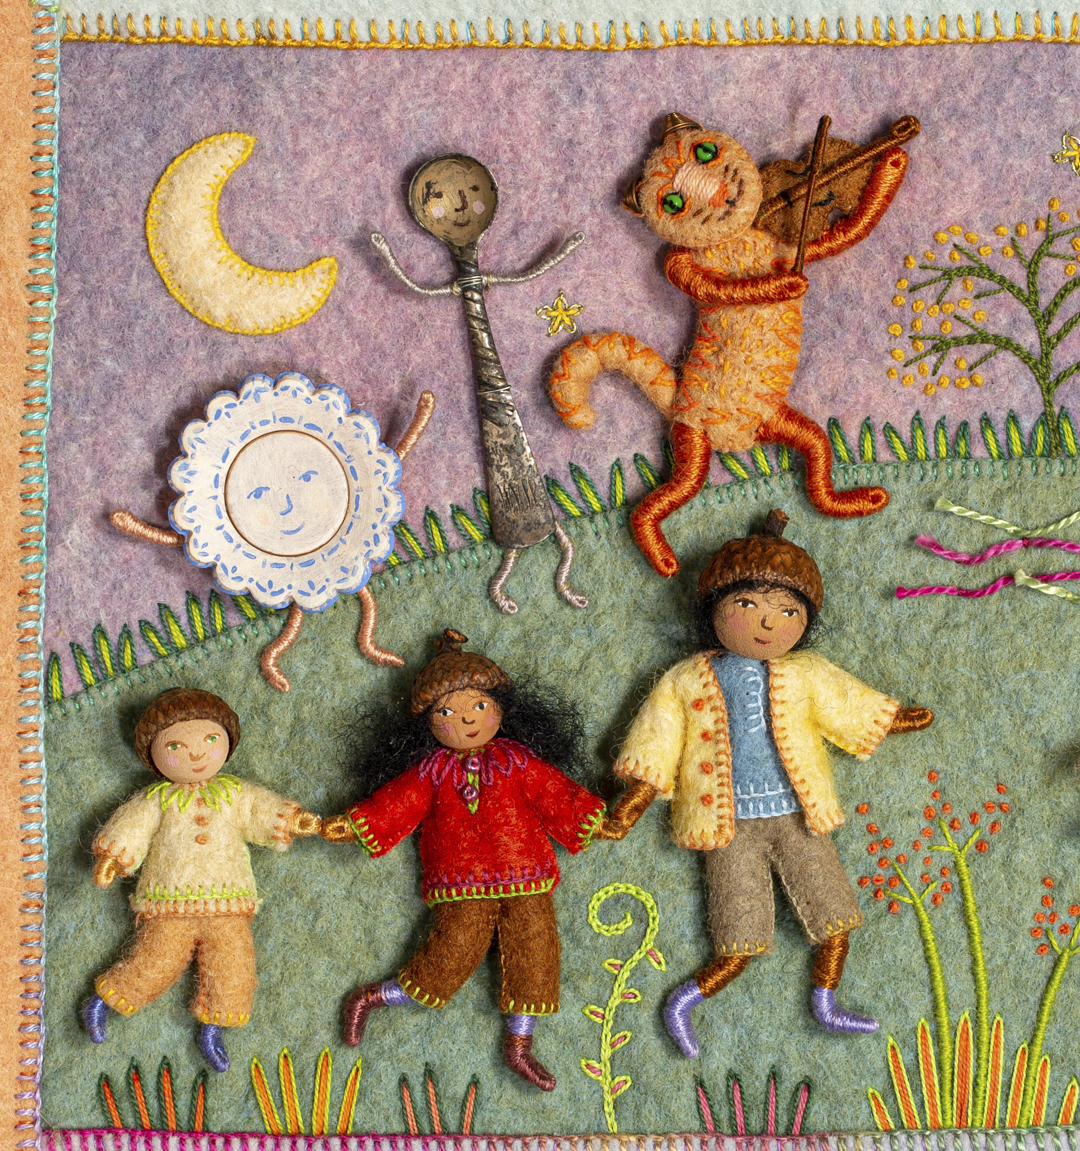
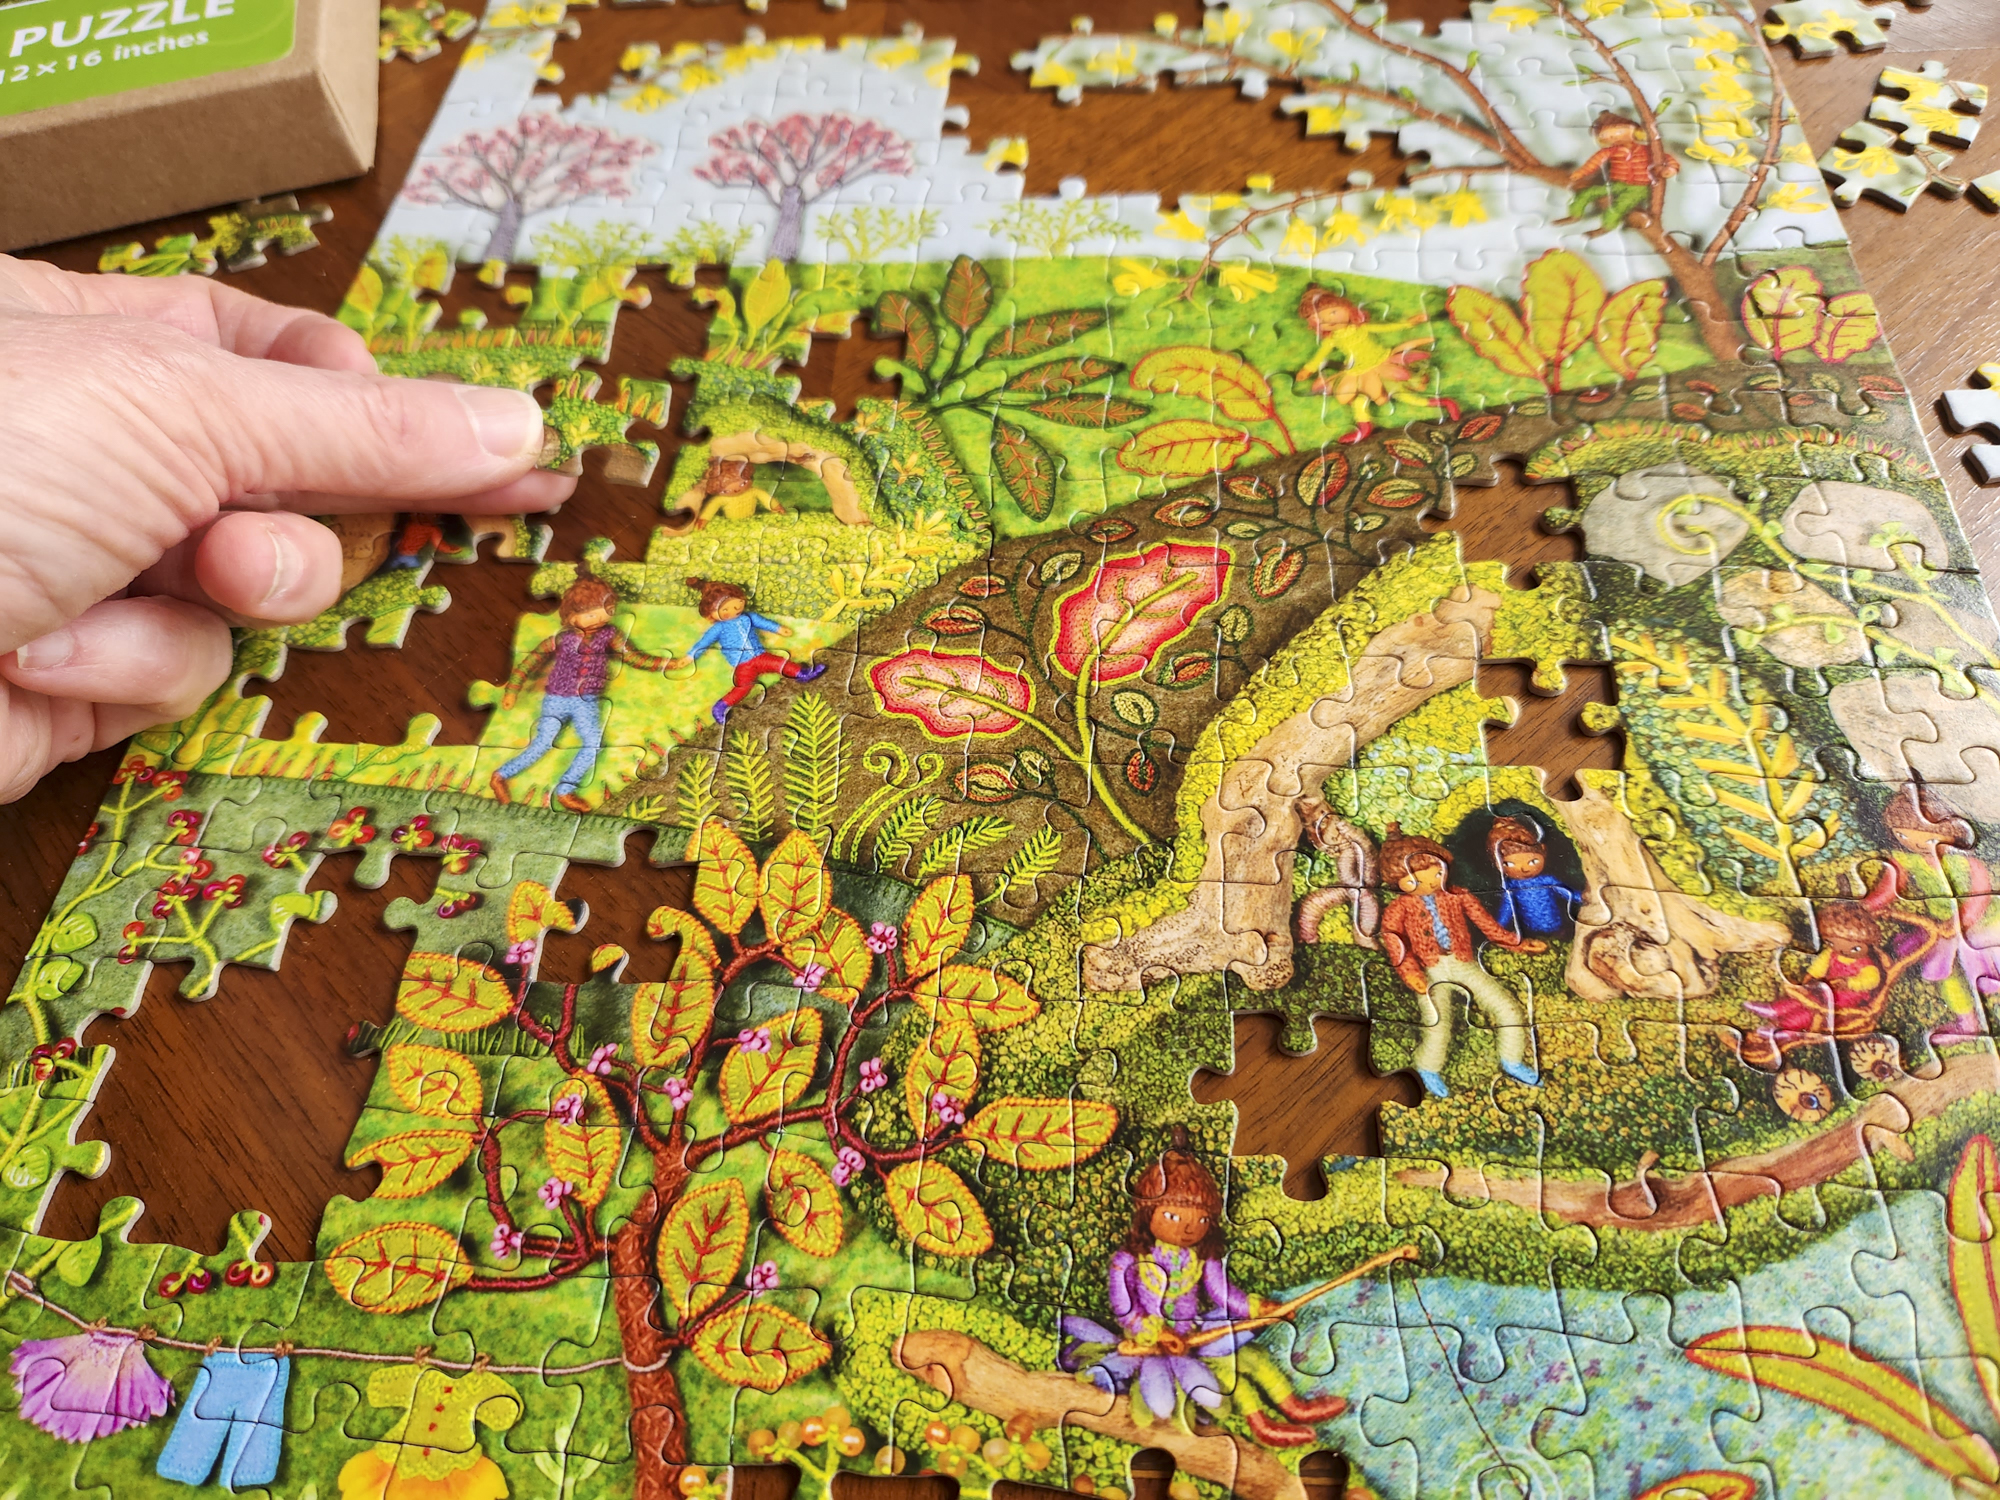
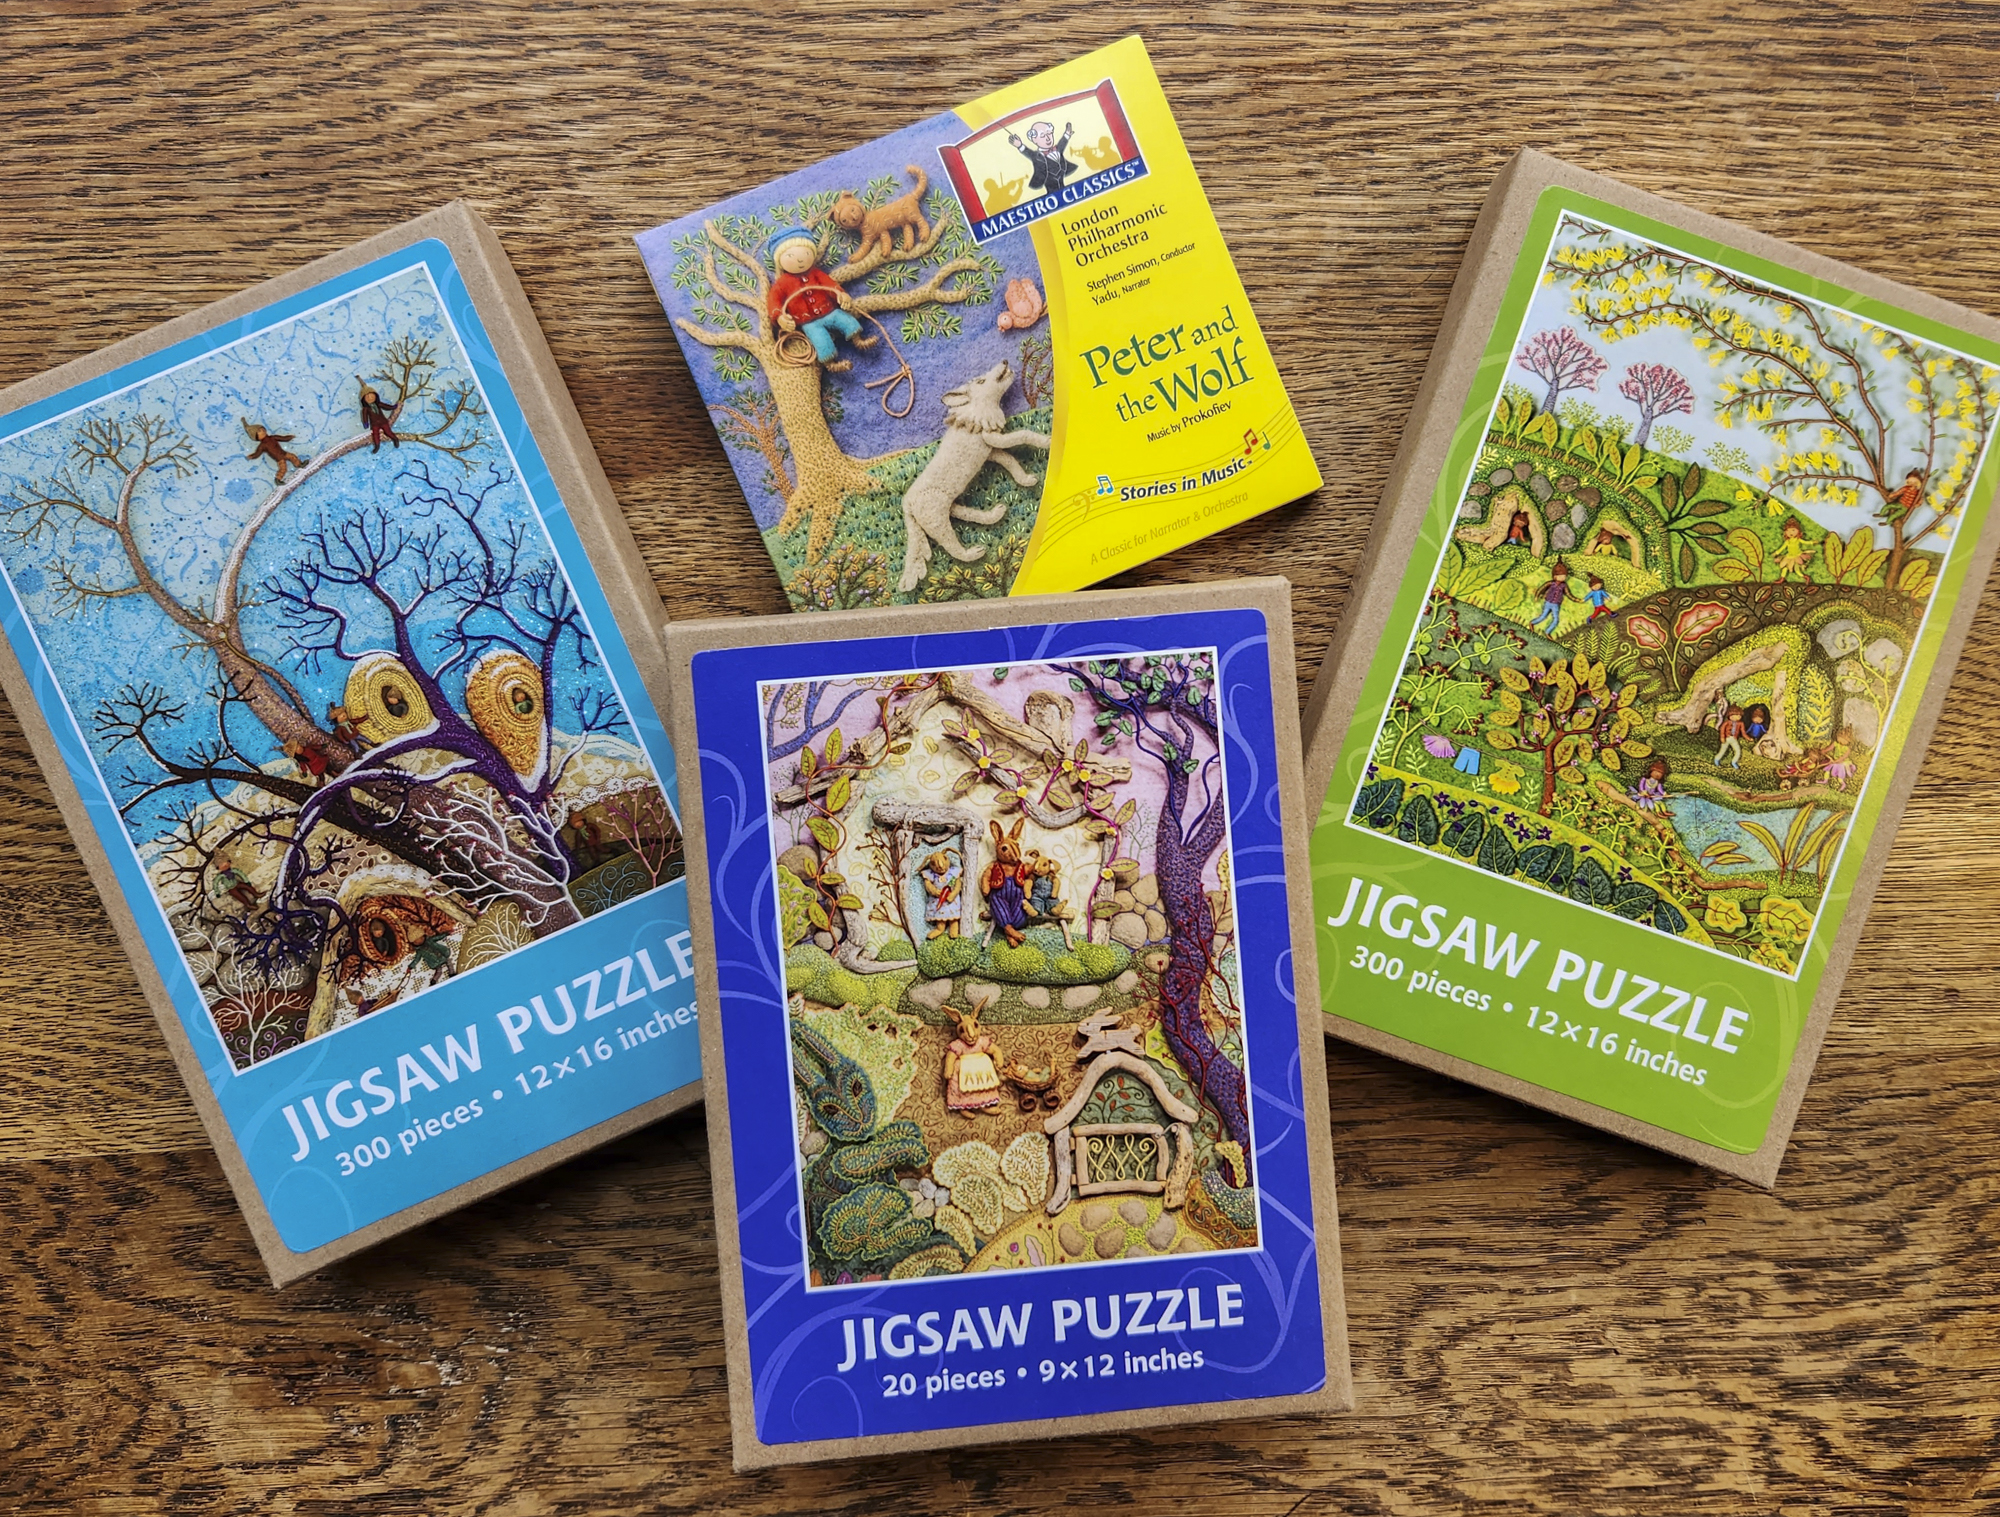
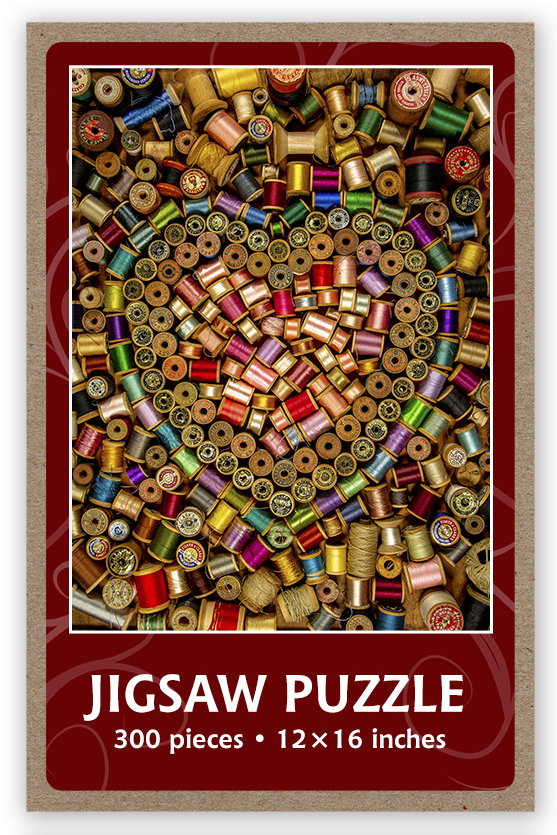
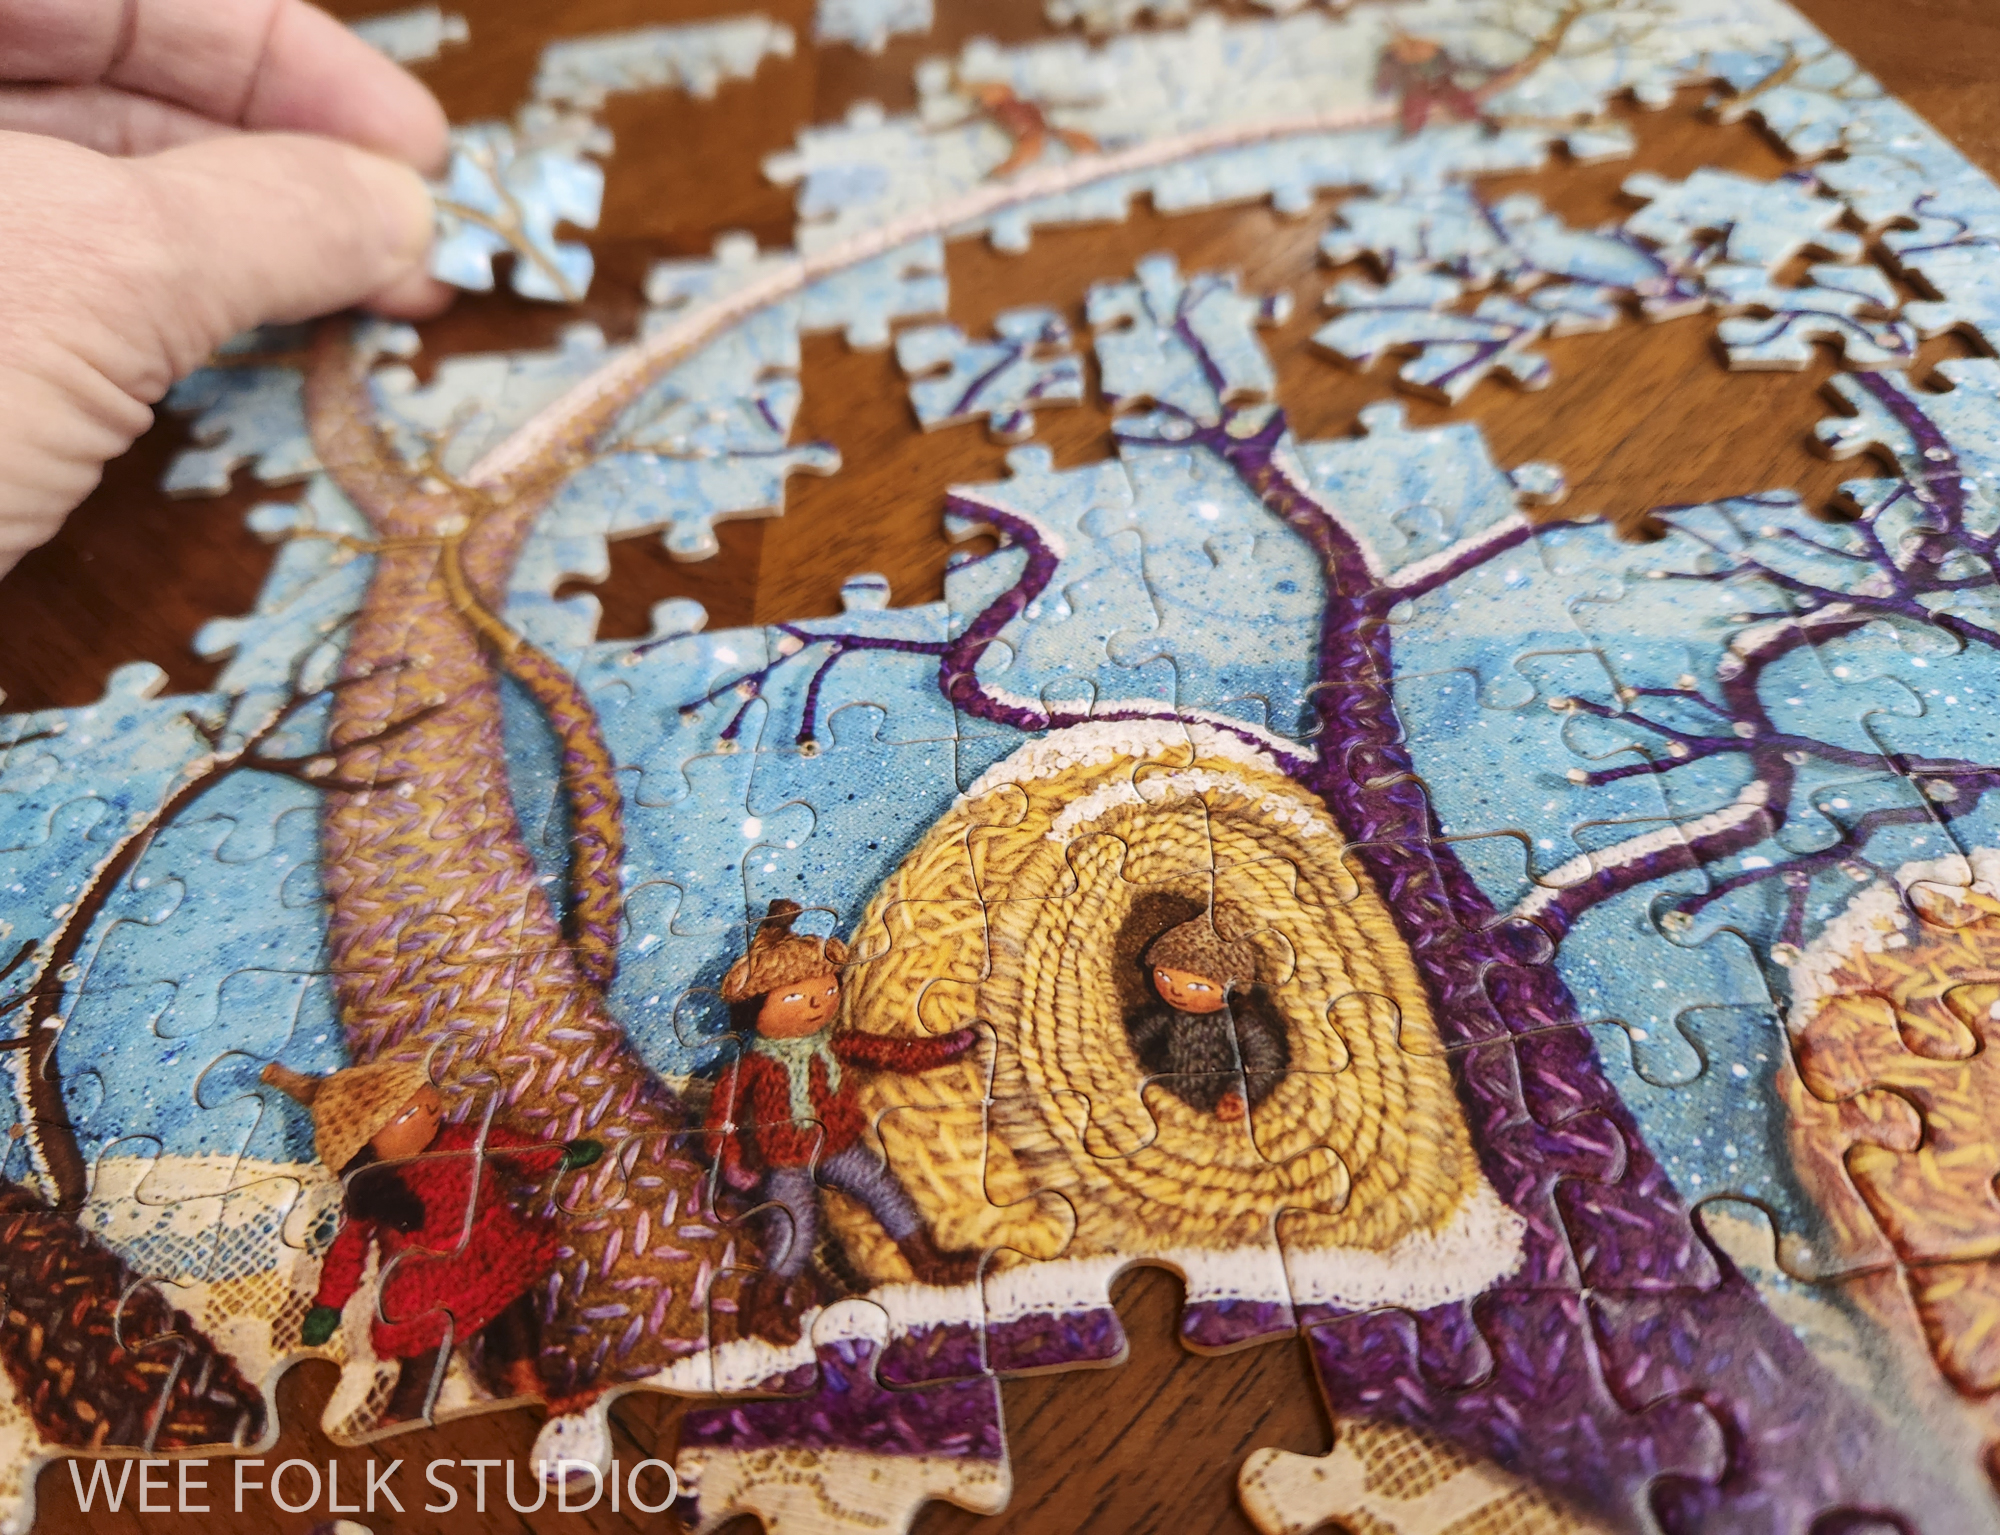
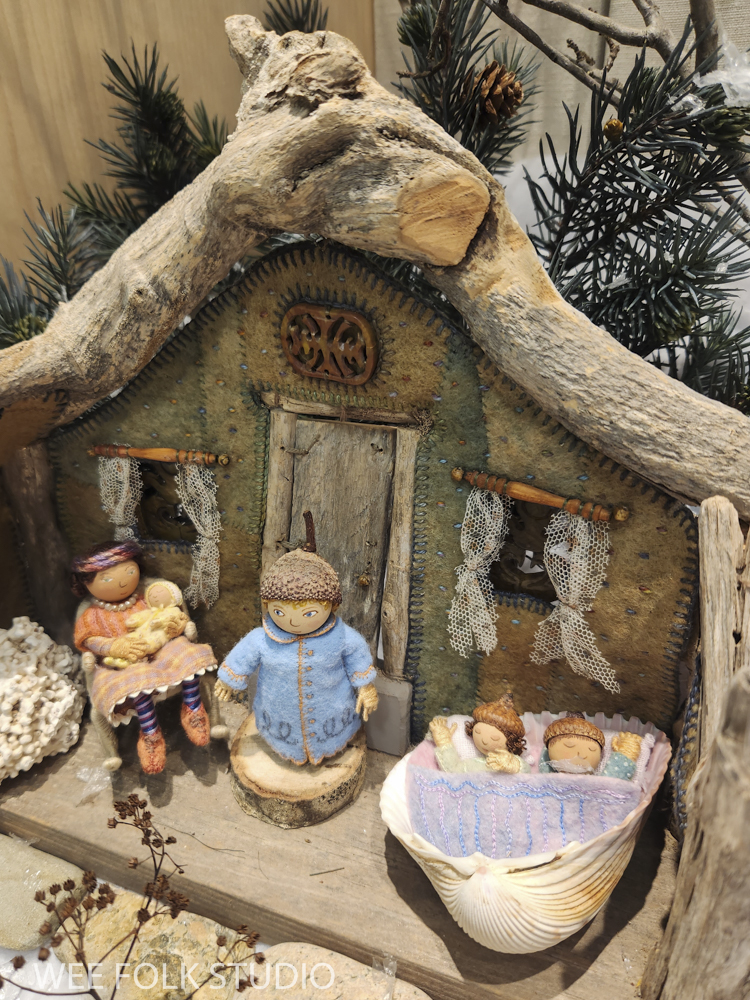
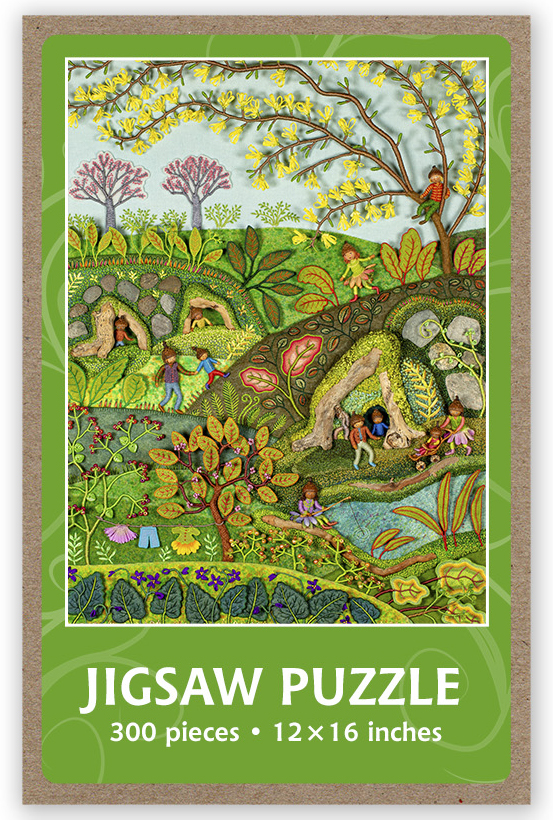
The Baltimore Oriole will be perched in the upper branches of a tree that has little huts nestled at the base. Like the other scenes in the series, Frosty Morning, Mossy Glen and Harvest Time, the summer landscape will be full of wee folk characters cavorting outside in nature. The first 3 seasons are available as Jigsaw Puzzles and Note Cards in my Etsy Shop. When its finished, the summer scene will also be reproduced as a card and puzzle.


I hope to finish the summer scene in a few months, so that all four seasons will be displayed together at my exhibition in Vermont this fall.
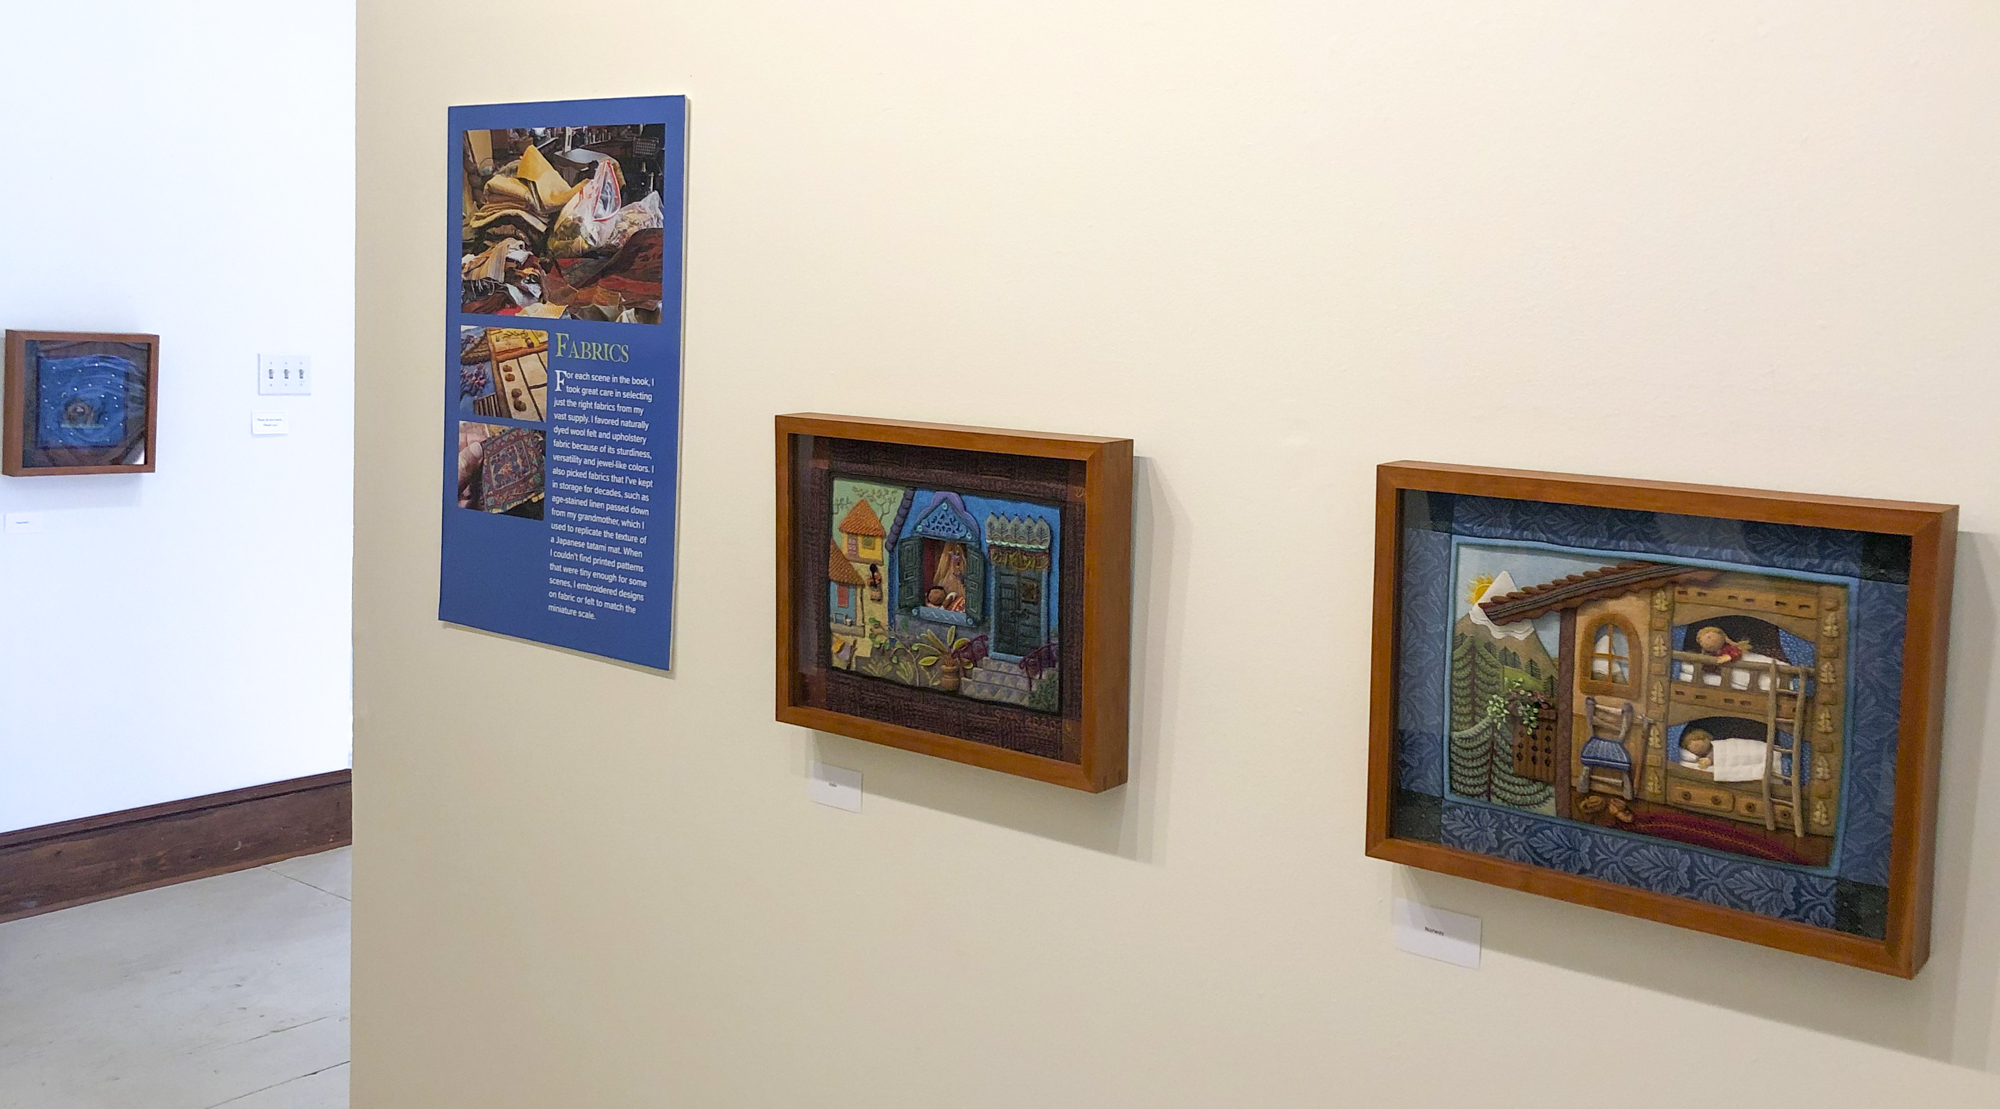
The Wee Worlds of Salley Mavor (includes Bedtime Stitches).
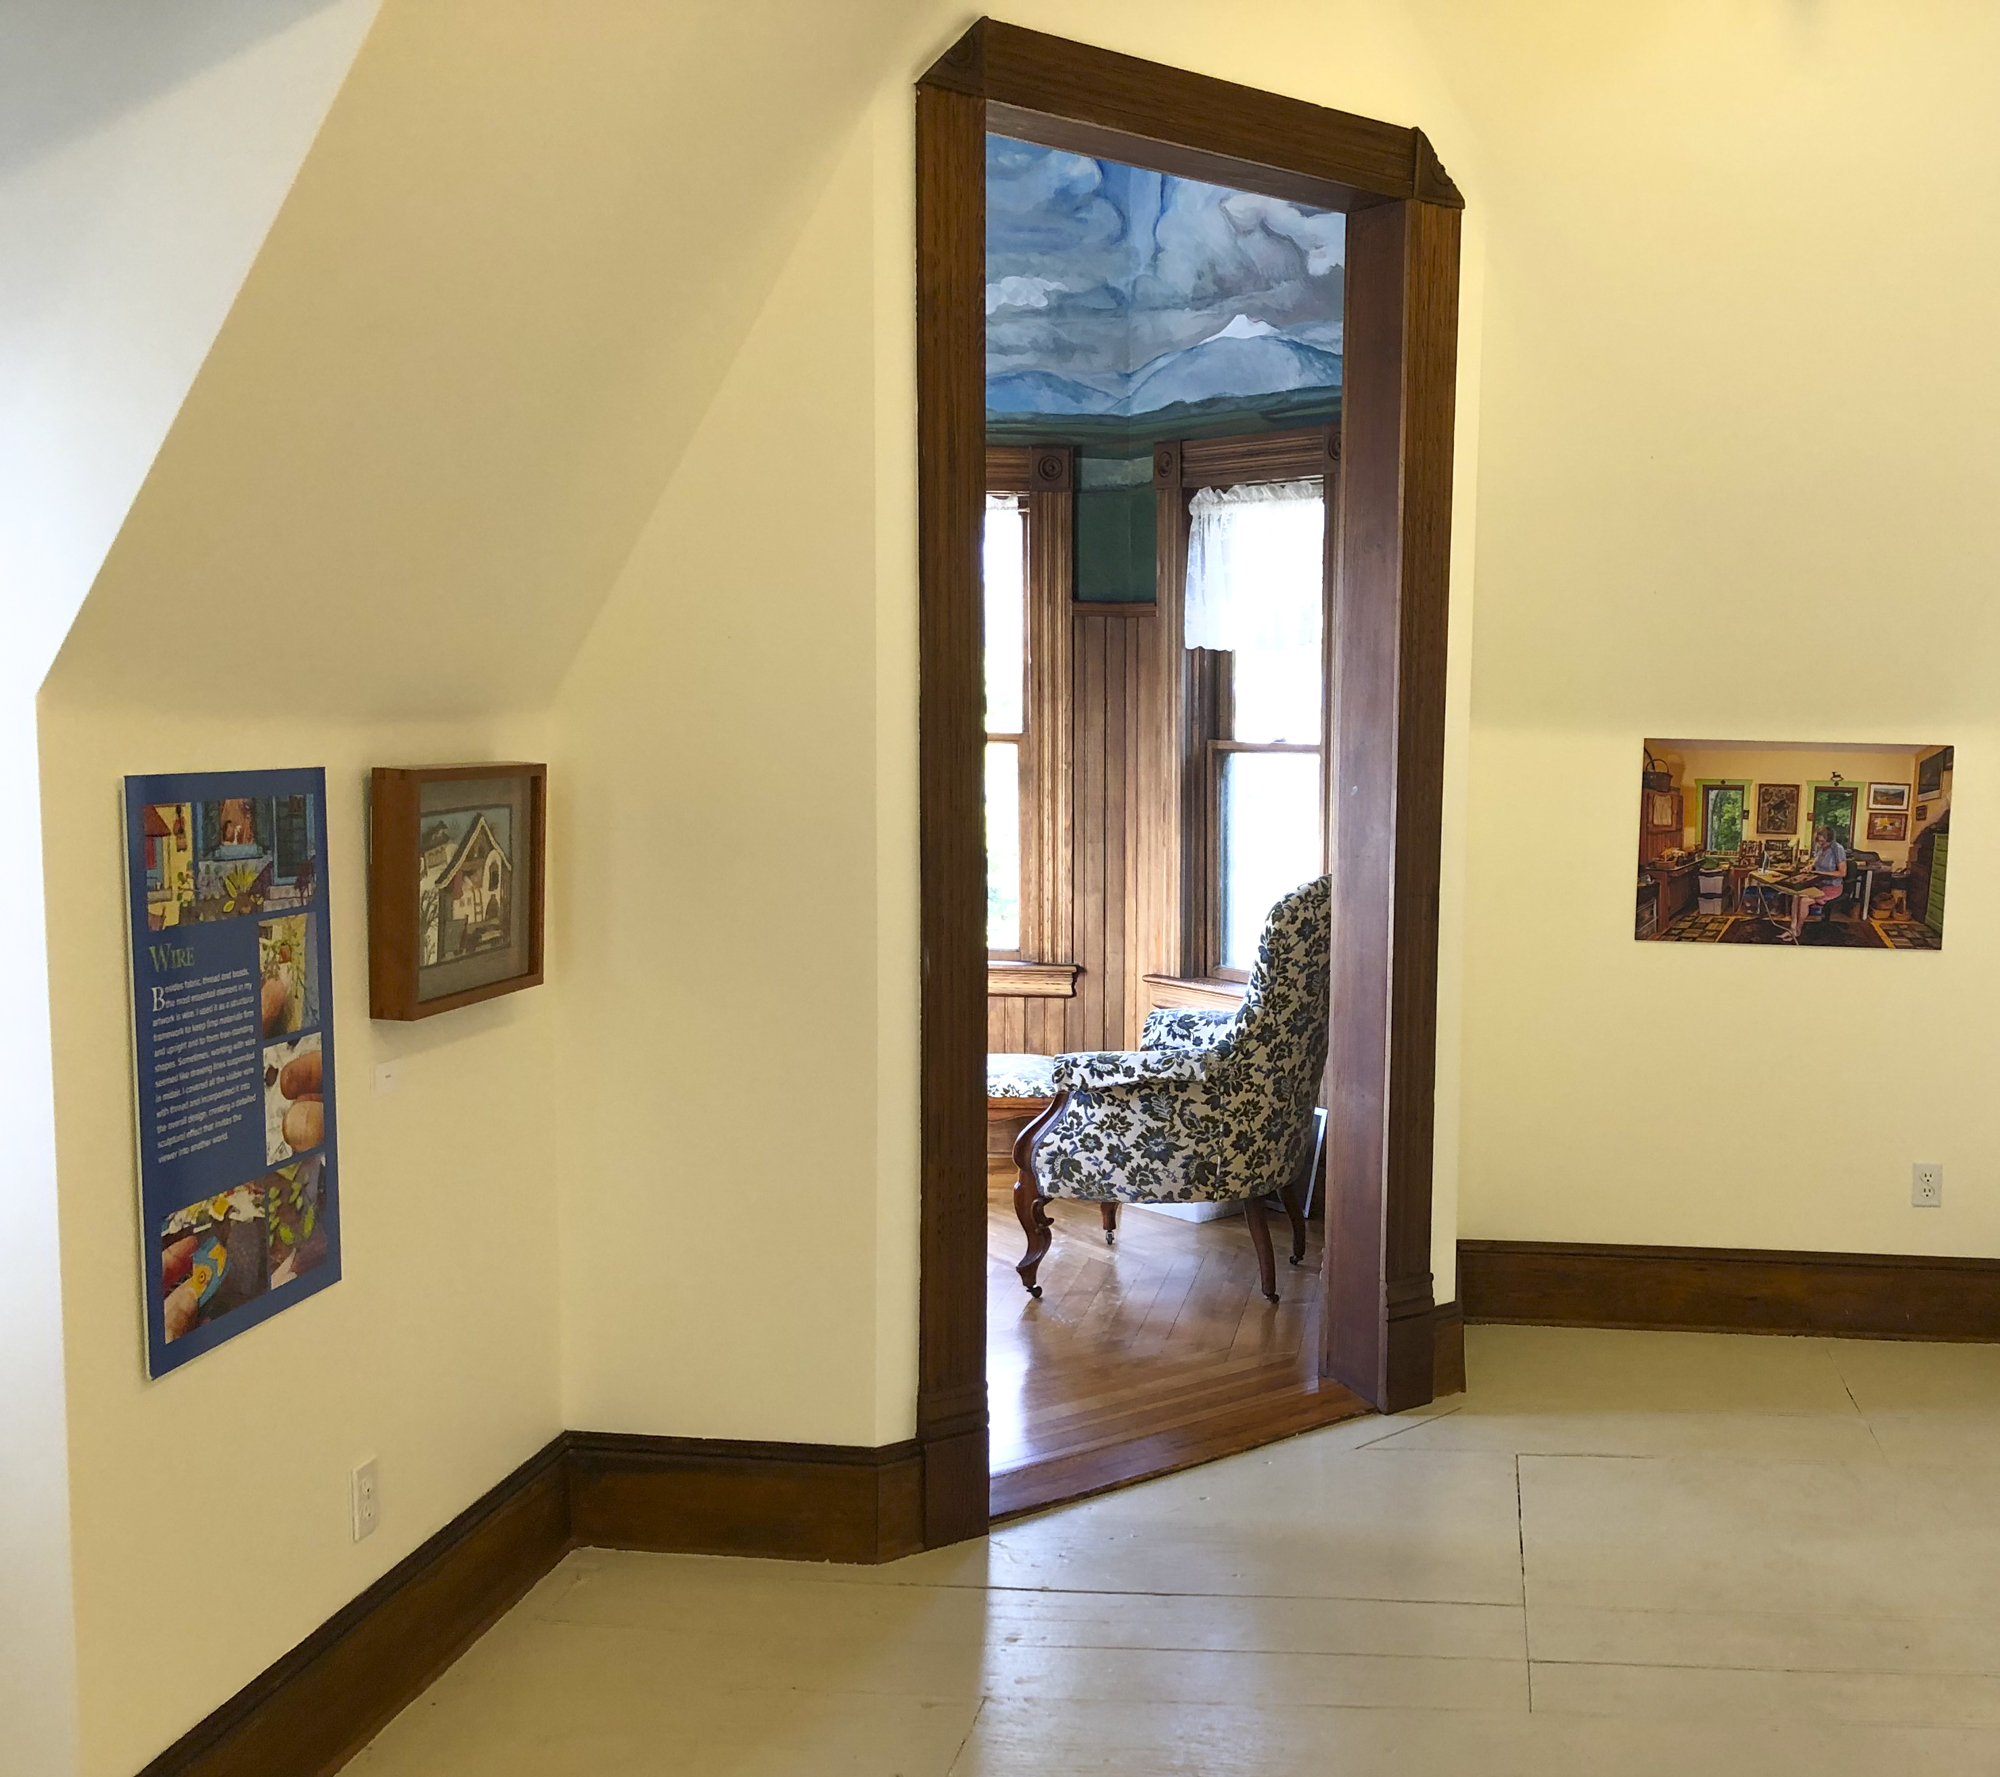
Southern Vermont Arts Center, Manchester, VT
Sept. 30, 2023 – Jan. 7, 2024
Opening – Sat., Sept 30, 2 to 4 pm. Galley tour with the artist at 3 pm.

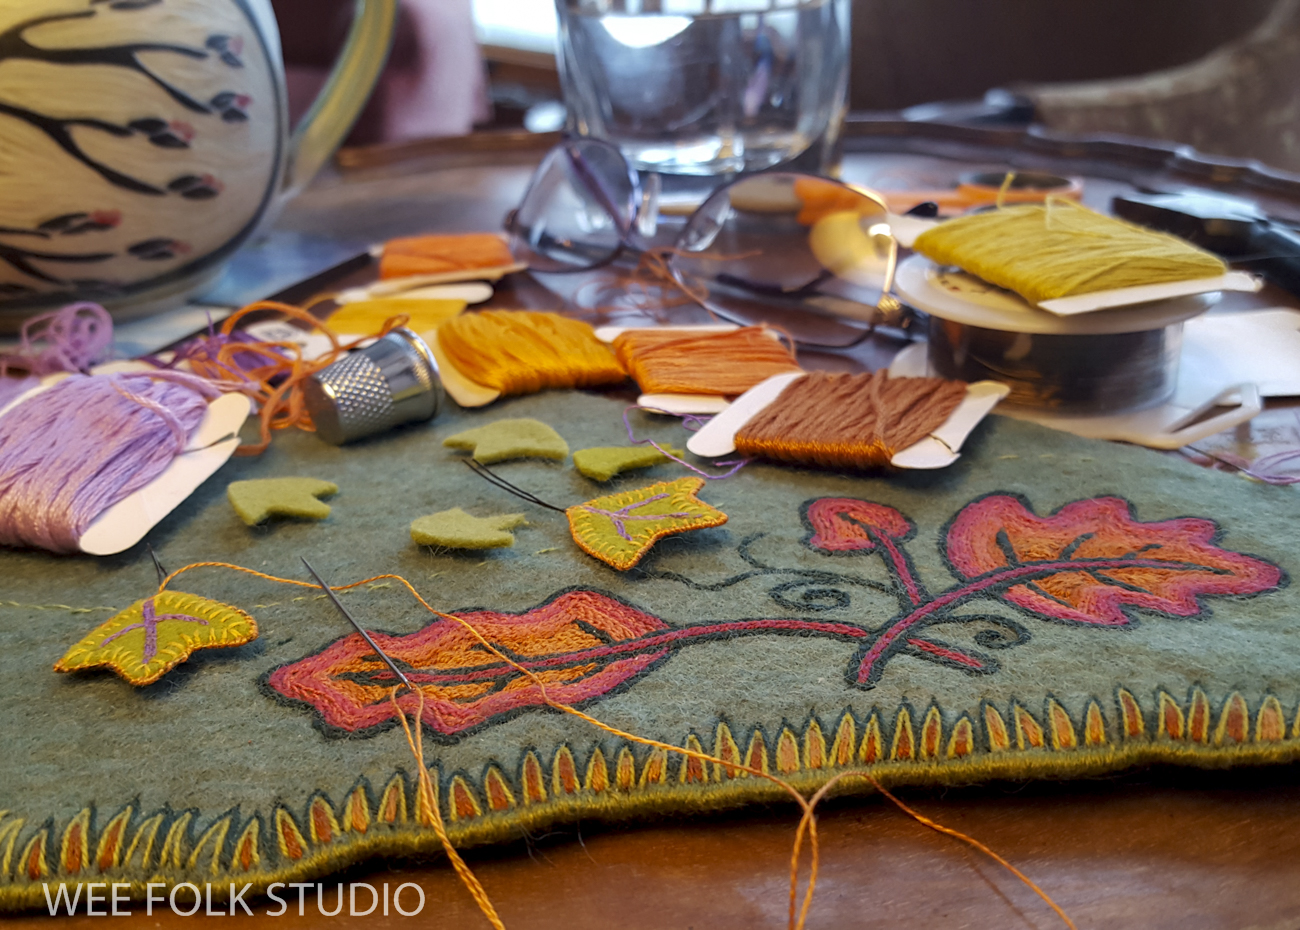
When the piece is completed, I’ll write my usual series of detailed posts about different aspects of how I work, like I’ve done with Frosty Morning, Mossy Glen and am currently doing with Harvest Time.

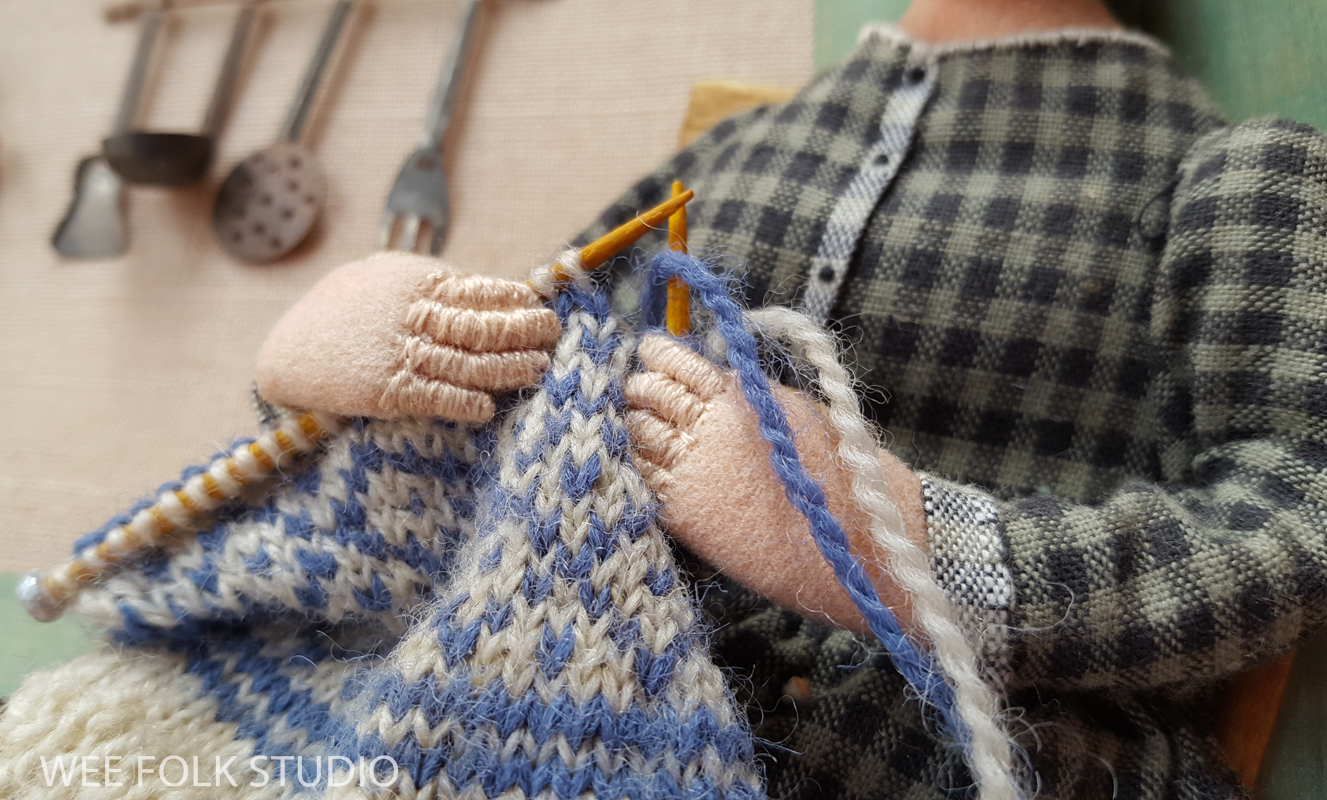
For now, I hope that you enjoy looking over my shoulder, while I work. The following five videos are condensed versions of different steps I used in creating the bird’s breast, beak, wing, tail, and feet.
The videos aren’t intended to be tutorials, but you can pick up a lot of my stitching techniques. If you’ve followed me for a while, you’ve probably heard my personal philosophy about sharing knowledge. Basically, I’m happy to give peeks at how I work, as long as the act of creating isn’t overly dissected, else it loses its magic.

This video shows how I created the beak.

This video demonstrates how I stitched the wing.

This video shows the process of making the tail.

This video shows how I formed the feet.
Now that the bird is finished, I’ve resumed working on other parts of the landscape. But, I have a feeling that this Baltimore Oriole, in all his orange glory will not want to share the stage with whatever and whomever shows up next!
To keep up with new posts, please subscribe to this blog. Your contact info will not be sold or shared. If you’d like to see more frequent photos tracking the projects in my studio, please follow me on Facebook, Instagram and BlueSky.