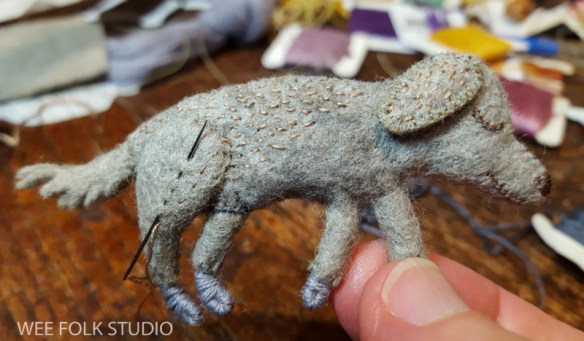
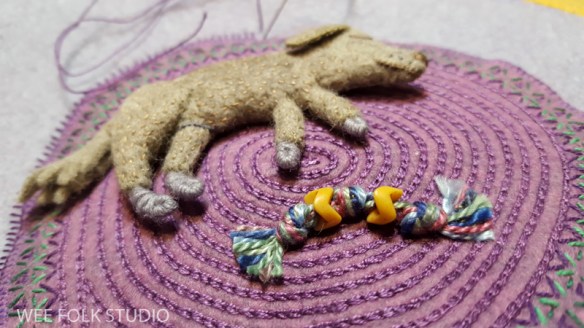
In this Part 3, I will describe making all the miscellaneous elements in the children’s bedroom. Part 1 was about the little girl and her bed and Part 2 showed the baby, the crib and the dog.
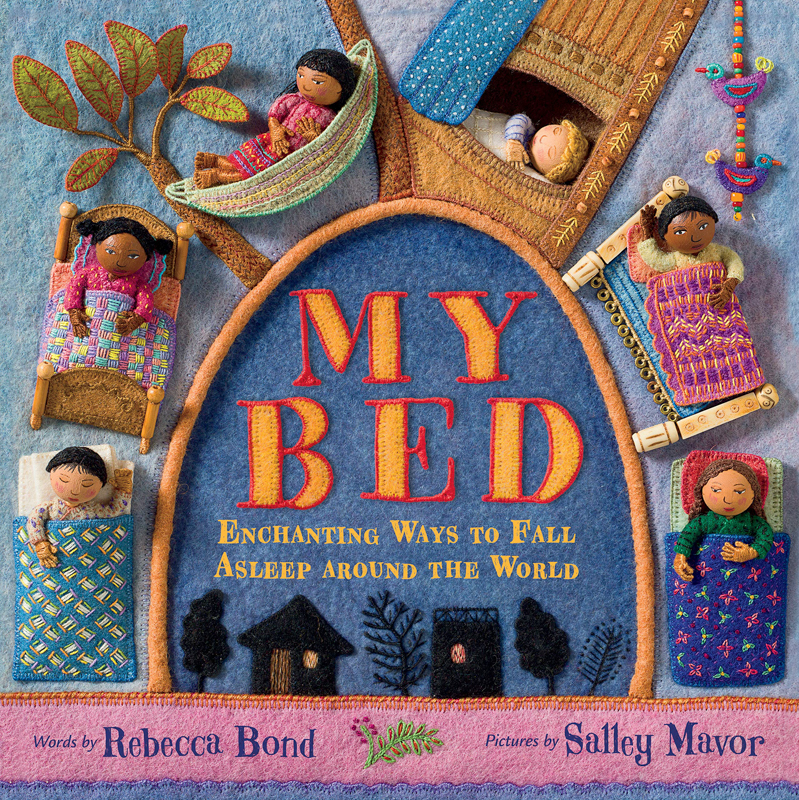
The scene will be included in My Bed, a book about where children sleep around the world, with each spread depicting a different culture and living environment. The story is written by Rebecca Bond and will be published by HoughtonMifflin in 2020. Here are links to posts showing other finished illustrations for the book:
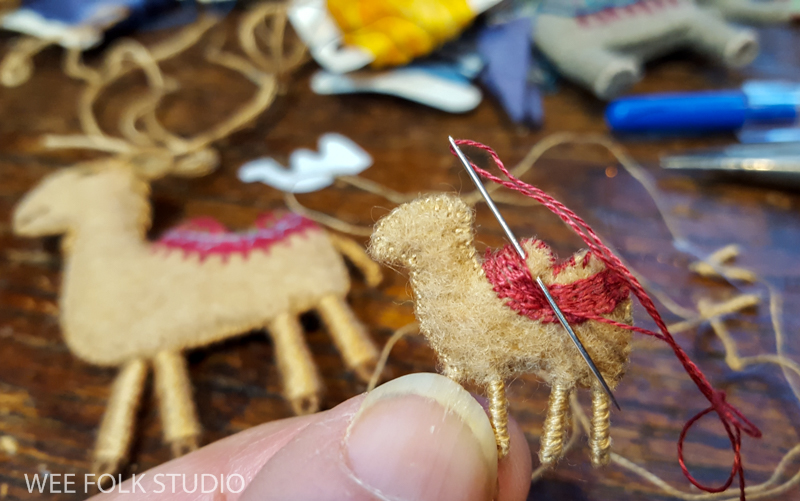
Holland, South America, Japan, India, Afghanistan, Russia, North Africa and Iran.
To see a list of all my books, click here.
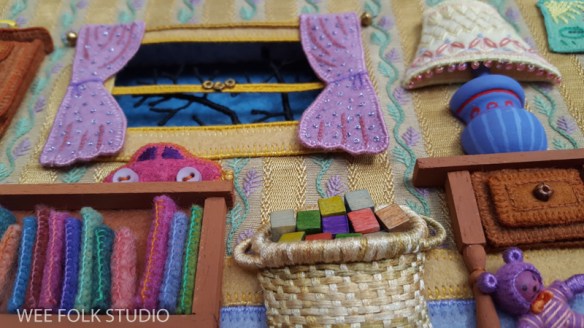
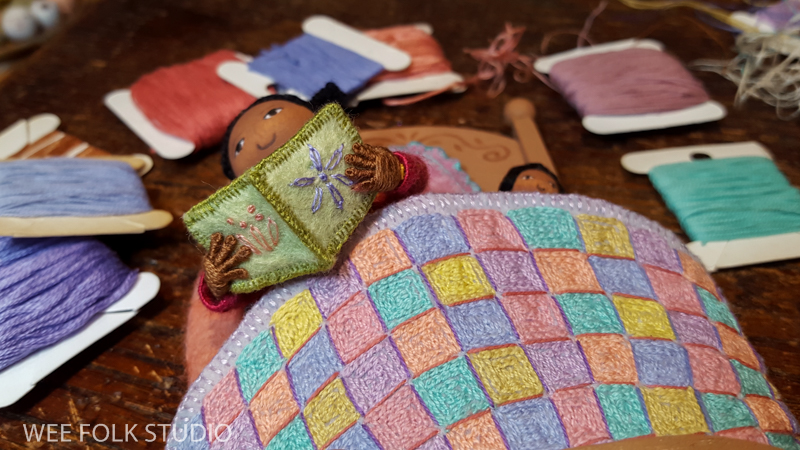
Besides making the figures, my favorite part of creating an illustration is filling the artwork with elements that help develop the characters and tell their story. Most of the spreads in this book show the children’s environment both inside and out. In this one, the wholly interior scene was an opportunity to indulge my passion for miniatures, from the wall paper to the lampshade. Making objects in relief is a lot different than rendering mini replicas of furniture for a doll house, though. Since the maximum depth I have to work with is 1 inch, everything is pretty flat and is made to look more sculptural than it really is.

The lampshade is embroidered felt, with wire stitched to the top and bottom rims for structure. I added dangling seed beads to give it some personality. As you can see, the shade is just half a circle, with the flat back sewn to the wall. The lamp is a miniature turned wooden pot that I sawed in half and painted.

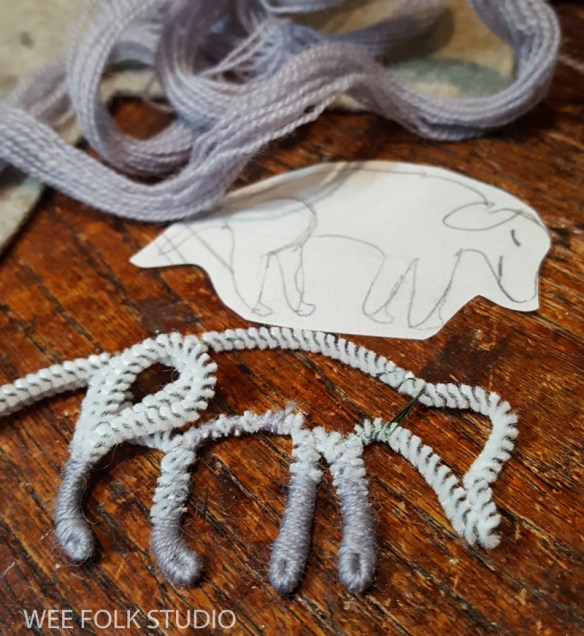
Even the kid’s drawings on the wall are embroidered on felt. Chain stitching is my go-to method for forming lines.

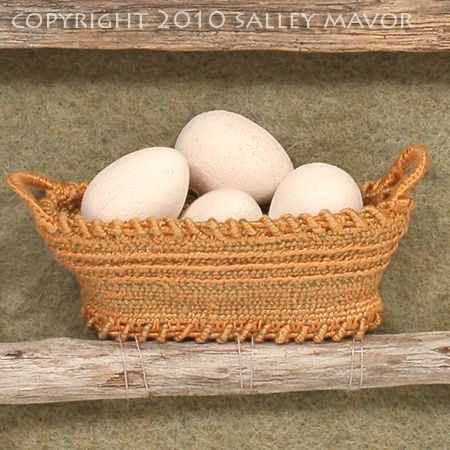
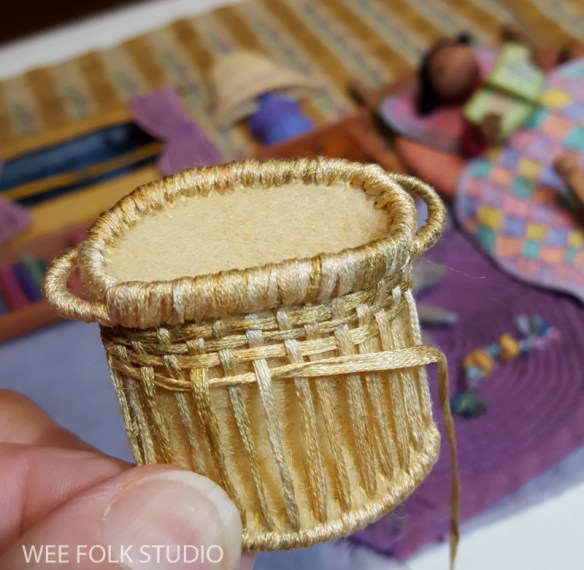
This is the first time I’ve made a basket with silk ribbon. In the past, I’ve woven them with thread wrapped wire, like the egg basket in Pocketful of Posies. Like the lampshade, it’s made in relief (about 1/2″), with a flat back. I really like the silk ribbon made by Silk Road Fibers. I used it other scenes for this book, including the palm fronds in North Africa.

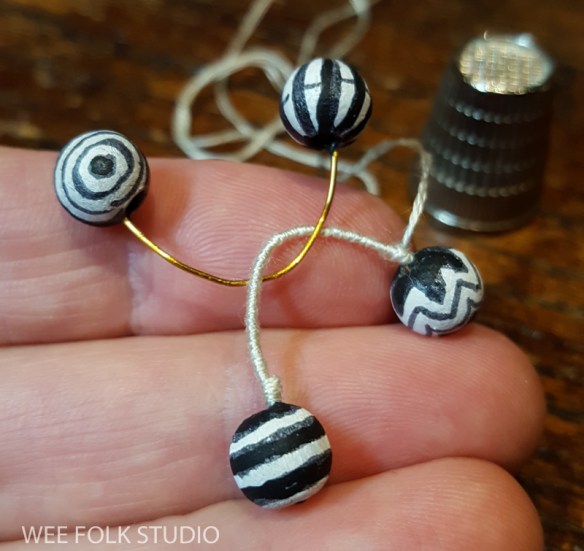
I made blocks to fill the toy basket by coloring square wooden beads with different colored magic markers. It’s important to find parts with holes, so you can sew them in place. Just like with painting doll heads, I strung them on a pipe cleaner for support.

Then, I sewed the basket to the background fabric.

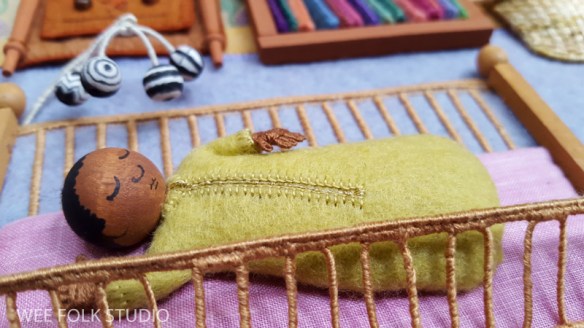
Through the window, you can see a thread wrapped tree branch. It’s inside a balsa wood box that I sewed in back, behind the background fabric. I’ve used this method in other scenes where I want to show receding depth. It’s a way to make use of the hidden space inside the stretcher.
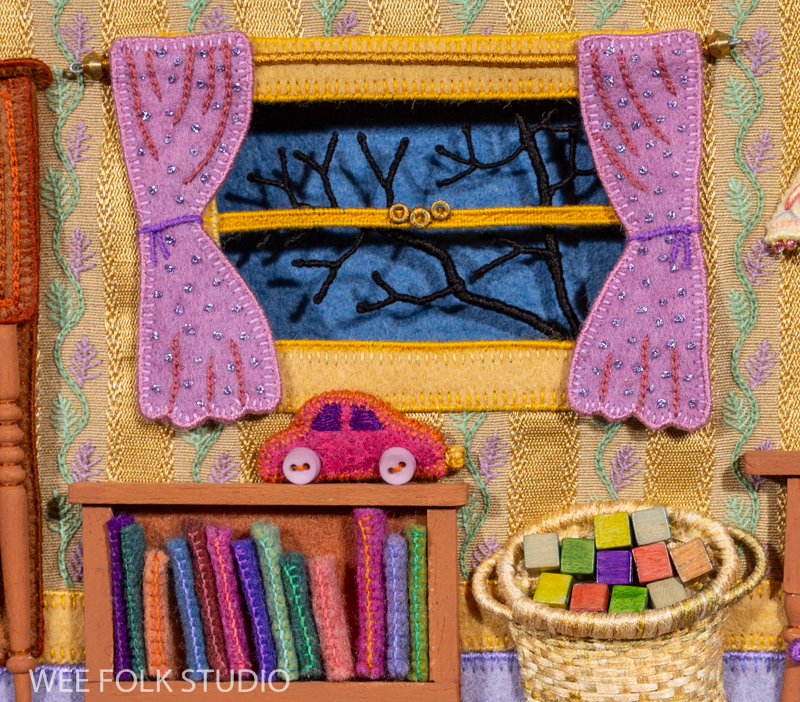

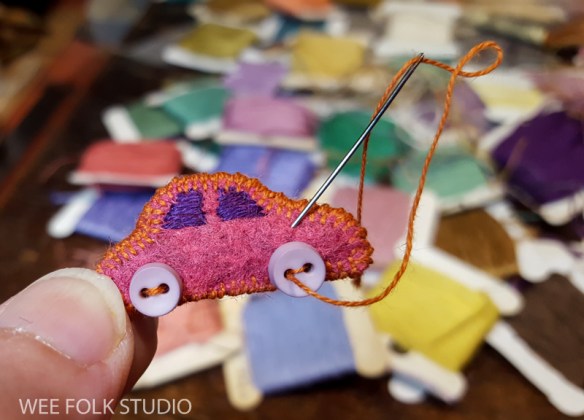
This little toy car reminded me of the pins I used to make.
I may have reached my mini limit with this purple bear.

I hope you enjoyed taking an inside look at making this scene for My Bed.
Part 1 is about the little girl and her bed and Part 2 shows the baby, the crib and the dog.

To keep up with new posts, please subscribe to this blog. Your contact info will not be sold or shared. If you’d like to see more frequent photos tracking the projects in my studio, please follow me on Facebook and/or Instagram


-15")
-19")

-2WM")
-2WM")
-3")


-42")
-17")
-24")
-18")
-22")
")

-7")
-2")
-11")

-14")
-25")
-10")