Some things never change. Like the urge to play with dolls. I’d venture to guess that there are a lot of grownups like me who still find themselves drawn to creating little worlds, just like they were in their youth. I feel honored to share my passion (perhaps even obsession?) for the wee world with you through my books and this blog.

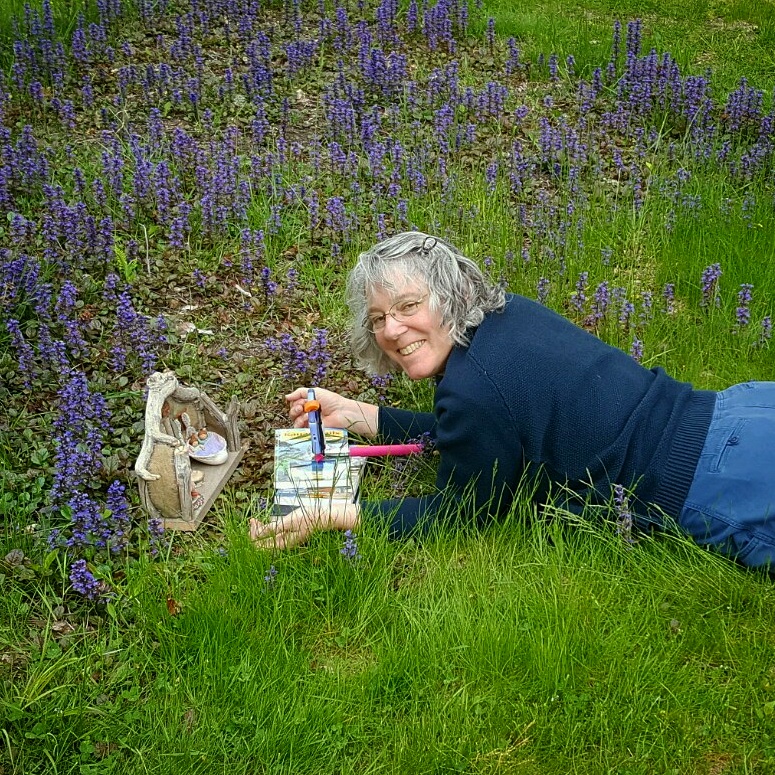
I recently got out some props I’d made a few years ago for a video project that my husband Rob and I were planning, but didn’t undertake. It was pure play, as I set up one of the houses out in the yard and made this video with my phone camera.
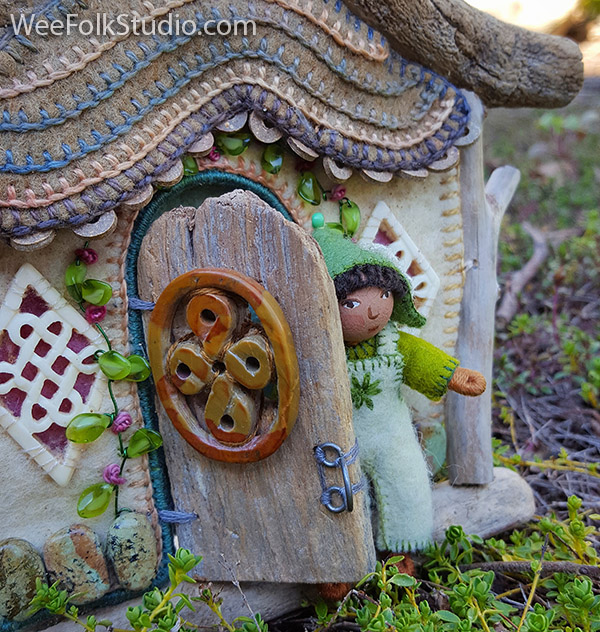
Our original idea was to make a short stop motion animation of one of my favorite nursery rhymes, Wee Willie Winkie. The easy part was constructing the characters, houses, trees and a clock. Finding the time and space to work on the incredibly tedious task of animating the story turned out to be too much of a challenge. We figured that it would take several months of concentrated effort to make even a 5 min. video that we would be proud of. We’re still intrigued by the prospect of putting together a film and who knows, we may do it eventually. But for now, I will soon embark on a new project that will keep me busy for a few years. More about that later…

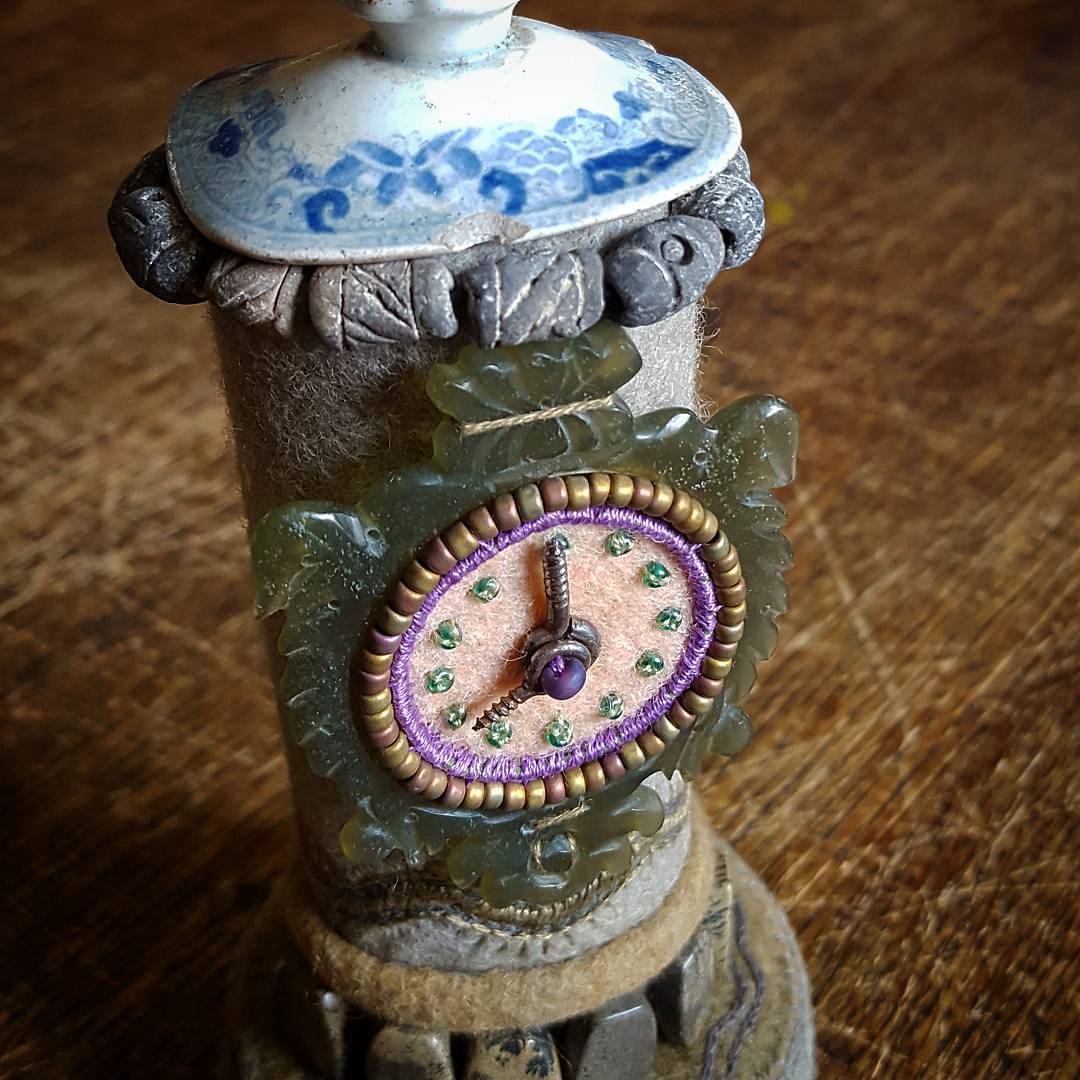
Here’s the clock for the scene, “Are the children in their beds, for now it’s 8 o’clock?”
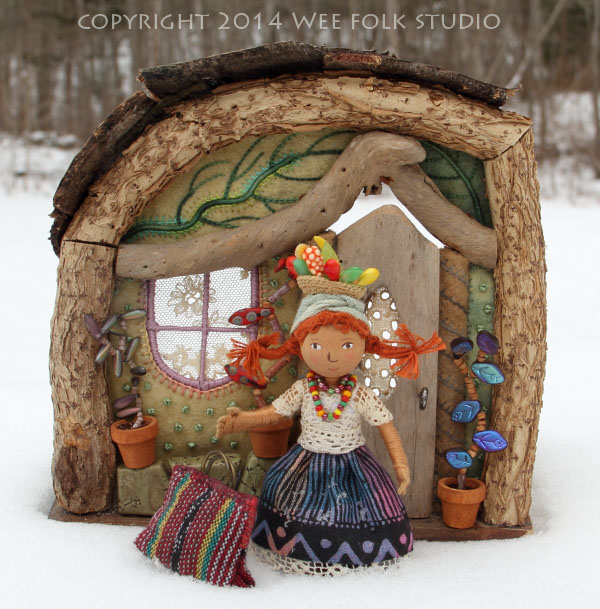
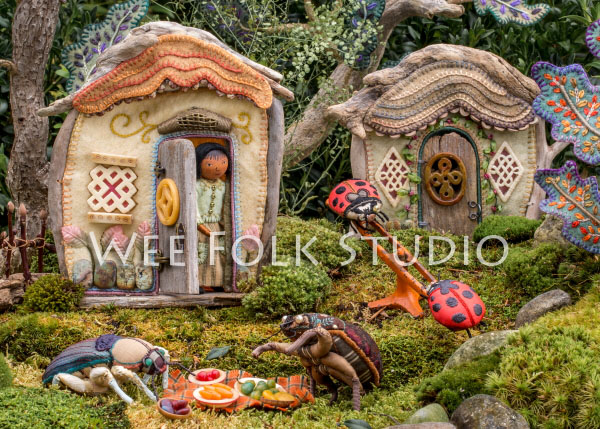
In the meantime, the various props have not been hidden away. They’ve been used as backdrops for other photos, including shots of Polly and A Buggy Picnic, which is available as a card.


To keep up with new posts, please subscribe to this blog (top right column on the home page). Your contact info will not be sold or shared. If you’d like to see more frequent photos tracking the projects in my studio, please follow me on Facebook and/or Instagram