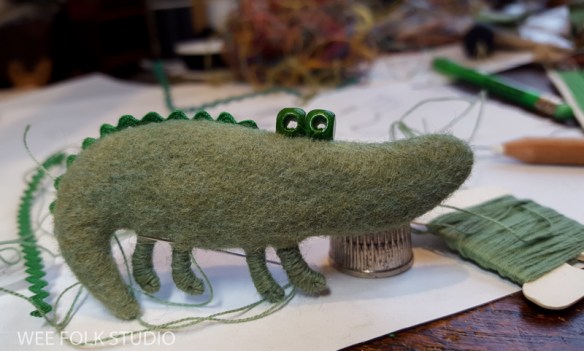
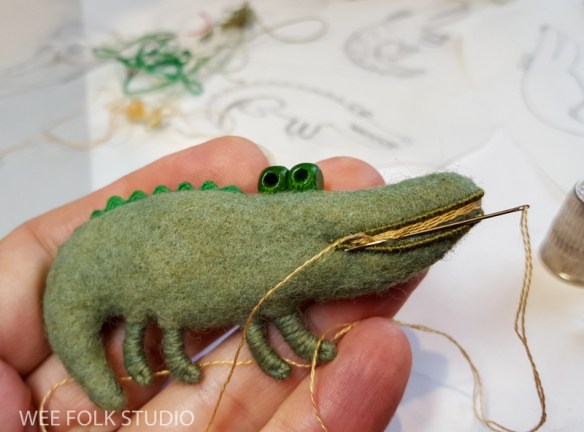
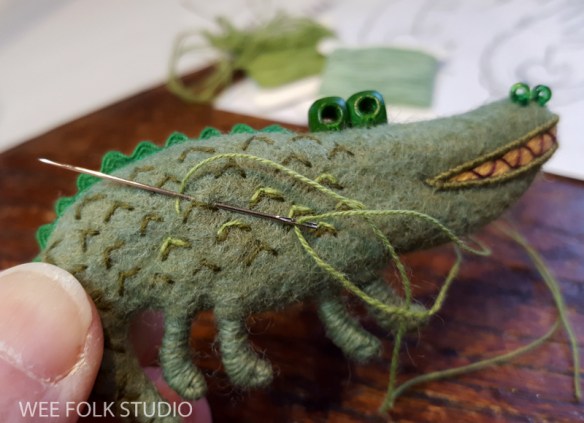
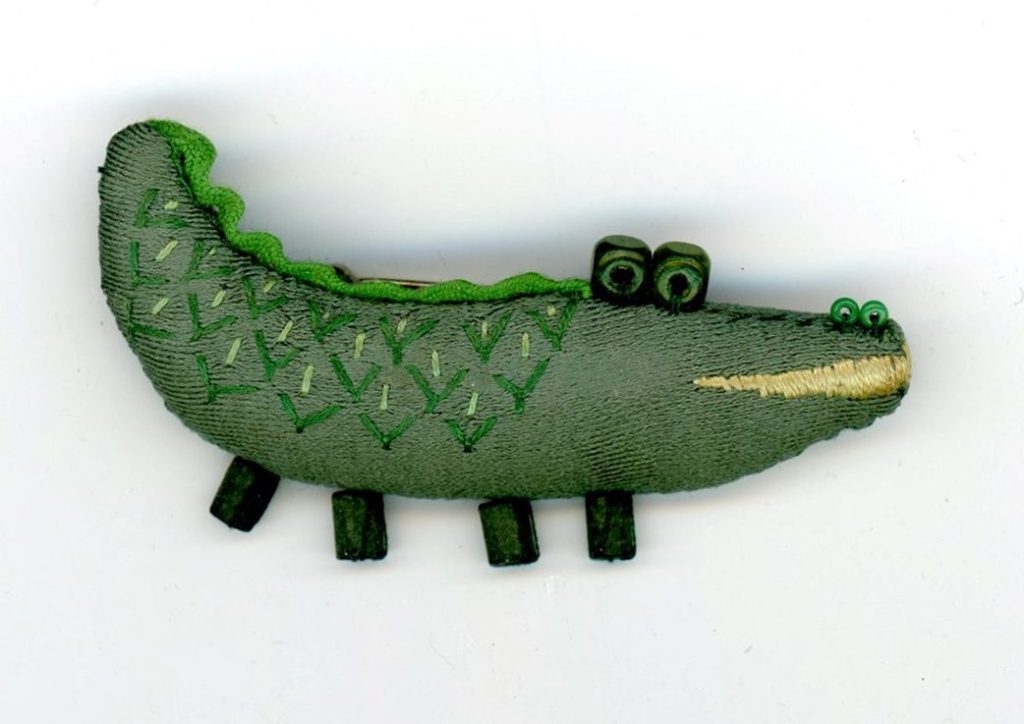
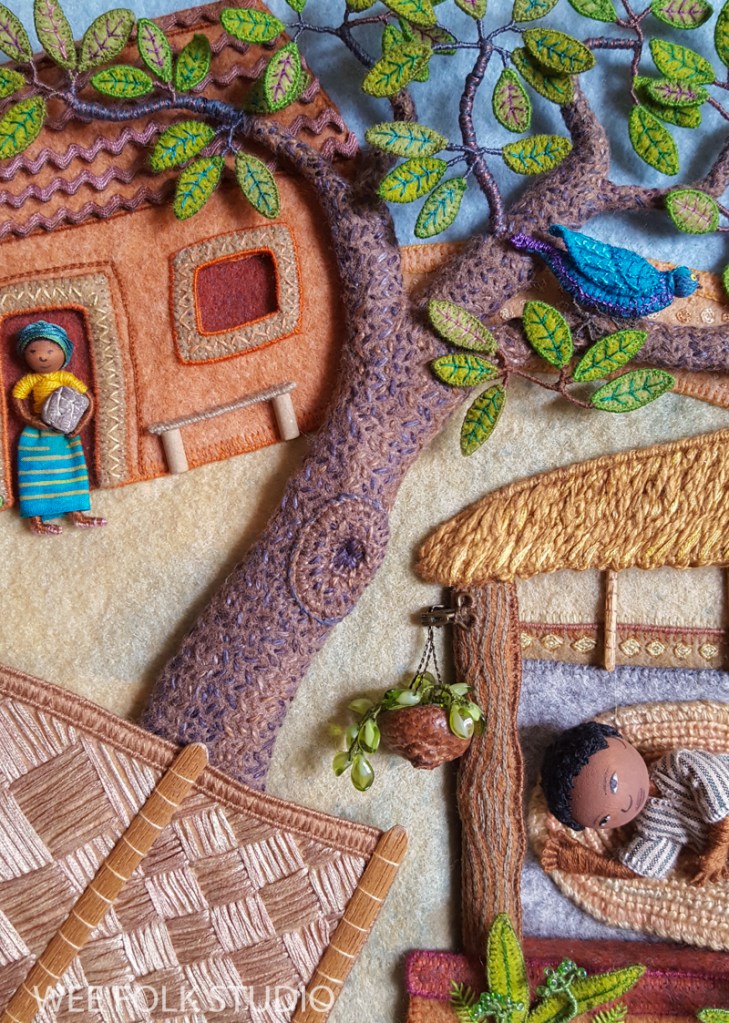
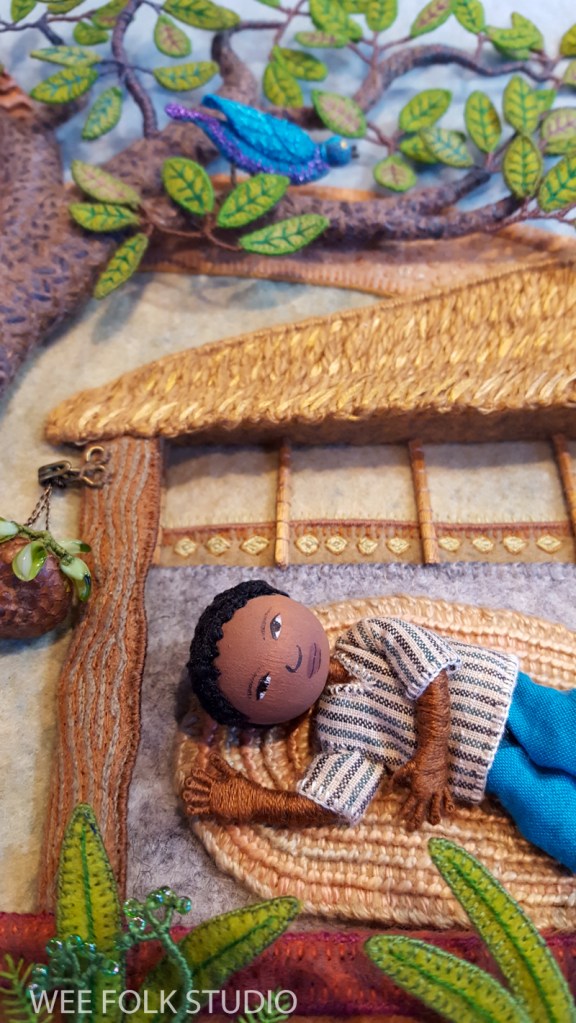
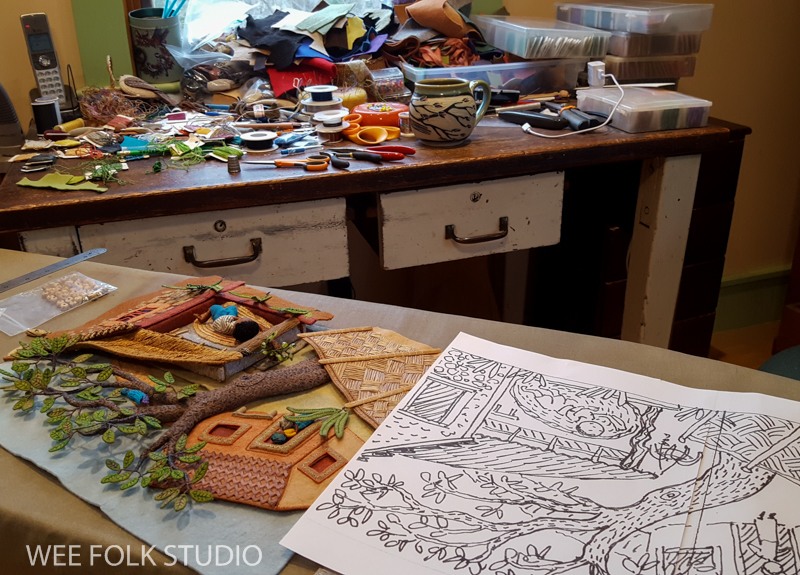
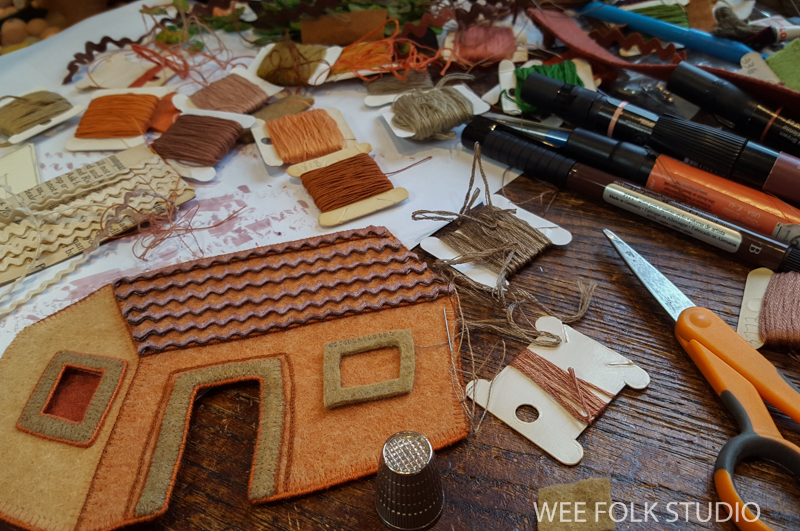
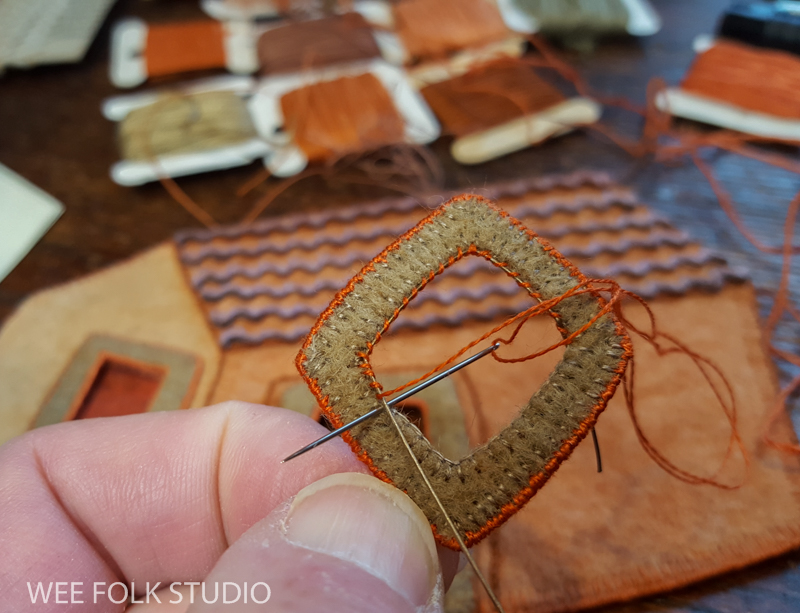
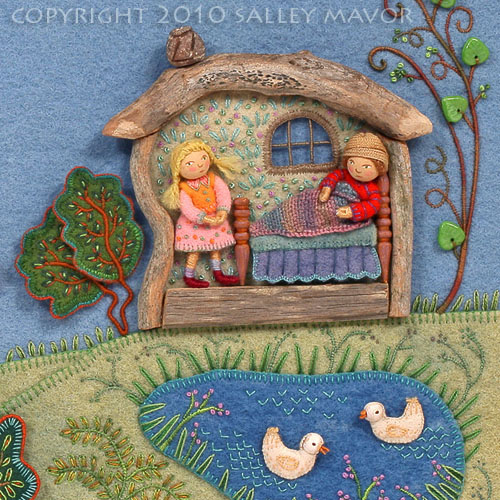
Every summer, the Woods Hole Public Library sponsors a community art project, inviting patrons of all ages to create a work of art, working separately and using a common medium. In previous years, materials such as discarded books, retired chairs from a local restaurant, outdated nautical charts and even horseshoe crab shells where used. The completed works are then auctioned off for the benefit of the library. A few years ago, I made “Paige Turner” (pictured below) using pages from an old book that was going to be thrown out. And this year, I’m offering 3 items for the auction.
(Find out about the Woods Hole Village Quilt (2007) pictured above here)

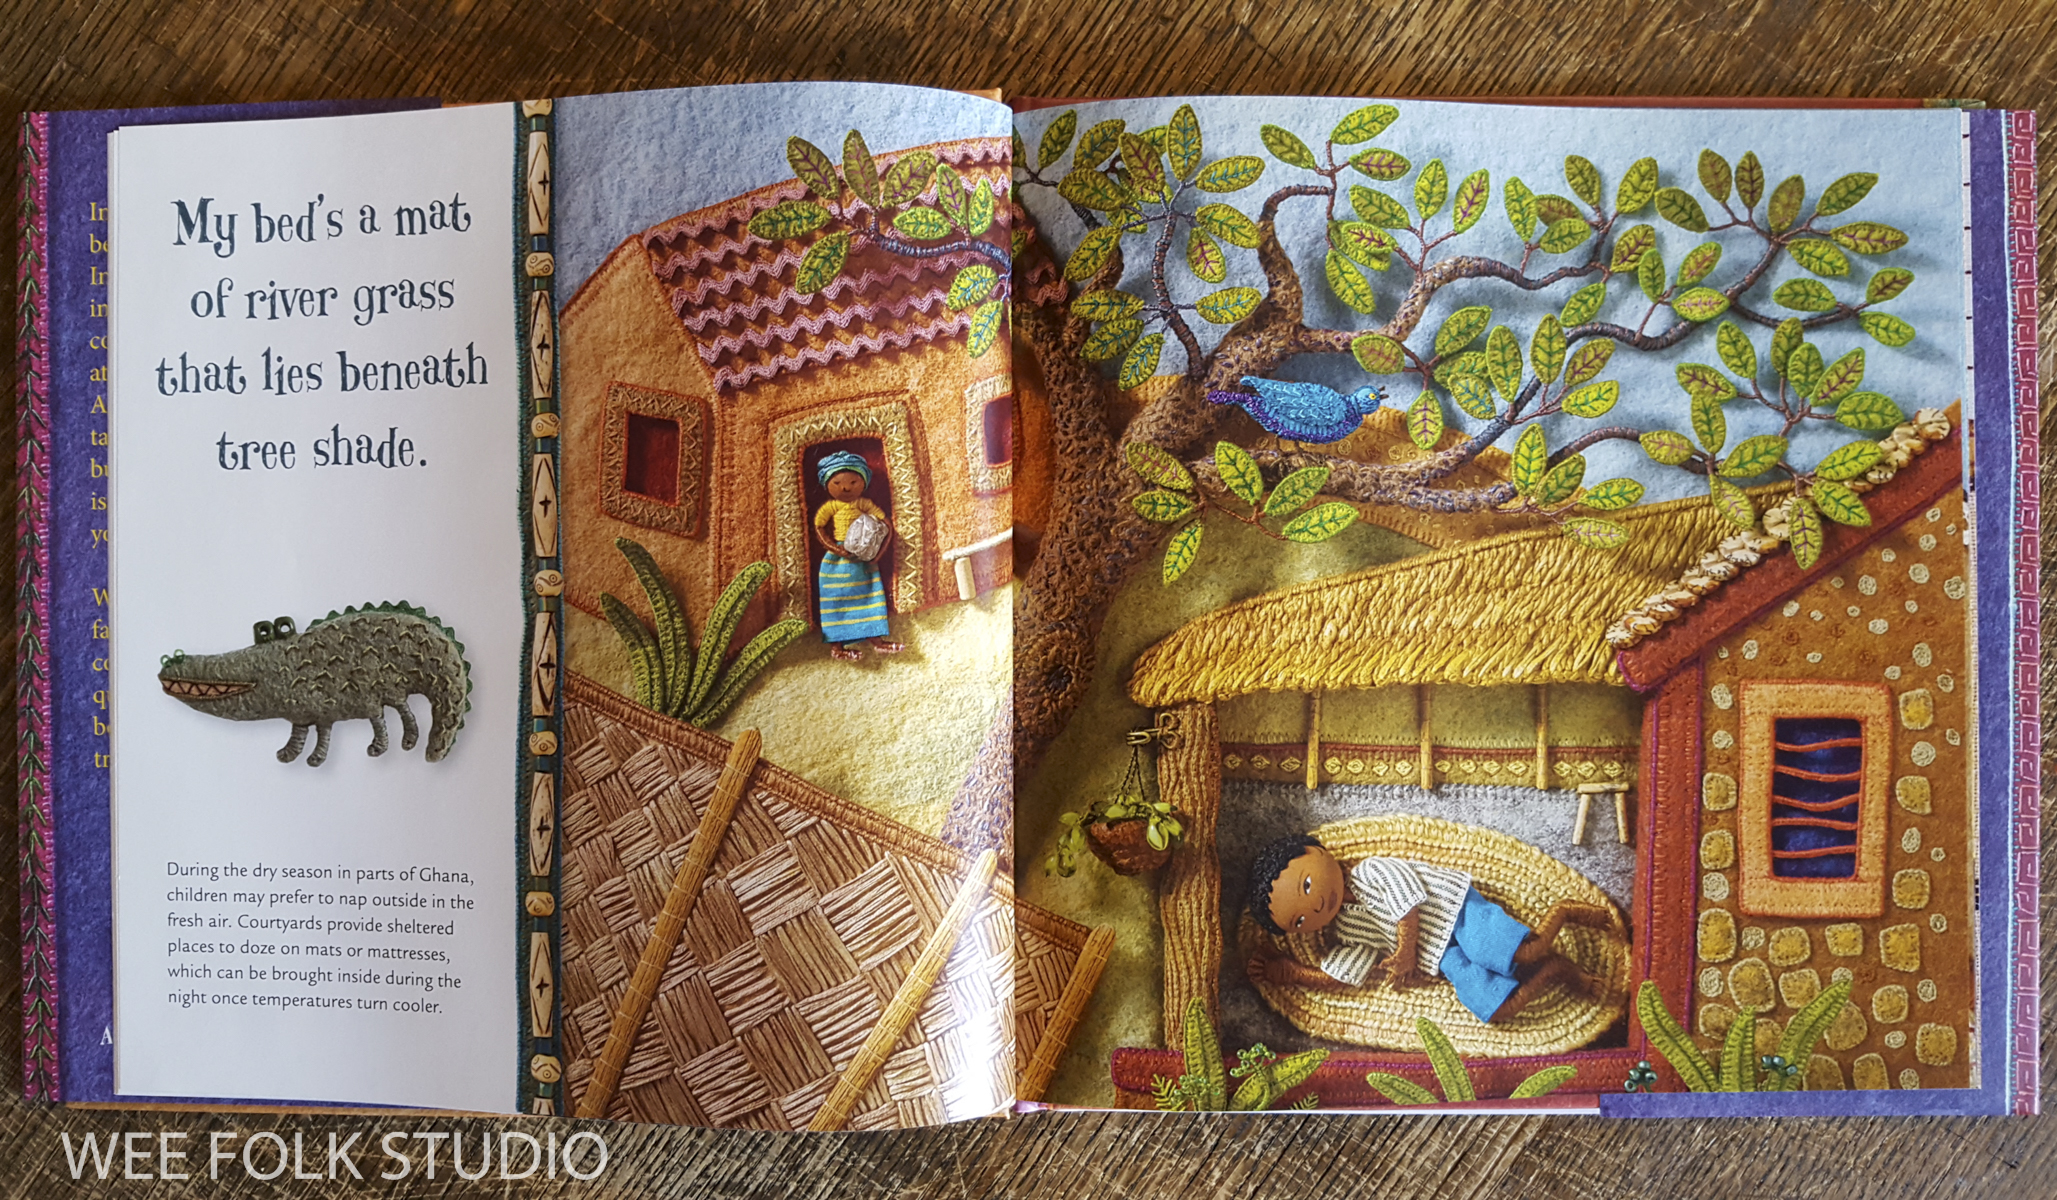
This year’s project features cards from the library’s now decommissioned card catalog. Remember those little wooden drawers that recorded each book in the library, along with their Dewey decimal classification? While combing through the thousands of cards, a volunteer came across the ones made for the 2 books that Judy Richardson wrote and I illustrated. She gave the cards to Judy who asked me if we could participate in the project.
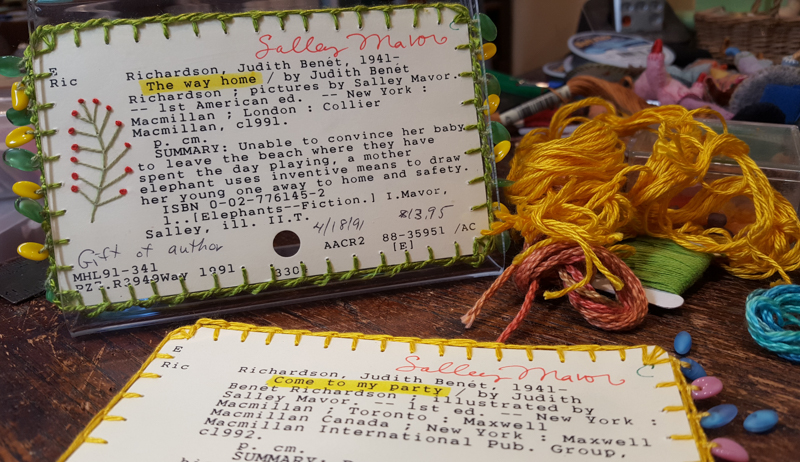
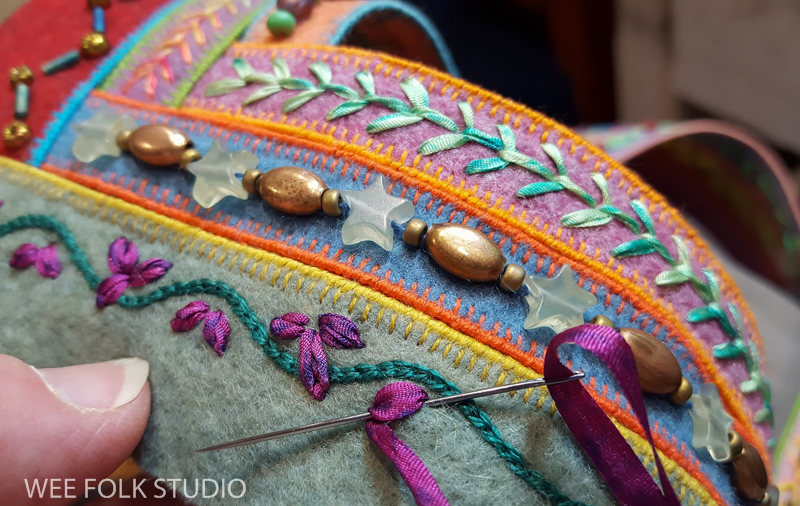
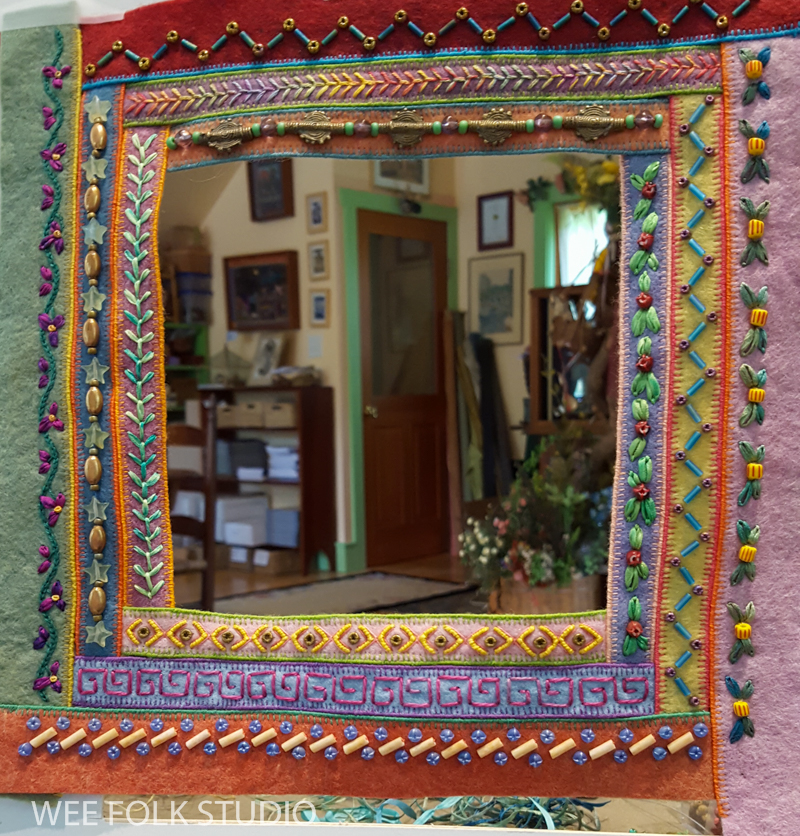
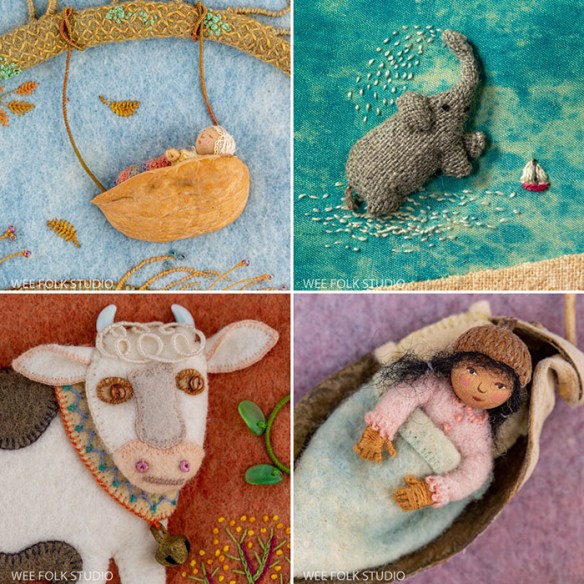
Judy had the idea of decorating the library cards and offering signed copies of our books, The Way Home and Come to My Party for the auction. So, I got out a needle and thread and embellished the cards with stitches and beads. Here we are in a 1991 promo picture for The Way Home, posing with Bella the elephant at the Barnstable County Fair and more recent photos. I wrote about making the pink dress I’m wearing here.

Judy and Salley in 1991 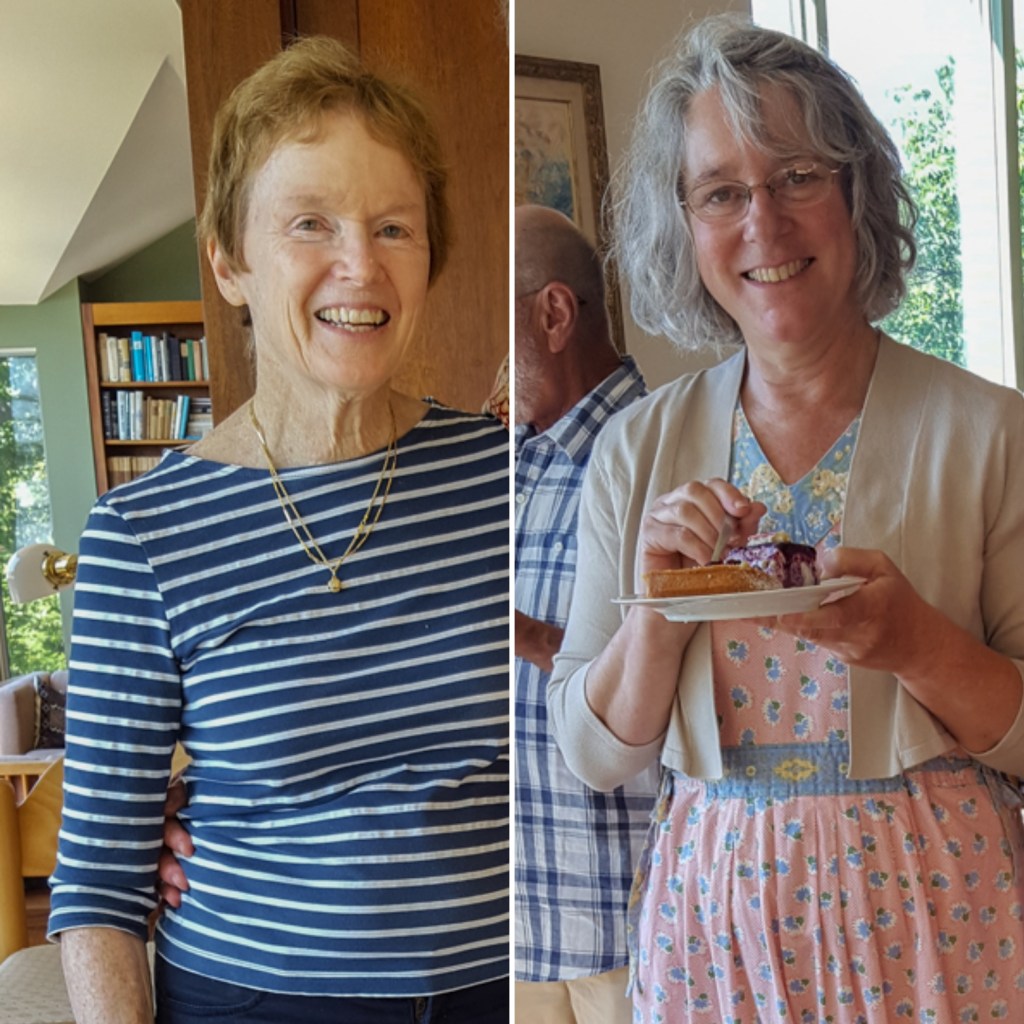
Judy and Salley in 2016
Judy was kind enough to dip into her safely guarded supply and offer our books for the auction.These hard cover books are out of print and very hard to find, especially unused and in perfect condition. Both of us signed the library cards and the title pages inside the books.


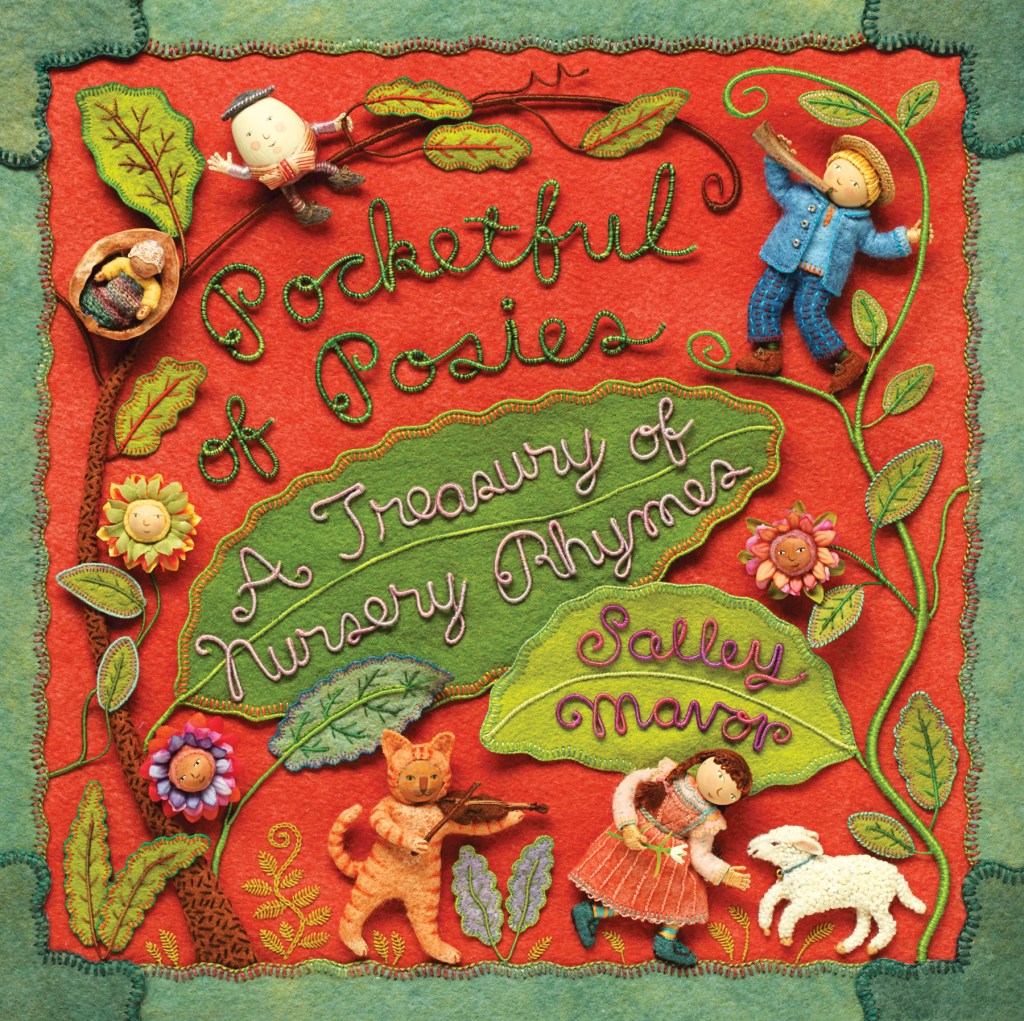
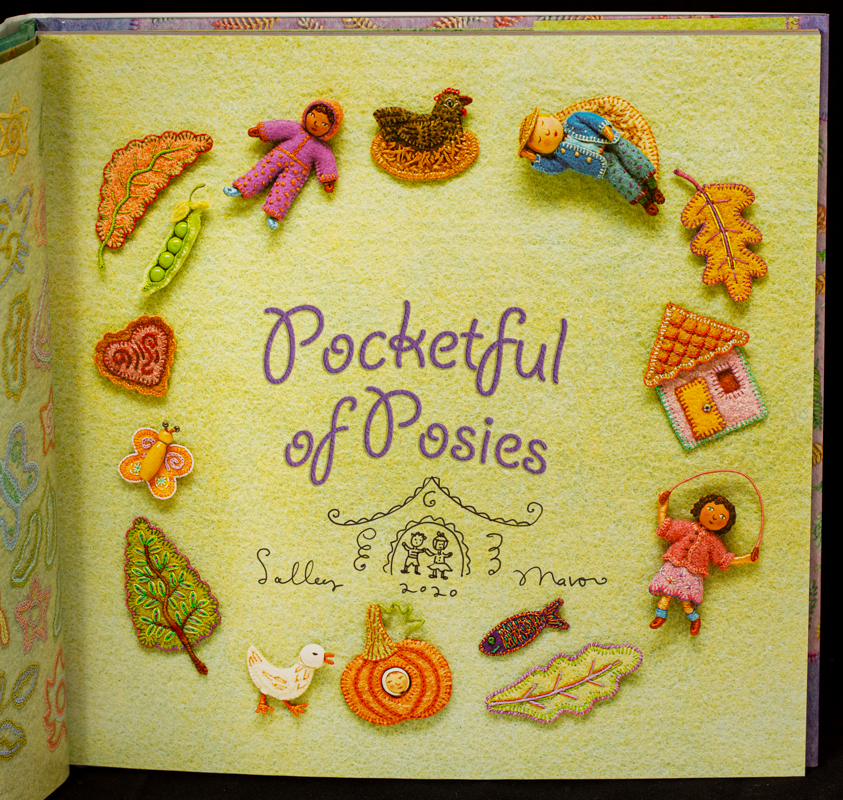
The card for Pocketful of Posies was also found, so I decorated it, too. The auction will go live on Sat. July 25th and run for 2 weeks. You can link to the auction from the library’s website here.

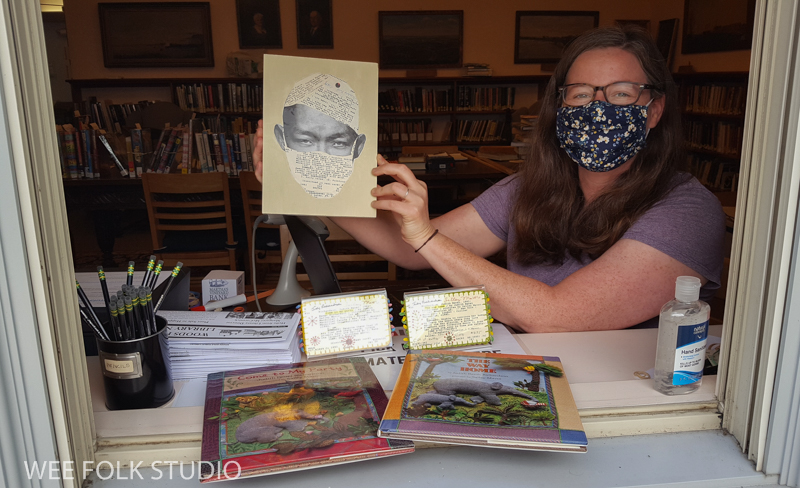
The Woods Hole Public Library is a treasured institution in our village. They’ve adapted to the Covid 19 restrictions and are serving patrons via an outside window. When I dropped off the books, a writer’s workshop was being held outside, with everyone sitting 6 ft. apart in a circle.
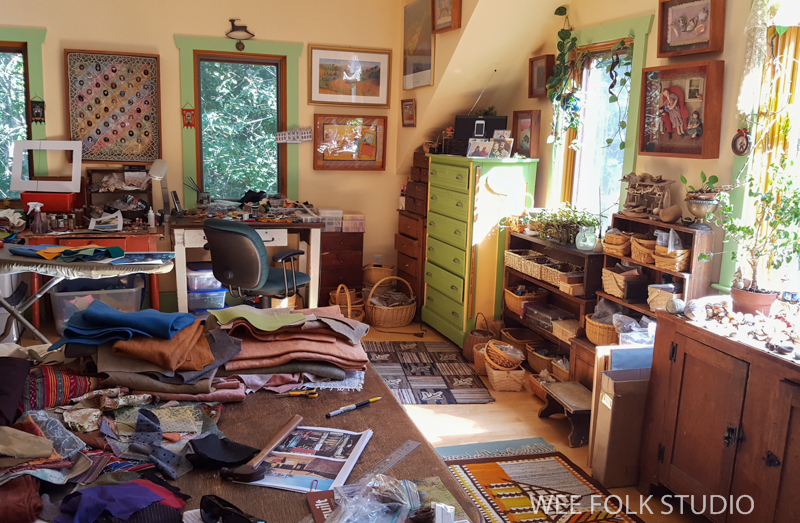
Since libraries have gone digital, those old oak drawers need to find new homes and sometimes you can find them for sale. I love my set, which was passed down many years ago from my biology professor grandfather, who used it to catalog his personal library of science books. Now, they hold boxes of beads. So, if you have lots of little things to keep organized and accessible, I recommend getting a set!

To keep up with new posts, subscribe to this blog (top right column on the home page). If you’d like to see more frequent photos tracking the projects in my studio, please follow me on Facebook and/or Instagram.