For the past 20 years or so, I’ve made personalized gifts for friends and family to commemorate special events like weddings and births. These gifts take the form of felt banners or cake toppers. The embellished felt banners combine two of my favorite things, hand embroidery and cursive handwriting. In this post, I share a behind the scenes look at the process of making a baby banner for Laurel, who was born earlier this year. You can see posts about this and other banners by scrolling through the archives here. See wedding cake toppers here.

A BANNER FOR LAUREL
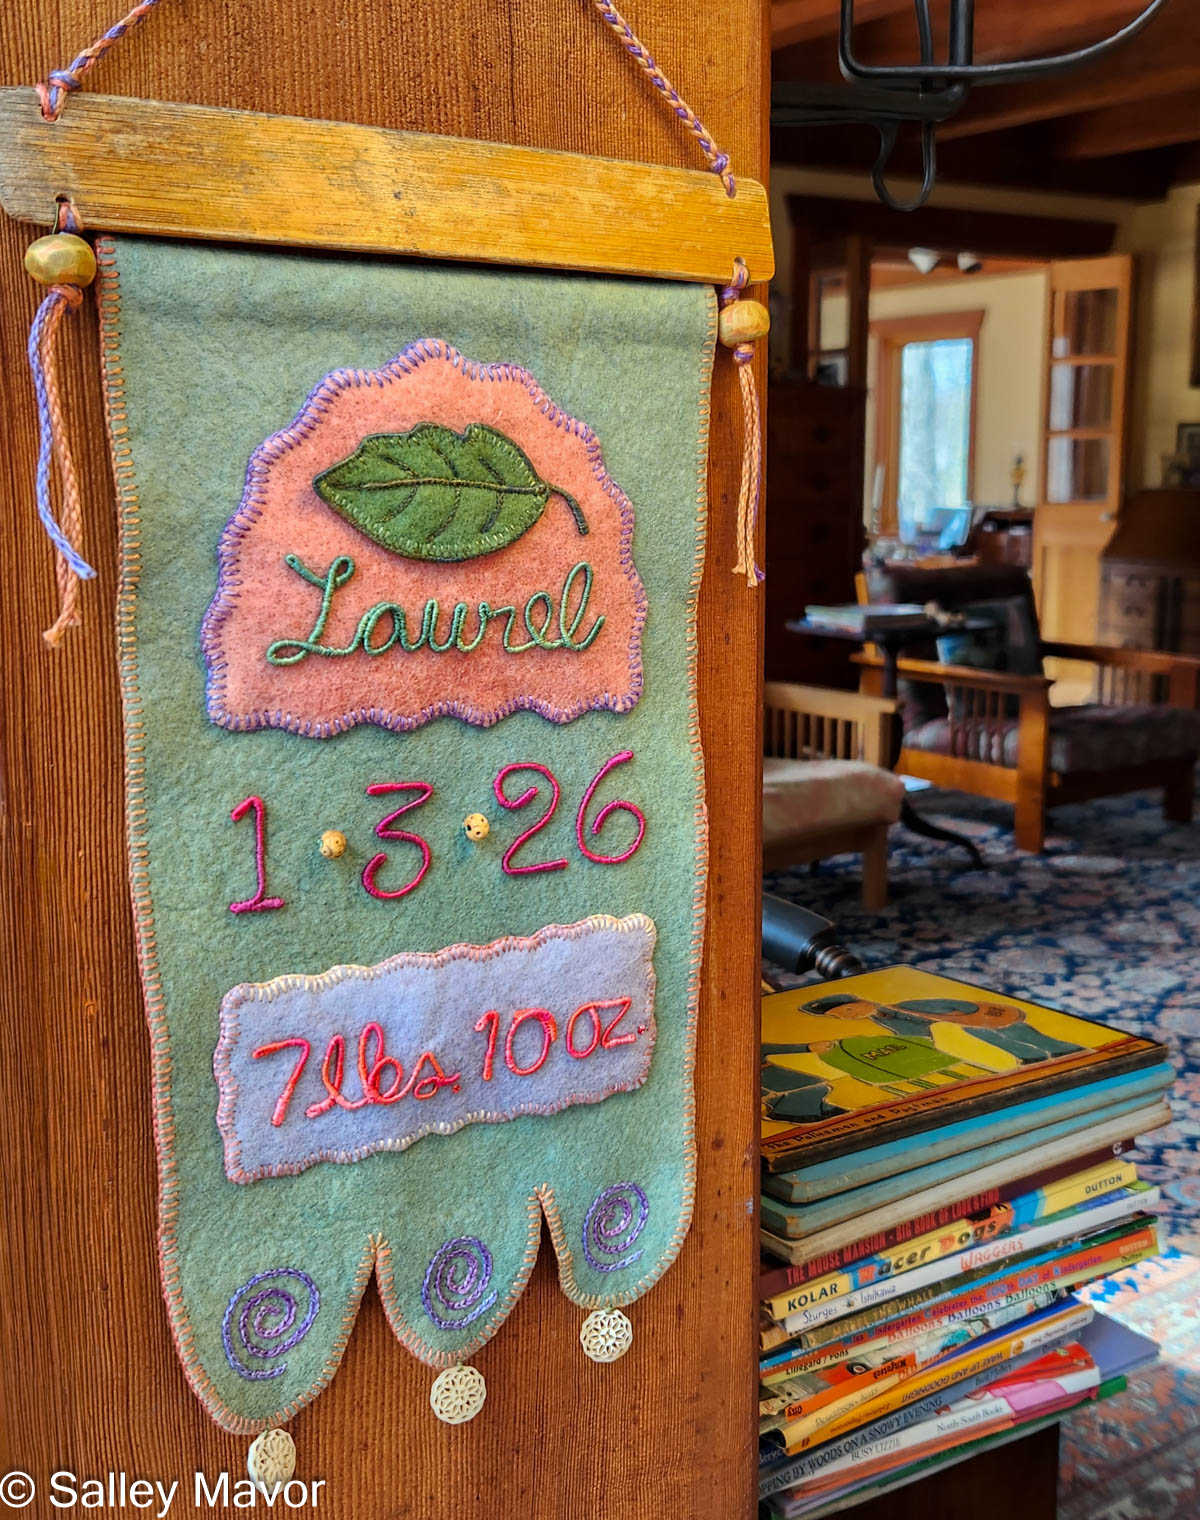
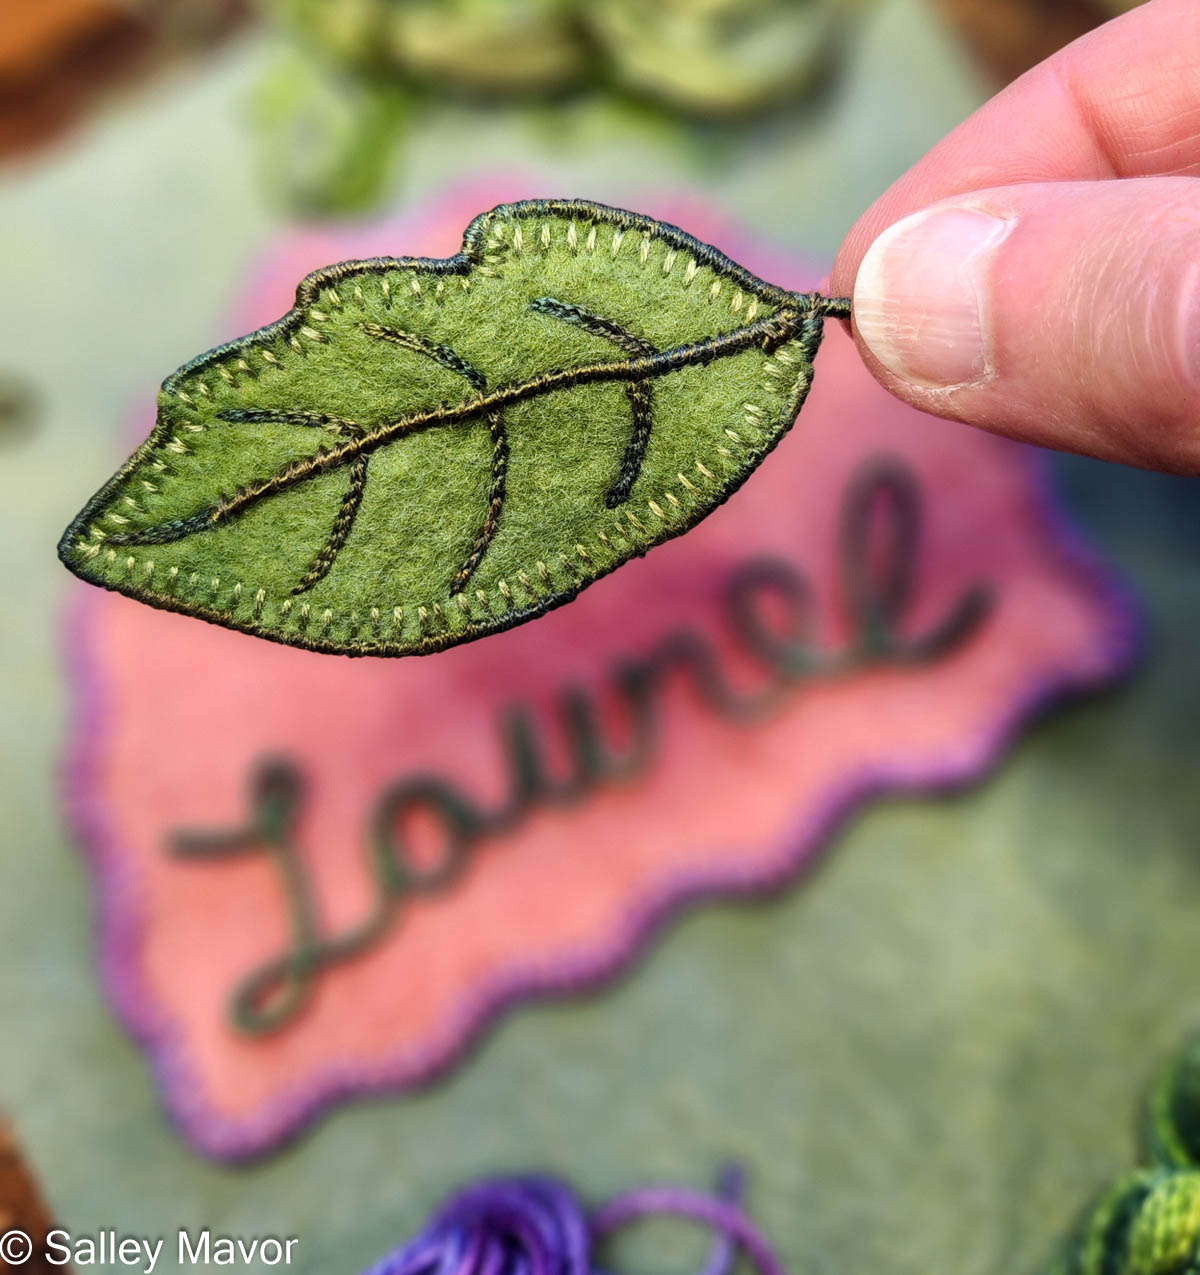
Three days into the new year, our good friends welcomed a baby girl into the world. I couldn’t wait to make a banner for little Laurel. With a nature inspired name like that, it would have to feature a laurel leaf!
WRAPPING WIRE LETTERS
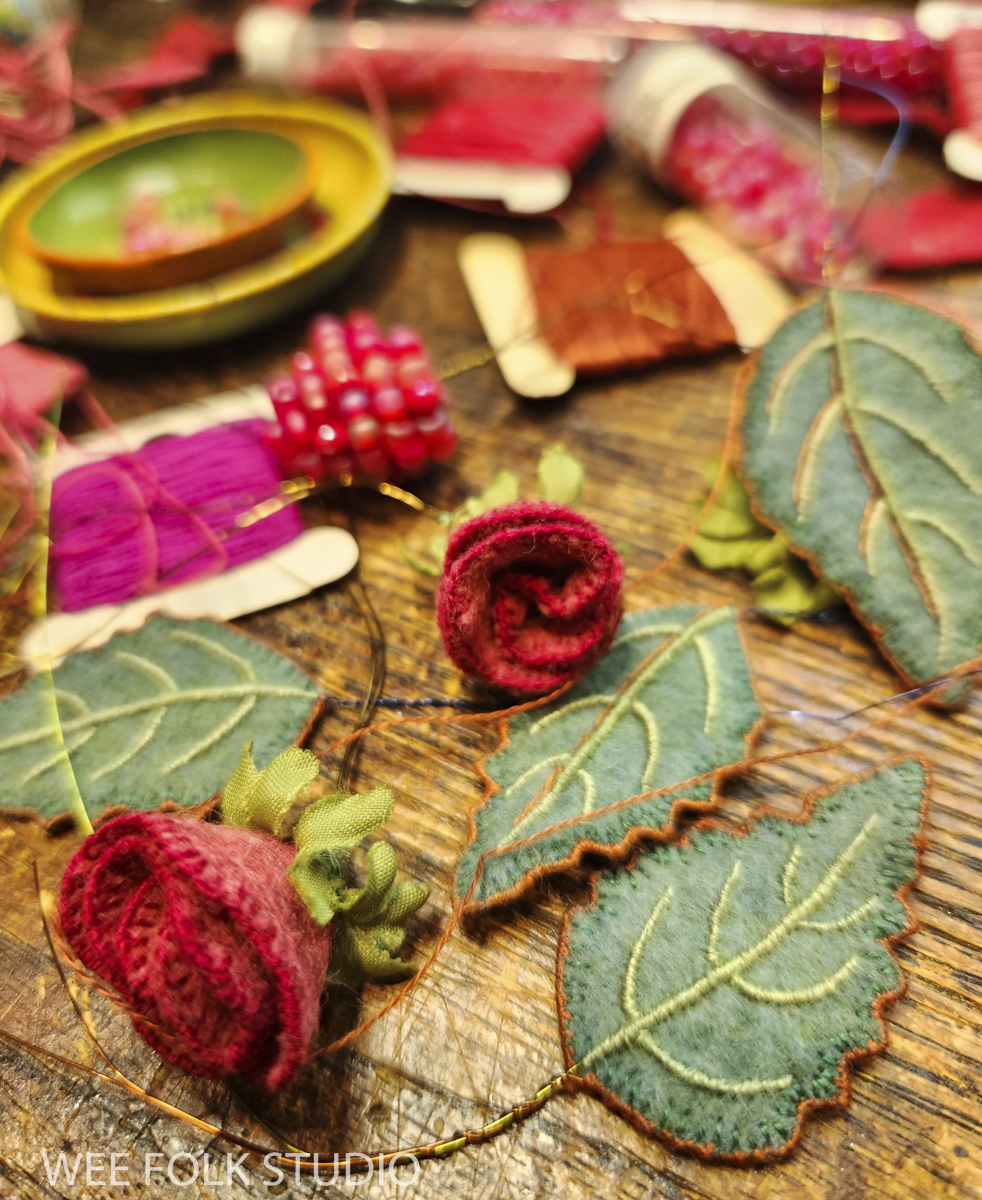
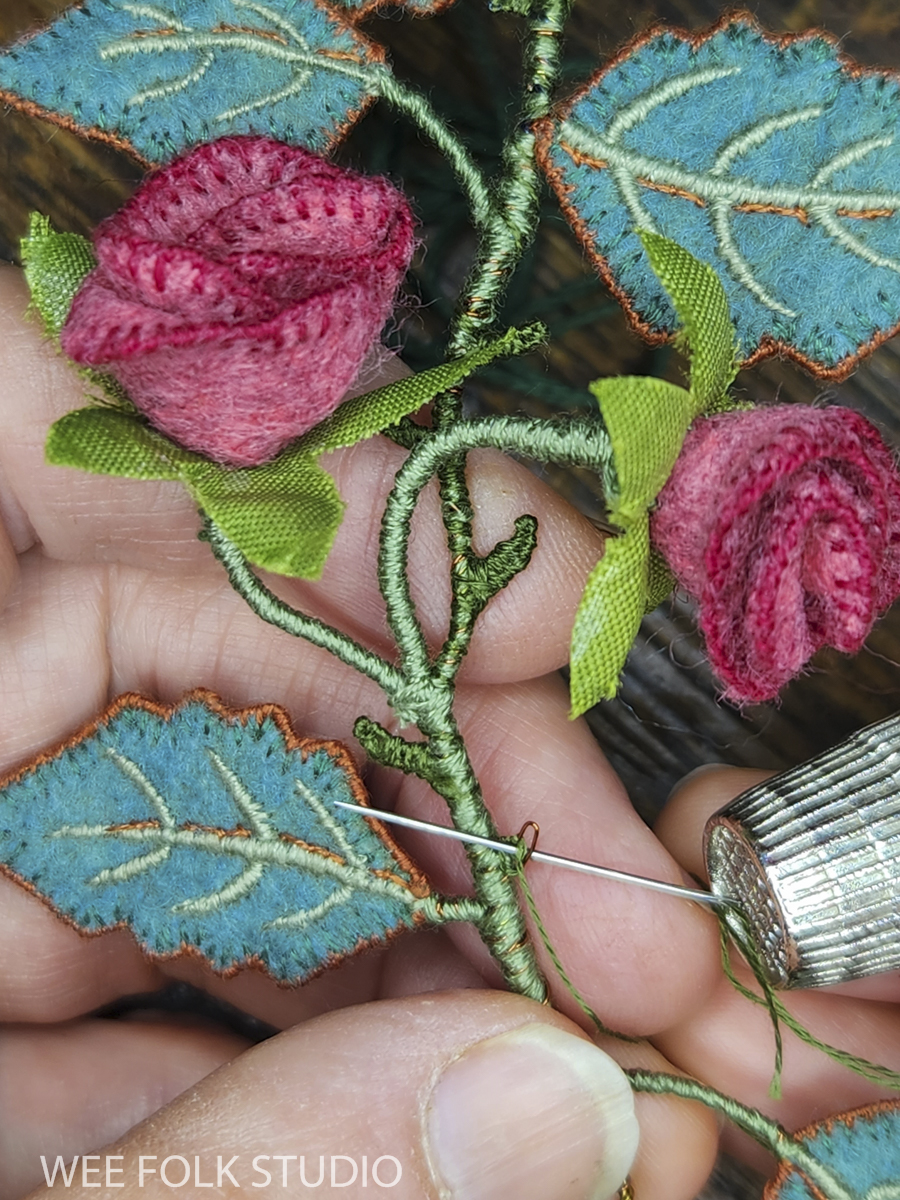
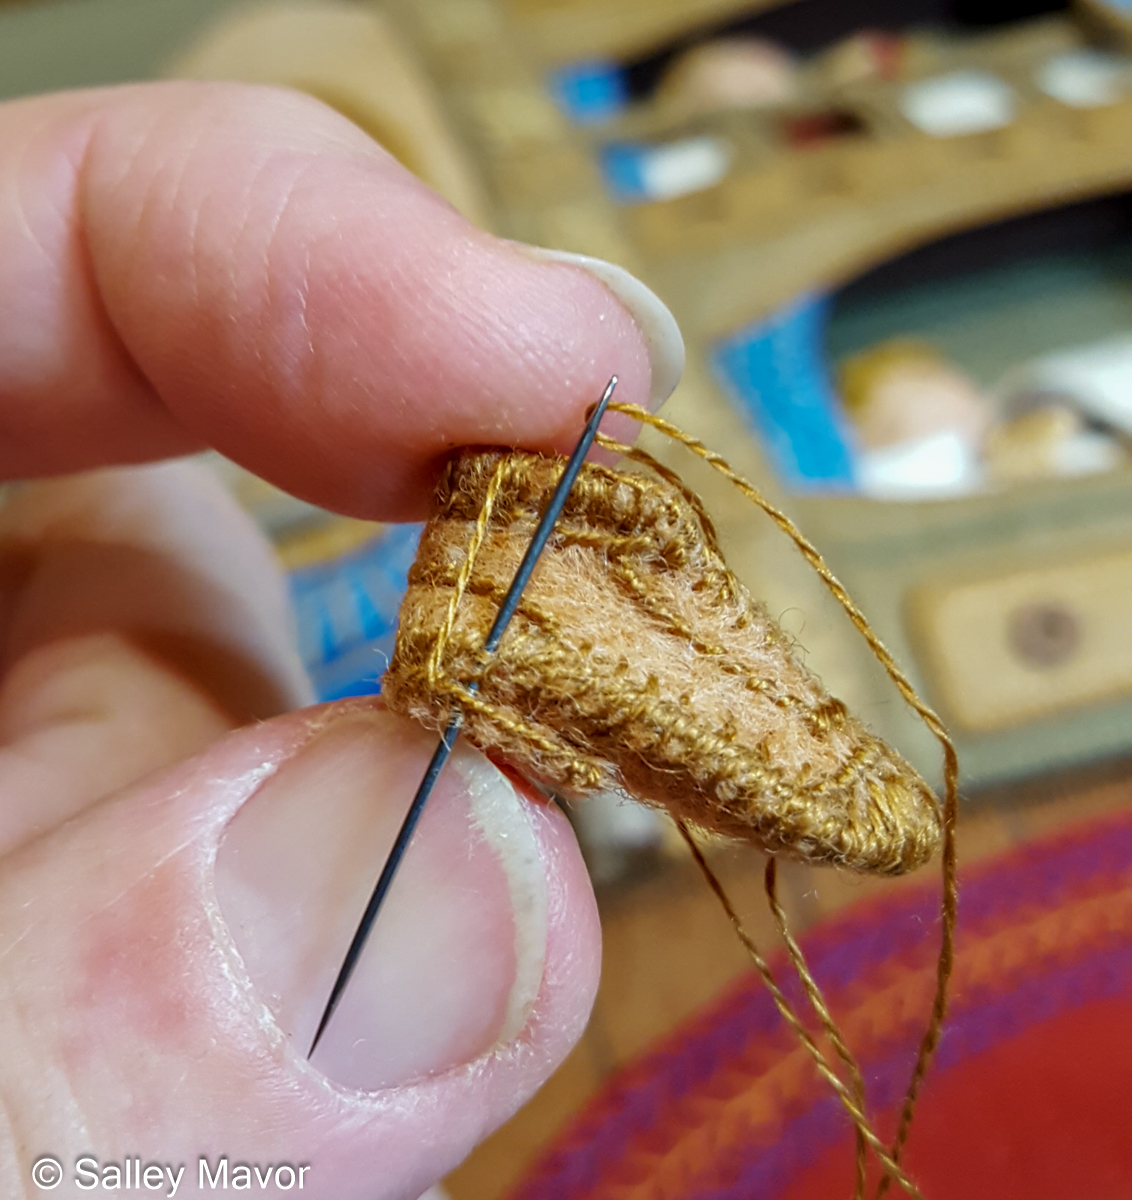
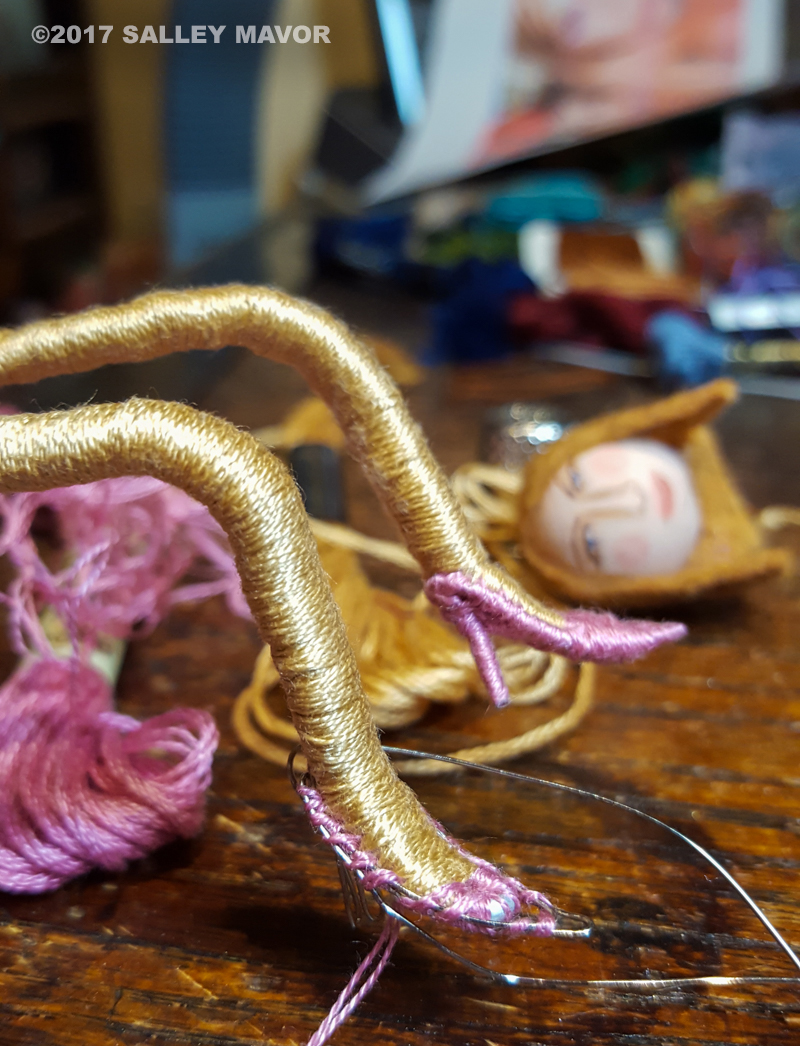
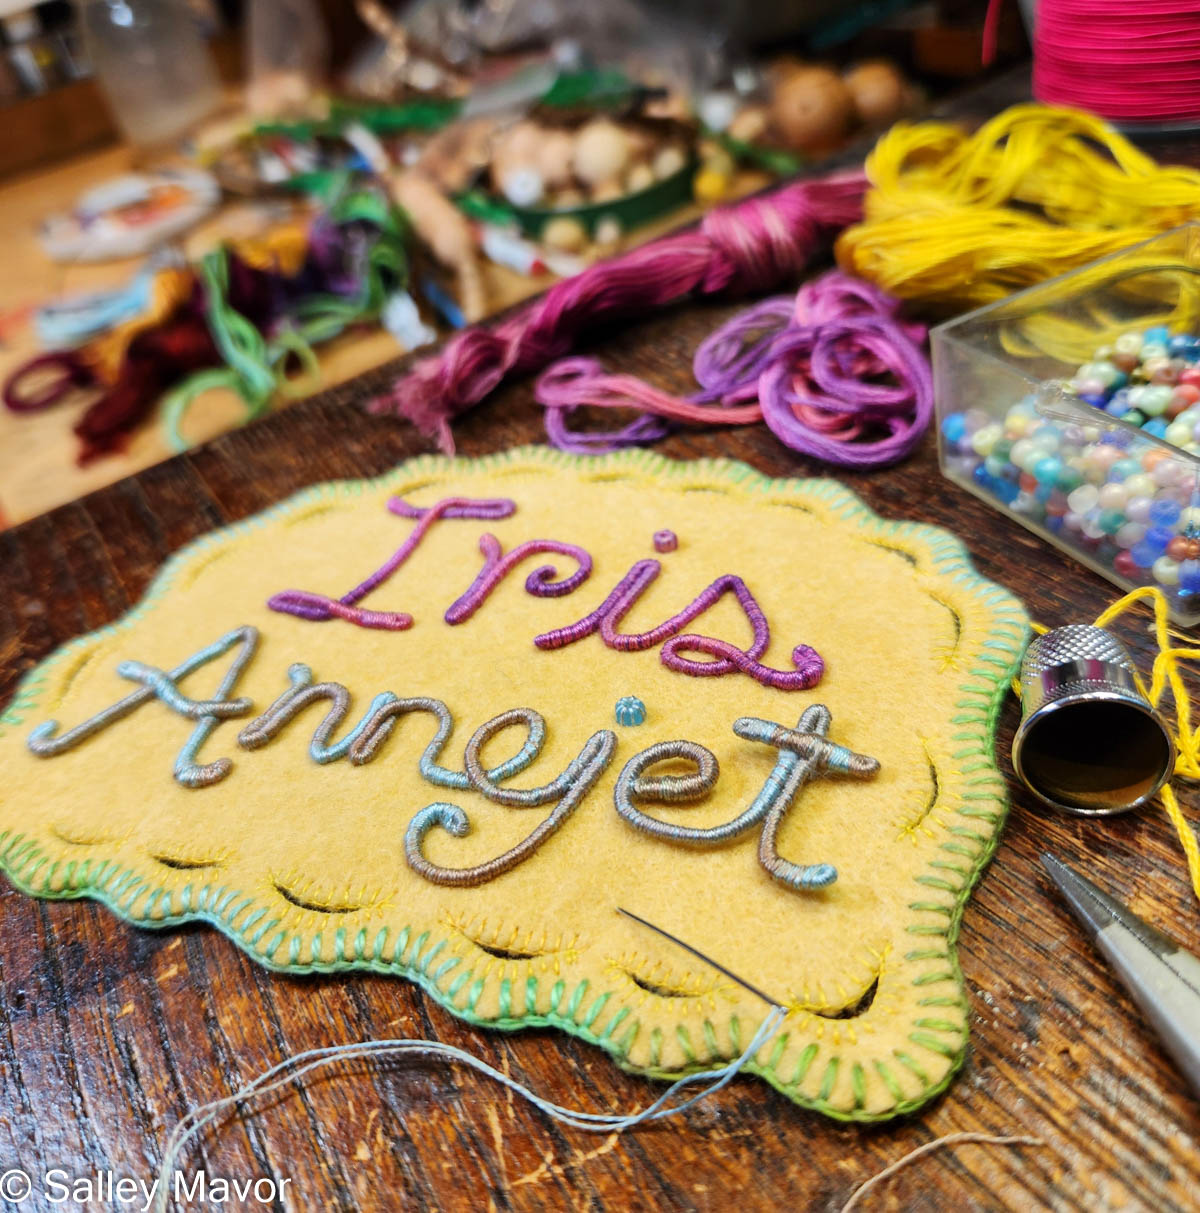
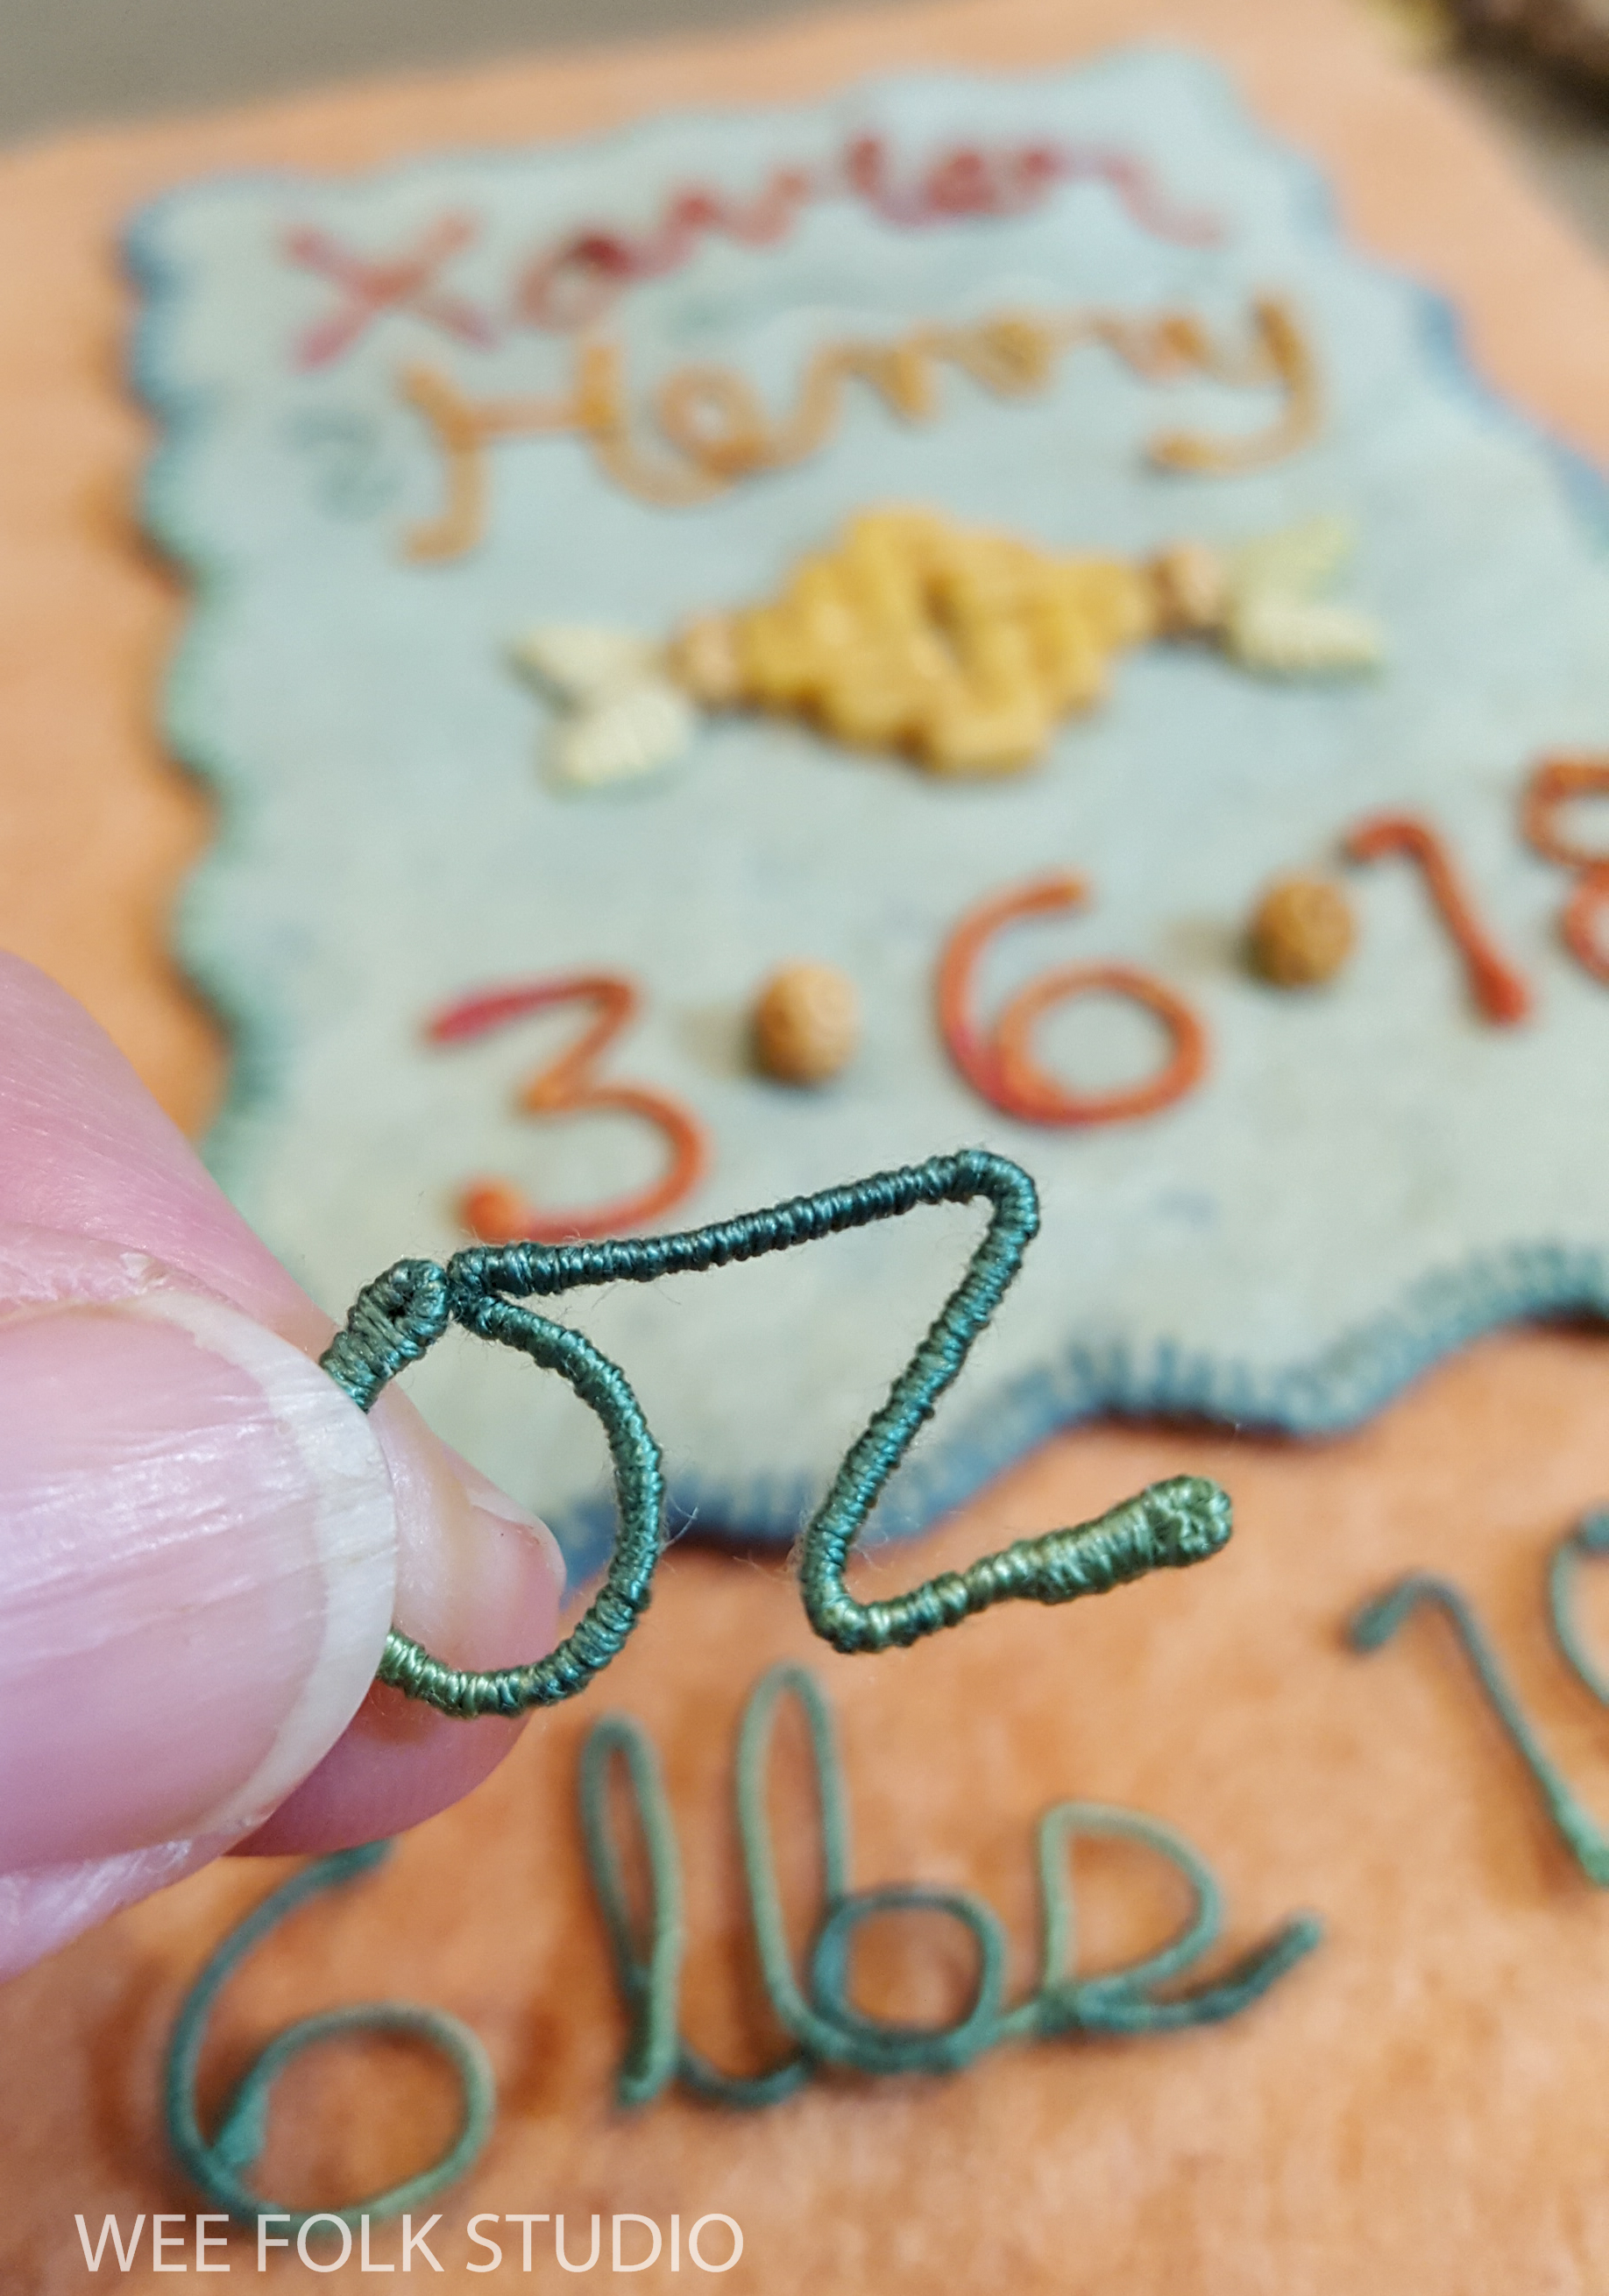
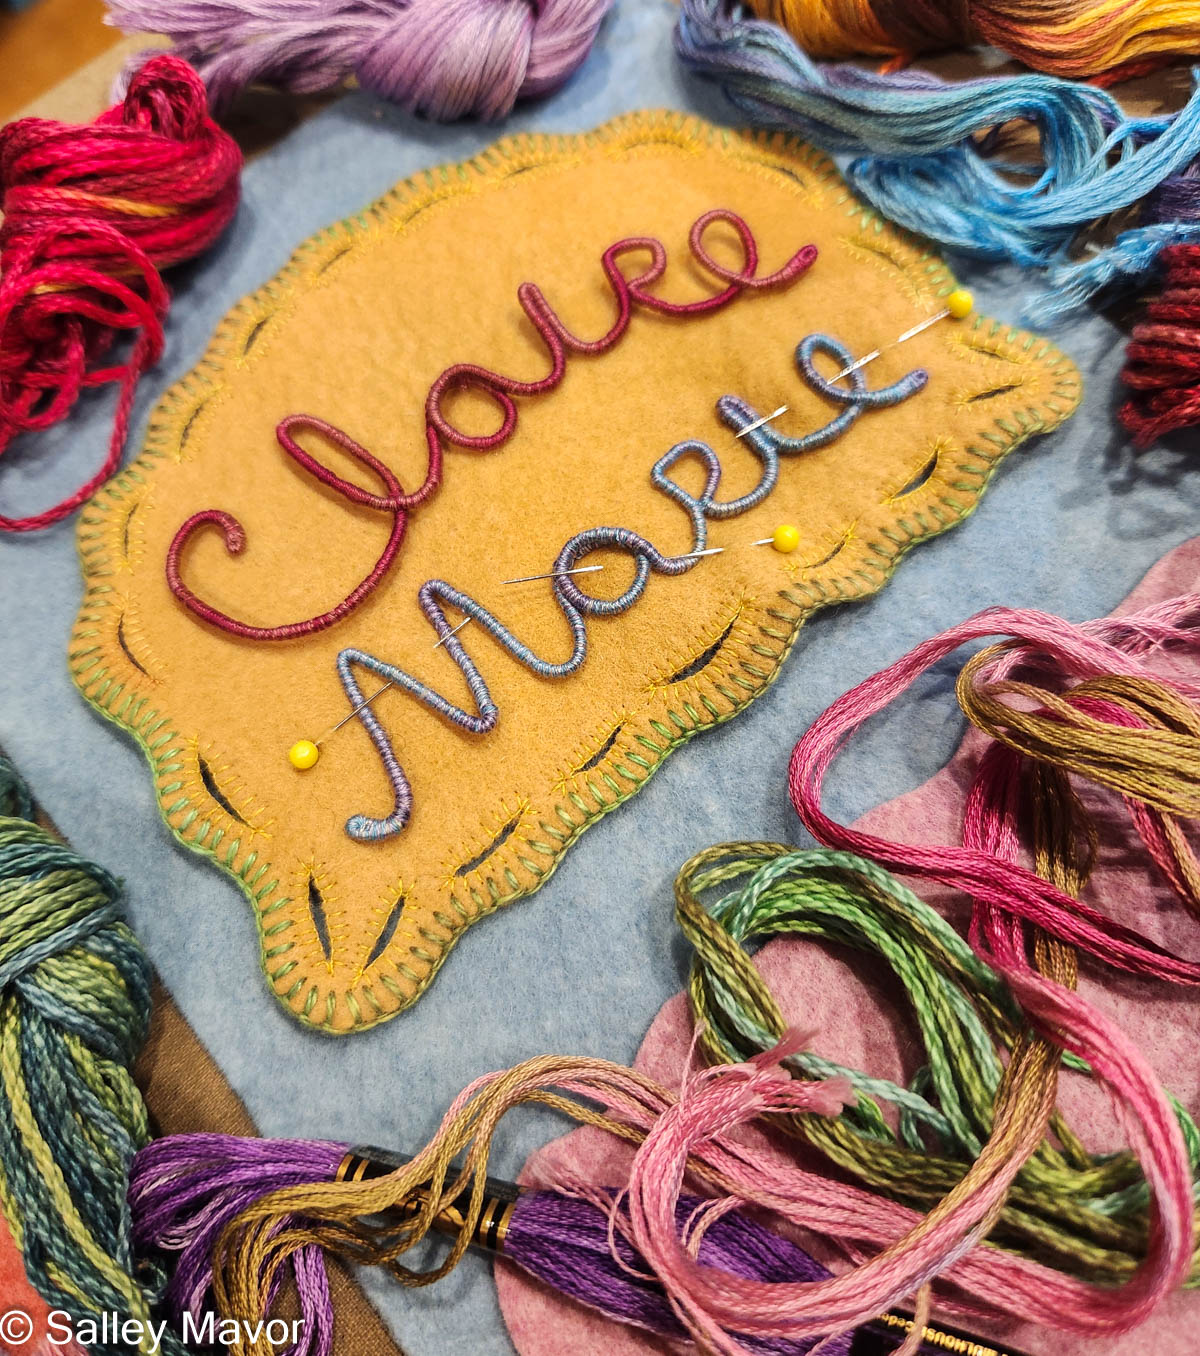
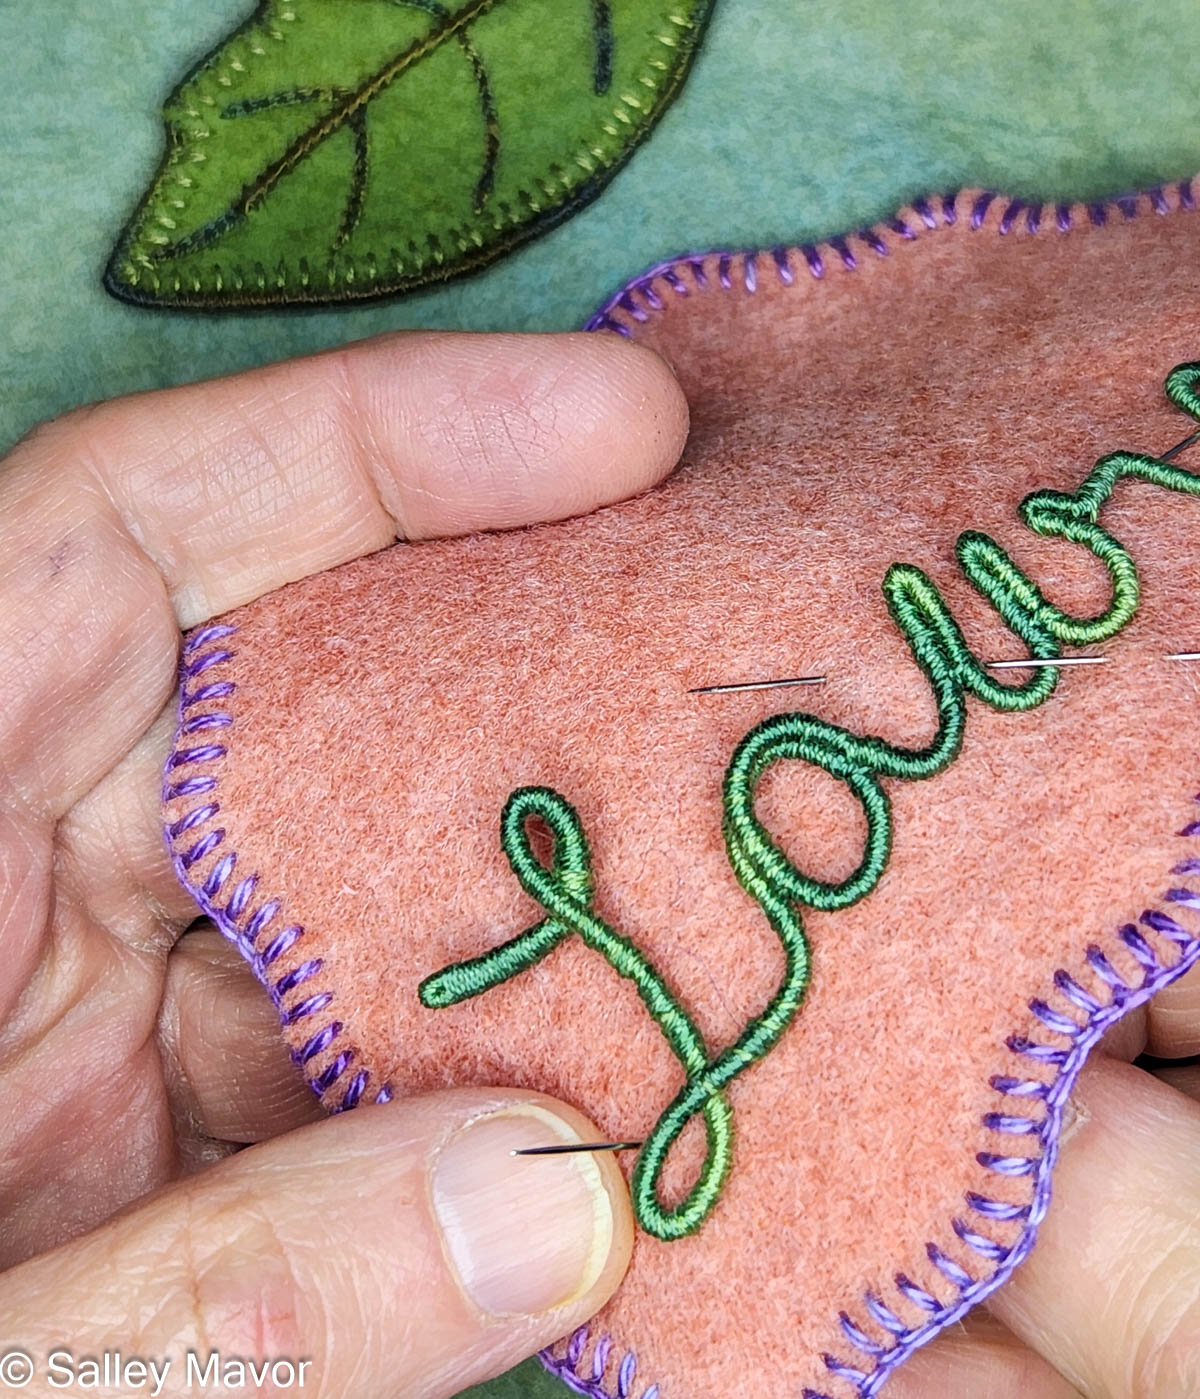
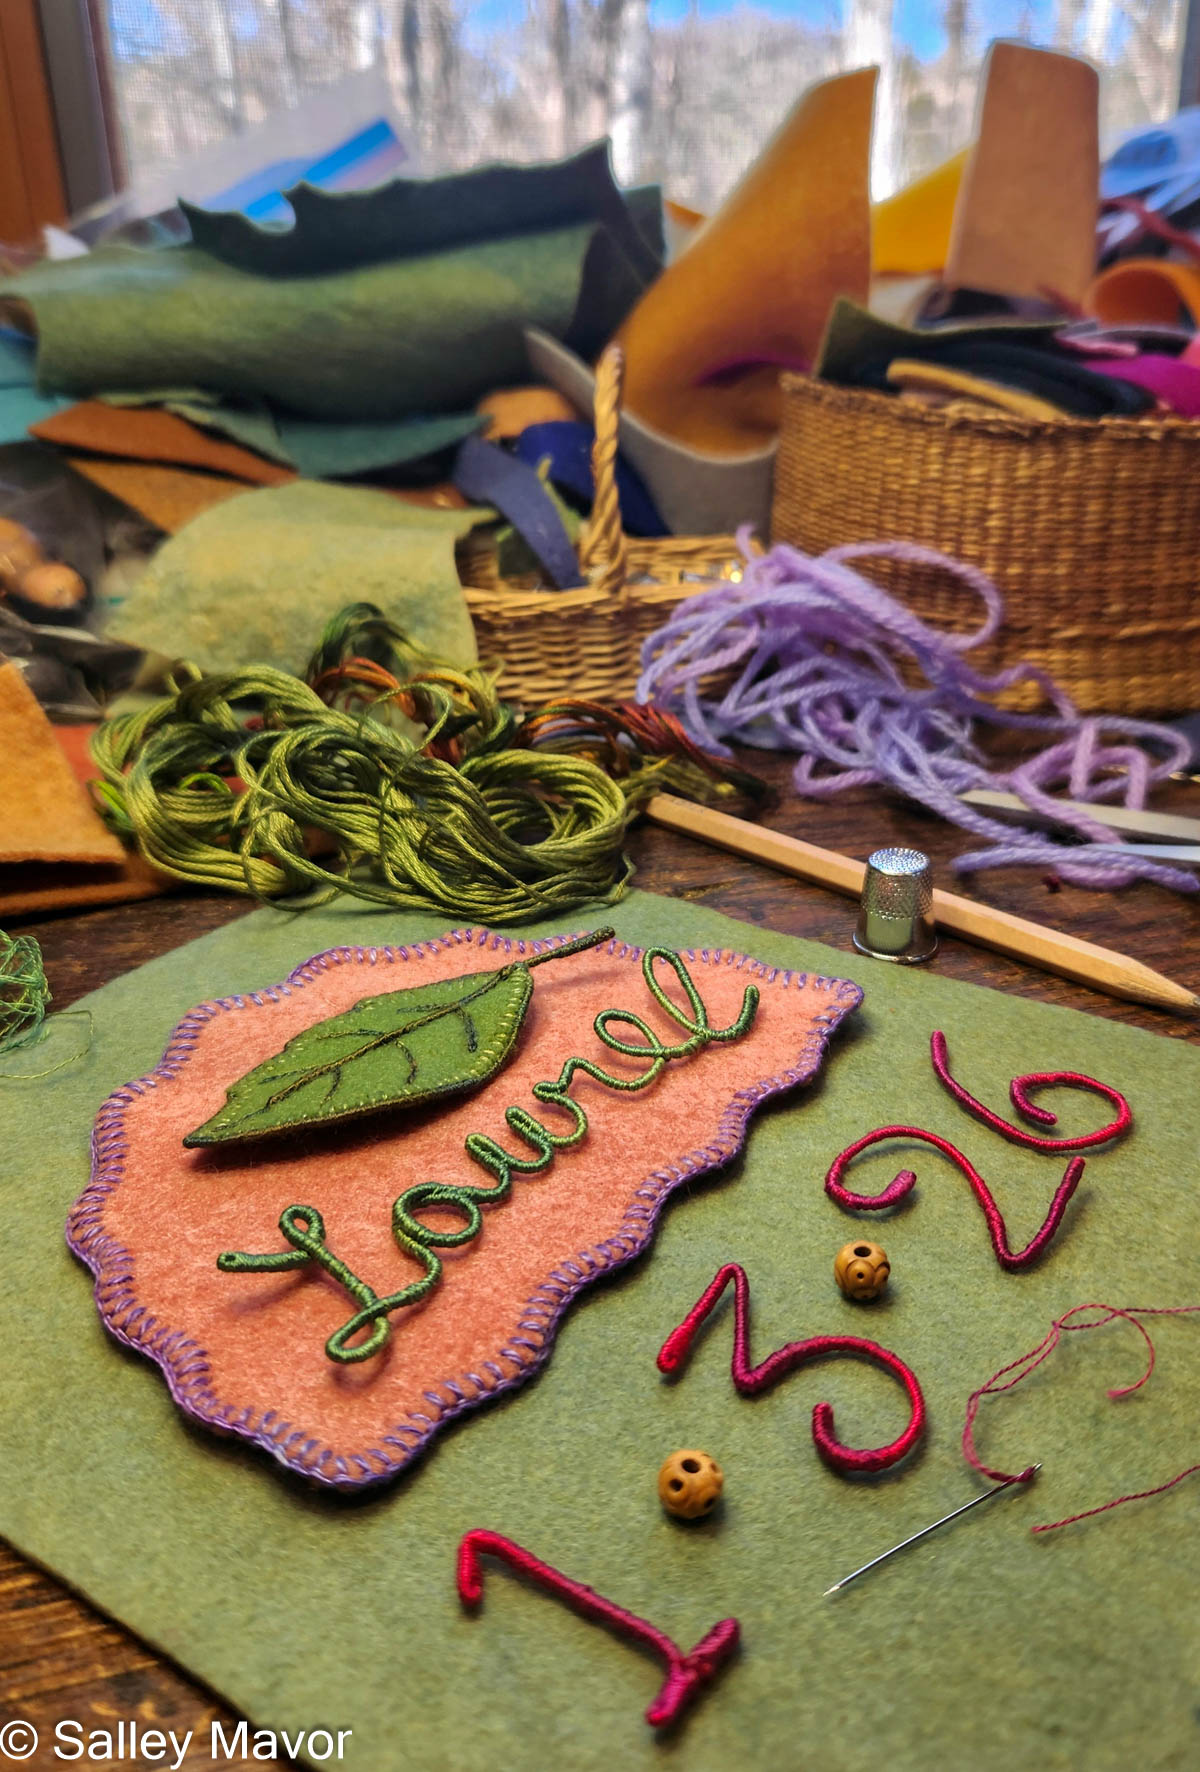
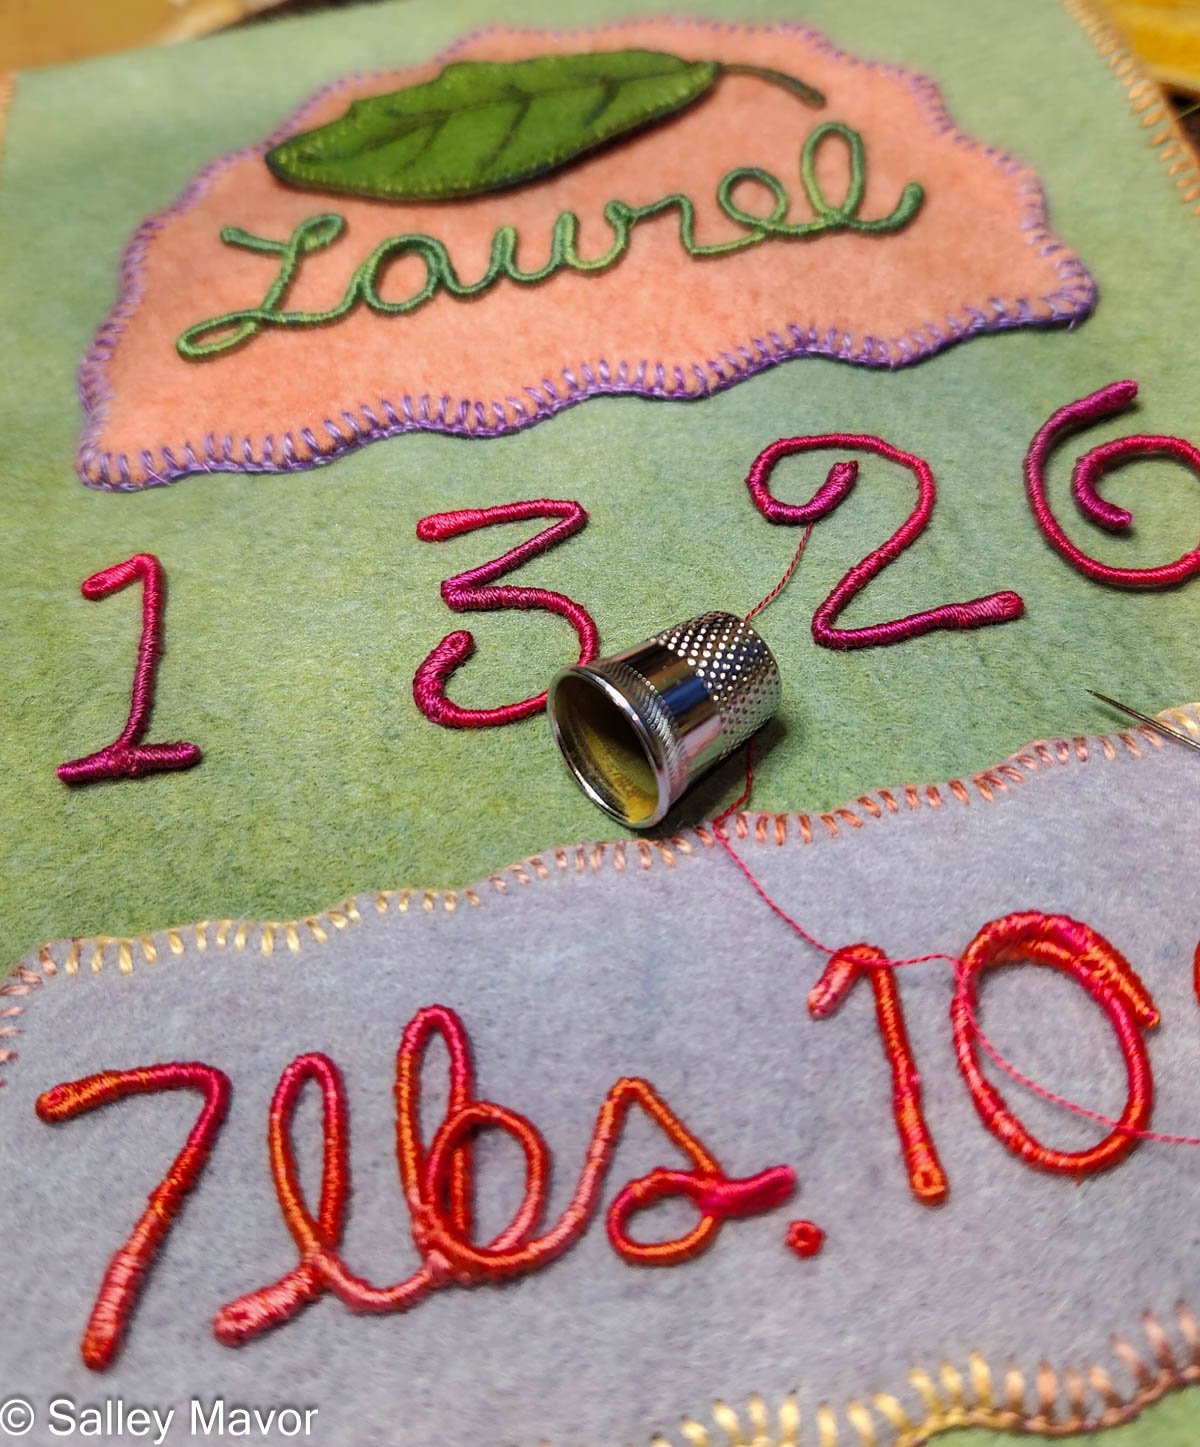
After choosing a color scheme and picking out pieces of felt and thread, I wrote out Laurel’s name in cursive handwriting with a pencil on paper. Fortunately, her name could be written in one continuous line, which doesn’t always happen. I then wrapped a length of DMC memory thread (a kind of wire) with 3 strands of variegated embroidery floss (see video below). Using the drawing as a template, I bent the wire to form her name and stitched the letters together where they touched.
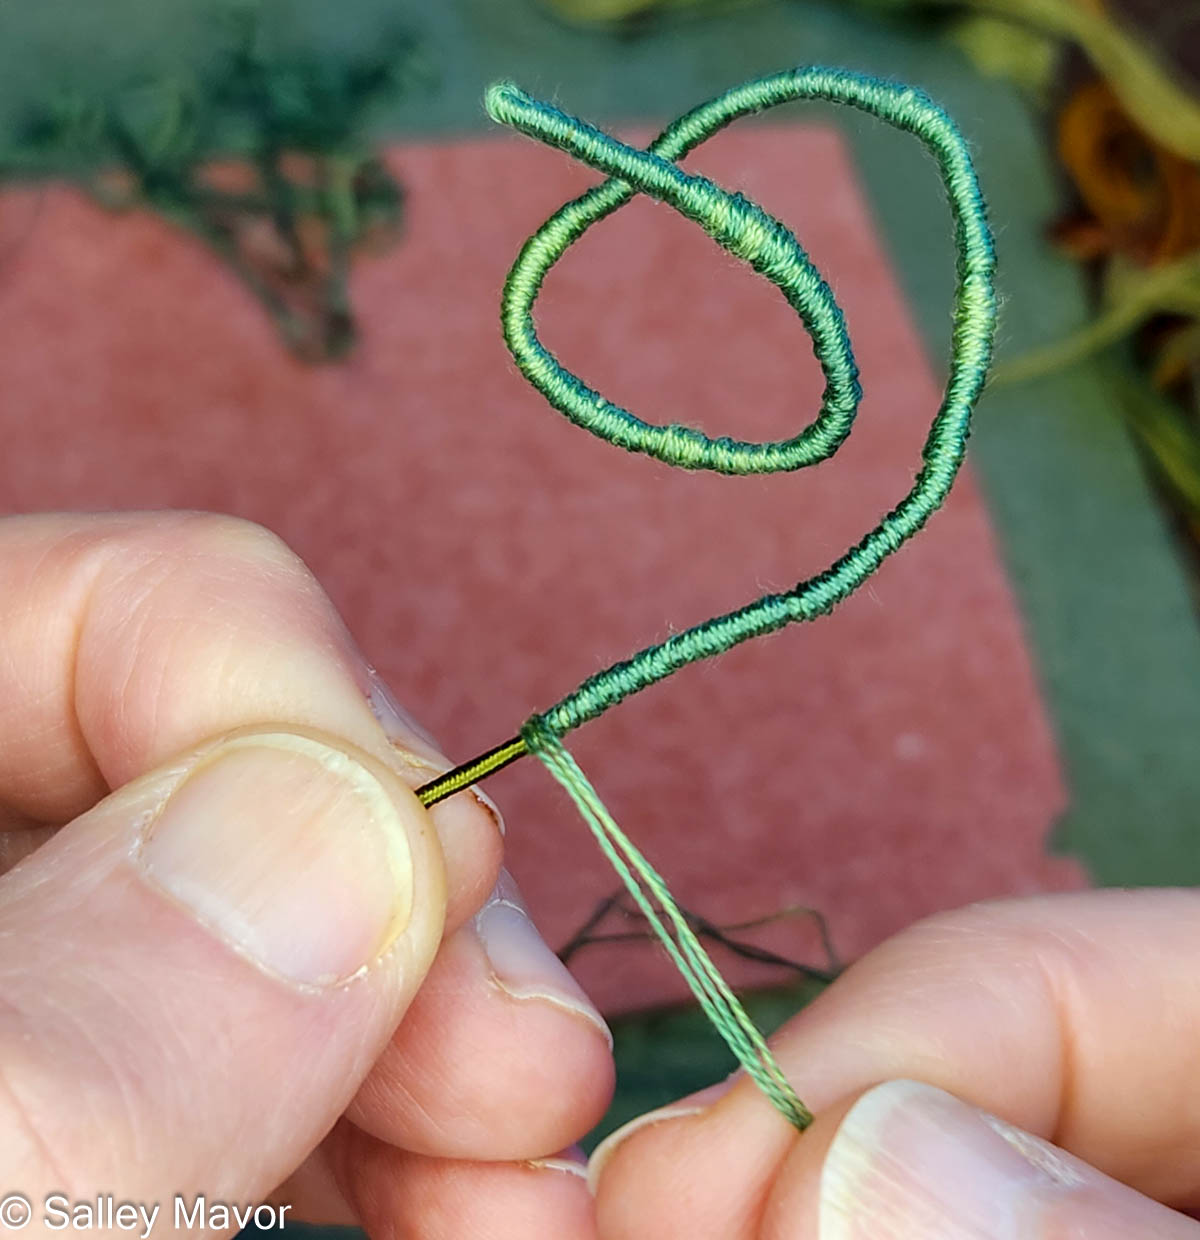
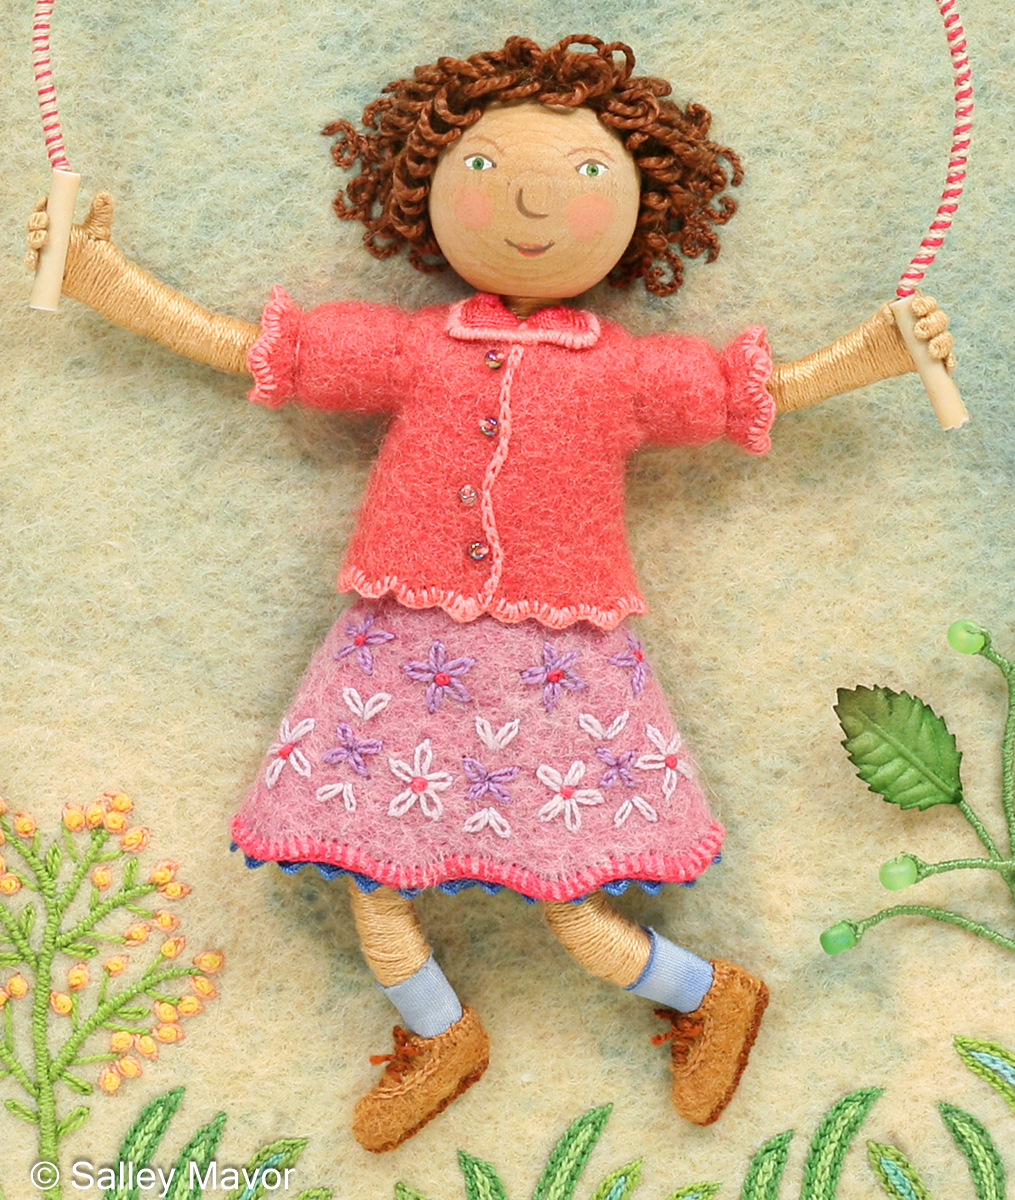
In the following video, I demonstrate wrapping DMC memory thread with 3 strands of embroidery floss to create letters for Laurel’s banner. Memory thread is wire coated with a fibrous material which is easier to grab onto than slippery wire. Wrapping the wire smoothly and evenly takes a lot of practice, so be patient. The wire ends are bent over and wrapped, so that no raw thread ends are hanging out. If you’ve learned to wrap arms and legs for the wee folk dolls in my how-to book, Felt Wee Folk, you’ve got a jump start on mastering this technique.
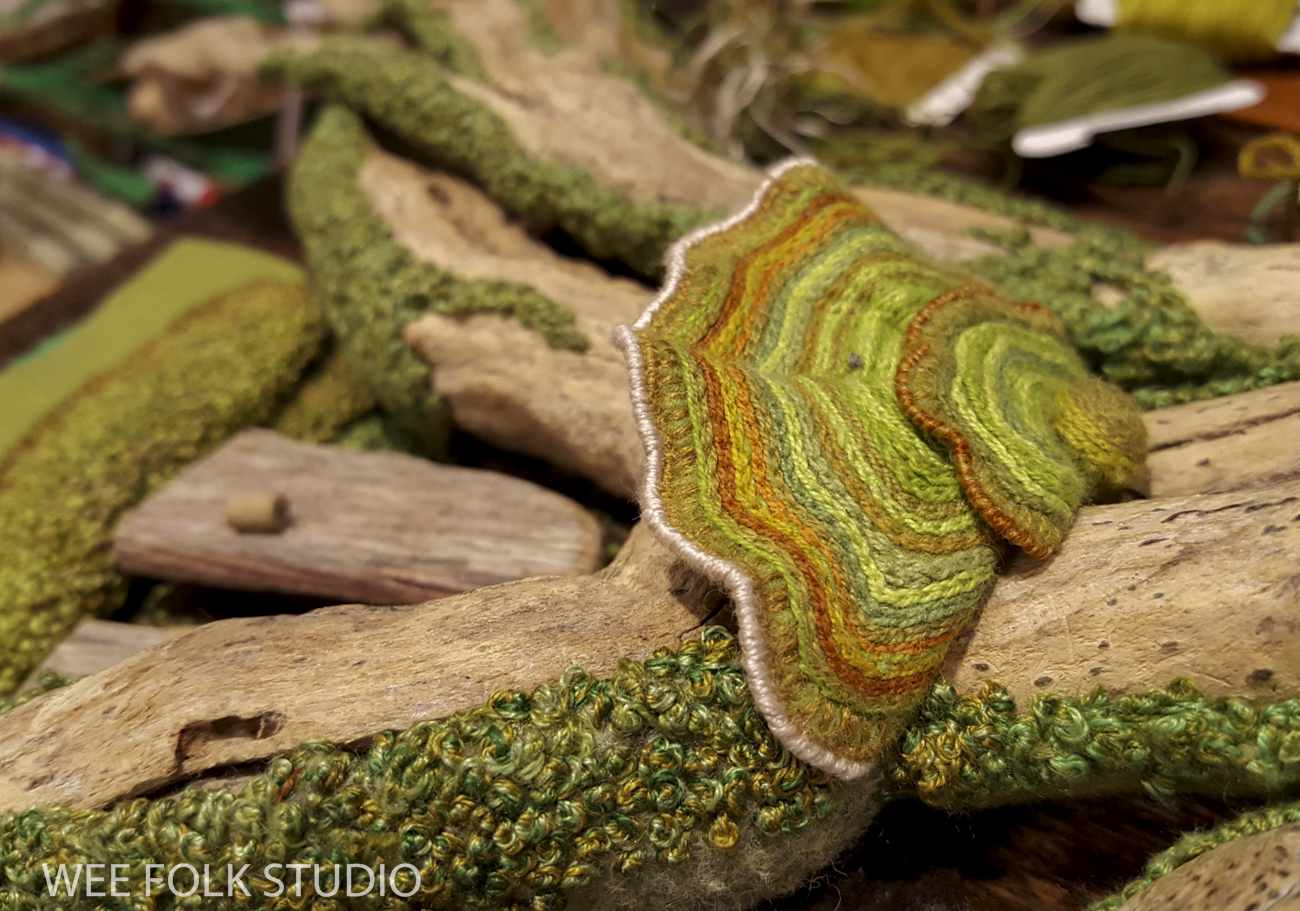
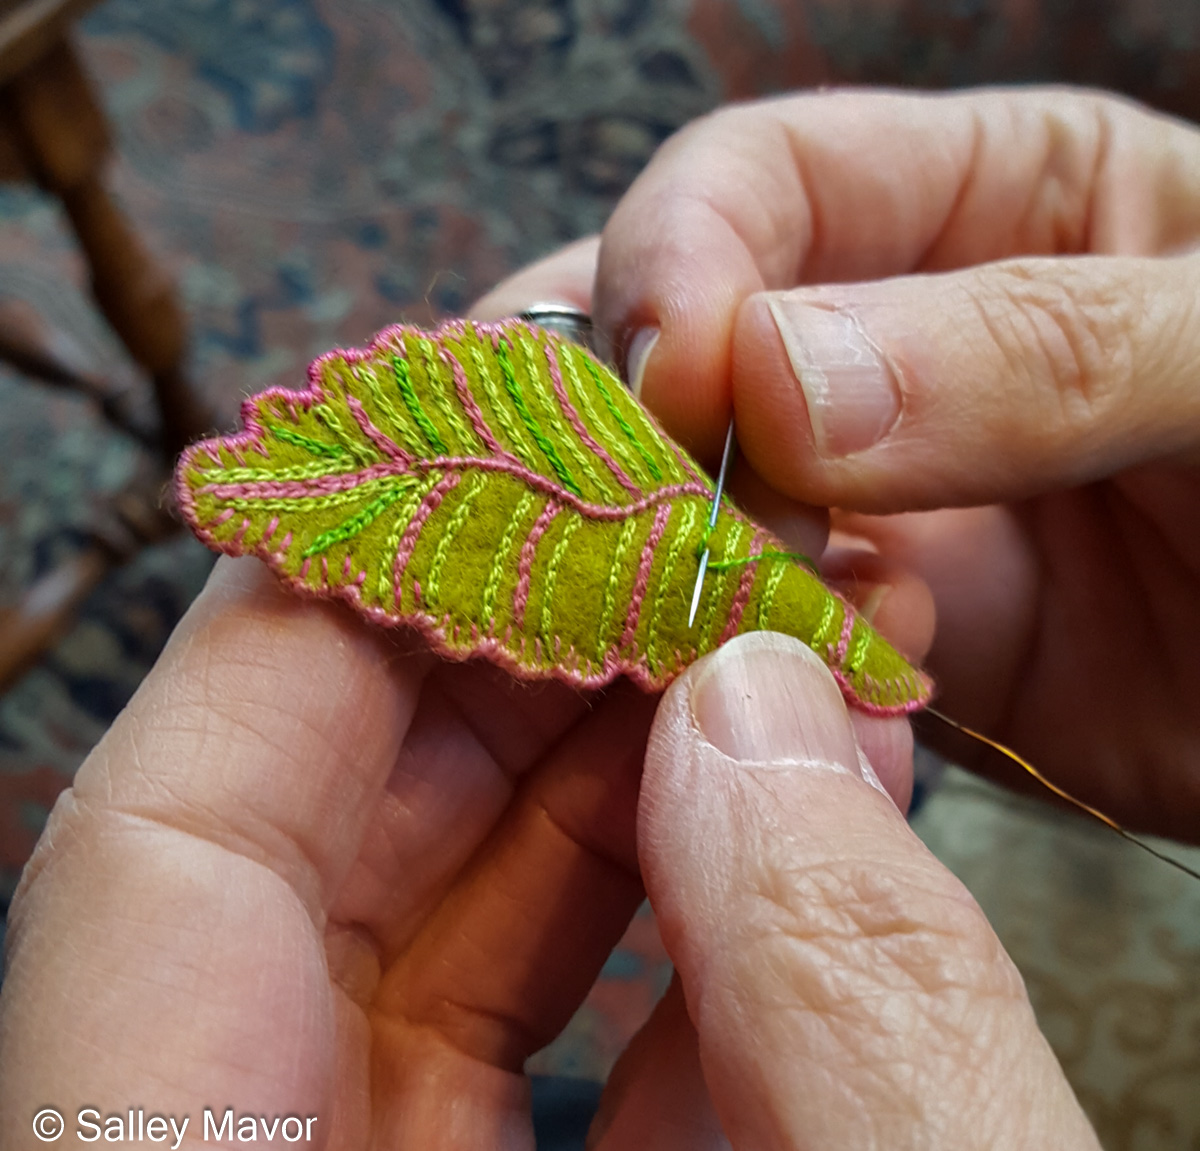
LAUREL LEAF
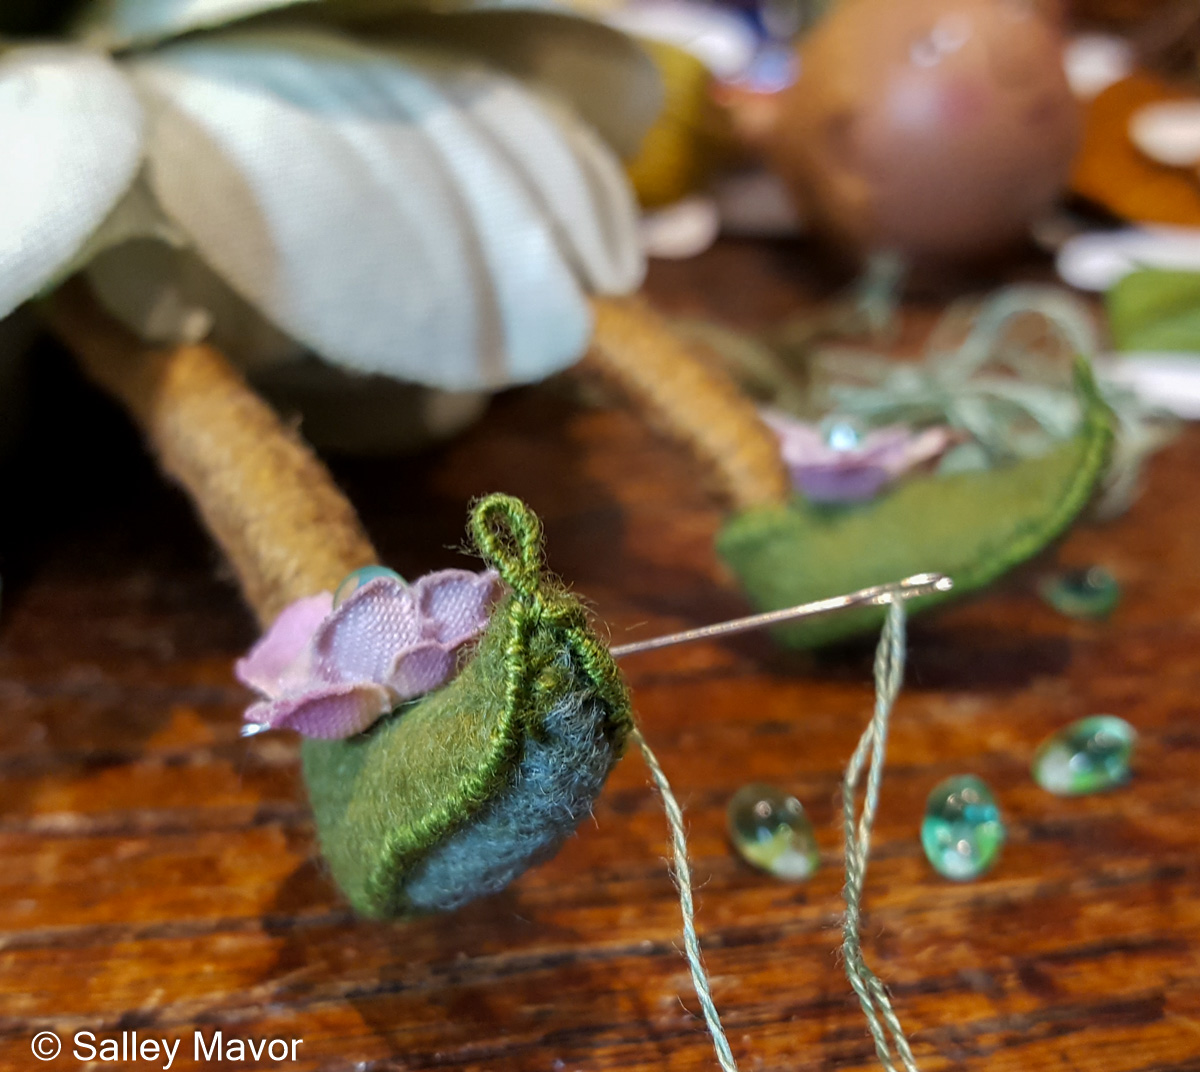
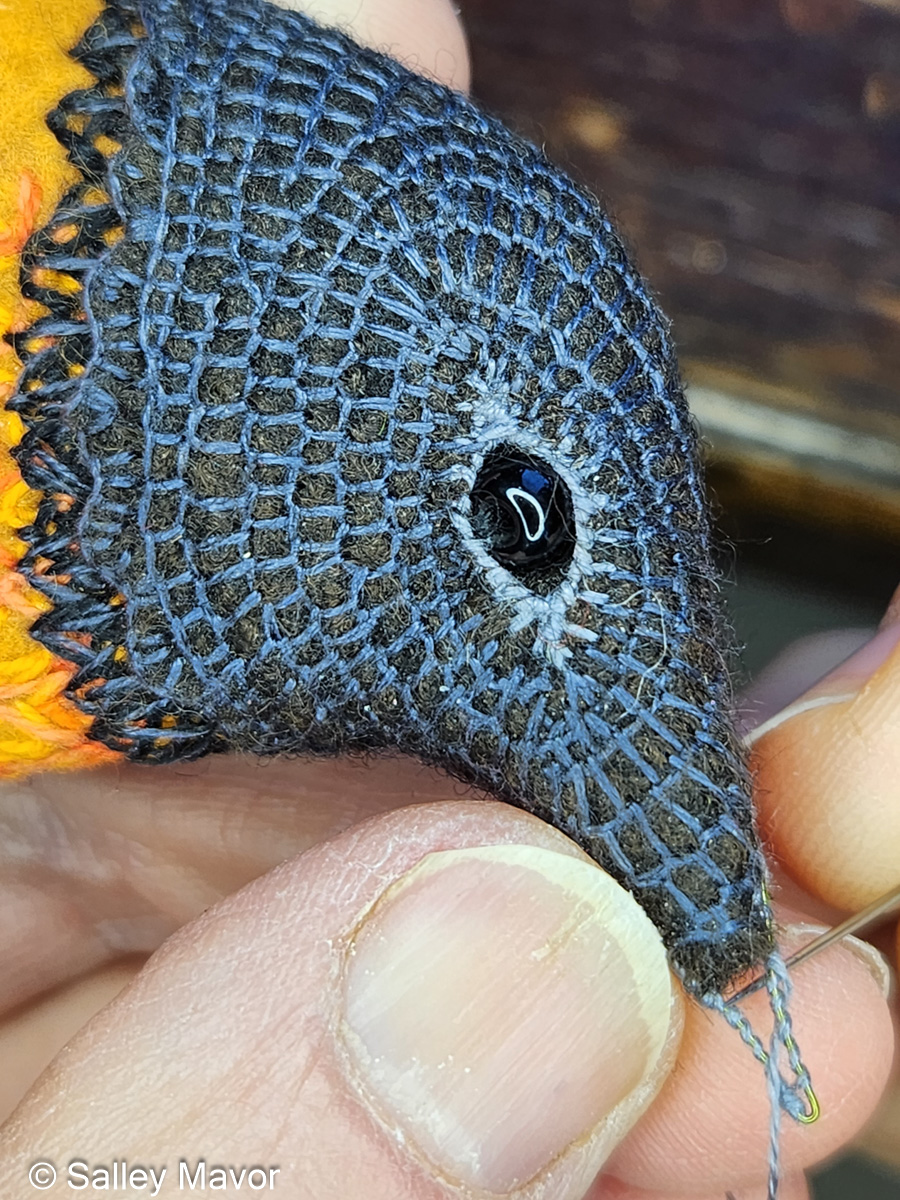
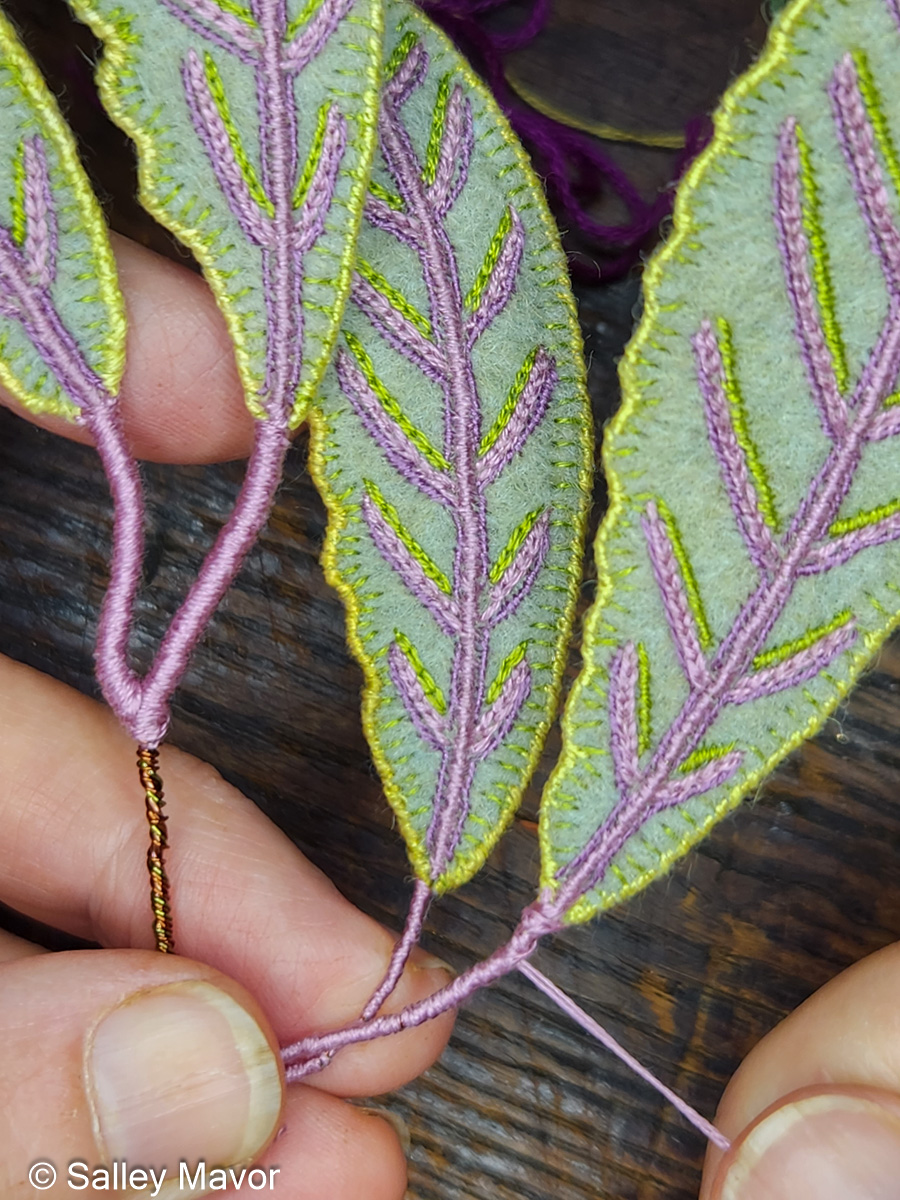
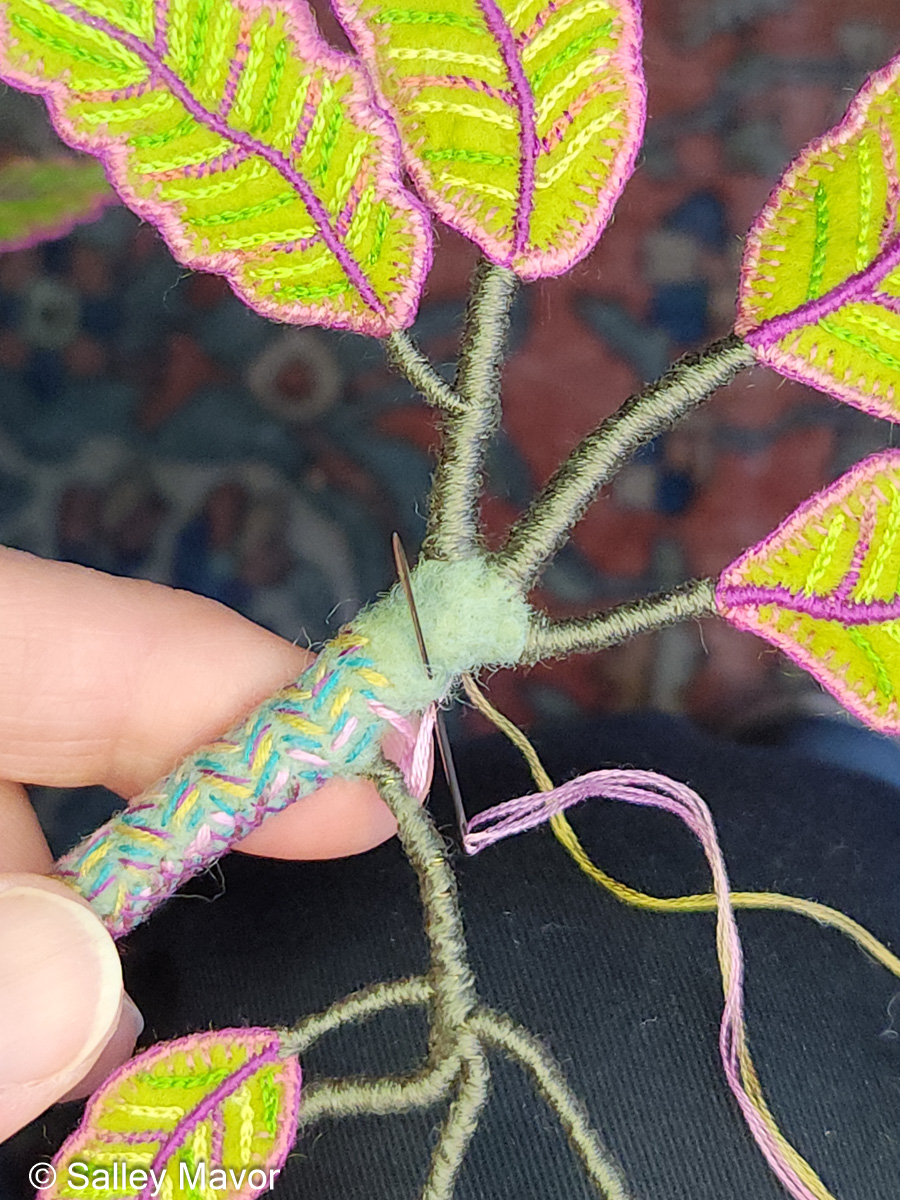
Adding a horticultural element to the banner was fun! I cut a laurel leaf shape out of wool felt and edged it with blanket stitching. Then I stitched wire around the outside edge of the leaf for stability. Jewelry wire works for this purpose, but for this project, I used some memory thread that was readily available on my table.
In the following video, you can see how I stitched memory thread (or wire) around the outside edges of the leaf. Then I created veins with wire and chain stitching.
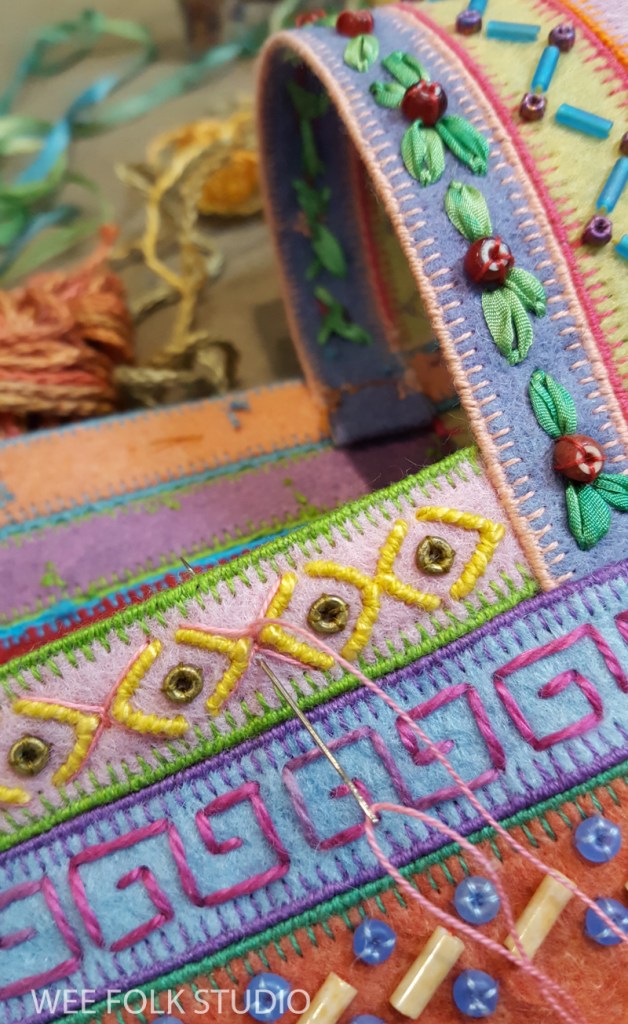
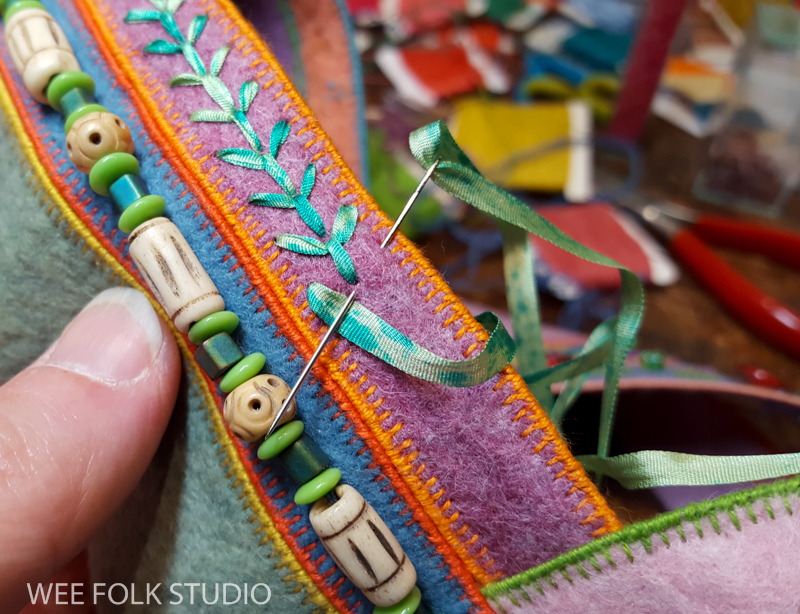
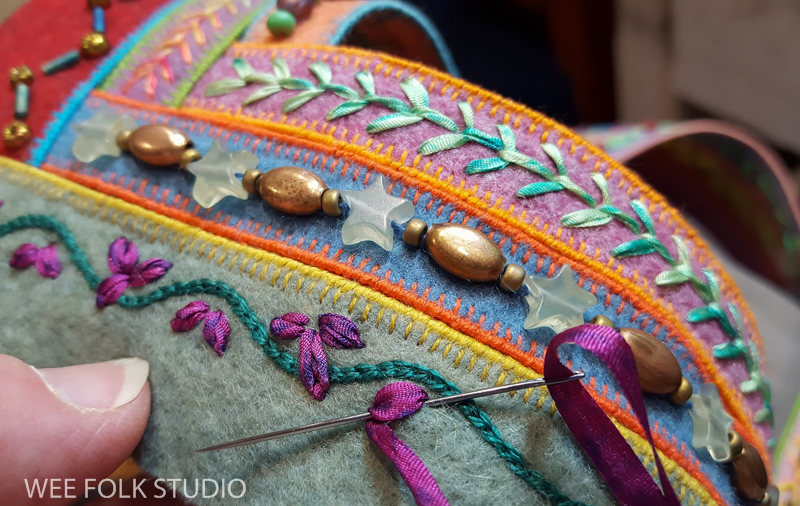
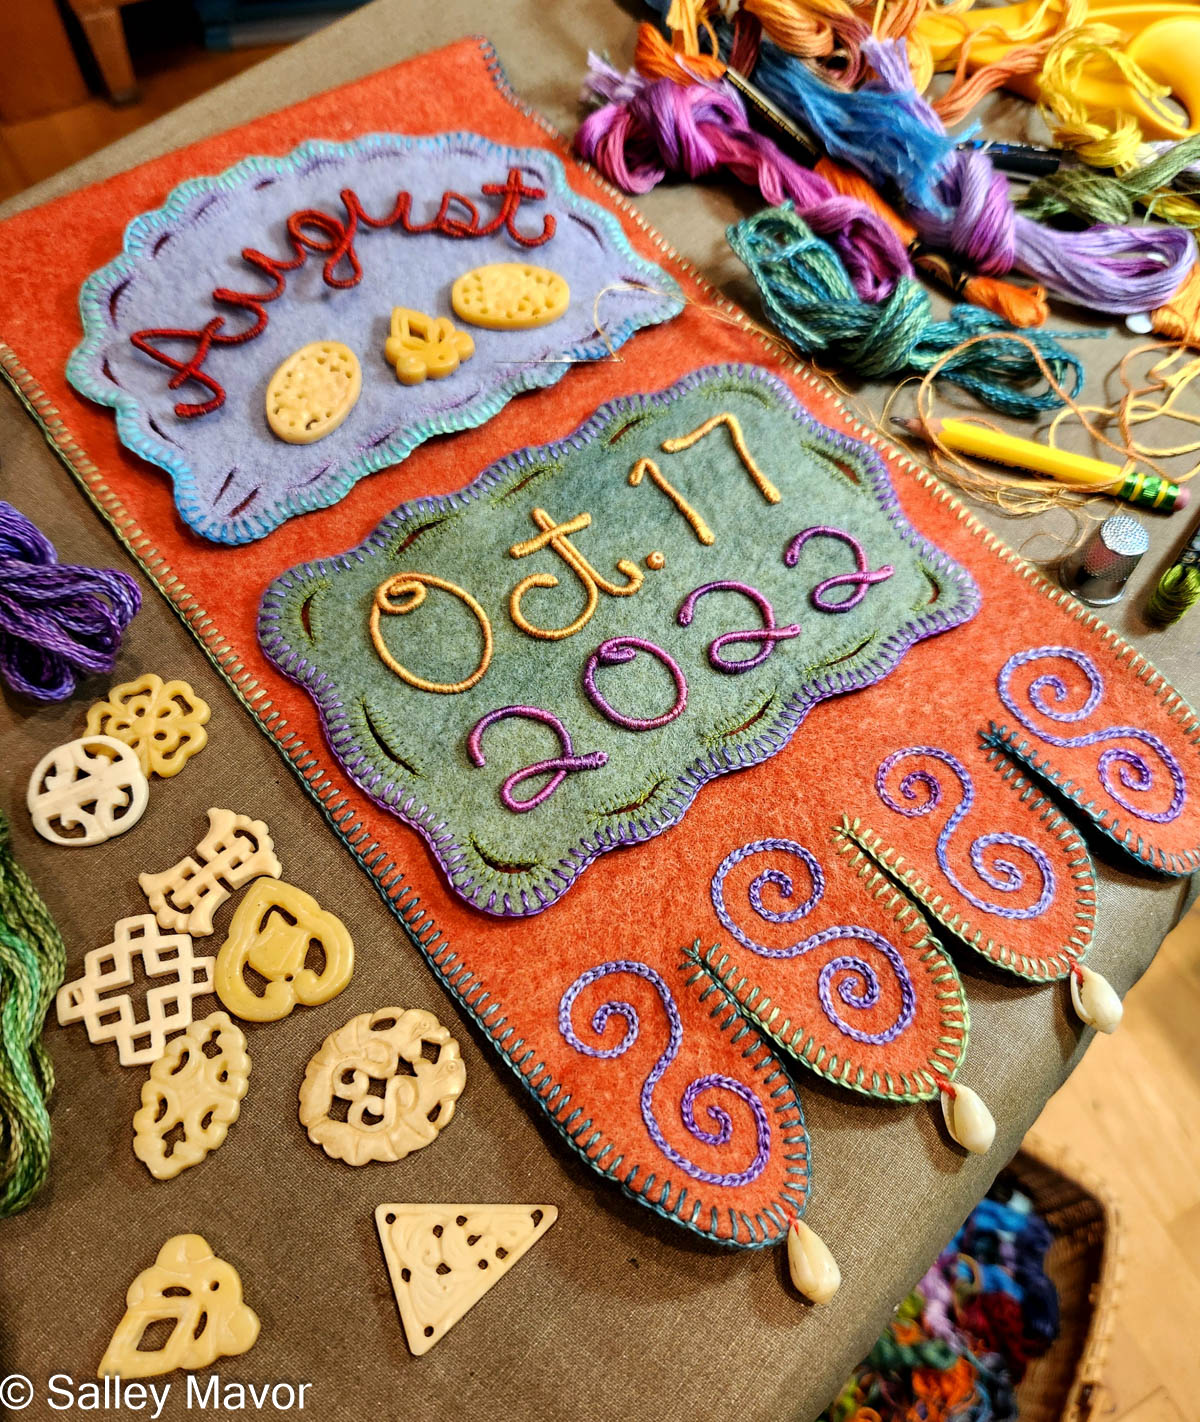
EMBELLISHING FELT BORDERS
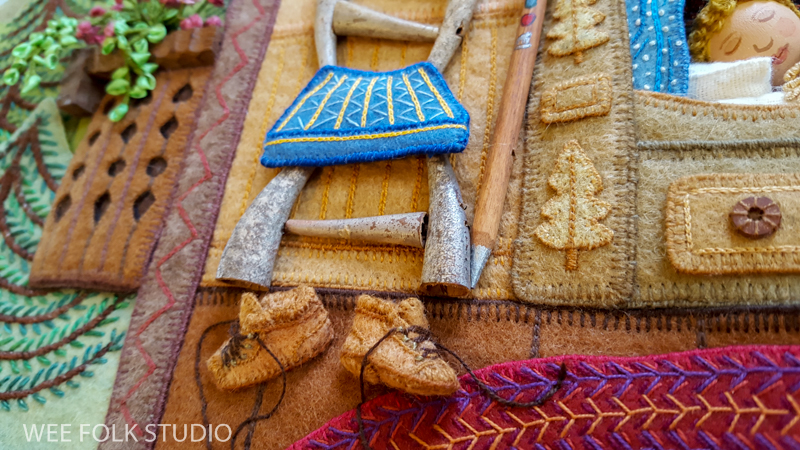
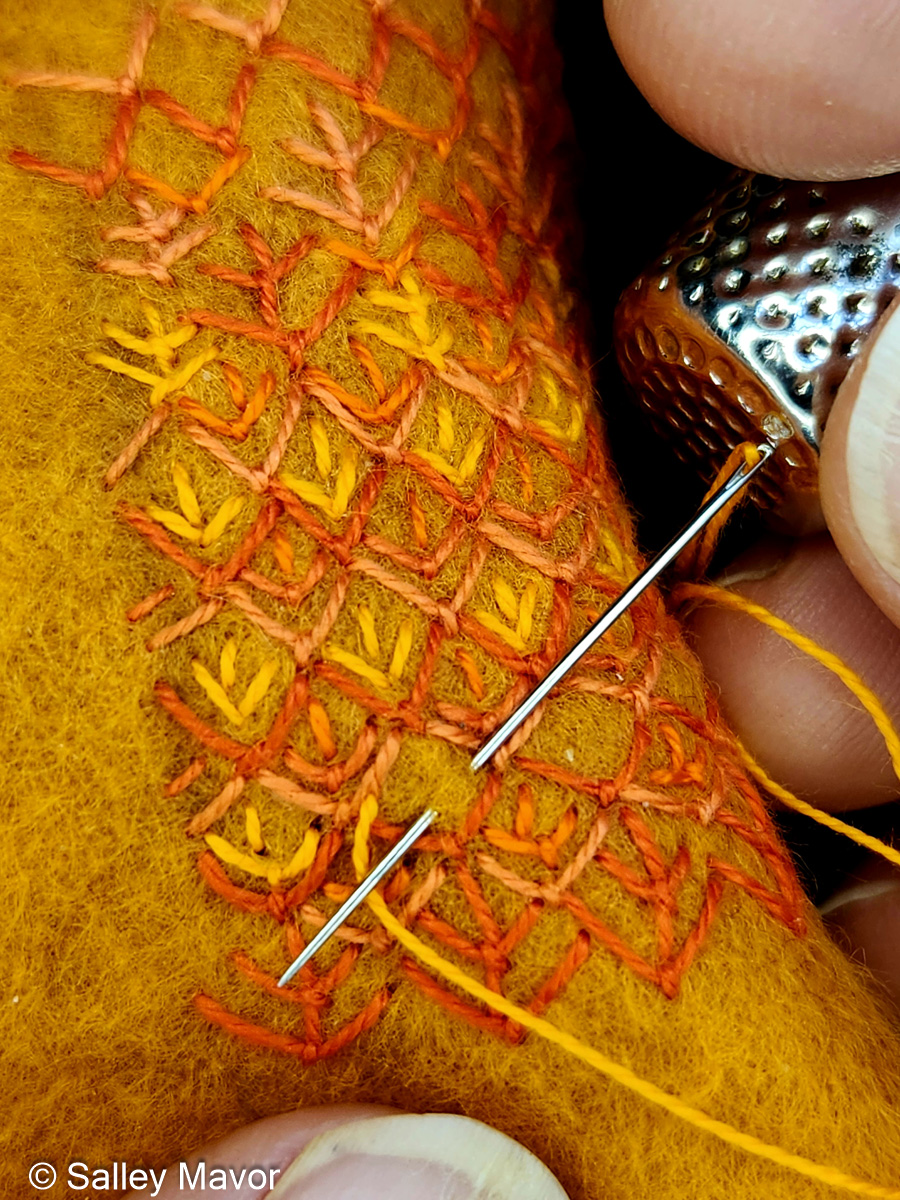
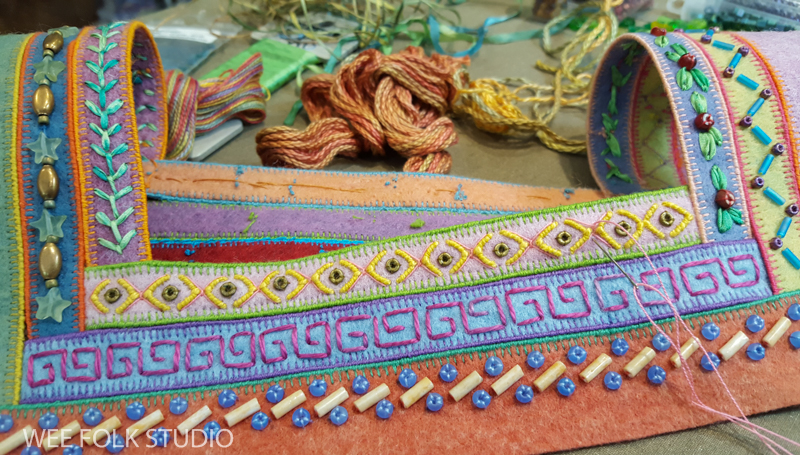
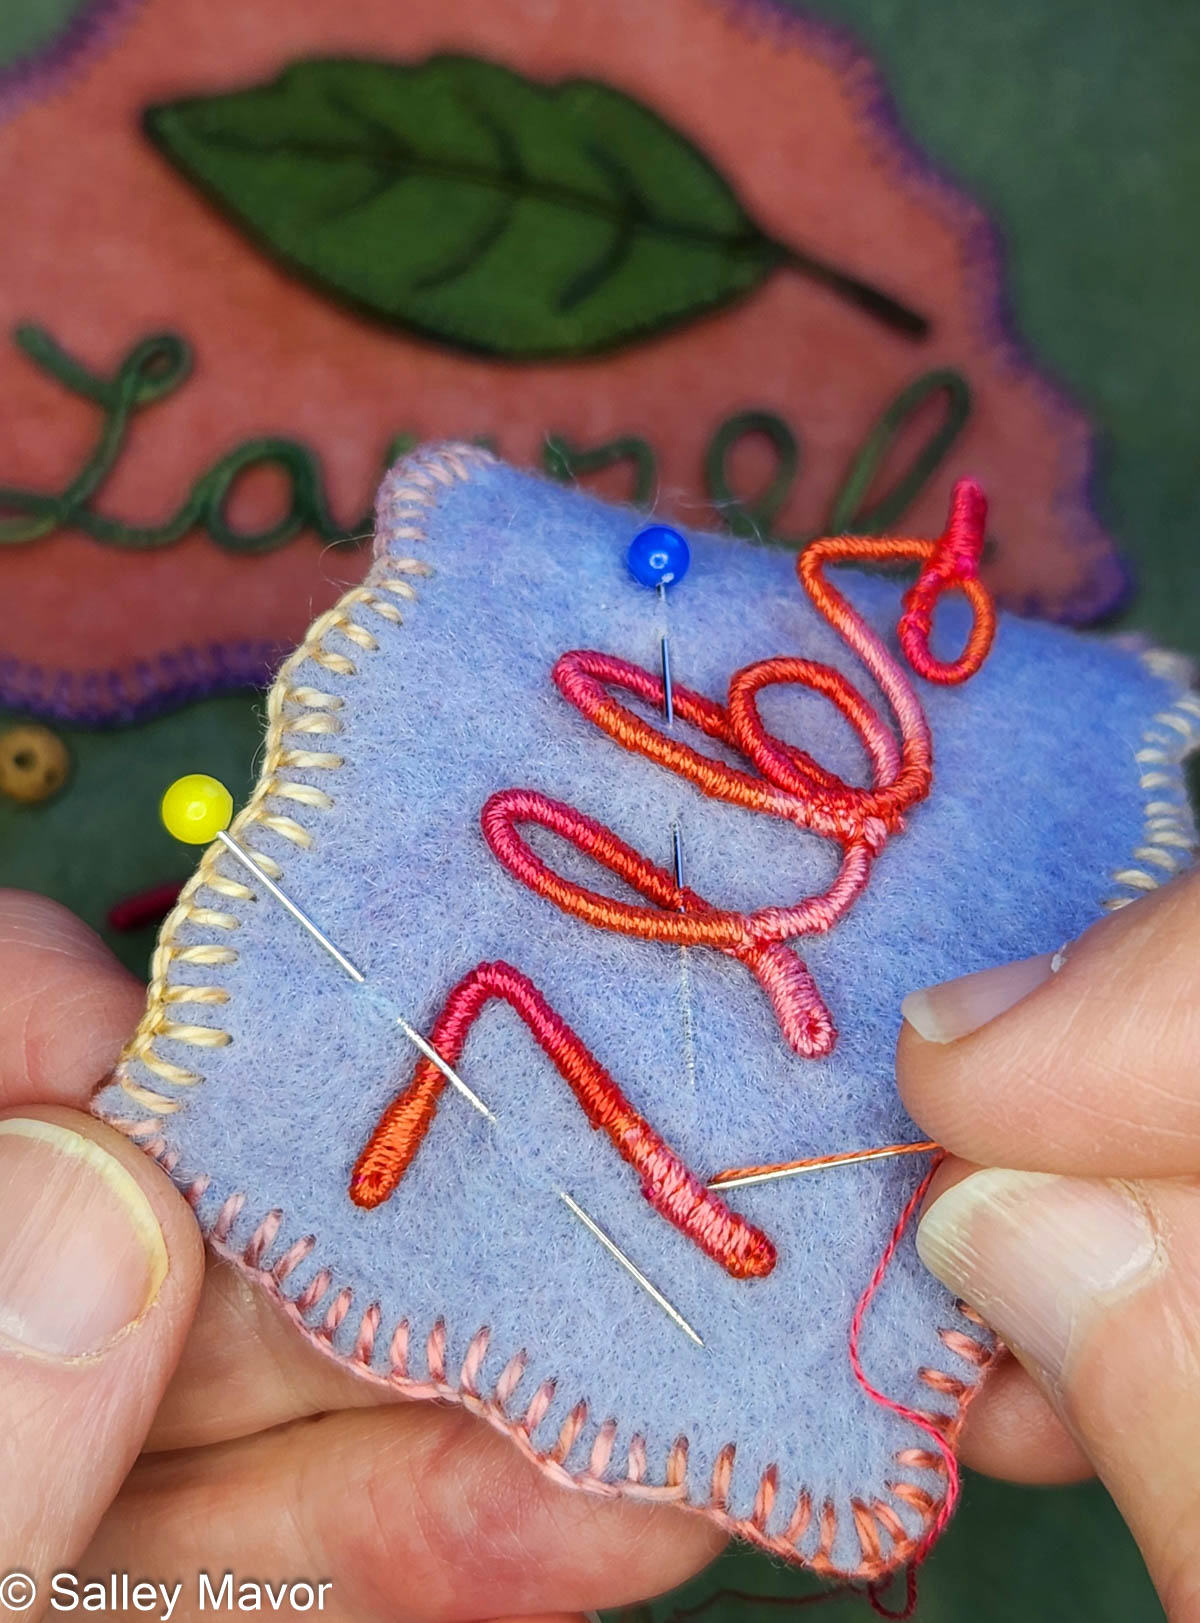
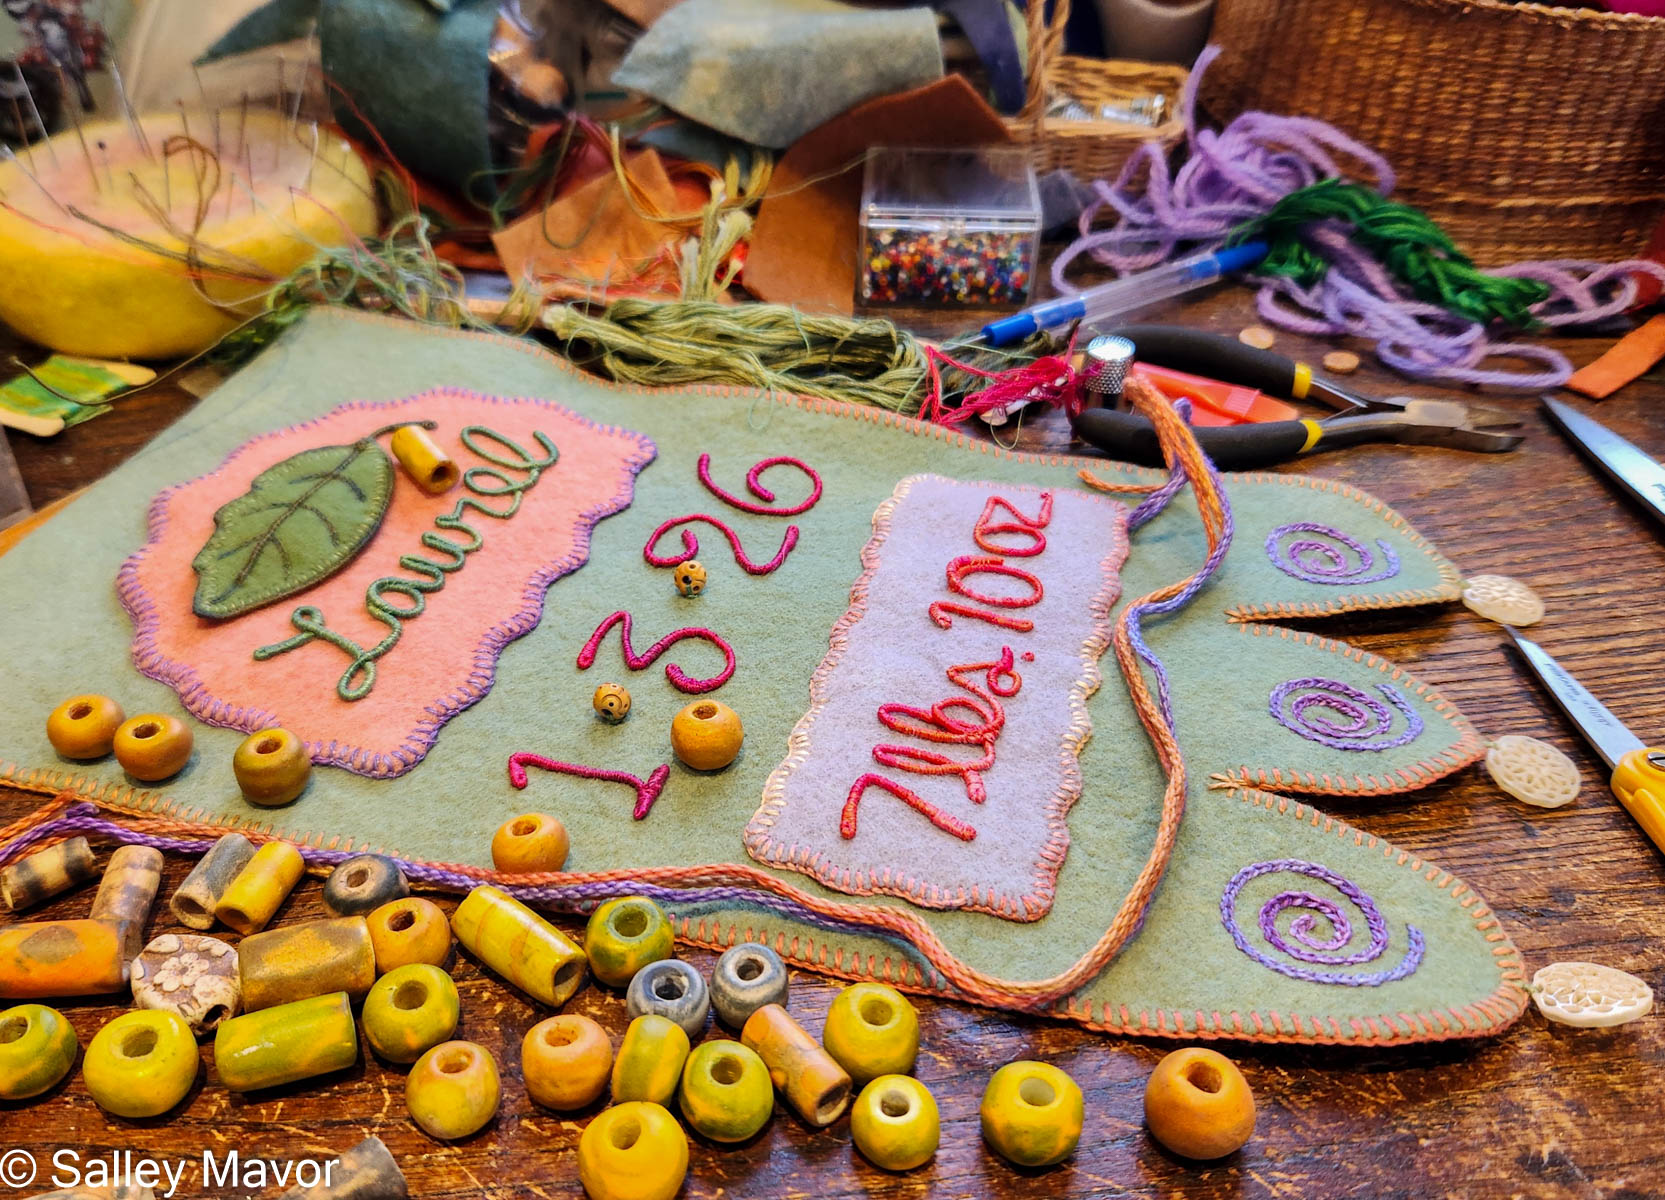
I love embellishing with blanket stitching, especially with variegated thread. It’s a simple and effective way to create an edge that’s both soft and assertive, while also displaying a handmade quality. For me, it’s important to show that a human being made it, not a machine. For this banner, I created layers of felt pieces, which I blanket stitched with pima cotton (Watercolours by Caron).
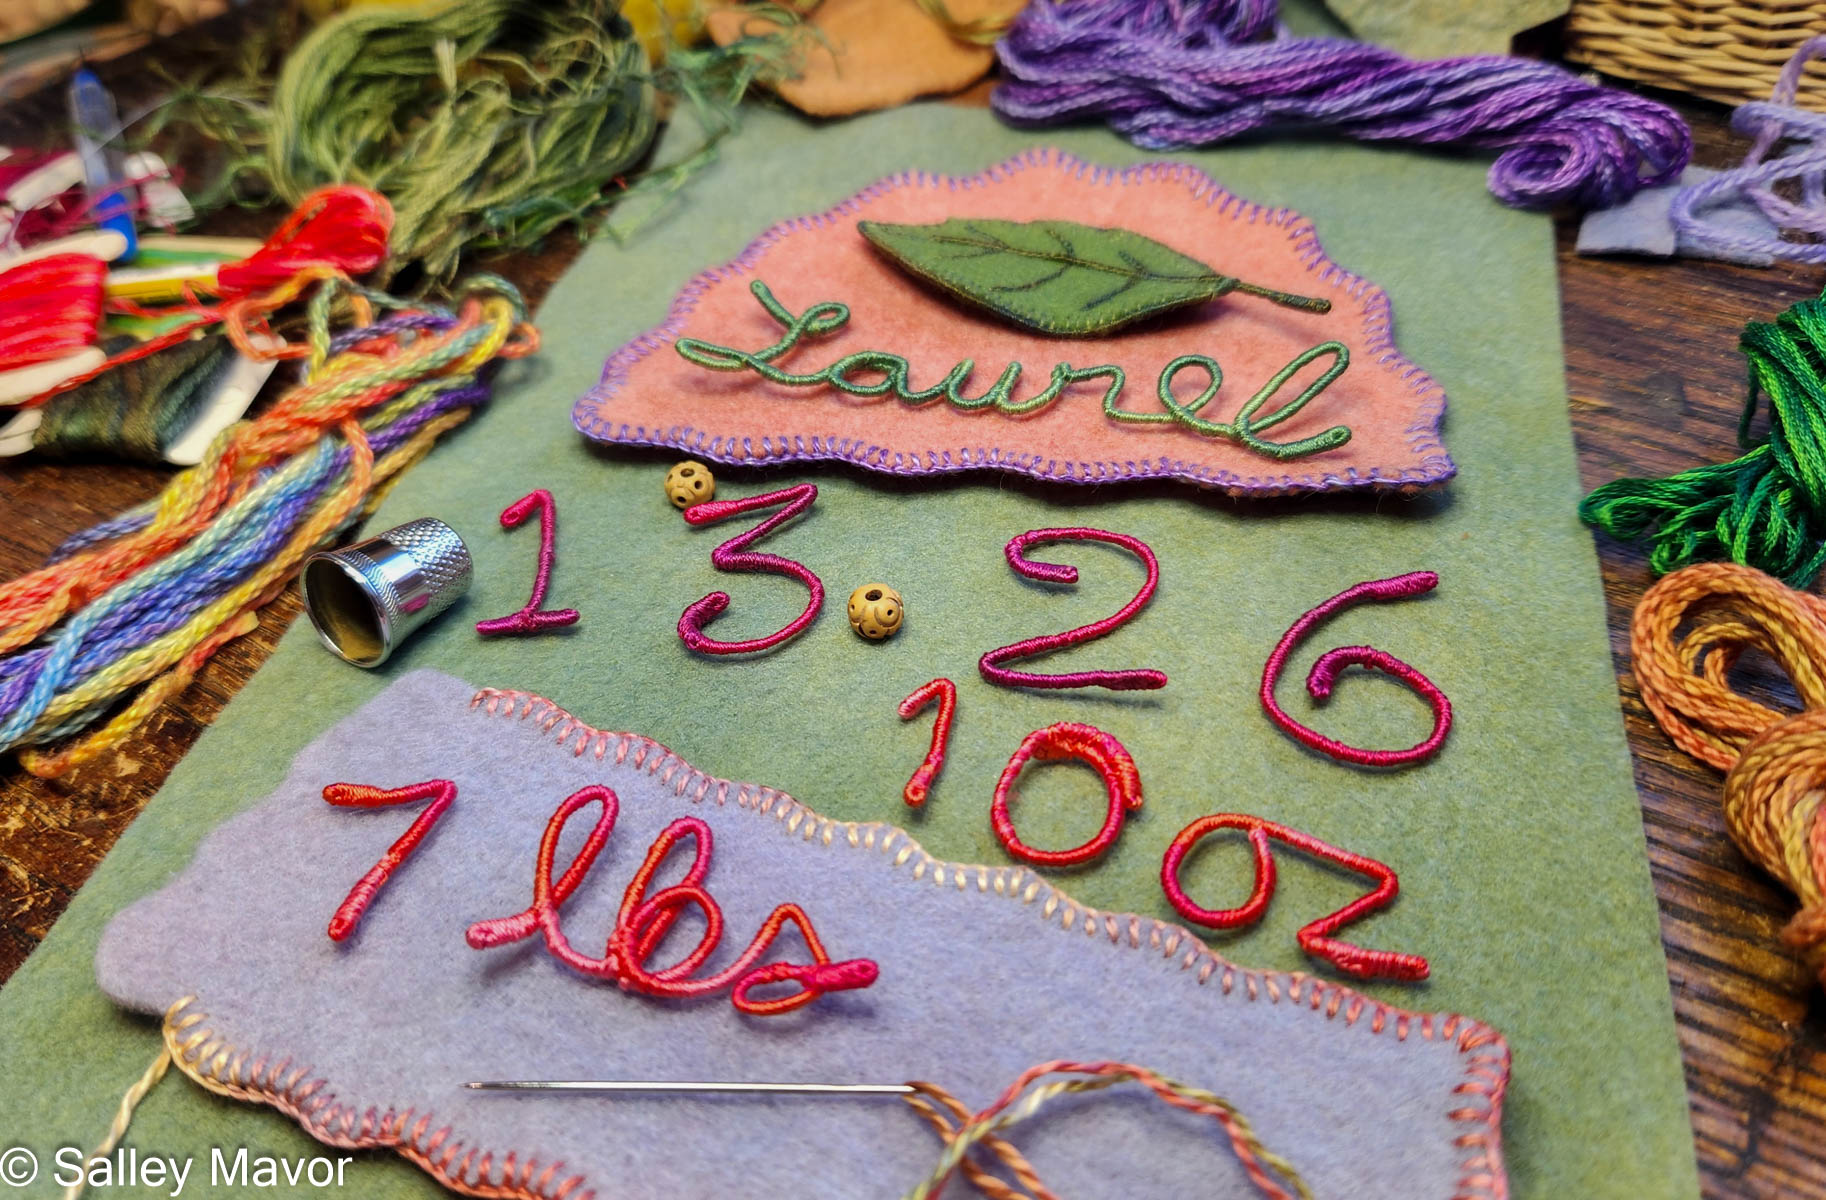
For these banners, I’ve routinely used variegated floss to wrap the wire that forms the lettering. I like how the changing shades look lively and naturalistic compared to plain solid colors.
I sewed all of the letters and numbers to the pieces of felt.
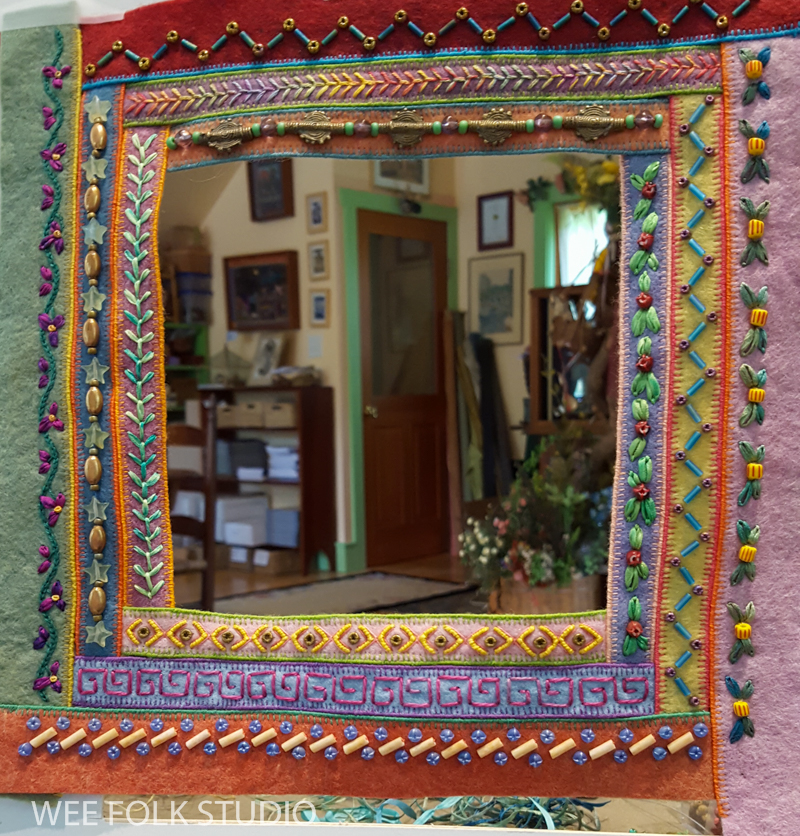
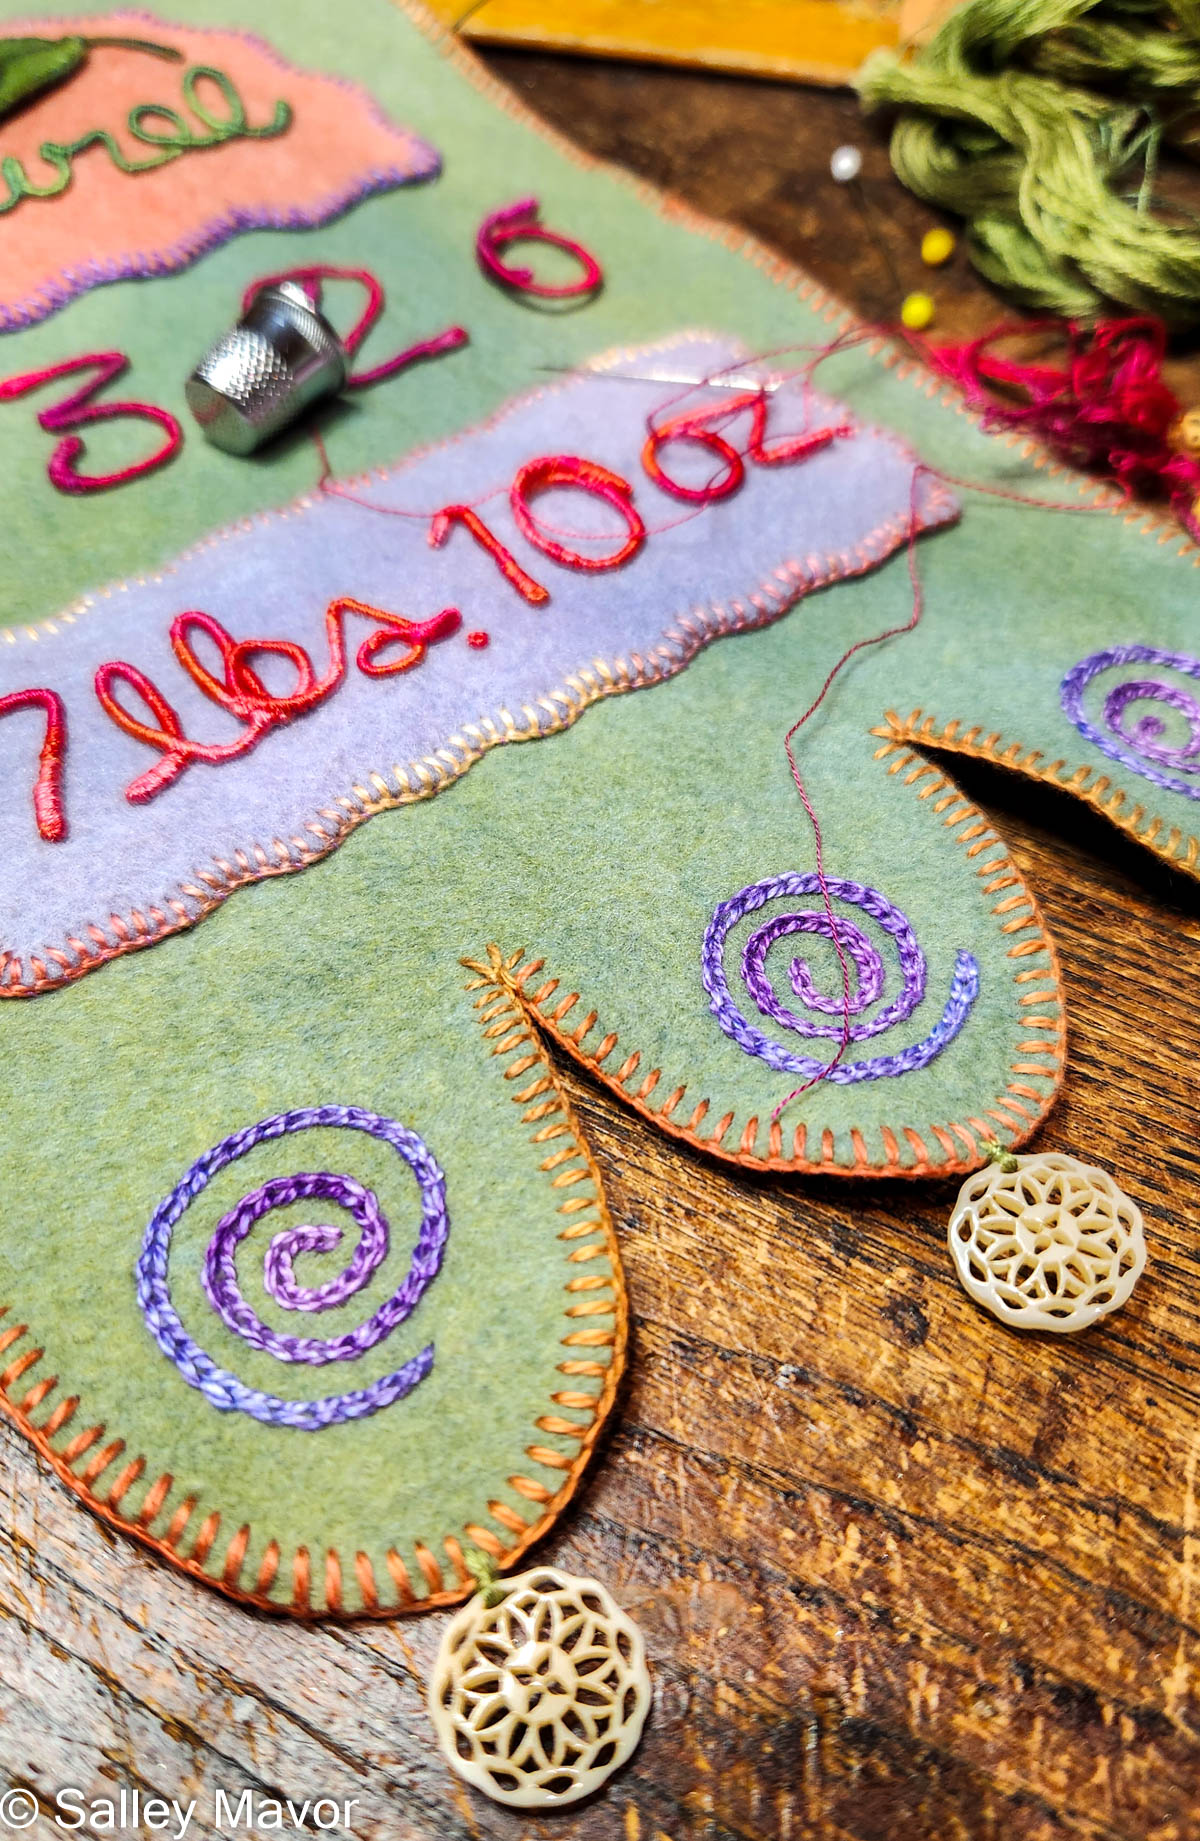
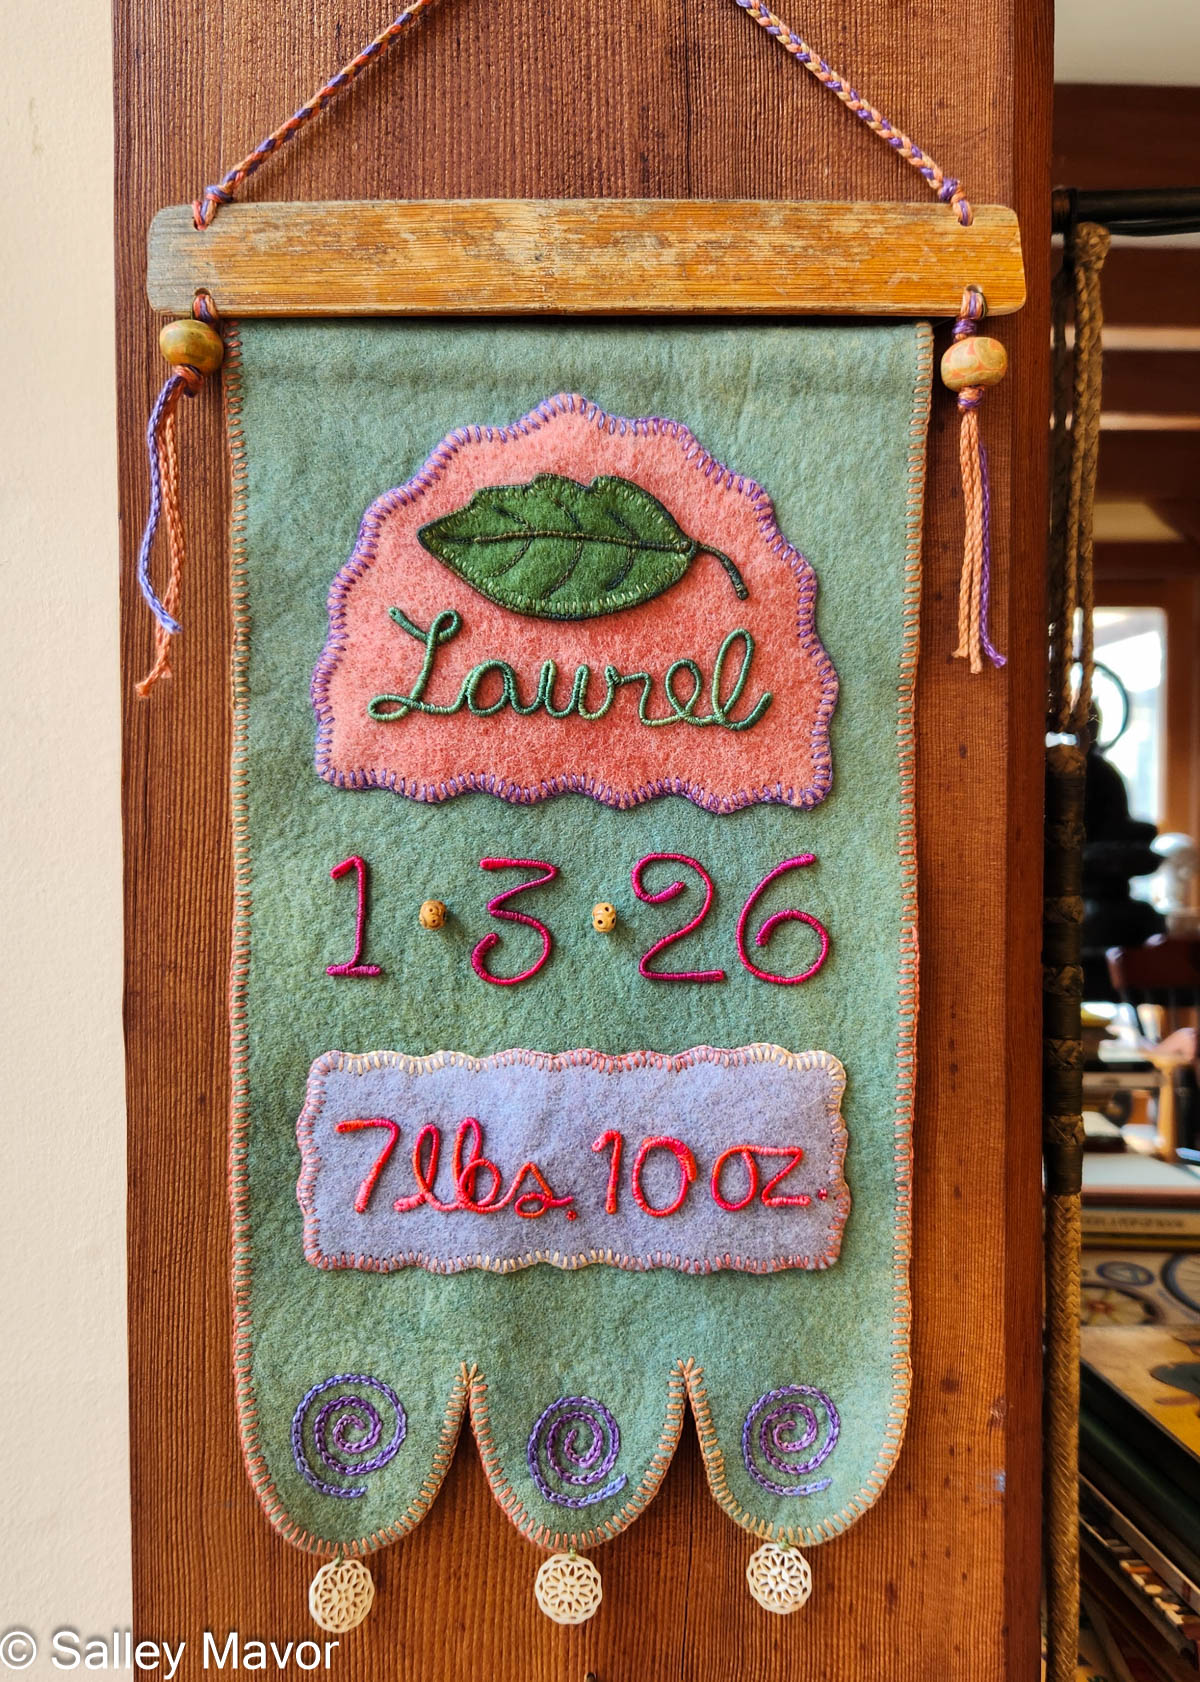
The bottom of the banner has three scalloped flaps that I embroidered with chained stitched spirals. At the bottom points, I sewed on some bone buttons that have been waiting a long time for the just the right purpose.
I searched through my stash to find 2 beads to dangle on either side of the hanging bar at the top up the banner.
The wooden hanging bar is actually an old weather-beaten sail batten that I found washed up on a local beach. I braided cord to make a strap and drilled holes in the stick big enough to thread cord through. And voila, the banner is finished and ready to display!
To keep up with new posts, please subscribe to this blog. Your contact info will not be sold or shared. If you’d like to see more frequent photos tracking the projects in my studio, please follow me on Facebook, Instagram and BlueSky.