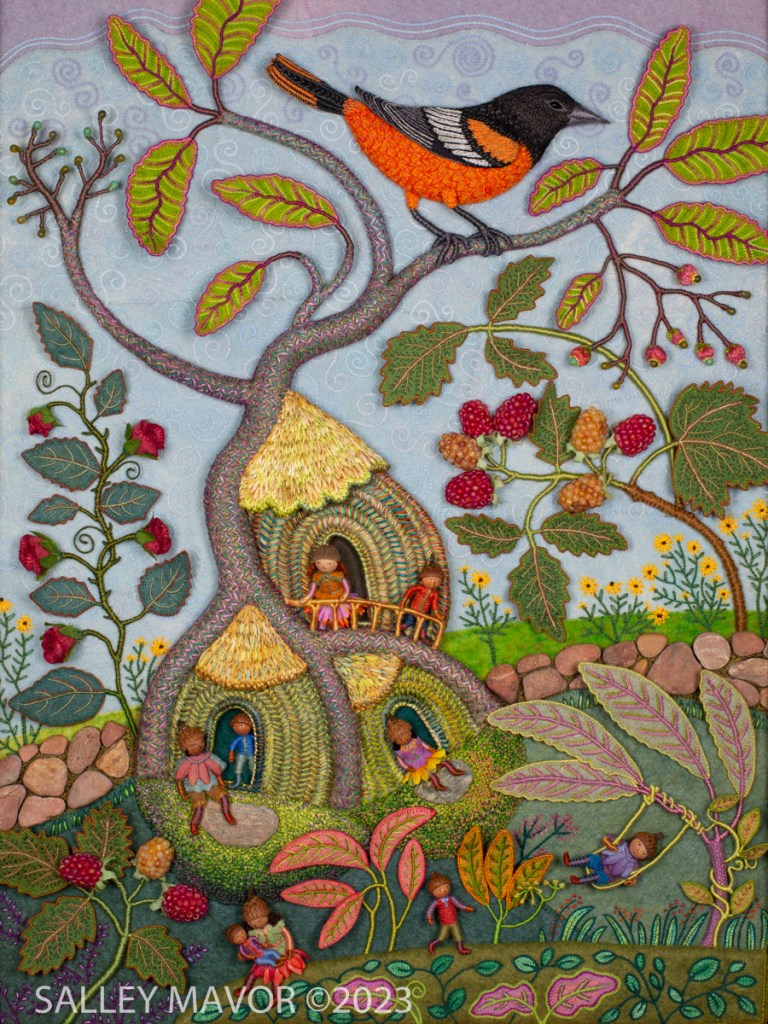
Part 6 in the series of posts about making my piece Summertime features photos and videos documenting the process of creating the rose vine.
For a more comprehensive understanding of my process, I encourage you to explore other posts in this series: Overview of the piece, Part 1 – Tree Trunks, Part 2 – Tree Houses, Part 3 – leaves, stems and branches, Part 4 – Baltimore Oriole (body), Part 5 – Baltimore Oriole (head and feet), Part 6 – rose vine, Part 7 – raspberry plants, Part 8 – stitching flora, Part 9 – moss, sky and stone wall, and Part 10 – wee folk.
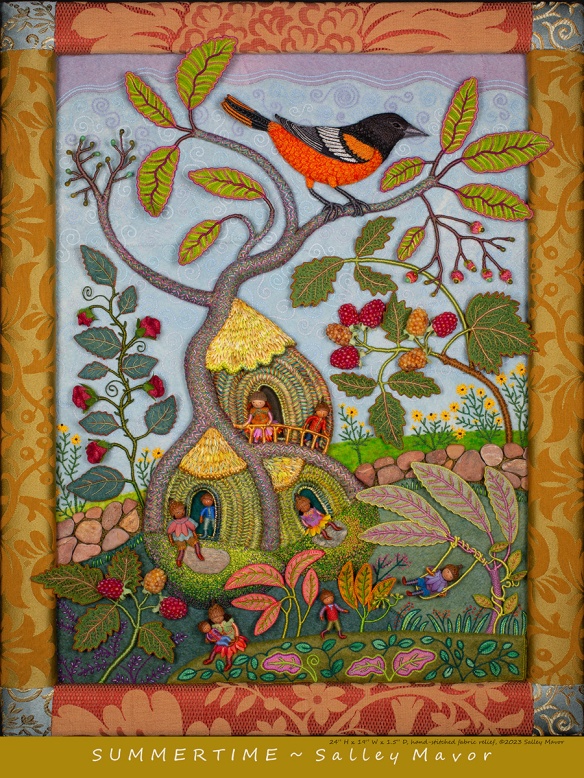
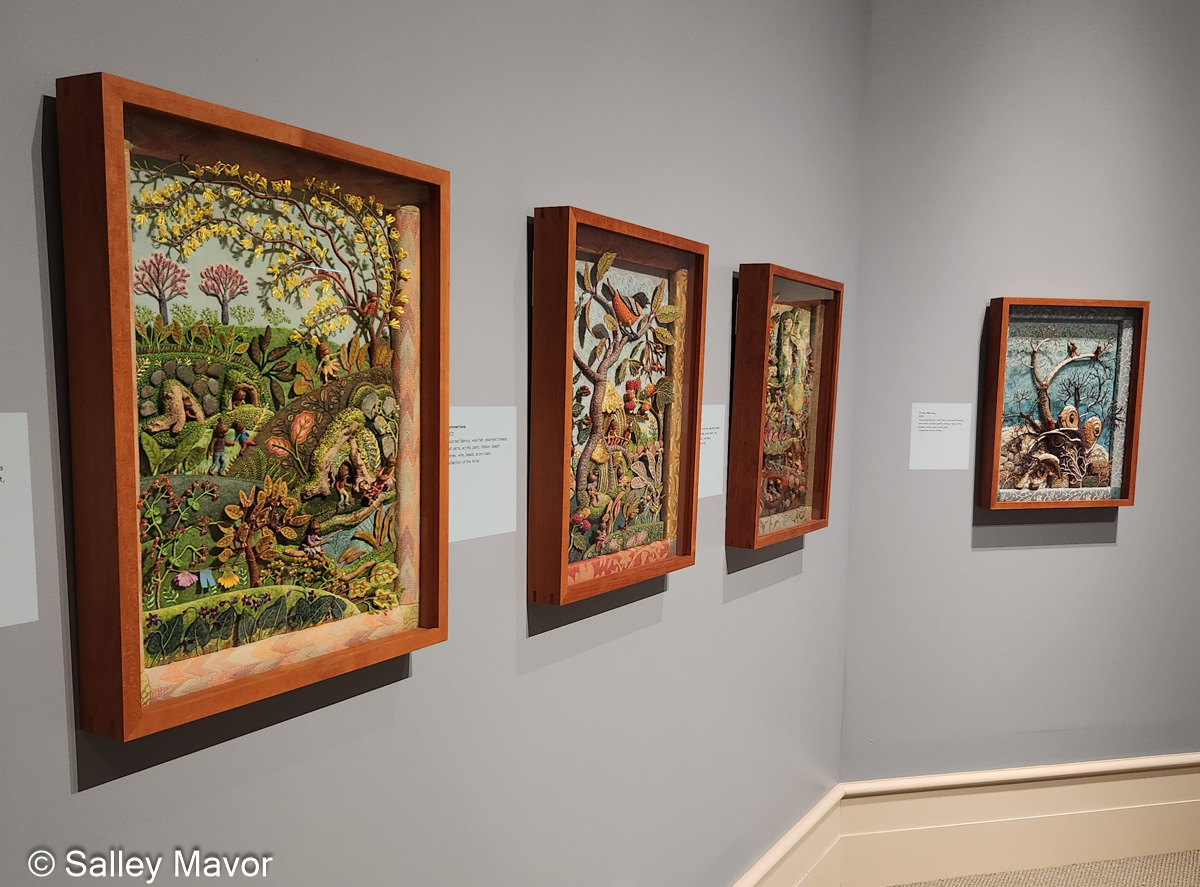
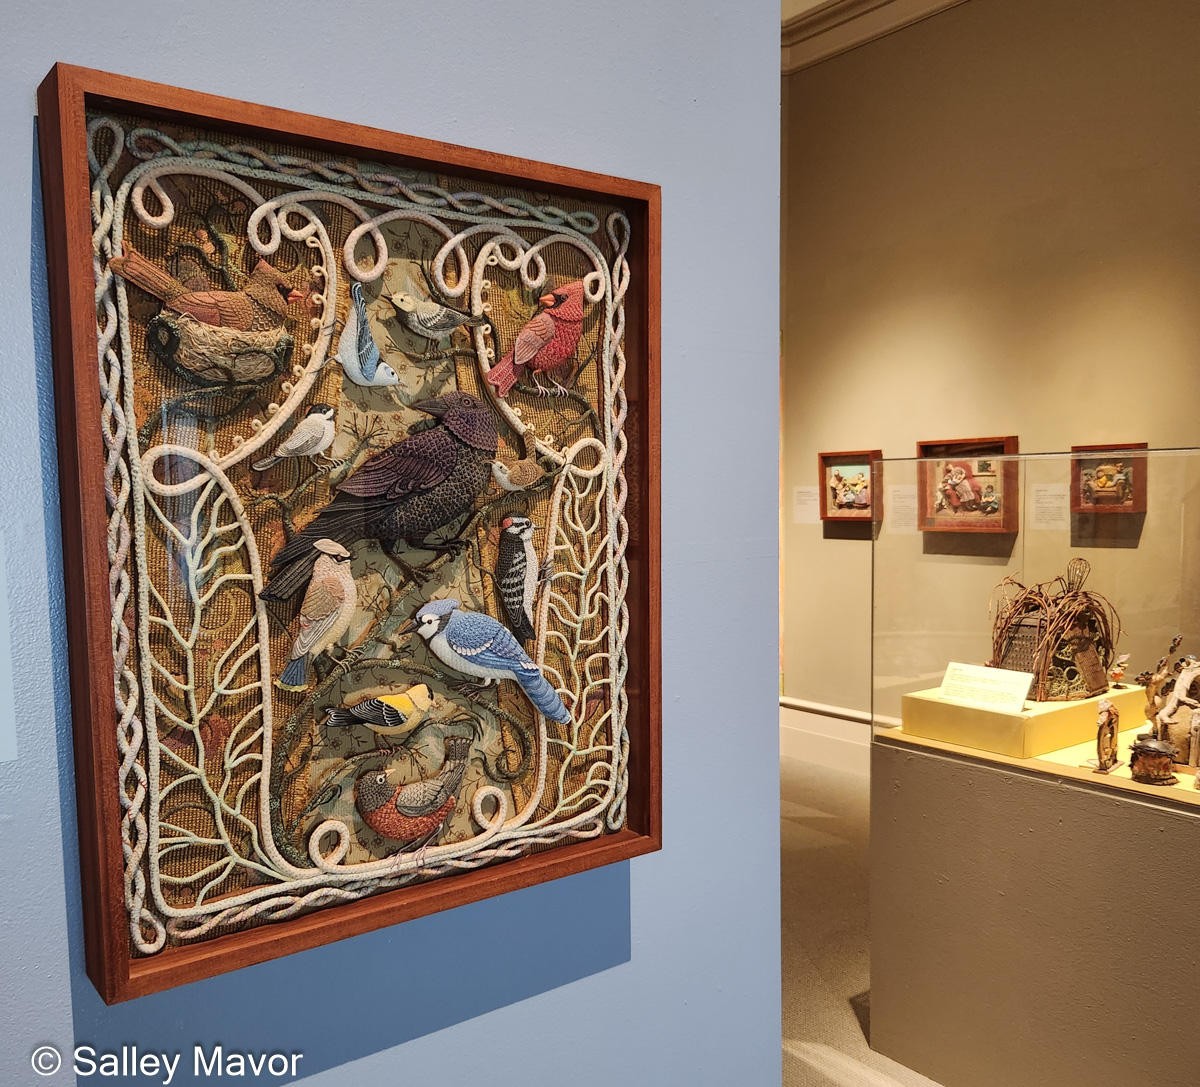
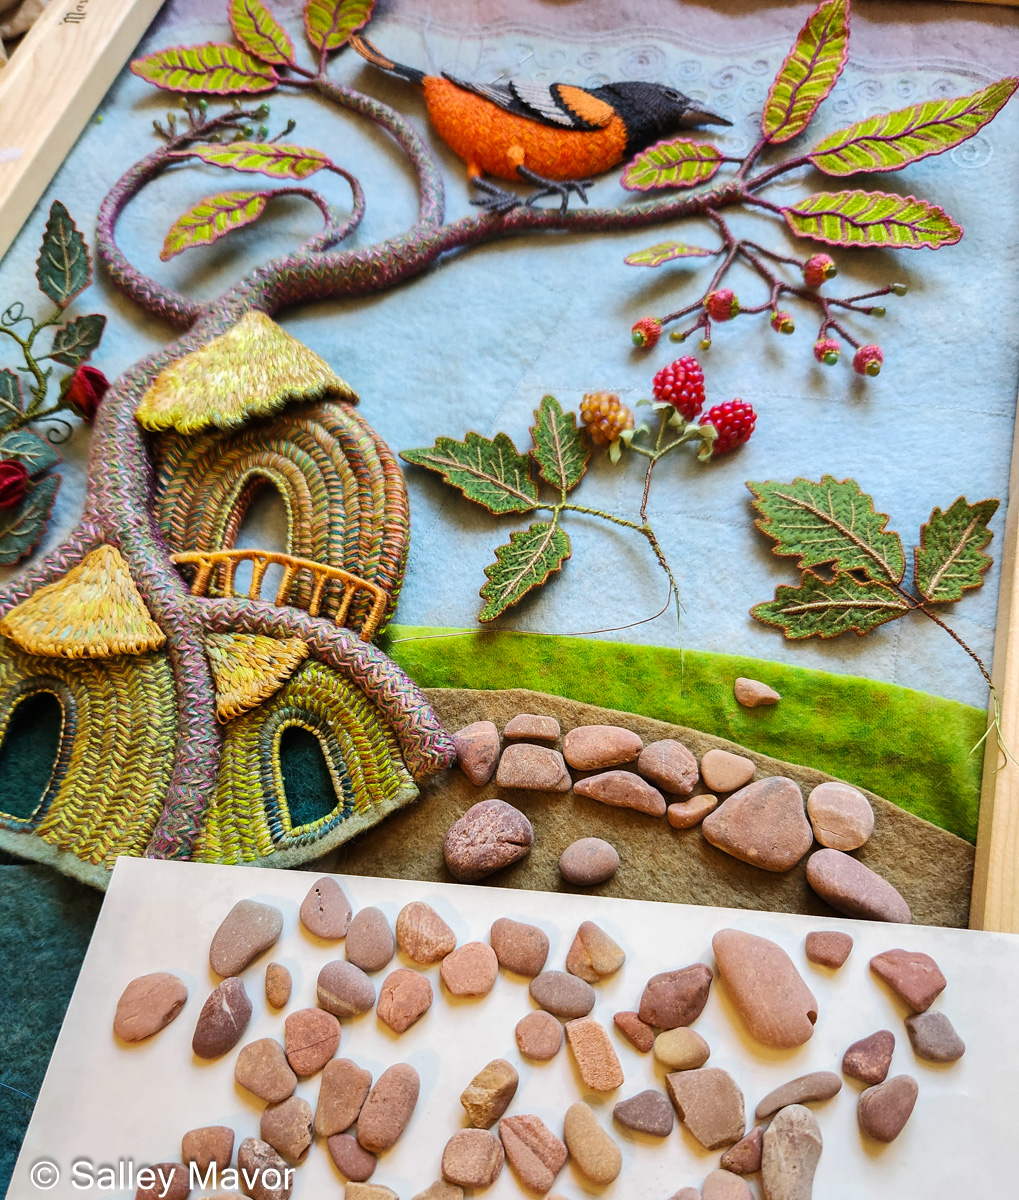
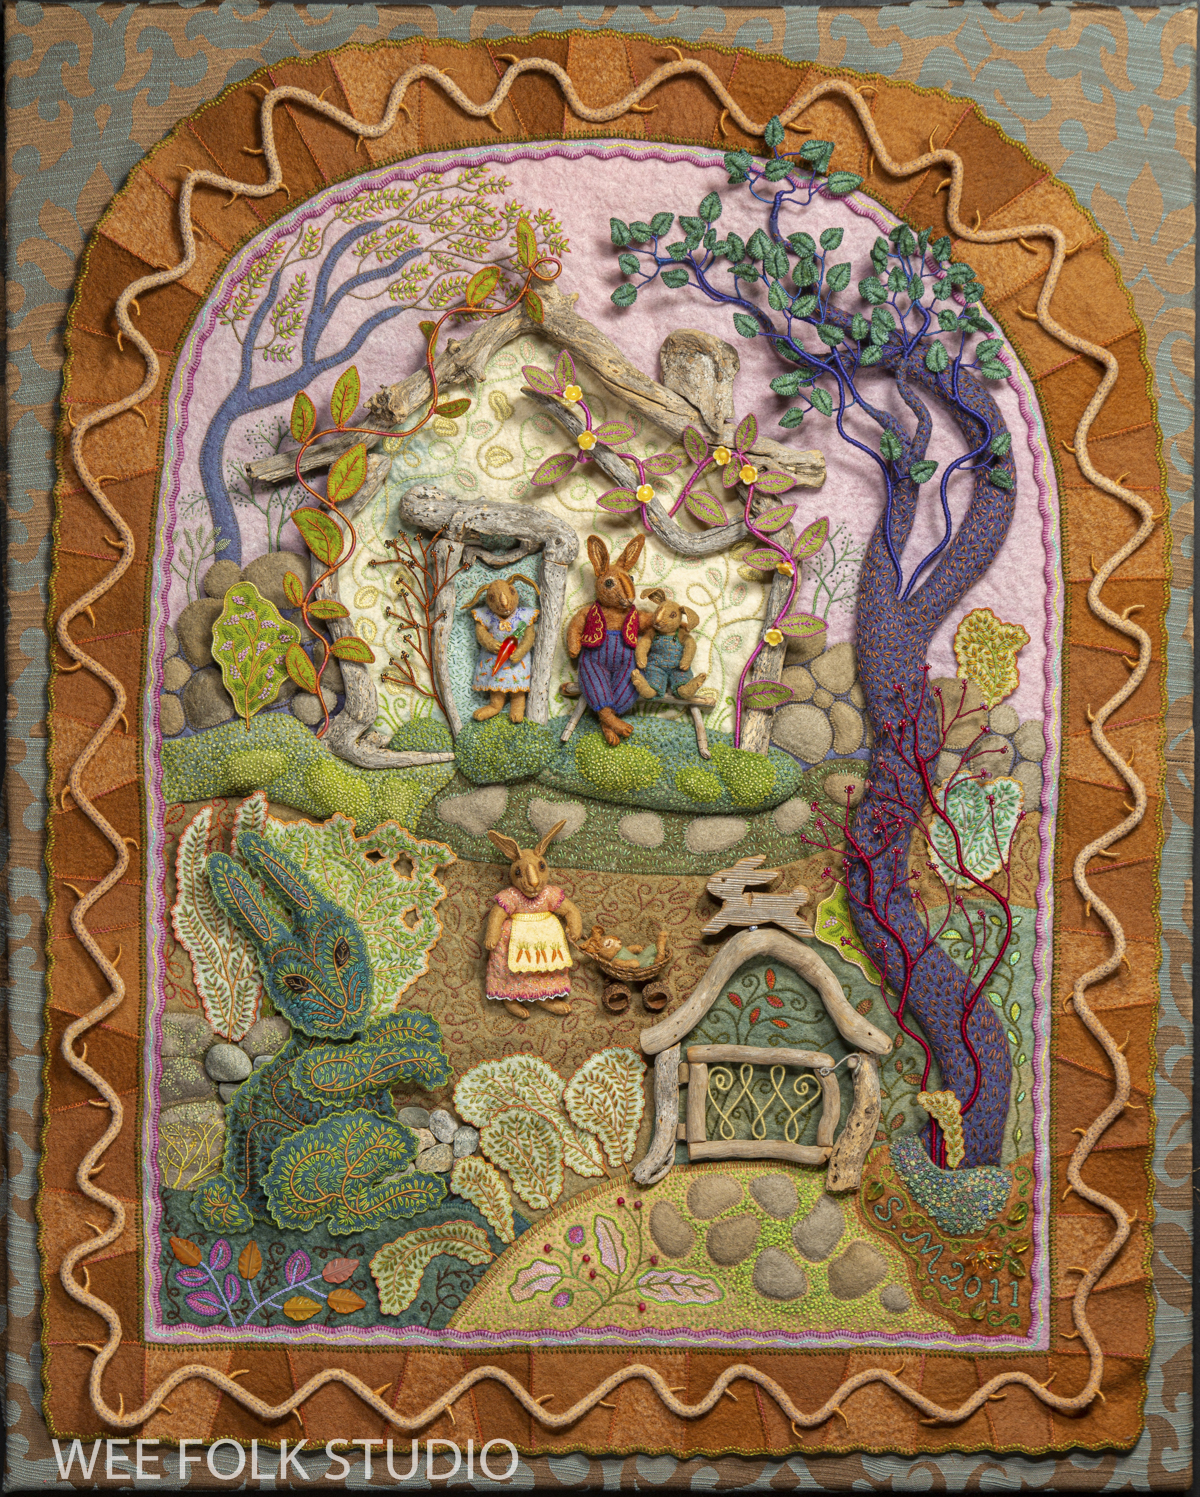
Summertime is the summer scene in a series of four seasonal landscapes that capture the wonder and magic of the natural world. Posters, note cards, prints, bookmarks, and jigsaw puzzles of Summertime and the other scenes in the series (Frosty Morning, Mossy Glen and Harvest Time) are available in my Etsy Shop.
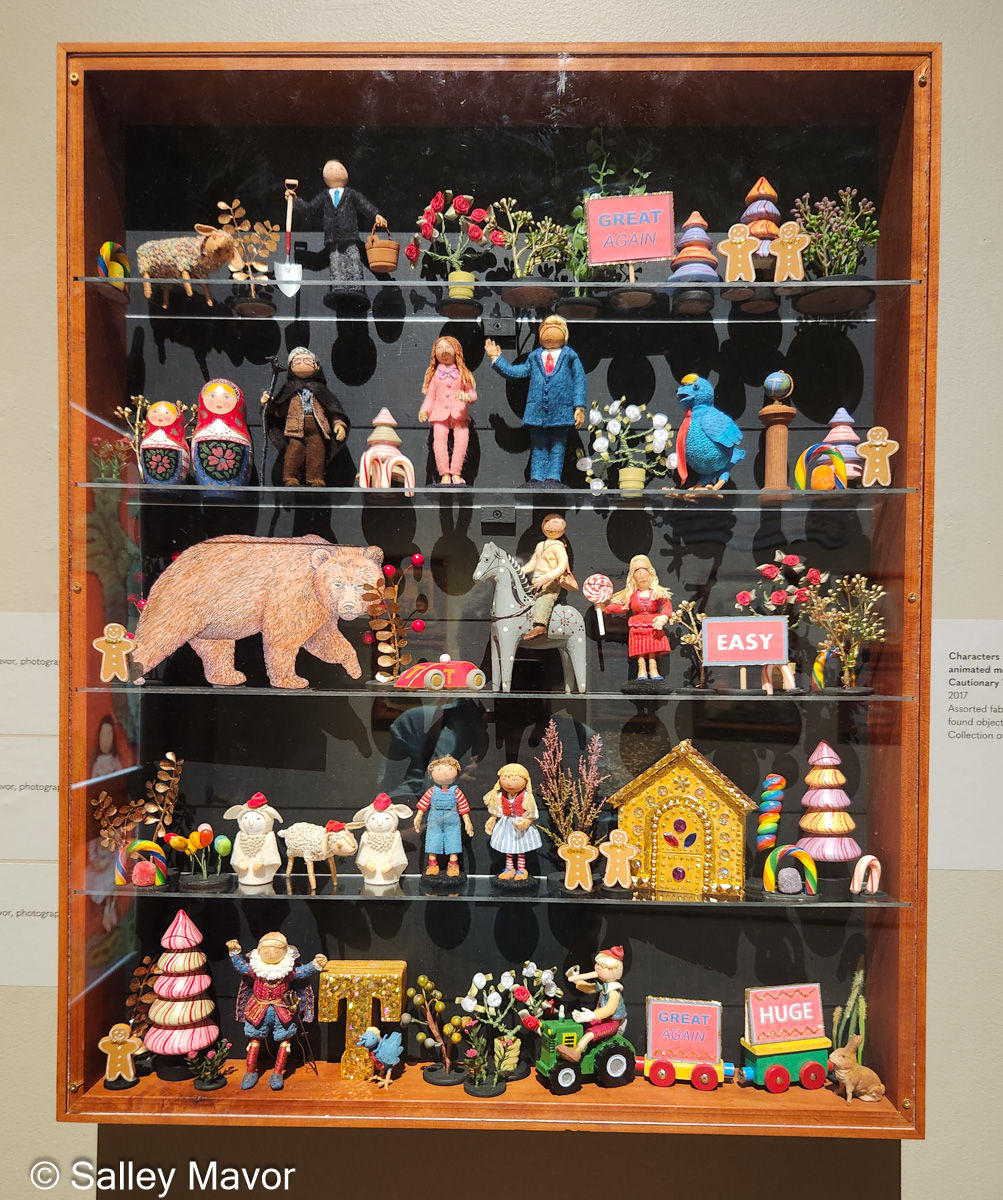
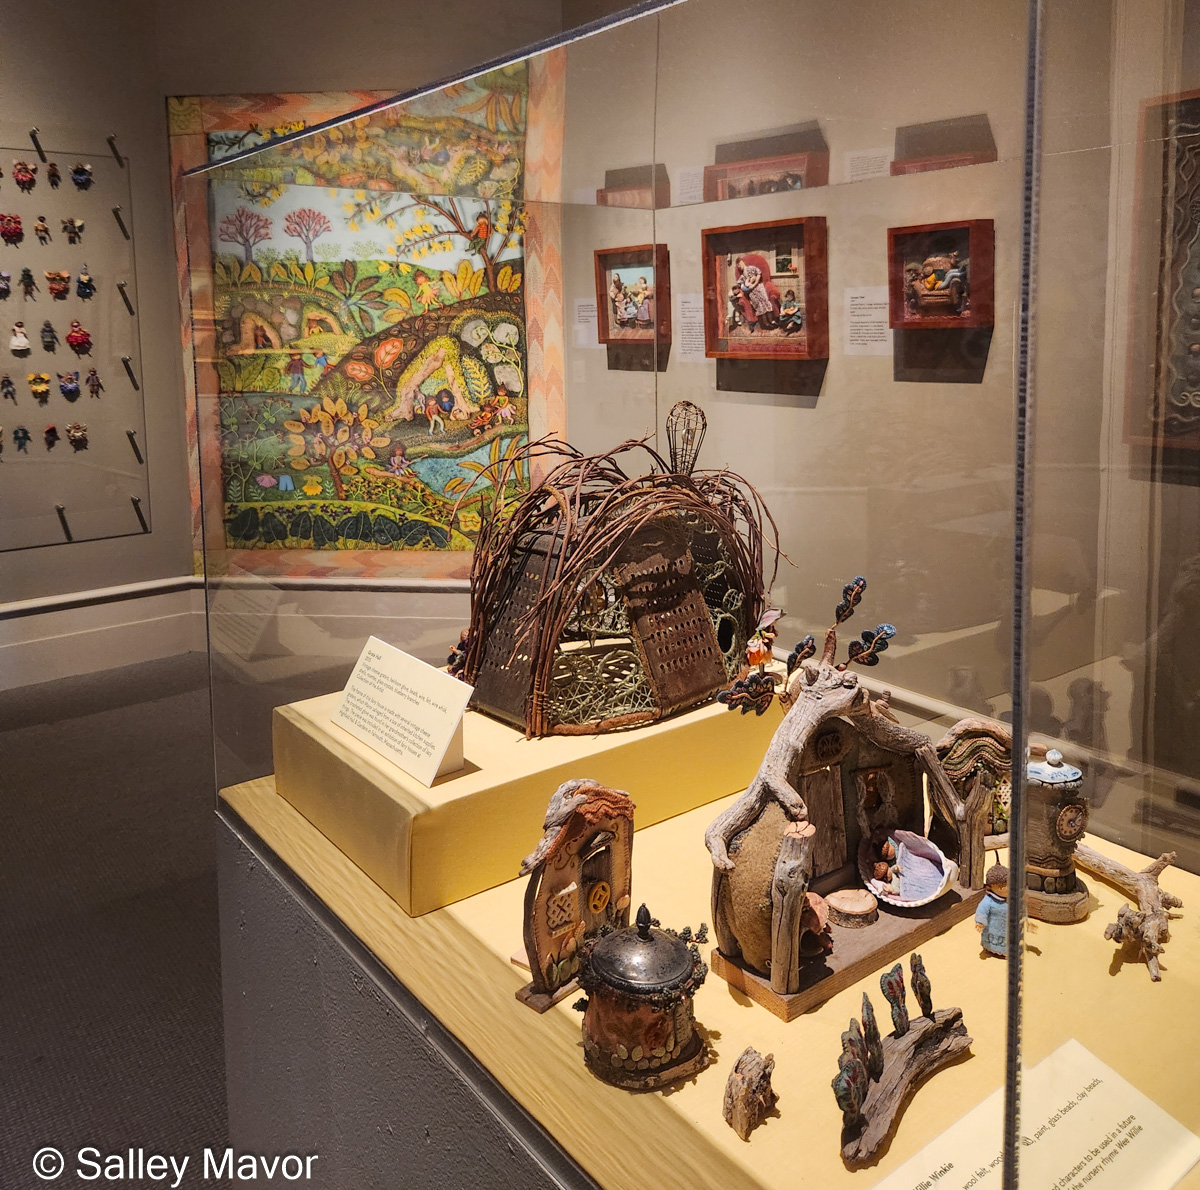
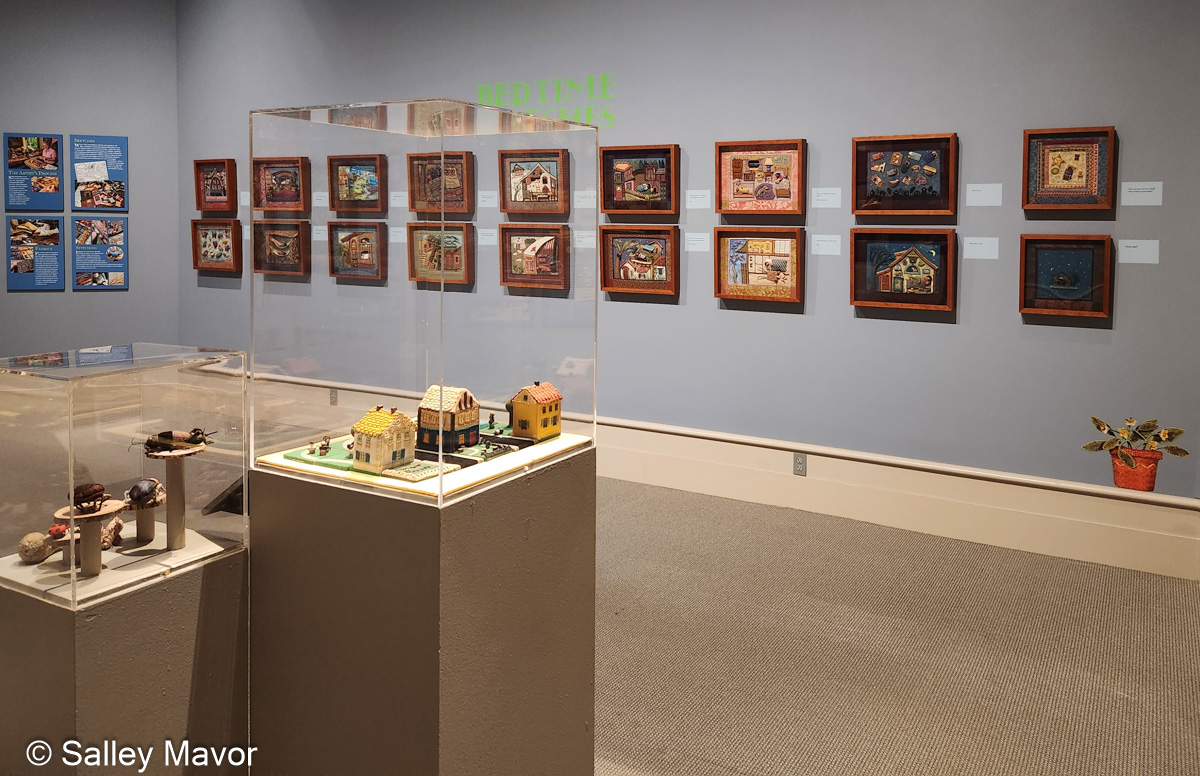
See the Four Seasons Series and dozens of other works in my exhibition, To Every Season: Works by Salley Mavor at the New England Quilt Museum, Sept. 9 – Dec. 31, 2025. The show includes recent work, as well as rarely seen early pieces on loan from private collections.
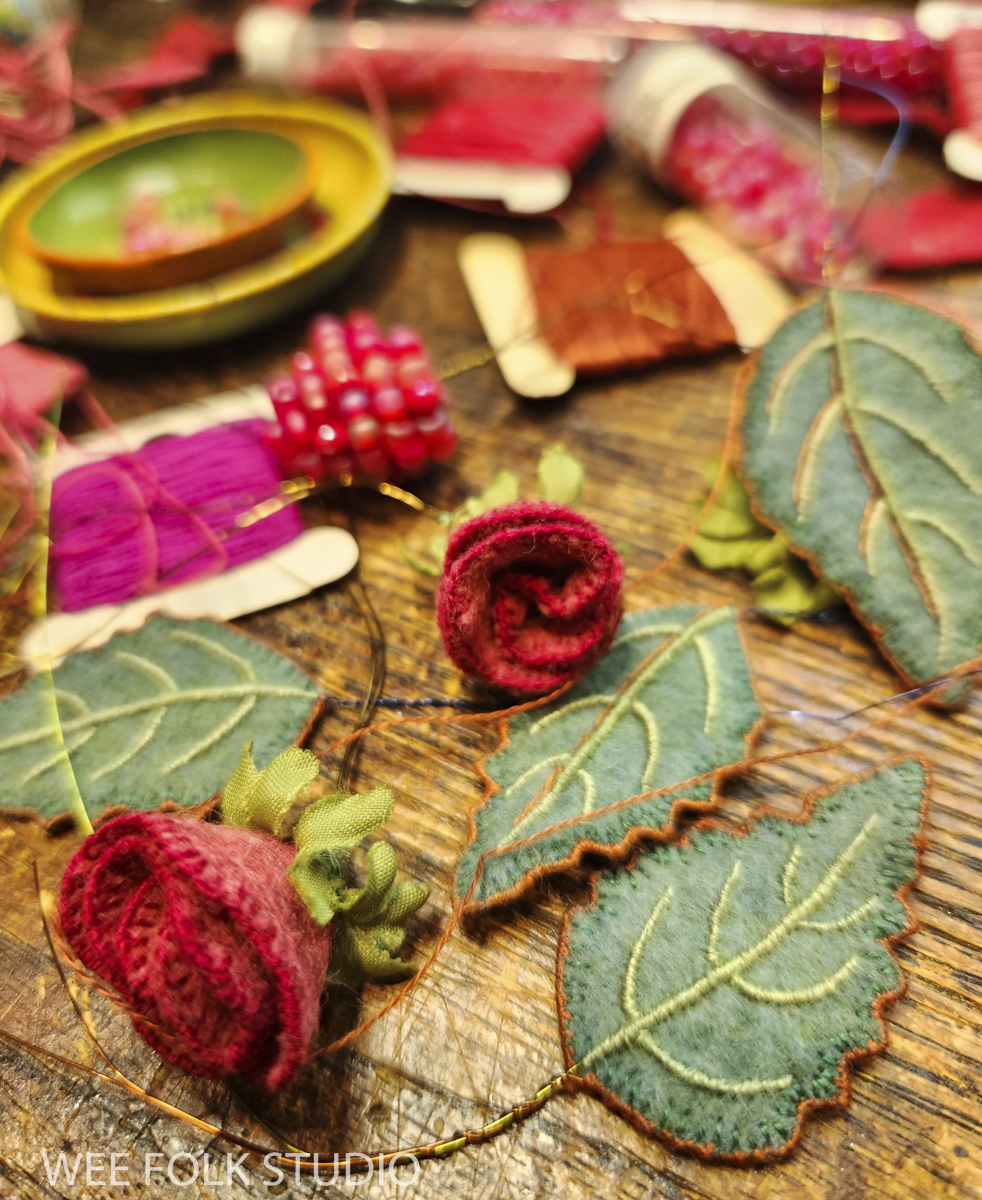
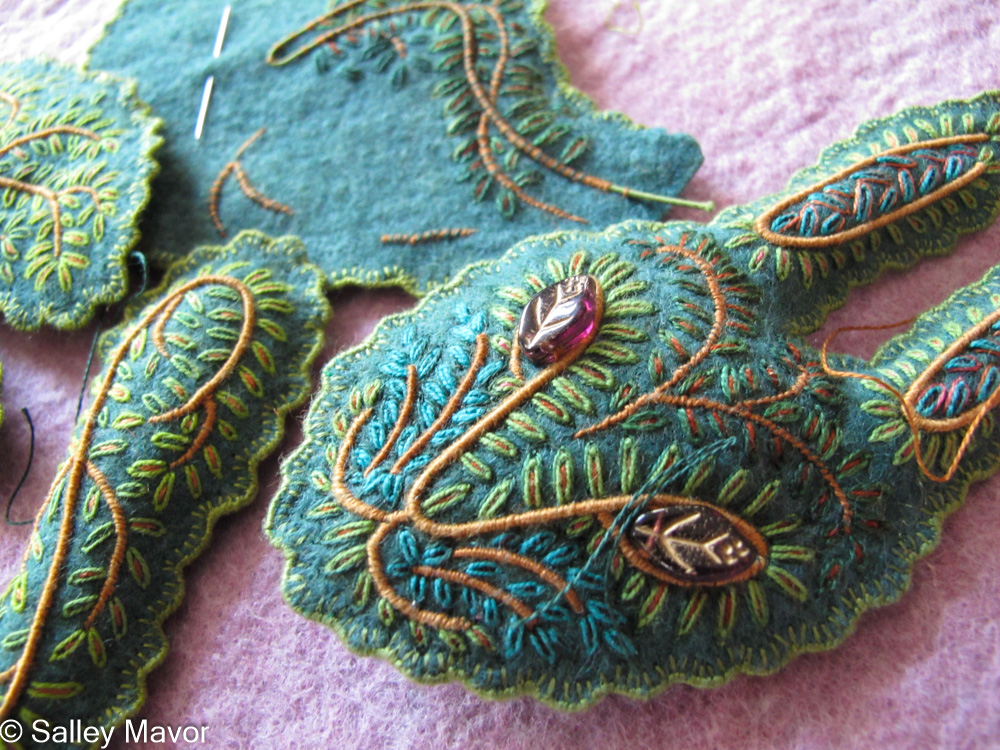
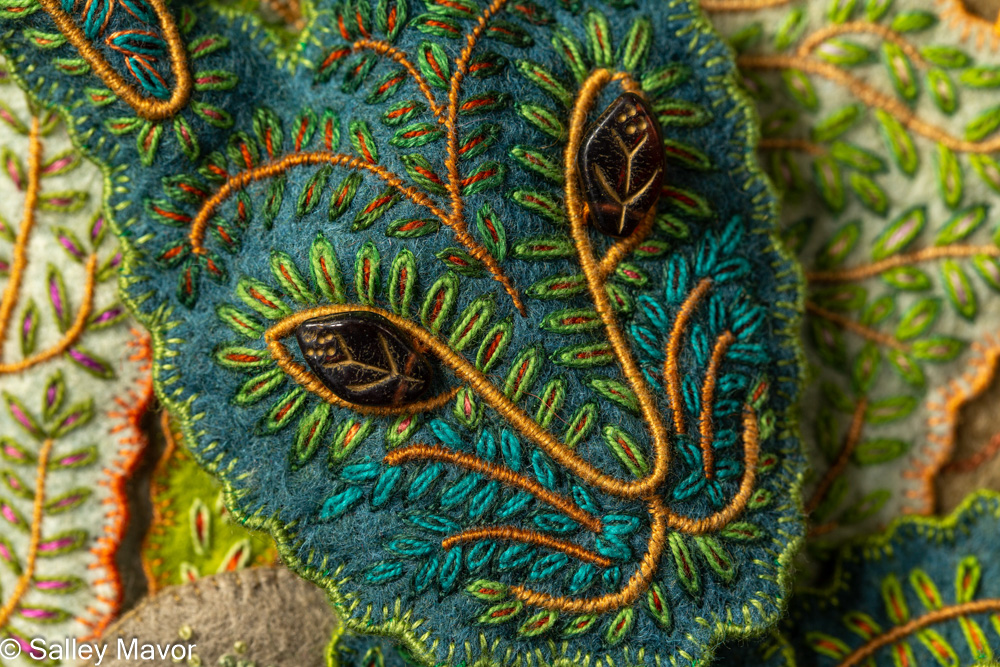
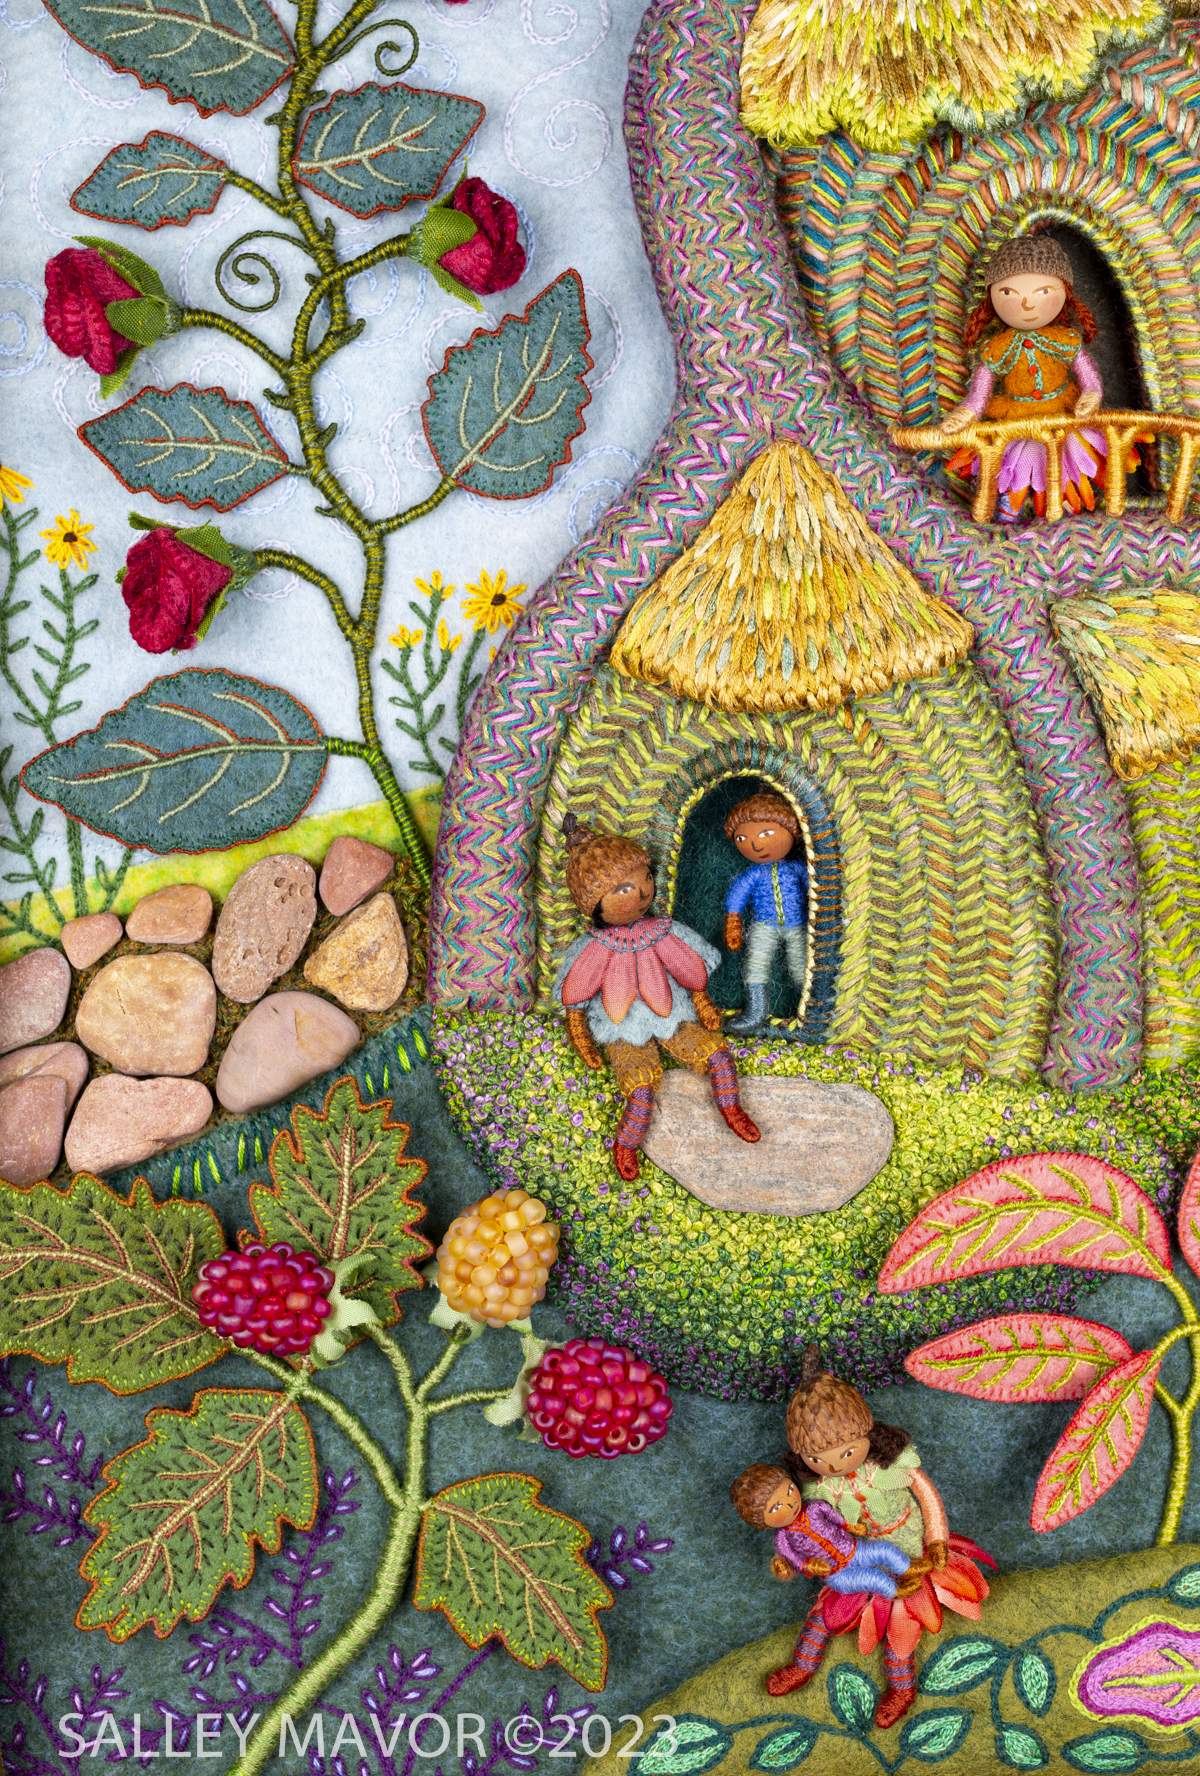
ROSES
I learned how to make basic felt roses like these years ago from Mimi Kirchner’s blog. Mimi’s tutorial is available here. I love how deceptively simple the process is, starting with a circle of felt and folding it like origami to make a rose shape. Watch the following video to see how I finished off the raw felt edges with blanket stitching and folded the circle to make a rose.
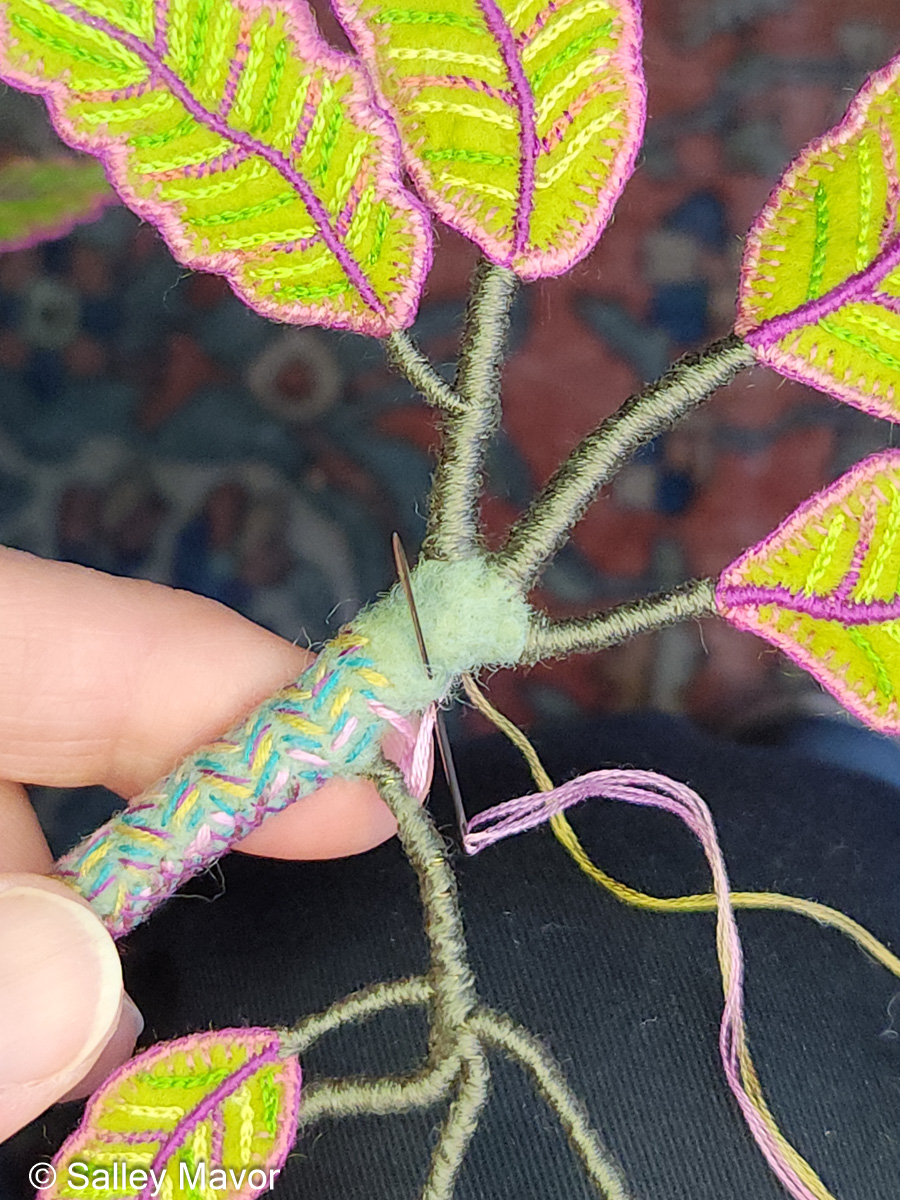
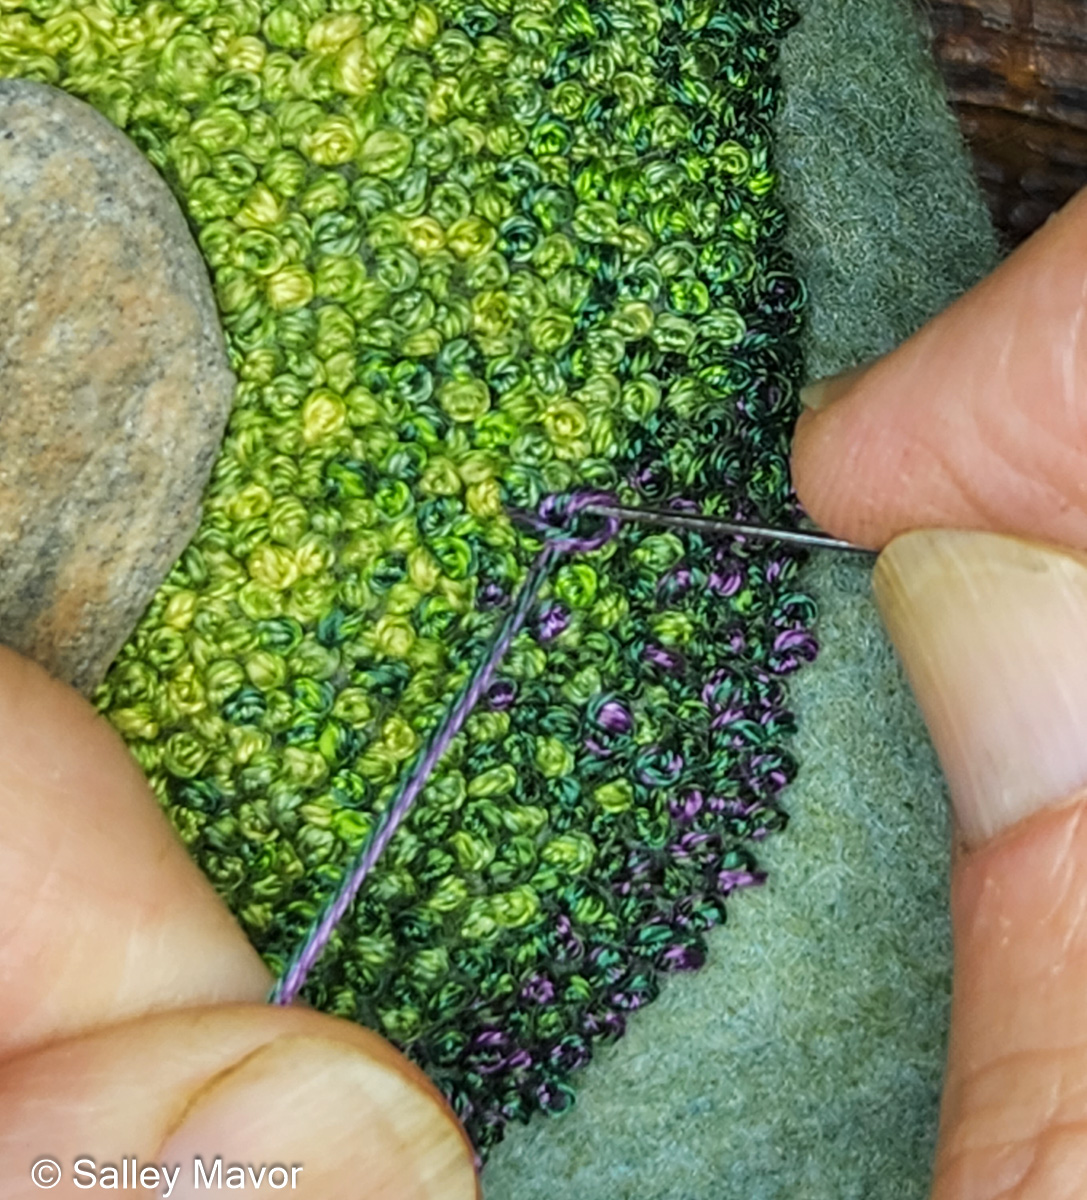
LEAVES
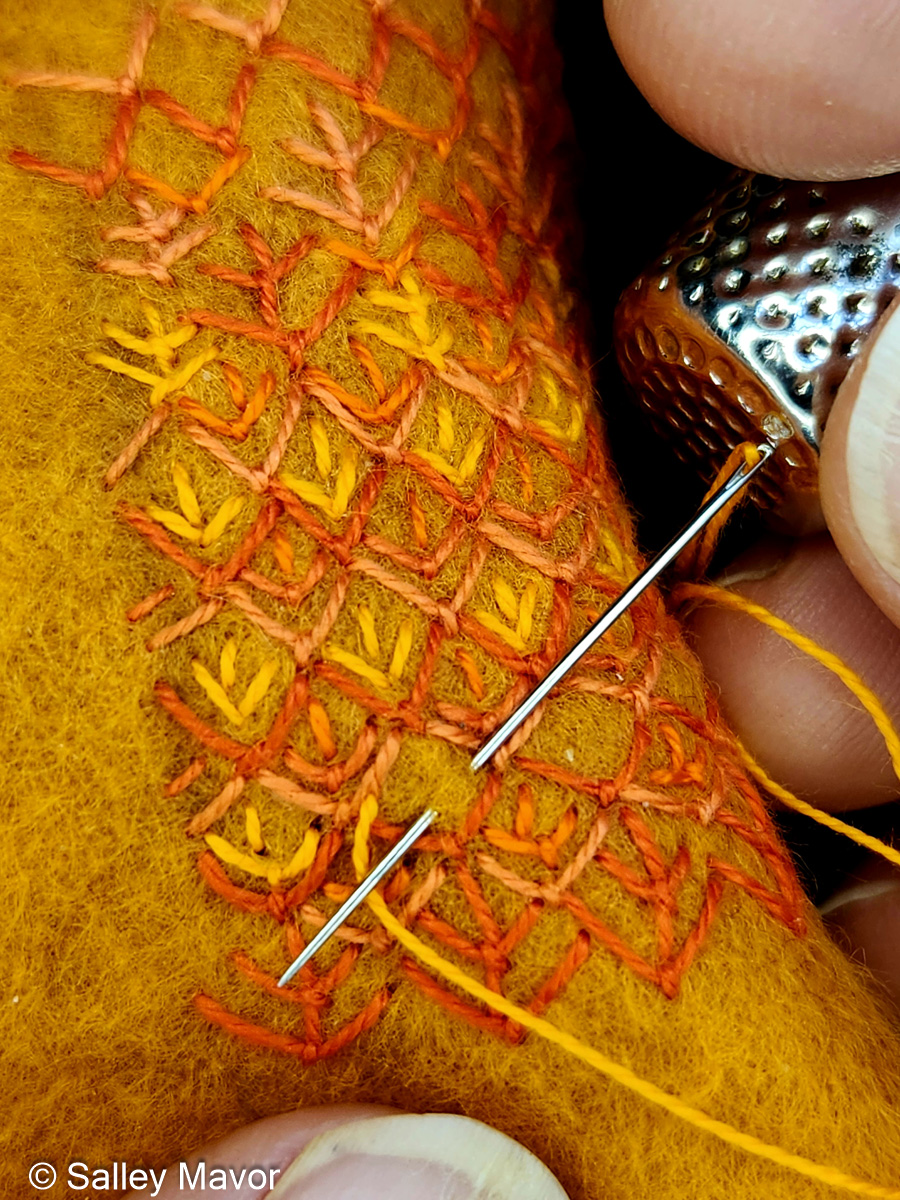
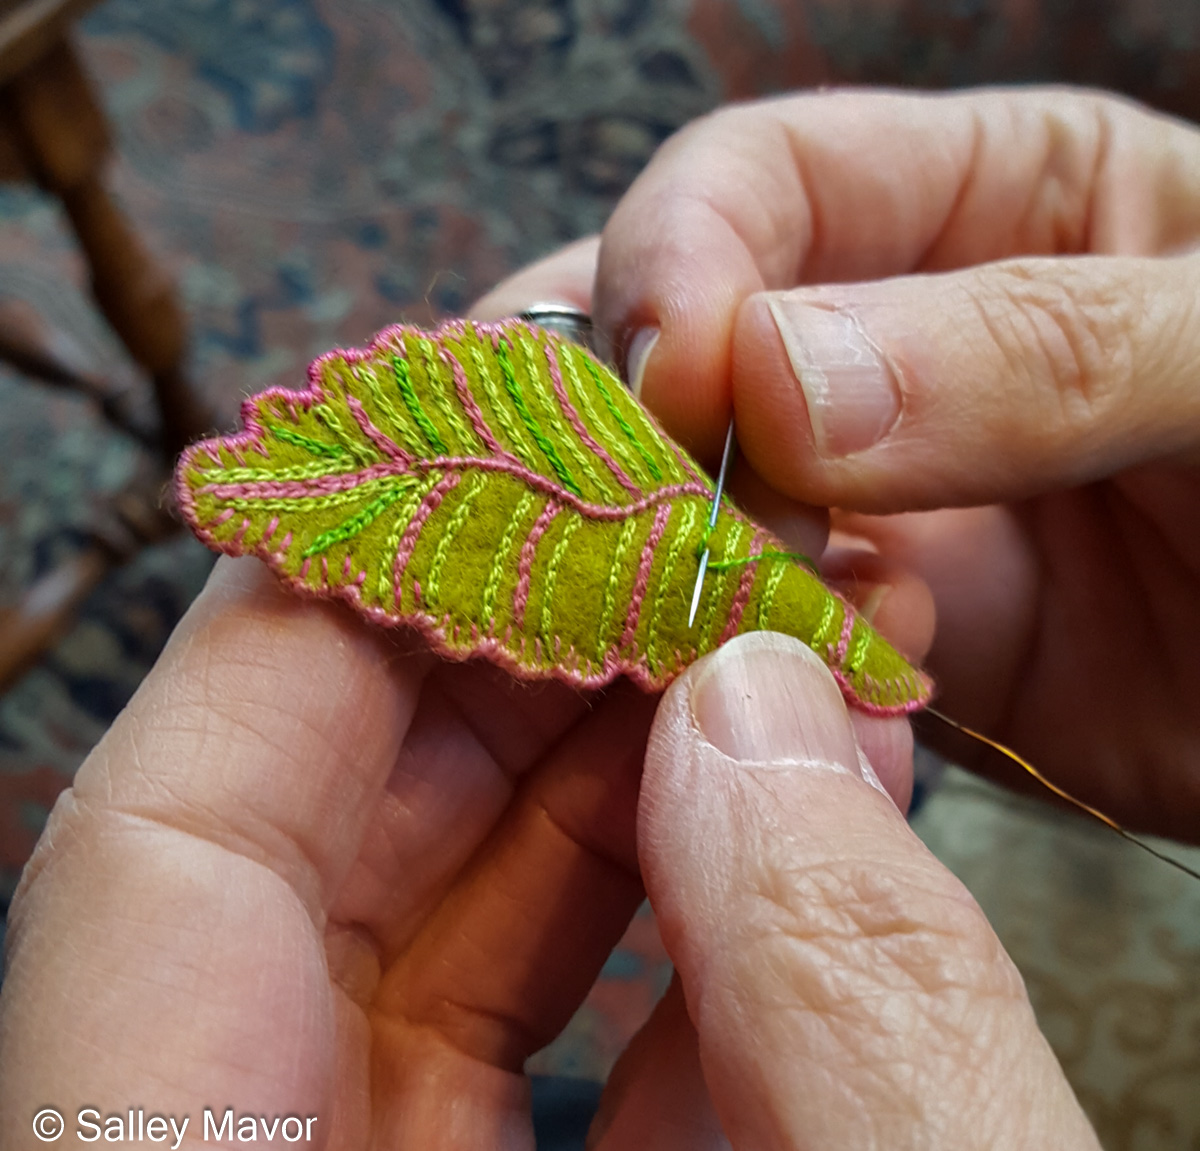
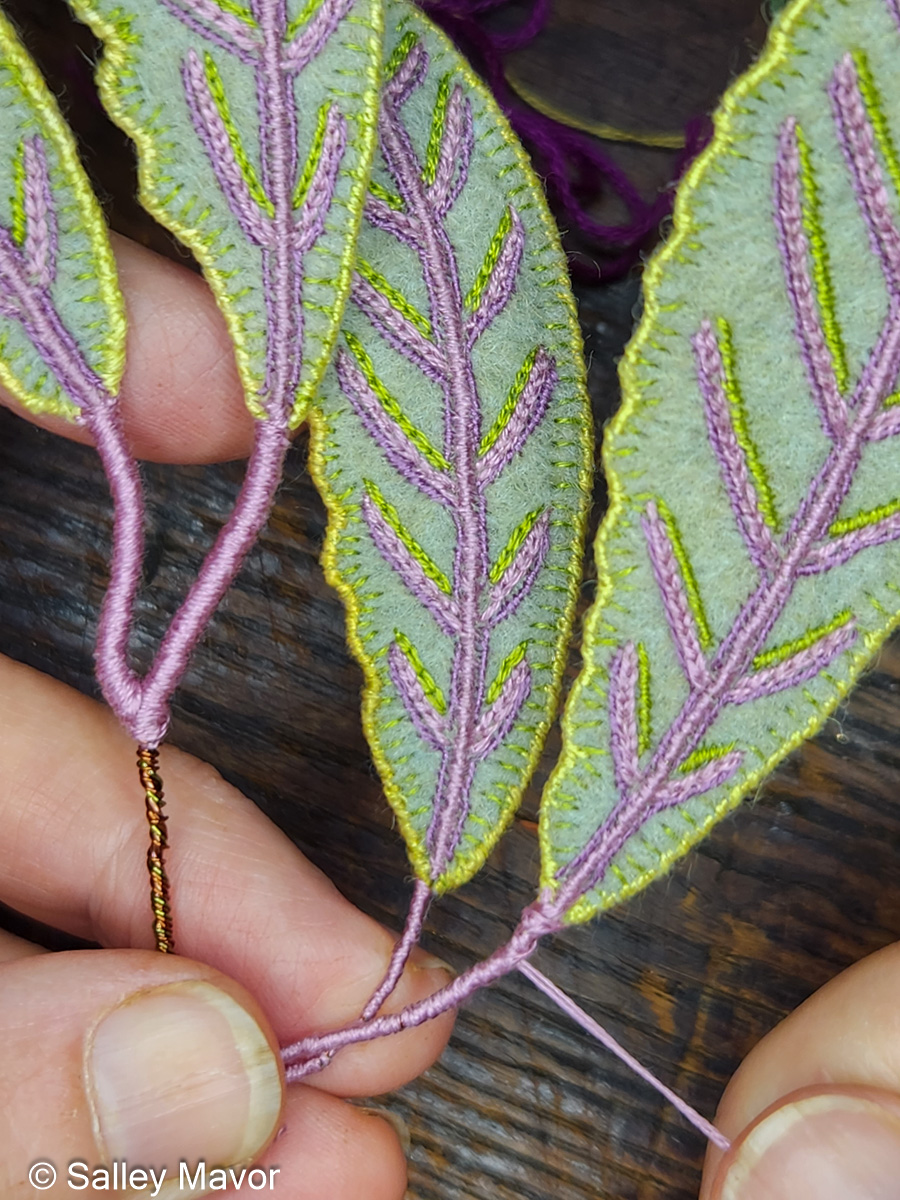
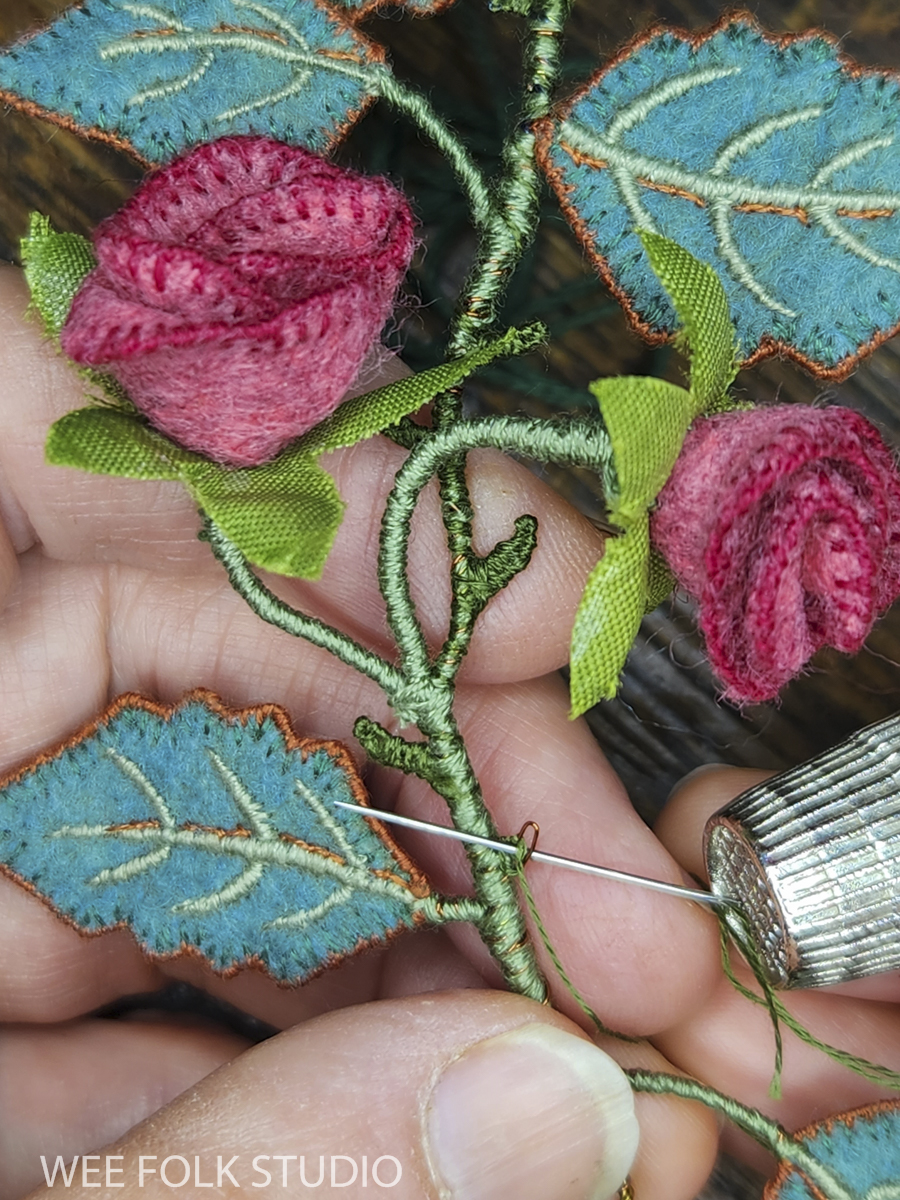
To cut out the sharp-toothed edge around the rose leaves, I used pinking shears. The following video shows how I stitched wire around the outside of a felt leaf and embroidered its stem and veins.
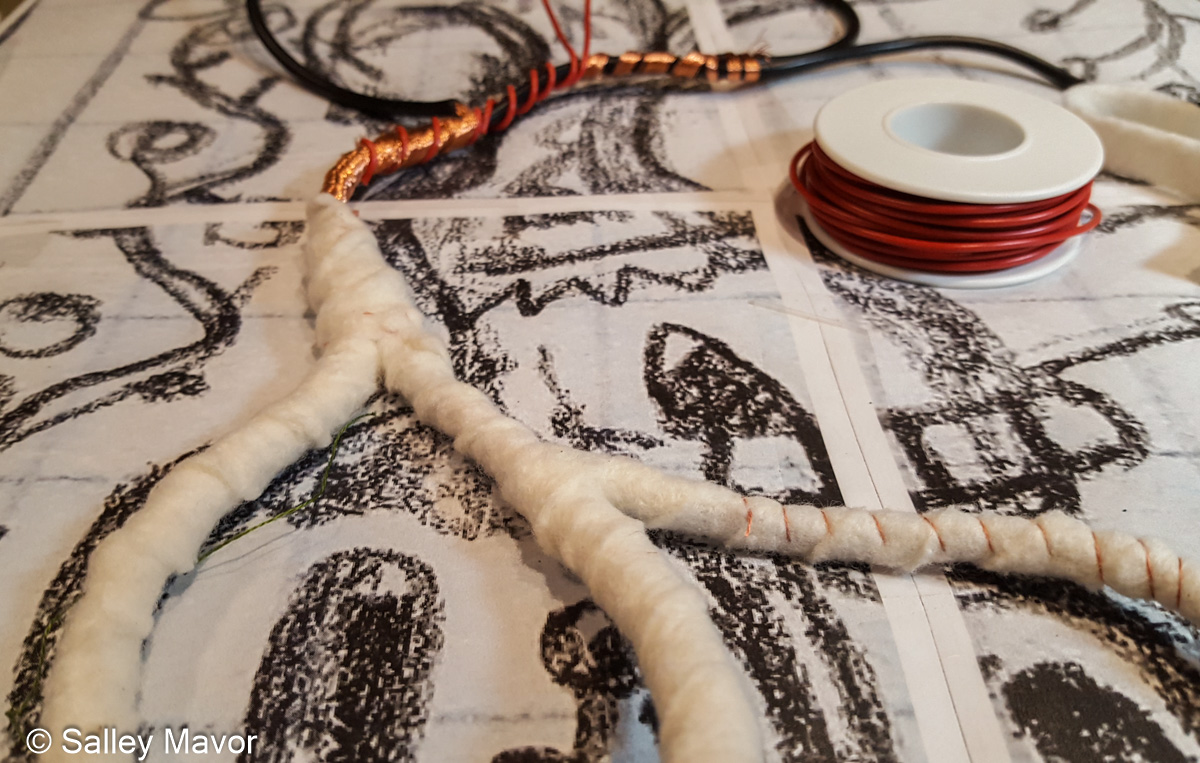
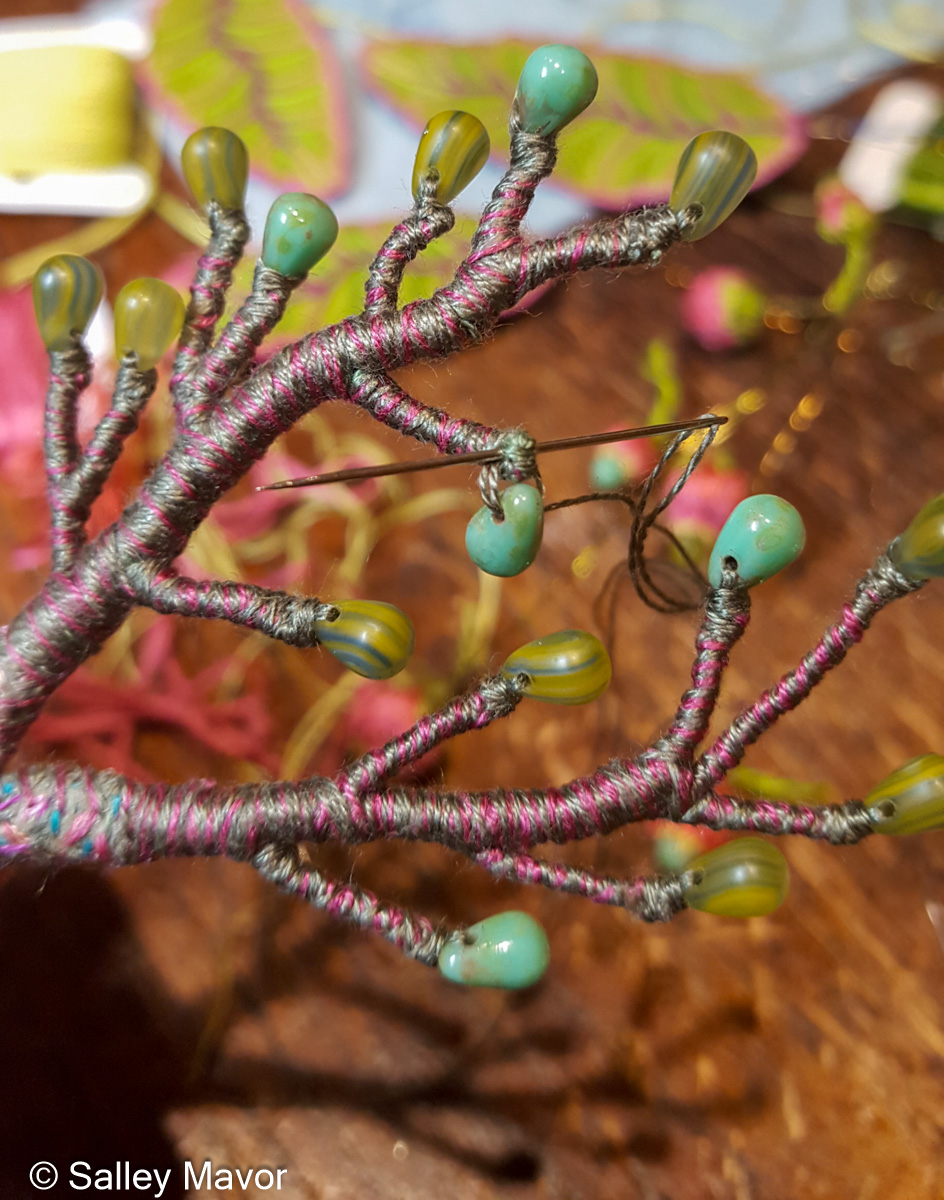
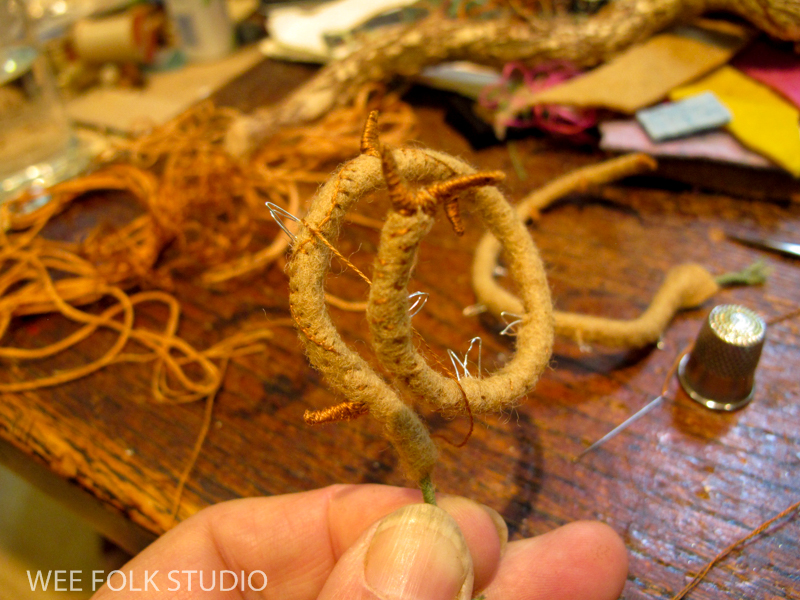
I twisted wire to make a central vine and added the roses, leaves, thorns, and curly tendrils. Besides felt and embroidery floss, the most common material in my artwork is wire. Felt alone is too floppy and needs structural supports. I used Parawire in a range of gauges, from 24 to 32, to build up the thickness and strength I wanted.
The last step was disguising the shiny metallic wire with embroidery floss. Part 3 in this series includes videos of wrapping wire stems and branches on other foliage in the Summertime piece. I wound 1 or 2 strands of floss around and around the stems until the surface was evenly covered. It was a bit tricky to make the thorns look sharp!
Stay tuned for Part 7, where I’ll share photos and videos documenting the process of making the raspberry plants in Summertime. To keep up with new posts, please subscribe to this blog. Your contact info will not be sold or shared. If you’d like to see more frequent photos tracking the projects in my studio, please follow me on Facebook, Instagram and BlueSky.