Category Archives: Embroidery
Rabbitat – part 6 (rabbit characters)
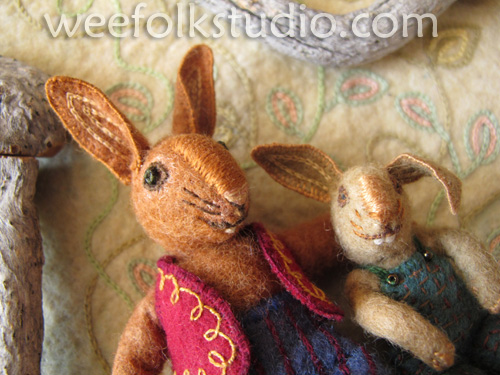
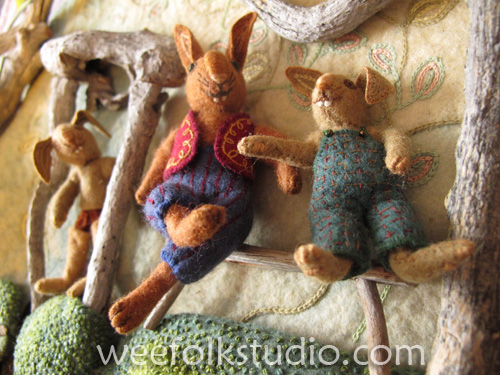
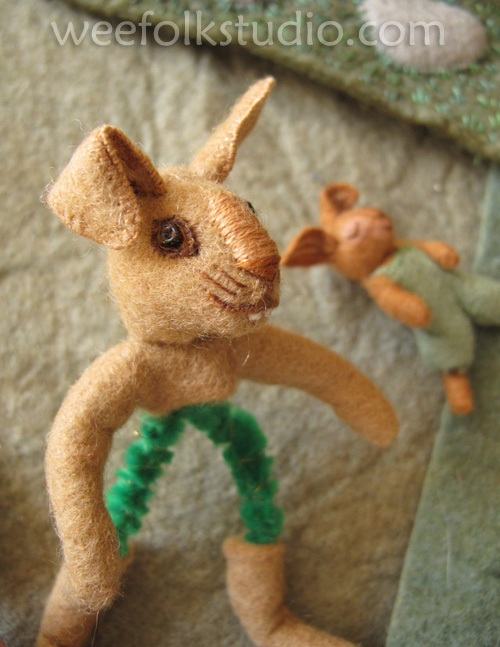
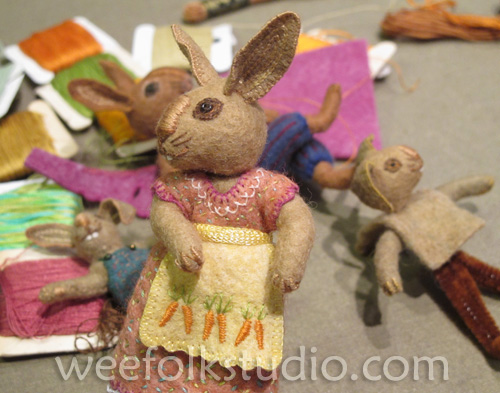
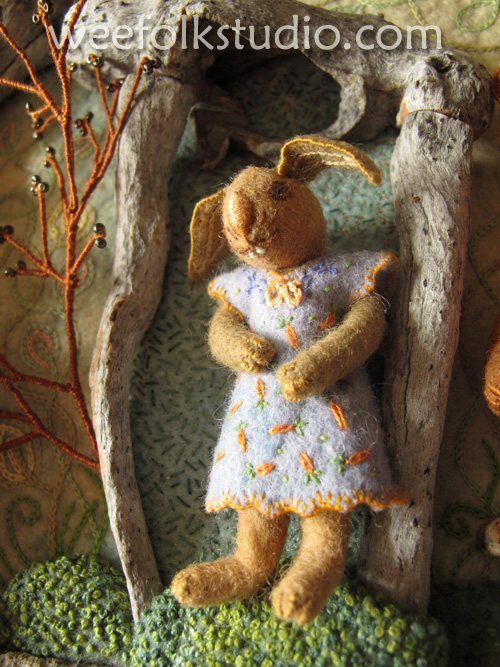
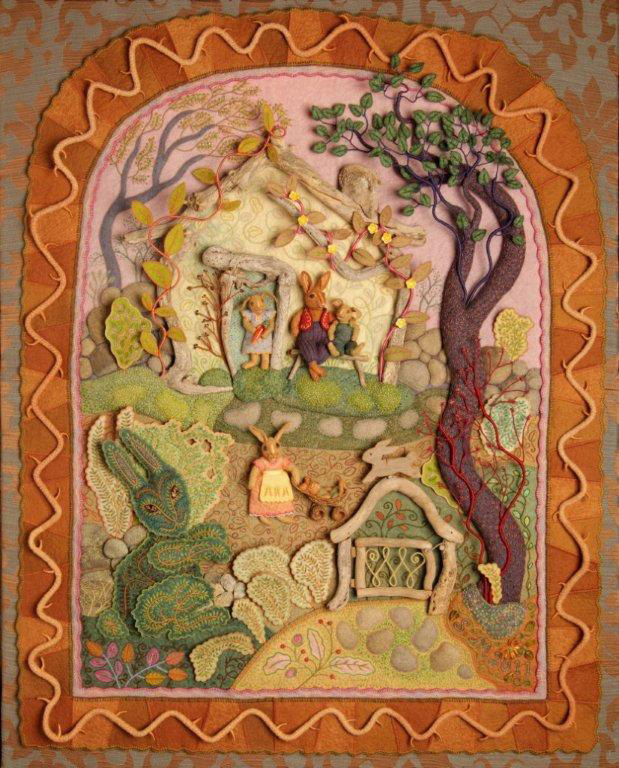
Originally, I was going to make human characters living in the drift wood house, but I kept imagining long ears sticking up from their heads, so they changed into a rabbit family. Hence the name Rabbitat (see film here). The mother and father dolls are about 4 inches tall and made with a bendable pipe-cleaner armature. The heads are made from wooden beads covered with wool felt. There’s a seam down the front of the face, under the embroidered nose.
As soon as I added front teeth, they lost their bland cuteness and took on personality, or should I say rabbitality?
Maybe I just identified with them more, having been a buck toothed child.
The faces are embroidered, with glass bead eyes.
The ears have fine wire sewn around the outside edge, so they can be bent expressively.
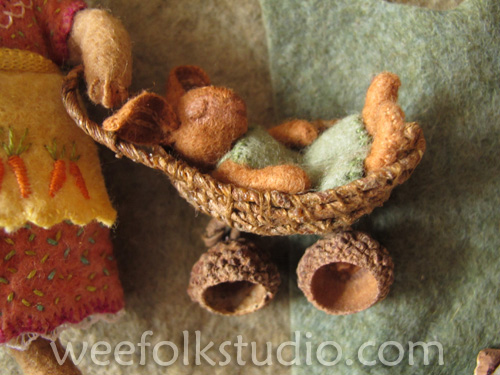
The baby carriage is made from this wire, which is covered with a bark-like natural material I found at a florist supply business. The wheels are acorn caps with holes drilled in the center.
I embroidered a carrot motif on the clothing.
And let’s not forget the biggest character of all — the rabbit topiary.
To see more posts in this series and to view the Rabbitat film click here.
Rabbitat – part 5 (garden gate)
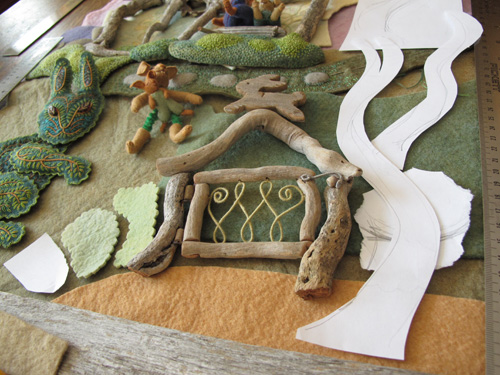
I added the garden gate about half way through the process of making Rabbitat. Since I changed the design from horizontal to vertical, I needed something in the lower right to balance the rabbit topiary on the left. I also wanted to create a transition from the foreground to the background and make an an entrance into the rabbit world.
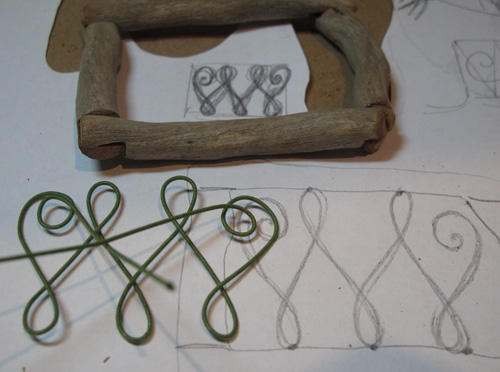
I selected some driftwood and carved joints into the pieces. I then drilled holes in the joints and glued the pieces together with wire in the holes for reinforcement.
On a jig saw, I cut out a wooden rabbit shape to put on top of the gate.
I wanted bars in the gate, so I bent some 32 gauge cloth-covered wire and wrapped it with embroidery floss.
Then I had to figure out what to use for hinges and a latch. I got out my collection of little metal do-dads, but wasn’t satisfied with how they looked. Shiny metal didn’t seem to fit in the rabbit’s world. I ended up using clay tube beads for the hinges and wrapped wire for the latch.
I worked around the gate for many weeks, sewing the tree and constructing parts of the scene’s landscape.
I created a felt stone pathway leading to the gate, with french knot moss. Thinking ahead, I stitched my initials into the design on the right hand corner.
To see more posts in this series and to view the Rabbitat film click here.
Rabbitat – part 4 (stitched signature)
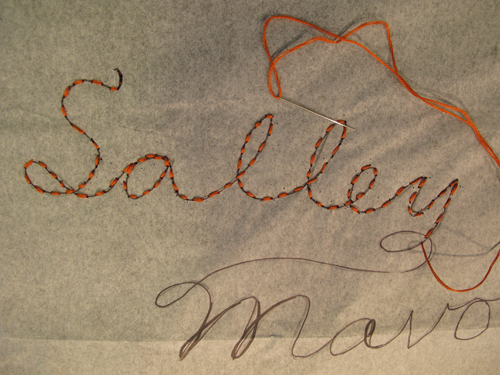
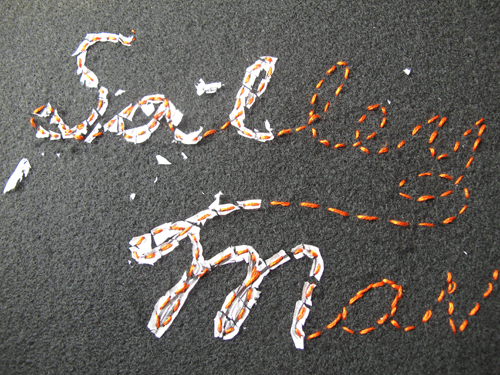
The last part of the animated title sequence in the Rabbitat film (which just hit 2001 views!) includes this stitched signature. We wanted my name to appear below the title made of found objects, so I wrote the script out in a simple line of stitches.
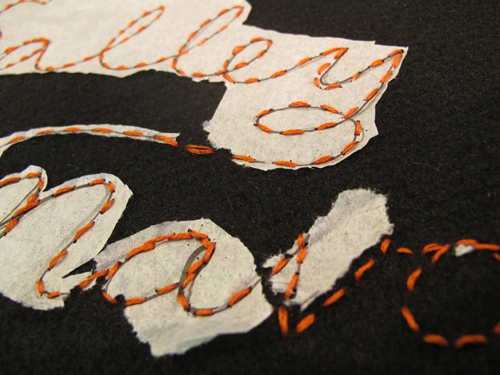
On tissue paper, I wrote out my name in pen and then pinned the paper to a stretched piece of black felt. I then stitched through the paper, tracing the lines with orange Perle cotton, making one continuous line. Removing the paper afterwards was a tedious mess. I cut as much as I could with scissors and pulled out the small bits with tweezers, making sure not to leave bits of white showing on the black background. I’m sure that I could have found a better method, like water soluble paper, but I didn’t want to get it wet.
We stabilized the camera by strapping it to a stack of books.
We used a tripod and clamps to hold the stretcher upright and rigid, so that I could access the back.
Daniel took pictures as I pulled out one stitch at a time. Through the magic of filmmaking, he put all of the photos together to make it look like the signature was written out in stitches and added it to the rest of the title sequence. The process took several hours for a few seconds of action in the film, but we think it was worth it.
To see the film and read other posts in the Rabbitat series click here.
Rabbitat – part 3 (title animation)
Now that summer activities have slowed down, I can get back to writing about the making of Rabbitat. This post will show the letters that I made for the film’s title animation. See the completed film here. I was originally just going to spell out the word Rabbitat in found objects. Then the filmmaker (Daniel Cojanu) and I decide to try our hand at some spot action animation.
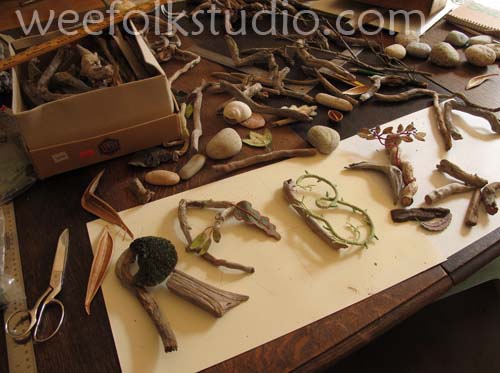
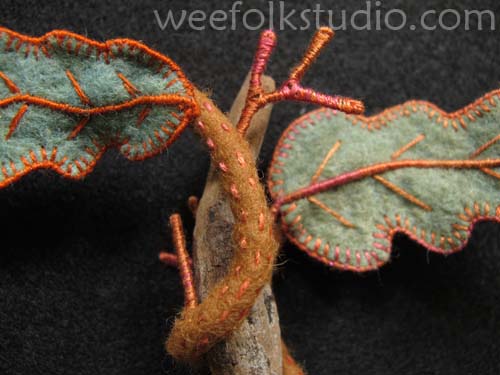
I formed the letters with driftwood, adding embroidered felt vegetation to complete the shapes. One “B” features a roving, rounded vine made of felt covered wire. The thorns are thread wrapped wire.
And a “T” is crossed with thread wrapped wire branches laden with felt leaves and bead berries.
I found just the right beach stone for the other “B” and used a green mushroom, which is a florist product, for the rounded top of the “R”. For the filming we used a solid black felt background.
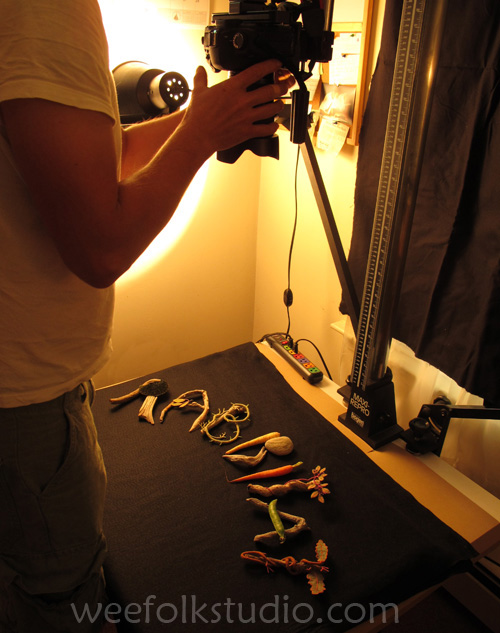
We started with the word Rabbitat spelled out and then moved each piece about a 1/4 inch for each shot.
Every piece had its own path to follow, so the 2 of us had to keep track of several objects at once. Instead of trying to construct the letters from a pile of objects, we deconstructed the word and then reversed the order of the hundreds of photographs, so it looks like we built it in the film.
When we were ready to shoot, I bought some vegetables to include; a carrot, a parsnip and a peapod. It took us many hours to move and photograph the letters for what would become a 15 second title sequence. After working side by side for most of a day, moving little objects a tiny distance at a time, Daniel and I weren’t frustrated at all. We said to each other,”That was fun!”.
The next post in this series will be about my animated stitched signature from the Rabbitat title. For other posts in the Rabbitat series click here.
show at the Brattleboro Museum
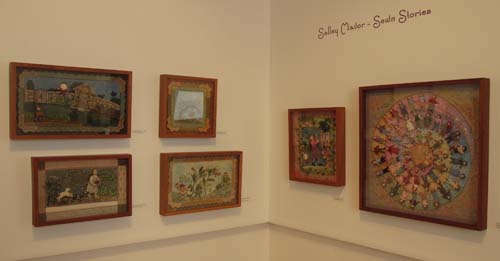
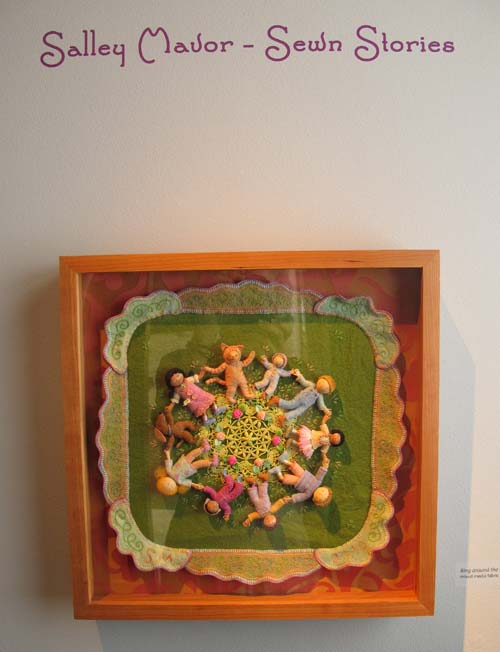
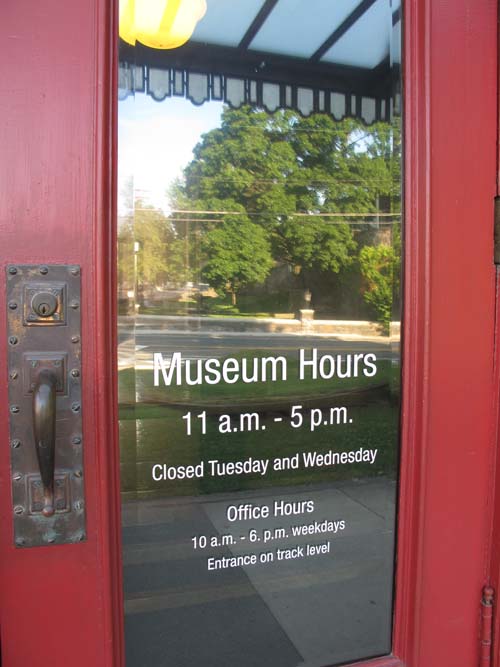
I’ve been so busy that I’m just now getting around to writing about our wonderful visit to Brattleboro, Vermont for the show opening on July 15th. The Brattleboro Museum and Art Center is housed in the old train station right in the middle of town. It is a beautiful facility and during this rotation, most of the galleries are showing exhibits of work that “explore the boundaries between fine art and fine craft”.
My show, Sewn Stories, will be on display for 2 rotations, so it will be up until February 5th, 2012. I will be returning on Sat., Oct. 15th to give a talk at 3:00 pm.
My work is in a cozy gallery in the former ticket office area. They’ve kept the dark wooden trim and ticket window in place. Inside, there’s a small TV where my Rabbitat film is shown.
The original Rabbitat is on display, along with a variety of illustrations and other fabric relief pieces that I’ve made over the past 15 years. There are several original illustrations from Pocketful of Posies, too.
Self Portrait: A Personal History of Fashion and The Storyteller and George’s Chair are included in the show.
All of the galleries in the museum were packed at the opening and I saw several people whom I’ve met through e-mail.
The curator, Susan Calabria did a fantastic job preparing for and hanging the exhibit, which will be visited by groups of children over the next 6 months. She came up with a simple, sweet, stitched felt leaf project for all ages.
I hope that some of you will find your way to southern Vermont to see the show!
wedding banner: Andrew & Mary

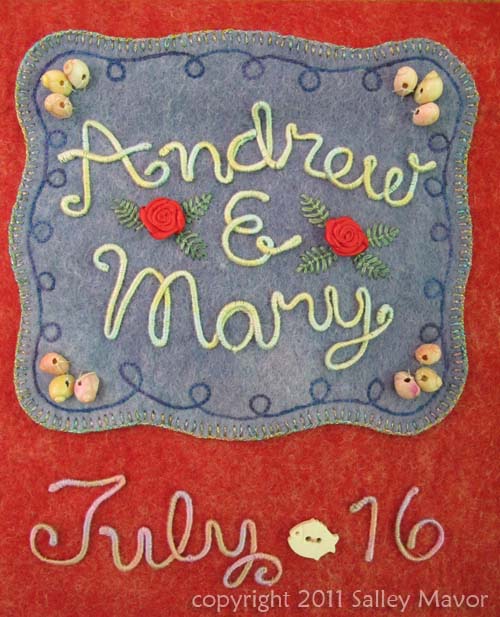
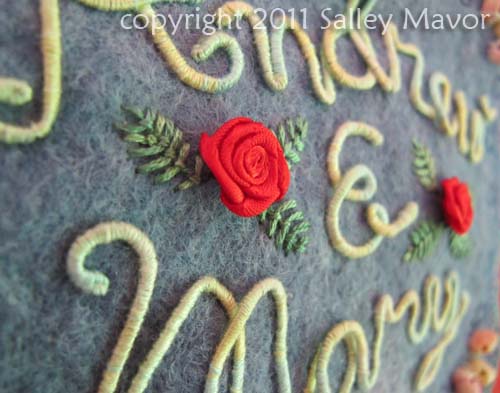
I made this wedding banner for my son Peter to give to his good college friend Andrew, who was married last Saturday. The wedding was in Biddeford Pool, Maine and since the couple met sailing there, I gave the banner a nautical/seaside flavor.

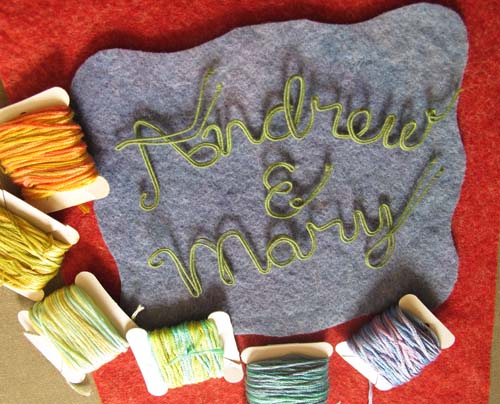
I wrote out their names in doubled up 32 gauge florist wire, since I ran out of thicker stuff. Then I picked out some variegated embroidery floss to wrap the letters.

I added 2 purchased red ribbon roses and then stitched some leaves around them.


The had a whole bunch of shells with holes that came from a necklace my grandmother got in Hawaii about 50 years ago. The blue piece of felt is edged with metallic thread, which is nasty to sew with, but the sparkle looks good.

The felt banner is hung from a piece of driftwood, which was probably part of an old wooden lobster pot.

I found some anchor buttons and a fish in my stash to add and some more shells to hang from the scalloped edged bottom. Best wishes to Andrew and Mary!

See posts about making other wedding banners here.
To keep up with new posts, please subscribe to this blog (top right column on the home page). Your contact info will not be sold or shared. If you’d like to see more frequent photos tracking the projects in my studio, please follow me on Facebook and/or Instagram.
wedding banner: Sky & Daniel
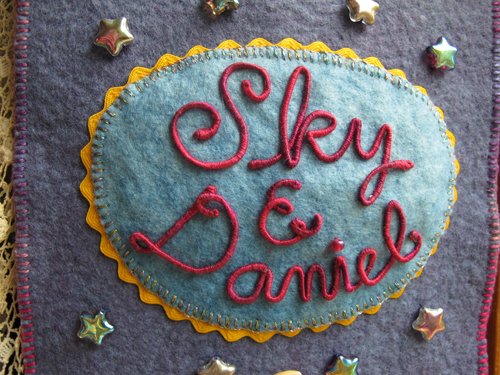
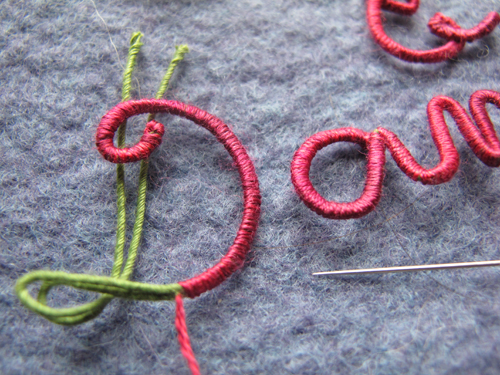
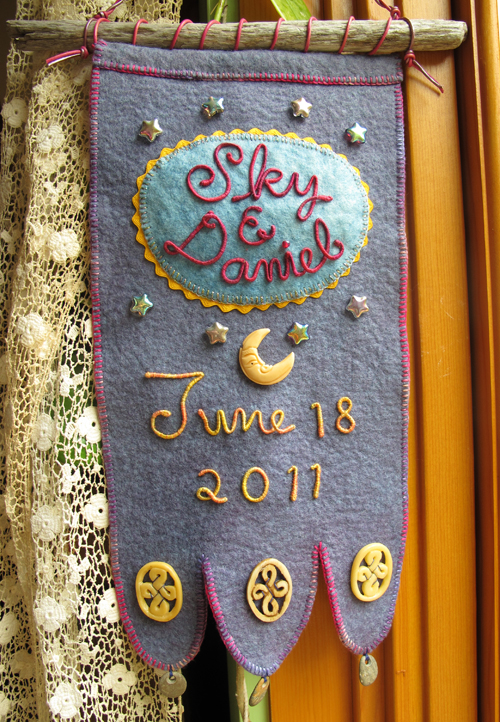
It’s wedding season once again. For a gift, I like to give the bride and groom a felt banner with their names and the wedding date. Sky is an old family friend and we’re off to her wedding tomorrow. I’m sure that the day will be as unique and wonderful as she is!
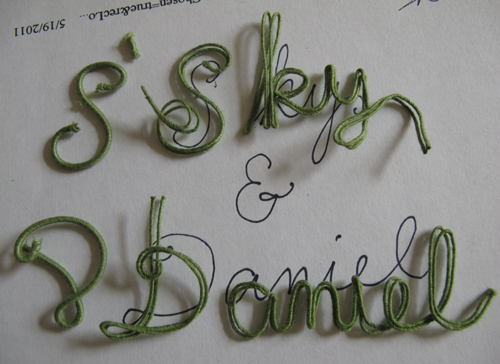
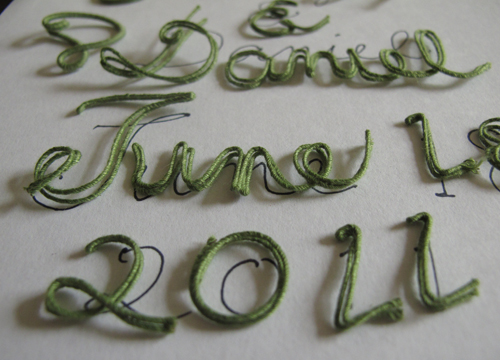
There’s a lot of showing and no telling in this post. I’ve explained more about how I wrap the letters, etc. in earlier post about other wedding banners I’ve done. See the banners for Karen & Graham and Leigh & Brendan .
To keep up with new posts, subscribe to this blog (top right column on the home page). If you’d like to see more frequent photos tracking the projects in my studio, please follow me on Facebook and/or Instagram.
key chain doodle
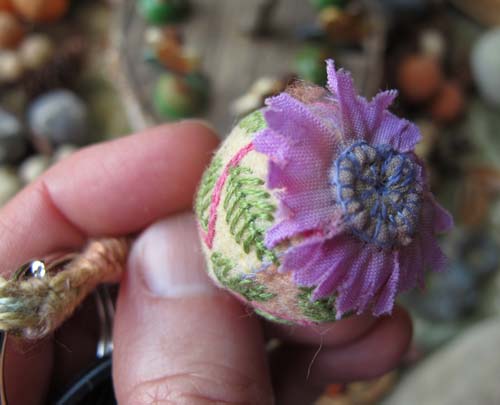
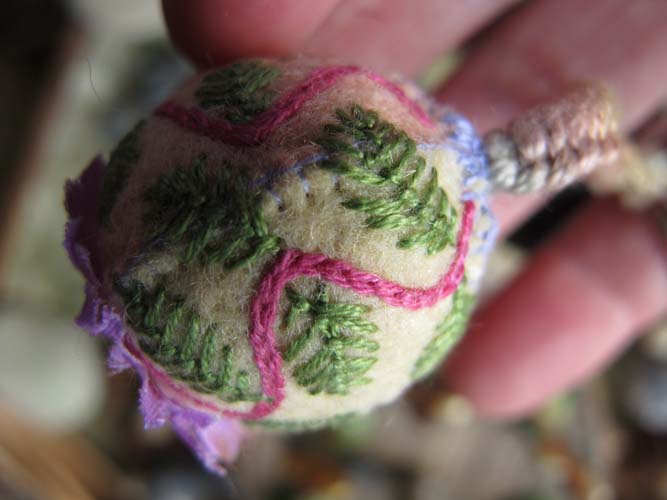
I made this key chain during the doll workshop in Muscatine last week. I’ve got to keep my hands busy, and this is my way of doodling, just taking a simple wooden bead, covering it with felt and decorating it with stitches.
I sewed on a flower petal we had on hand for the fairy dolls.
The felt pieces fit around the bead like a beach ball. I used my favorite leaf stitch after the bead was covered. Sorry this isn’t a tutorial, but I’ve sworn off writing directions! This kind of thing could also work as an ornament.