Are you wondering what to do while you’re hunkered down at home, staying away from crowds? I must admit that the concept of “social distancing” isn’t very different from my normal life, so it’s not much of an adjustment. But, I realize that closed schools and work places, as well as travel and event cancellations, is a hardship for many of you. So, to help keep your mind off the worrisome situation, how about immersing yourself in the virus-free fairy and wee folk world? In this post you will find a source list of materials to make projects from my how-to book, Felt Wee Folk. There are also lots of photos and videos that I hope will inspire you to make your own wee world!
When I posted this idea on Instagram, several people, including a self-described introvert, commented that they were already in making mode:
- “‘I adore your wee felt folk book and actually hunkered down yesterday and made a little jester. I’ve decided to make more to give to friends during this crazy time💕
- ‘What a lovely idea! I admit, I’m more worried about craft supplies than toilet paper.”
- “Introvert here reporting from a cozy studio! I secretly love a good excuse to stay in. I’ve got your book and will be making some fairies while we bunker down!!”

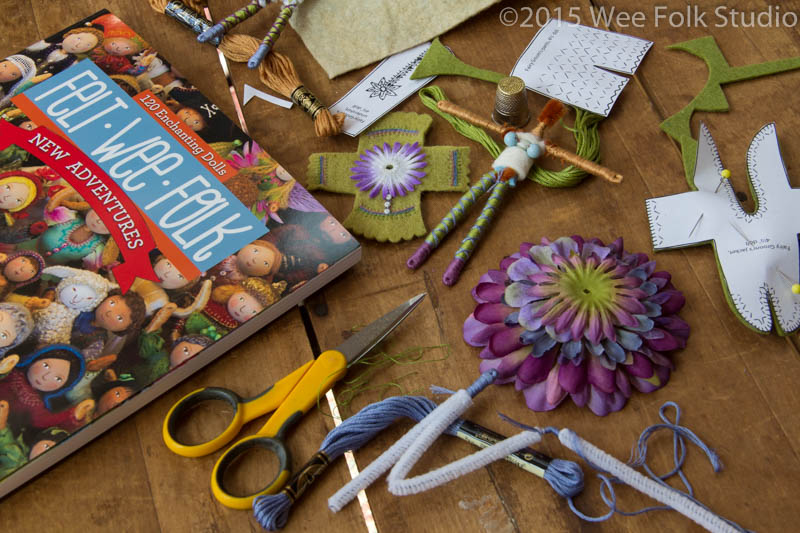
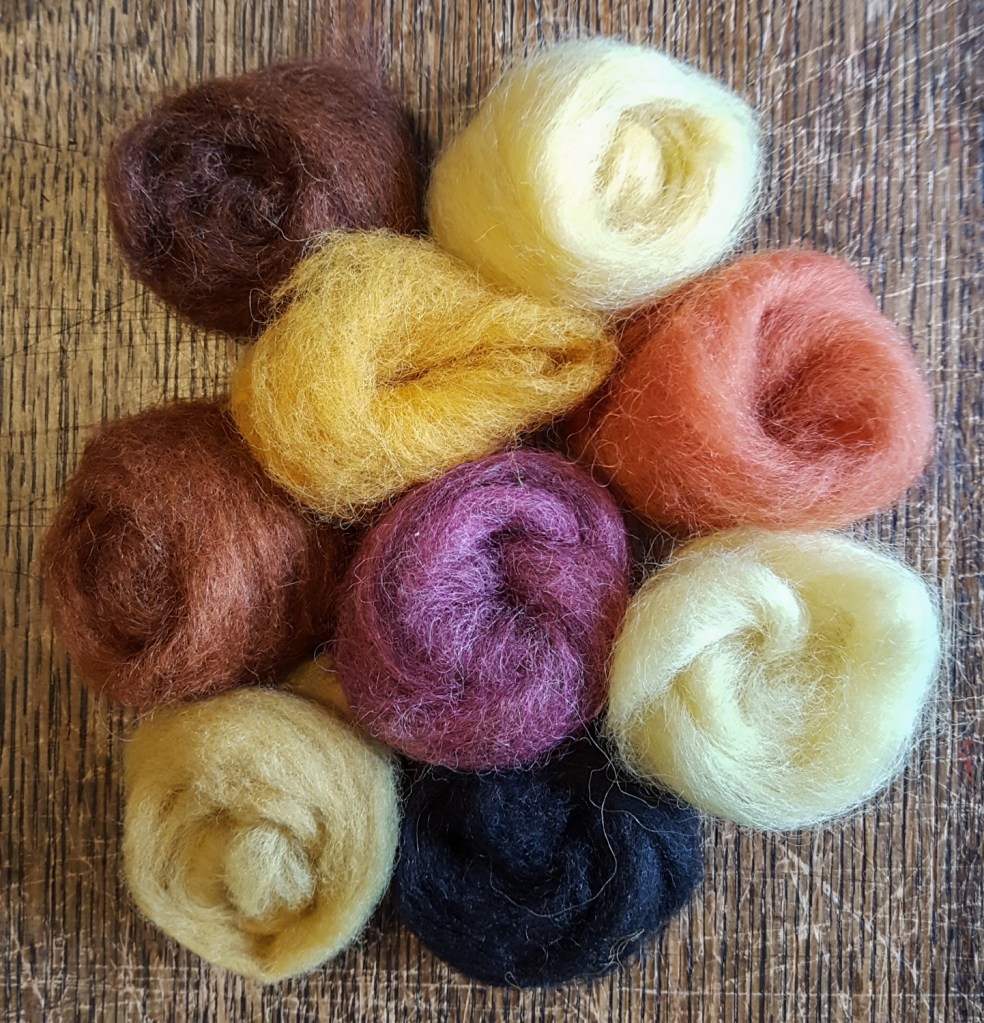
Many of the supplies needed to make the dolls, such as embroidery floss, paint, brushes, unvarnished wood beads, pipe cleaners and faux flowers can be found at craft stores. Online sources for the book, wool felt, acorn caps, and other materials are listed below:
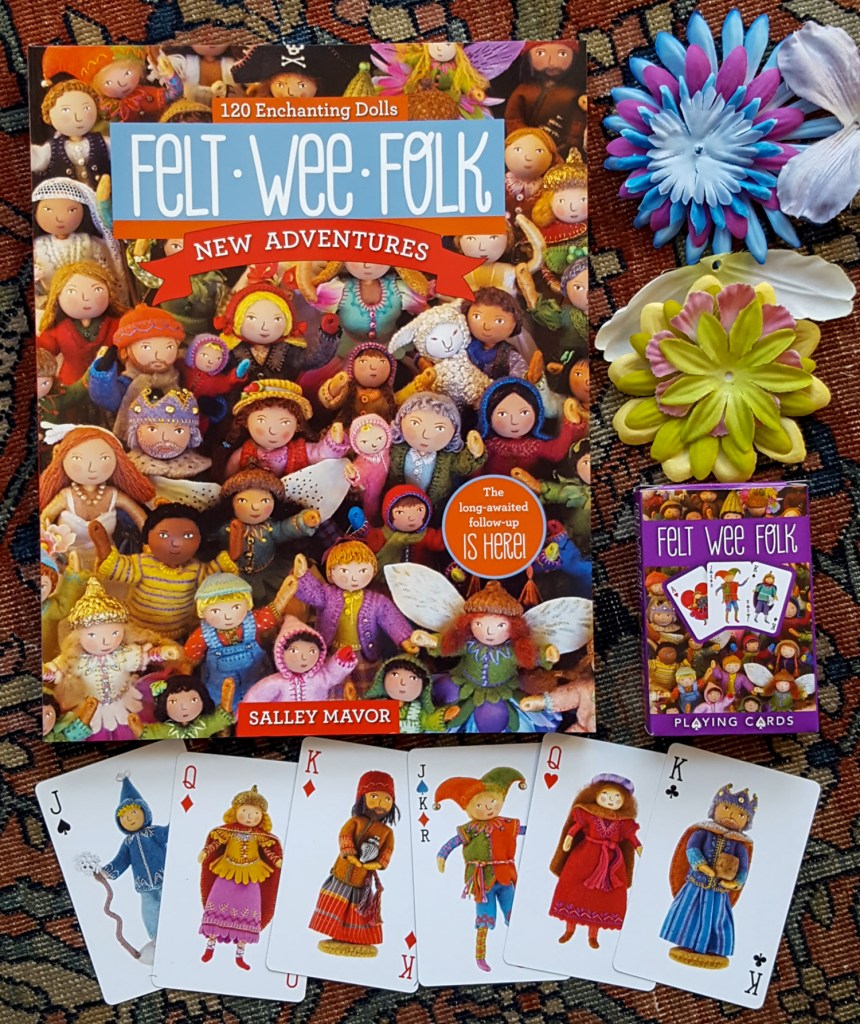
- Felt Wee Folk: New Adventures book – My Etsy Shop
- Acorn Caps – Etsy shops
- Wool Felt – A Child’s Dream
- Faux Flowers – My Etsy Shop
- Wool Fleece Fairy hair – My Etsy Shop
- Unvarnished wood beads – A Child’s Dream
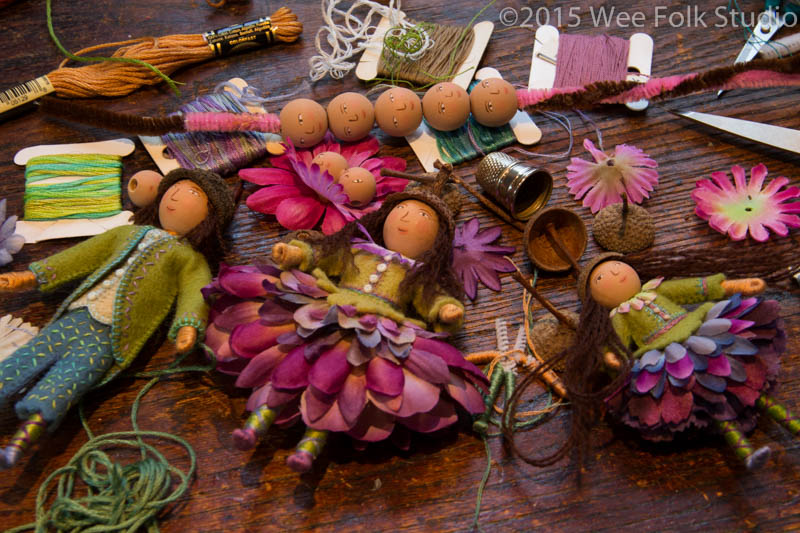
wool fleece fairy hair 
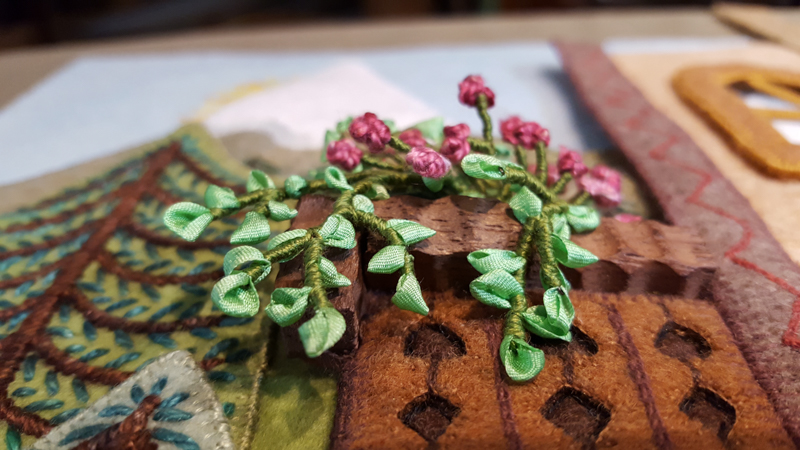
flower petal skirts and wings
I’m keeping my Etsy shop stocked with wool fleece fairy hair and flower skirts & wings.
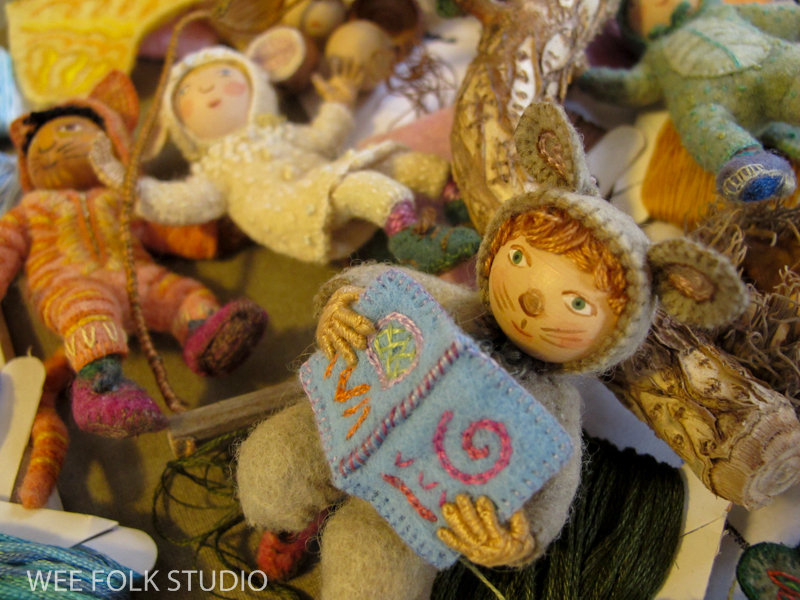
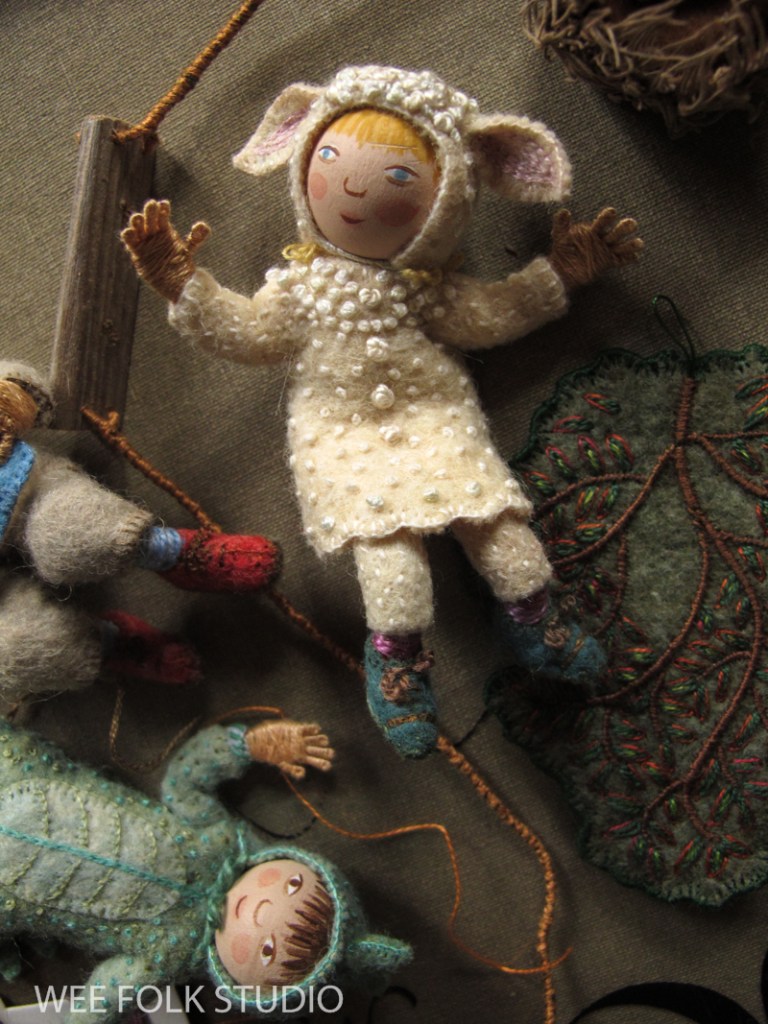
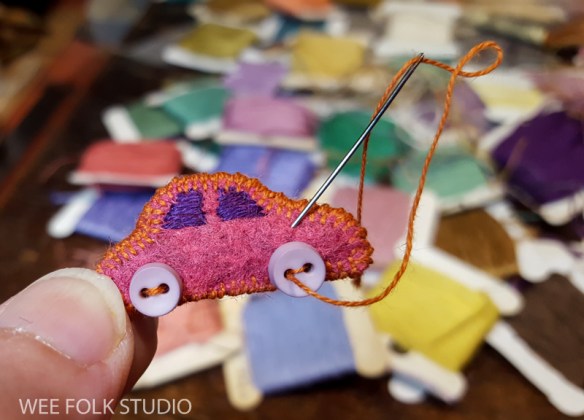
The dolls and their clothing are portable, so you can bring them where ever you want to settle in.

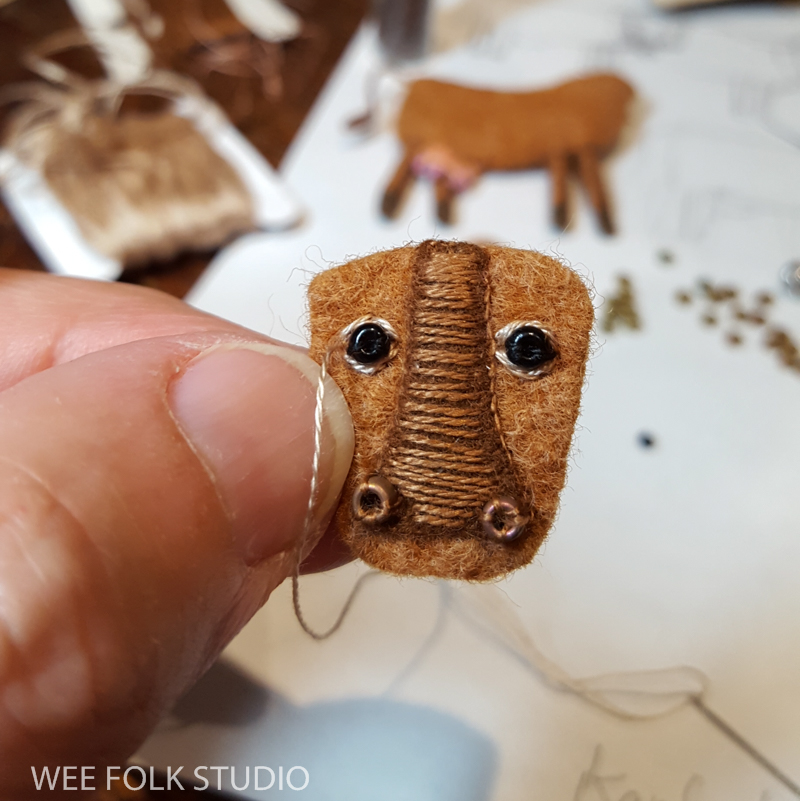
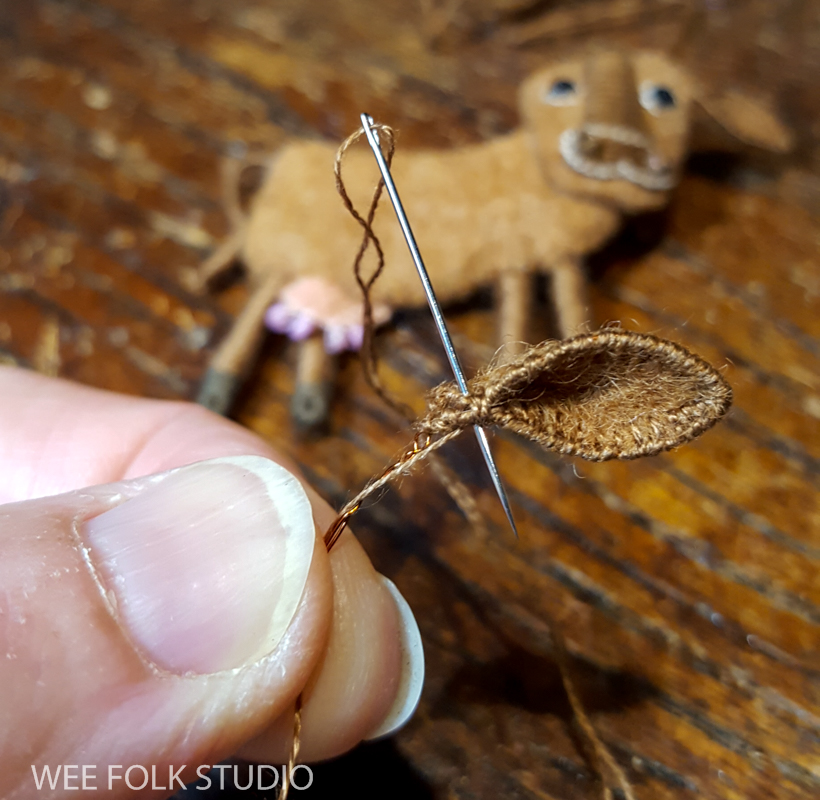
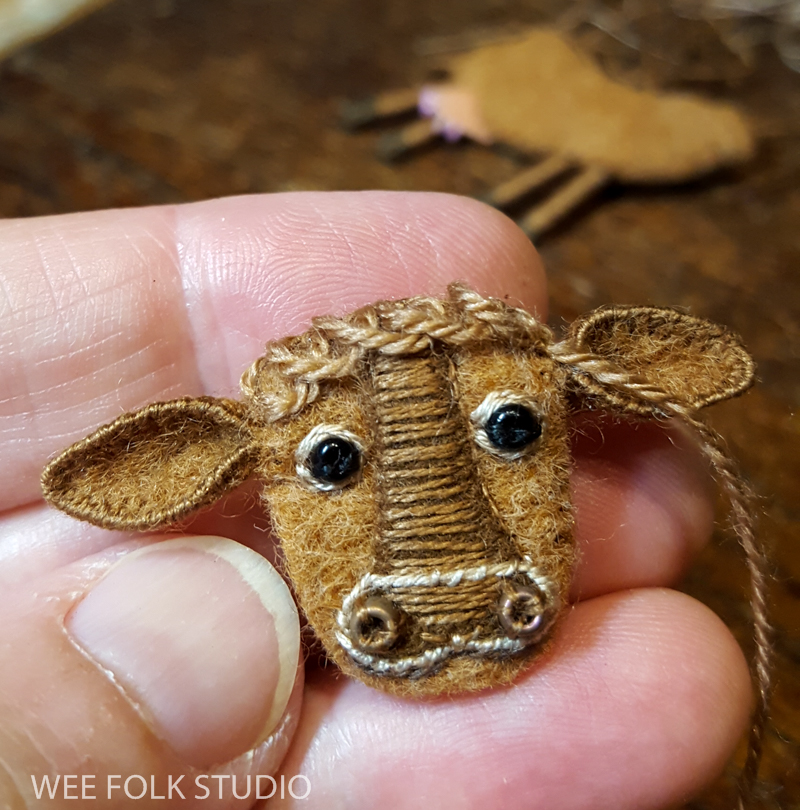
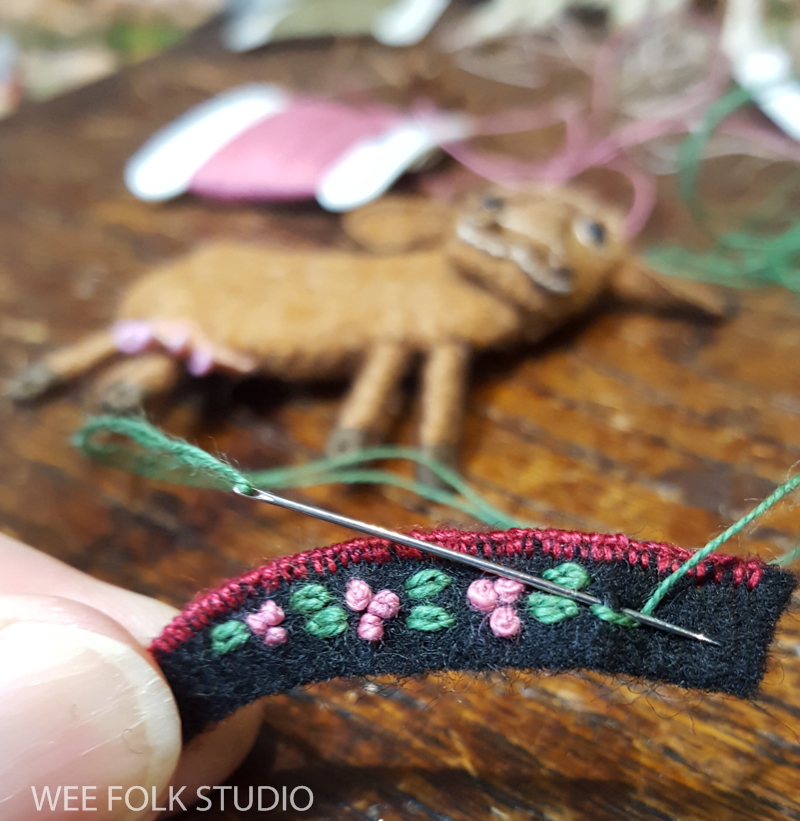
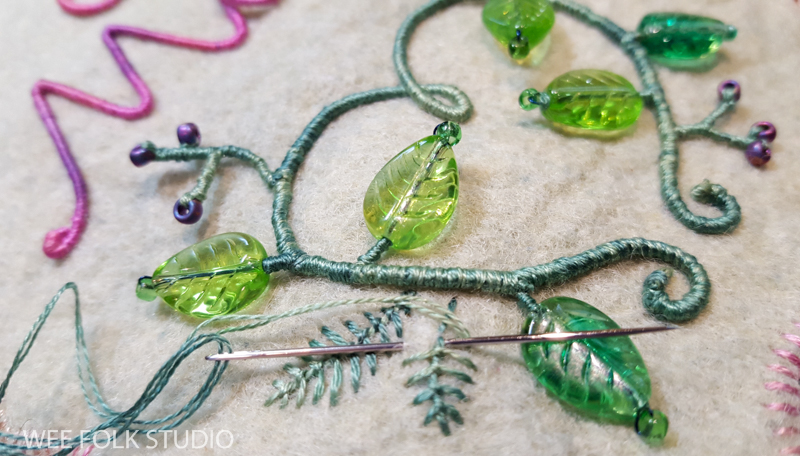
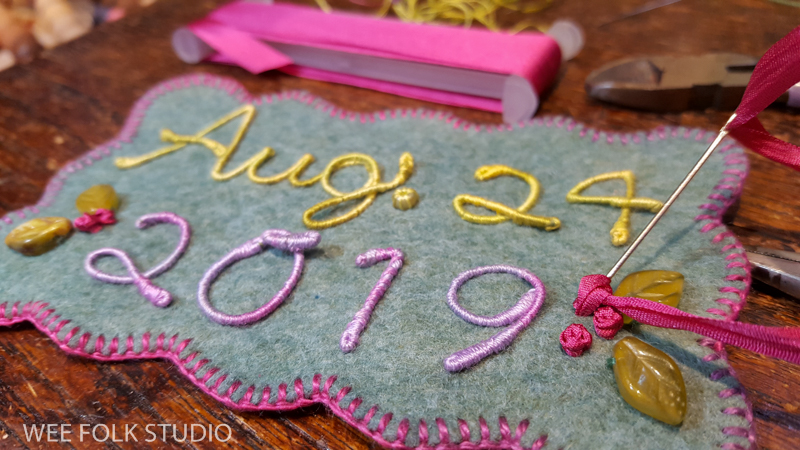
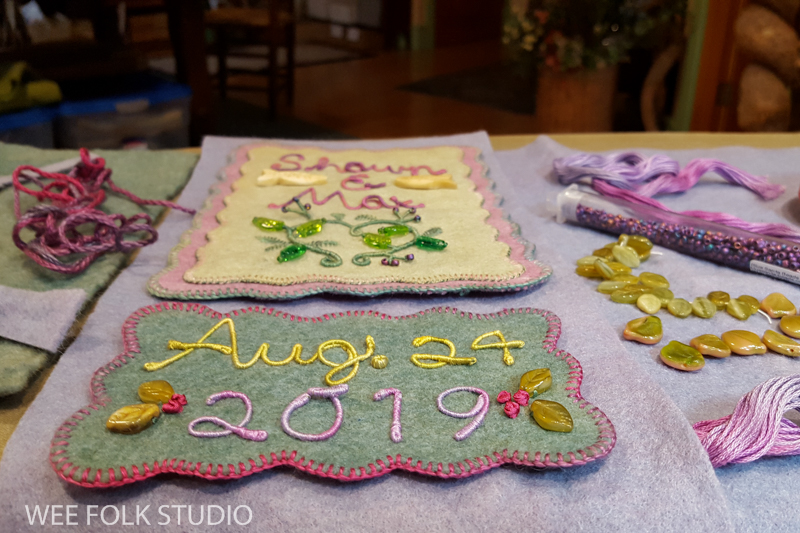
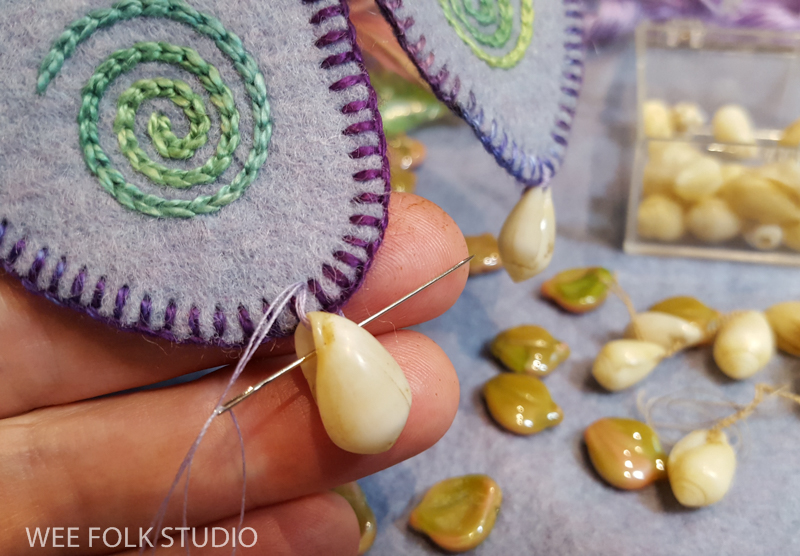
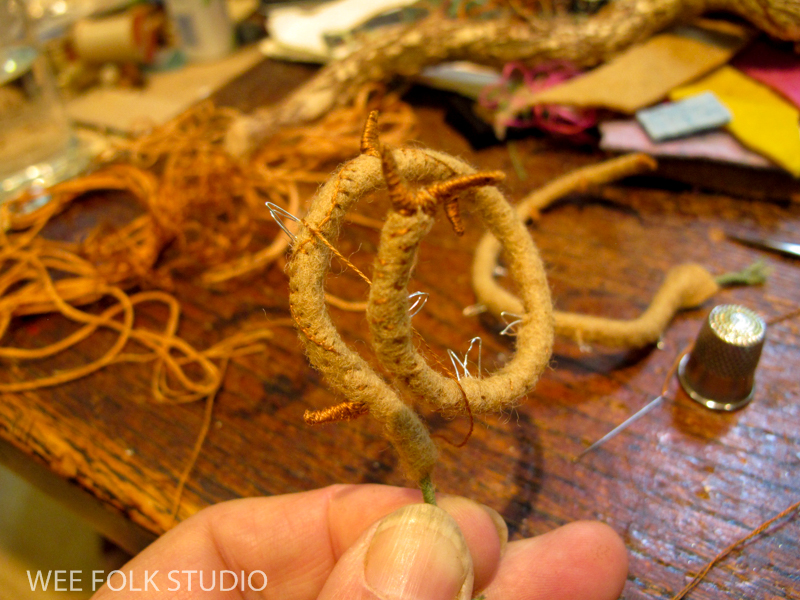
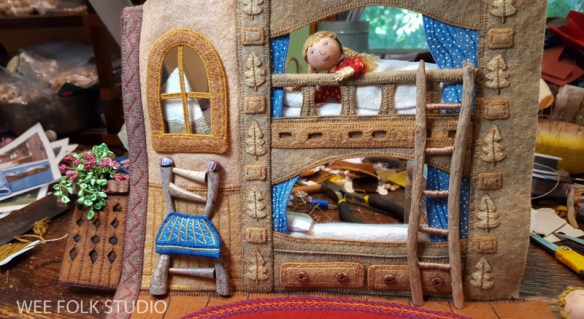
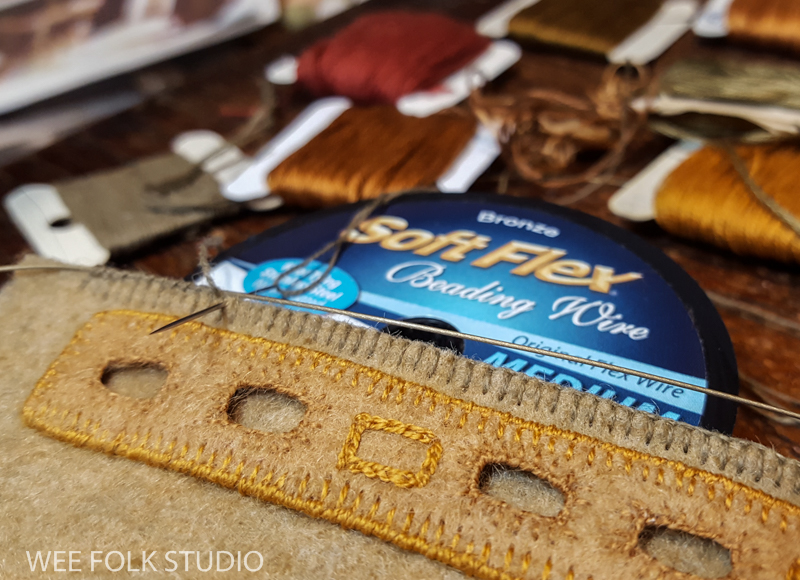
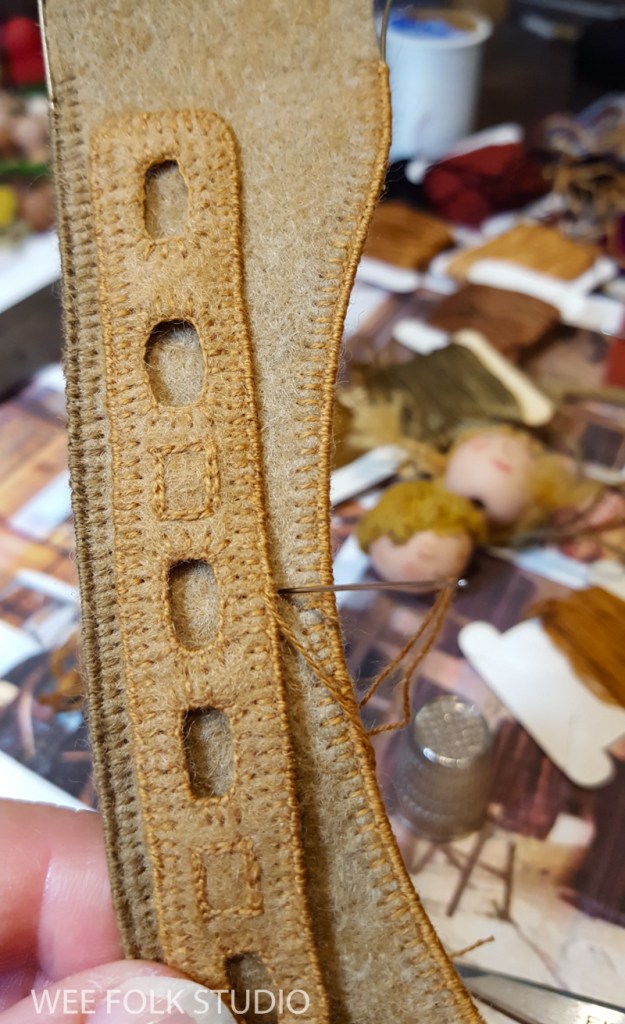
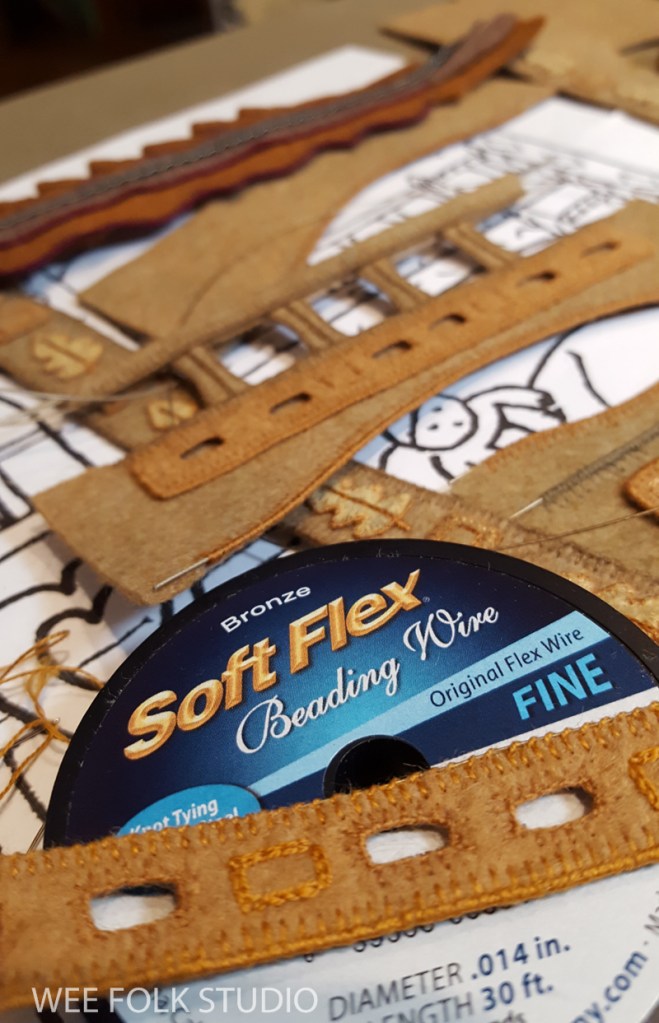
This is my work table on a random day, the way it really looks.
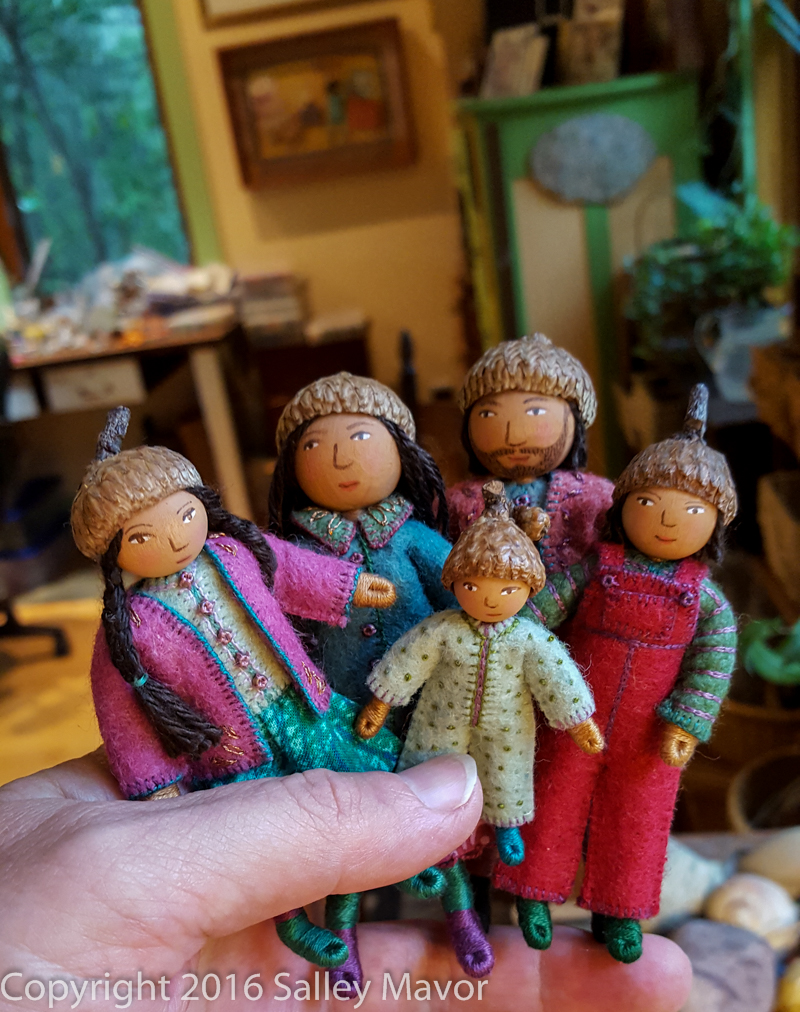
I made the Frost Family for a benefit raffle a few years ago. See more details here.

This is a little experimental video from a few years ago.
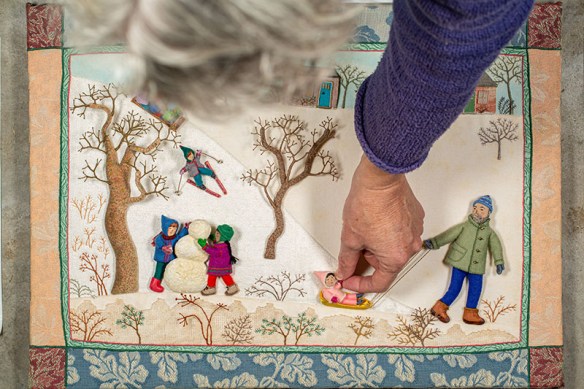
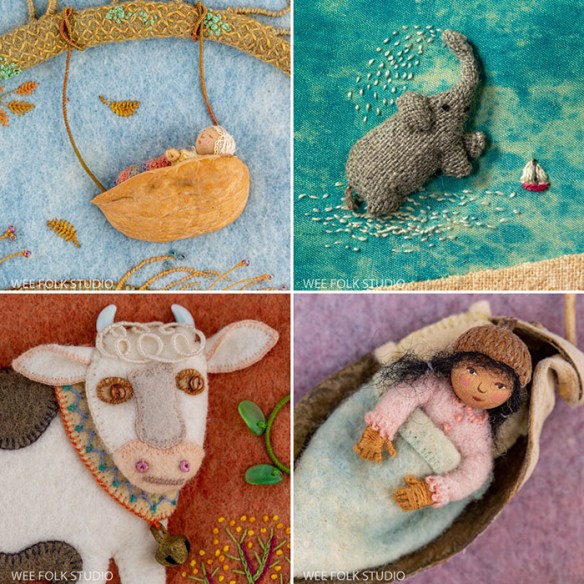
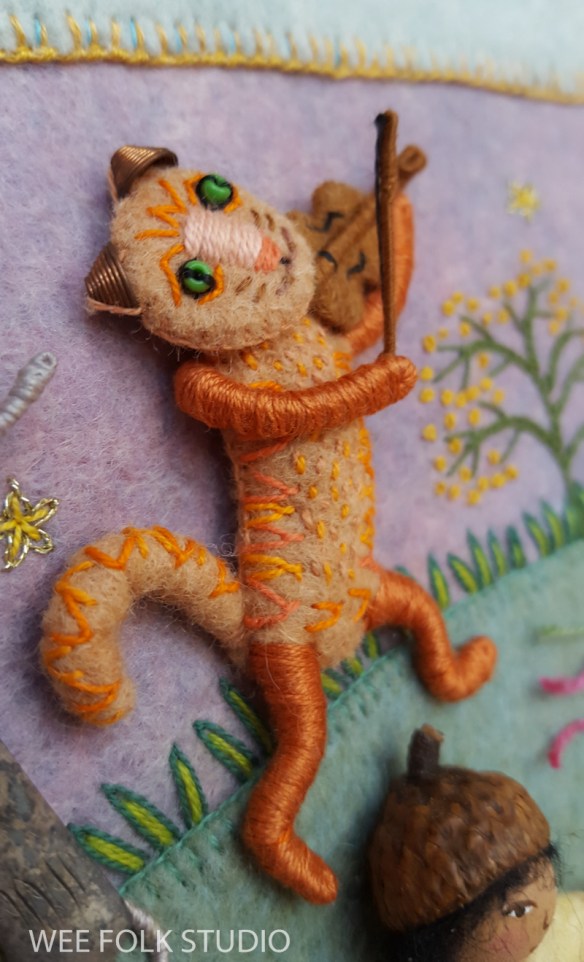
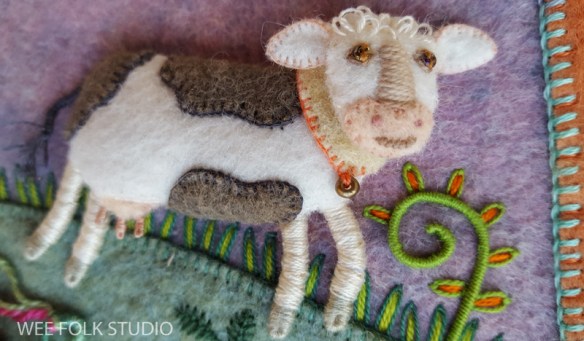
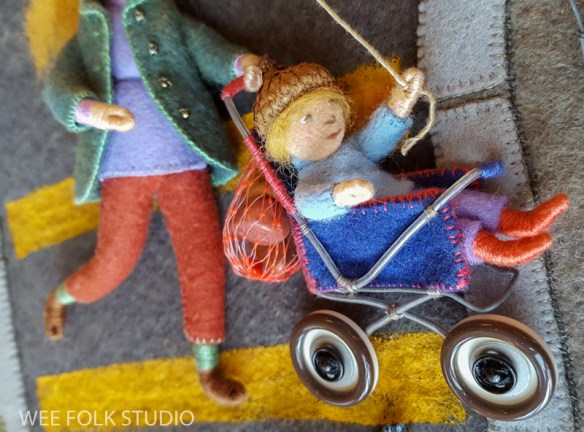
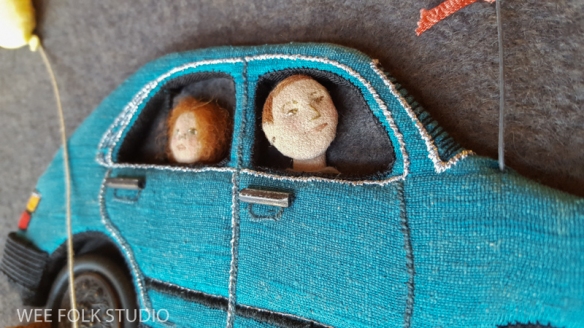
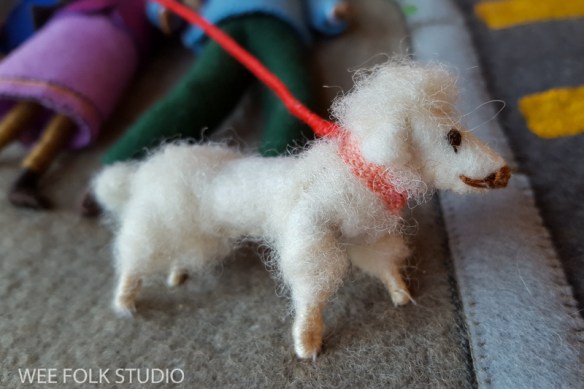
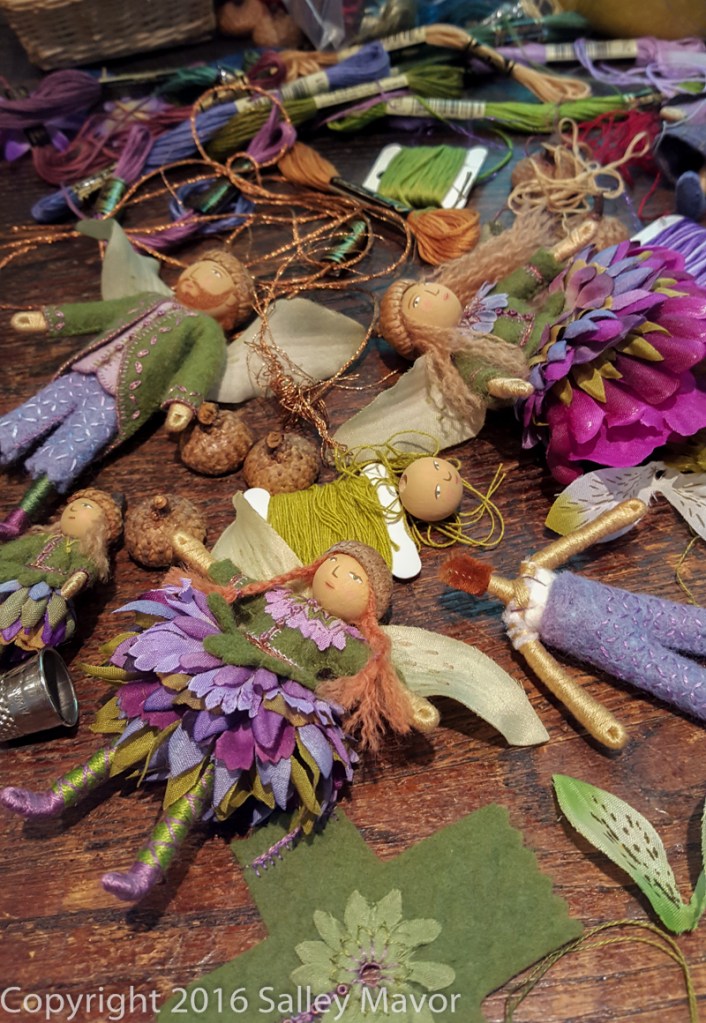
Of course, all of the dolls pictured in this post were made years ago and the raffles are long past. I just wanted to show you a variety of possibilities.
The Oakley Family was made for another benefit raffle. See the process of making them here.
And yet another fairy family raffle, which you see in more detail here.
I hope that the wee folk help keep your spirits up through this ordeal. Please stay safe!
To keep up with new posts, please subscribe to this blog (top right column on the home page). Your contact info will not be sold or shared. If you’d like to see more frequent photos tracking the projects in my studio, please follow me on Facebook and/or Instagram