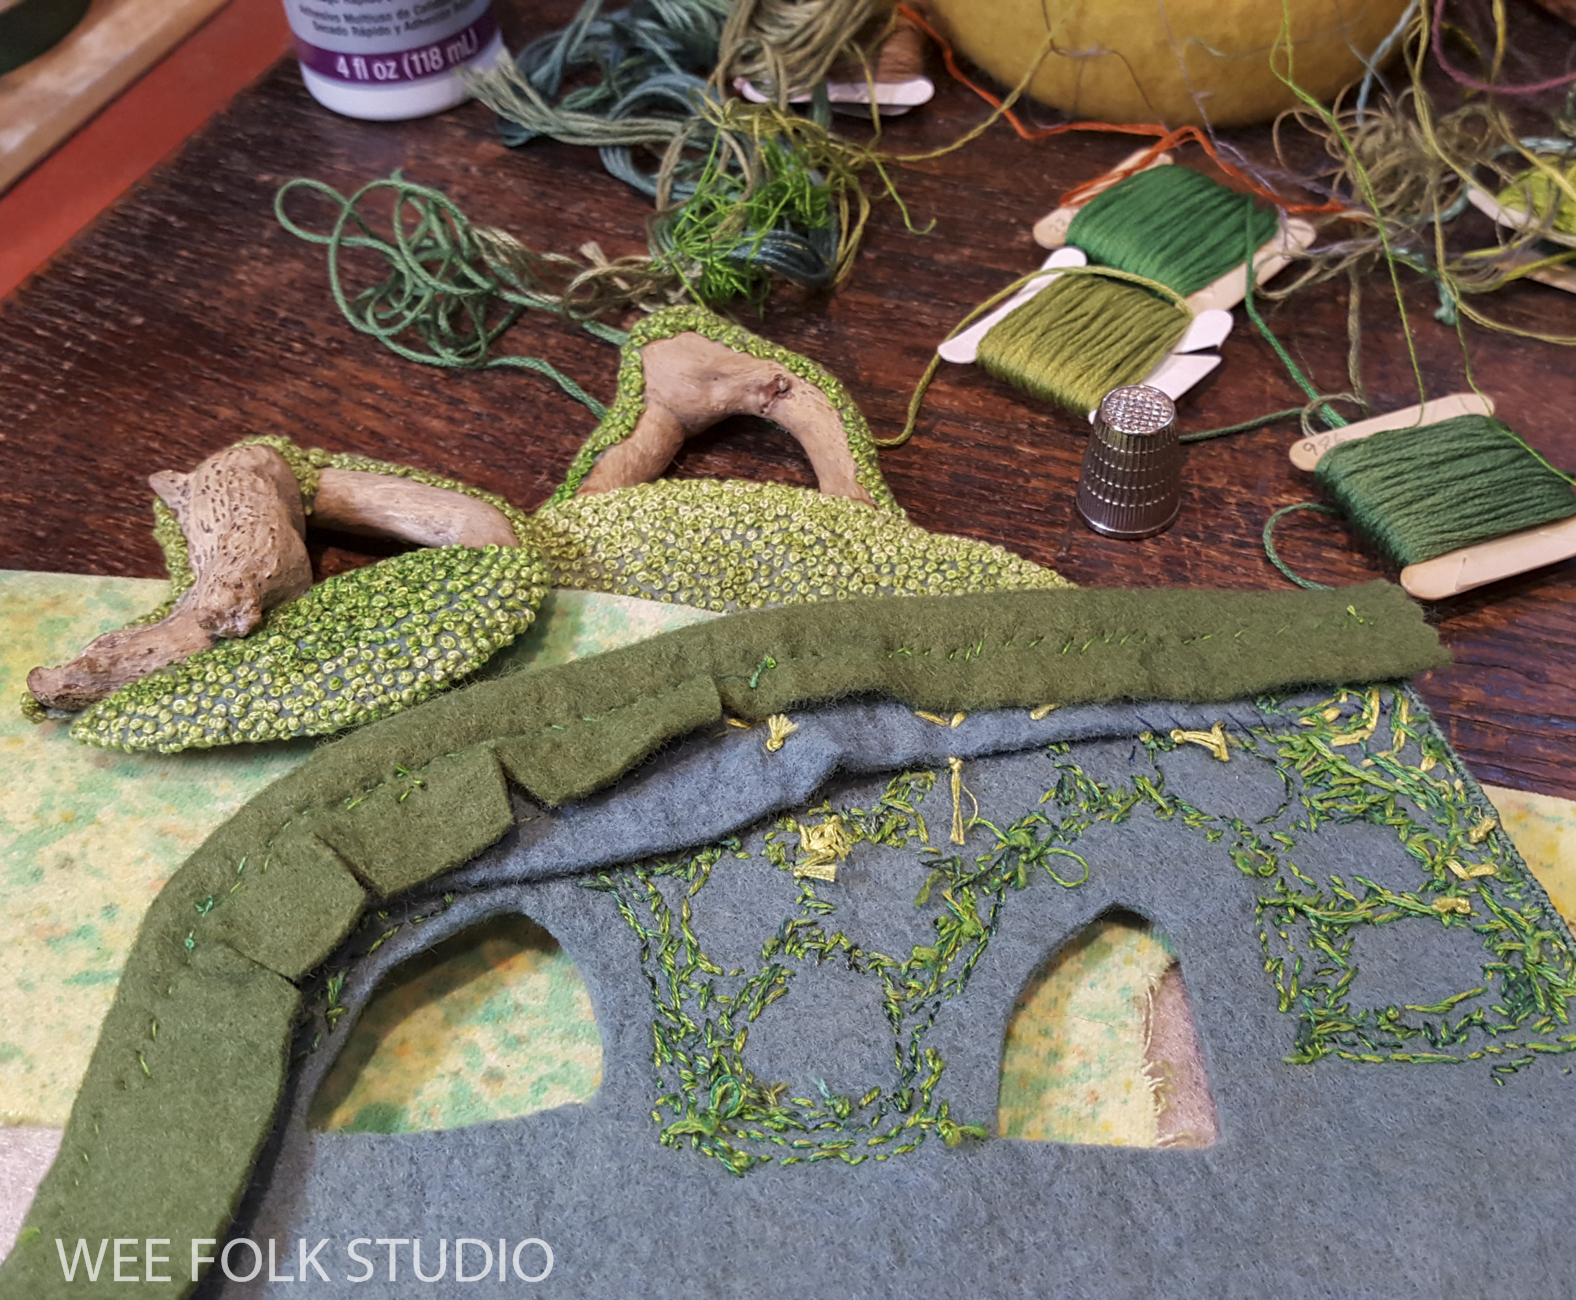
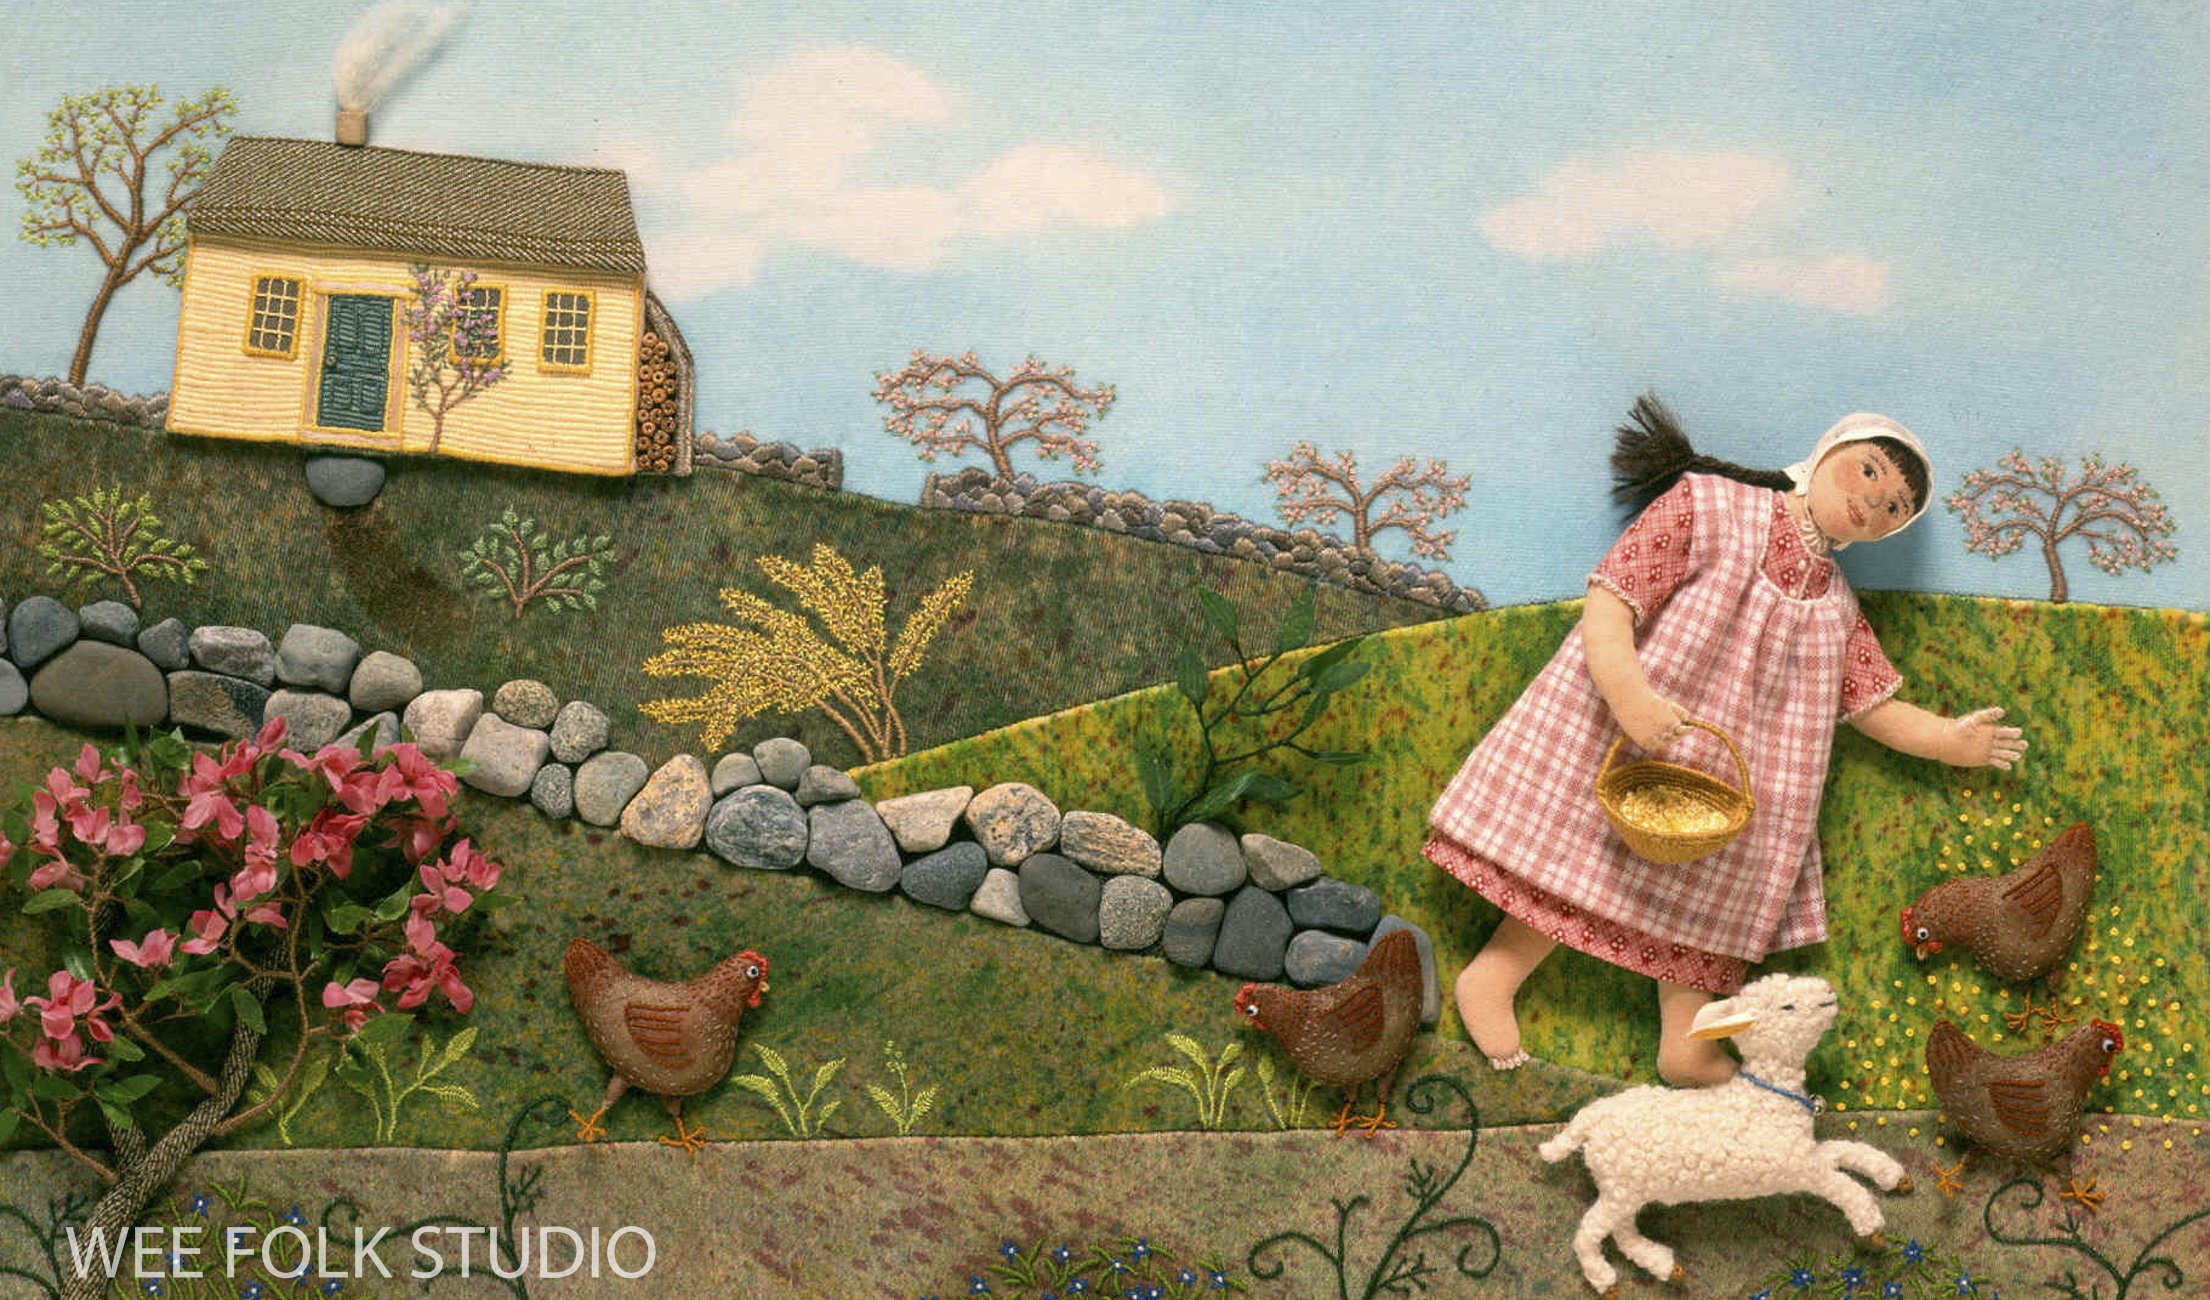
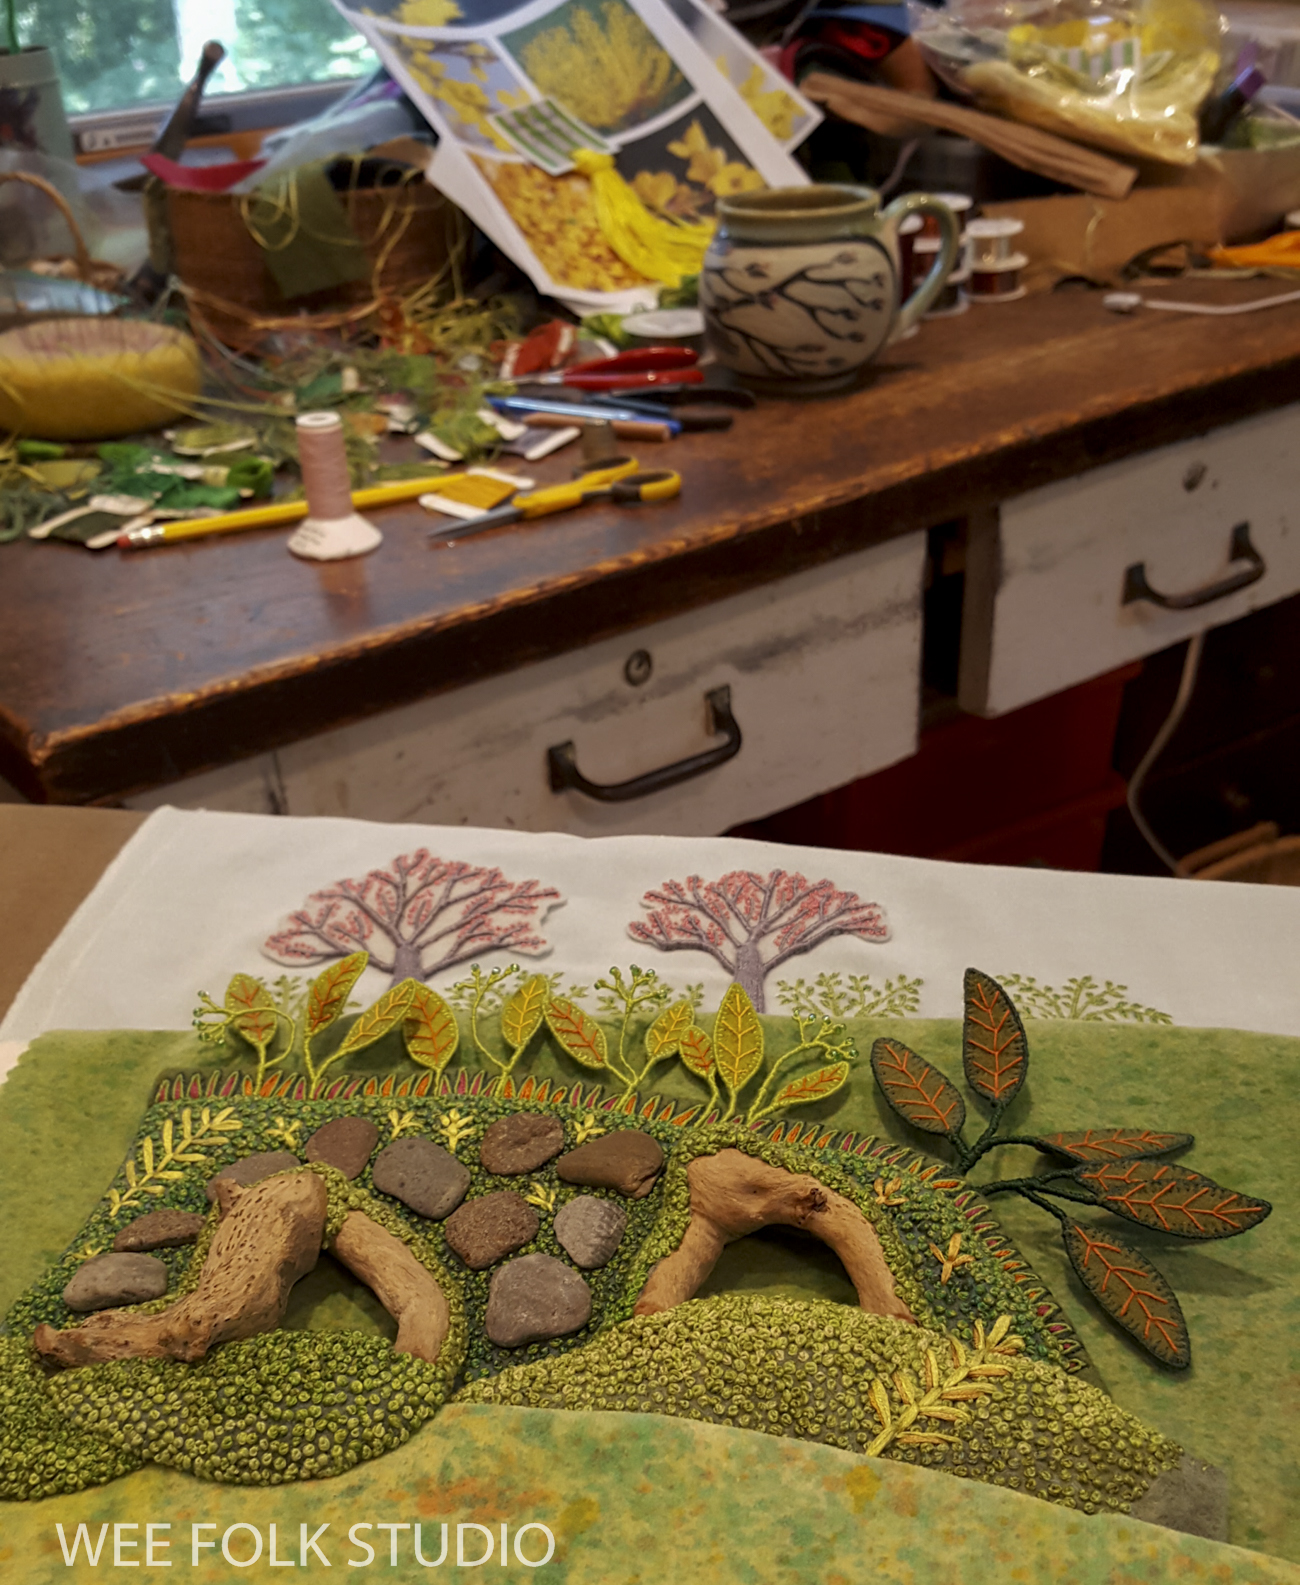
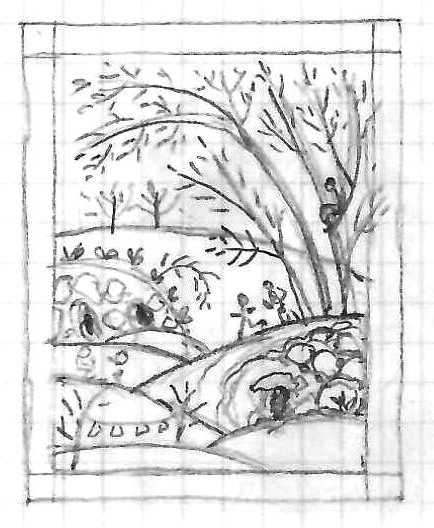
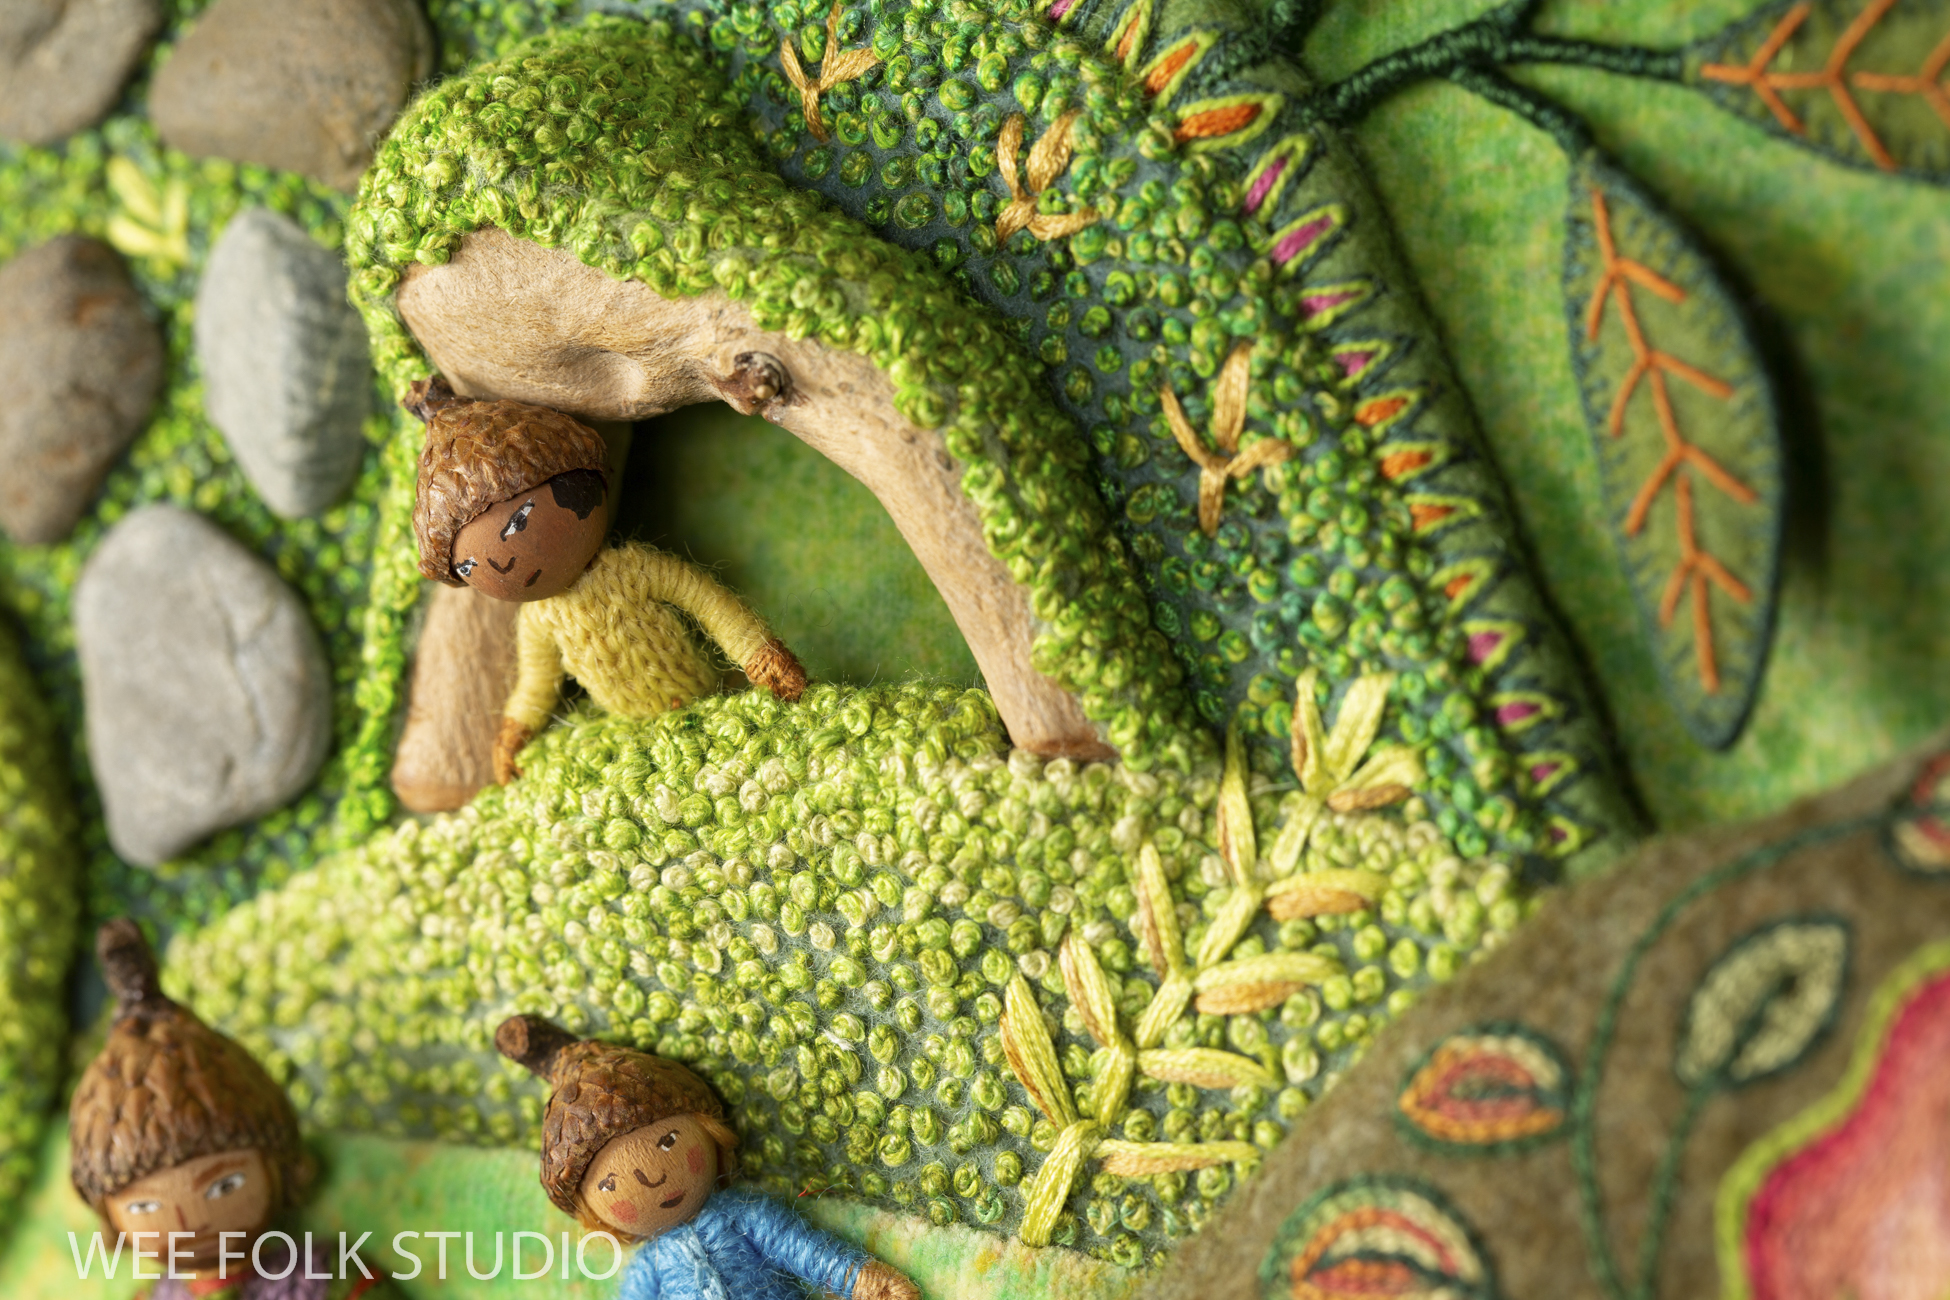
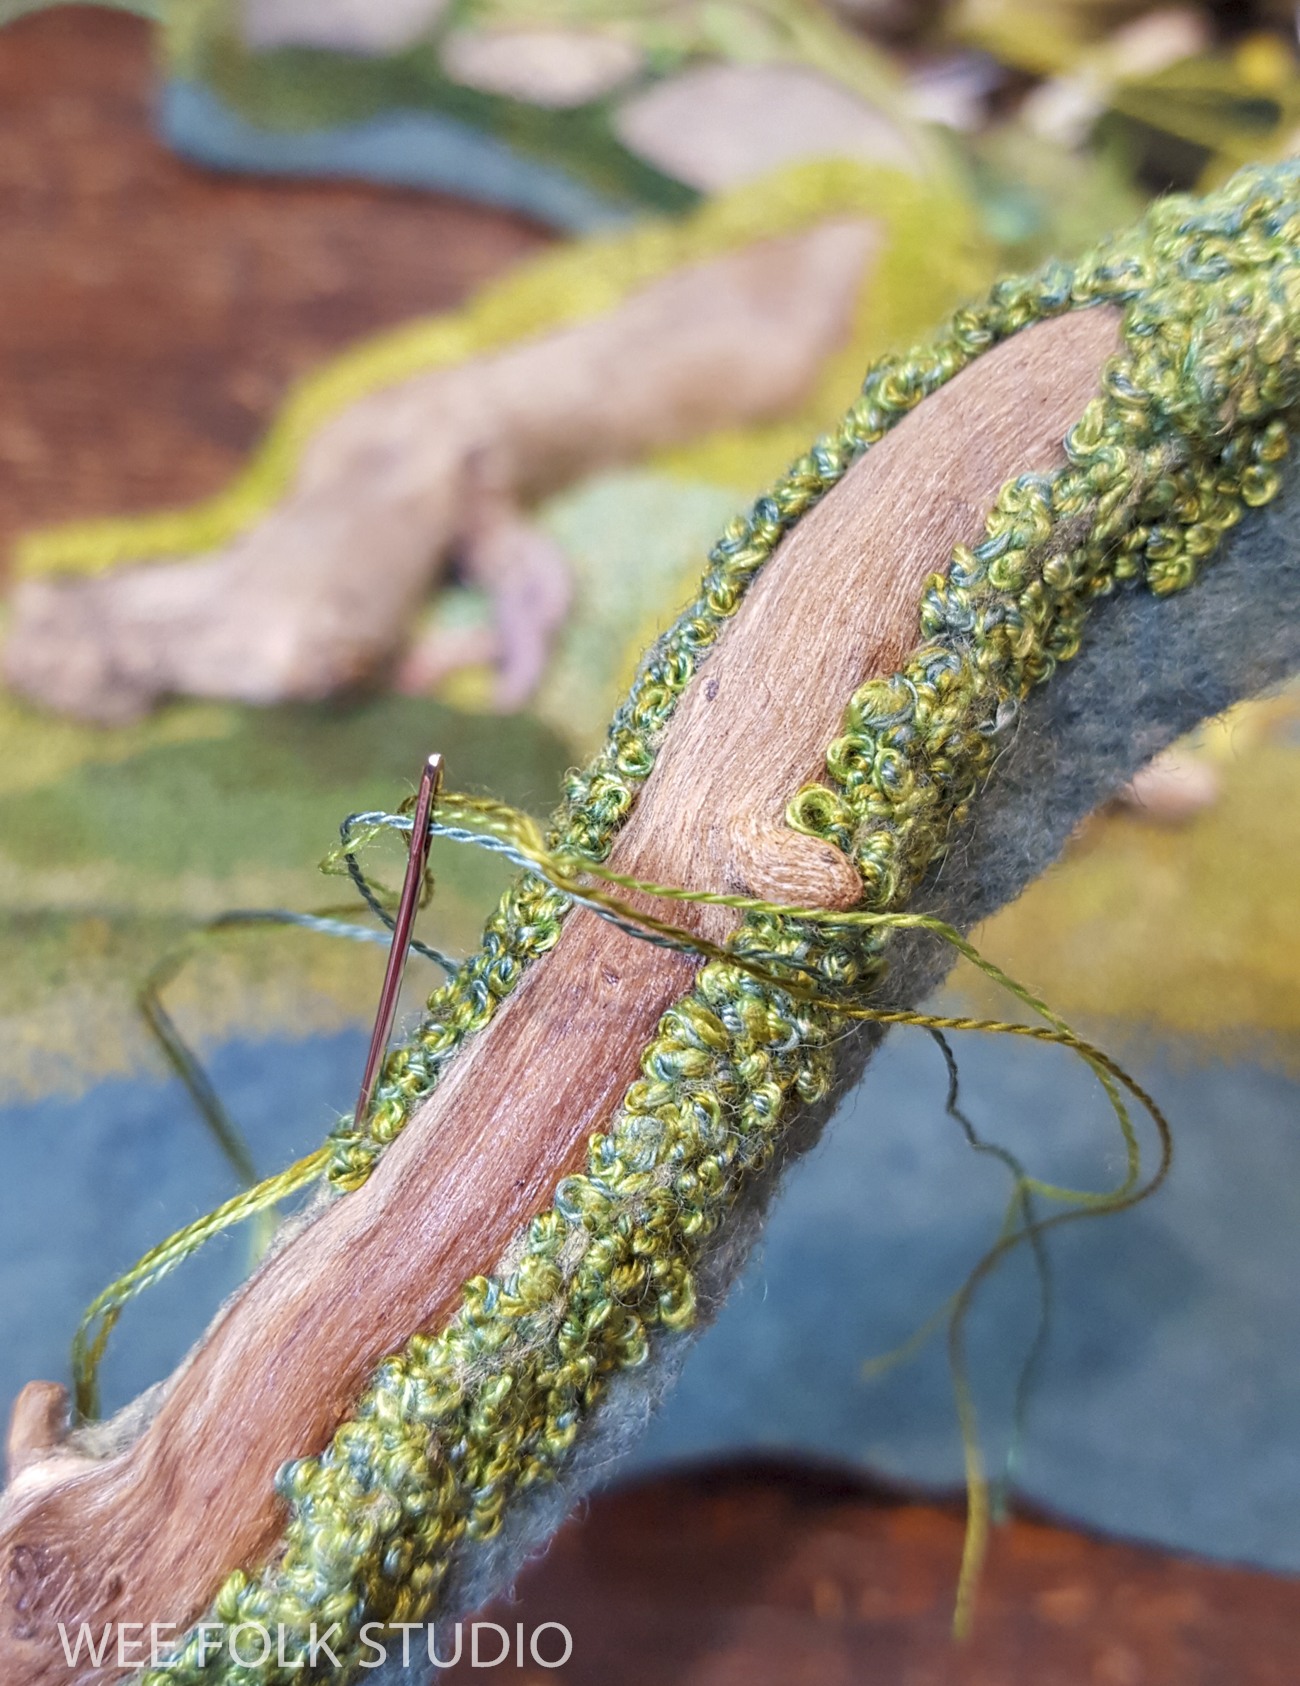
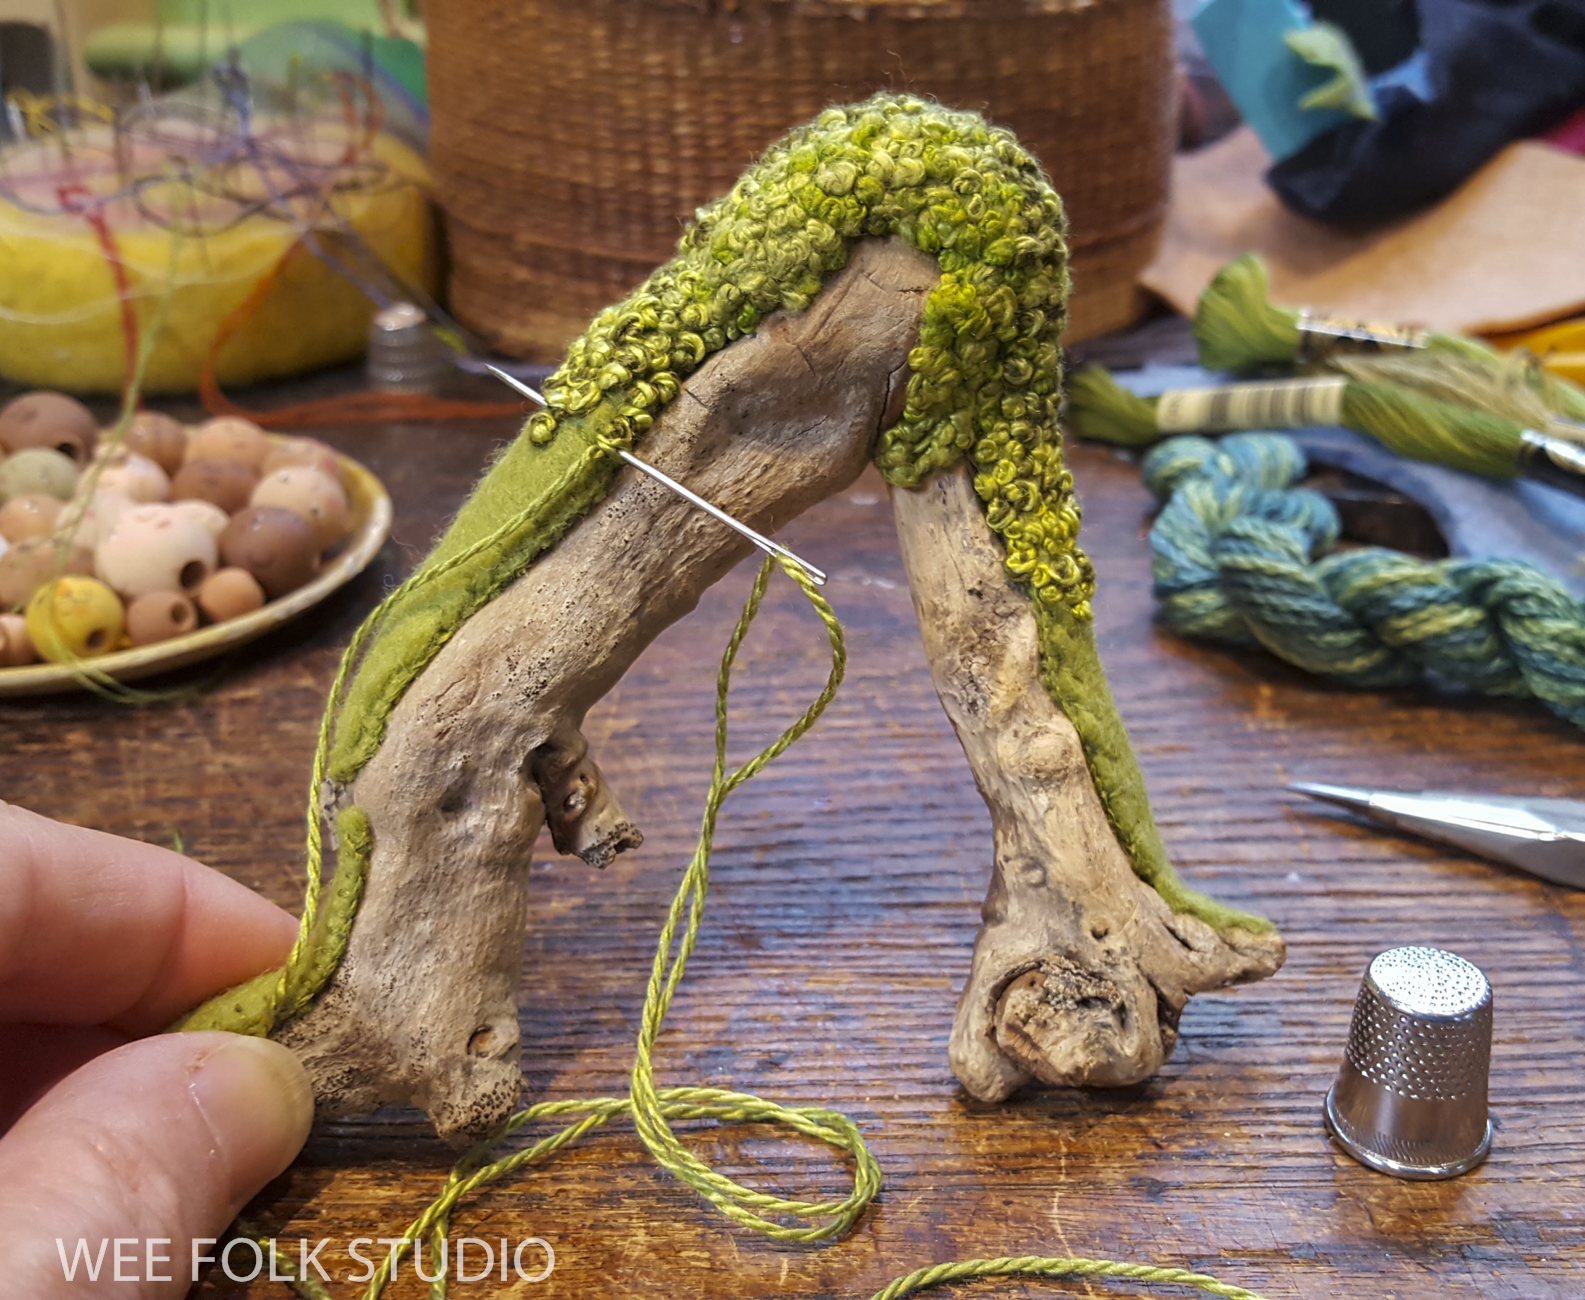
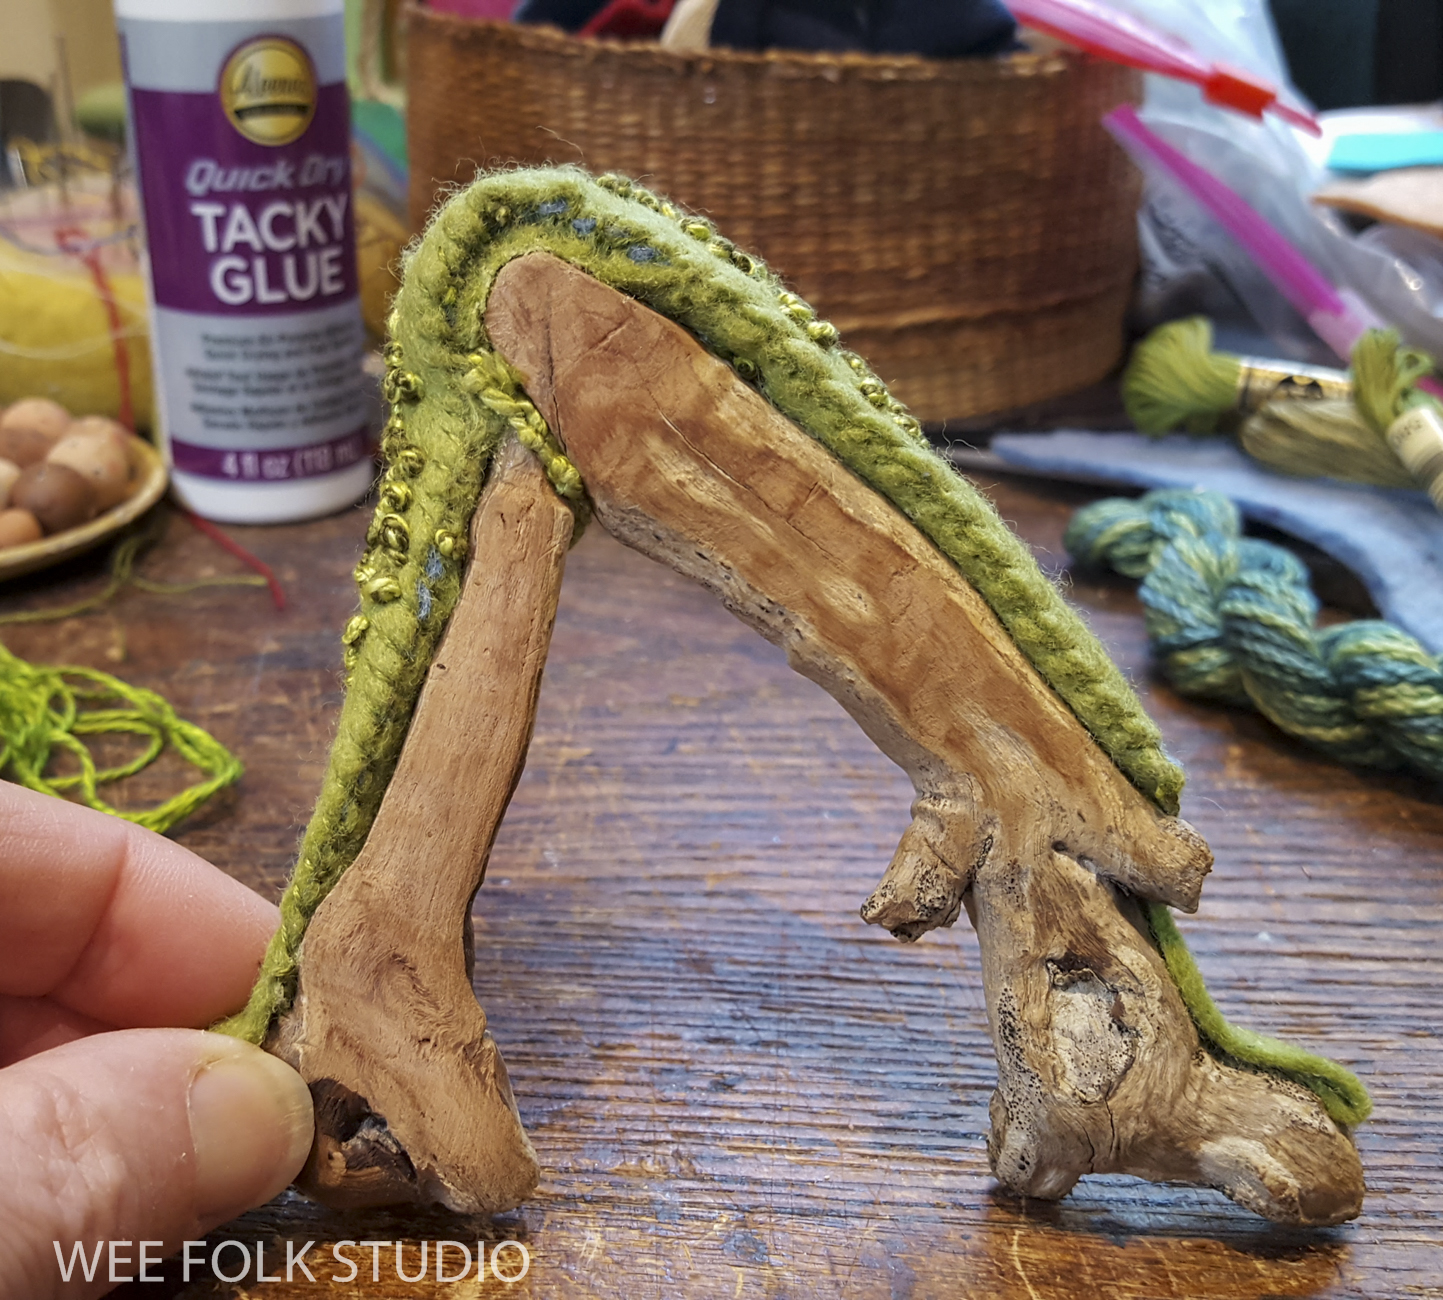
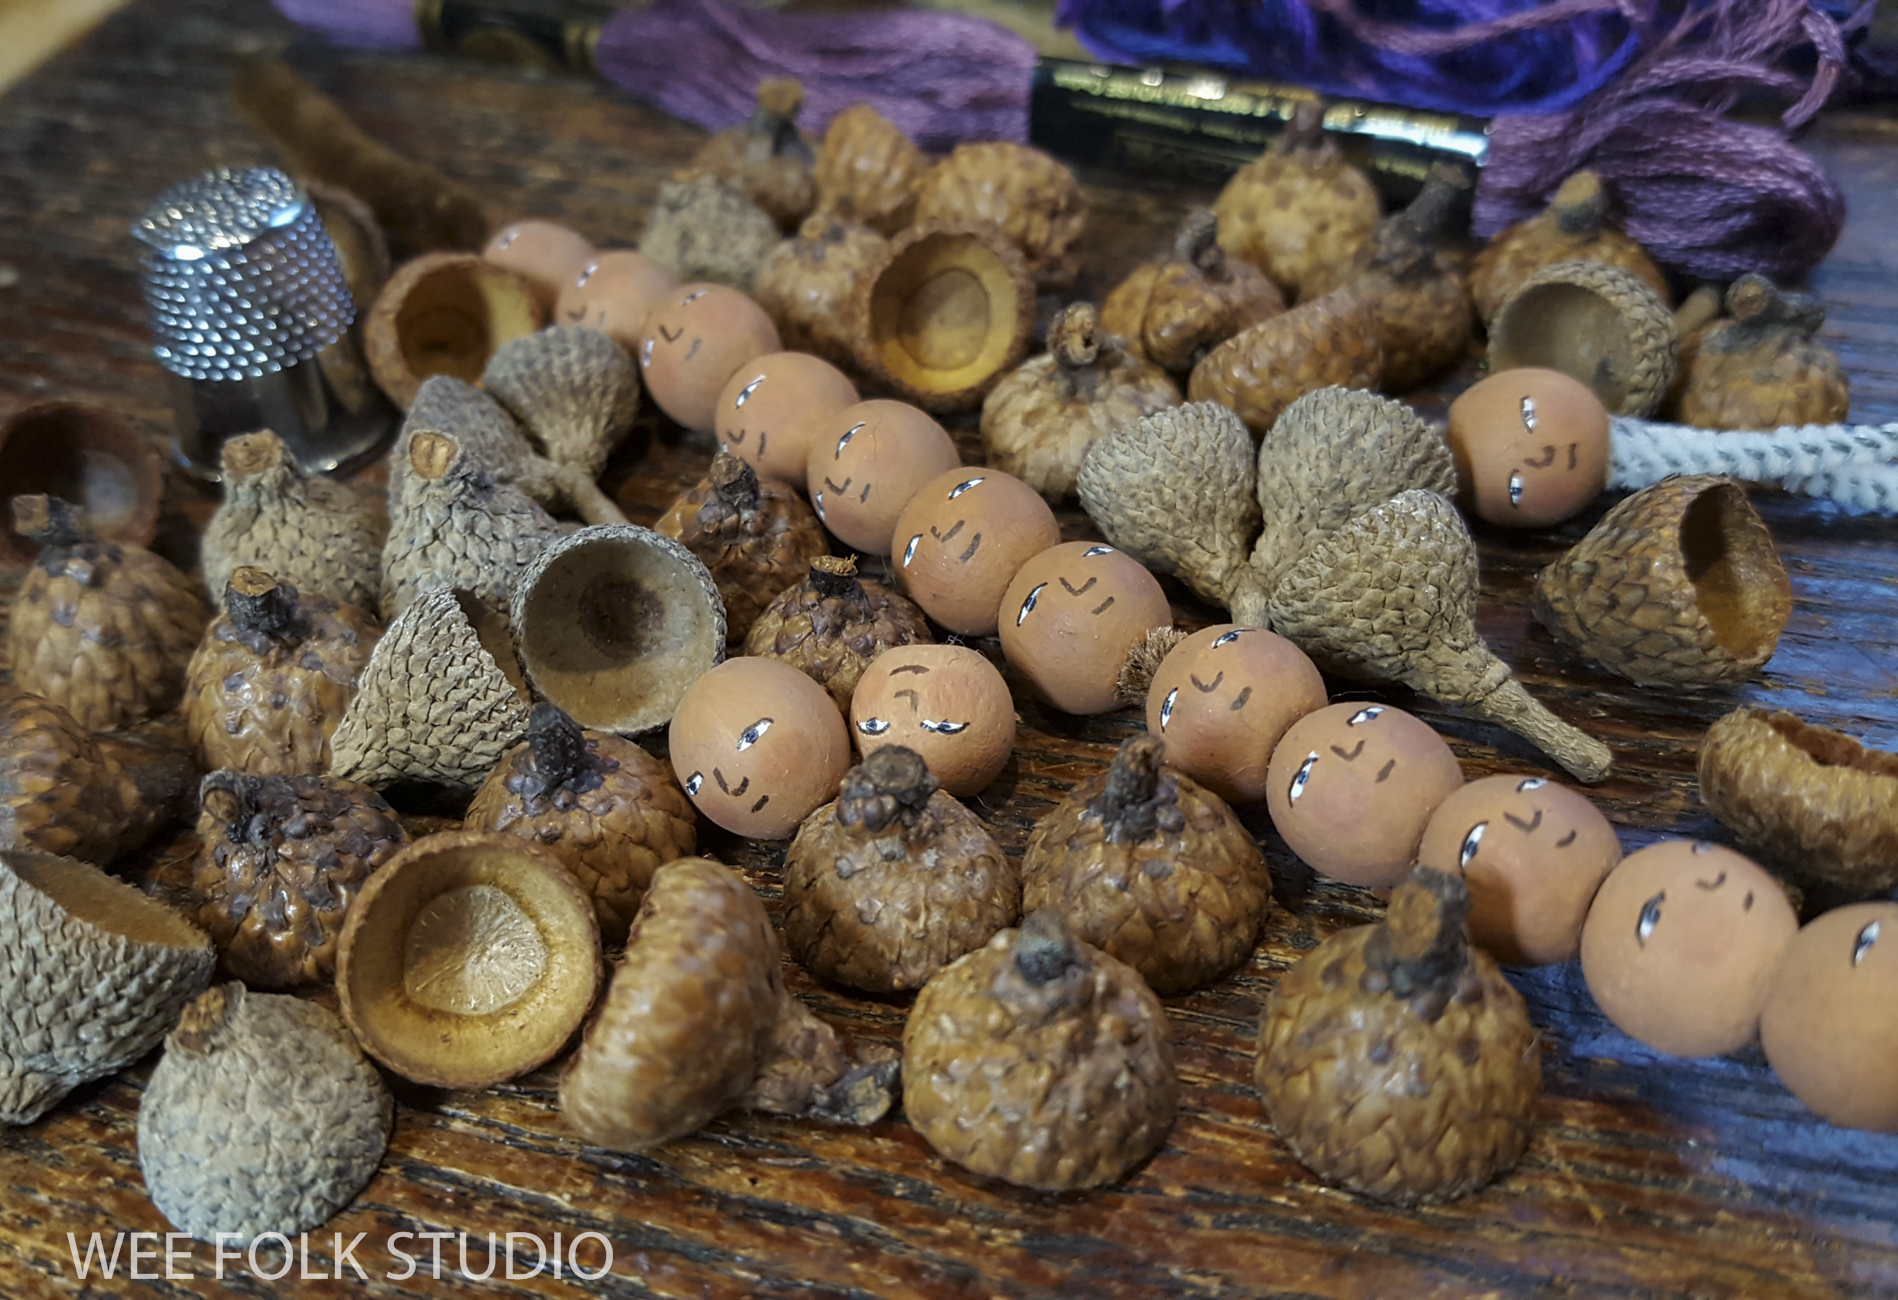
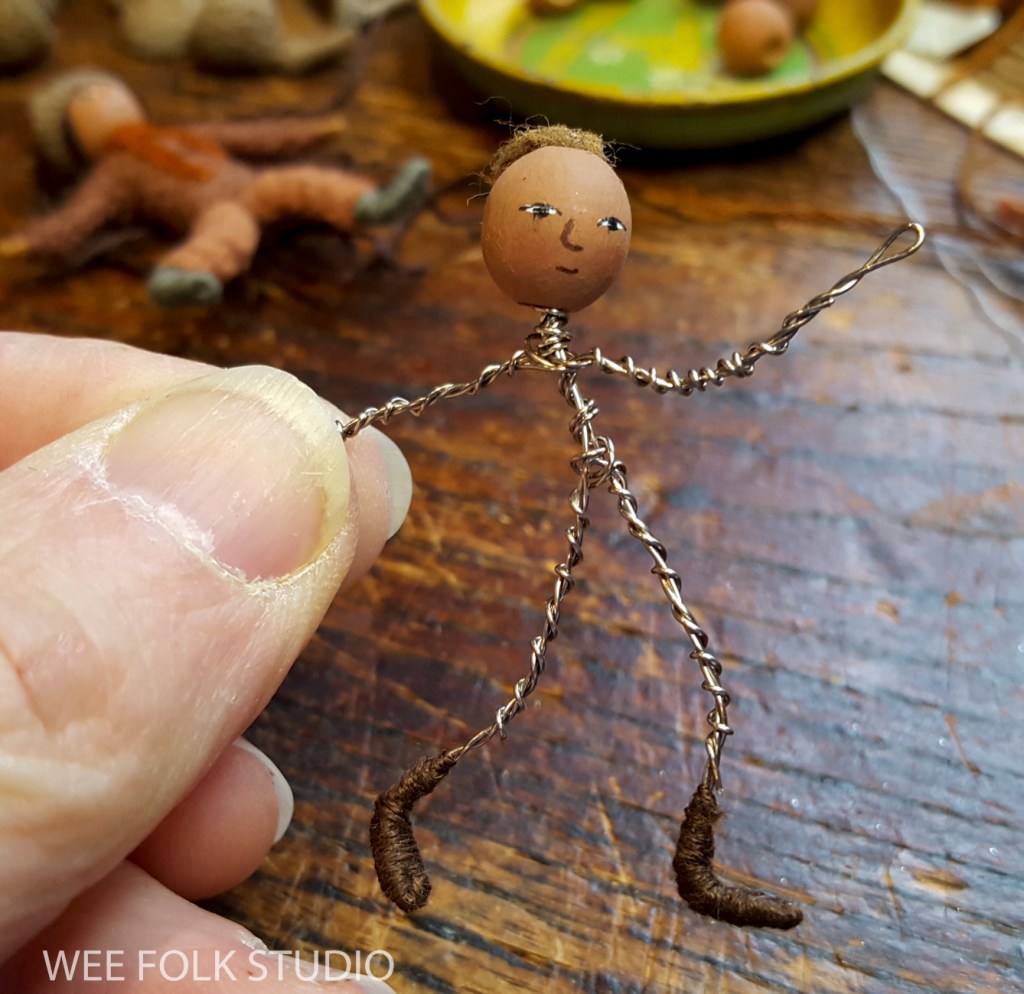
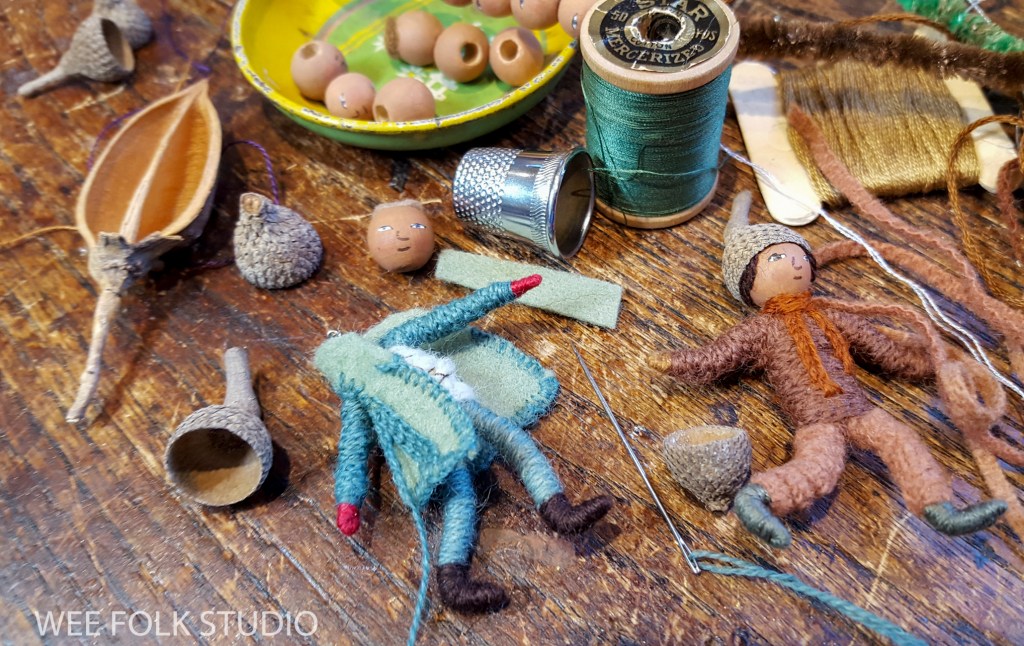
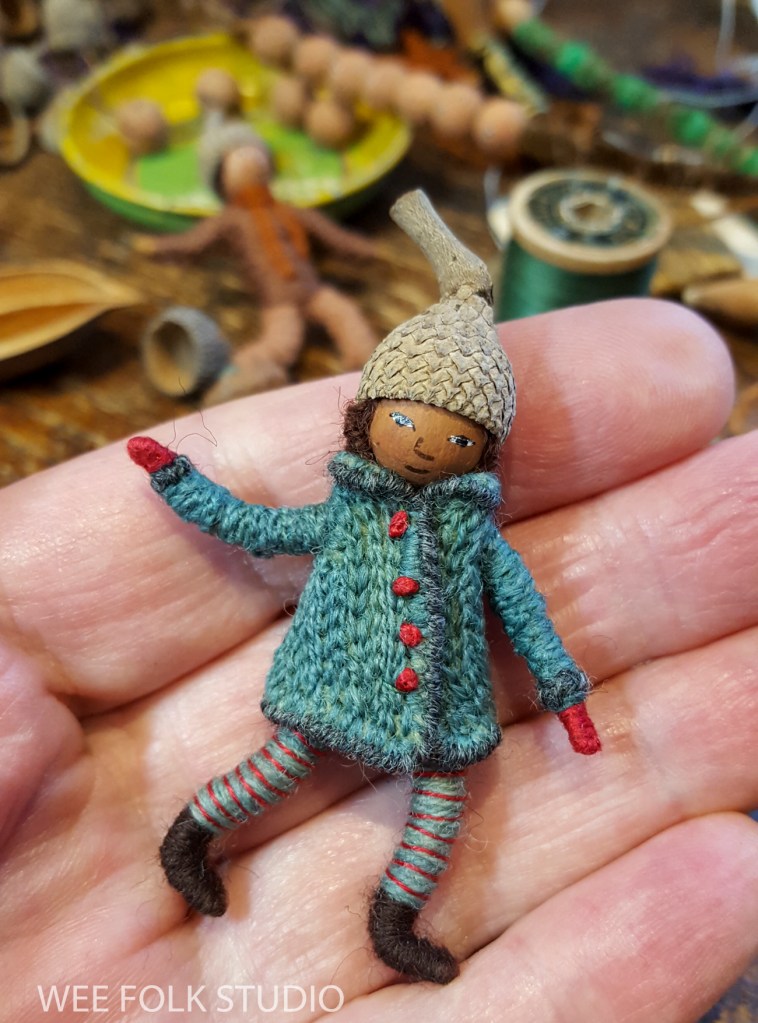
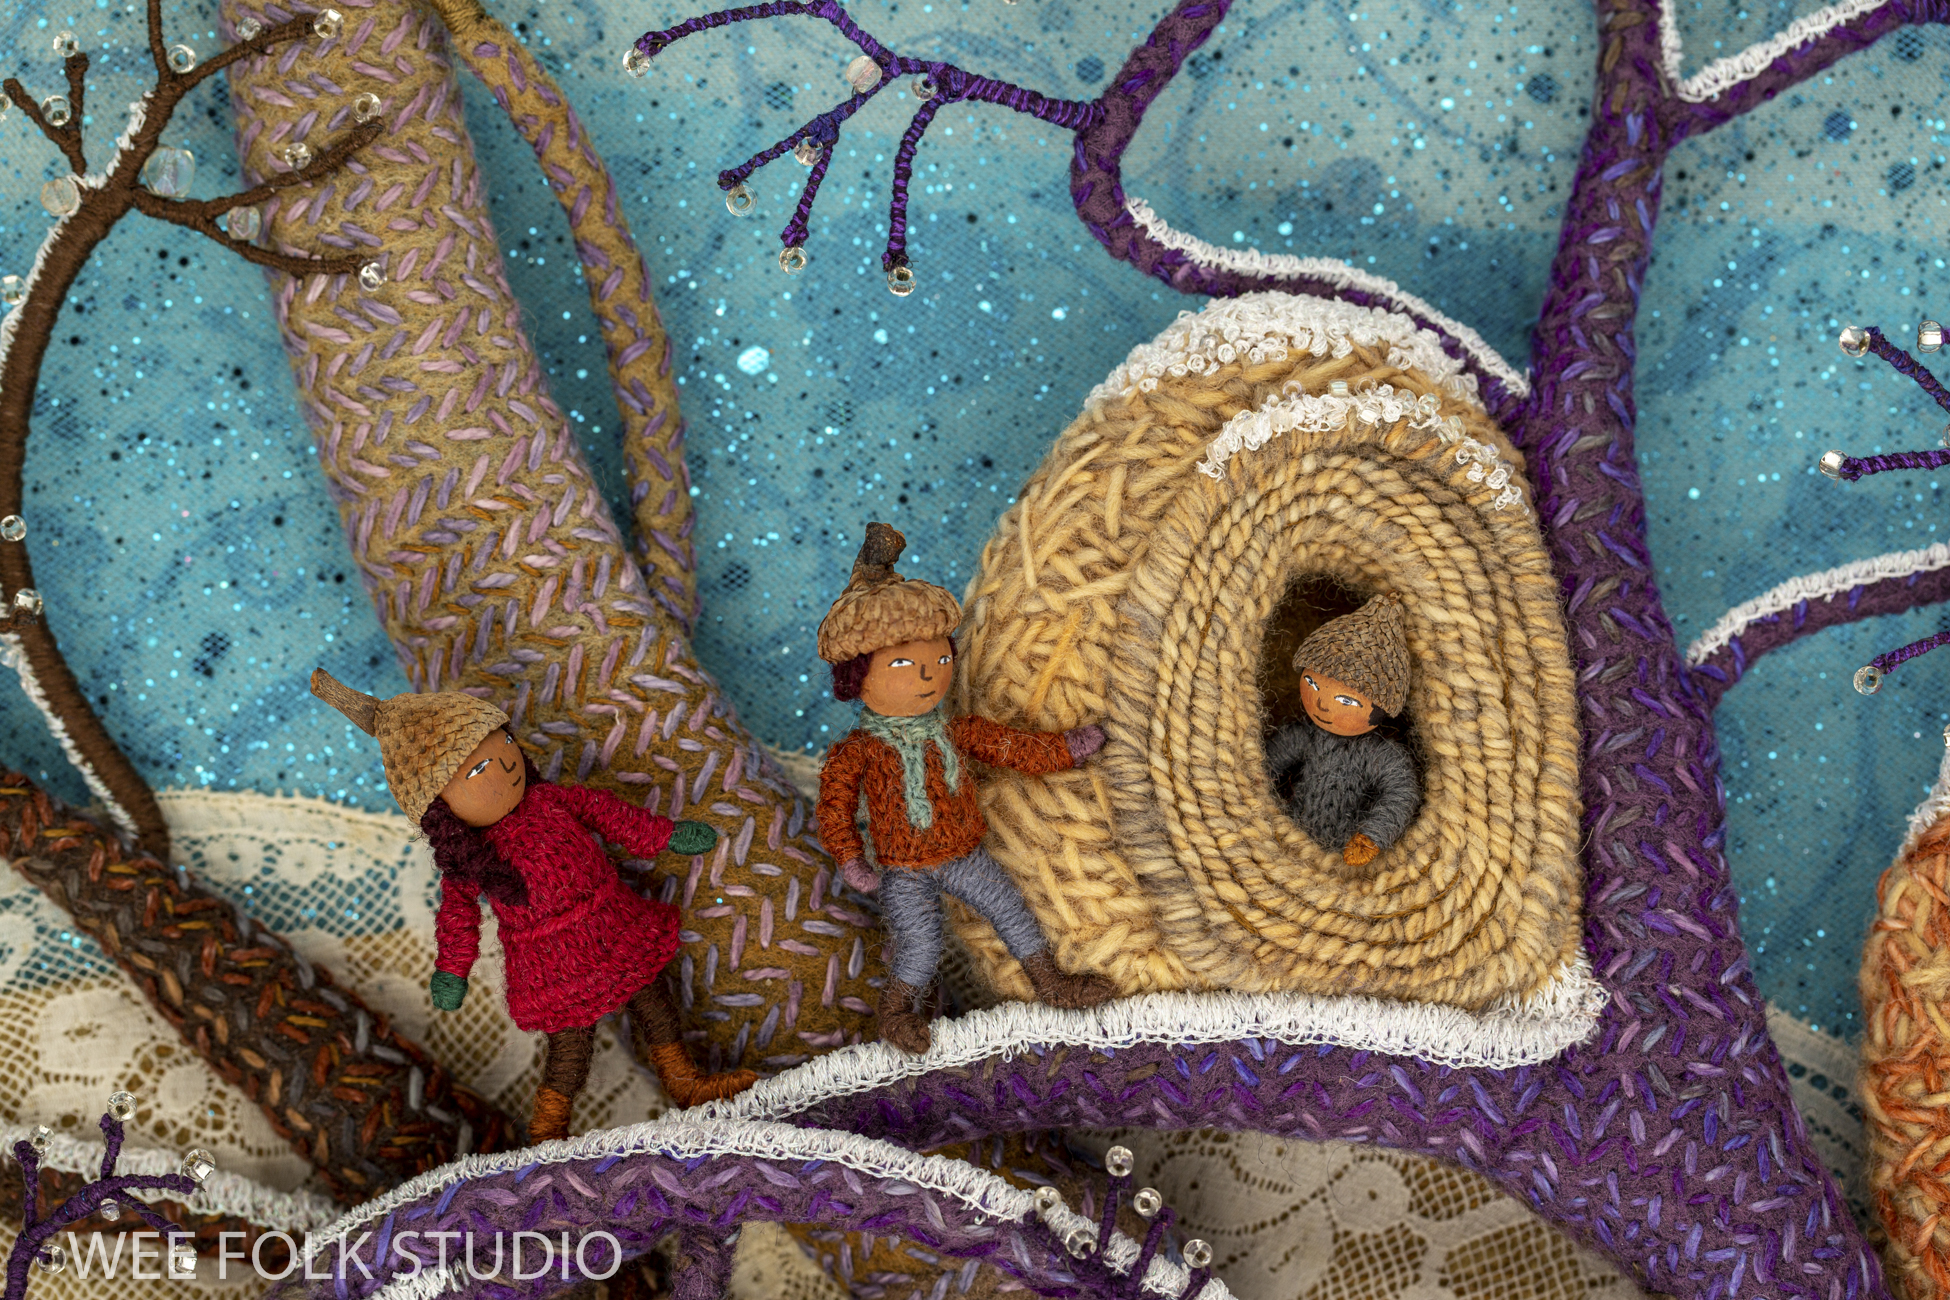
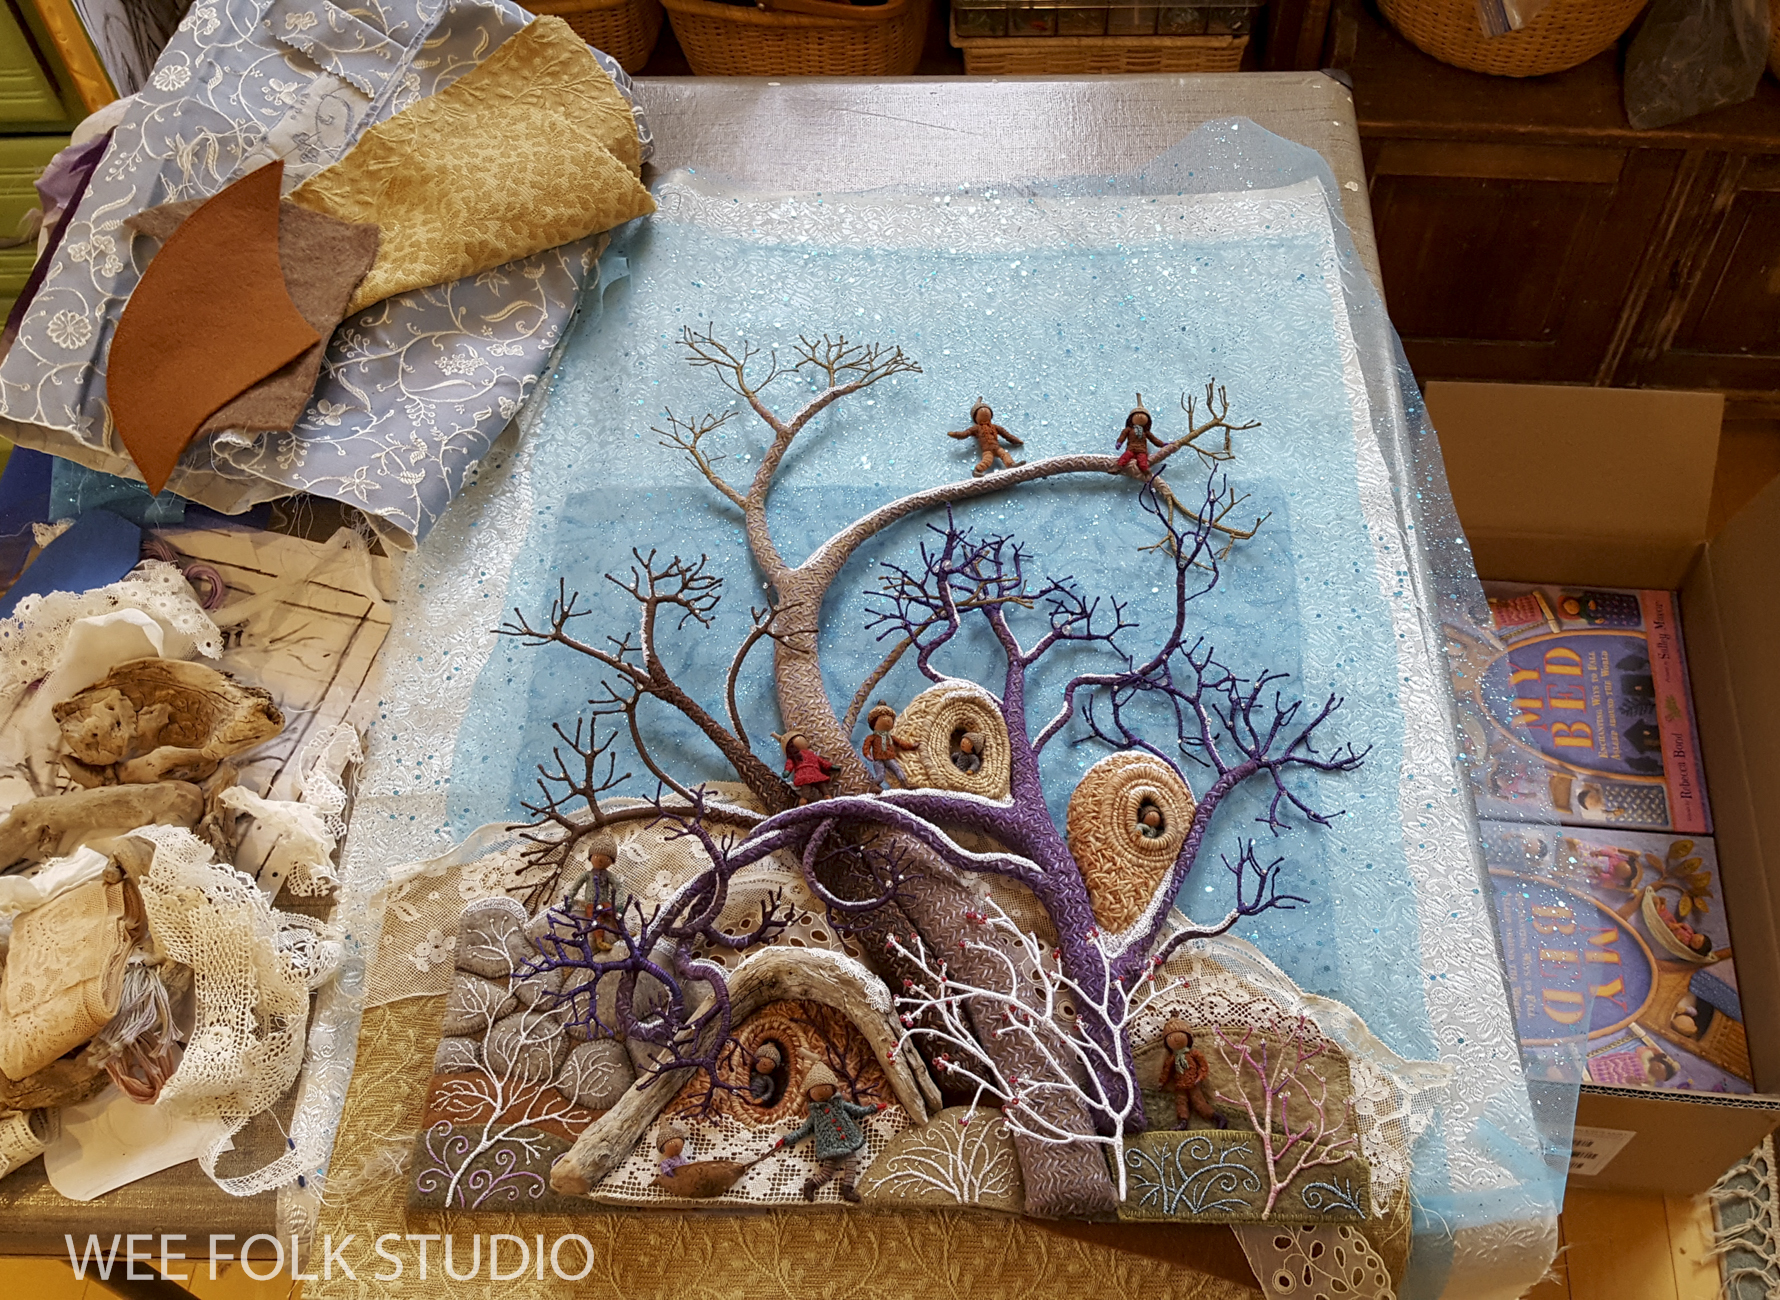
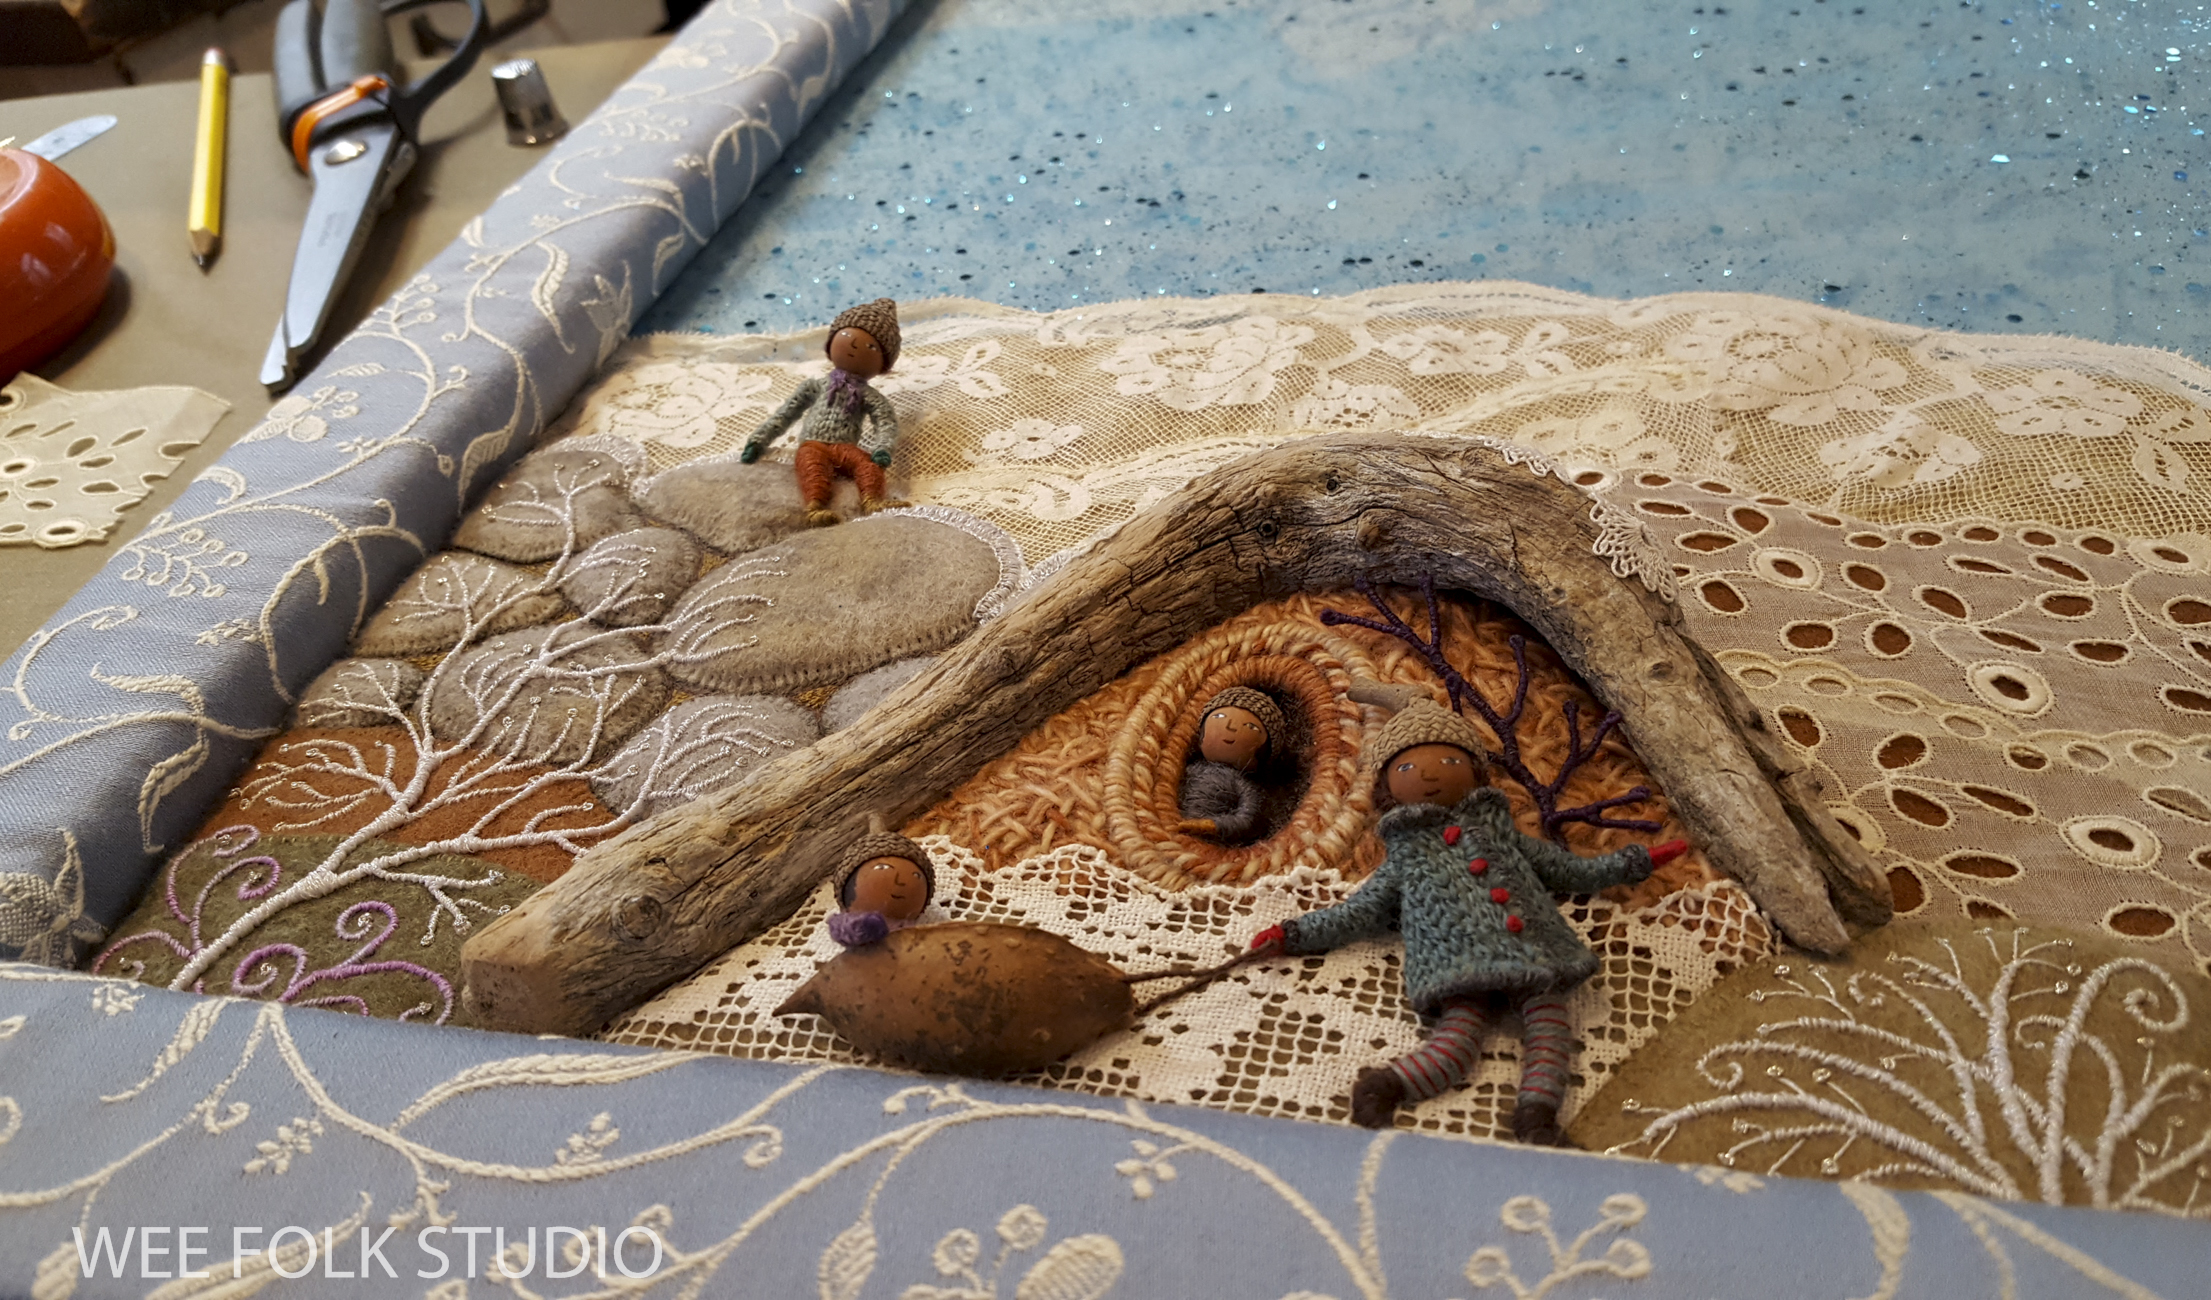
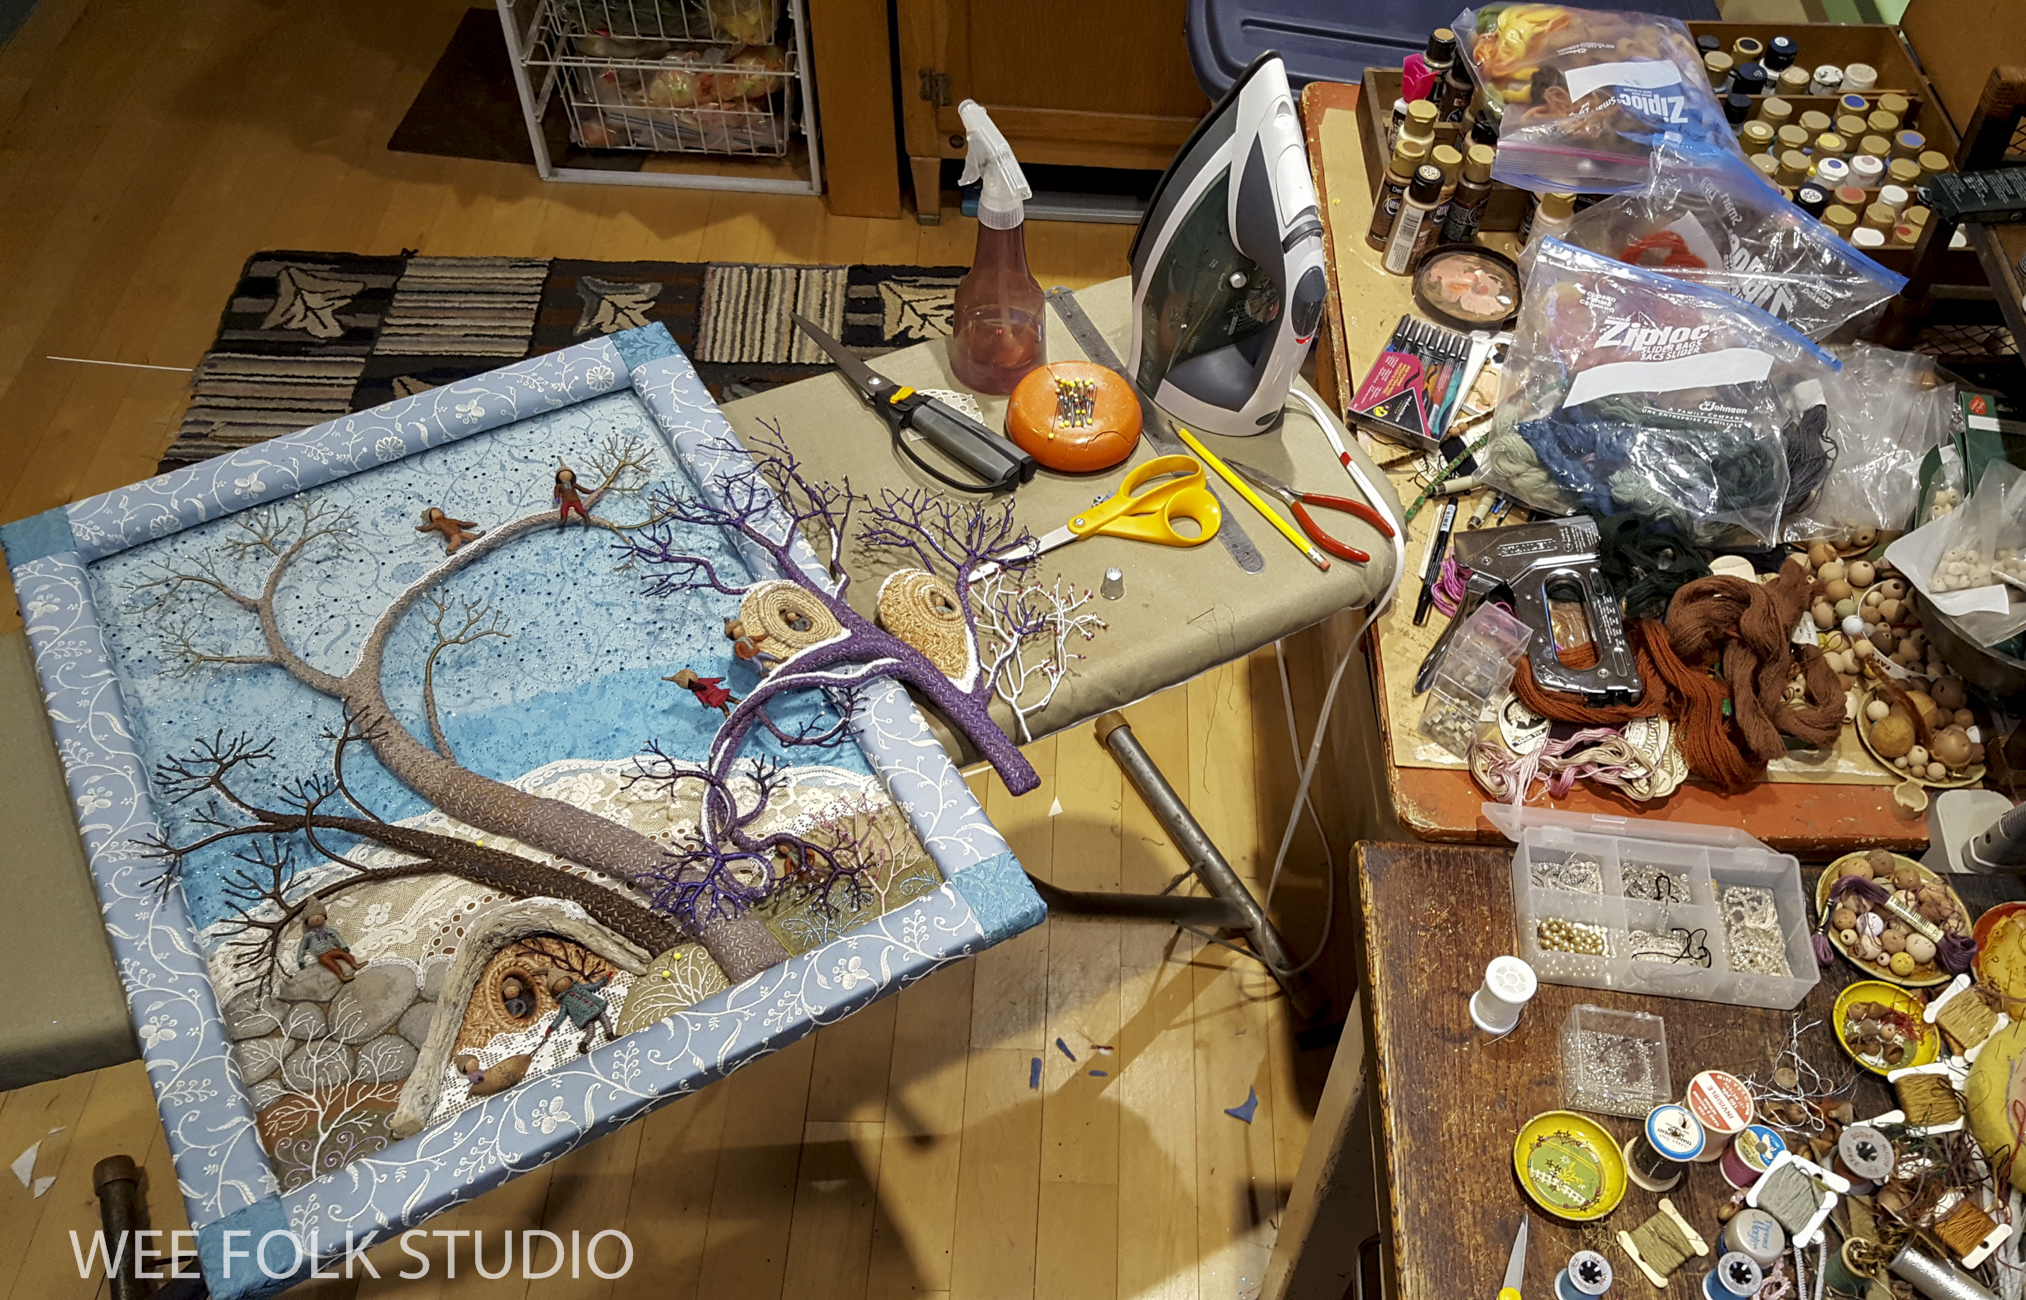
In this Part 4 of the series about making the spring landscape, Mossy Glen, I share photos and commentary about how I created the sweeping forsythia bush that arches above the hillside. Part 1 is all about stitching a moss-like texture, Part 2 gives a glimpse at how I made the cherry trees and Part 3 is about how I incorporated stone walls into the scene.

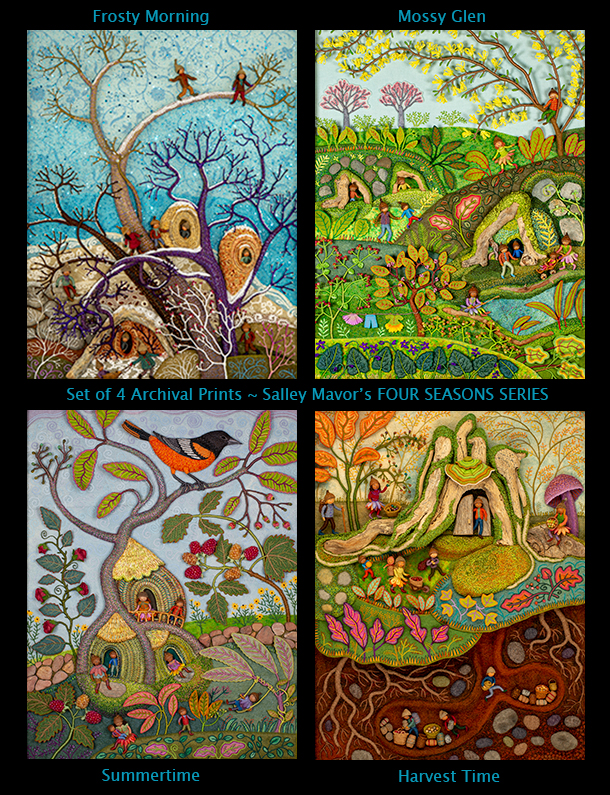
Mossy Glen is the spring scene in a series of seasonal landscapes that capture the wonder and magic of the natural world. Note cards, prints, bookmarks, and jigsaw puzzles of Mossy Glen and the other scenes in the series (Frosty Morning, Harvest Time, and Summertime) are available in my Etsy Shop.
Before we escape into Mossy Glen’s land of innocence, I want to acknowledge what’s happening in the real world. The shocking and merciless attack on Ukraine by the Russian military is just too horrible to ignore. At times like this, I find it helpful to channel my distress into art. In this case, I already had images to work with. All I had to do was rearrange the photos and present them in context. So, this past week, on International Women’s Day, I posted the following image in solidarity with the people of Ukraine. The response on Facebook and Instagram was immediate and heartfelt, so I’m sharing it here as well. The group of portraits, featuring a Ukrainian in a traditional folk costume in the center, are some of the 48 women from around the world in my 2016 piece, Cover Up, which you can see and read about here.

Forsythia
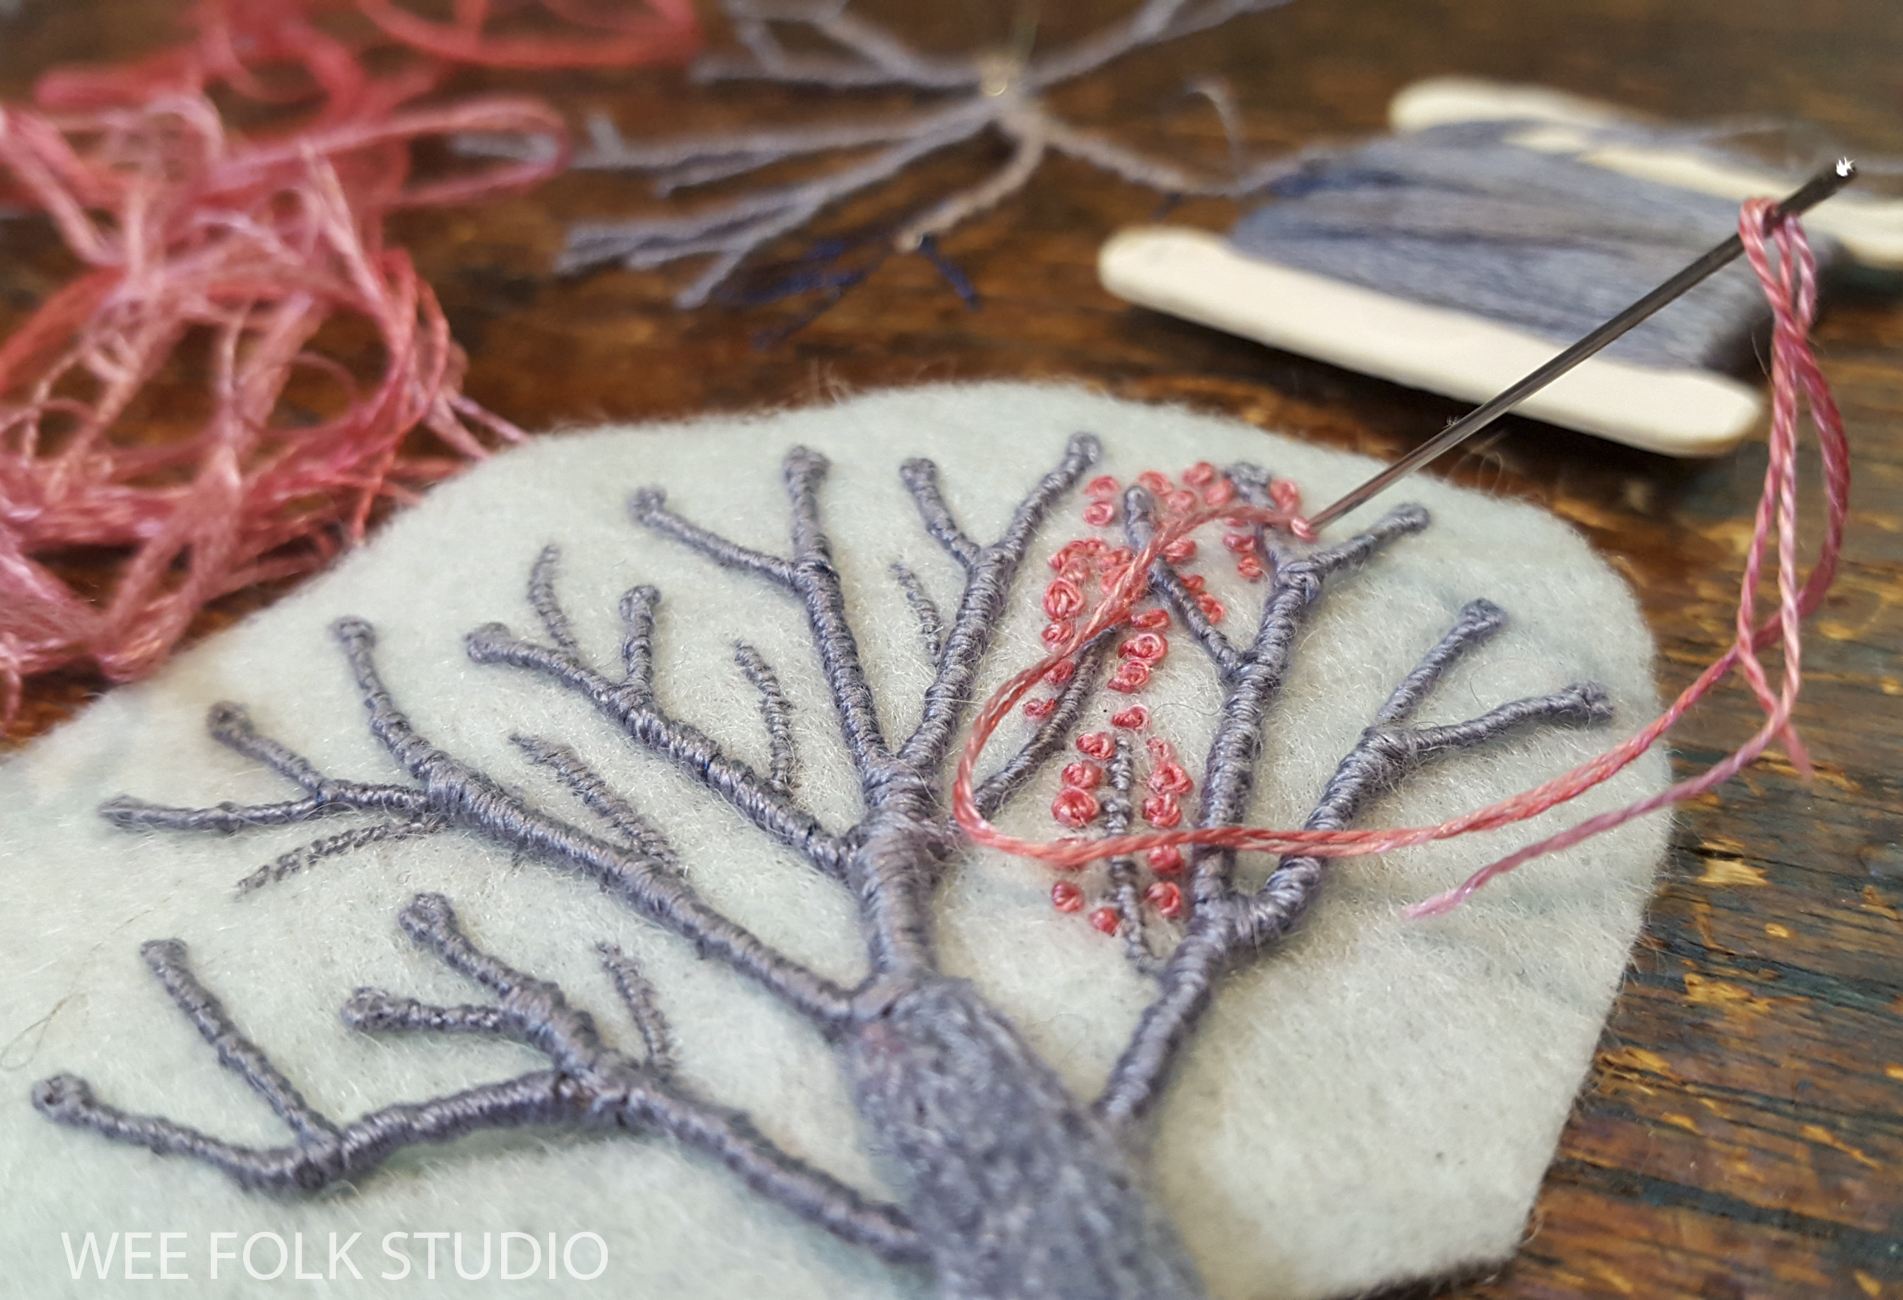
One of the first signs of spring around here, besides snowdrops and daffodils are the telltale splashes of yellow forsythia bushes. They’re only noticeable for a few weeks, before leafing out and blending in with every other nondescript mass of leggy branches along the roadside. When forsythia are in full blossom, though, they are an important marker of the changing season.


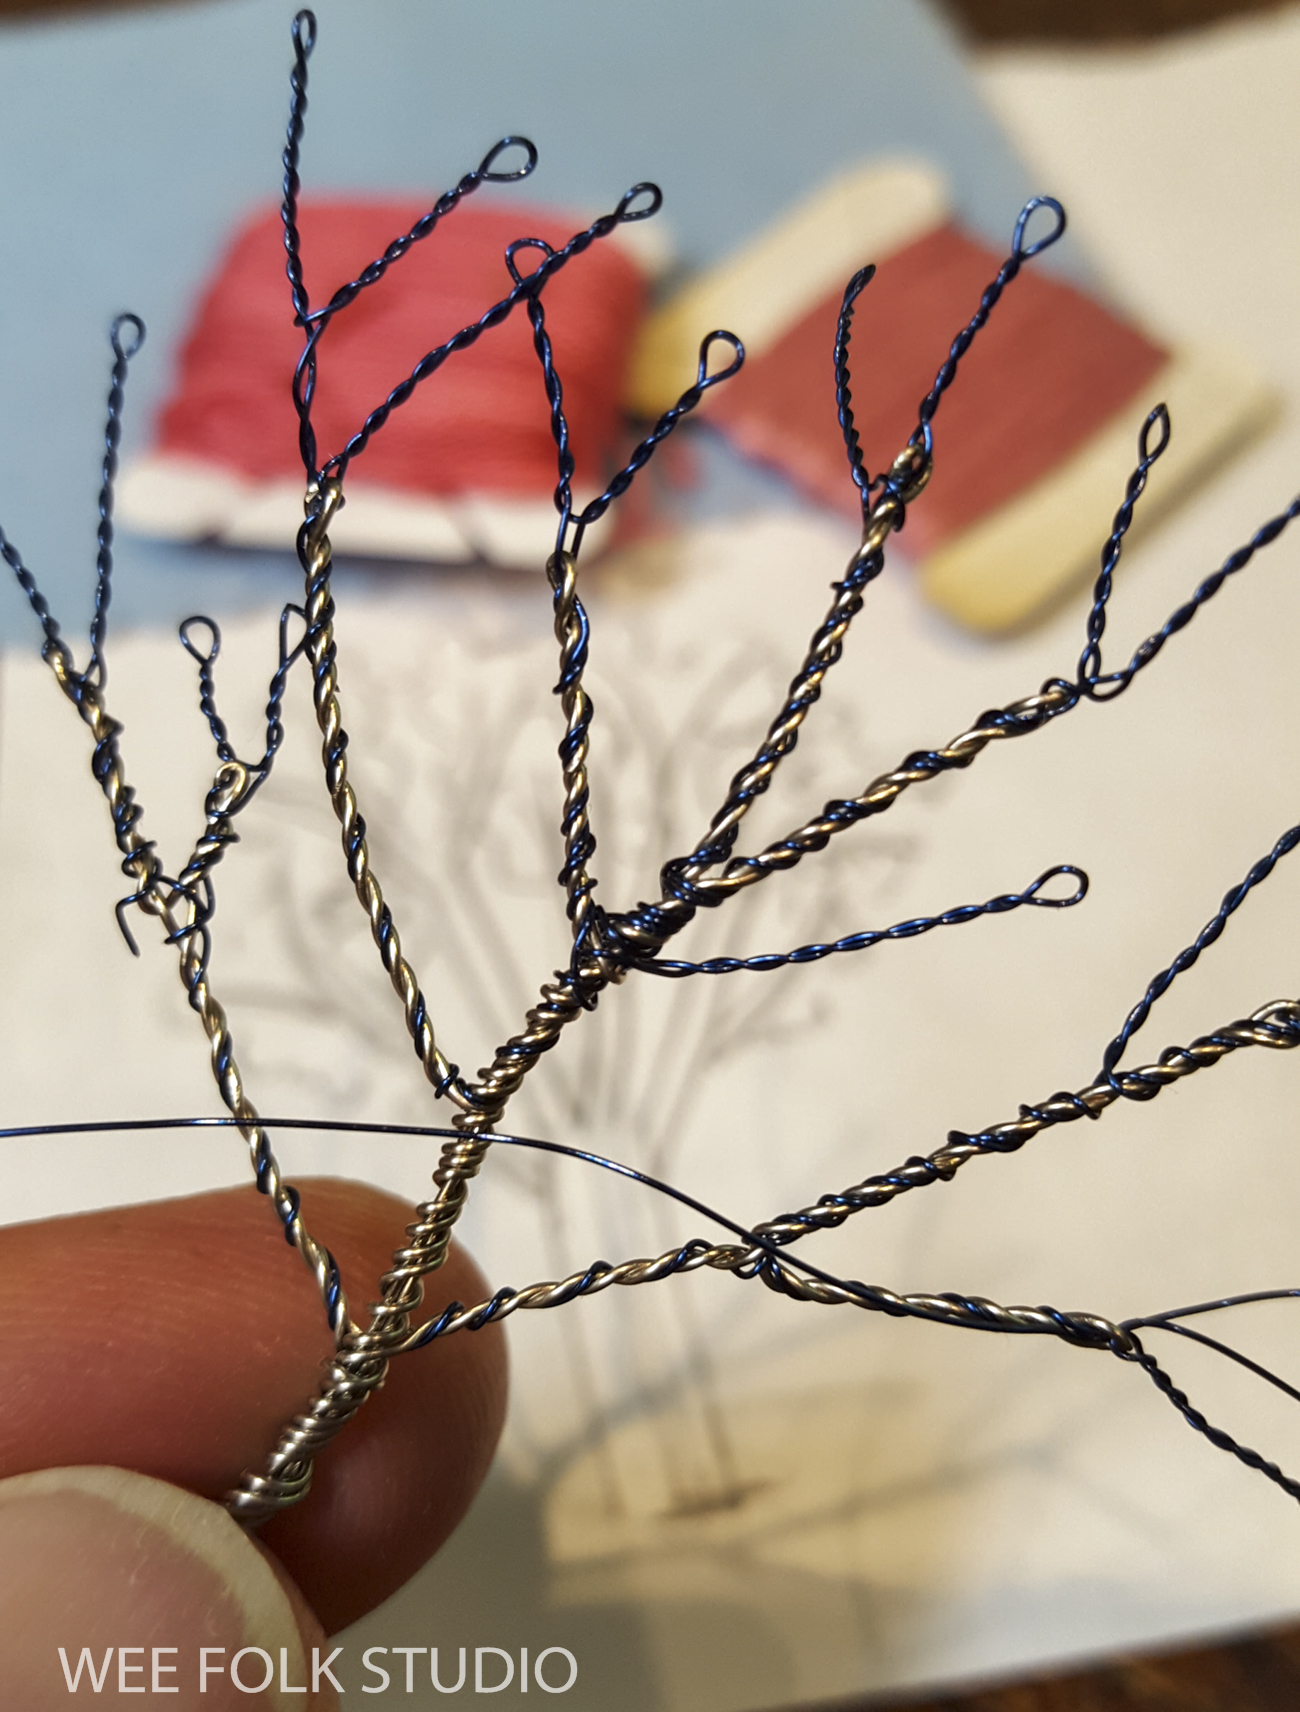
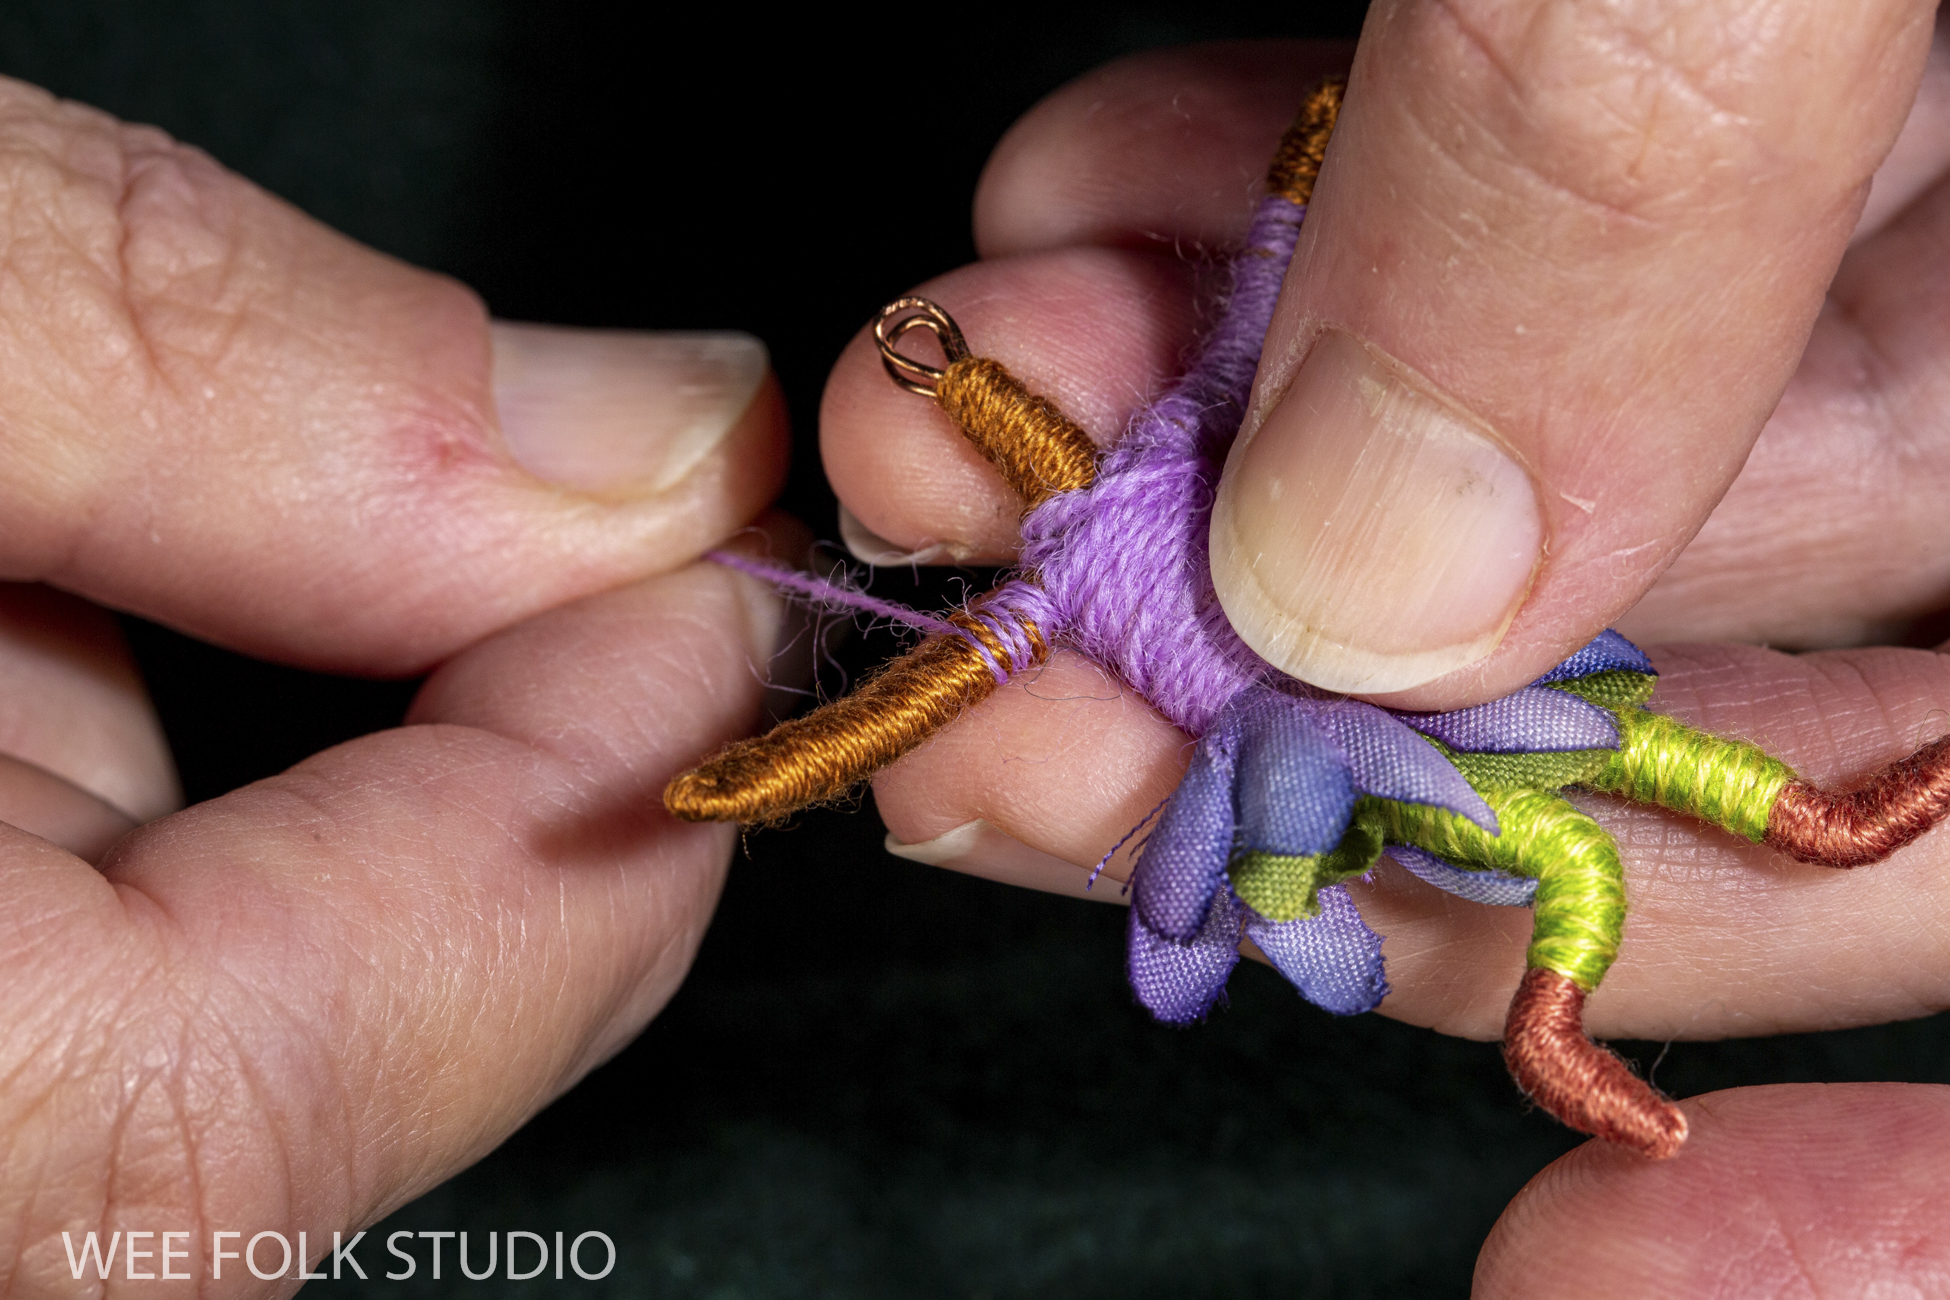
Once I decided to make a forsythia bush, I had to figure out how to construct the different parts. The wire branches would be straightforward, but the flowers needed a new approach. I knew that I wouldn’t be able to replicate them perfectly, so I thought of ways to give the impression of delicate blossoms.
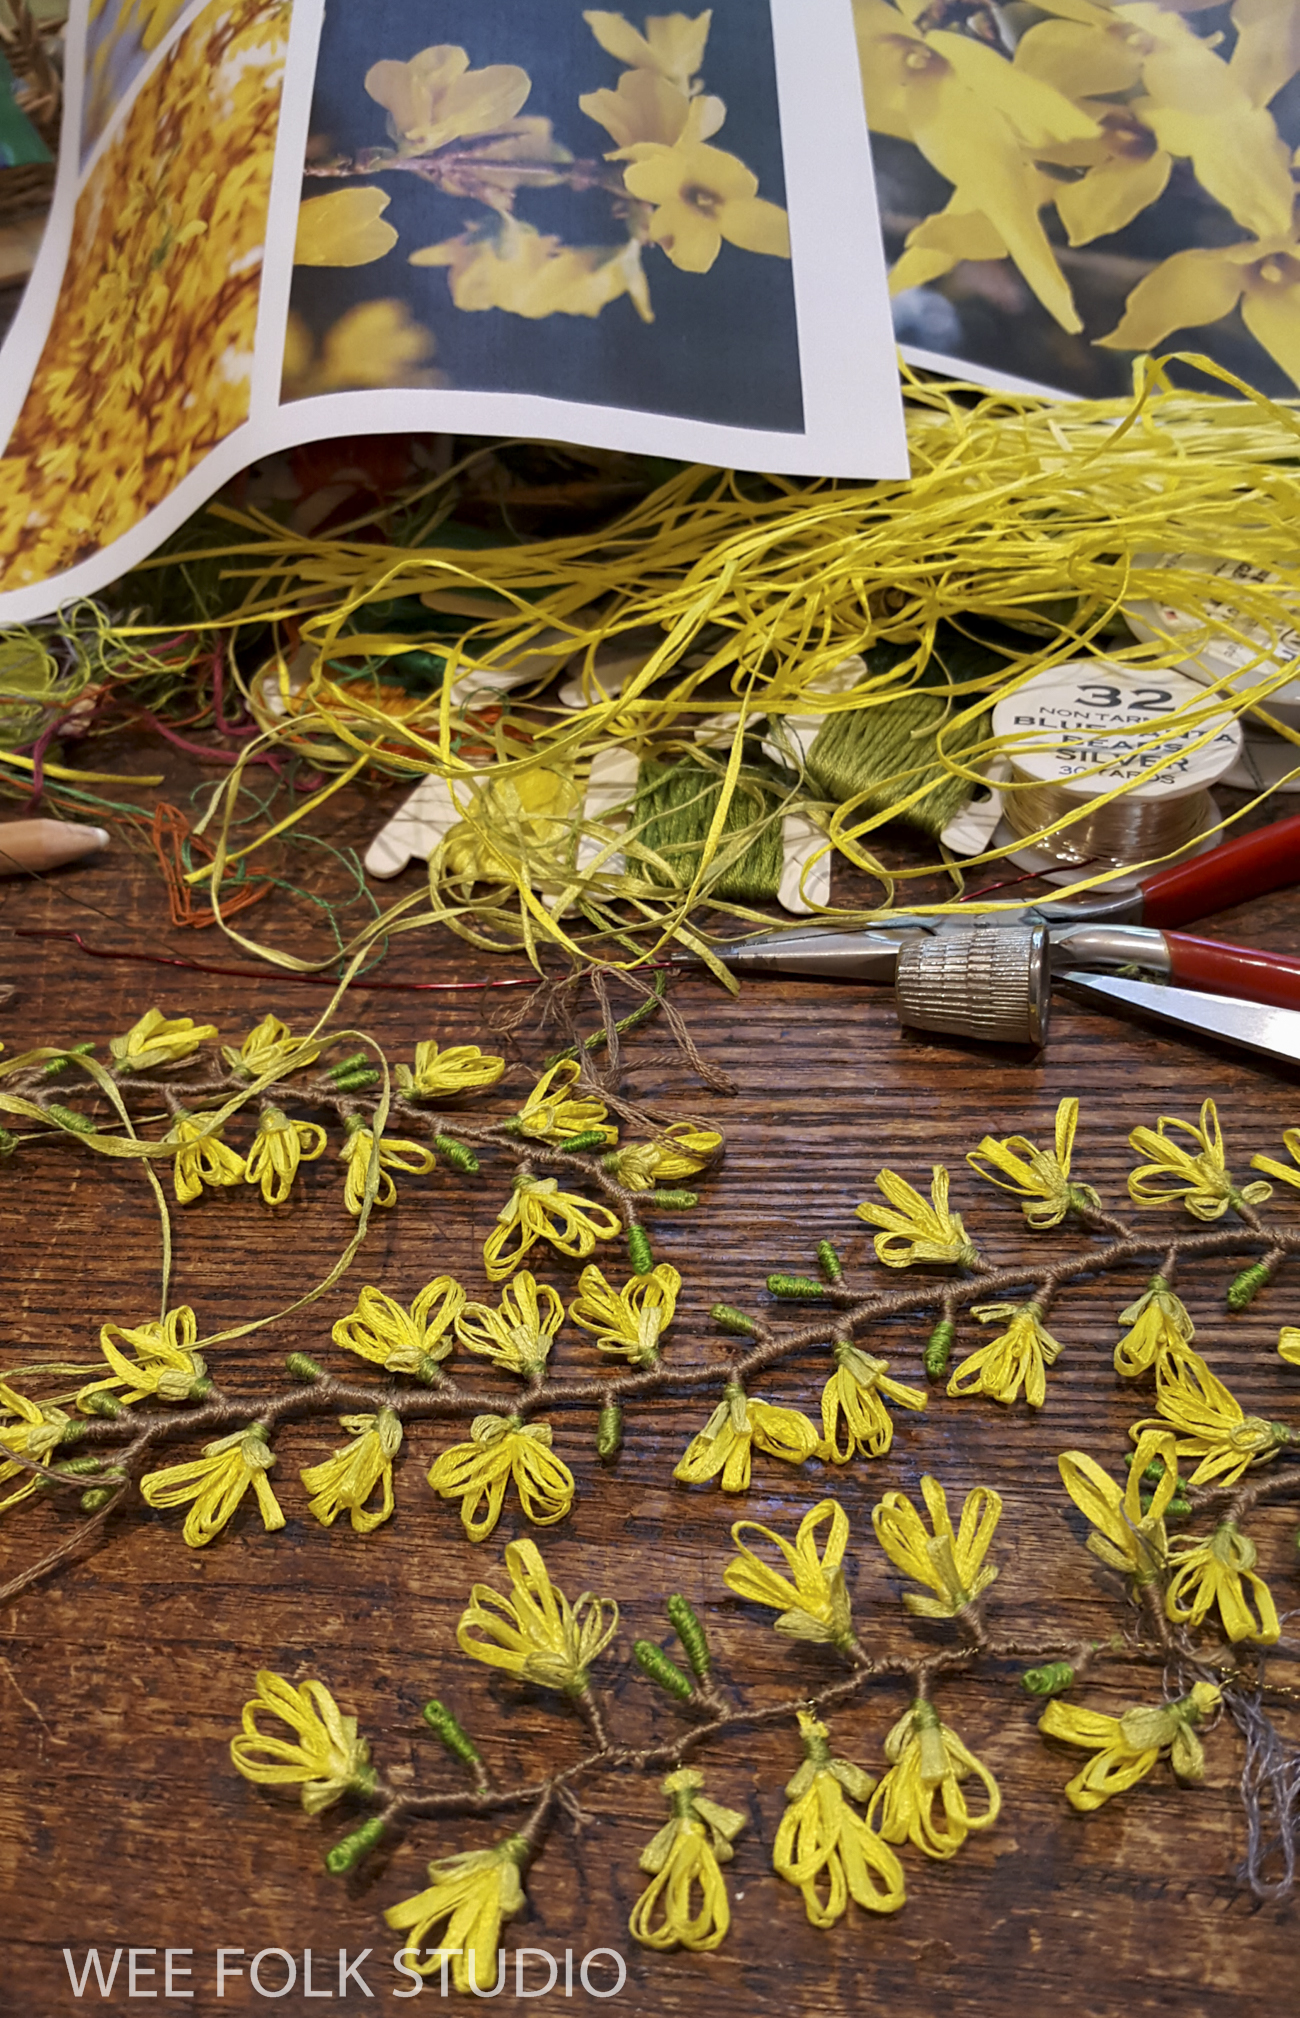
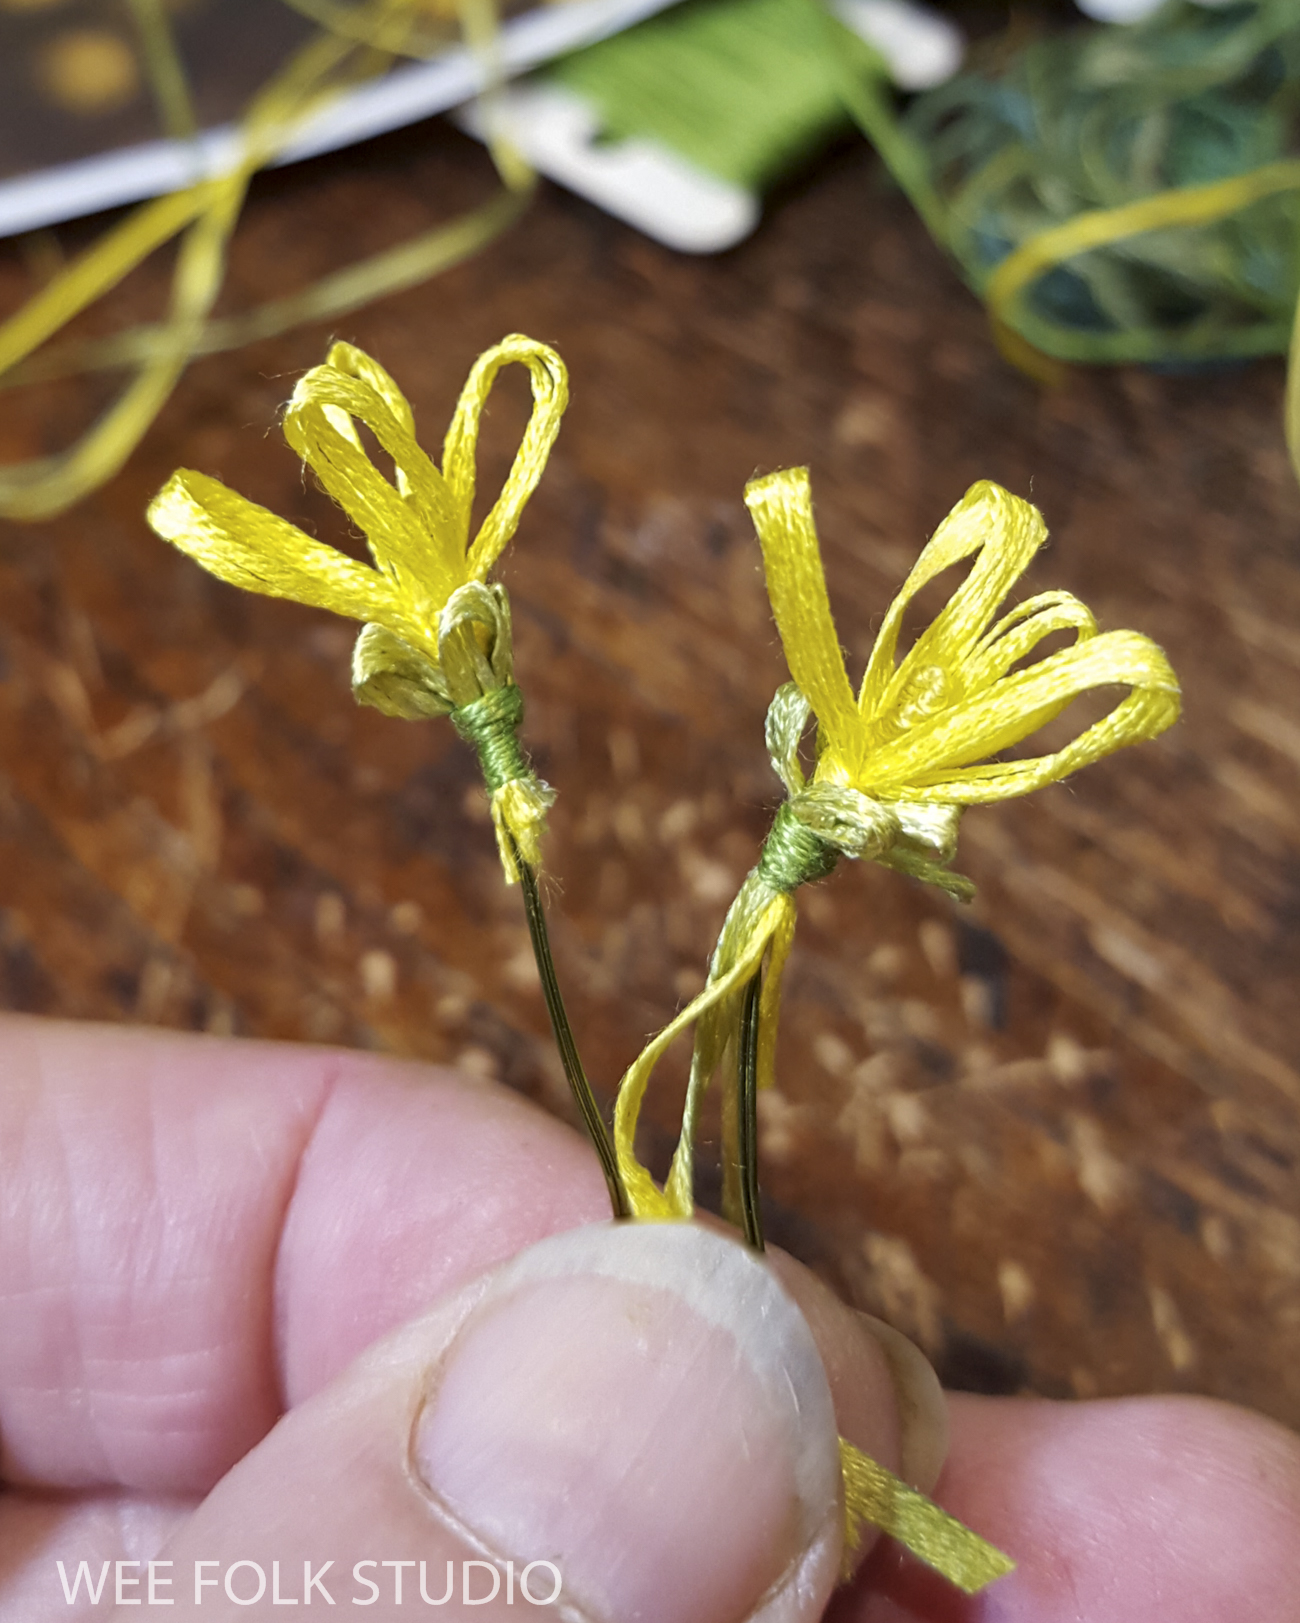
After experimenting with different threads and yarns and finding the flowers too droopy and clumsy, I tried silk ribbon. The petals perked right up and held their shape!
The process of forming the flowers was quite fussy. It’s much easier to show than tell how, so here’s a Stitch Minute video to give you the basics.
The silk ribbon I used is from Silk Road Fibers. They have a ton of different colors.

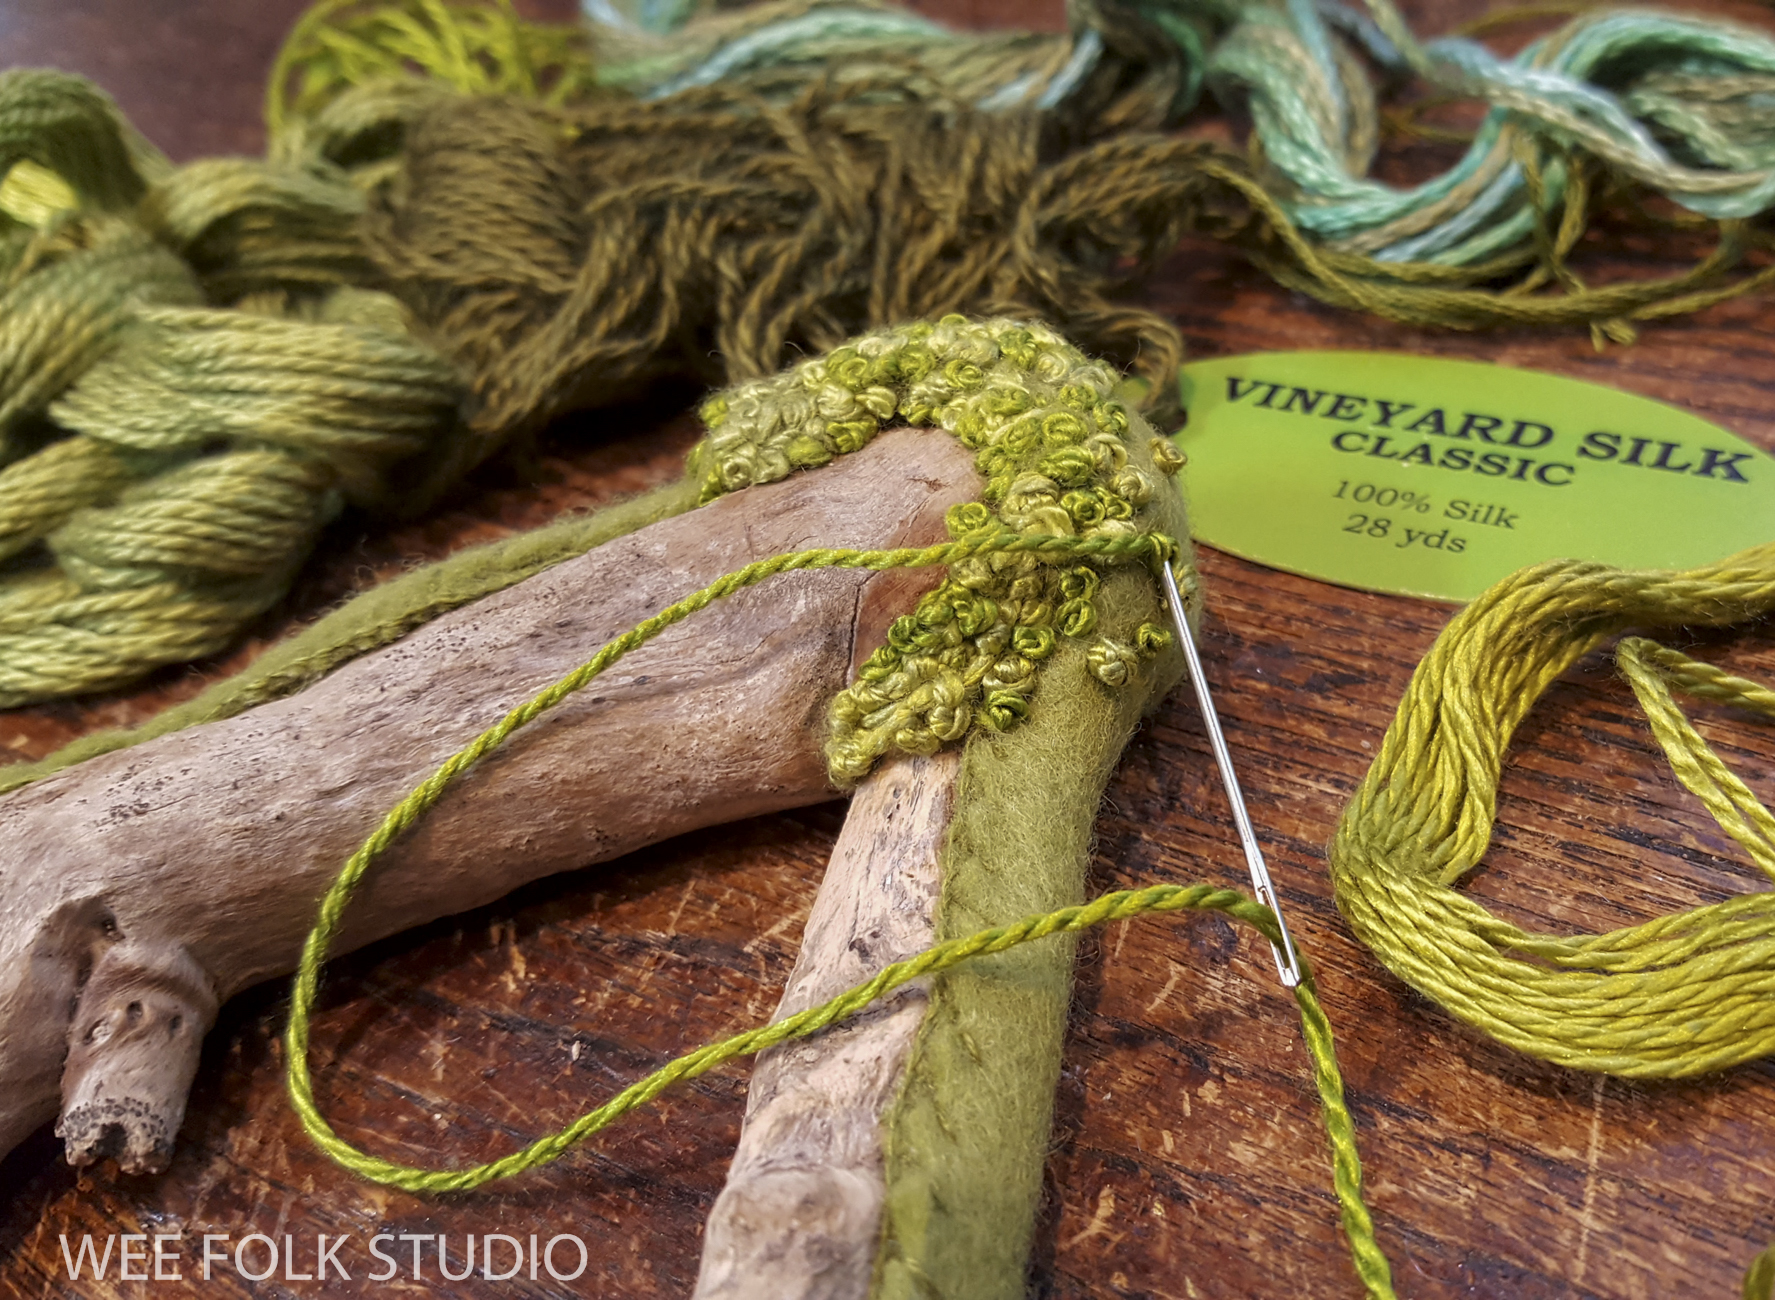
I filled the wire branches with about 100 flowers and buds.

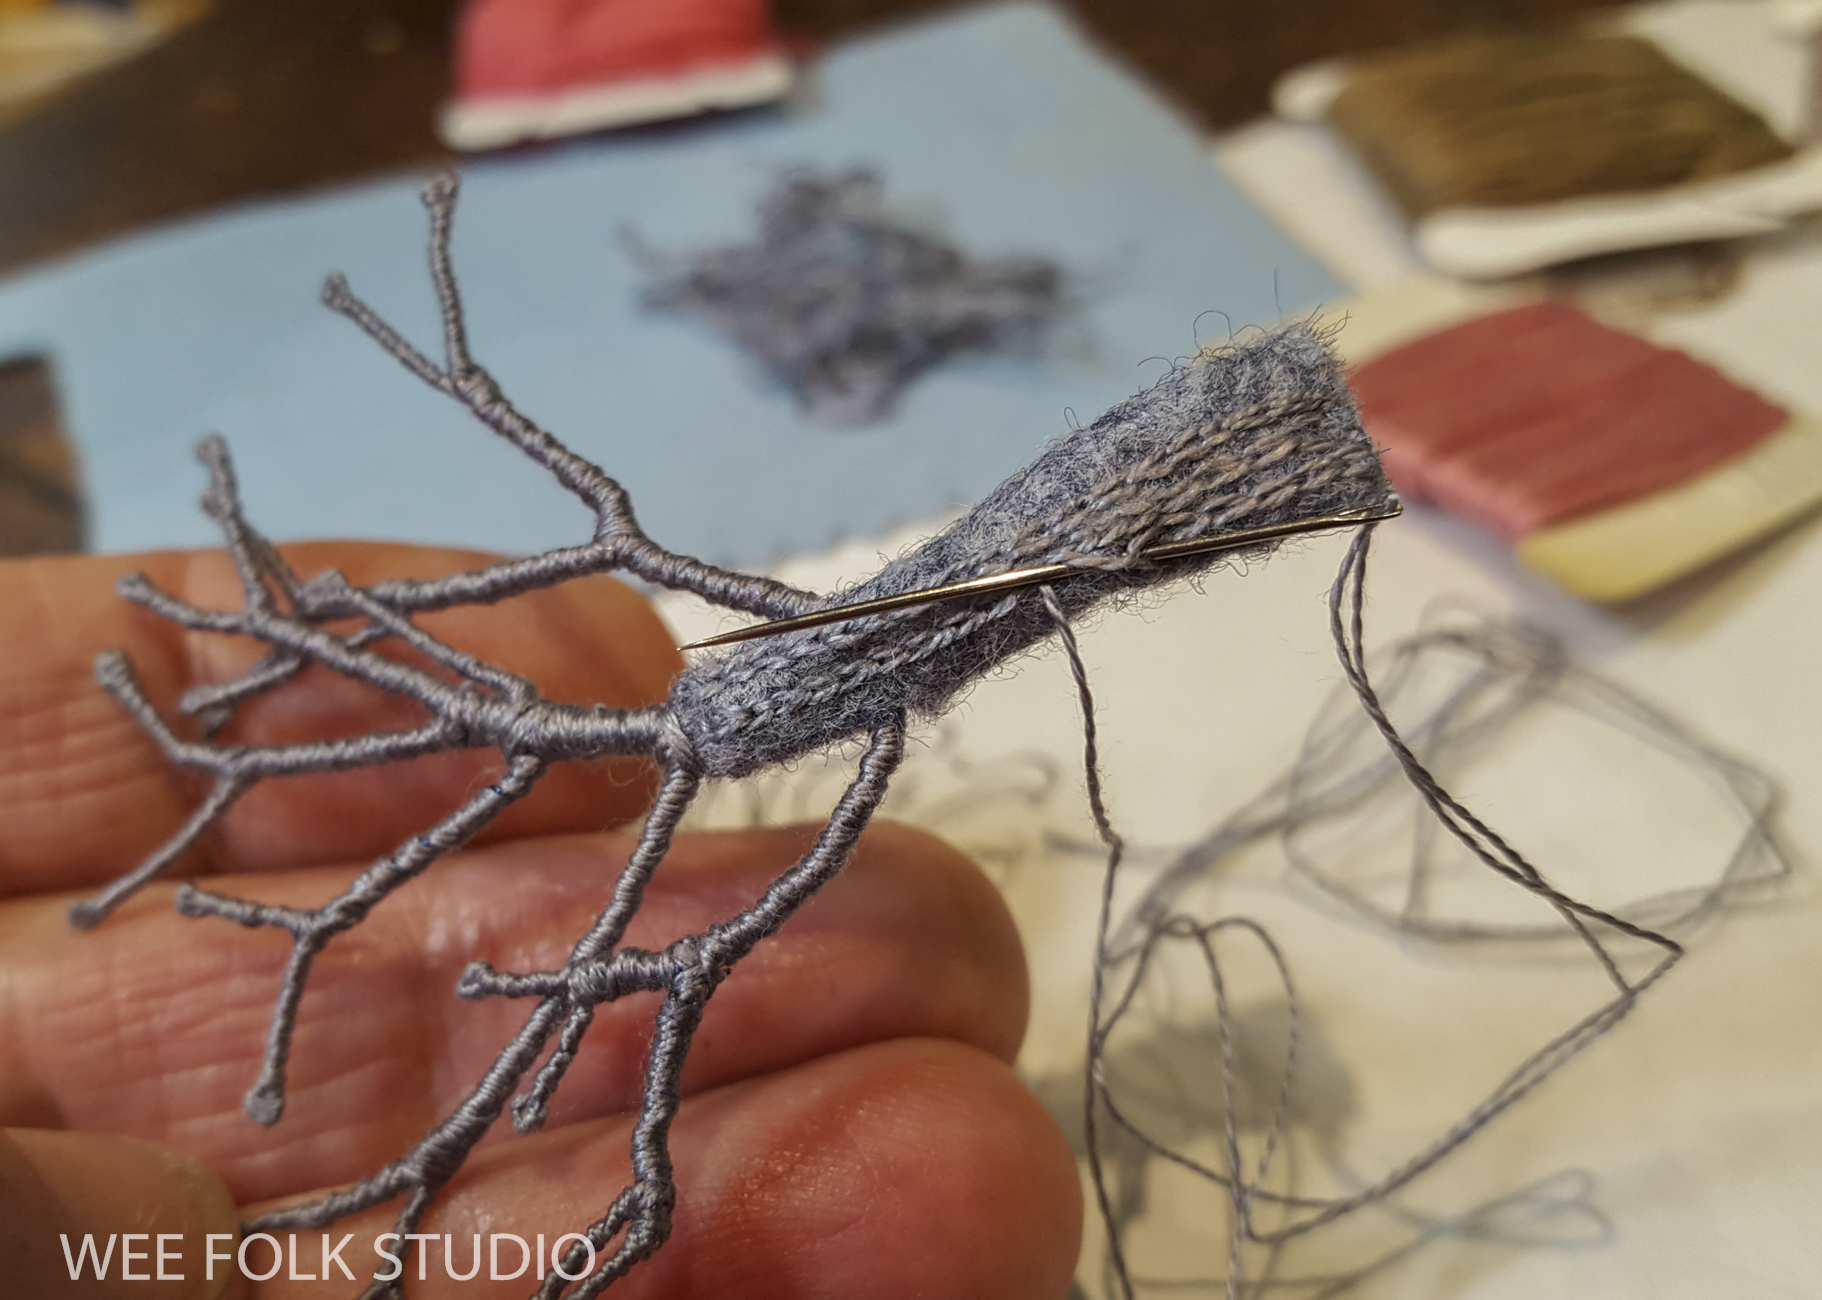
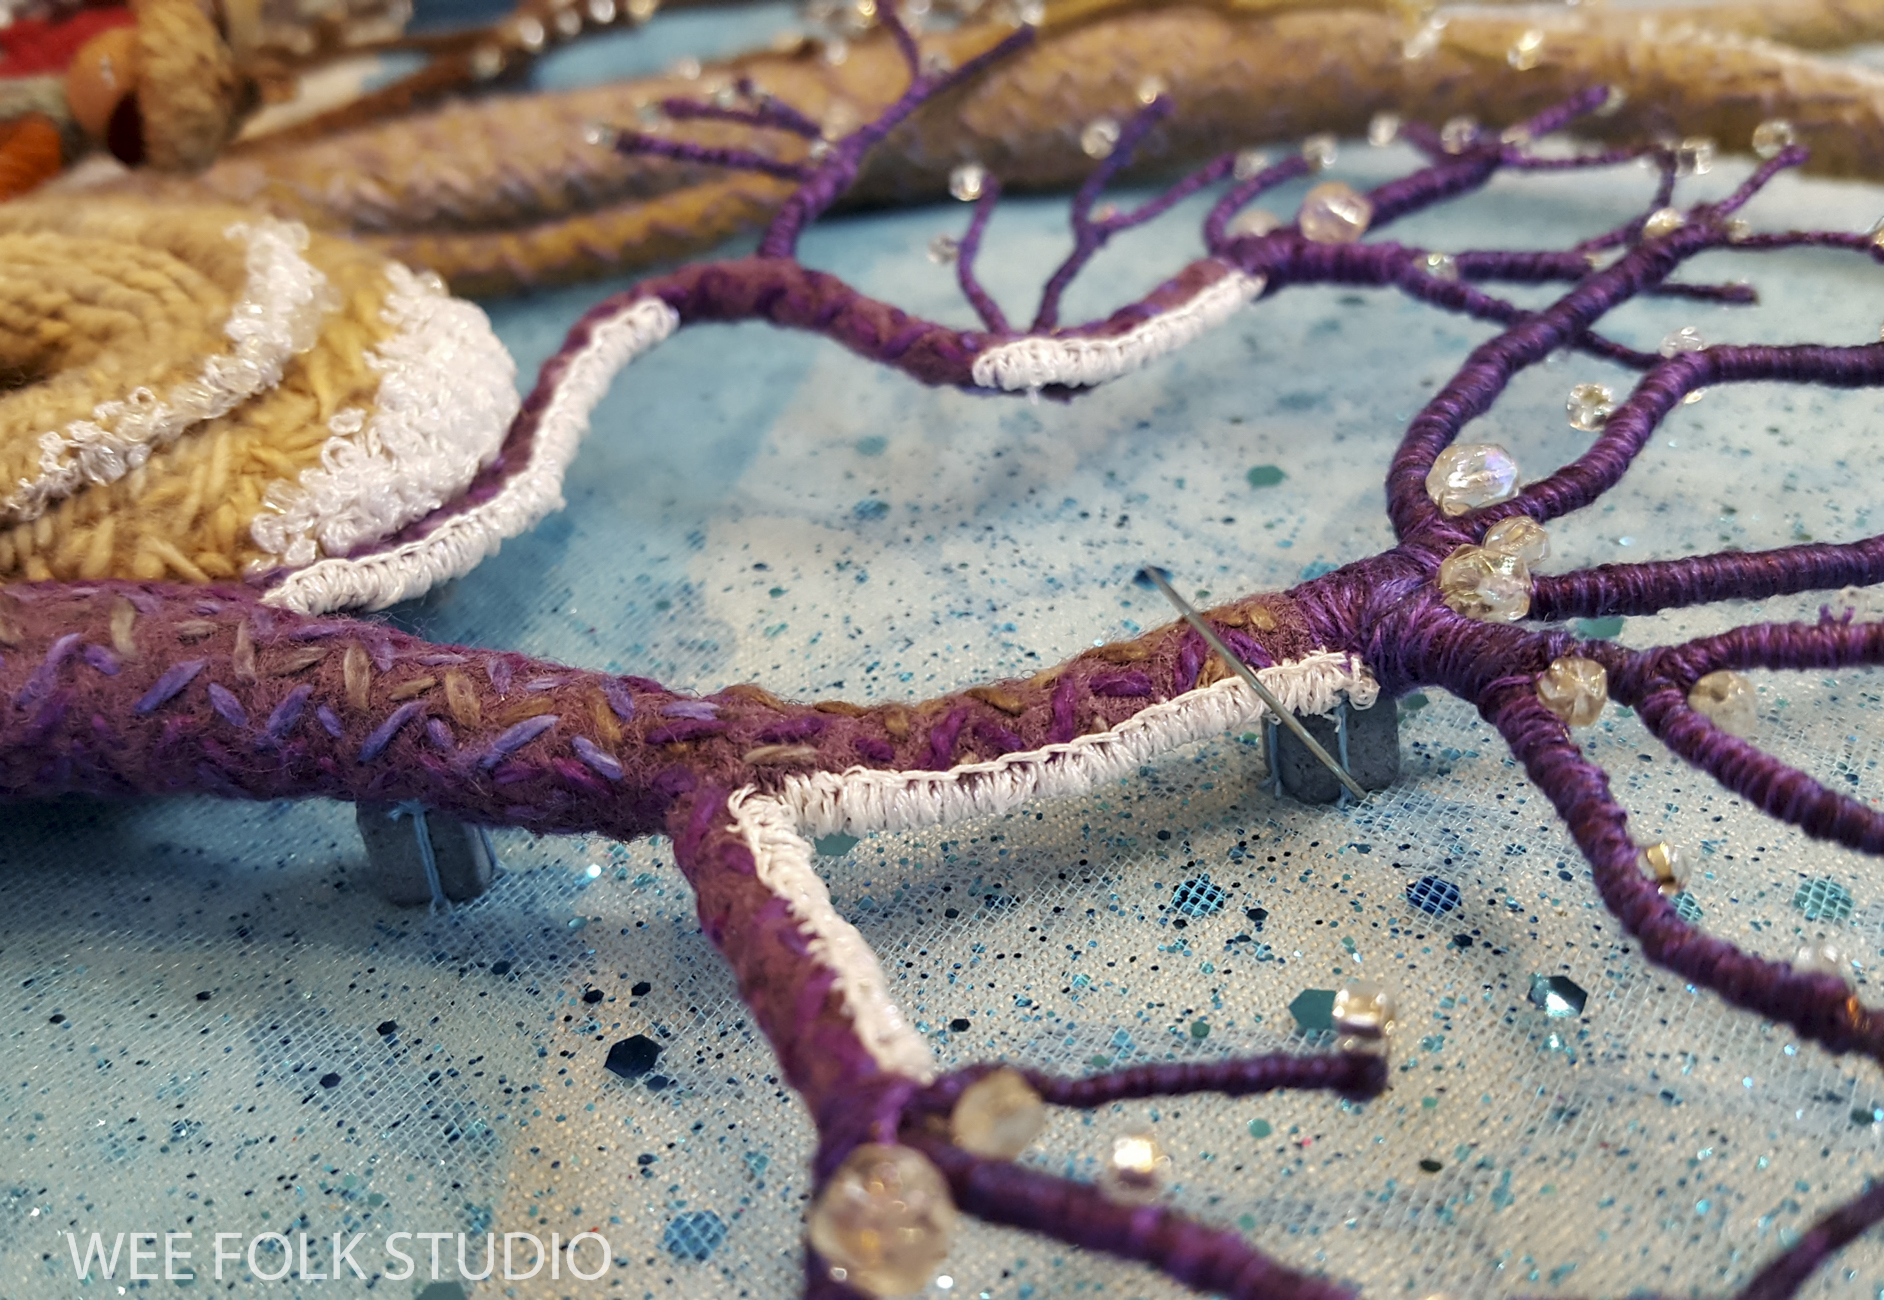
Then I wrapped brown embroidery floss around the branches, covering the messy wire stems.

The stems were still a bit bumpy, so I wrapped more layers with 2 or 3 strands of floss, until they were smooth like this.

Stay tuned for more posts about making Mossy Glen. Other parts in the series will focus on the leaves, embroidered embellishments and the wee folk characters.
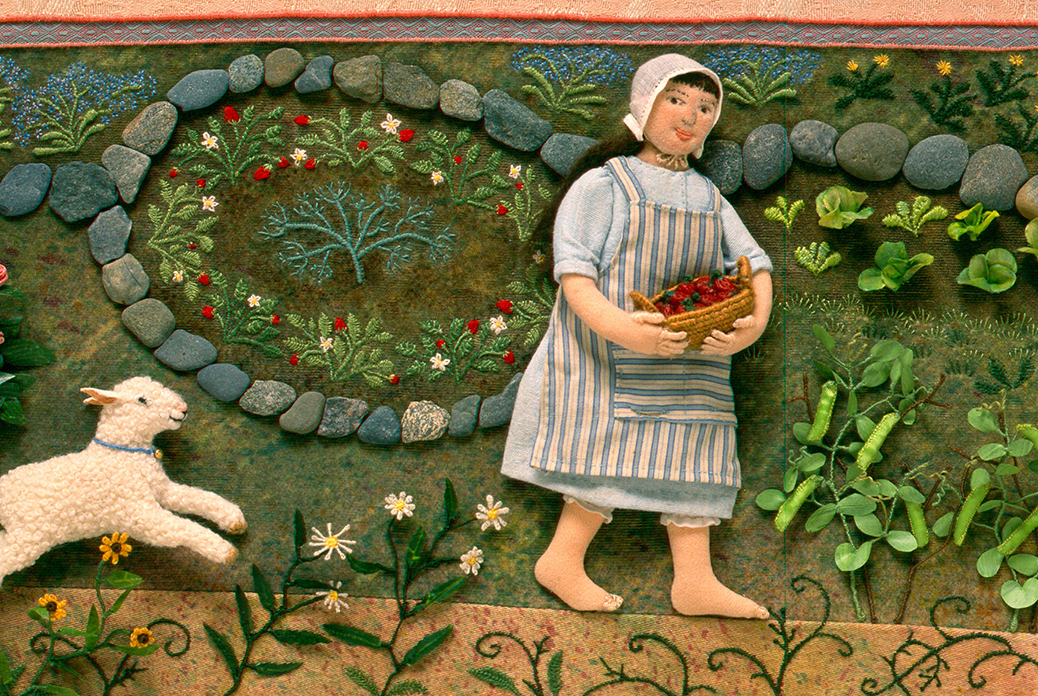
Mossy Glen (overview)
Part 1 (moss)
Part 2 (cherry trees)
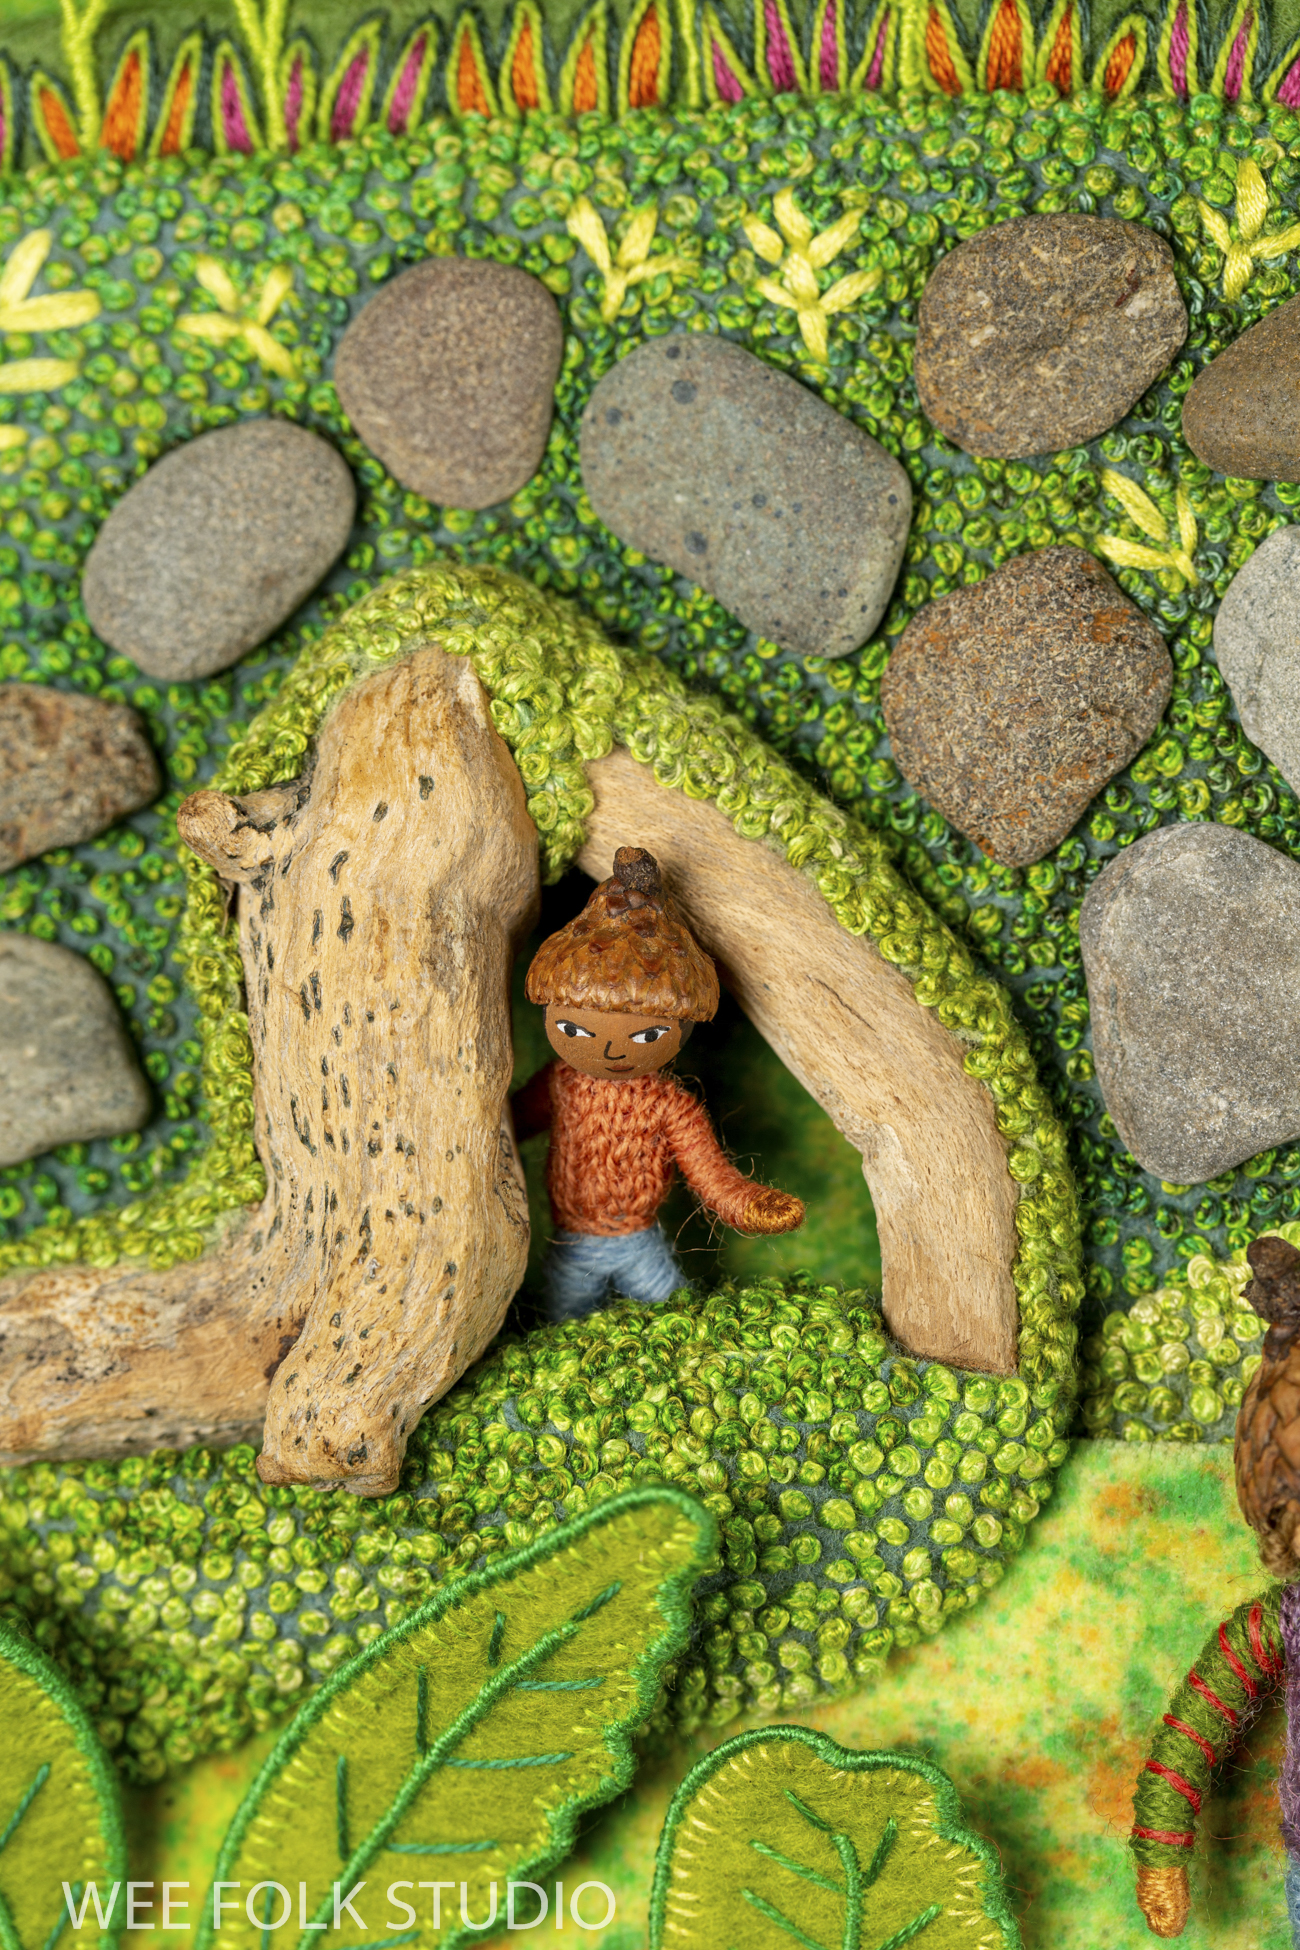
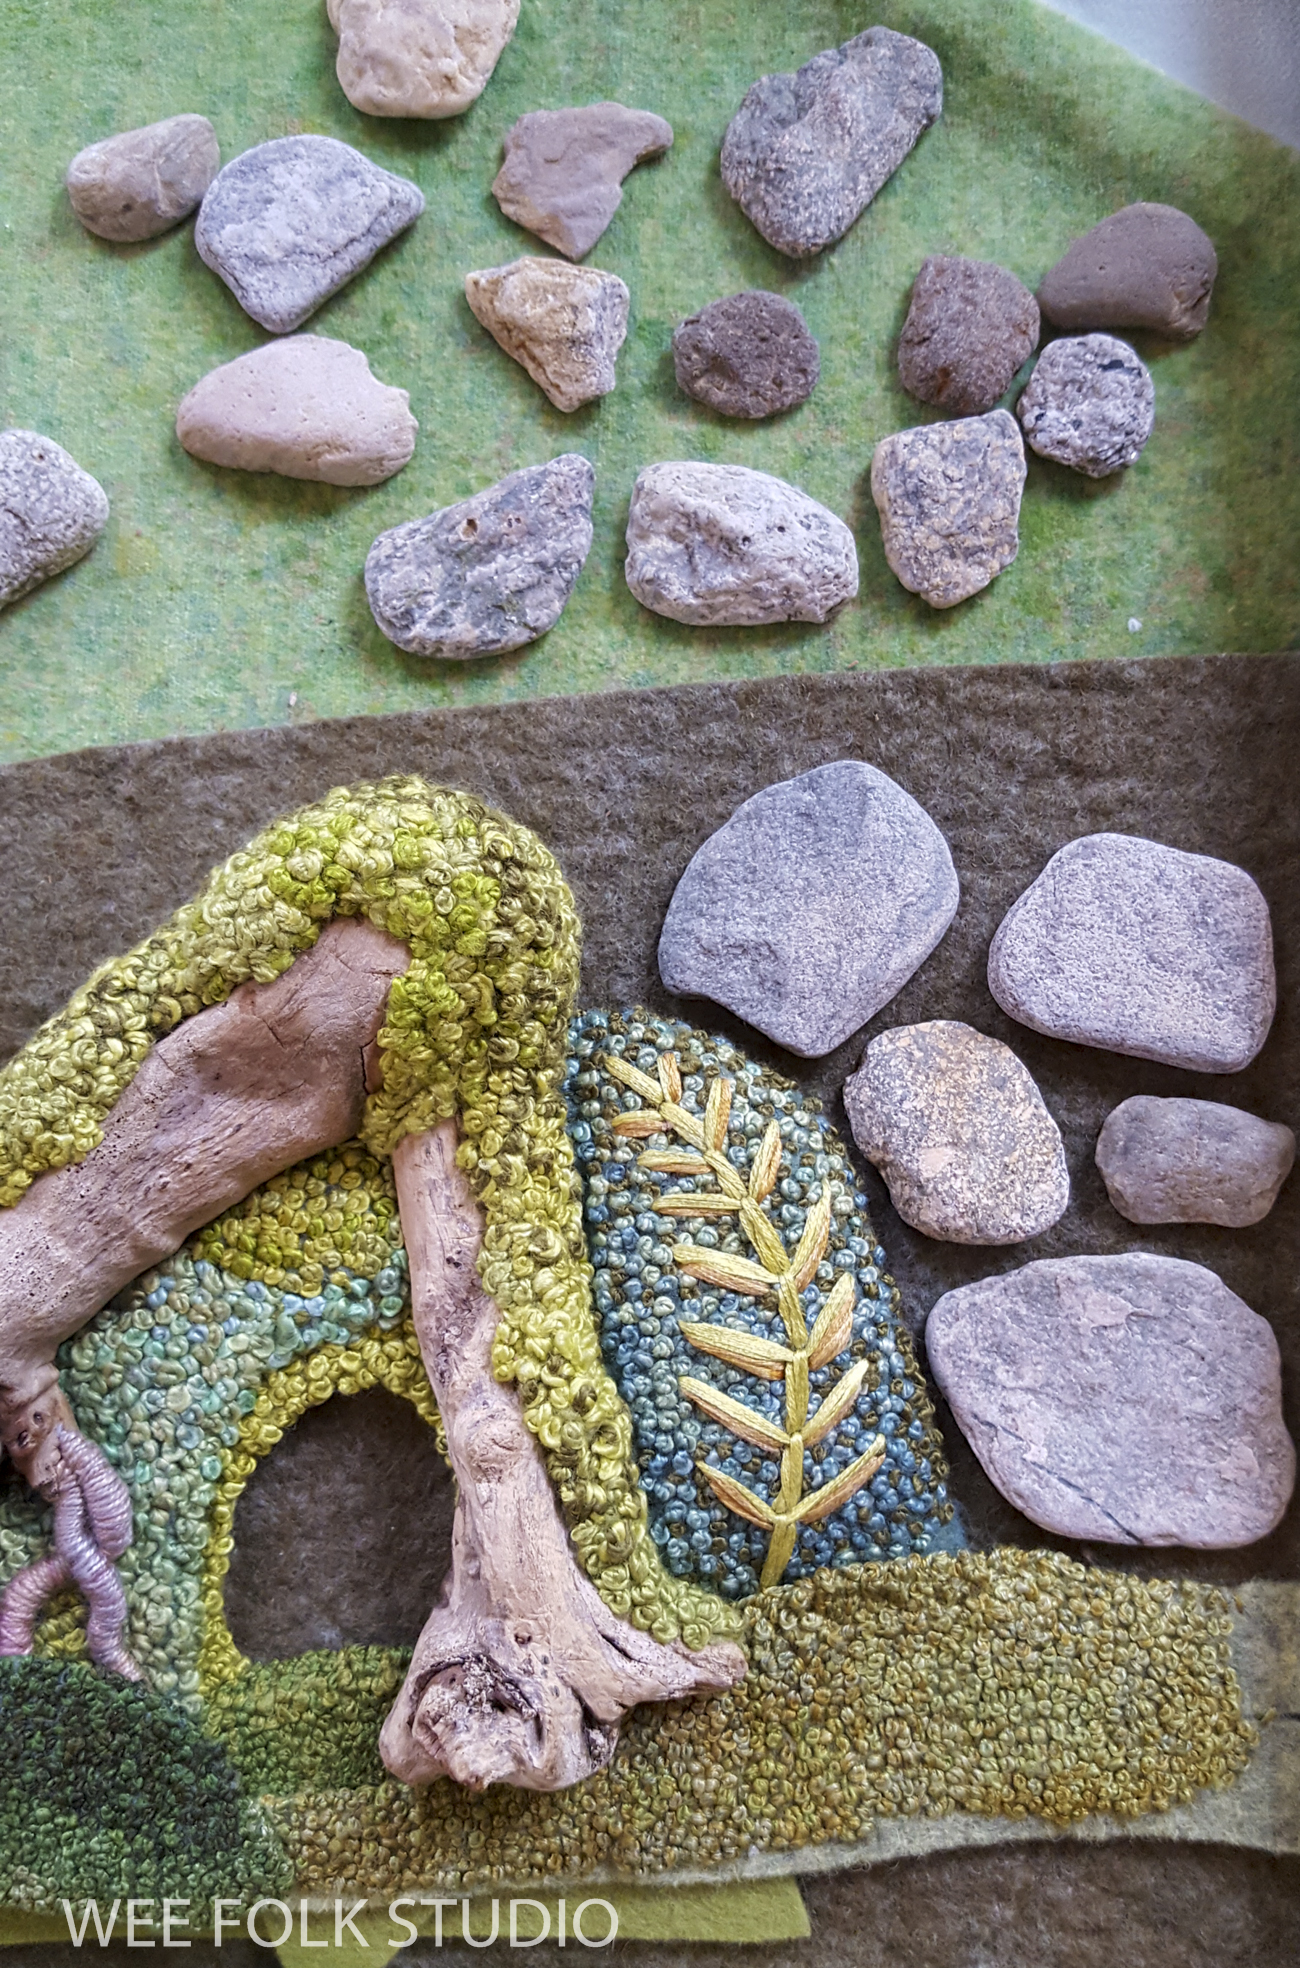
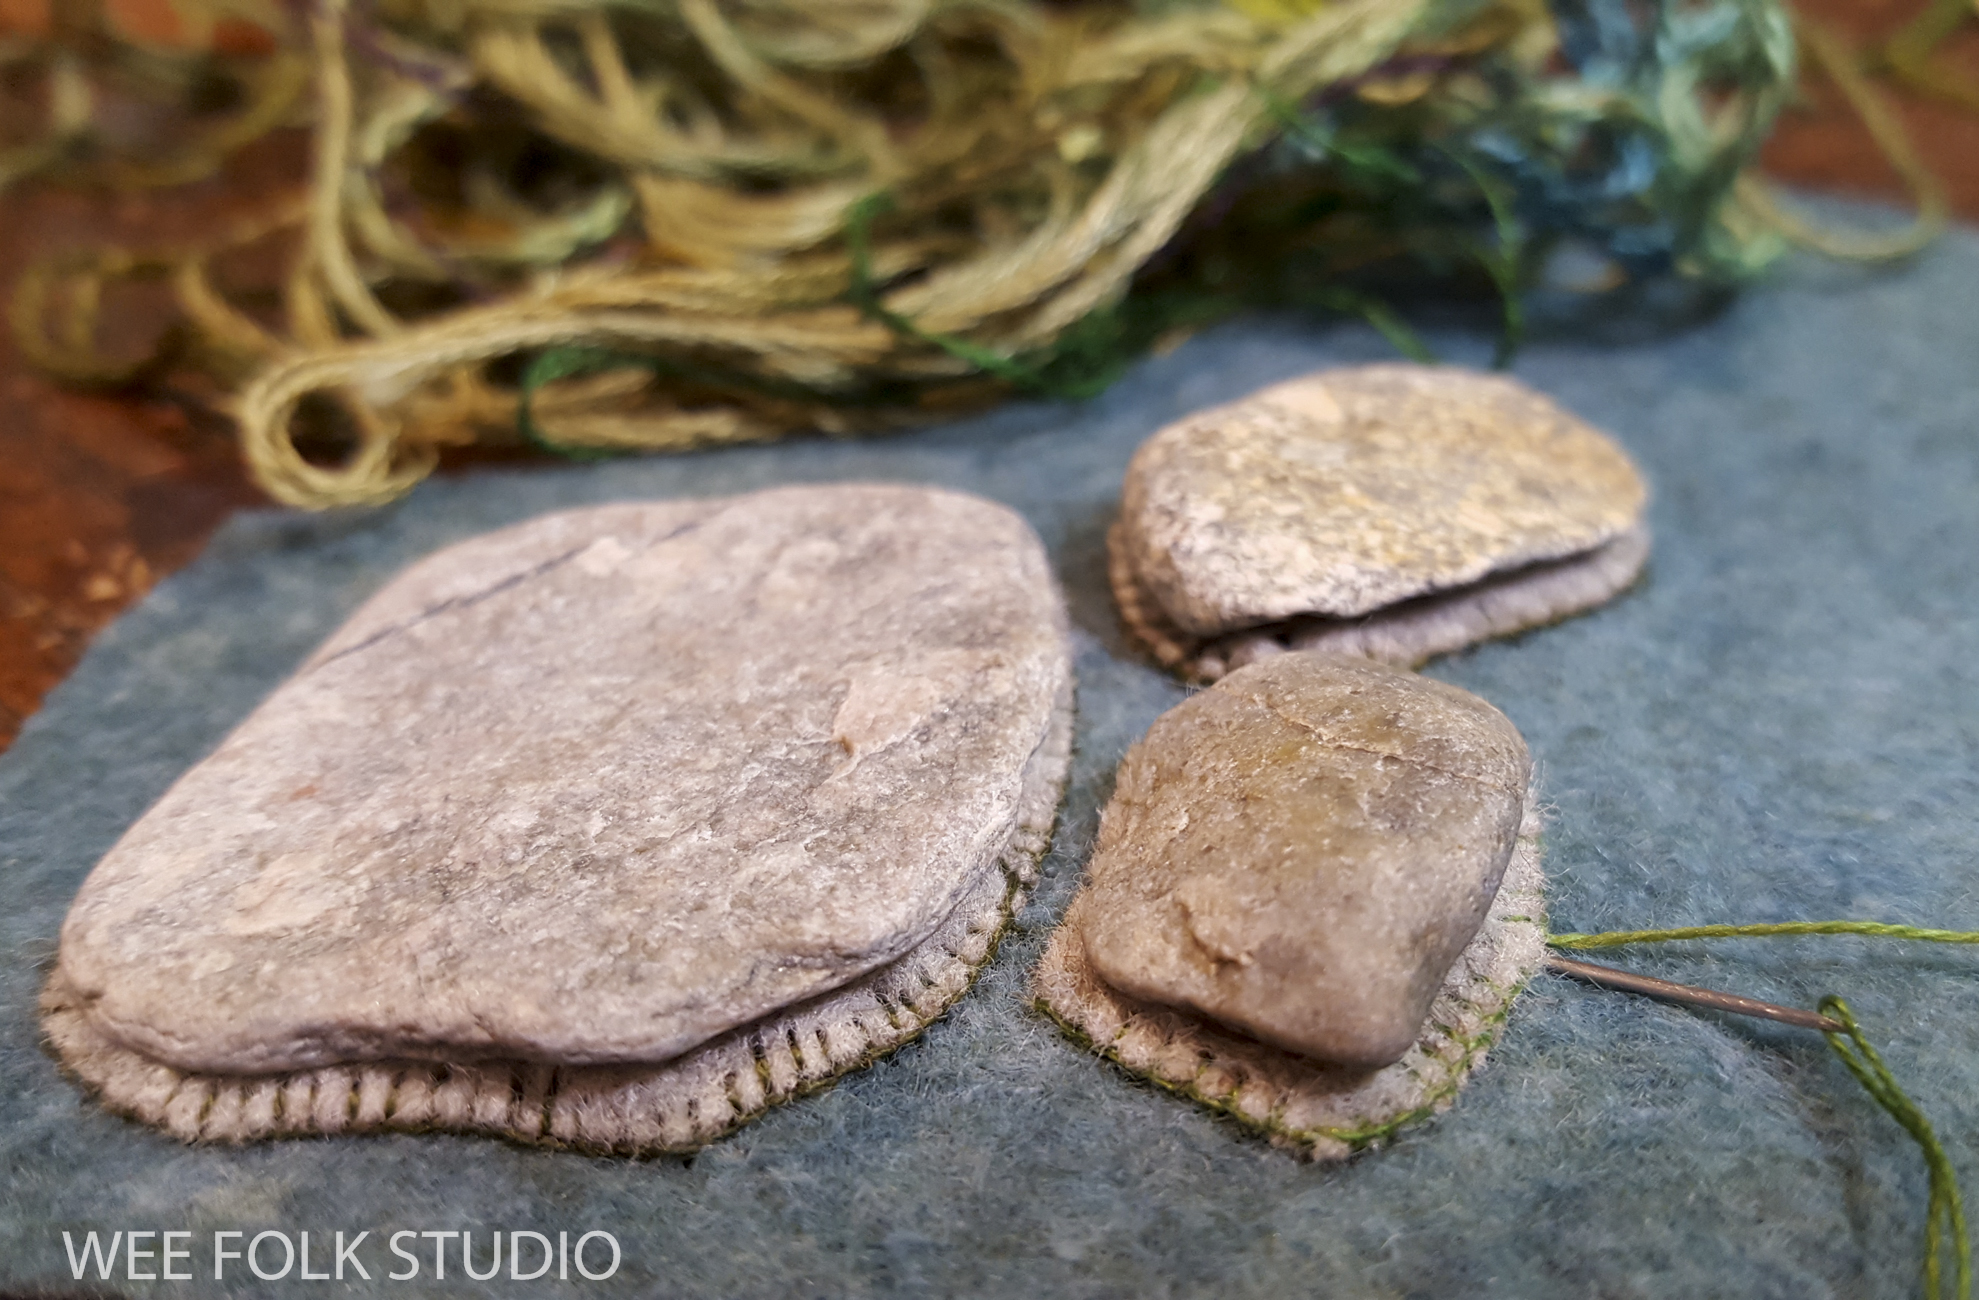
Part 3 (stone walls)

To keep up with new posts, please subscribe to this blog Your contact info will not be sold or shared. If you’d like to see more frequent photos tracking the projects in my studio, please follow me on Facebook and/or Instagram.