

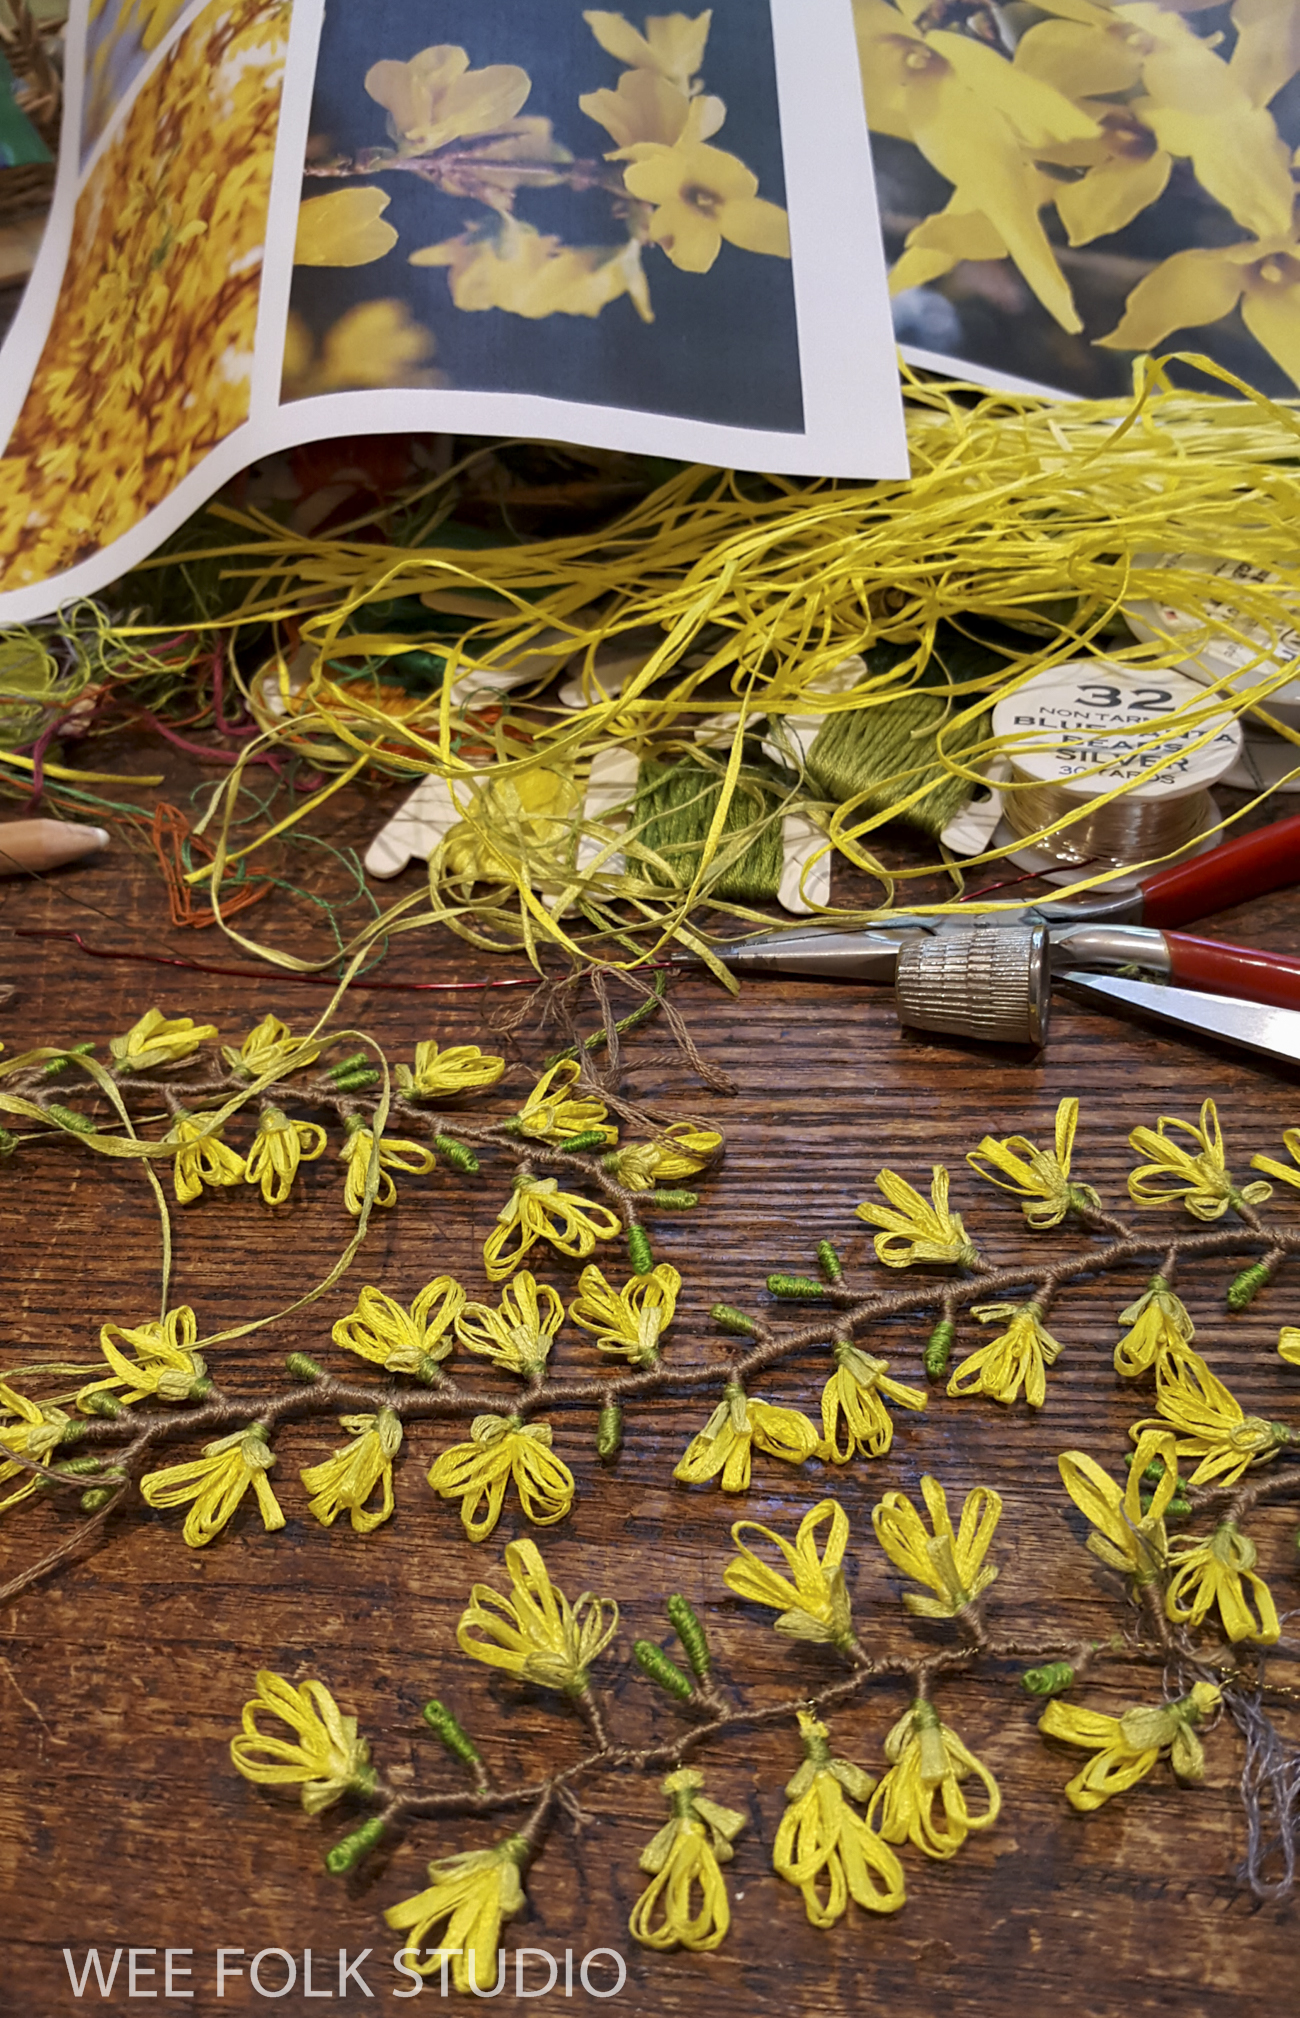
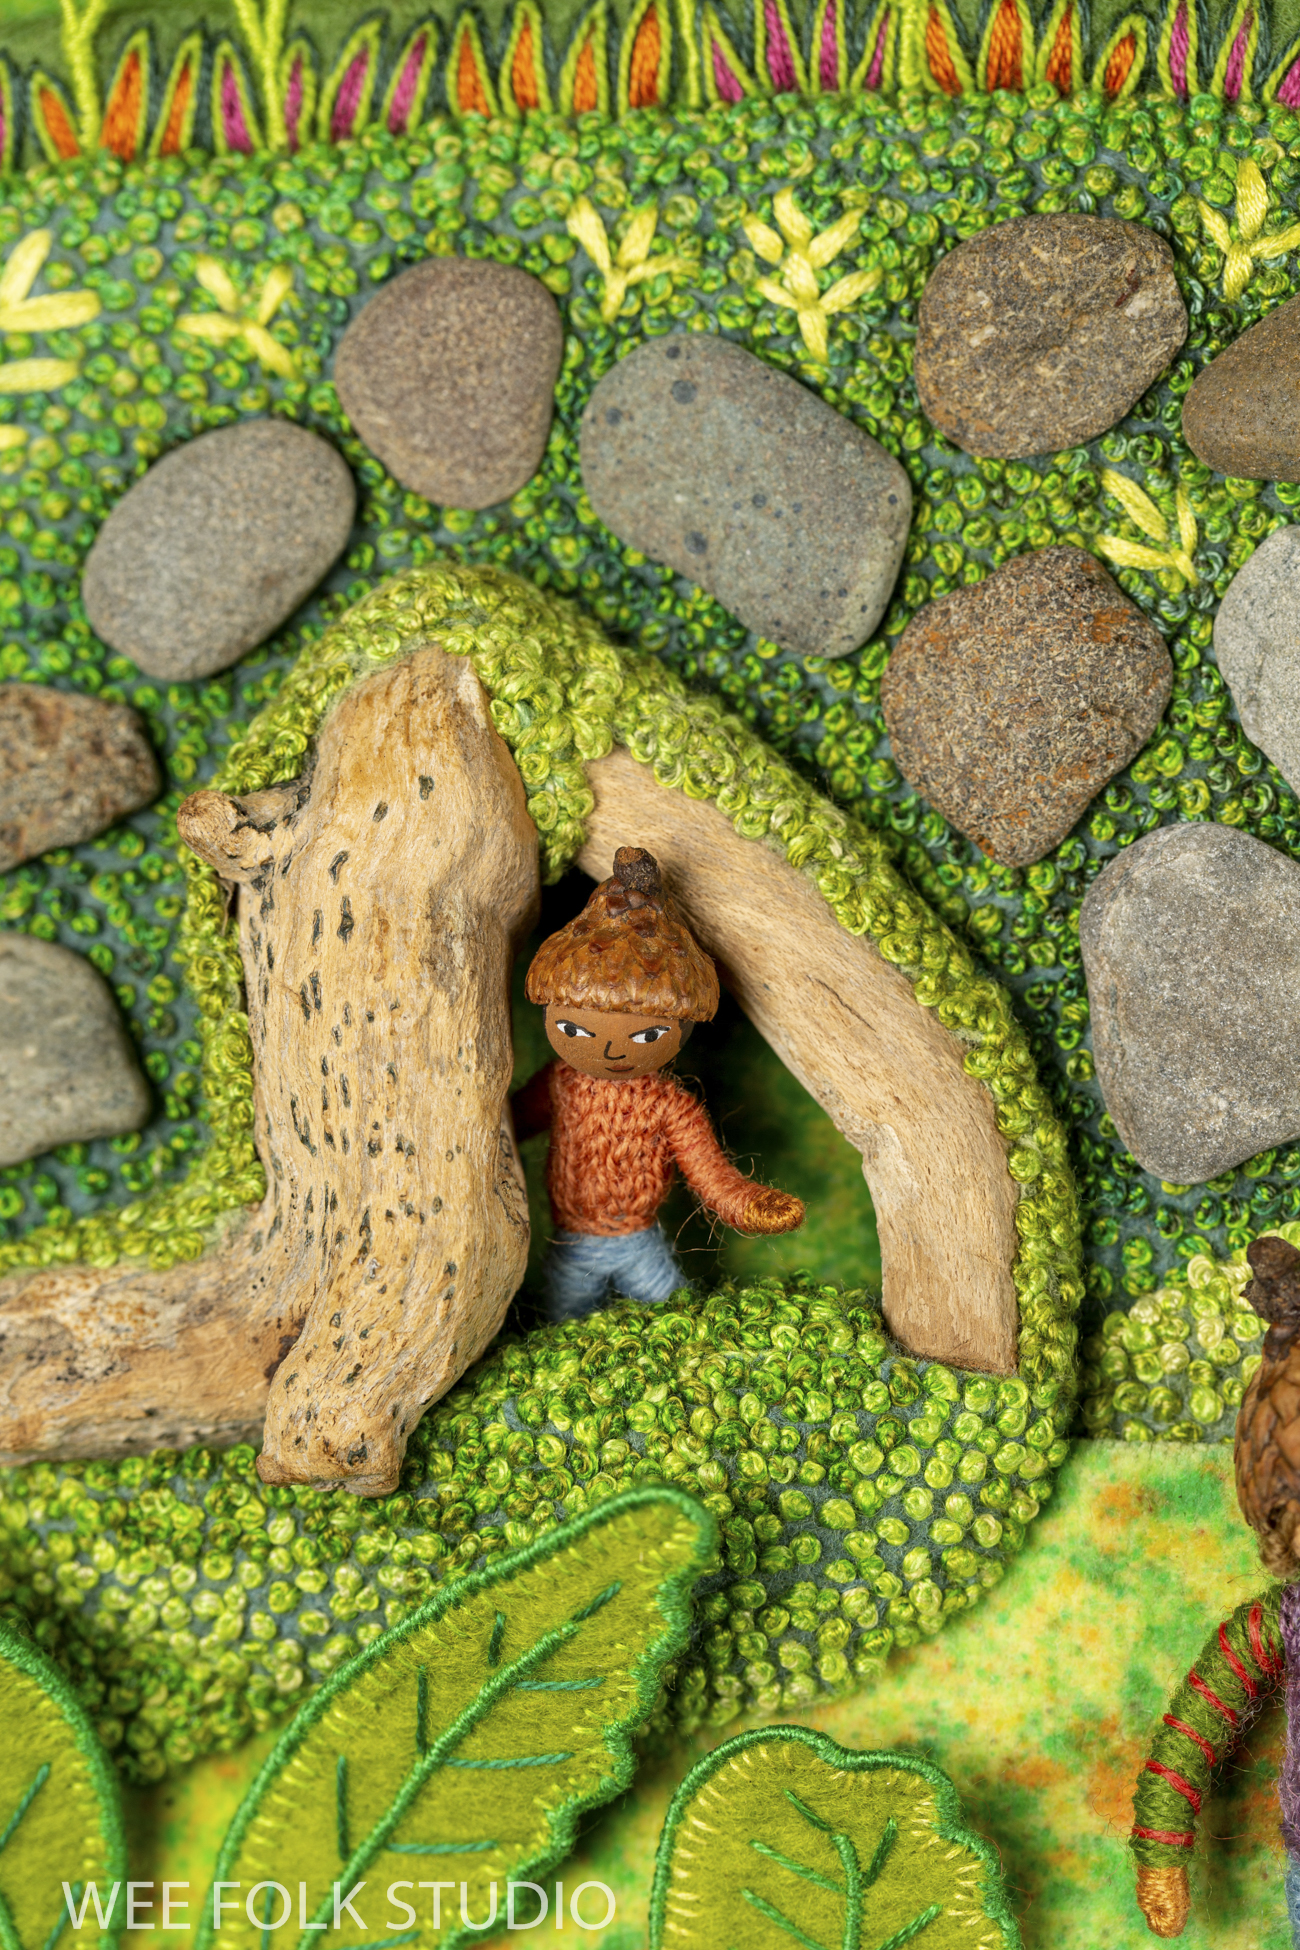
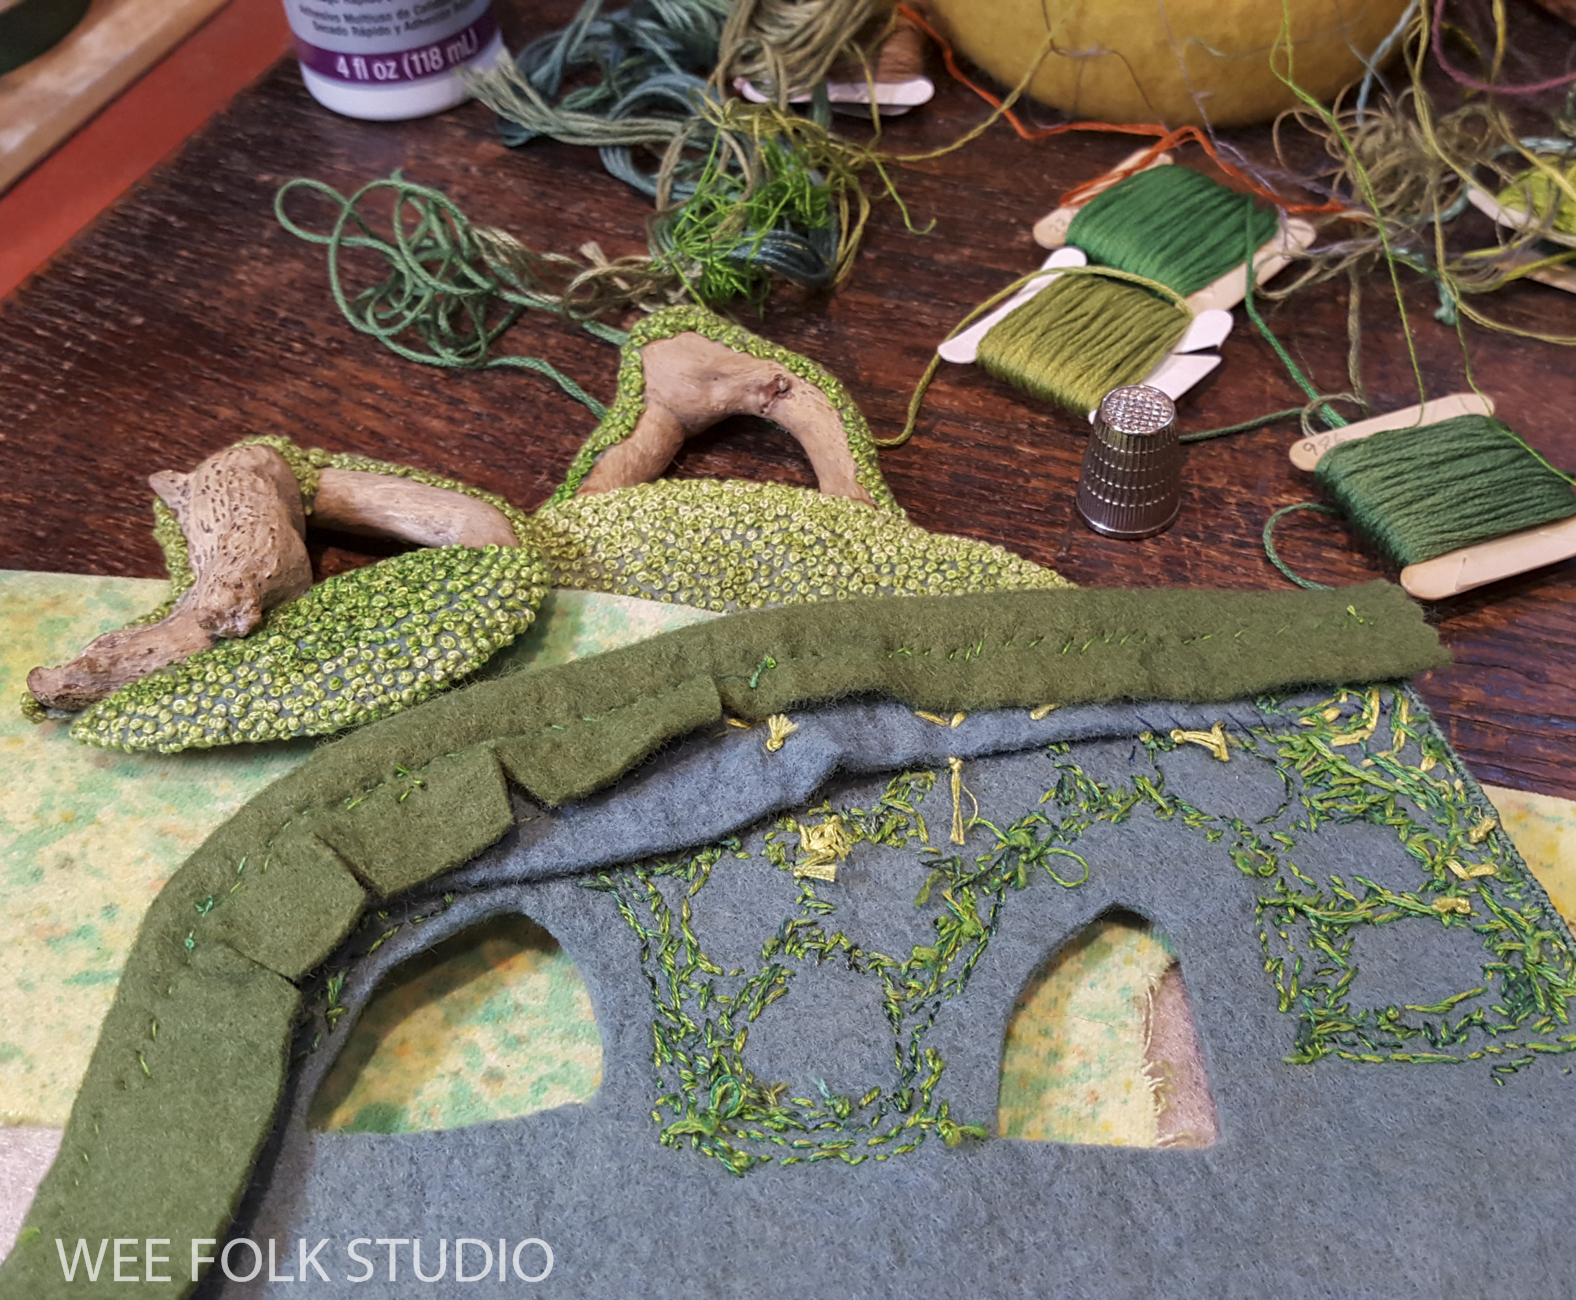
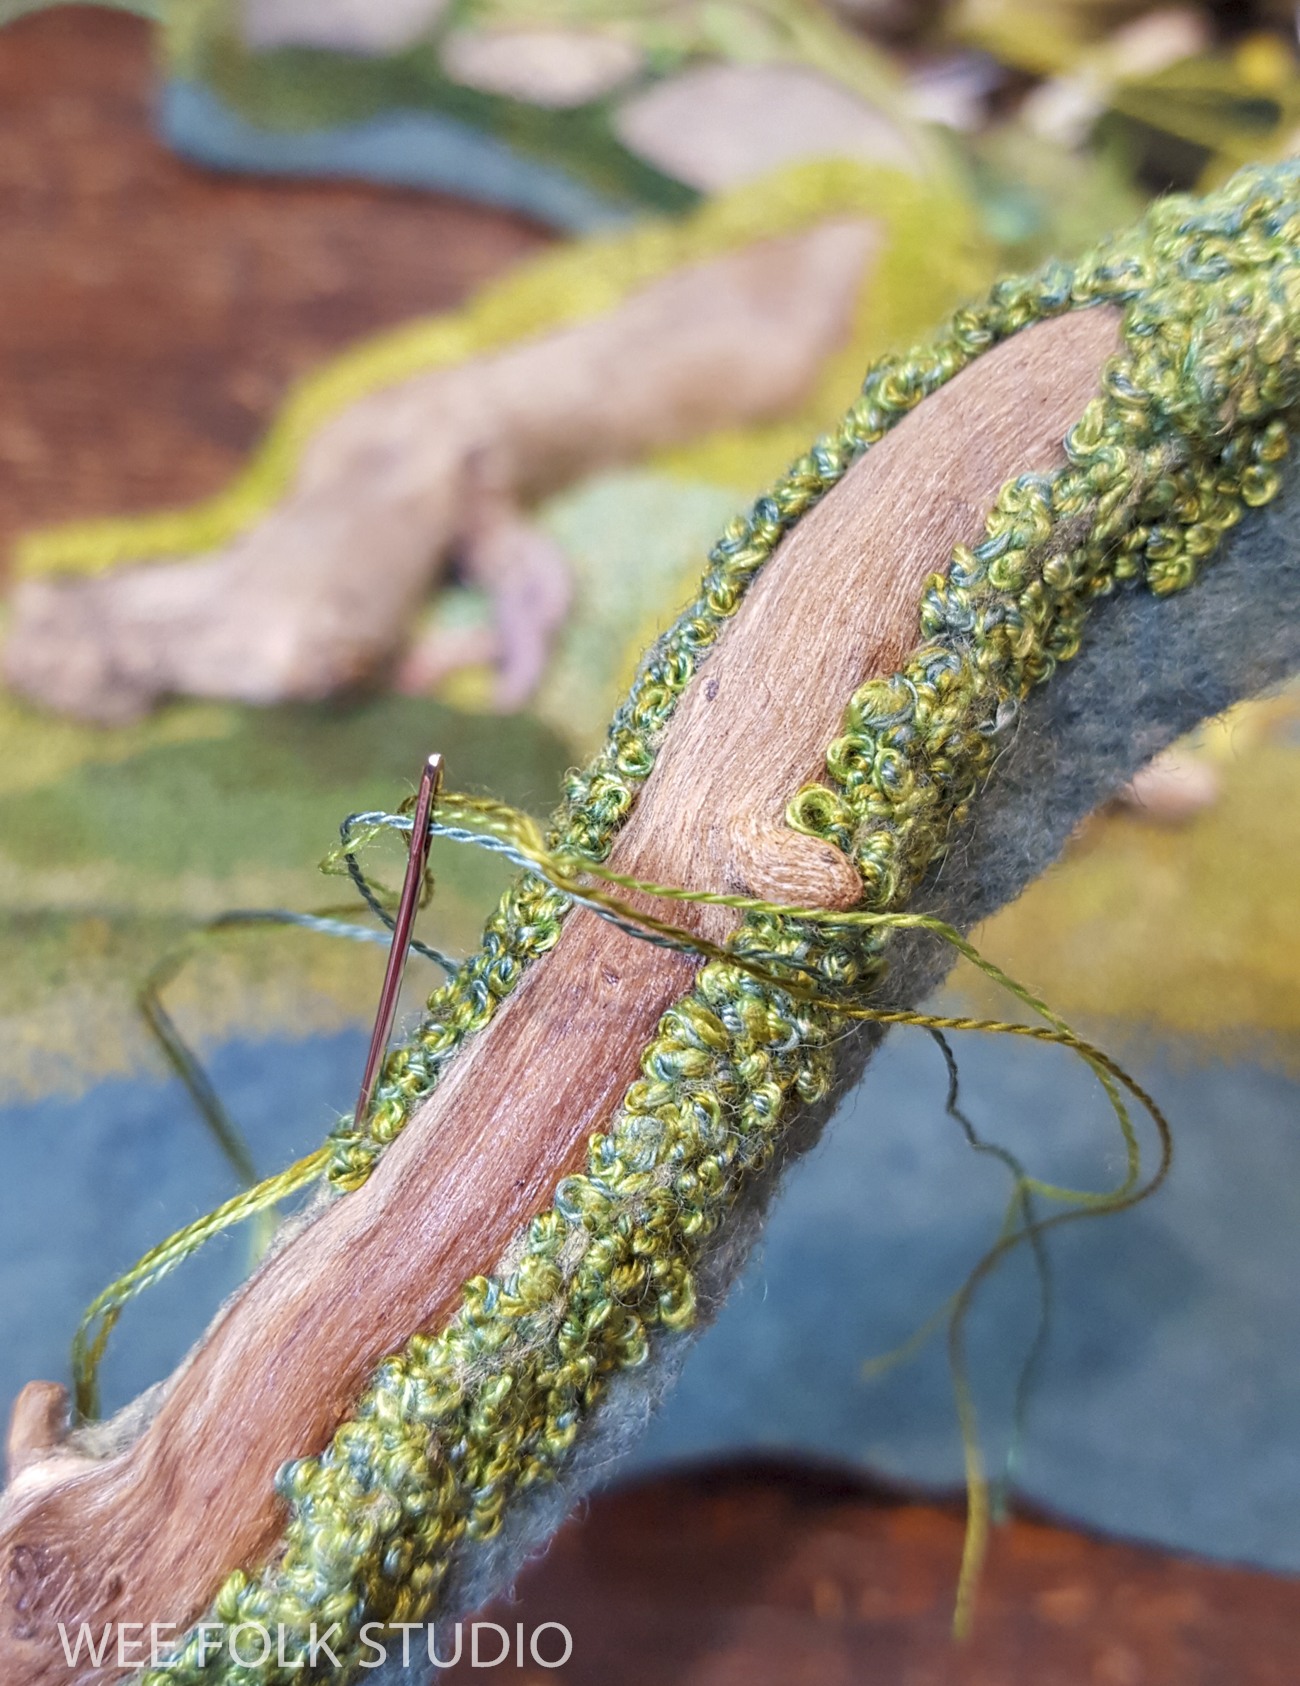
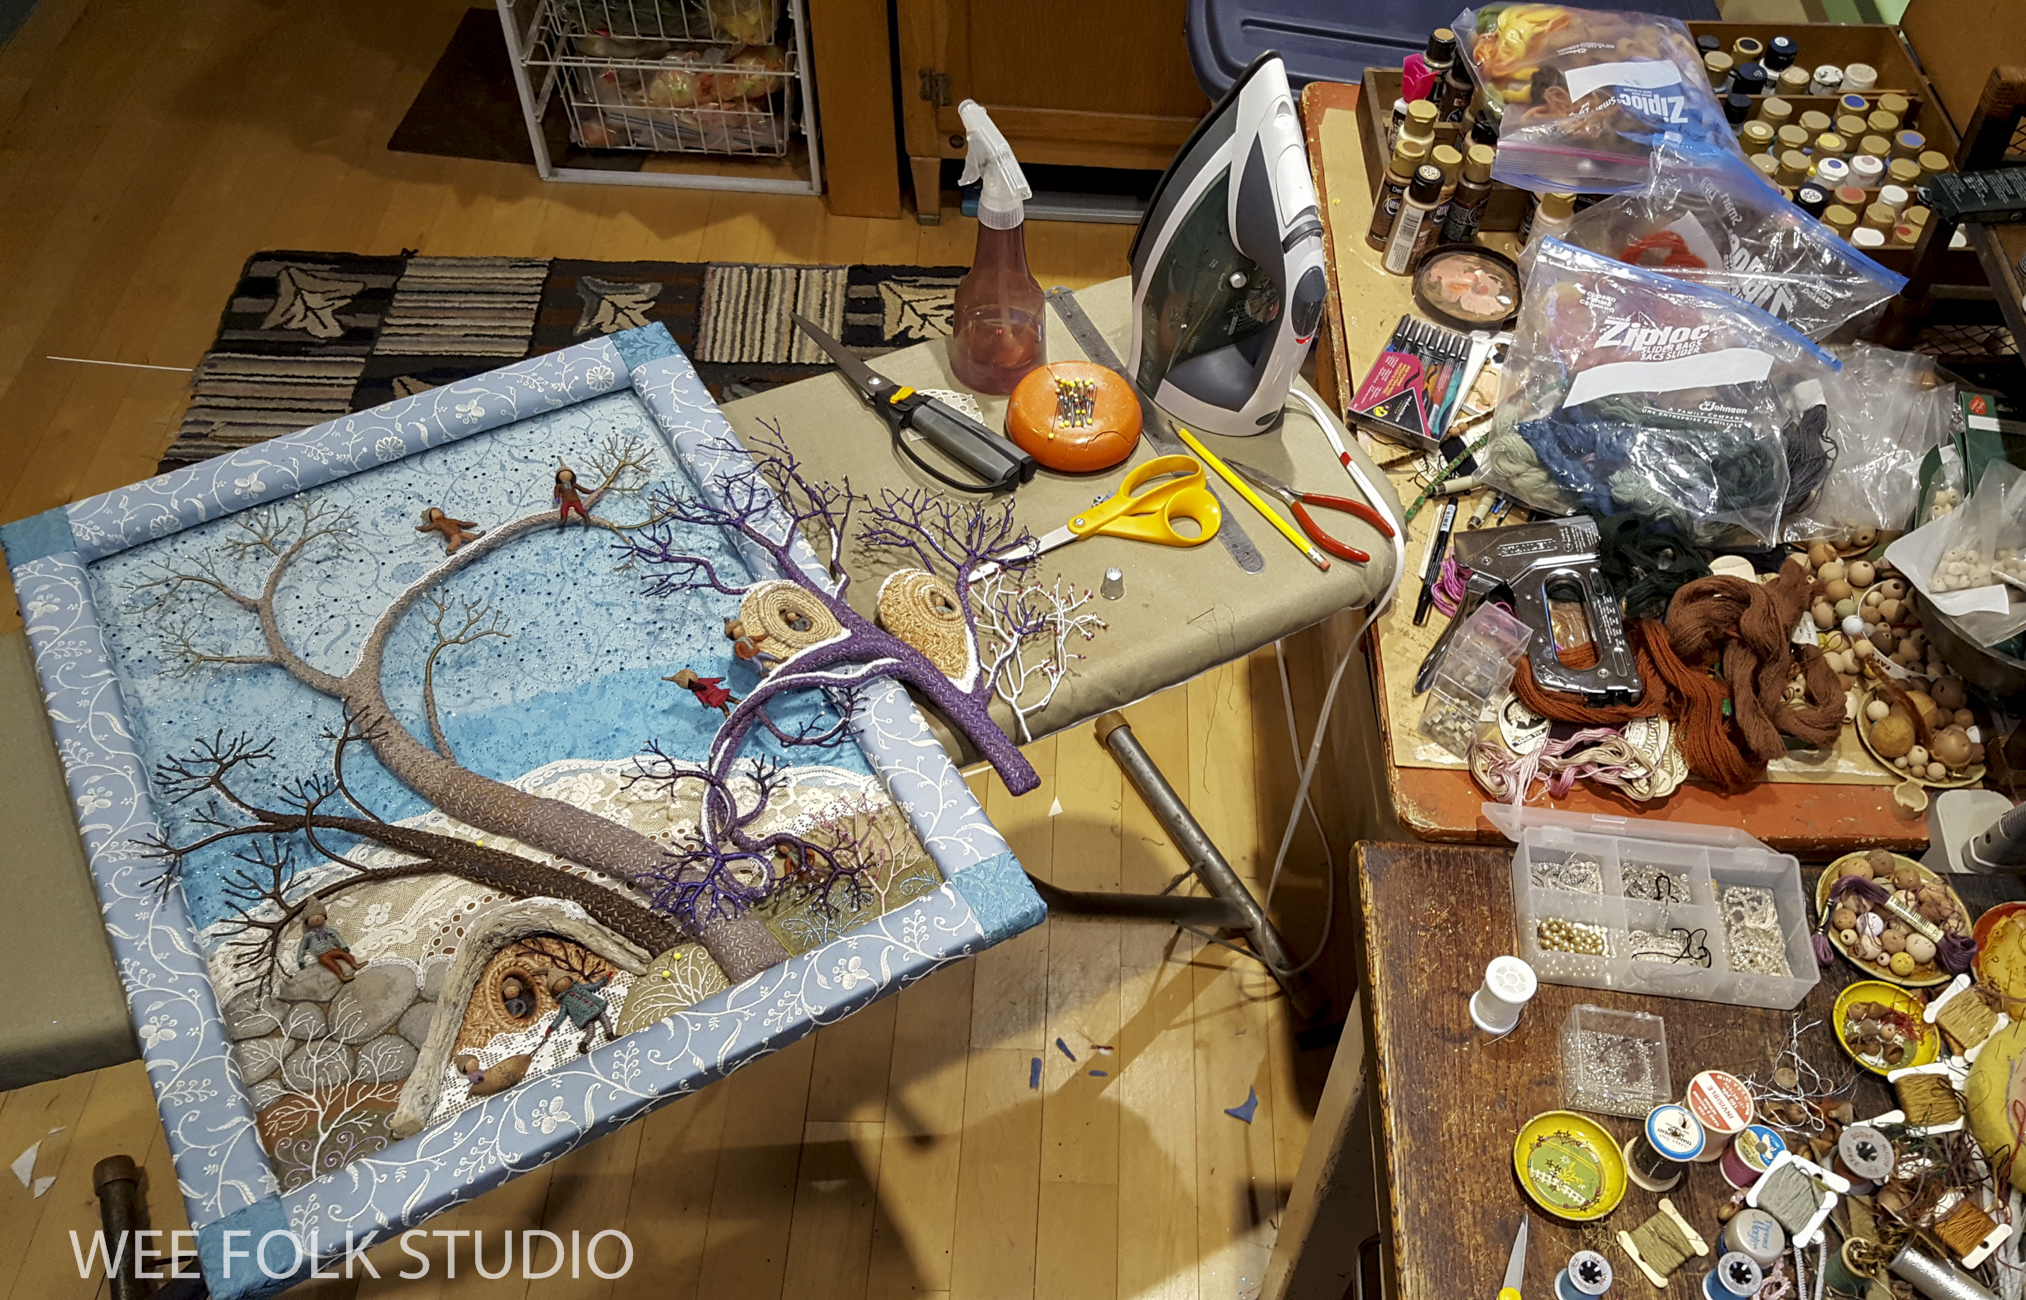
In this Part 5 of the series about making the spring landscape, Mossy Glen, I share photos, videos and commentary about how I created the leaves. Part 1 is all about stitching a moss-like texture, Part 2 gives a glimpse at how I made the cherry trees, Part 3 is about the stone walls and Part 4 shows how I made the forsythia blossoms.

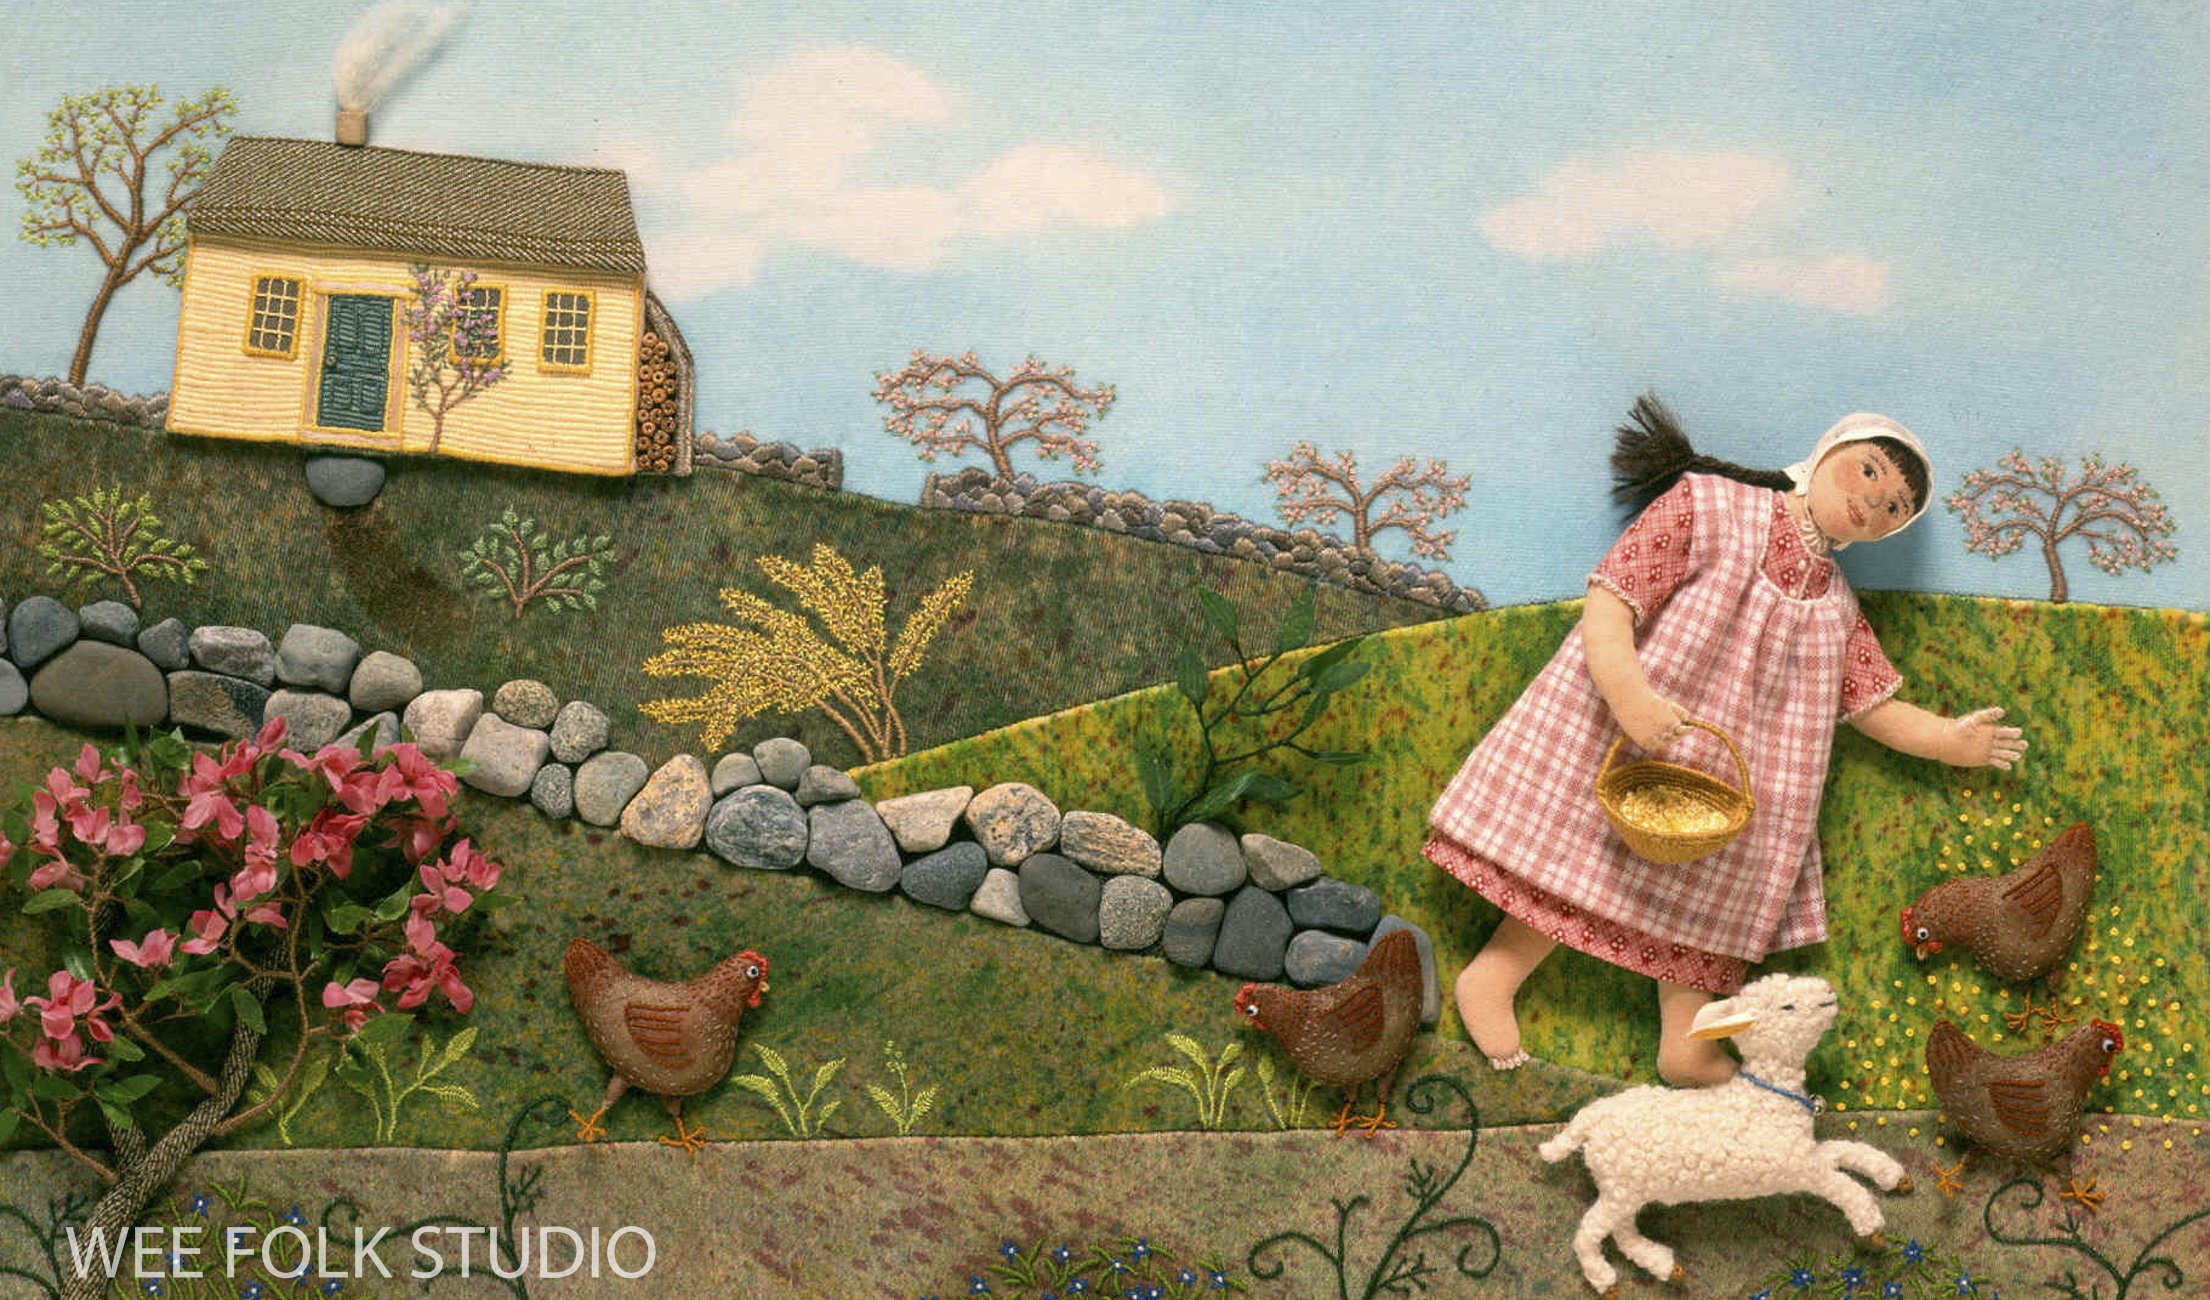
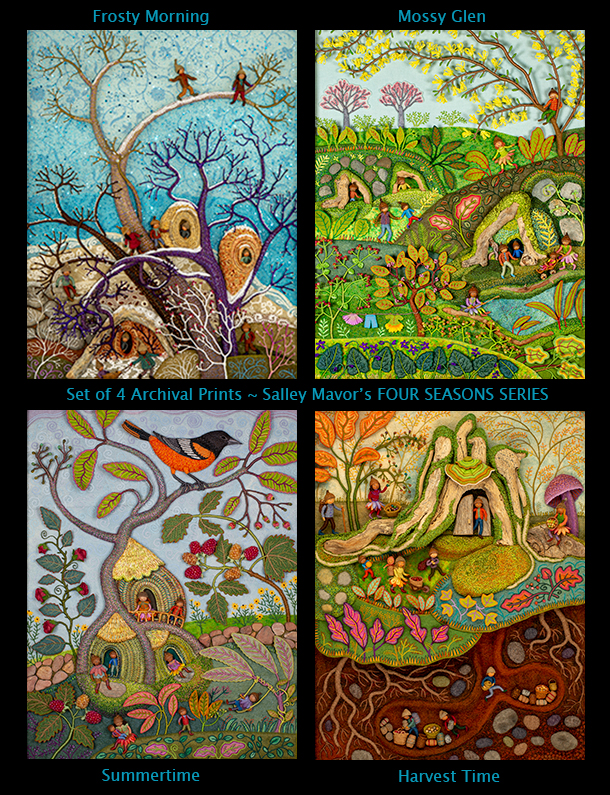
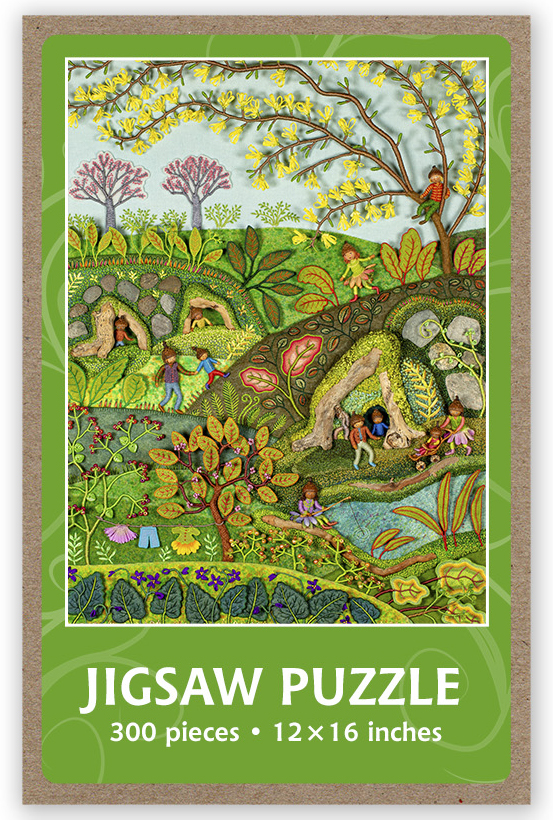
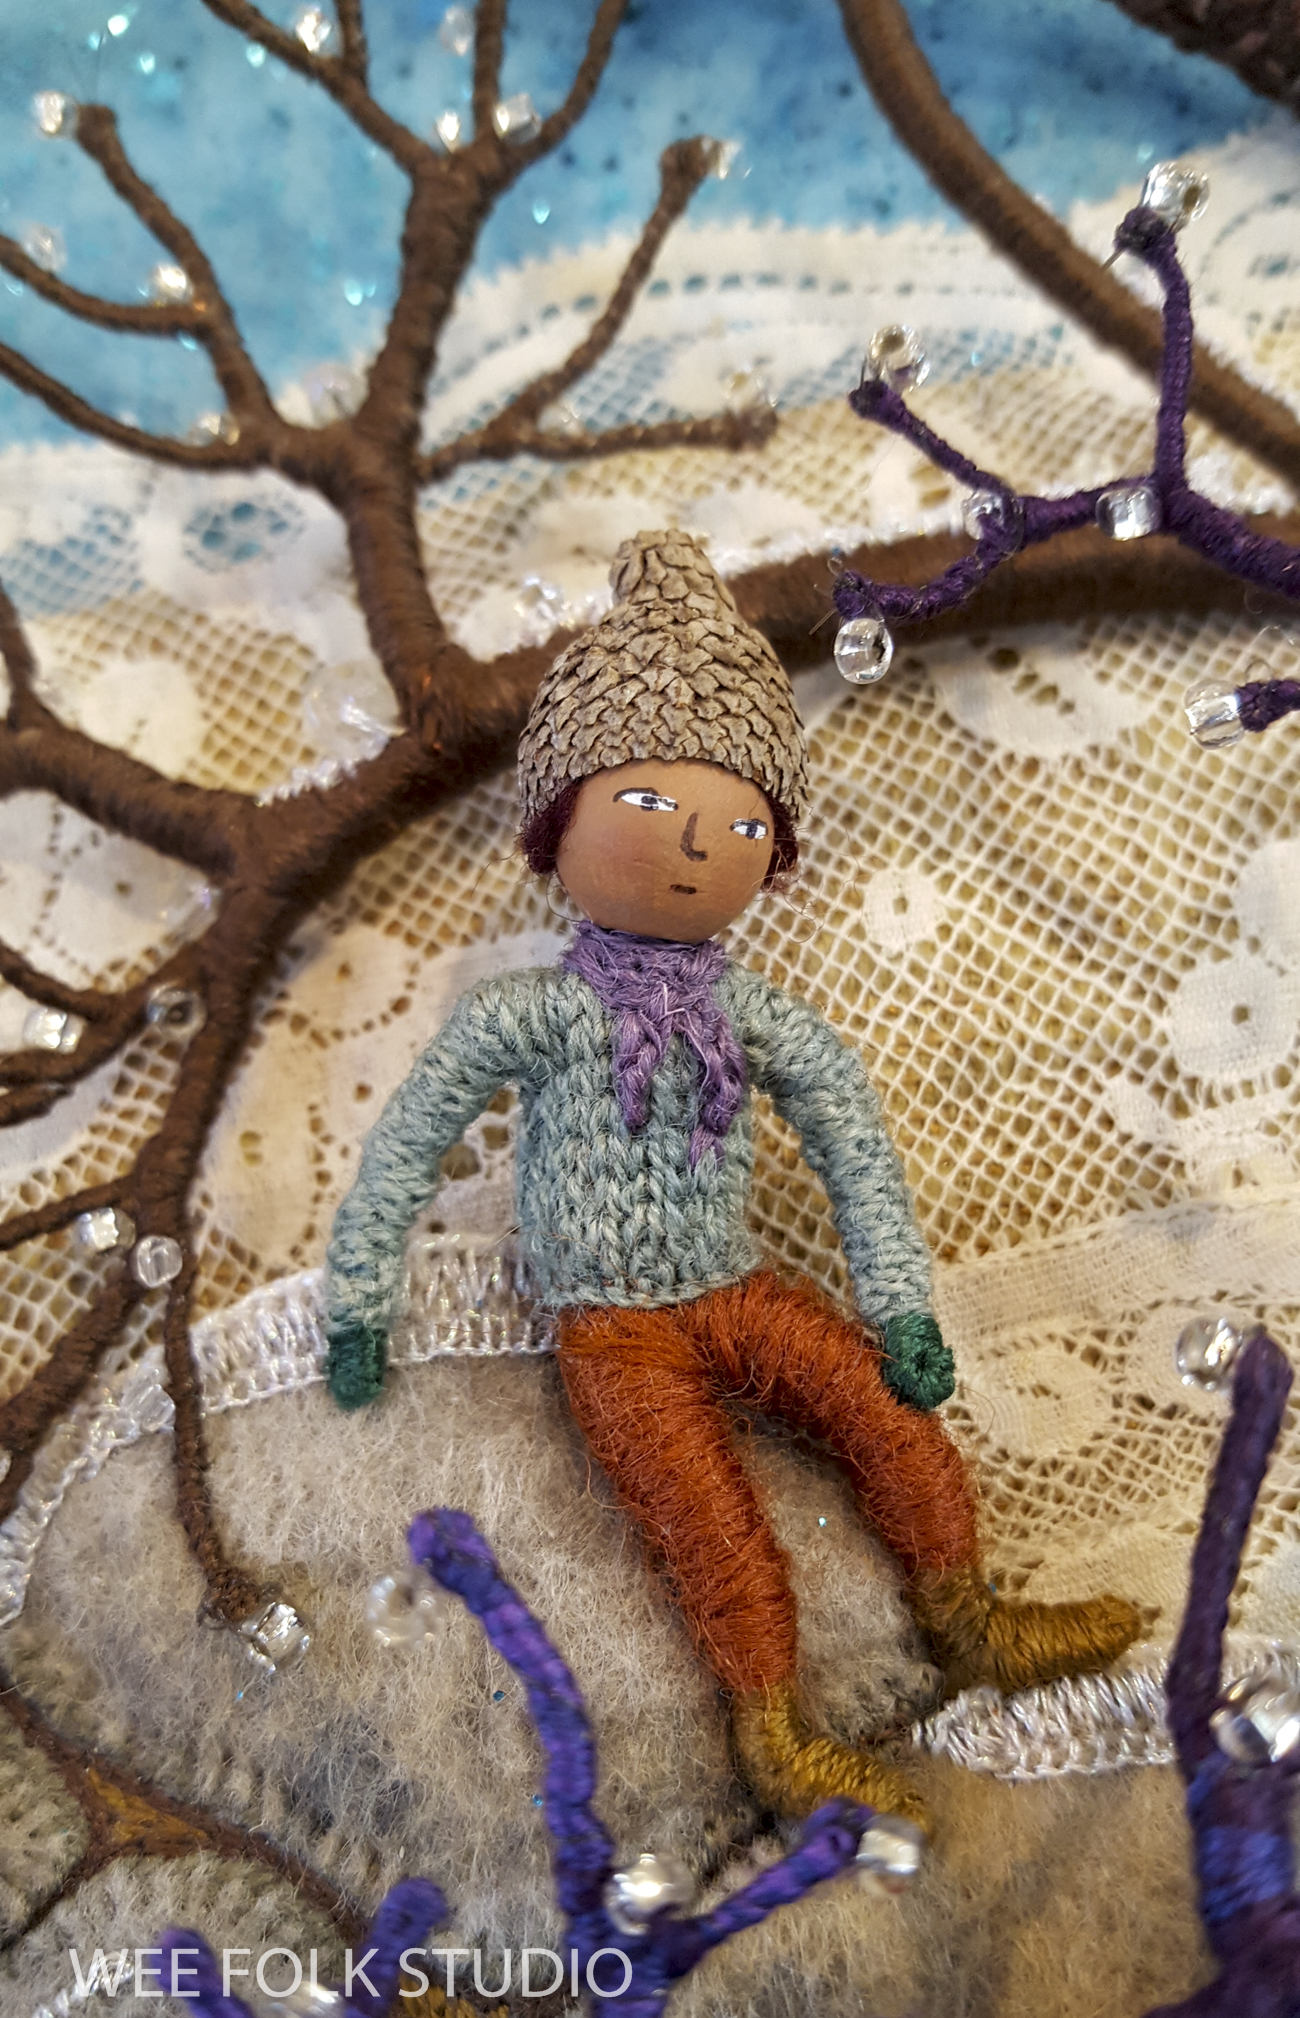
Mossy Glen is the spring scene in a series of seasonal landscapes that capture the wonder and magic of the natural world. Note cards, prints, bookmarks, and jigsaw puzzles of Mossy Glen and the other scenes in the series (Frosty Morning, Harvest Time, and Summertime) are available in my Etsy Shop.
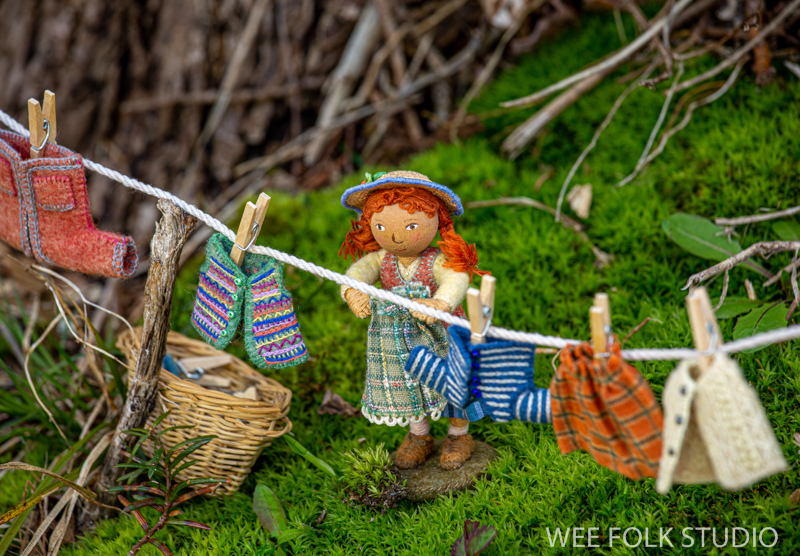
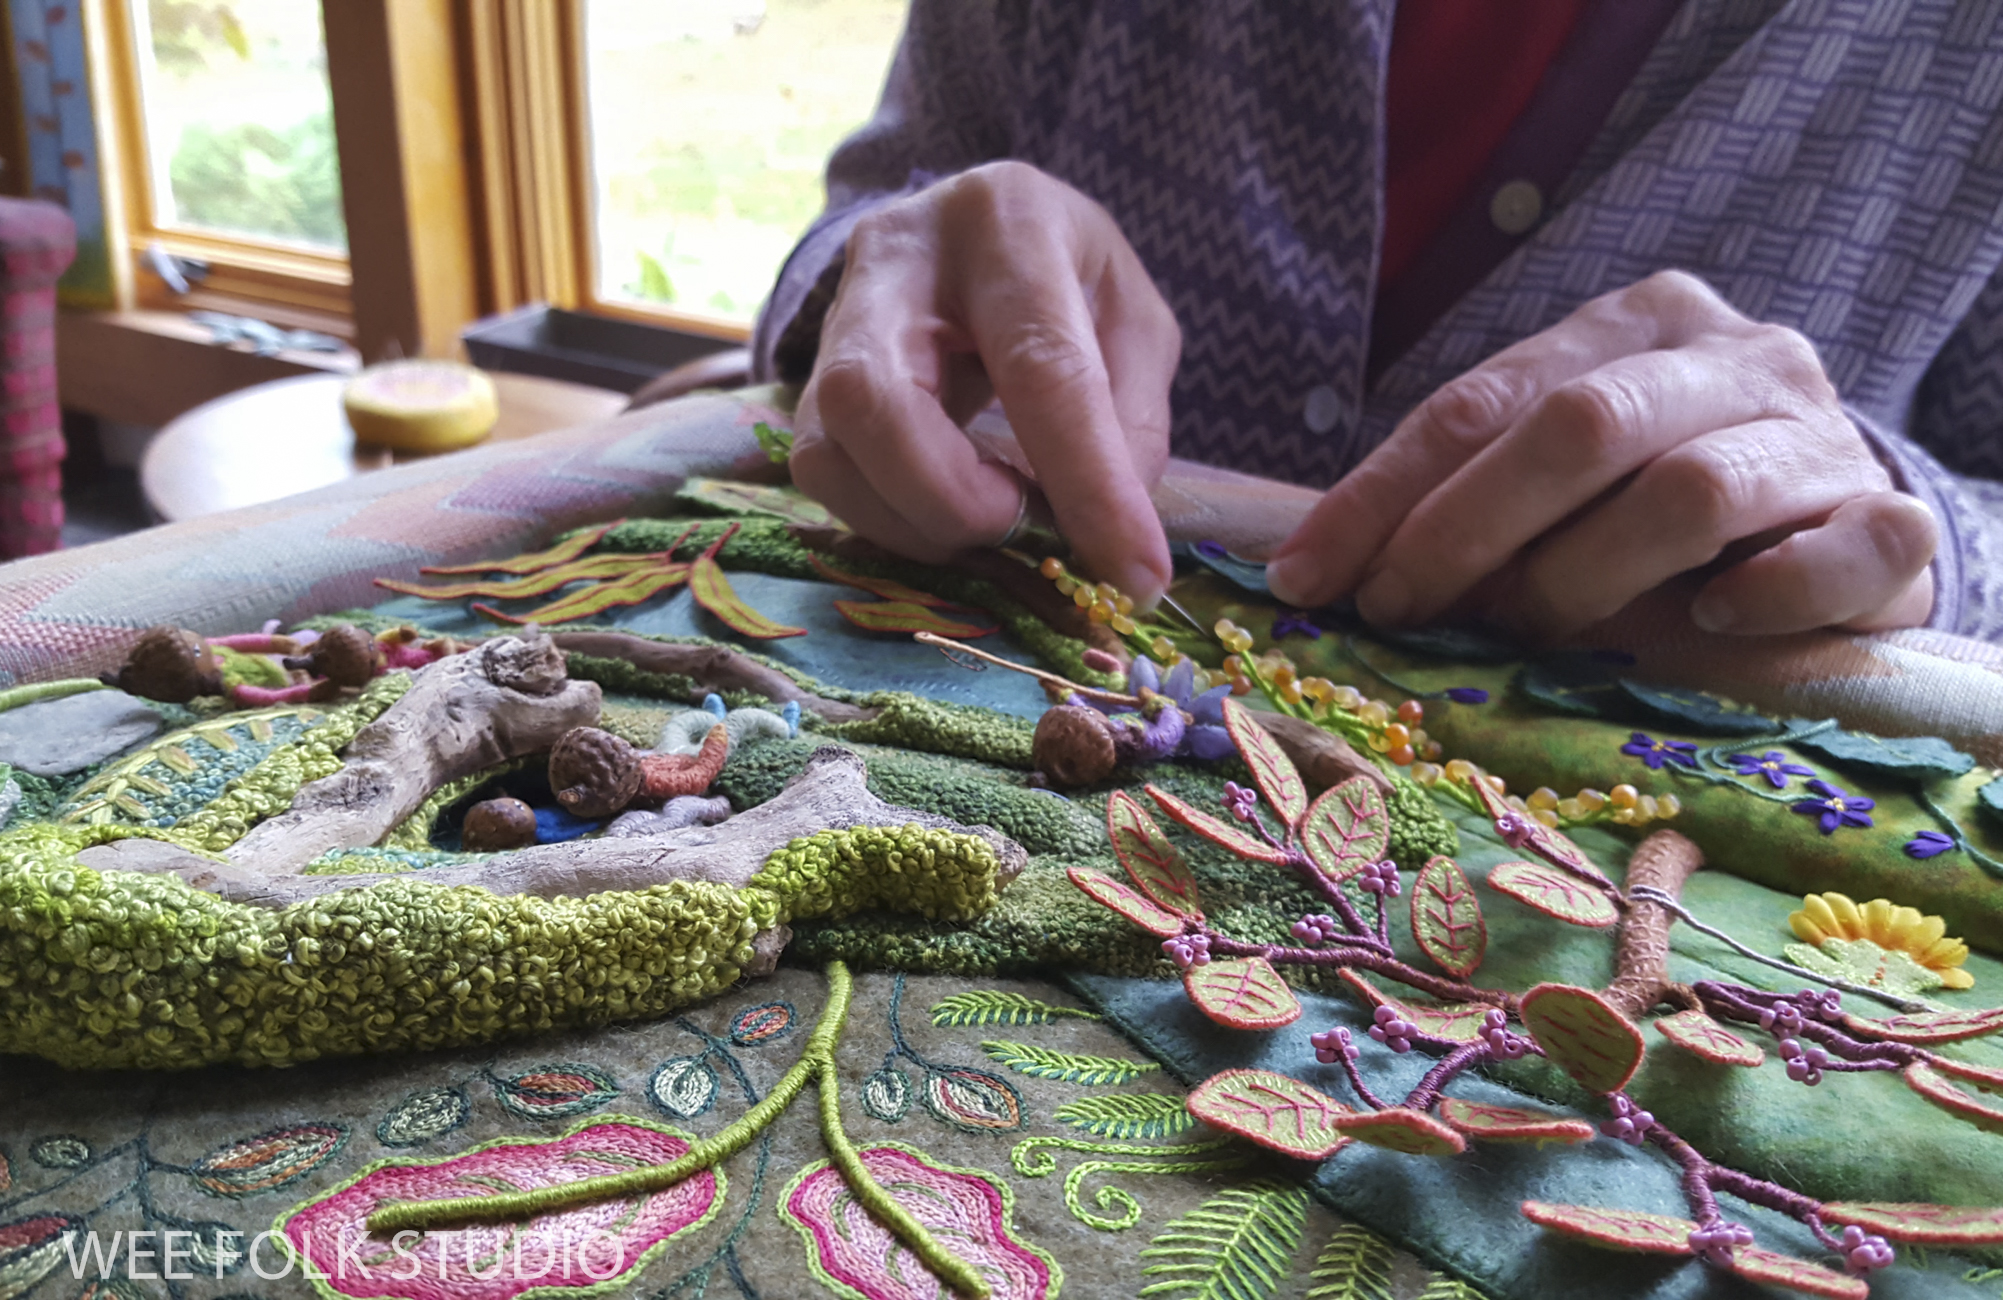
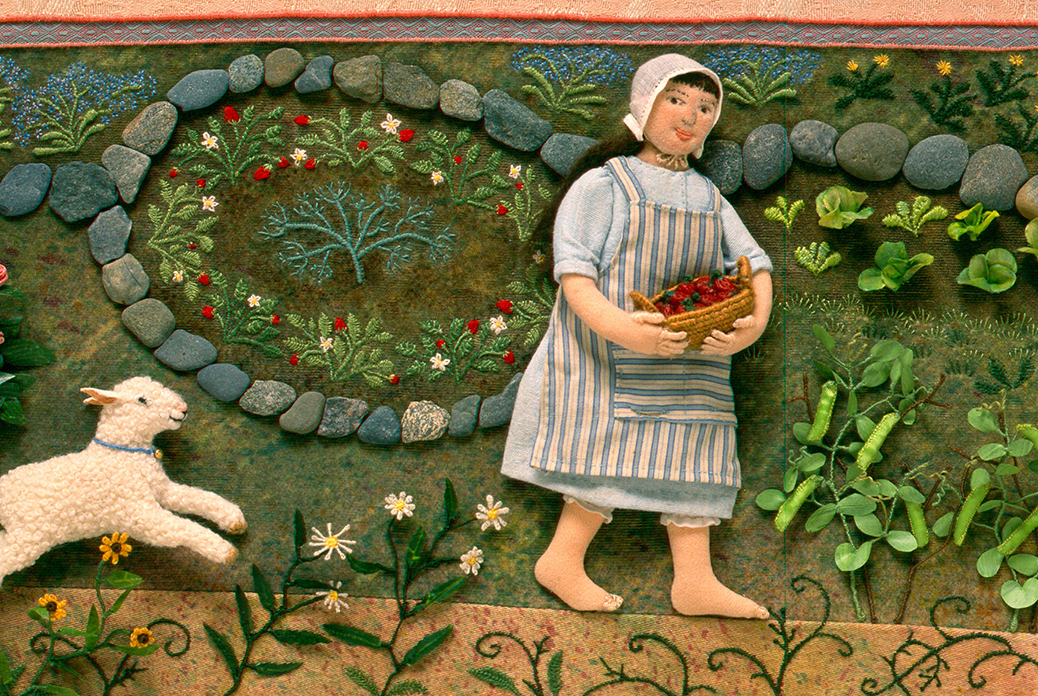
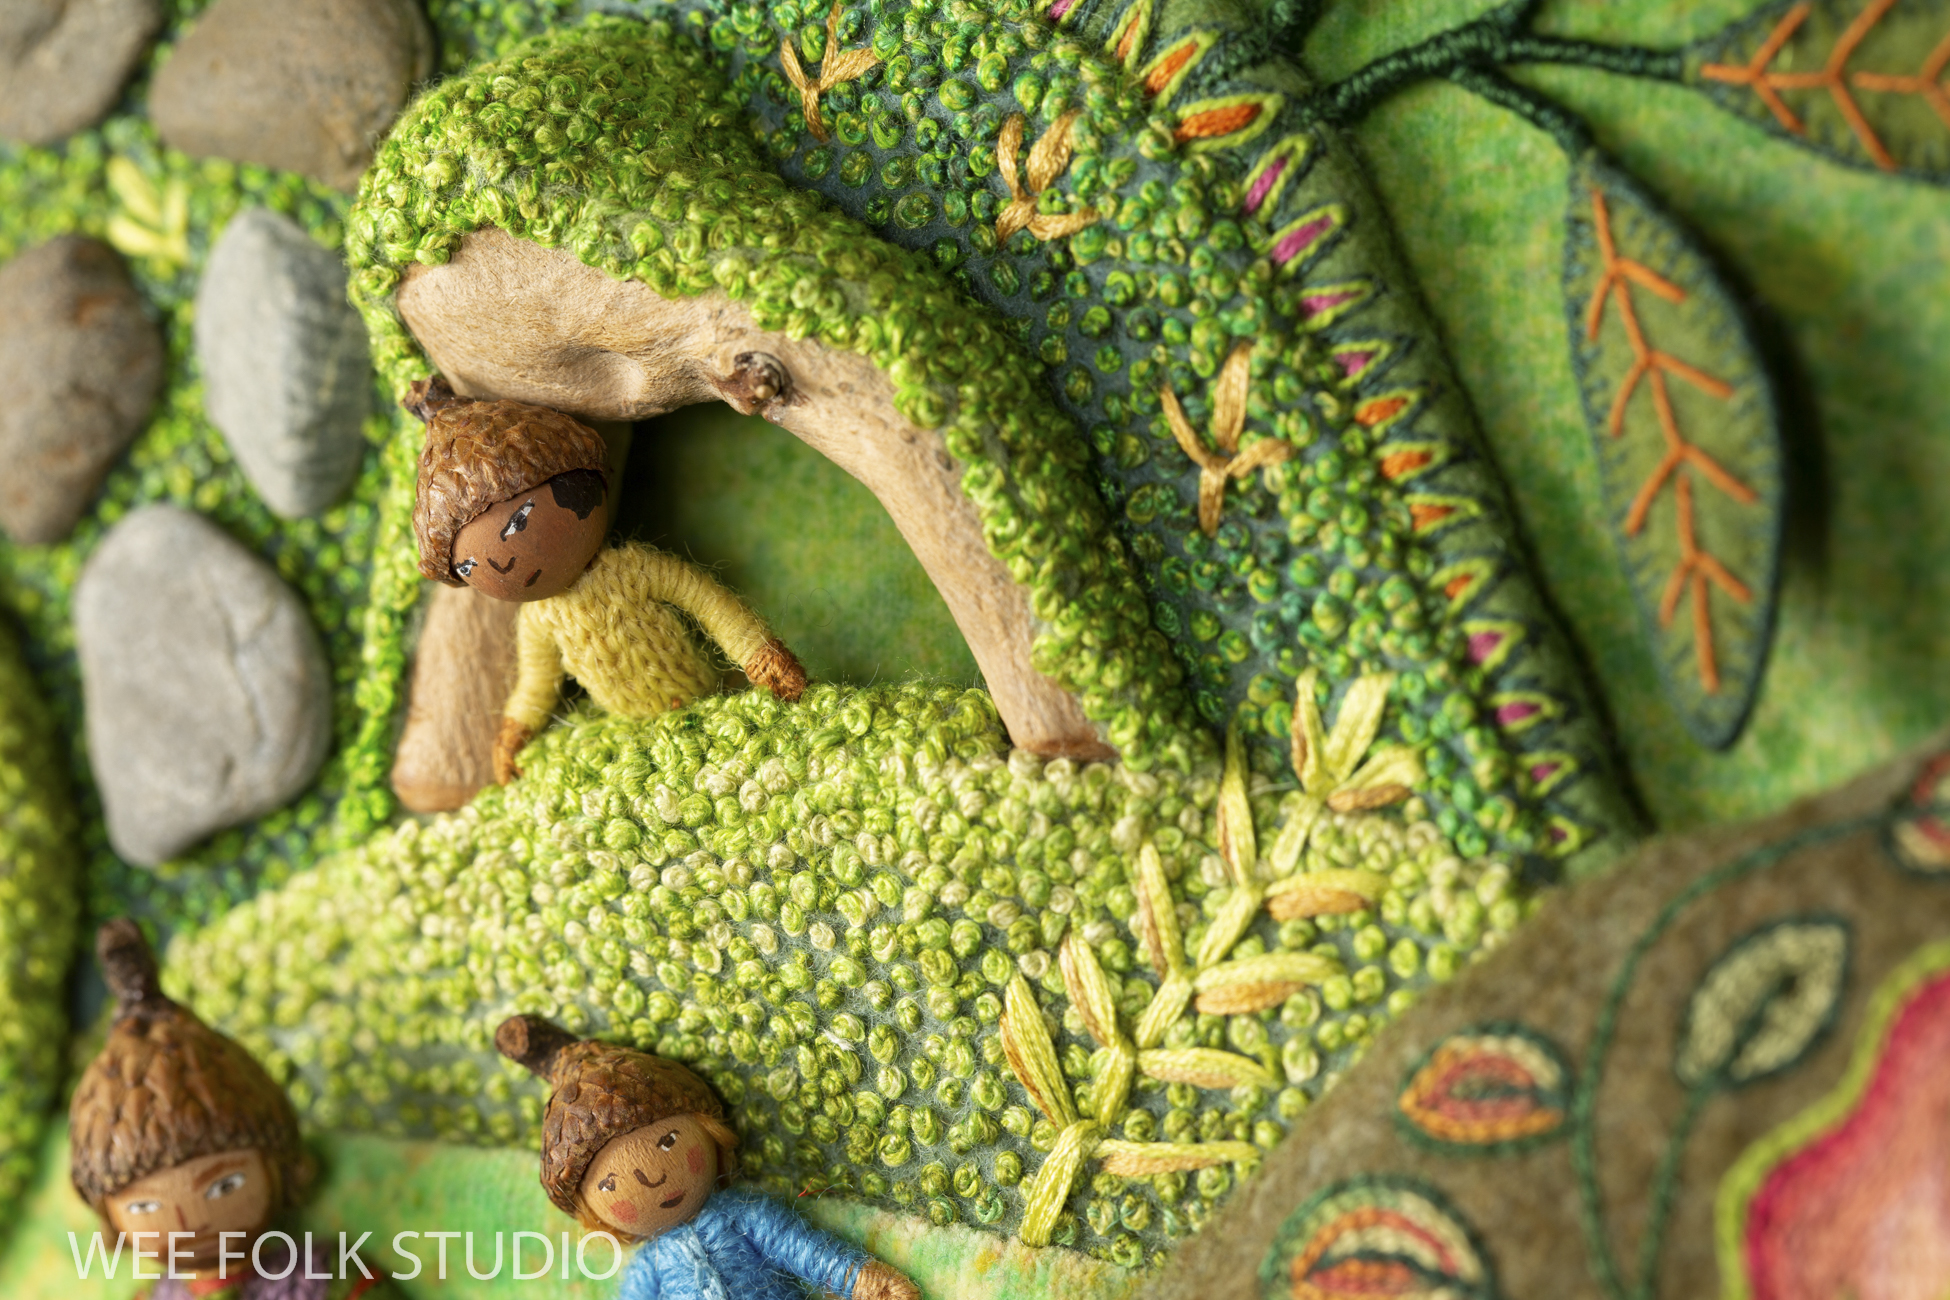
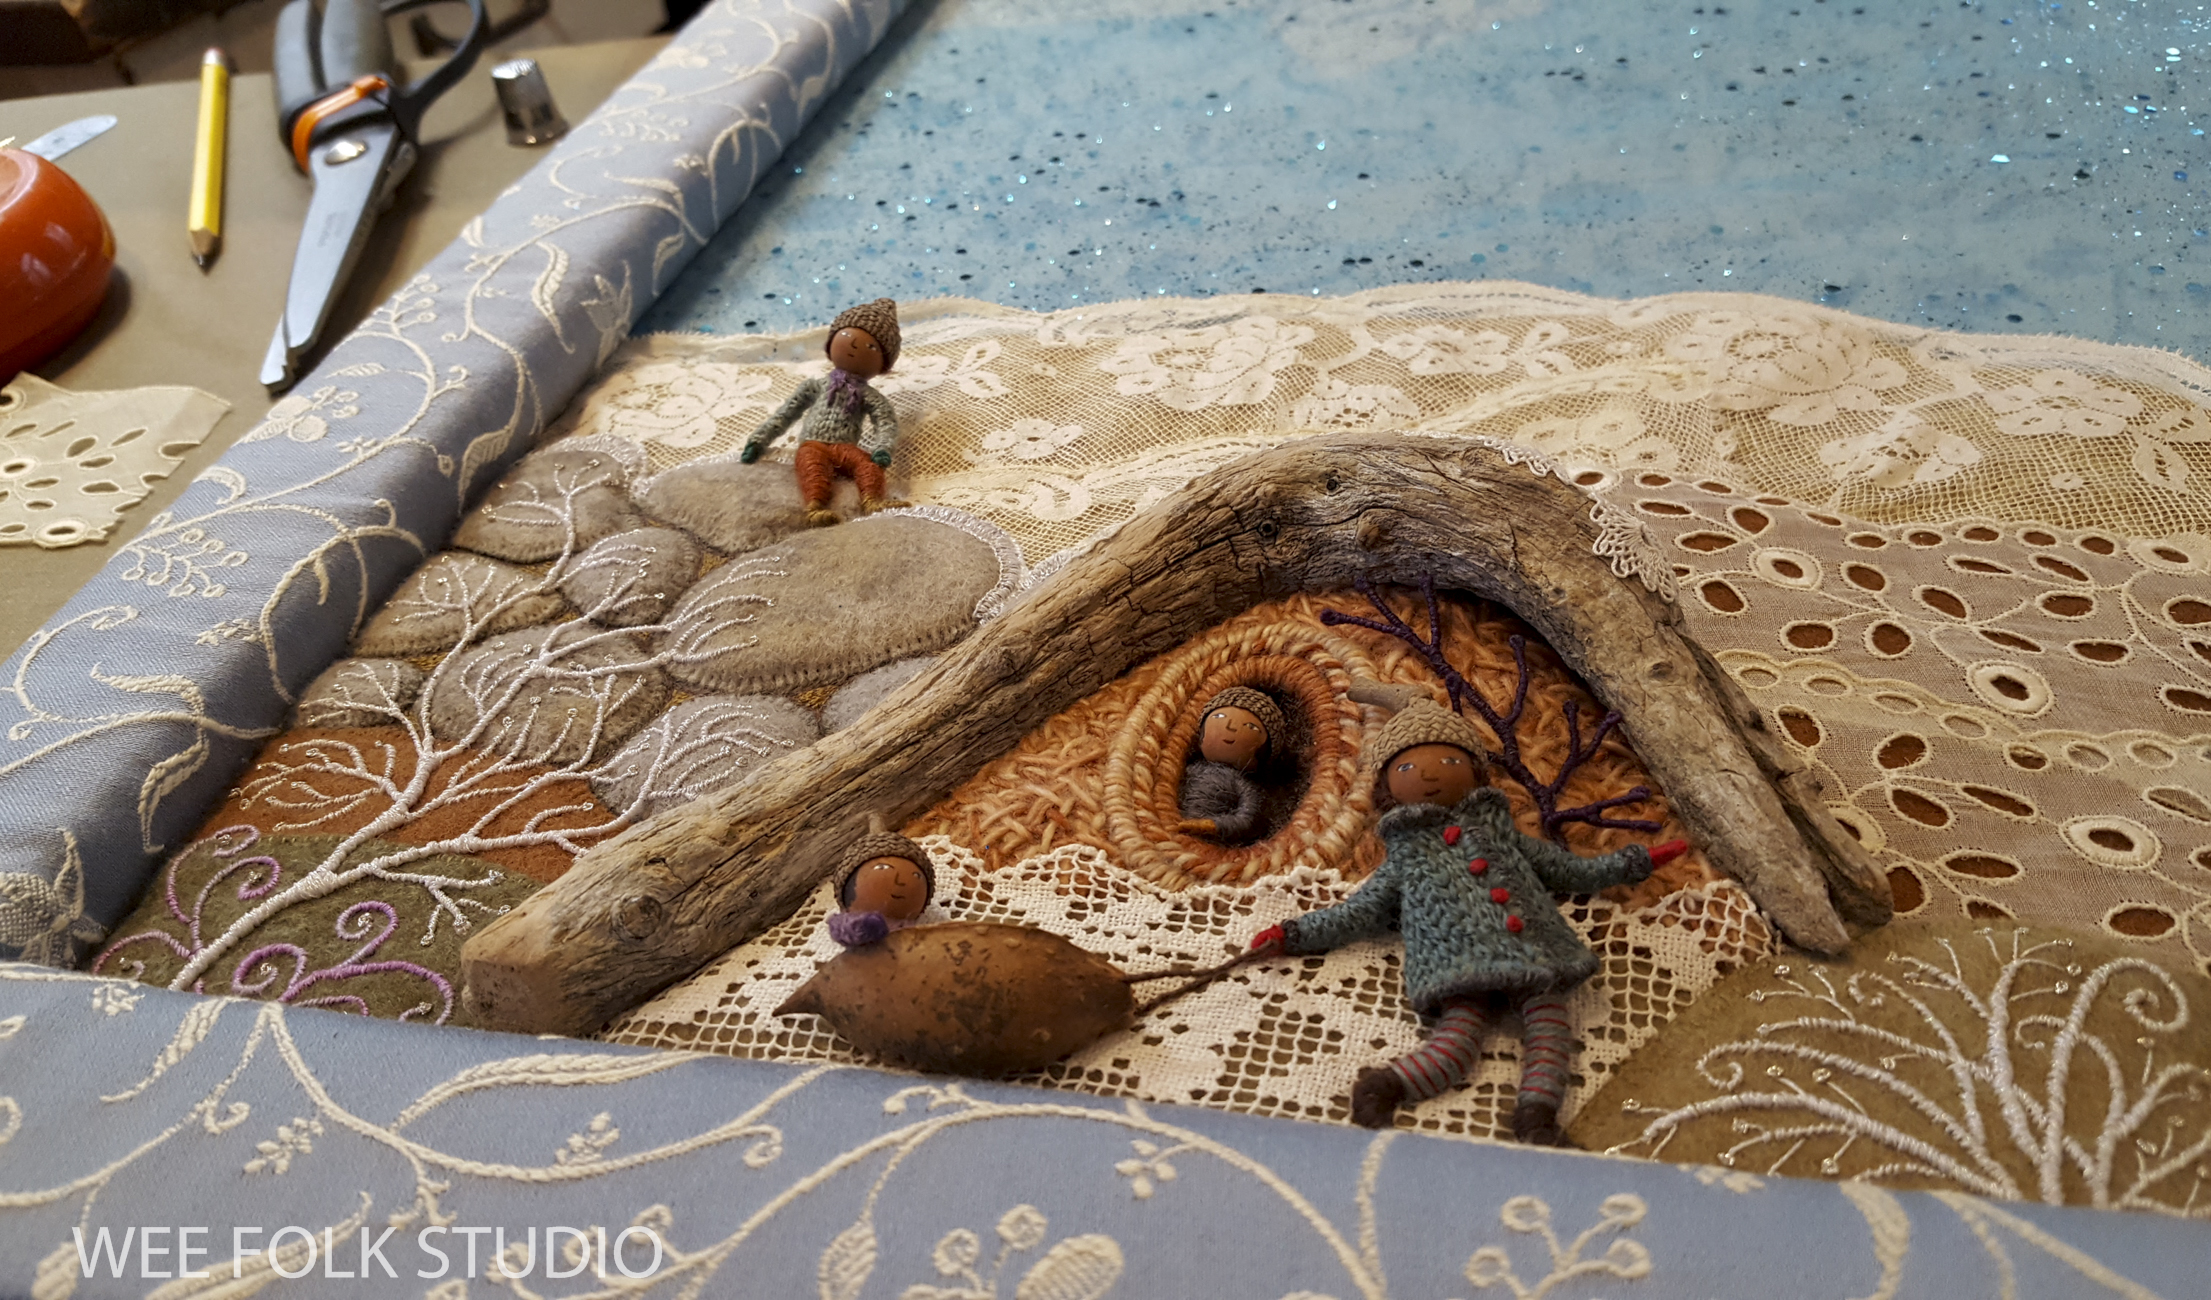
Spring is the season when nature shows its most attractive side, when every new leaf and bud is a delight to behold. The undergrowth is neat and tidy, with manageable mossy lawns and tiny plants just starting to emerge in the miniature landscape. It’s when I go scouting for places to photograph my wee folk characters outside, like Polly’s Washing Day, which is a note card in my shop here.
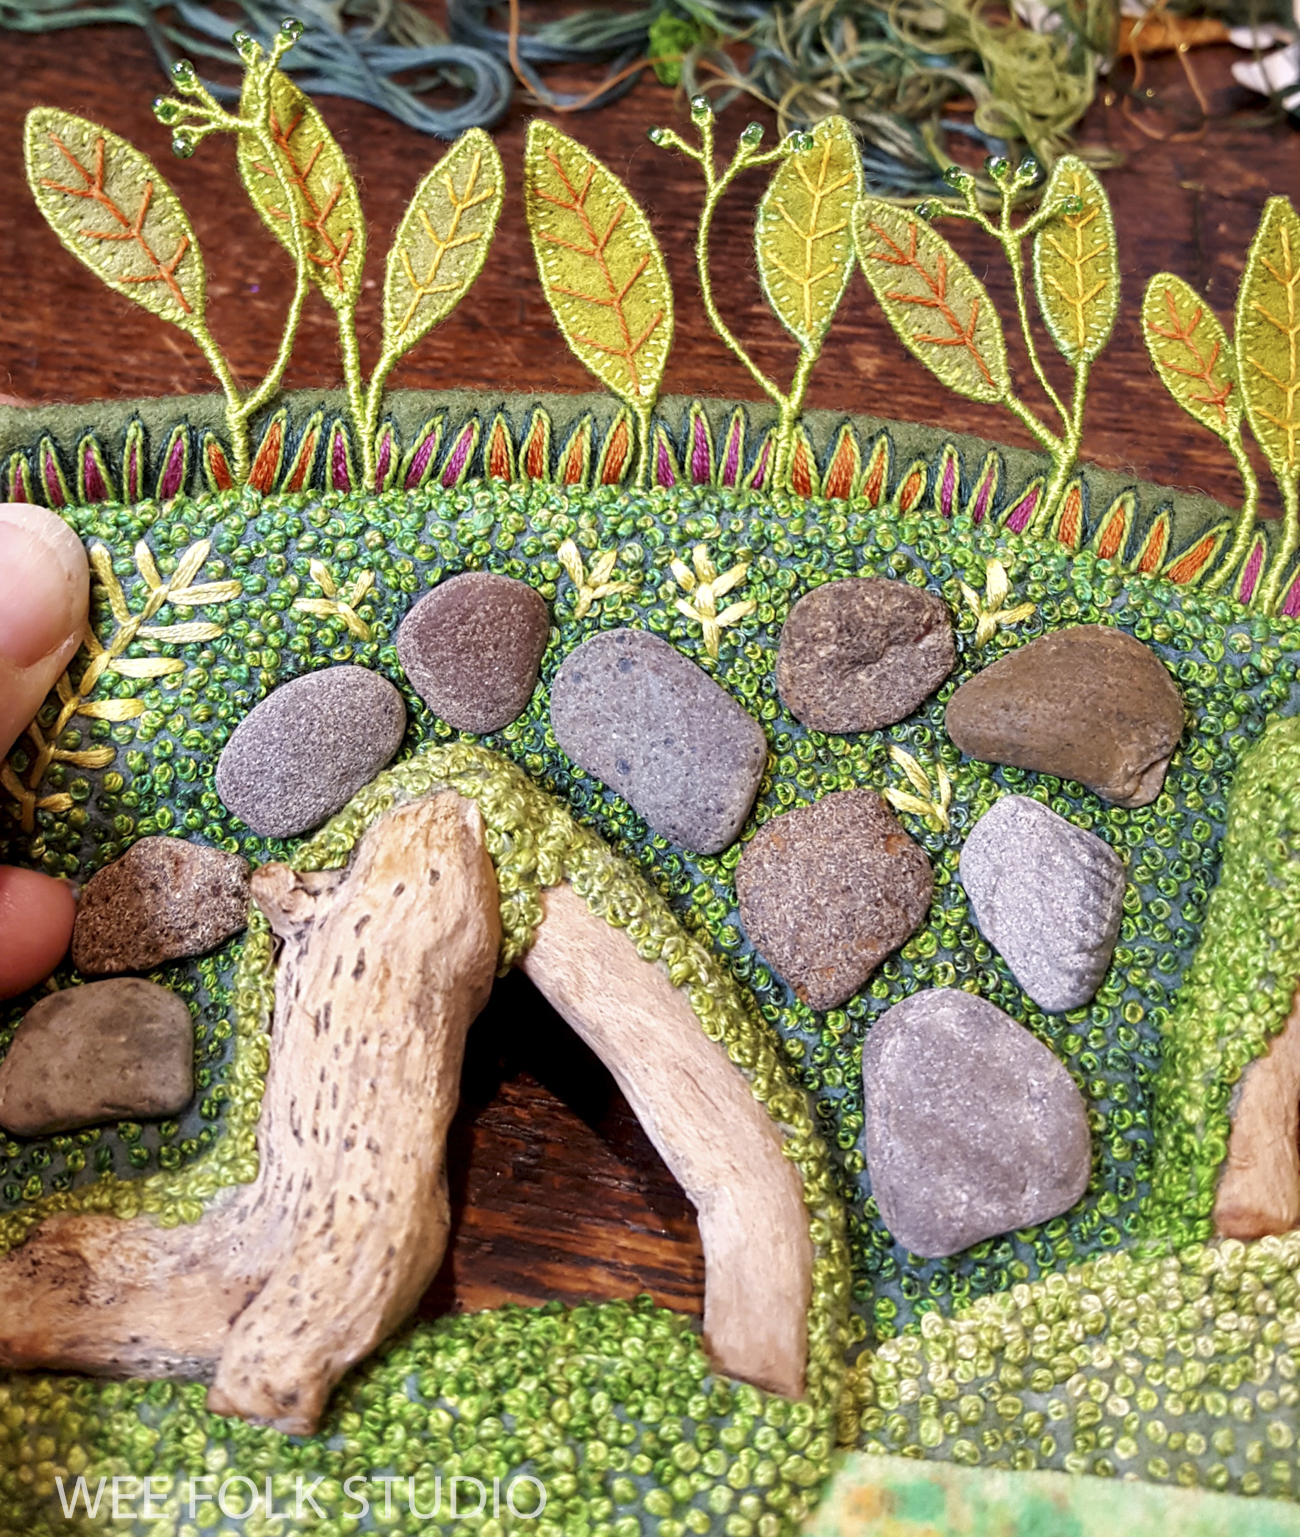
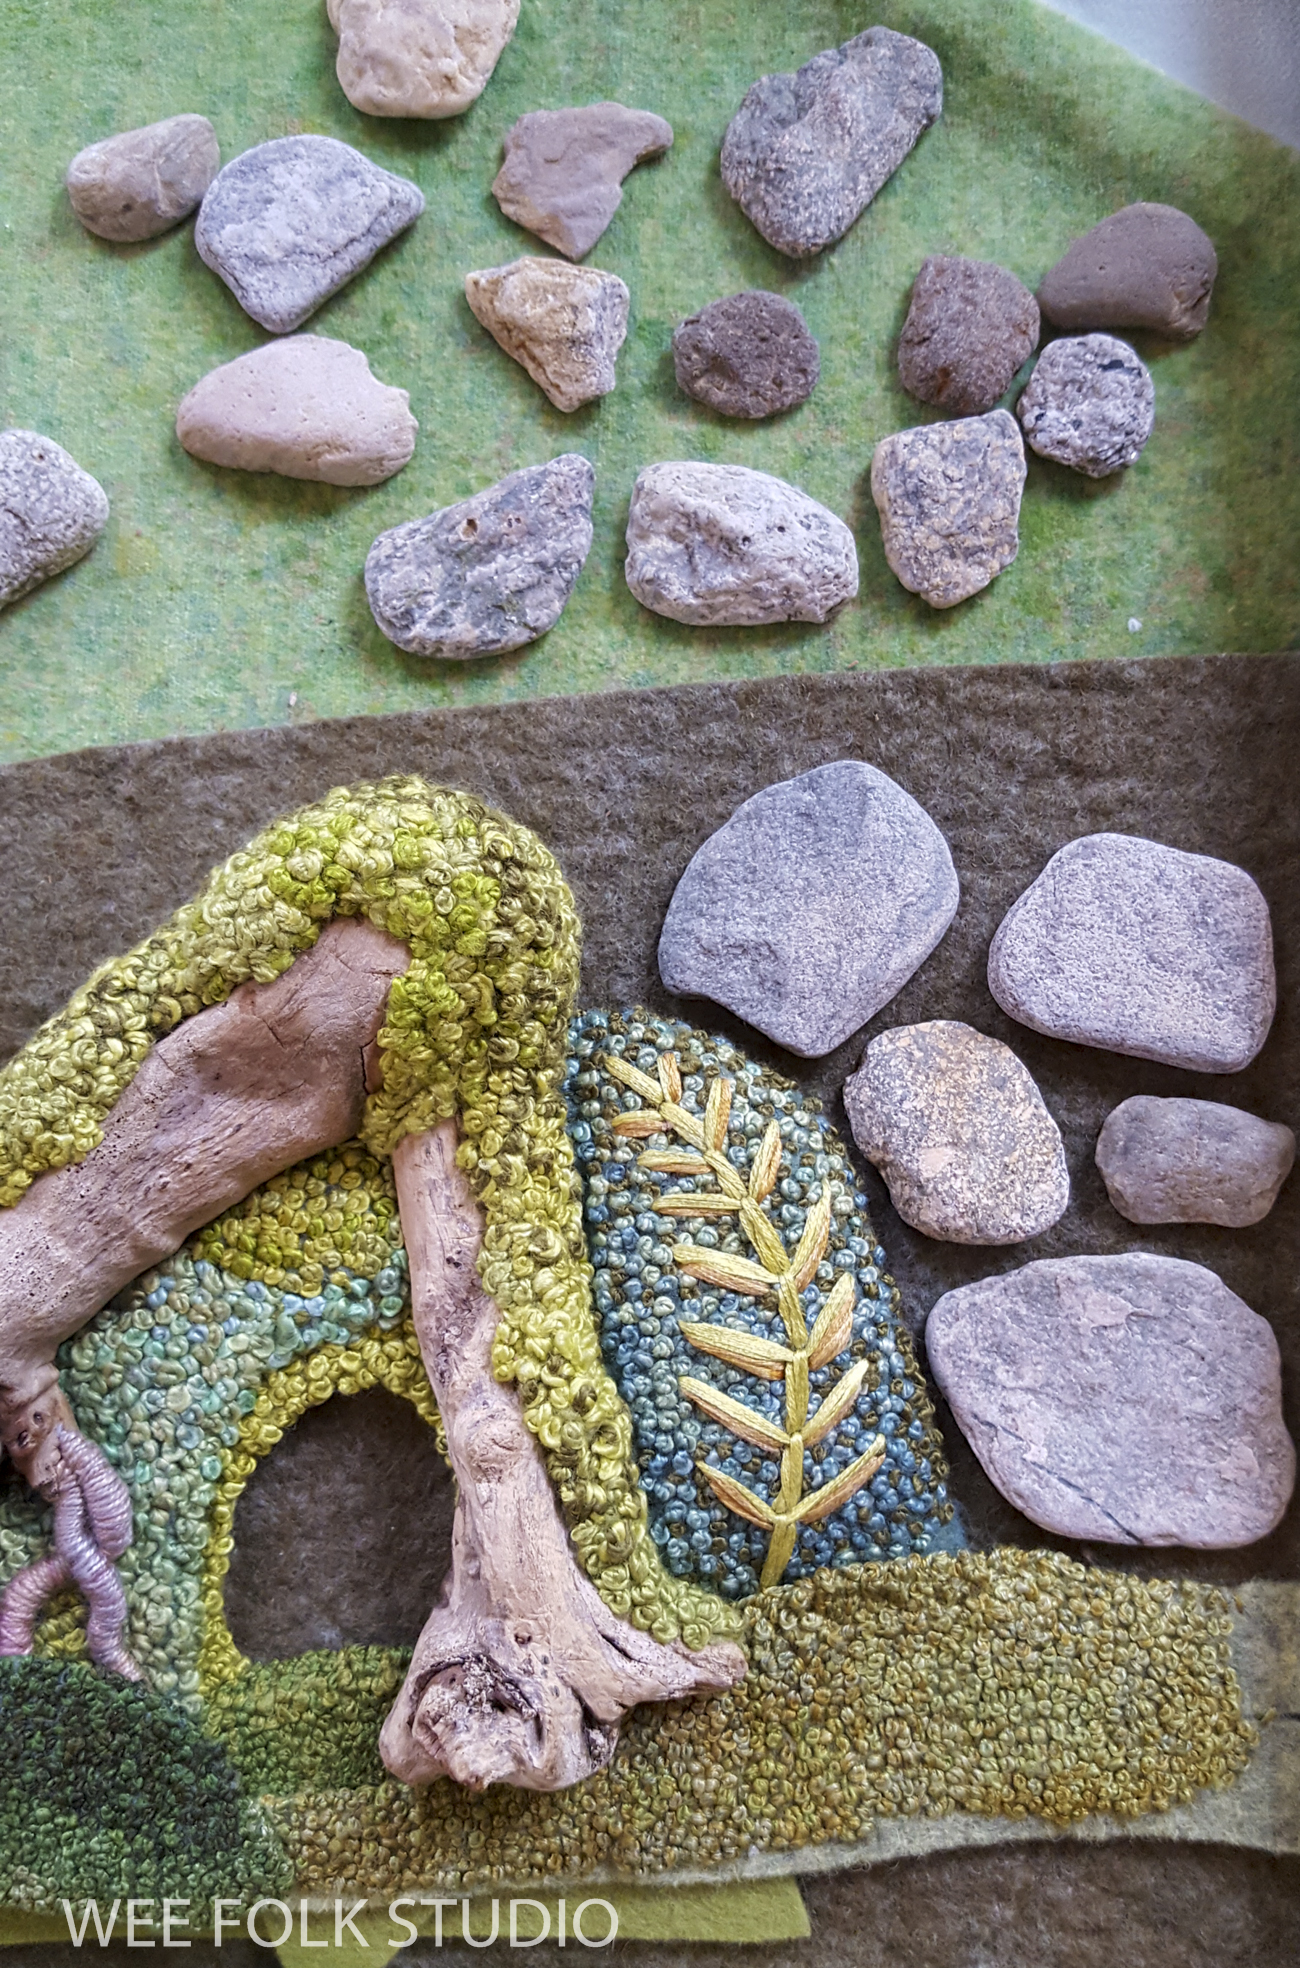
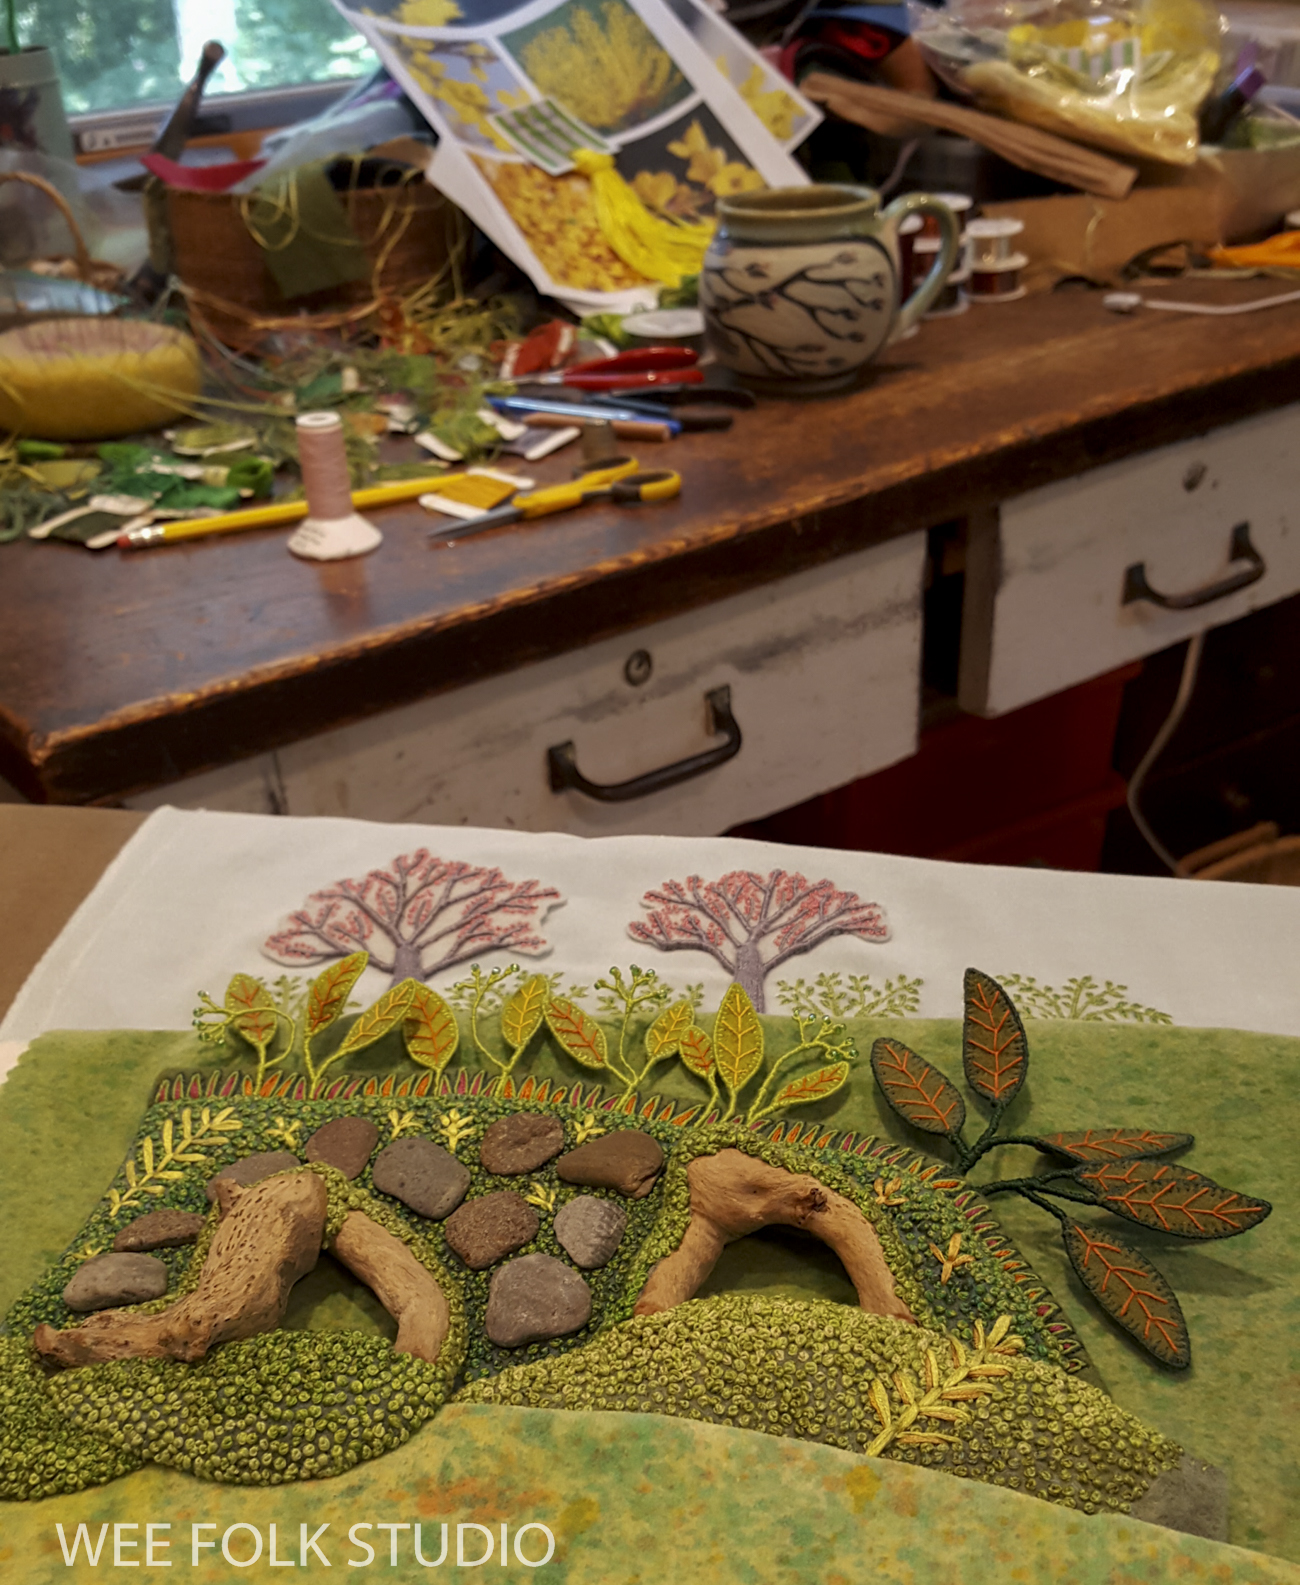
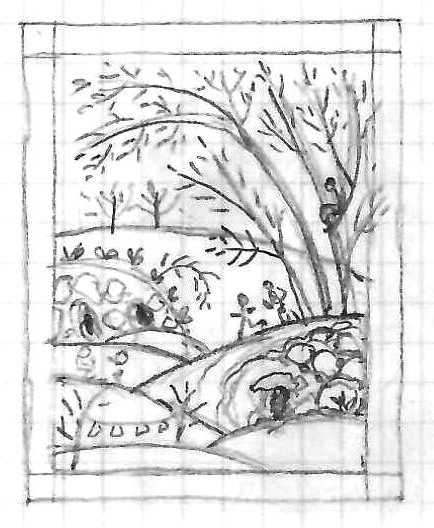
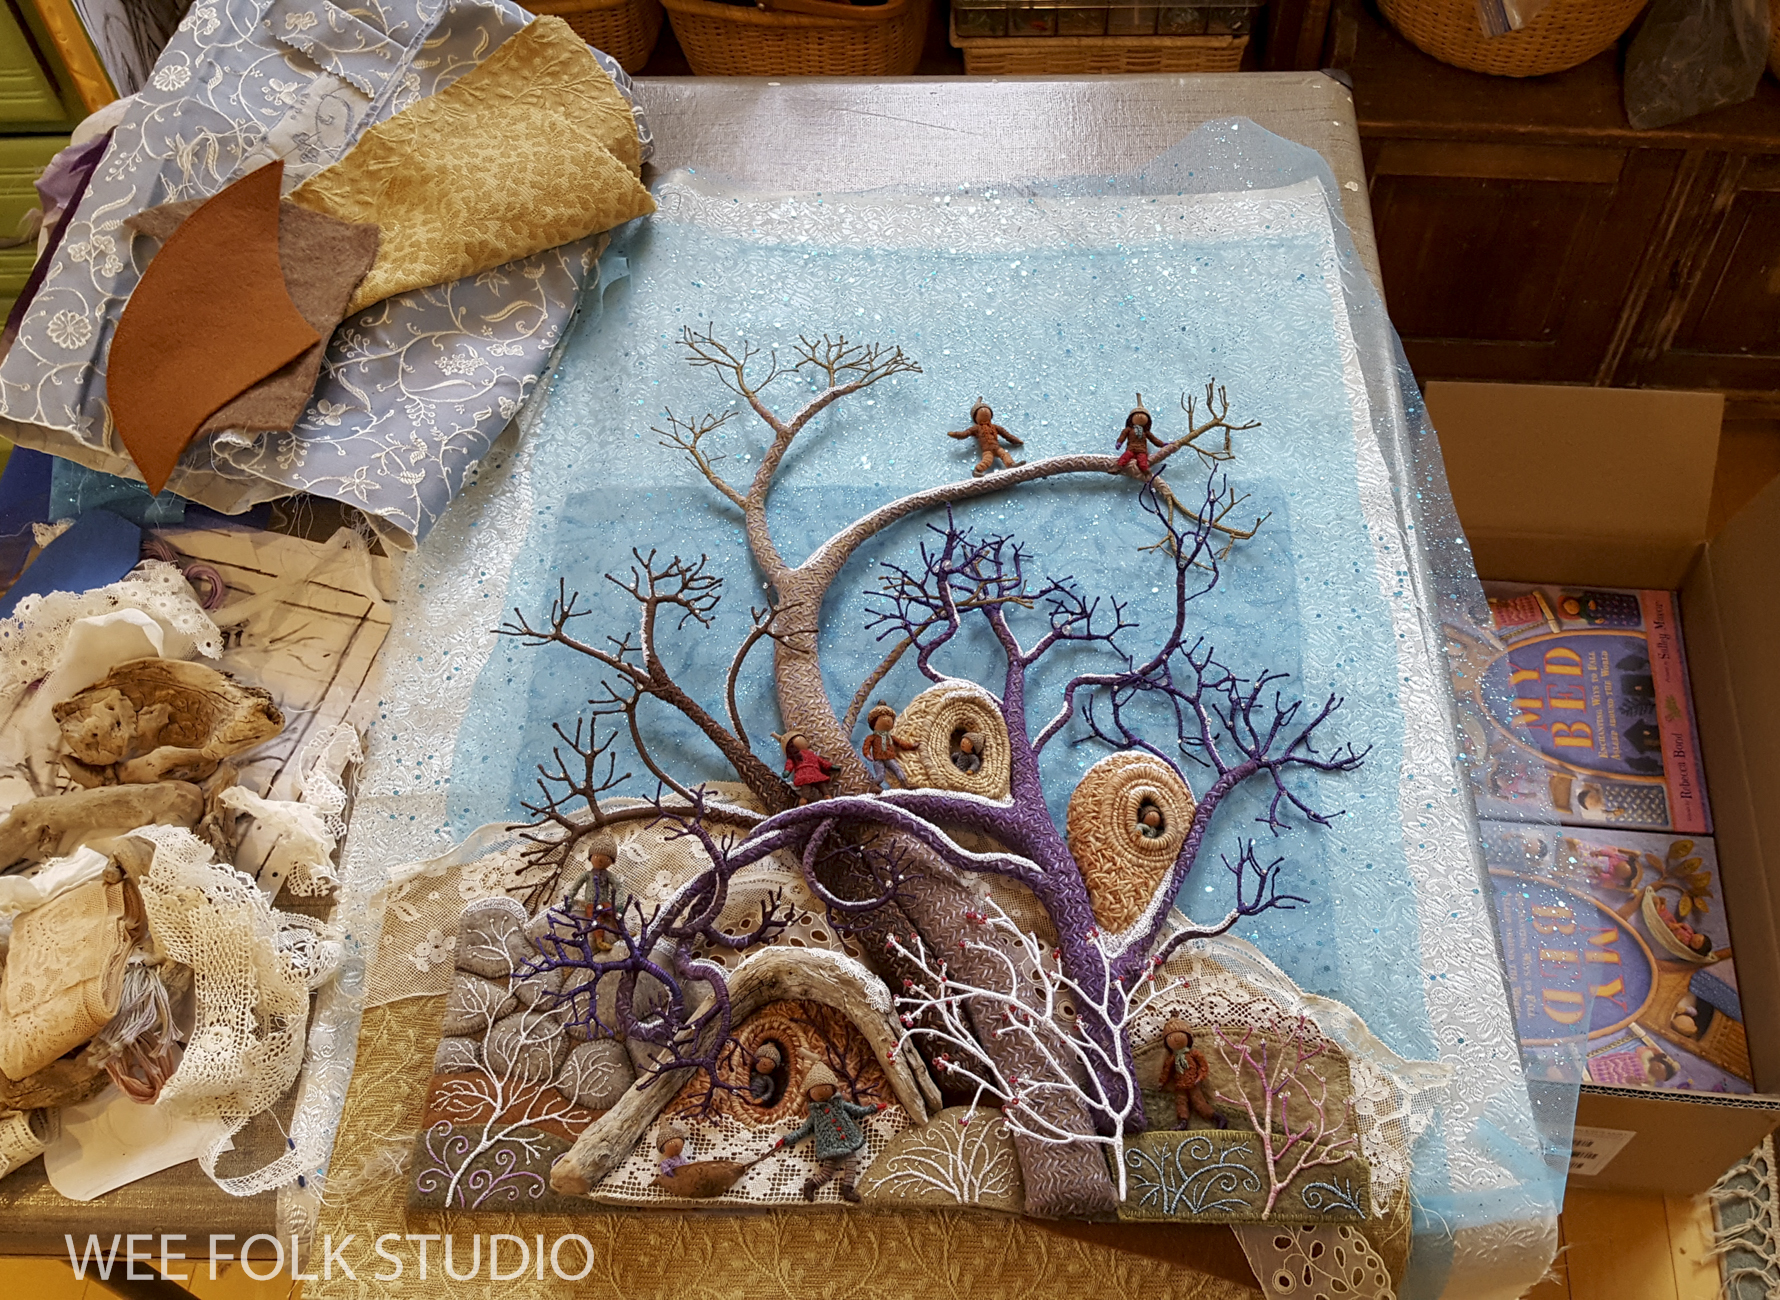
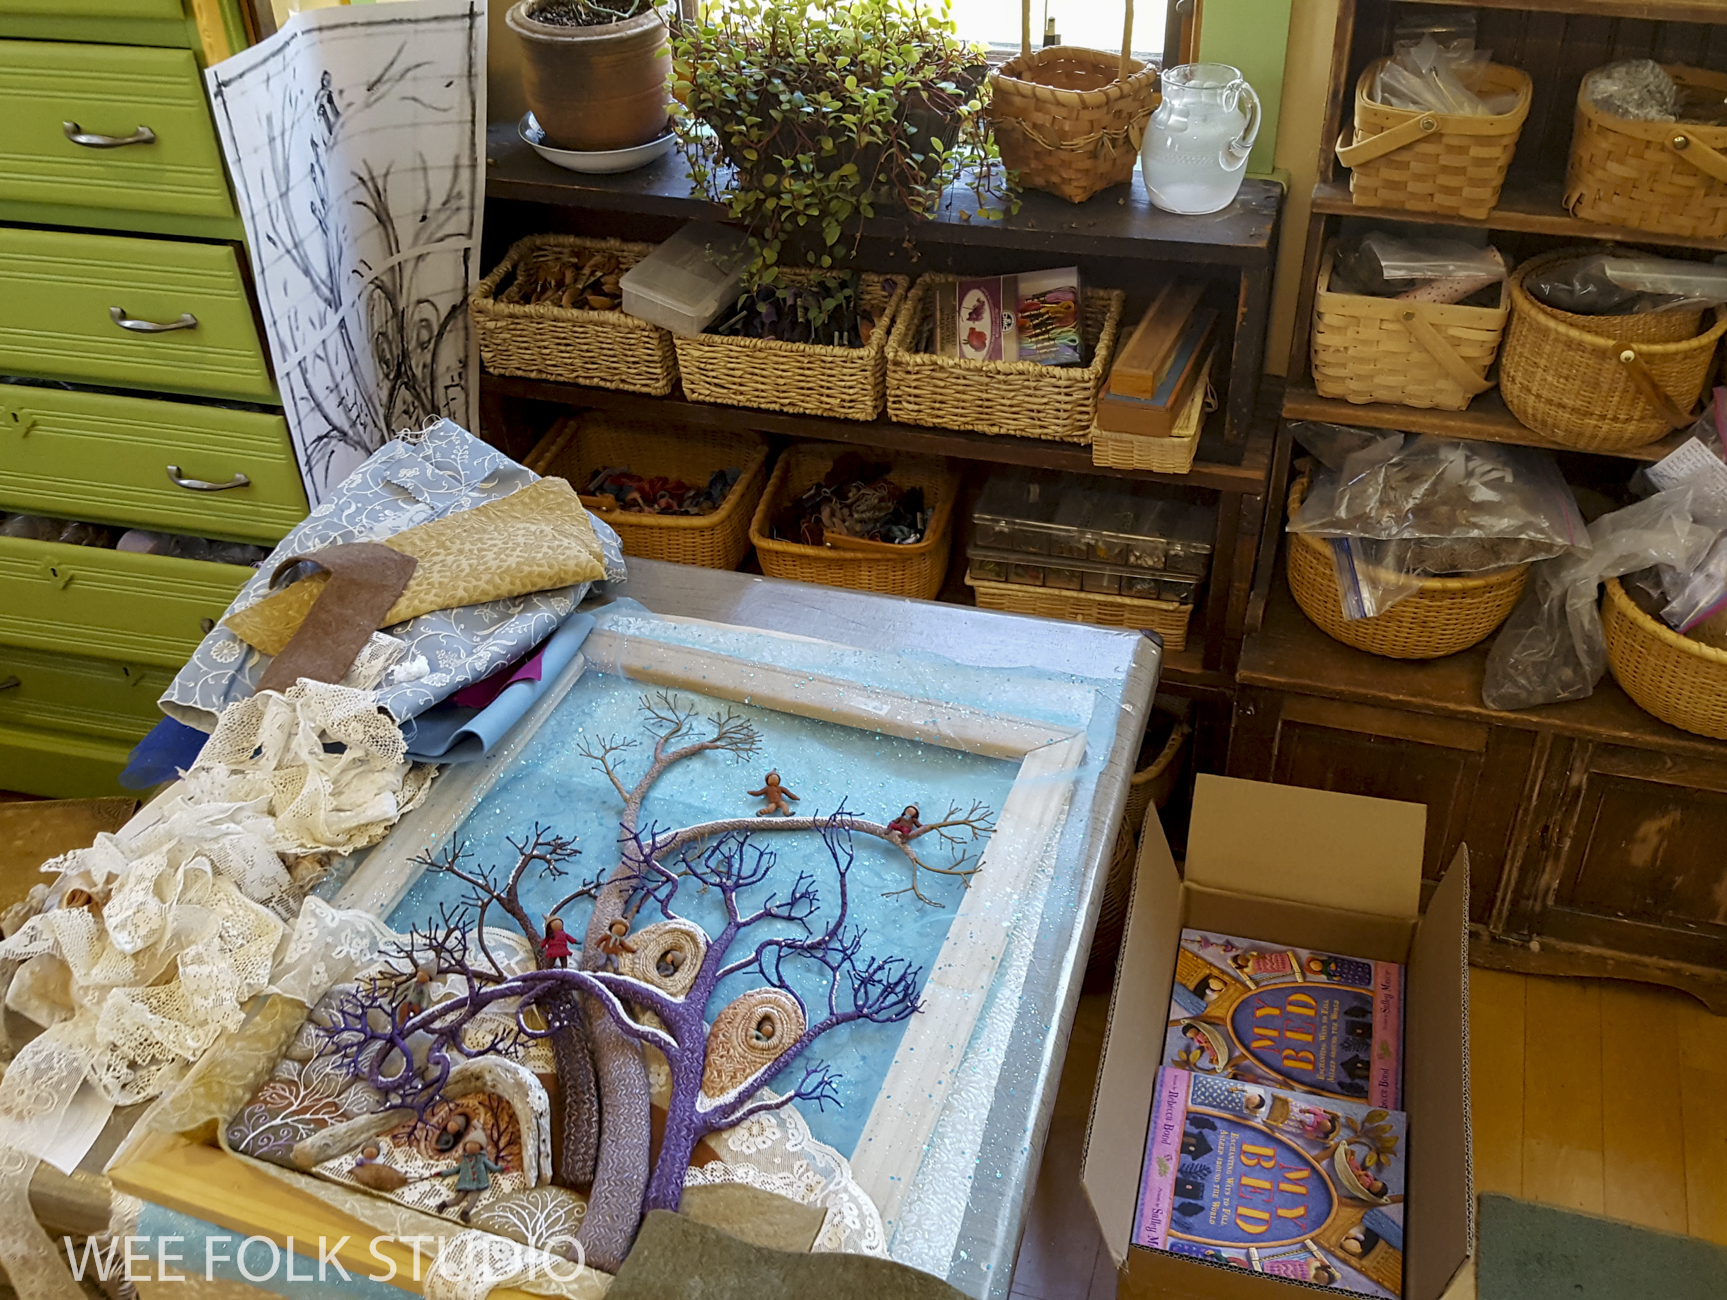
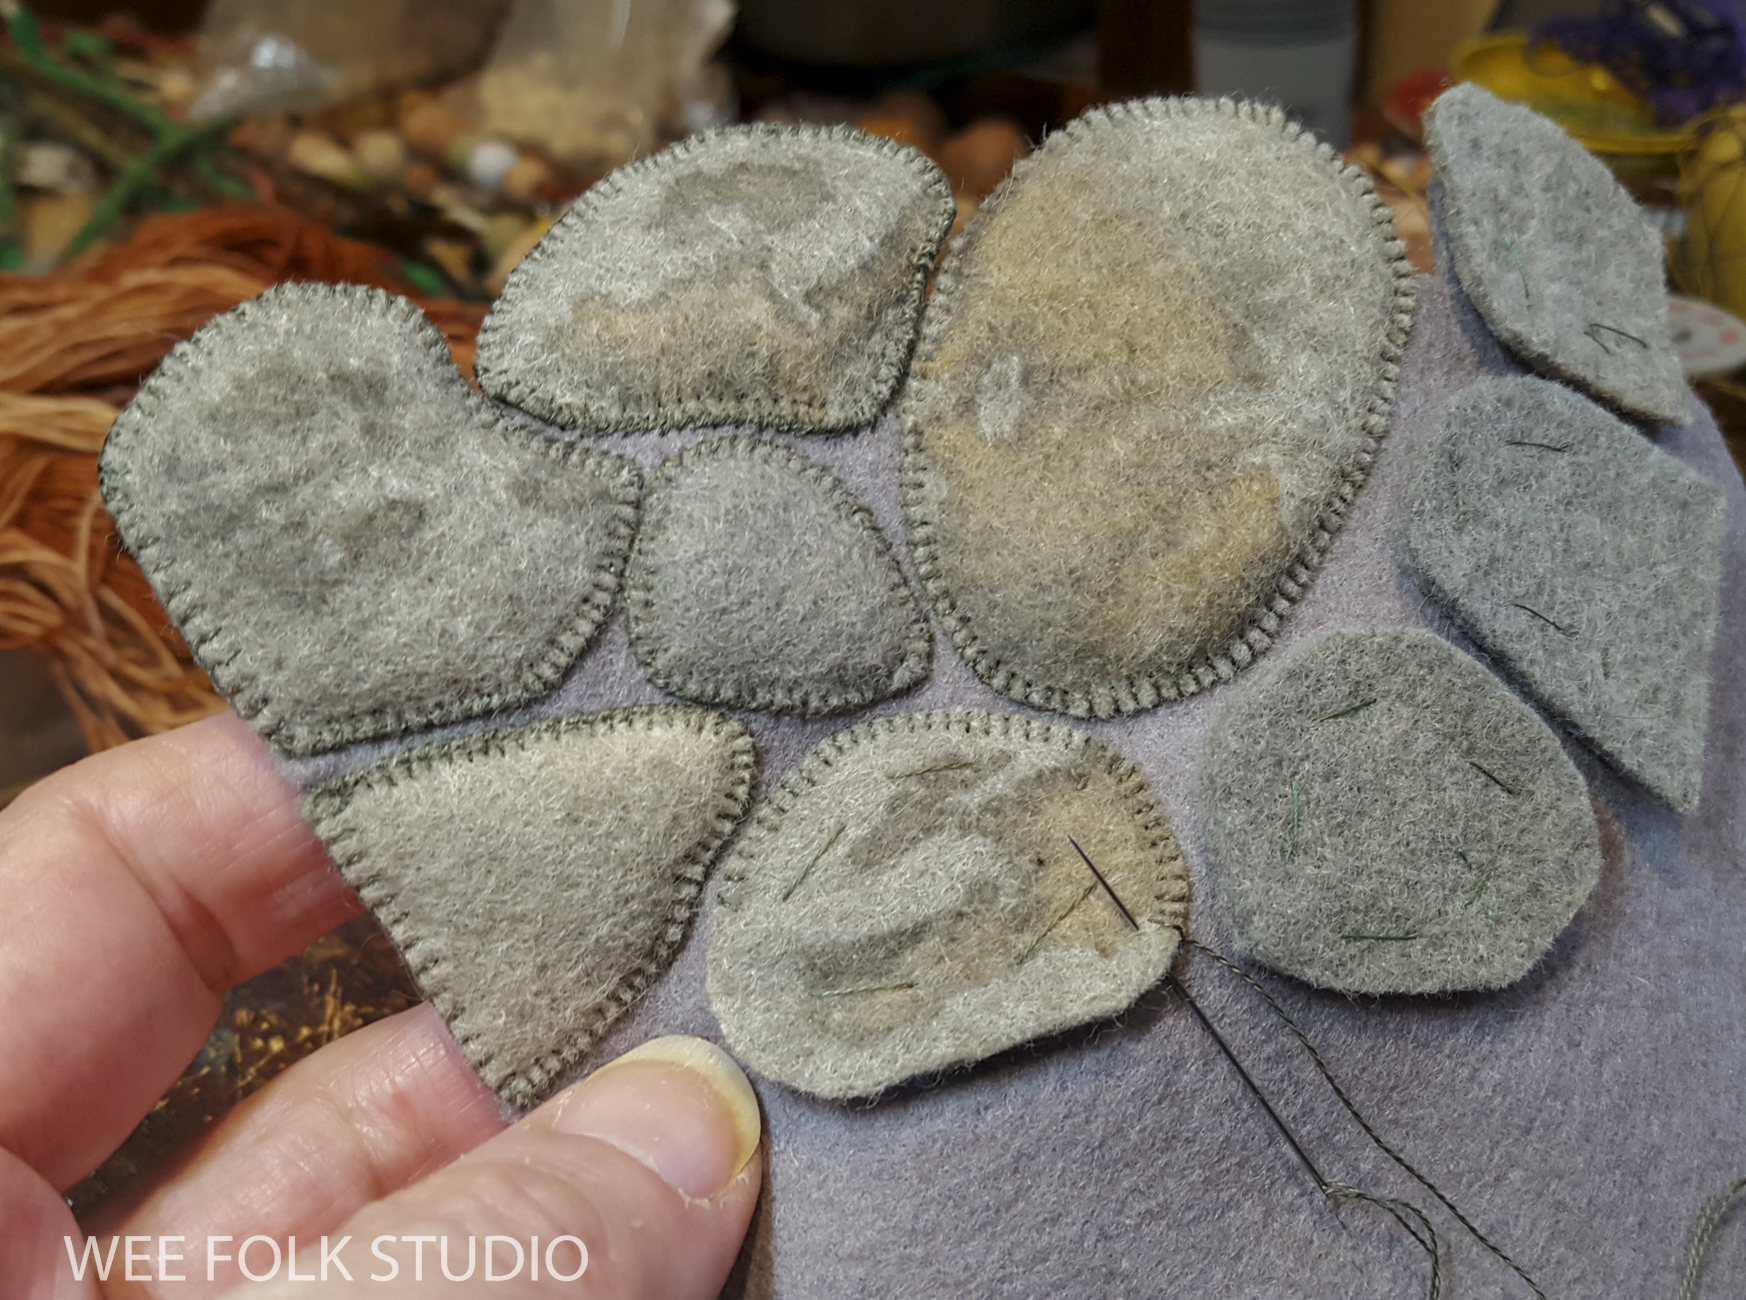
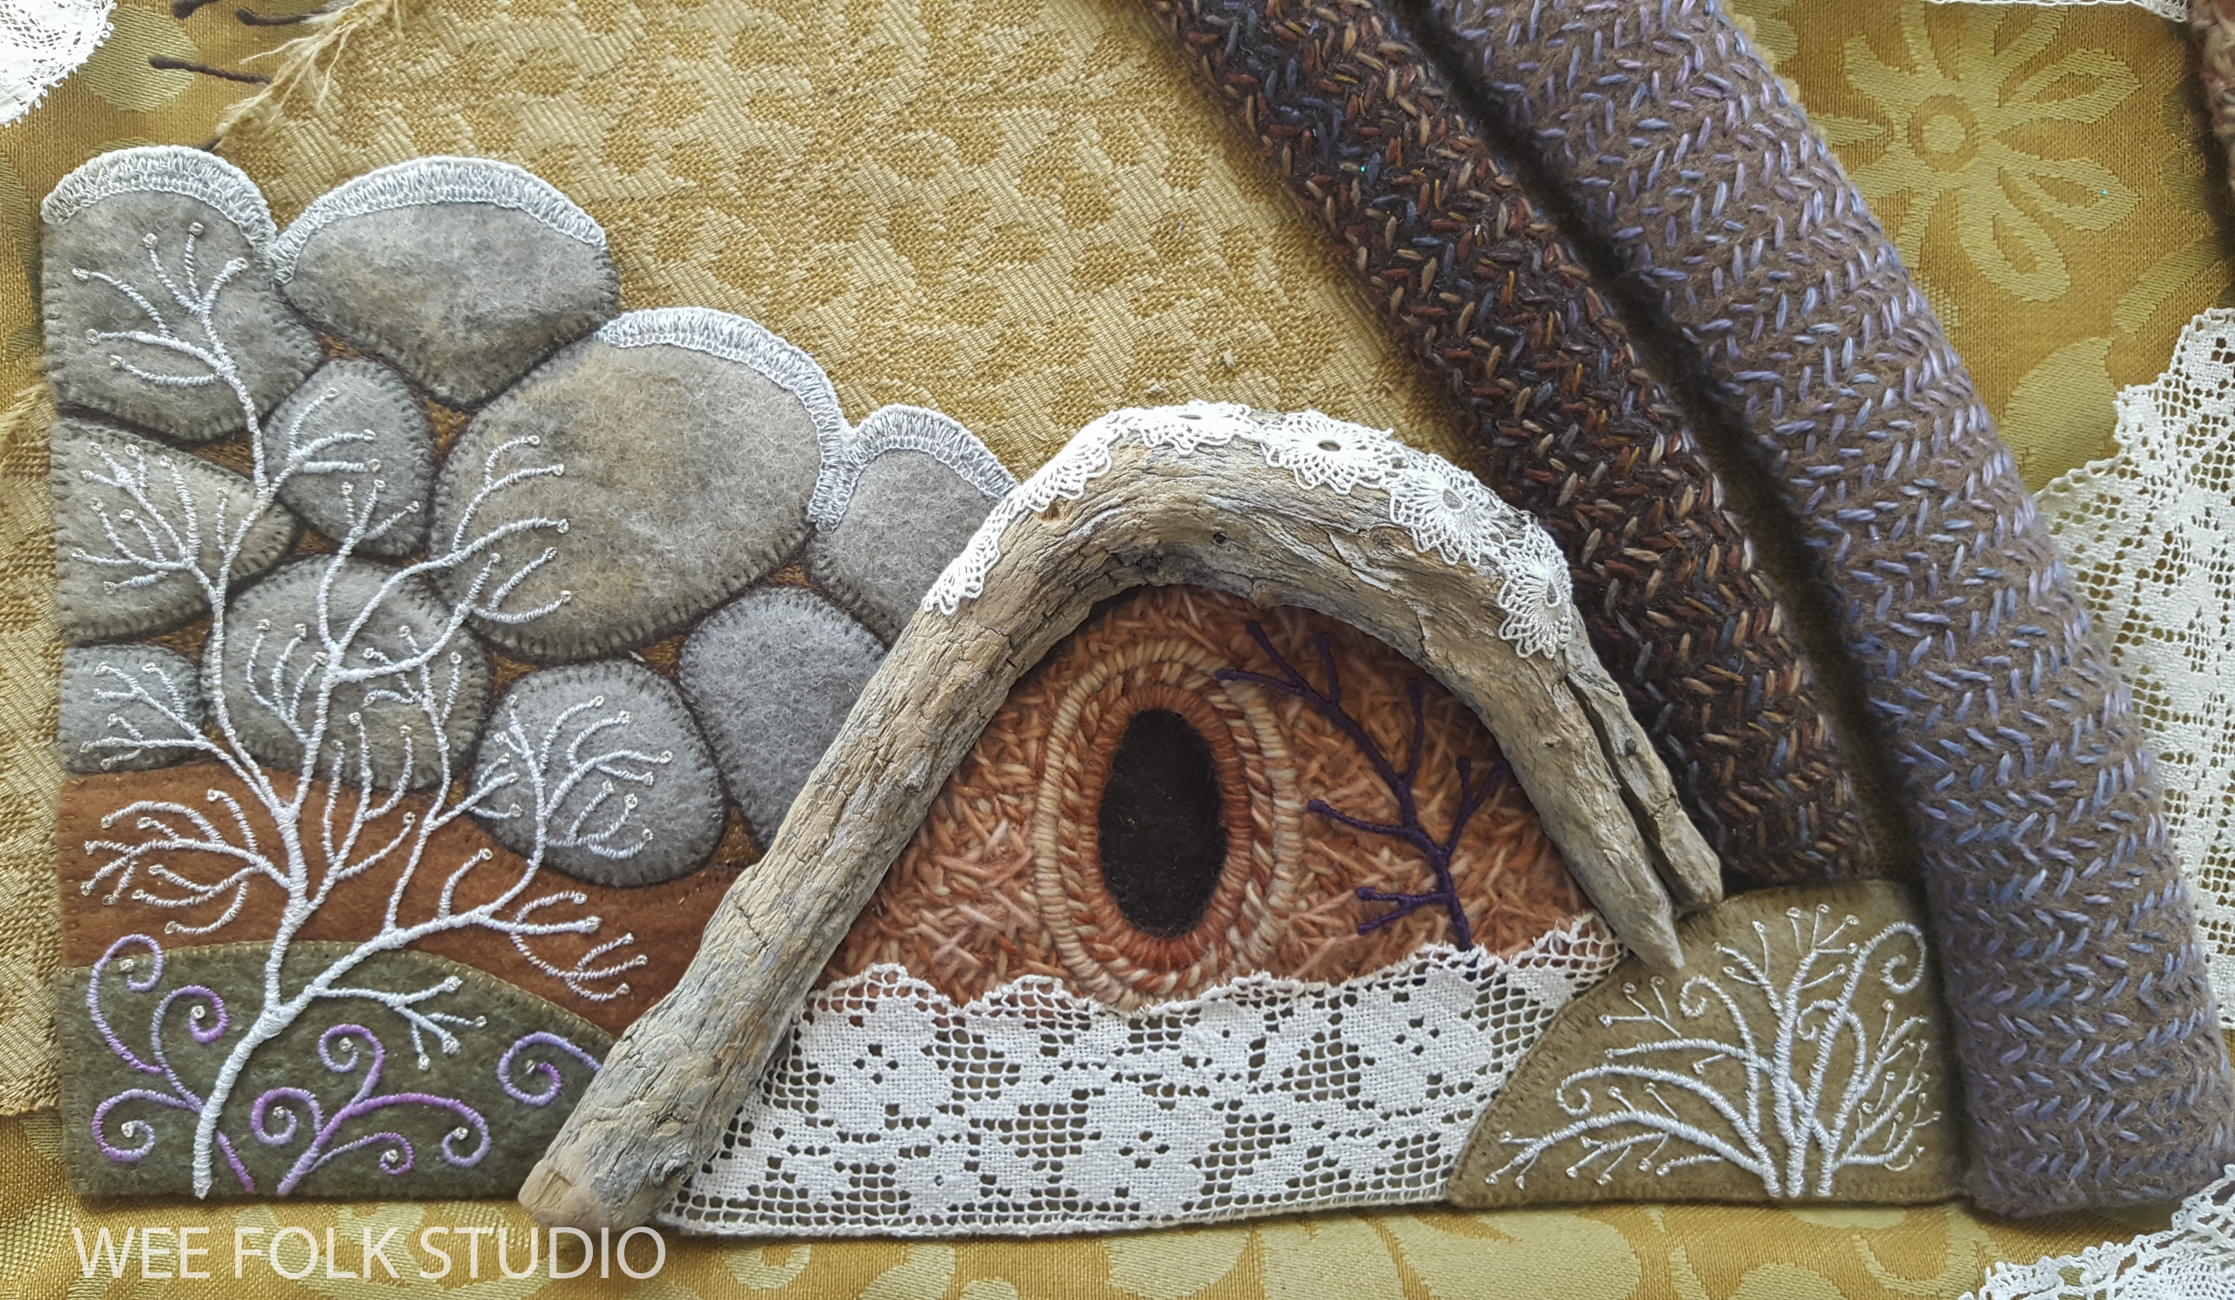
When planning out Mossy Glen, I pictured hillsides in different shades of light green, punctuated with 3-dimensional leaves.

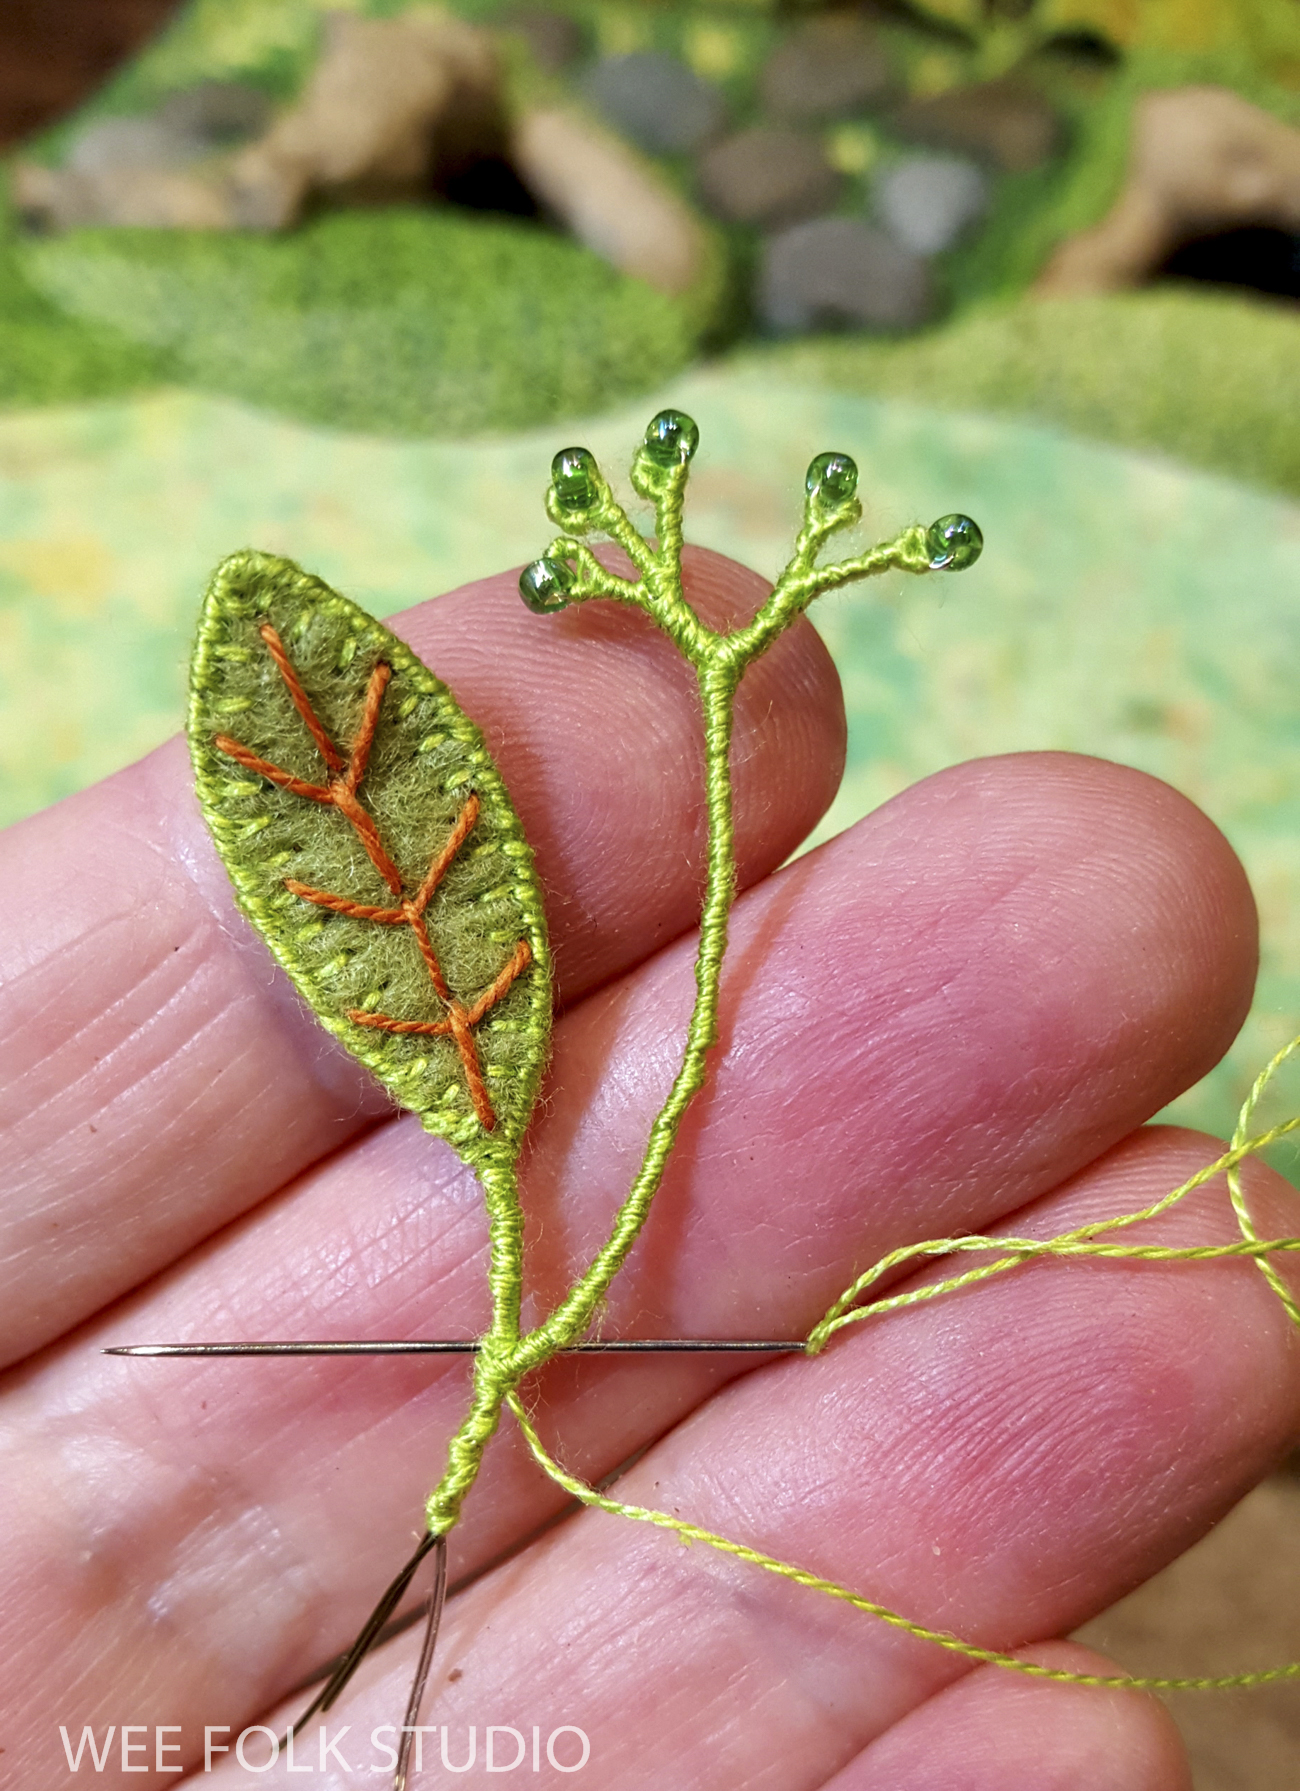
I made separate leaves with wool felt and wire, which you can watch in this Stitch Minute Video.
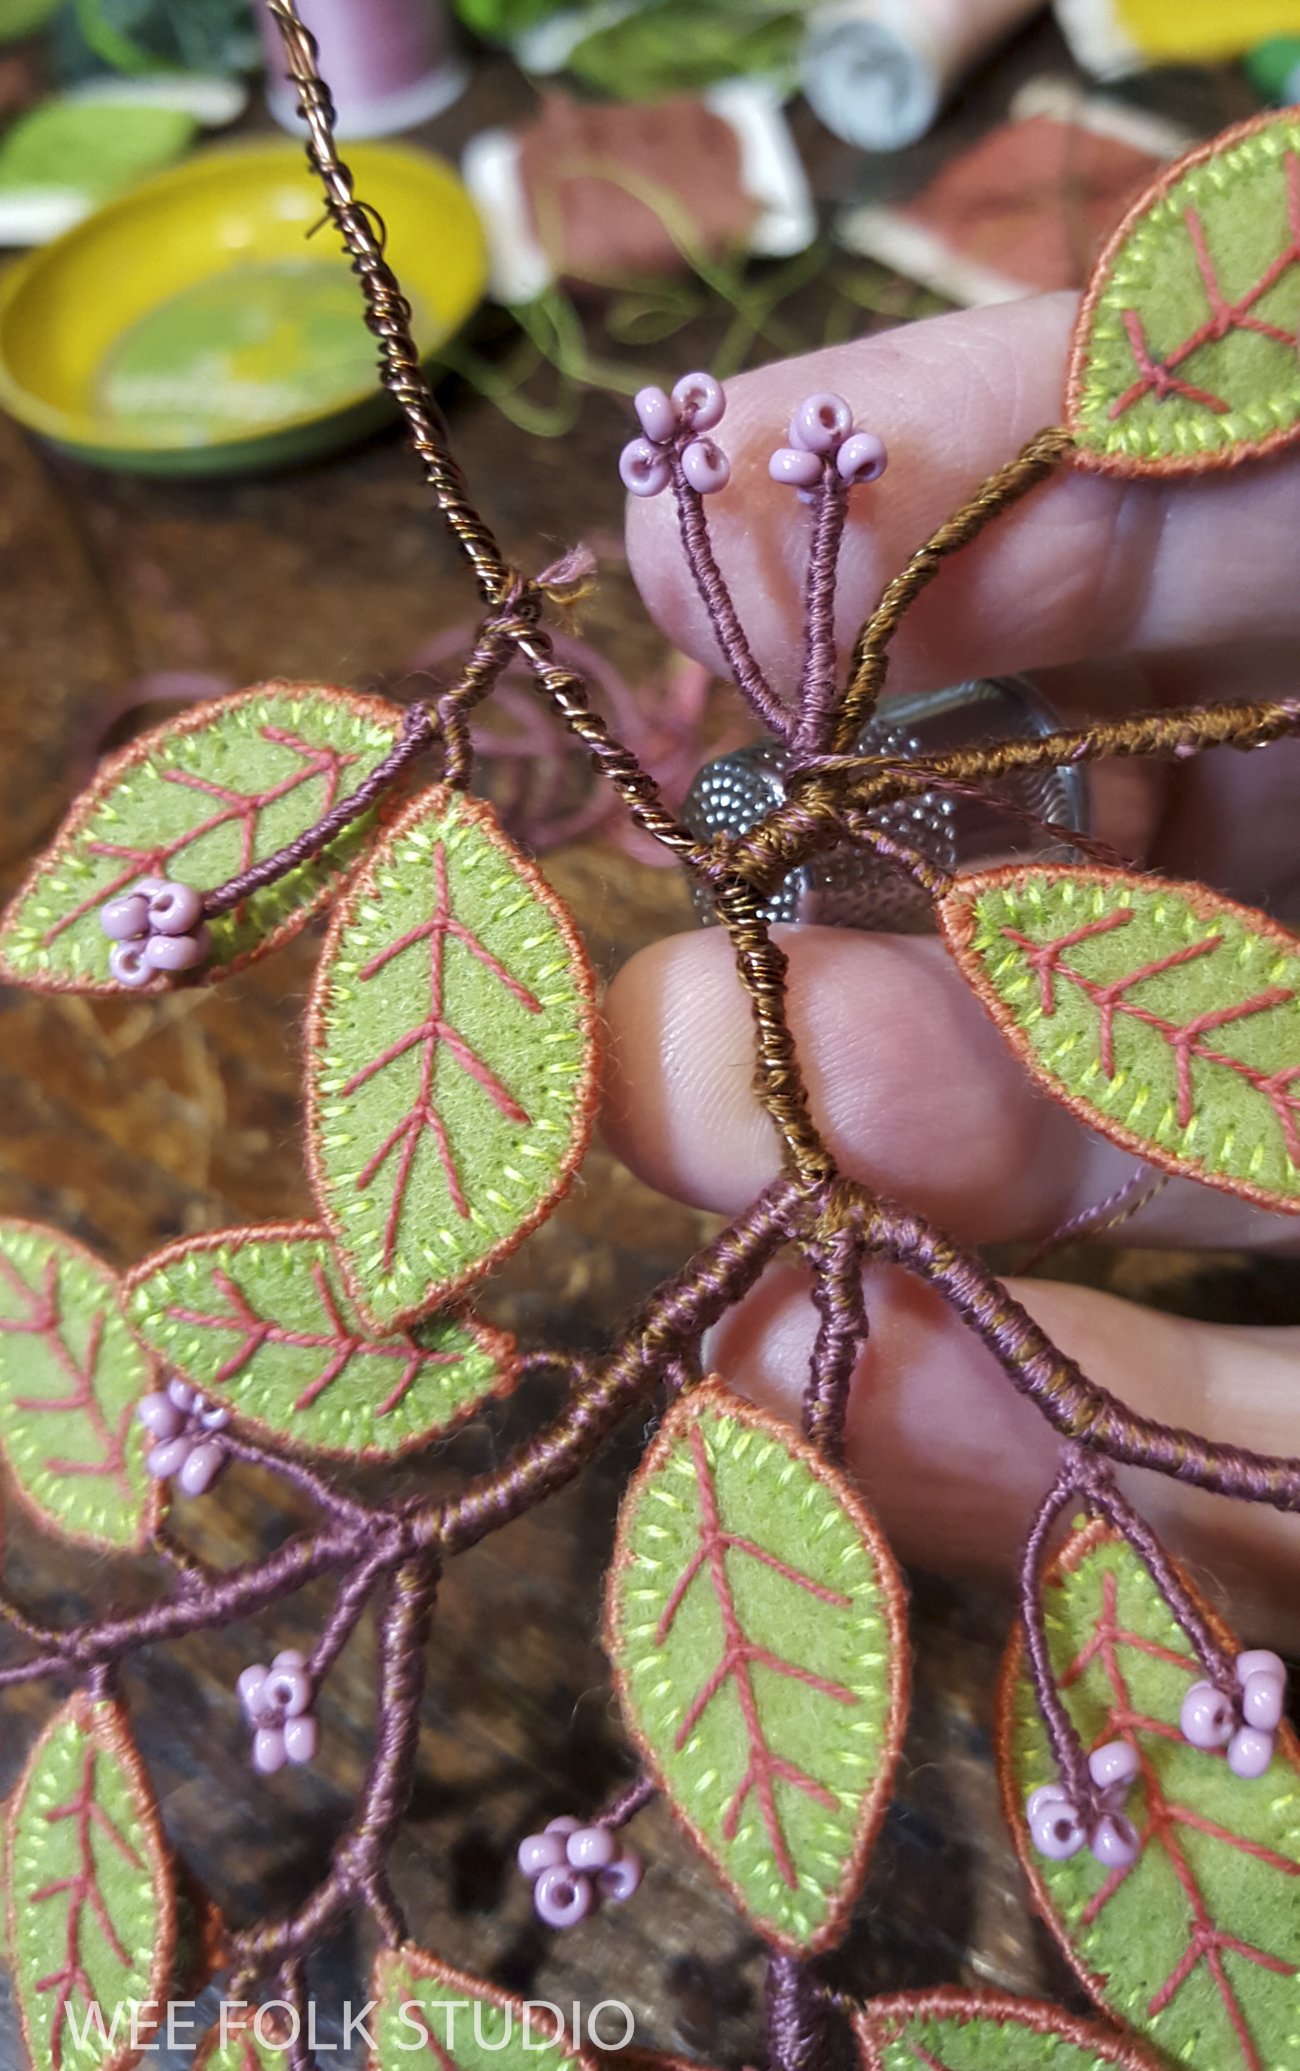
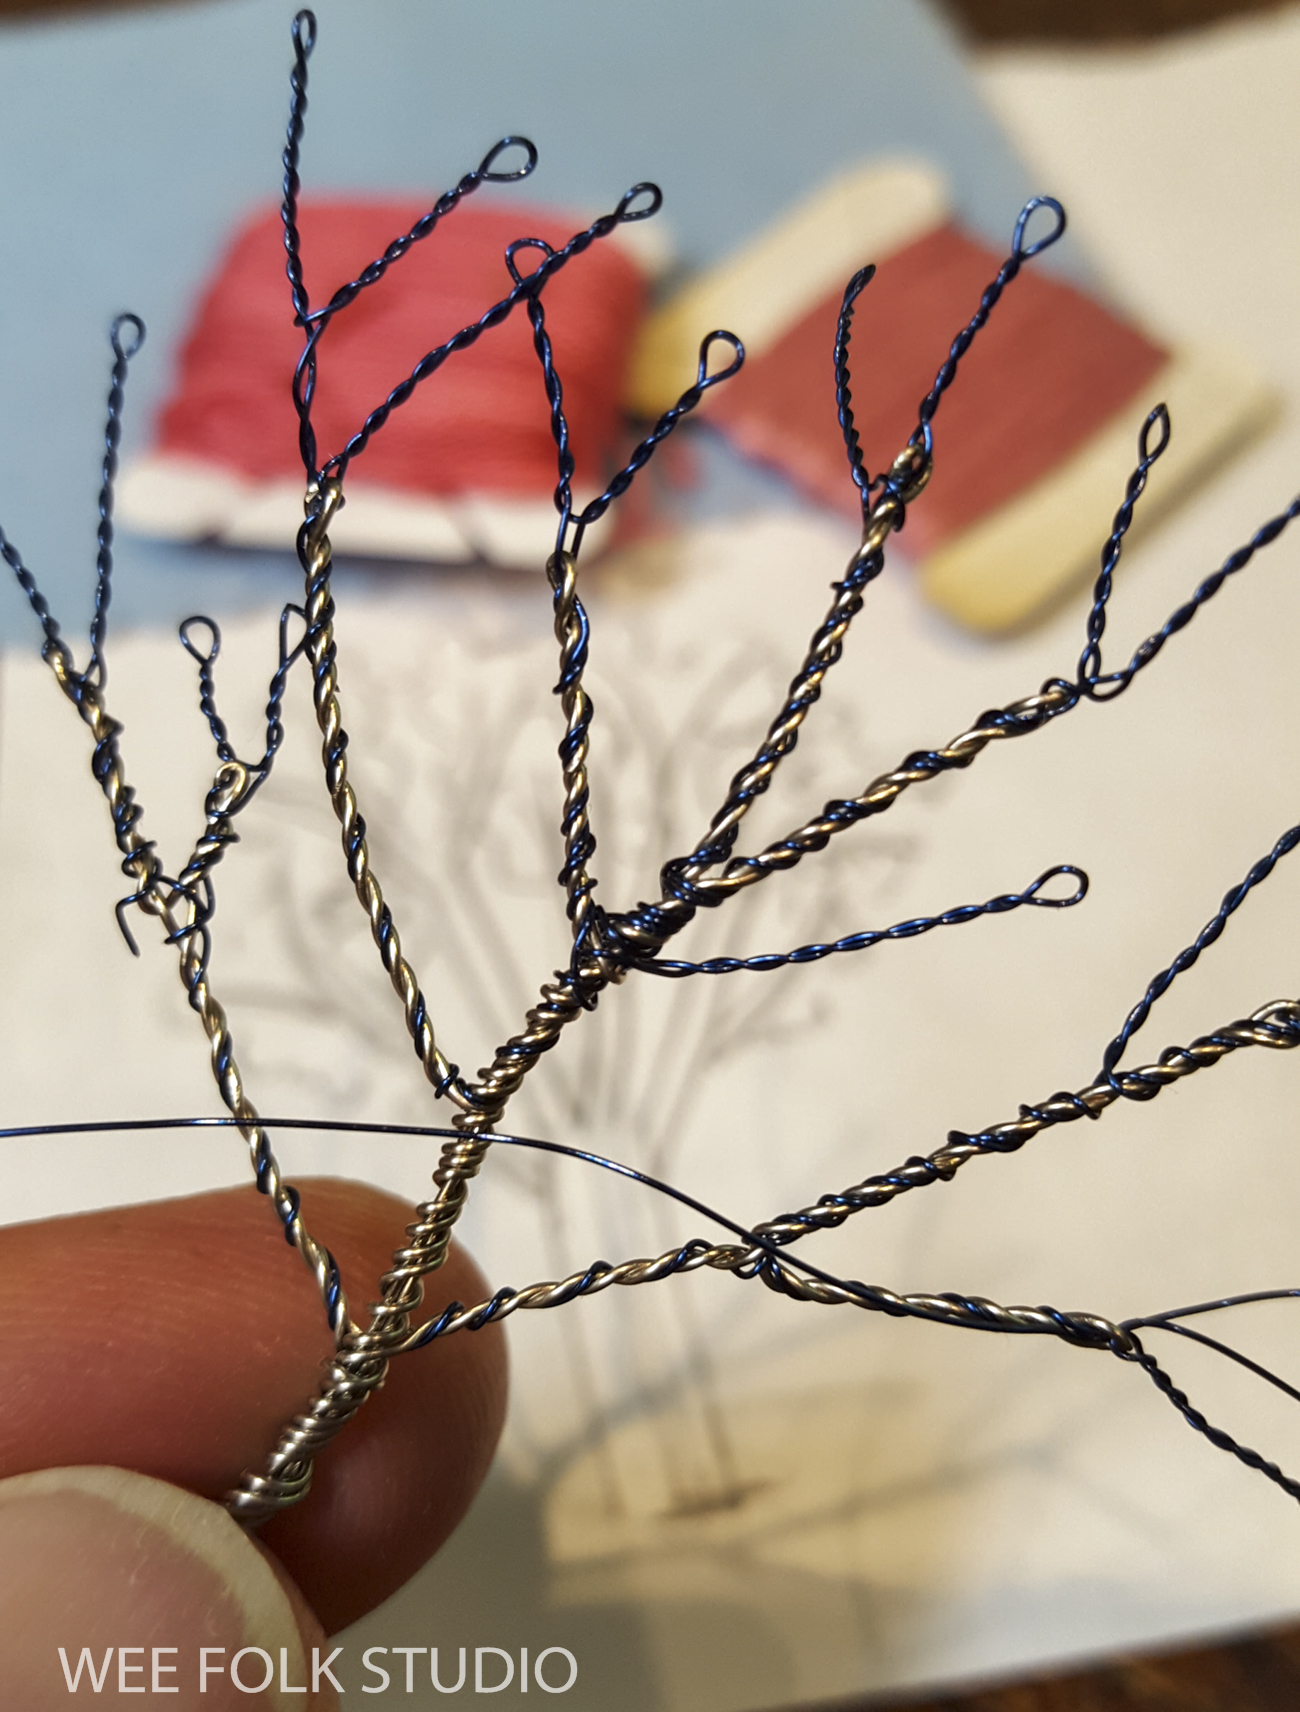
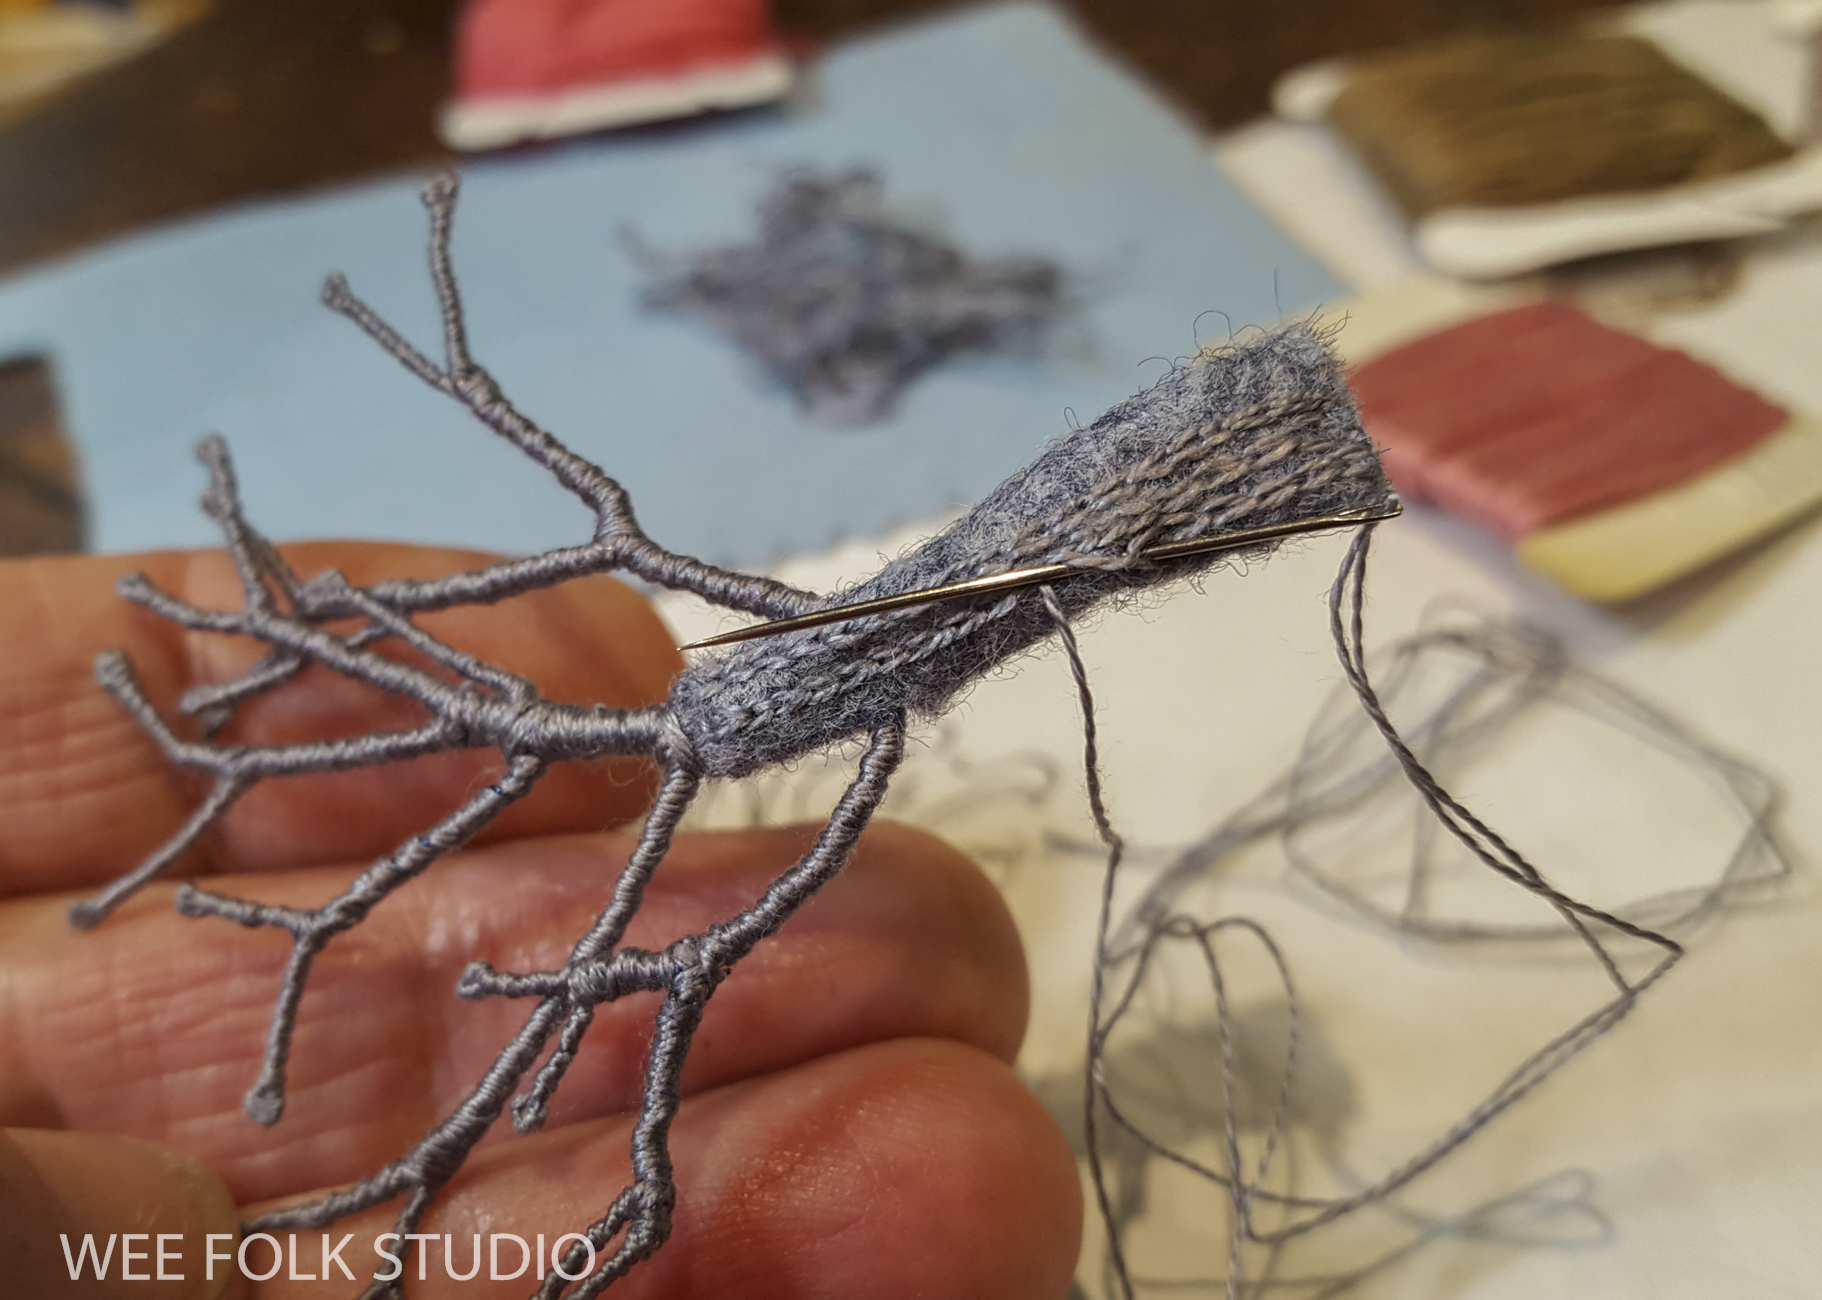
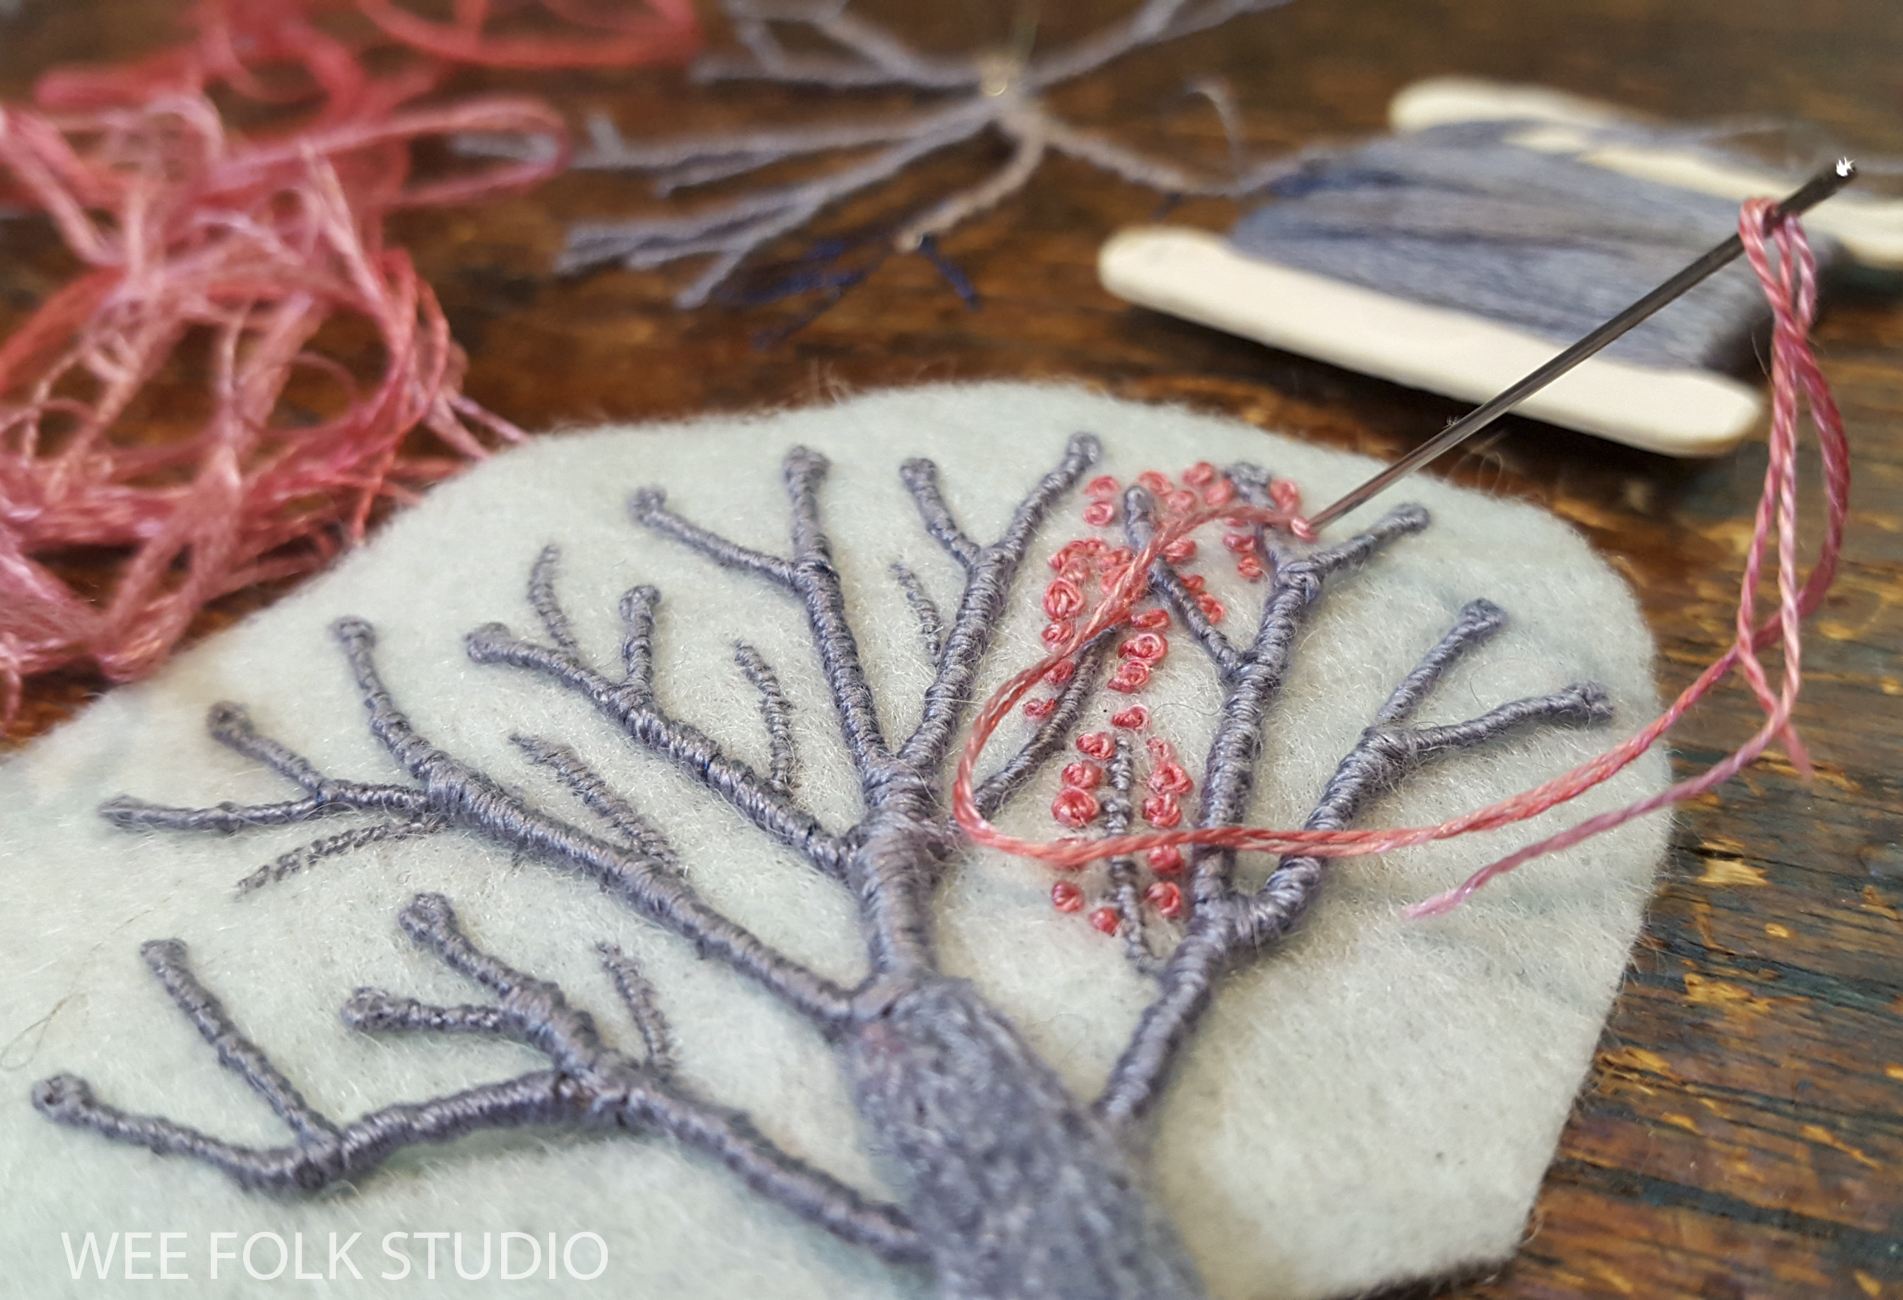
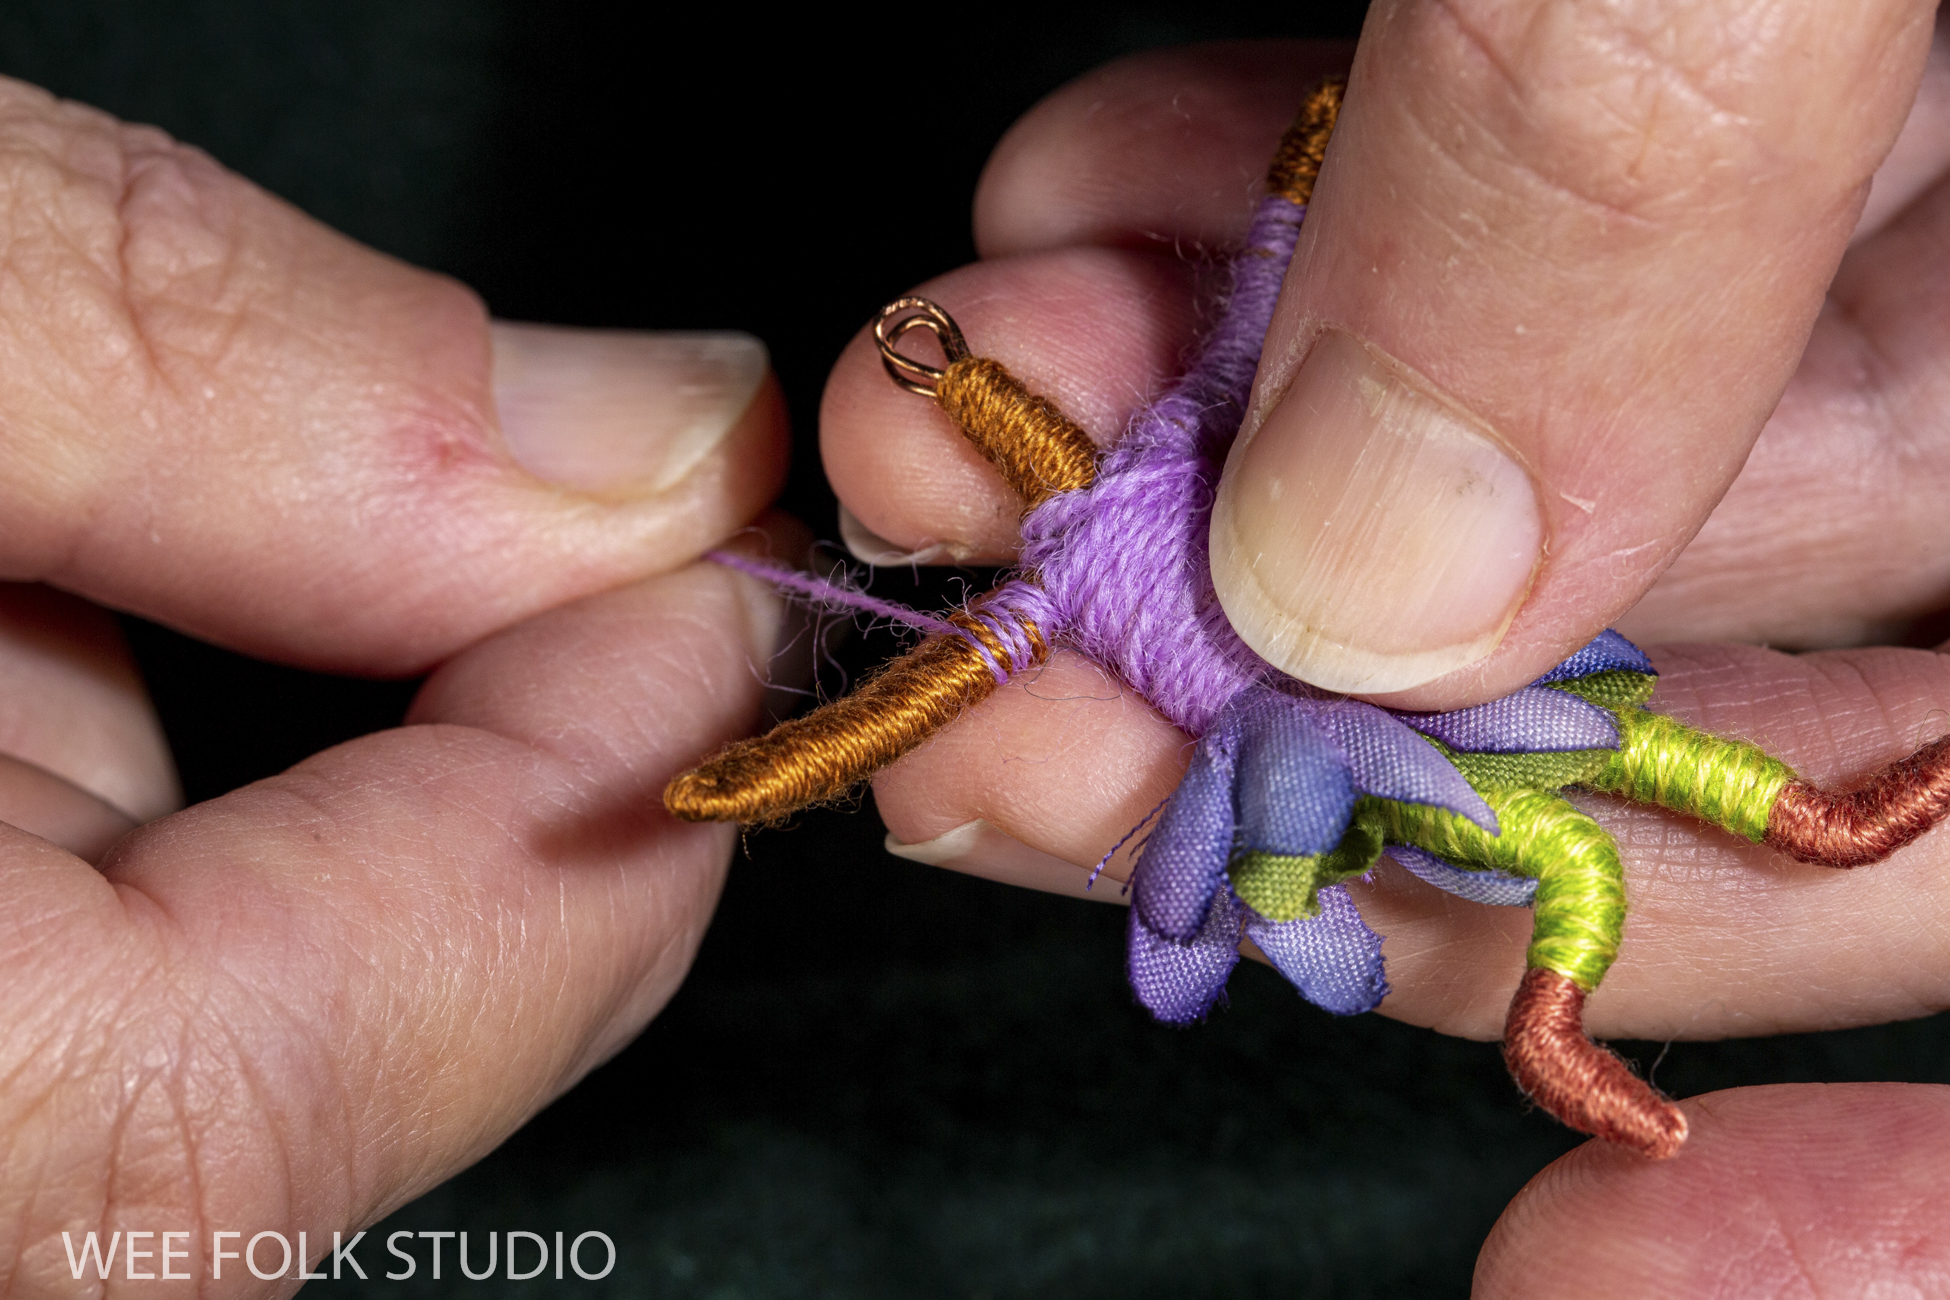
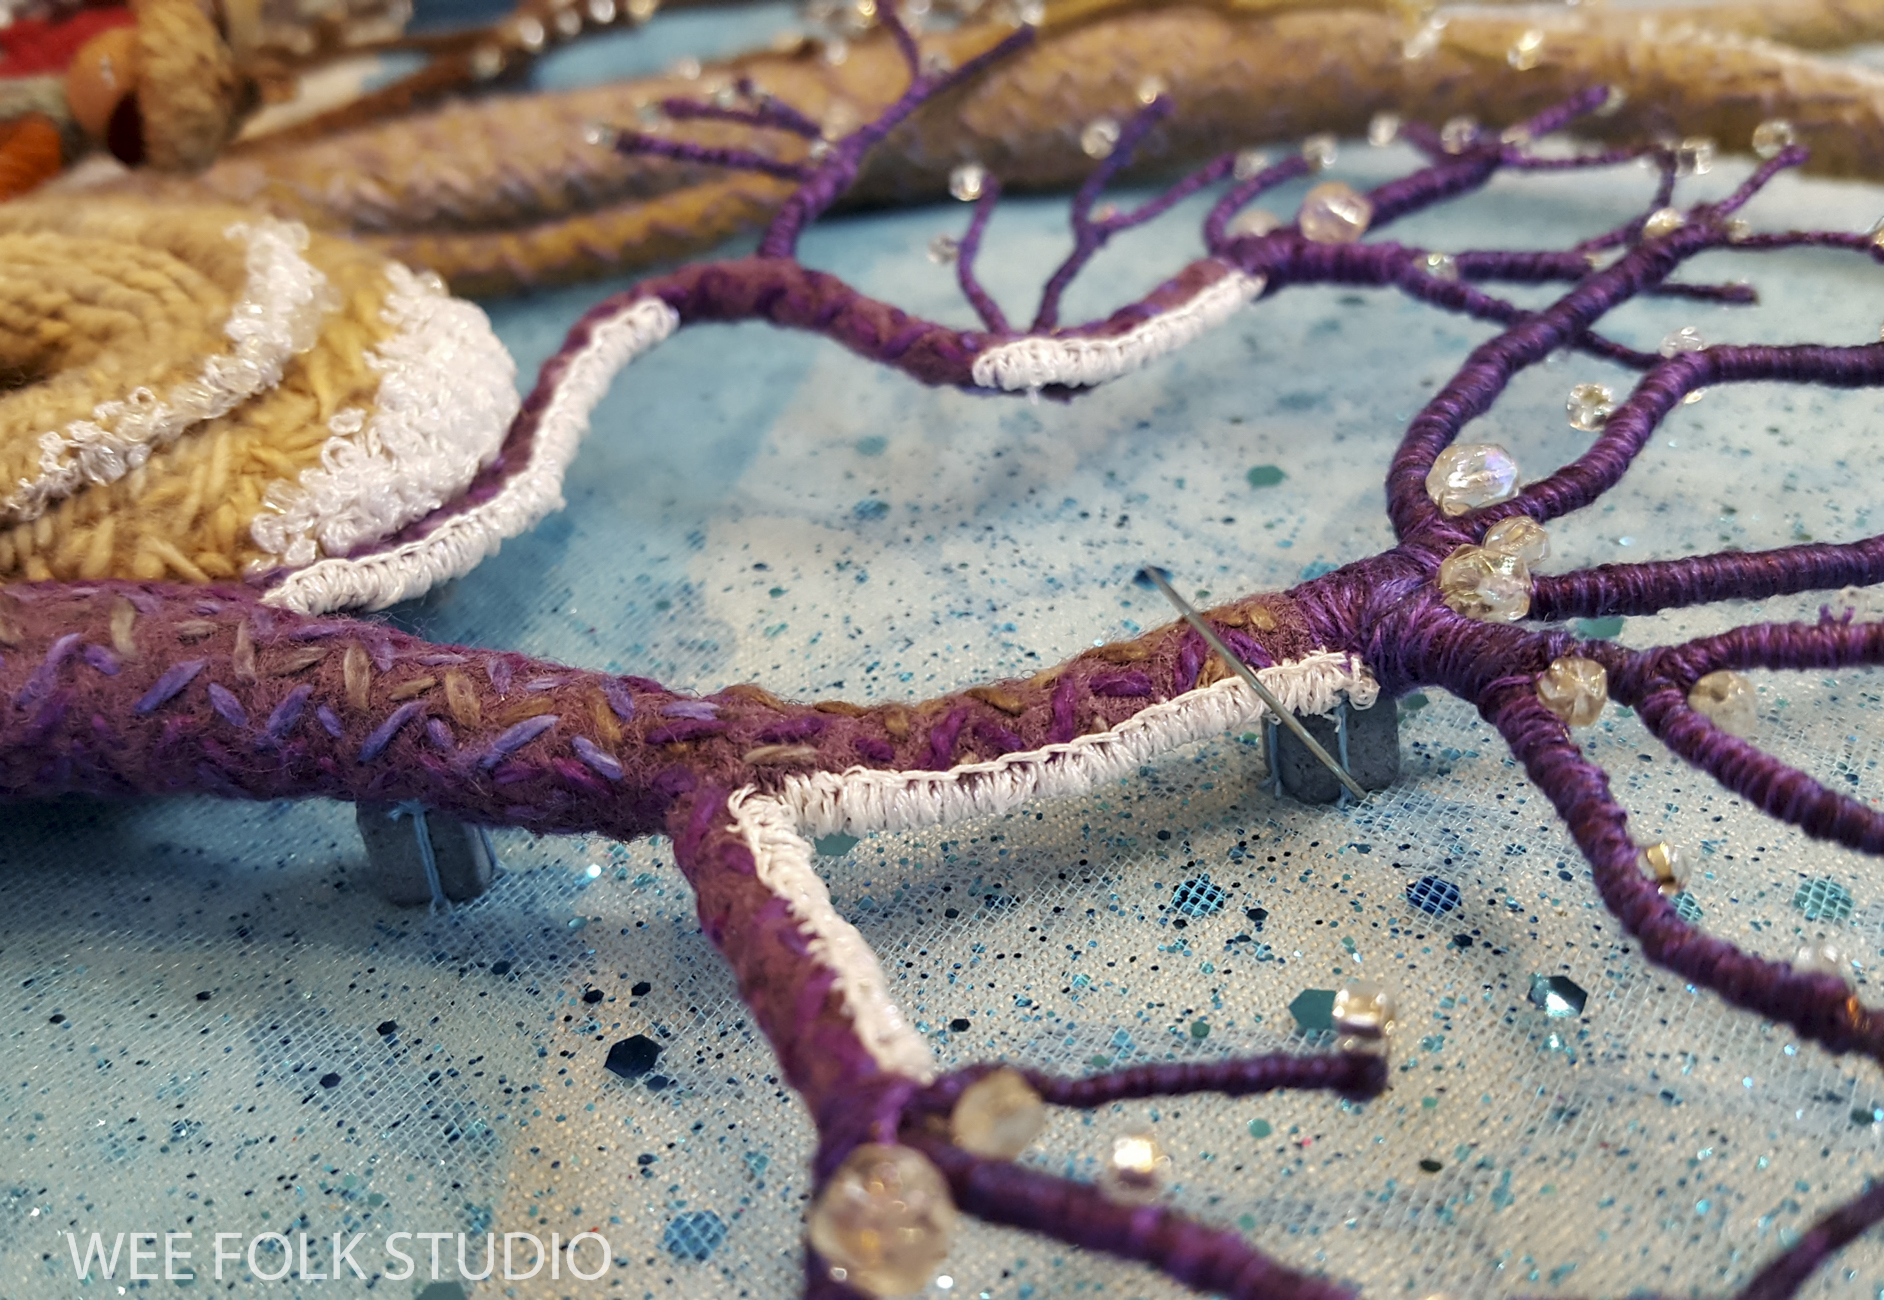
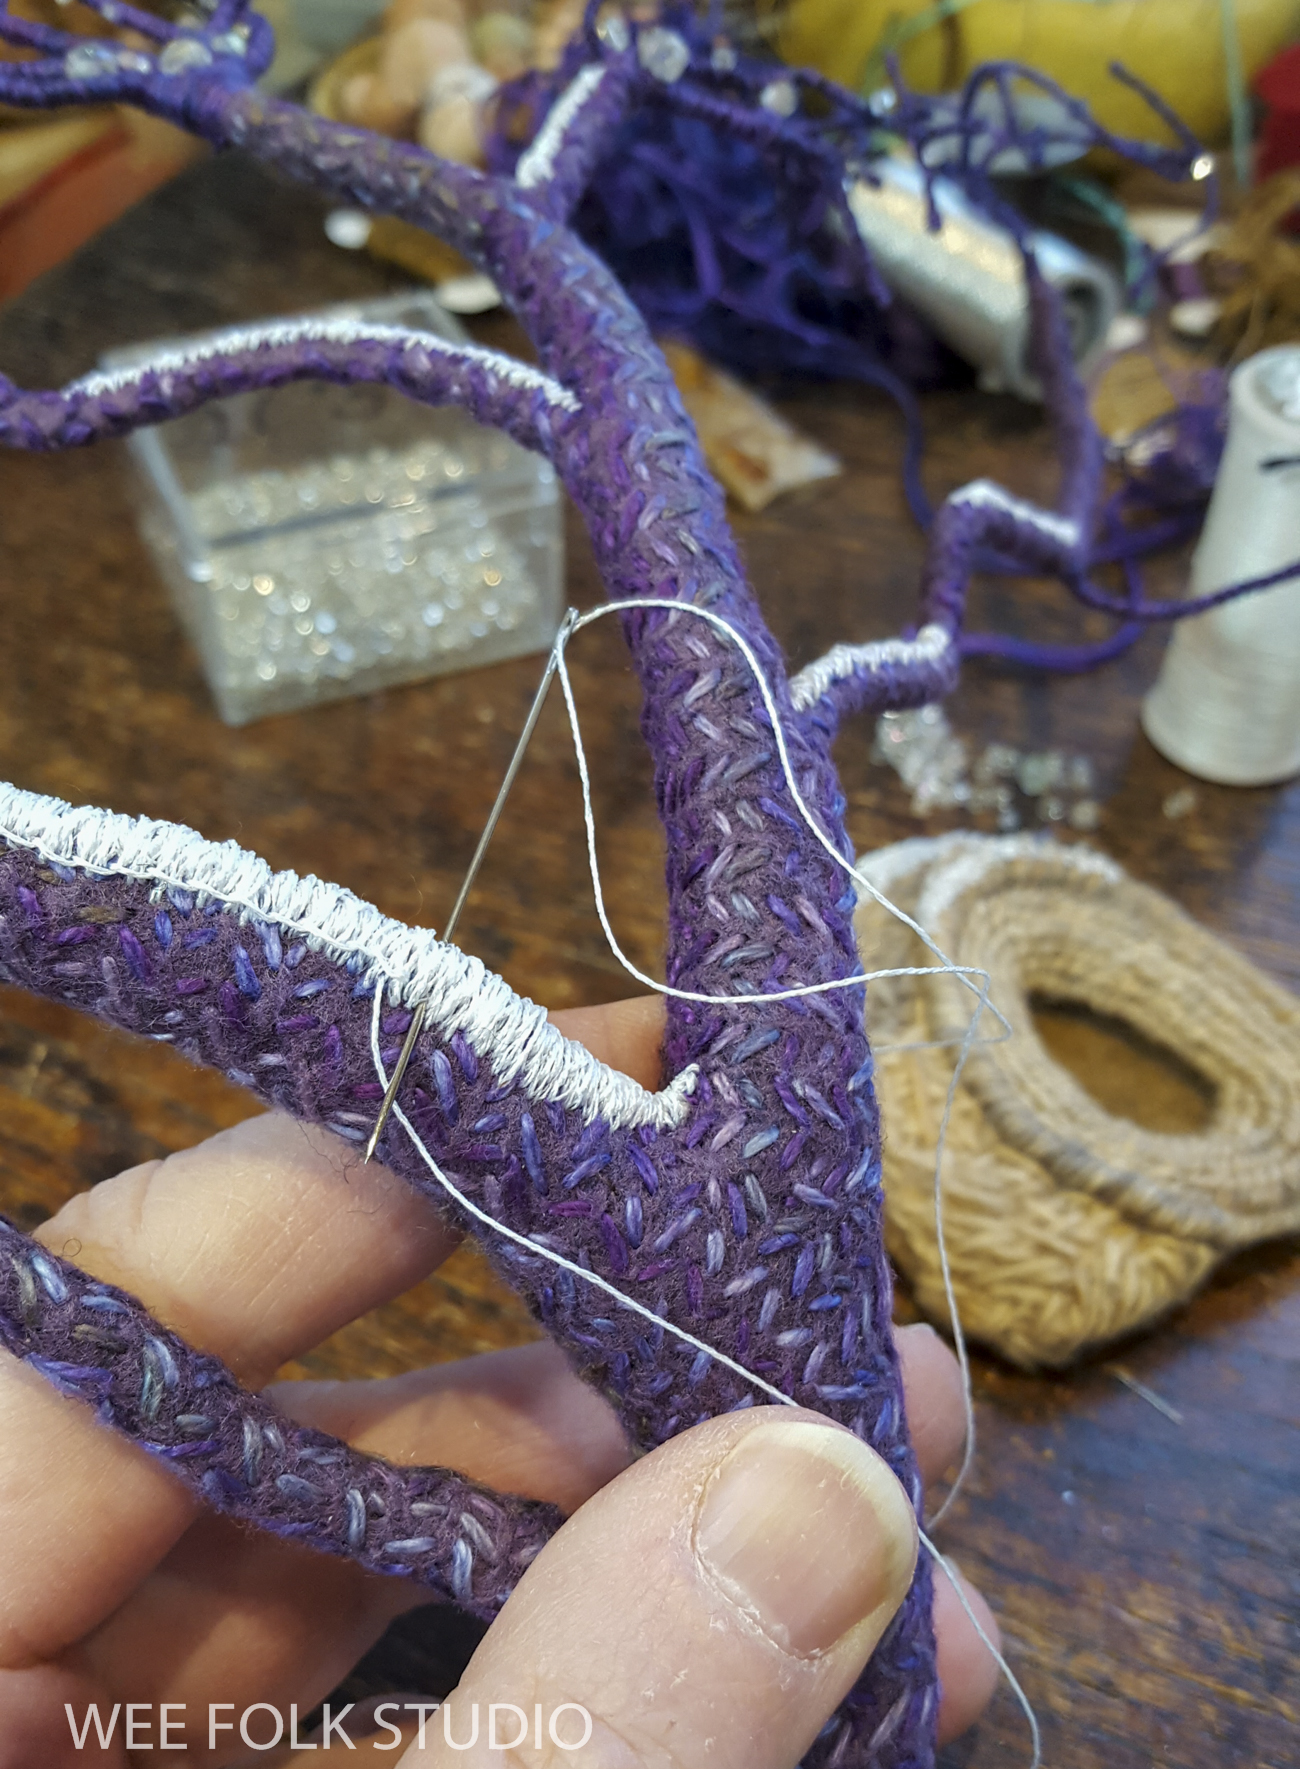
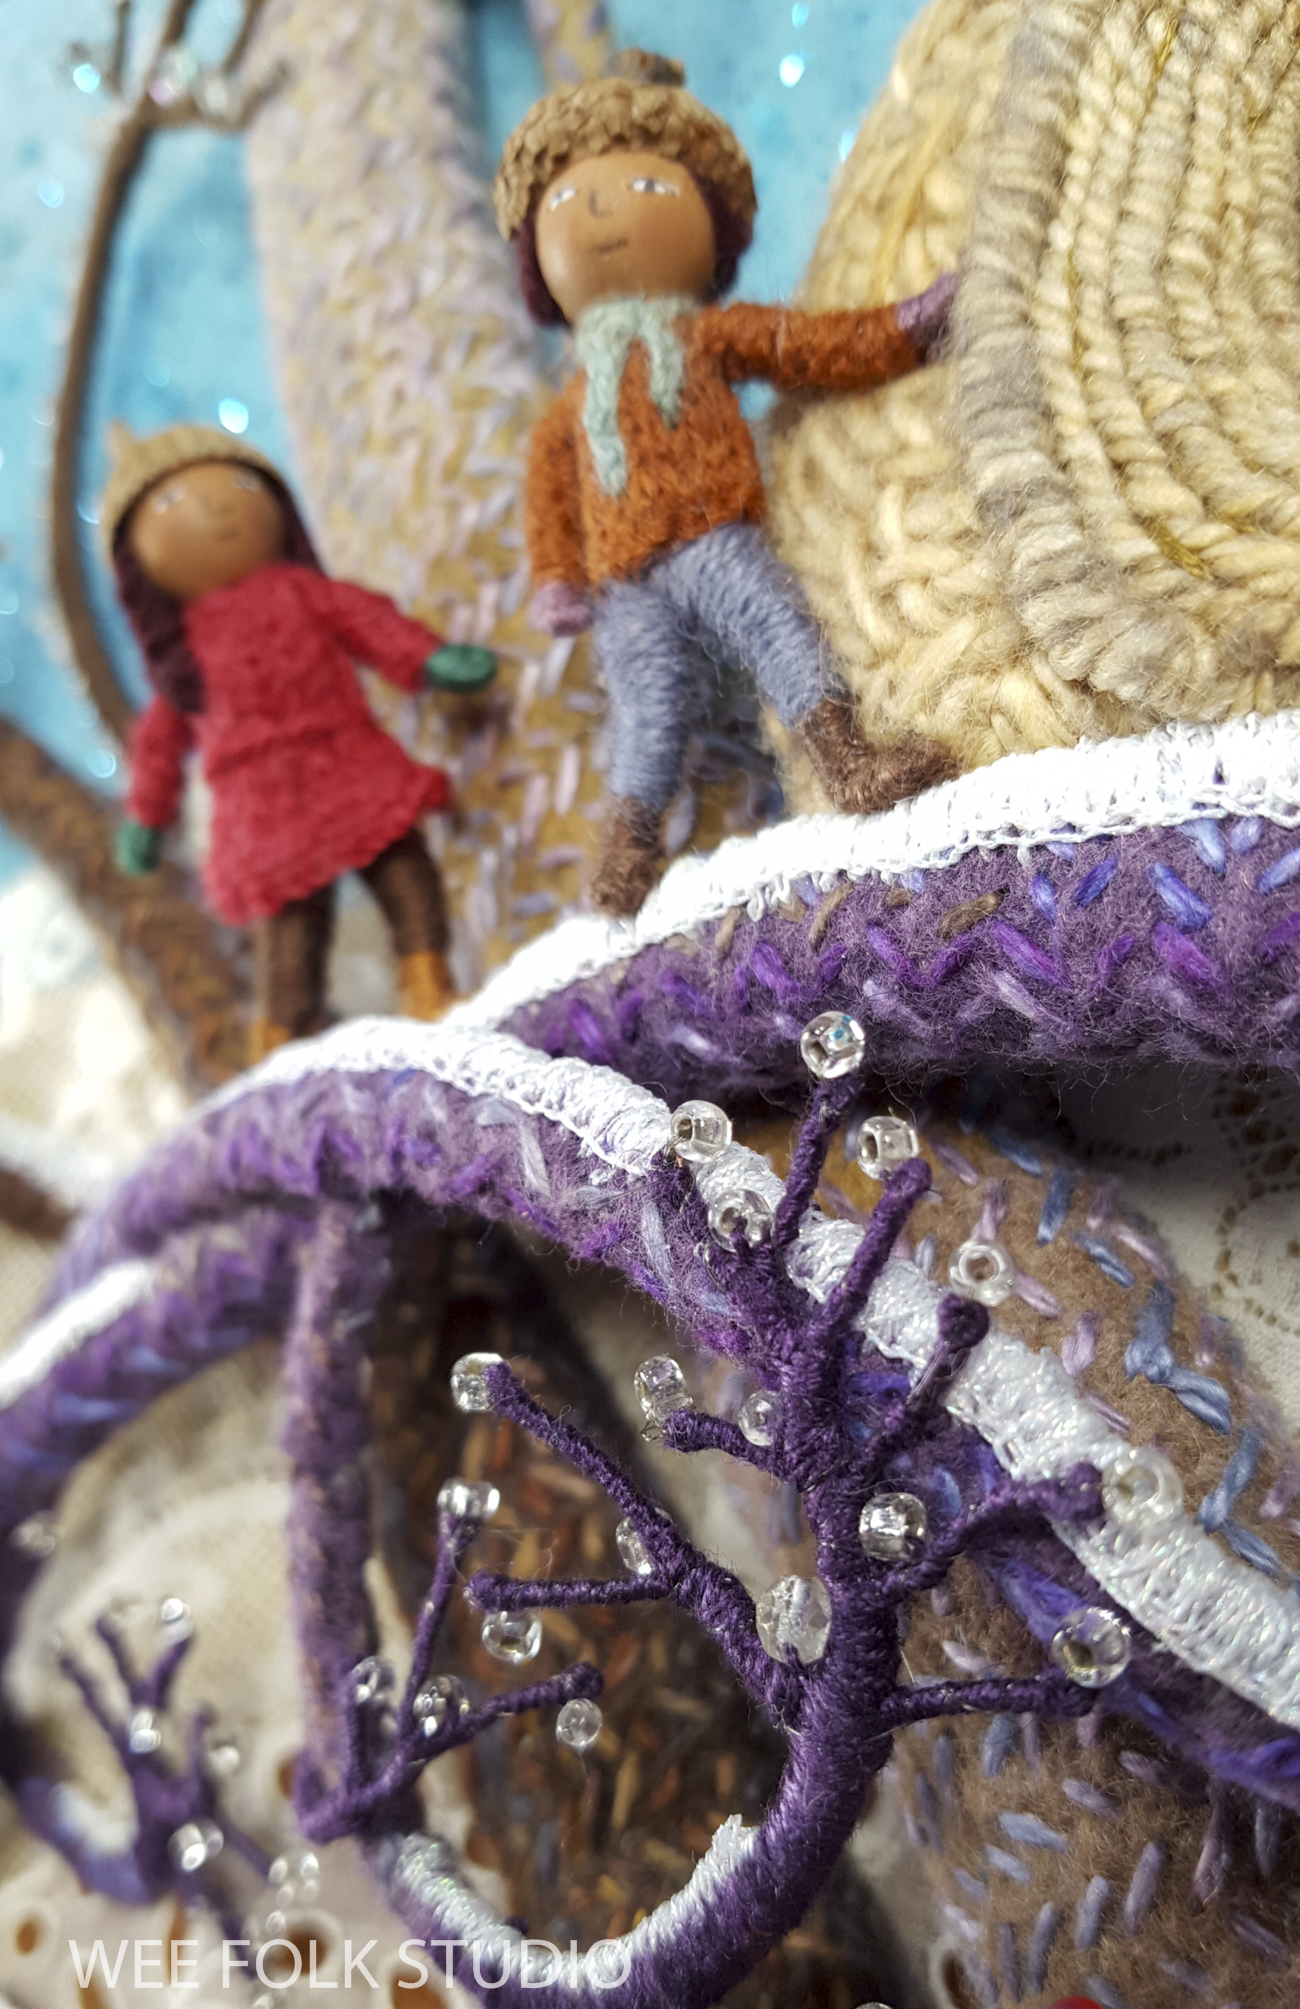
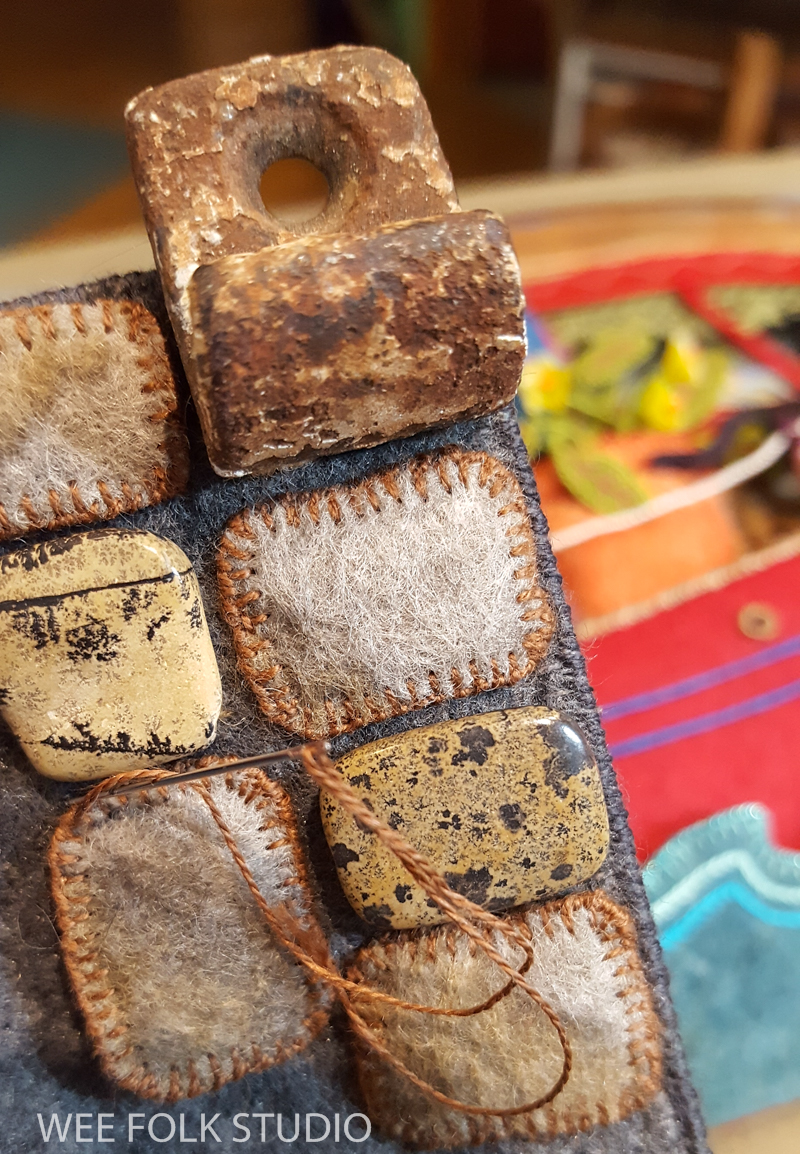
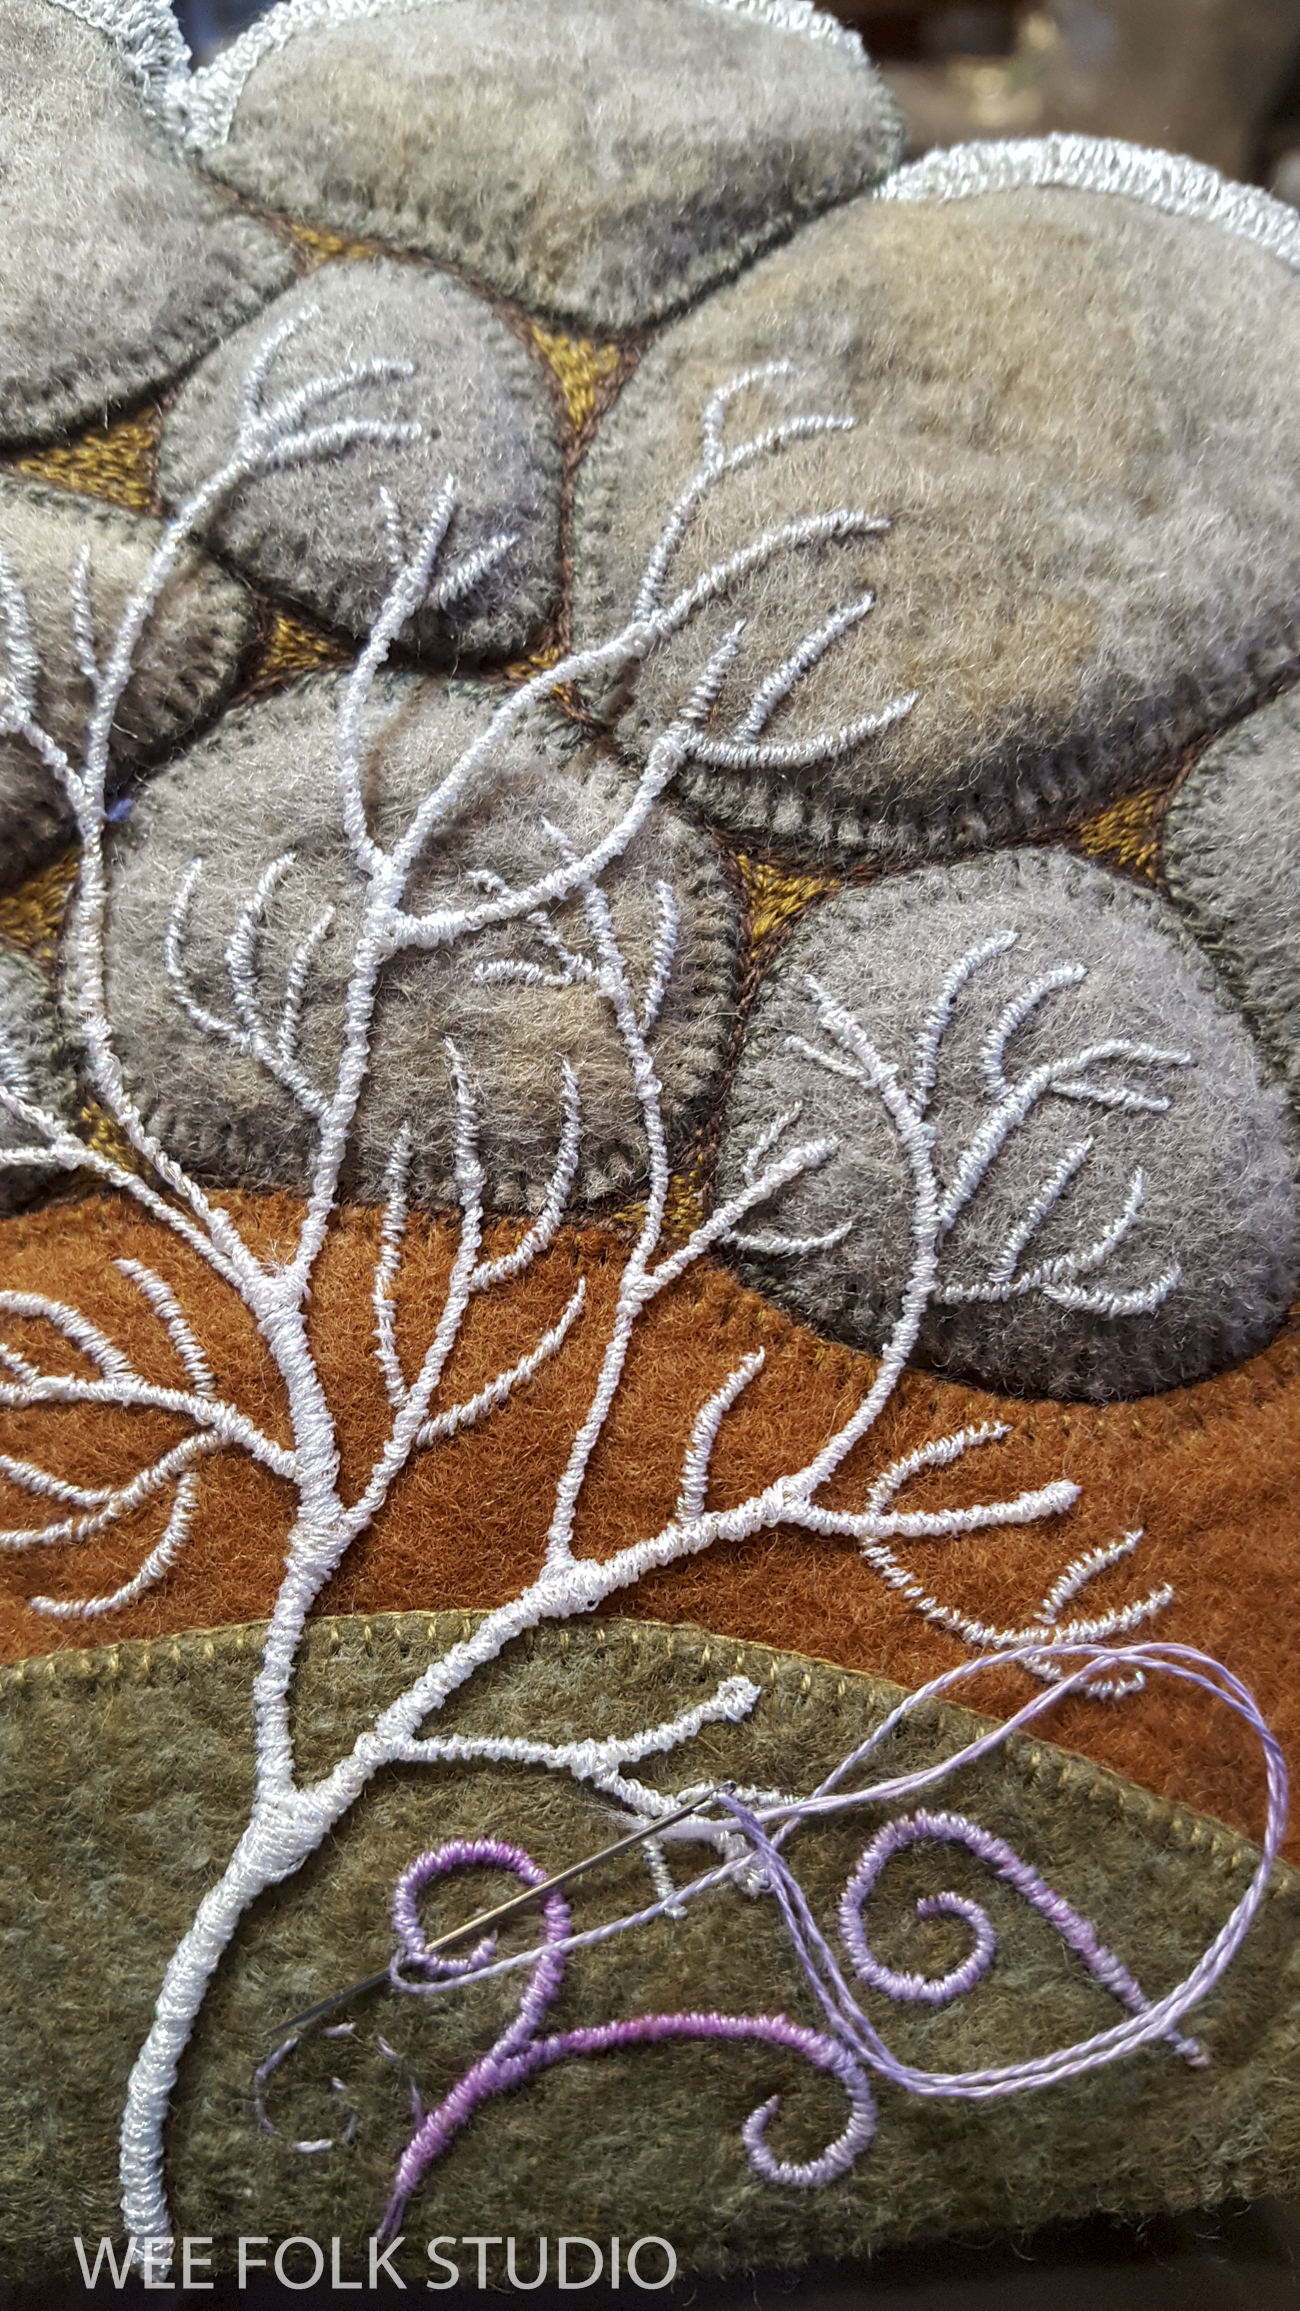
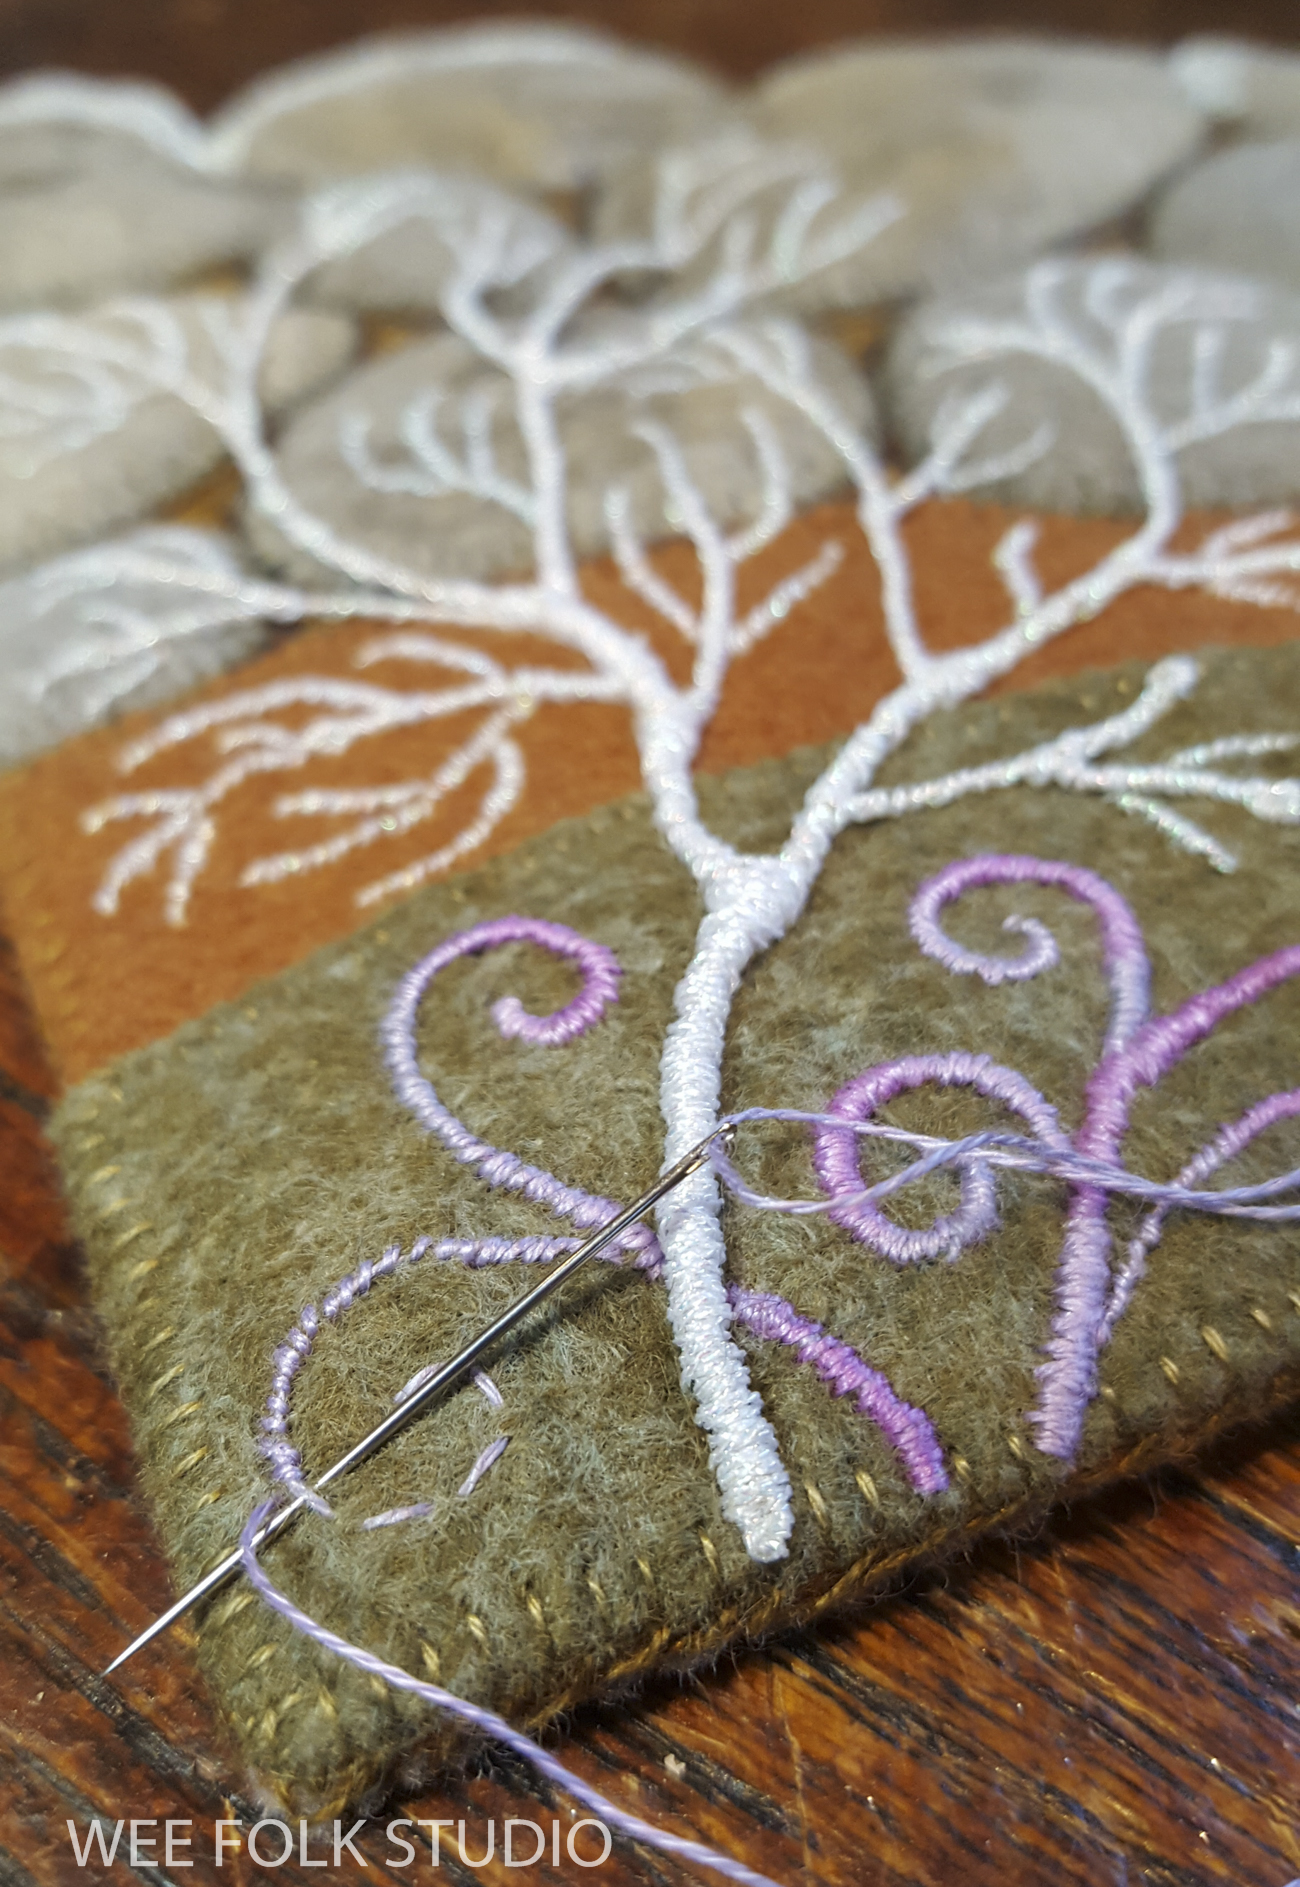
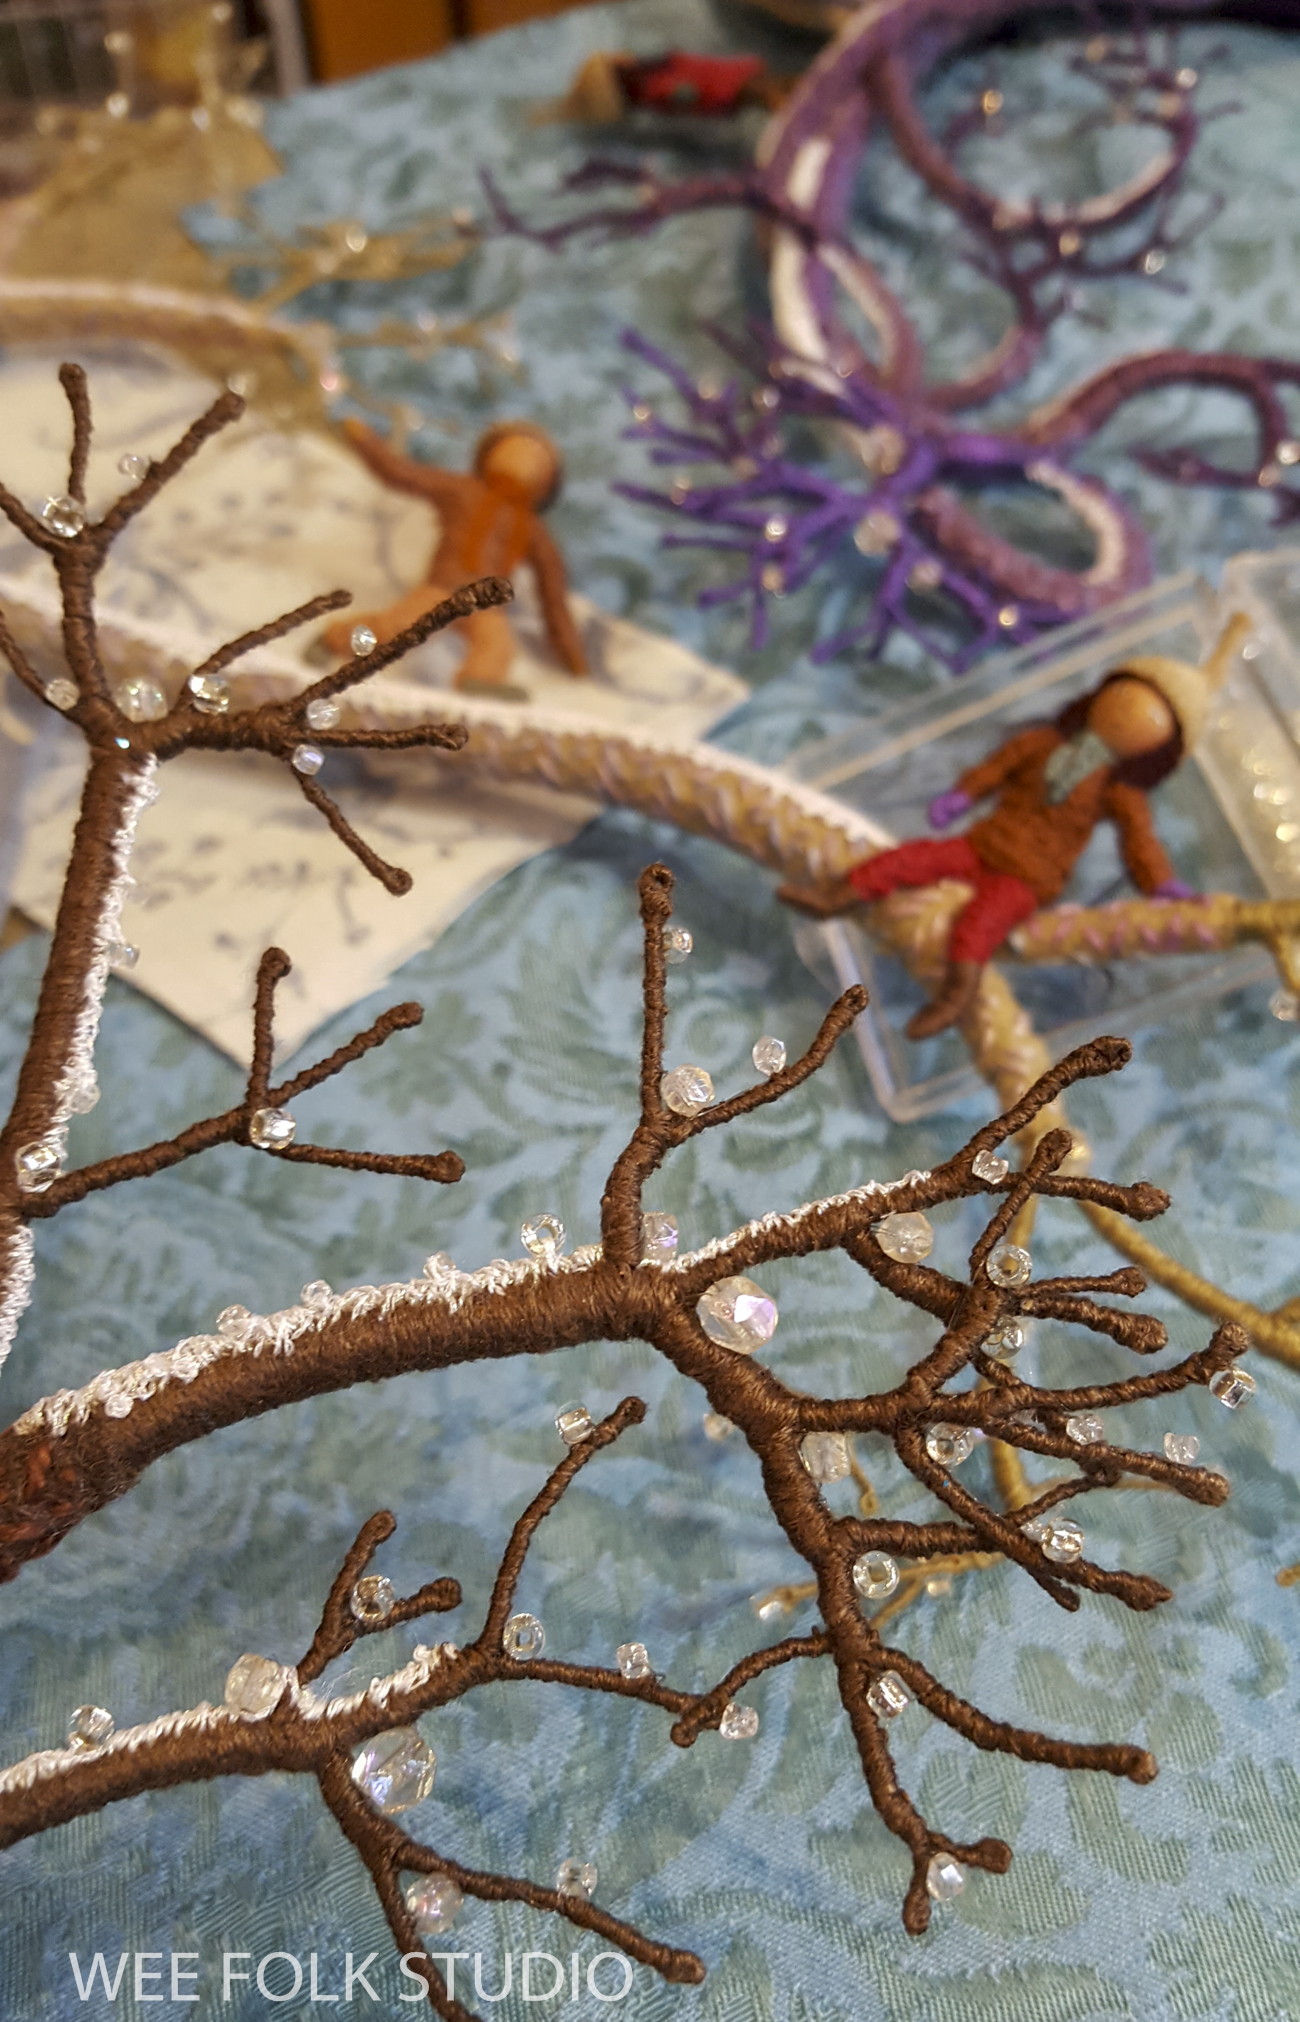
I made branches of wire wrapped with embroidery floss, which I embellished with glass seed beads.
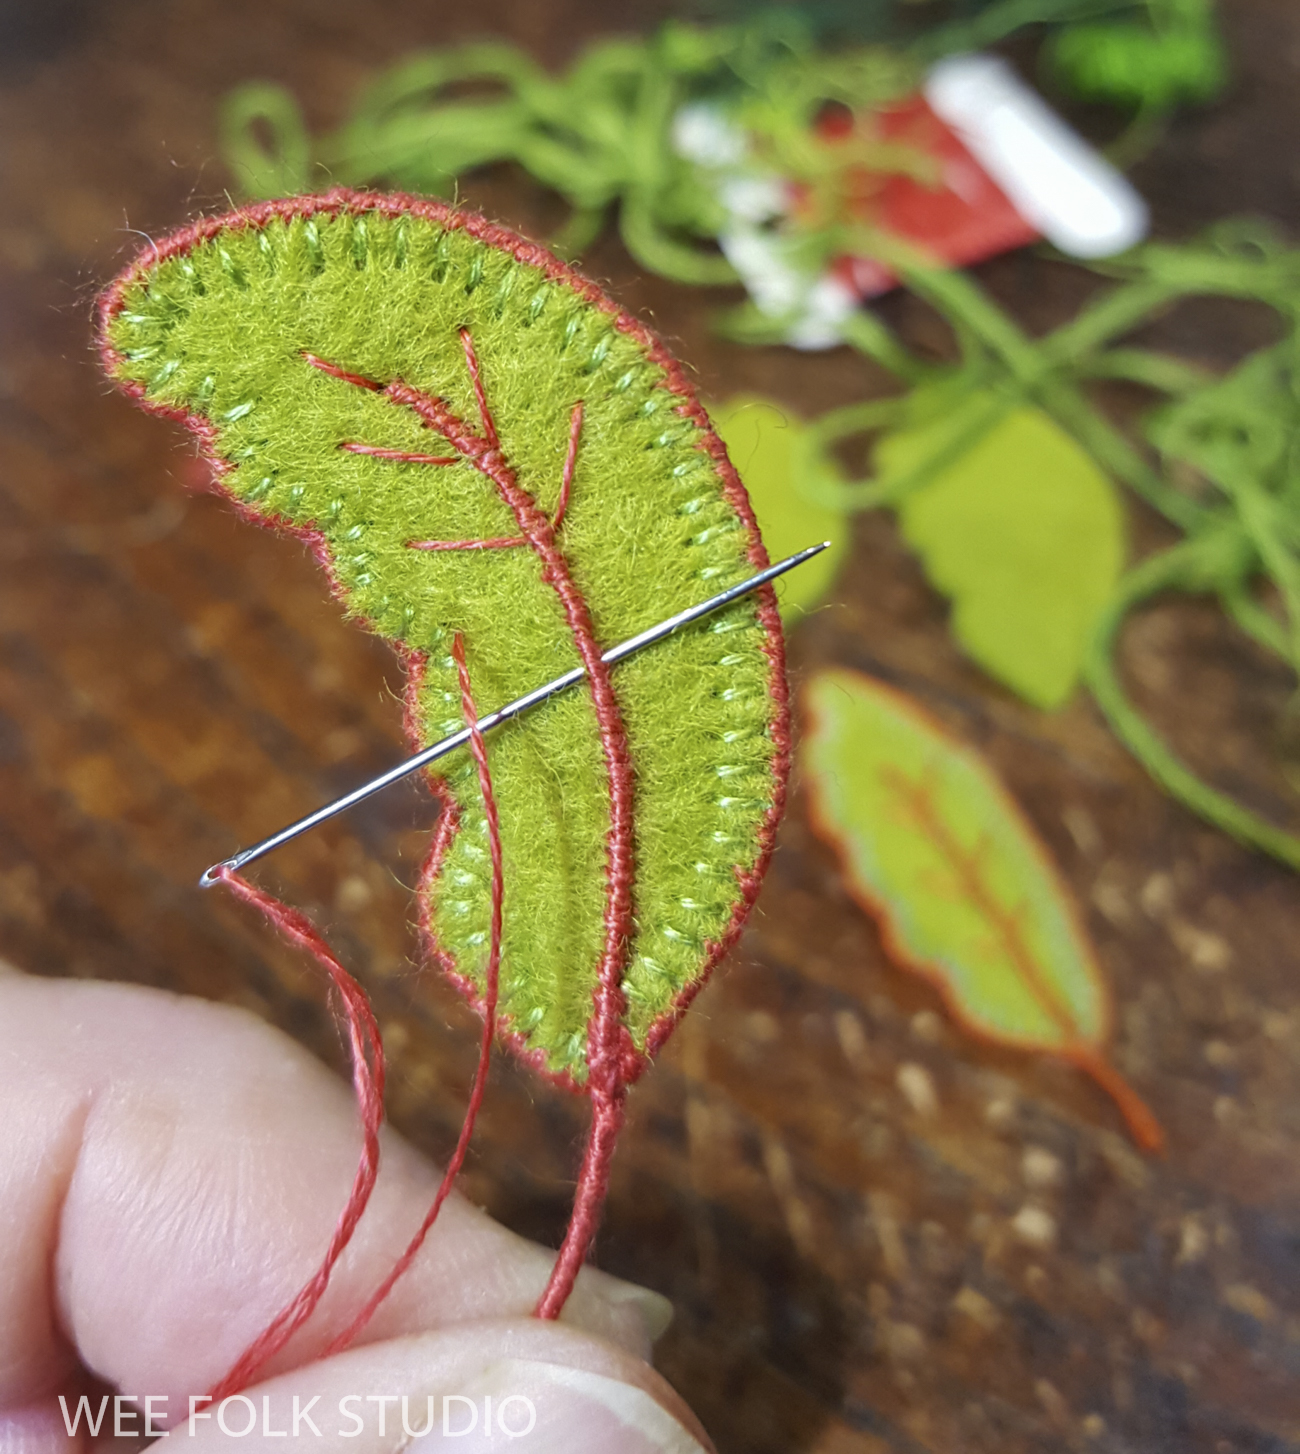
To add more stability to the larger leaves, I made the center vein with wire. All of the wire is covered with thread to hide the shiny metal.

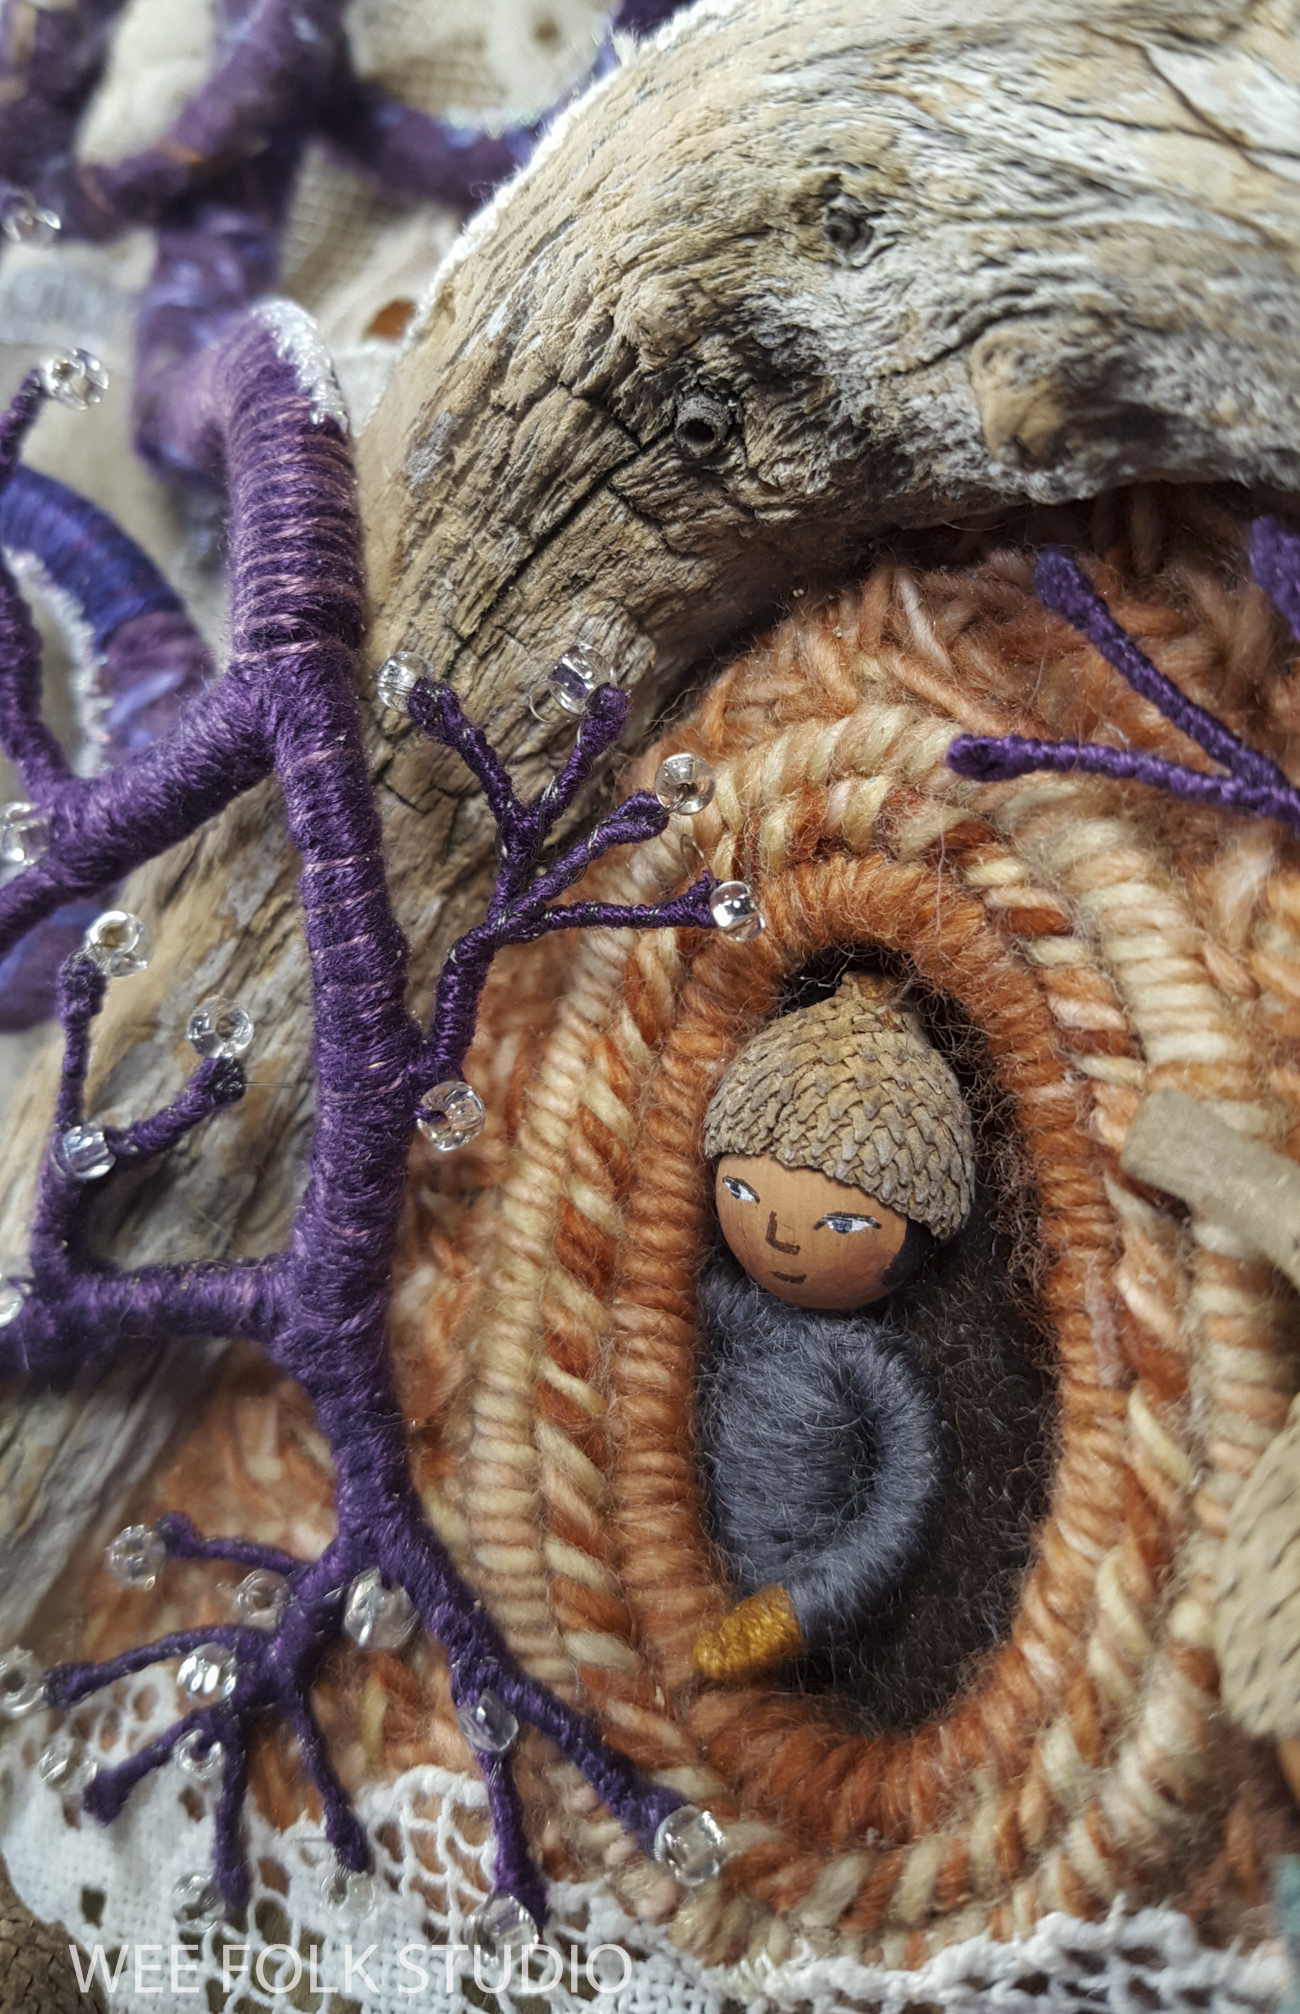
I made long skinny leaves to go around the pond.
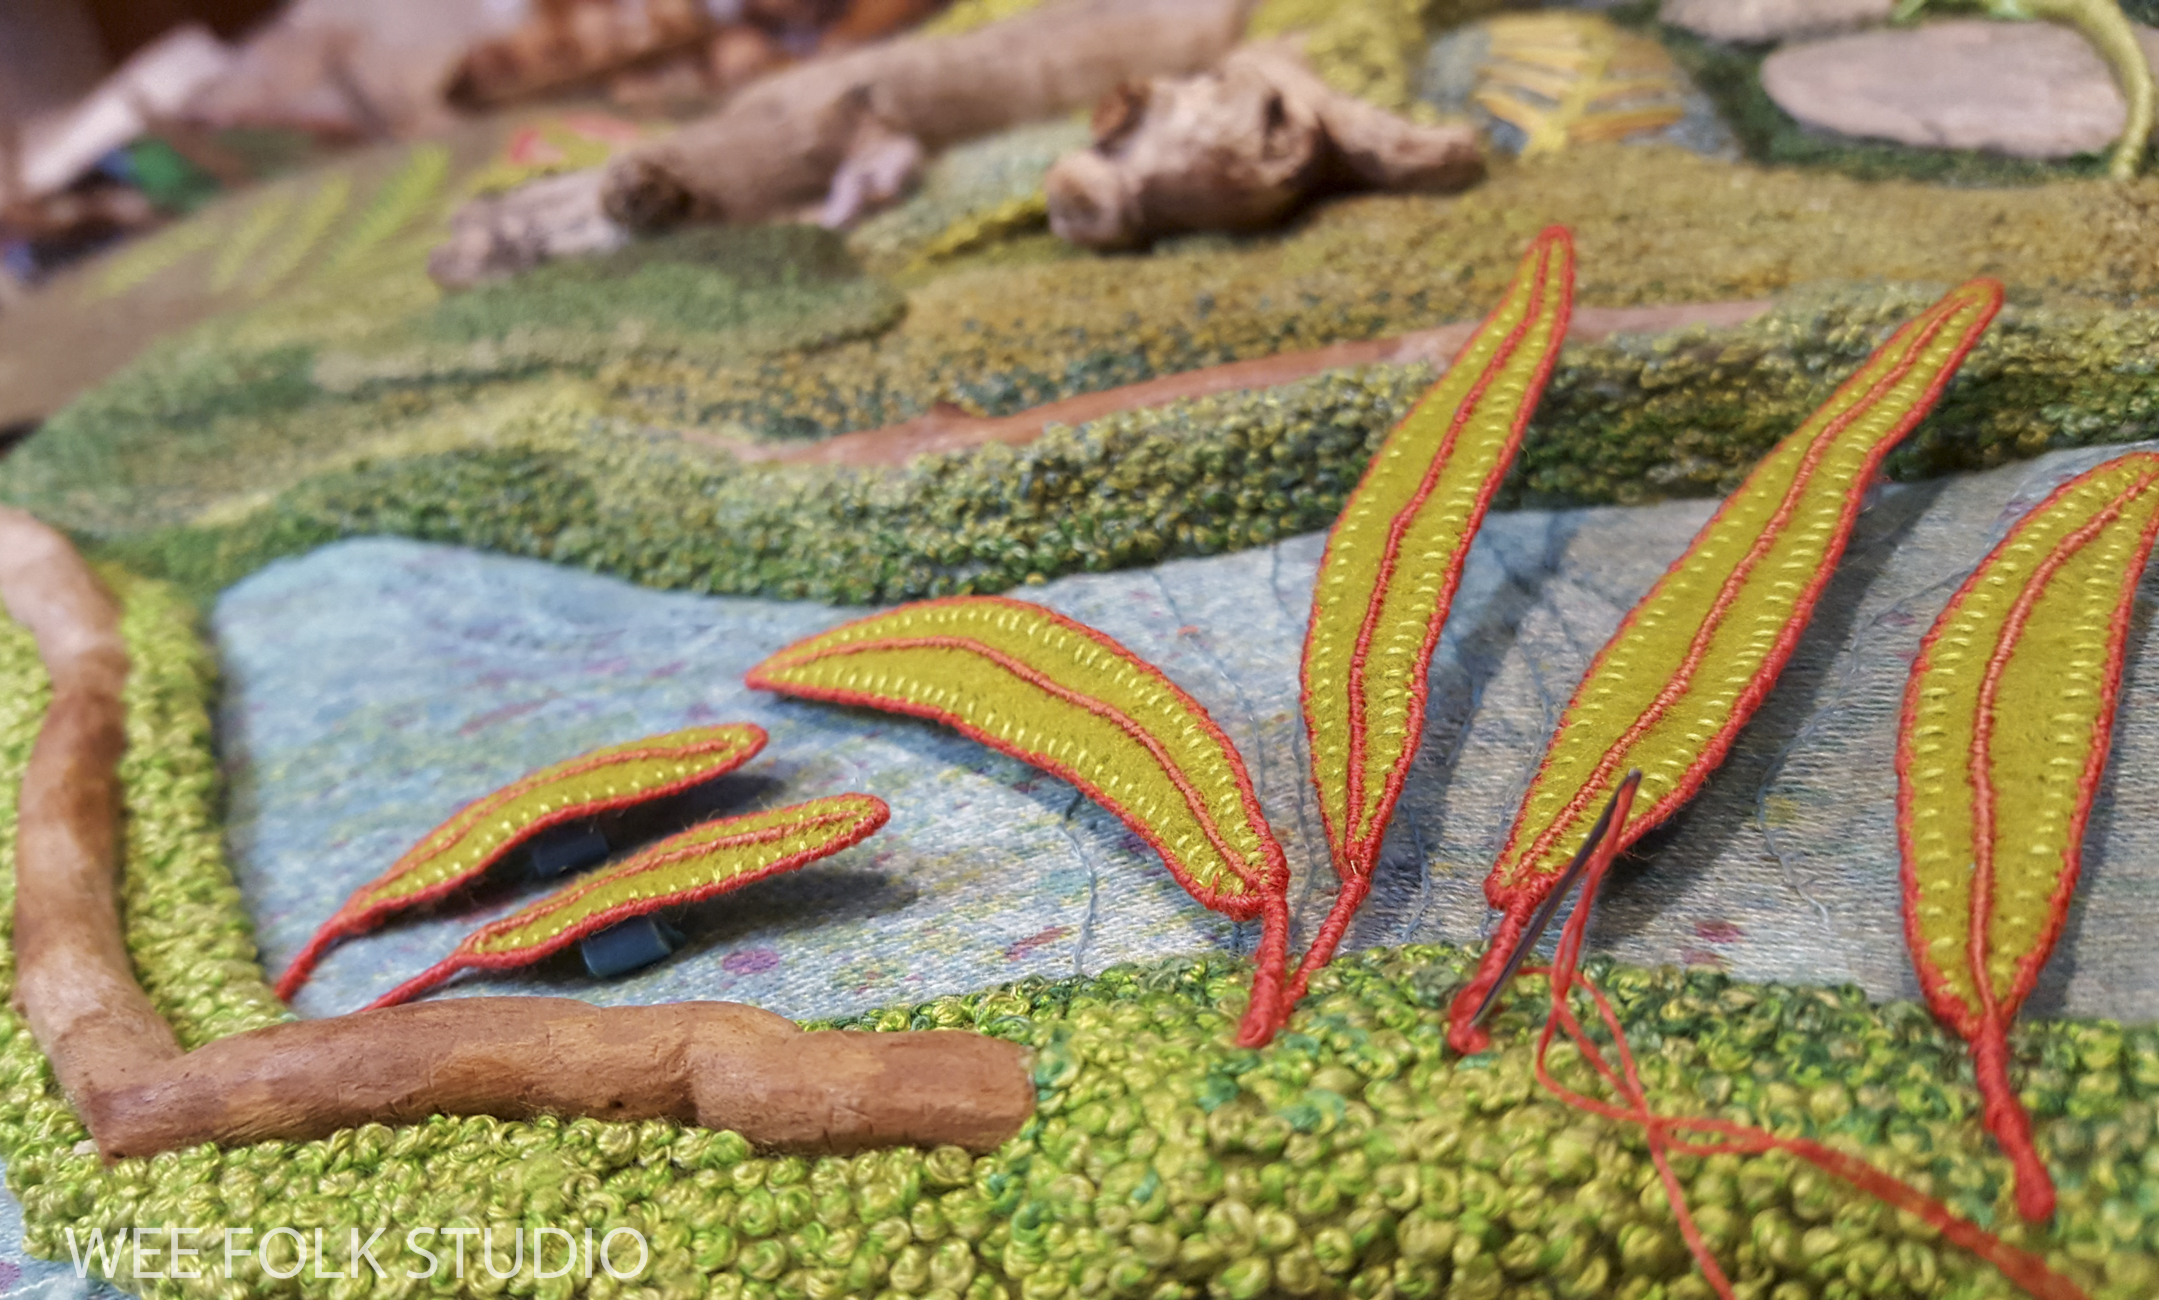
Even though the leaves had wire all around the outside edges and along the center veins, they weren’t rigid enough to keep them airborne and separate from the background pond fabric. So, I sewed blue tube beads to the undersides of the leaves, giving them the needed lift. Then, I sewed the beads to the pond fabric.


I also made bushes with felt leaves, wire branches and bead berries.
You can see the process of making the bush is this Stitch Minute Video.
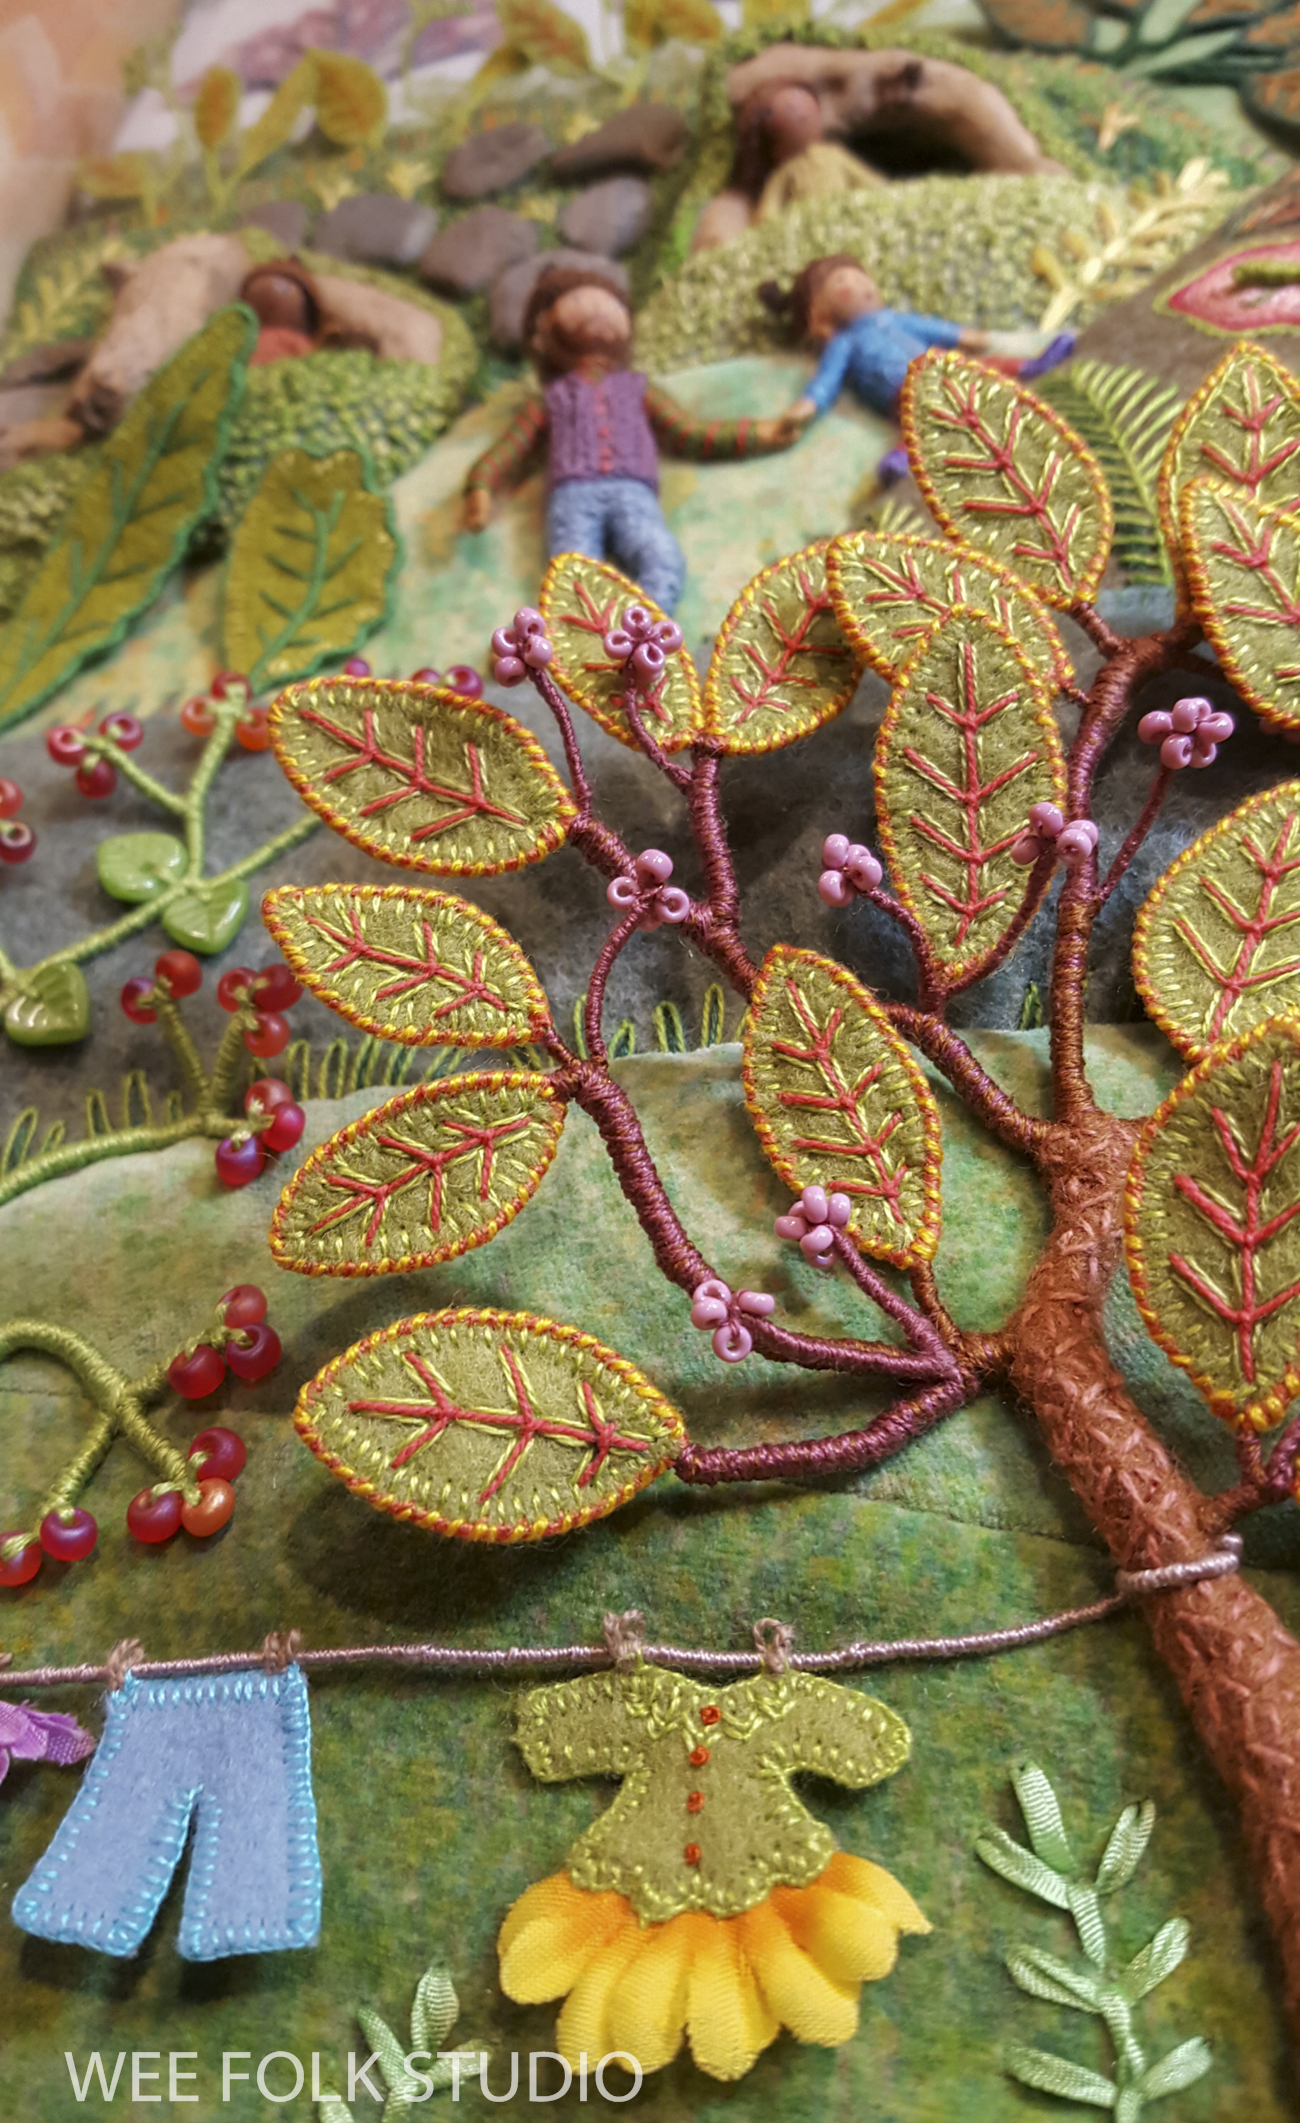
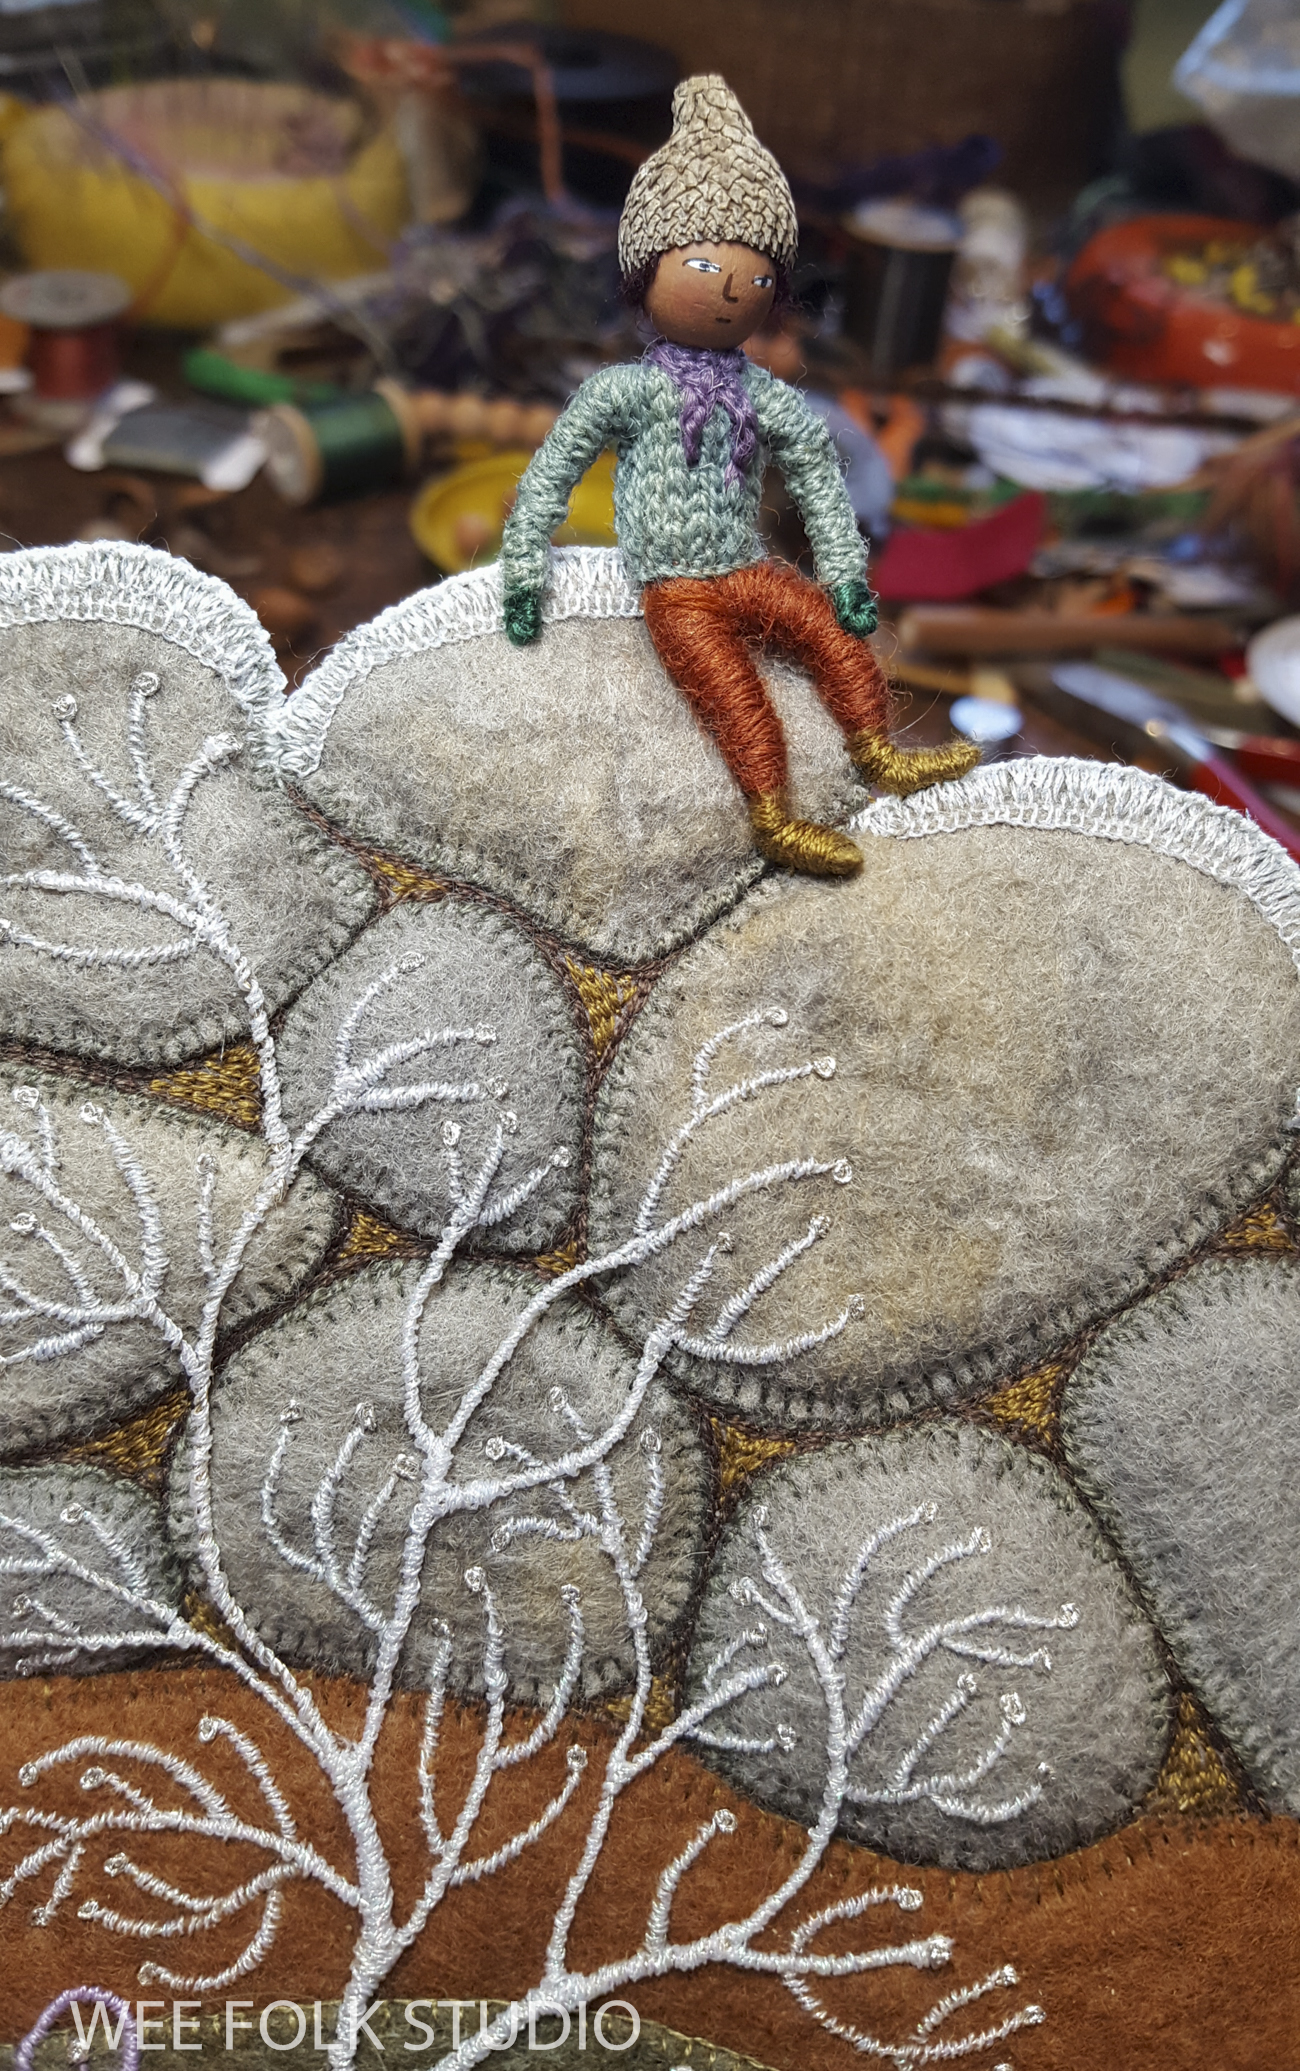
This bush was one of the last parts I made for the scene and when it was finished, I eagerly sewed it in place. But every time I looked at the completed piece, I felt that something was off with the color and contrast of the bush. It blended in with the background and didn’t stand out enough. So, I did what I’ve done many other times when I’m not satisfied with how something looks, I snipped the thread holding the bush in place and figured out how to improve it.
In this case, I brightened the leaf edges with yellow thread, which created a vibrant striped effect. I also outlined the leaf veins with light green to heighten the contrast. It was fussy work because the threads kept getting caught on the branches and beads. But, in the end I was happy with the results, which is all that mattered.
Stay tuned for more posts about making Mossy Glen. Other parts in the series will focus on other plants, embroidered embellishments and the wee folk characters.
Mossy Glen (overview)
Part 1 (moss)
Part 2 (cherry trees)
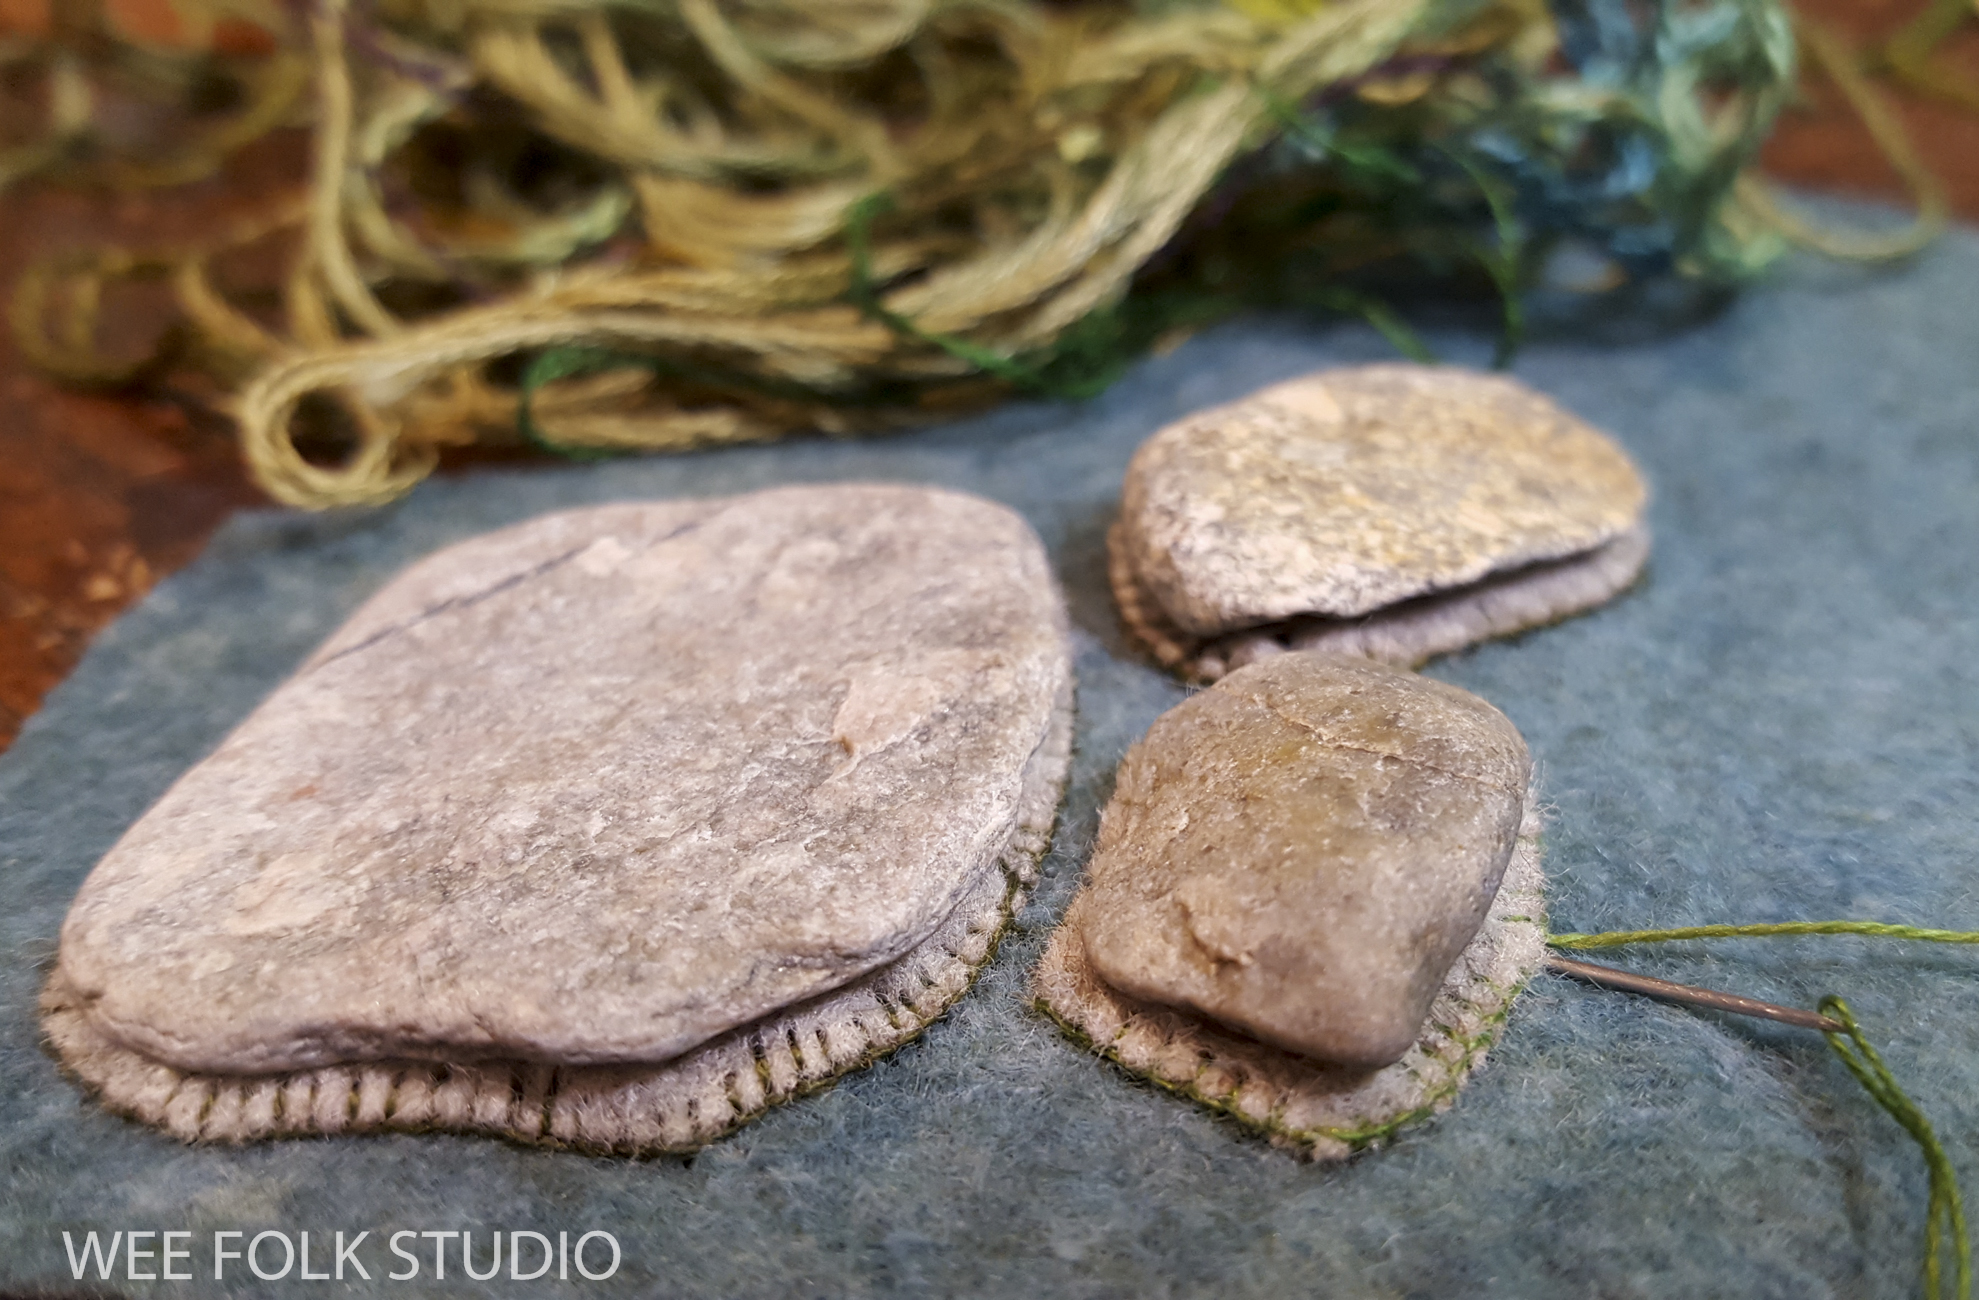
Part 3 (stone walls)
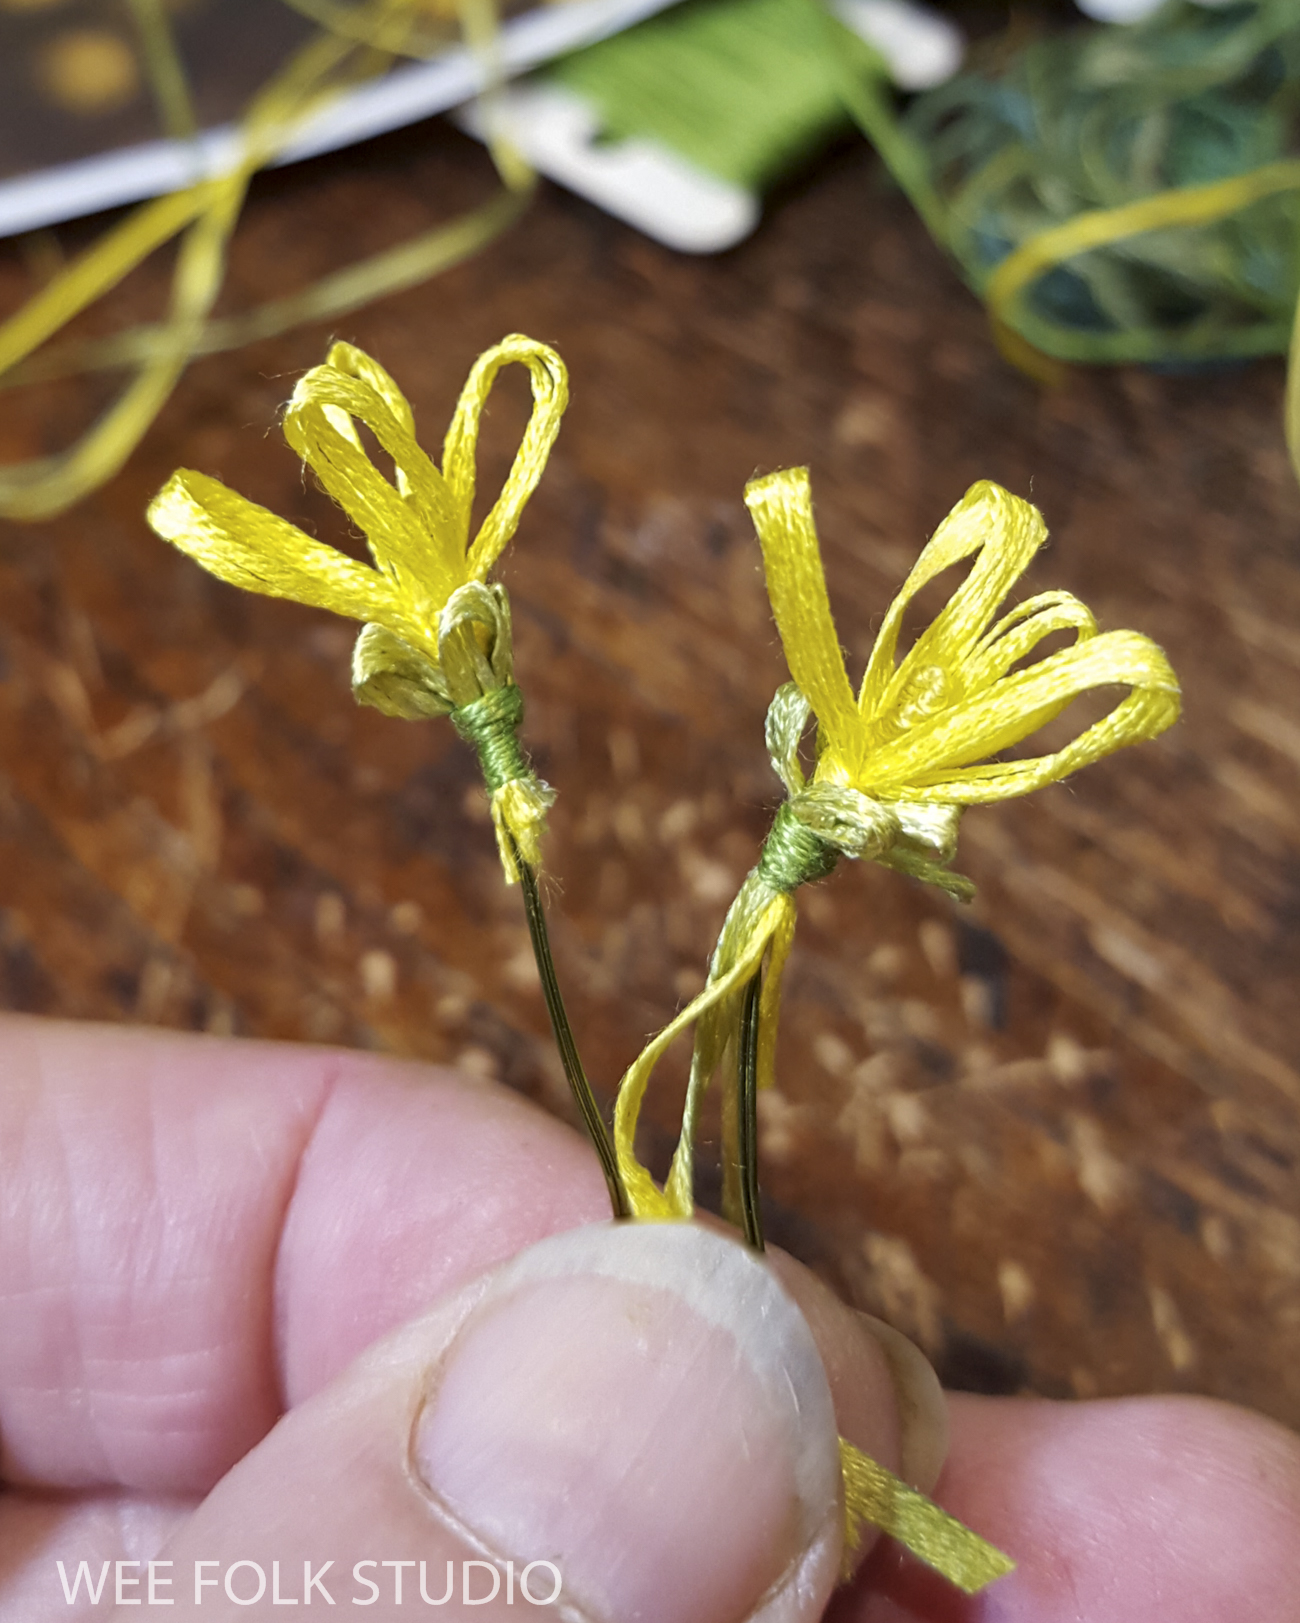
Part 4 (forsythia)
To keep up with new posts, please subscribe to this blog. Your contact info will not be sold or shared. If you’d like to see more frequent photos tracking the projects in my studio, please follow me on Facebook and/or Instagram.


