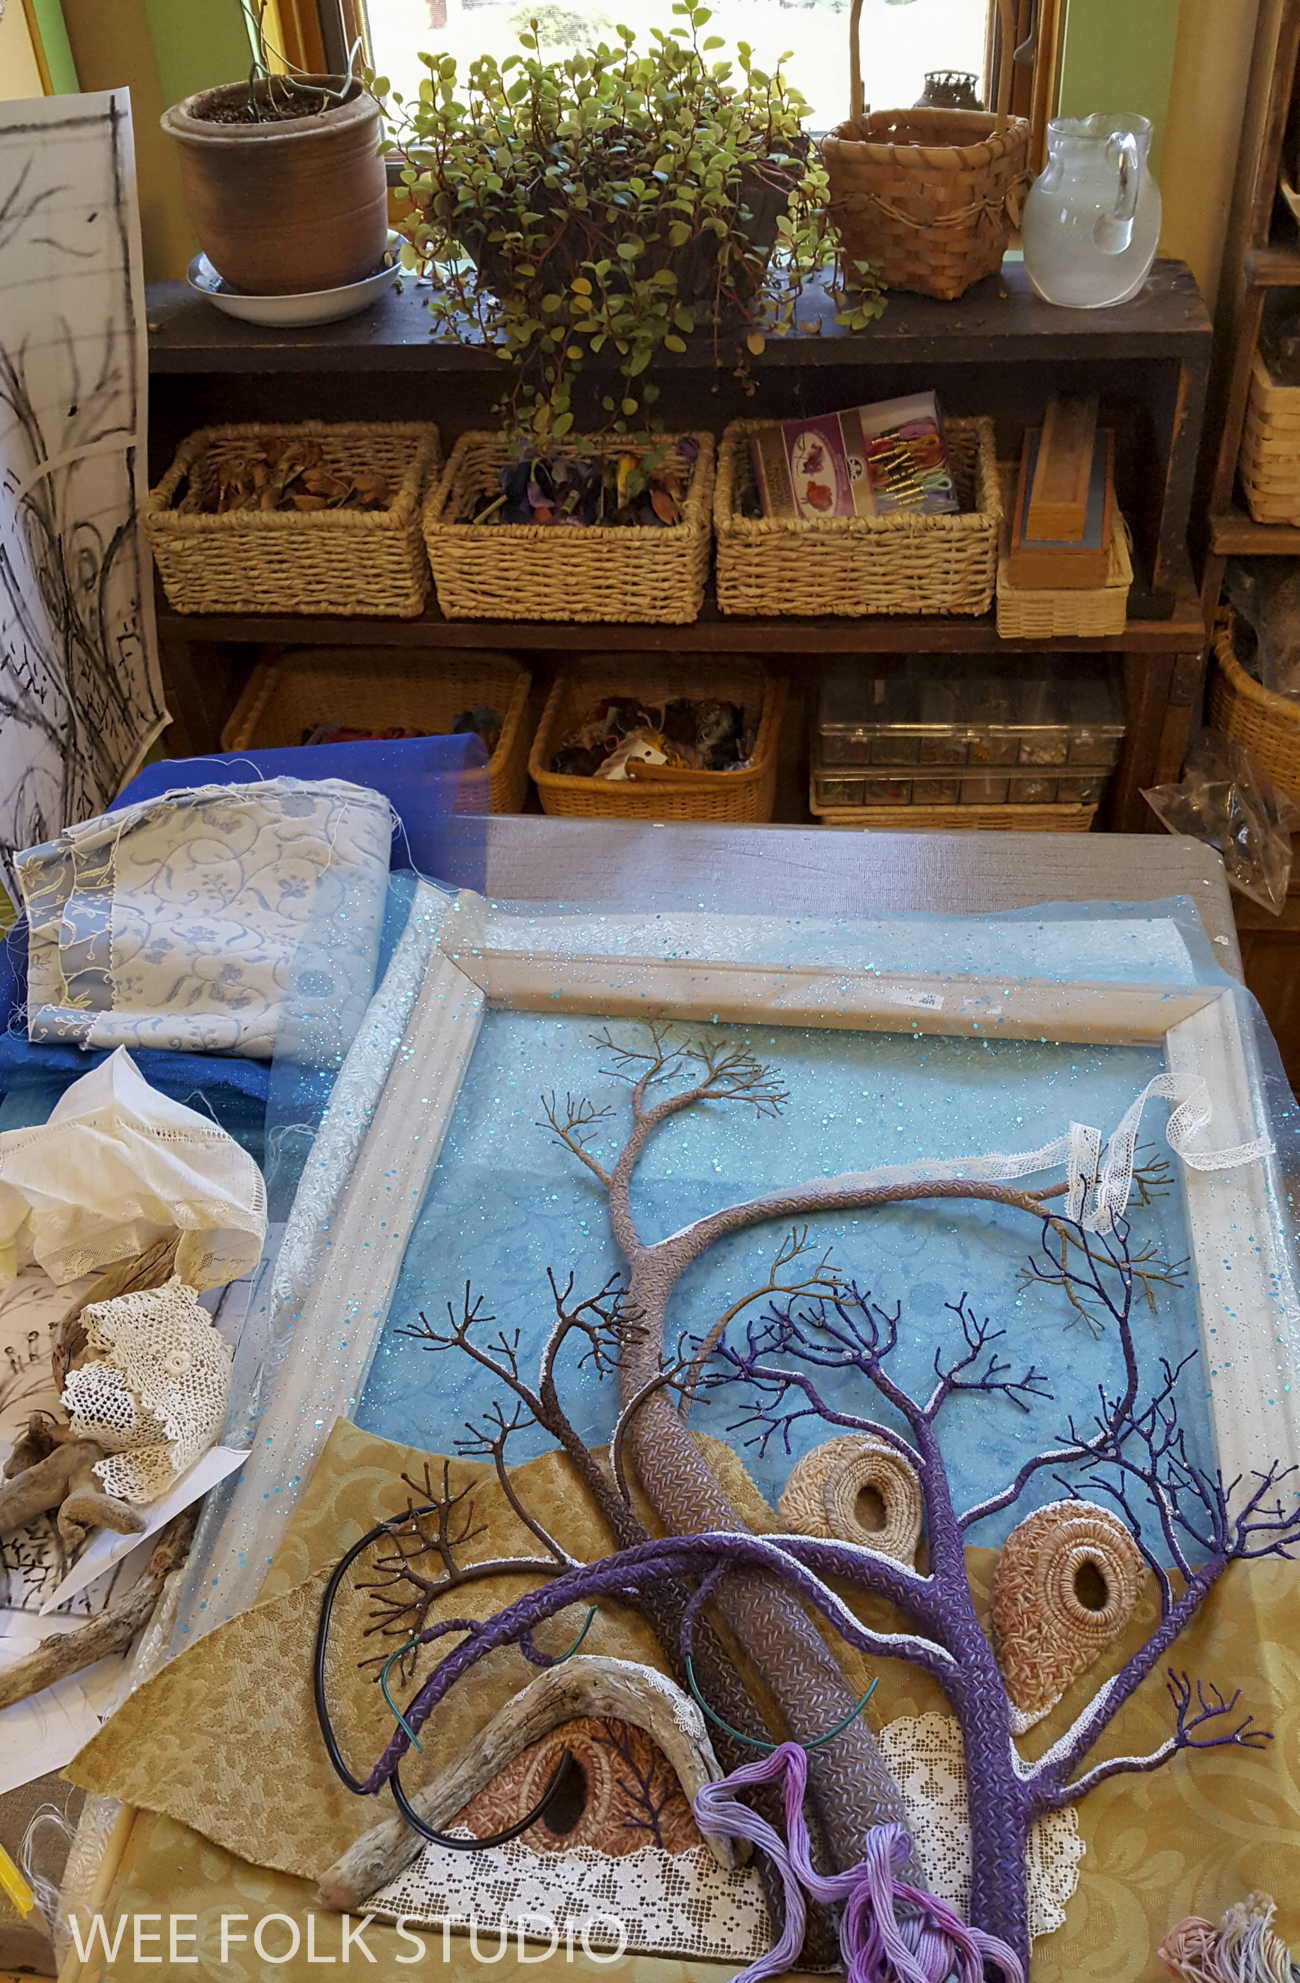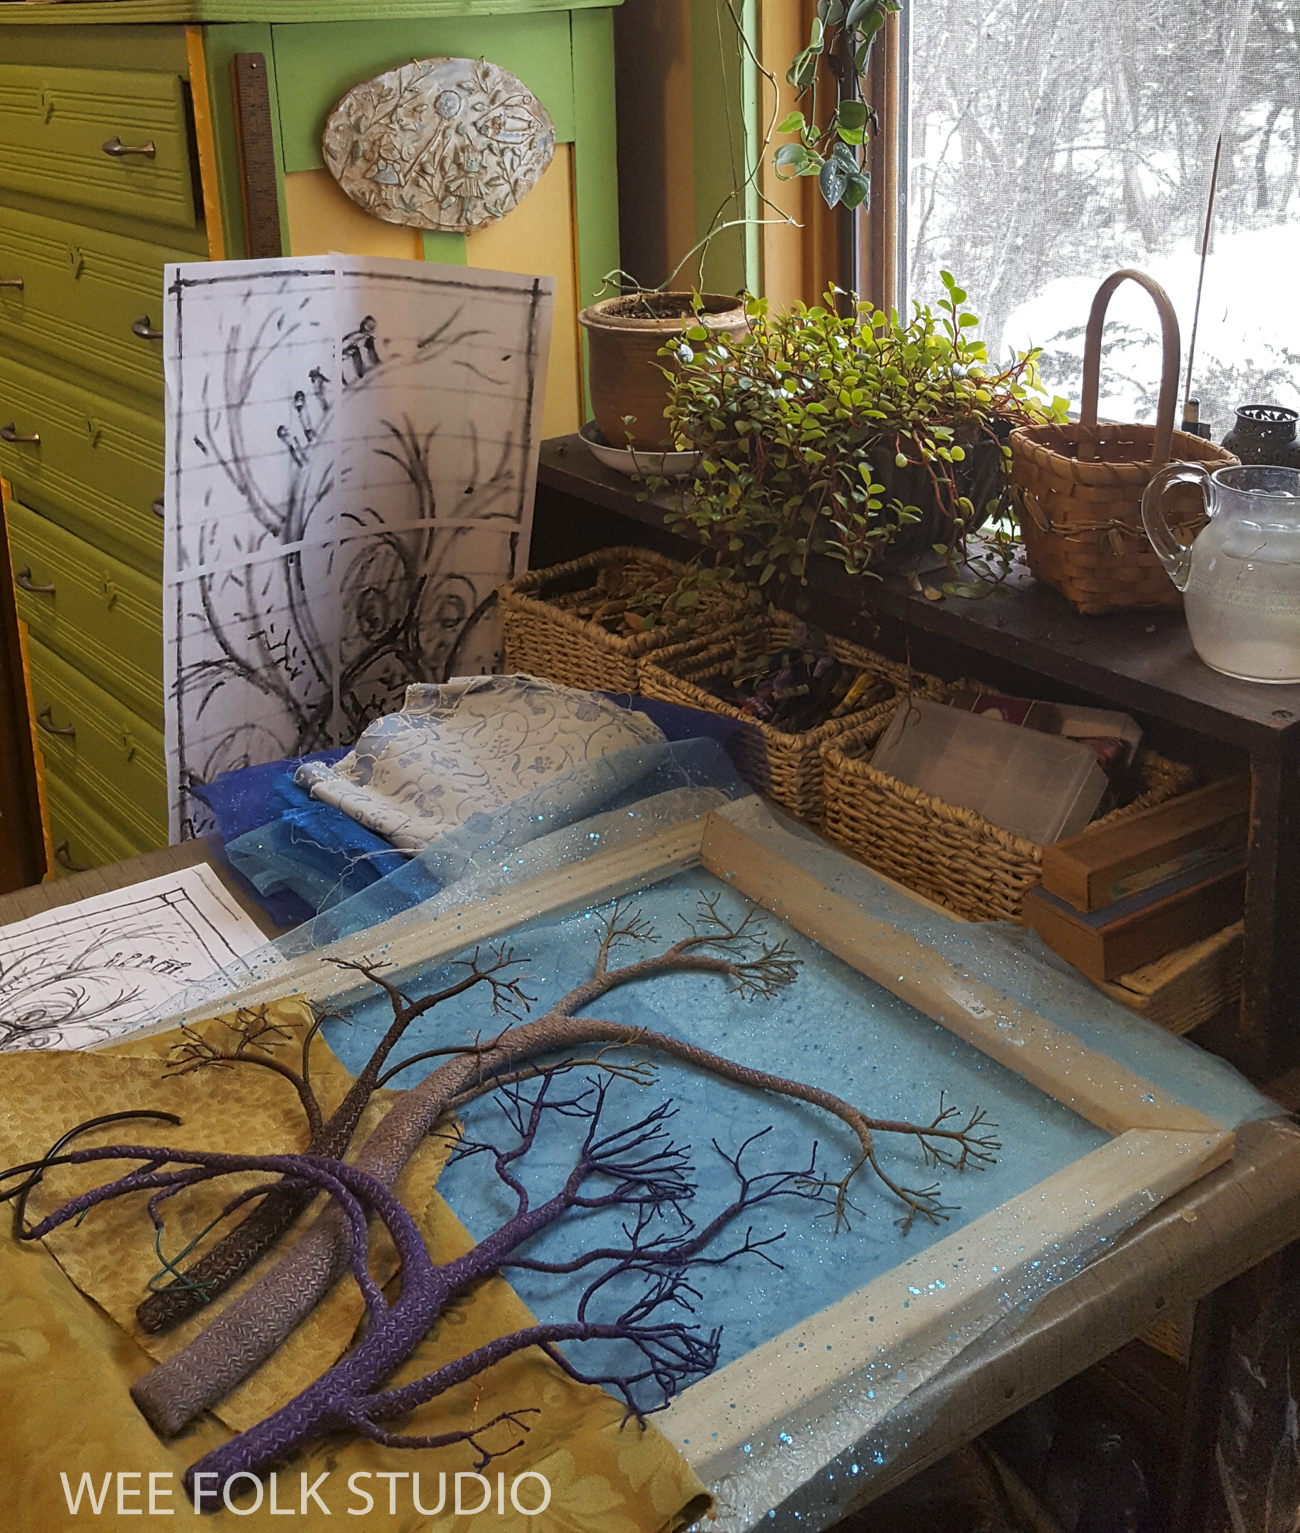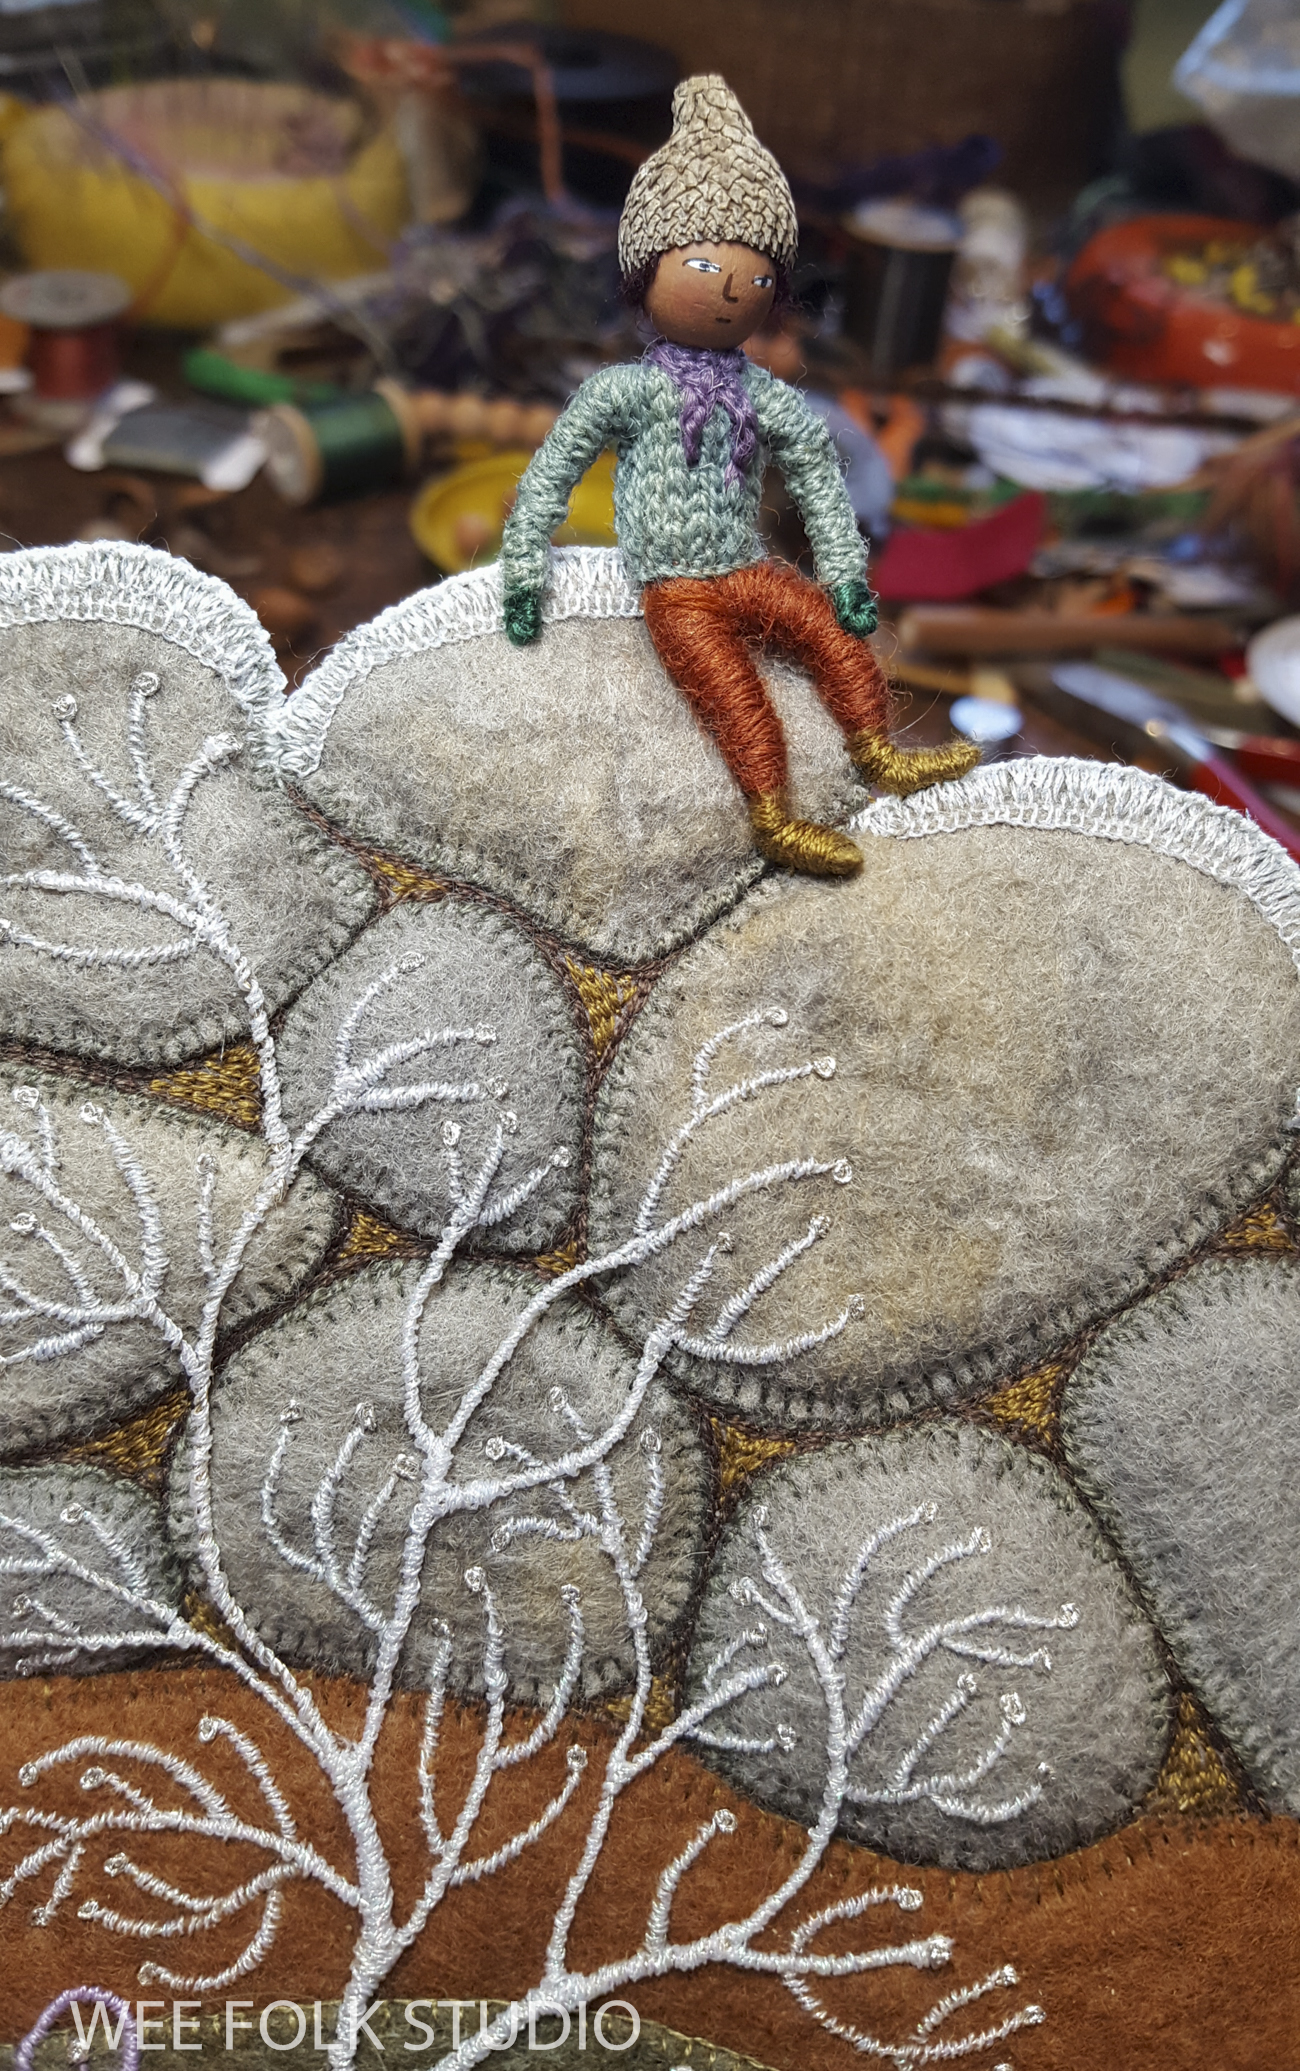
Part 4 in the Frosty Morning series is about making the stone wall and the ice covered bush in front of it. Part 1 shows how I made the tree trunks, Part 2 gives a close look at how I formed and wrapped the wire tree branches and Part 3 is about constructing the rounded shelters. Yes, I will eventually get to the wee folk characters!

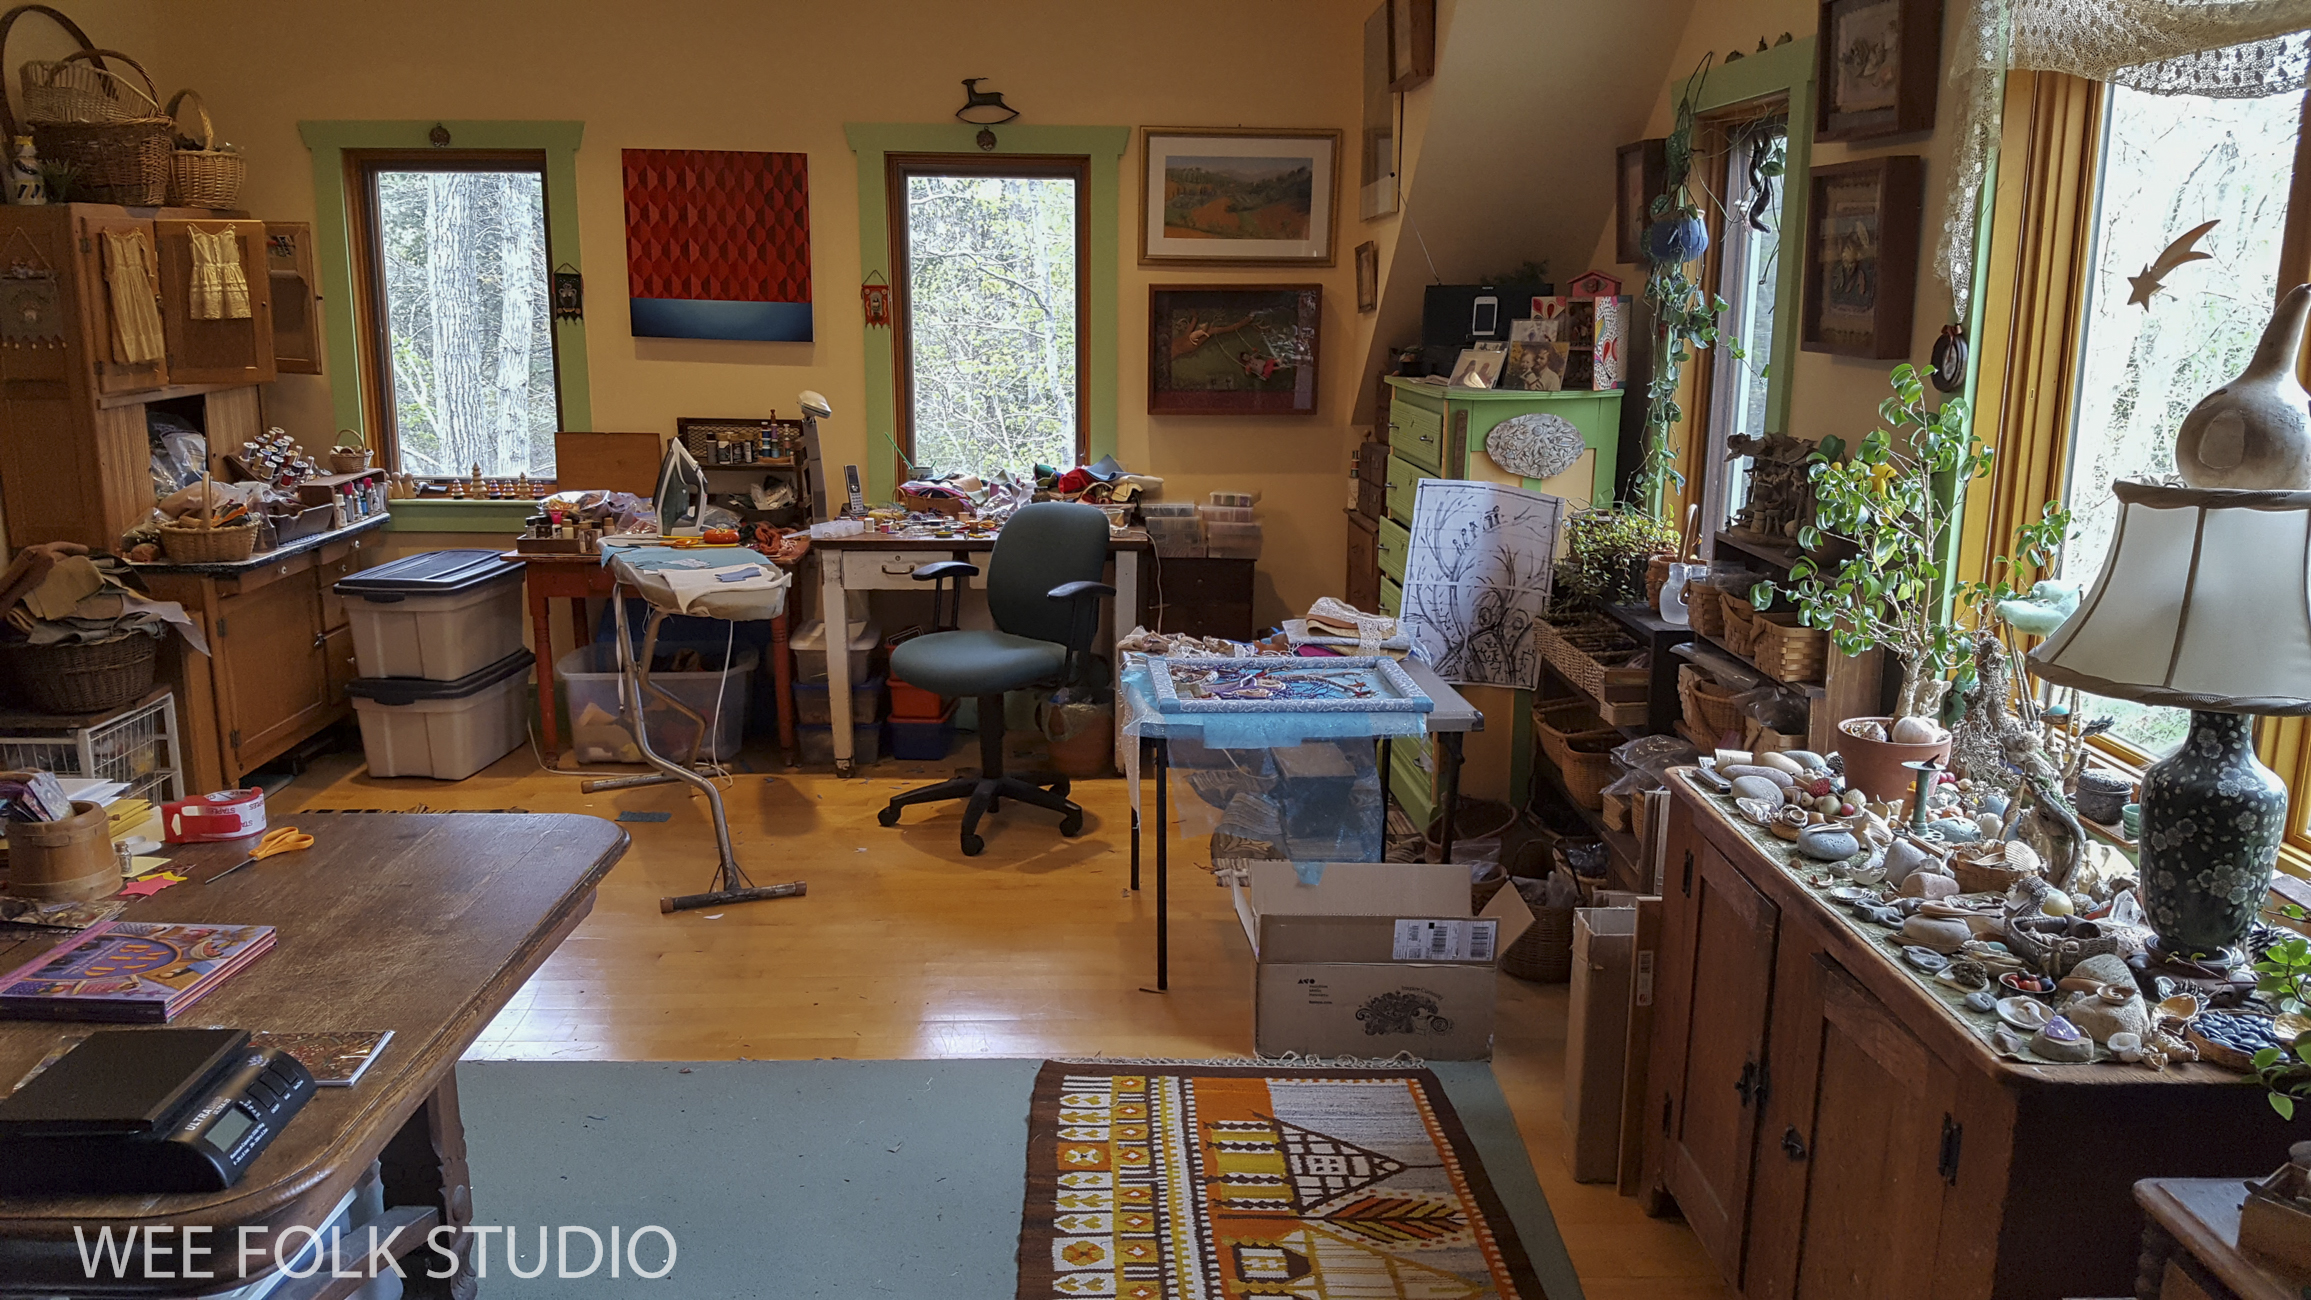
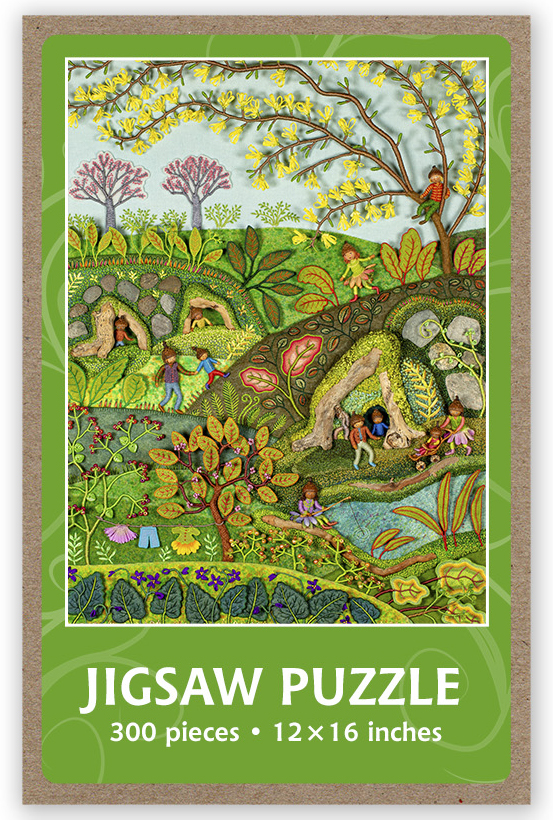
This year, I’m working on a group of seasonal landscapes that capture the wonder and magic of the natural world, both real and imagined. Frosty Morning, Mossy Glen, Summertime and Harvest Time are available as jigsaw puzzles and note cards in my shop here.
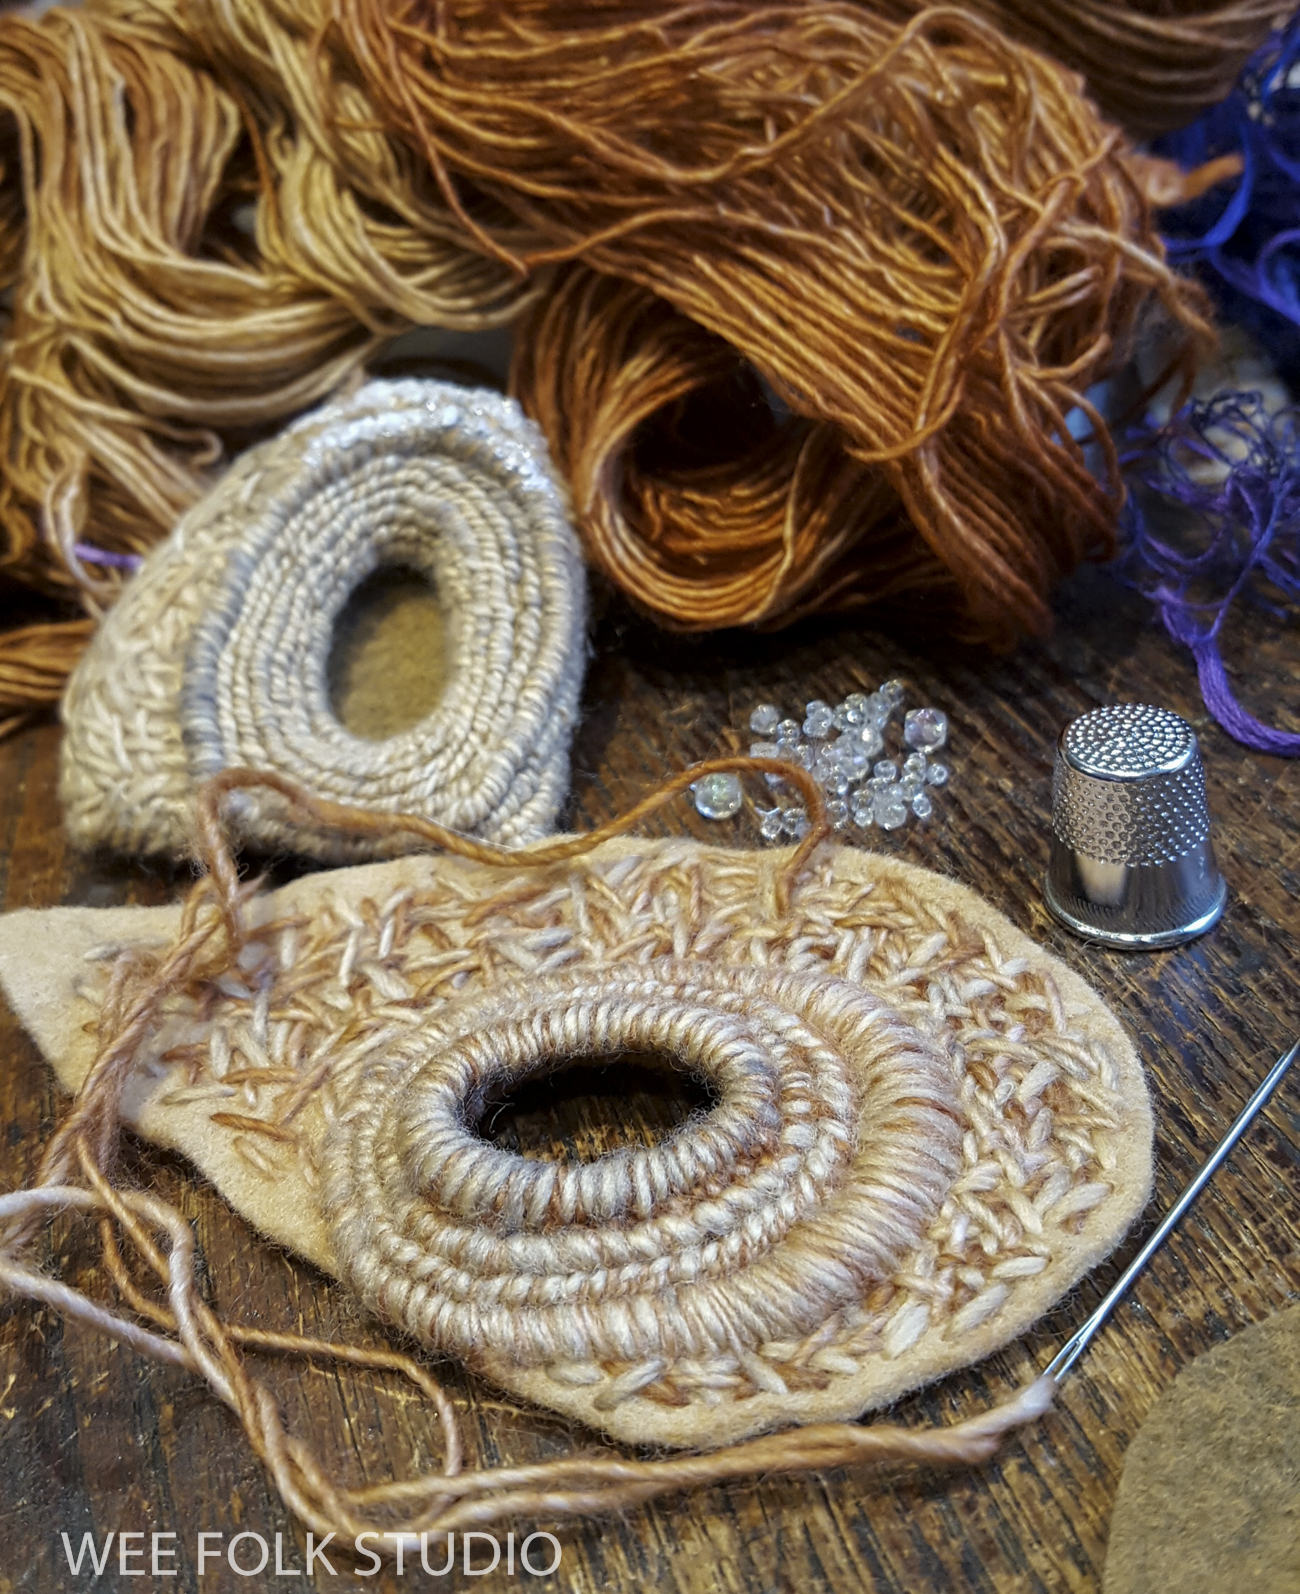
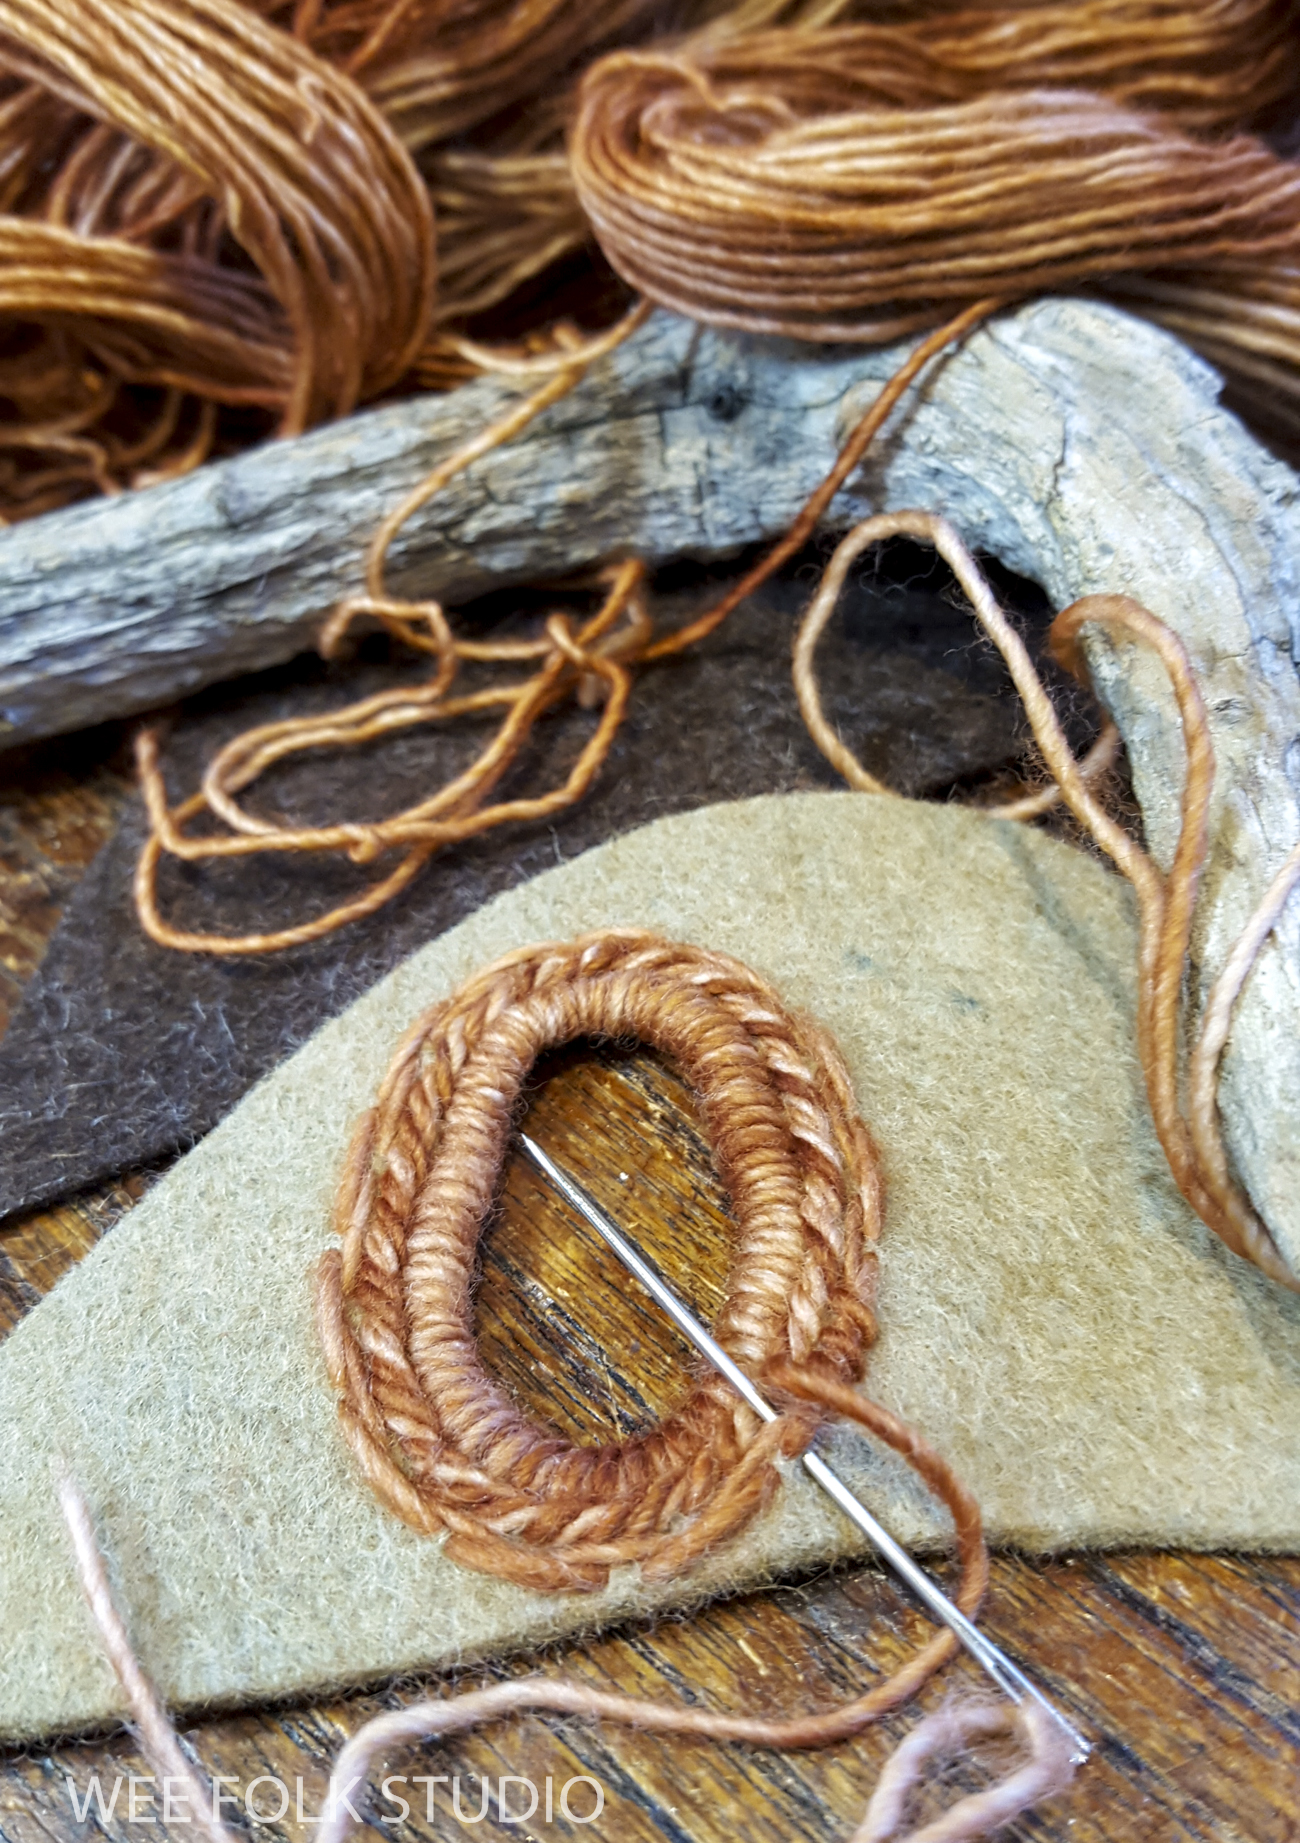
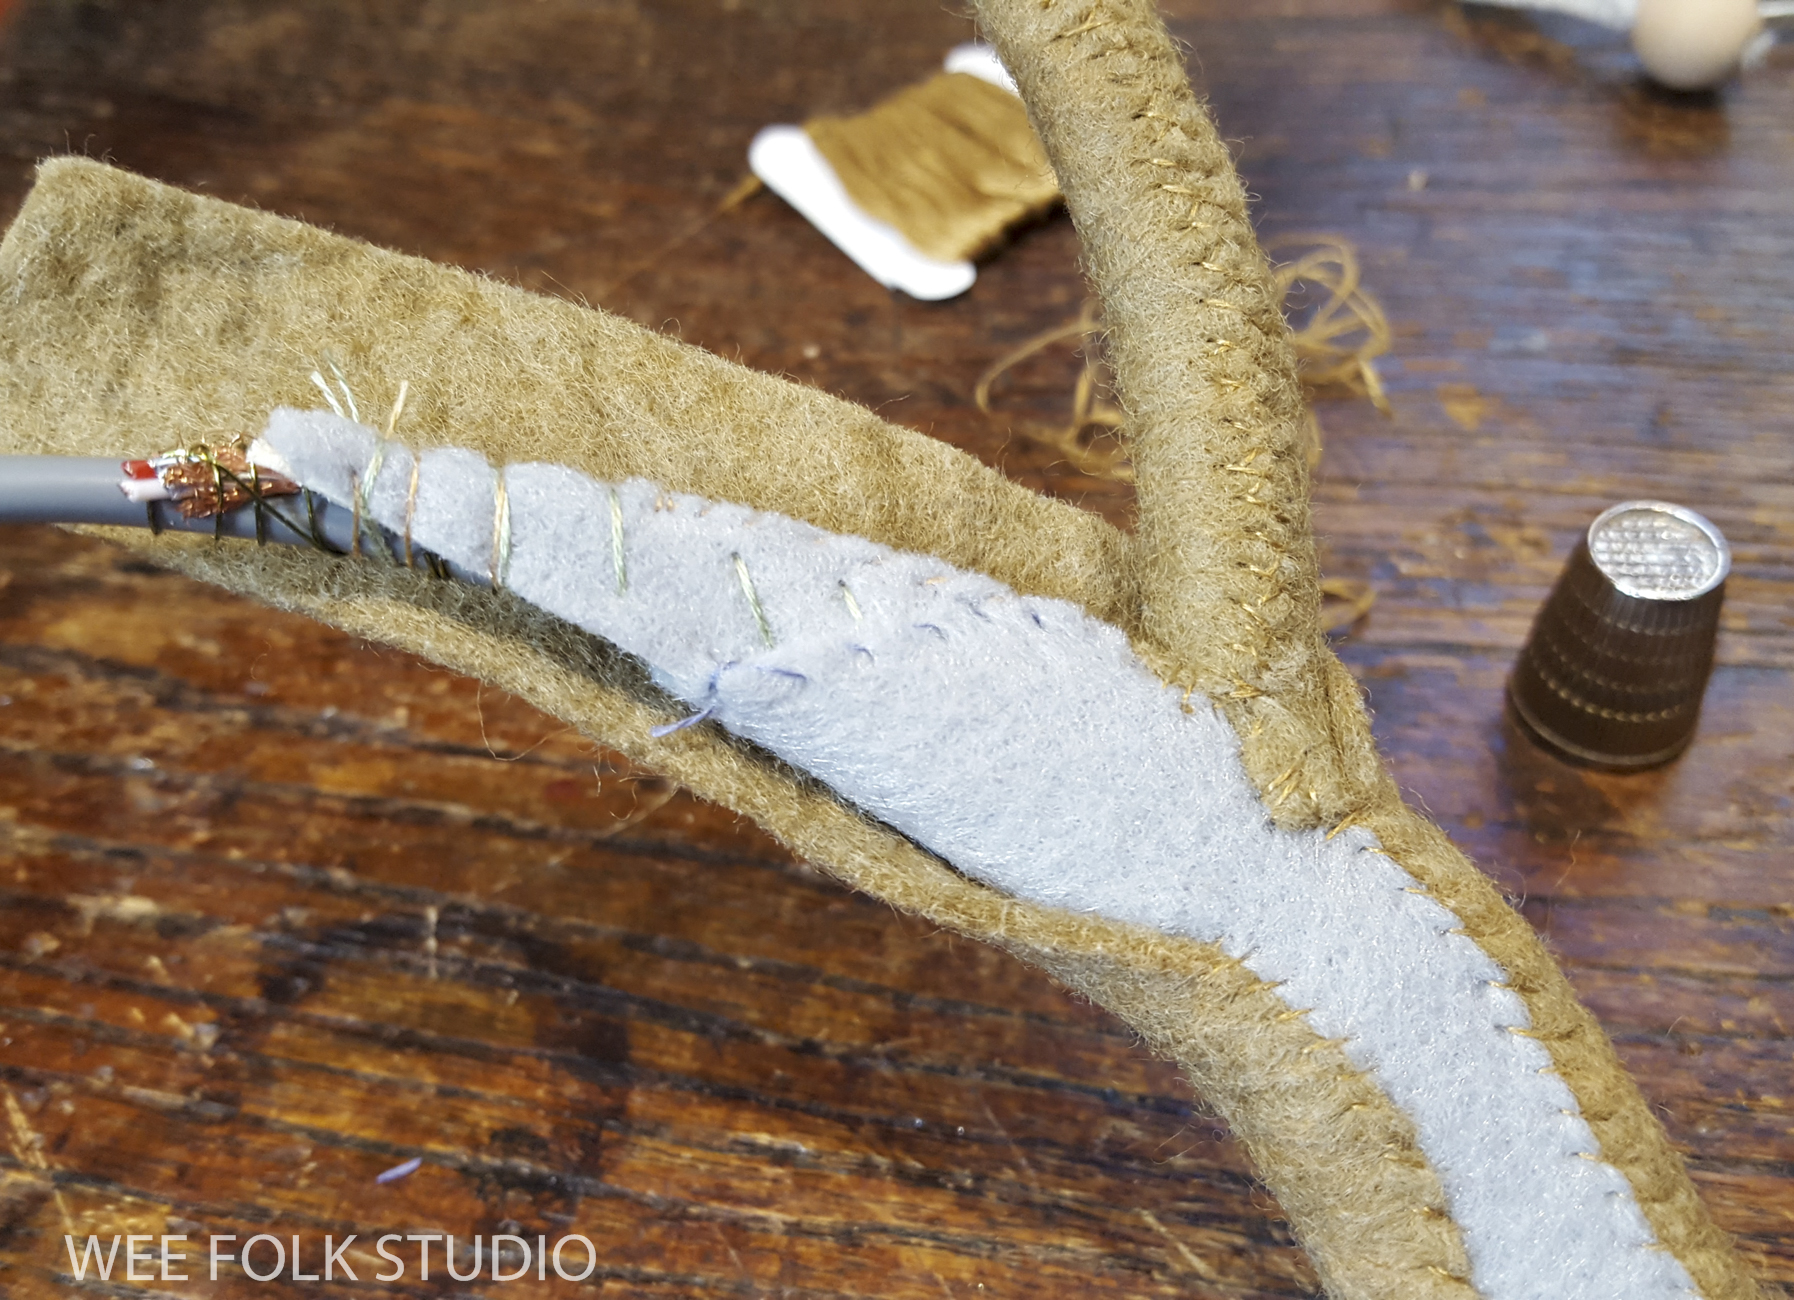
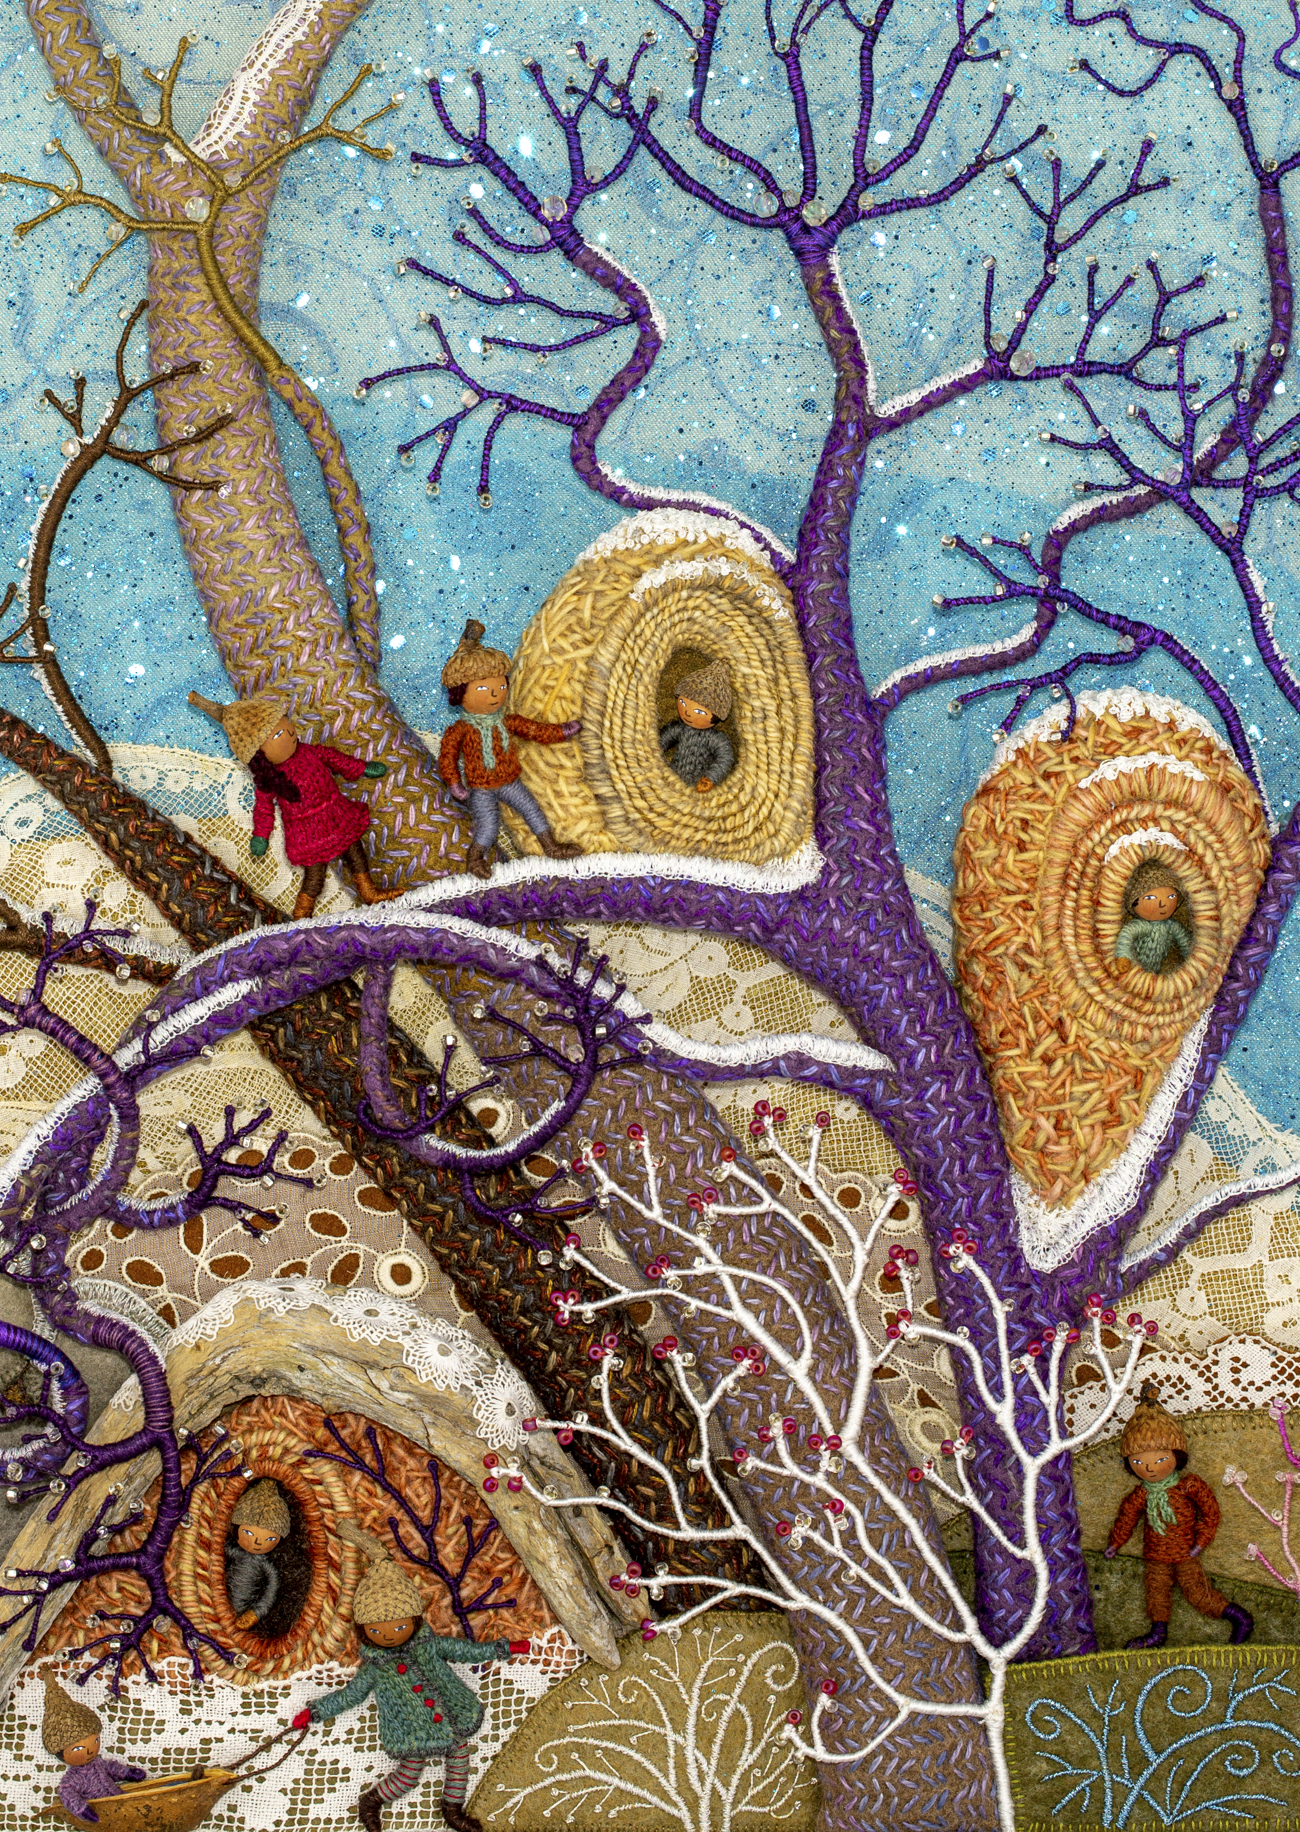
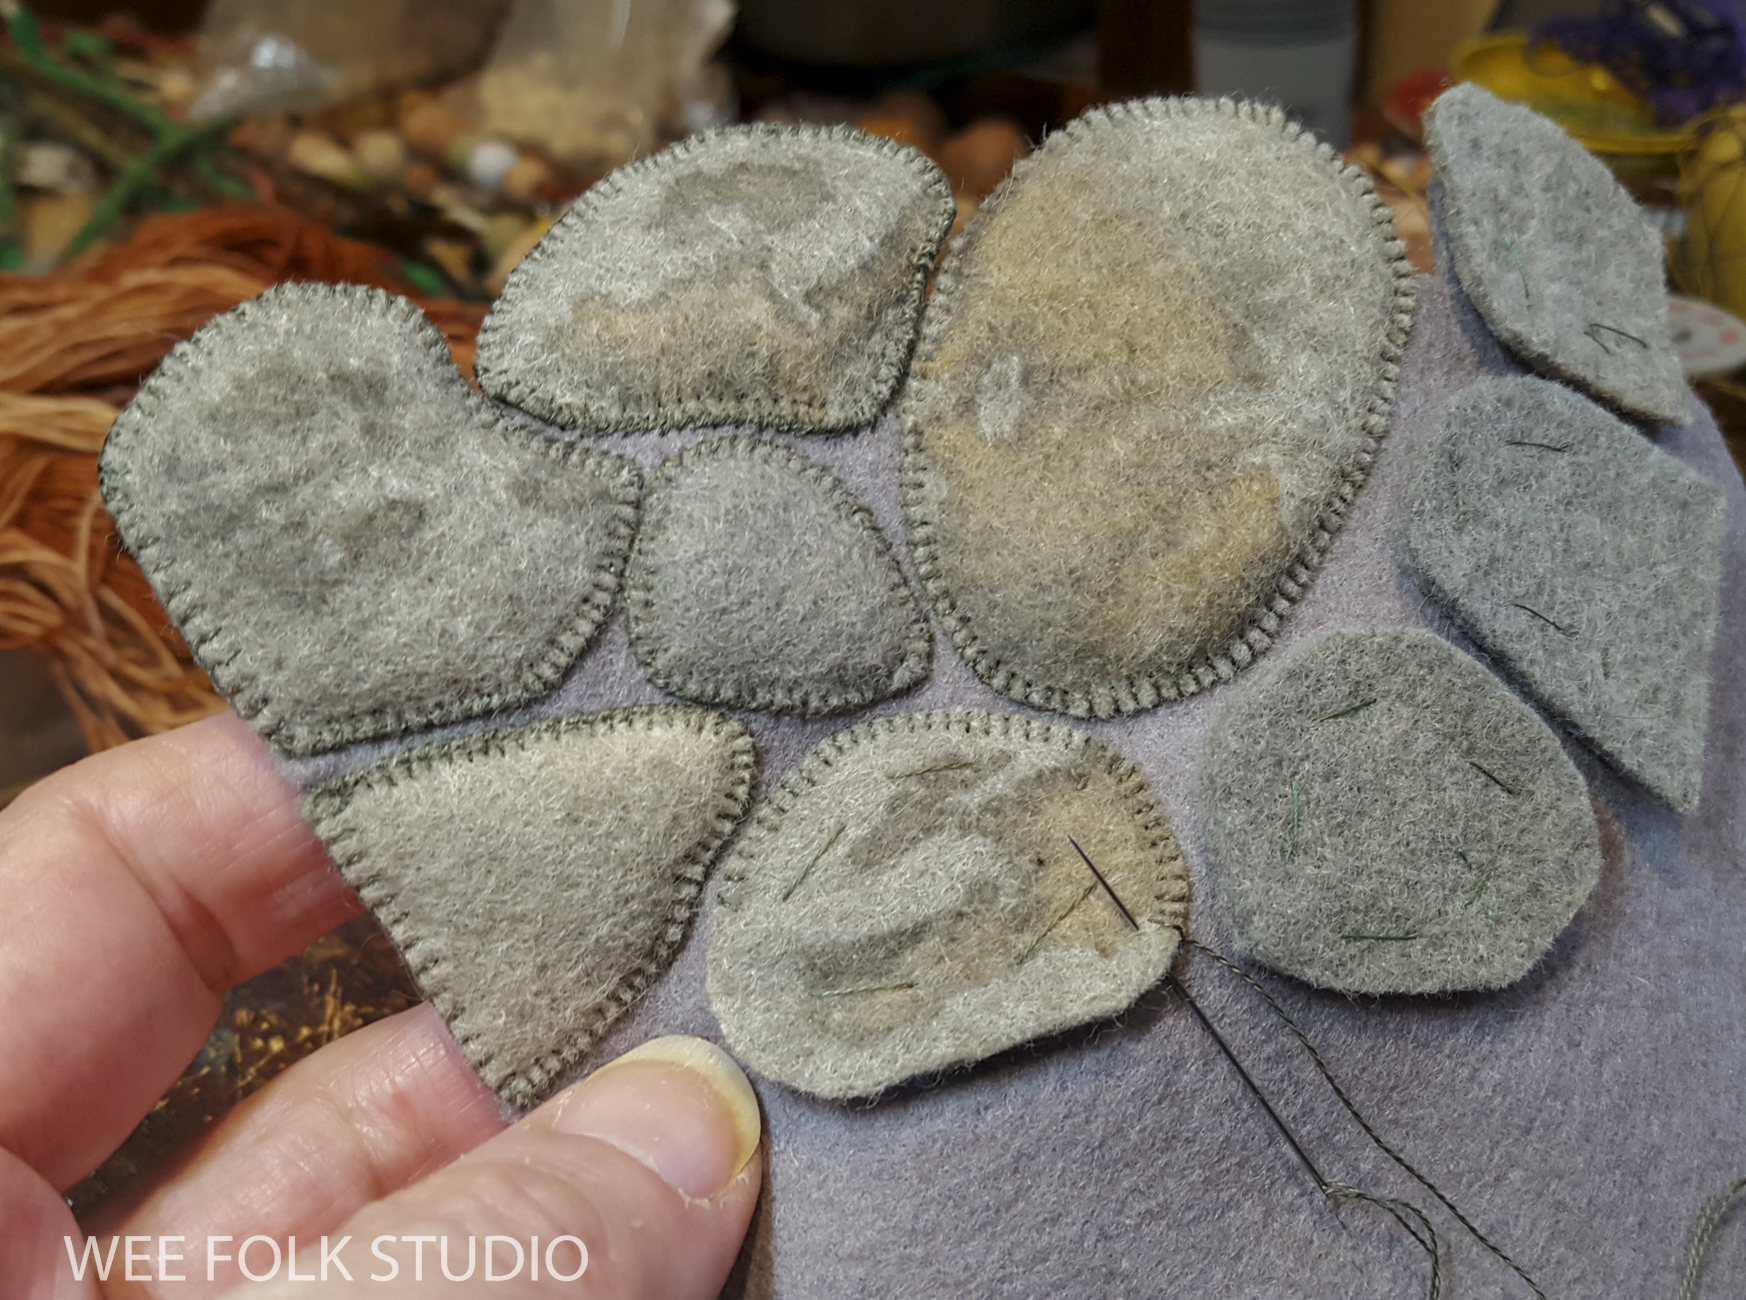
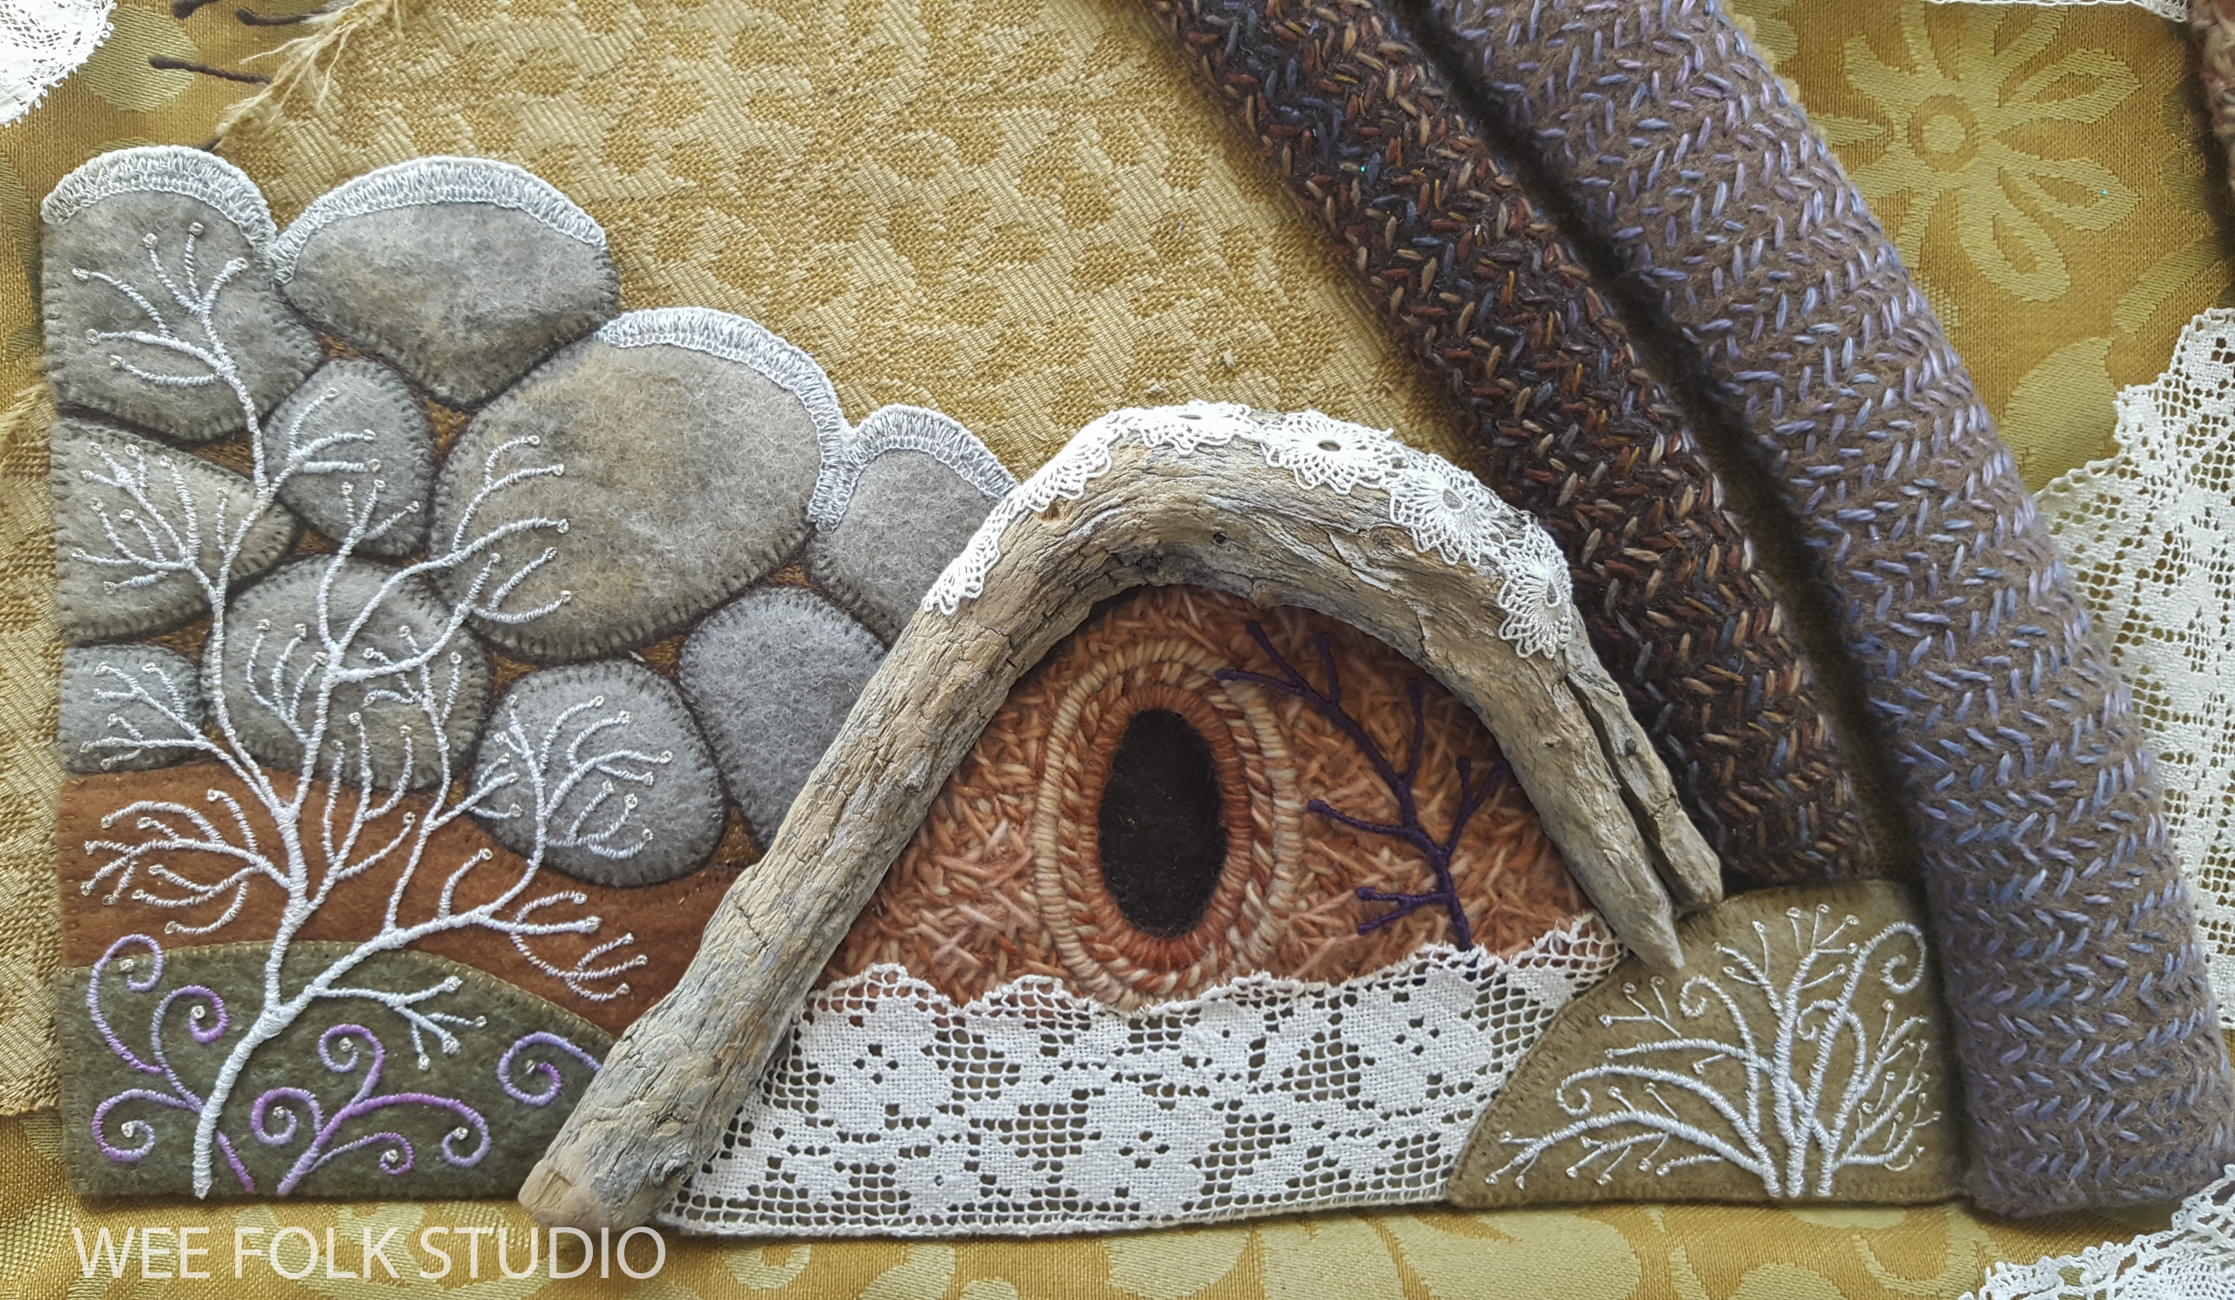
To begin, I cut stone shapes out of a special piece of wool felt that I’ve kept just for this kind of thing. It’s from a bunch of unevenly dyed “seconds” that I was lucky enough to purchase years ago. That source has since dried up, so I guard my stash very carefully. After blanket stitching the felt shapes 2/3 of the way around, I slipped another layer or two of felt inside the pockets and then finished stitching around the outside edges. That way, they puffed up a bit and looked more 3-dimensional.
I’ve used this felt to make stone walls in other pictures, such as Rabbitat and the Netherlands scene in MY BED.

I then outlined the stones and filled in the gaps with chain stitches.

To create the look of snowfall on top the the wall, I blanket stitched a few rows with white metallic thread.

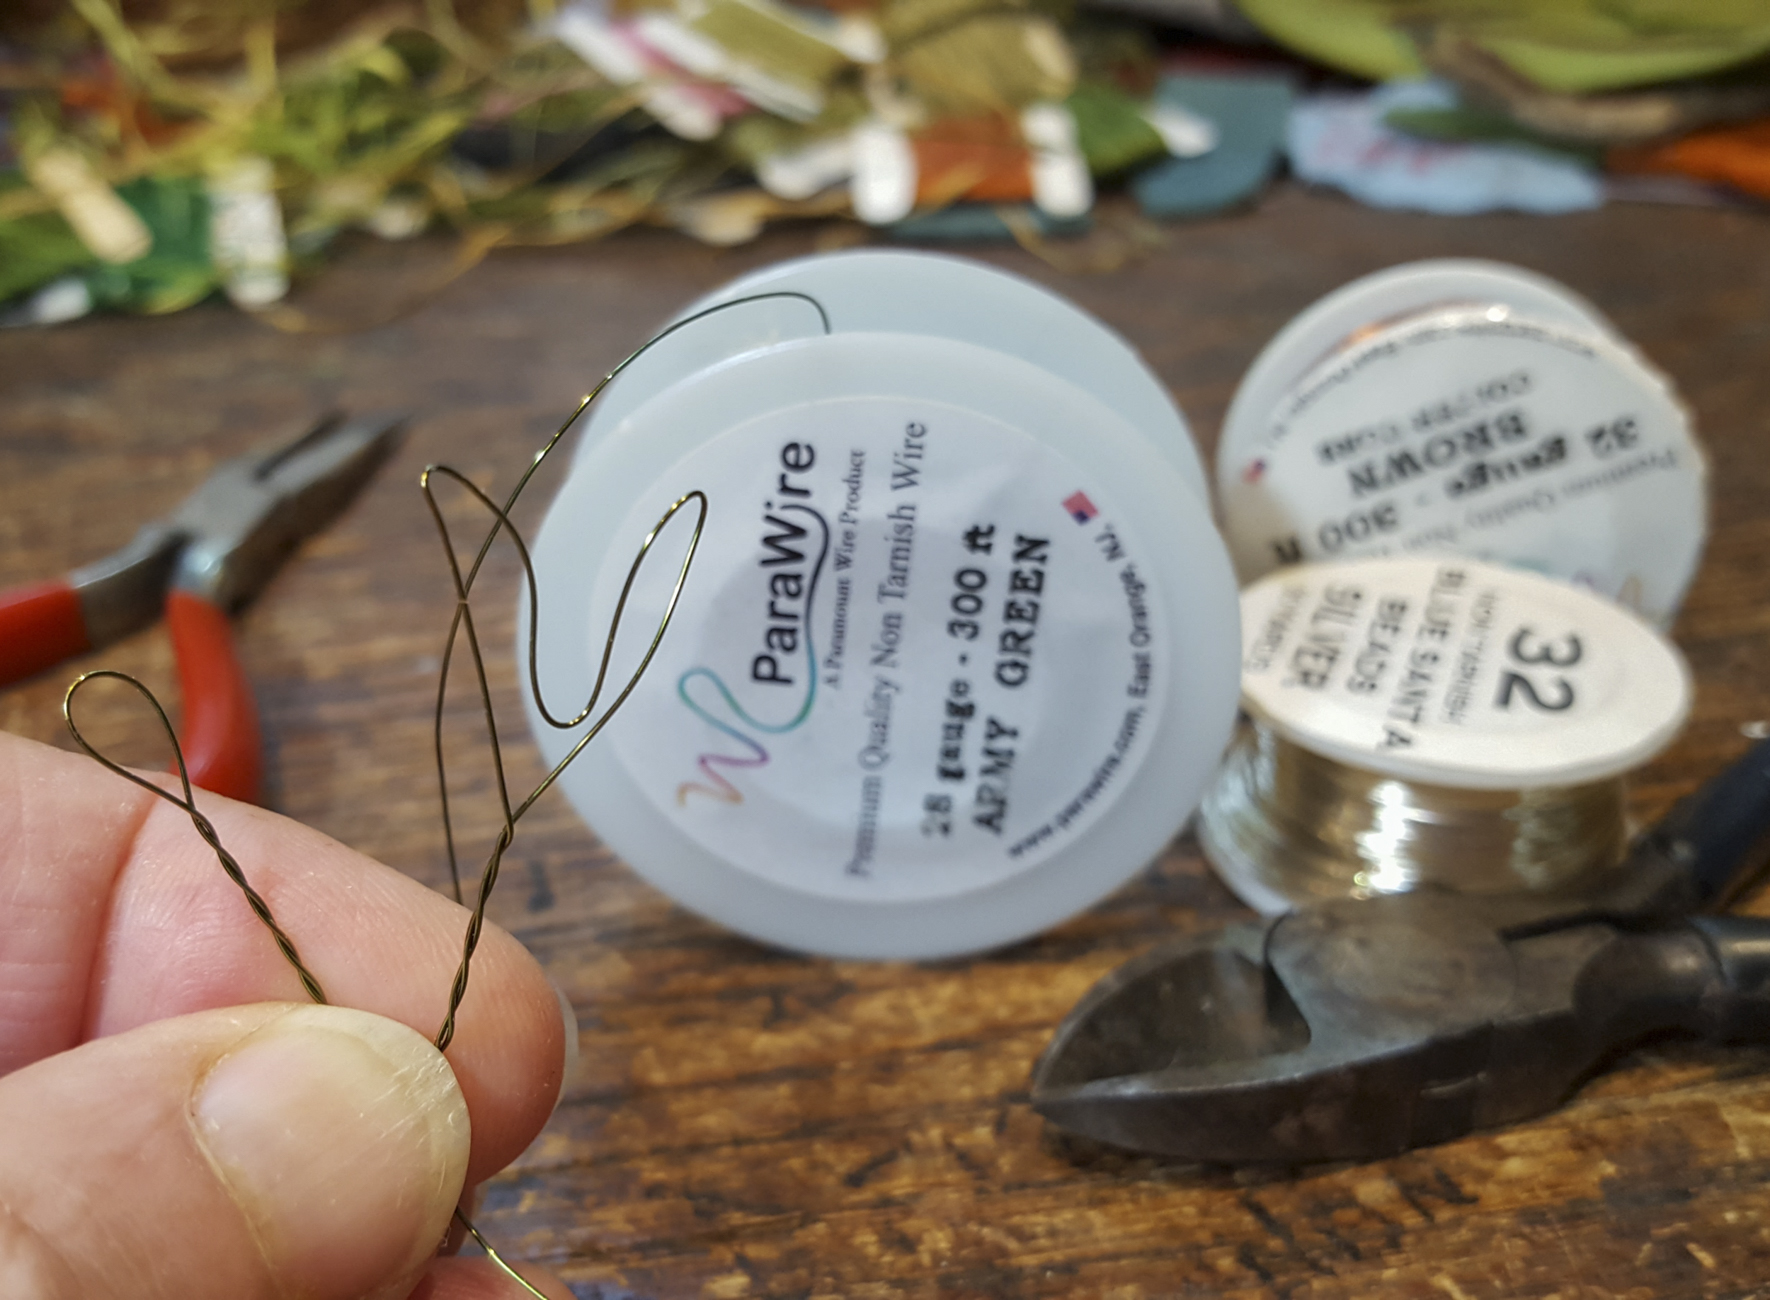
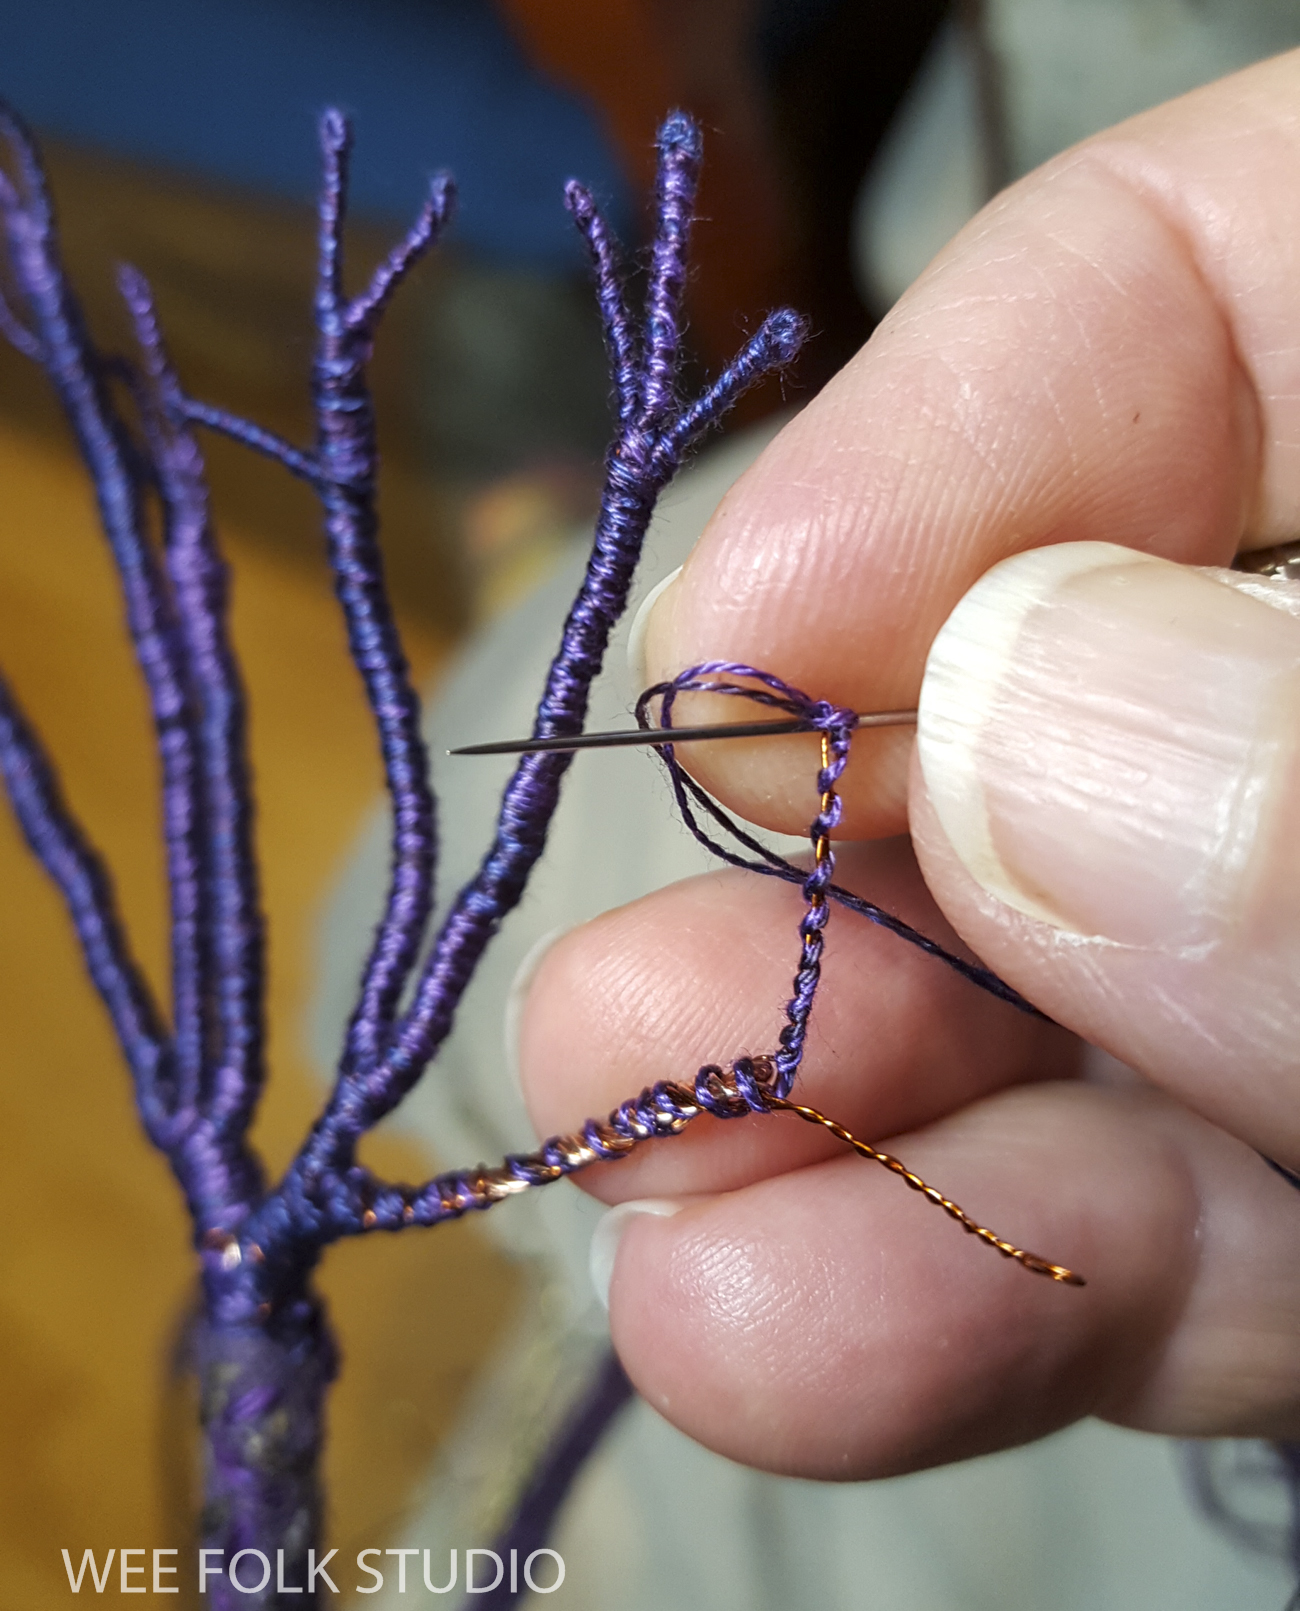
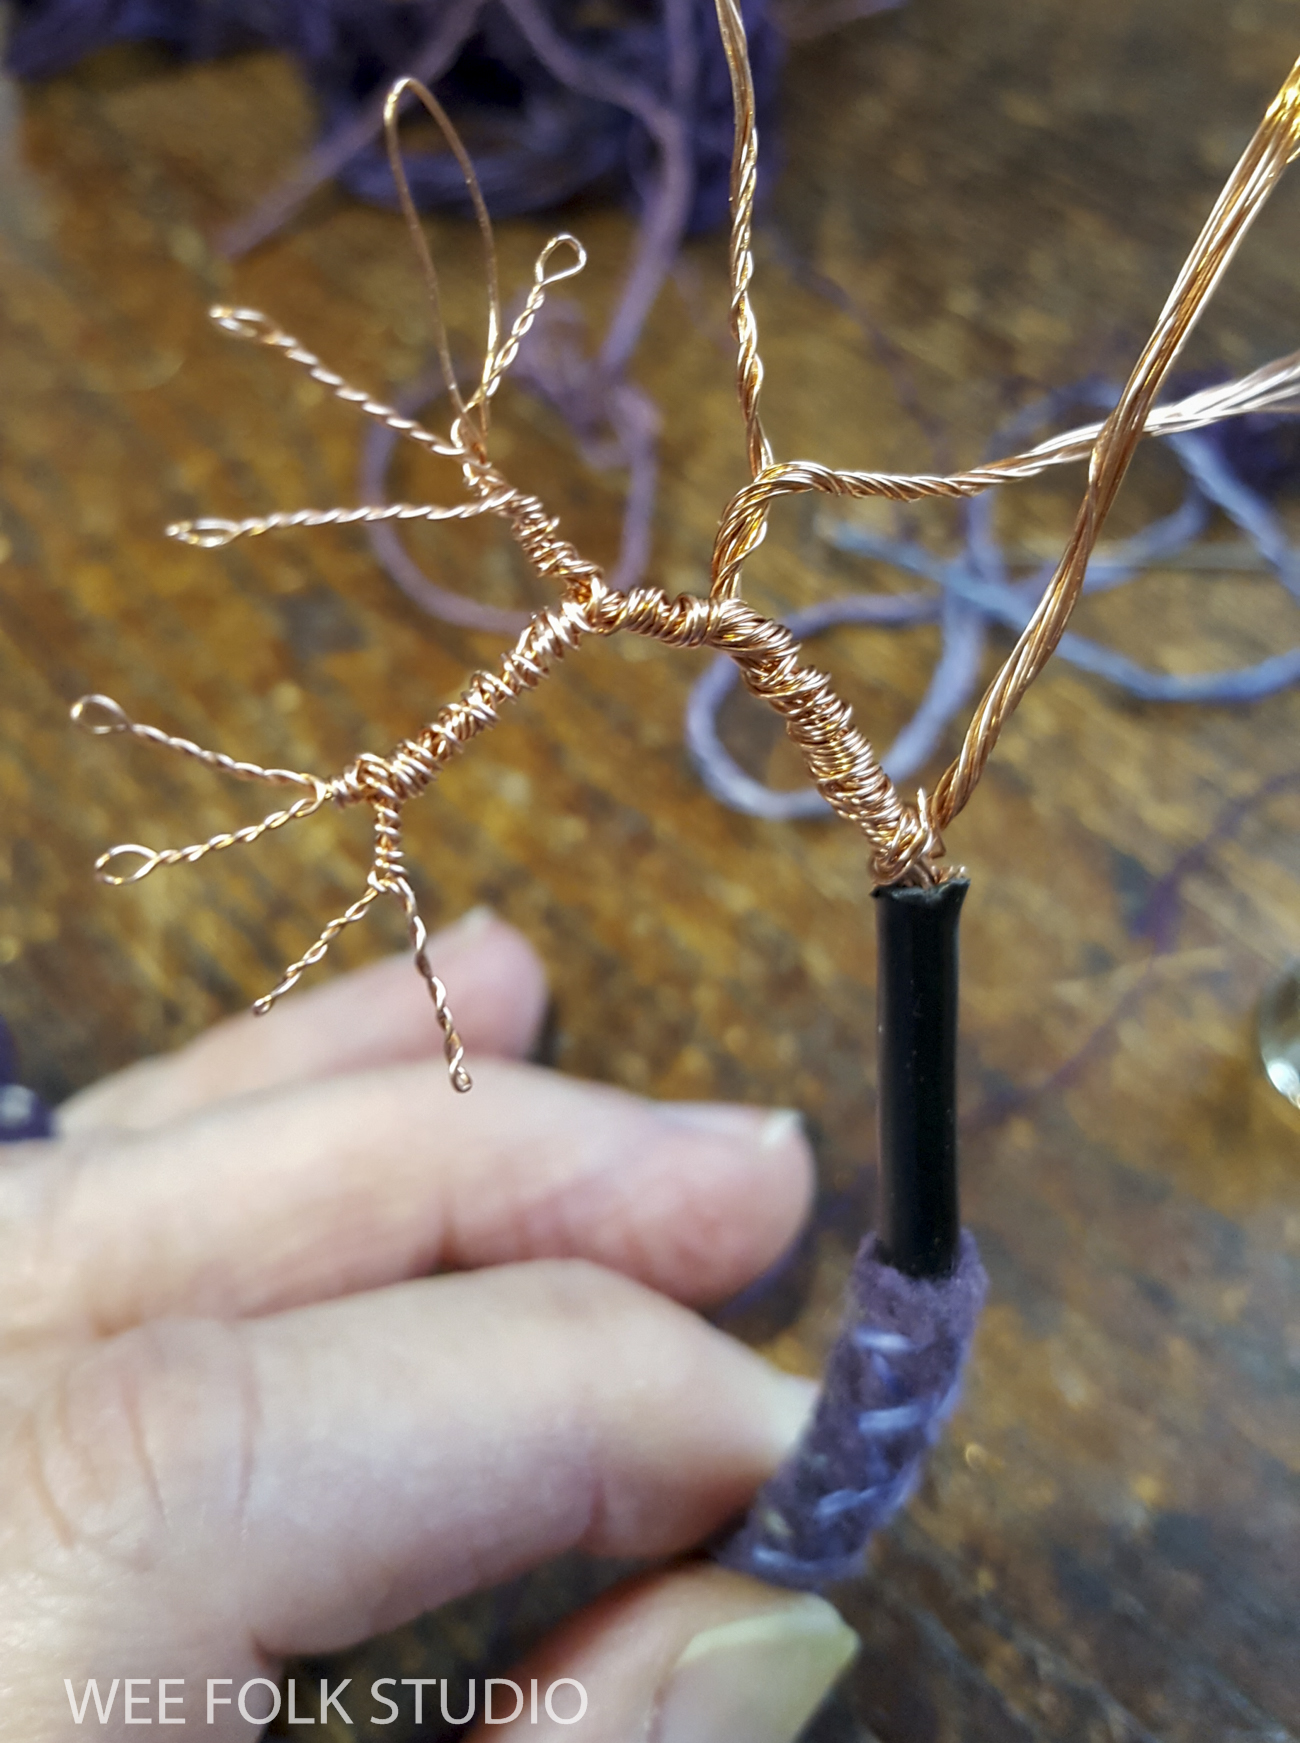
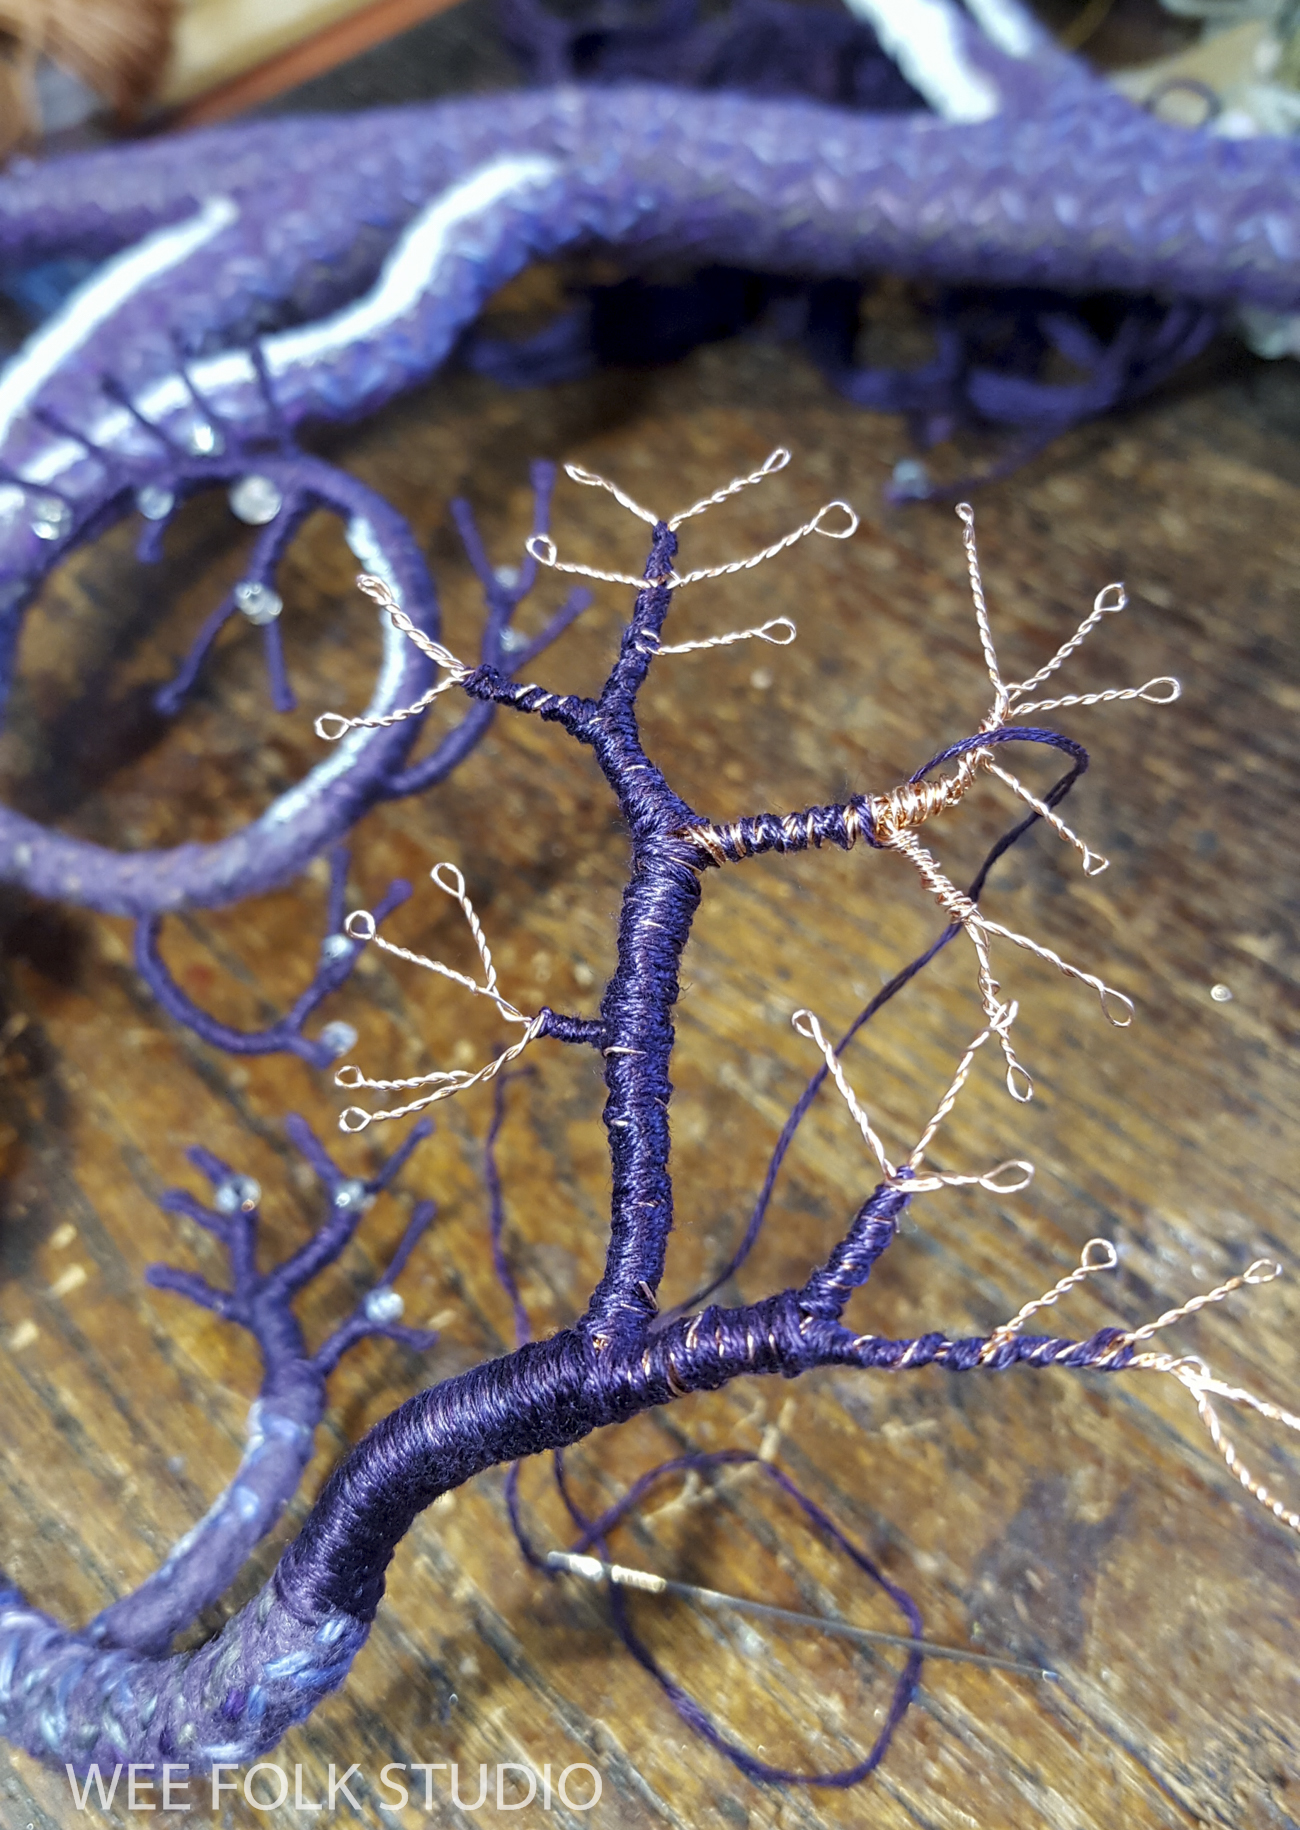
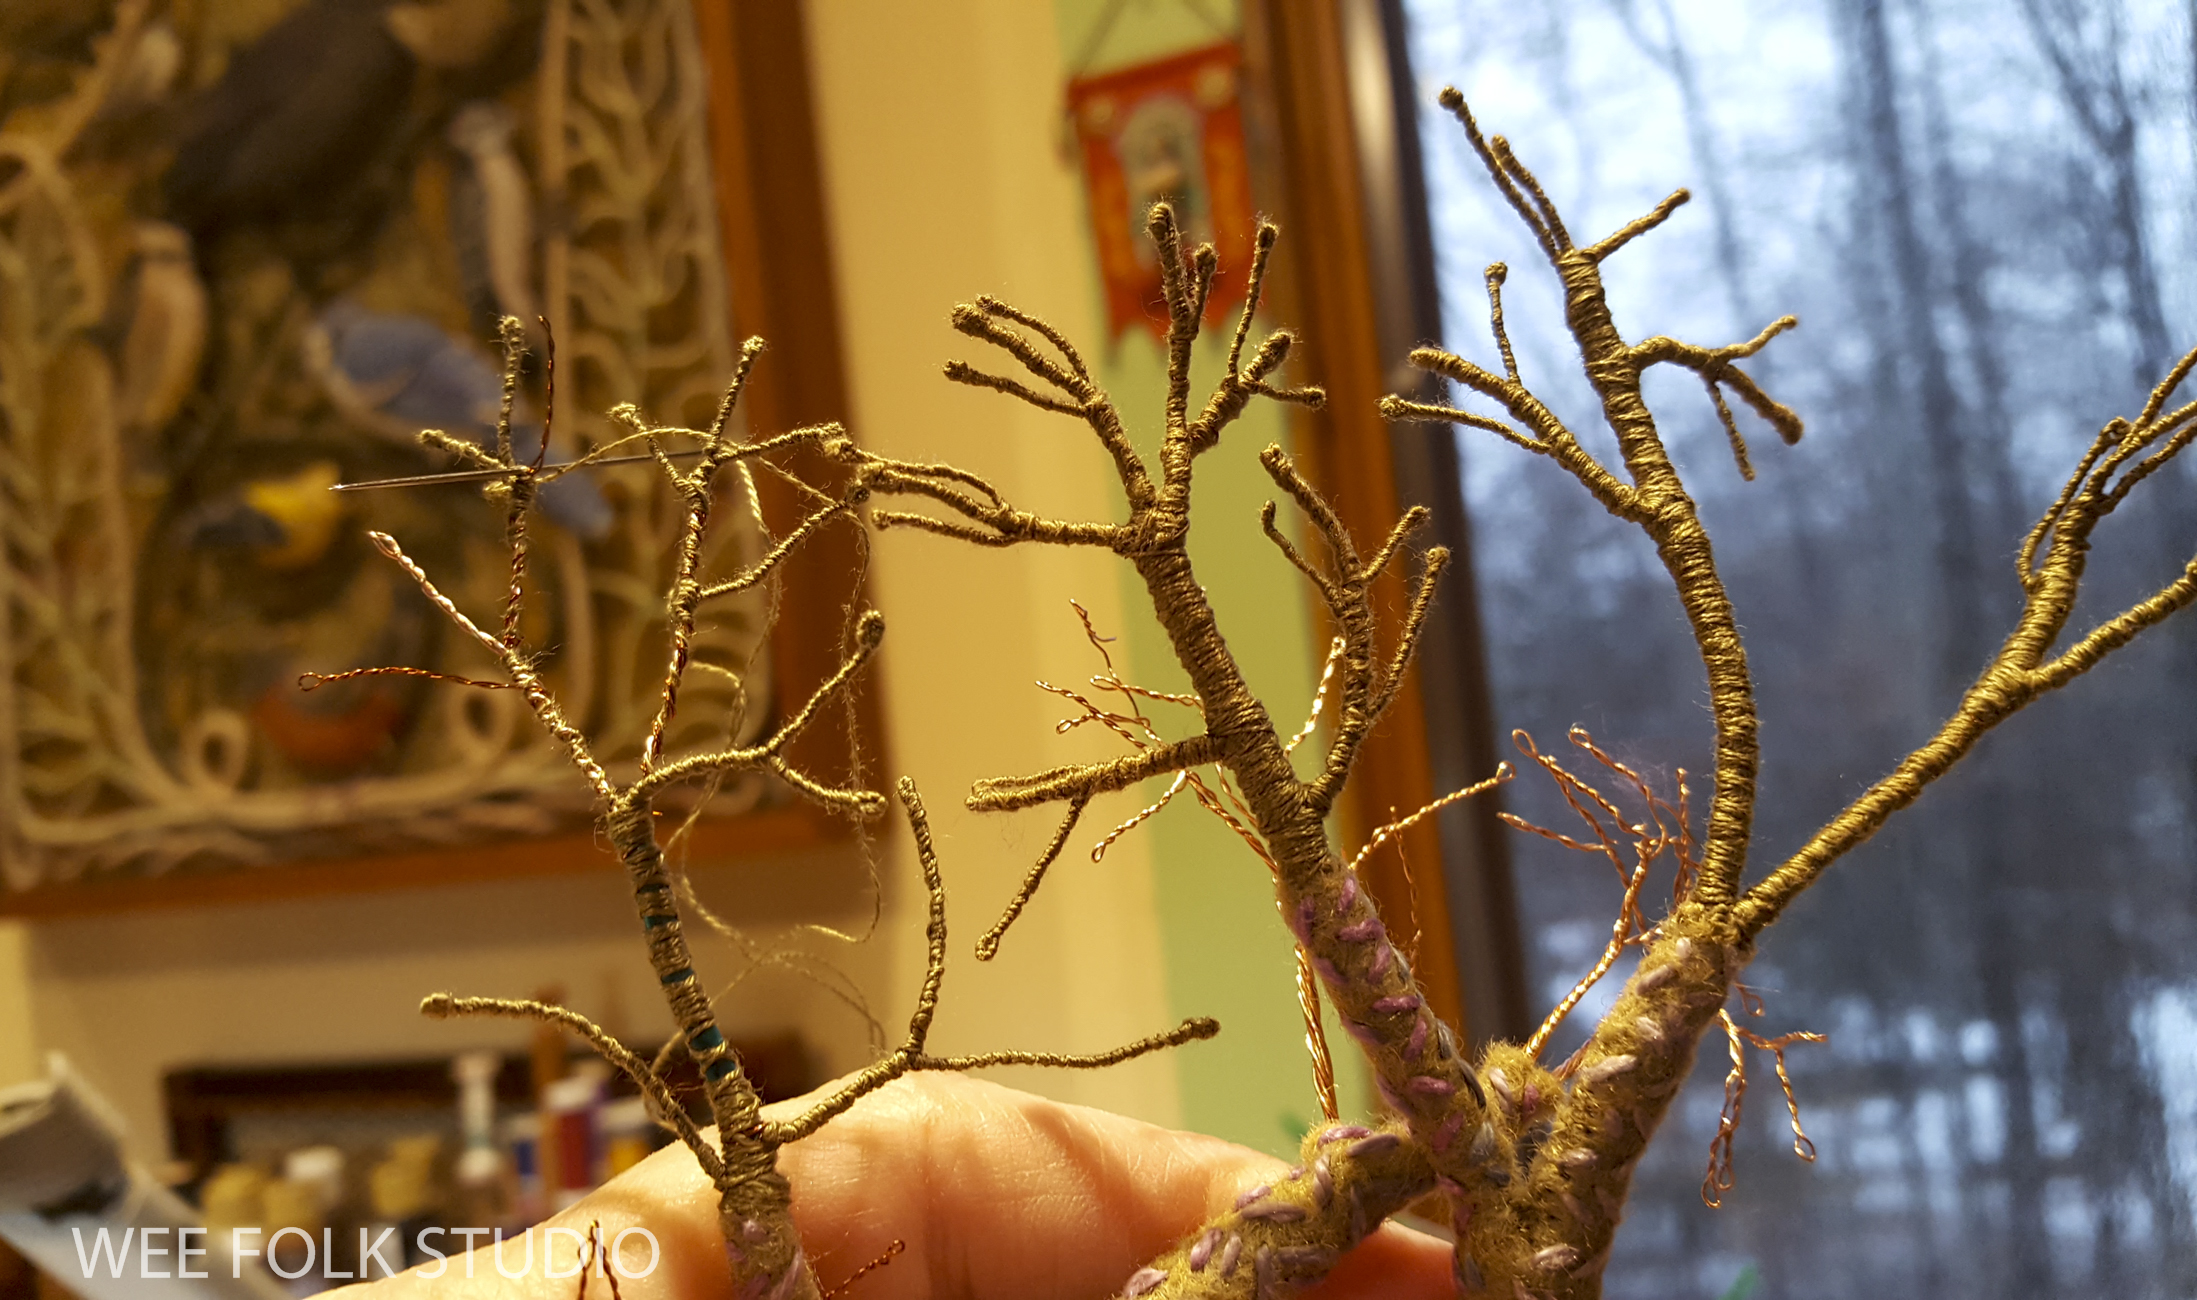
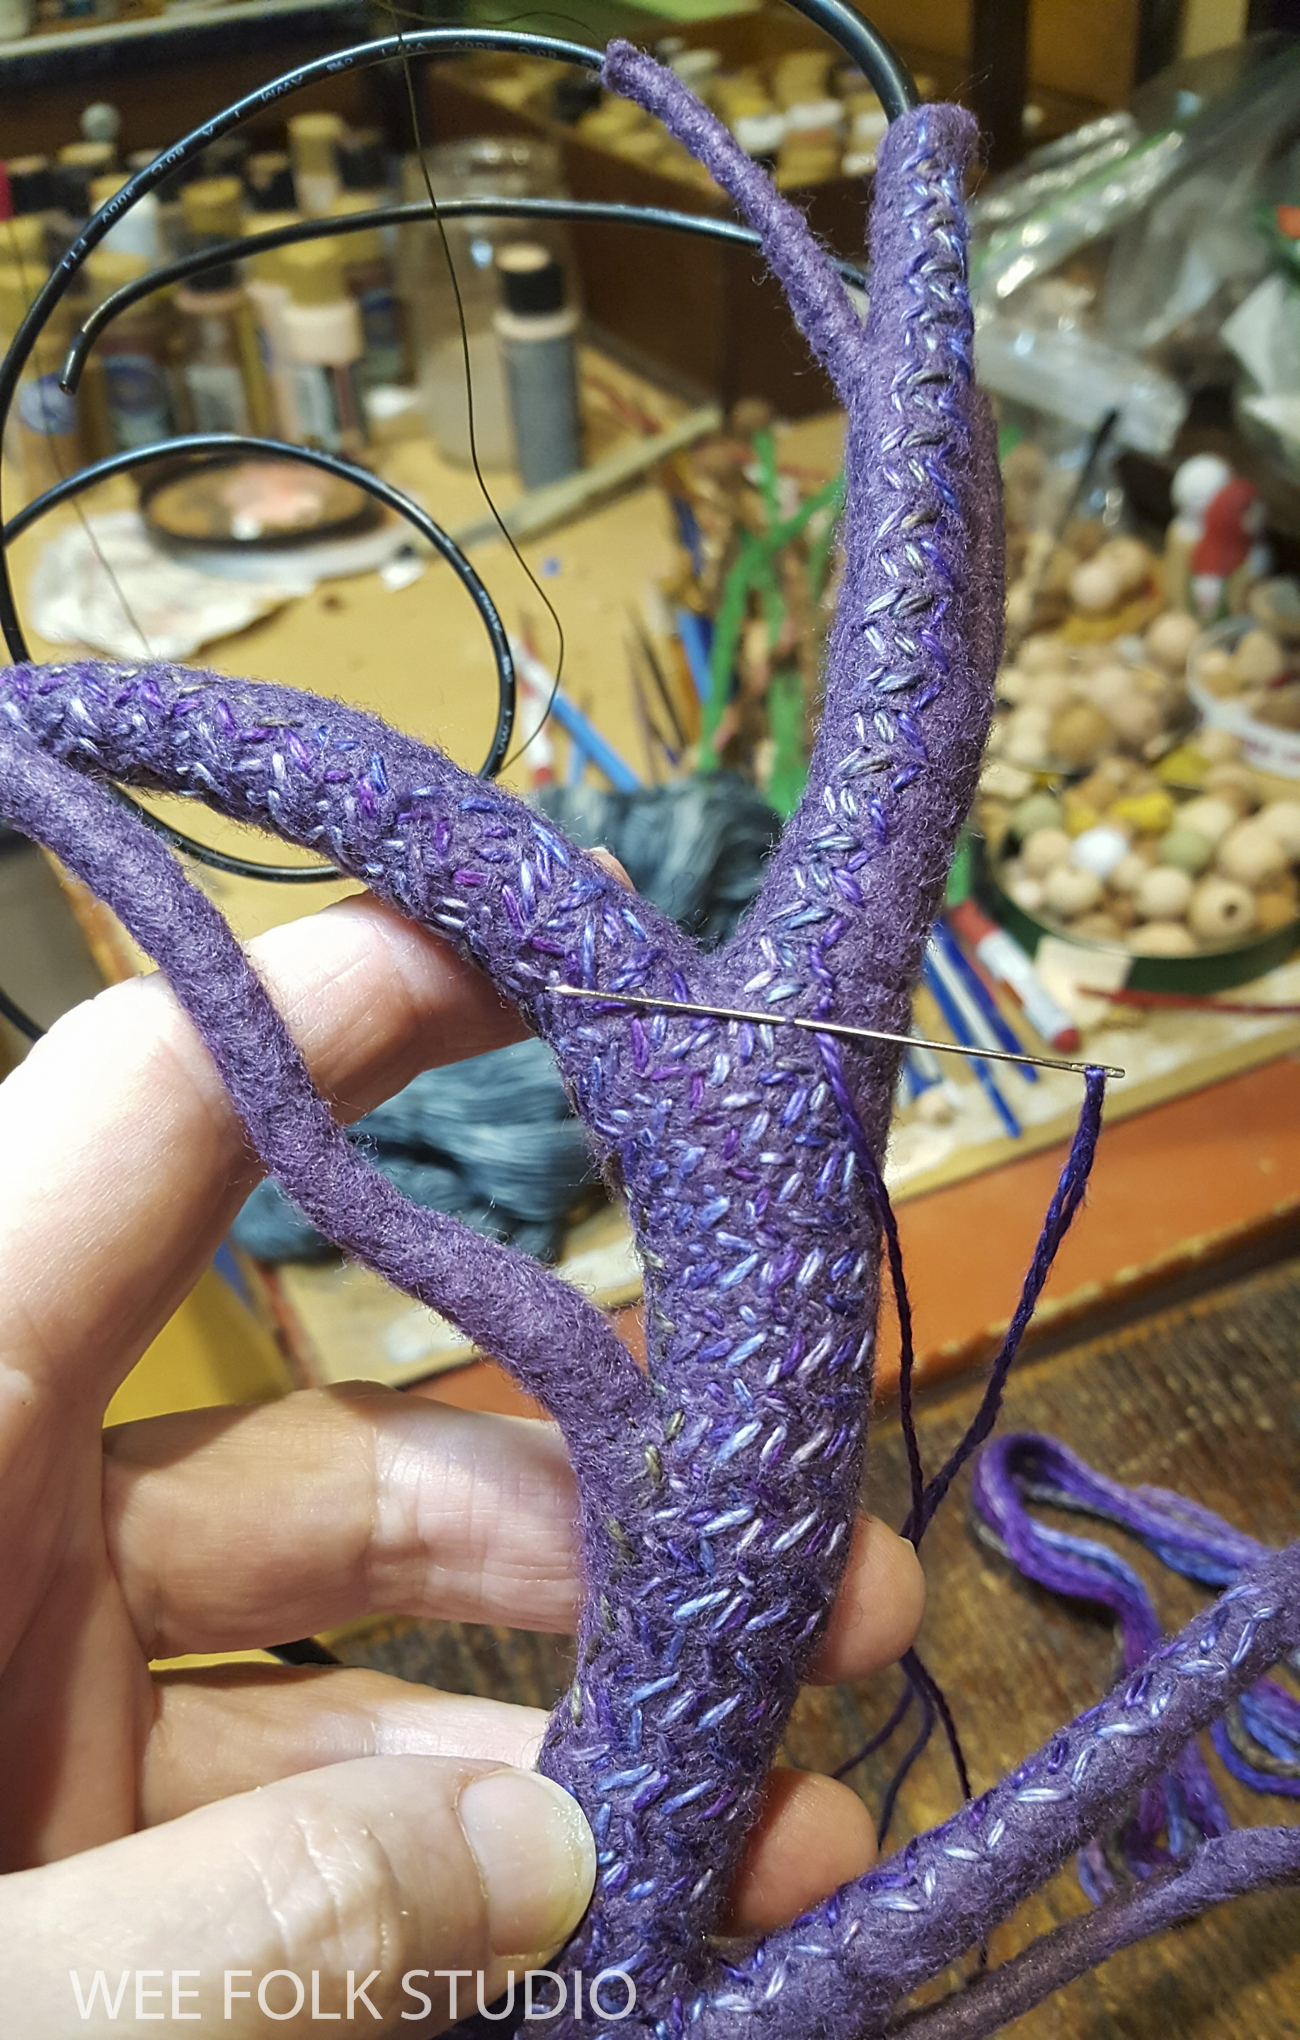
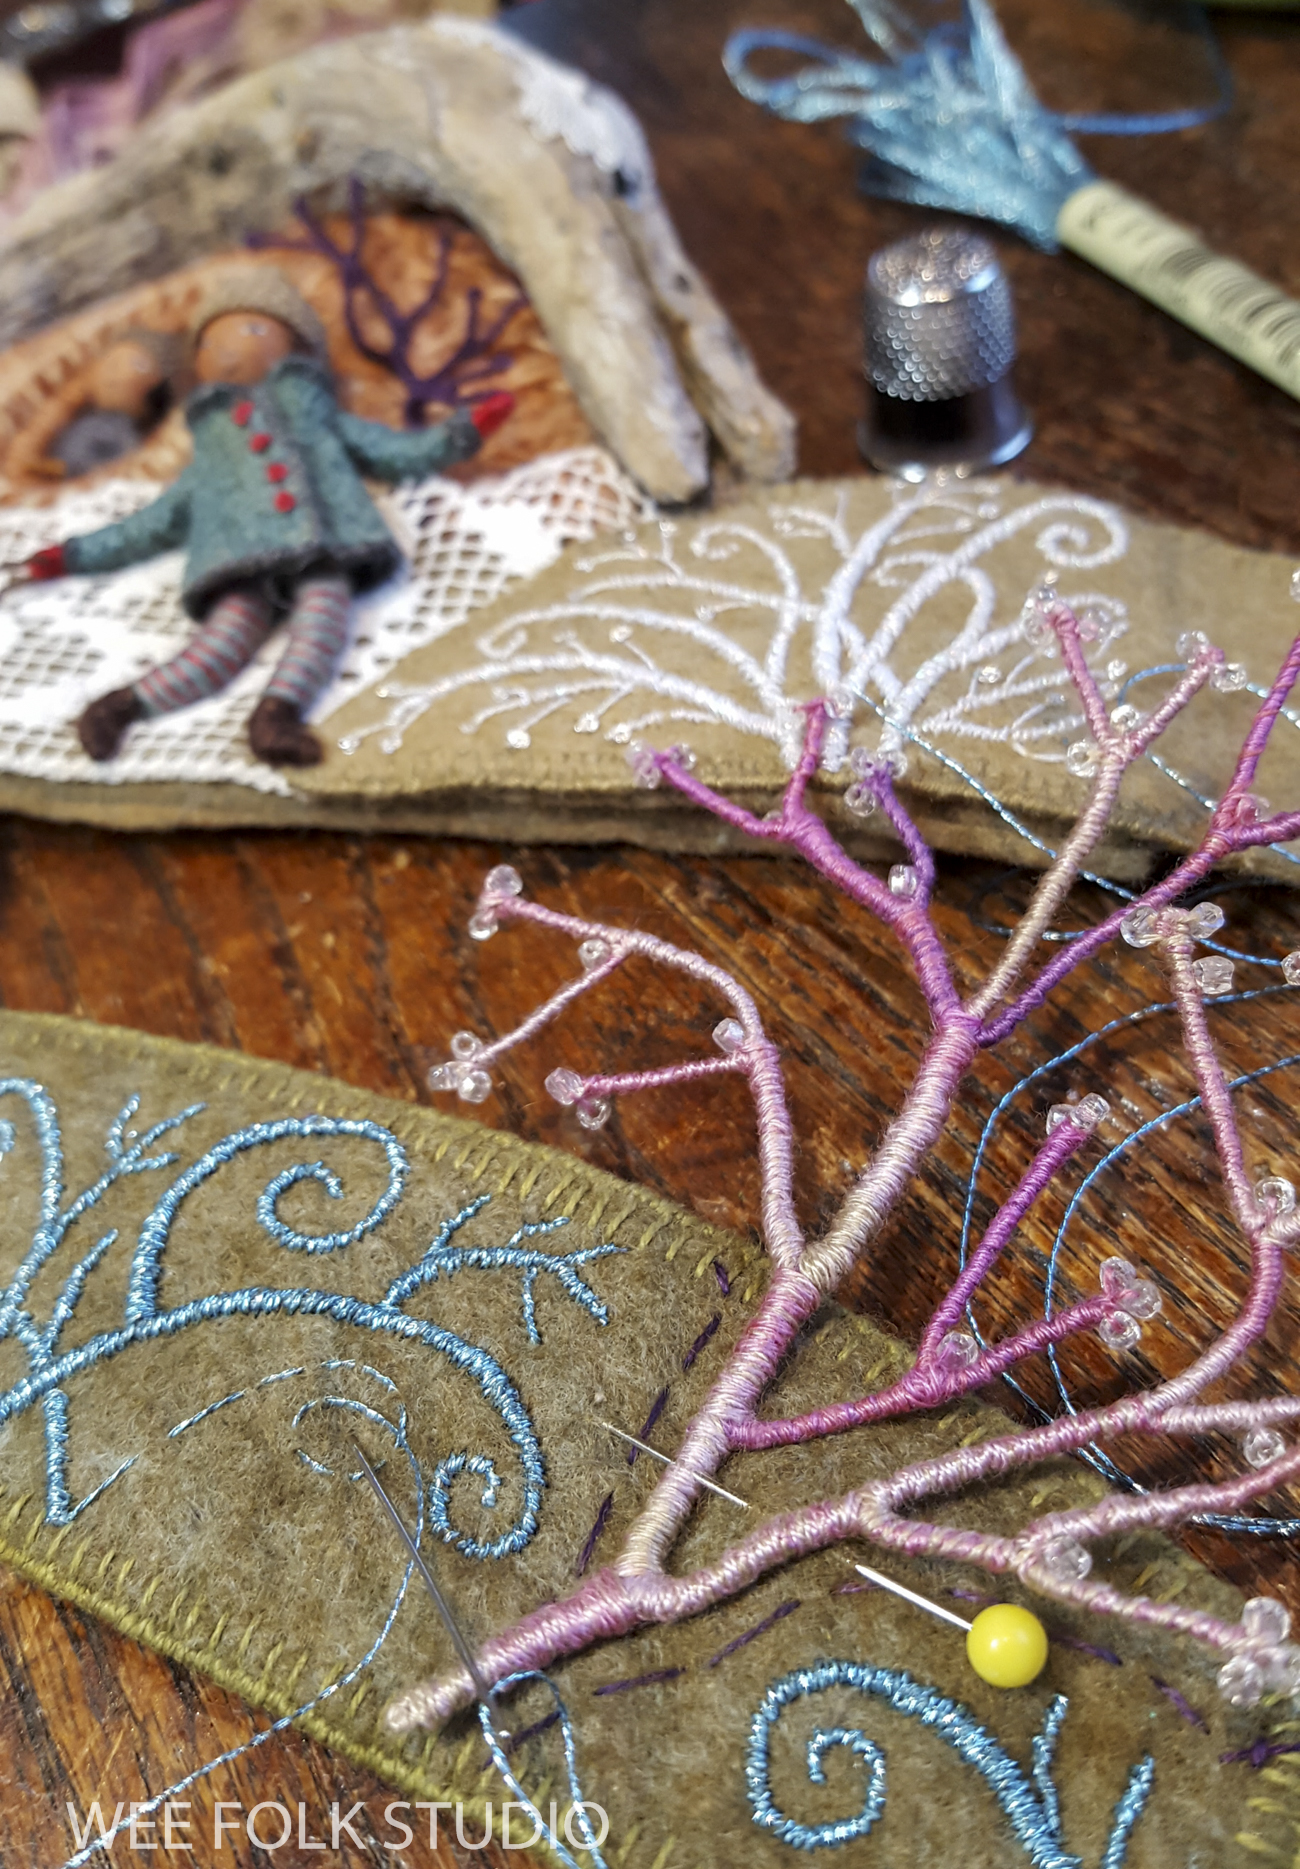
Then I bent and twisted wire to form branches, which I wrapped with white metallic thread. I don’t know about you, but I find stitching with metallic thread frustrating and frankly, a yucky experience! No matter what you do to lubricate the thread, it’s a rough ride. Even though metallic and other synthetic threads are frustrating to work with, I suffered through because I wanted the glittery, magical look that comes with it.

I sewed the wire branches in place…

and embroidered smaller offshoots onto the felt background.

It was such a relief to thread my needle with cotton floss and stitch the curly-cues at the bottom.
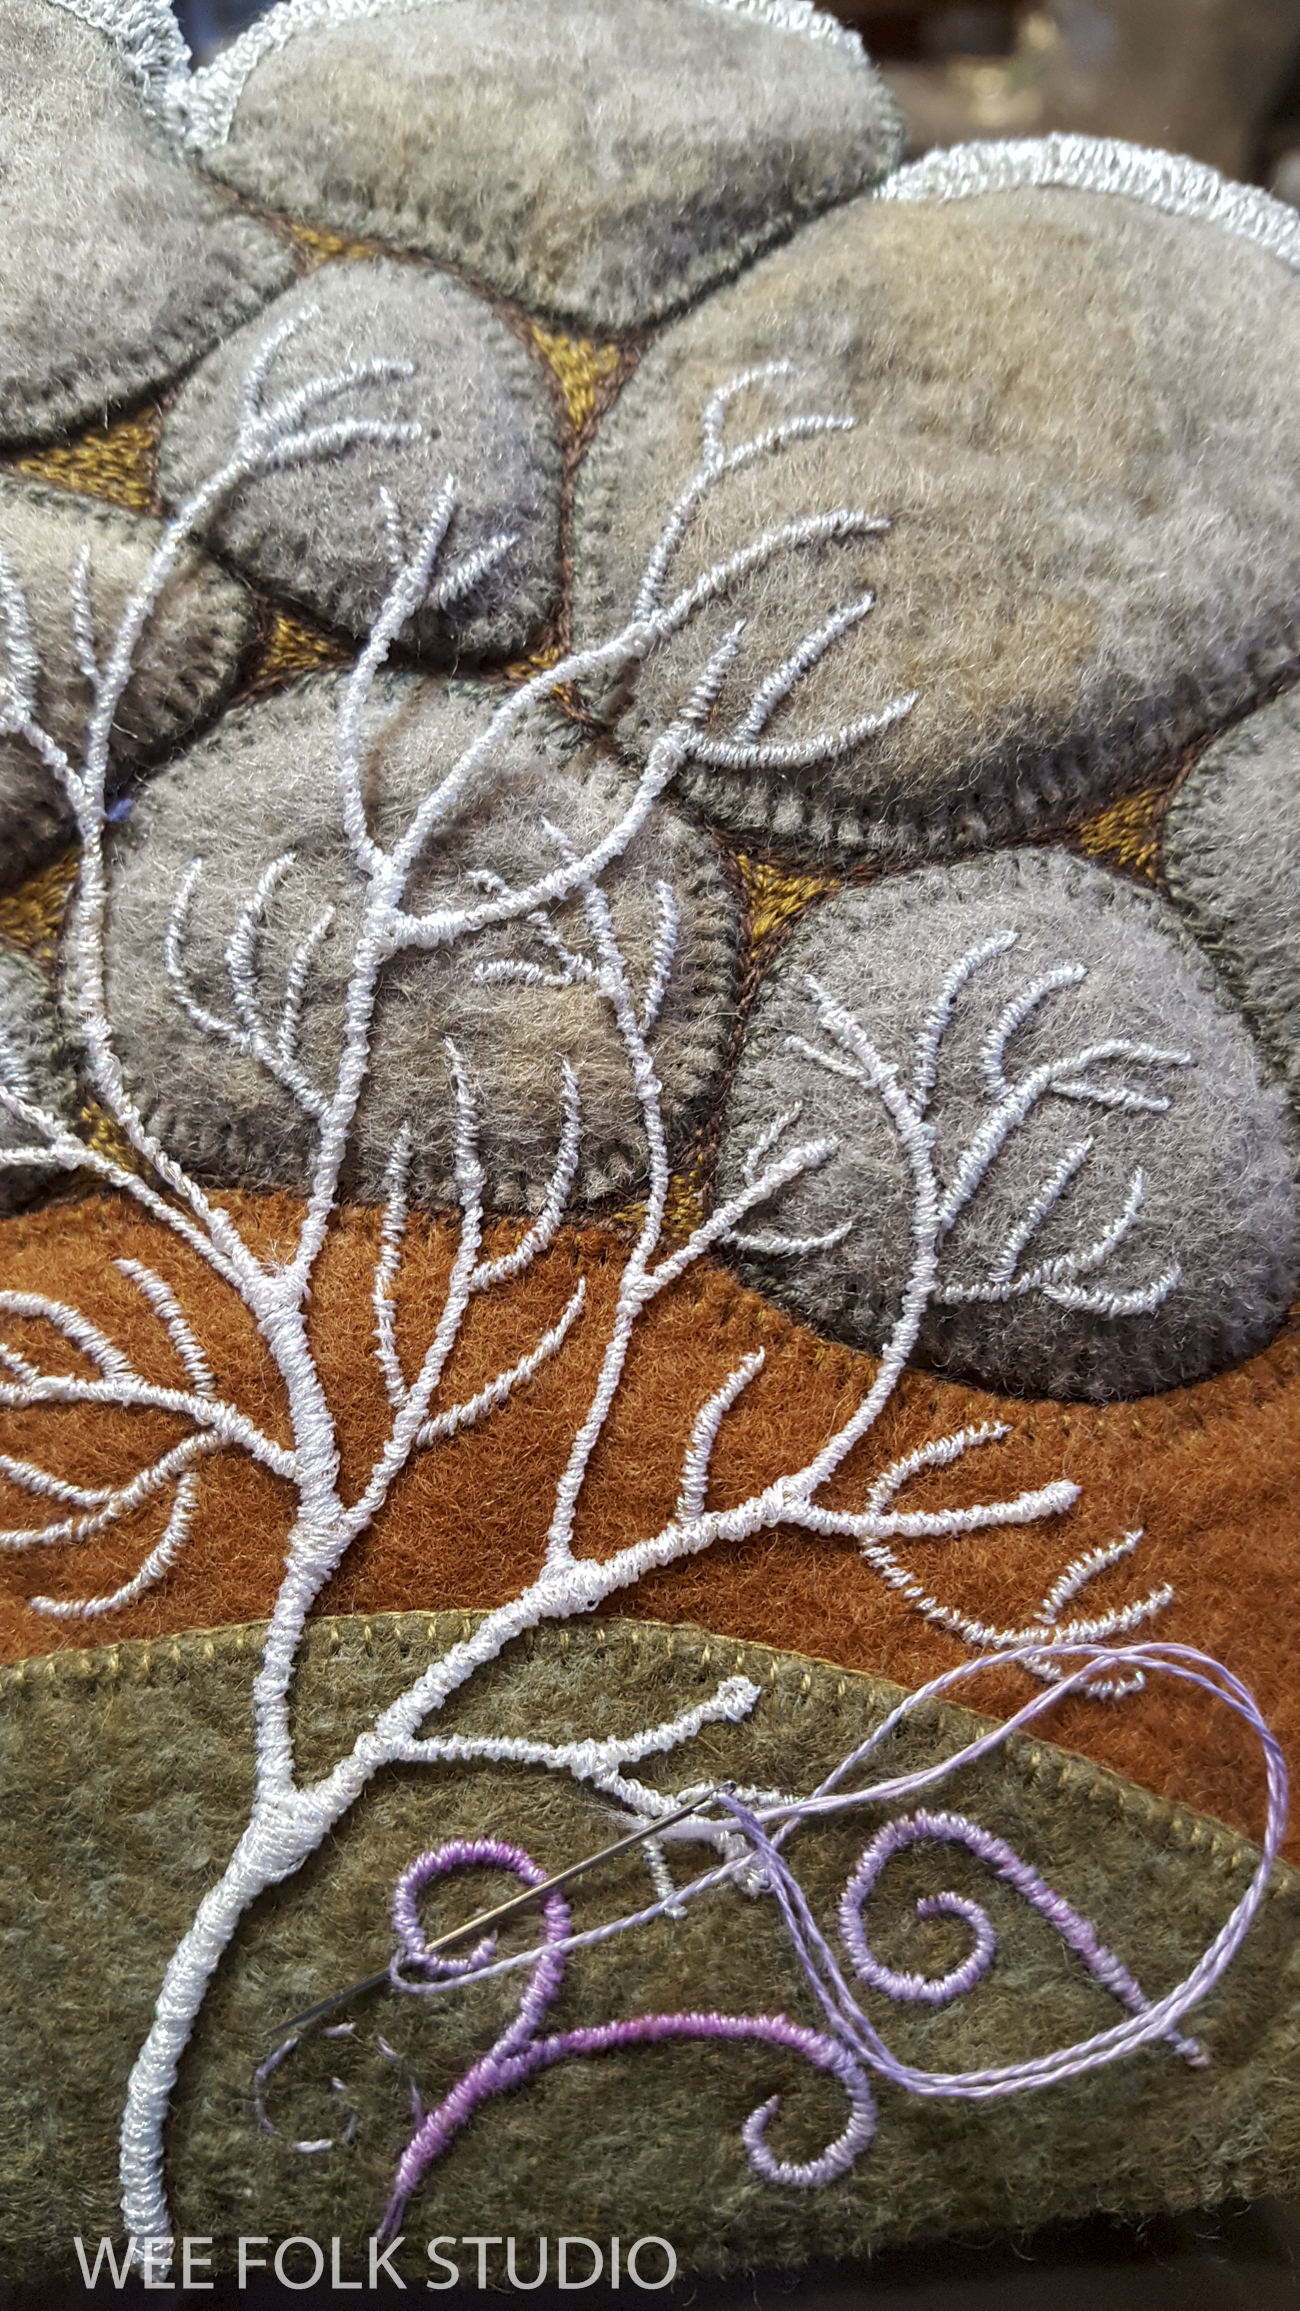
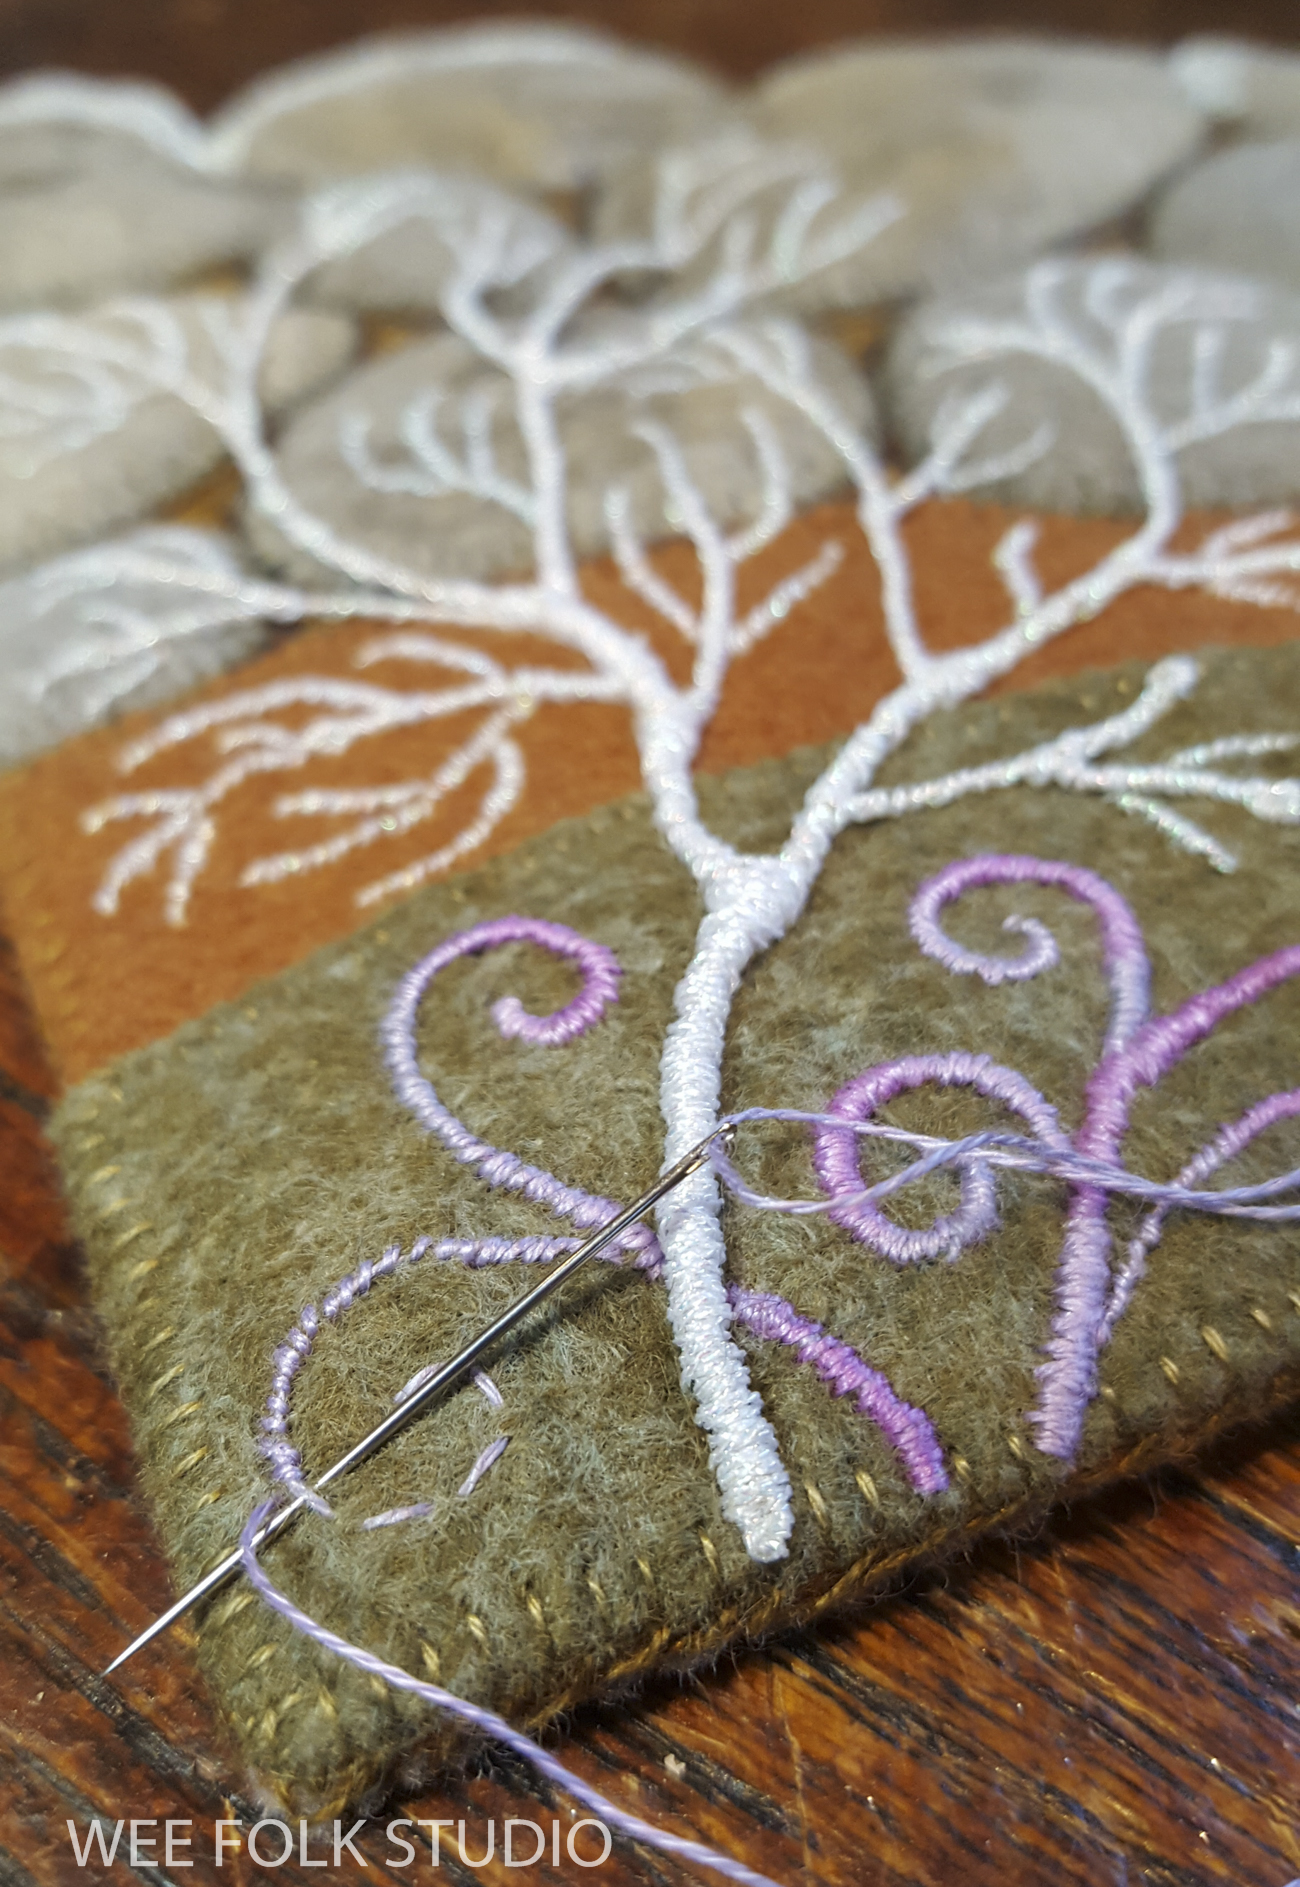
To help add a little accent, I dotted the tips of the branches with silver french knots.

Now, with the lower half of the composition sufficiently grounded, I could move on to other more fantastical areas of the piece.
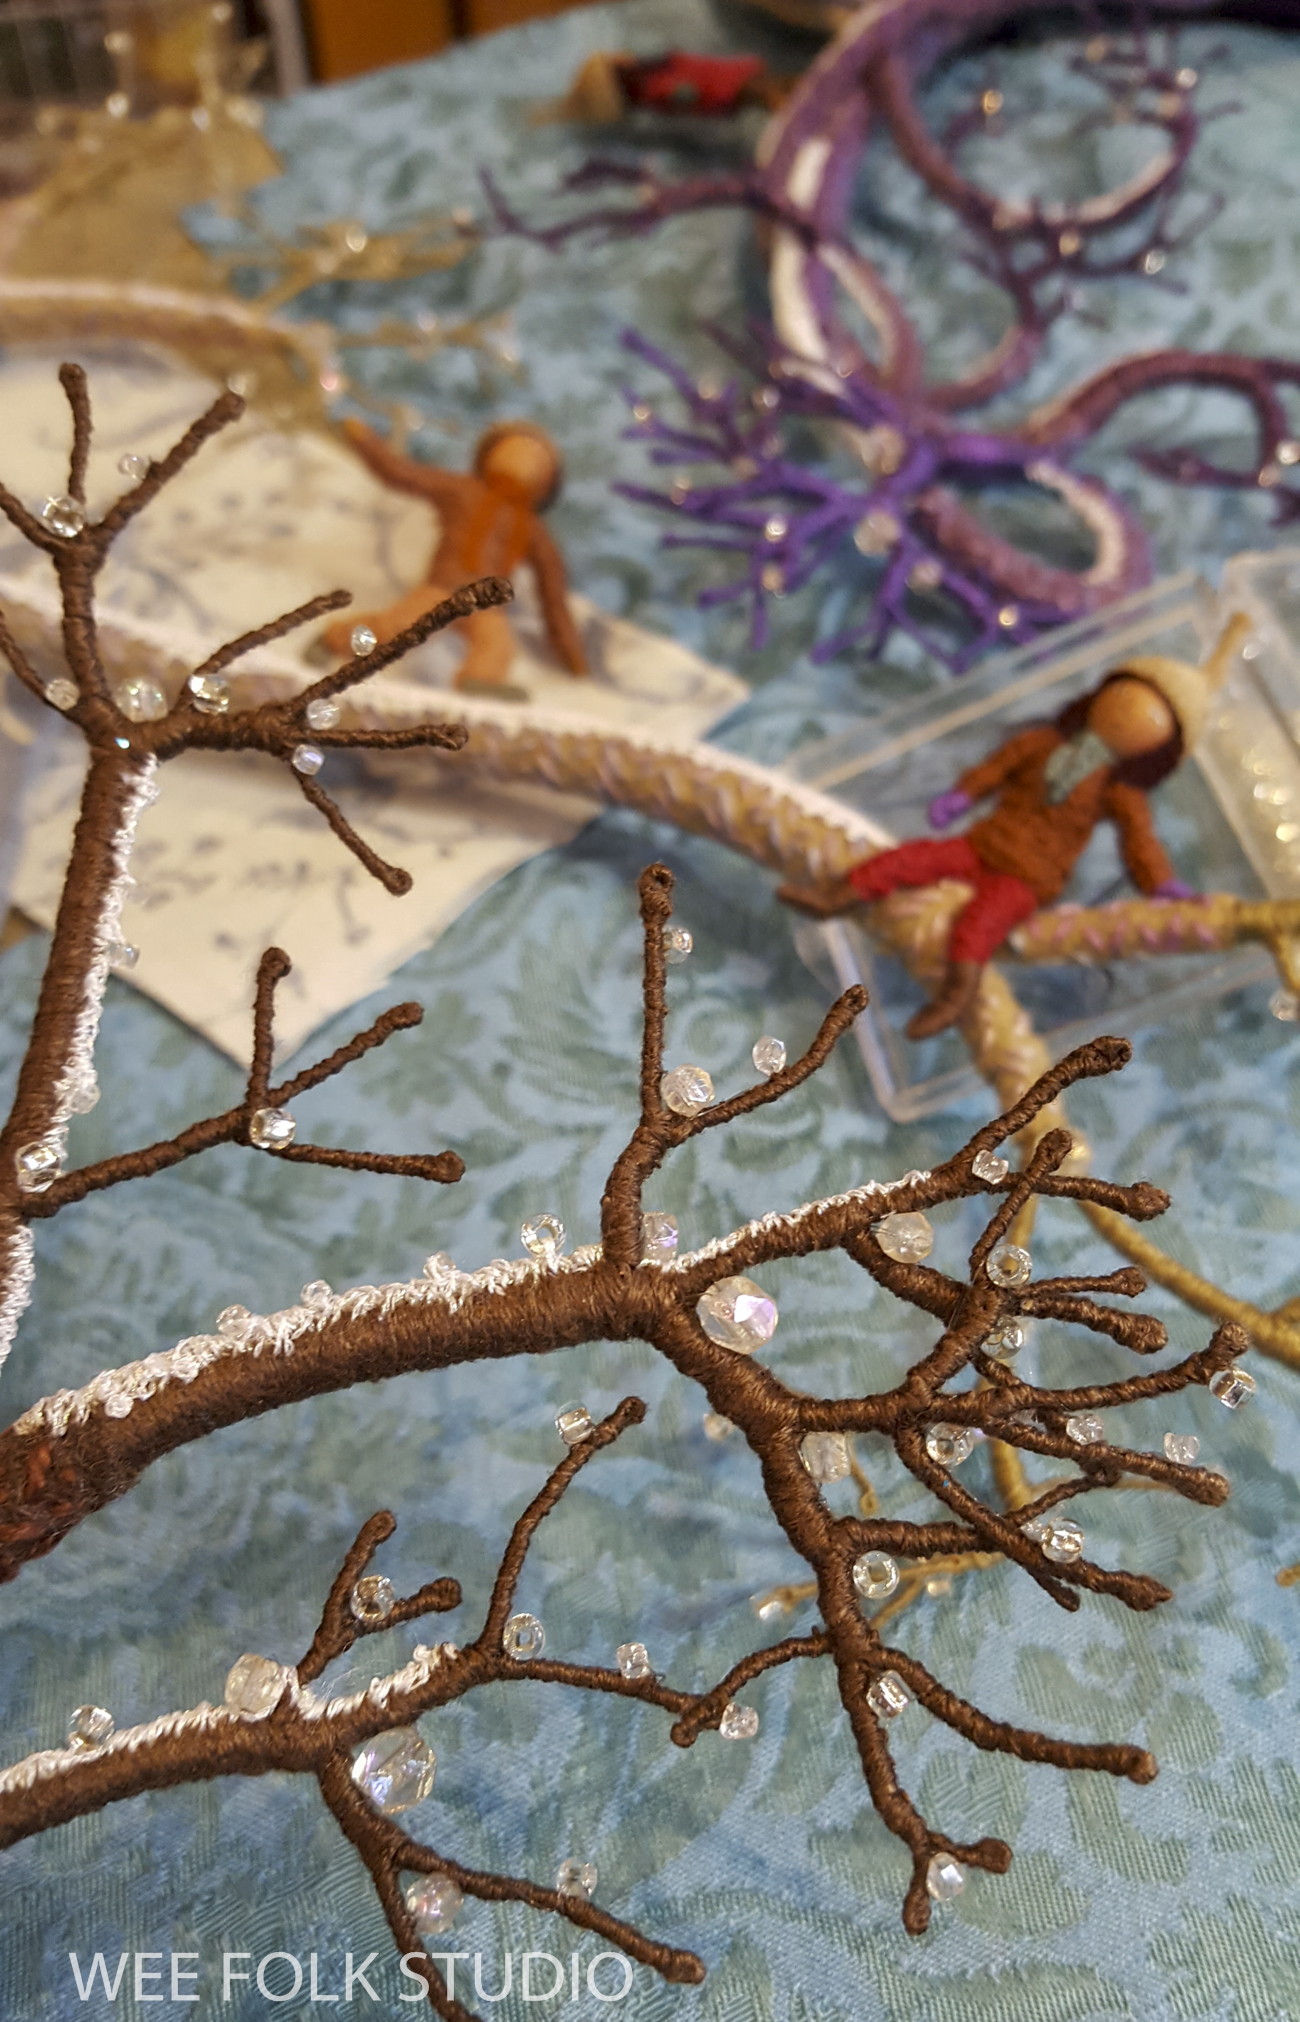
Stay tuned for Part 5 in the Frosty Morning series, which will be all about adding ice and snow and sparkly touches to the winter landscape.
To keep up with new posts, subscribe to this blog. Your contact info will not be shared. If you’d like to see more frequent photos tracking the projects in my studio, please follow me on Facebook and/or Instagram.