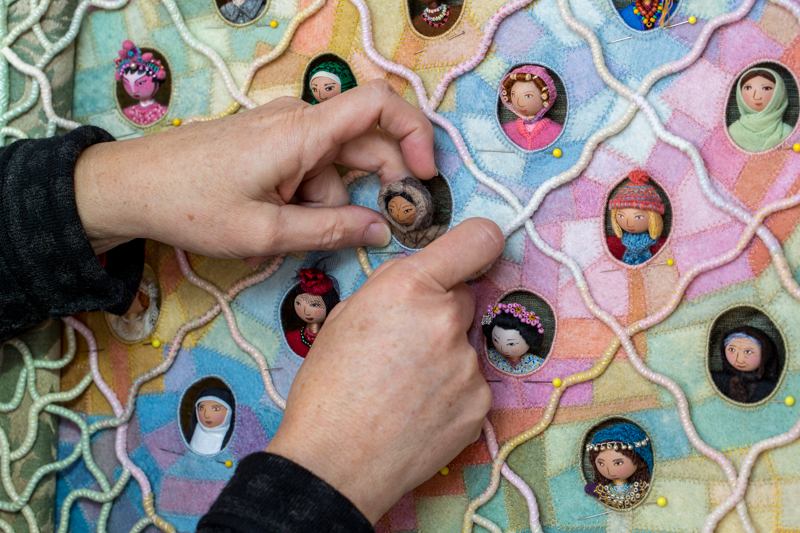
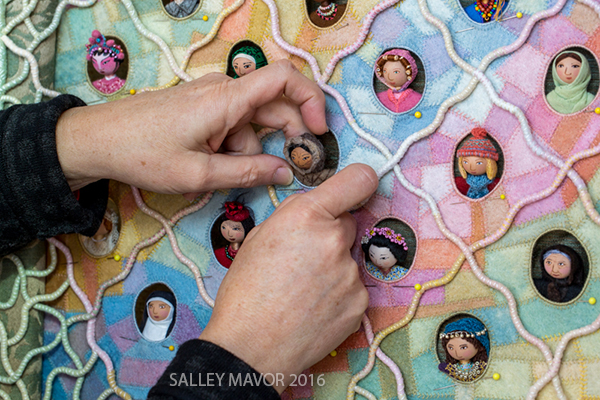
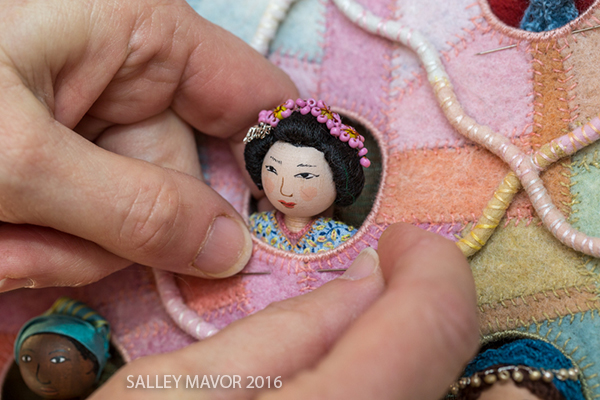
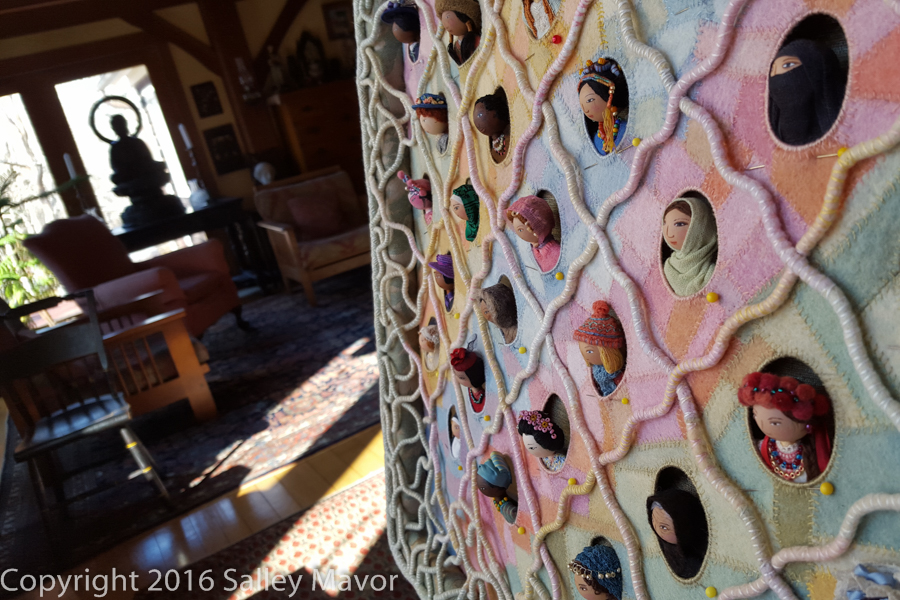
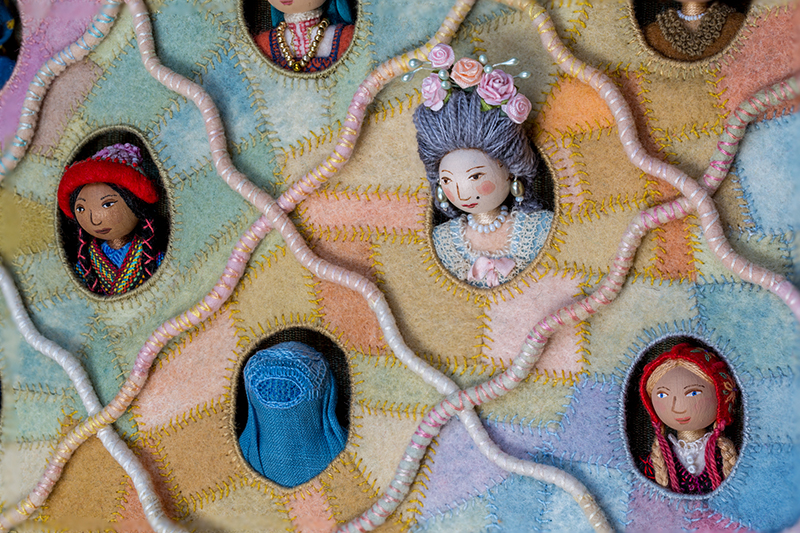
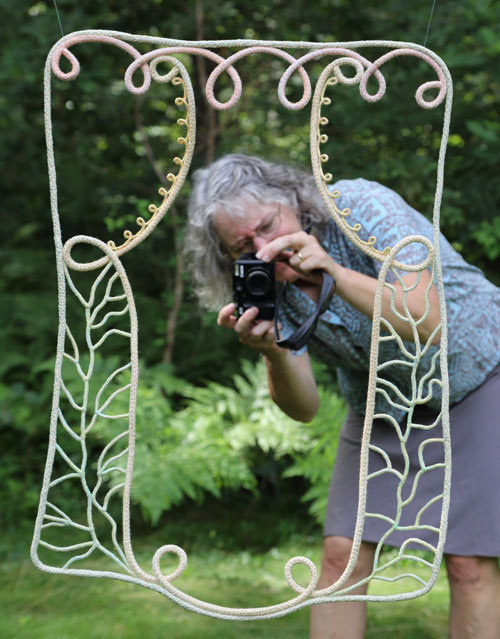
Let’s be honest. Finding places to exhibit your work can be challenging and frustrating. I’ve been entering juried group shows for decades and still wonder if it’s worth the hefty jury fees, the shipping costs, the steep odds of being accepted, and having to hold artwork in reserve until the results come in. And they usually only want new work, so your pieces time out after 3 years. I’m not talking about art and craft fairs where you set up a booth, but art exhibits hung in a gallery space. I ask myself, “Is this a worthwhile way to promote my work and participate in the art world?” Despite my doubts, I keep trying, even though my pieces are not accepted into the majority of shows I enter. One happy exception this summer is Fiber Innovations II at the Parker Arts, Culture and Events Center, in Colorado, which includes Face Time.

Face Time

Whiskers

Cover Up

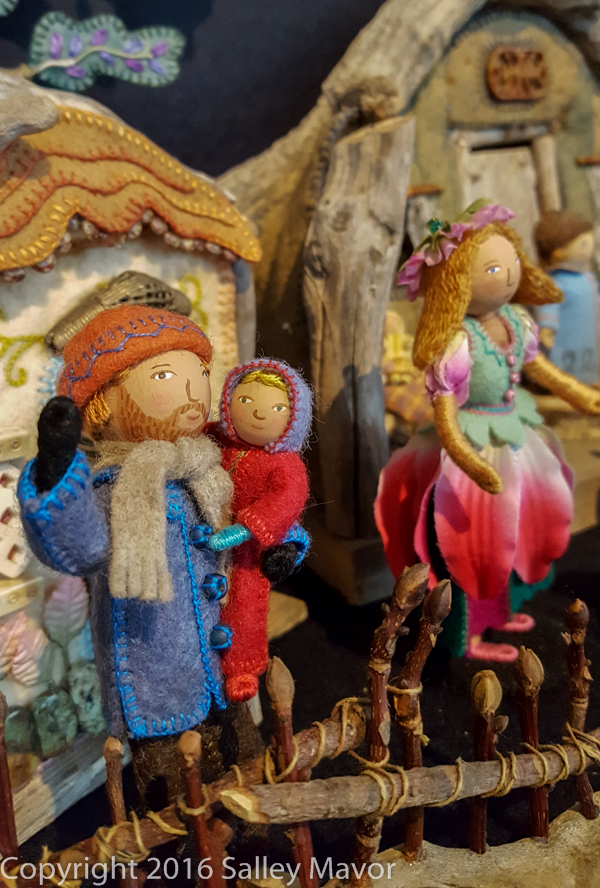
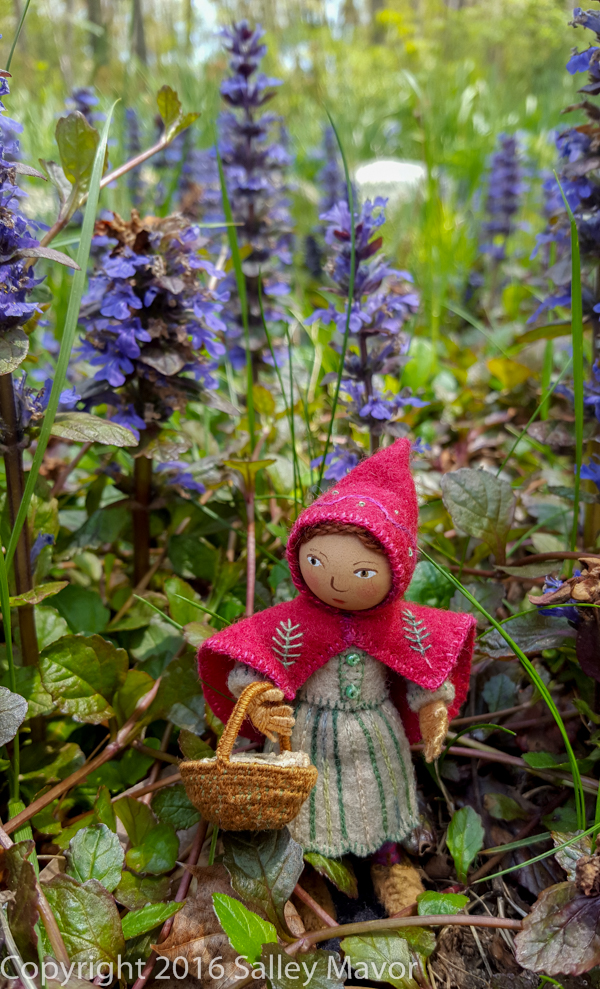
illustration from “Pocketful of Posies”

Self Portrait: a personal history of fashion, 2007
I got the idea to write about this subject after talking with an art quilter at a recent SAQA opening, who was surprised when I told her that my work didn’t get into the show. I wasn’t complaining, just trying to explain the reality of the situation. I realized that only sharing positive news on this blog may give the impression that it’s always a smooth path forward. Continually painting a rosy picture can be deceiving, as well as annoying, and may not be helpful of those of you who also face rejection of your work.
Leading the life of an artist is full of struggles, both personally and professionally, and I’ve had my fair share. When you put your art out there to be judged, it isn’t always admired, no matter how established you are. Over the years, I’ve come to understand that what I do doesn’t easily mesh with what jurors and curators are looking for. It must not be easy to curate a cohesive grouping of pieces by different artists, especially with the variety of styles and methods in the fiber art world. Each juror has their own tastes and vision, which should be respected. If they’re attracted to more abstract, conceptual or edgy work, I’m out in the first round. I can also imagine there being a problem if dolls give them the creeps or they don’t like work that’s framed under glass. There’s no way of really knowing because there’s no feedback, just a simple “accepted” or “rejected”.
And you can’t always tell by the show’s prospectus, guidelines, and juror bios if your work has a decent chance of getting in. You just use your instincts to pick the shows, submit your highest quality photos, fill in all of the requested info and hope for the best. One good thing is that most juried shows are blind, so that everyone’s work is judged without bias toward or against an artist’s name. So, we’re all given an equal chance to have our work seen by a wider audience. Even though I’m very comfortable being an outsider, I plan to continue applying to juried group shows because I want to influence and contribute to today’s seemingly impenetrable and illusive art world as much as I can.
Despite all of this grumbling, there is some good news on the exhibit front. I’ve been invited to show my work at a few places (listed below), so I’m happy to say that there are opportunities to see my pieces in person this summer and fall. There may even be some more juried shows this coming fall and winter to add to the exhibits page!
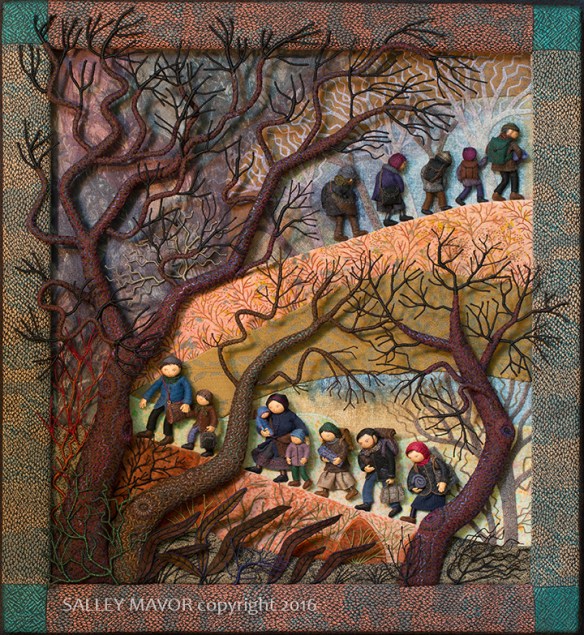
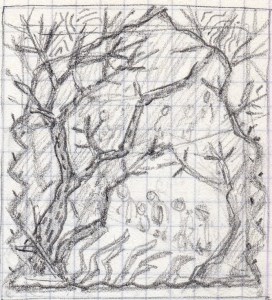
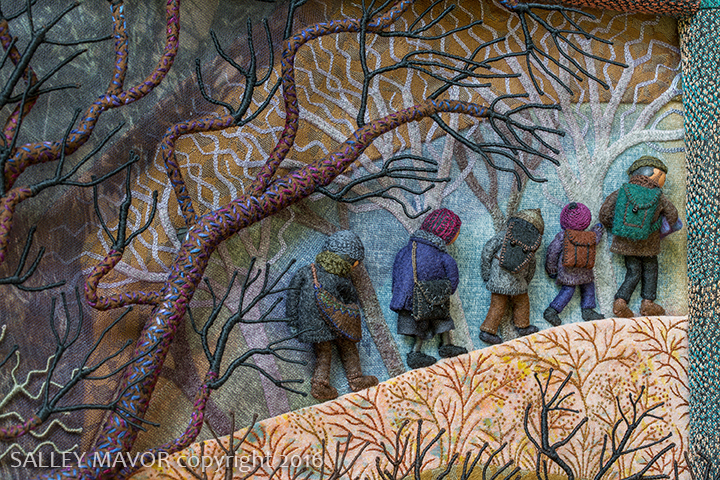
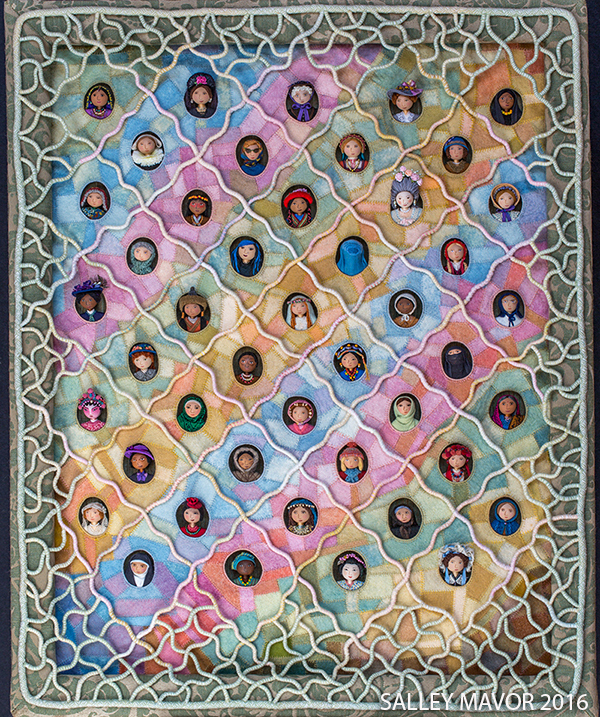
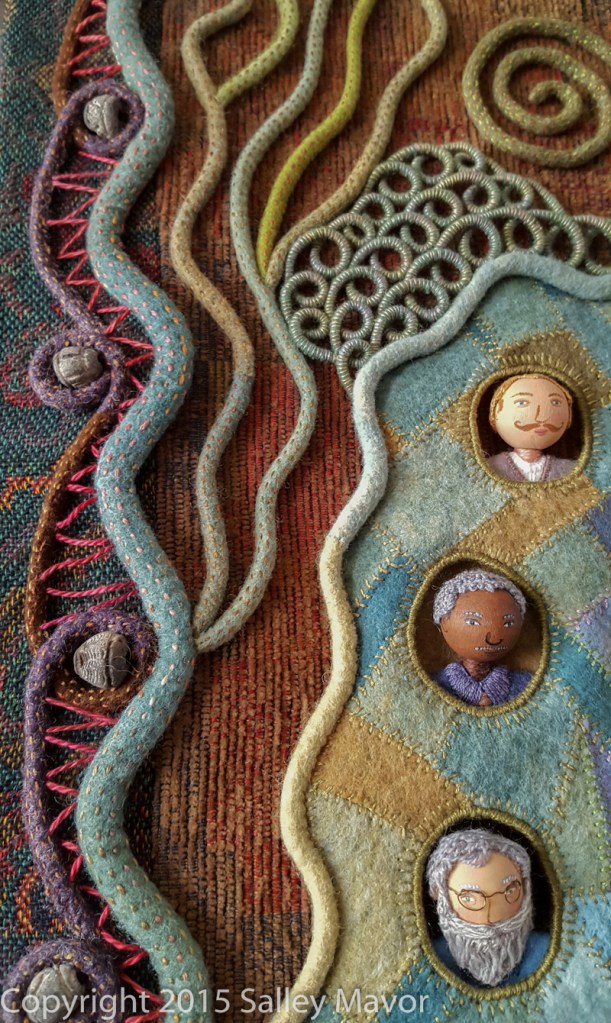
Displaced, 24″ H x 22″ W, 2016
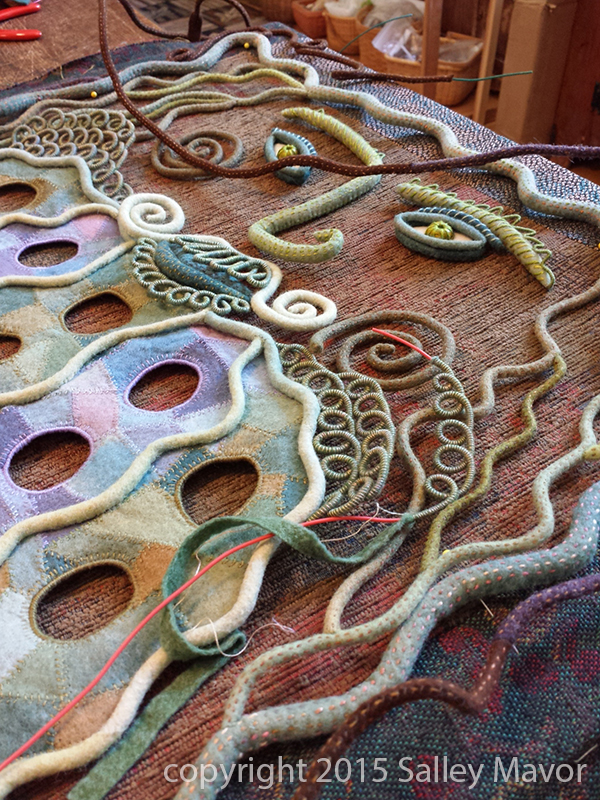
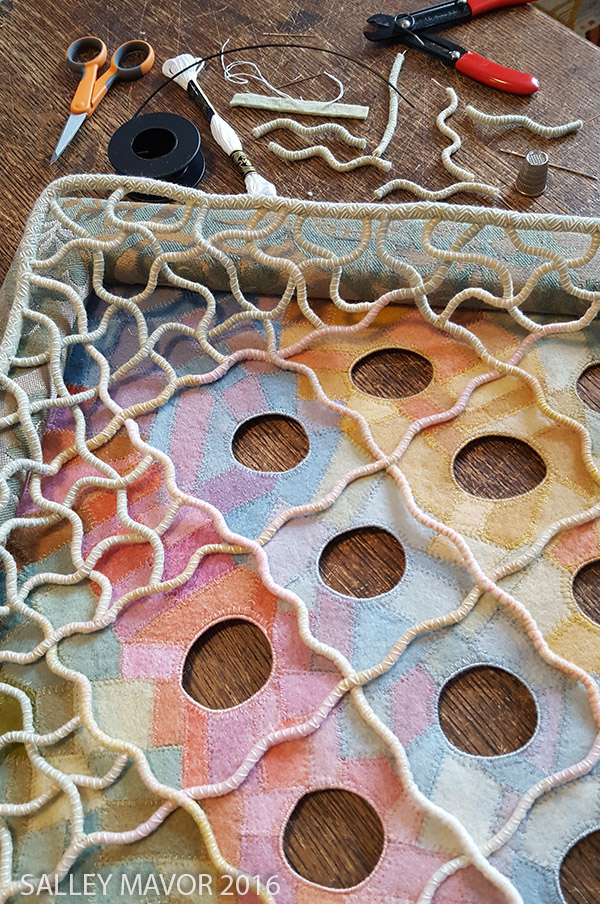
In a productive year, I can make 2 large (24″ x 30″) pieces, so it takes several years to accumulate enough work to hang together in a solo show. That’s why I’ve held off selling my new pieces. I just finished Displaced (shown above), which will have its premiere showing at the Bristol Art Museum in Rhode Island this fall.
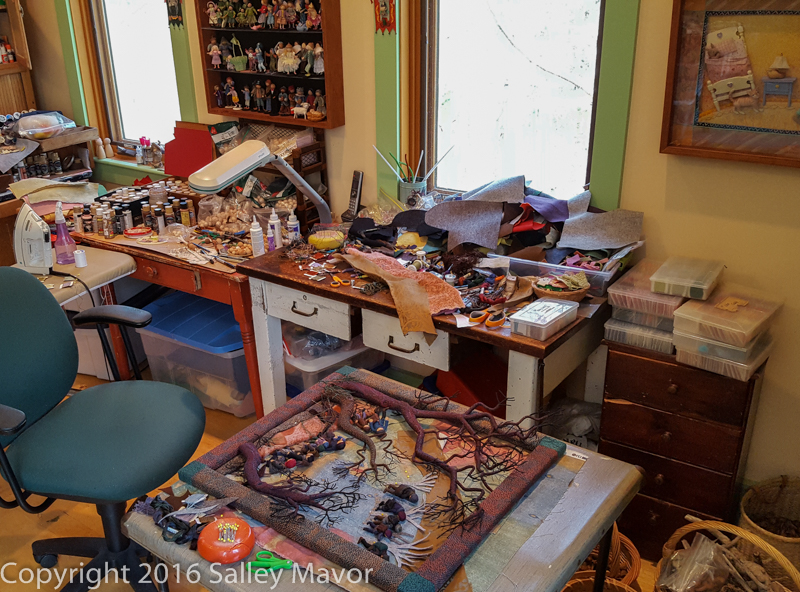
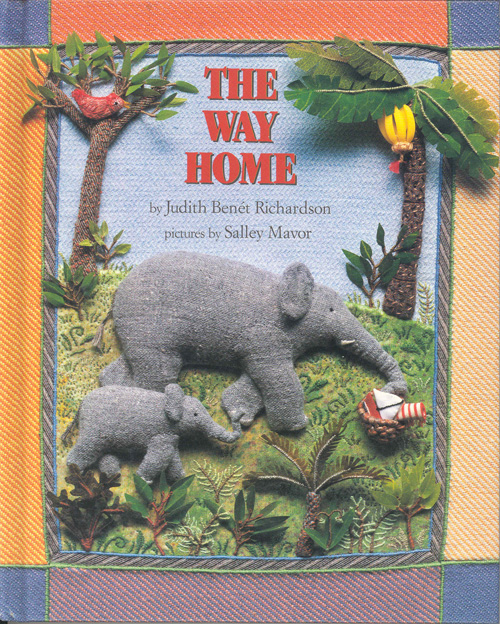
So, how do I continue supporting the work I do, without selling new pieces? I depend on sales of printed reproductions in books, posters and cards to subsidize the costs associated with making and showing the originals. Shipping the framed pieces can be expensive, so I request reimbursement from hosting venues whenever possible. Of course, I can deliver the work by car to places in southern New England. I hope to exhibit these new pieces in other locations in the future, so that more people can see the real thing. Lately, I’m more focused on making new work than the promotional side of things, like sending out show proposals, but inquiries from museums and art centers with funding for shipping costs are always welcome!
—————————————————————————————————————————–
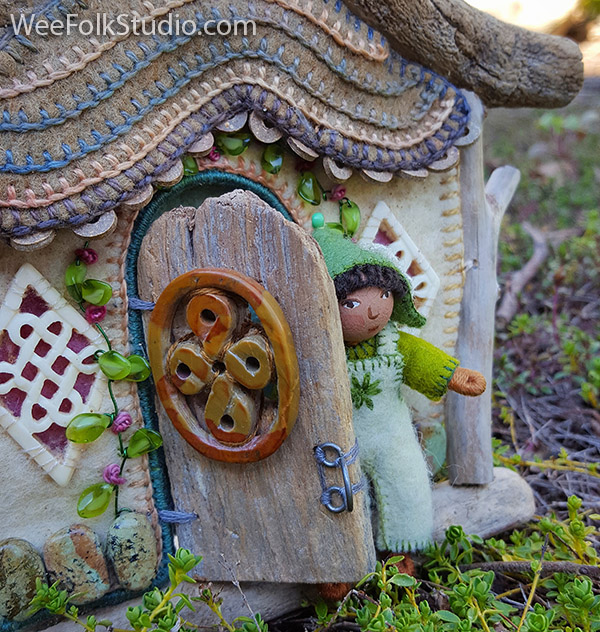
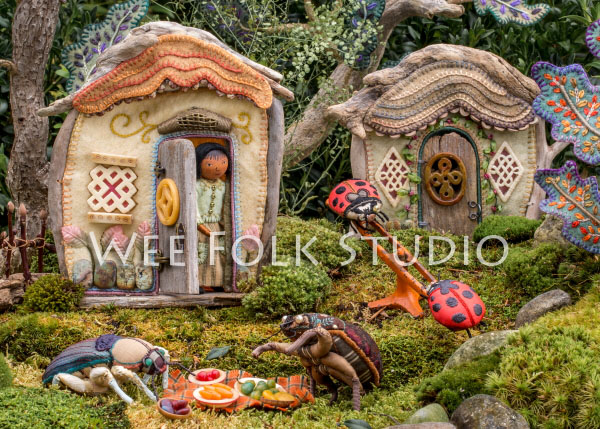
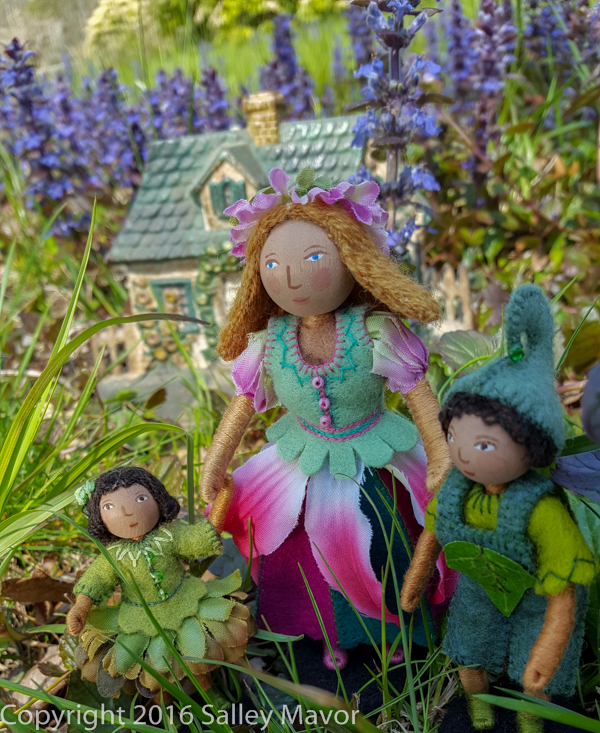
June 2, 2016 – Jan 8, 2017 ~ Selected wee folk dolls, houses and props, plus 2 original fabric relief illustrations from Pocketful of Posies are being shown in the Geometry Gallery display case at the Providence Children’s Museum, Providence, RI.

Illustration from “Pocketful of Posies”

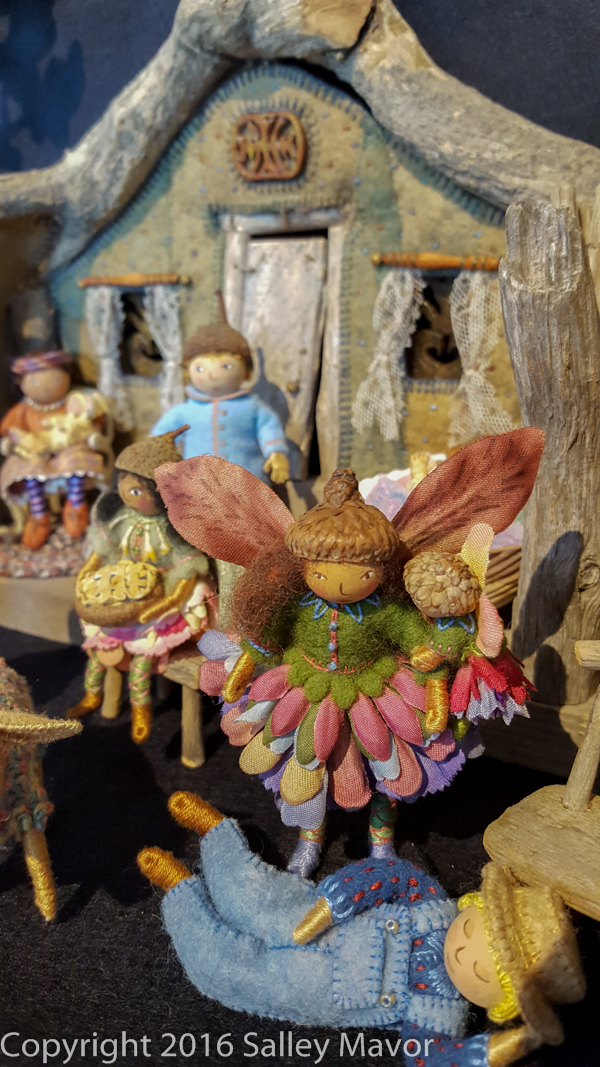
Felt Wee Folk

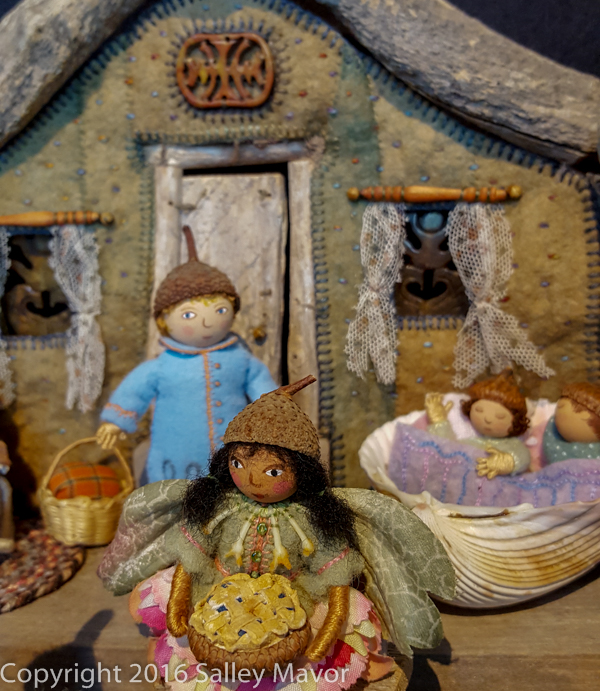
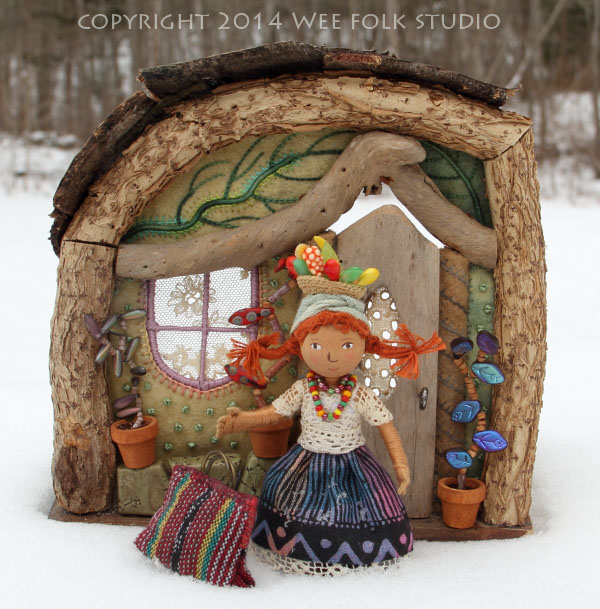
Old Woman Who Lived in a Shoe from “pocketful of Posies”
 June 2 – July 10, 2016 ~ Fiber Innovations II at the Parker Arts, Culture and Events Center, Parker, CO. Face Time is included. Fiber Innovations II is a fiber arts show that focuses on surface design. Material options are varied and part of the adventure! How these materials are used and the forms that are created are part of each artist’s inspired design process.
June 6 – August 5, 2016 ~ Shaping Lives: The Transformative Art of the Figure at the Reece Museum, East Tennessee State University, Johnson City, TN. The exhibit focuses on the doll’s unique form or figure. It features artists that use this art form to create a visual voice – to tell a story, initiate a debate, make a statement or simply carry a message that helps educate, empower and/or change the life of another. 3 of my pieces, Whiskers, Cover Up and Molly My Sister and I (from Pocketful of Posies) are included.
Sept. 16 – Oct. 30, 2016 ~ Intertwined – Needle Art of Salley Mavor
Bristol Art Museum, Bristol, Rhode Island. Several new pieces will be shown, including Whiskers, Cover Up, Face Time, Birds of Beebe Woods and the premiere showing of Displaced .
Feb. 28 ~ April 1, 2017 ~ Hanging by a Thread – Needle Art of Salley Mavor at Gallery 65 on William, New Bedford, Massachusetts. New and old pieces will be shown.