
This is the final part in a series of posts about my new embroidered bas-relief piece Cover Up. In Part 1 and Part 2, the collection of “covered” women are introduced and discussed. Part 3 shows how I made the pieced felt background and Part 4 is about the felt covered wire border.
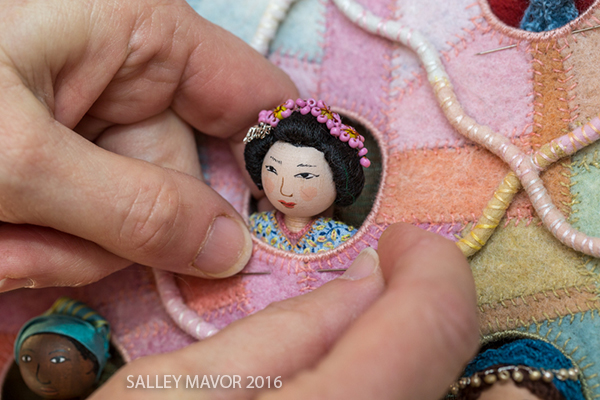
Before sewing all of the heads in place, I added squares of 1/4″ thick felt in between the holes. That way, the pieced felt background would lay flatter. I then stitched the heads so that they peeked out of the holes and covered the entire back with a piece of neutral colored fabric.

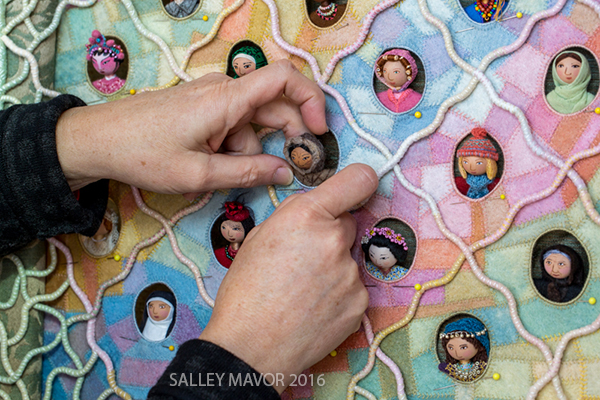
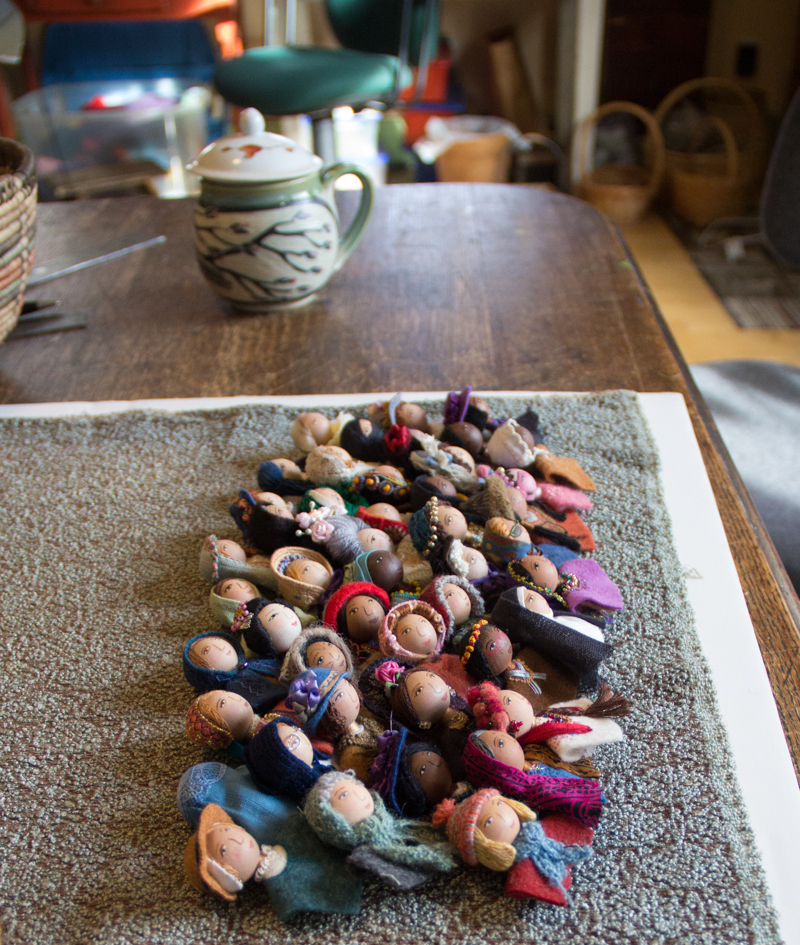
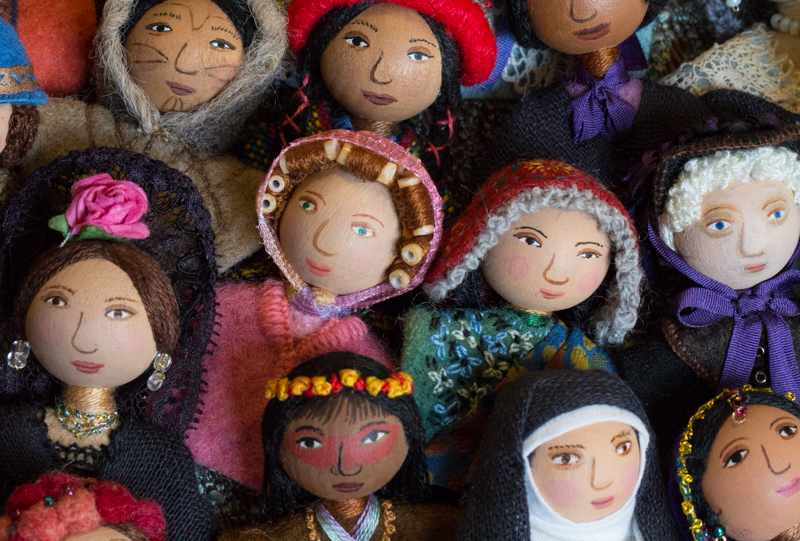
I pinned the heads inside the openings and shuffled them around quite a bit to get an arrangement that balanced color and contrast. It just took a few stiches at the hole rim to attach the portraits.
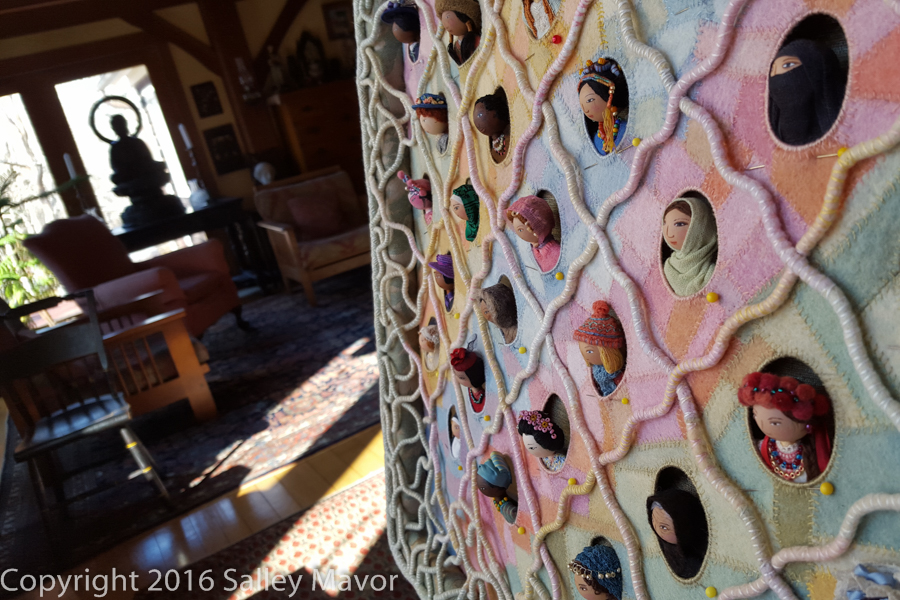
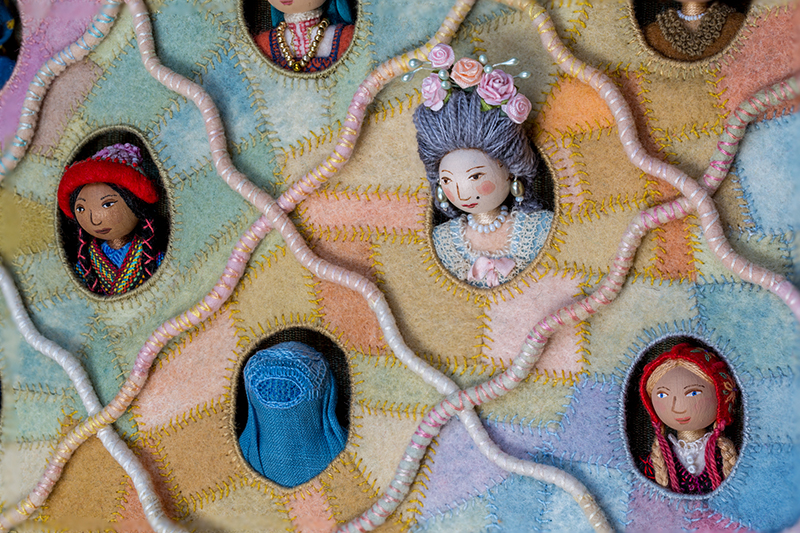

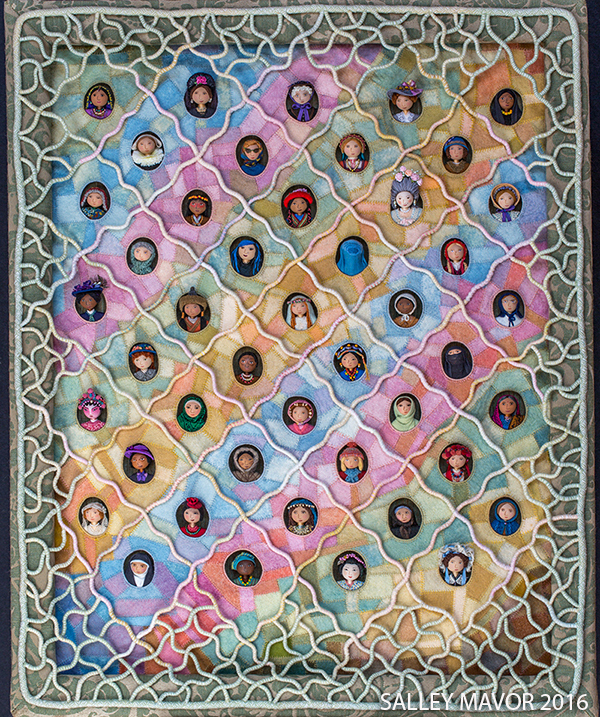
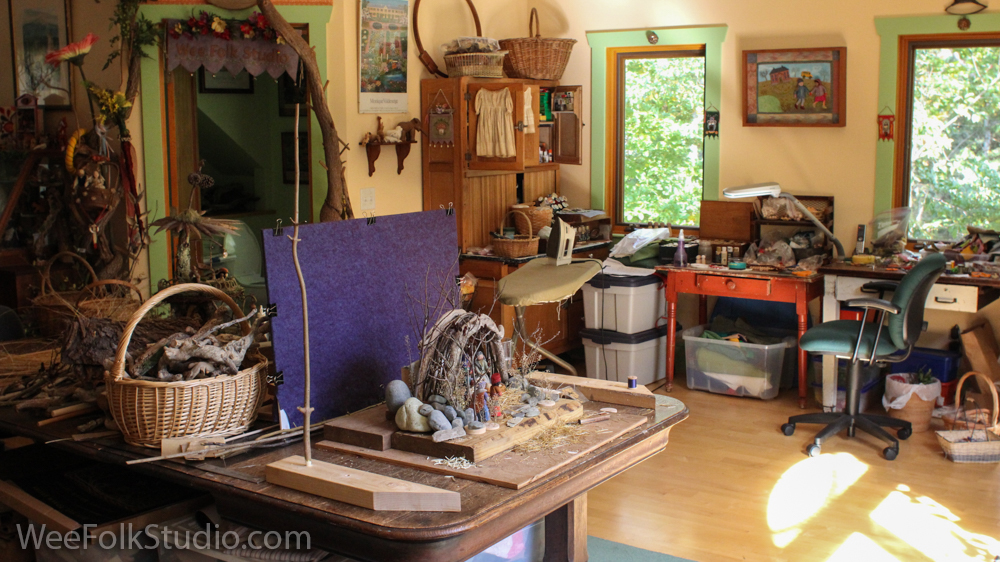
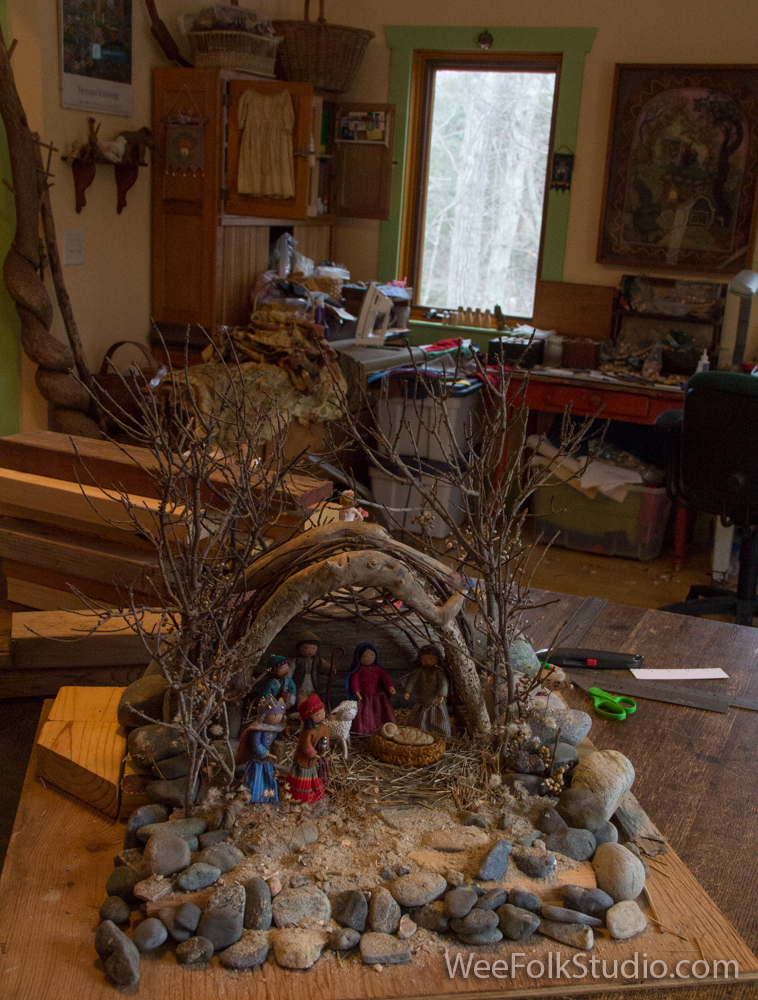
My husband Rob took photos of the finished piece downstairs. I hope that you have enjoyed this series of posts.

12 x 17 posters featuring of a selected group of portraits from Cover Up are available in my Etsy Shop here. Information about entering the Giveaway is at the end of this post.
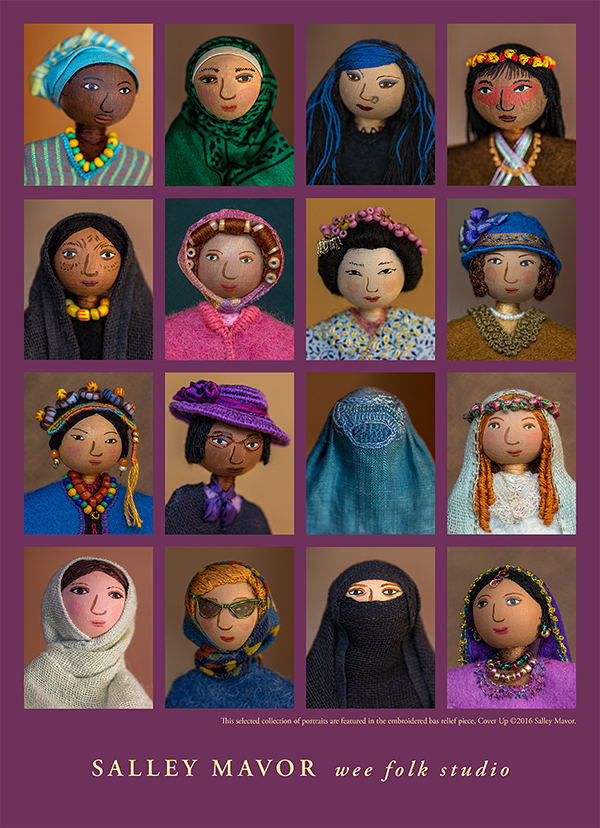
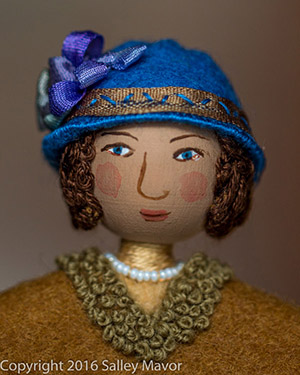
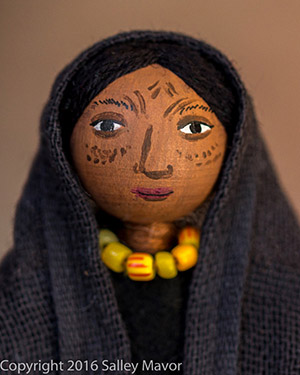
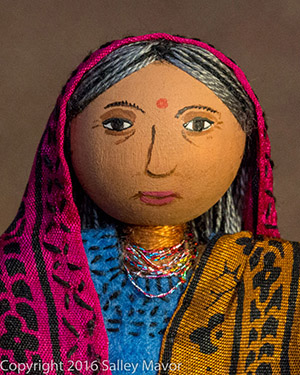
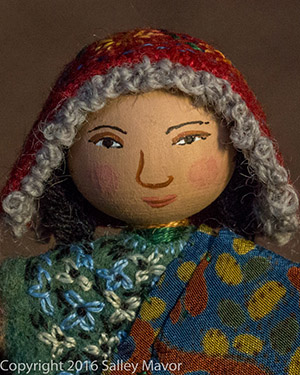
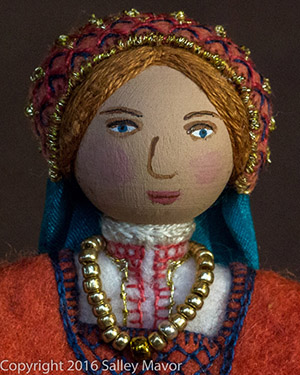
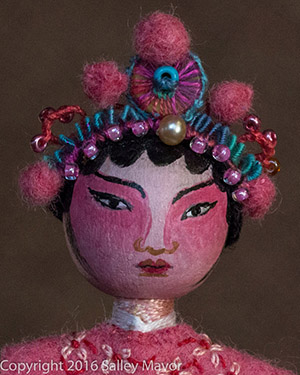
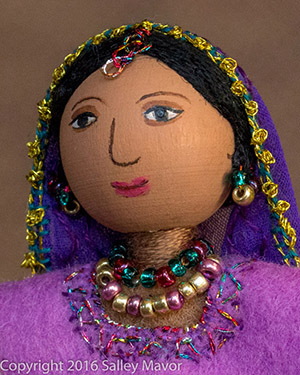
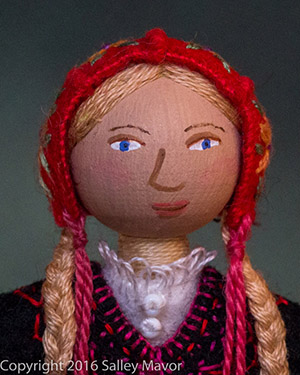
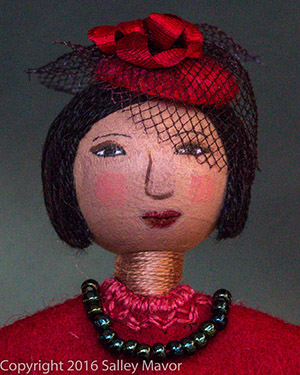
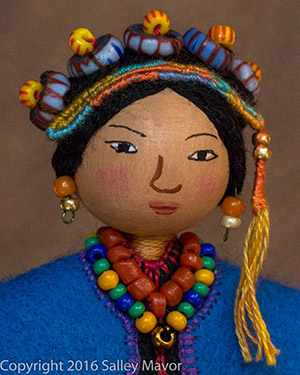
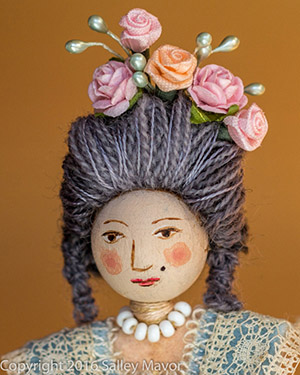
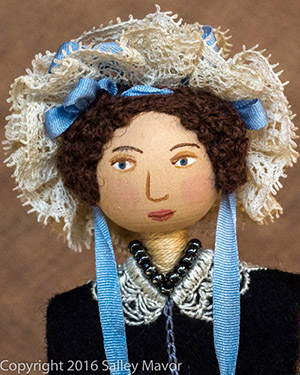
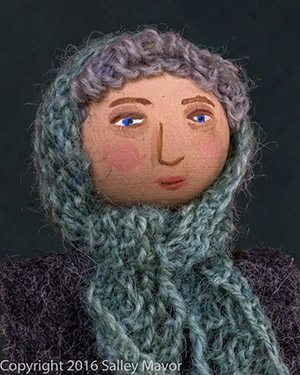
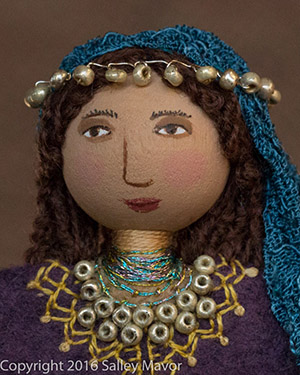
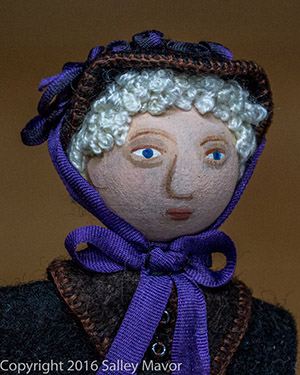
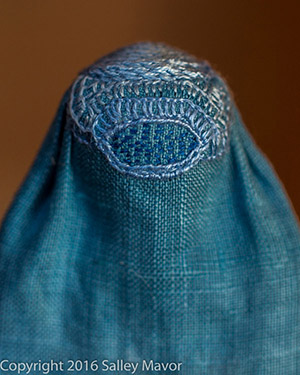
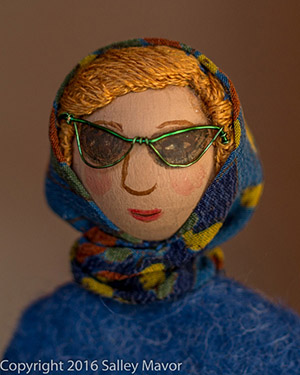
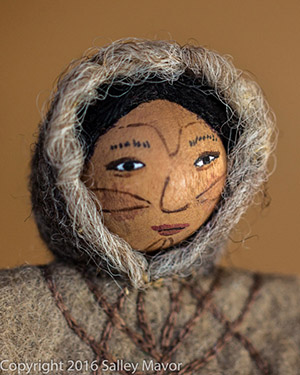
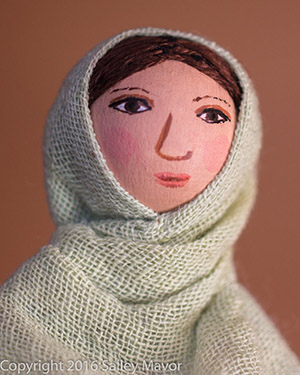
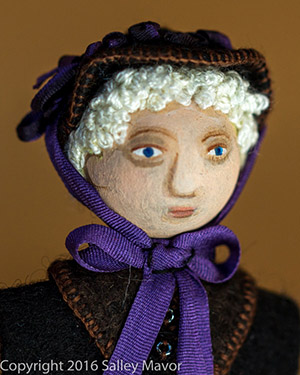
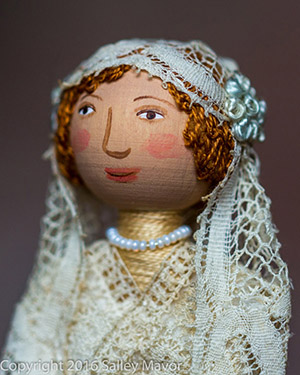
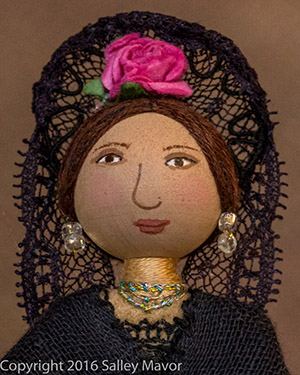
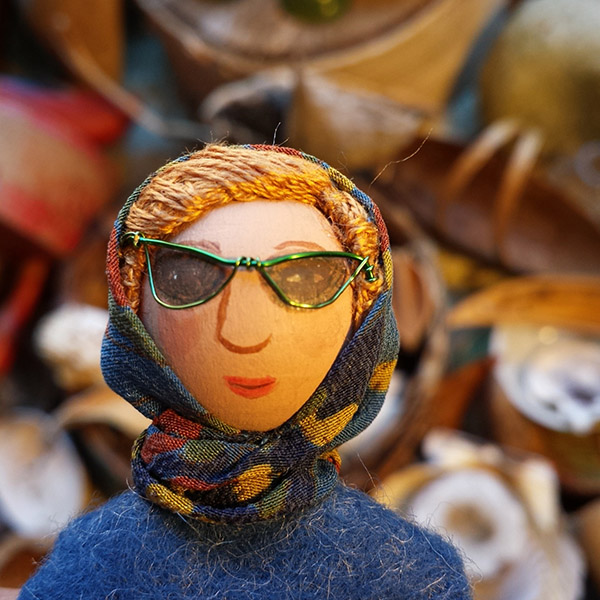
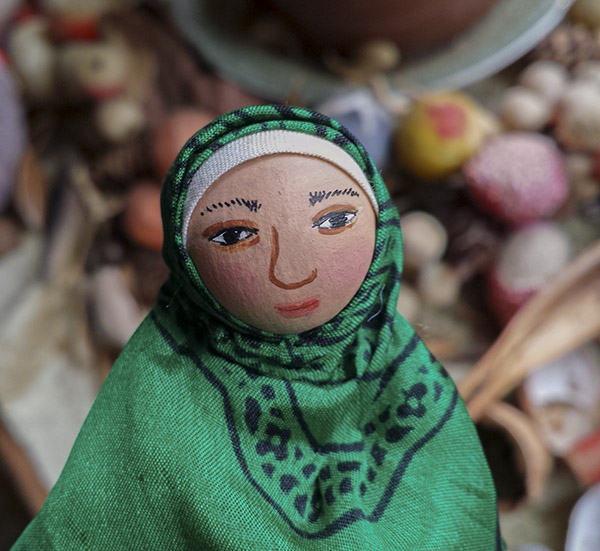
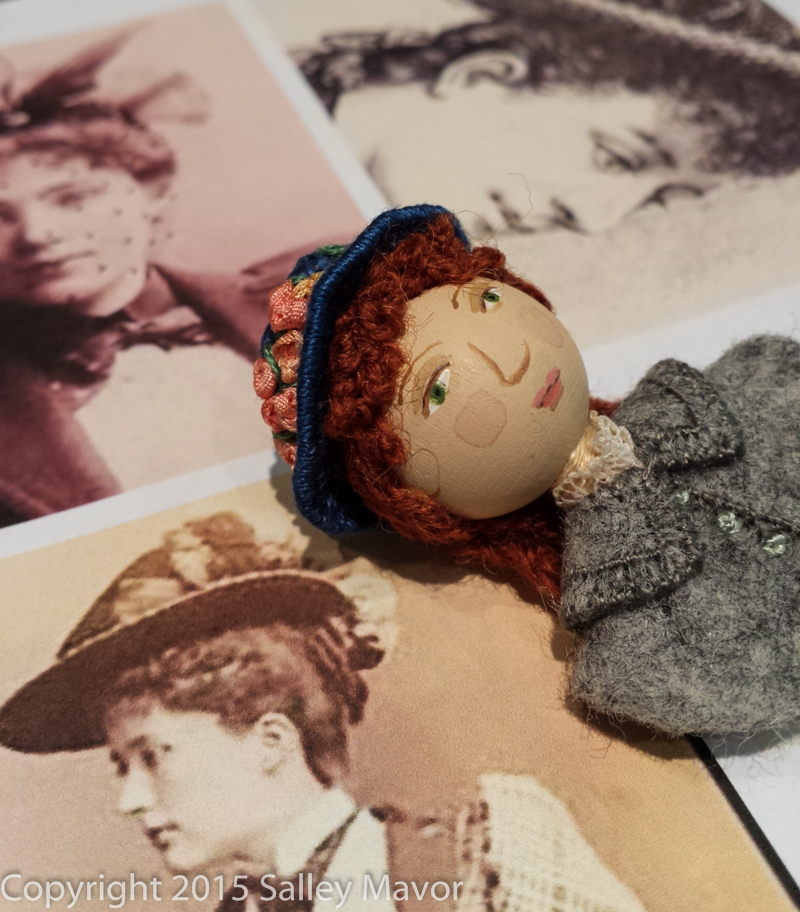
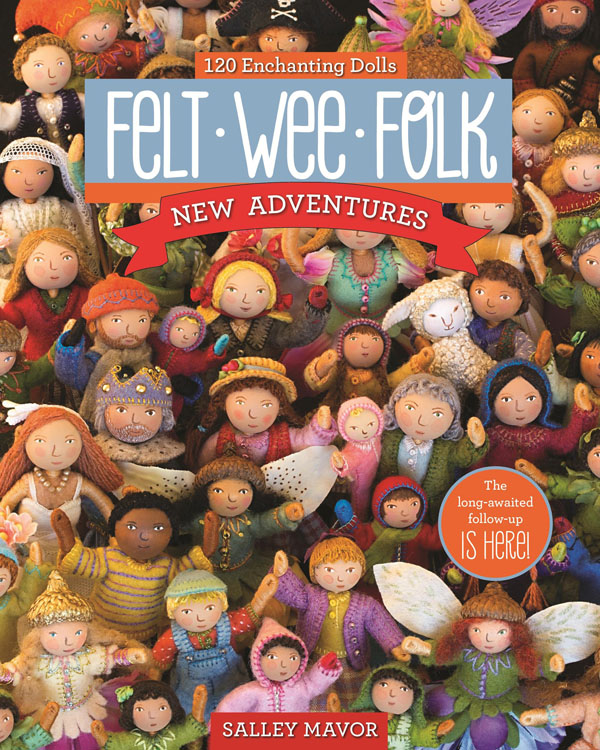
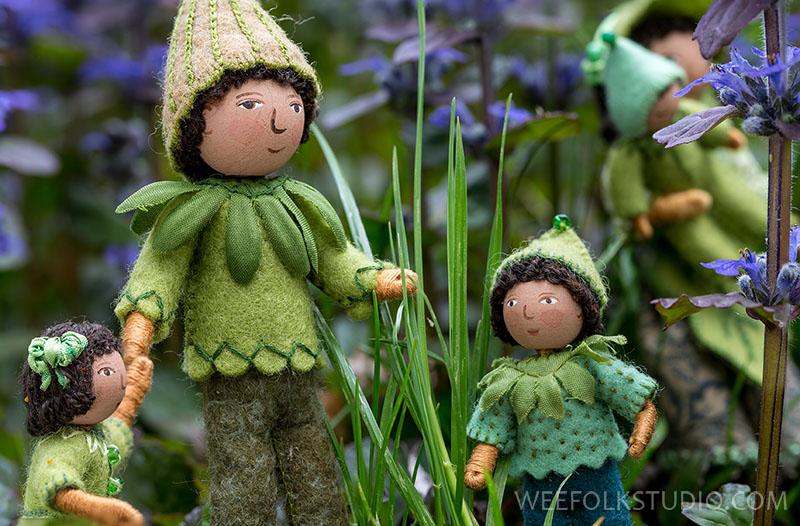
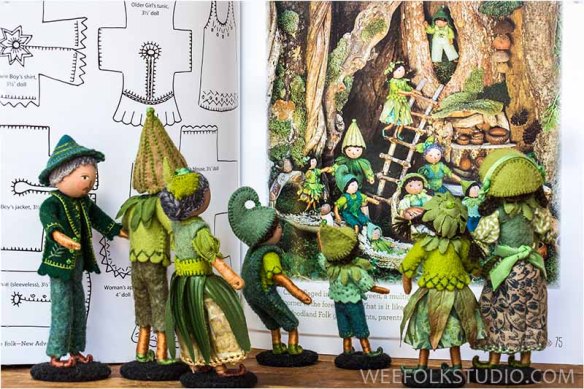
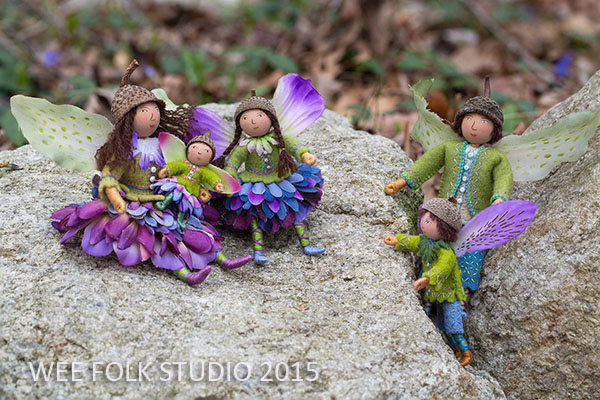
Cover Up is part of a series that includes Face Time and Whiskers, which focus on bringing to life different people from around the world, using themes of history, style and cultural identity. In each piece, head and shoulder busts peek out of “cameo” framed holes. Their faces are painted 20mm wooden beads, with wigs and adornments, similar to the doll heads in my how-to book Felt Wee Folk – New Adventures.
Read the other parts in the Cover Up Series: Part 1), (Part 2) and (Part 3) and (Part 4).
To keep up with new posts, please subscribe to this blog Your contact info will not be sold or shared. If you’d like to see more frequent photos tracking the projects in my studio, please follow me on Facebook and/or Instagram.


