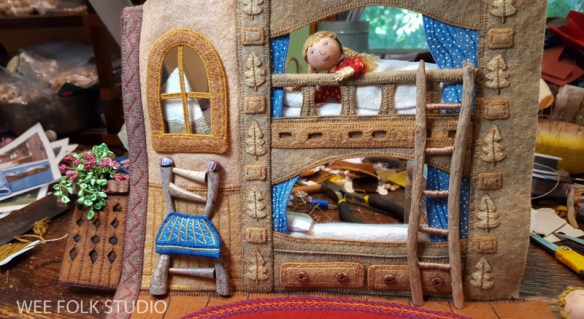
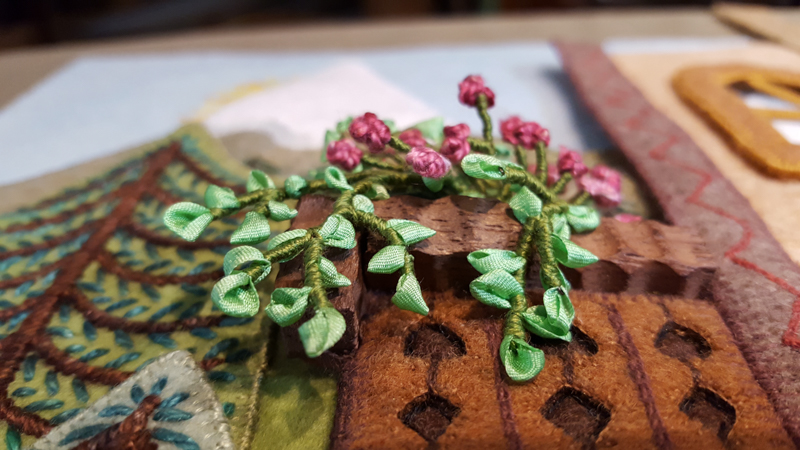
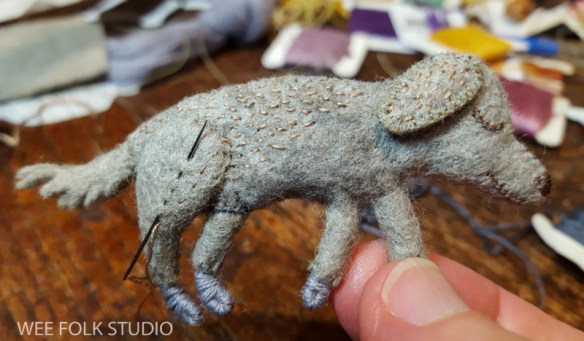
In this 4th and final post in the series about the Scandinavian scene, I will show extra details, such as the ladder, shoes and rug. Part 1 is about making the framework for the cubby style bunk beds. Part 2 gives a glimpse at what’s outside: the balcony, flowers, mountains, sun and trees. Part 3 focuses on the chair and the children.
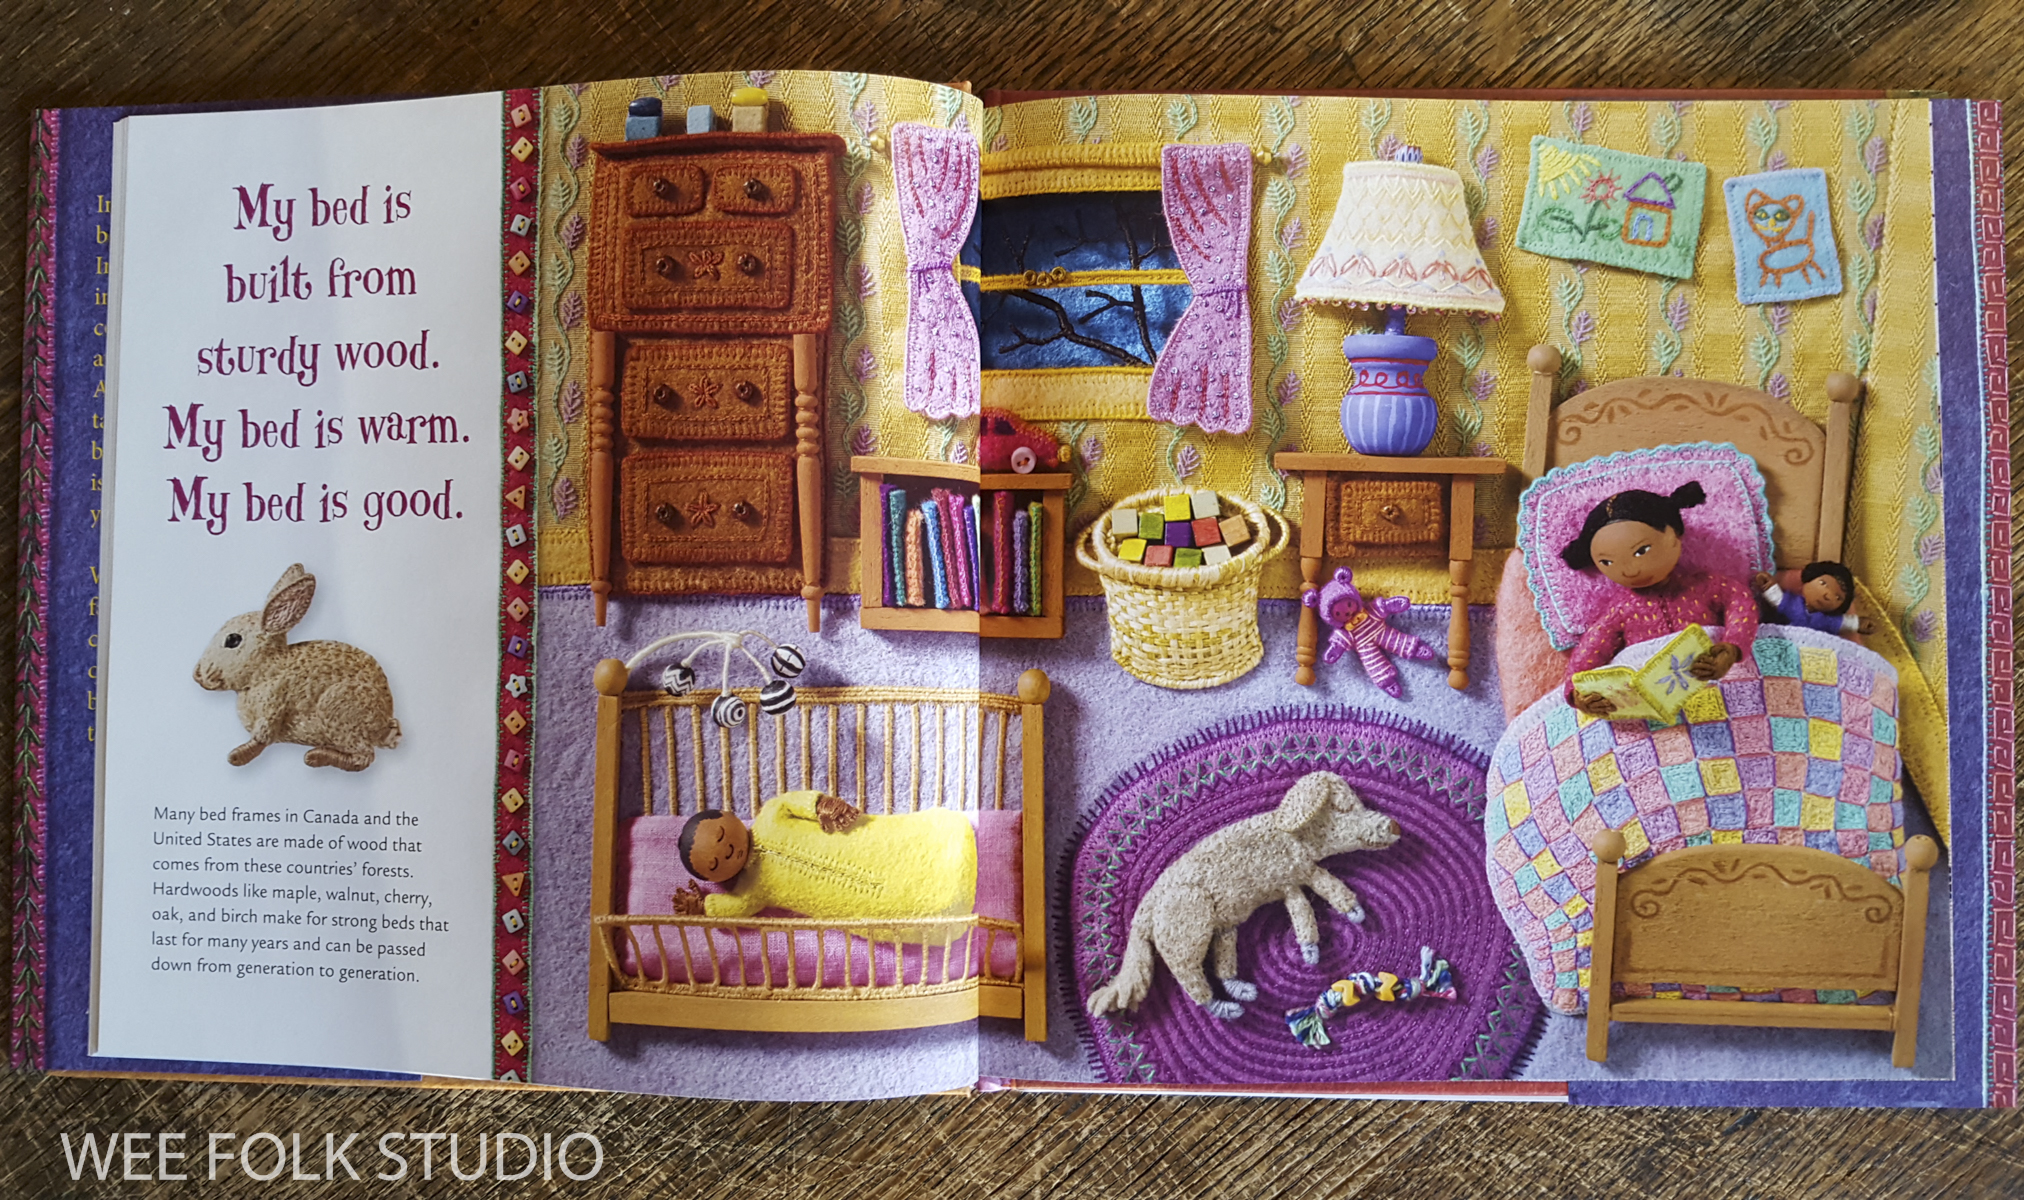
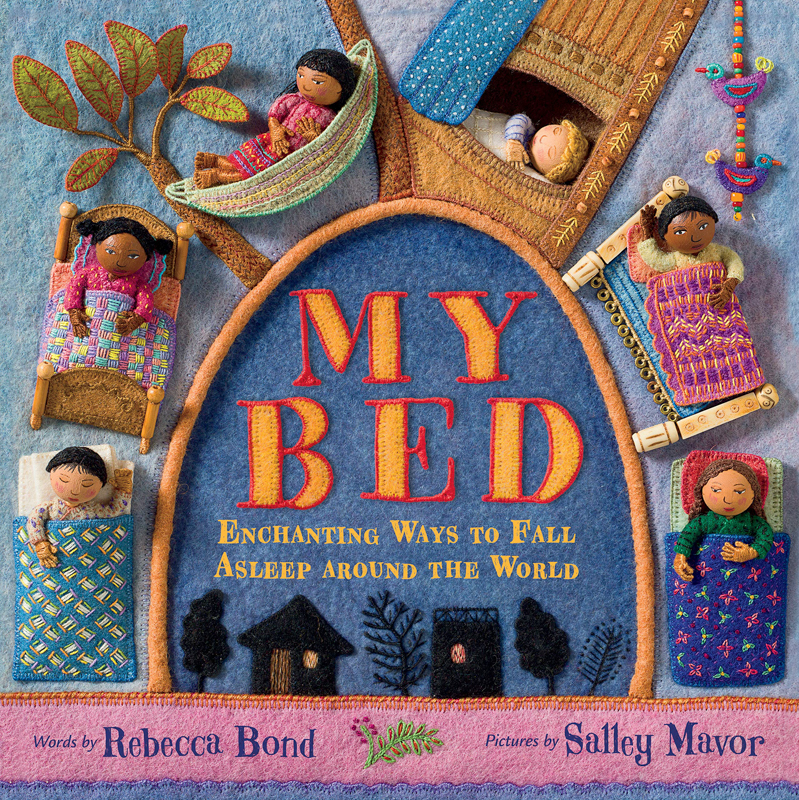
This illustration will be included in My Bed, a book about where children sleep around the world, with each spread depicting a different culture and living environment. The story is written by Rebecca Bond and will be published by HoughtonMifflin in the Fall of 2020. Here are links to posts showing other finished illustrations for the book: South America, Japan, India, Afghanistan, Russia, North Africa, North America, Holland and Iran.

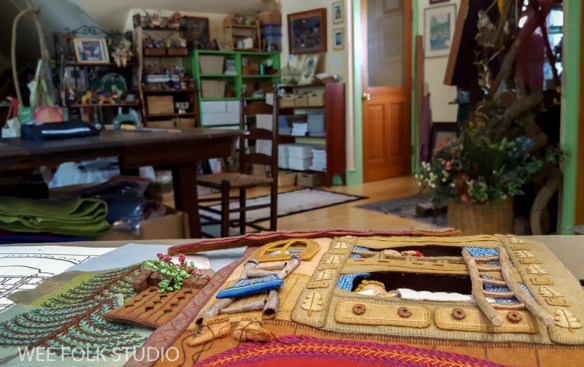
The photos I show on this blog and the reproductions printed in my books are a way of sharing my artwork with a large audience. But seeing the actual 3 dimensional hand stitched pieces is a different experience. No matter how good the photography is, there is no substitute for the real thing. When the originals from Pocketful of Posies toured the country (see photo above), the response was terrific. So, I wanted to do something similar with the Bedtime Stitches touring exhibition.

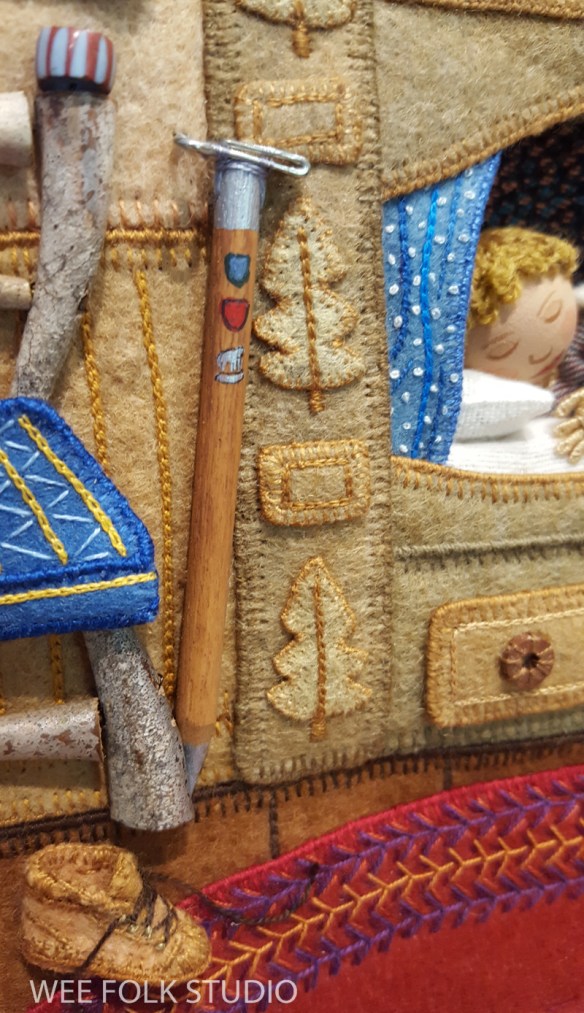
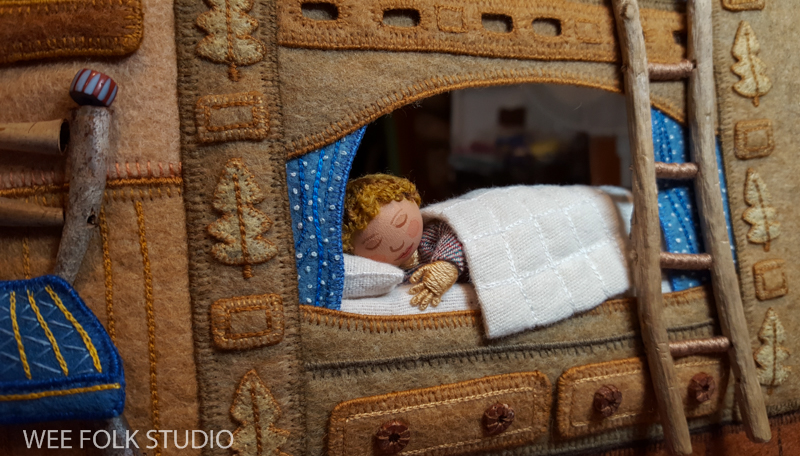
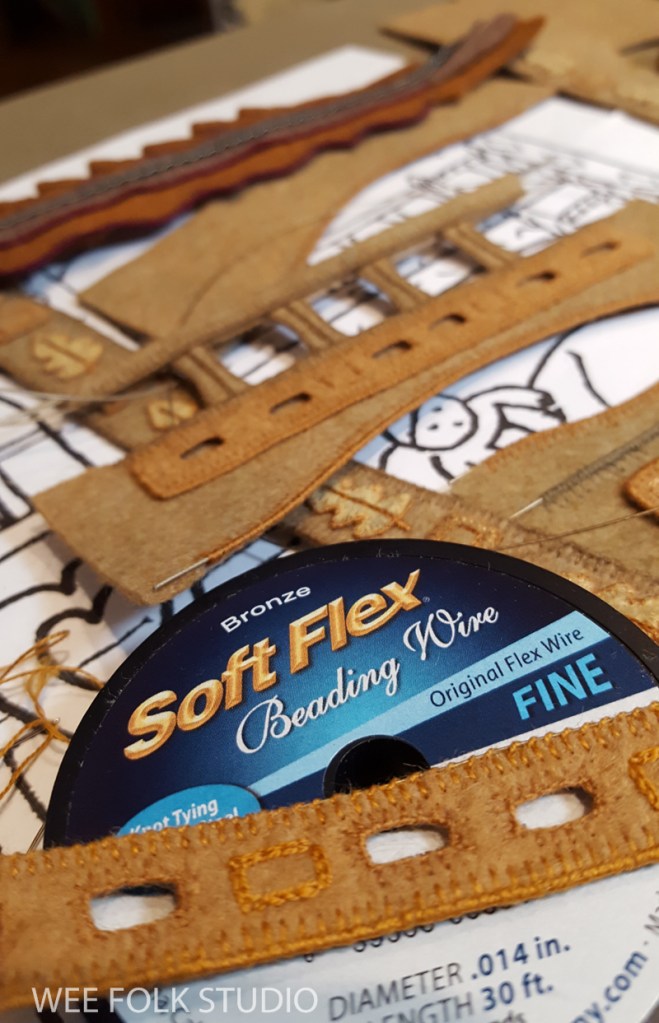
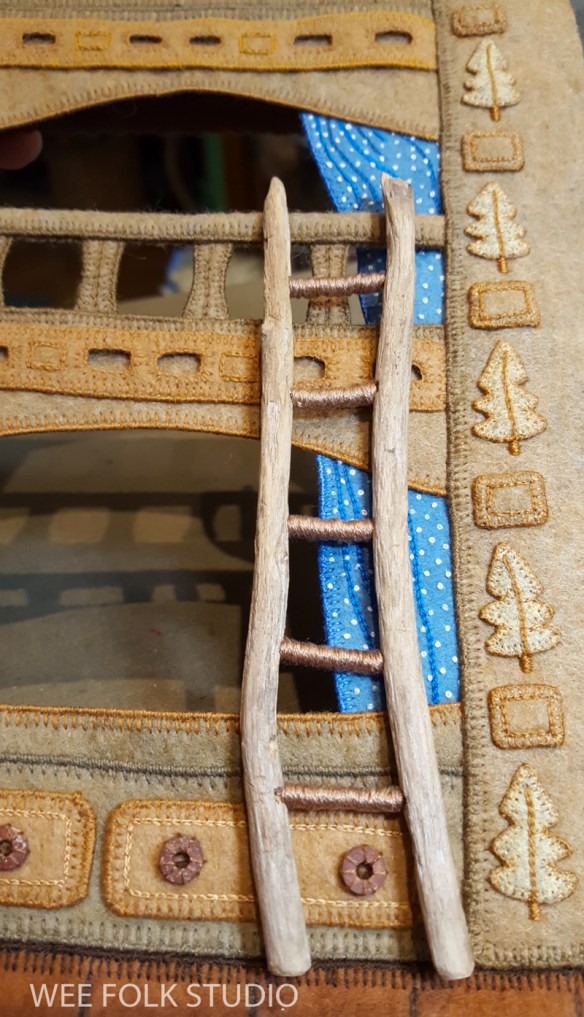
Back to this scene – The bunk beds needed a ladder, of course. To make it, I began by picking driftwood from my collection. I wanted wood with a bit of curve to it, as a relief from all the straight lines in the design. For some reason, I decided to make the ladder rungs out of wire instead of wood. Maybe I thought it would be less fragile. After attaching the wire through drilled holes, I wrapped it with embroidery floss.
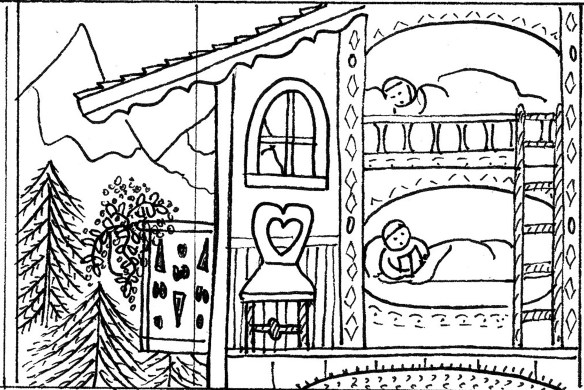
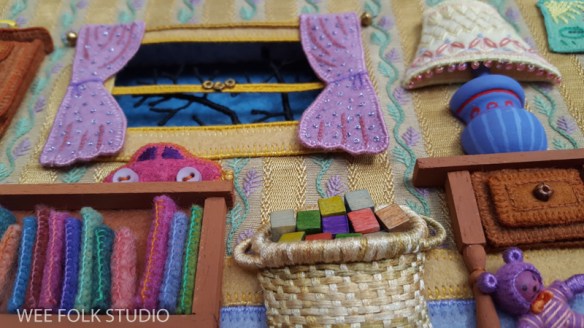
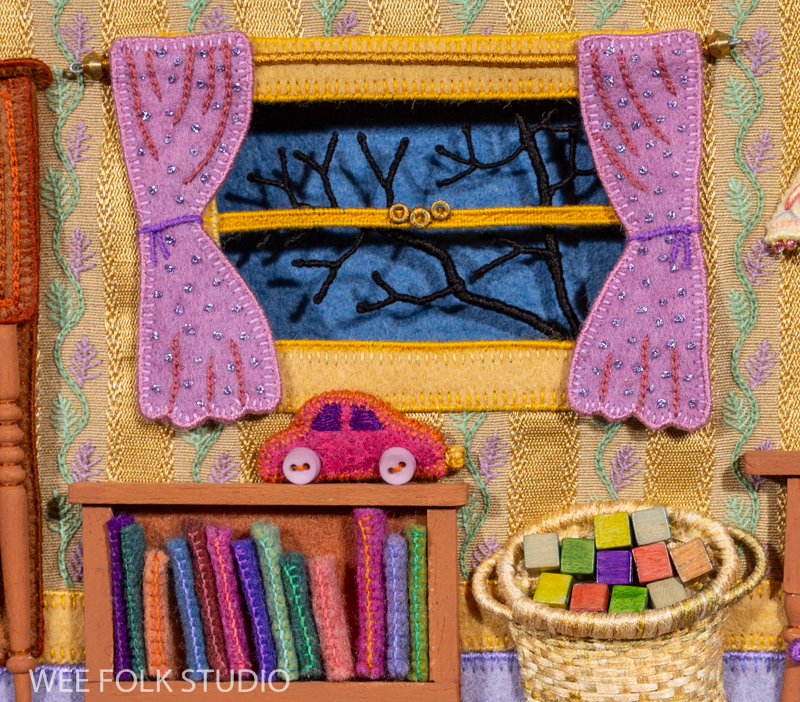
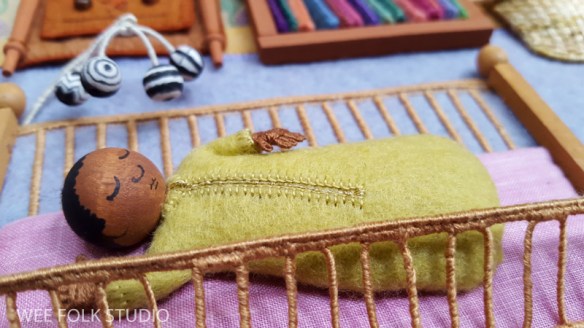
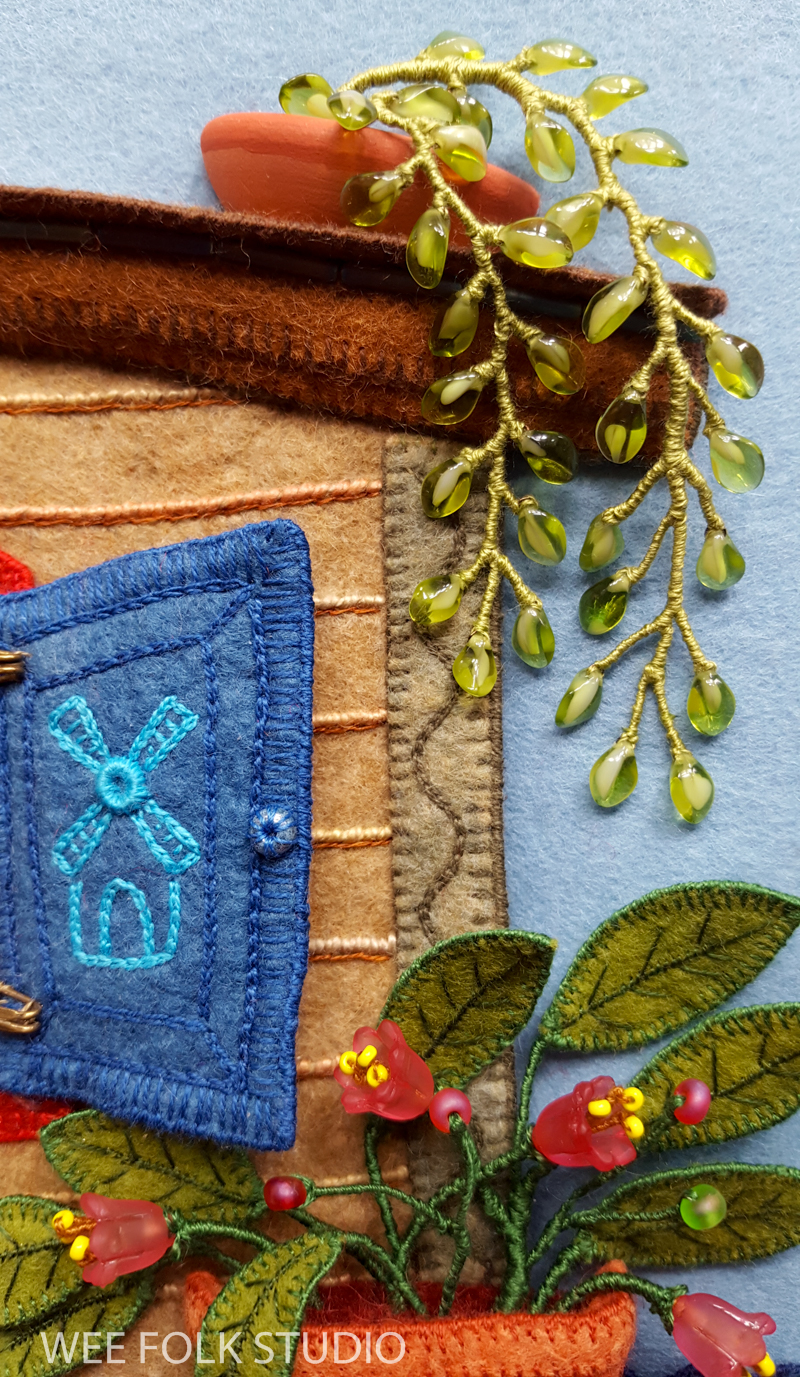
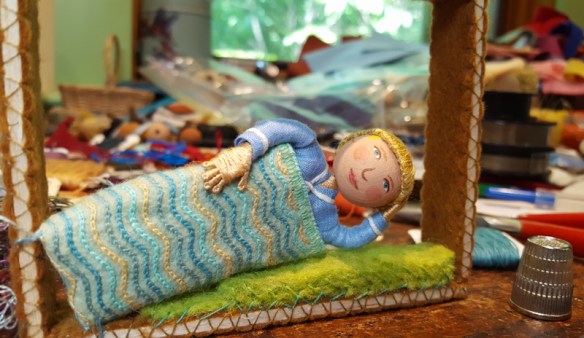
In this book there are several instances where I use the space behind the backdrop layer to create more depth. In this illustration, I put the children inside their cubby beds, in a shallow space framed with a 1/2″ deep box of made of balsa wood covered with felt. I didn’t think to take a picture, but you can see what it looks like in the photo below, which is from the Holland scene.
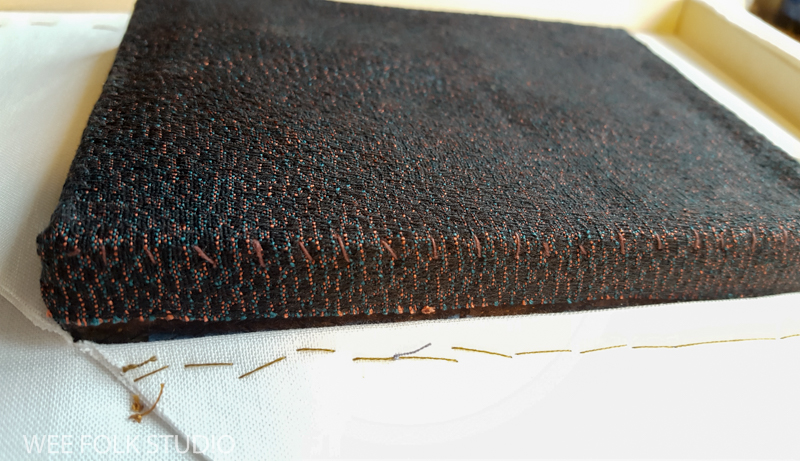
This is what it looked like before the background fabric was added to the back of the box. You can see my studio wall through the open area behind the child.

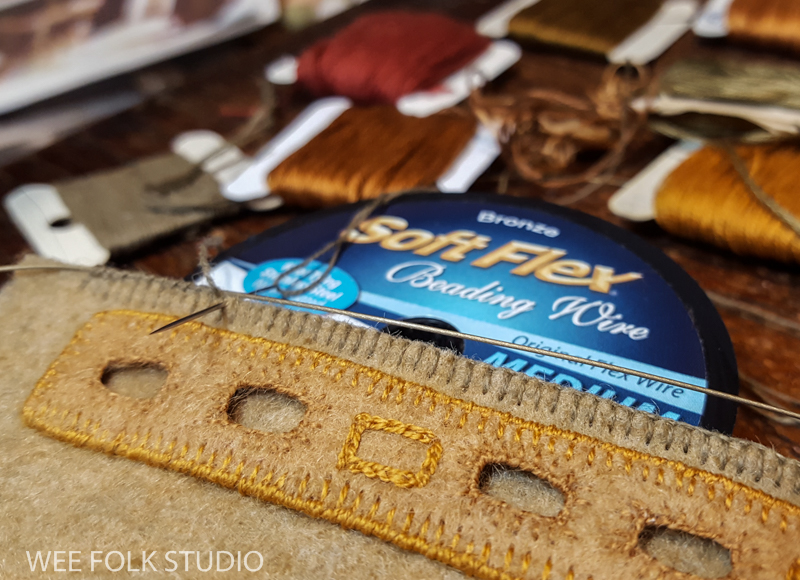
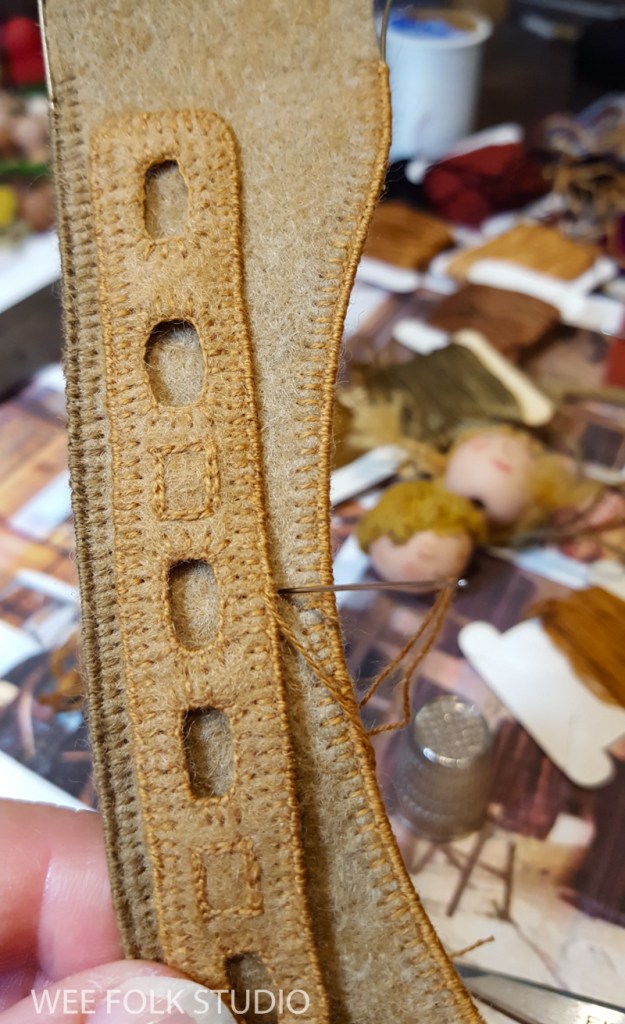
I’ve always thought that the area inside the back of the stretched fabric was wasted space. So, I’ve been figuring out ways to use it, with interesting results. I cut a hole in the stretched fabric, inserted the box and secured it in place with stitches.
With this extra layer, the viewer has the experience of looking into the picture and entering the children’s world.

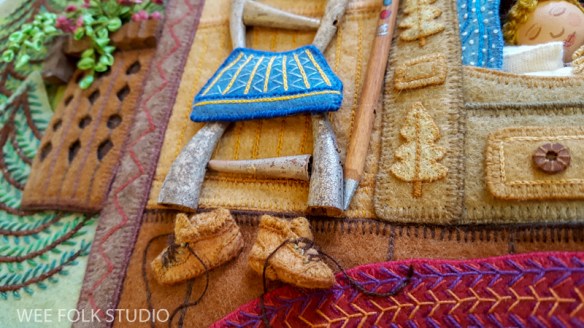
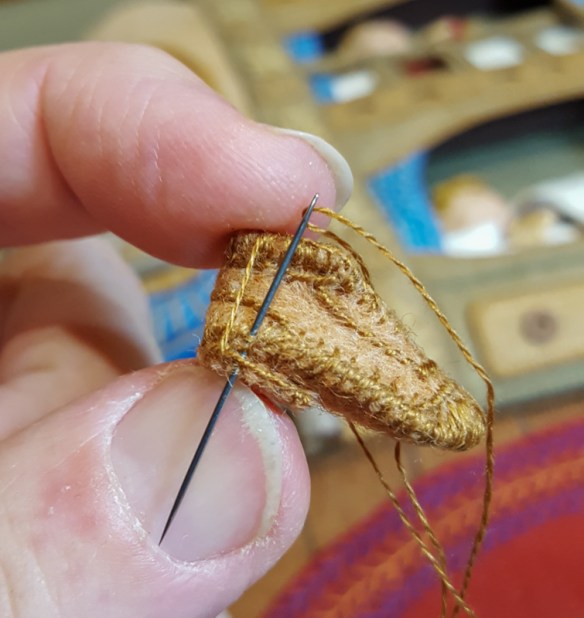
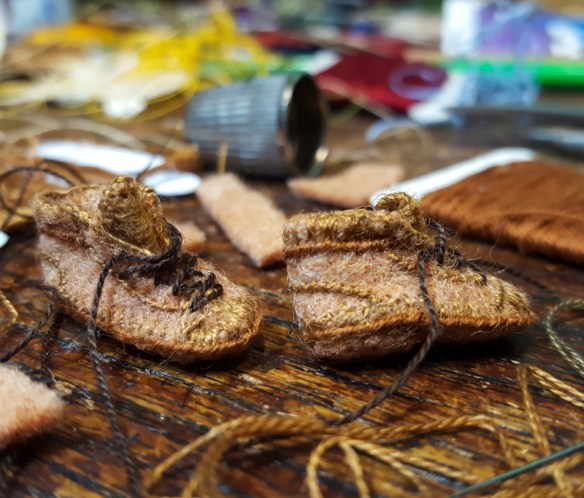
The last touch was a pair of little shoes, which show up in many styles within the illustrations in this book.
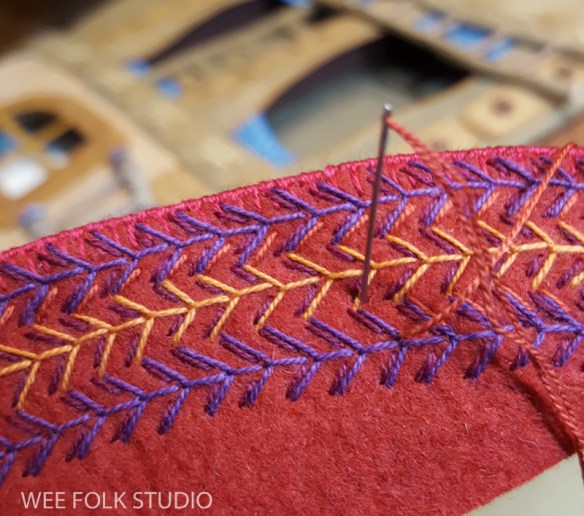
And I made a red rug for the floor. The fly stitch is turning out to be one of my favorites.
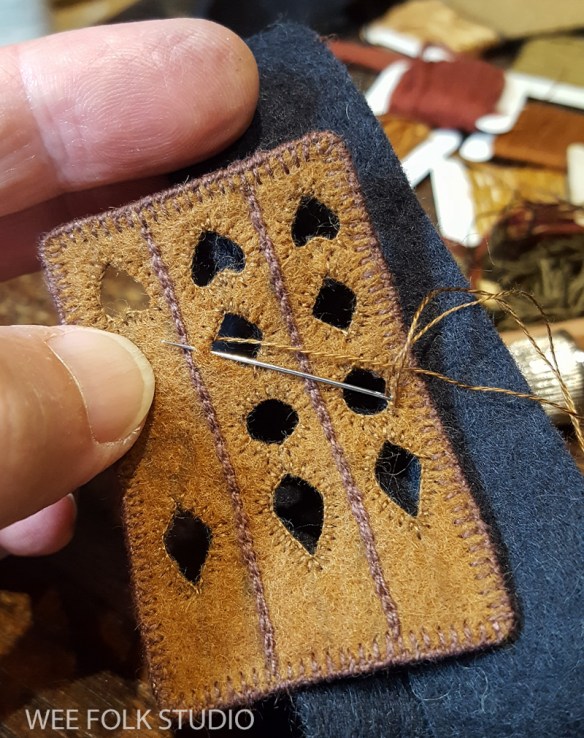
What can I say about making the hiking boots? I basically copied the structure and stitching details of real shoes, only shrinking the scale to about 3/4″.
I’m happy to say that all the illustrations are finished and will soon be heading over to the photographer and production team at HoughtonMifflin. Leading up to the book’s publication in the Fall of 2020, I will continue to share more peeks behind the scenes about making the spreads and animal icons for MY BED.
For more about making the Scandinavian scene, please look at Part 1, Part 2 and Part 3.

To keep up with new posts, please subscribe to this blog. Your contact info will not be sold or shared. If you’d like to see more frequent photos tracking the projects in my studio, please follow me on Facebook and/or Instagram.