tiny shoes are big

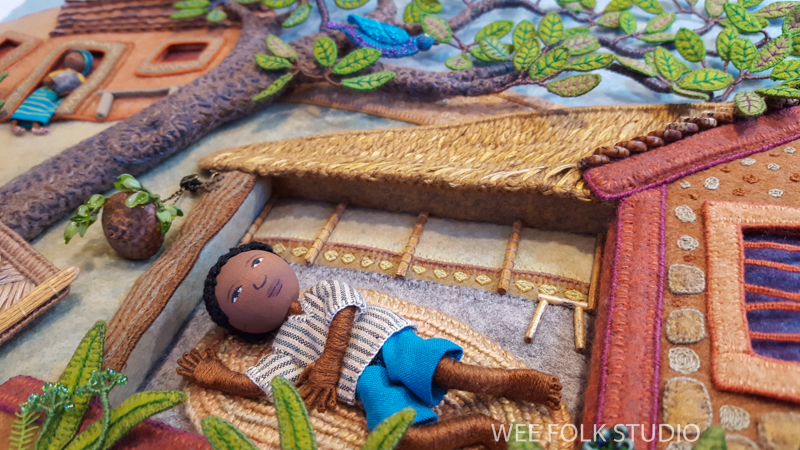
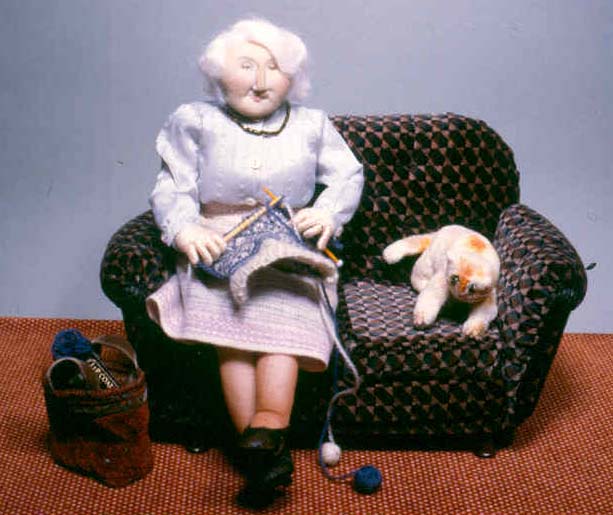
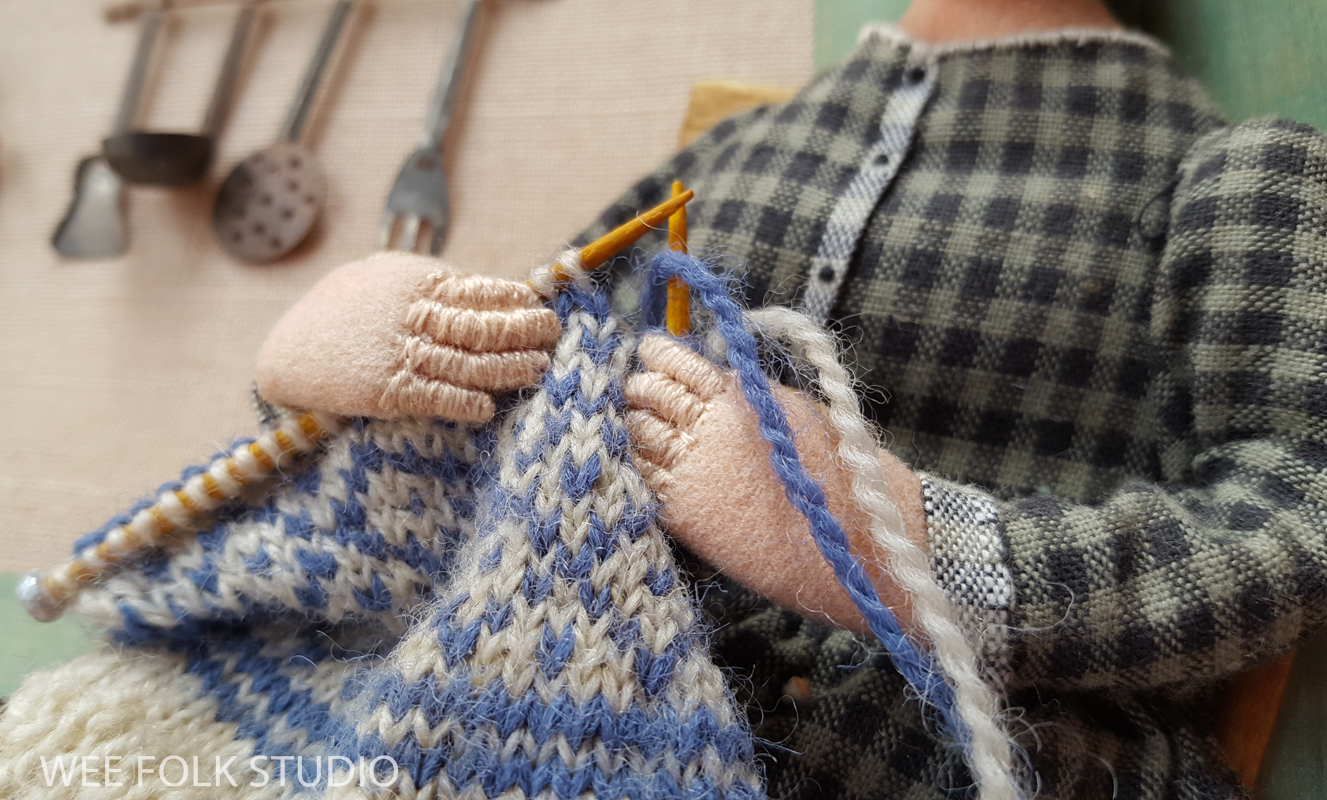
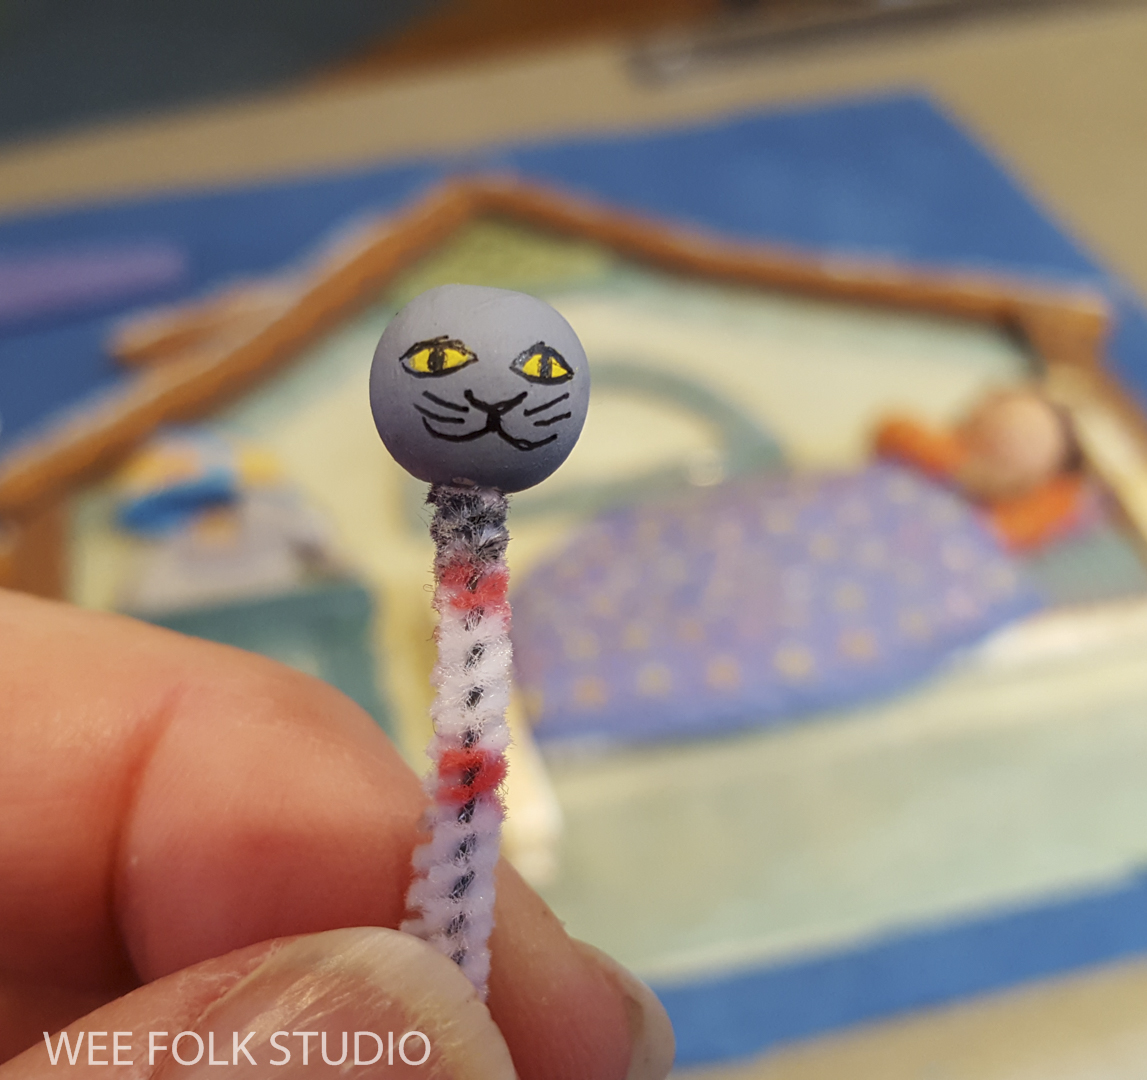
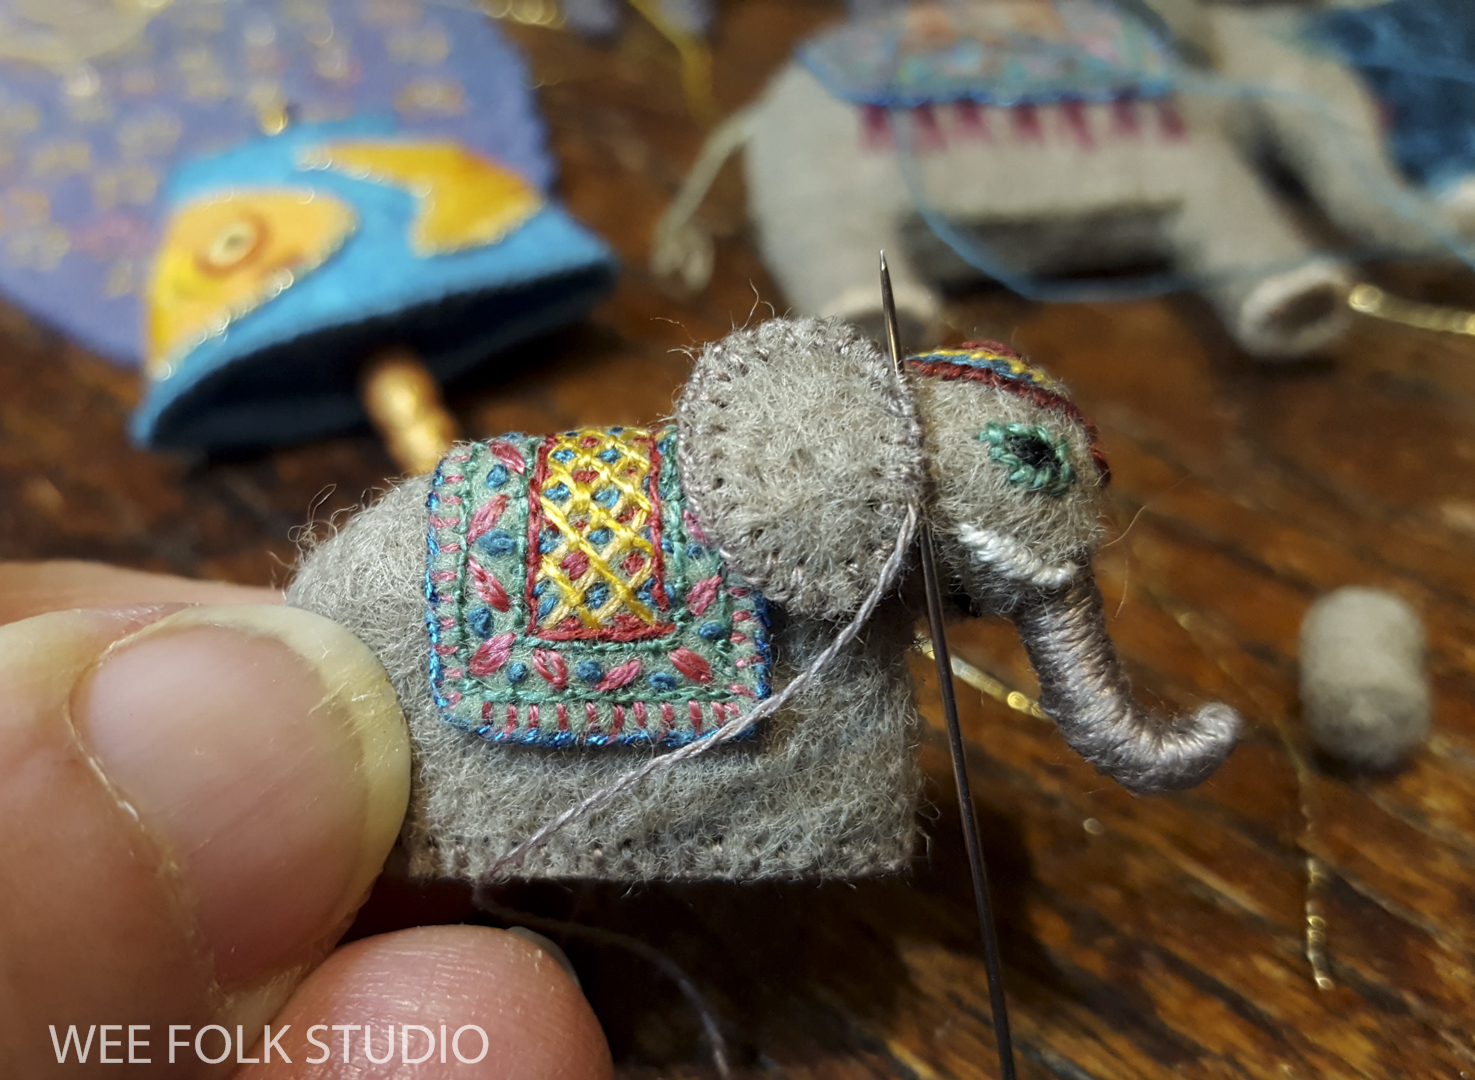
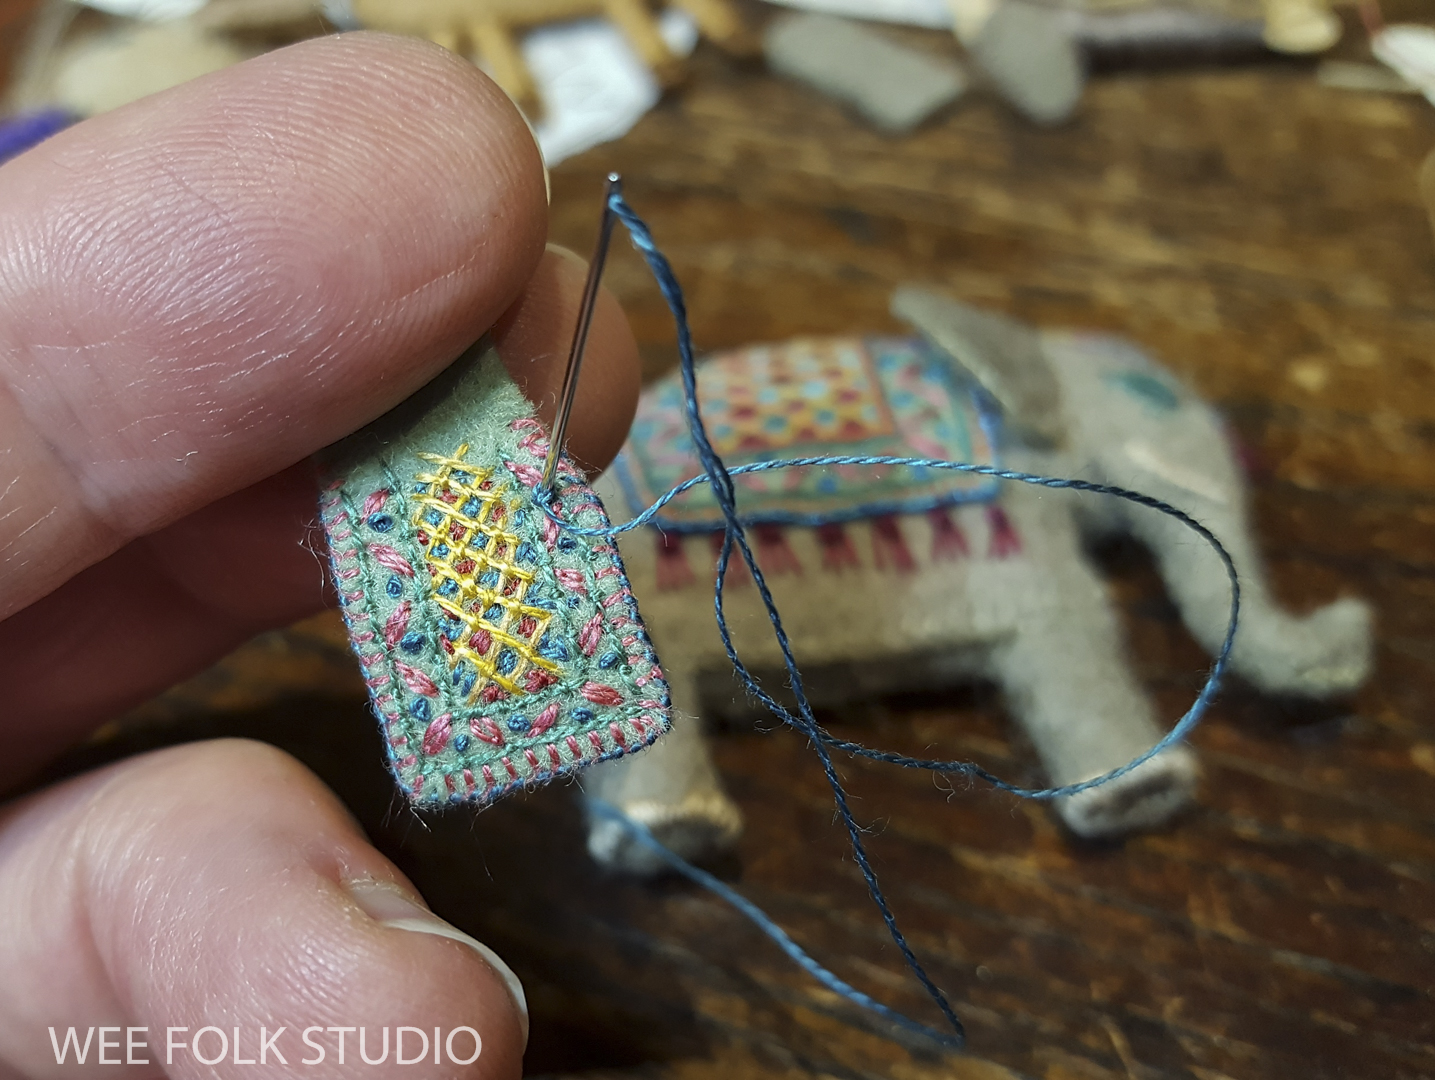
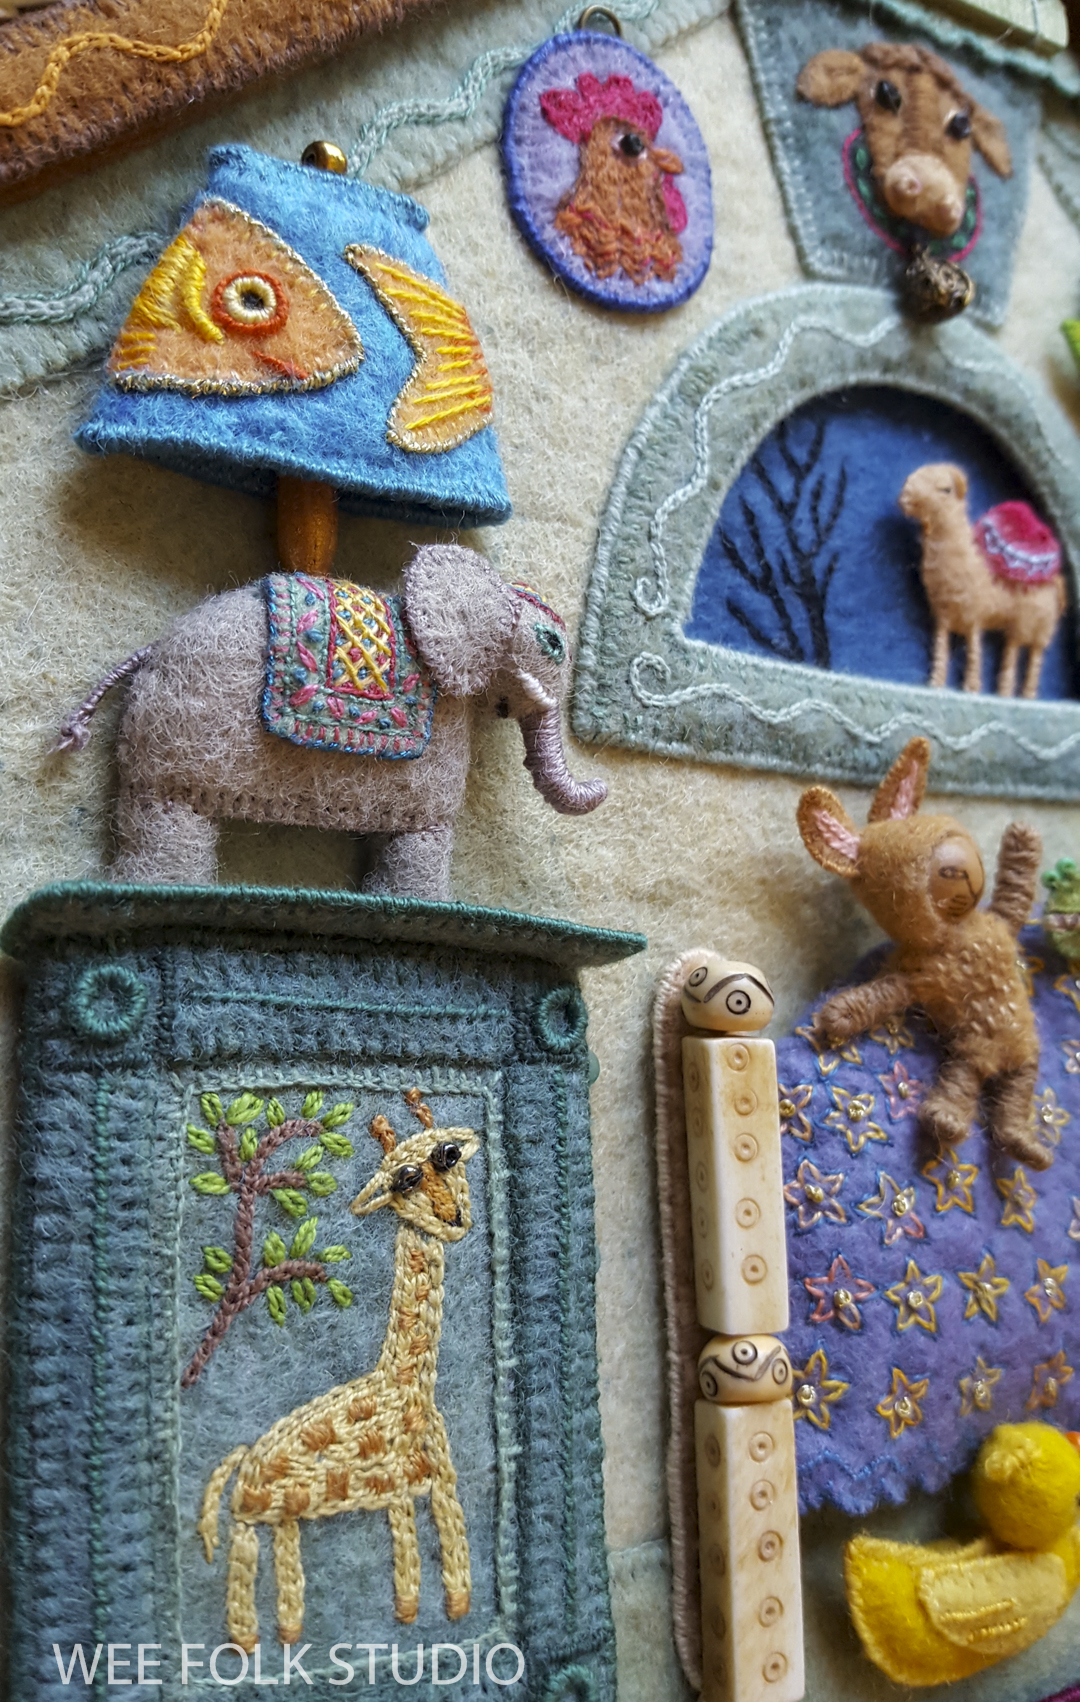
What is it about tiny shoes? There’s something irresistible about small scale footwear, whether it’s baby booties or doll shoes. Every time I post a photo with miniature shoes, there’s a huge response. So, I thought I’d share a selection of little slippers, boots and even high-heeled shoes I’ve made that range from precious to provocative (with a surprise guest near the end of the post).

detail from “MY BED”

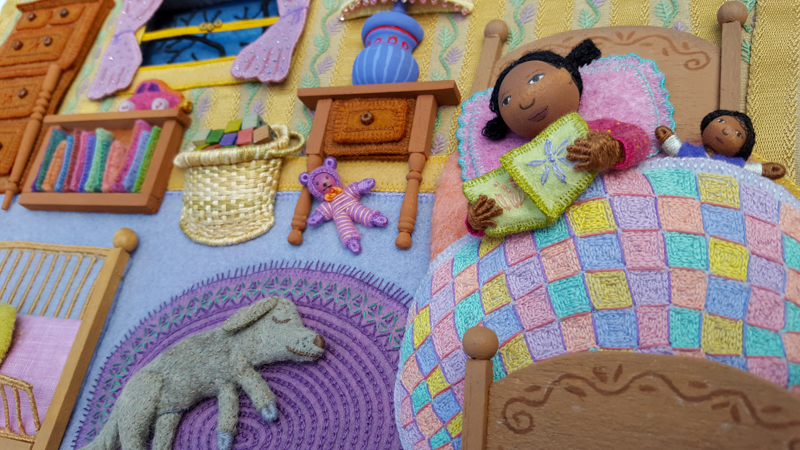
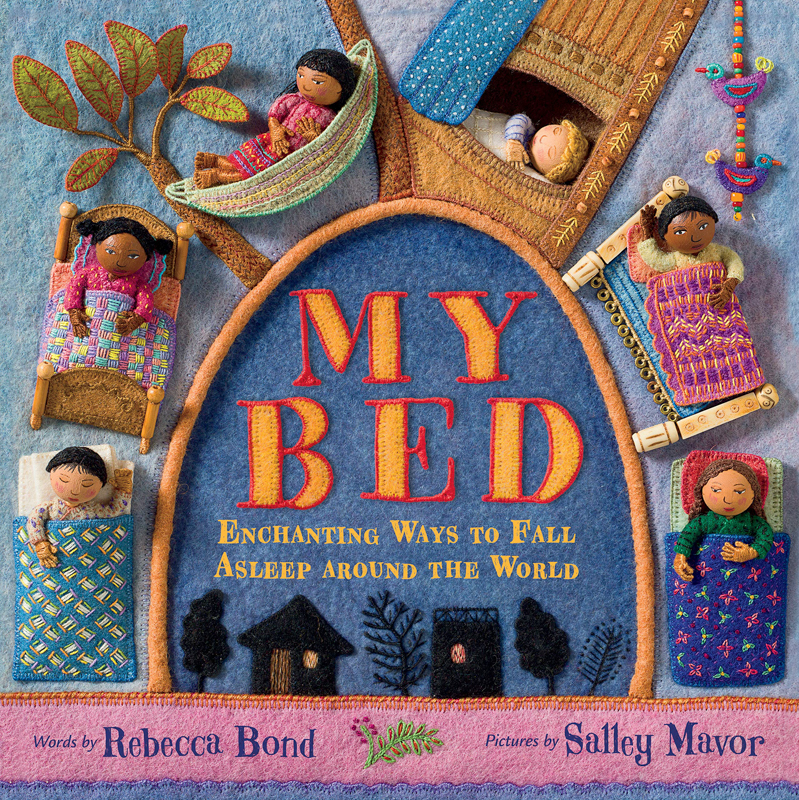
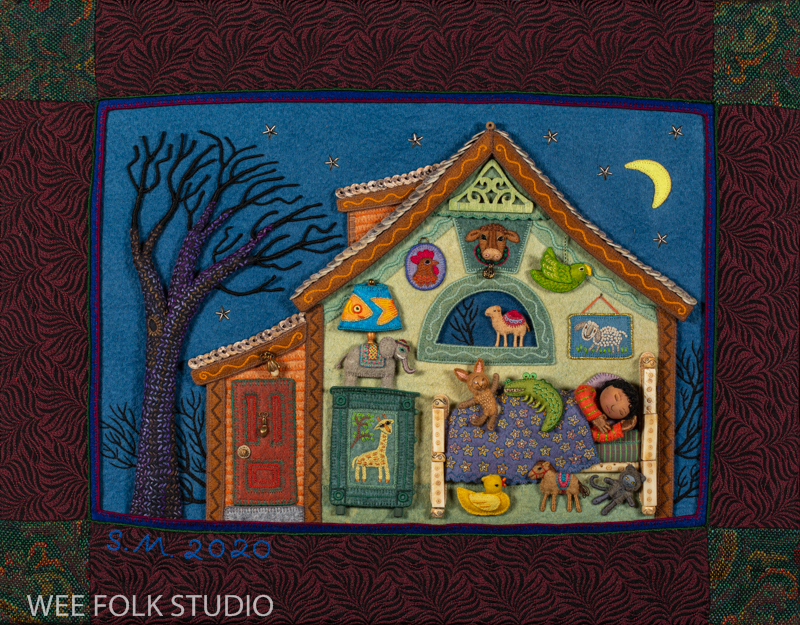
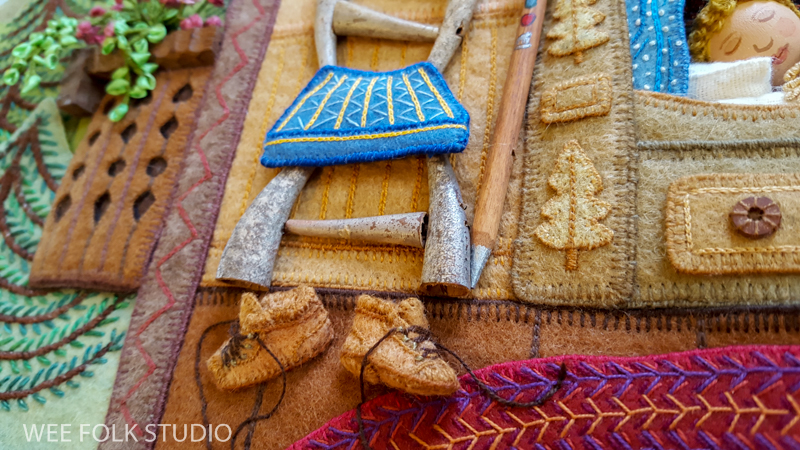
Many of the illustrations in my picture book, MY BED, show pairs of shoes that were put aside at bedtime, including the slippers above and the hiking boots below.

detail of hiking boots in “MY BED”
detail from “MY BED”

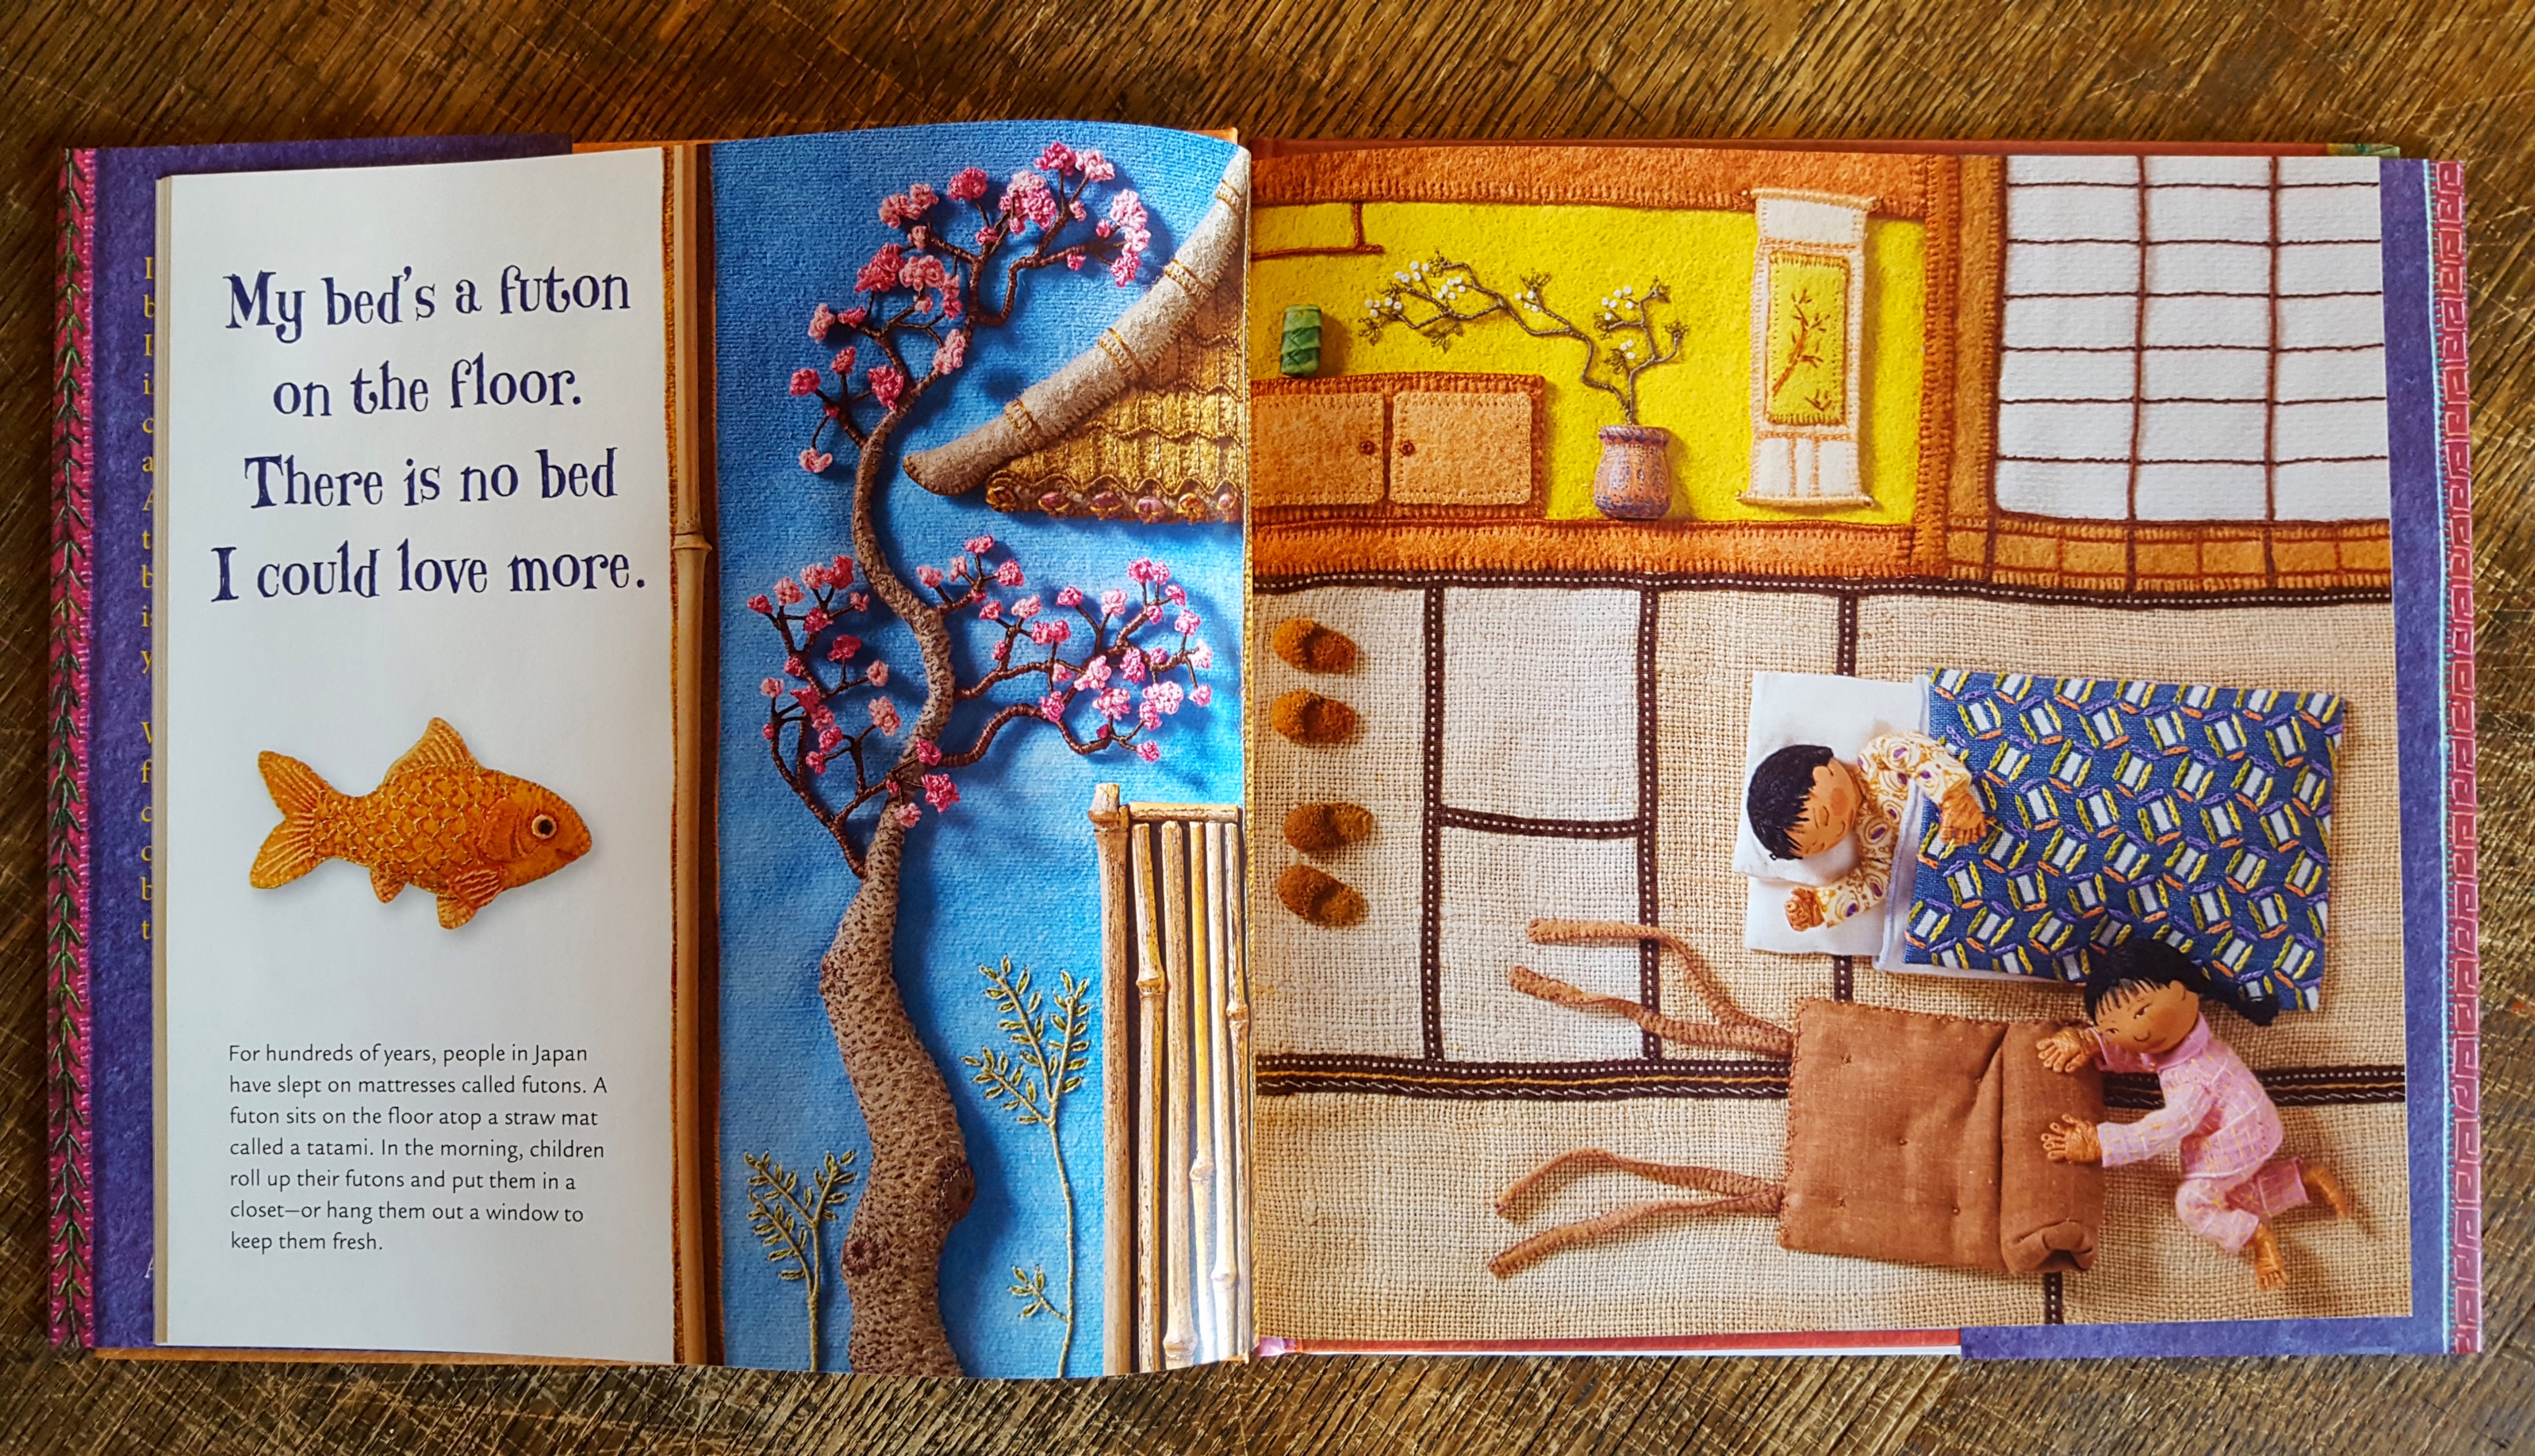
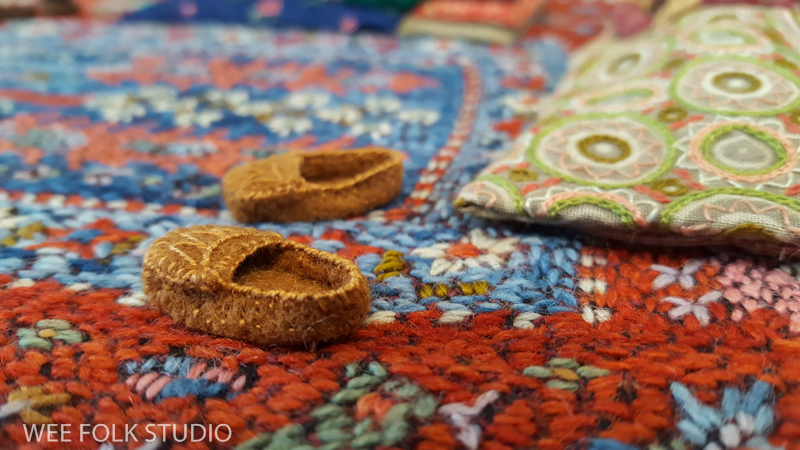
When making the Japanese interior scene for MY BED, I tried hard to convey a spare and ordered aesthetic, but couldn’t help myself from placing 2 pairs of slippers off to the side of the tatami mat. I thought that the shoes would break up the geometric blocks and give the space a lived in appearance. I’ve since learned that I don’t have a proper grasp of Japanese culture, because leaving one’s shoes out like that is a big no no! One follower pointed out that Japanese children would be spanked for being so careless. I was further corrected when the slippers were photoshopped out of the illustration in the Japanese edition of the book!

detail from “MY BED”

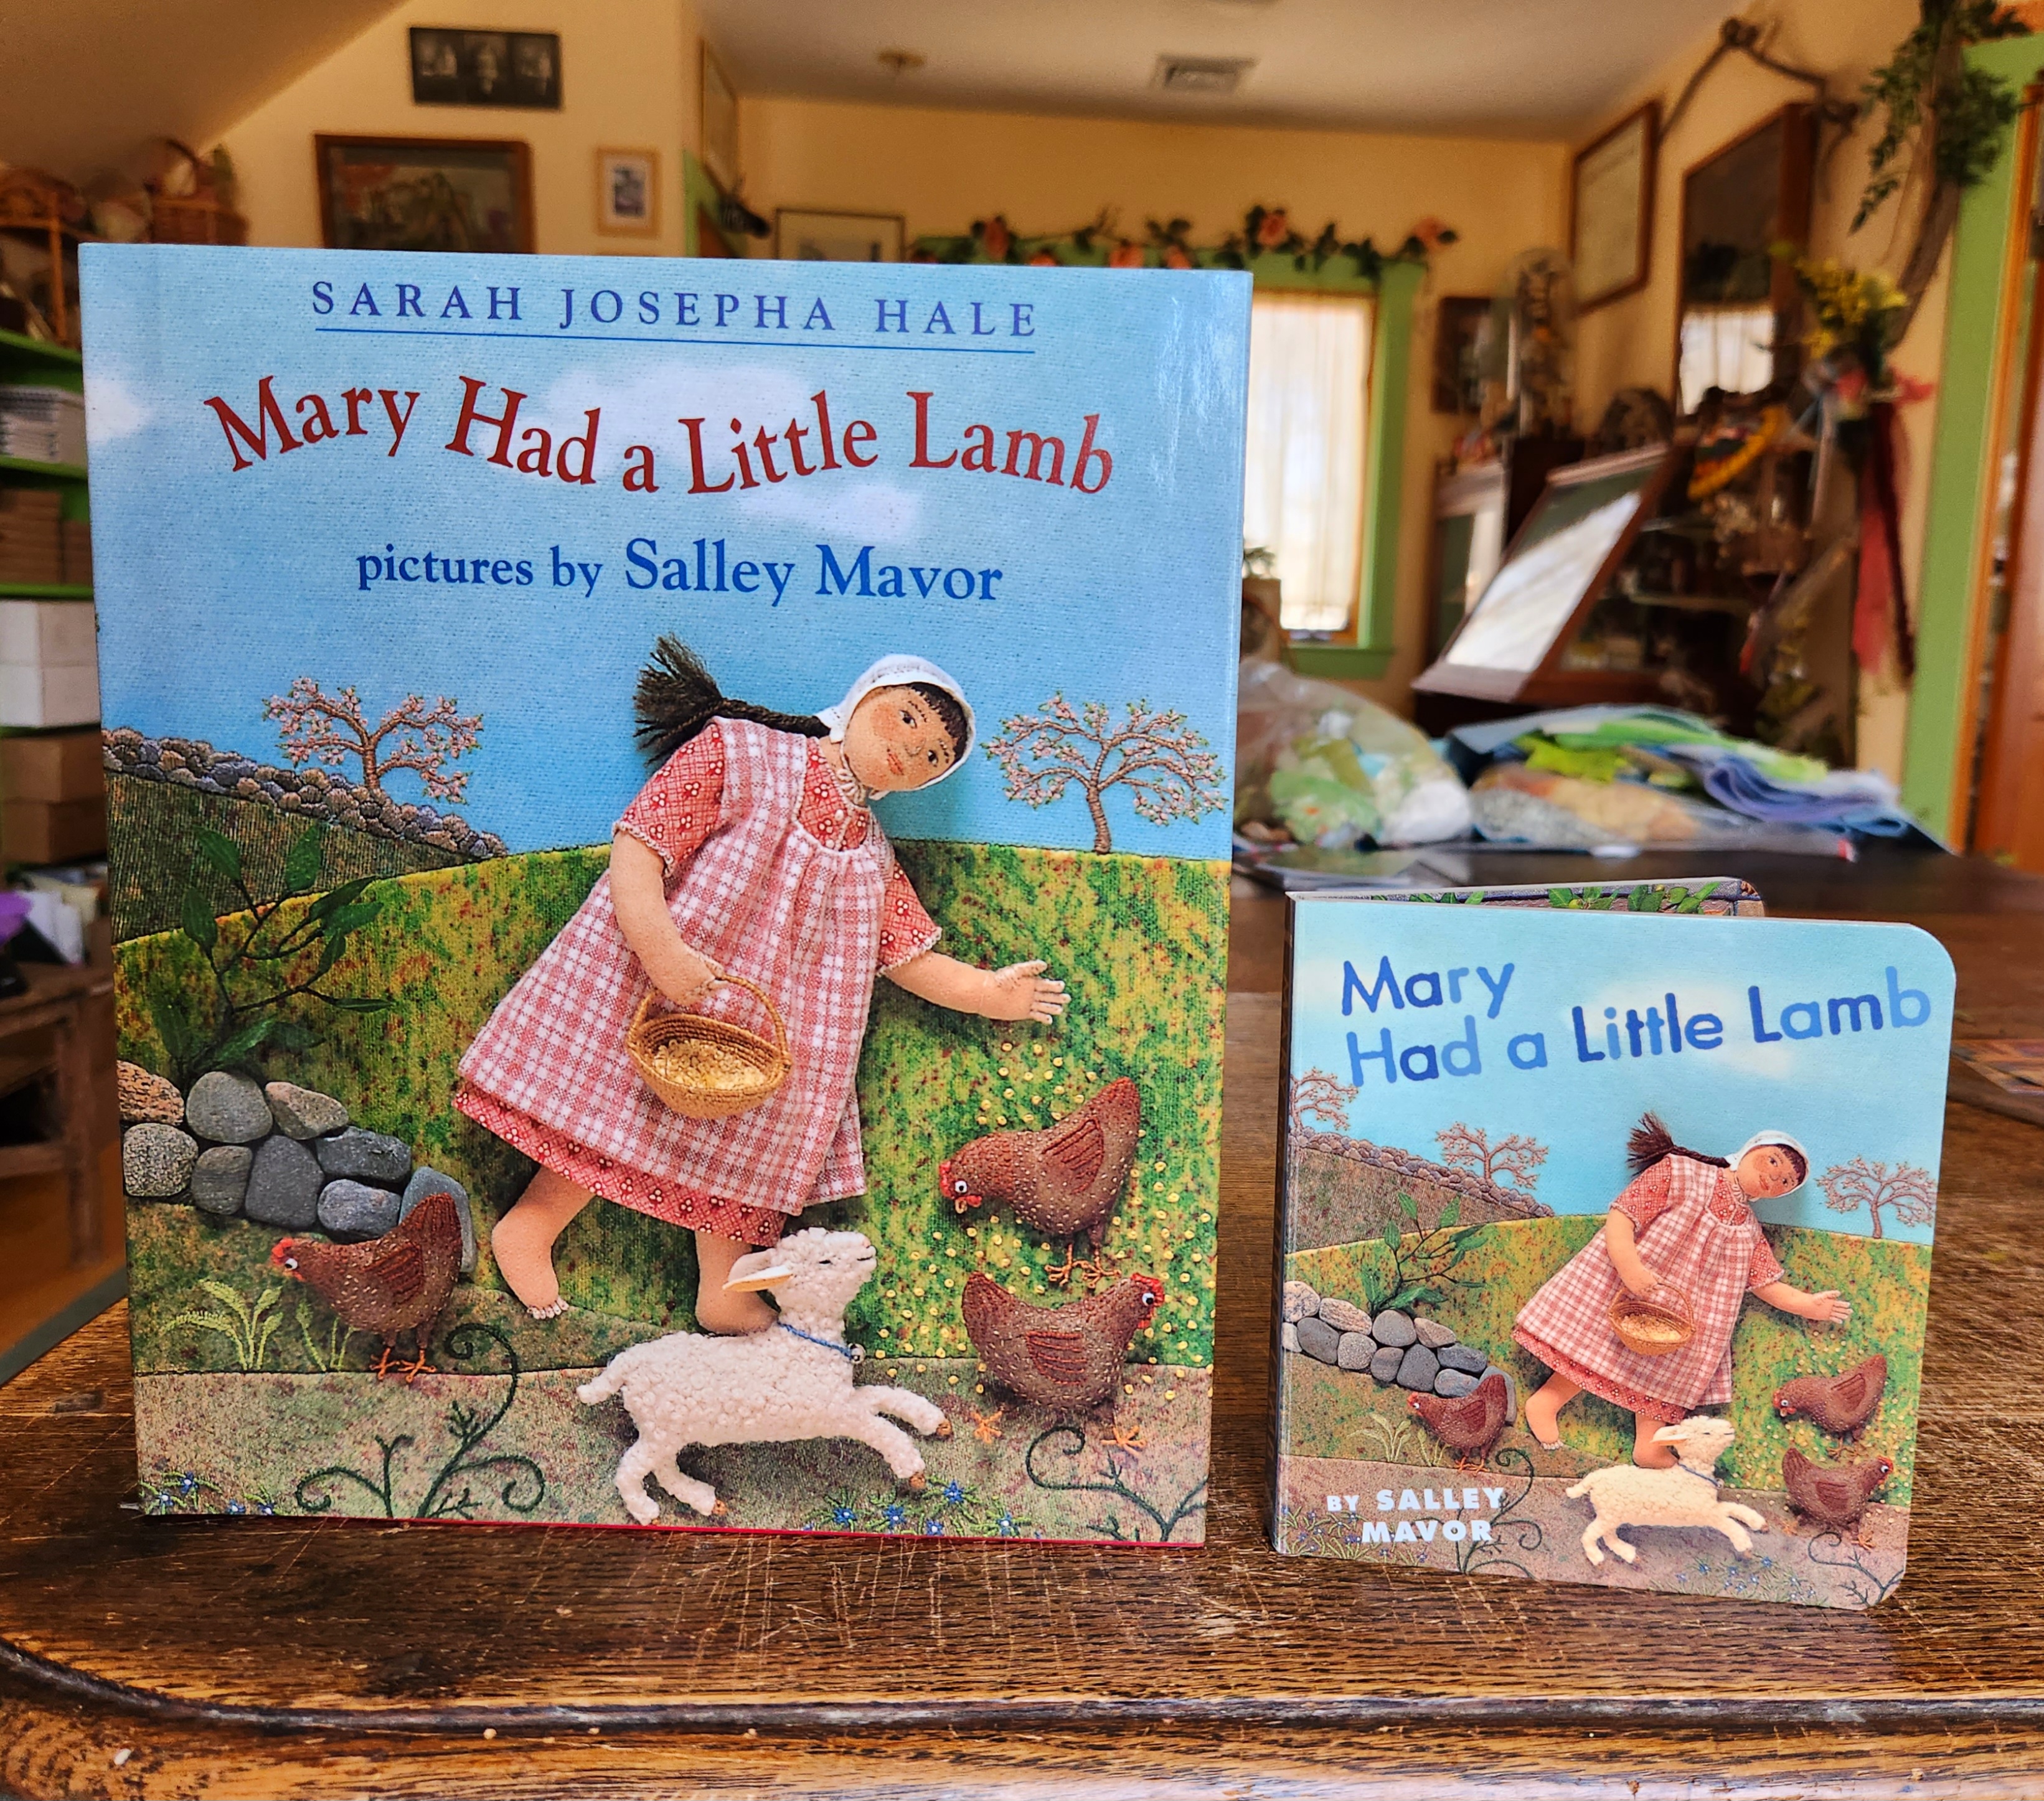
Early on, I made shoes out of old kid leather gloves that I painted brown, like the ones in this kitchen scene from Mary Had a Little Lamb. The kid leather was thin and pliable enough to cut with scissors and sew with a needle and thread.

from “Mary Had a Little Lamb”

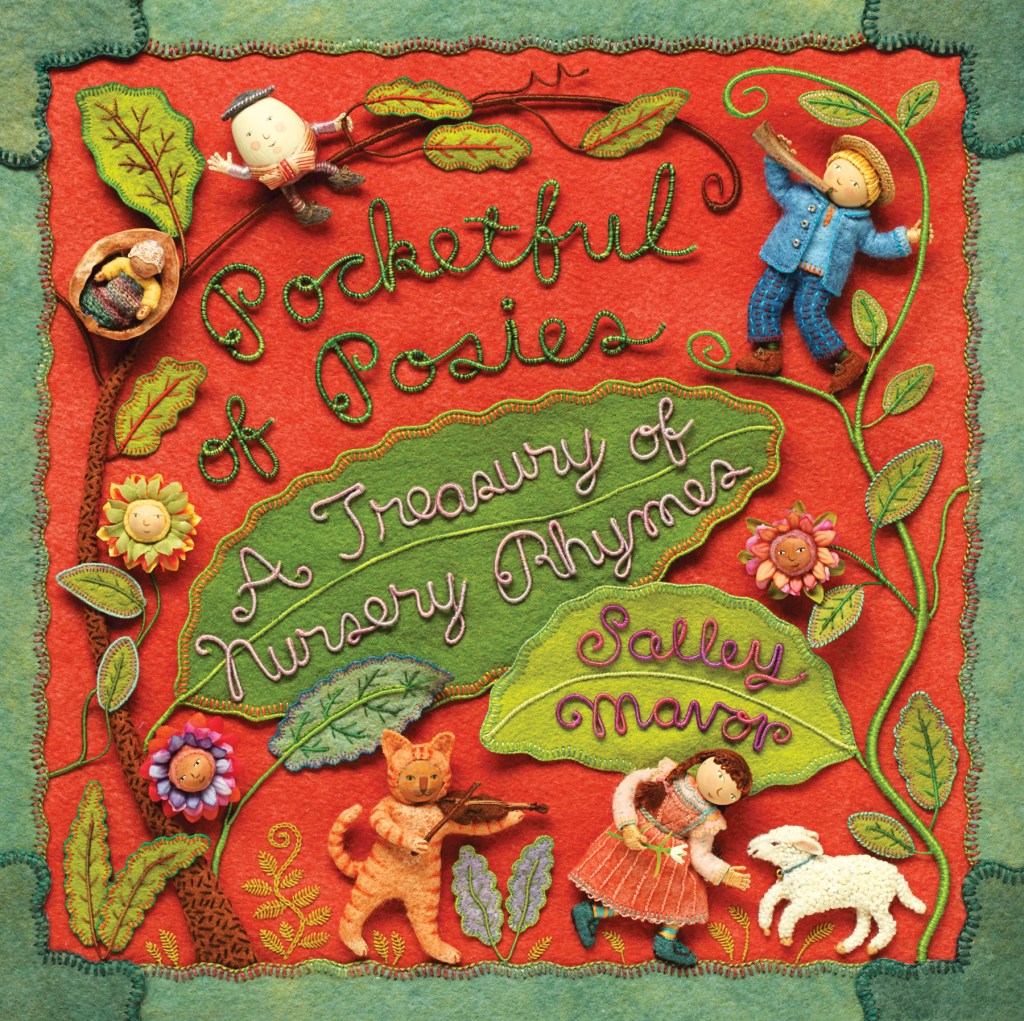
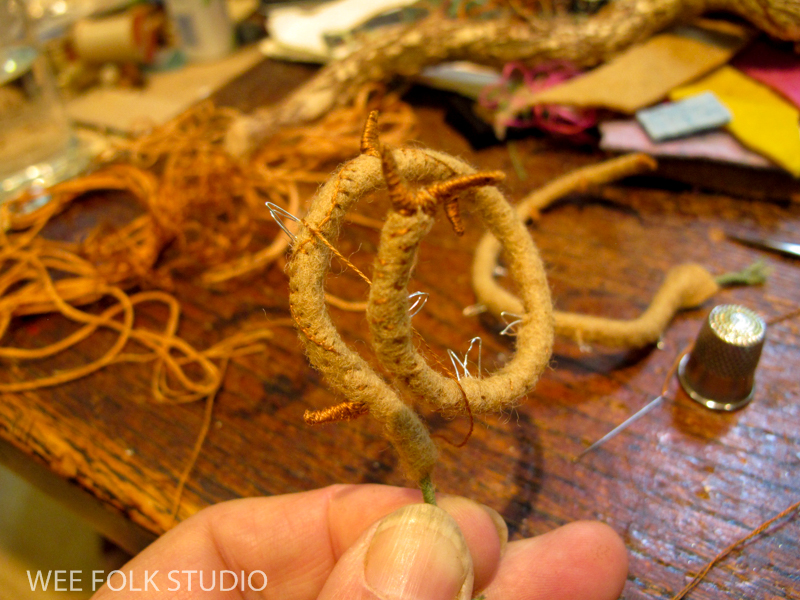
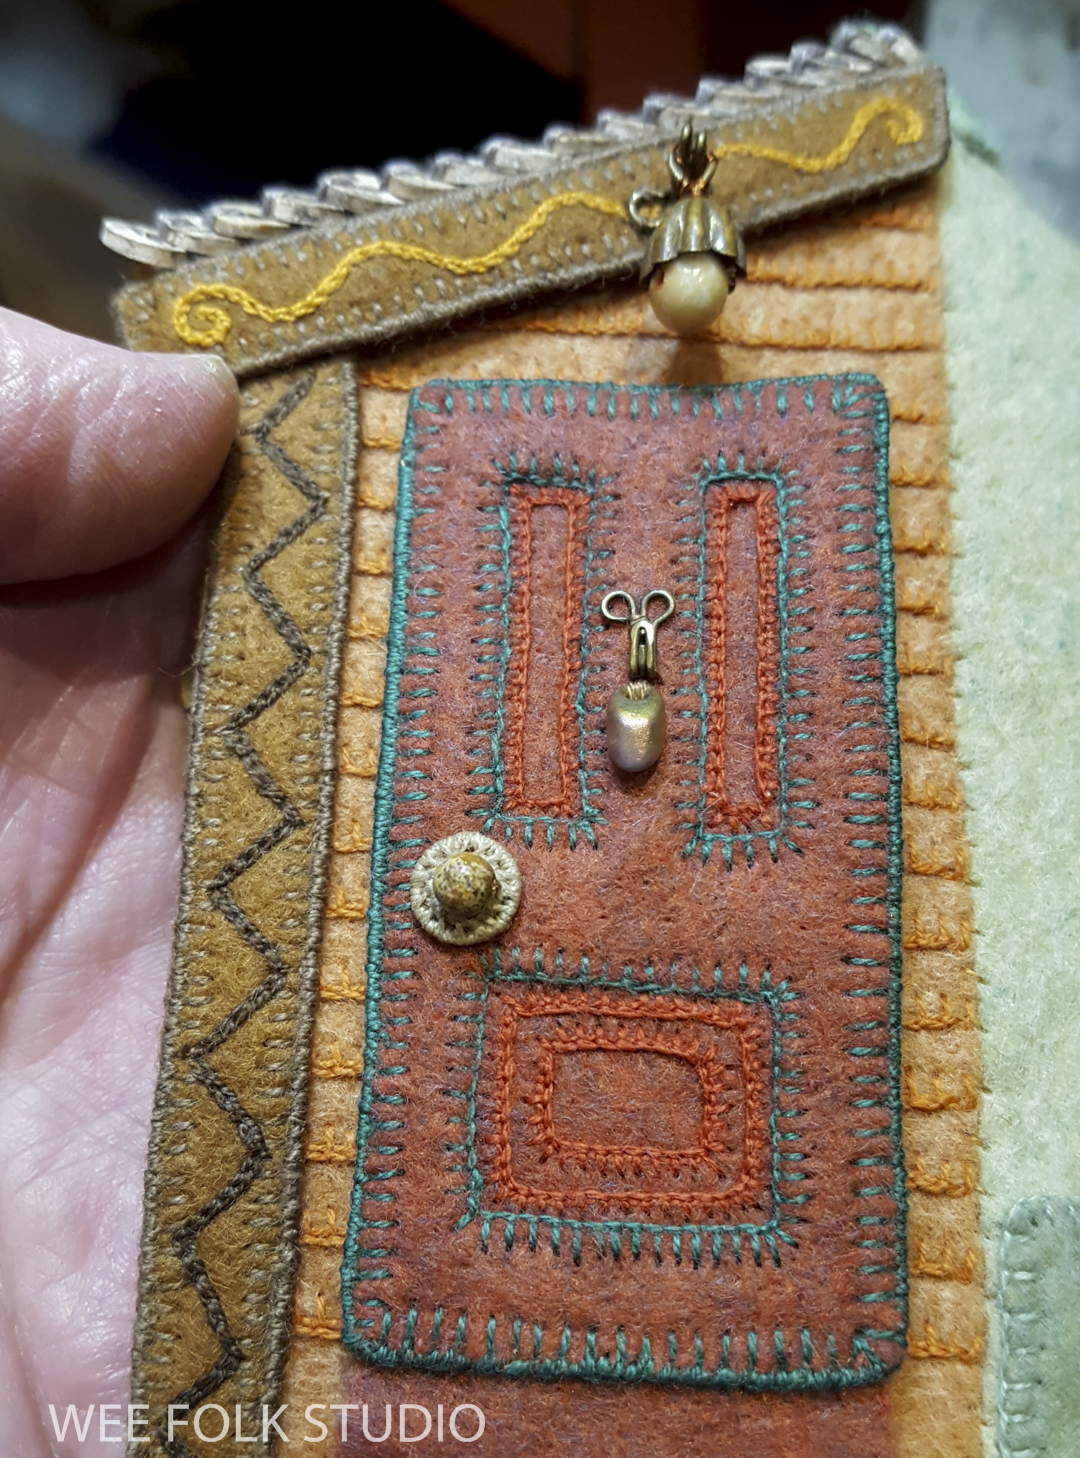
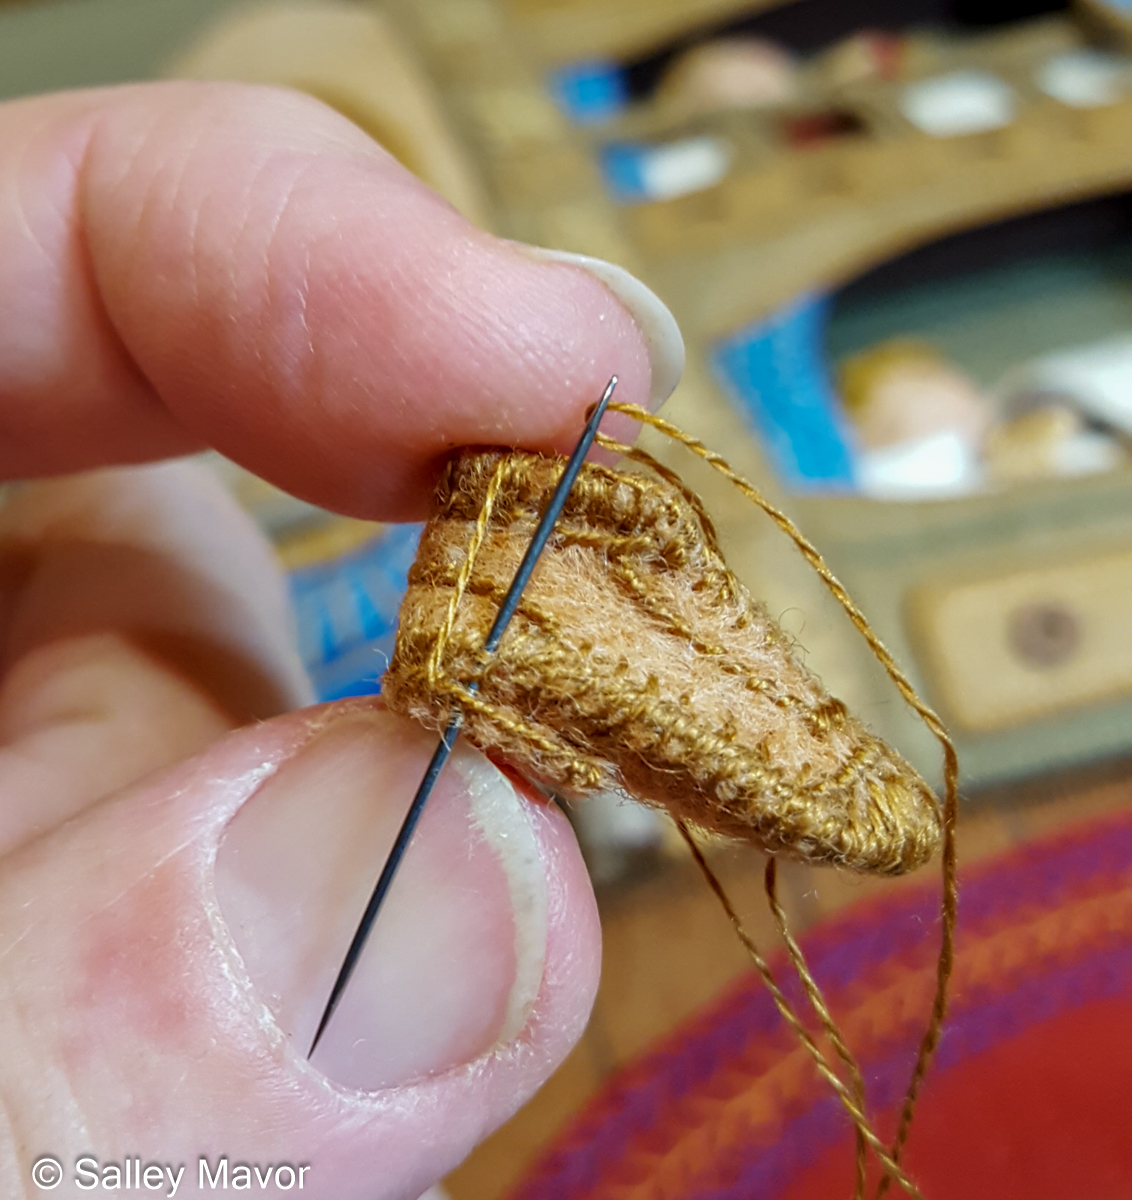
For the past 25 years or so, I’ve made shoes out of wool felt, which is much more forgiving than leather. For the rhyme, “Cobbler, cobbler, mend my shoe”, in Pocketful of Posies, I made felt boots, a leather work apron, and a wooden shoe sign, which I cut out with a jig saw.

detail in “Pocketful of Posies”

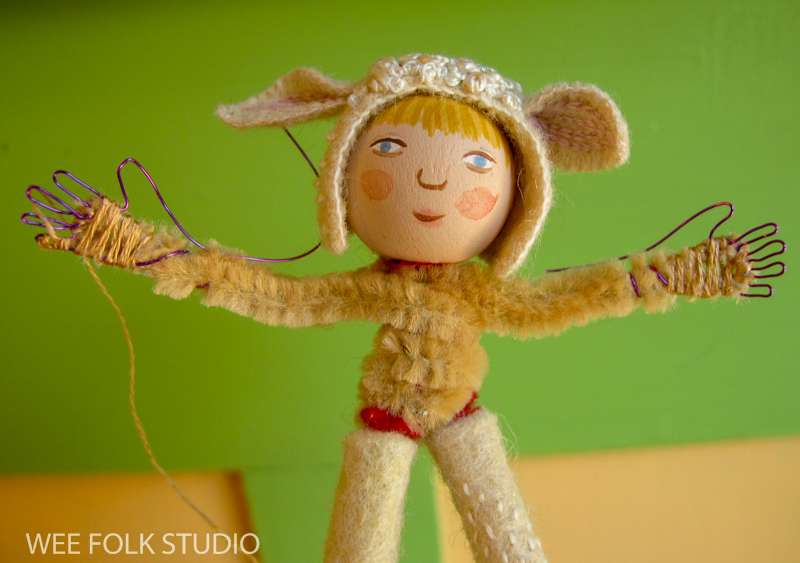
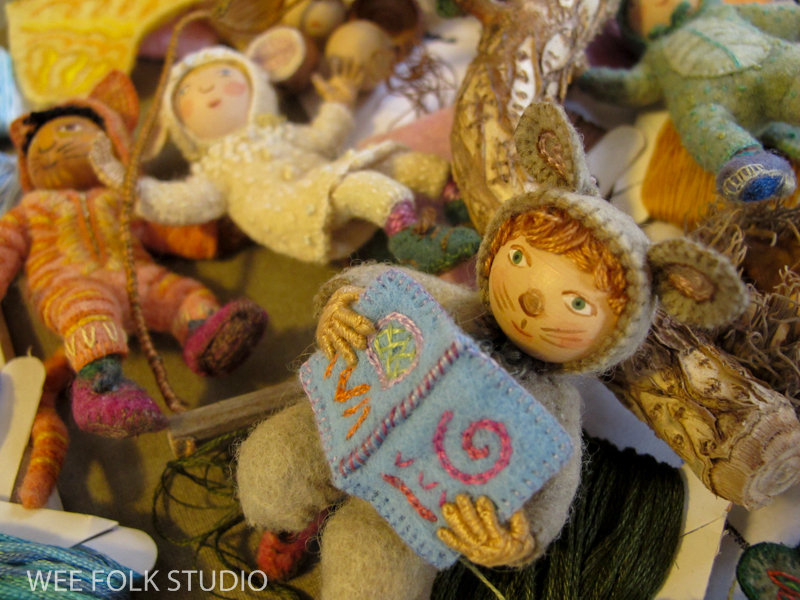
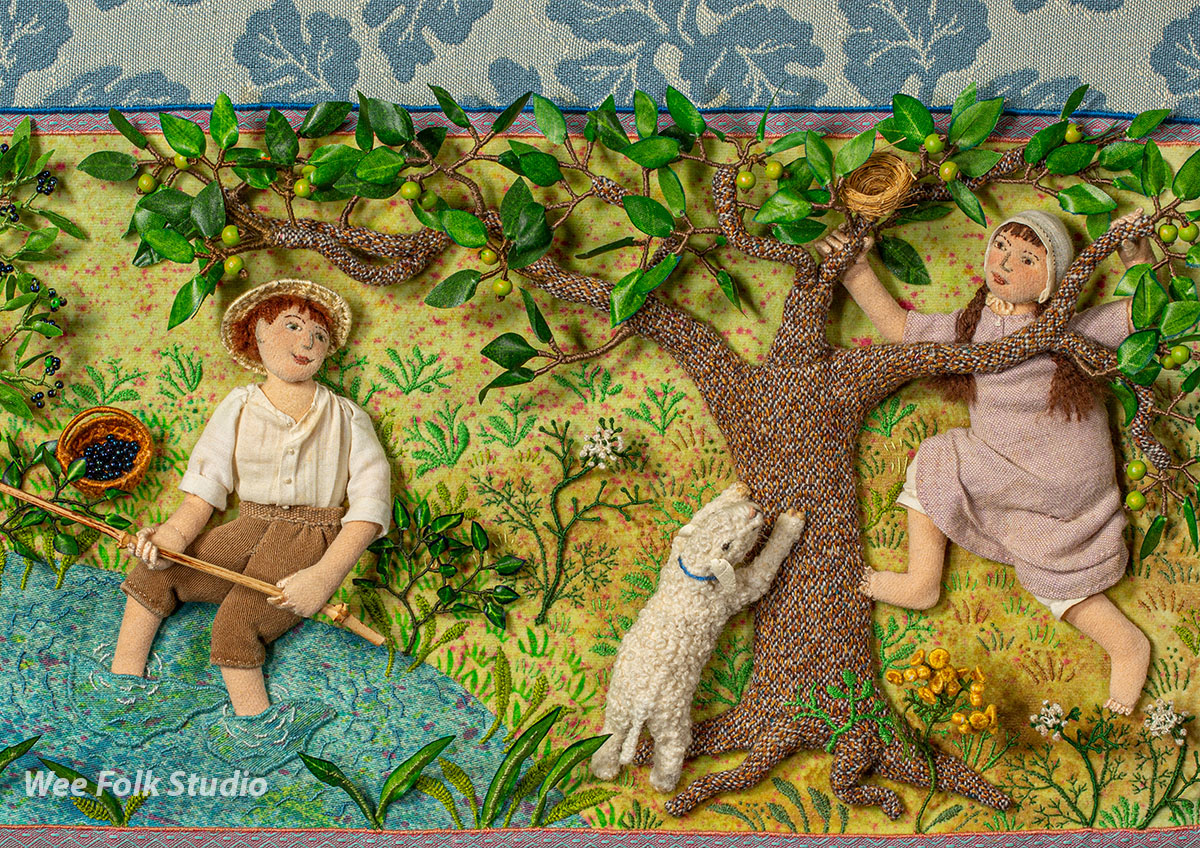
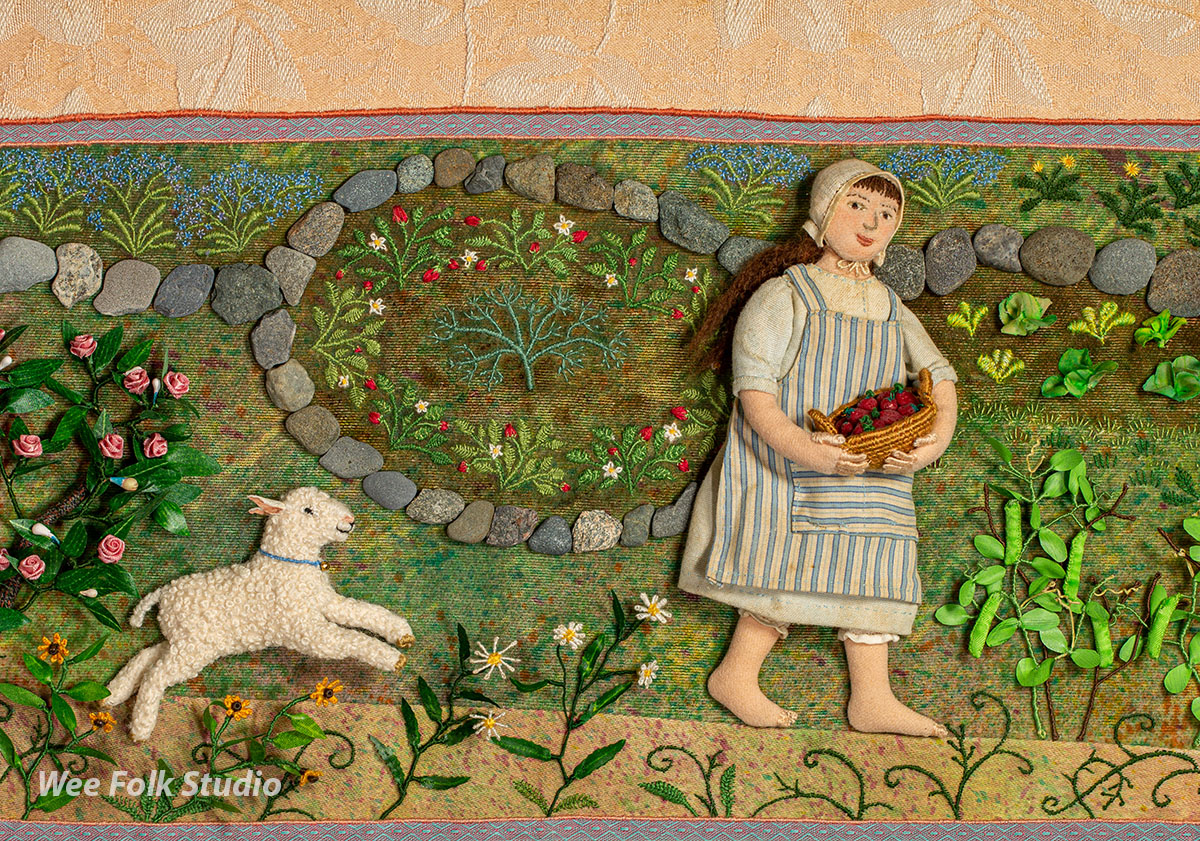
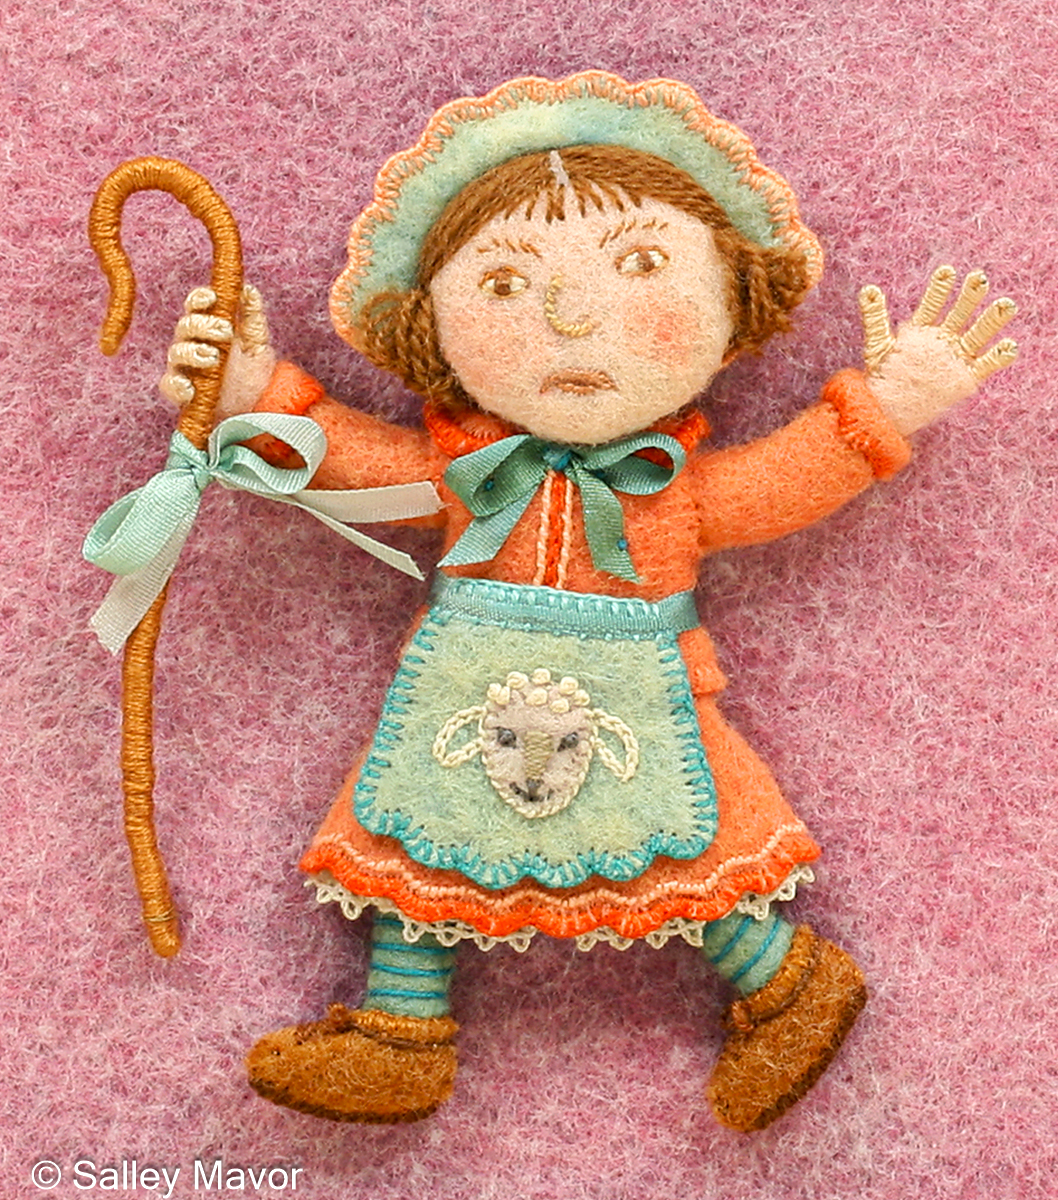
The different nursery rhyme characters in Pocketful of Posies wear over 100 shoes, in varying colors and sizes. There’s Little Bo Peep who lost her sheep…

the children playing Ring Around the Roses…

and the Crooked Man who walked a crooked mile in his hiking boots.

An old watch strap buckle came in handy for this shoe from “One, two, buckle my shoe”.

Does this shoe house look familiar? It was inspired by an LL Bean boot I found in the closet. Not only did the old woman who lived in a shoe have to feed all those children, she had to keep them all shod, too!

There was an old woman who lived in a shoe, from “Pocketful of Posies”

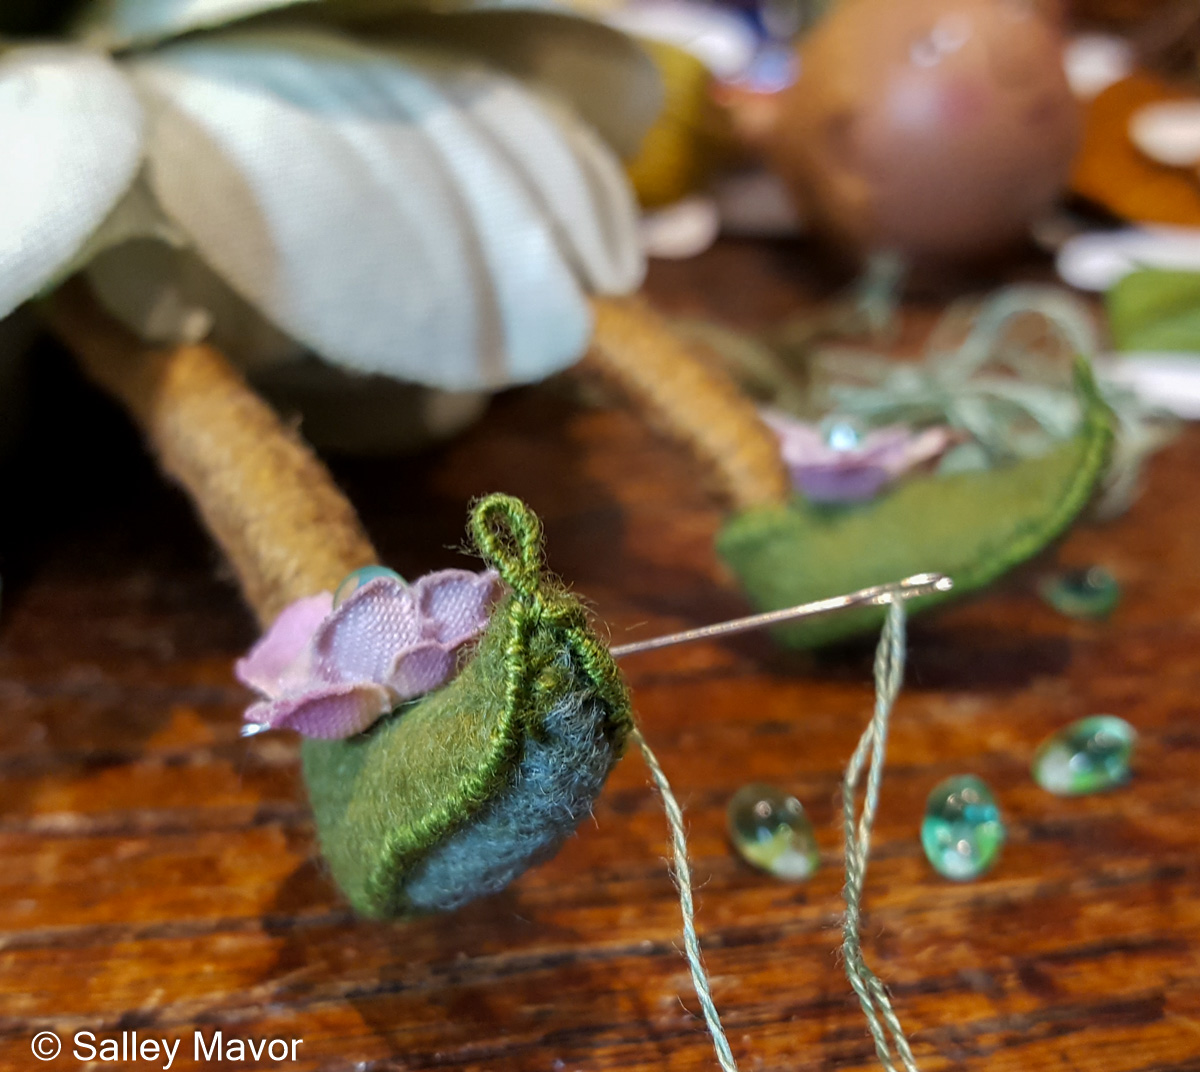
A few years ago, I made a pair of bigger than usual fairies to accommodate some large bur oak acorn caps from the Midwest. Because the Bur Oak fairies had nice big feet (1 1/4″), I could more easily cobble shoes for them. I made their slippers out of felt, with a bit of wire reinforcement to give them a pointy elfin look.

Most of the shoes I make are of the comfortable variety, but occasionally someone demands spike heels.

Like this pair of pink roach killers I made back in 2017, when Rob and I spent a year in the basement filming our stop-motion animation, Liberty and Justice: A Cautionary Tale in the Land of the Free. The film is just as relevant today as it was when it was released in 2018. In the photo below, the Melania character is getting a final fitting for her cameo appearance in the film.

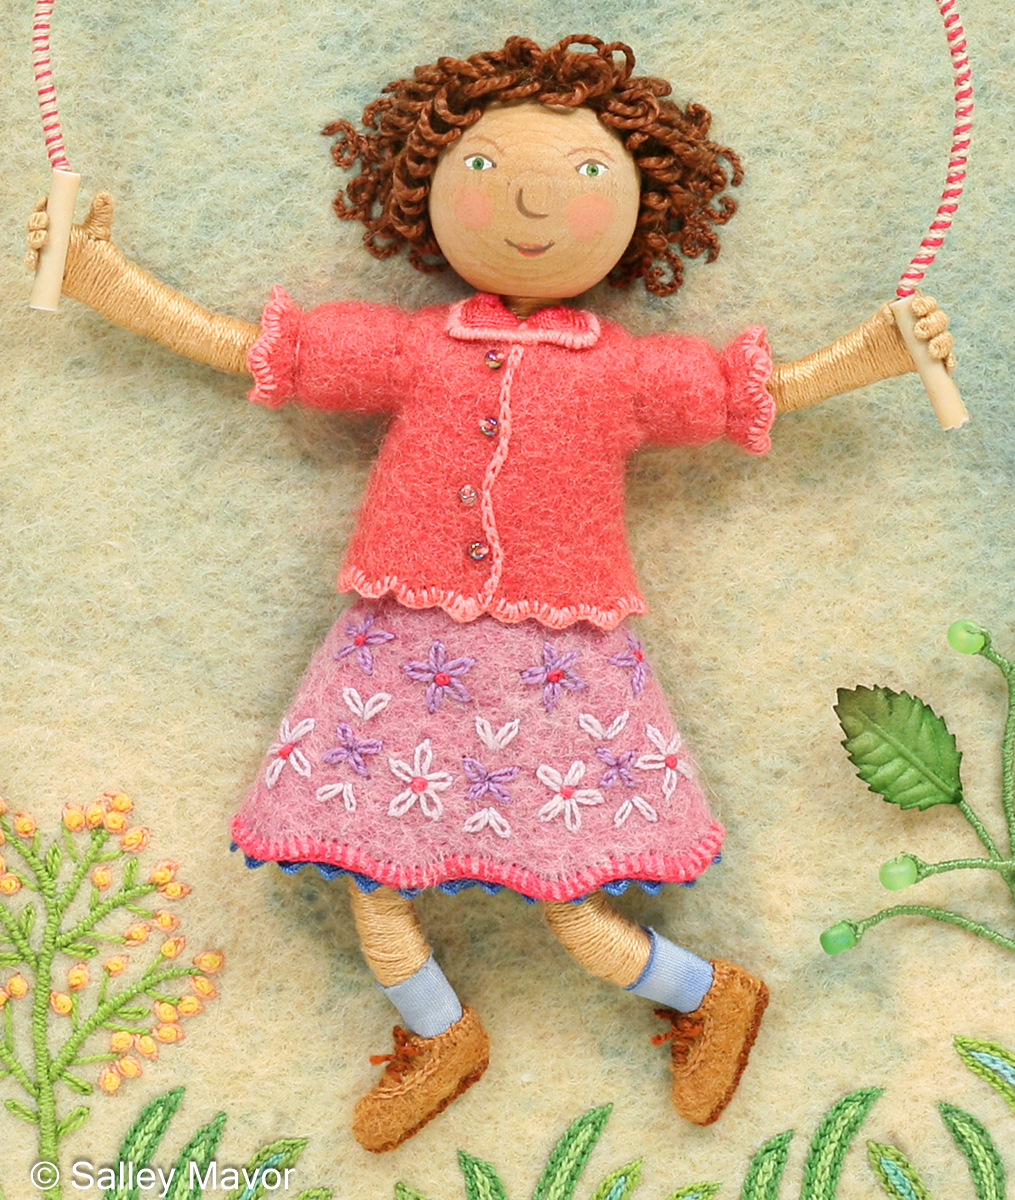
Let’s push aside all that glitz and glamor and finish up with “Jumping Joan”, who’s wearing a pair of sensible brown shoes, which everyone wore to school when I was growing up.

Jumping Joan from “Pocketful of Posies”

To keep up with new posts, please subscribe to this blog. Your contact info will not be sold or shared. If you’d like to see more frequent photos tracking the projects in my studio, please follow me on Facebook, Instagram and BlueSky.

bed book peek – back cover

Today, I’d like to share how I made the embellished border strips that are on the back cover of MY BED. While the cover of the book introduces the children in their beds, the back is purely decorative. I wanted it to be a cross-cultural celebration of color, pattern and texture that hopefully will make the person looking at it to want to open the book. There were a couple of practical requirements, too, like a place for the bar code and an open area for the publisher to print promotional copy and add book reviews in future printings.

UPDATE: Personally signed copies of My Bed are available in my shop.
Also, all of the original 3-dimensional embroidered illustrations for the book are included in my current exhibition at the Albany Institute of History and Art in Albany, NY. Enchanting Threads: The Art of Salley Mavor is on view now through Feb. 23, 2025.

The design on the back cover includes multiple narrow (about 1/2″ wide) lengths of felt that I embroidered and pieced together in the style of a log cabin quilt.

I edged each strip of felt with blanket stitch and then sewed on wire, to make the long sides firm and straight, like bones on a corset. Otherwise, the strips would be too limp and wobbly to work with. You can’t see the wire because it’s wrapped with thread.

After stitching the strips together, I embellished different motifs on each one with beads, silk ribbon and embroidery stitches.

I combed through my vast collection of beads, which all seemed to be waving their hands wildly, calling out “pick me!”. The hardest part was selecting which ones to use and coming up with a combination that was interesting, but not cluttered looking.

I love embroidering simple stitches with silk ribbon.

I wanted each strip to be distinctive, but also work in harmony with the others.

The border looked like a window when it was finished

The last part involved sewing the border in place on top of a solid felt center piece. Since the book is a perfect square, everything had to line up just right.

Please keep in mind that while this book is technically a children’s book, it’s really for all ages! Over the past few years, I’ve published posts about making several of the different scenes. Here’s a list of the posts I’ve written:

To keep up with new posts, please subscribe to this blog. Your contact info will not be sold or shared. If you’d like to see more frequent photos tracking the projects in my studio, please follow me on Facebook, Instagram and BlueSky.

Cover Madness at The Horn Book

UPDATE: I just received word that my 2012 cover was voted the winner of The Horn Book Magazine’s Cover Madness contest in the January/February category! As part of this year’s centennial celebration of the magazine’s founding, this “very-subjective, not-serious event” will continue with more contests to pick covers from previous issues published in March/Aril, May/June, etc. By the end of Cover Madness, 6 different covers will “emerge as winners”.

What a wonderful surprise this is! Even though the children’s book community has always been very supportive, I sometimes feel like an imposter because of my singular vision and nontraditional illustration medium. So, I’m especially honored to have my work recognized this way. Of all the groups my work is lumped into, from embroidery to doll making, the storytelling genre of children’s books is where I feel most at home. I hope that you enjoy this account from 2012 about how I made the cover!


This is an edited and republished version of a post that was first written in 2012.

The Jan/Feb 2012 issue of The Horn Book Magazine is out, with my illustration on the cover. This issue has many wonderful articles and book reviews, including the 2011 Boston Globe-Horn Book Award speeches, which were delivered at the colloquium on Sept. 30th, 2011.

In this post, I share the process of making The Horn Book cover illustration, which I worked on for about 6 weeks this past summer. The original size of the scene is about 12″ wide and 18″ high. The original piece was purchased by an art collector who is connected to the children’s book world.

As the Horn Book Award recipient for Pocketful of Posies in 2011, I had the honor of illustrating a cover for the magazine. You can find out more about my award here. Signed copies of the book are available in my Etsy Shop.


THE TREE
I first found a twisted vine to use as the central tree and made a sketch with the Horn Book logo and child characters. I then drilled holes on the vine where wire branches would go.  

To form the branches, I covered wire with felt and embroidered them to match the real vine/tree trunk. This coiled branch has thread-wrapped wire thorns attached.

The Horn Book logo was rendered in wire branches and found objects. For one of the O’s, I sawed the back of a walnut-shell, so that it would lay flat and not stick out too much.  The O in the word Horn is a nest-like acorn cap from an oak tree in Iowa and the B’s spiky acorn caps are from northern California.

THE FELT BACKGROUND
I thought that a solid color background would looked too plain, so I stitched together scraps of naturally dyed wool felt to make a more interesting field for the action.

I made a little fairy to fit in the walnut-shell.

THE CHILDREN
I didn’t want the characters to be animals, but children dressed in animal costumes. So, I made every effort to make them look like children by giving them bangs, ponytails, hands and shoes. These figures are made with similar techniques found in my how-to book, Felt Wee Folk.

During the process, I changed some of the characters in the original sketch and substituted a boy in a dinosaur costume pulling an acorn cap wheeled wagon full of books.

I printed out the words on acetate, so that I’d be sure to leave enough room at the bottom edge. I then embroidered plants and leaves to the felt background.

This little child/mouse is getting red shoes.

The Horn Book staff suggested I include a reading child, so I made a felt book for the face-painted mouse.

All of the parts piled up as I worked. It’s a miracle nothing got lost!

It was really fun thinking up costumes to make for these kids. I wanted to create a scene of children immersed in imaginary play and story.

I added a sun to the upper left corner and embroidered a wavy chain-stitched border. Then, I sewed the felt background to a sheet of foam core board, pulling it flat and straight.

Then, I stitched the tree, characters and other props in place, right through the foam core board. After everything was in place, I took it to the photographer, so he could take its picture. After that, I removed it from the foam core board and remounted the felt background and all of the parts on a cloth-covered stretcher. It is now framed behind glass and was recently bought by a collector. It was a joy to work on this project with Lolly Robinson at the Horn Book Magazine! Having my illustration on the cover will be a great opportunity for many people to discover my work for the first time.

Here I am with Roger Sutton, editor in chief of The Horn Book.

To keep up with new posts, please subscribe to this blog. Your contact info will not be sold or shared. If you’d like to see more frequent photos tracking the projects in my studio, please follow me on Facebook, Instagram and BlueSky.

Summer Tidbits

With so much going on this summer, I decided to list everything in one post. There are current and upcoming exhibitions to see, new Stitch Minute videos to watch, as well as new products and a Sale in my Etsy shop.

But first, a little Barbie nostalgia.

With all of the chatter about the new Barbie movie, I thought I’d show mine from the early 1960’s. She co-mingled with the trolls, who mostly tolerated her. Looking back, I can see why the trolls won my heart. Barbie’s world was conventional and limiting, whereas the trolls opened up possibilities for a kind of magic to happen.


EXHIBITIONS

MY BED – The Netherlands

BEDTIME STITCHES heads south!

The touring exhibition of original artwork for my picture book, My Bed,
is currently on view at the
Southeastern Quilt and Textile Museum
in Carrollton, Georgia thru Sept. 15th.

MY BED – India


Since its premiere at the Cahoon Museum of American Art in 2020, Bedtime Stitches has been seen by thousands of visitors at 8 different museums across the country from Maine to Washington State. And it’s not over yet! To find out where Bedtime Stitches will be going into 2025, visit the exhibitions page.

MY BED – Russia

Hearing reactions from people who’ve seen my artwork in person makes me feel that organizing this show was worth all of the effort. I especially enjoyed this comment written earlier this year in the guest book at the Pacific Northwest Quilt & Fiber Arts Museum:

“It makes you think that everything is possible!”
~ Eleanor, Seattle, WA


2023 WOODS HOLE ART SHOW
July 24 – 29, 10 AM to 8 PM
Woods Hole Community Hall, Water St., Woods Hole, MA

This delightfully eclectic annual community art show is made up of artwork from people who live, work or lurk in Woods Hole. It’s been a long time since I had anything available during the summer to put in, but this year, 2 pieces from my seasonal landscape series, Harvest Time and Mossy Glen, will be included. Please note that the show is up for one week only (July 24 – 29).

If you’re heading down to the village of Woods Hole and manage to find a place to park, you can also see my Self Portrait: A Personal History of Fashion, which is on semi-permanent display at the Woods Hole Public Library.

Self Portrait: A Personal History of Fashion at the Woods Hole Public Library

THE WEE WORLDS OF SALLEY MAVOR

SOUTHERN VERMONT ARTS CENTER, Manchester, VT
September 30, 2023 – January 7, 2024
OPENING RECEPTION: Saturday, September 30 from 2 to 4 P.M.
GALLERY TOUR with the artist at 3 P.M.

This will be a large retrospective exhibition in the Art Center’s main gallery. It will include a wide array of original picture book illustrations spanning my career, including Bedtime Stitches, the touring exhibition of artwork for my most recent book, MY BED. Also on display will be recent pieces that explore cultural diversity, migration, fashion, the natural world, and a range of social narratives, from the everyday to topical subjects.

Southeastern Vermont Arts Center, Manchester, VT

New STITCH MINUTE Videos

SUMMER SCENE PREVIEW
The summer scene is slowly taking shape and I hope to finish it in time for my exhibit in Vermont this fall. When the piece is complete, I’ll write a series of posts that go into more detail, with commentary and photos that document my process. It’s the 4th in my seasonal landscape series. You can learn about how I made the other three, Frosty Morning, Mossy Glen and Harvest Time, in earlier posts on this blog. The images are printed as cards and jigsaw puzzles (20% off sale July 23 – 31), which are available in my Etsy Shop.


ETSY SHOP NEWS

New Note Card – George’s Chair

NEW CARDS in my Etsy shop.

George’s Chair features a child nestled in an upholstered armchair, engrossed in a storybook, surrounded by imaginary characters, including St. George and the Dragon. There are also four new cards with images from Mary Had a Little Lamb. They include Mary and her lamb in the garden, in the barn, in the kitchen and in an apple orchard. The different scenes are available separately or in a sampler.

Mary Ha a Little Lamb Note Cards

JIGSAW PUZZLES

Enter my Etsy Shop here.

To keep up with new posts, please subscribe to this blog. Your contact info will not be sold or shared. If you’d like to see more frequent photos tracking the projects in my studio, please follow me on Facebook, Instagram and BlueSky.

Revisiting Mary and her lamb

Today, I’d like to revisit the classic rhyme, Mary Had a Little Lamb, which I illustrated in 1995. The smaller board book version was published 10 years later. It’s hard to believe that 28 years have gone by since it first came out. The reality hits me, though, when I meet grownup people who remember the book from their childhood. Both versions are out of print, but you may be able to find used copies online.

Mary Had a Little Lamb remains one of my favorite projects and I’ve wanted to reuse the artwork from the book for some time. So, I’m happy to say that I just added 4 new note cards with images from the book to my Etsy Shop. There’s Mary and her lamb in the garden, in the barn, in the kitchen and in an apple orchard. The cards are available in 4 or 8 card samplers. Individual designs are also sold separately in packs of 4.

Note cards are available in my Etsy Shop..

All of the original 3-dimensional scenes I made for Mary Had a Little Lamb are in private collections. Fortunately, several owners are willing to loan them from time to time for exhibition purposes. Last summer, 8 pieces from the book were in my retrospective at the Brick Store Museum in Maine. And this coming fall, I hope to include a group of them in The Wee Words of Salley Mavor at the Southern Vermont Arts Center.

“Mary in the Garden” in a private home.

Judy Sue Goodwin-Sturges, my former teacher from RISD, generously loans pieces from her art collection for exhibitions. Picking them up is also a good excuse to visit her in Providence, RI. By the way, take a look at her shelves full of Guatemalan huipils behind us!

Mary Had a Little Lamb – apple tree note card
Mary Had a Little Lamb – barn note card

When I borrow the pieces, I often remove the stretched artwork from its frame to clean the inside of the glass. Then, I can take close up photos, like this one of Mary and her lamb in the barn and others you can see below.

Mary Had a Little Lamb – garden note card

Back in the 90’s, I embroidered character’s faces on hand-me-down fabric from my grandmother. The cloth was originally an old woolen petticoat that had been laundered so many times that it became felted. It was the perfect weight to work with and had a sturdy and forgiving texture that put up with multiple stabbings from a needle and thread. Eventually, I used up all the fabric and could never find anything to replace it. By then, I’d begun painting faces on wooden beads and I really didn’t miss embroidering faces. Sometimes, I would spend all day ripping out the stitching and starting again to get the right facial expression.

In this close up you can probably tell that the strawberries are made from polymer clay. The basket is made of wire wrapped in embroidery floss.

Mary Had a Little Lamb – kitchen note card

The blue and white knitting in the mother’s lap was originally part of a sculpture of a knitter sitting on a couch that I made in about 1980, which you can see below. I figured that the doll didn’t need her knitting any more, so I stole it and gave it to Mary’s mother. I’ve never been much of knitter and this would save me having to make a new one. And besides, it was the perfect scale!

Practically everyone who sees this asks, “Did you actually knit this on those tiny knitting needles?” I suppose it’s possible to knit with tooth picks, but I’m not that neurotic. Remember, making art is all about creating illusions. I used real needles, the kind that are for knitting baby booties and such, and then replaced them with with tooth picks.

Enter my Etsy Shop here.
A note to my international followers – Due to the unreasonably high cost of shipping overseas, I now only take orders from the USA and Canada.

To keep up with new posts, please subscribe to this blog. Your contact info will not be sold or shared. If you’d like to see more frequent photos tracking the projects in my studio, please follow me on Facebook, Instagram and BlueSky.

Bedtime Stitches in Pacific Northwest

Pacific Northwest Quilt and Fiber Arts Museum in La Conner, WA

I am happy to announce that Bedtime Stitches, the traveling exhibition of original artwork for my picture book, MY BED, is on view at the Pacific Northwest Quilt & Fiber Arts Museum in La Conner, WA through April 30th. This is the westernmost location on the tour and I hope that many of you in the area (including BC, Canada) will make the trip to see the show. To find out where it’s going in the next couple of years, please visit the exhibitions page.

MY BED: Enchanting Ways to Fall Asleep around the World is available worldwide where books are sold, including from online vendors. Autographed copies can be purchased in my Etsy Shop here.

The exhibition of embroidered bas-relief sculptures brings the viewer on an international journey, showing children in varying cultures and home environments around the world. Each intricately rendered scene captures the spirit of a different place and way of life, all the while illuminating the universal theme of children sleeping safe in their beds.

Pacific Northwest Quilt and Fiber Arts Museum in La Conner, WA

I’m especially excited to have my work at the museum because the Pacific Northwest has such an active quilt and fiber arts community. People are already flocking to see the show and telling their friends about it. Recent visitors wrote, “The pieces are even more amazing in person!” and “I found myself standing in front of each frame and ‘dreaming’. I will go back.”

Pacific Northwest Quilt and Fiber Arts Museum in La Conner, WA

In addition to the framed original artwork, visitors will see several interpretive boards that touch on different aspects of my working process, including this one about the animal icons featured throughout the book. While I worked on the animals, I took photos along the way and shared how I made each one. Click the animals to link to posts:

RoosterCamelParrotElephantGoldfishCatDuckSheep,
RabbitCowCrocodileGiraffeDogPony.

I am grateful to the Pacific Northwest Quilt & Fiber Arts Museum for their enthusiastic invitation to show my work and willingness to book it years in advance! The exhibition is spread out on the 3rd floor of their beautiful Tudor-style Victorian mansion.

Pacific Northwest Quilt and Fiber Arts Museum in La Conner, WA

Bedtime Stitches is currently booked into 2025 with the possibility of being extended into 2026. Interested museums and curators are welcome to write me information about hosting the exhibit via the contact form below.

Go back

Your message has been sent

Warning.
Warning
Warning
Warning

To keep up with new posts, please subscribe to this blog. Your contact info will not be sold or shared. If you’d like to see more frequent photos tracking the projects in my studio, please follow me on Facebook and/or Instagram.

MY BED – Home: Part 5

PART 5 – Rooster, Cow, Parrot, Camel, Bunny, Crocodile, Duck, Cat, Pony and Sheep: Today’s post finishes up the “Home” series about making the illustration in My Bed, where all of the animal icons featured throughout the book come together in a child’s bedroom at the end.
Part 1 gives an overview of the page.
Part 2 focuses on the outside architectural details of the cut-away house.
Part 3 takes a peek inside at the furniture and the sleeping child.
Part 4 shows how I made the elephant lamp and goldfish lampshade.

Signed copies of My Bed are available in my shop here. Watch this 8-minute documentary about making the artwork for the book.

Bedtime Stitches exhibition at the New England Quilt Museum

It was so much fun to find ways to cram all of the animals into the child’s bedroom – overhead and underfoot, hanging on the wall, resting on the windowsill and crowding the bed. I like to think of these mini versions as souvenirs from the places around the world where the book travels. As you can see, my interior design style is anything but minimalist.

Some of the animals are depicted in portrait form, such as the rooster and the cow.

The parrot took flight…

and the sheep emerged through french knots and chain stitches.

I shrunk the crocodile to about half it’s size. You’d think it would be tedious, but I relish this kind of thing. I like figuring out how to reduce the scale, while preserving what makes something or someone identifiable.

The crocodile was a last minute addition due to some editorial adjustments, but luckily there was room to fit him on the bed.

We filmed this little animation before the crocodile was added.

There were other changes, too. Both the larger and mini versions of the camel had to undergo plastic surgery, when a follower pointed out that African camels are the dromedary or one-hump type, which shows sloppy research on my part. So, I transformed this guy’s two-humps into one! Luckily this all happened while I was still making the illustrations, so it could be fixed before the artwork was photographed for the book.

The cat and bunny look like they’re dressed in Halloween costumes! I made them using a scaled down version of the wrapped wire method I teach in Felt Wee Folk.

This sweet little Mongolian pony completes the 5 part series about making the “Home” page for MY BED. I hope that you’ve enjoyed this glimpse behind the scenes at my process.
Part 1 gives an overview of the page.
Part 2 focuses on the outside architectural details of the cut-away house.
Part 3 takes a peek inside at the furniture and the sleeping child.
Part 4 shows how I made the elephant lamp and goldfish lampshade.

To keep up with new posts, please subscribe to this blog. Your contact info will not be sold or shared. If you’d like to see more frequent photos tracking the projects in my studio, please follow me on Facebook and/or Instagram.

MY BED – Home: Part 4

PART 4 – Elephant Lamp and Goldfish Lampshade: Today’s post shows how I made the elephant lamp and goldfish lampshade in the child’s bedroom scene at the end of my picture book, My Bed.
Part 1 gives an overview of the page.
Part 2 focuses on the outside architectural details of the cut-away house.
Part 3 takes a peek inside at the furniture and the sleeping child.
Part 5 is about all of the other animal icons represented in the scene.

Signed copies of My Bed are available in my shop here. Watch this 8-minute documentary about making the artwork for the book.

My original idea for this illustration was to show a universal child sleeping in bed, surrounded by stuffed toys that looked like the animal icons featured throughout the book. I soon realized that the bed and floor around it wouldn’t accommodate all of the animals, so I came up with other ways spread them around the room.

The sturdy elephant turned into a lamp base and the goldfish ended up swimming around a sea blue lampshade. The goldfish icon first appears on the text panel in the Japanese spread in the book.

To make the lampshade, I appliqued an embroidered felt goldfish head and tail onto a piece of blue felt.

I added a felt back piece and edged the front and back with wire on the top and bottom. That way, it would stick out and stay curved like a real shade.

For the lamp base, I shrunk the elephant down to about 1/2 the size of the spot illustration on the text panel on the Indian page of the book.

To make the armature, I bent a pipe cleaner and threaded one end through a wooden bead. The bead would become the head and the pipe cleaner extension would form the trunk.

Then I wrapped the pipe cleaner trunk with embroidery floss, covering the fuzzies like the dolls’ arms and legs are made in my how-to book Felt Wee Folk.

I sewed pieces of felt inside the body to fill in the void and give it bulk.

I then covered the bead head and body with pieces of felt. It’s been a few years, so I can’t remember exactly how this part was done, but I remember that it was rather fussy. I probably used 2 separate pieces for the front and back of the body and the head.

You can see the difference in scale between the 2 elephants in the photo of my work table below. They’re like the mother and baby elephant in my first children’s book, The Way Home.

Replicating the blanket at 1/2 size was also fussy, but at least it was flat!

Wouldn’t it be fun to have a full size version of this lamp, with the elephant made out of clay or wood and a painted goldfish swimming around the shade?

Stay tuned for more posts about the other animals in this scene.

To keep up with new posts, please subscribe to this blog. Your contact info will not be sold or shared. If you’d like to see more frequent photos tracking the projects in my studio, please follow me on Facebook and/or Instagram.

MY BED – Home: Part 3

PART 3 – Furniture: This series is about making the illustration at the end of my picture book, My Bed, where all of the animal icons from around the world come together in a child’s bedroom. Part 1 gives an overview of the scene and Part 2 focuses on the outside architectural details of the cut-away house. Today’s post will take a peek inside, at the furniture and the sleeping child. Coming up next in Part 4, I’ll show how I made the elephant lamp and fish lampshade.

Signed copies of My Bed can be ordered in my shop here. Watch this 8-minute documentary about making the artwork for the book.

The giraffe on the text panel found its way here after it was bumped from the Ghanaian page. To read about the giraffe gaffe which caused the switchover, go to this previous post.

For this scene, I rendered the giraffe in a different form, as a chain stitched image “painted” on the side of a chest of drawers.

To make the chest look like a wood paneled piece of furniture, I created layers of felt, including a cut out frame and a backing piece of a slightly lighter shade of green. Then, I outlined the frame with blanket stitching and basted the 2 pieces on top of one another.

I chain stitched a simple outline of a giraffe and filled it in with more chain stitches and satin stitched spots. For eyes, I combed through my glass bead supply until I found 2 of the tiniest black ones

After adding a branch and leaves, I sewed wire around the outside edge to give the panel more structure. And for extra emphasis, I went over every edge and corner with a darker shade of green embroidery floss.

To help visually anchor the corners, I sewed on jump rings, covering the metal with embroidery floss. I added a felt top, bead drawer pulls and bead legs.

Creating a side view of the bed frame came next. It’s made with carved bone beads from Africa that I found at a bead show years ago.

Because I wanted every child looking at the page to feel a connection to the character in the illustration, I intentionally made them non-specific by gender or race. I also wanted the house and bedroom to convey a warm and playful sense of “home” that could be imagined anywhere.

Since the child was going to be tucked under the covers, I only had to make the top half of their body. The figure is based on the dolls in my in my how-to book, Felt Wee Folk.

While picking out colors and patterns for the child’s clothes and bed spread, I was keenly aware of how easy it is to fall for pink = girl and blue = boy stereotypes. After much consideration, I chose striped orange pajamas and a starry purplish night sky bed covering.

I embroidered the stars with gold metallic thread, which for me is a material of last resort. Even though synthetic thread is icky to work with, it provided the shine I wanted.

Once the child was safely tucked into bed, I started making the different renditions of the animal icons featured throughout the book. Coming up next in Part 4, I’ll show how I made the elephant lamp and fish lampshade. After that, I’ll write about the other animals in the room.

Bedtime Stitches, the touring exhibition of original 3-dimensional artwork for the book is at the  New England Quilt Museum in Lowell, MA through Dec. 31, 2021 and will be at the International Quilt Museum, Lincoln, NE Jan. 25 – April 10, 2022. See the the full schedule here.

Bedtime Stitches at the New England Quilt Museum

To keep up with new posts, please subscribe to this blog. Your contact info will not be sold or shared. If you’d like to see more frequent photos tracking the projects in my studio, please follow me on Facebook and/or Instagram.

MY BED – Home: Part 2

PART 2 – Architecture: This series is about making the illustration at the end of my new picture book, My Bed. It’s a cut-away view of a sleeping child, surrounded by souvenir animals from the places around the world that the book travels through. Looking at it now, the child’s one room house filled with animals reminds me of a favorite children’s book character, Pippi Longstocking, who lived an exciting self-sustaining life with a monkey and a horse. Of course, My Bed is a completely different kind of story, but those kind of connections make perfect sense to me.

Signed copies of My Bed can be ordered in my shop here. Watch this 8-minute documentary about the book.

Today, the focus will be on how I put together the outside architectural elements of the house, including the doorway and the roof. Everything was made with wool felt, with wire reinforcements.

As always, I blanket stitched around the outside edge of each felt piece. My motto could be, “When in doubt, blanket stitch.” The little dashes all lined up make the different parts stand out, like crosshatching with a pen. I added a layer of wire around the outside, giving the felt some stability, so it wouldn’t be too floppy. You can’t see the wire because it’s covered with brown whip stitches. Then, I decorated the felt “board” with a chain stitched curvy line.

This is the roof section, which I built up to about 1/2″ with layers of felt. I wanted to create a 3-dimensional structure that clearly separated the outside from the inside space.

To make roof tiles, I sewed together a line of rough cut shell beads.

Then, I sewed the string of beads along the rooftop and crowned the top with a clay bead.

The door is made with 2 layers of felt, all blanket stitched. My goal was to soften the hard edges and make the building parts look sturdy and wobbly all at the same time.

The door knocker is a hook and a bead and the door knob is button and a bead.

I made the light out of a hook, a bead and some kind of bobble I’ve had for ages.

Now that we’ve looked at the outside, let’s take a peek inside next time, shall we?

To keep up with new posts, please subscribe to this blog. Your contact info will not be sold or shared. If you’d like to see more frequent photos tracking the projects in my studio, please follow me on Facebook and/or Instagram.