MY BED: night sky – part 4

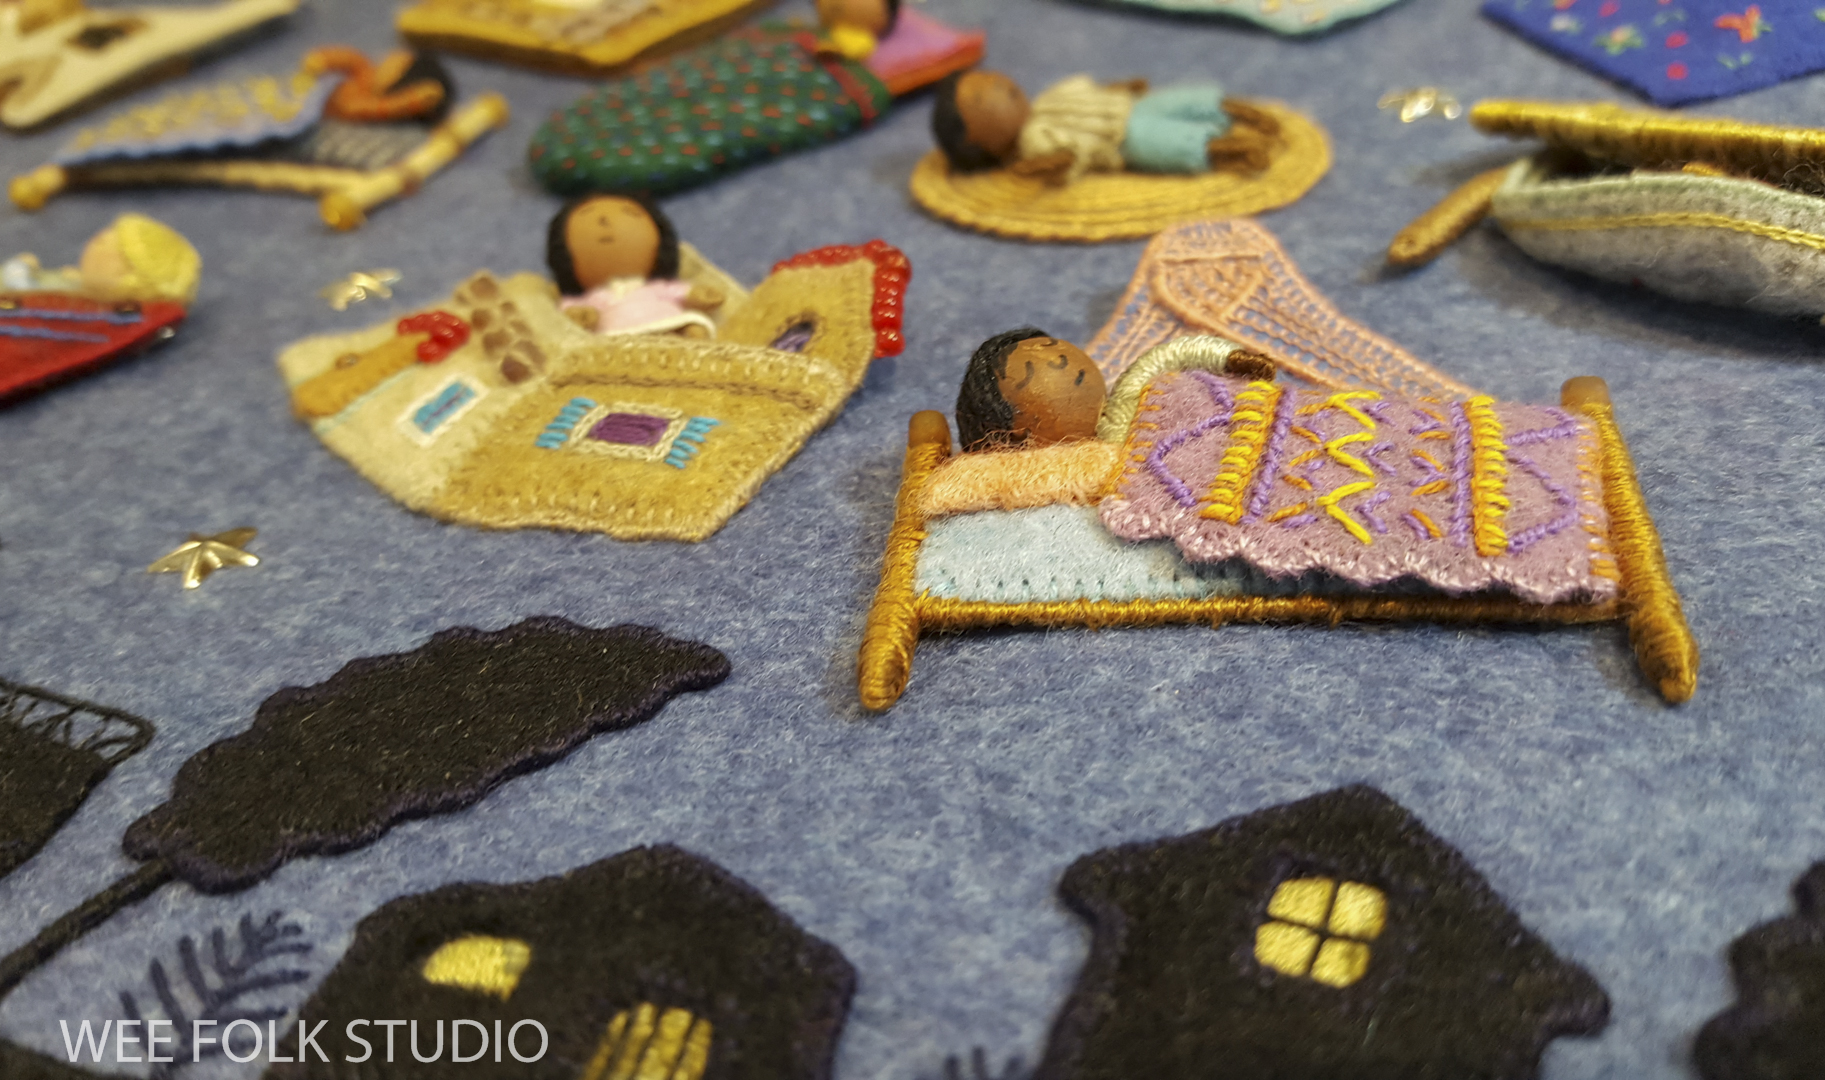
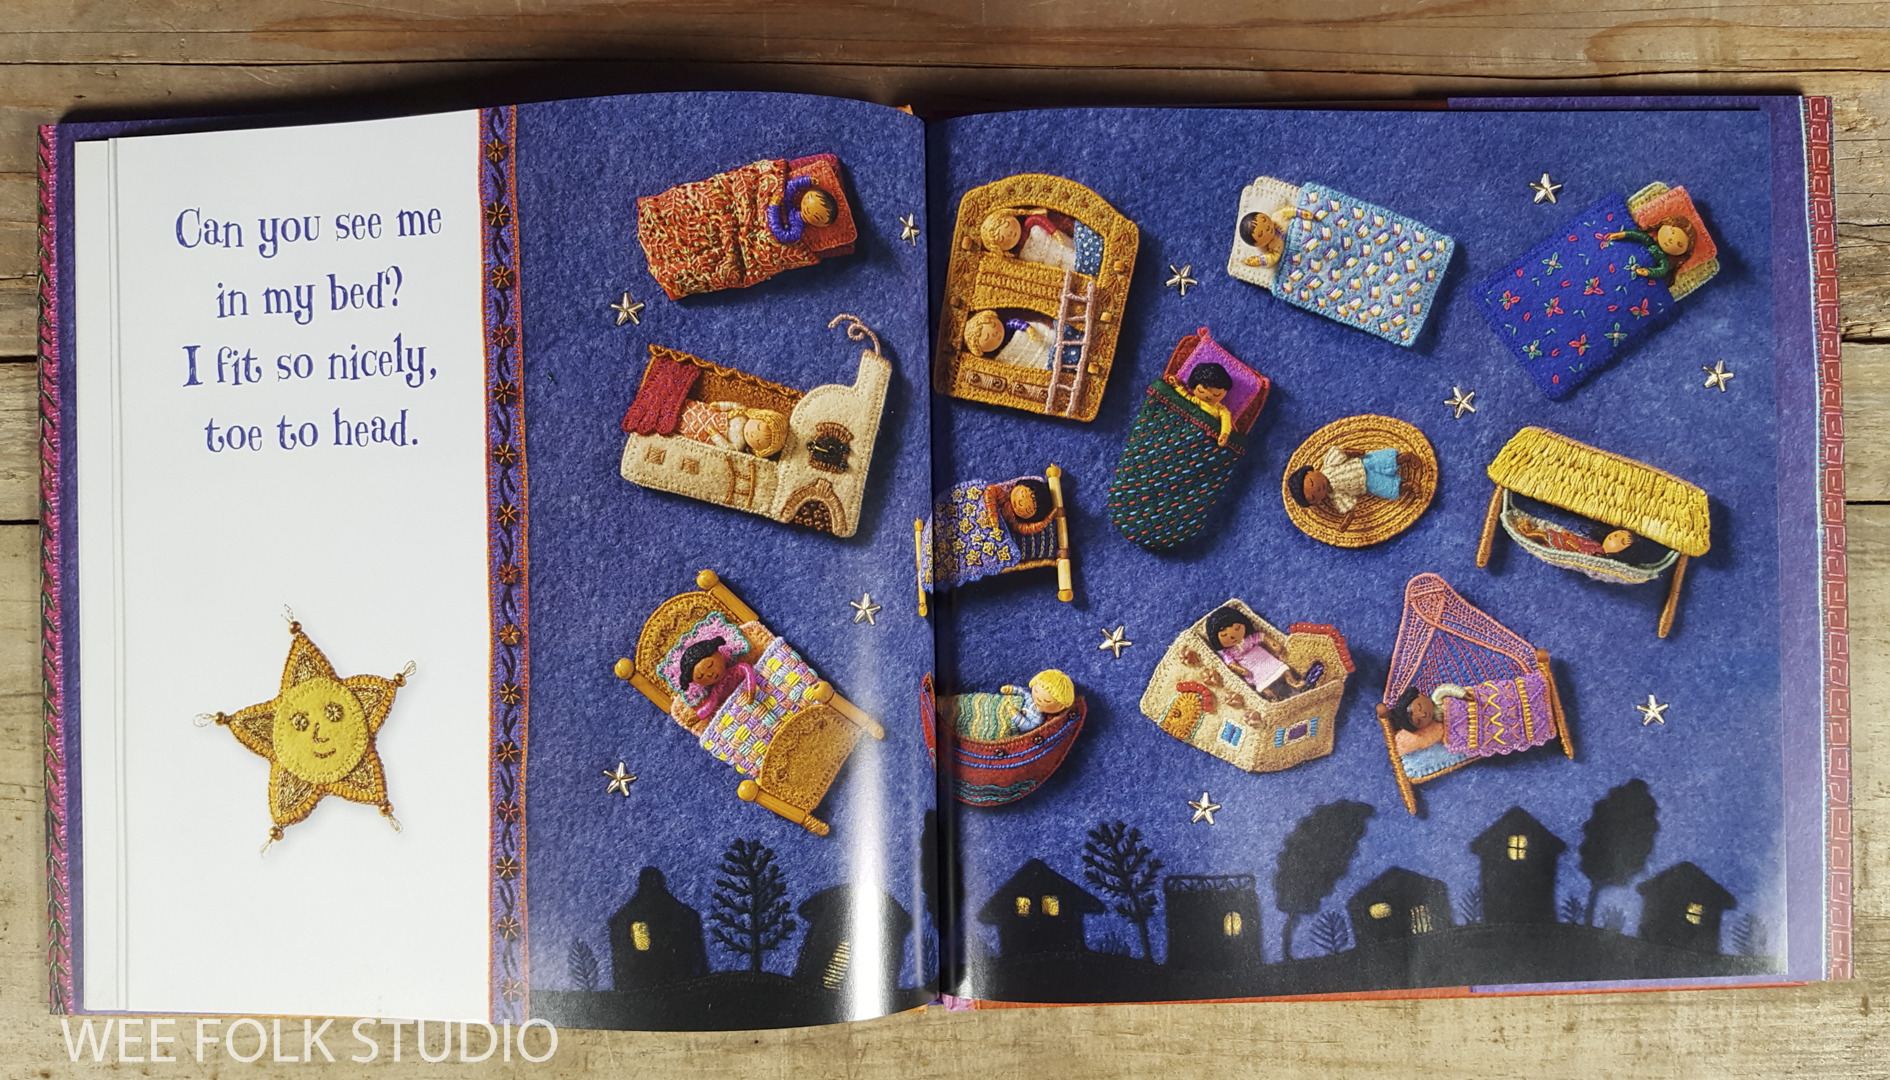
This is the 4th and final part in the series about making the night sky illustration for my picture book, My Bed. In this spread, all of the children are tucked in bed, hovering among the stars in the night sky. Today, I will show how I made the miniature versions of the children and beds from Russia and North America.

But first, I have some GOOD NEWS on the exhibition front! A new museum has just confirmed that they will be hosting the Bedtime Stitches touring exhibition in 2024. The Albany Institute of History and Art in Albany, NY will show Bedtime Stitches, as well as Social Fabric, a collection of other pieces I’ve made over the past 20 years. This all came about because a longtime fan contacted the museum in her home town of Albany about showing my work. Thank you Janny! This proves that the combination of your enthusiasm, along with local connections can get results.

Bedtime Stitches is currently travelling around the country. To see the tour schedule, please visit the Exhibitions Page.

Signed copies of My Bed can be ordered in my shop here. Watch this 8 minute documentary about how I created the illustrations for the book.

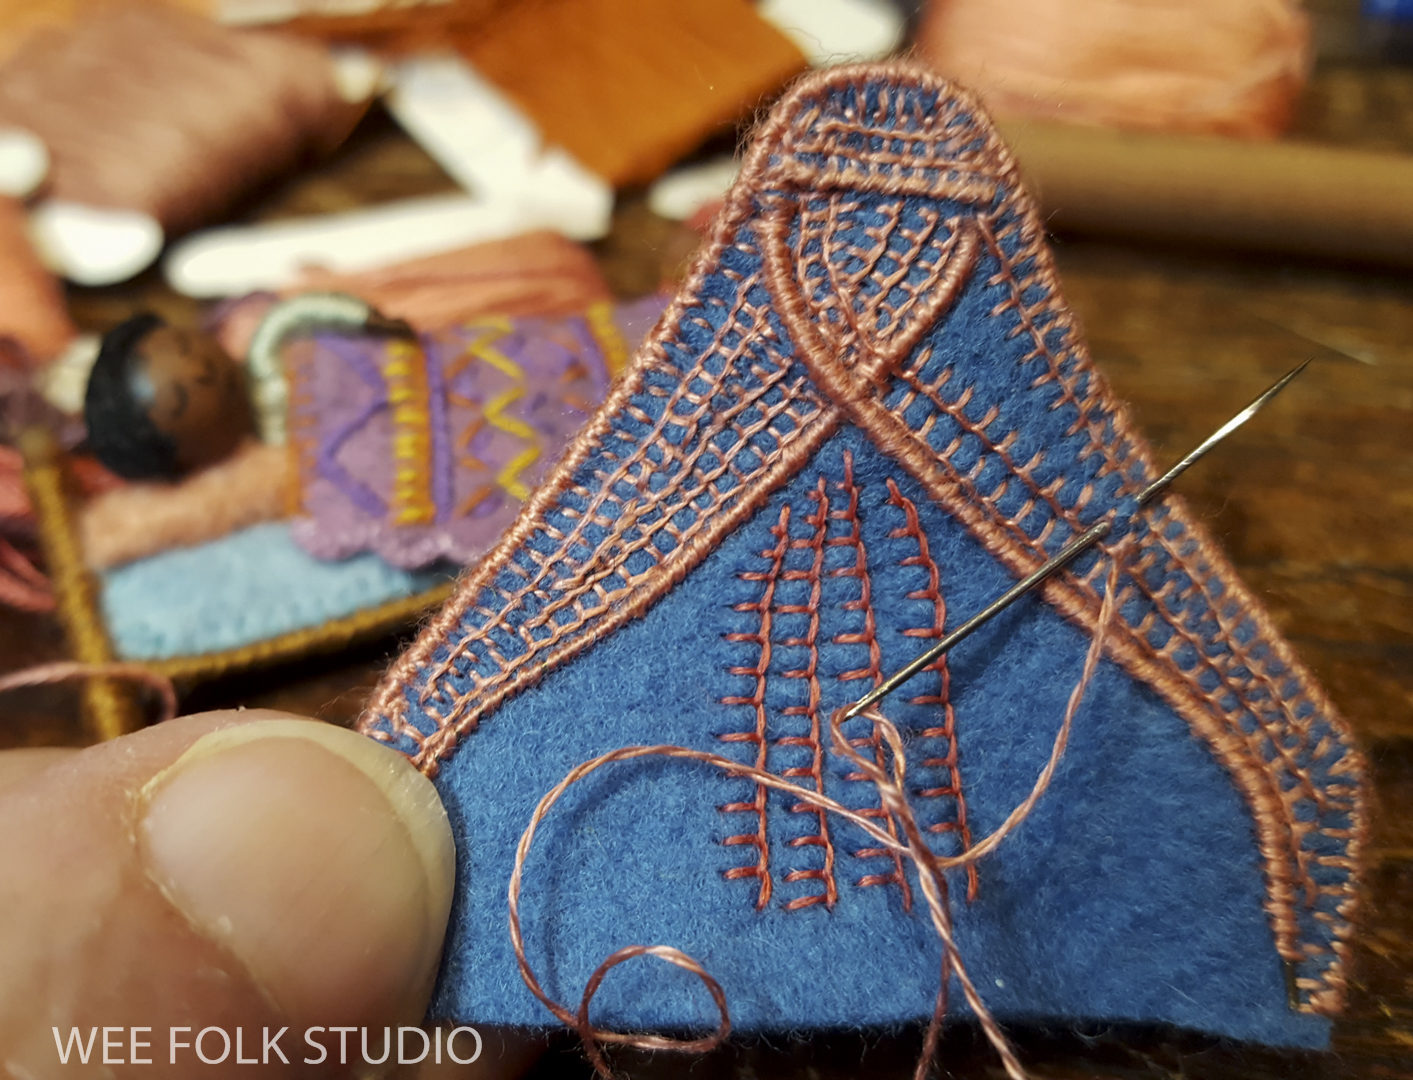
For the night sky scene, I made a smaller version of the traditional “stove bed” ” like the one in the Russian scene. Besides its use for domestic heating, people slept on top of the masonry to keep warm.

To start, I cut felt in the shape of the stove and embroidered the details. The fire box door is appliqued black felt, with a metal hook for the handle and black seed beads for the hinges. I edged the stove and bed platform pieces with blanket stitches and sewed them together. To keep it from being too floppy, I stitched wire all around the outside edges. You can’t see the wire because it’s wrapped with thread.

I made a mini version of the sleeping girl, braids and all.

Then, I created a snug place for the girl to lie down. The back wall and curtain are made of felt and the scalloped edge along the top is thread wrapped wire. Then, I added a wire curl of smoke coming out of the chimney top. The last touch was a stack of seed beads “logs” inside the wood box.

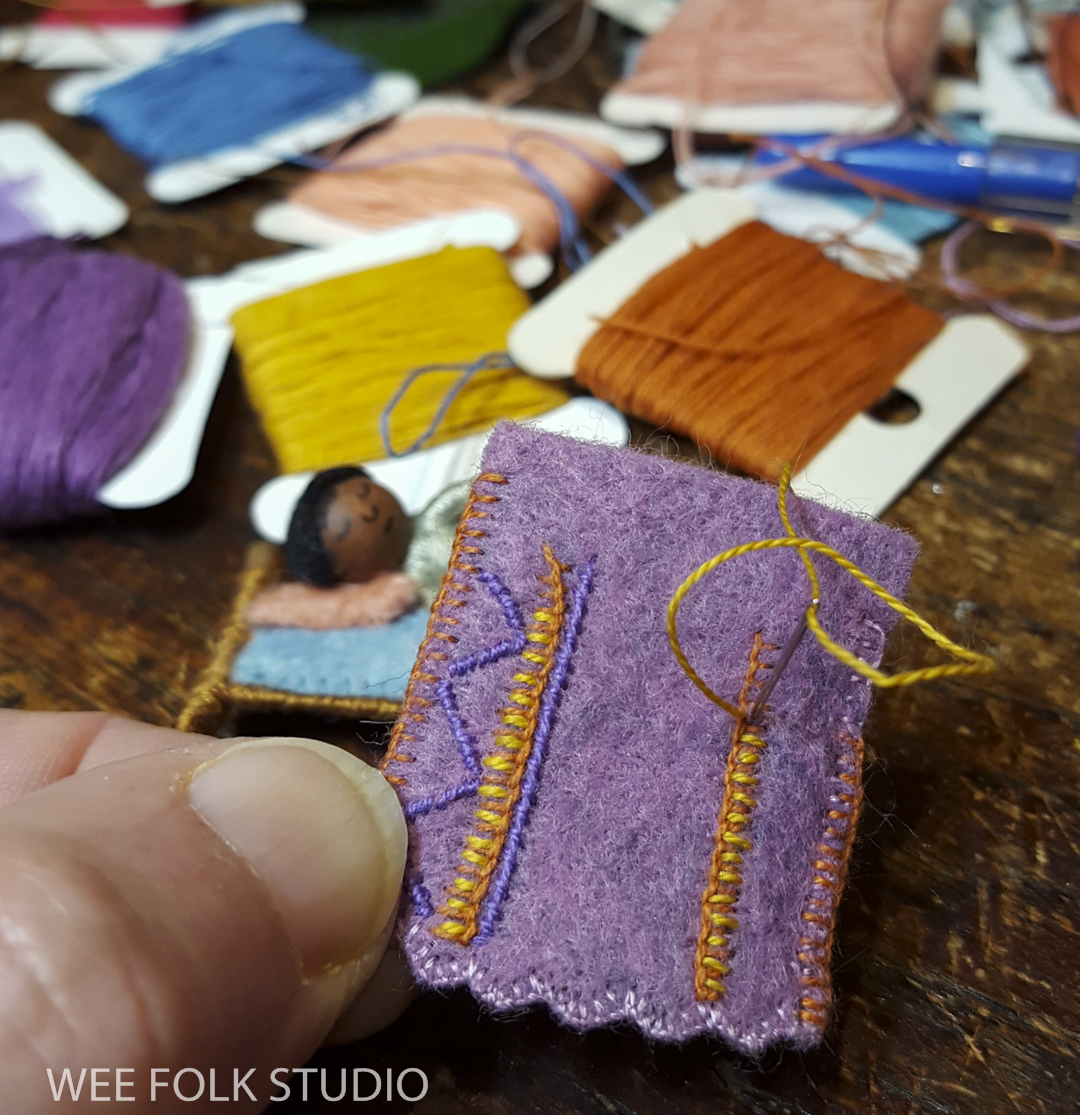
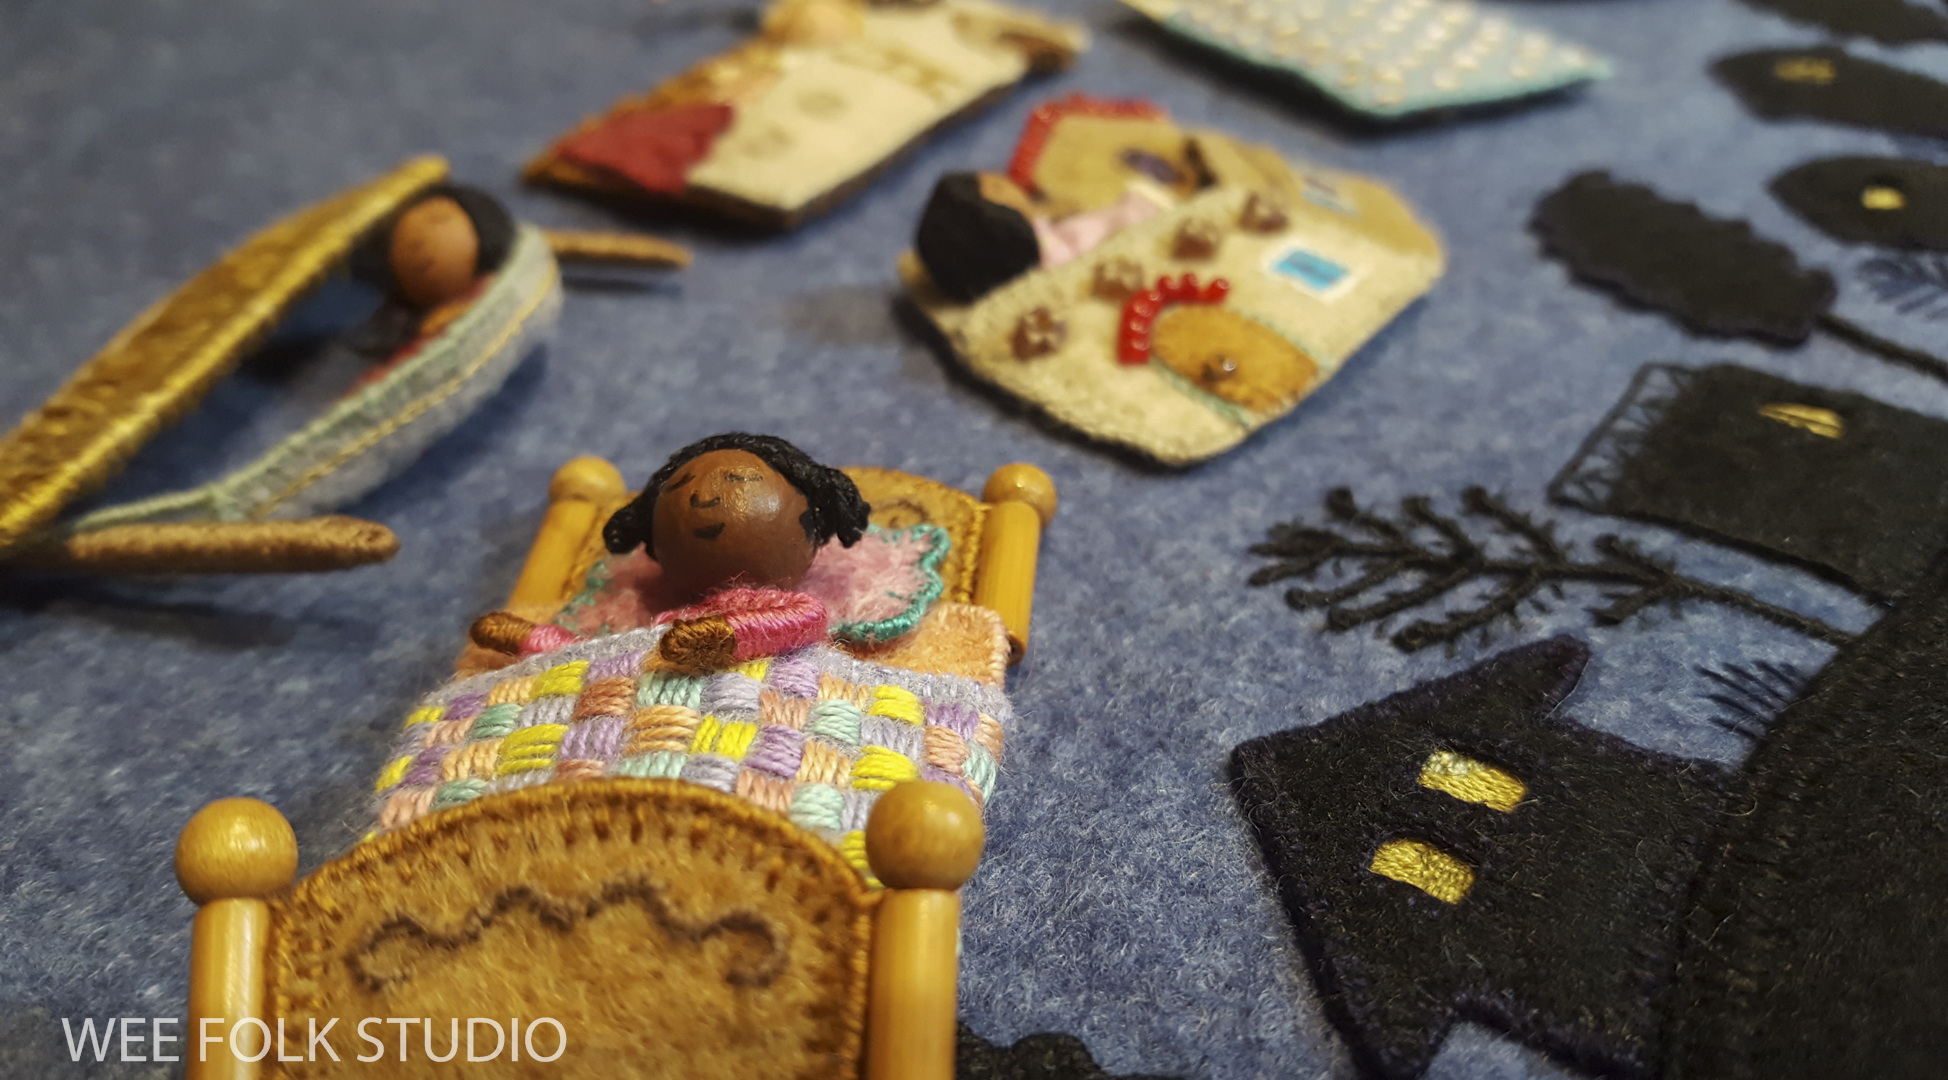
I also replicated in miniature the bed and child from the North American scene. For comparison, you can see how I made the full size illustration here.

i simplified the quilt pattern into a grid of squares made with 4 or 5 horizontal or vertical stitches.

As with the other sleeping dolls, I only had to make the top portion of the child’s body.

The bed posts are tube beads topped off with round beads. I glued wire inside the beads to hold them together. The head and foot boards are made of felt.

Here she is, ready to join the other children!

I hope that you enjoyed this peek behind the scenes at how I made some of the tiniest beds in MY BED. The other posts in the night sky series are:
Part 1 – North Africa and Holland
Part 2 – Scandinavia and Japan
Part 3 – India, South America and Afghanistan

To keep up with new posts, subscribe to this blog. Your contact info will not be shared. If you’d like to see more frequent photos tracking the projects in my studio, please follow me on Facebook and/or Instagram.

MY BED: night sky – part 3

This is part 3 in the series about making the night sky illustration for my picture book, My Bed. In this spread, all of the children are tucked in bed, hovering among the stars in the night sky. Today, I will show how I made the miniature versions of the beds from India, South America and Afghanistan.

Update: Signed copies of My Bed can be ordered in my shop here. Watch this 8 minute documentary about how I created the illustrations for the book.

Rebecca Bond’s words say, “Can you see me in my bed? I fit so nicely, toe to head.” The open-ended nature of these 2 simple sentences is a picture book illustrator’s dream. They give the cozy feeling of a child in their bed, without any annoying descriptions. There’s just enough information to use as a jumping off point. Generally, with picture books, the words set up the trajectory of a story and the illustrator’s job is to provide the visual details. I can’t remember exactly how I came up with the idea of having all the beds float in space above a silhouetted night skyline. It just seemed like a good way to bring together all of the children from around the world, as well as make a fun eye spy game.

The Bedtime Stitches touring exhibition of the original artwork for the book is currently traveling around the country. To see the tour schedule, please visit the Exhibitions Page.

To make miniature versions of the beds featured throughout the book, I had to simplify the designs quite a bit. In the case of the child in India, who’s bed is partially seen through an open window in the illustration below, I reduced the scale of the bed and stylized the mosquito net.

I embroidered a geometric pattern on felt for the bed covering…

and fashioned the mosquito net canopy on felt, with wire and embroidery. What would I do without the blanket stitch?

The children sleeping in hammocks in the S. American scene are about 3 1/2 inches from head to toe.

For the mini version, I shrunk the girl down to about 1 1/4 inches tall.

I made a thatched roof for her little hammock to hang underneath. Luckily, I had some straw silk from Silk Road Fibers on hand.

It was a lot easier to replicate the child sleeping on a floor mattress from the Afghanistan scene.

The printed floral pattern was too large in scale for the mini quilt, so I reproduced the flowers and leaves with simple embroidery stitches on a piece of felt.

Here she is, already sleep.

The whole time I was making the children and their beds in miniature form, I thought back to re-imagining the full size outfits depicted in my Self Portrait: A Personal History of Fashion. By the way, a note card of this detail from the piece is available in my shop.

detail from Self Portrait : A Personal History of Fashion 2007

I hope that you enjoyed this peek behind the scenes at how I made some of the tiniest beds in MY BED. Please stay tuned for Part 4, which will feature more beds in the night sky scene. Previous posts in this series include Part 1 and Part 2.

To keep up with new posts, subscribe to this blog. Your contact info will not be shared. If you’d like to see more frequent photos tracking the projects in my studio, please follow me on Facebook and/or Instagram.