
Part 5 in the series of posts about making my piece Summertime features photos and videos documenting the process of creating the Baltimore Oriole’s head and feet.
For a more comprehensive understanding of my process, I encourage you to explore other posts in this series: Overview of the piece, Part 1 – Tree Trunks, Part 2 – Tree Houses, Part 3 – leaves, stems and branches, Part 4 – Baltimore Oriole (body), Part 5 – Baltimore Oriole (head and feet), Part 6 – rose vine, Part 7 – raspberry plants, Part 8 – stitching flora, Part 9 – moss, sky and stone wall, and Part 10 – wee folk.
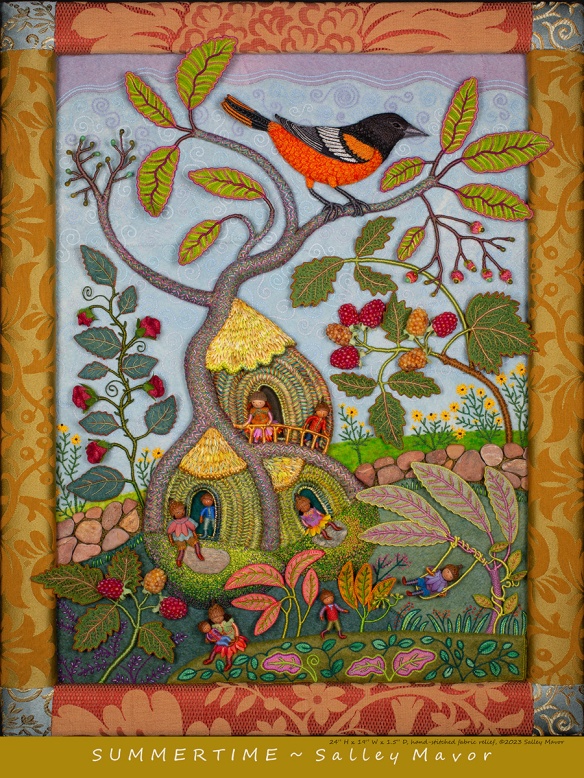
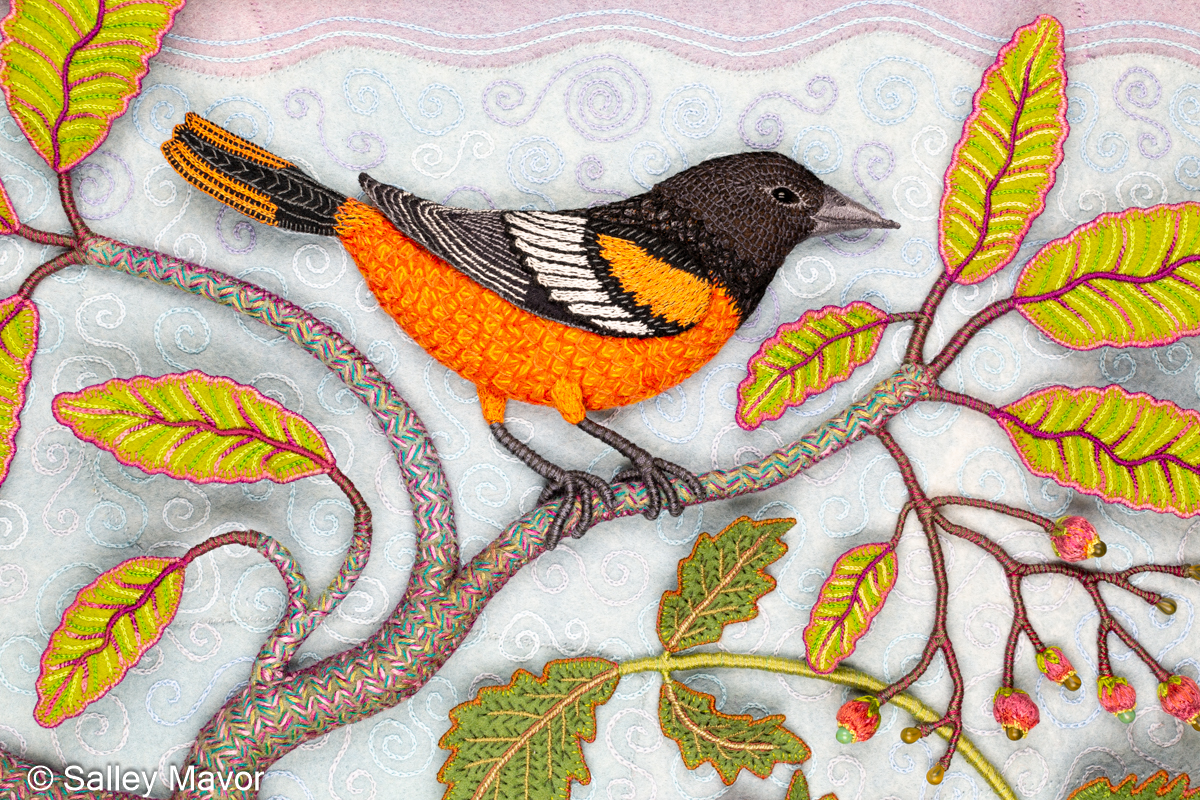
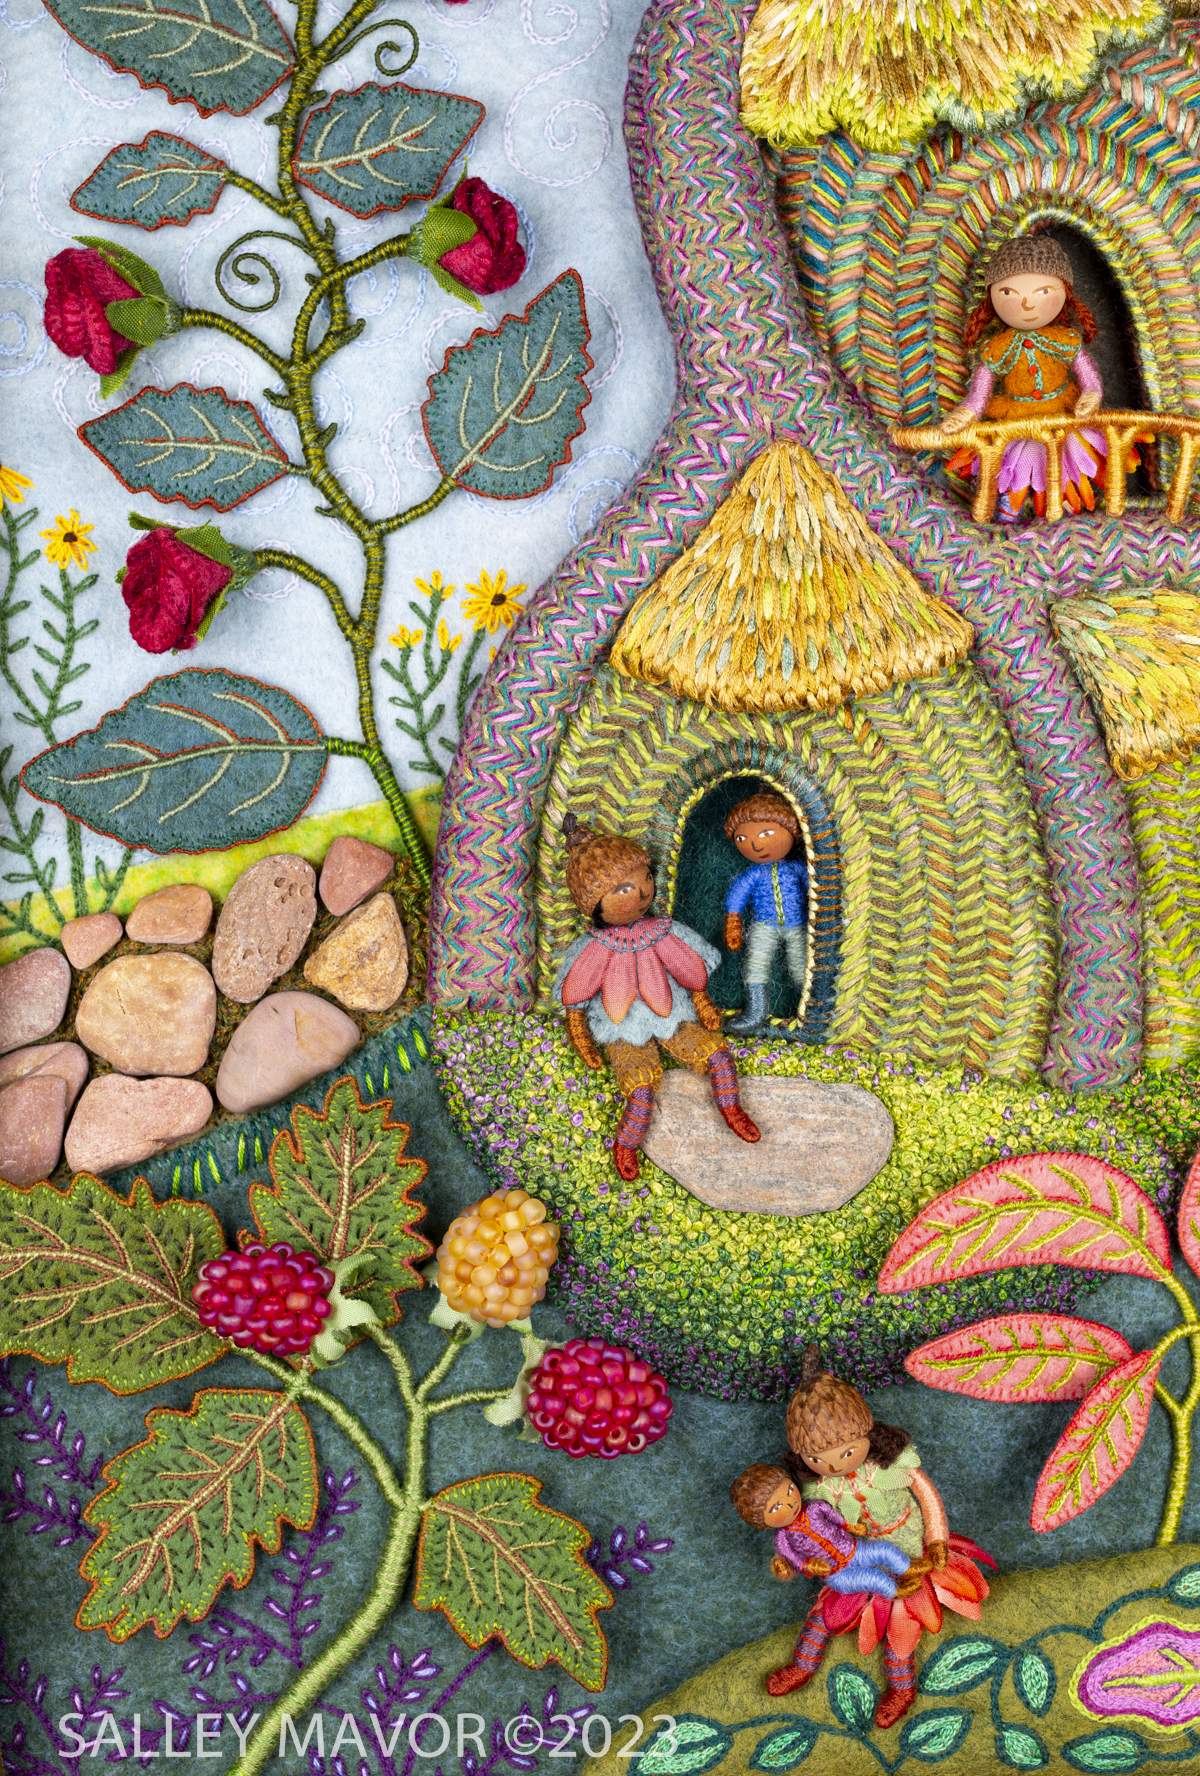
Summertime is the summer scene in a series of four seasonal landscapes that capture the wonder and magic of the natural world. Posters, note cards, prints, bookmarks, and jigsaw puzzles of Summertime and the other scenes in the series (Frosty Morning, Mossy Glen and Harvest Time) are available in my Etsy Shop.
See the Four Seasons Series and dozens of other works in my exhibition, To Every Season: Works by Salley Mavor at the New England Quilt Museum, Sept. 9 – Dec. 31, 2025. The show includes recent work, as well as rarely seen early pieces on loan from private collections.
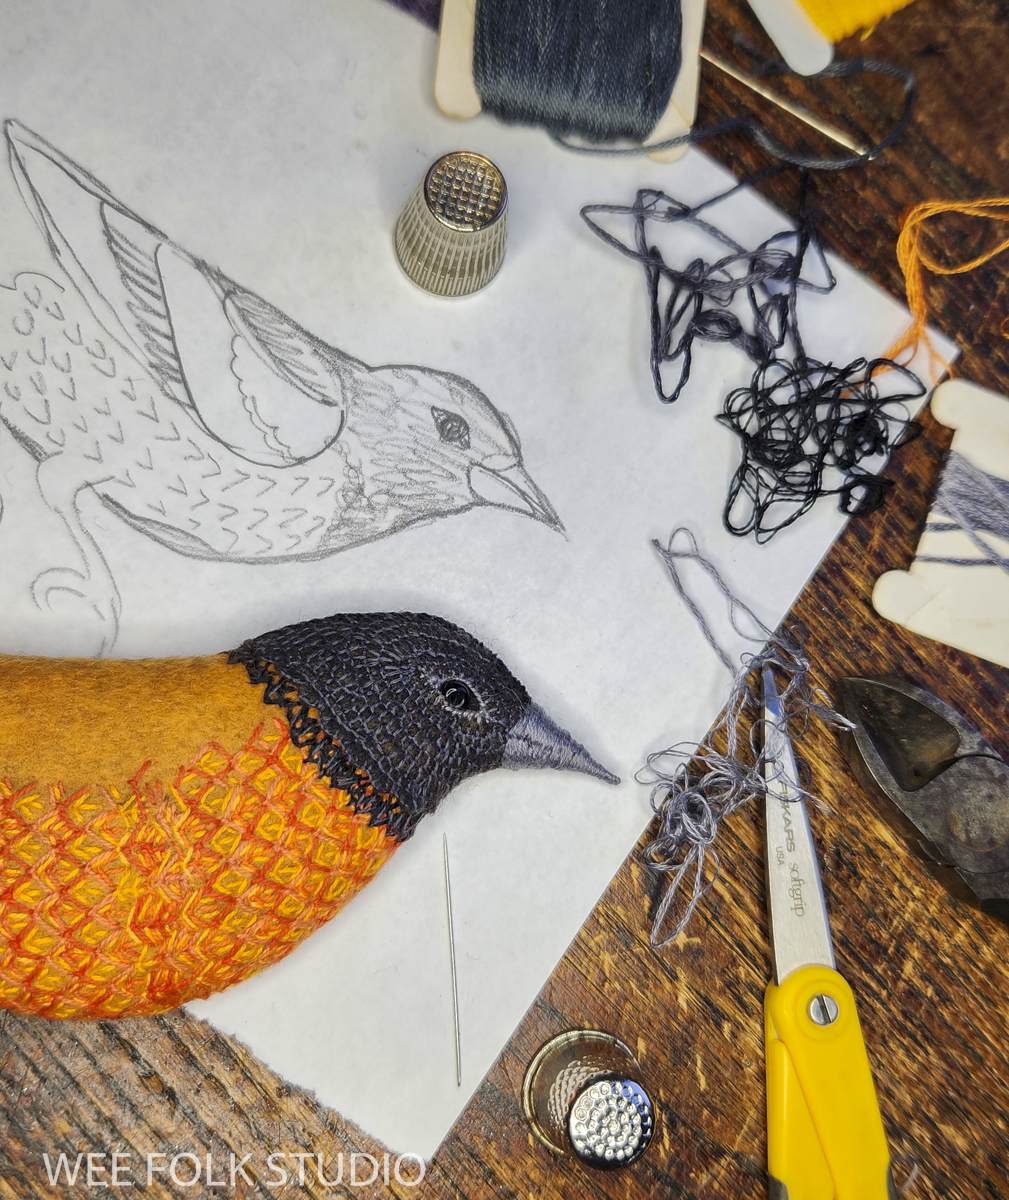
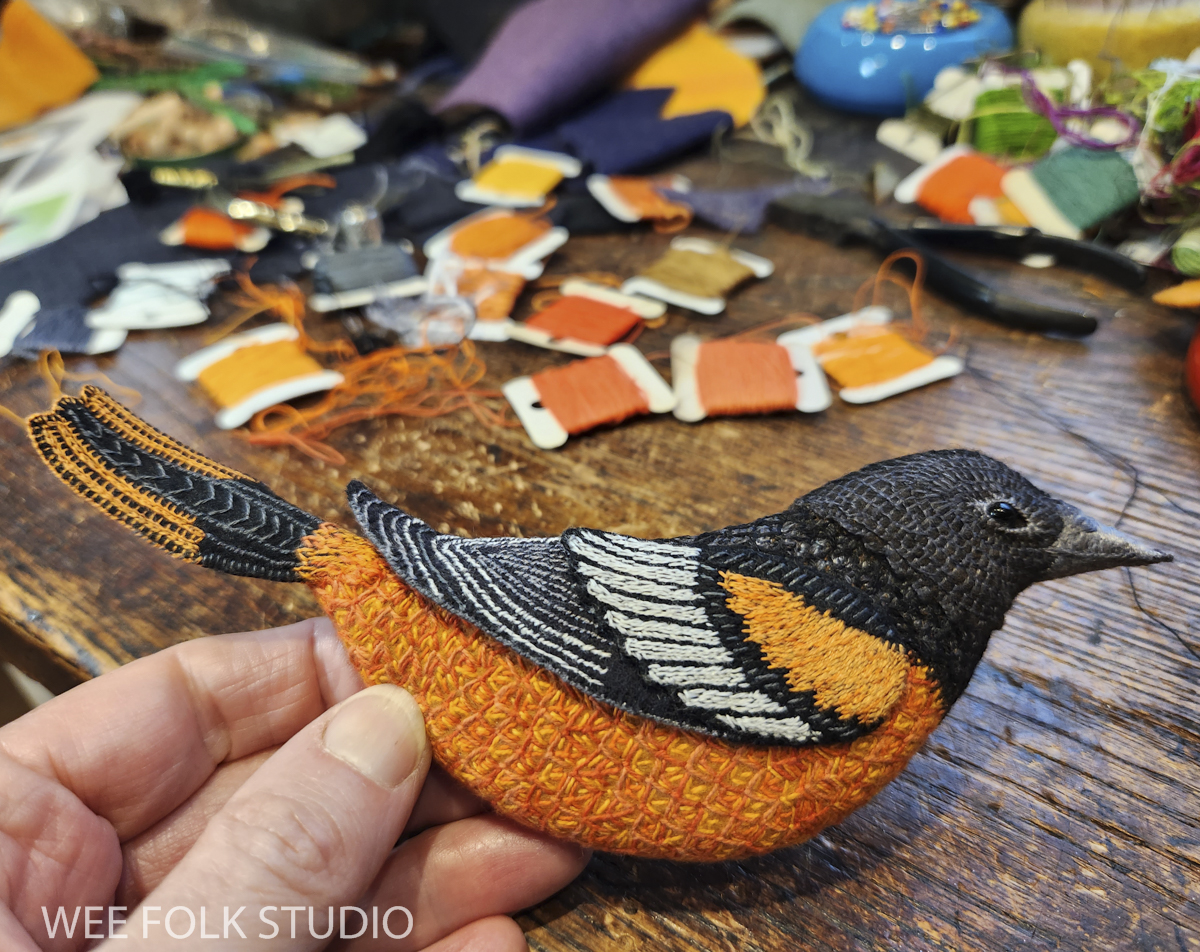
I wouldn’t call myself an avid bird watcher, but I do appreciate the subtle differences that make each species unique. For this piece, the trick was to capture the bird’s distinguishing features without being too scientific. To understand the nuances of an Oriole, I studied photos and made sketches, paying particular attention to the position, size and angle of its head, eyes and beak.
BEAK
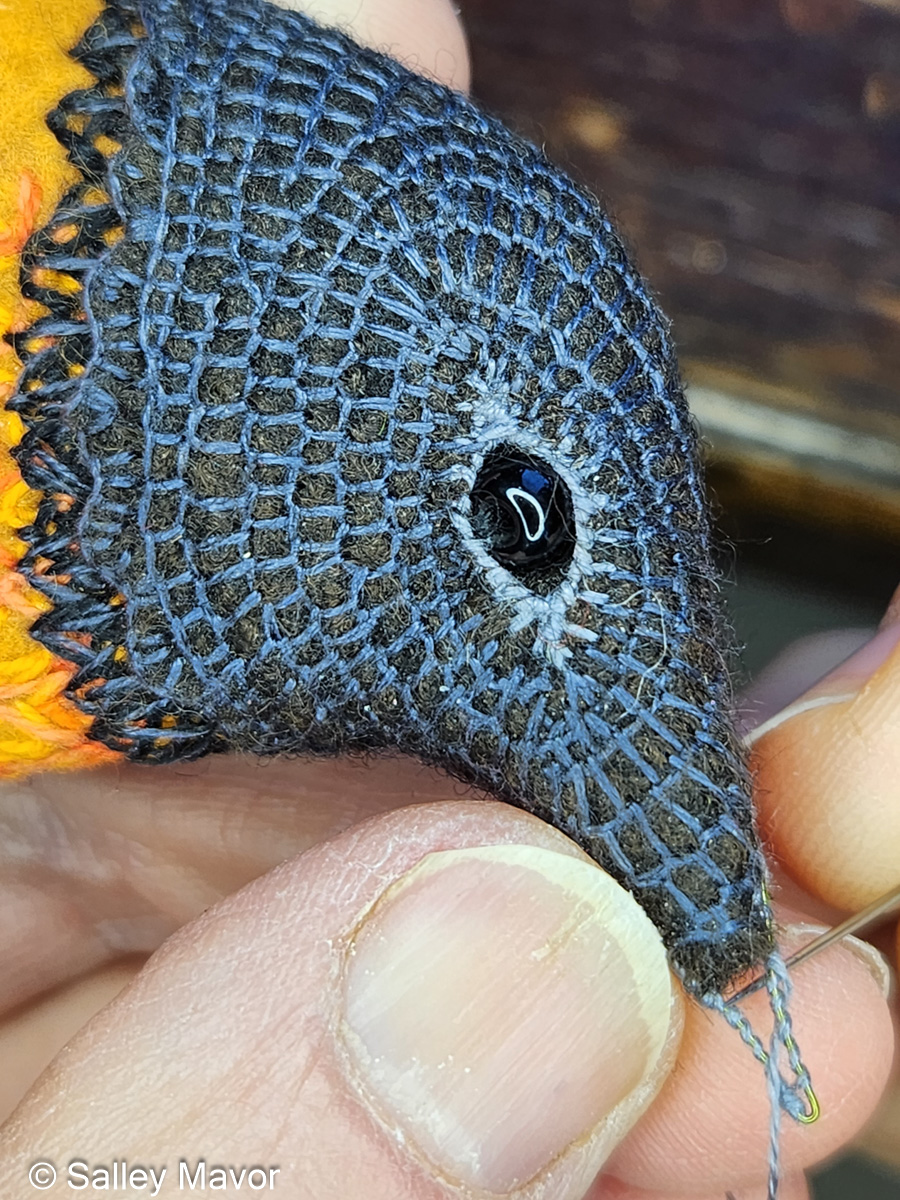
I must have been so focused on making the bird’s hood and eye (it’s a glass bead) that I forgot to take photos of that part. So, let’s skip ahead to the beak. To make it pointy, I formed a wire extension and wrapped it with embroidery floss.

I articulated the shape of the beak with floss, stitching over and around, until it had a smooth and seamless appearance.

Watch this video to see how I stitched the beak. It even shows what the back looks like!
After the beak was finished, I embroidered black feathers with fly stitches on the neck and throat area.

I sewed the wing and tail (see Part 4) in place and got to work on making the Oriole’s feet.
FEET
I shaped the bird’s feet and legs with wire, twisting it around to form 4 toes – 1 short and 3 long. Then, I wrapped the wire with embroidery floss, winding the thread up and down until no shiny wire was exposed and the feet were the right thickness.

Watch this video to see how I constructed the legs and feet and attached them to the bird’s body.
Stay tuned for Part 6, where I’ll share photos and videos documenting the process of making the rose vine. If you want to receive email notices when I publish new posts, please subscribe to this blog using the form below.
To keep up with new posts, please subscribe to this blog. Your contact info will not be sold or shared. If you’d like to see more frequent photos tracking the projects in my studio, please follow me on Facebook, Instagram and BlueSky.

Your work is exquisite.
Your birds are magical. Thanks so much for sharing your process.