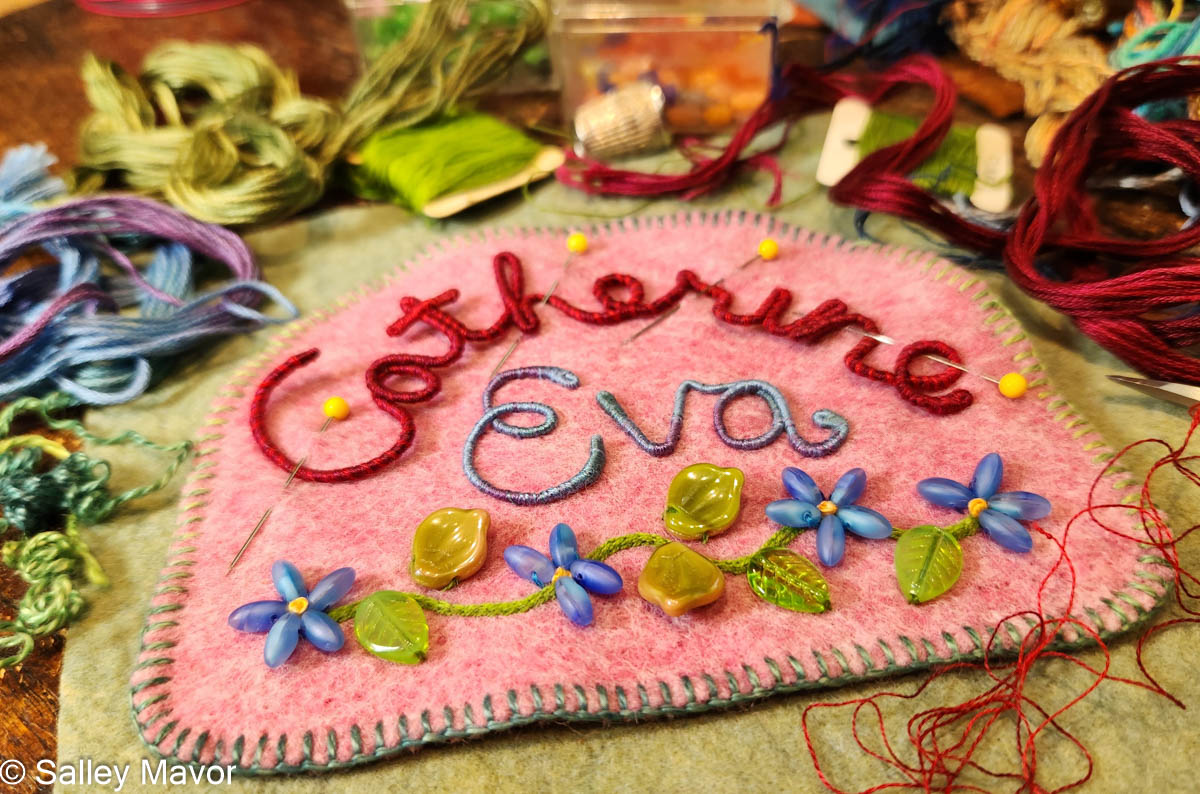
We’re thrilled to welcome our new granddaughter, Catherine Eva, who was born at Emerson Hospital in Concord, MA on July 19, 2026! She joins her parents Peter & Mary, and brother Eddie. They call her Kate, as well Cricket, which I hope sticks!
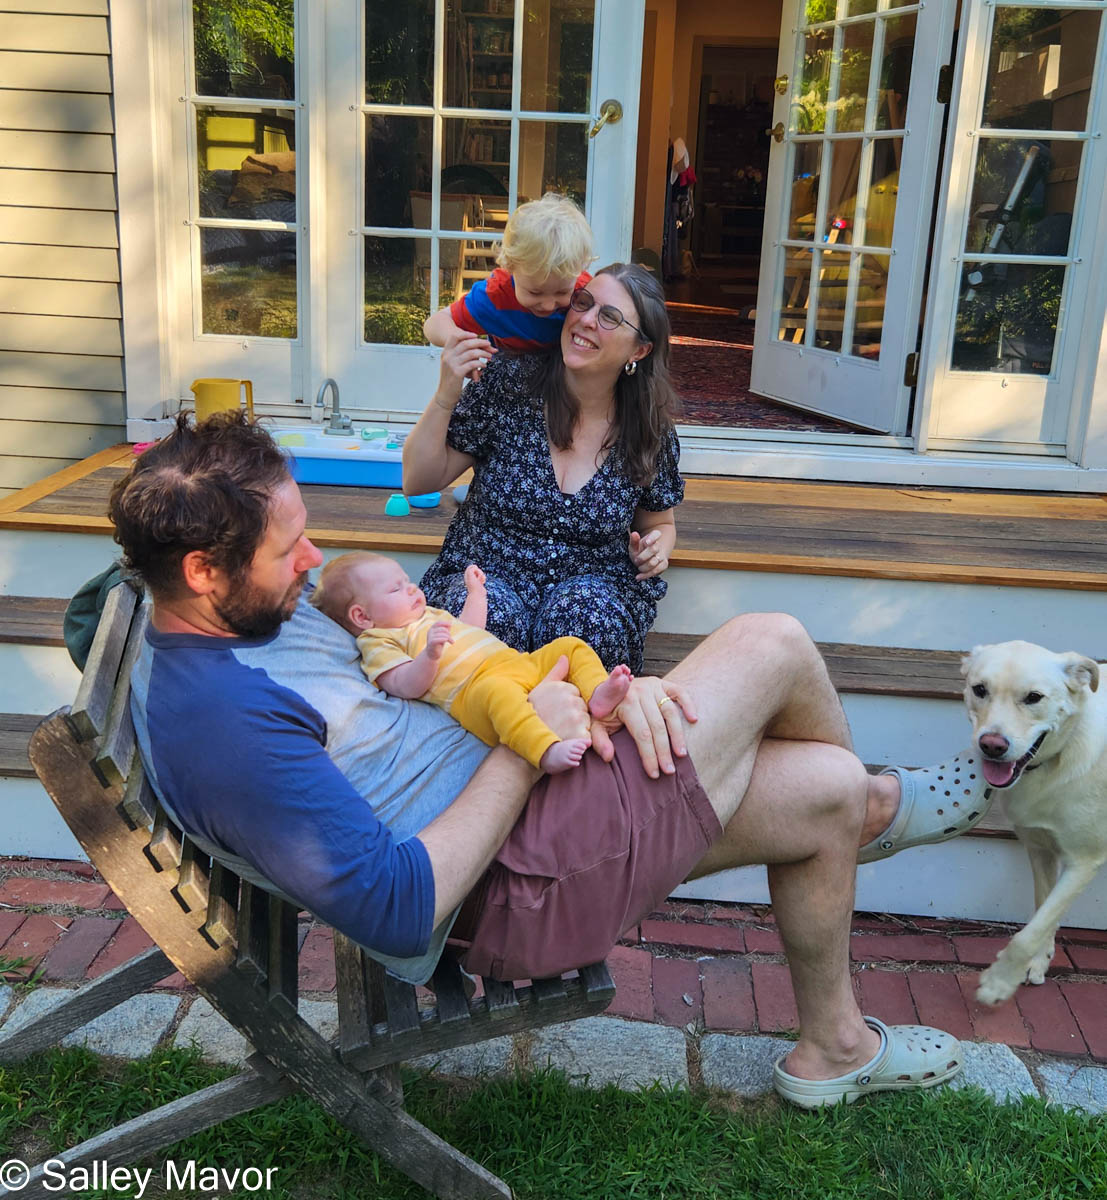
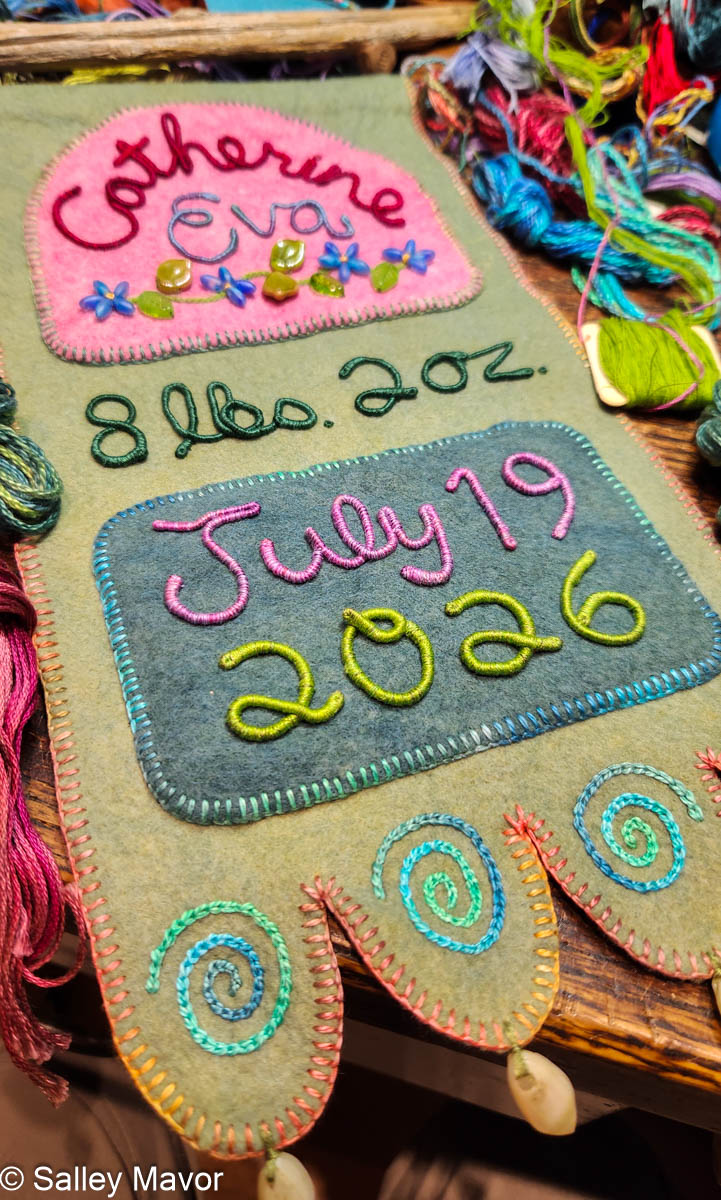
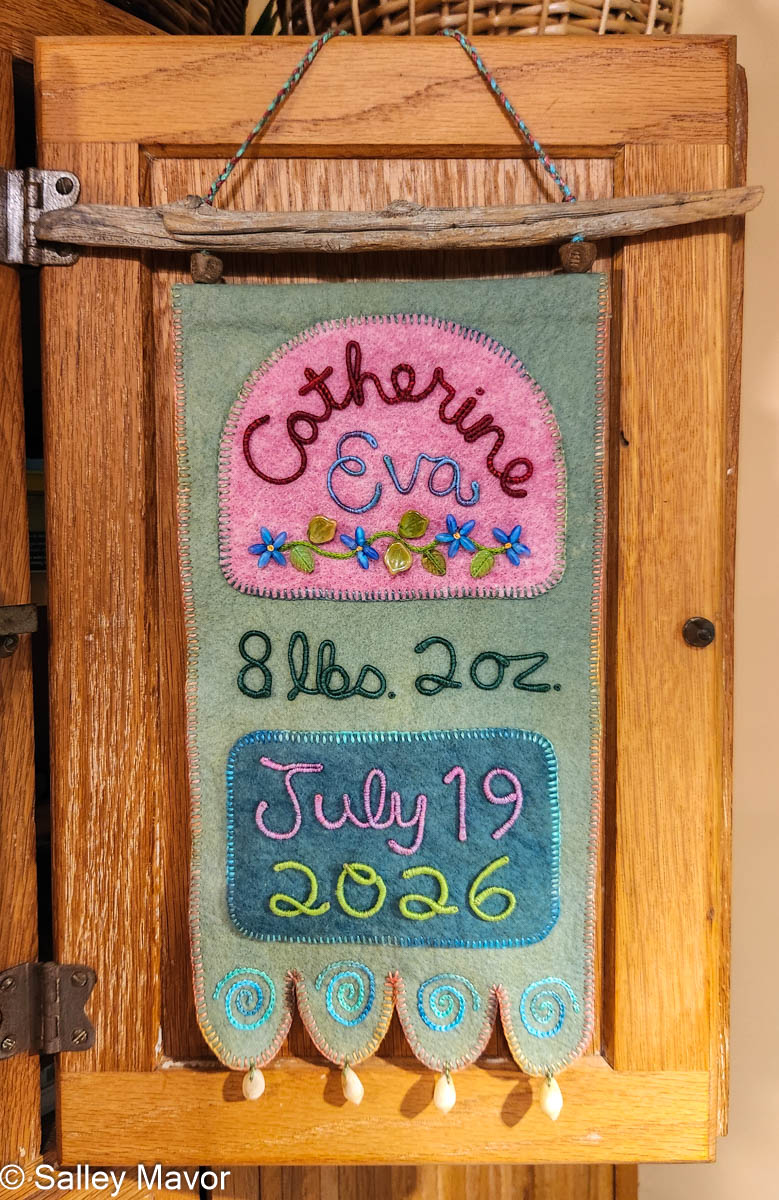
In this post, I share a behind the scenes look at the process of making a baby banner for Catherine. (See her brother Eddie’s banner here.) For several years, I’ve made personalized gifts for friends and family to commemorate special events like weddings and births. To see posts about this and other banners I’ve made, scroll through the archives here.
Earlier this summer, Rob and I decided to finally stop procrastinating and go through the stuff stored in the attic. We found plenty to throw away, but among the boxes, were treasures from long ago that my mother kept. To my delight, we discovered a collection of little girl dresses that my sister Anne and I wore in the 1950s.
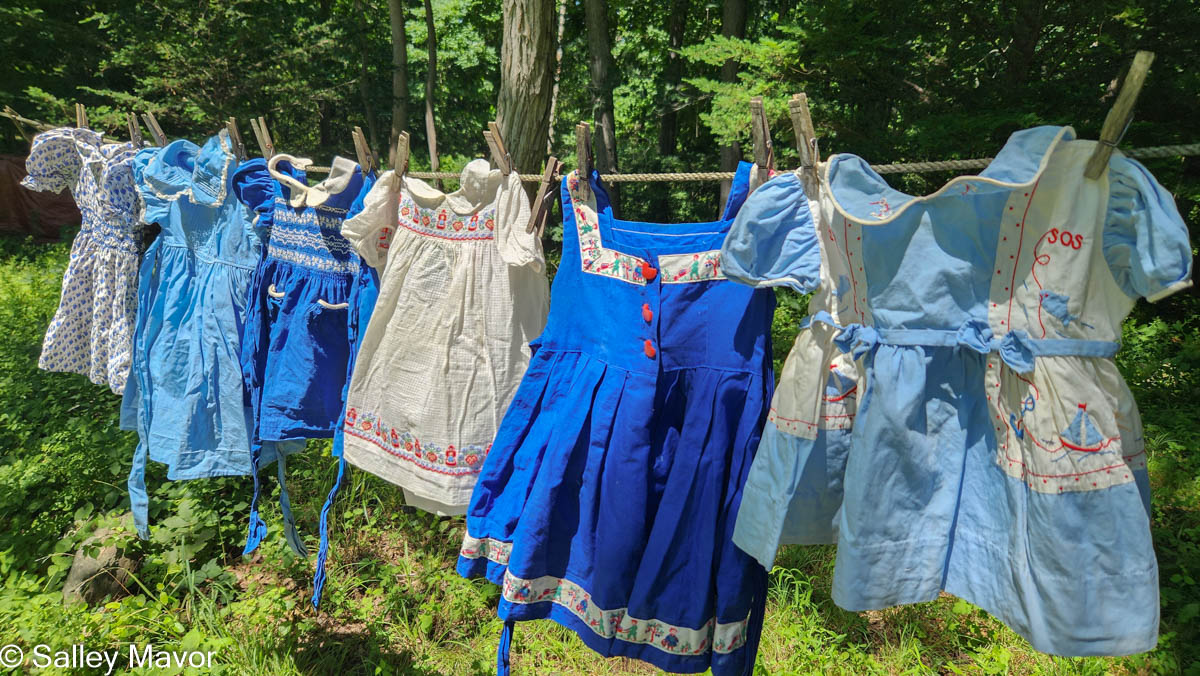
I remember finding these dresses and deciding to hold onto them 20 years ago, when we cleared out my parent’s house, thinking that maybe someday a baby girl would come into our lives. Now, Catherine, the first girl in Rob’s family in 3 generations, will have a chance to wear these well preserved vintage outfits. I’ve already passed on some of the smaller sizes to her mother, Mary, who is all in favor of the idea!
MAKING THE BANNER
Read ahead to see photos, video, and commentary about making Catherine’s baby banner. The embellished felt banner combines two of my favorite things, hand embroidery and cursive handwriting.
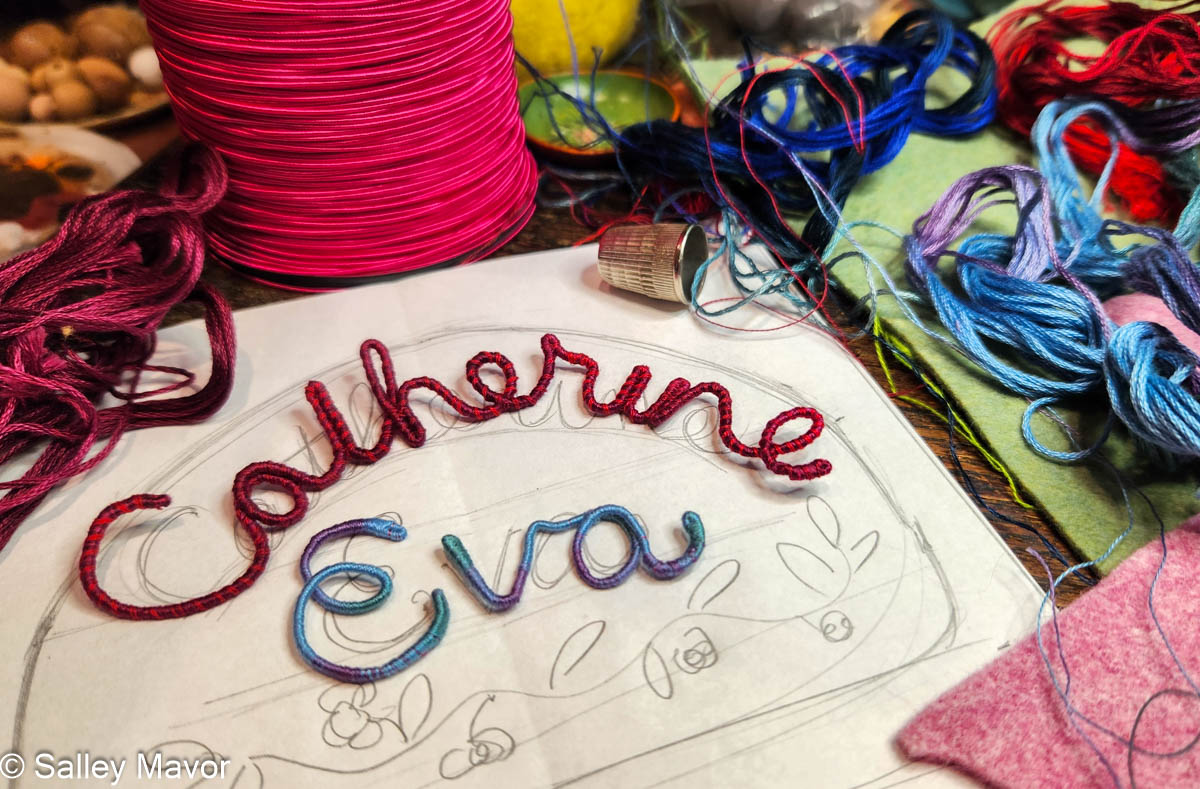
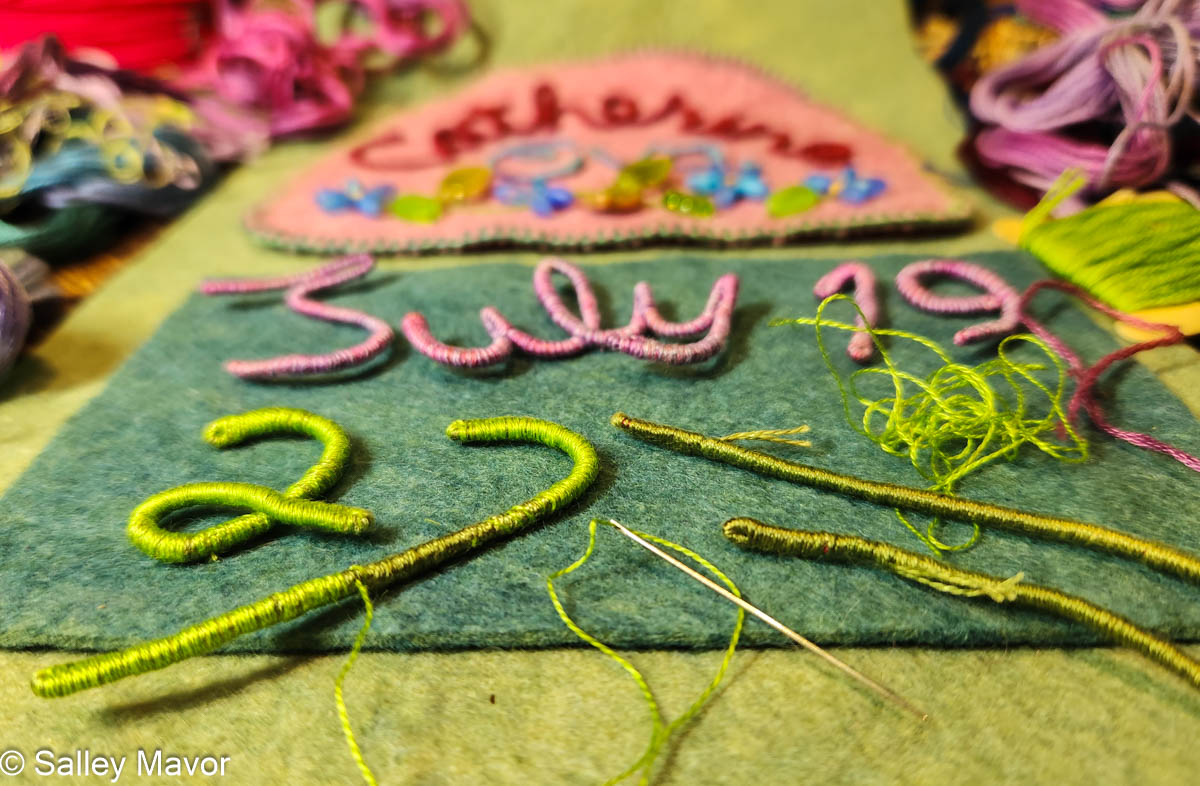
The lettering is formed with DMC memory thread, which I wrap with embroidery floss. Memory thread is wire coated with a fibrous material which is easier to grab onto than slippery wire. Wrapping the wire smoothly and evenly takes a lot of practice, so it takes patience. The wire ends are bent over and wrapped, so that no raw thread ends are hanging out. If you’ve learned to wrap arms and legs for the wee folk dolls in my how-to book, Felt Wee Folk, you’ve got a jump start on mastering this technique.
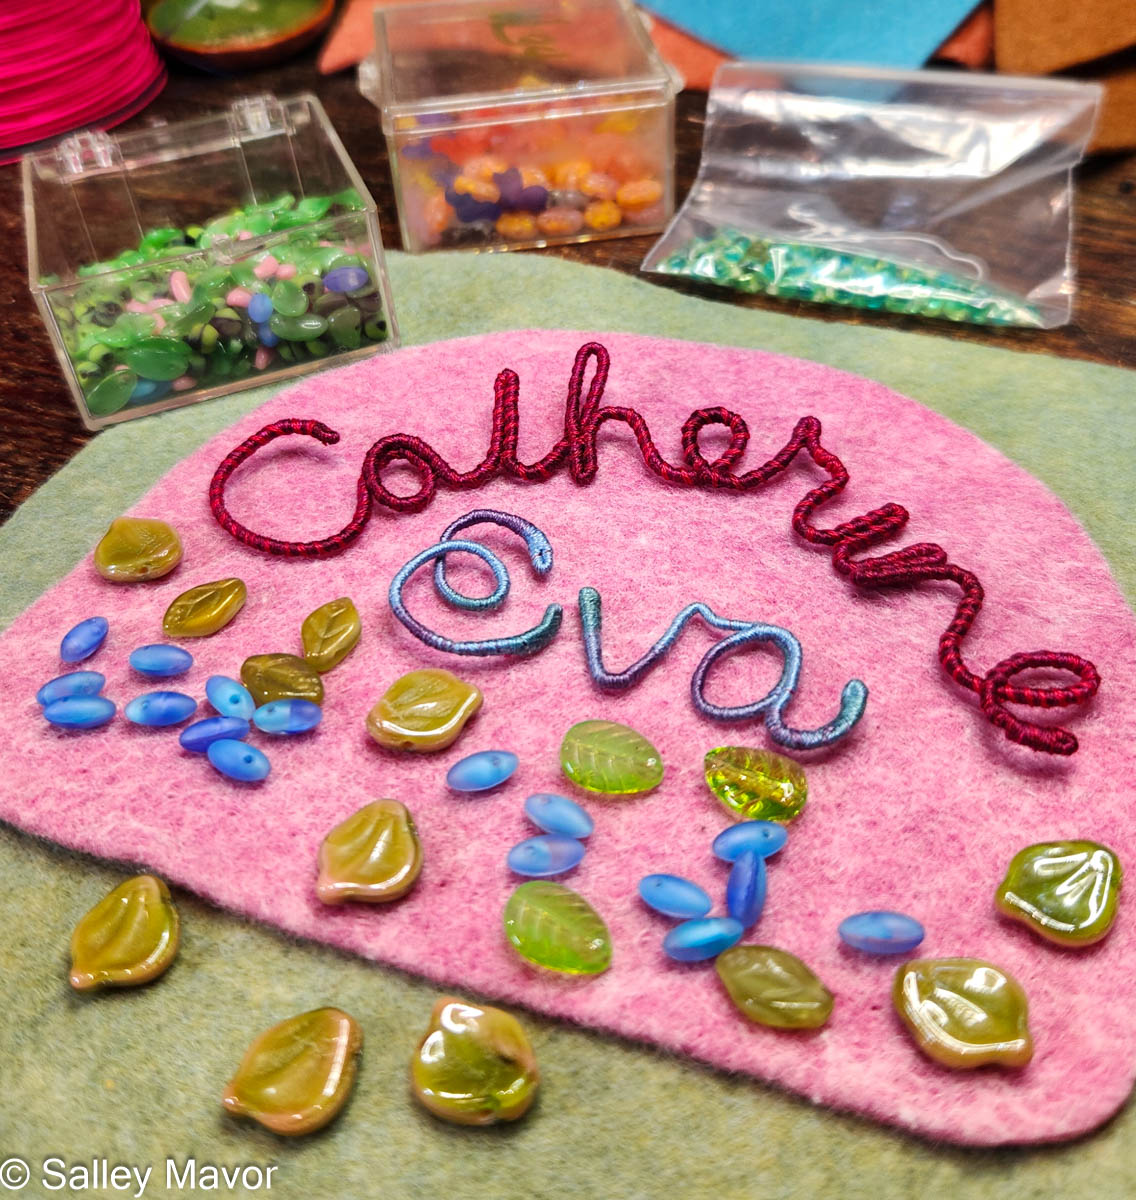
For these banners, I typically use variegated embroidery floss instead of solid colors because the shifting shades give the letters a more lively, natural look. Sometimes, when the letters need more contrast against the background color, I wind an additional single strand of lighter or darker shaded floss. I sifted through my collection of glass beads and picked out some leaves and blue petals to make a floral motif.
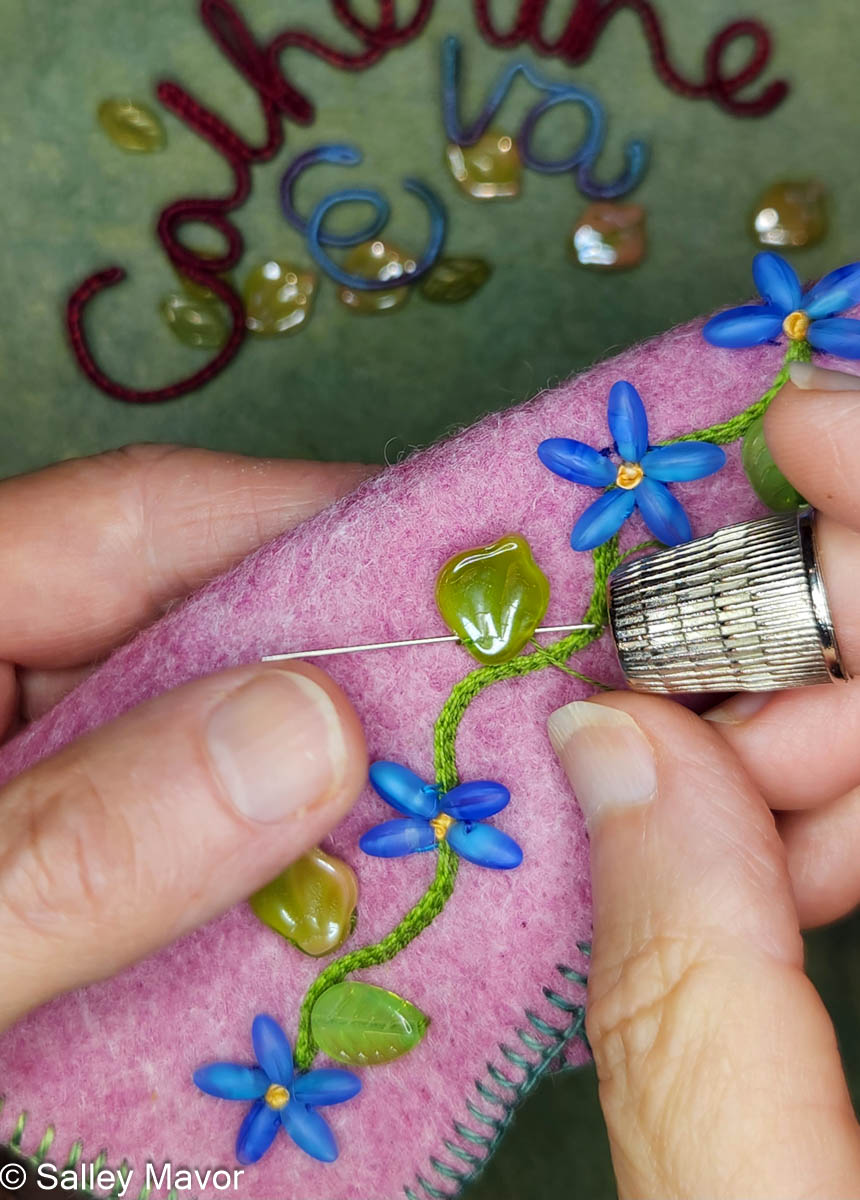
STITCH MINUTE VIDEO
The following video offers a brief overview of the banner-making process, with close-up views of wrapping, stitching, and embellishing.
I positioned the lettering with pins and stitched it to the felt pieces.
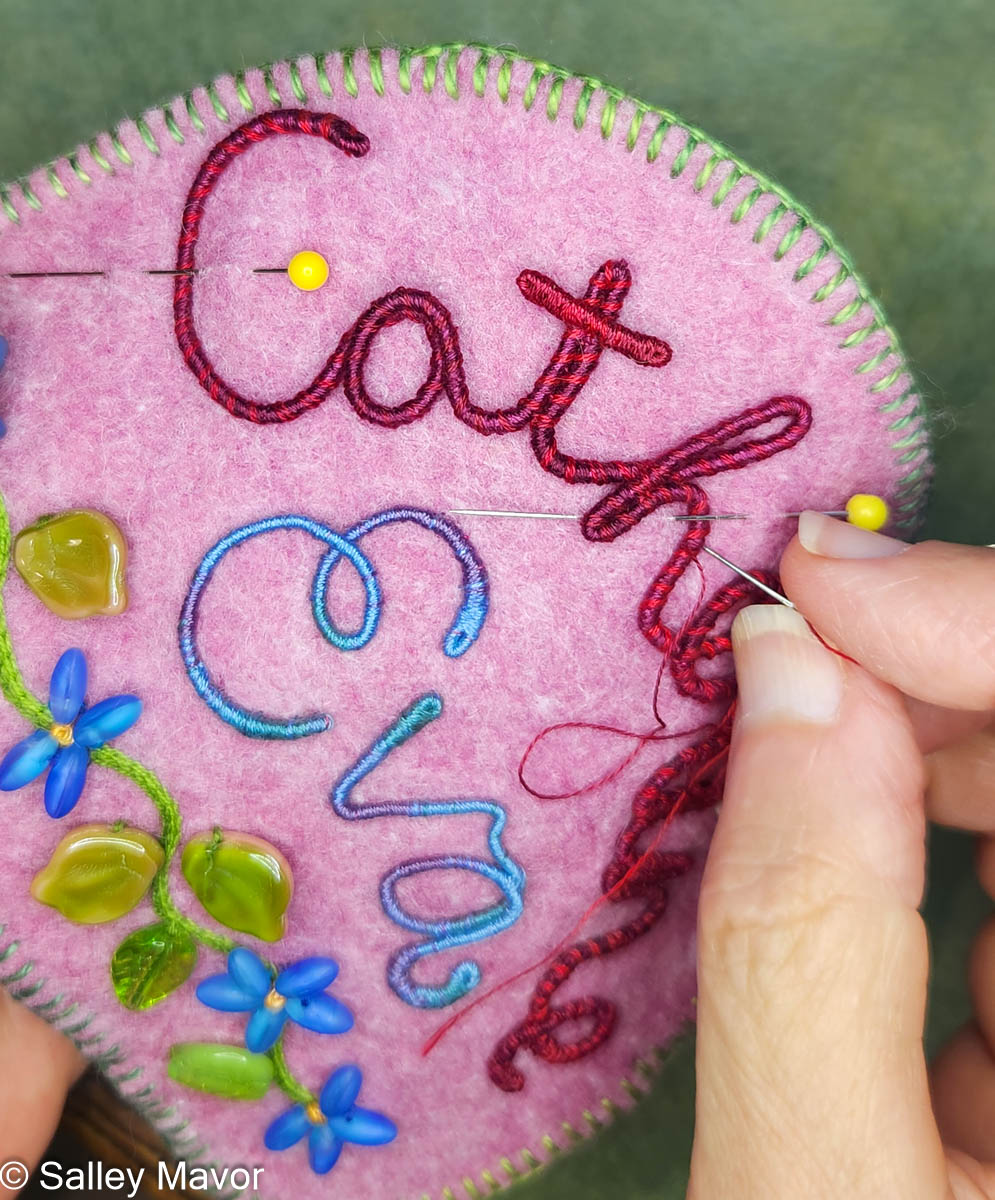
Throughout the process, I’m constantly adjusting the color and shade of the wrapped wire, by adding more layers of floss. Much like graphic design, the goal is to achieve maximum legibility.
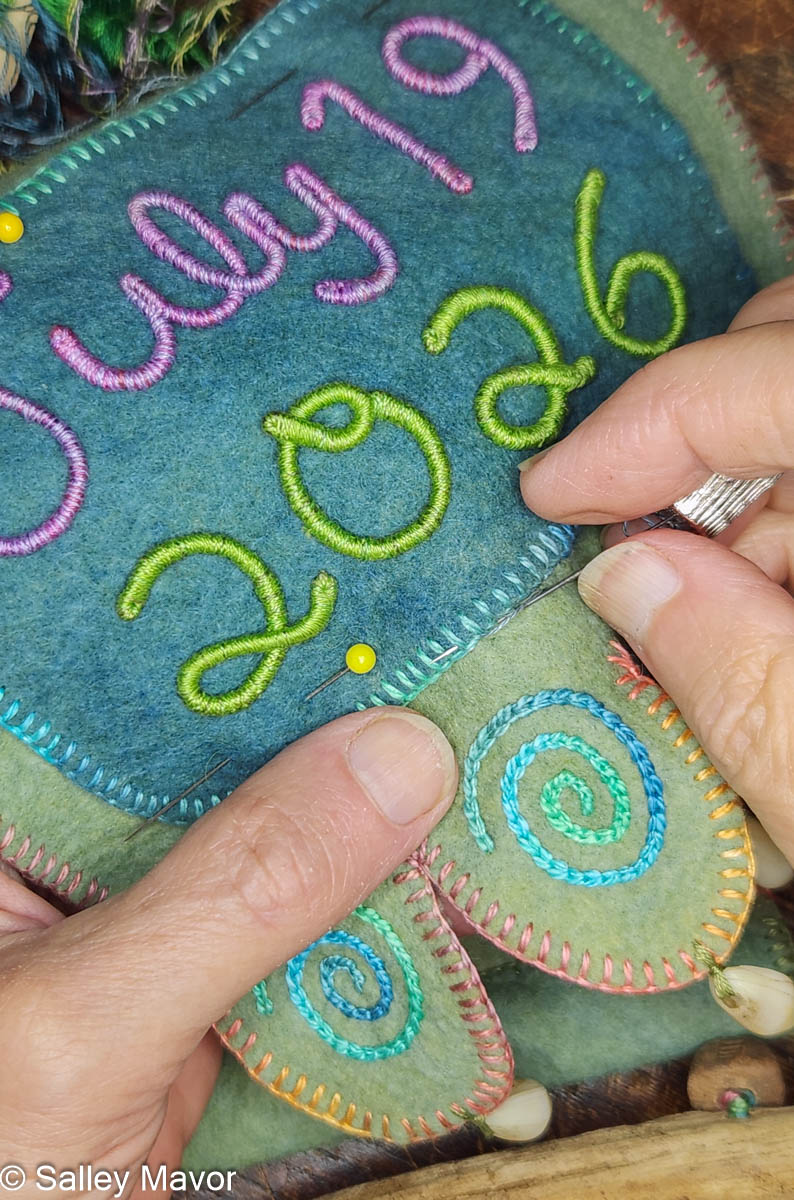
I chain stitched spirals on the scalloped flaps at the bottom of the banner and later sewed four shells from an old souvenir necklace to dangle at the tips of the curves.
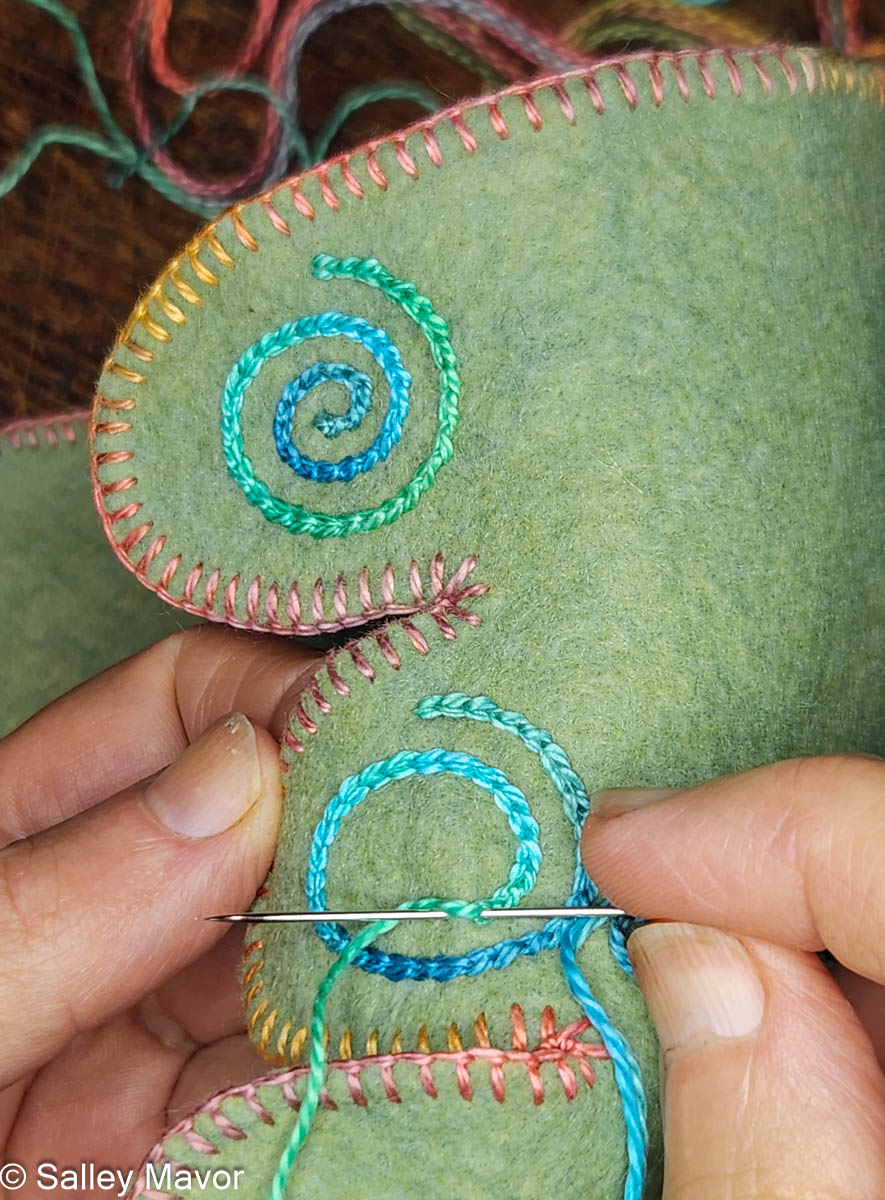
EMBELLISHING FELT BORDERS
I love embellishing with blanket stitching, especially with variegated thread. It’s a simple, but effective way to create an edge that looks clean and assertive, while also displaying a handmade quality. For me, it’s important to show that a real person made it, not a machine. For this banner, I created layers of felt pieces, which I blanket stitched with pima cotton (Watercolours by Caron).
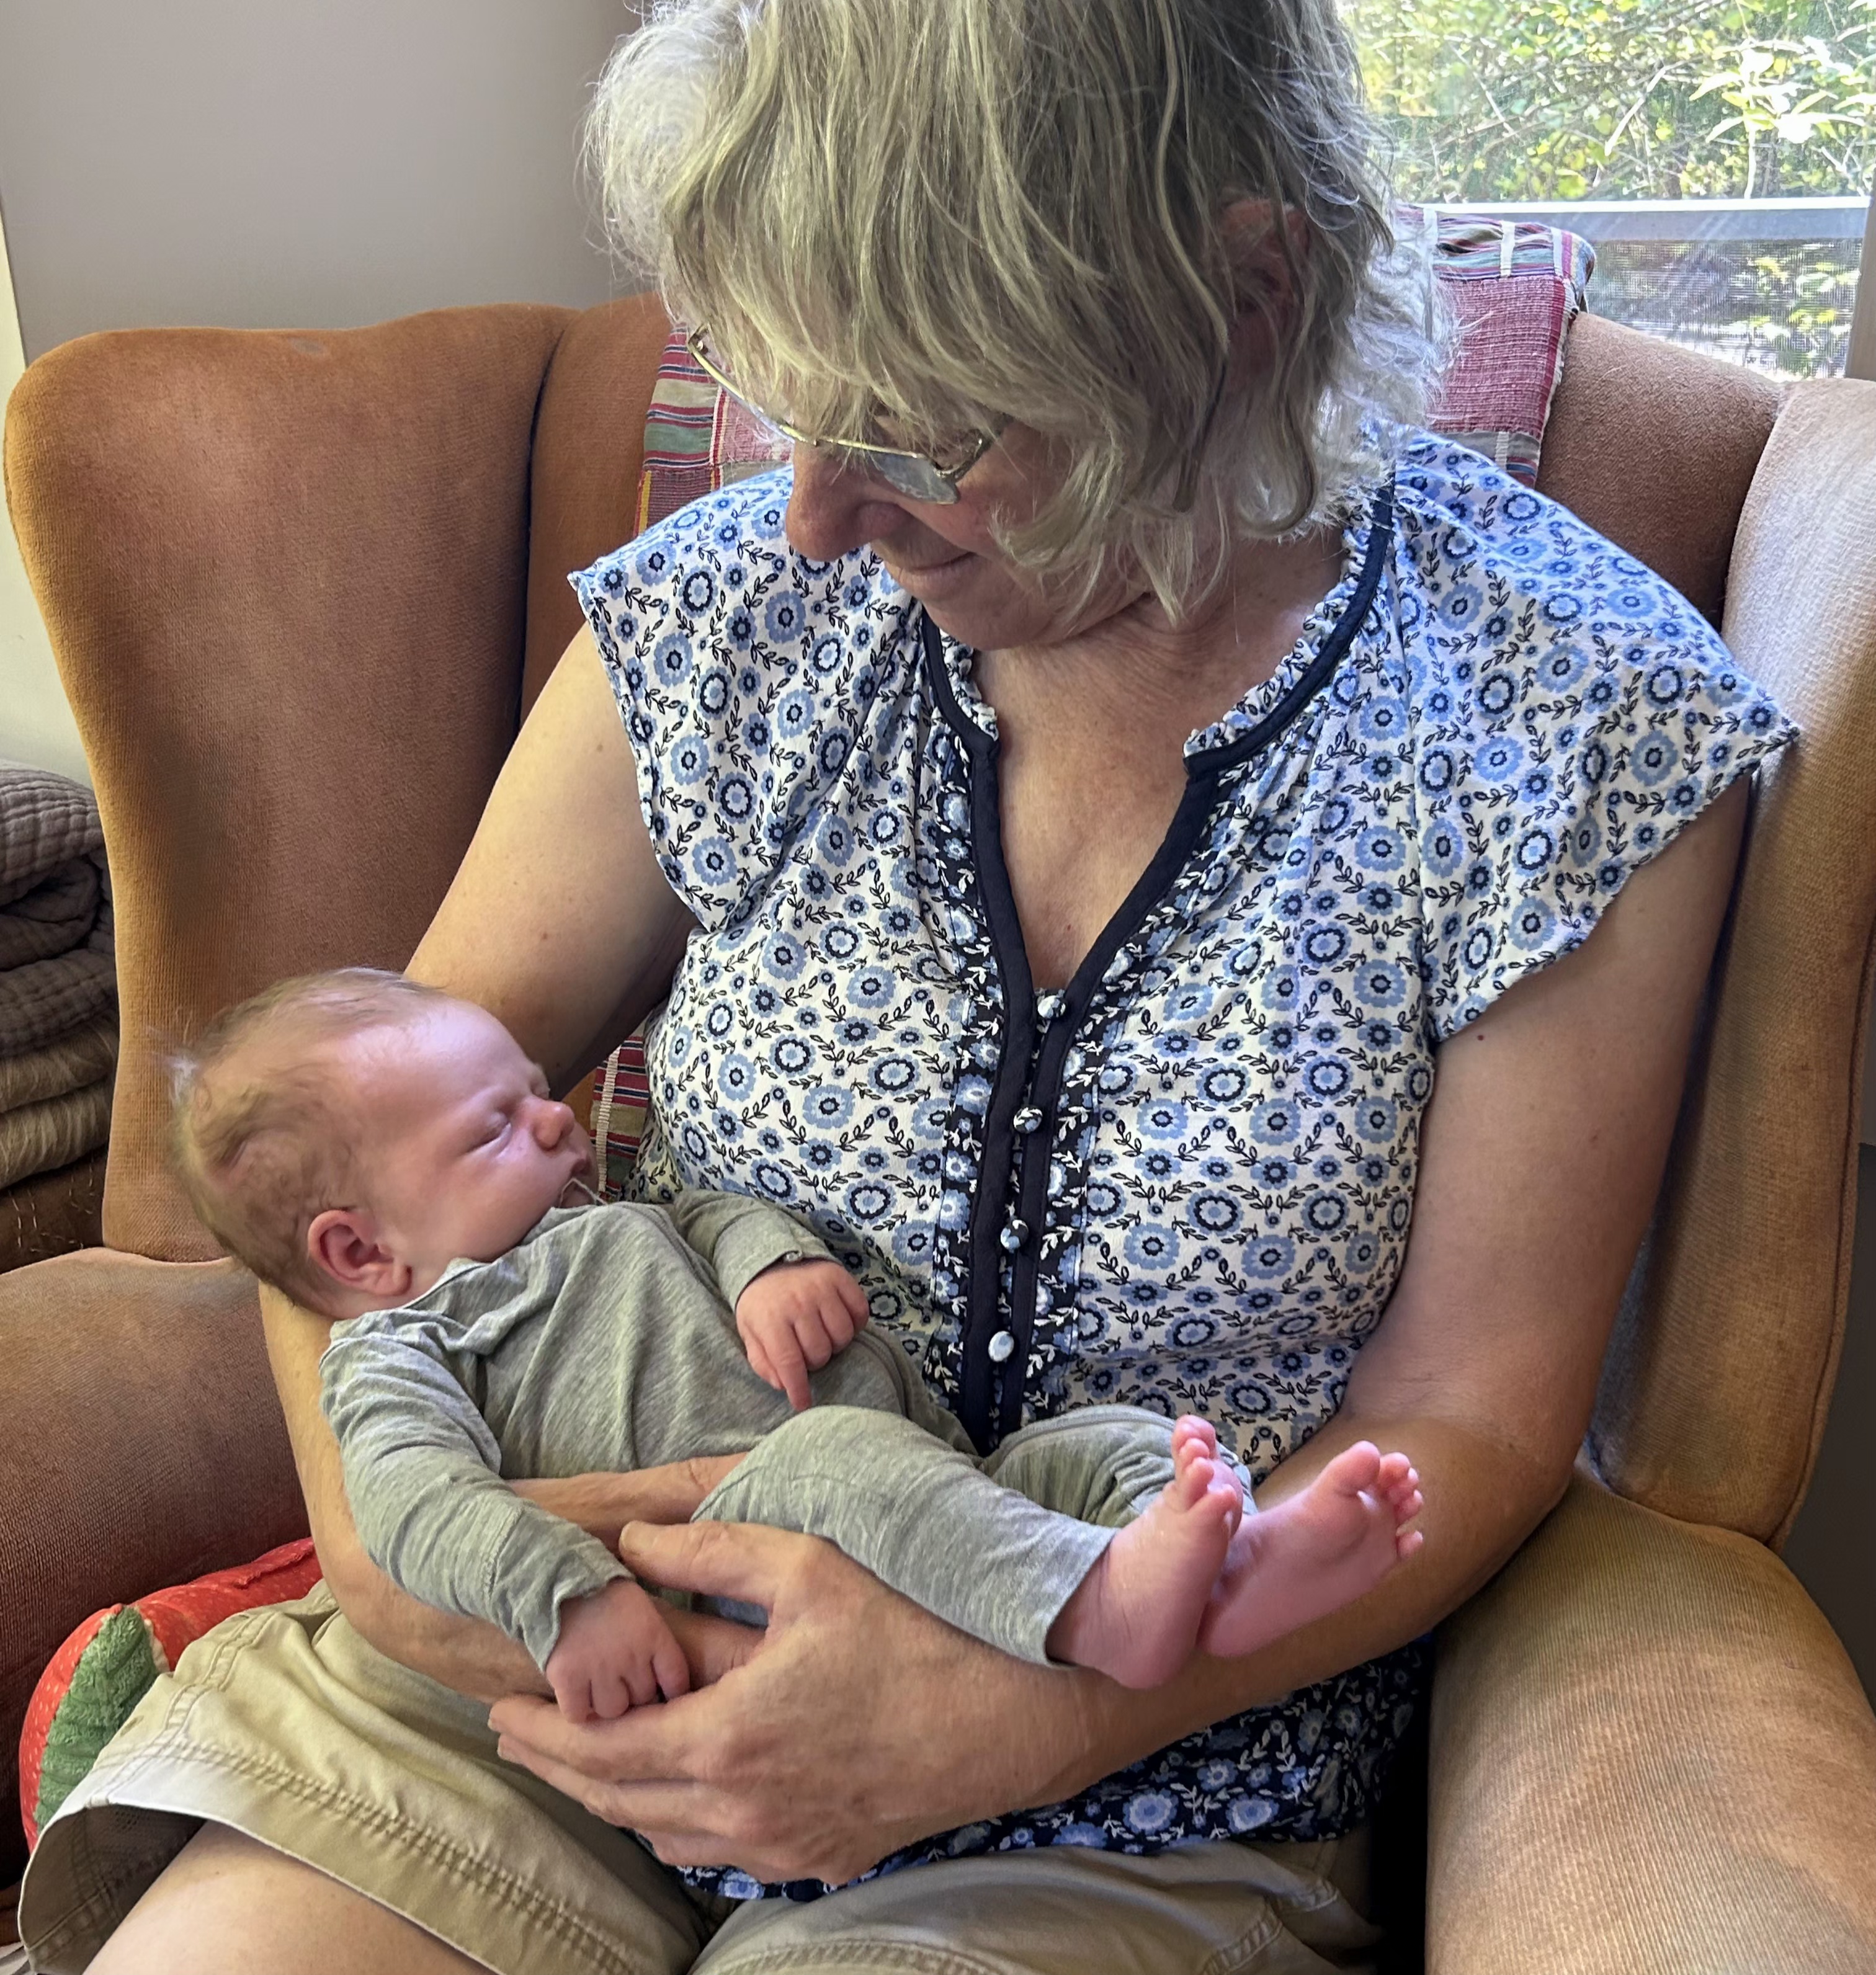
We’re tickled pink with little Catherine look forward to getting to know her as she grows!
To keep up with new posts, please subscribe to this blog. Your contact info will not be sold or shared. If you’d like to see more frequent photos tracking the projects in my studio, please follow me on Facebook, Instagram and BlueSky.


Congratulations, Salley!
Congratulations. What a joy.
Congratulations to all on the arrival of sweet little Cate/Cricket. She will love her beautiful banner and wearing those darling little Gran dresses. Hugs and kisses to all — ________________________________
Congratulations!
Oh, Salley, What a splendid banner for Catherine! I appreciate that you take the time to have Rob video you as you work on parts of the process. It very definitely says “made by hand.” Catherine will treasure it – as will your grandsons – in the decades to come – maybe even into the next century! Thank you for sharing your good news and your art.
Pam
How very lovely. 🥰 Congratulations to you all.x
Lovely, lovely!!! The little family, and the dresses (and of course your great banners!!!). Love, Maria
Congratulations, such a wonderful event in life.
Thank you for sharing your process and your beautiful creations!
Dear Salley: Congratulations on the birth of your newest granddaughter! From the photos in your email, she looks like a dear little baby! I think “Cricket” is a sweet nickname for her! God bless you all, and keep you and your family safe! The Banner you stitched for her is a masterpiece! Your friend in Canada, Janet MacDonald